DIY
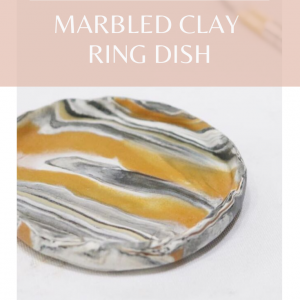
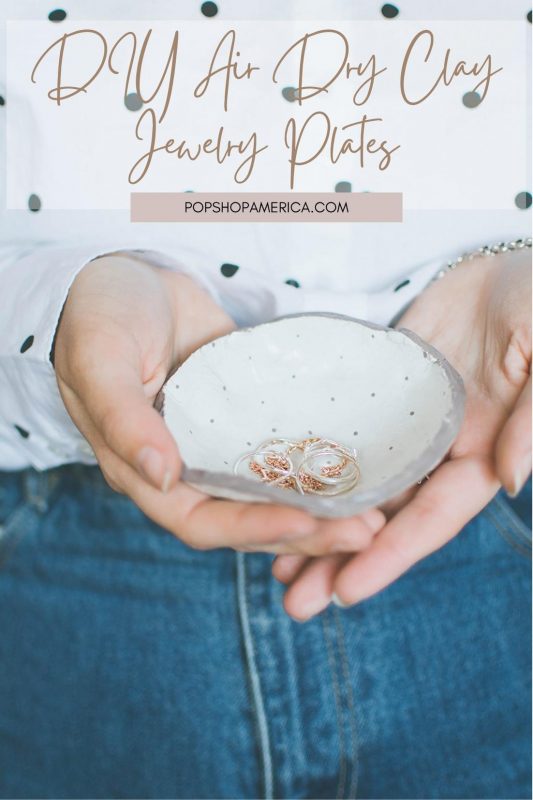
Super Pretty DIY Clay Jewelry Plates
May
This blog and others at Pop Shop America may contain affiliate links.
I don’t know if it’s just me and my love for clay-everything, but I’ve been spotting a lot of beautiful handmade jewelry plates online recently, and, let me admit this, I’d buy them all if it was legit..!
It’s only recently that it occurred to me that I could somehow build some myself, with my own designs, in the perfect colour to compliment my furniture, and 100% handmade by me. I remember playing with DAS air drying clay when I was a little girl, anyone else? And buying some and playing with it again brought back so many memories!
This is such a fun and easy DIY project, perfect for a weekend! And such a great idea for a gift for Mother’s Day too, why not. It’s a little longer than usual, because DAS clay takes some time to dry properly, but you can find oven drying alternatives on the market as well!

DIY Jewelry Plates
Materials:
DAS air drying clay – white (the smaller pack is fine for 4-5 small plates)
All-Surfaces water based paint in the colour you prefer
Clay sealer or glossy varnish (find a spray option below)
Paint brushes
Old bowls
A knife
Method:
1. Firstly take a small ball of DAS clay and start working and softening it with your hands. If you prefer a smoother finish, go ahead and roll it out flat with the help of a rolling pin. I liked the idea of a more imperfect look, so I worked the clay with only my hands.
2. Use an old and relatively small bowl to help you shape the plate and get a perfect curve. Don’t cover the whole bowl’s surface though: you want to create a small plate, not a big clay bowl! Use your hands to smooth the surface until you’re happy with the result.

3. Then use a knife to create a precise cut along the border. Although I wanted to have a very neat cut on the top border, I also wanted the bowl to be asymmetrical, so I didn’t worry too much if I wasn’t cutting at the same height all around.
4. Let the plates air dry for 5-6 hours before carefully removing them from the bowls. After a few hours the surface should have started drying and become more solid, this is the time to remove them from the bowls and flip them over to dry on the opposite side.
5. My plates took 48h to dry completely. Make sure you keep reversing the side exposed to the air from time to time, to let both sides dry completely before you proceed.


6. Use a water based paint in the colour you prefer to create your own design: firstly cover the top border, and then have fun with the inside! I created a rose design for one of them, using a paint brush and a lot of patience! For the other plate I created a very simple and subtle polka dots design using the tip of a pencil to create the small dots with the paint.
7. Leave the paint to dry completely – I’d say 3-4 hours to be sure. Then use the varnish or sealer to give your plates a glossy look! It will take 1-2 hours to dry.
8. Enjoy your fully handmade DIY jewelry plates! Fill them with cute jewelry, give them away as a gift, or use them to decorate your space.


I hope you have fun with this project… Let me know if you give it a go!
Get More Lifestyle & Design Yumminess from Giada
Miel Cafe Blog | Miel Café Design | Twitter | Instagram | Bloglovin | Pinterest
Let’s Stay Friends!
Insta | Pinterest | Enews | TikTok