DIY
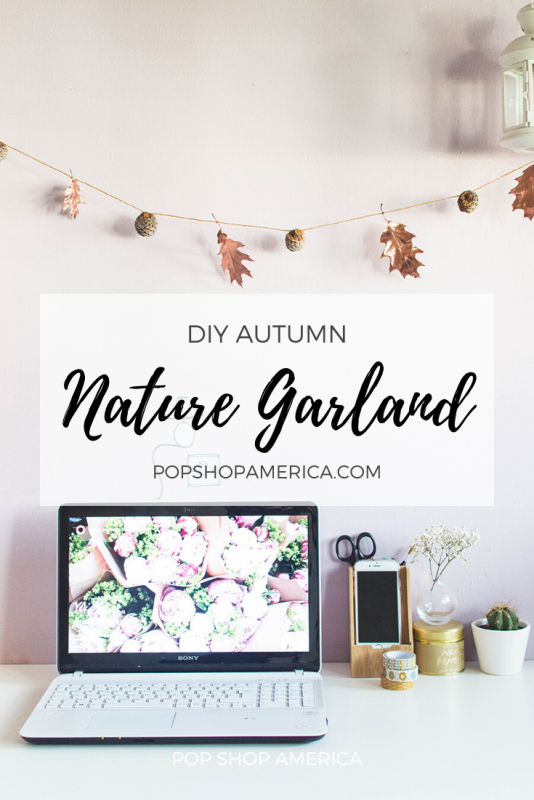
DIY Autumn Nature Garland
Nov
This blog may contain affiliate links.
With daylight savings, we are all very aware the season has changed. Autumn is finally here, and we can look forward to the huge piles of golden leaves dotted around yards and streets. Autumn actually happens to be my favourite season and I can’t help but keep thinking of ways to bring those beautiful leaves inside, and that’s how this autumn garland was born!
It involved a lot of fun between the leaves-and-pinecones-picking walks, the rose gold spray painting as well as the simple act of putting them all together into an Autumn garland. It’s beautiful for adults. But since this project is so easy and fun, it also makes for an appropriate children’s DIY activity, if you want to get them involved!
I love the result and the nice autumnal touch it brings to my workspace area, but it would surely look amazing in any room really, also hung around a standing mirror or behind the bed!
Easy Autumn Garland DIY Tutorial
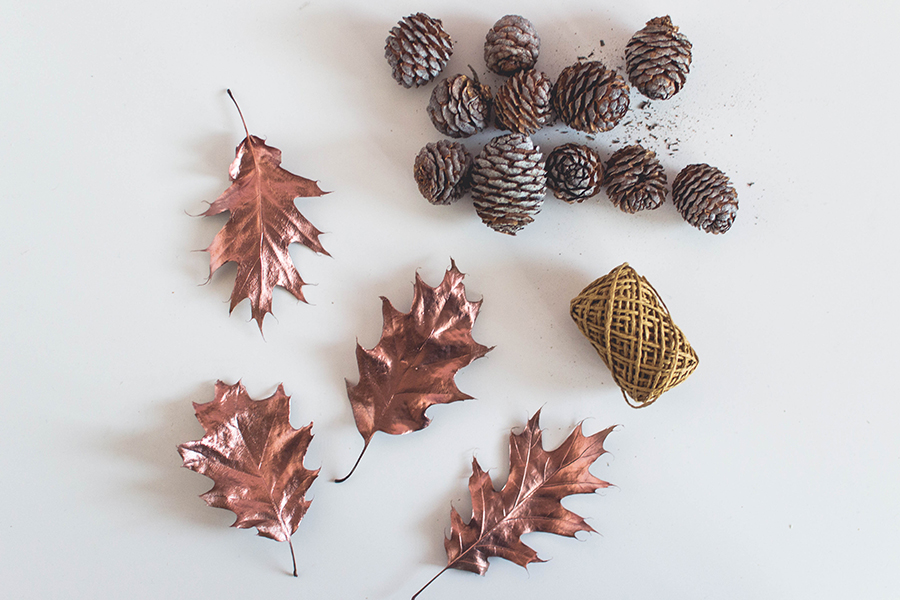
Materials:
6-10 yellow leaves
5-7 small pine cones
Twine or paper twine
Rose gold or copper metallic spray paint (similar here)
Scissors
Method:
1. Select 6-7 leaves that are similar in size and shape. Spray paint them rose gold or copper on both sides, making sure to protect your surface with an old newspaper during this process.
2. The paint will dry quite quickly, although I’d recommend waiting for the suggested time or at least 30 minutes before proceeding.

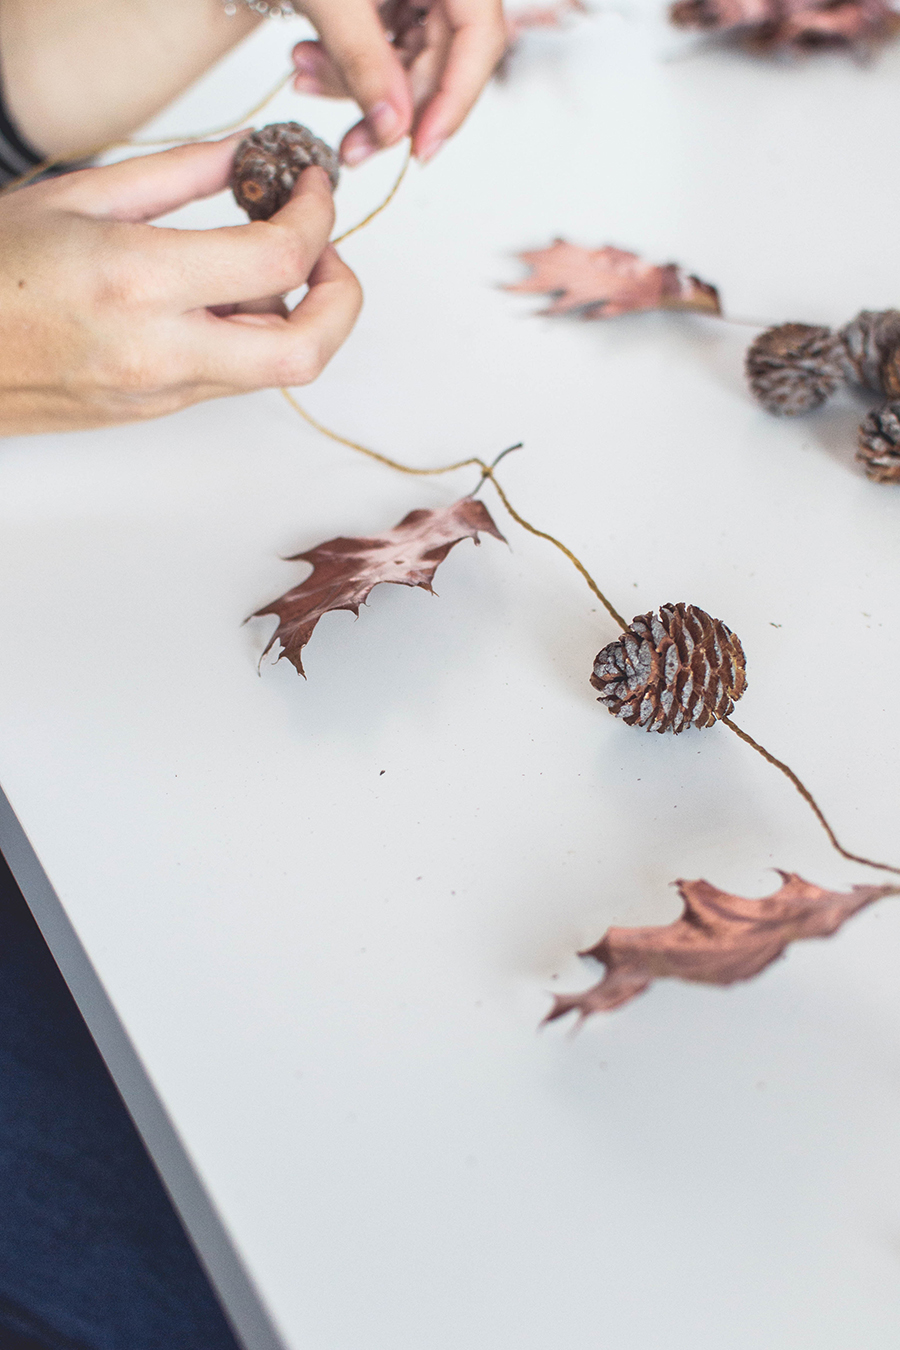
3. Select your leaves and pine cones and arrange them on the table in the order you’d like them to be in your garland, alternating one pinecone with one leaf. You could also use acorns, dried oranges slices and other fall perfect items.
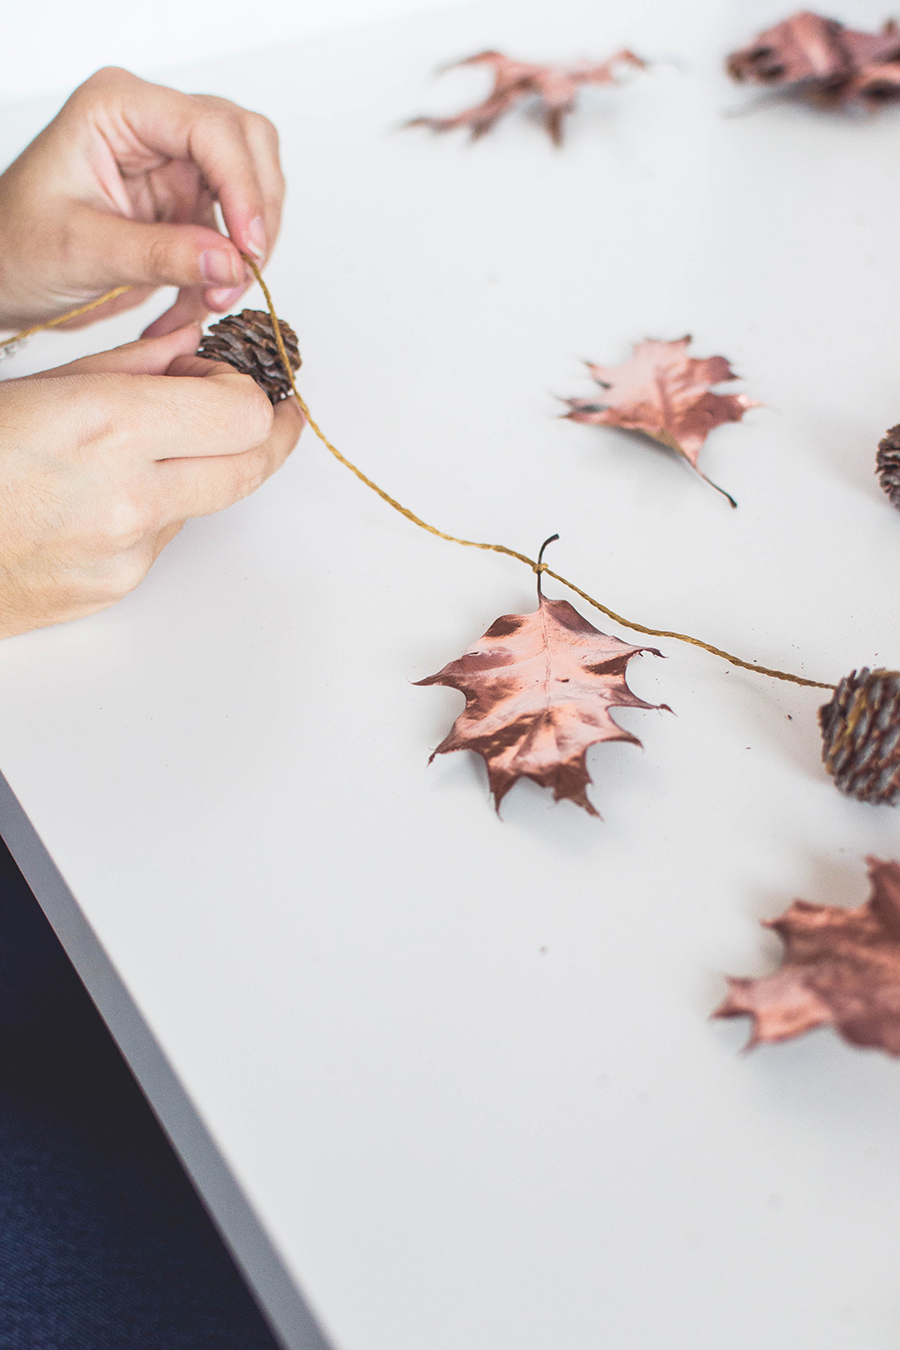
4. Calculate the length of the space where you want to hang your garland, and add an extra 10 inches, then cut your twine the length you’ve obtained.
5. Simply start by creating one loose knot in the twine, and place the first leaf inside the knot before tying it firmly. Then create more knots for the rest of the pine cones and leaves. Leave the same spacing between each leaf and pinecone.
6. Hang your garland wherever you like! Use it to decorate your Autumn-themed party or add an extra cosy touch to any room or workspace! Enjoy!


Need more Autumn Inspiration in your life? Try these DIY Autumn Inspired Gift Boxes! It comes with 2 different templates that you can download for free to wrap small gifts.

Let’s Stay Friends!
Insta | Pinterest | Enews | TikTok