Craft in Style Subscription Instructions, DIY
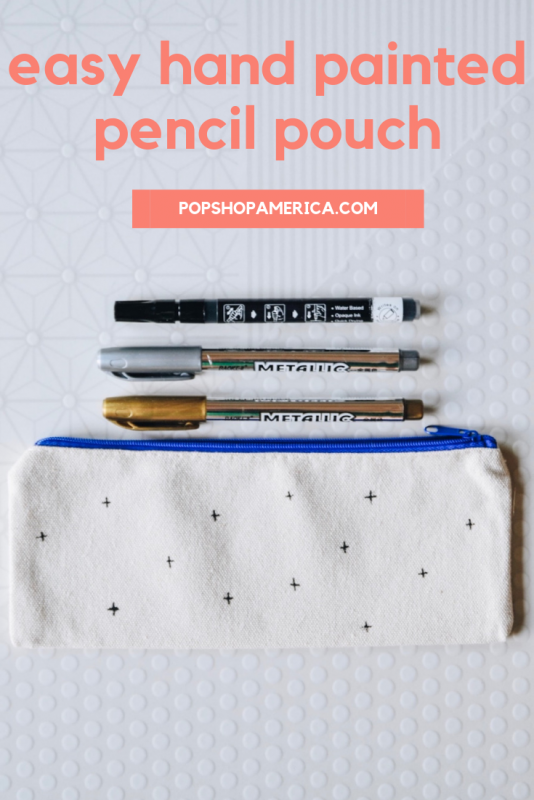
Easy DIY Hand Painted Pencil Pouch
Jul
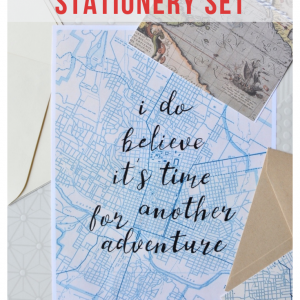
This DIY was Part 4 of the July 2019 Craft in Style Subscription Box. You do not need the box to complete this diy! Find Part 1: How to Make a Chalkboard Painted Globe here. Find Part 2: Learn Easy Faux Calligraphy here. Find Part 3: Make Your Own Map Stationery here.
You can buy the Chalkboard Painted Globe Kit as a standalone kit as well!
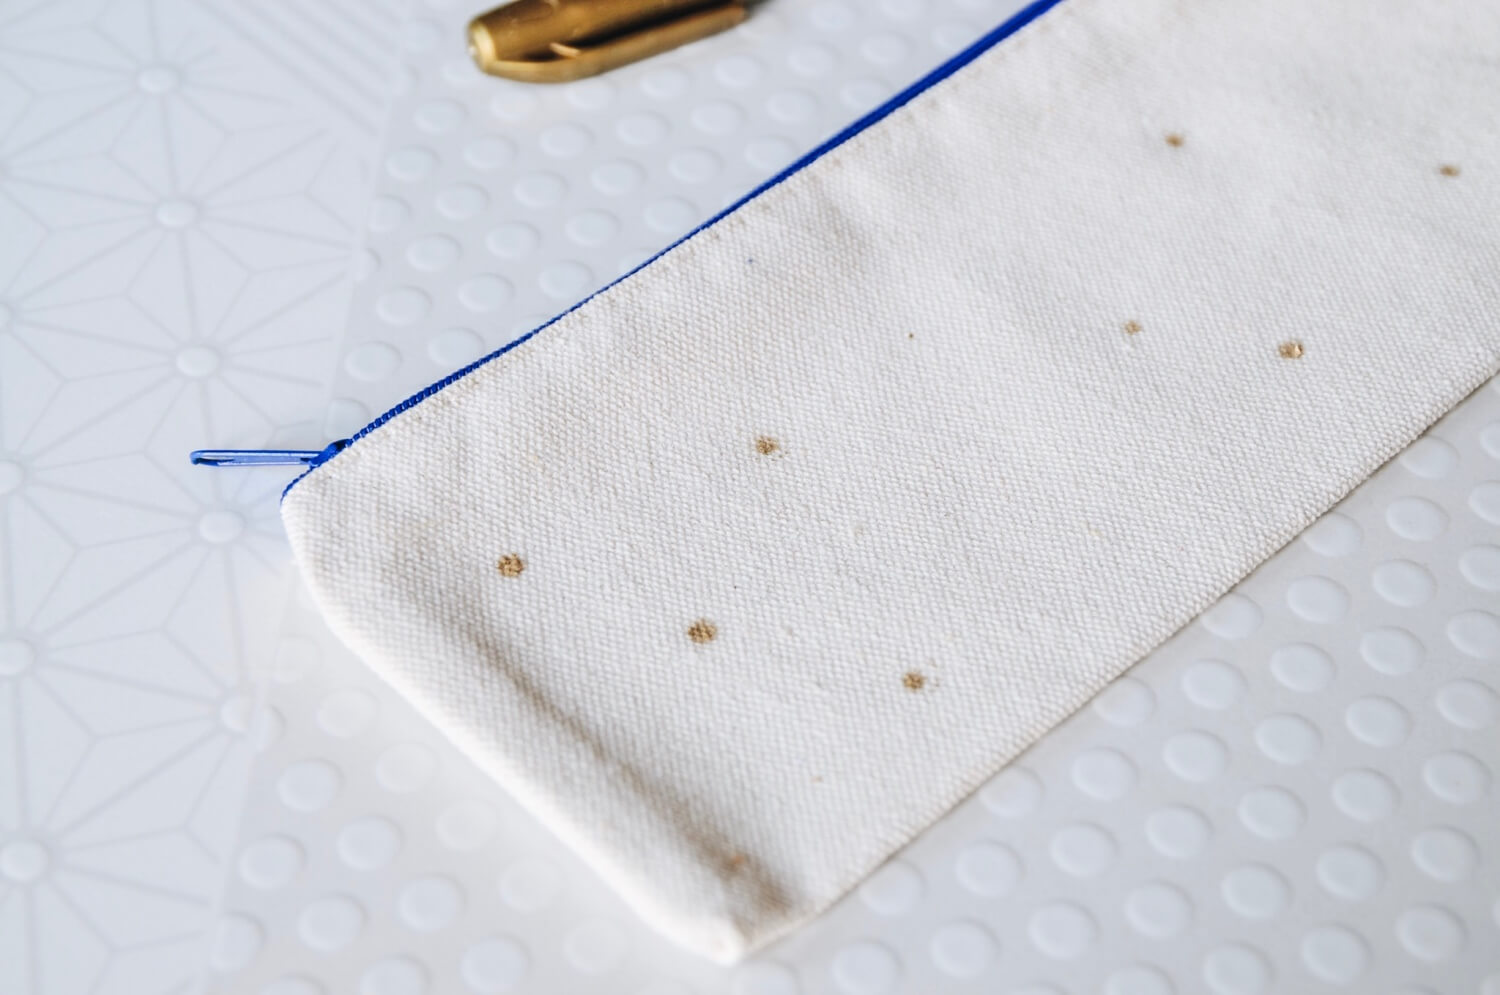
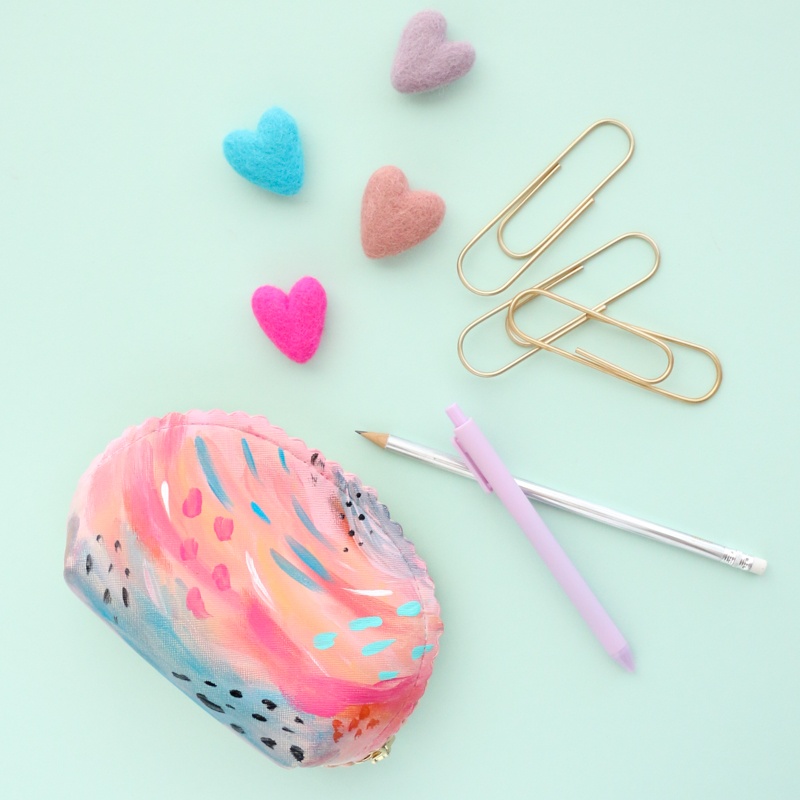
How many of these little canvas pouches do you have? They come in handy for everything. It’s the perfect size and shape for pens and pencils. It’s perfect as a travel set or cosmetics pouch. This would even be a great way to store silverware for a camp out or a picnic!
So why have a boring canvas pouch? With just a simple twist you could add some fun embellishments! So let’s make this Easy Hand Painted Pencil Pouch.
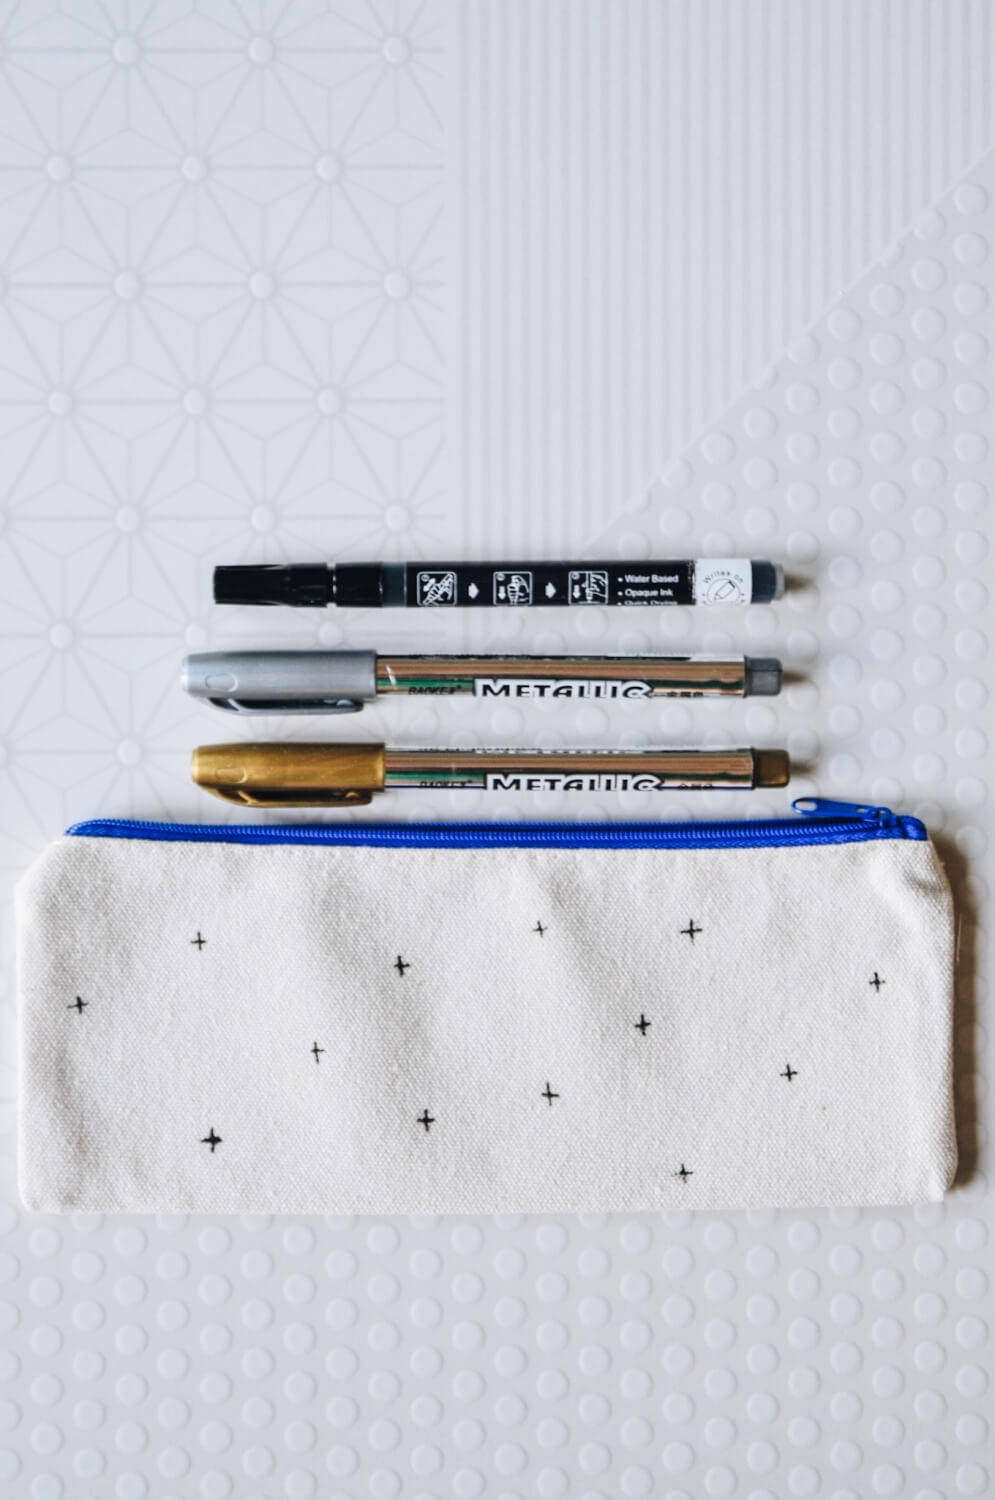
Supplies to Make a Easy Hand Painted Pencil Pouch
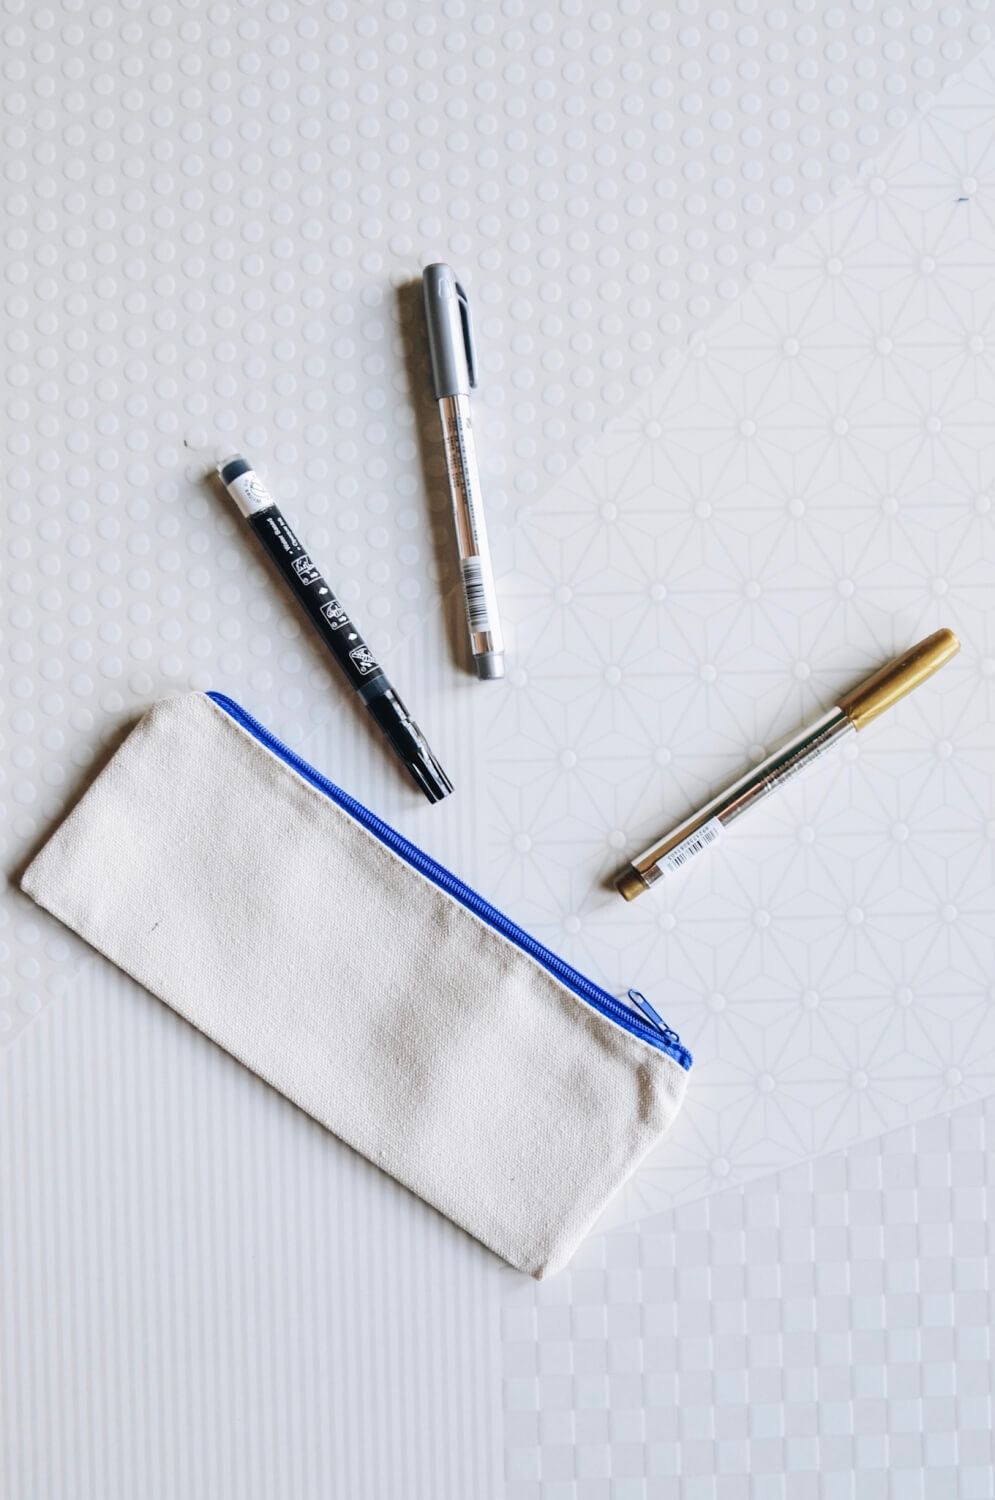
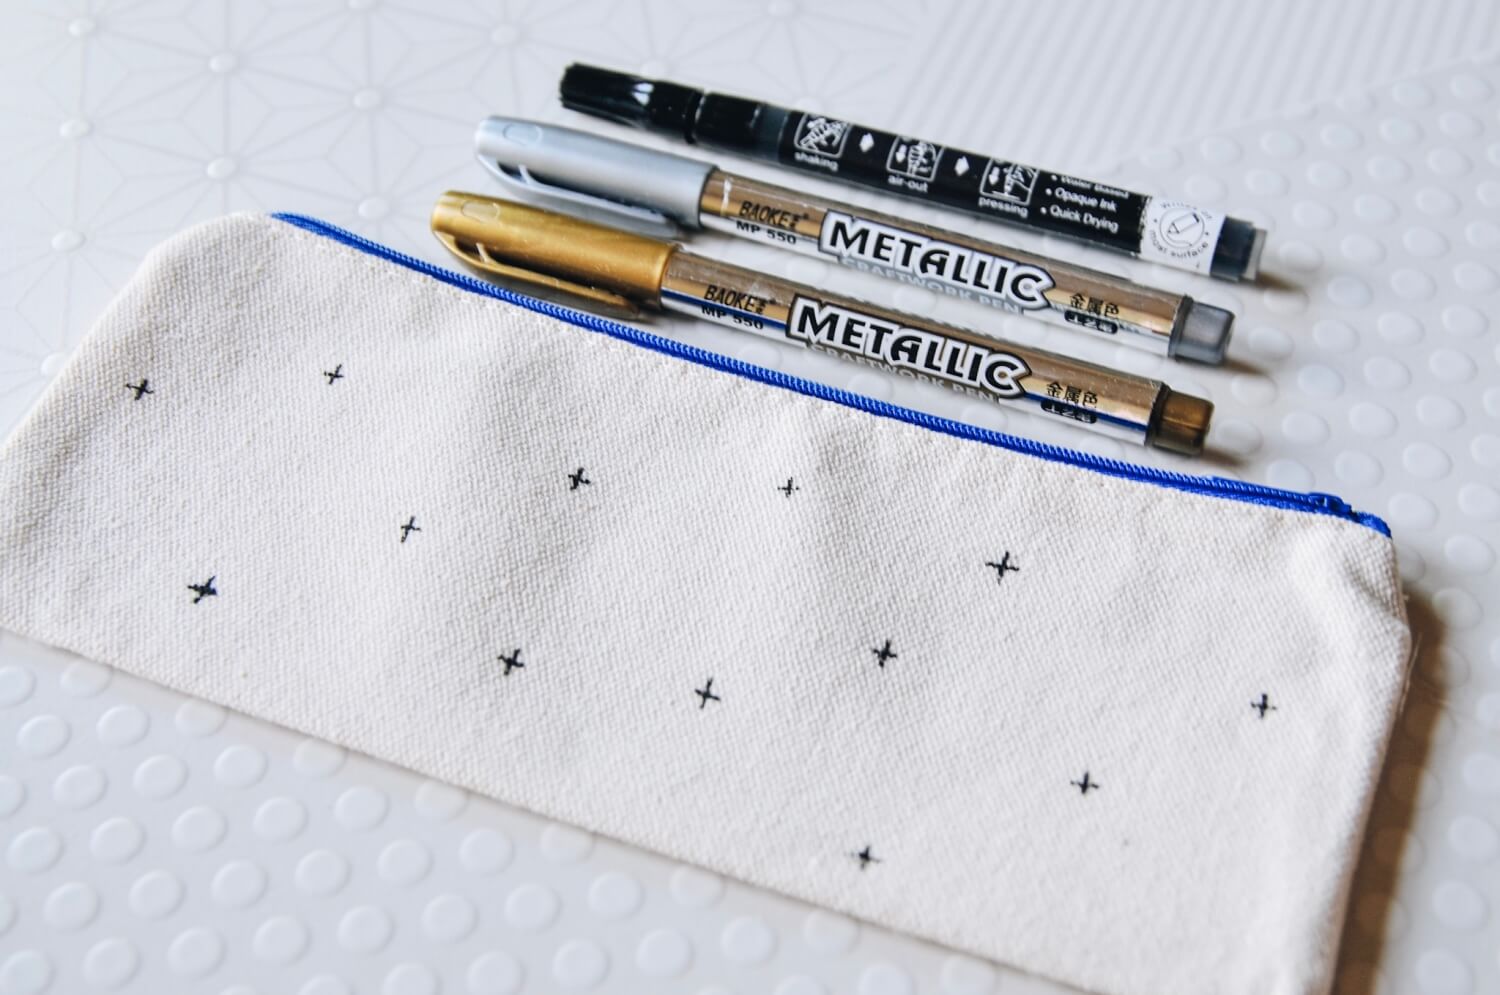
Canvas Pencil Pouch
Black Paint Pen
Silver Paint Pen
Gold Paint Pen
Optional:
These Easy Calligraphy Templates
Ruler or Stencils
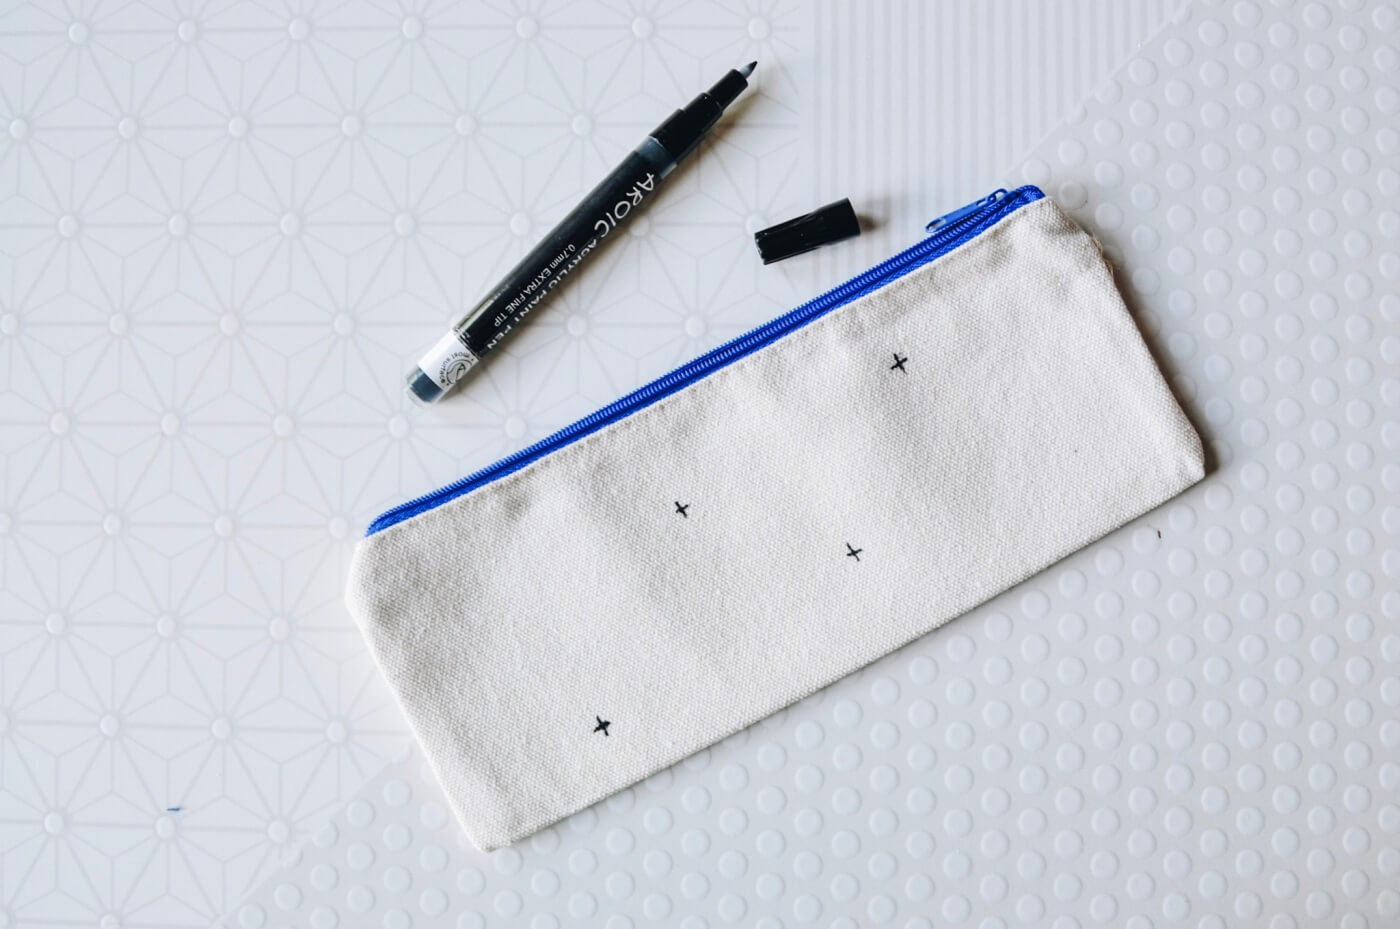
To make this pencil pouch, all you need is a paint pen in the color of your choice. From there, it’s just about finding a style and a shape that you love. You could even start with a scratch piece of paper to plan your shapes before you add them to the pencil pouch. Or pencil the design on your pouch before you get started.
It’s always best to use simple, blocked shapes. It’s modern and fresh in style. And it’s easier to control your finished product. You will be so much happier with the results. I would recommend: a Swiss Cross (that’s what I chose), polka dots, stars, or perhaps evil eyes!
Use simple, small brushstrokes to cover your pencil pouch with your symbols. Don’t worry if it’s not perfect – it will still look great!
Simple Tips for Making Your DIY Pencil Pouch Perfect:
1. Use a pencil to mark the canvas where your symbols will go. Then you can plan the layout and make any changes you need before you ink the canvas.
2. For any straight lines or geometric shapes, use a ruler. Such a simple tool makes a big difference in how professional the finished product looks.
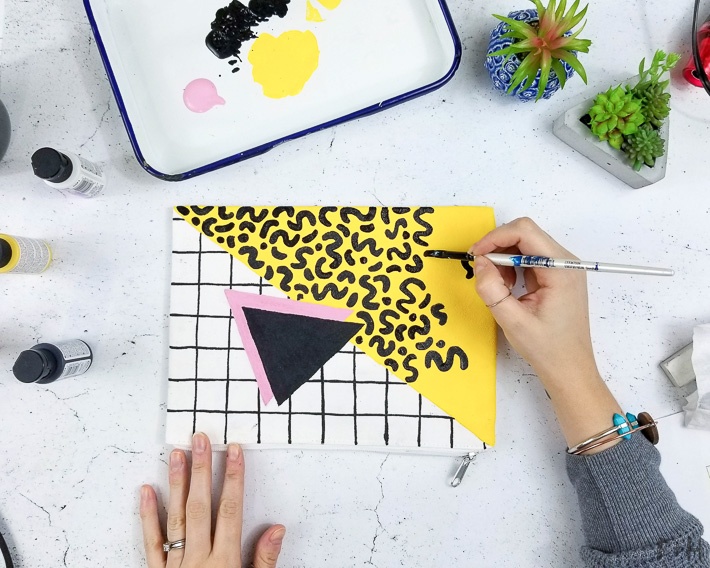
Need even more inspiration? Here are 3 other pencil pouch diy’s that I just love!
Memphis Design Inspired Pouch by Fox + Hazel
Painterly Pouch by A Kailo Chic Life Blog
Fruity Fun Tobacco Pouch from A Lovely Drawer
So what symbol are you going to add to your canvas pouch? And what are you going to fill your pencil pouch with? Tell us in the comments! And if you love this diy, shop the Craft in Style Subscription Box to get all the supplies included in one place! And Craft in Style will give you new craft supplies and diy’s each month. It’s amazing.
Let’s Stay Friends!
Insta | Pinterest | Enews | TikTok