
Craft in Style Subscription Instructions, DIY
The Easy Guide to Learning Watercolor Painting
Feb
YAY! Happy day. The latest Craft in Style Subscription Box is here. And this month we’re exploring Watercolor. This post will take you through all the basics of how to paint with watercolor and some cool brush techniques. We’ll show you many different ways to paint and blend colors.
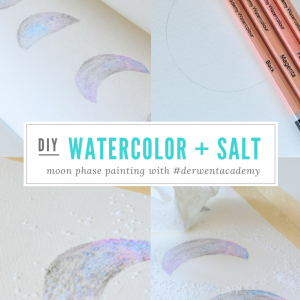
And the Craft in Style Box this month explores many fun and modern Watercolor Techniques. We’ll show you how to use Stencils and Watercolor together. And how to make a Watercolor Wax Resist. We also love Watercolor Salt Painting. You can get our Moon Phase tutorial here and a Watercolor Salt Mural here.
But first let’s get started with these beautiful and fun brush and color blending basics.
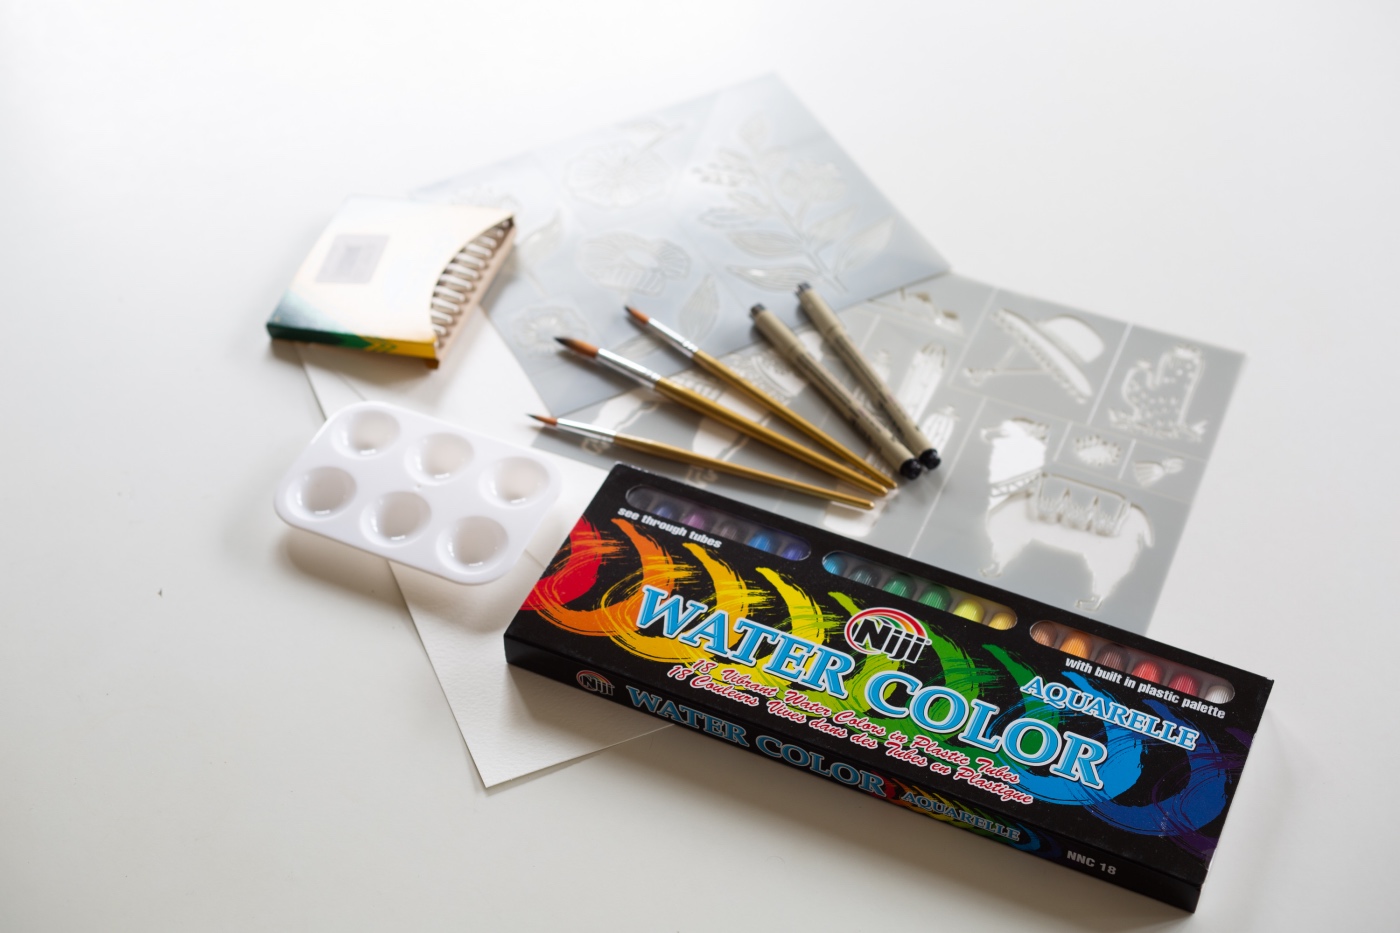
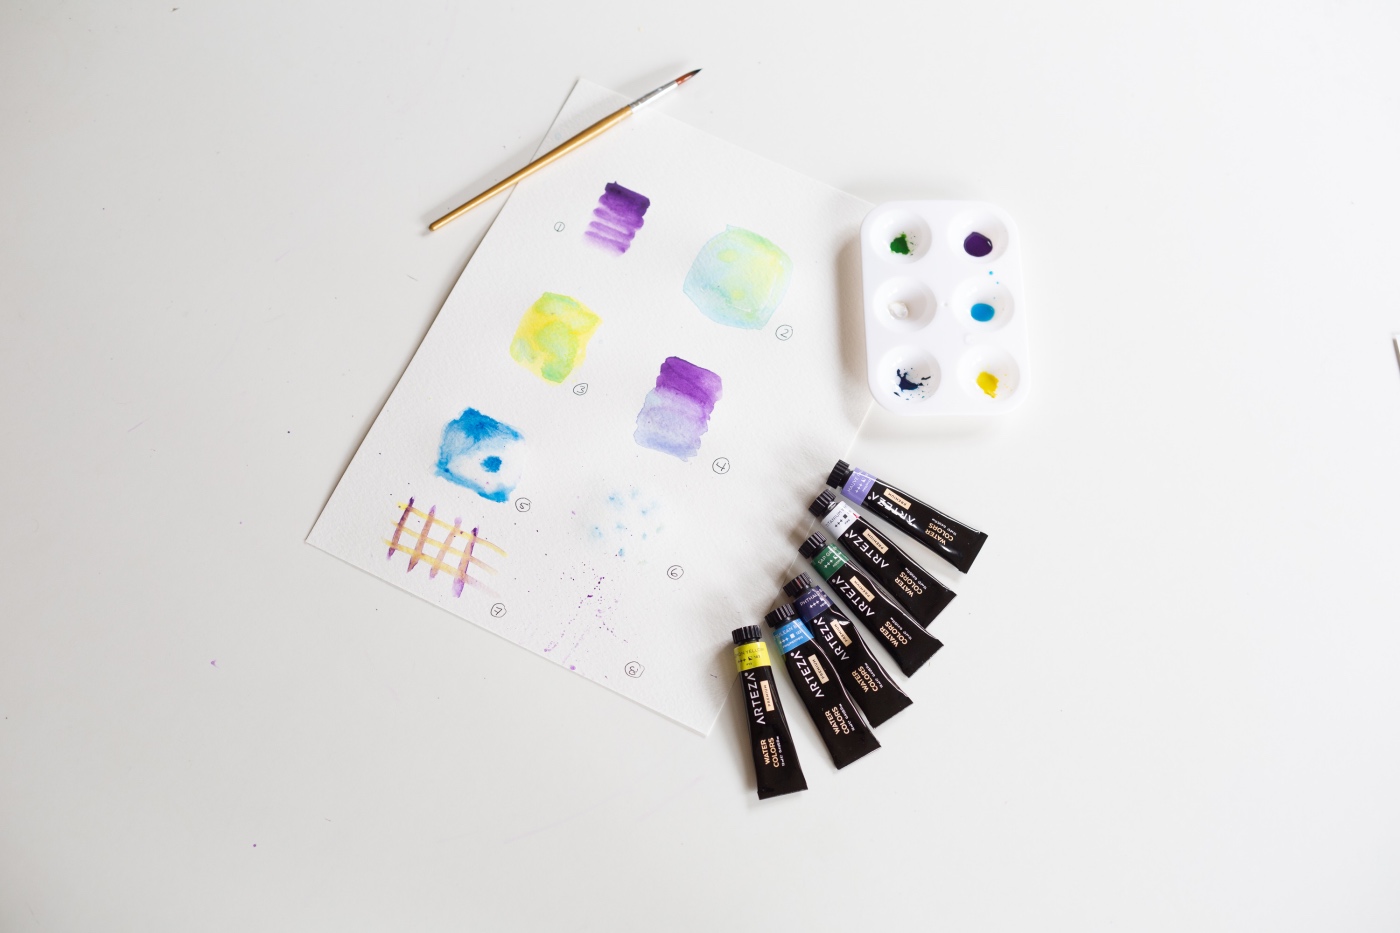
Above are the supplies you will receive in the February Craft in Style. But if you look at the images below, I used a set that I already had. Watercolor can vary from being completely solid, to being the consistency of other paint like acrylic, and to being liquid, like in the set that everyone will get with Craft in Style.
The solid version is best for travel and is good for small paintings. Both liquid versions are best for professionals and best for larger works.
Regardless of what style of watercolor you are using, all will need to be mixed with water. How much water will vary on how dark or light you want your color. And it will vary from how dense and thick your watercolor paint is.
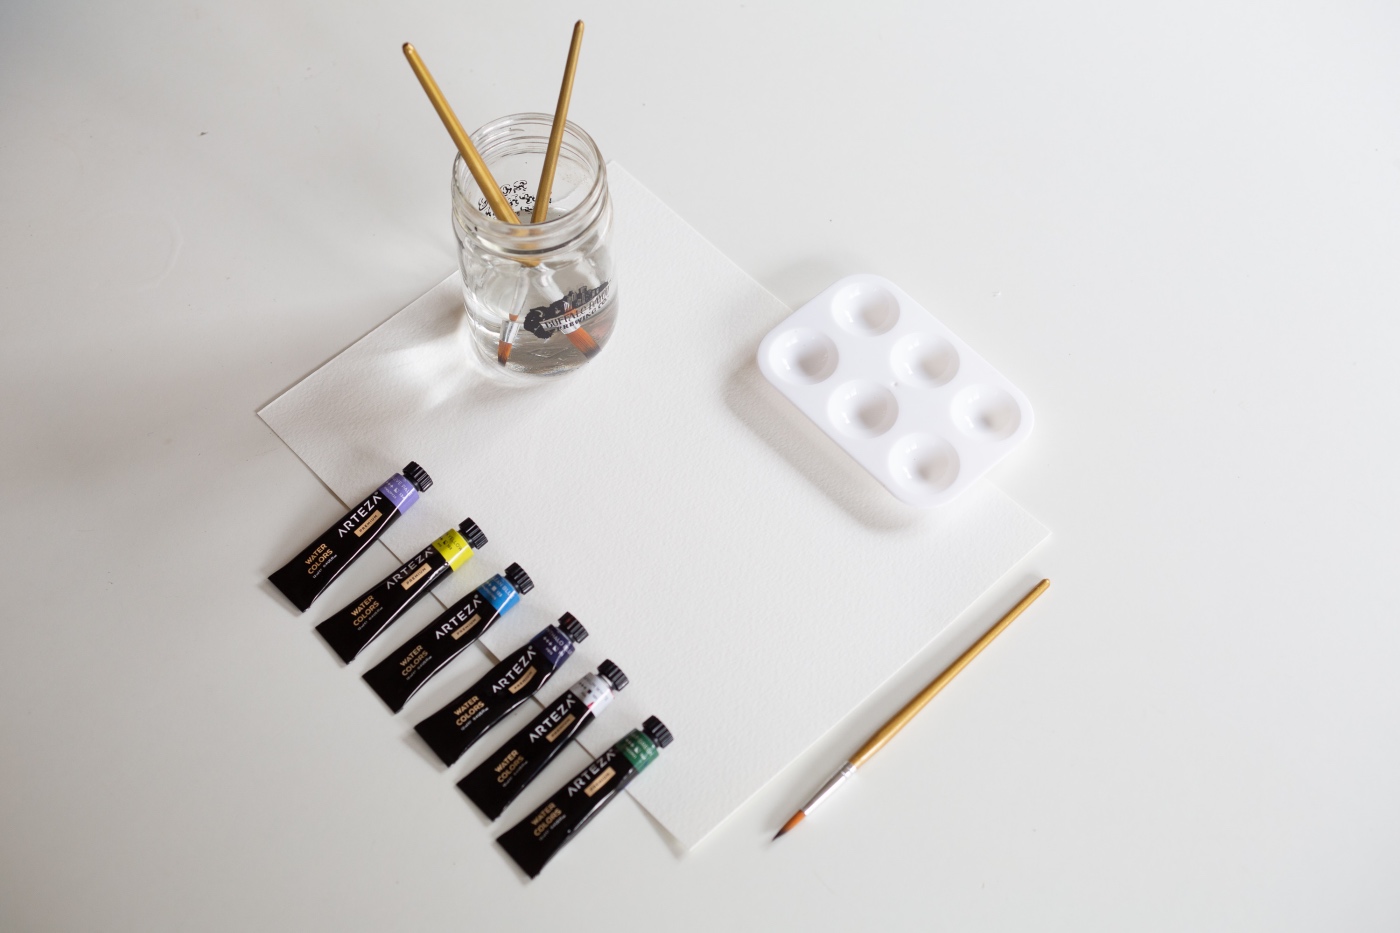
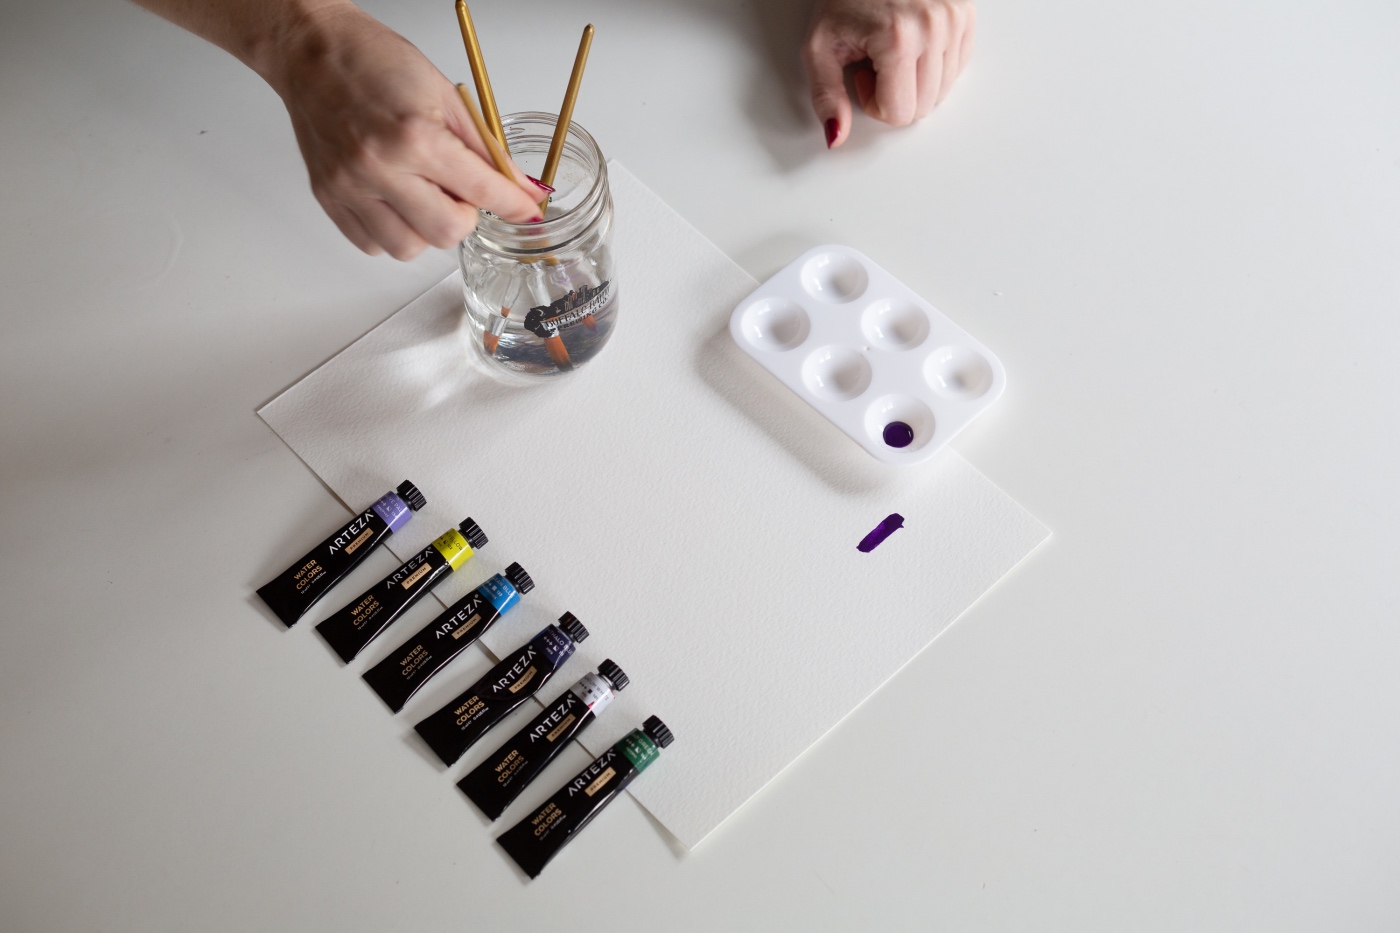
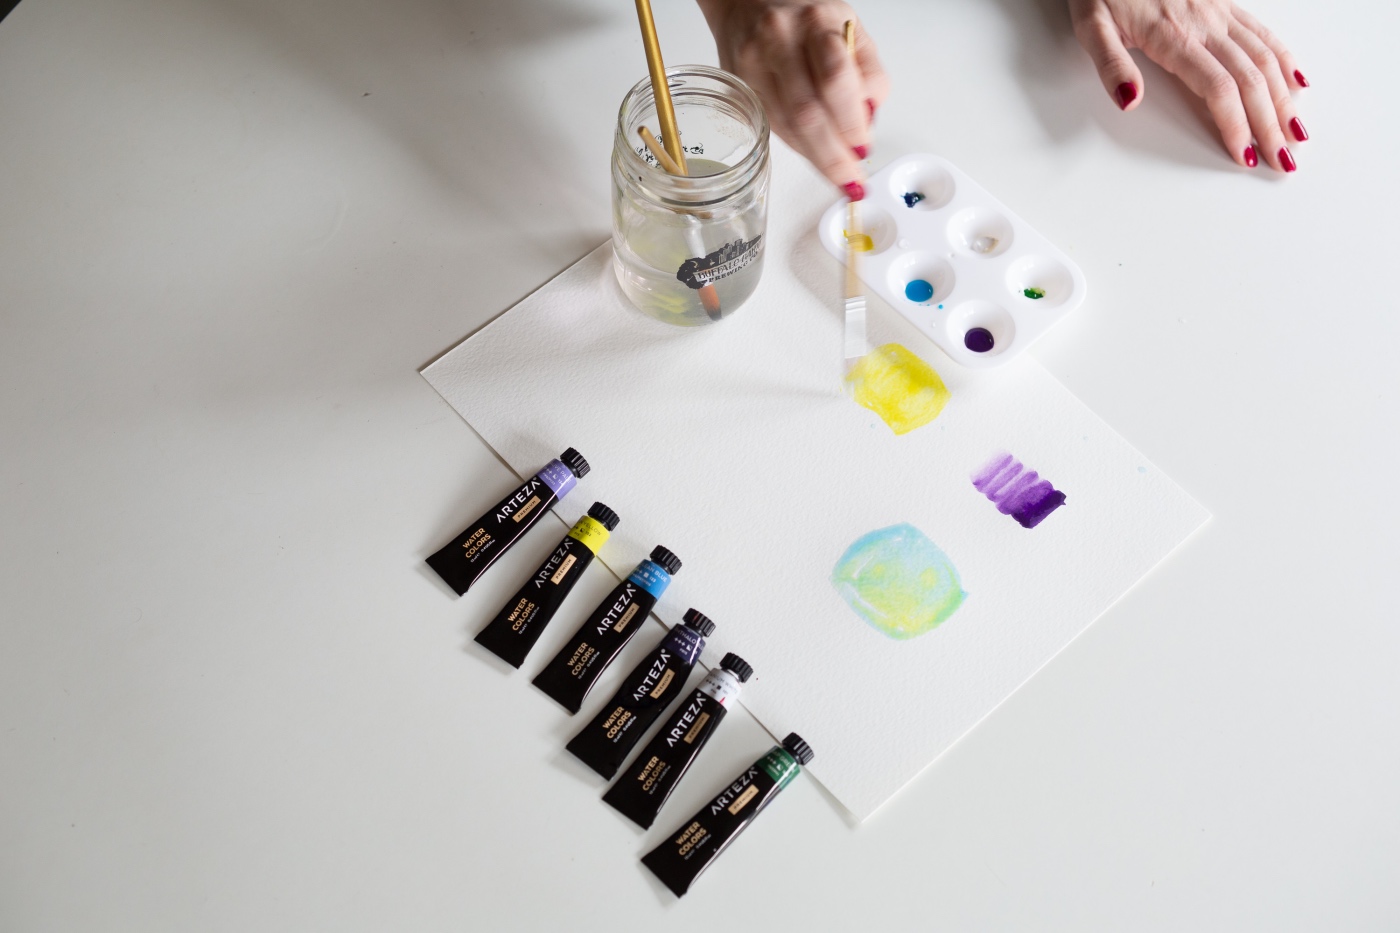
When painting with watercolor, you will want to keep a glass of water and a palette handy. Add all your desired colors to a palette and add a bit of water. Remember, with any painting, the most gorgeous colors come from blending, so try having some fun and adding several of your colors together.
If you want to learn more about the best supplies, different types of paper and different types of brushes, I love this post here. So let’s get started with some cool brush and color blending techniques.
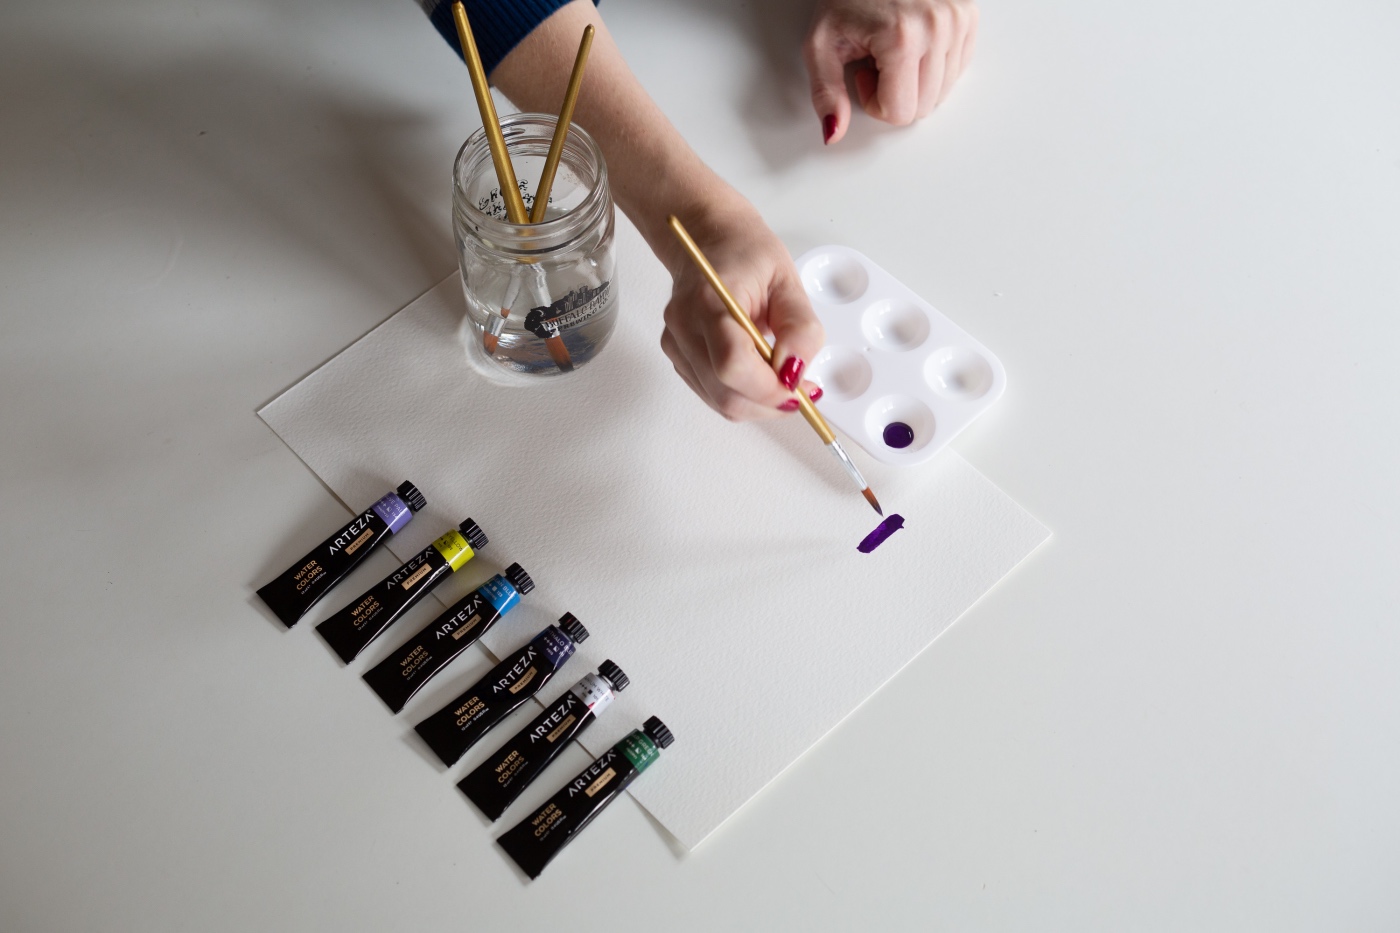
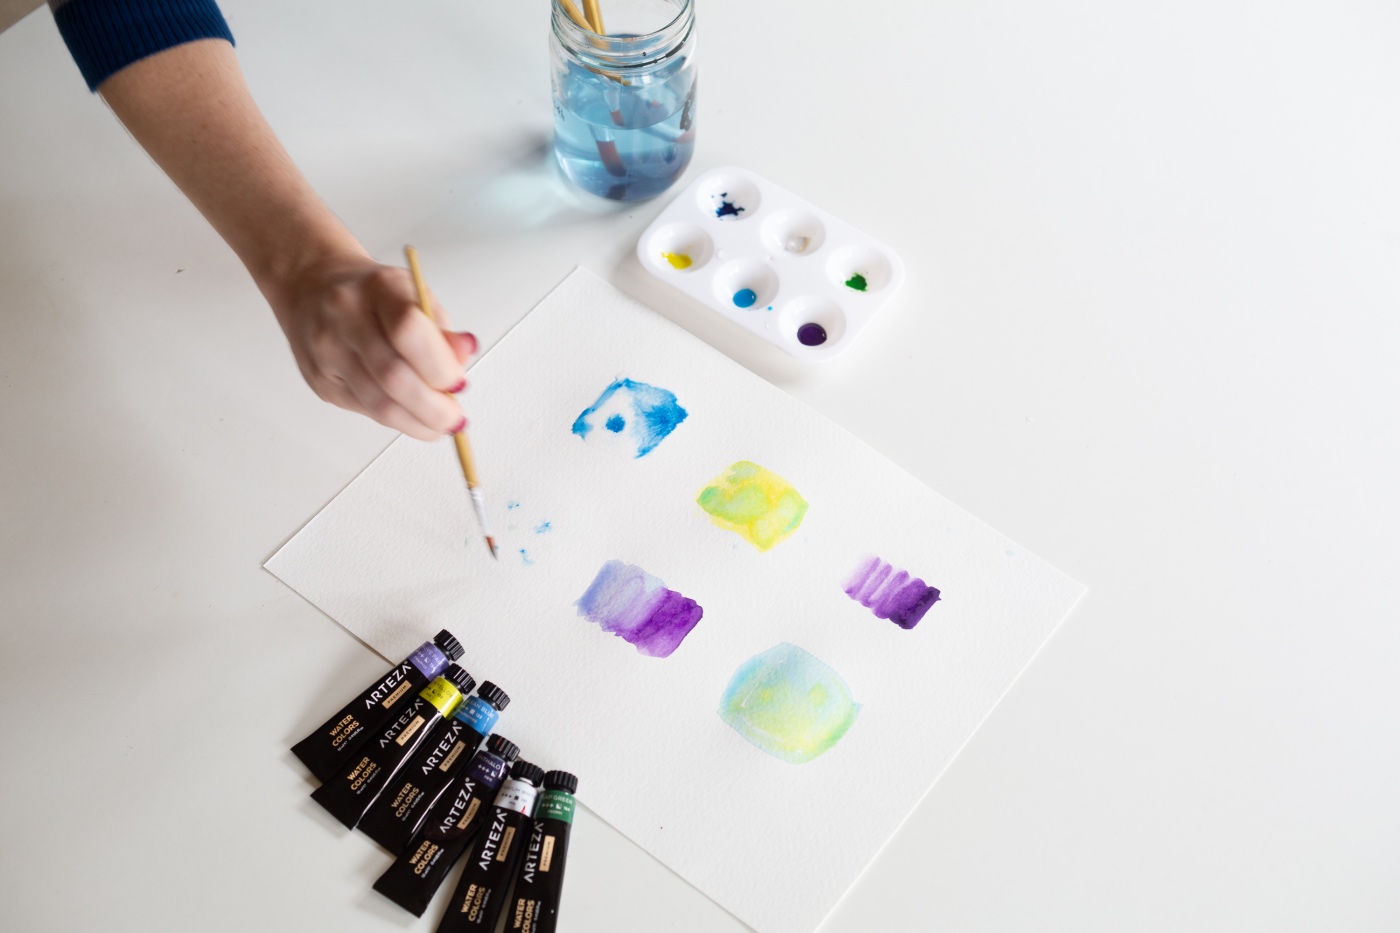
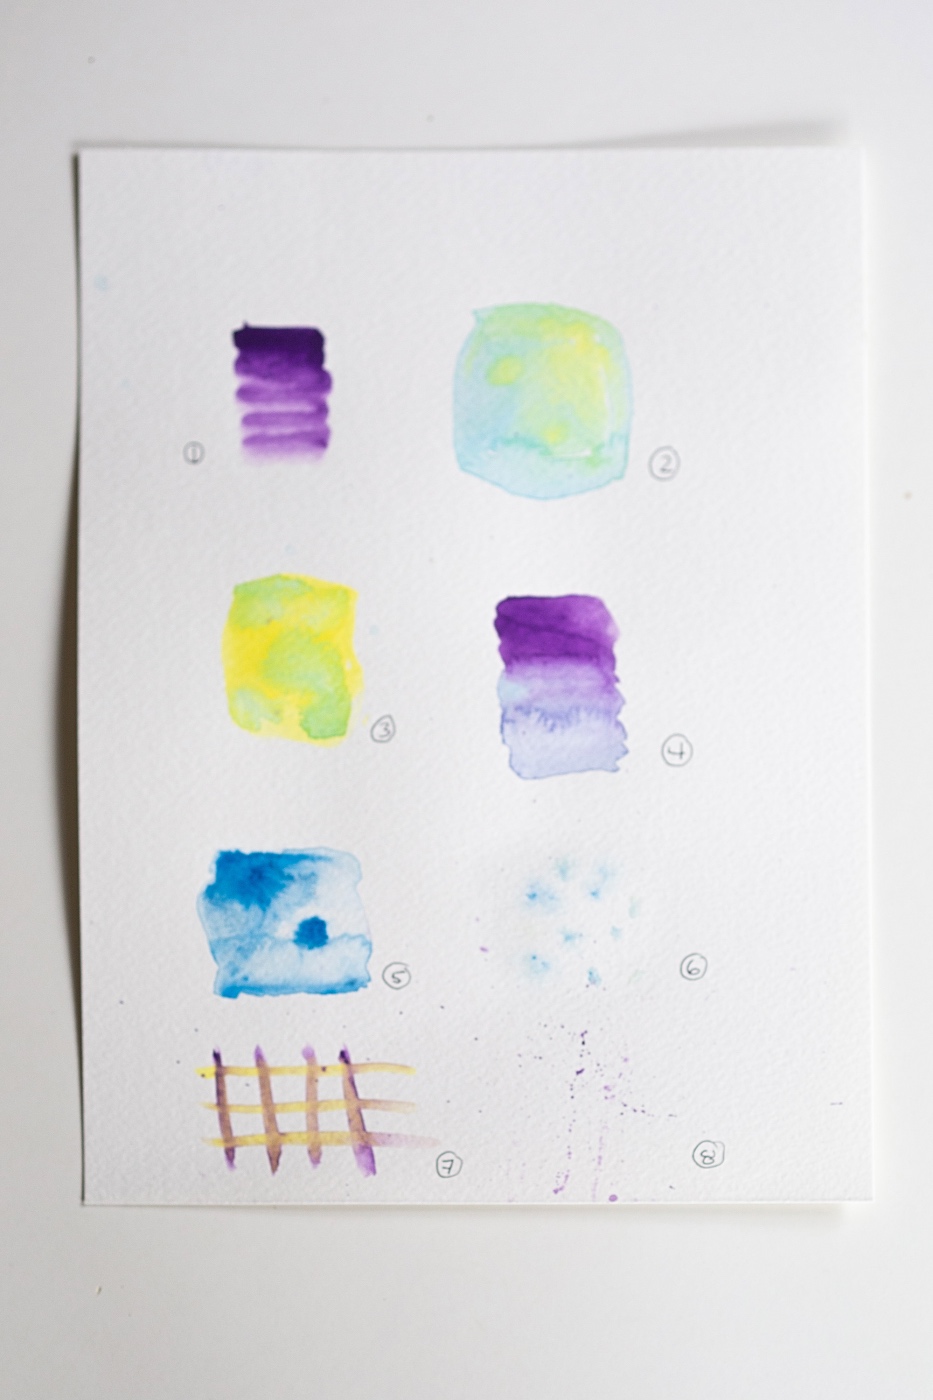
1. Graded Wash
Start with a bit of pigment on your brush. Remember all your pigments should already be mixed with a bit of water. Create a few strokes on your paper. Now dip your brush in the clear water.
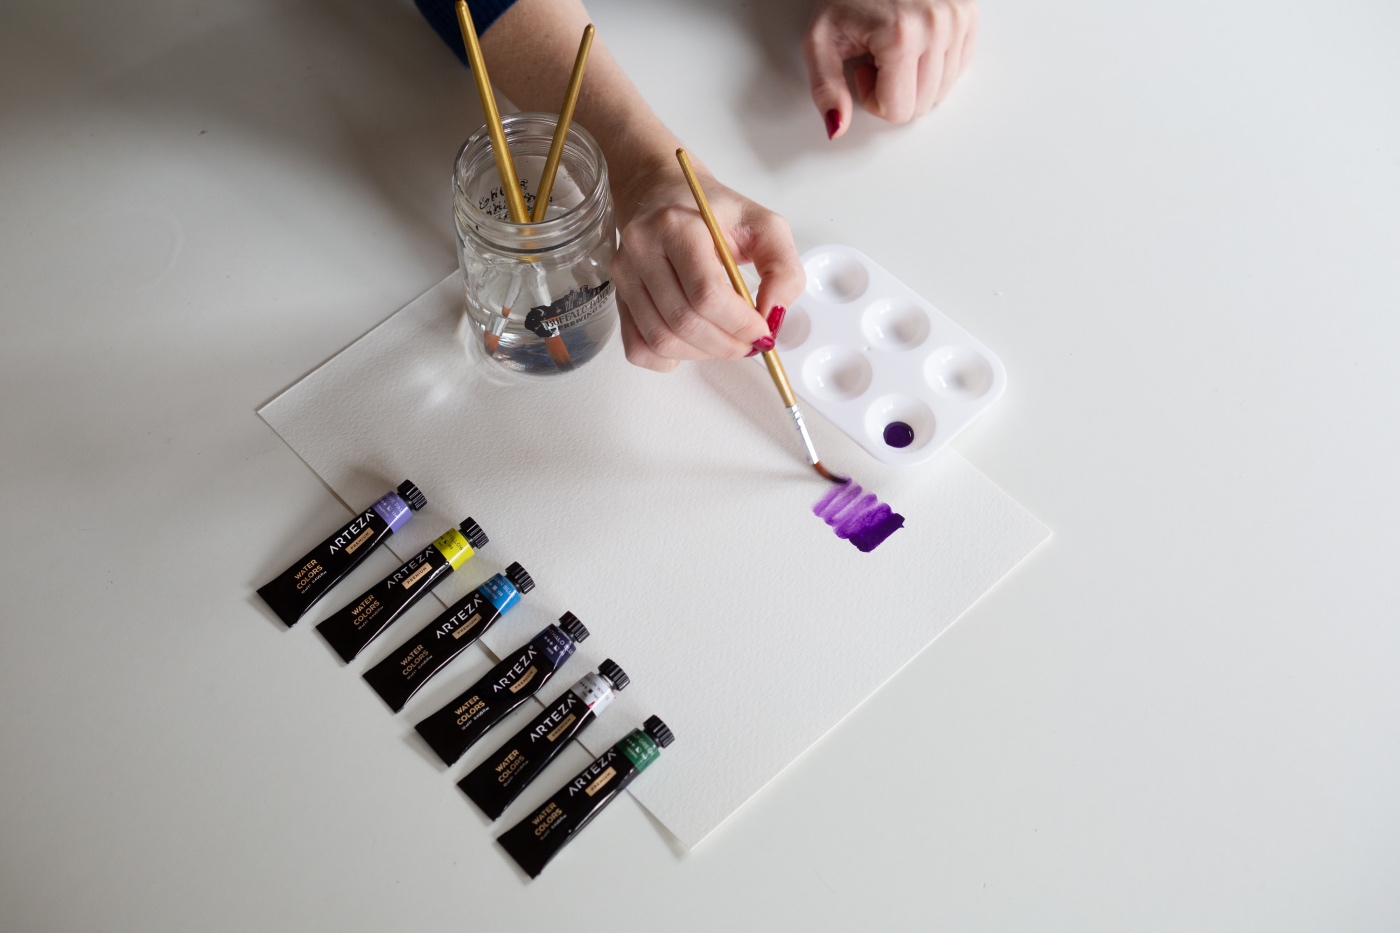
And continue your brush strokes pulling your original pigment through with your watery brush. See the way the brush strokes create an ombre or gradation in color.
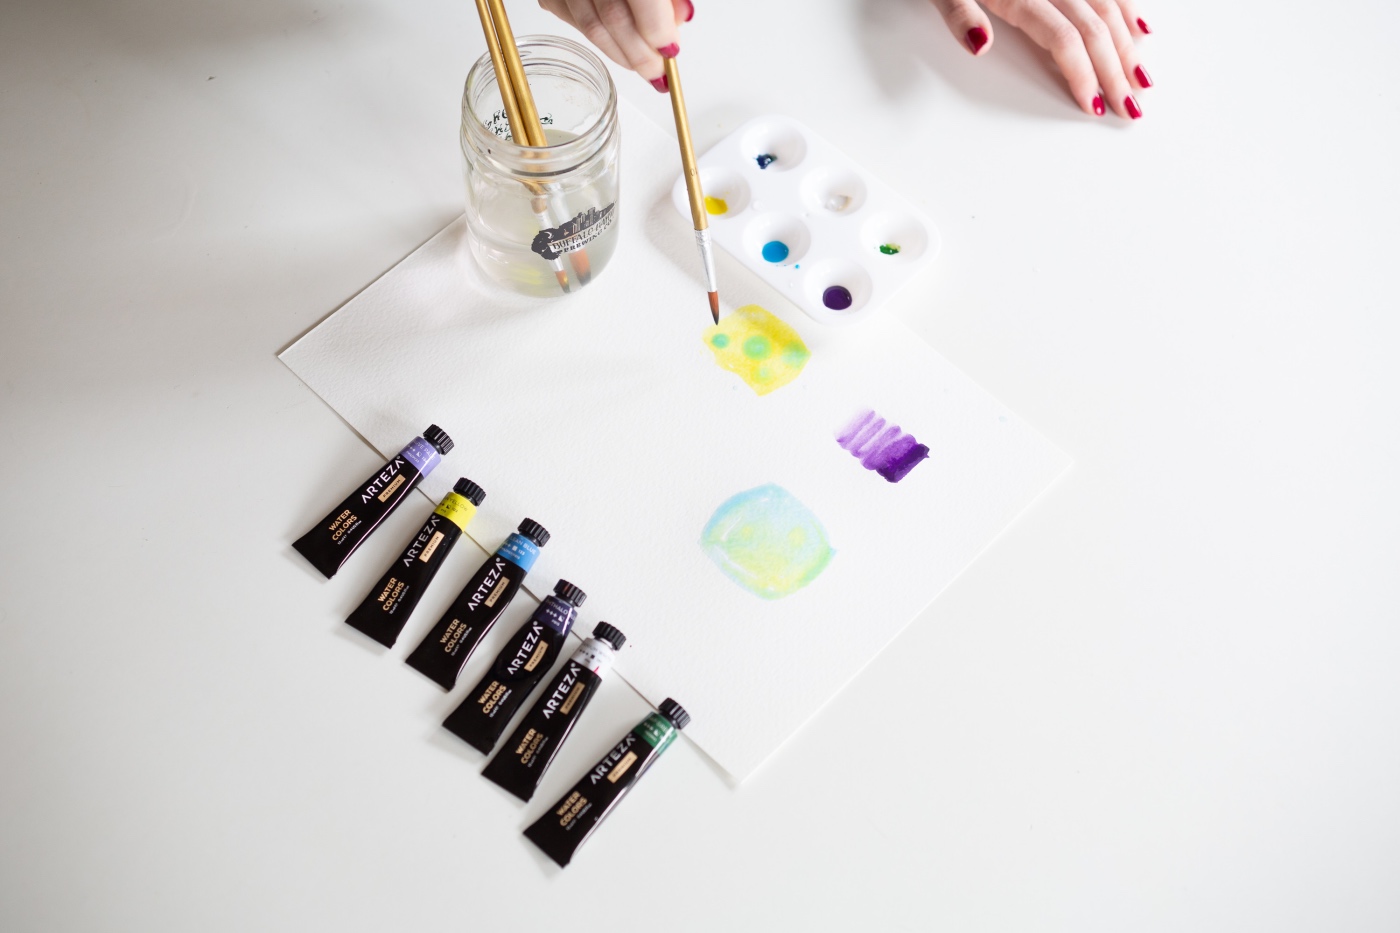
2. Color Dropping
First start with two colors that are different perhaps even opposite each other on the color wheel. Make a square box of one color. Completely remove this color from your brush. Add the different color to your brush and gently press dots of color into your square shape. See the way the first color separates around the second drops of color.
3. More Color Dropping
In this watercolor blending technique, we did the same color dropping in reverse. If the background of your first color dropping experiment was dark, make this square of color really light. If your first square of color from #2 was light, try making this one dark. This will help you understand how working on top of a light and dark palette will affect your blending.
And just like in the #2 Color Dropping Technique, make a swatch of your color and then use your second color to make little drops.
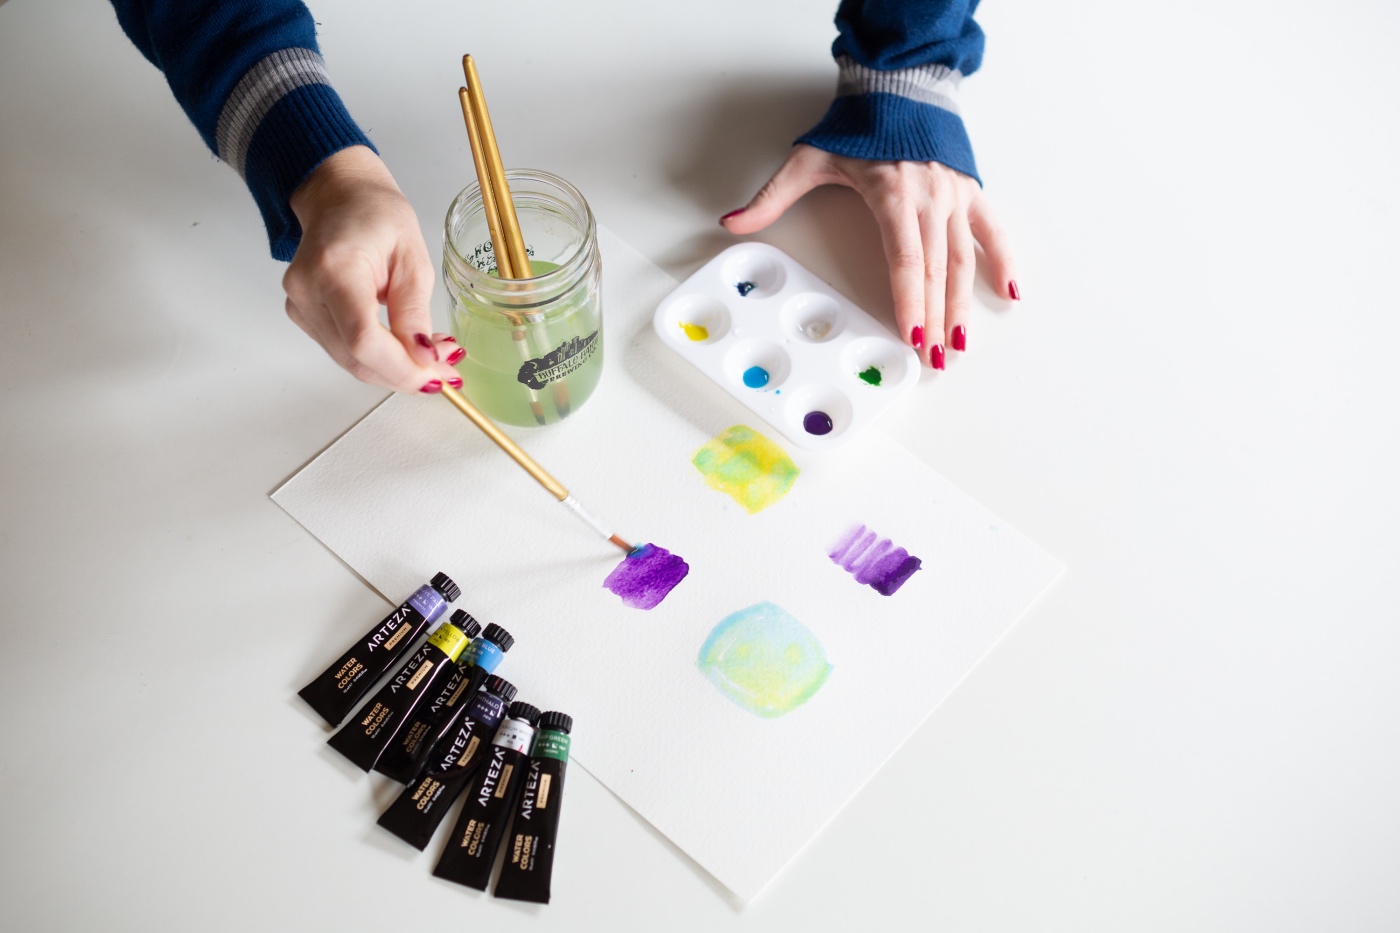
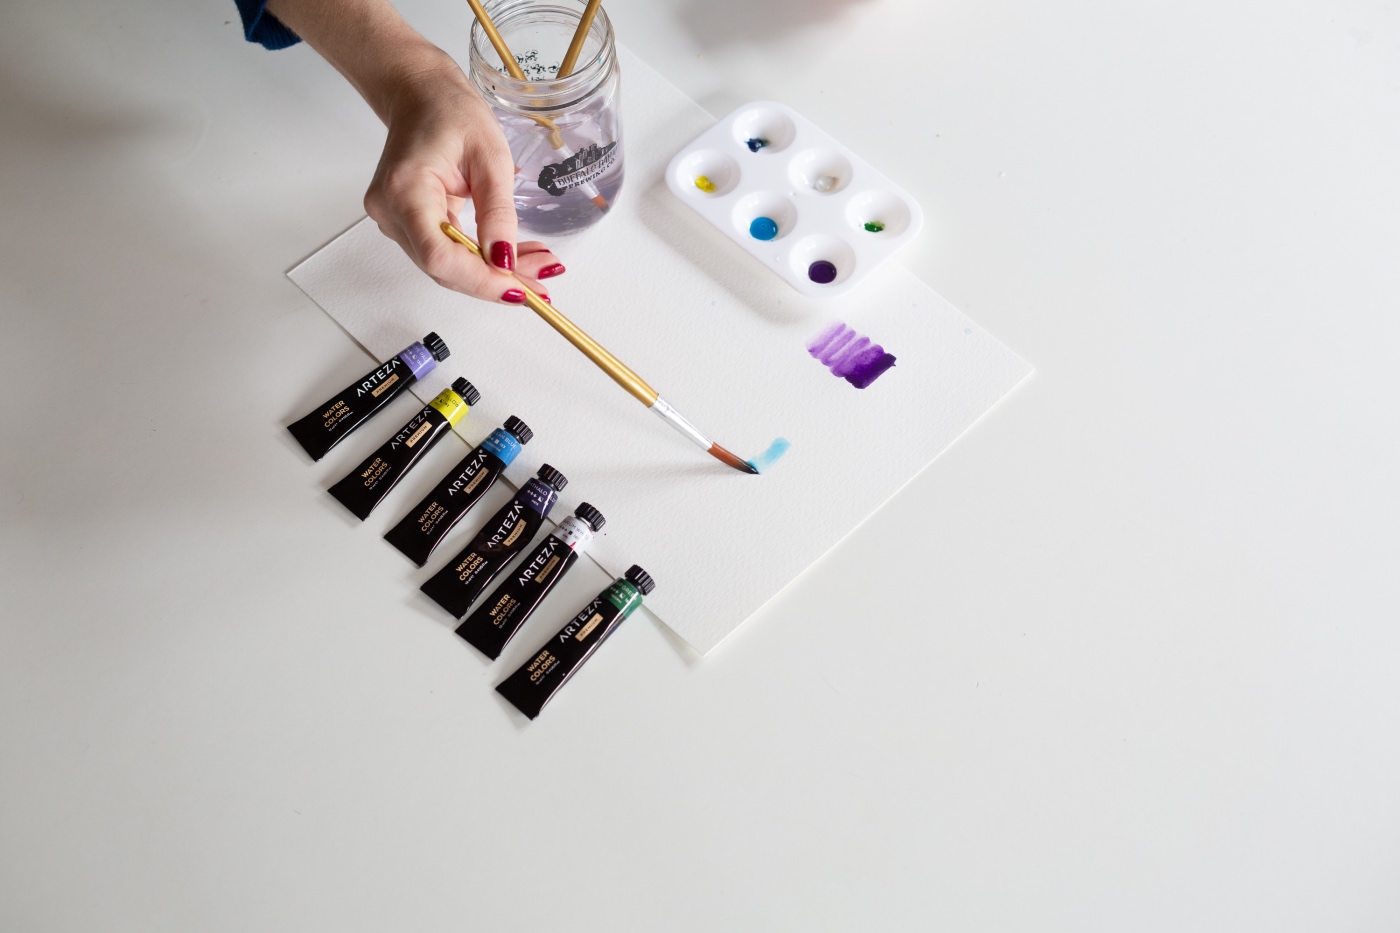
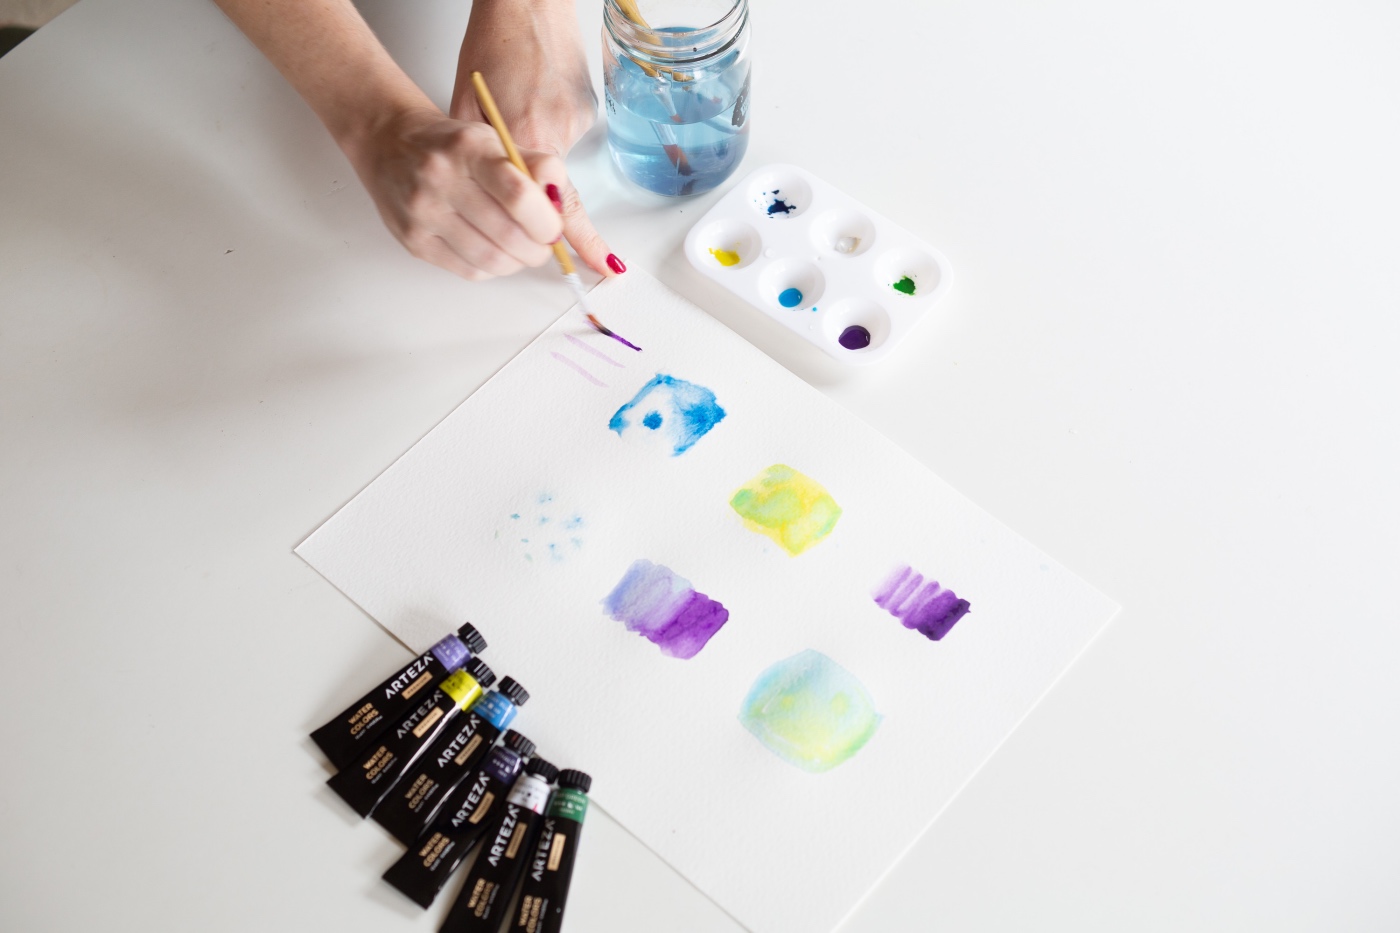
4. Blending Colors
This watercolor painting technique is similar to the graded wash. But instead we will use two different colors and blend them together. Start with one color on your brush and make a few strokes. Now clean your brush completely and add a second color. While the first color is still wet, drag your brush through the first color, making strokes onto the blank paper. Watch as these two colors blend. As you continue to create brushstrokes, the first color will taper off as the second color becomes more pronounced.
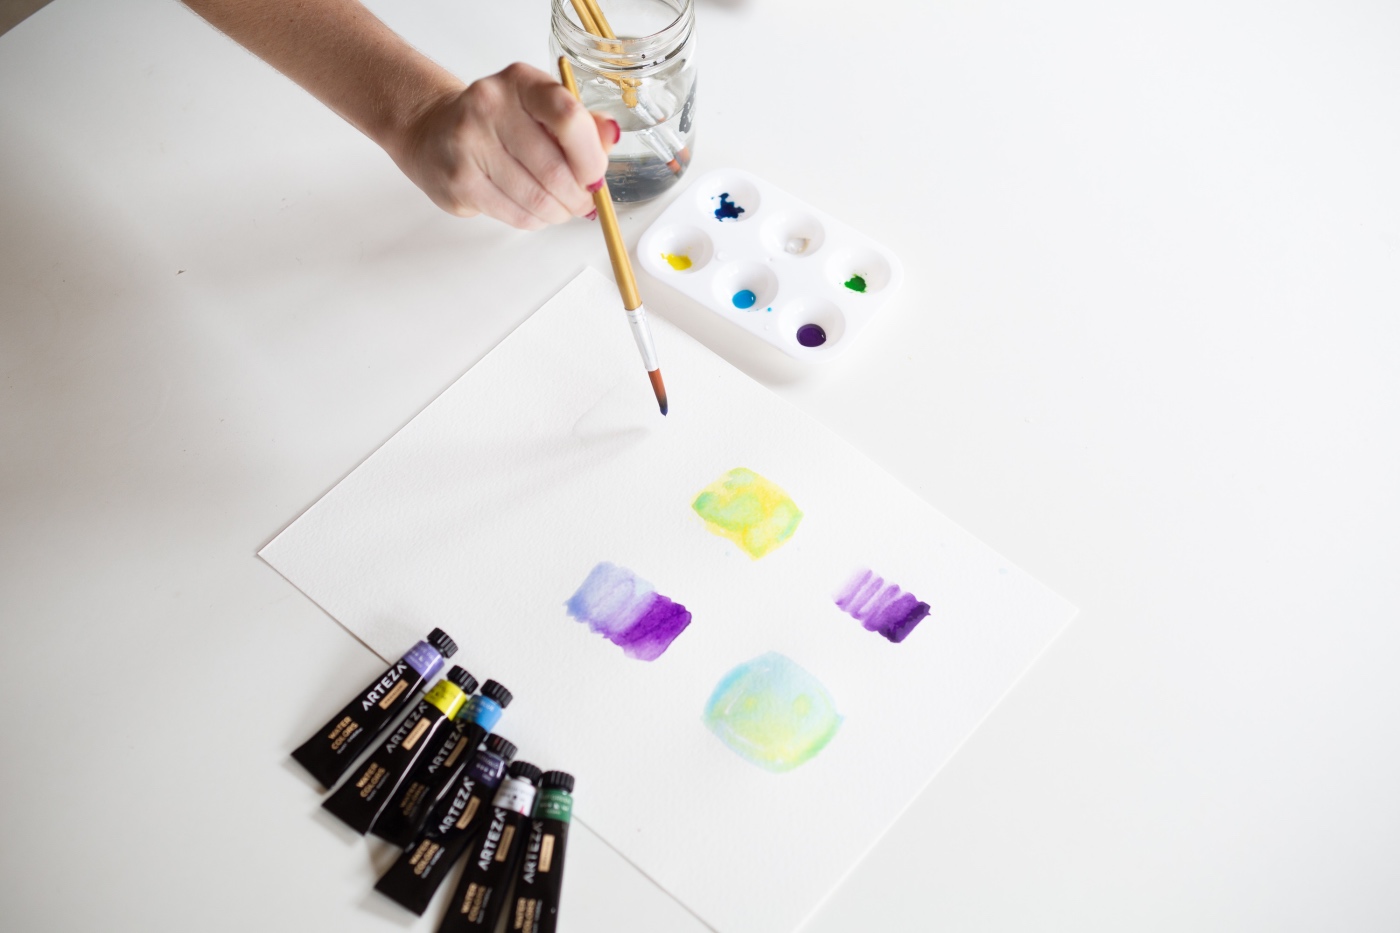
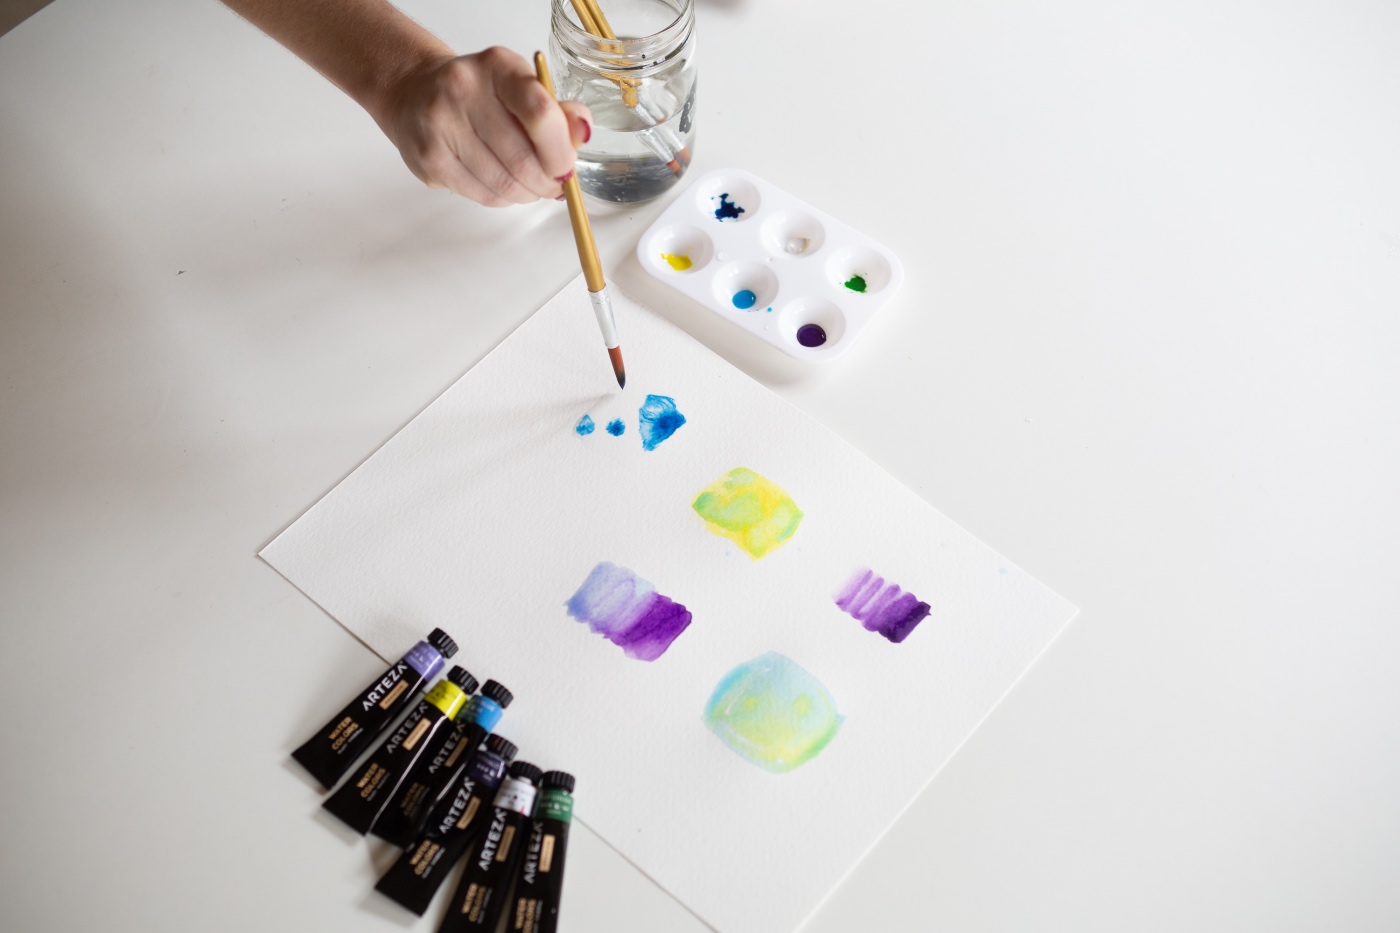
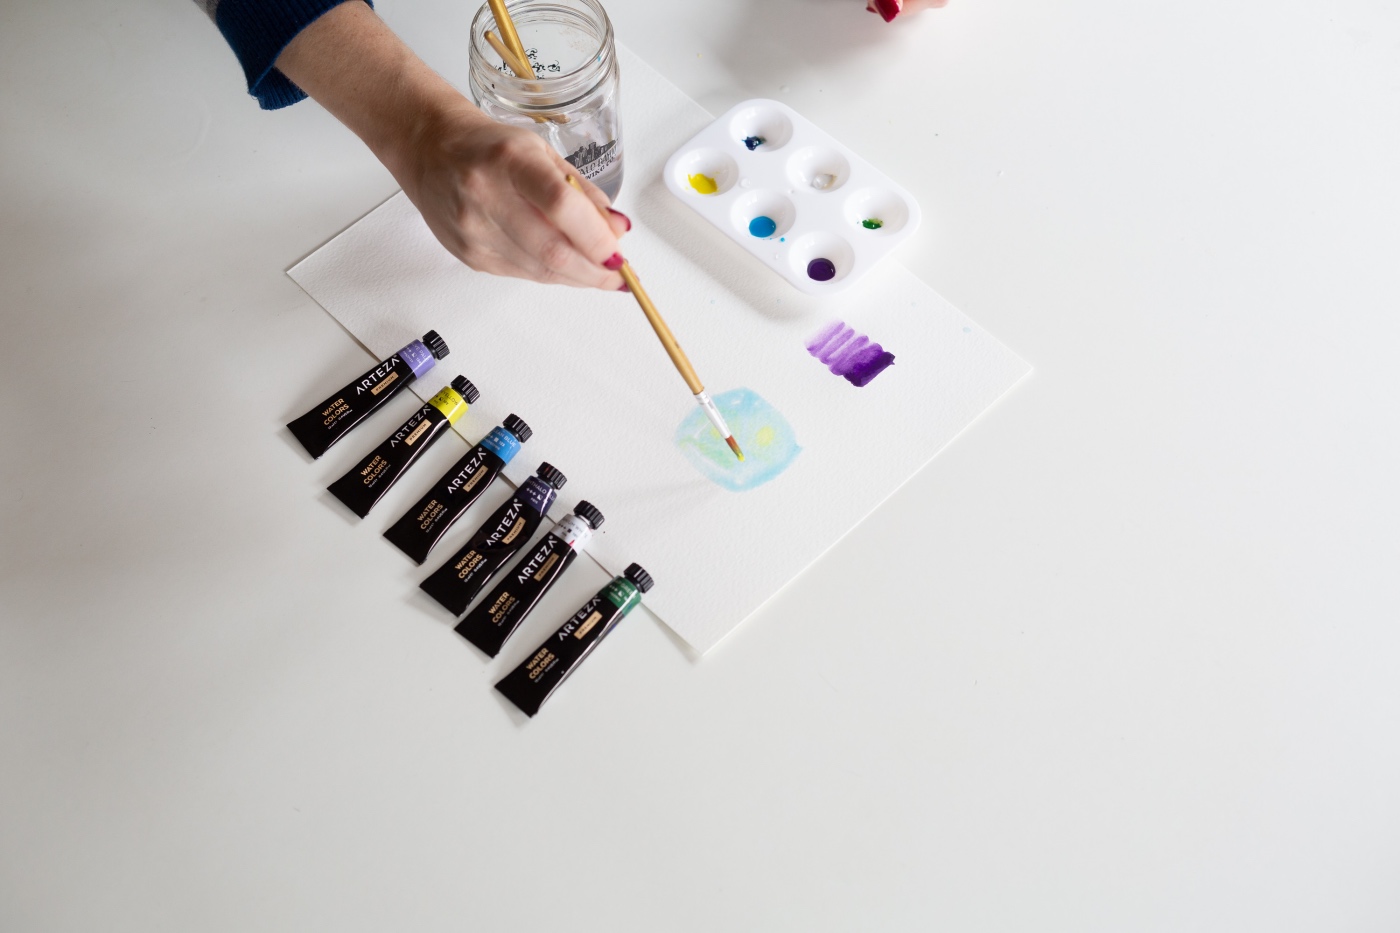
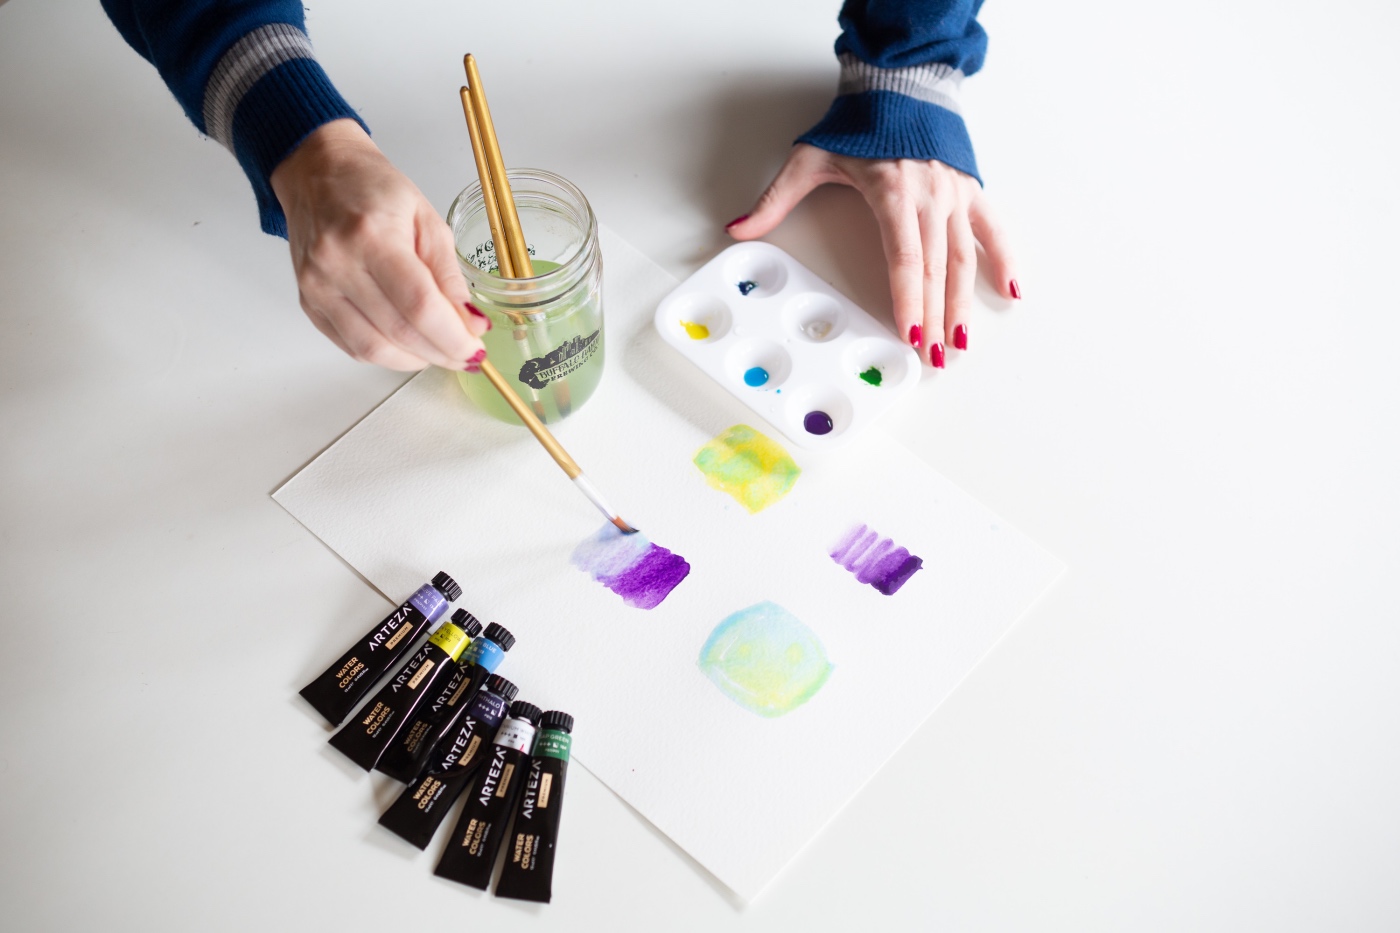
5. Wet Brush Watercolor Painting Version 1
I’m obsessed with this technique. It’s so pretty! And it’s part of why this Watercolor Mural DIY here so special is a brush technique like this.
Soak your brush in water and paint a square swatch with water. Now dip your brush in the watercolor pigment. While the water is still pooled on top of the water, touch the brush to the paper and add small drops of the pigment to the paper. Watch how the paint spreads so quickly across the water!
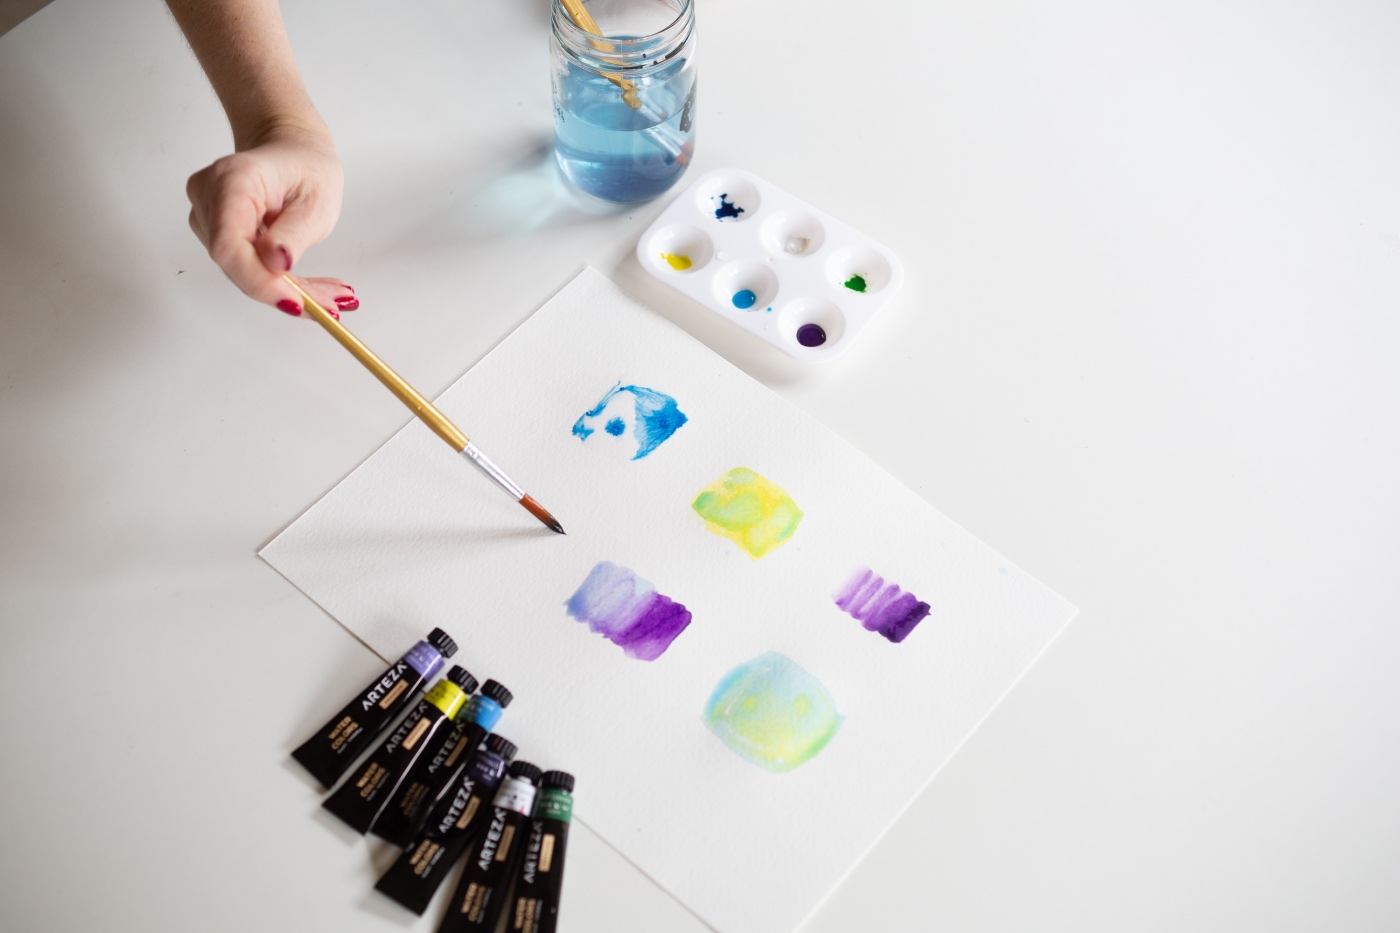
6. Wet Brush Watercolor Painting Version 2
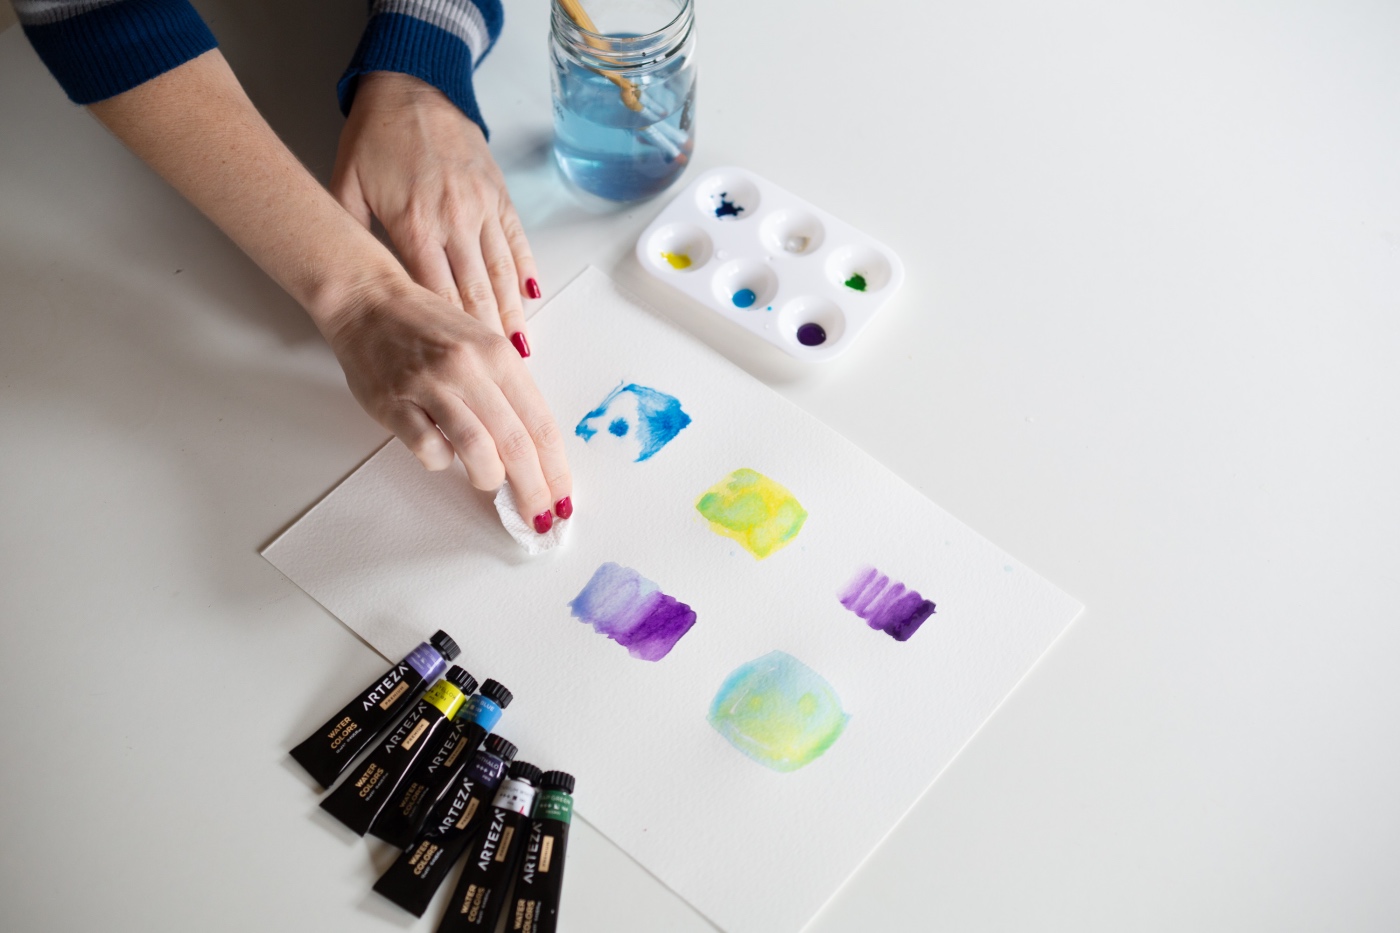
Now let’s try that again. But this time, use a clean brush to wet the paper and let the water soak in. Once paper itself is truly wet, remove all the water on the surface of the paper with a paper towel. Be sure that the paper is indeed wet!
Now, add watercolor pigment to your brush and make small drops again, gently touching the paper. See how slower the paint spreads with this technique compared to having water pooling on the surface.
There’s just 2 more watercolor brush and blending techniques that you need to see. Hopefully by now you have a few favorites and are starting to consider some fun ways to experiment.
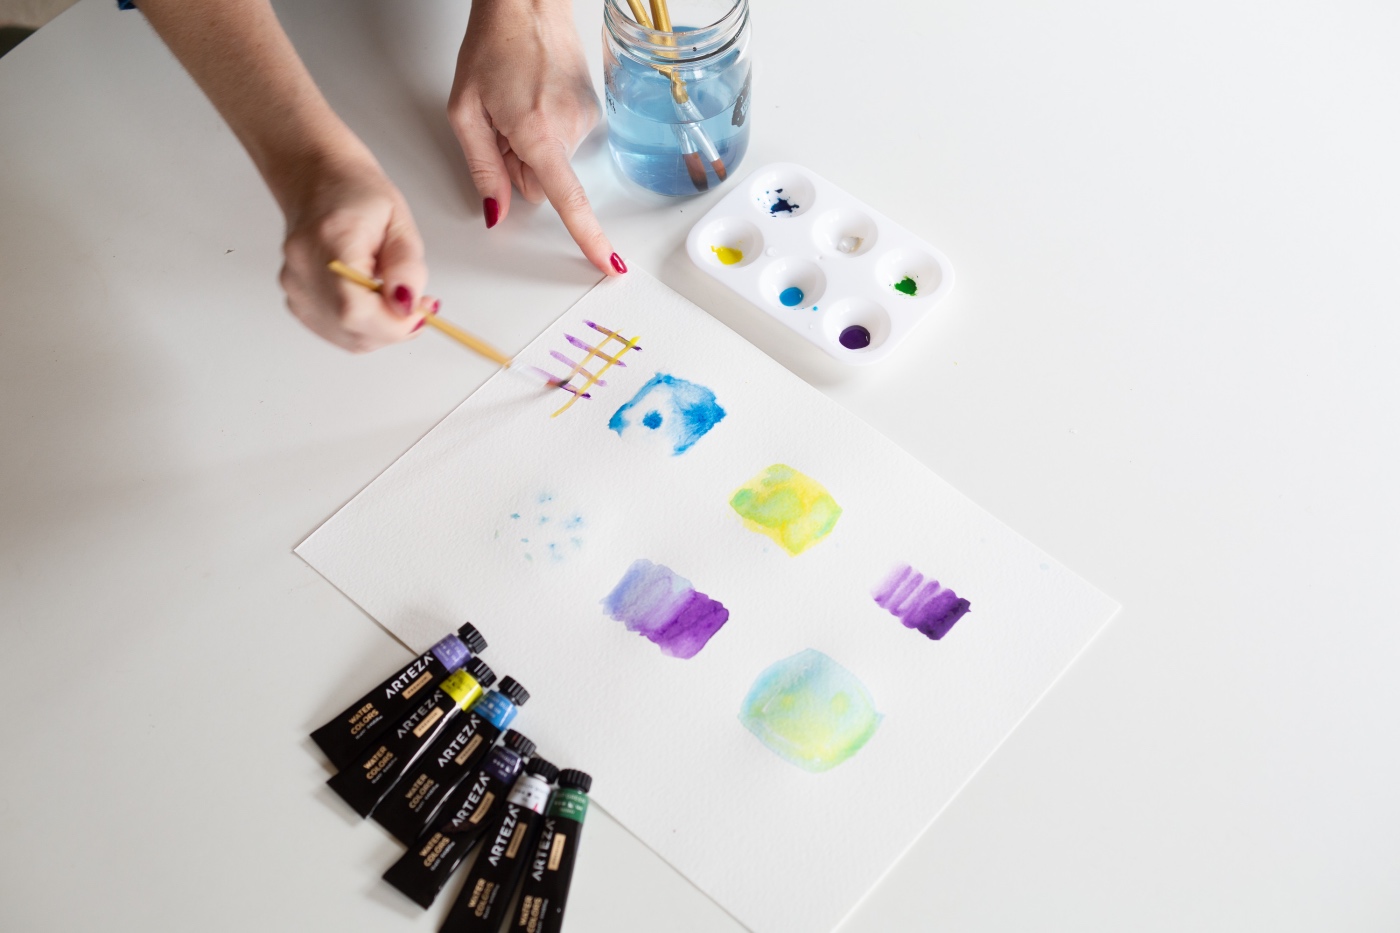
7. Controlled Watercolor Blending
Now you don’t need to make stripes like I did to illustrate this technique. You could use lots of different brushstrokes! I just used these stripes, or cross hatching, to really illustrate how the colors blend together when there’s a dry surface. And it shows what watercolor does when it just barely bumps another color.
To start you will need two colors. Start with one color of paint and make stripes vertically. Clean your brush completely and add the second color to your brush. While the first color of stripes are still wet, pull stripes of color with your brush horizontally across the page.
The blended colors will only follow the lines of paint and the dry areas of the paper will remain dry.
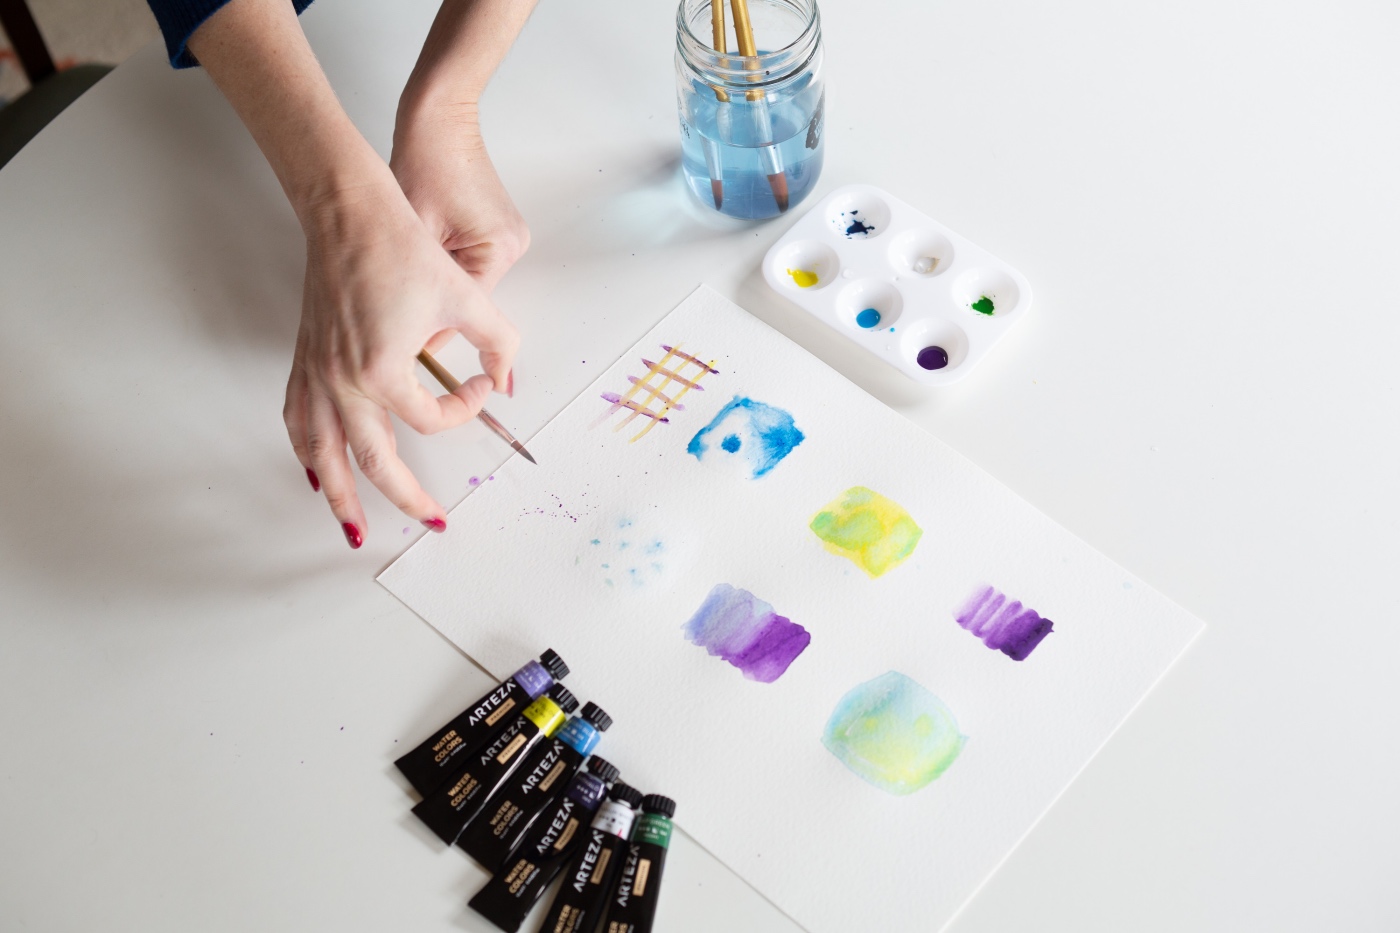
8. Splatter Painting!
Now this is just for fun! Add pigment to your brush and use your finger to flick the brush splattering paint onto the paper. This is an easy way to make a textured background. It’s also perfect for starscapes, snow, or leaves blowing in the wind.
All together those are 8 different watercolor brush techniques and blending techniques that you can try in watercolor. So if you need to try these, be sure to shop the February 2019 Craft in Style Subscription Box! And be on the lookout for the next tutorials in this series. Because we’ll be using these watercolors to create cool stenciled art, wax resists, and finally we’ll paint flower, cacti, and succulents.
Let’s Be Friends!
Insta | Pinterest | Enews | TikTok

I am officially inspired. These colors are lovely!