DIY
DIY Door Makeover in Gold & Blush
Oct
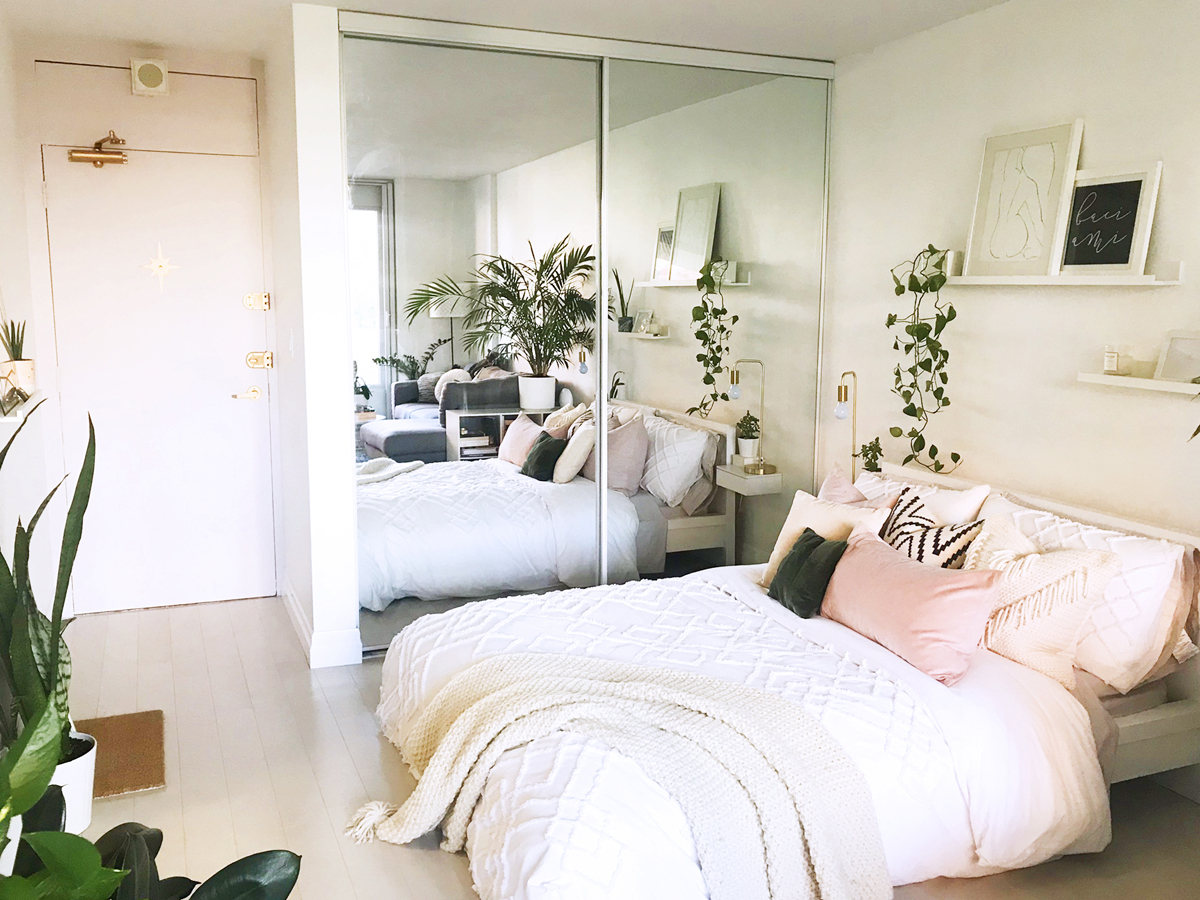
If there’s one thing you should know about my design aesthetic, it’s that I absolutely love mid-century modern decor.
If I could afford to have all the teak furniture and brass accents, trust me, I would.
To put it into perspective, I’d essentially love to live in the Sterling Cooper offices. (If you didn’t get the Mad Men reference, how dare you).
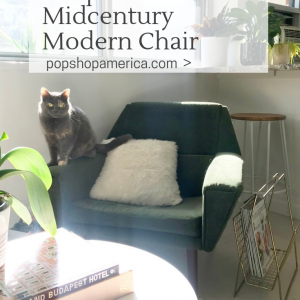
As it stands, I have a few vintage mid-century pieces that I’ve found, this chair being one of my favourites. If you’ve got time for a cool 2,500 words on how I lovingly reupholstered it, then please click the link above!
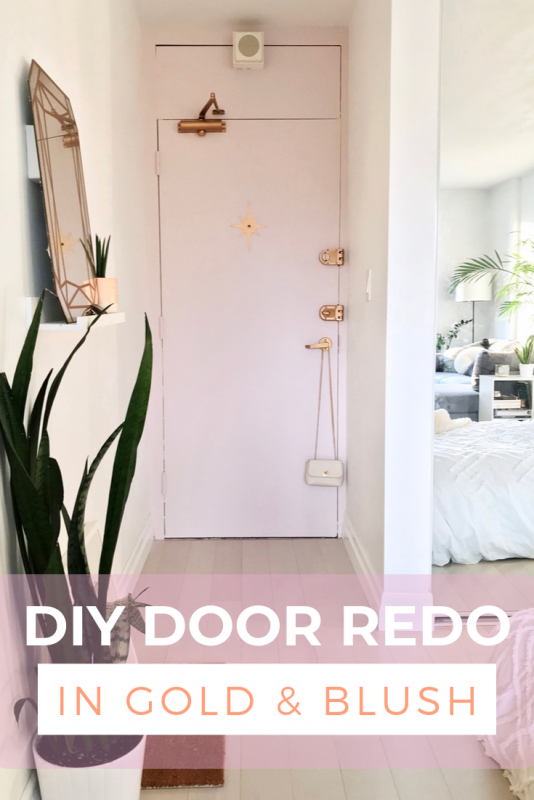
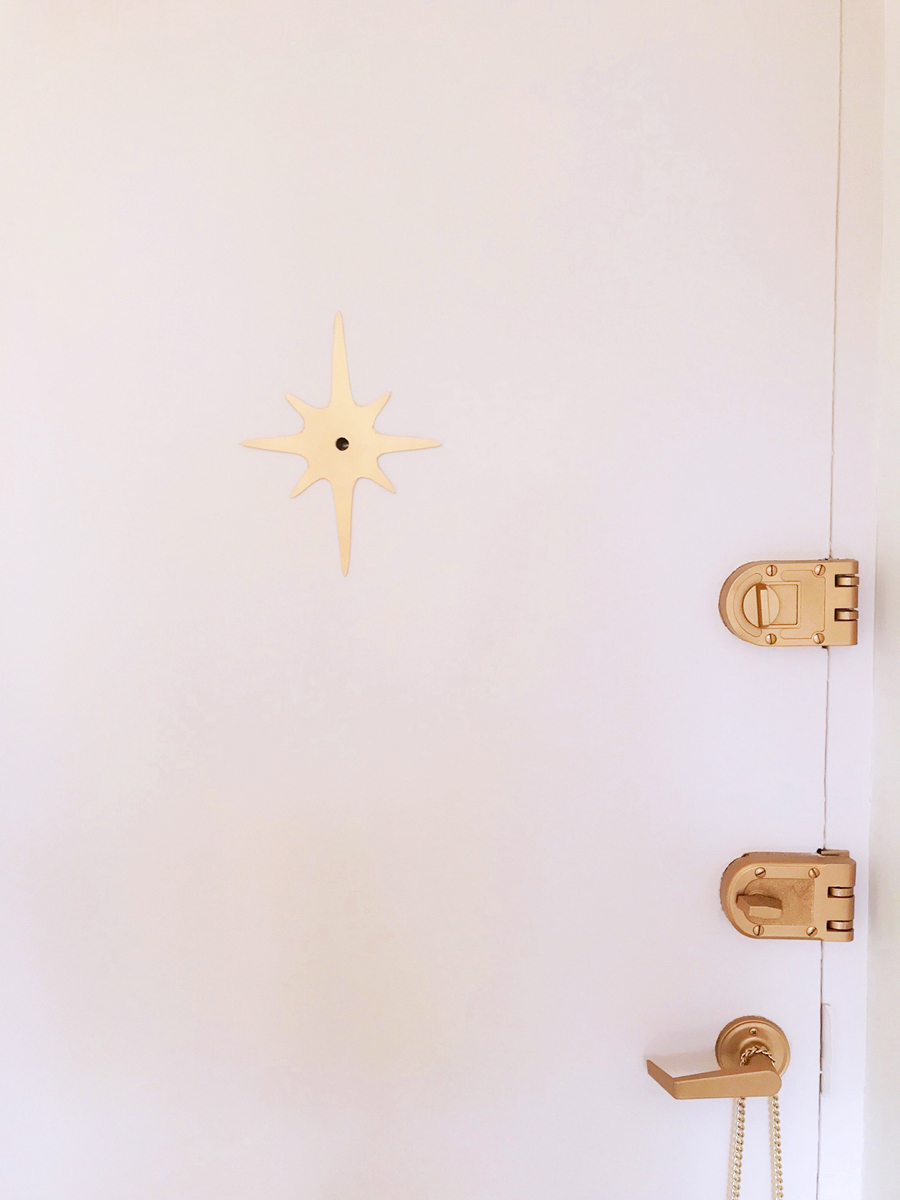
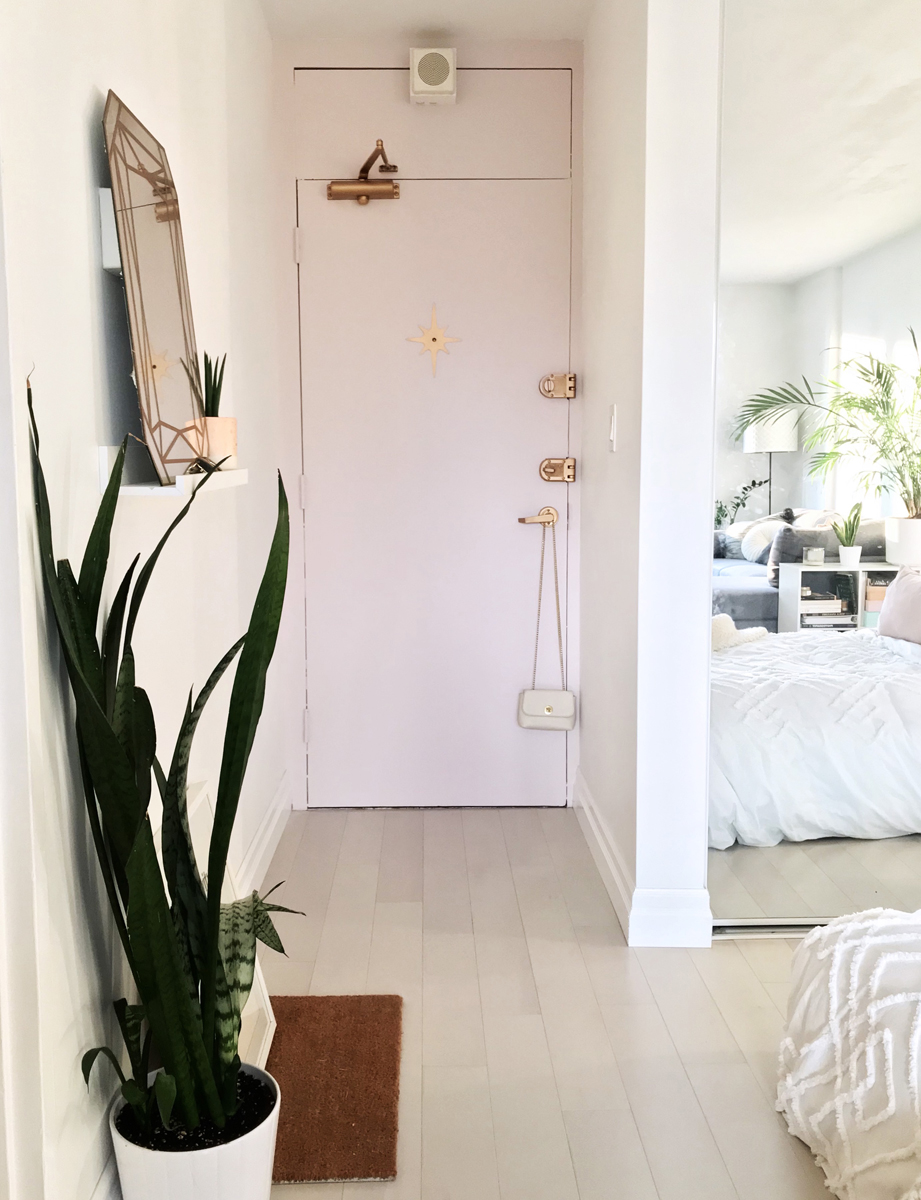
So, when I decided to redo my front door, I decided mid-painting that it needed a little mid-century pop. I landed on this starburst design for the peep hole, knowing that it would complement the other mid-century accents in my apartment.
But, before I got to that, there was the painting of the door to take care of.
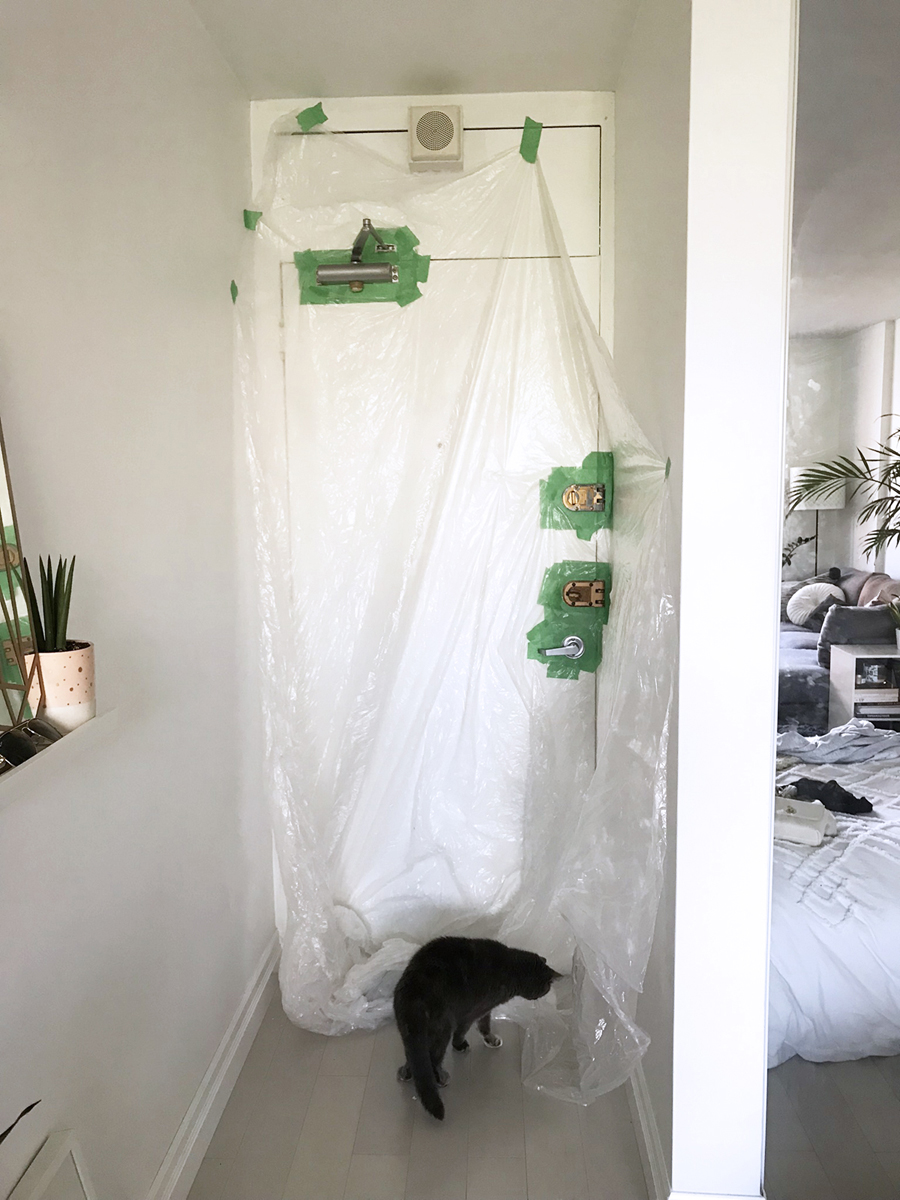
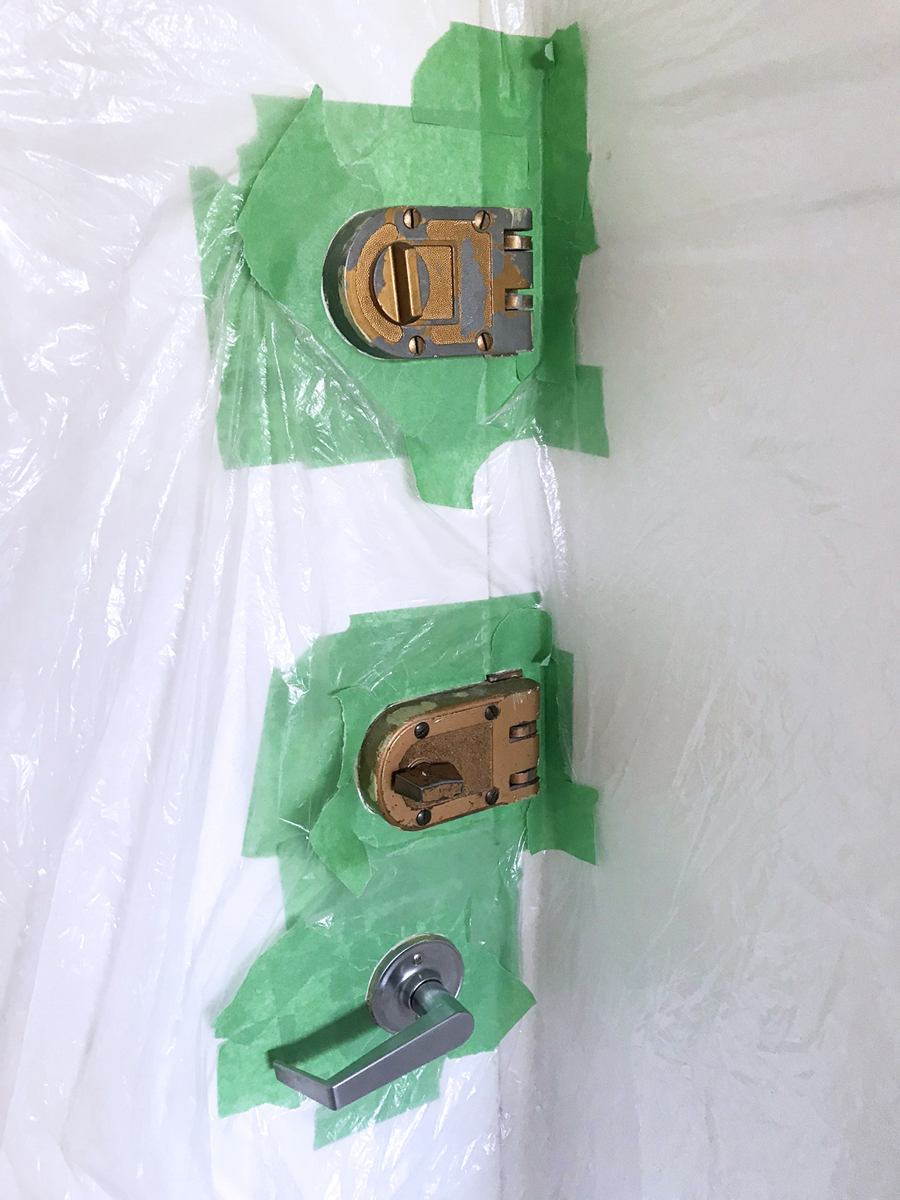
The painting of the door was fairly simple (after my months-long paint colour debate was solved). I taped off the hardware and the rest of the door/walls with a plastic drop cloth. I then simply spray painted the hardware with Krylon ColorMaster spray paint in gold. I did 2 coats letting it dry in-between. I then finished the hardware with a coat of Rustoleum clear spray paint in a matte finish to seal it. The hardware was chipping, mis matched and looked so old and sad. The gold spray paint gave it new life and made it look so much cleaner and prettier!
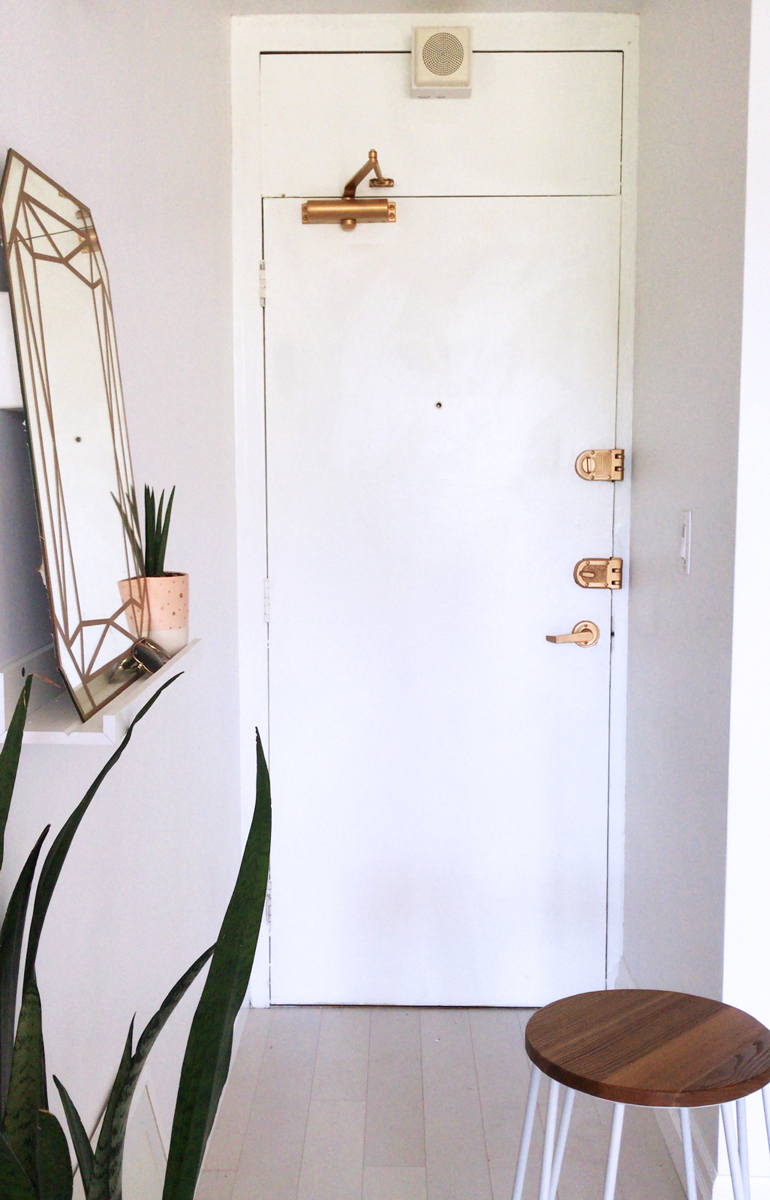
When the spray paint was dry, I carefully peeled off the tape and then taped off the hardware for painting the door. I used 2 coats of Benjamin Moore’s Proposal in a matte finish. My door wasn’t perfectly smooth as I live in a pretty old building, so using the matte finish really helped to camouflage any uneven spots.
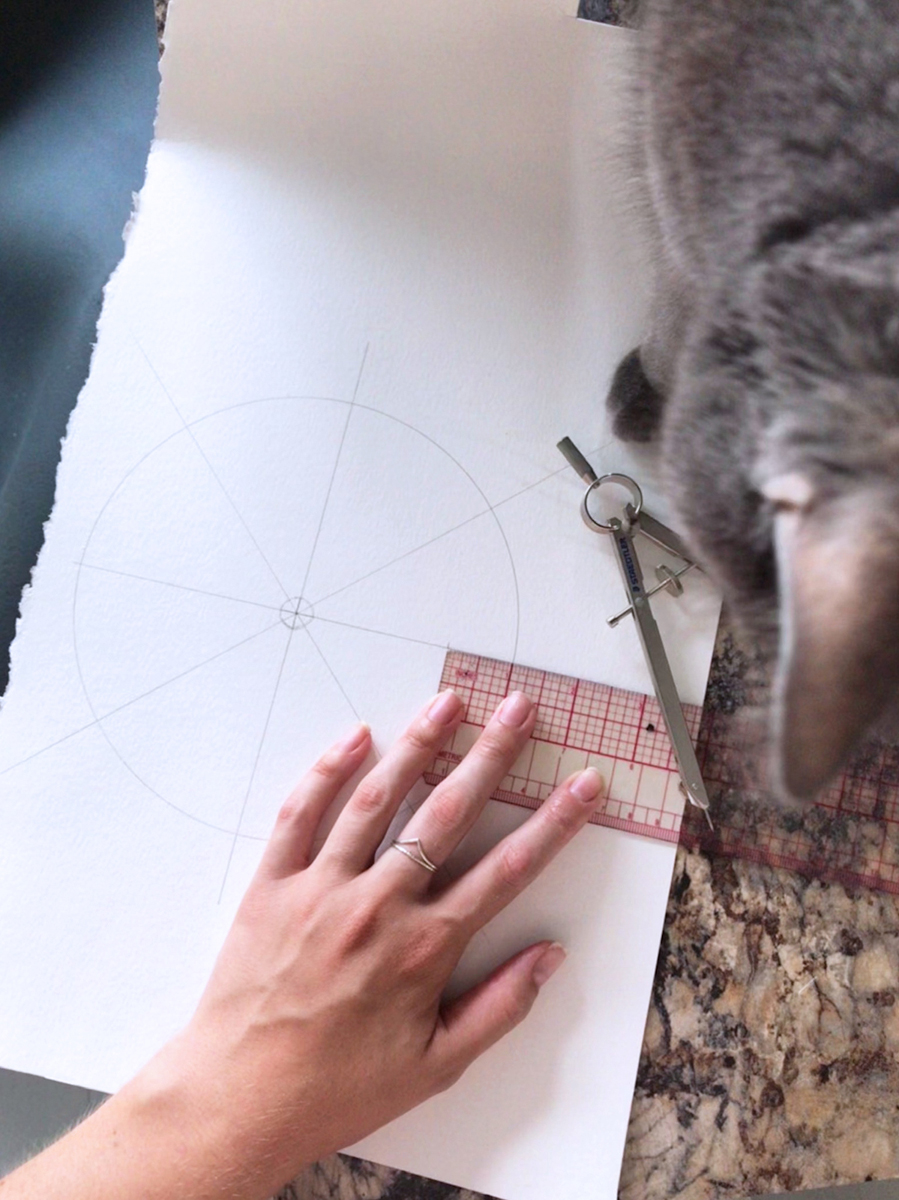
So, for the mid-century modern touch, I decided that I wanted to make a starburst decal to go over the peephole. I was so excited about the idea that I dug out my compass and drew a starburst based on some images that I googled. I actually drew mine on watercolour paper and spray painted that, but if you wanted to make a more solid version, I’d suggest using illustration board so that it holds up a bit better – actually I might just have to make a new version myself 🙂
Here’s how to make a DIY Starburst Peephole:
Supplies:
- watercolour paper or illustration board
- an X-Acto knife
- a compass
- a pencil & eraser
- spray paint (I used the Krylon ColorMaster in gold to mimic brass, but any colour that goes with your decor works)
- double sided tape
- a ruler & a right angle
Instructions:
- Start by measuring the size of your peephole.
- Then, using your compass, make a circle about 1/8″ bigger than the peephole
- To make the starbursts, place your compass in the middle of your peephole circle and draw a circle about 9″ in diameter around it
- Next, use your ruler to draw a horizontal and a vertical line from the top to the bottom of your big circle and intersect in the centre of your small circle
- Now, use your right angle (which should look like a triangle and also have a 45 degree angle) to draw 2 lines that intersect your horizontal and vertical lines and make an X at 45 degree angles
- I made by starburst slightly oblong by extending the vertical line by 1 inch on the top and 1 inch on the bottom
- Next, make the horizontal line shorter by 1 inch on the left and 1 inch on the right
- For each of the diagonal lines, I made them 2 inches shorter so that they would just be small spikes
- I then drew a rounded point at the top of each line and drew curved lines to connect them.
- I played around with them a little, using my eraser to make some adjustments until I was happy with the shape
- I then used an X-Acto knife to cut the shape out and cut out the small circle in the middle for the peep hole
- Once the shape was cut out, I spray painted it with 2 coats of gold spray paint, letting it dry in between coats. I didn’t think it was necessary to finish the peep hole with clear spray paint since I won’t really be touching it too much.
- When the starburst was completely dry, I used double sided tape to tape it over the peep hole of my door and voila it was done!
Every time I leave the house, I get so happy seeing my door. It’s a small change, but the bright gold hardware and subtle pink makes it look so much newer and cleaner. It also really makes the apartment feel finished.
This is even something that you could potentially do if you were renting. I wouldn’t recommend spray painting the hardware, but the decal and the door painting you could totally do! Just be prepared to paint it back when you move.
I love the slight blush colour so much that I’m thinking of trying to use it in another spot in my apartment!
Let me know what you think of my DIY Door Makeover!
XOXOX, Love Tess
Let’s Stay Friends!
Insta | Pinterest | Enews | TikTok