
DIY
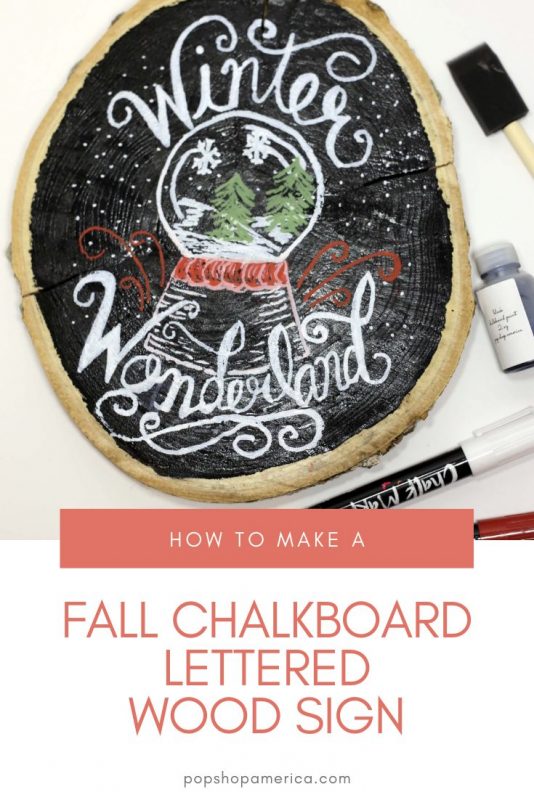
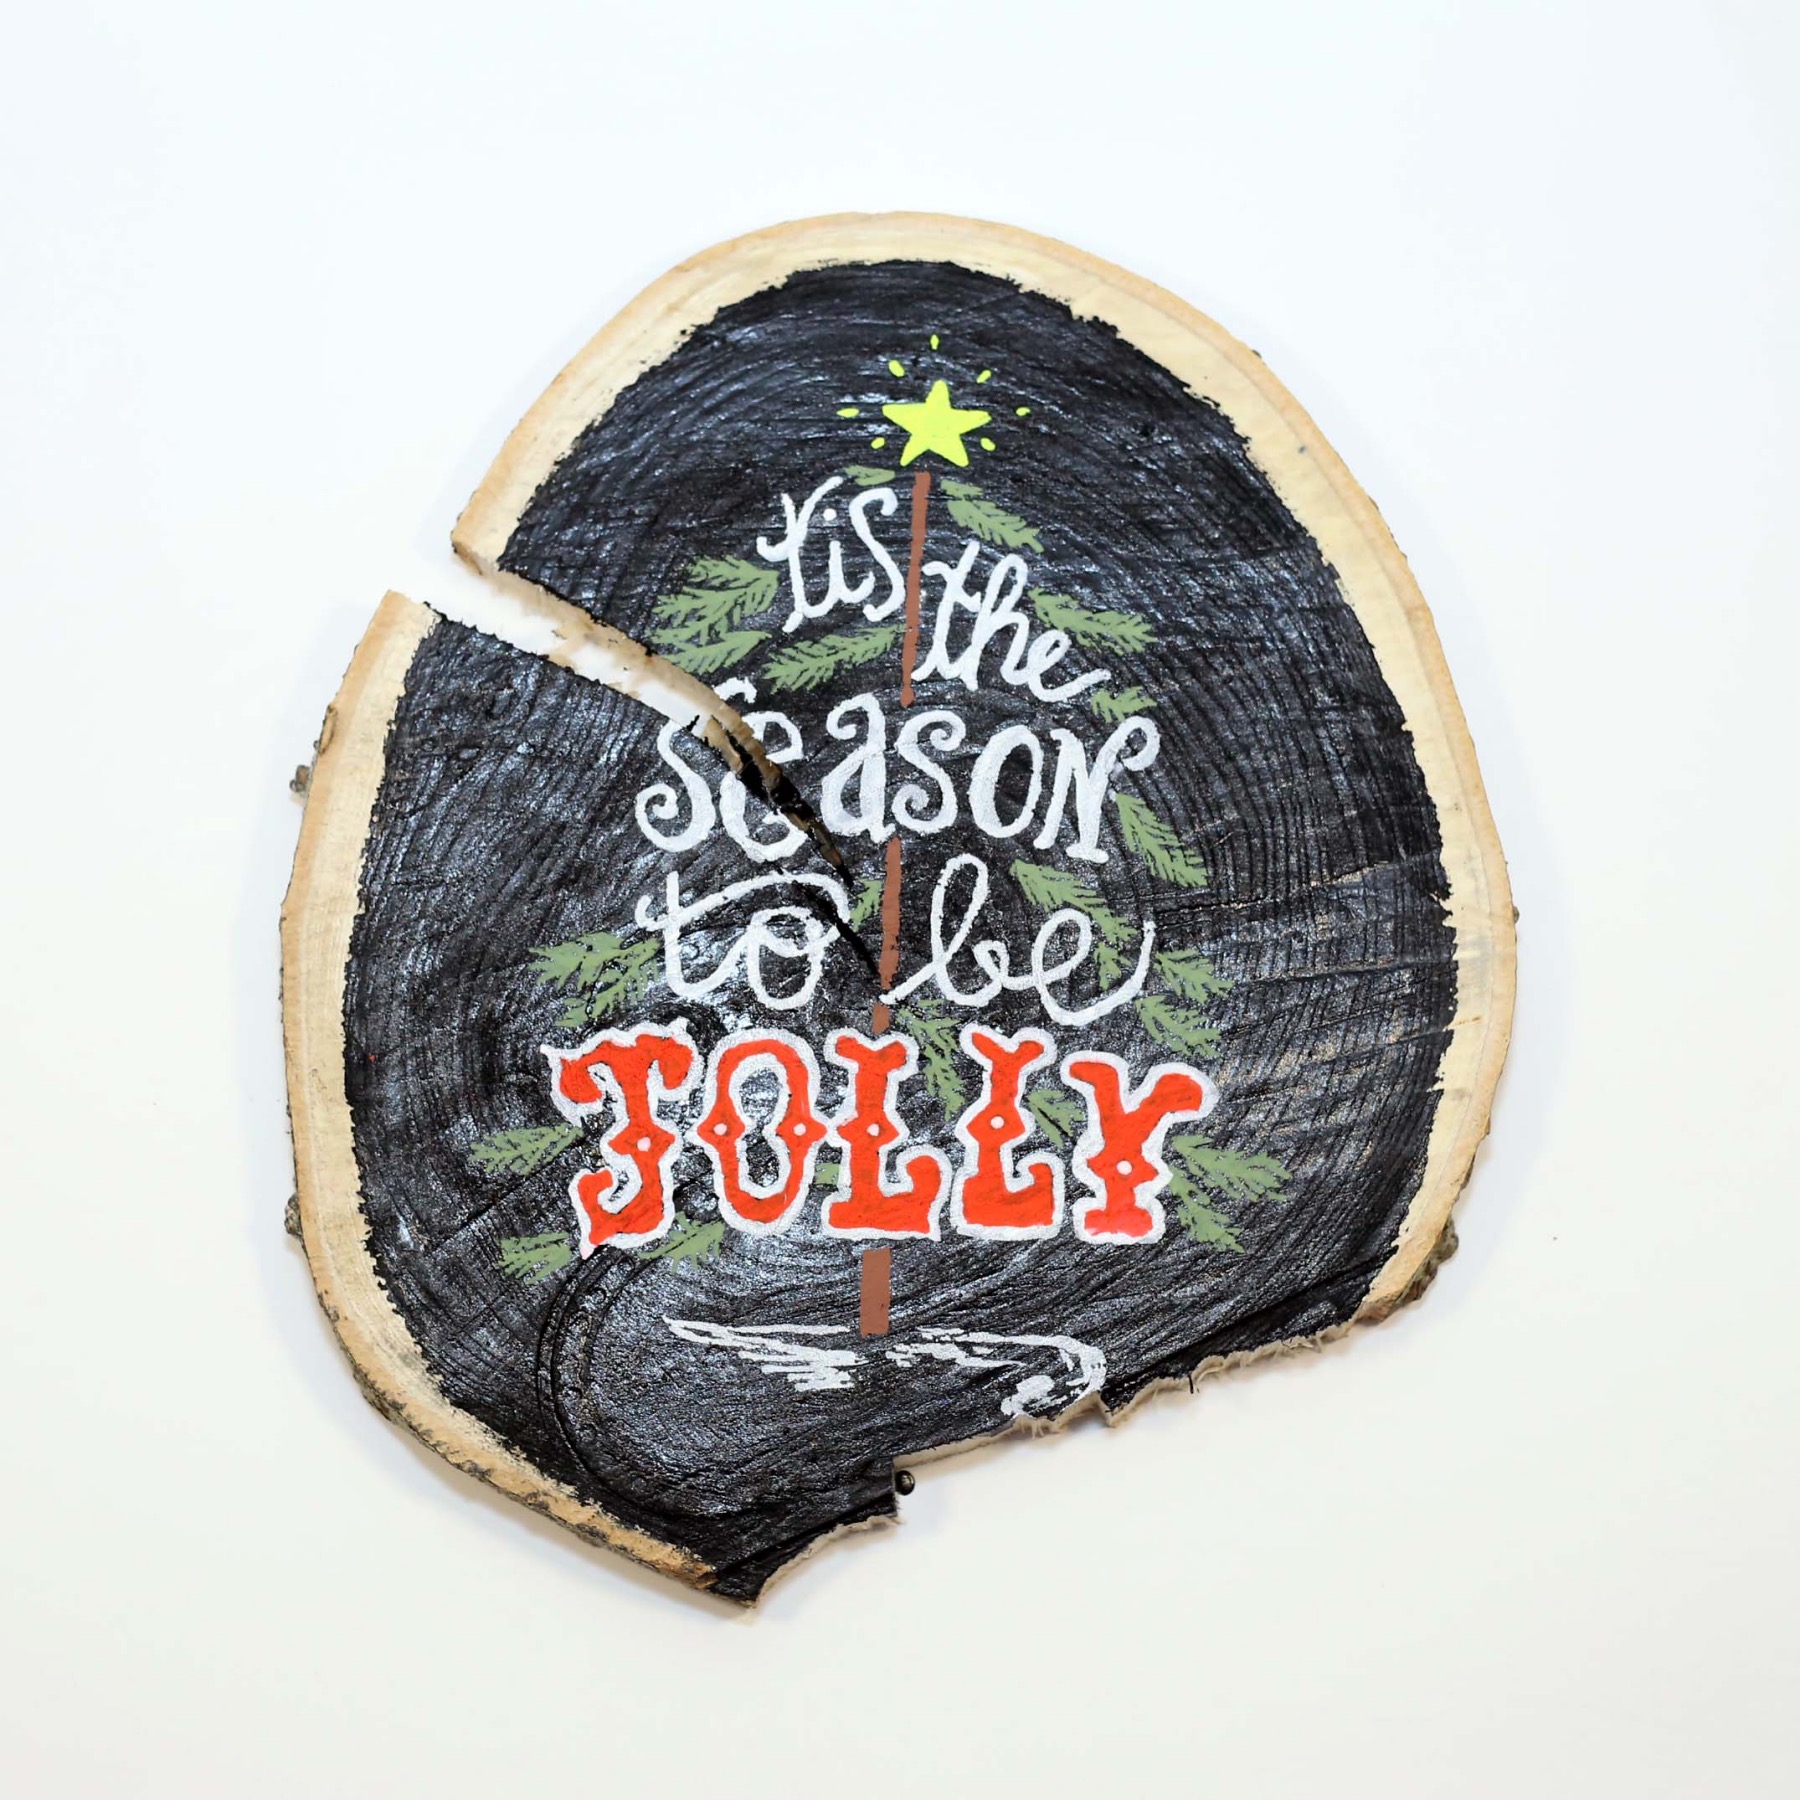
DIY Fall Hand Lettered Chalkboard Sign Tutorial
Oct
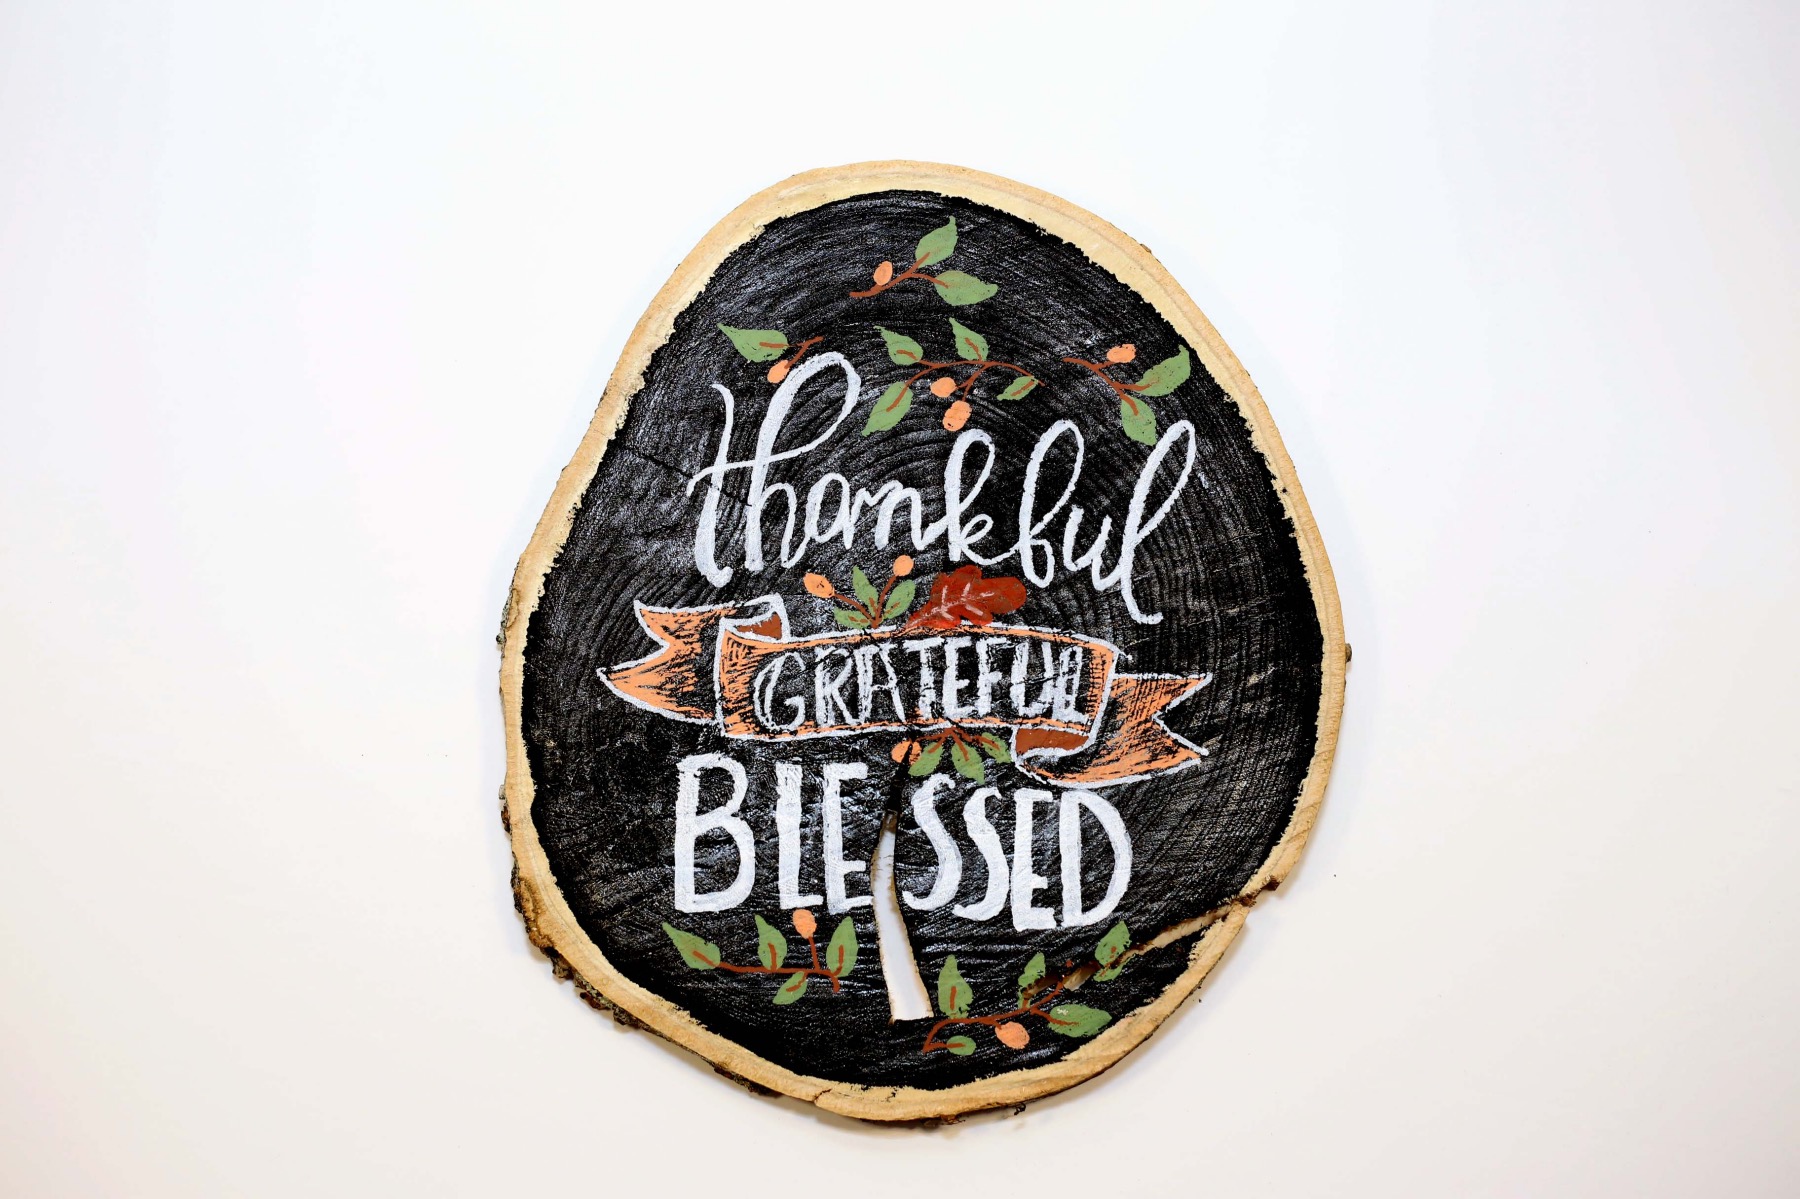
Nothing says fall better than the rich hues of natural wood. I love making wood signs because it feels so rustic and is a gorgeous way to display any message that you love. It makes great holiday decor and is perfect for Halloween, fall, and the holidays too!
Best of all, chalkboard lettering is easier than you may think! It’s beginner friendly and although it looks so hard it’s actually really fun to learn!
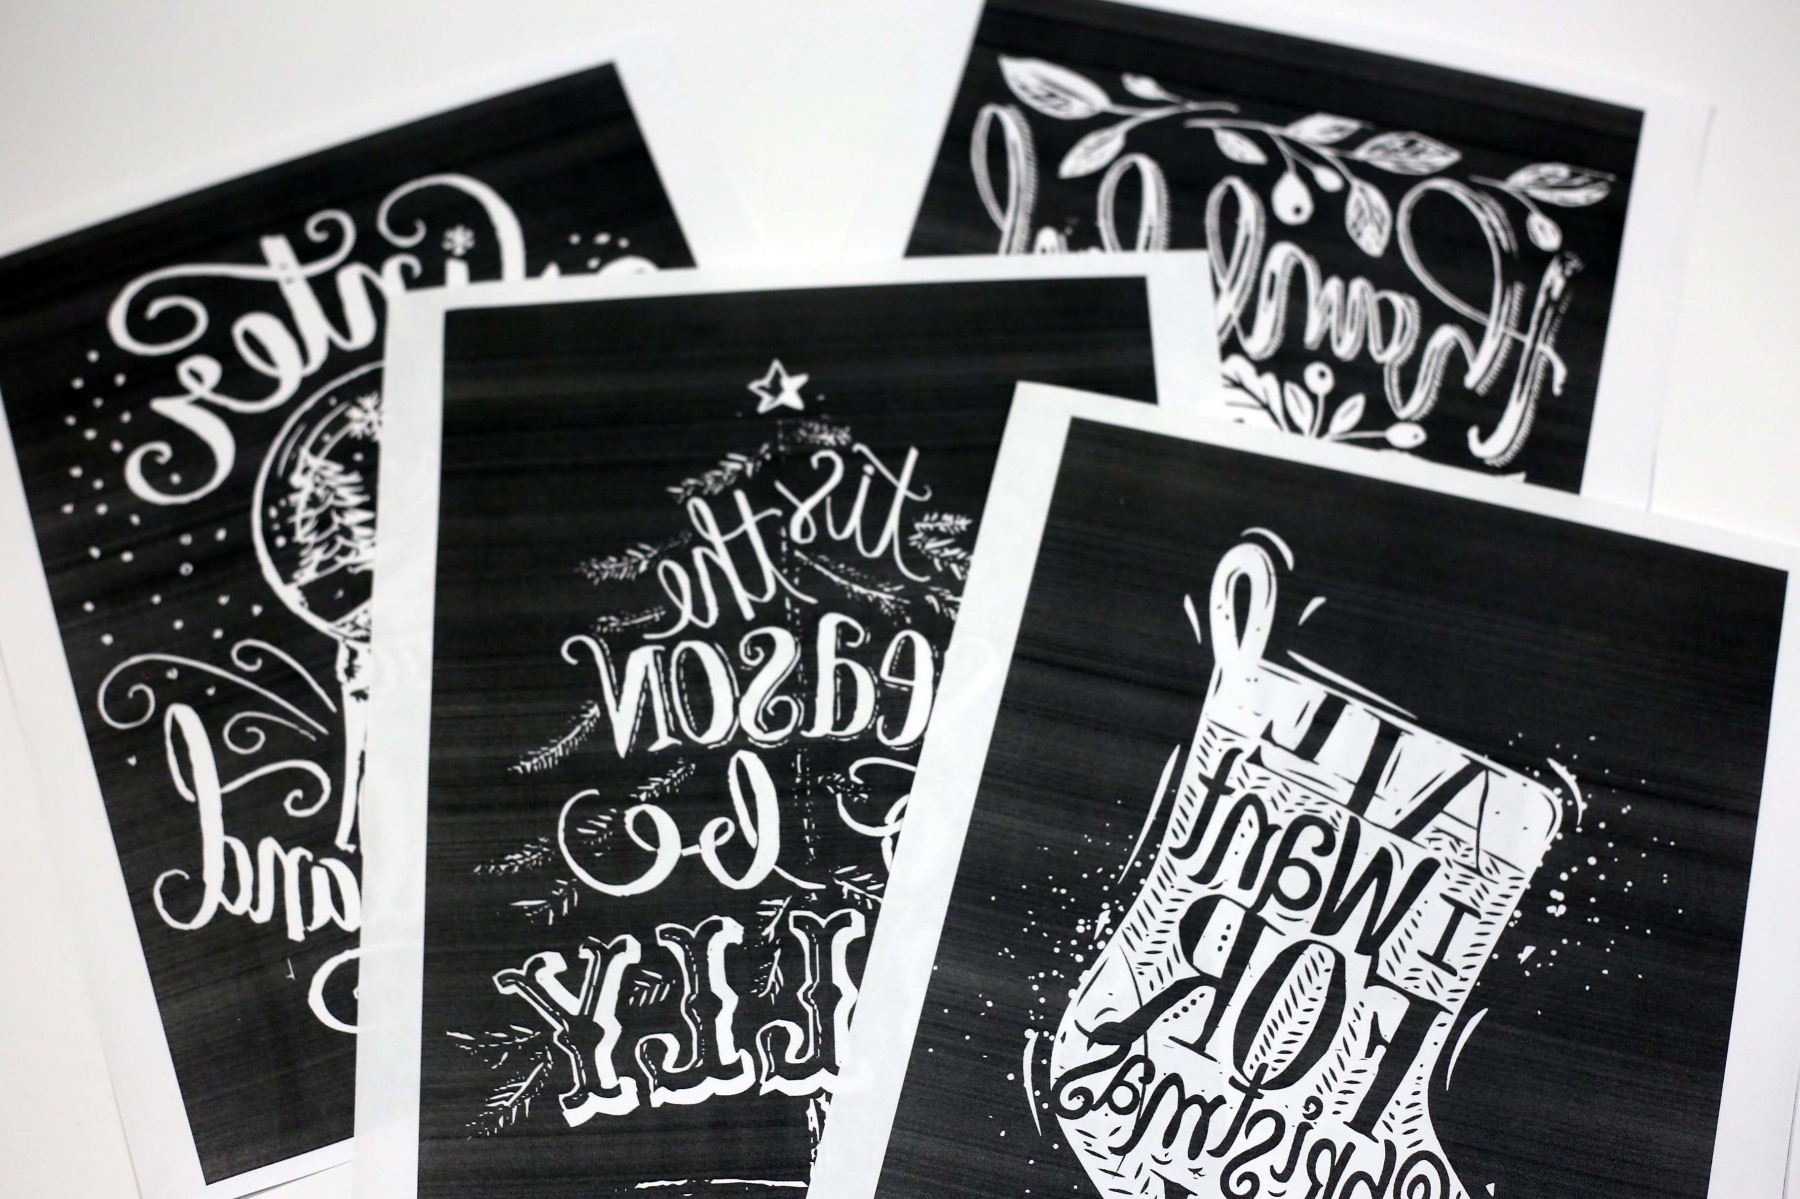
The first thing you need are these printable templates. They are completely free and there are lots of different fall and holiday styles to choose from!
You can download and print these out on regular copy paper. You don’t need anything fancy – just regular paper will do. If you are using a smaller or larger piece of wood than what I use, you can print these chalkboard templates on larger paper, or shrink them to a smaller size by just using your printer settings.
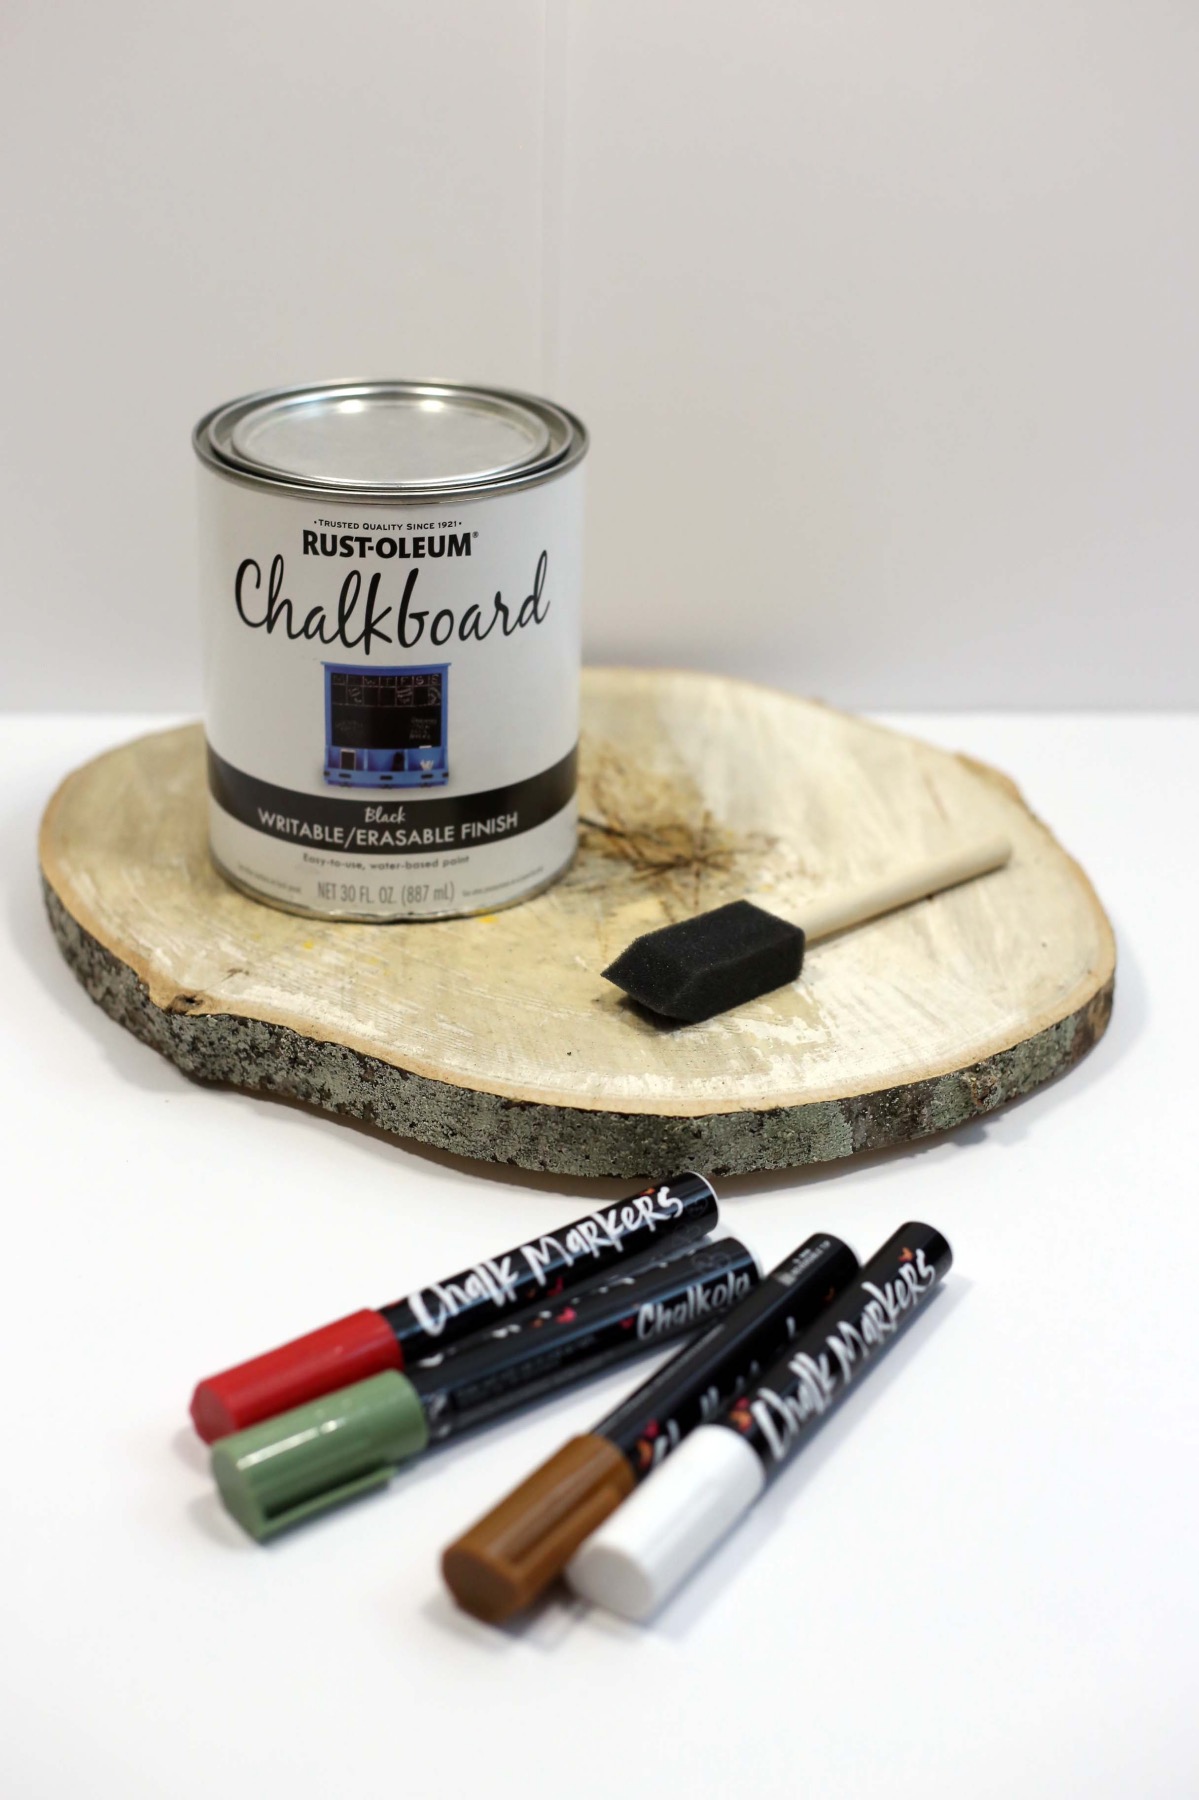
Supplies to Make a Fall Hand Lettered Chalkboard Sign
Piece of Wood (Mine is around 10 x 10 inches)
Chalkboard Paint – preferably in black
A Foam Brush
Chalkboard Pens in at least a few colors
These Chalkboard Lettering Templates
Bone Folder (or a popsicle stick)
Optional:
Tape
And that’s all! The supplies are quite simple for this tutorial. It’s one of the features that I love!
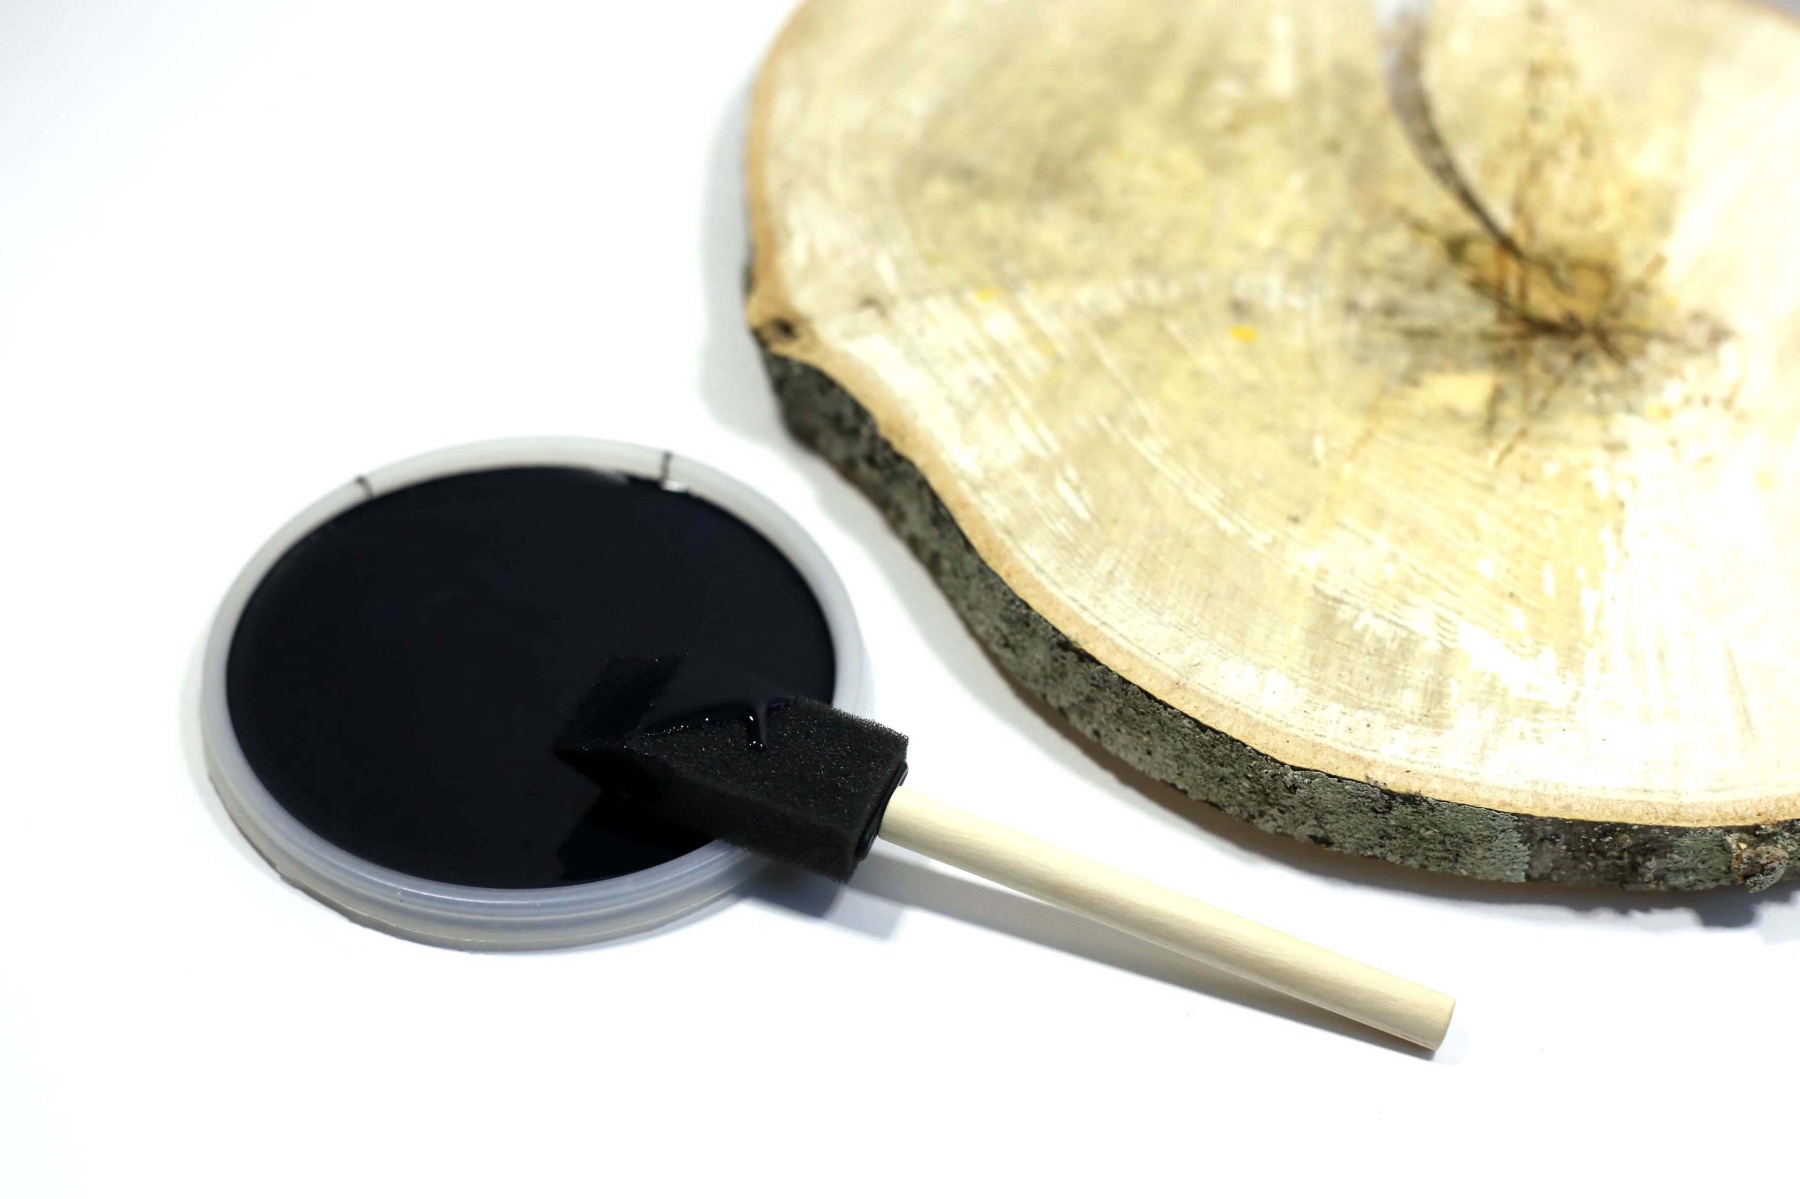
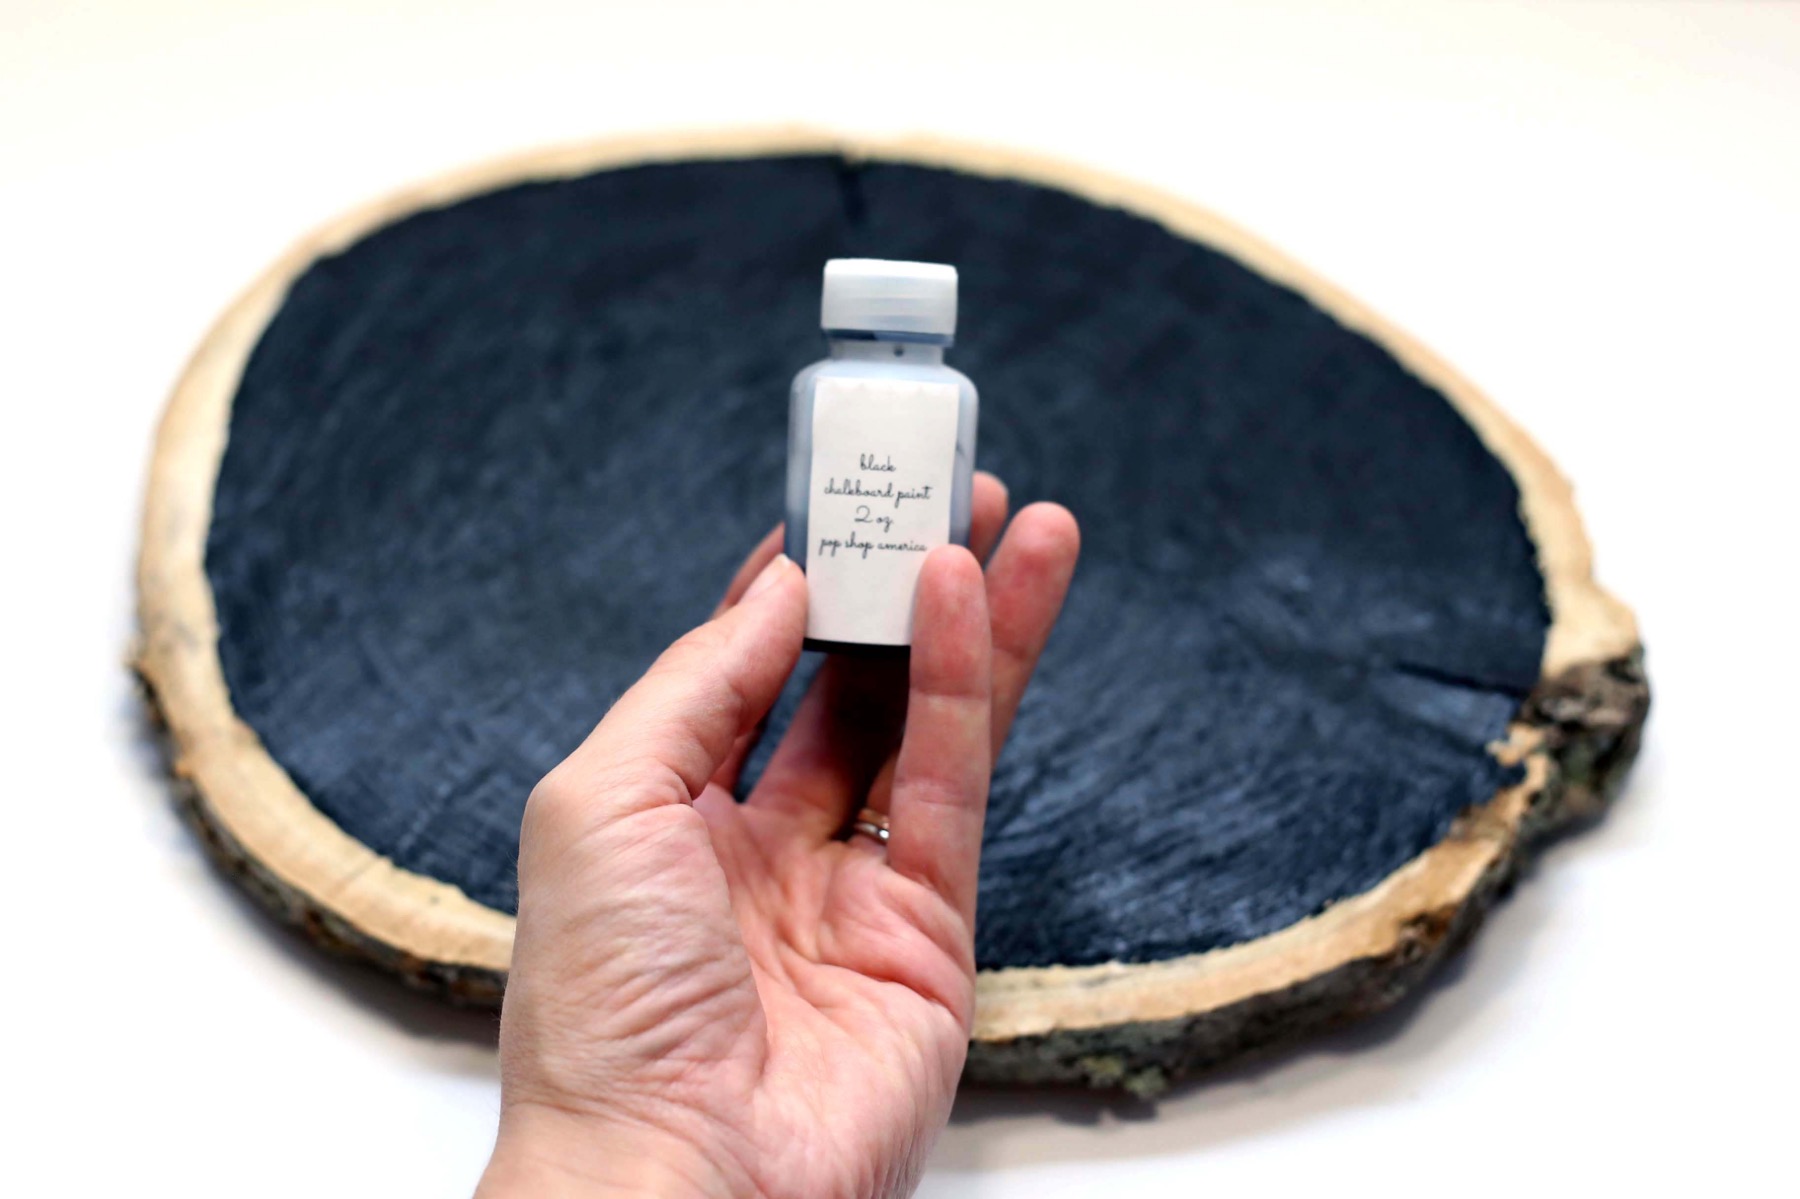
First, paint your wood with chalkboard paint. I kept a small border of wood around the edge just to be cute. You can paint all the way to the edge if you like! There’s no need to tape the edges.
In fact, taping the edges would only be helpful if there were straight lines – like if you were painting on a square or rectangular piece of wood.
I used a foam brush to paint the wood. It’s the perfect brush because with a clear, thin coat of paint, you won’t end up with brush marks. Once your wood is painted, allow the chalkboard paint to dry completely.
Chalkboard paint doesn’t take too long to dry. It’s a lot like house paint and acrylic paint. Your wood will need at least 2 coats. Let the paint dry thoroughly before adding your second coat. And also let the 2nd coat dry completely before adding your chalk.
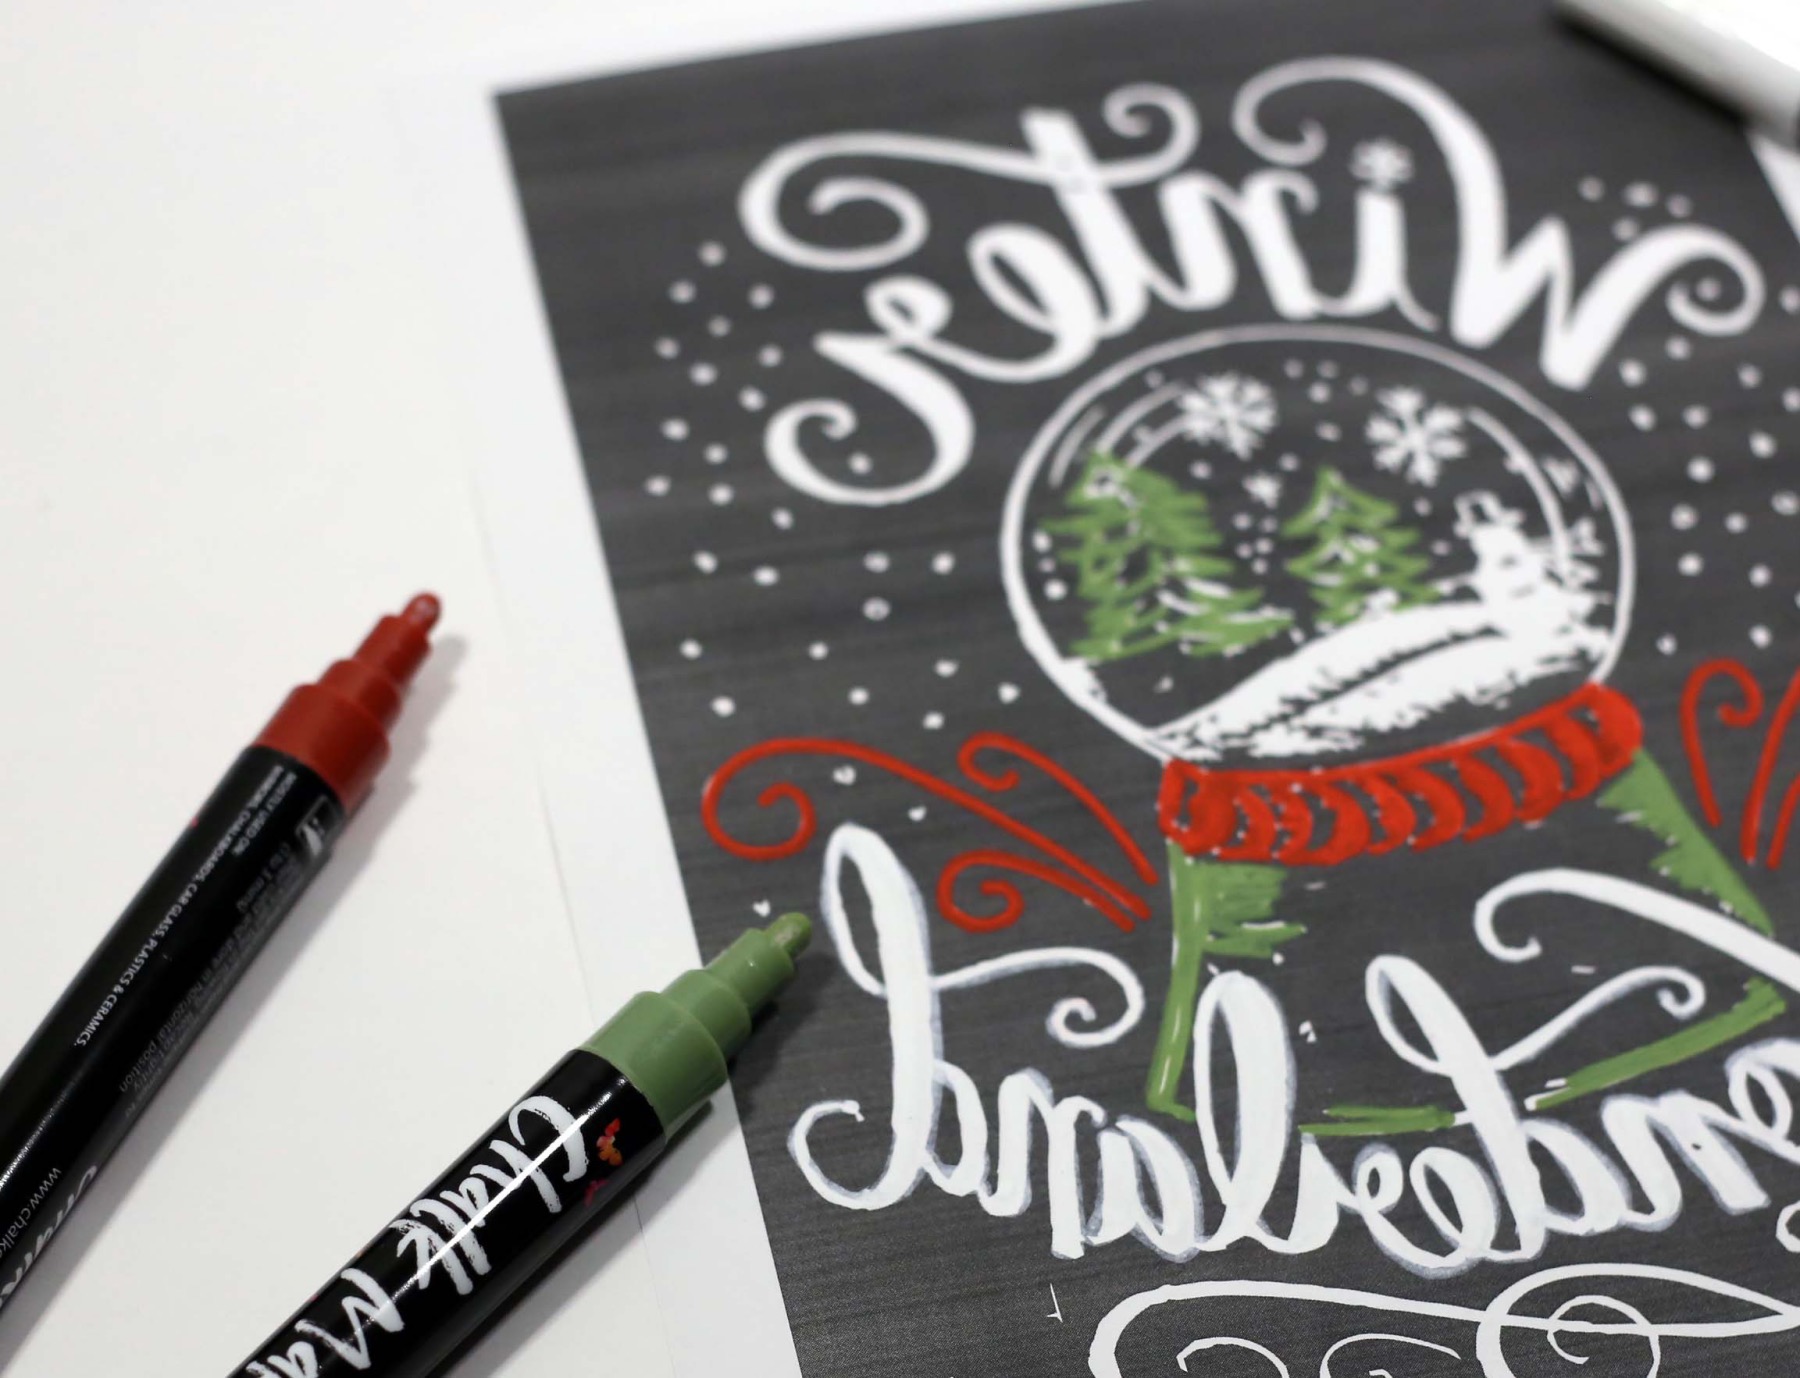
While your chalkboard paint is drying, prep your templates. Did you notice something really fun about them? They are all backwards!
Chalkboard lettering templates should always be a mirror image because you are going to place them upside down against the wood to transfer the images and letters. Thus your letters will be reversed a 2nd time – making them face the correct direction.
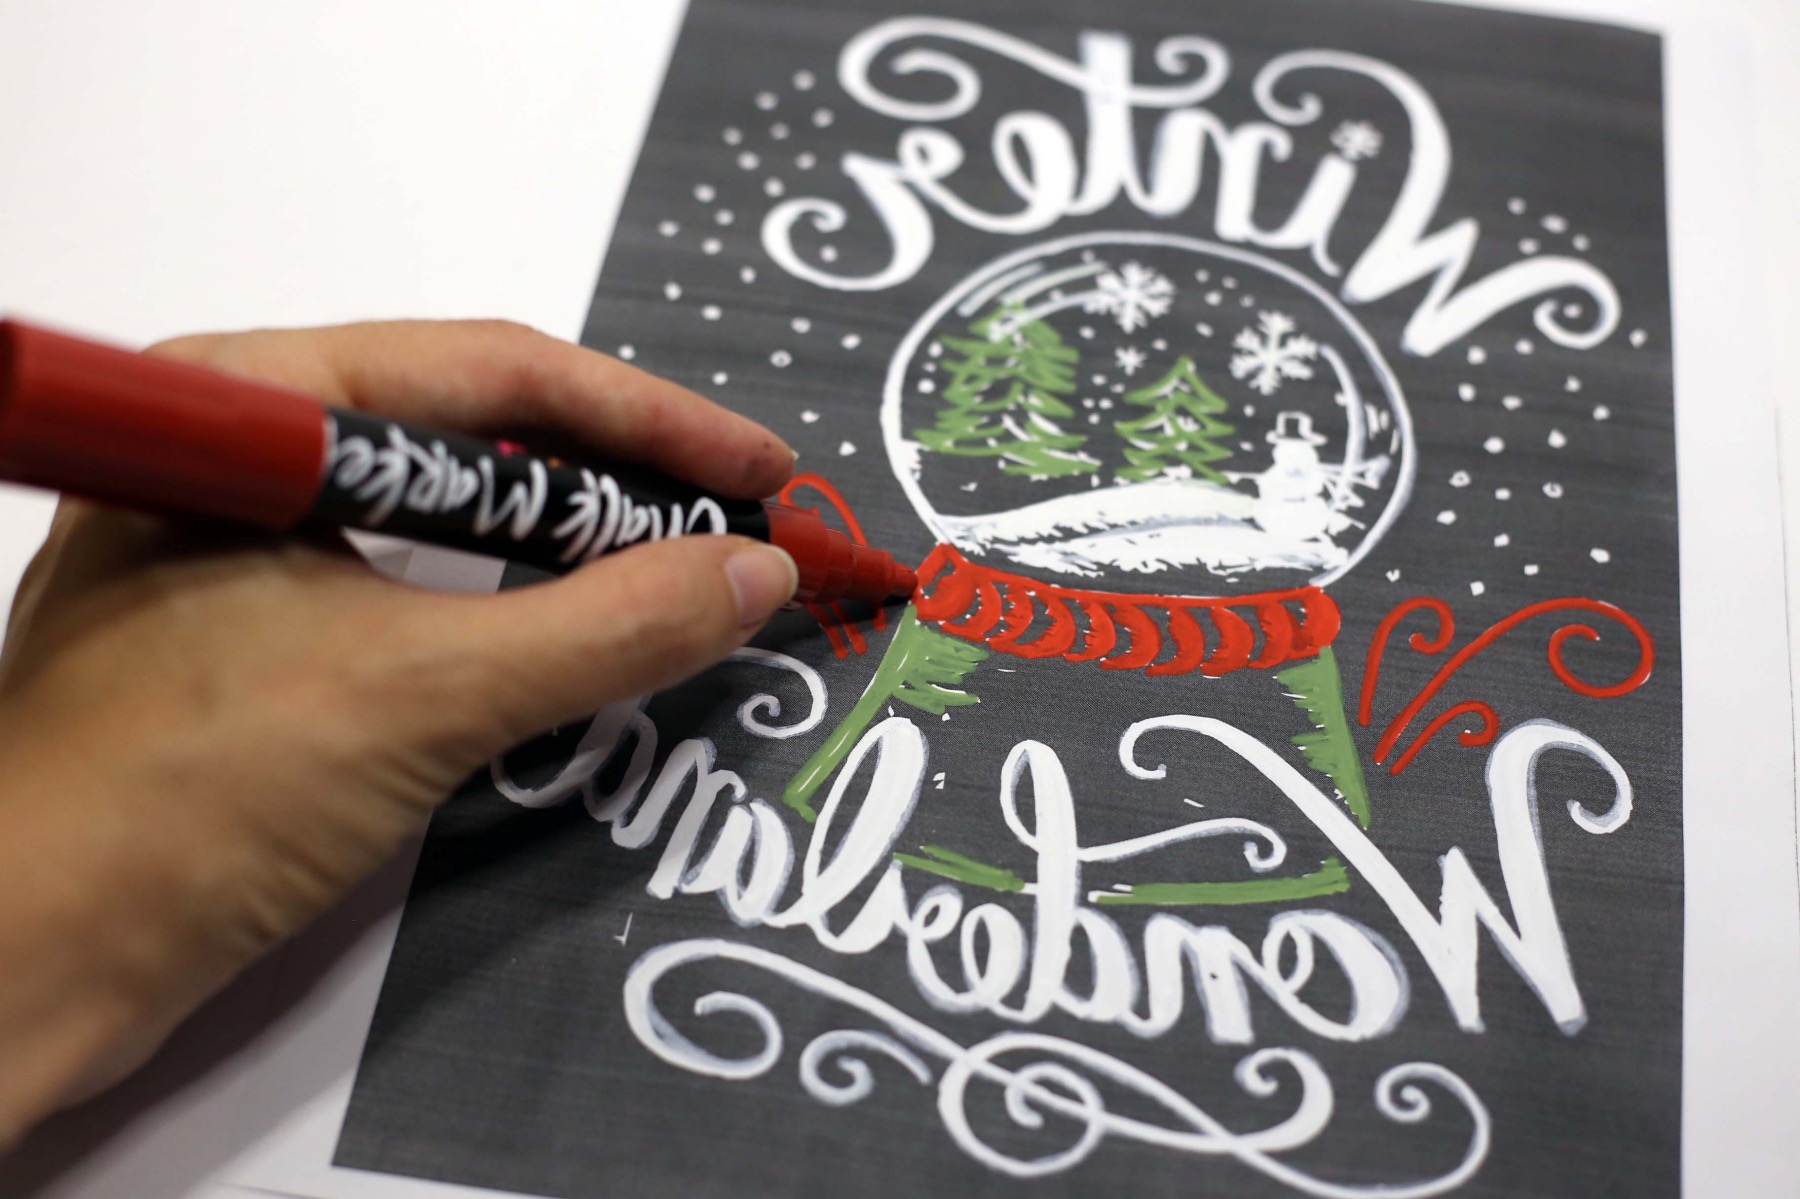
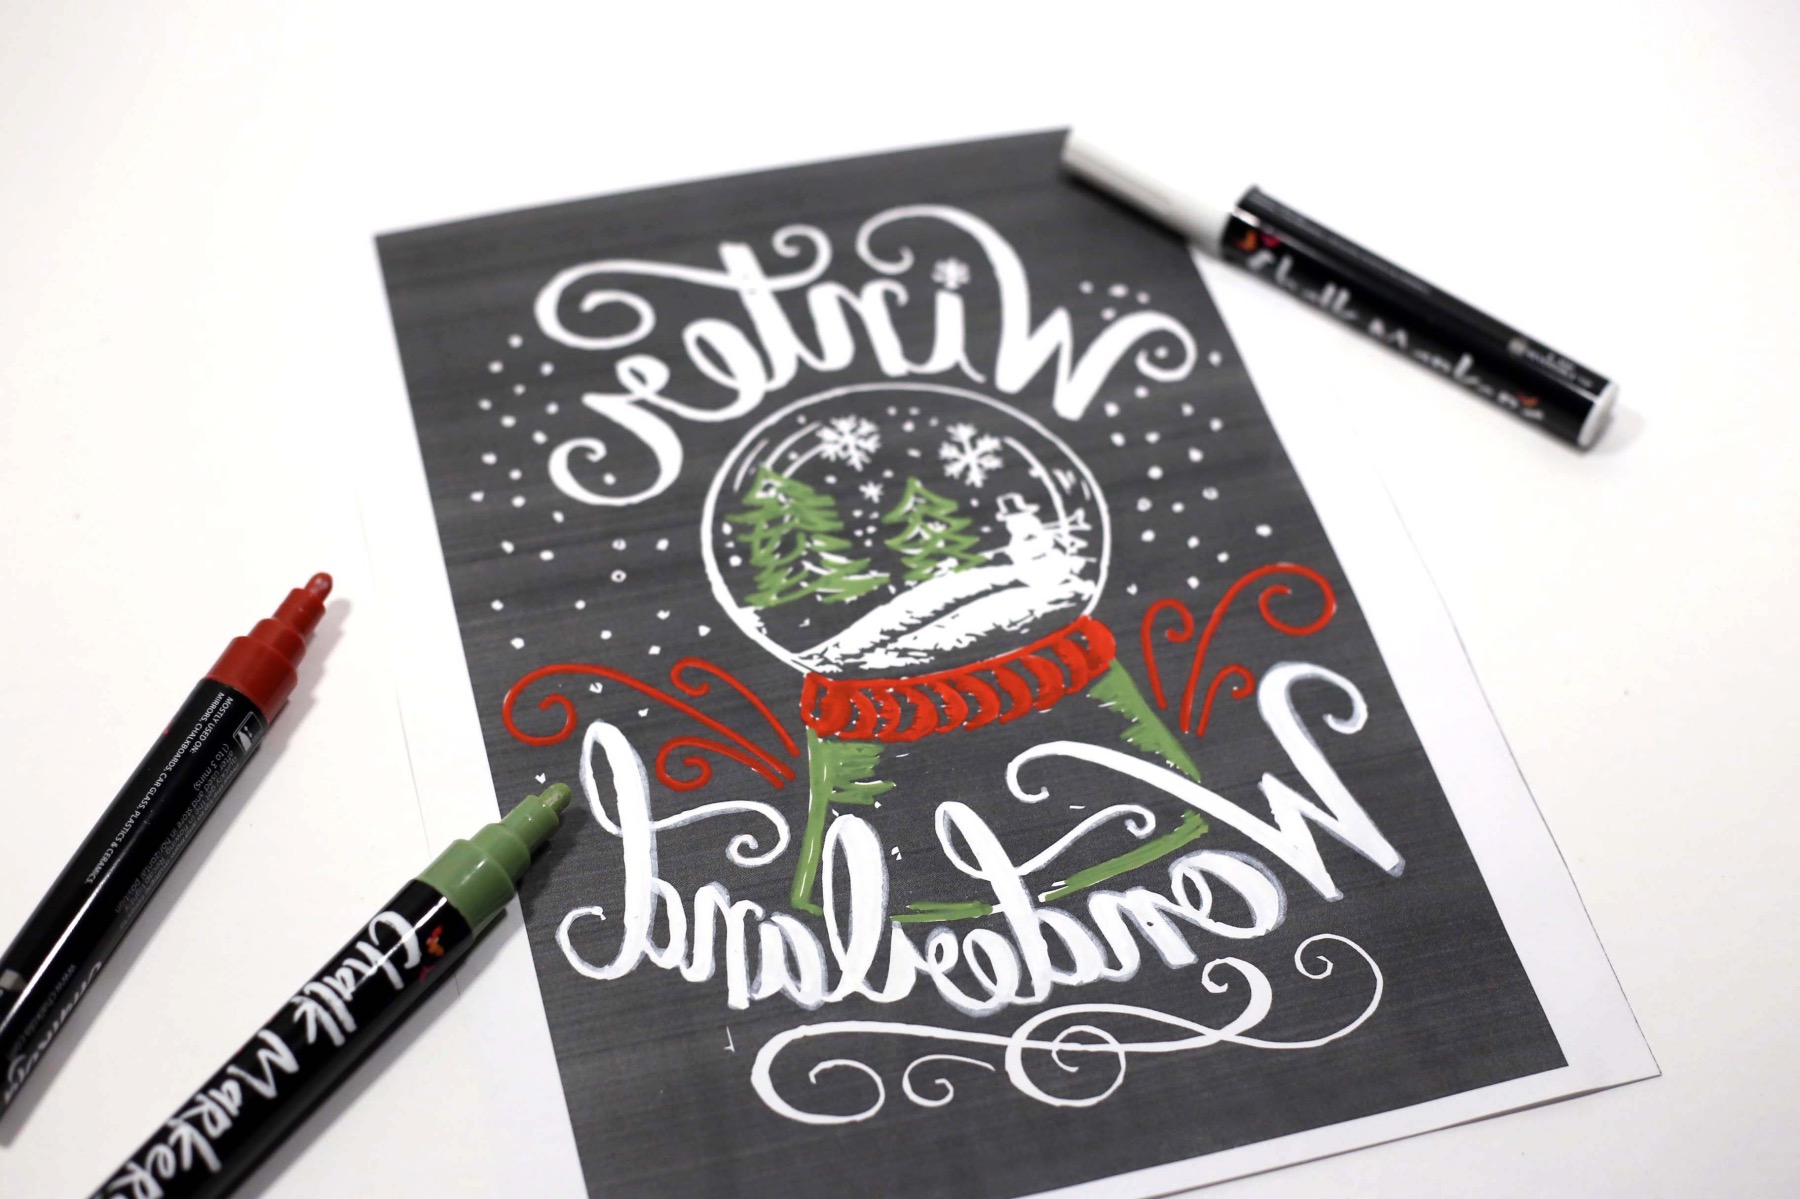
Use the colors of chalk pen that you would like to use in your finished piece. Trace over the letters and images in reverse. Make sure you have plenty of chalk ink on the template.
It doesn’t need to be perfect, so don’t worry if you accidentally go outside of the lines.
Once you have covered all of your images and lettering, and your chalkboard paint is dry, place the template towards the chalkboard painted wood.
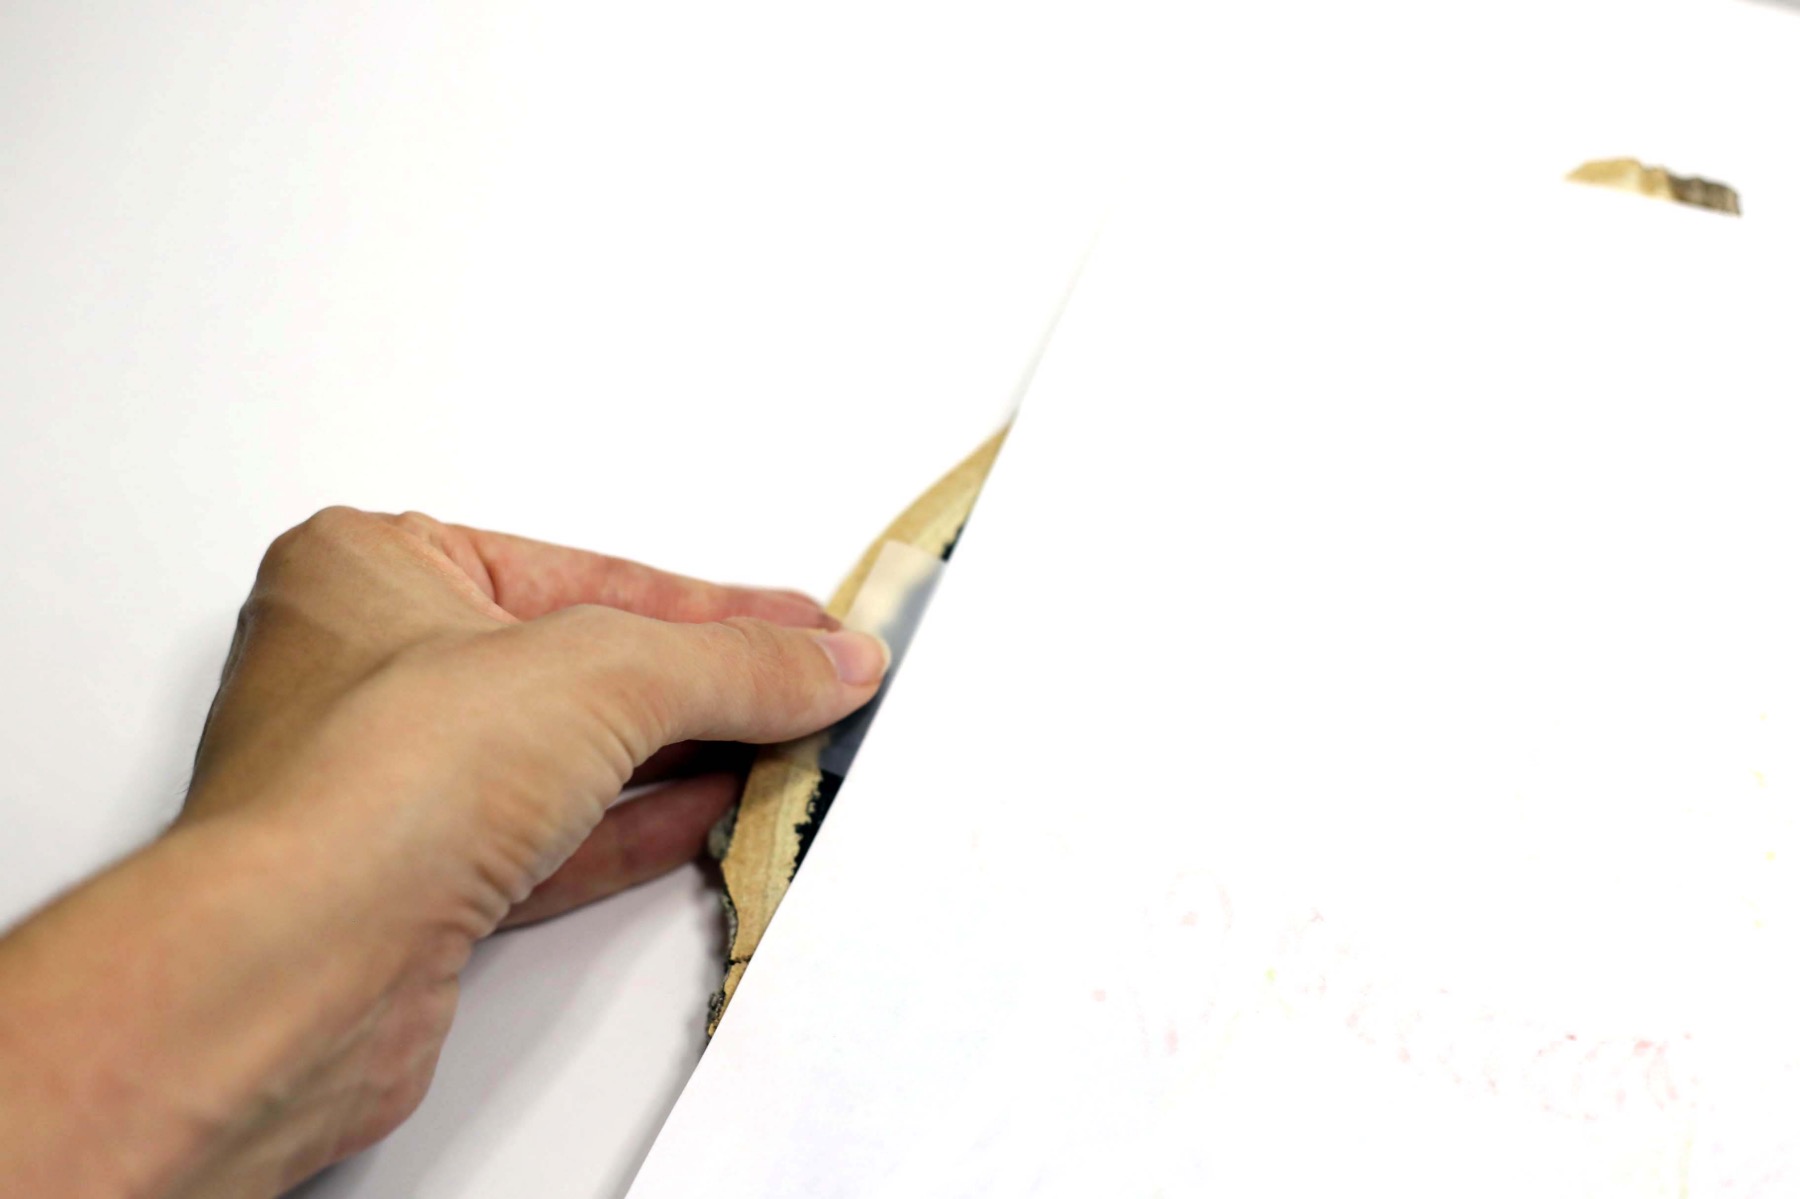
The template side that faces the chalkboard painted wood is the lettered side. The template side that faces up is blank.
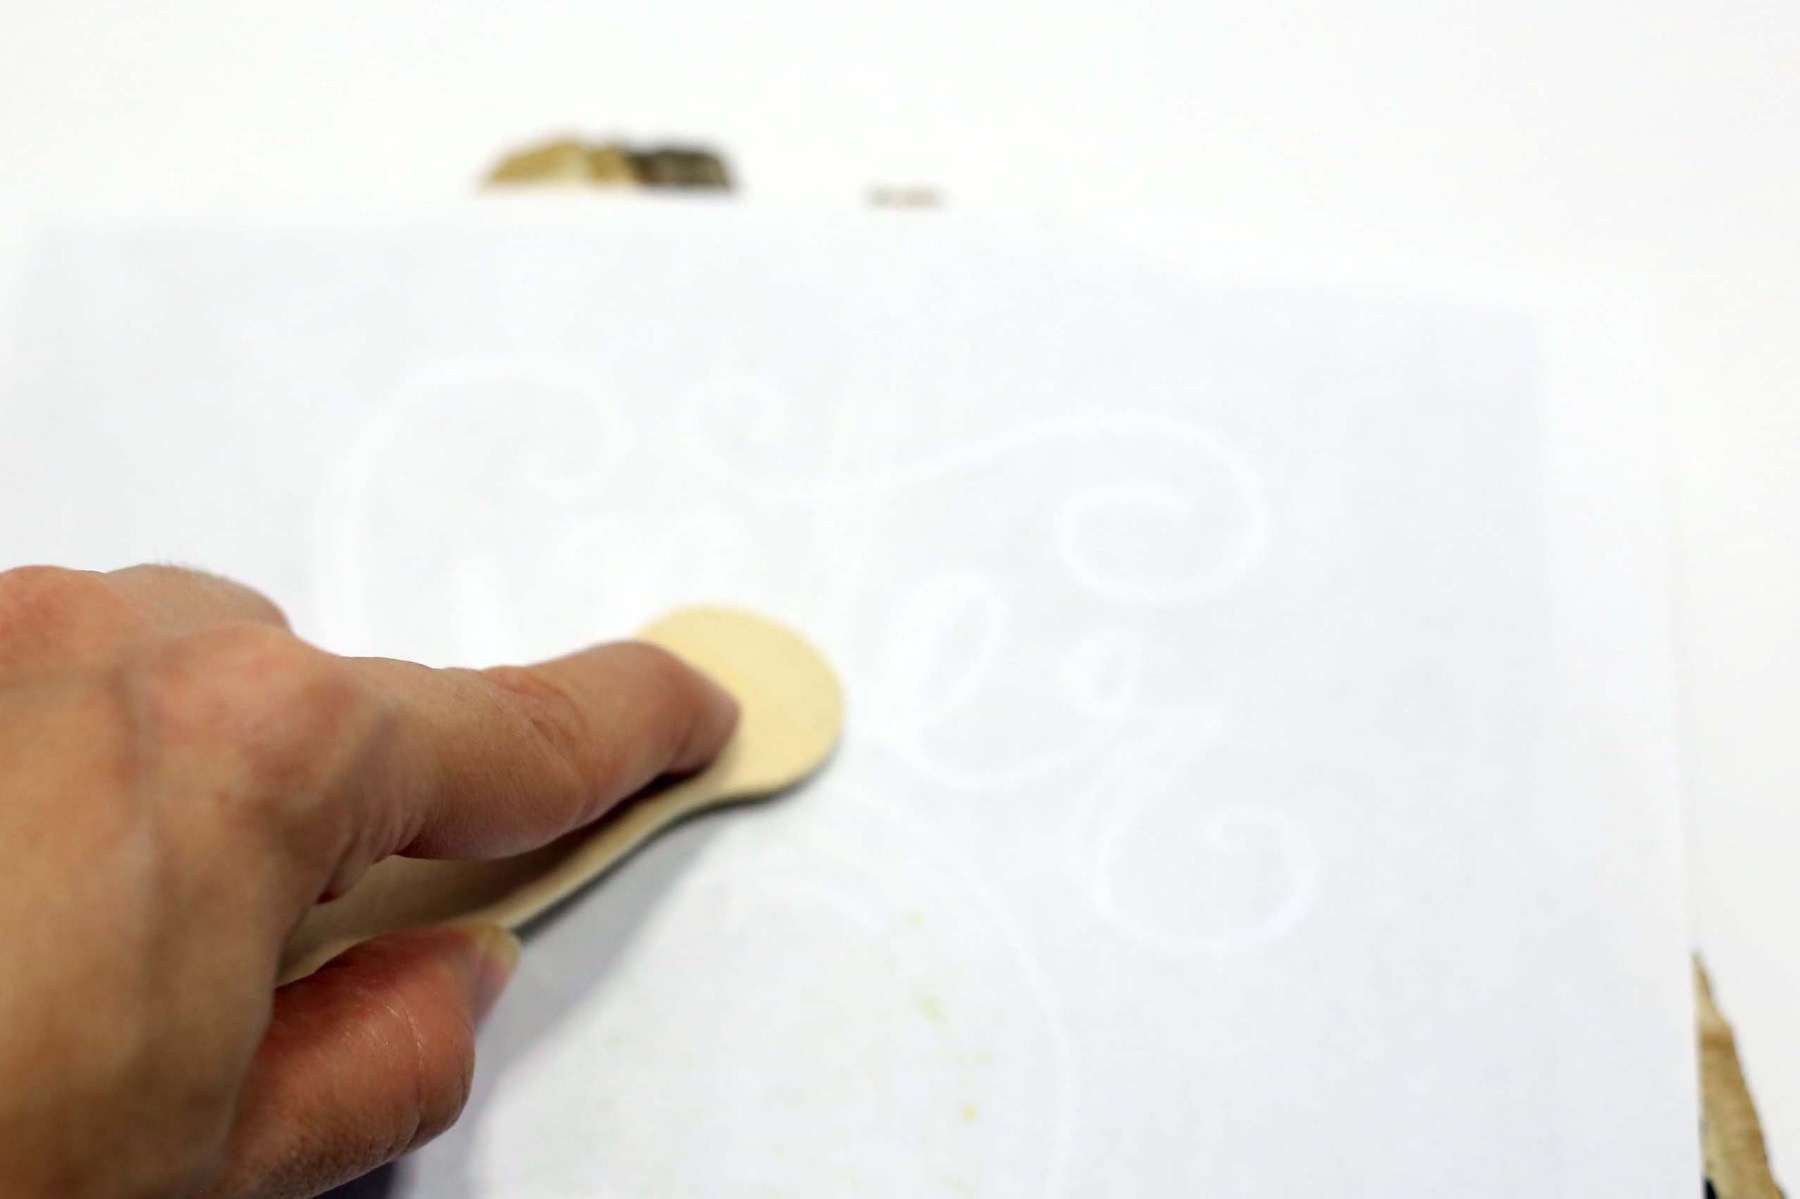
You will want your template to not move at all, so tape it down if you are concerned. Otherwise, use your hands to hold the template in place. Use a popsicle stick or bone folder to rub the entire chalkboard lettered image firmly. It will transfer the chalk from your template to your wood.
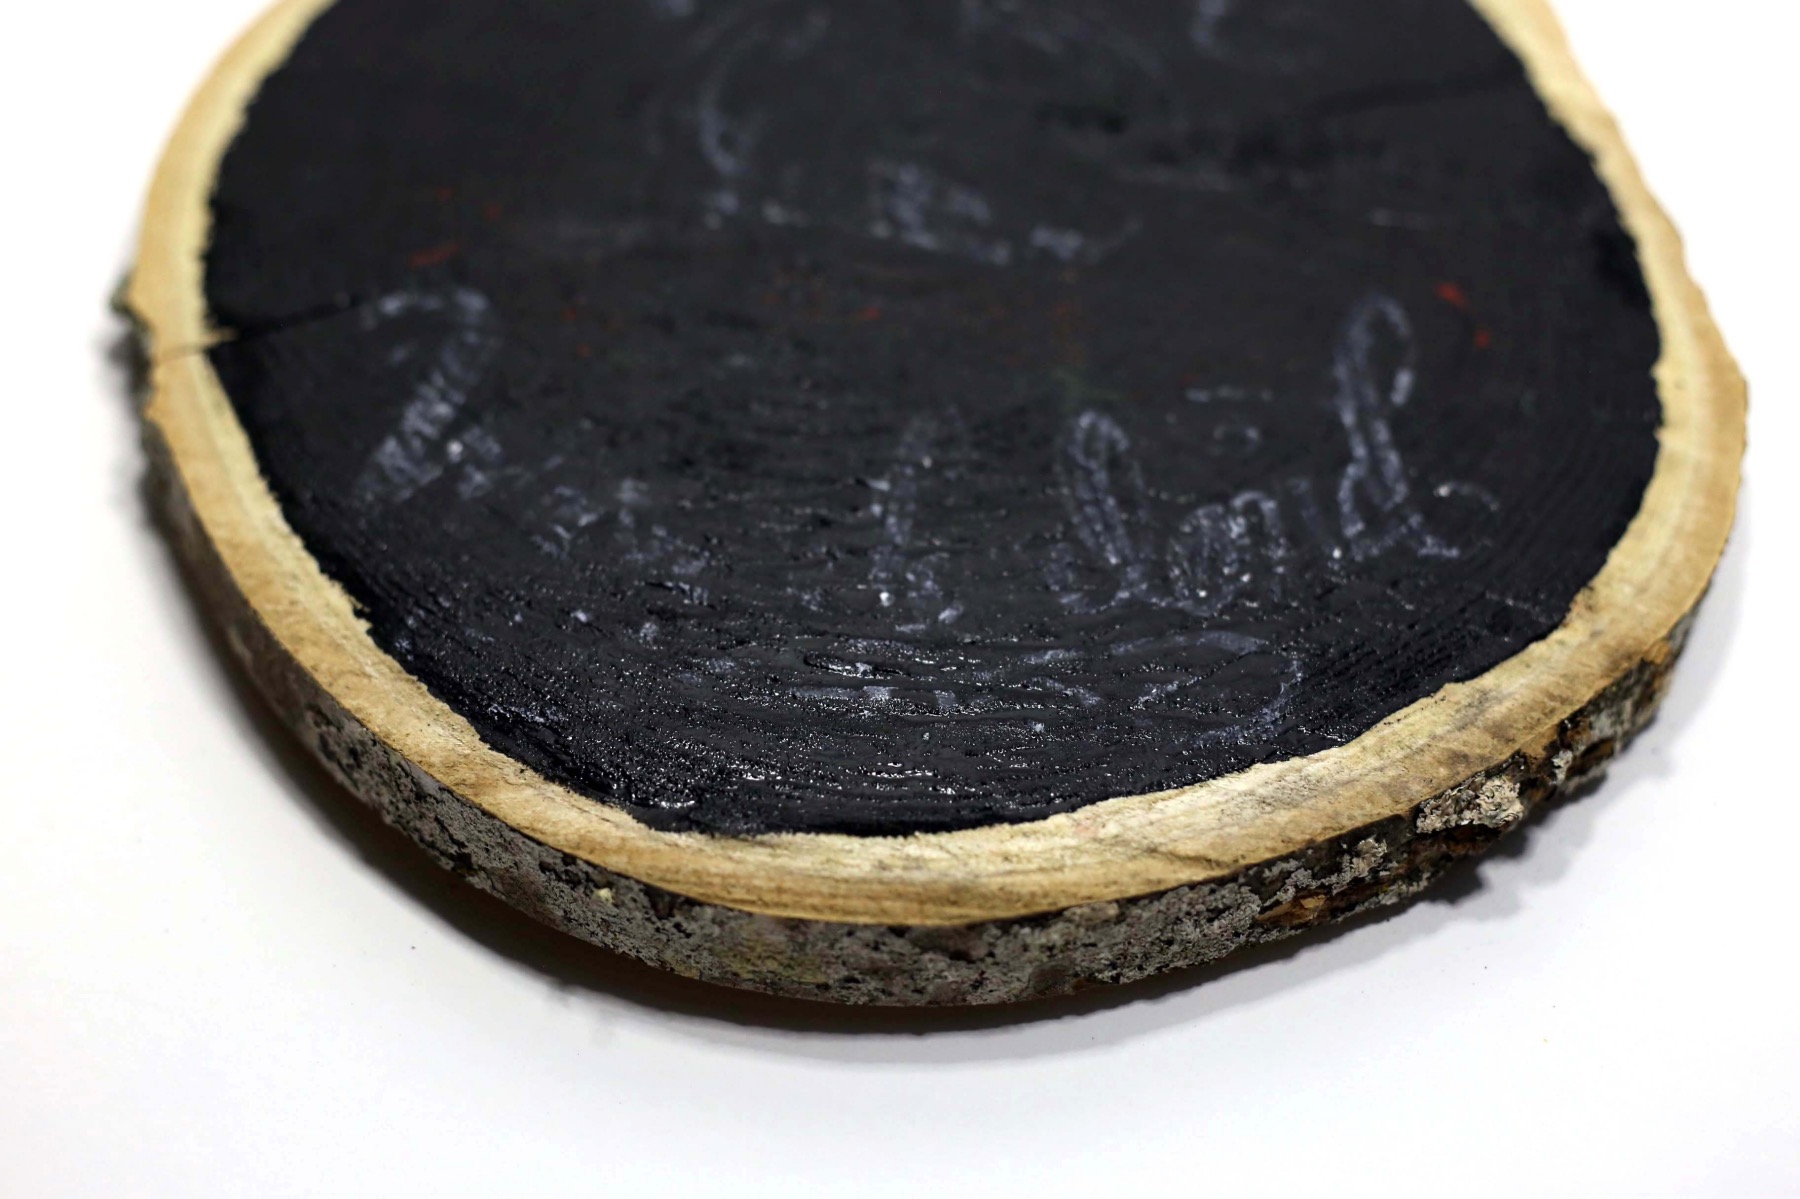
Once you have firmly, thoroughly and completely rubbed the lettering on the blank side, remove the template to reveal a ghostly image of the lettering on the wood sign!
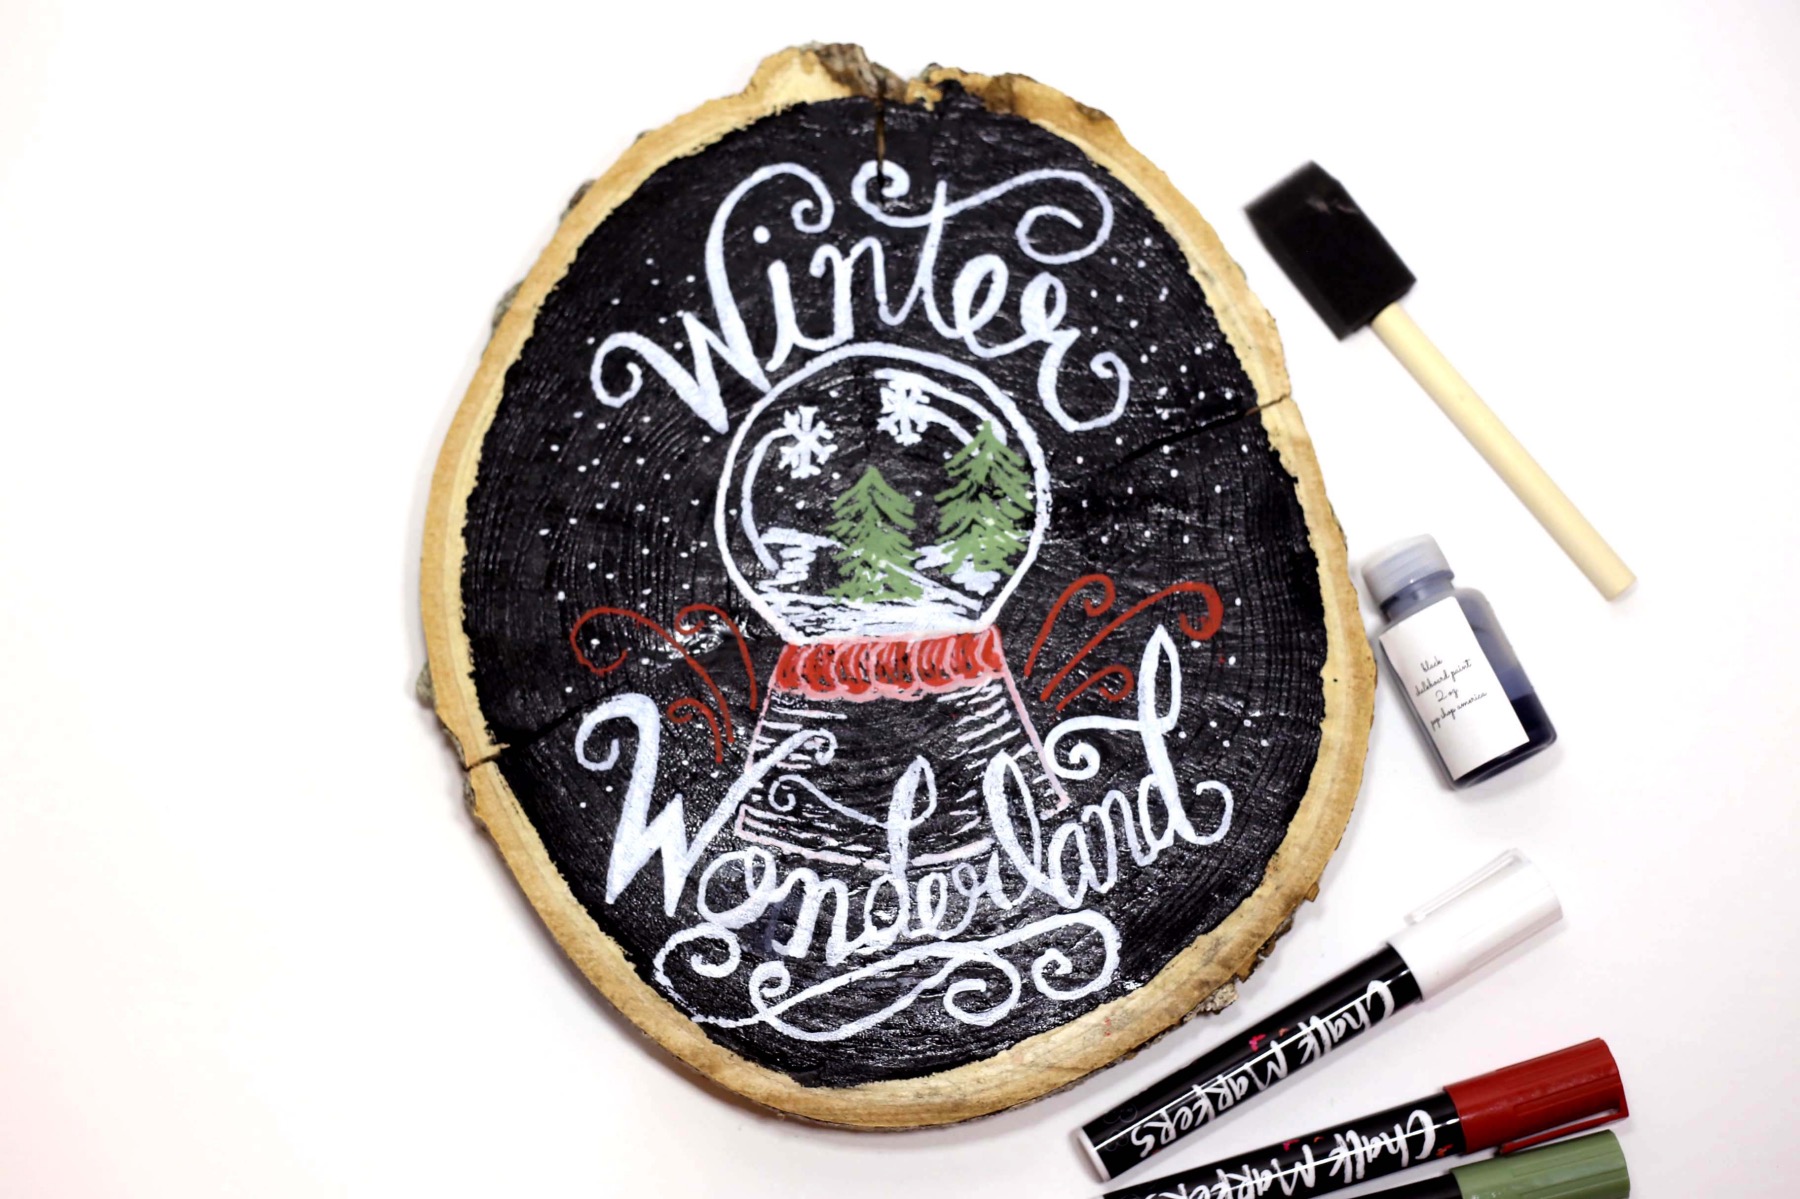
Now begin anywhere you like painting in the chalkboard lettering with your chalk pen.
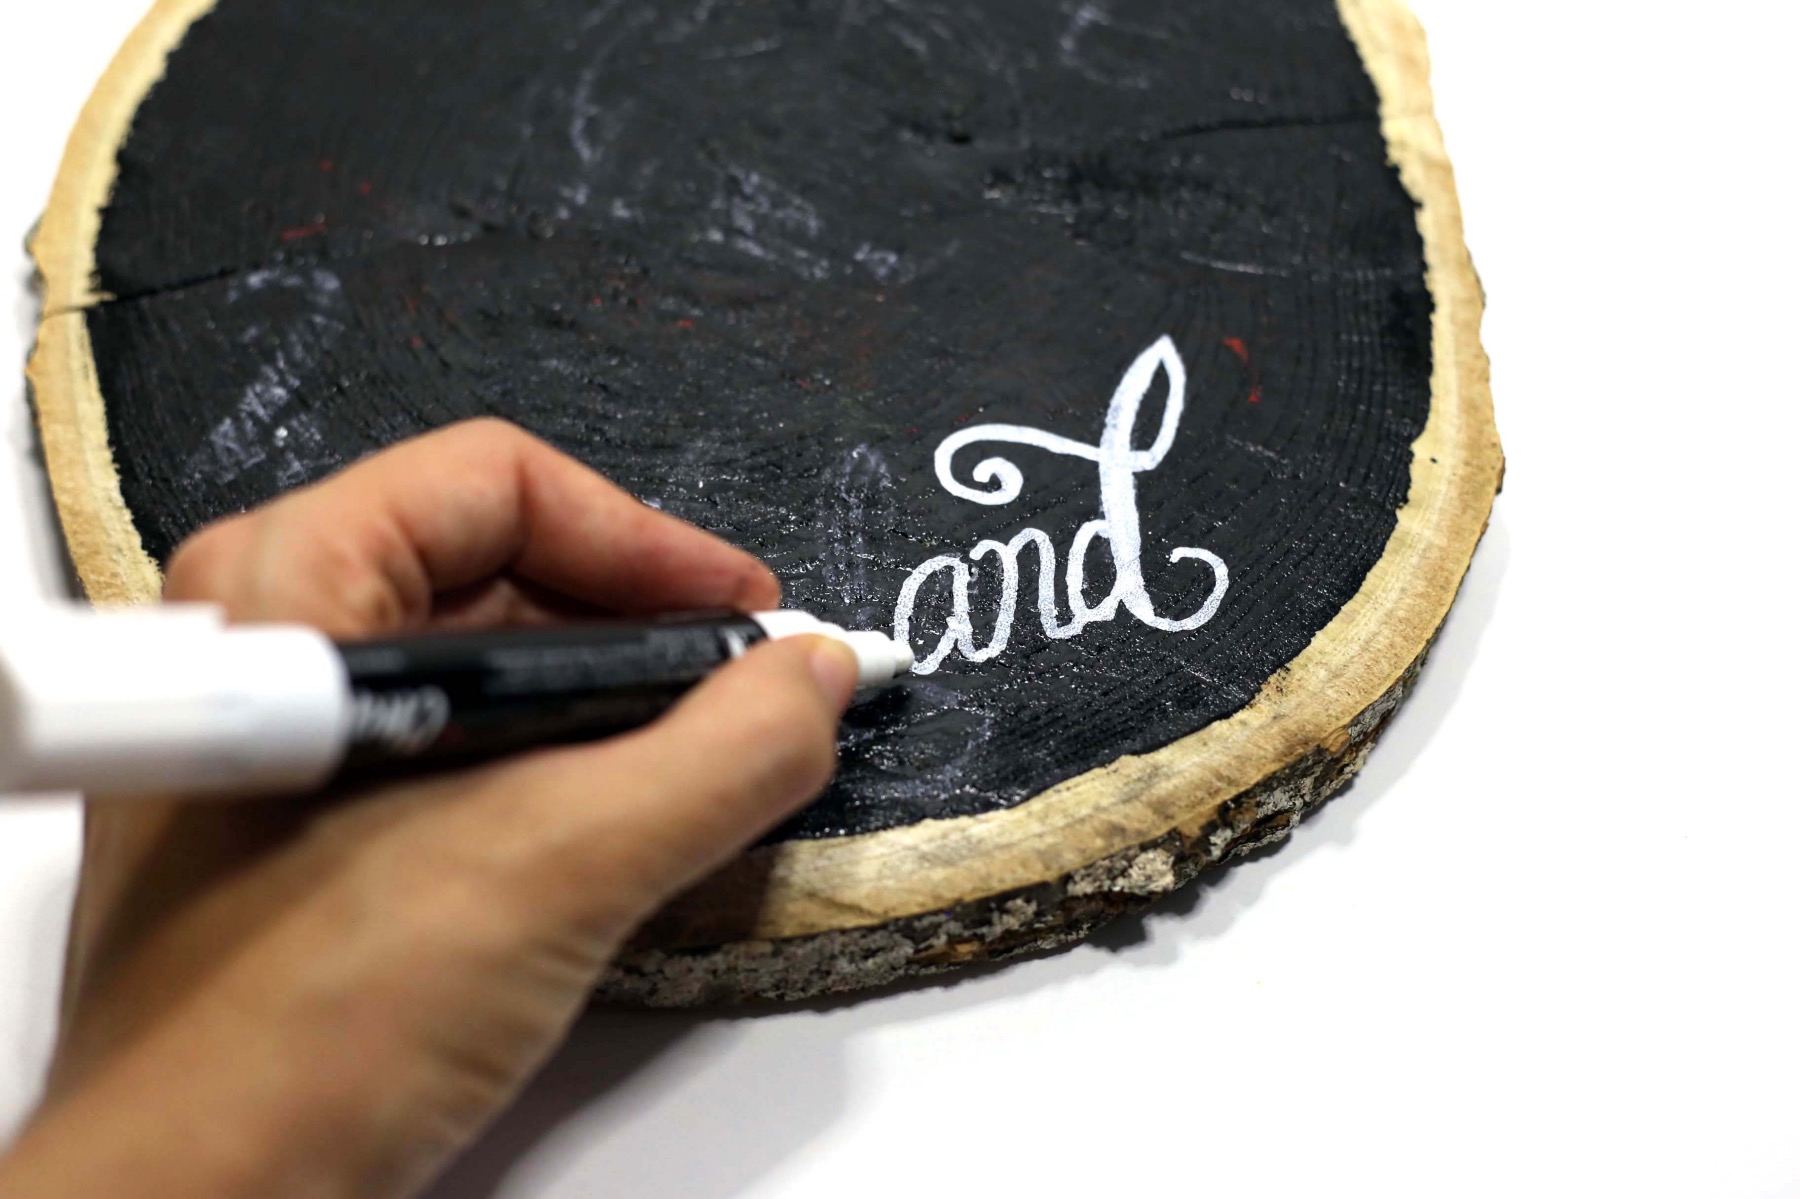
Just like how I would write a letter, I always begin in the upper left and work across and work down. There is no dry time between adding chalk – even in its liquid form. But just in case I also always work from the darkest color of chalk to the lightest color.
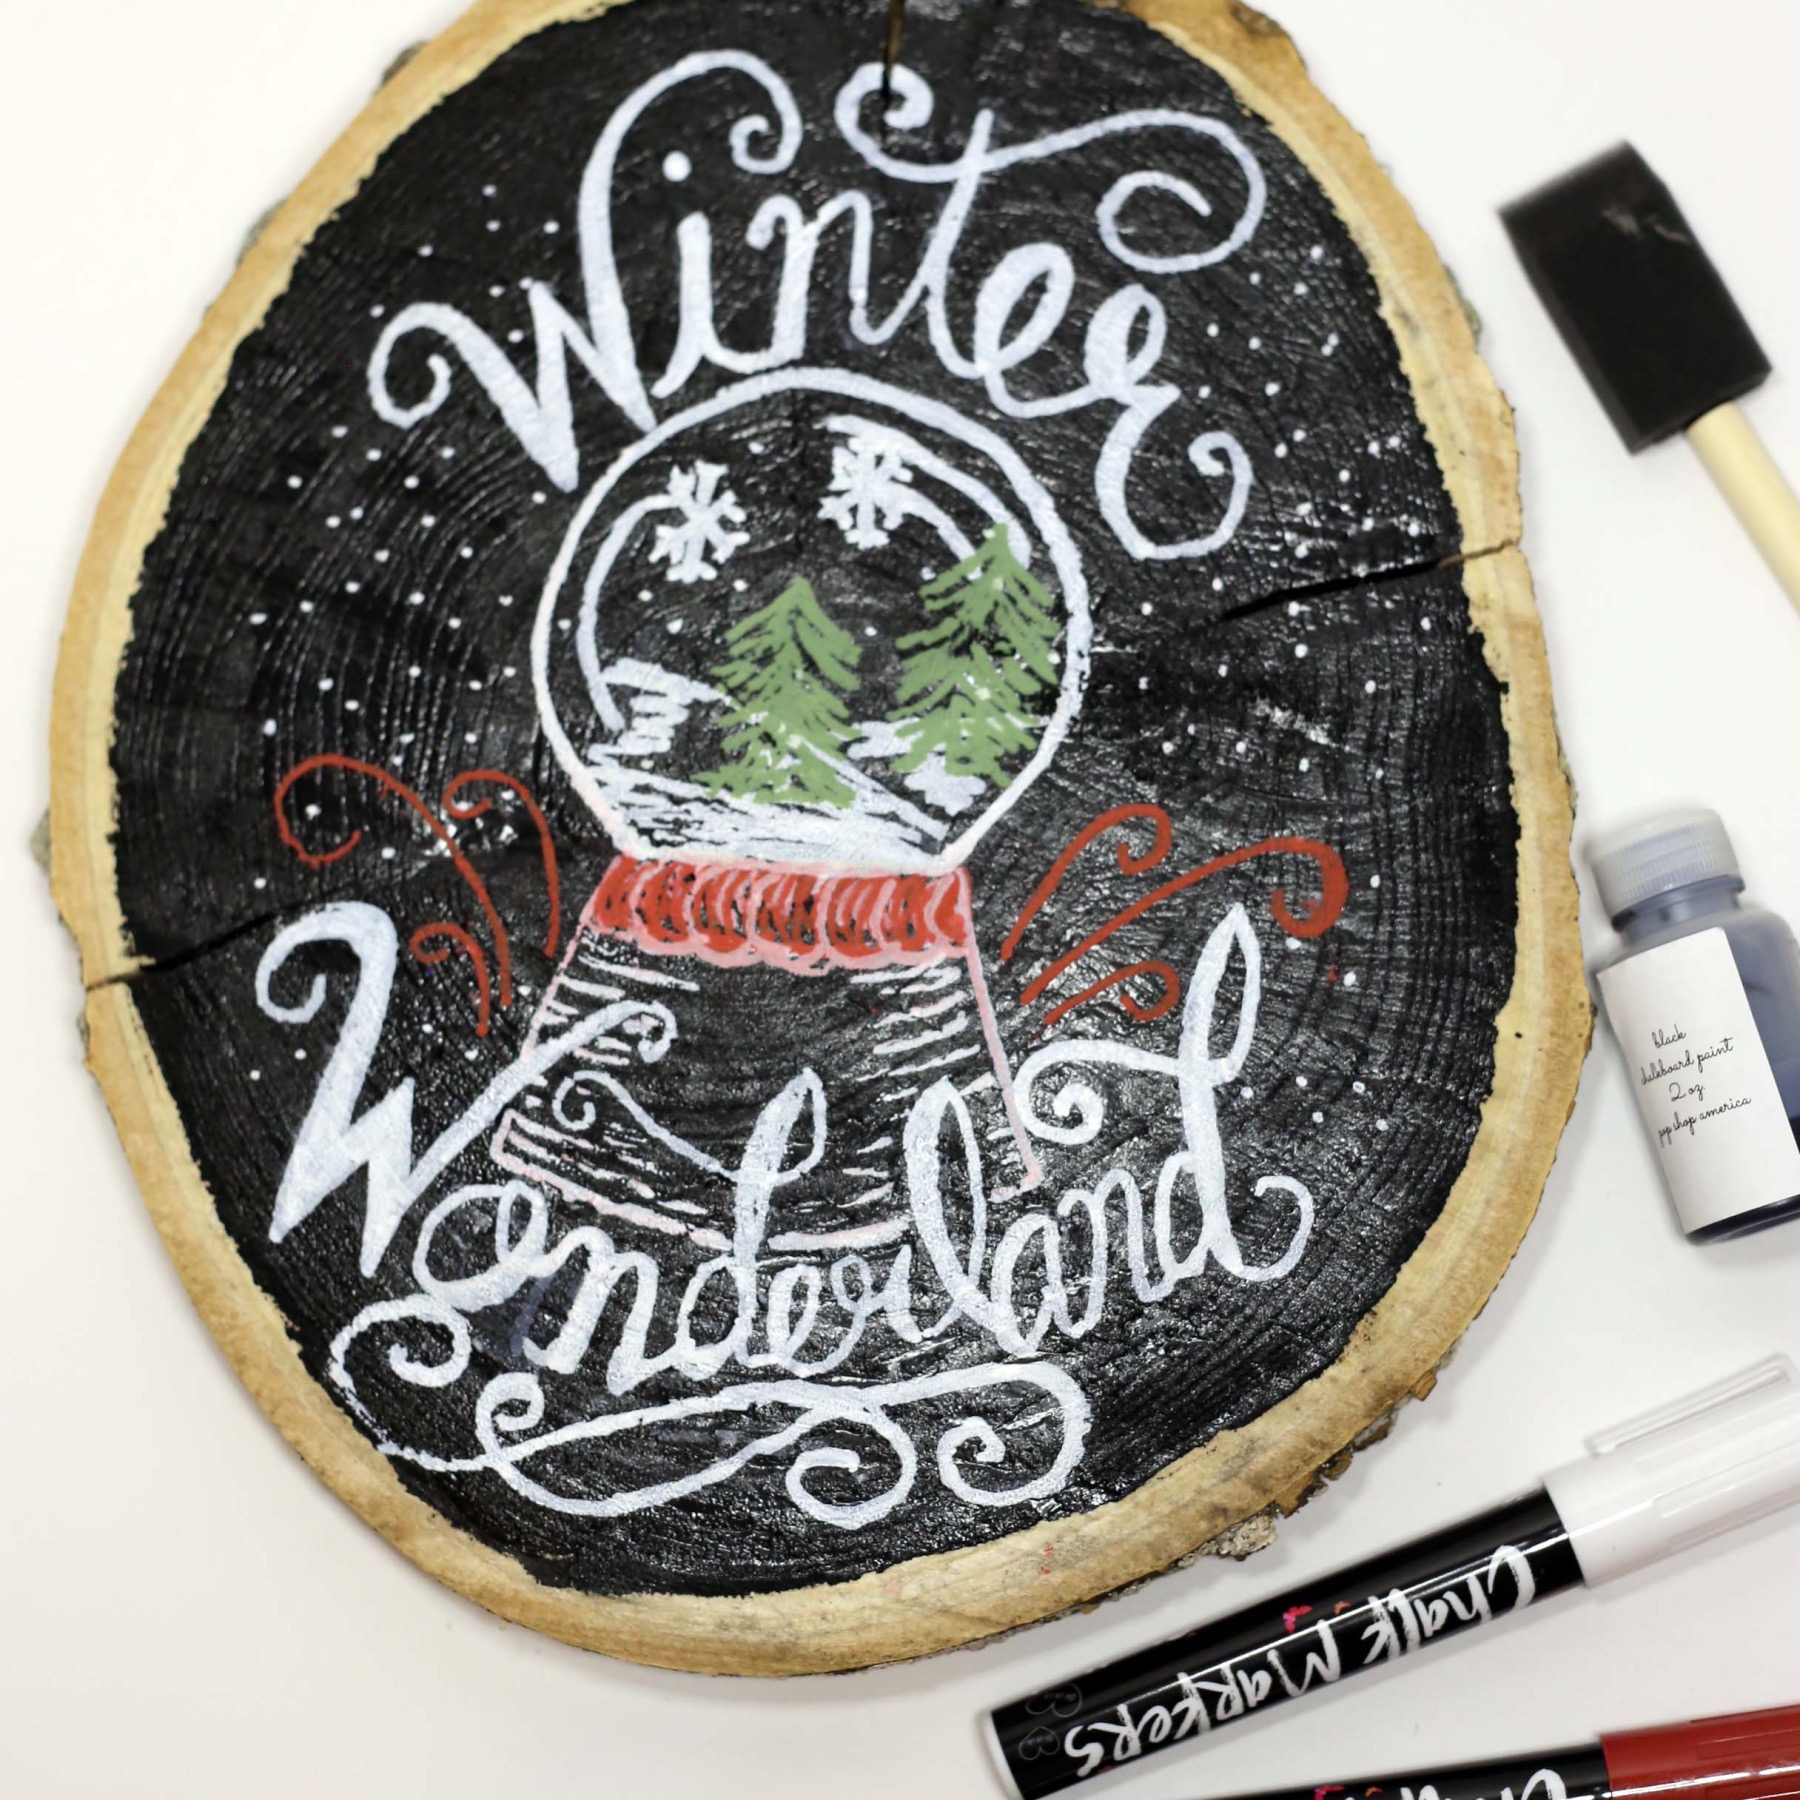
I just used chalk pens for my Fall Hand Lettered Chalkboard Sign but dry chalk is great too for your larger areas. Dry chalk doesn’t work well for small, detailed lettering, but you can create a lot of detail shading which is really fun!

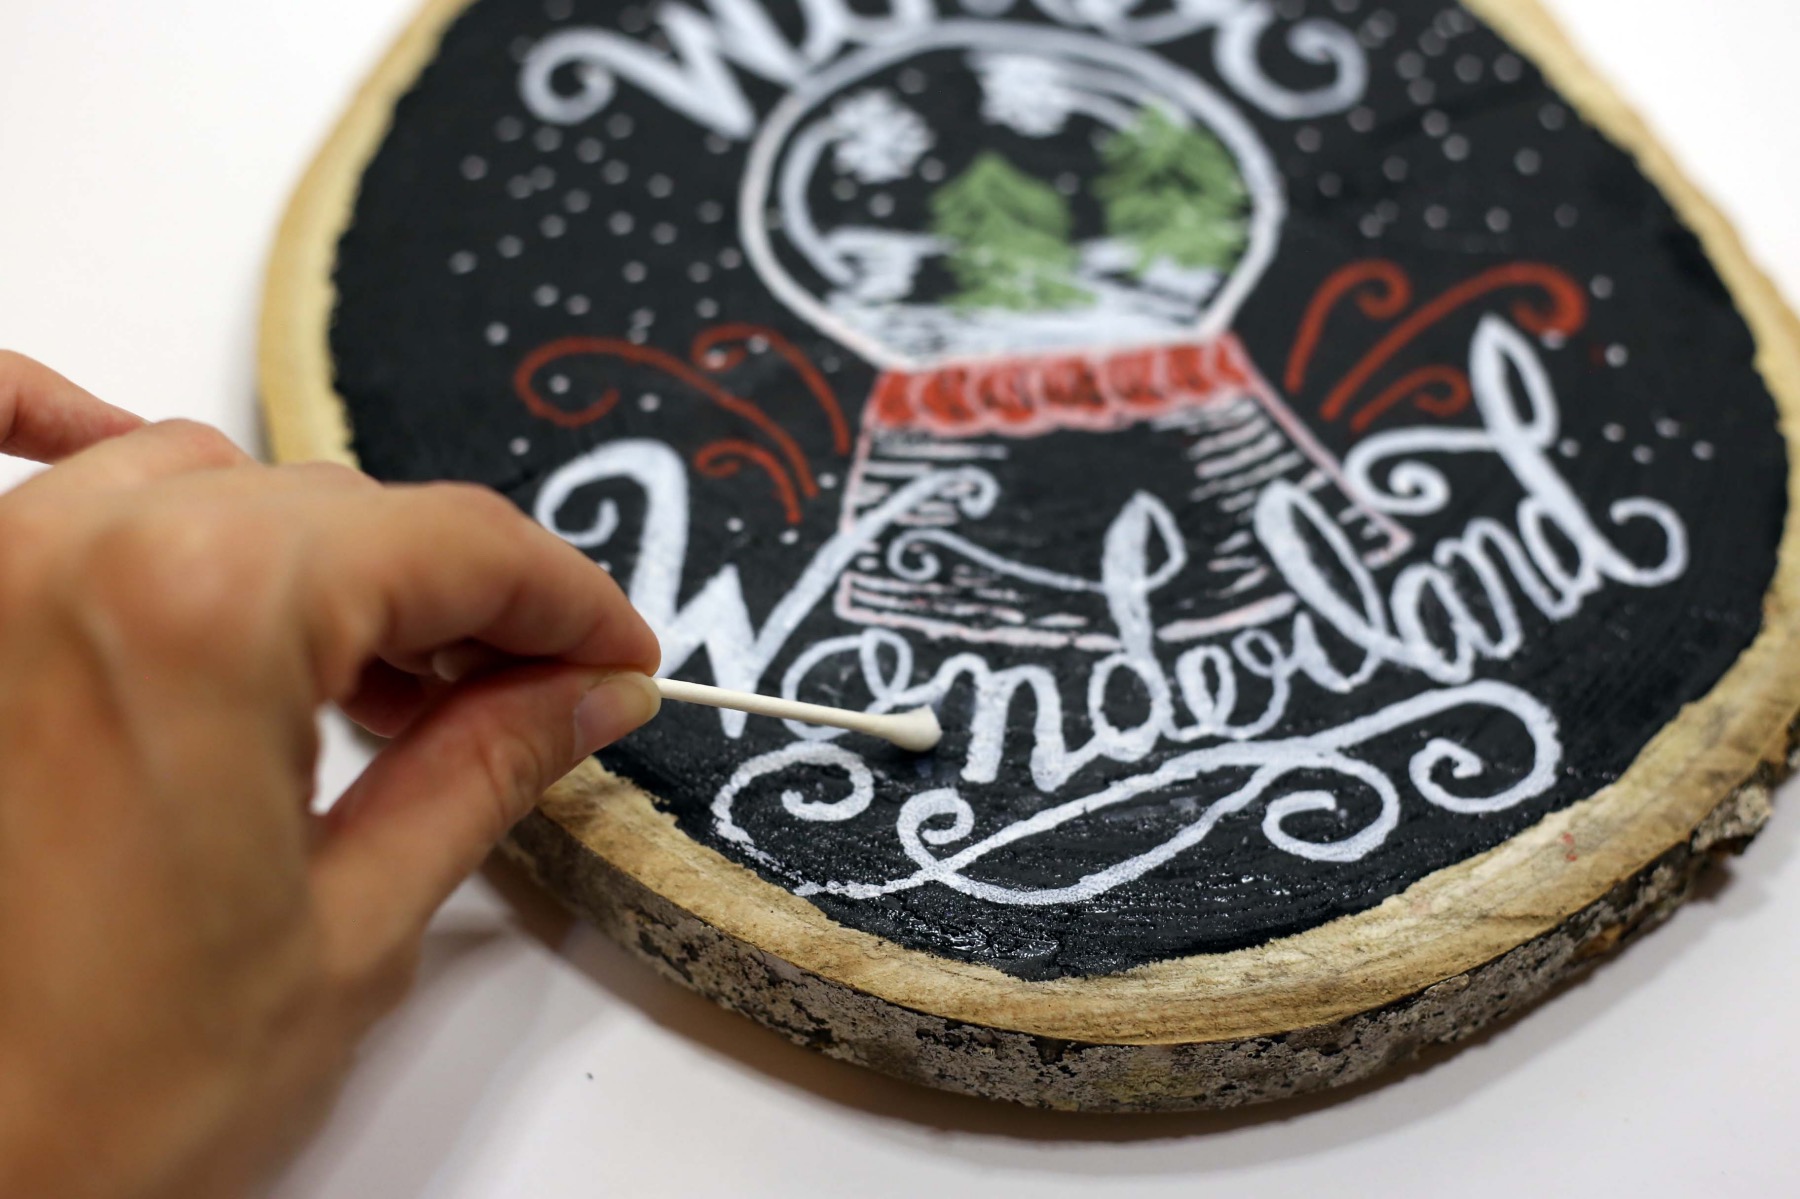
If you make any mistakes with your chalk lettering, use a wet paper towel or a wet Q-Tip to clean it up! Chalk washes off so easily!
That means that if you want your Fall Hand Lettered Chalkboard Sign to stay in mint condition, be sure to coat it after you are finished with a clear coat.
But what’s fun about chalkboard signs is that you can remake them for an event, a party, a holiday or a season! So there’s a great reason to not coat your Chalkboard Signs with a clear coat too!
If you love these Fall Hand Lettered Chalkboard Sign then be sure to download the free printable templates here.
There are many different illustrations and phrases that are perfect for the season!
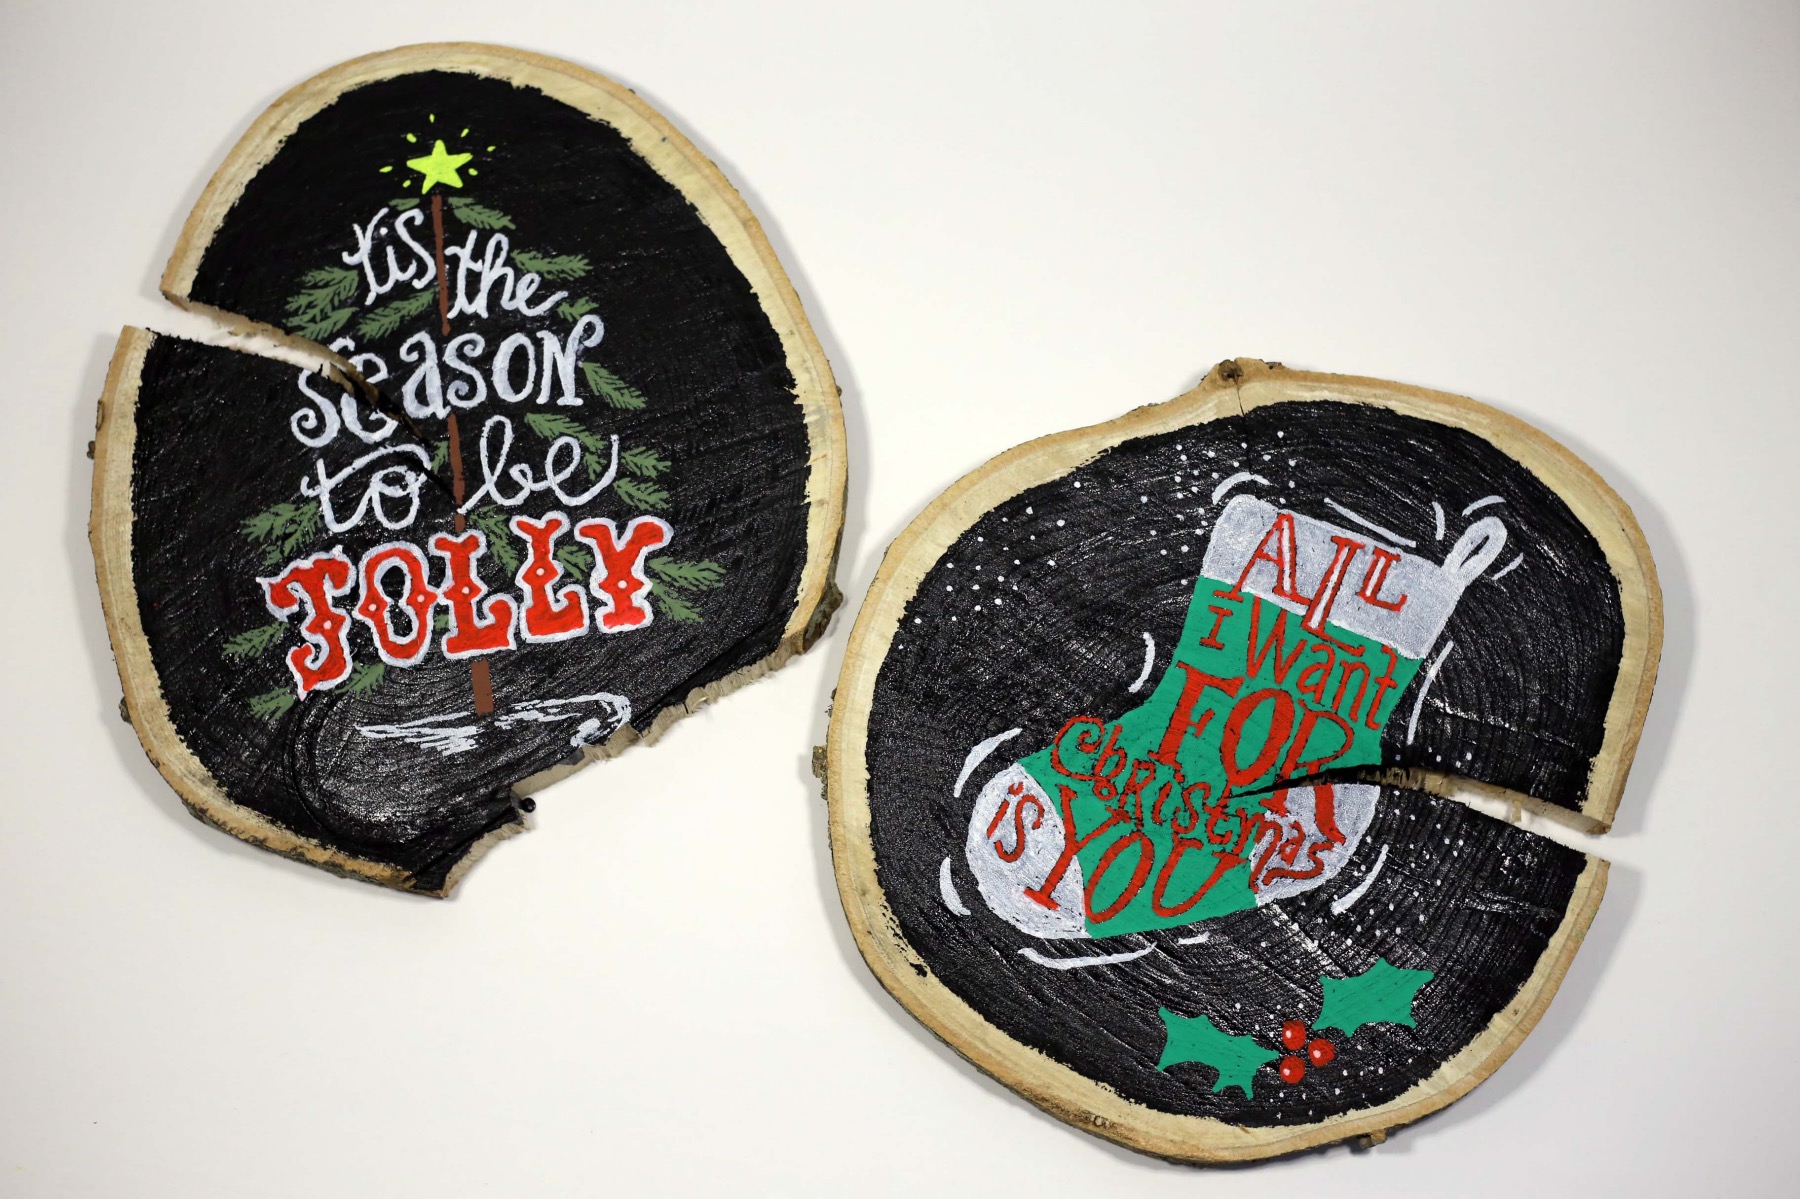
Regardless of what templates you use, all the steps to making them are the same. You can also vary the color of your chalk and the placement of your images and words. You can even cut your template to restyle and reshape it to suit any wood sign that you want to use for this project.
And if you can’t get enough chalkboard lettering be sure to check out this blog here on How to Make Chalkboard Painted Mugs! And if Wood Signs are for you, try this Painted Rustic Wood Sign here.
Let’s Be Friends!
Insta | Pinterest | Enews | TikTok

In your blog about making chalkboard wood signs you have a picture of you holding a small bottle of something but it is not mentioned in your story. Is it the chalkboard paint or a small bottle of something else. I do chalkboard art for the daily menus we have on the TV show I work on. I’m just a beginner so I have a lot to learn.
I’m on instagram.
johnzinskey
Maybe you could give me some pointers.
It’s a small bottle of chalkboard paint! You will notice there’s a difference in quality of paint. I highly recommend chalkboard paint from the hardware store but not the craft supply shops.