DIY
DIY Pie Slice Box Cricut Template
Sep
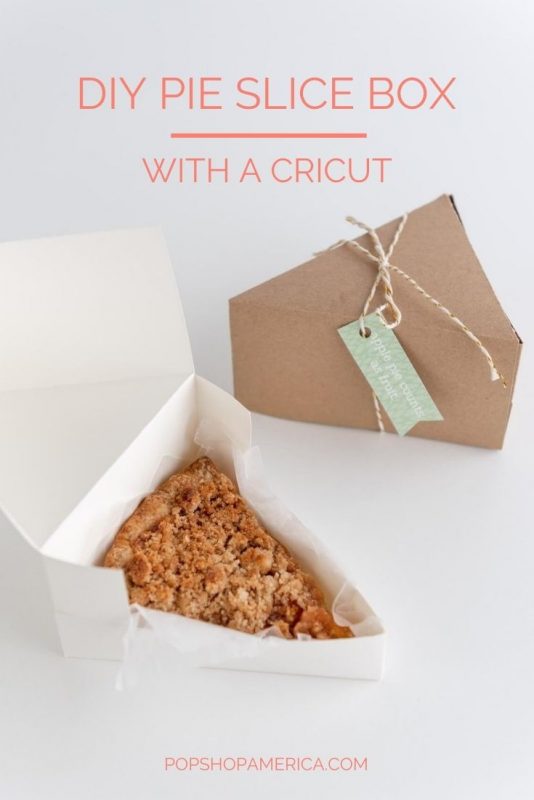
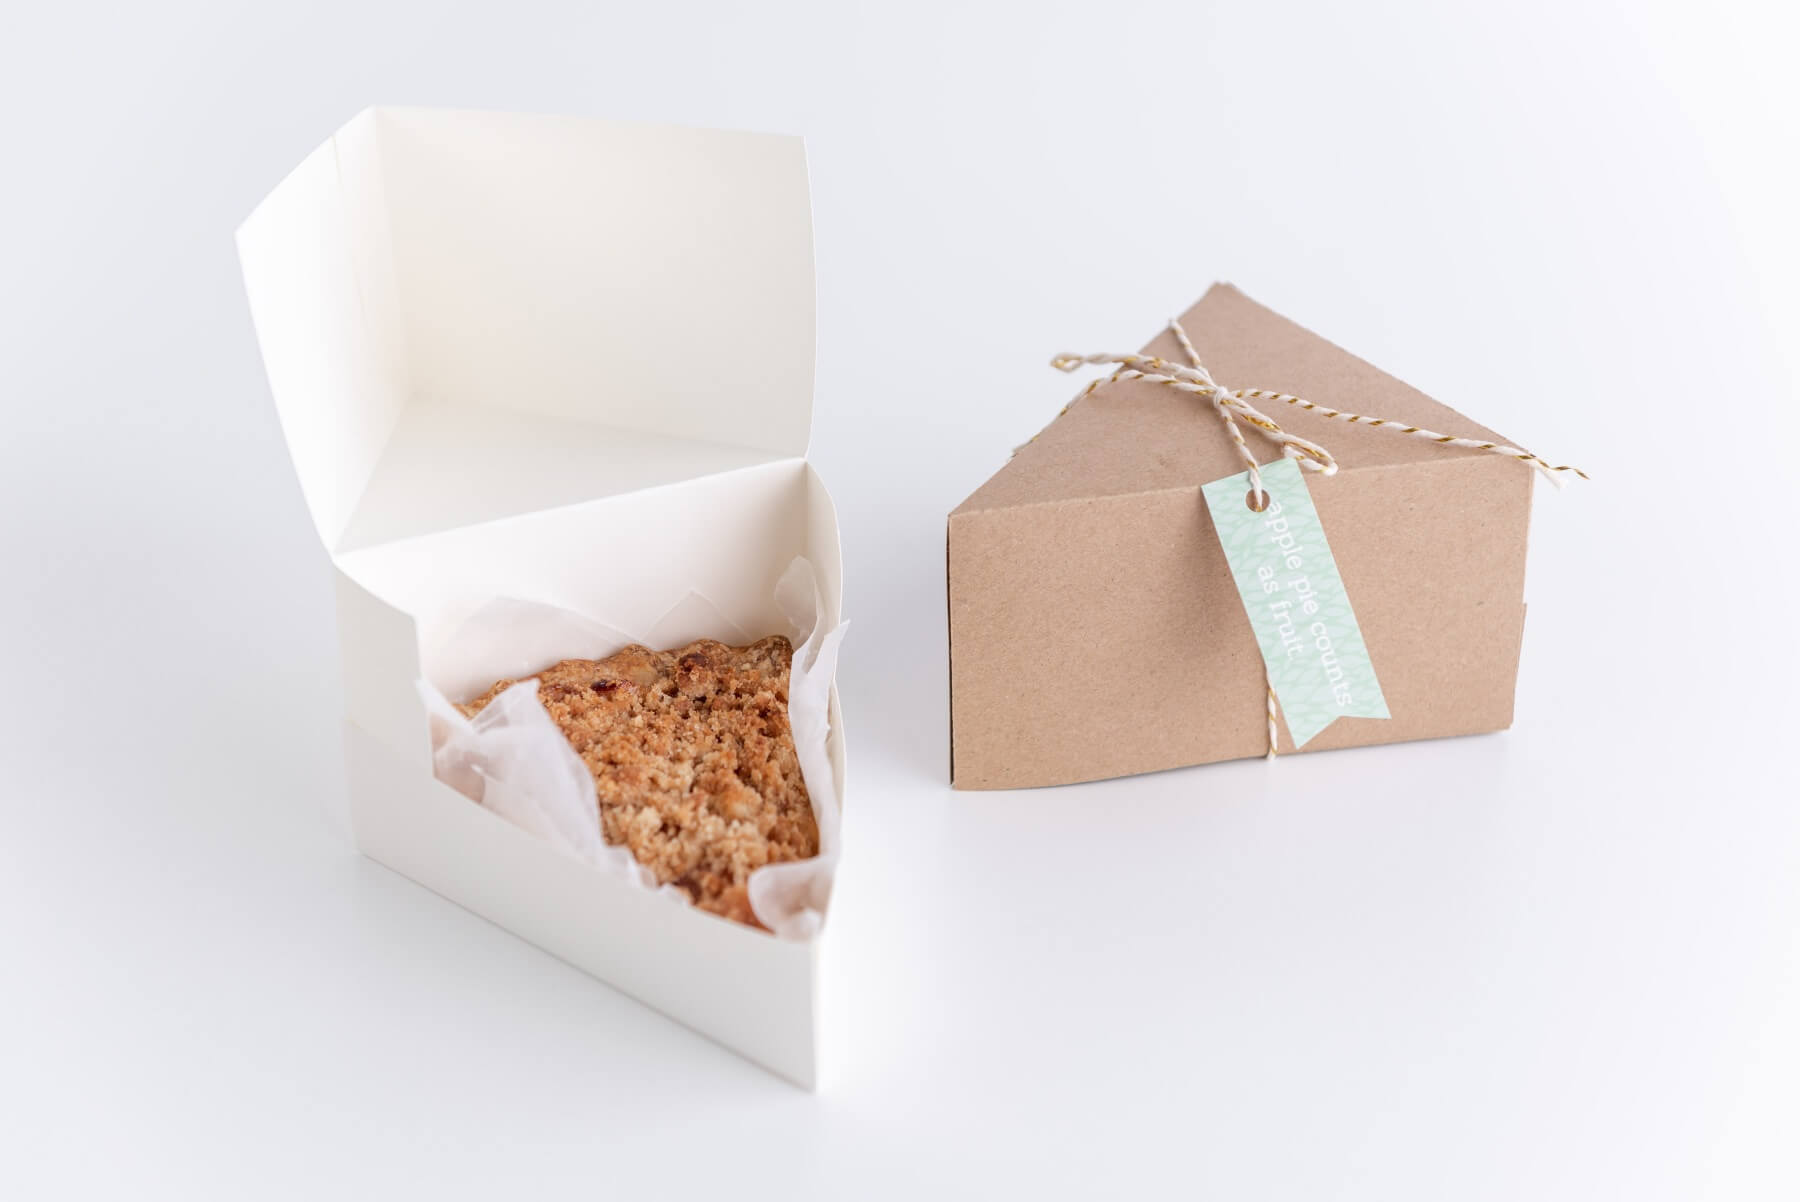
Tis the season for pie! And it’s also such a great time for gifts and gift giving. Combine the two with this DIY Pie Slice Box that you can make with a Cricut. It’s the perfect way to give a slice of pie as a gift.
Best of all, I even made these adorable Apple Pie Slice Gift Tags that you can download and use for free. So let’s make it!
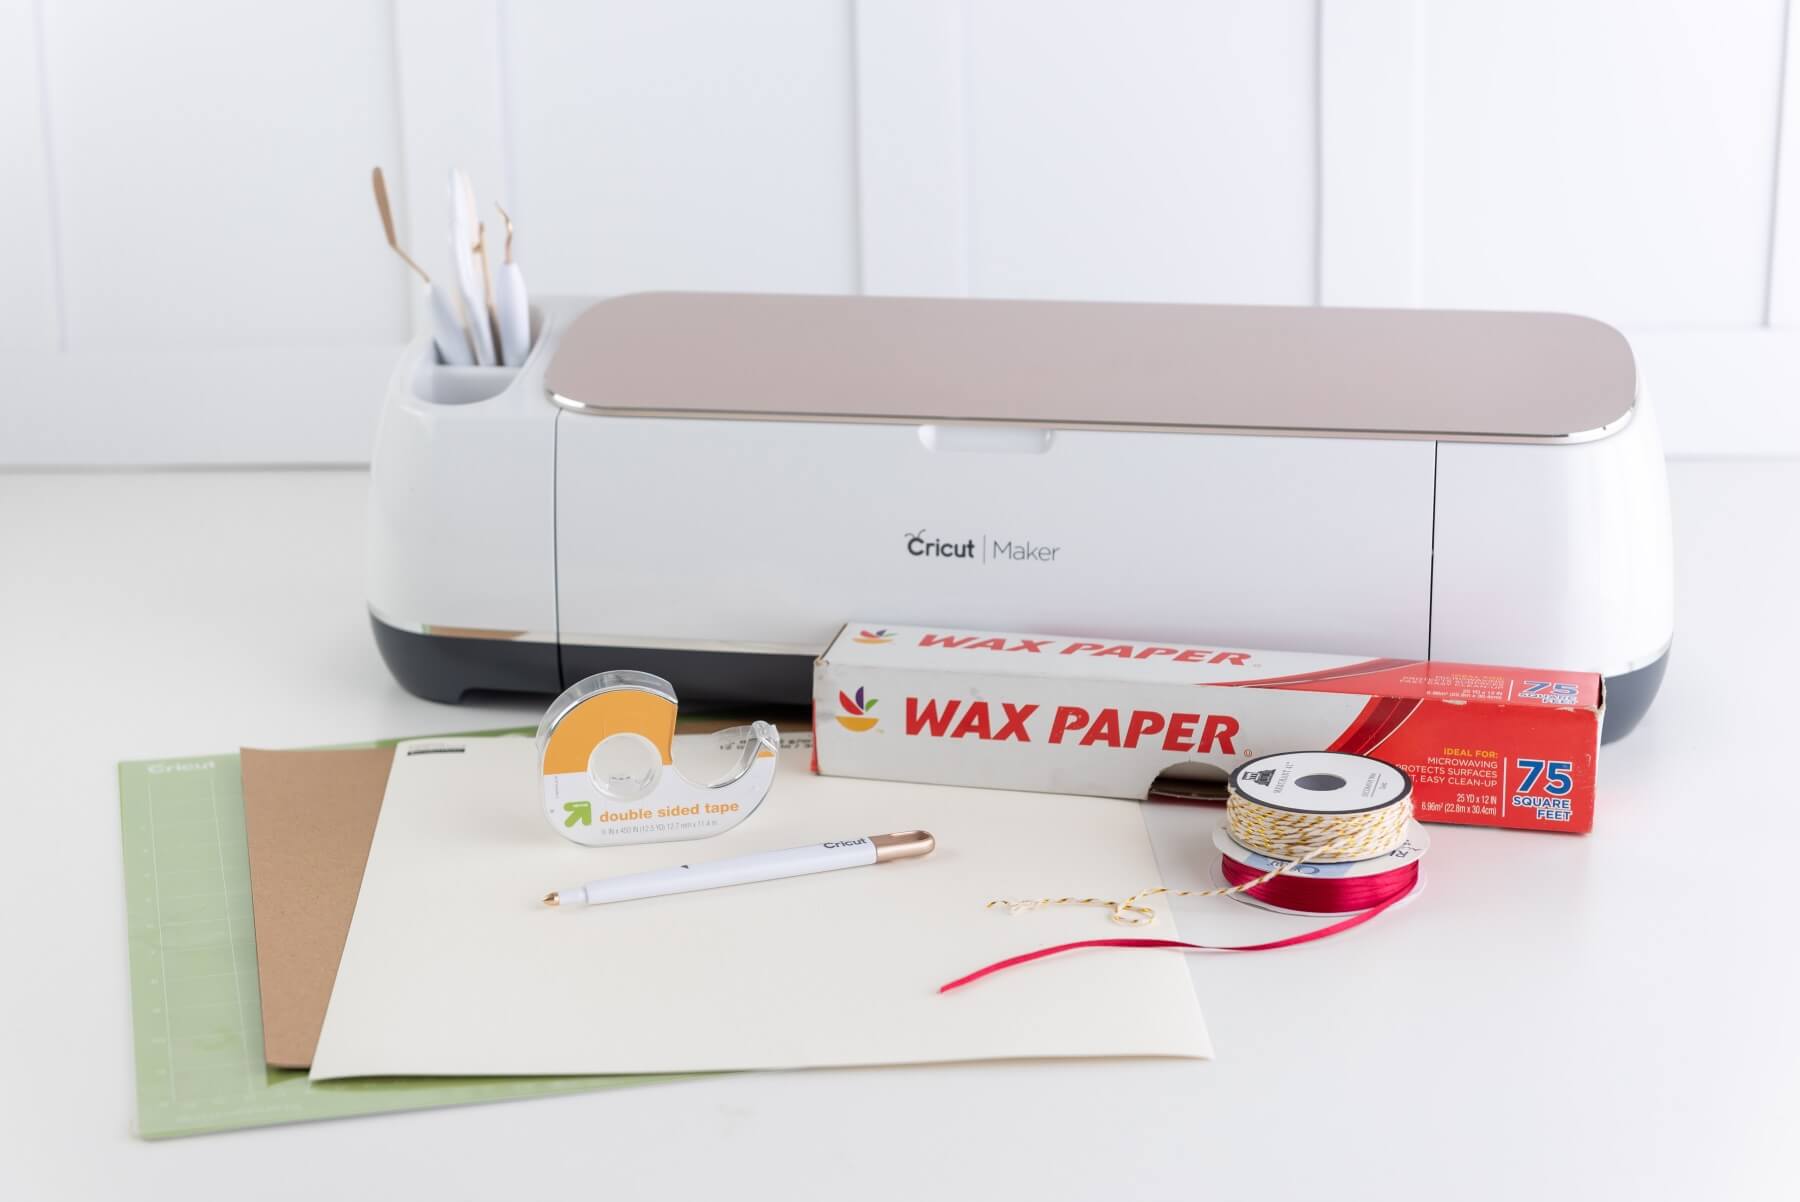
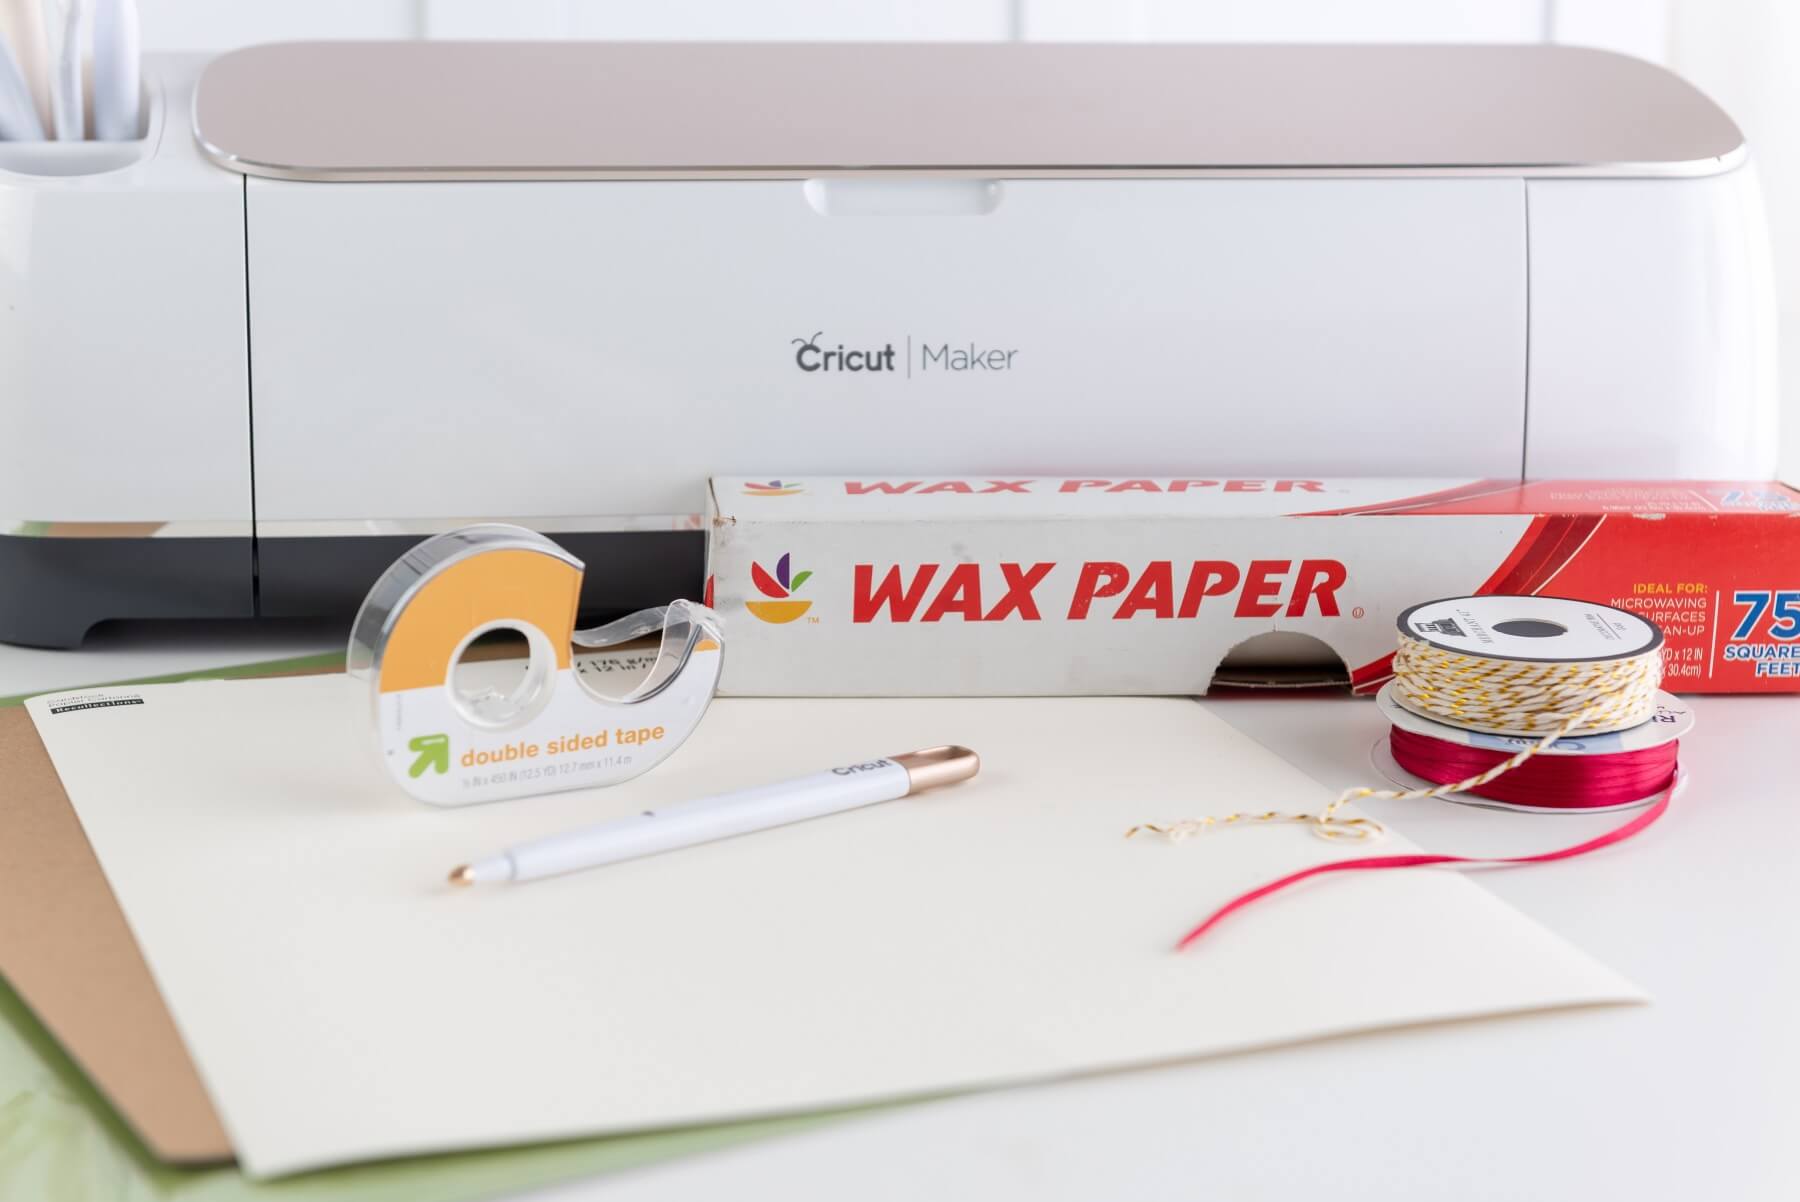
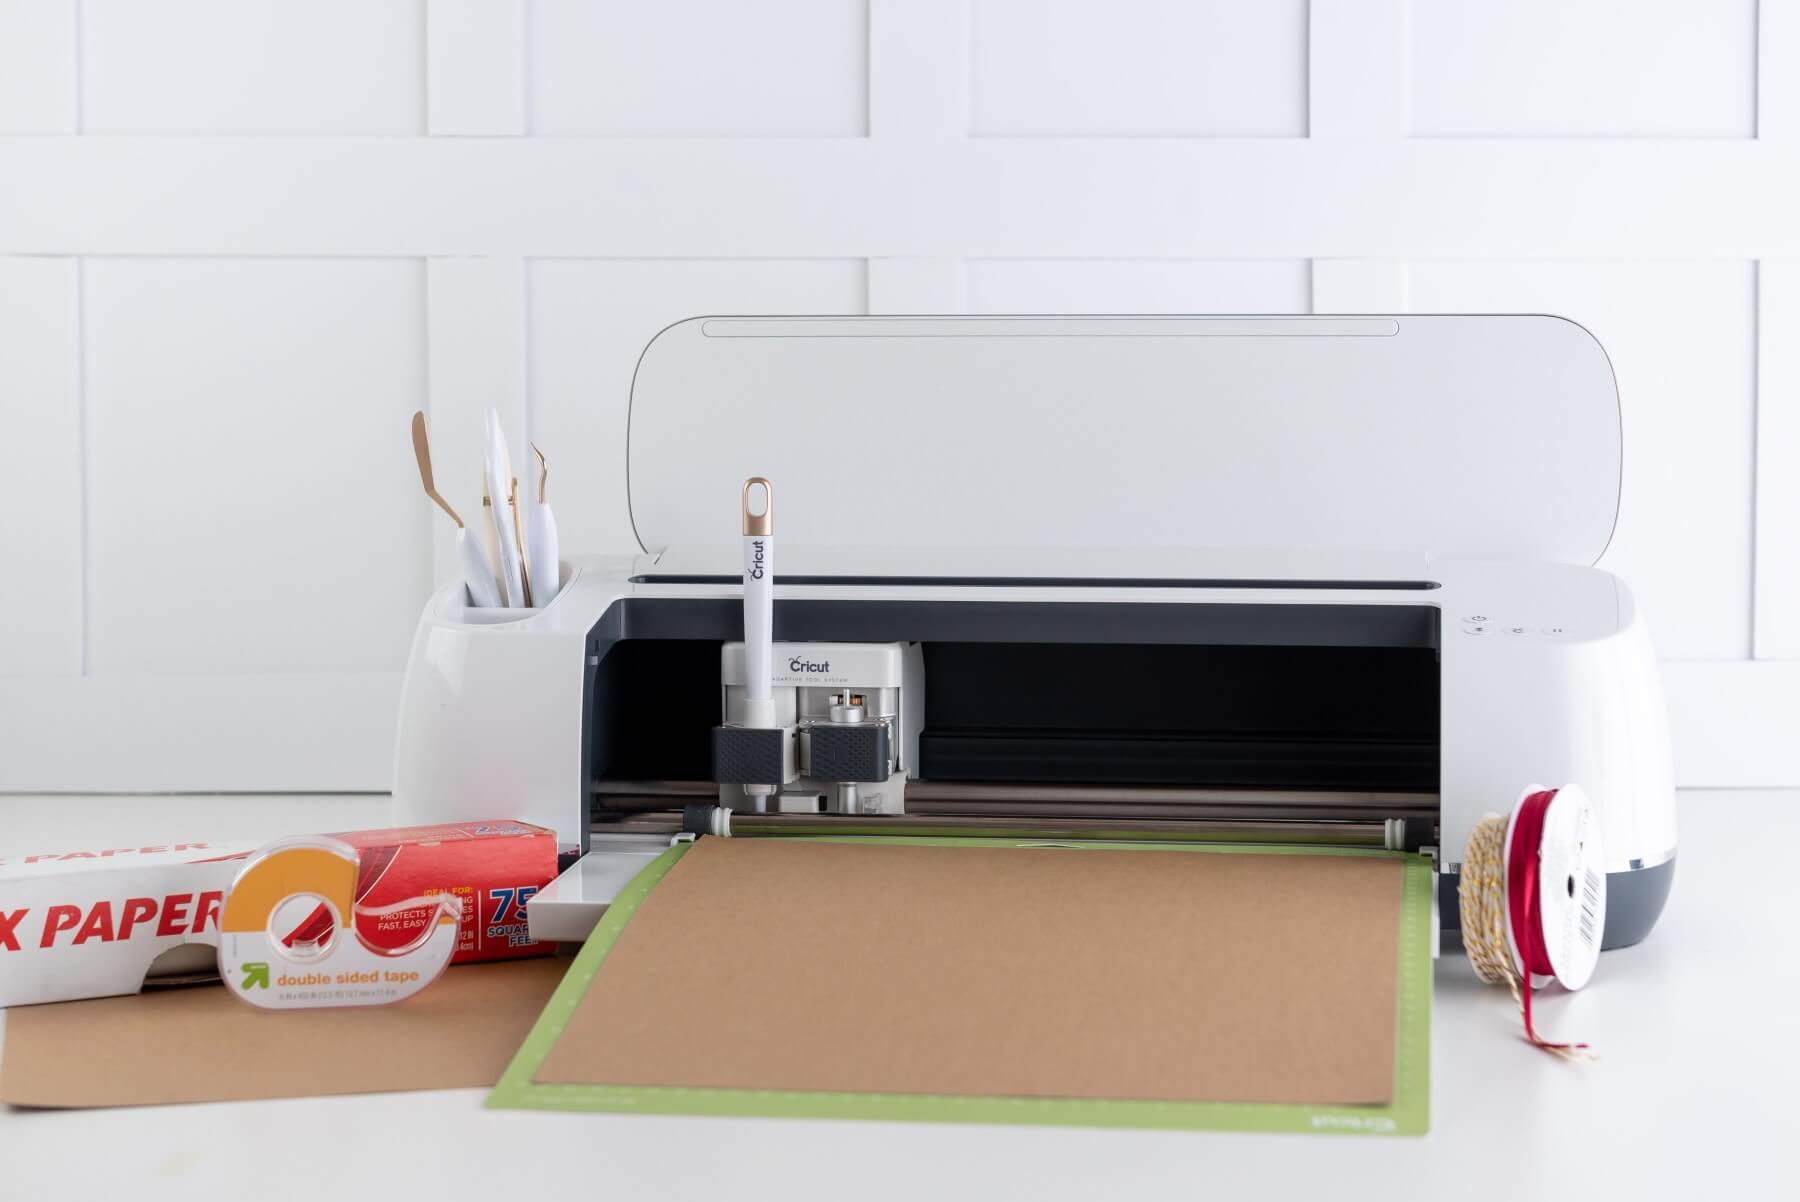
Supplies You Need to Make a DIY Pie Slice Box:
Cricut Machine
DIY Pie Slice Box Template
2x 12×12” Cardstock (65 lb paper weight) in White or Kraft Paper
Standard Grip or Light Grip Mat for your Cricut
Scoring Tool or Stylus for your Cricut
Double Sided Tape
Ribbon or Twine
Wax Paper
These Apple Pie Printable Gift Tags
+ Regular Cardstock & a Regular Printer to Print the Gift Tags
And of course, you will need pie slices! The gift tags that you can download for free are specific to apple pie, but you could use these boxes for any kind of pie slice – whatever your favorite even if it’s a piece of Vegan Pumpkin Pie, a slice of Cherry Cream Pie. You could even use these boxes for slices of cake like this Rosemary Olive Oil Cake here.
This project is beginner friendly for new Cricut users, and even if you don’t have a Cricut, you could follow the template and trace it with a pencil and then cut it with an x-acto and a ruler. But of course, using a Cricut is the best way!
For this project, I used version 6 of the Cricut software so if you are using an older version, your screens may look a bit different. You can use either a standard grip or light grip mat. To use it, peel off the cover and press your cardstock onto the sticky part of the mat. Try to line up your corners as perfectly as you can.
Also, make sure you have a cutting tool! You can attach it now but you will have a prompt to attach it when you are ready to print the project. This is a cut project – not an ink project.
Step 1: Download the Pie Slice Box File
Start by downloading this DIY Pie Slice Box SVG and open it inside the Cricut Software.
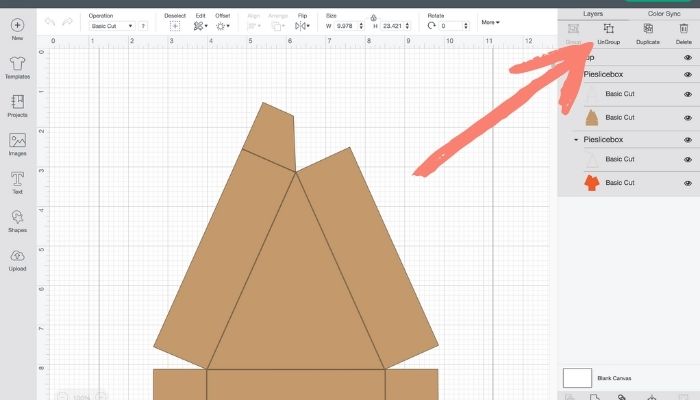
Step 2: Score & Cut Your Cardstock
On the right hand side, you will see a way to ungroup on the layers of the file. Click it and then select the layer with the fold lines. The fold lines are the interior lines of the box. The exterior lines will be cut lines.
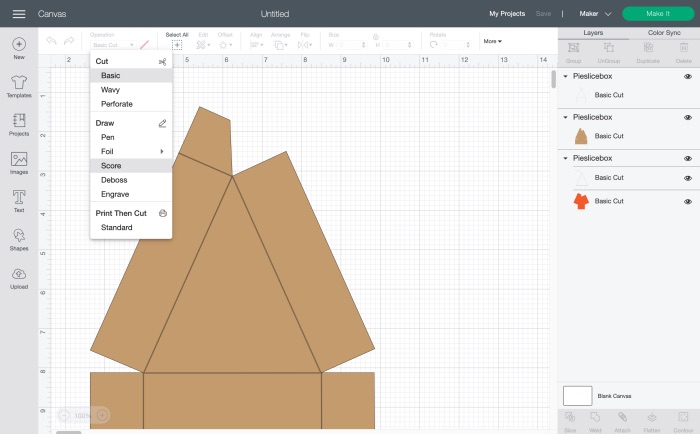
Once selected, click line type towards the left of the top toolbar. Click the drop down menu and select score.
Repeat this step for both parts – the lid and the base of the box. Next, select the layer with the score lines and then select the layer containing the main box shape. Hit attach which is located towards the bottom of the layers panel. Repeat this step for both the lid and the base of the box. Just like you did before.
Step 3: Cut the Box
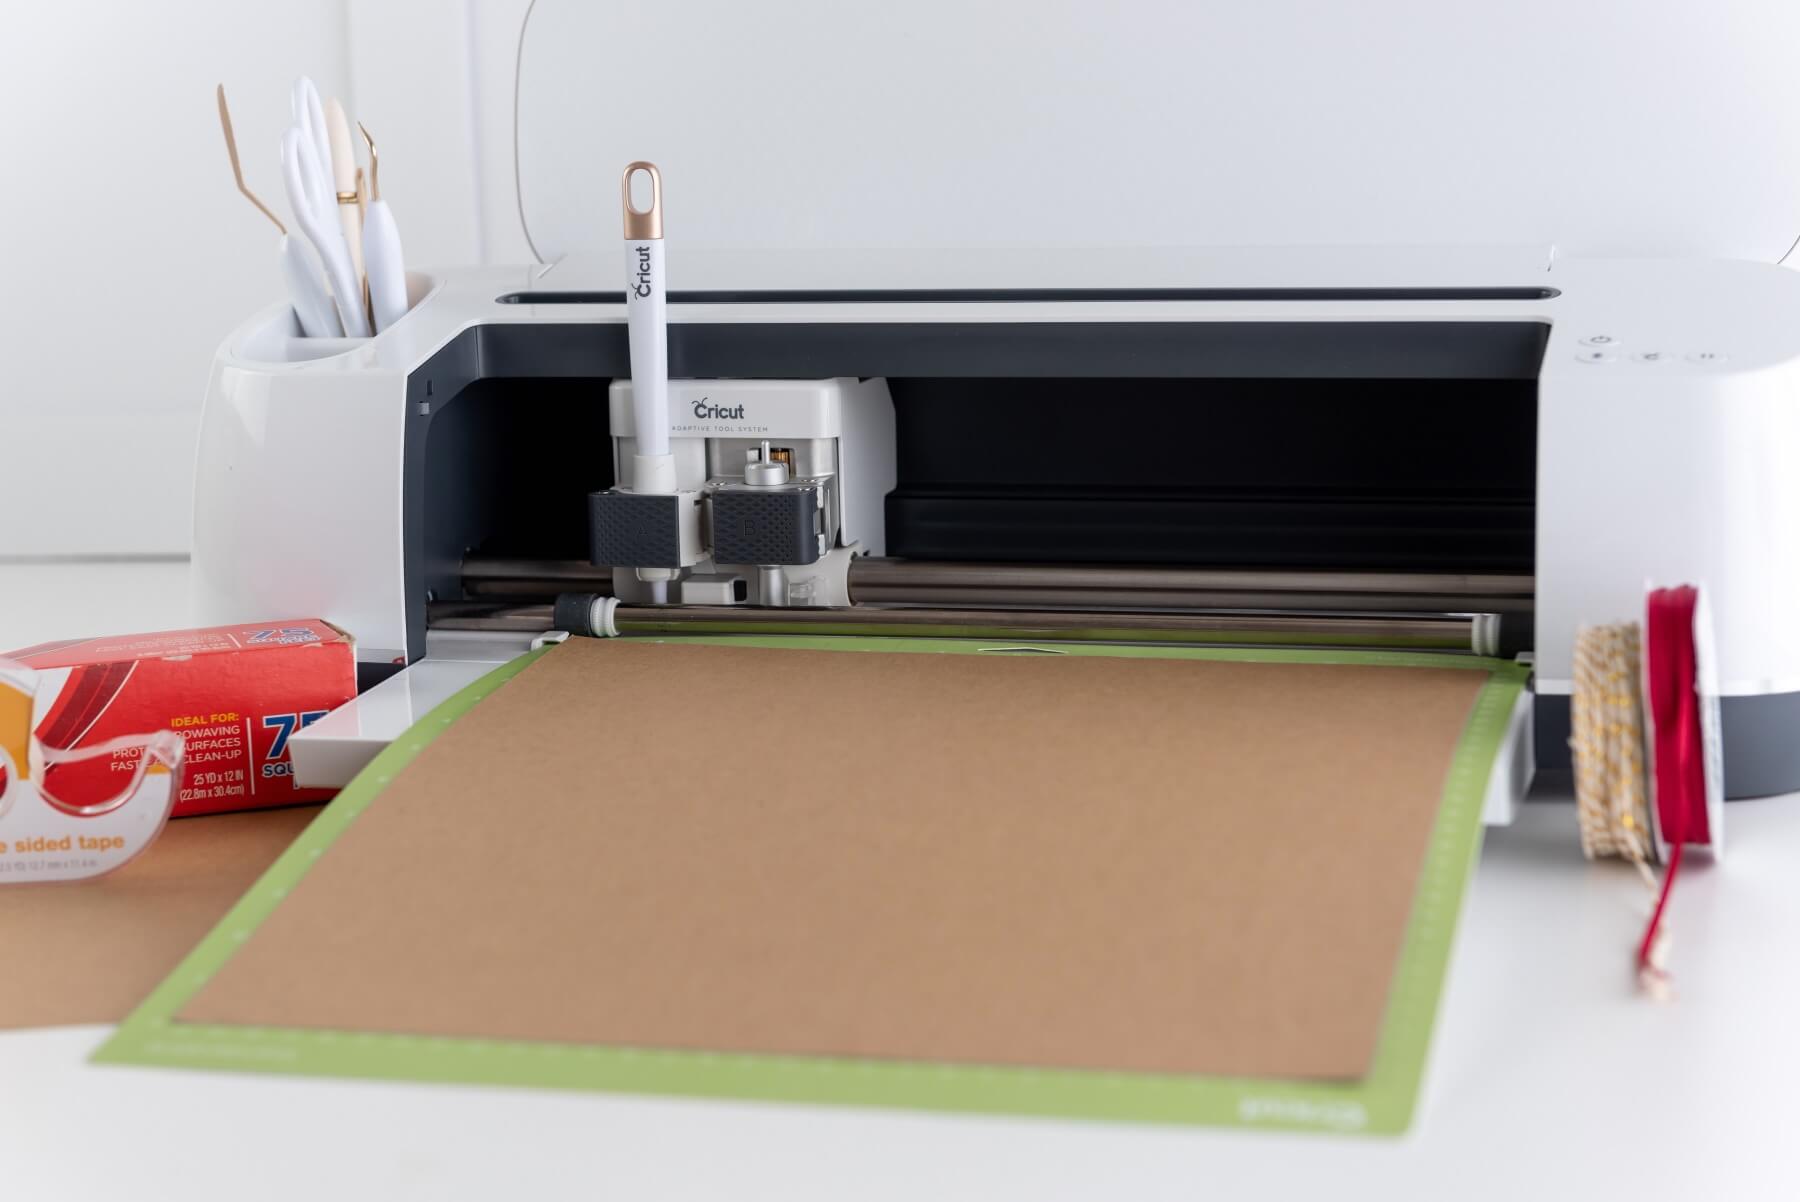
Once you have your file set up, it’s time to cut the box! To do so click make it to cut the boxes. Adjust your material dial to medium card stock.
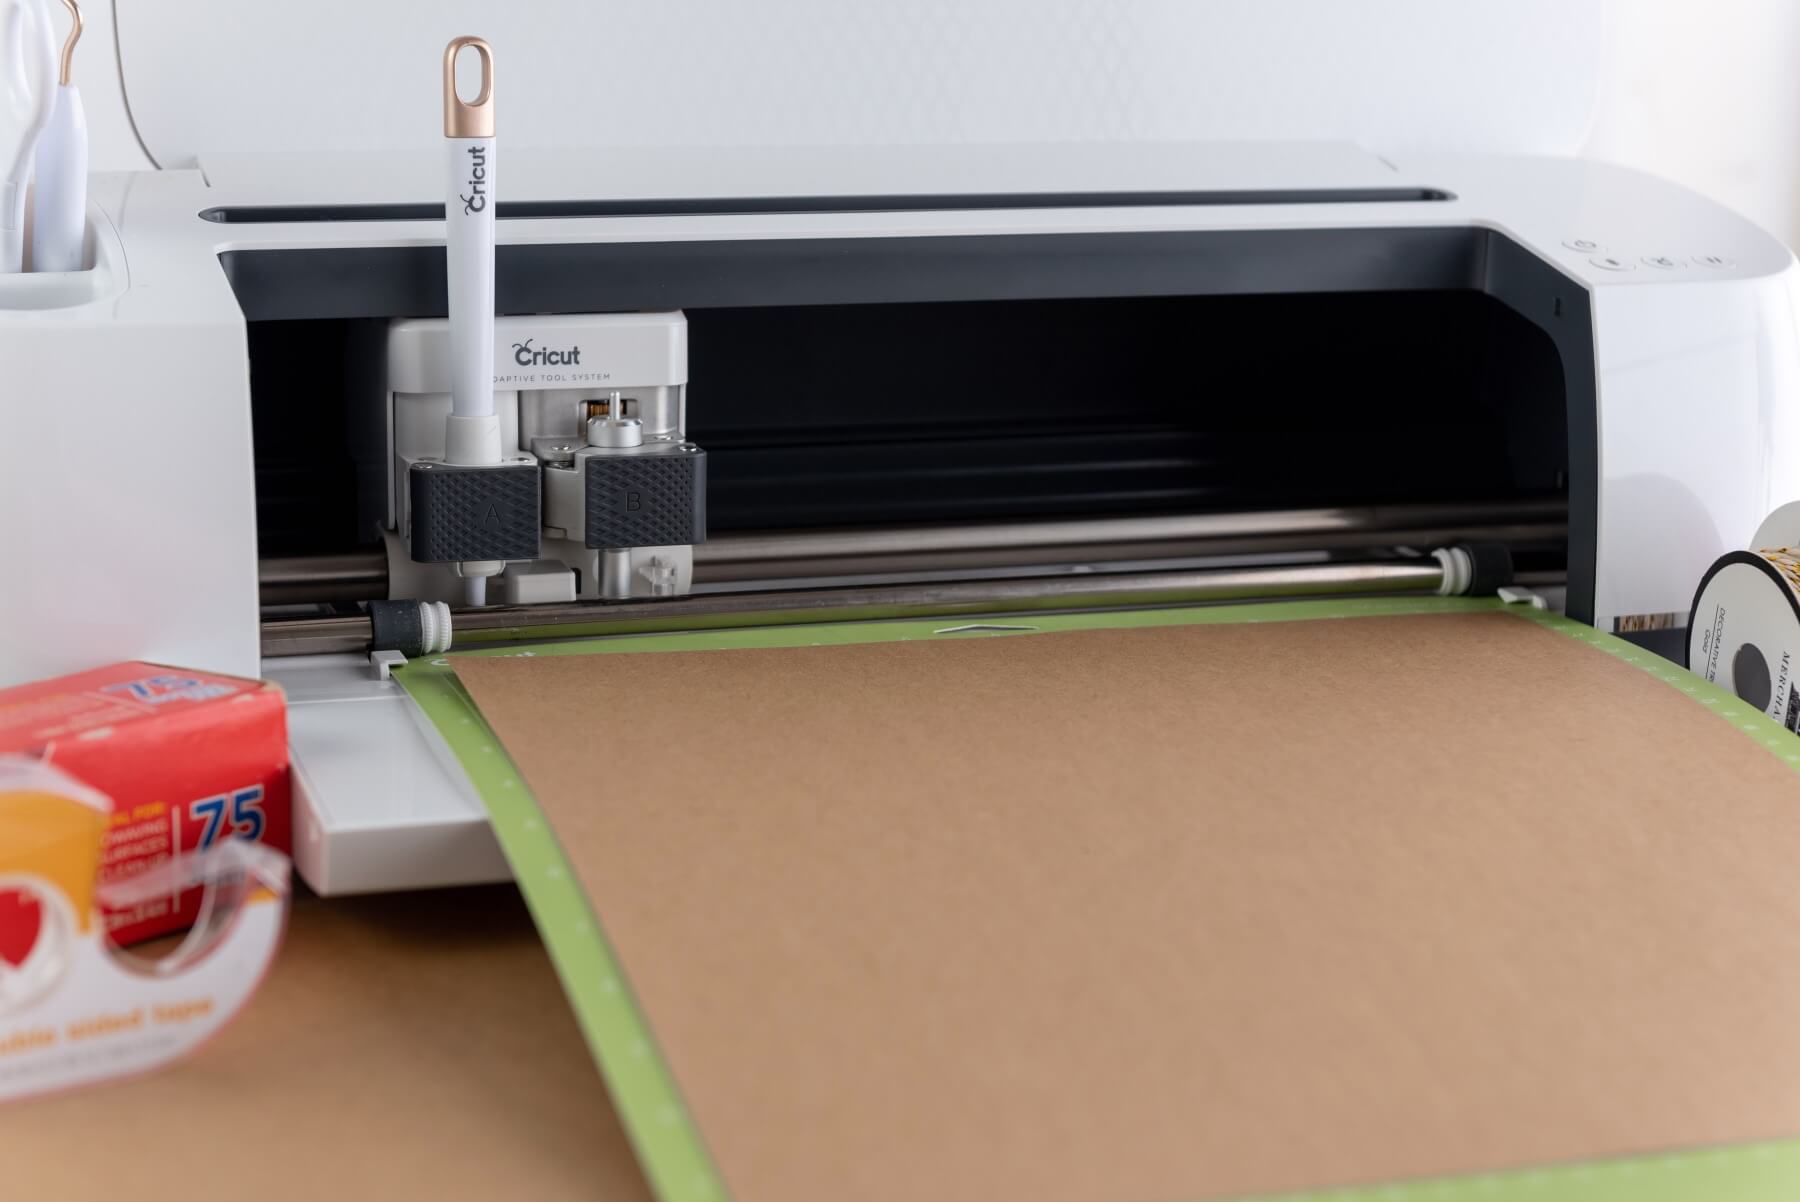
Adjust your tool to either the scoring wheel or scoring stylus. Now load the mat and cardstock into the printer. Most Cricut Machines have easy loading guides to show you just where to place the mat. Once you are ready, press the flashing go button on the Cricut machine itself.
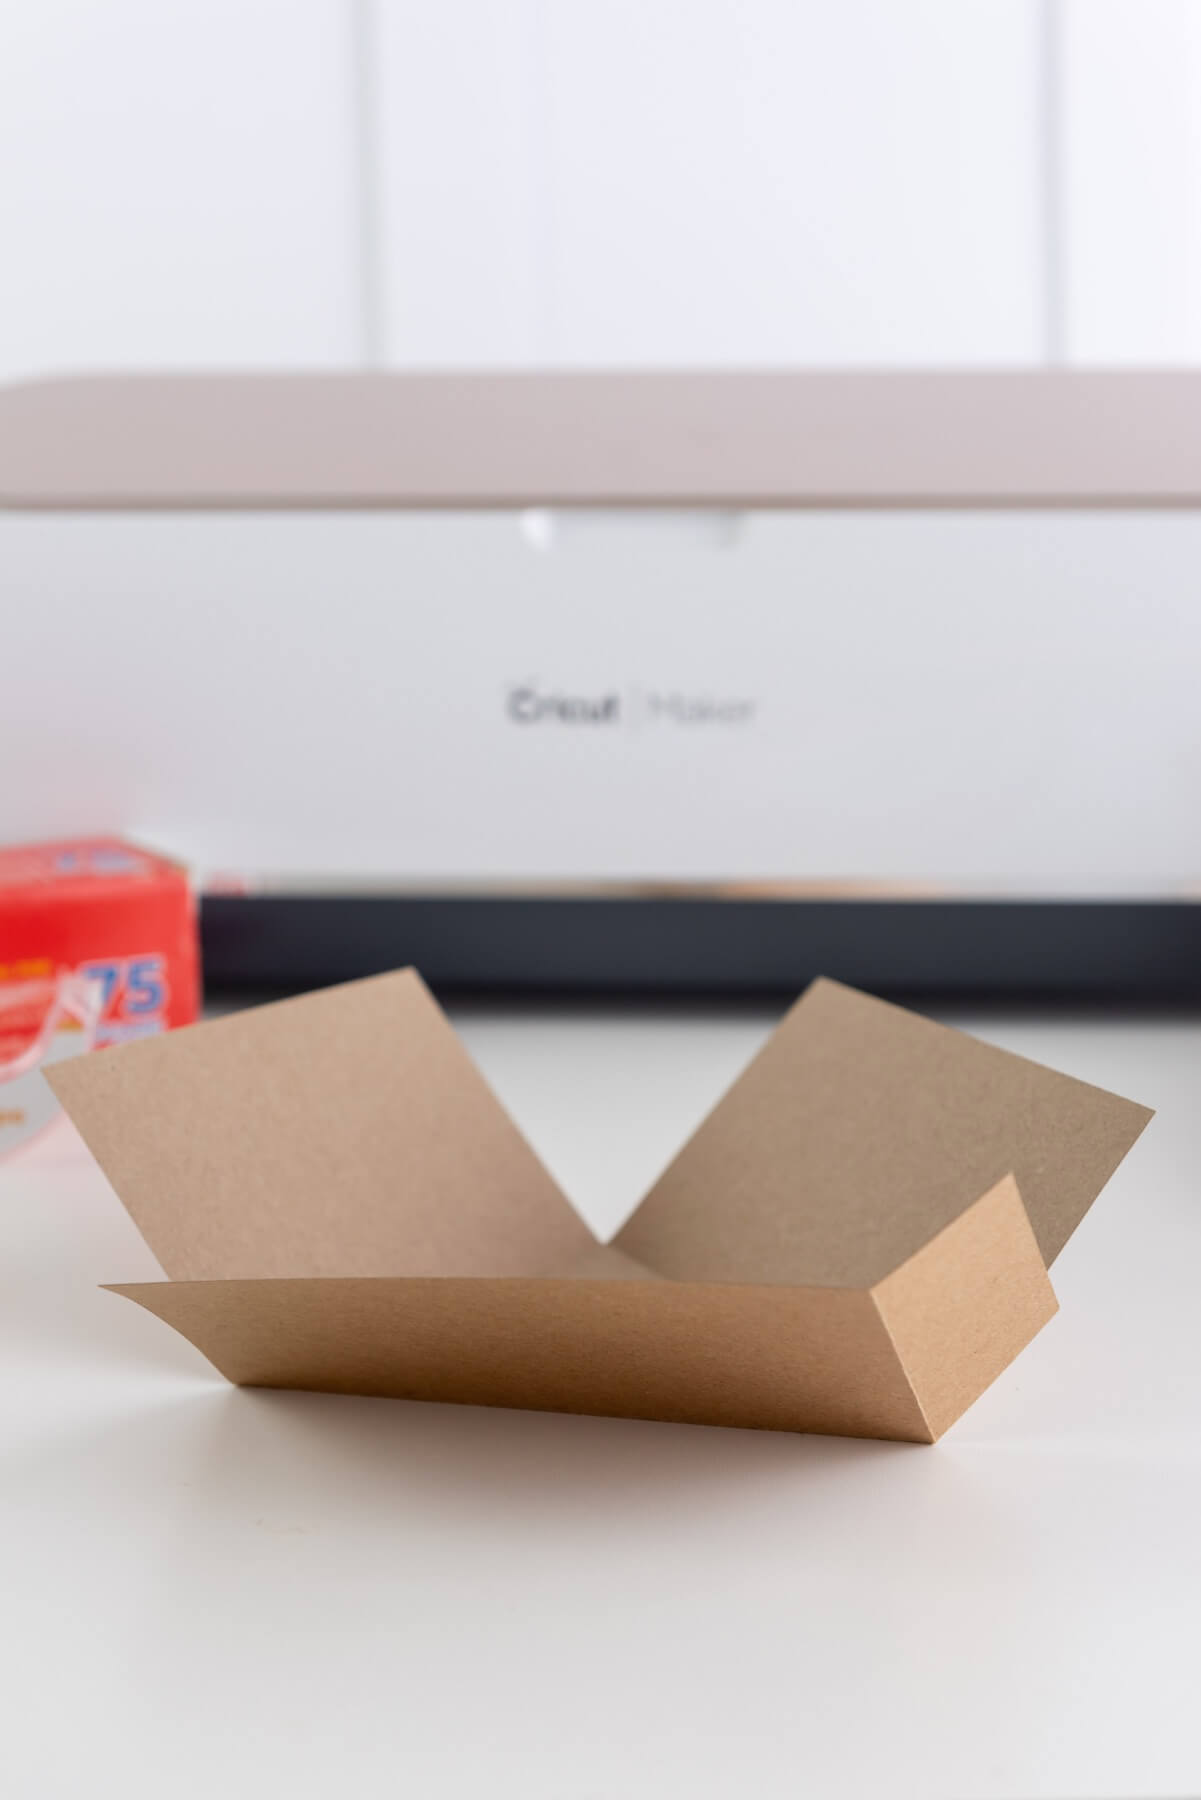
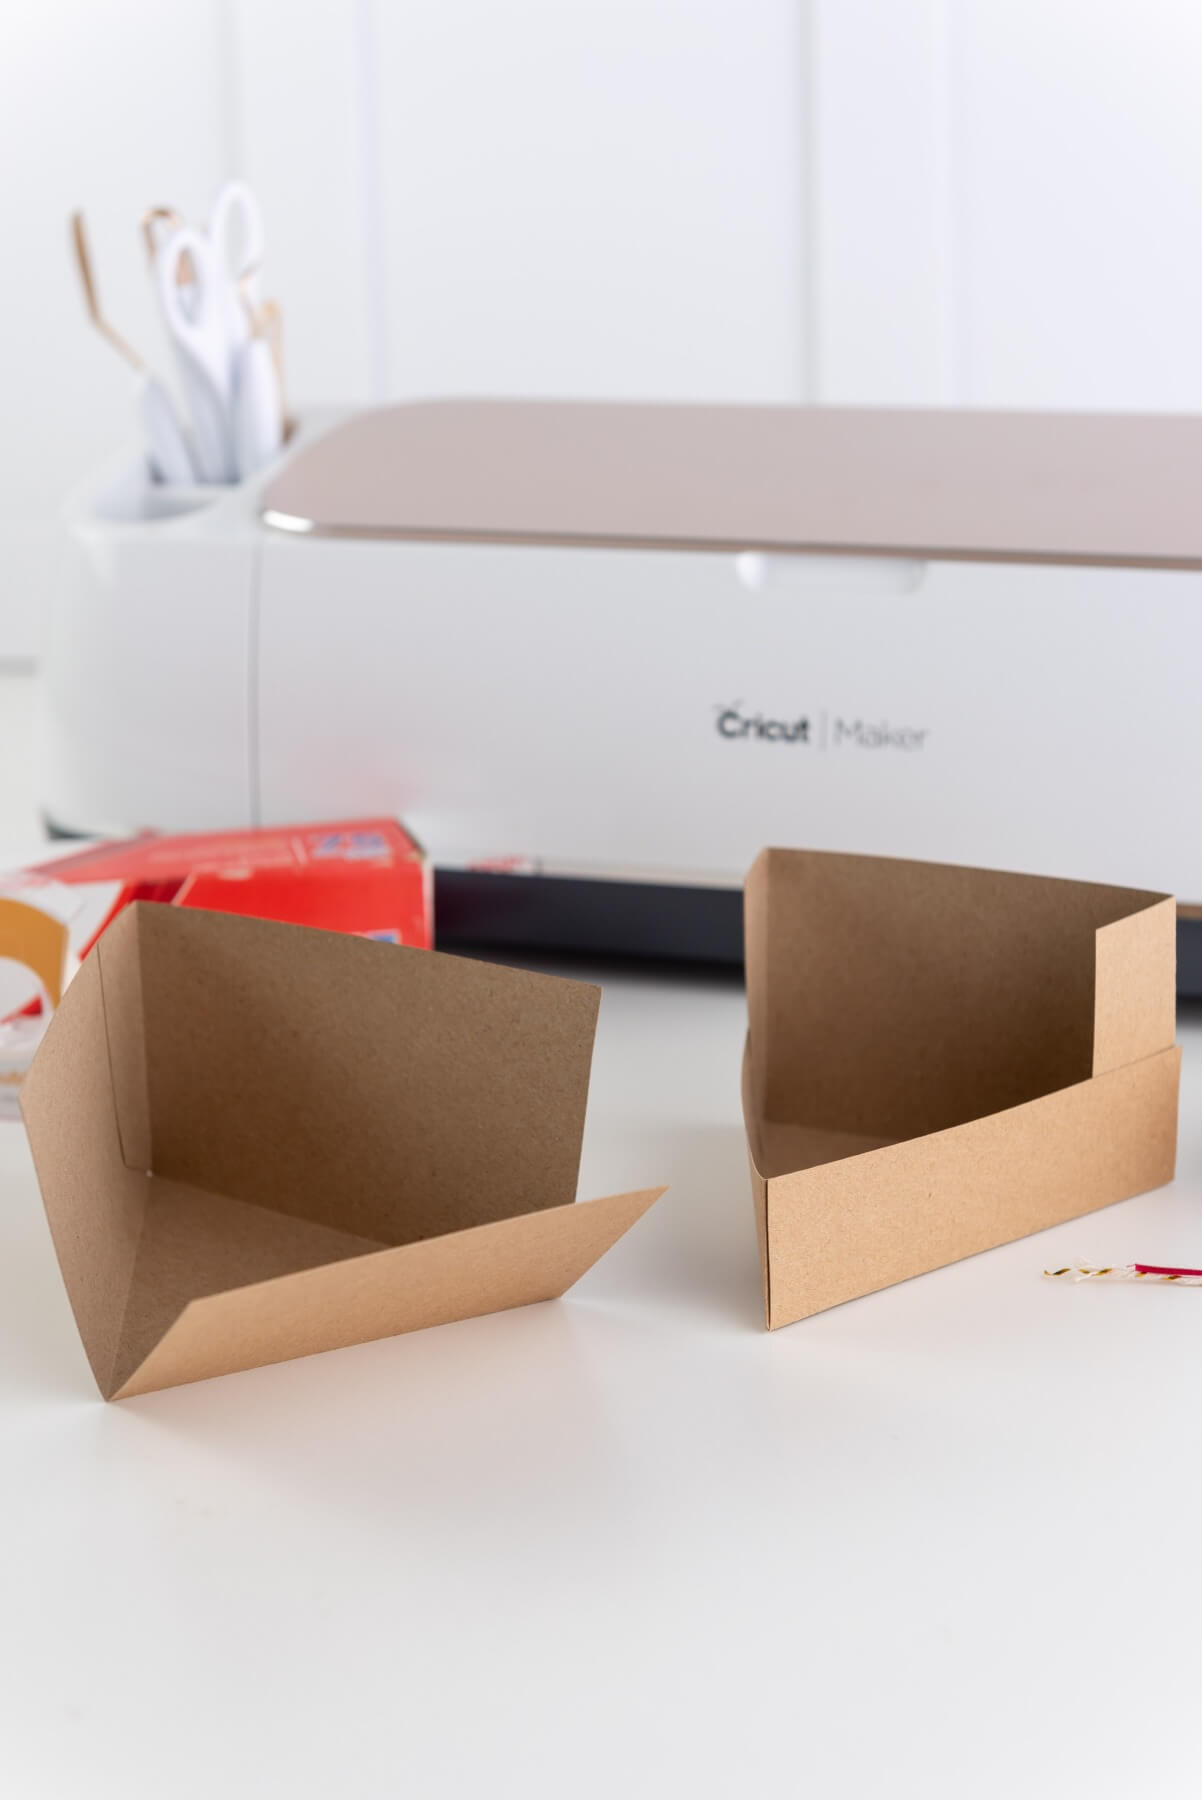
Step 4: Fold Along the Score Lines
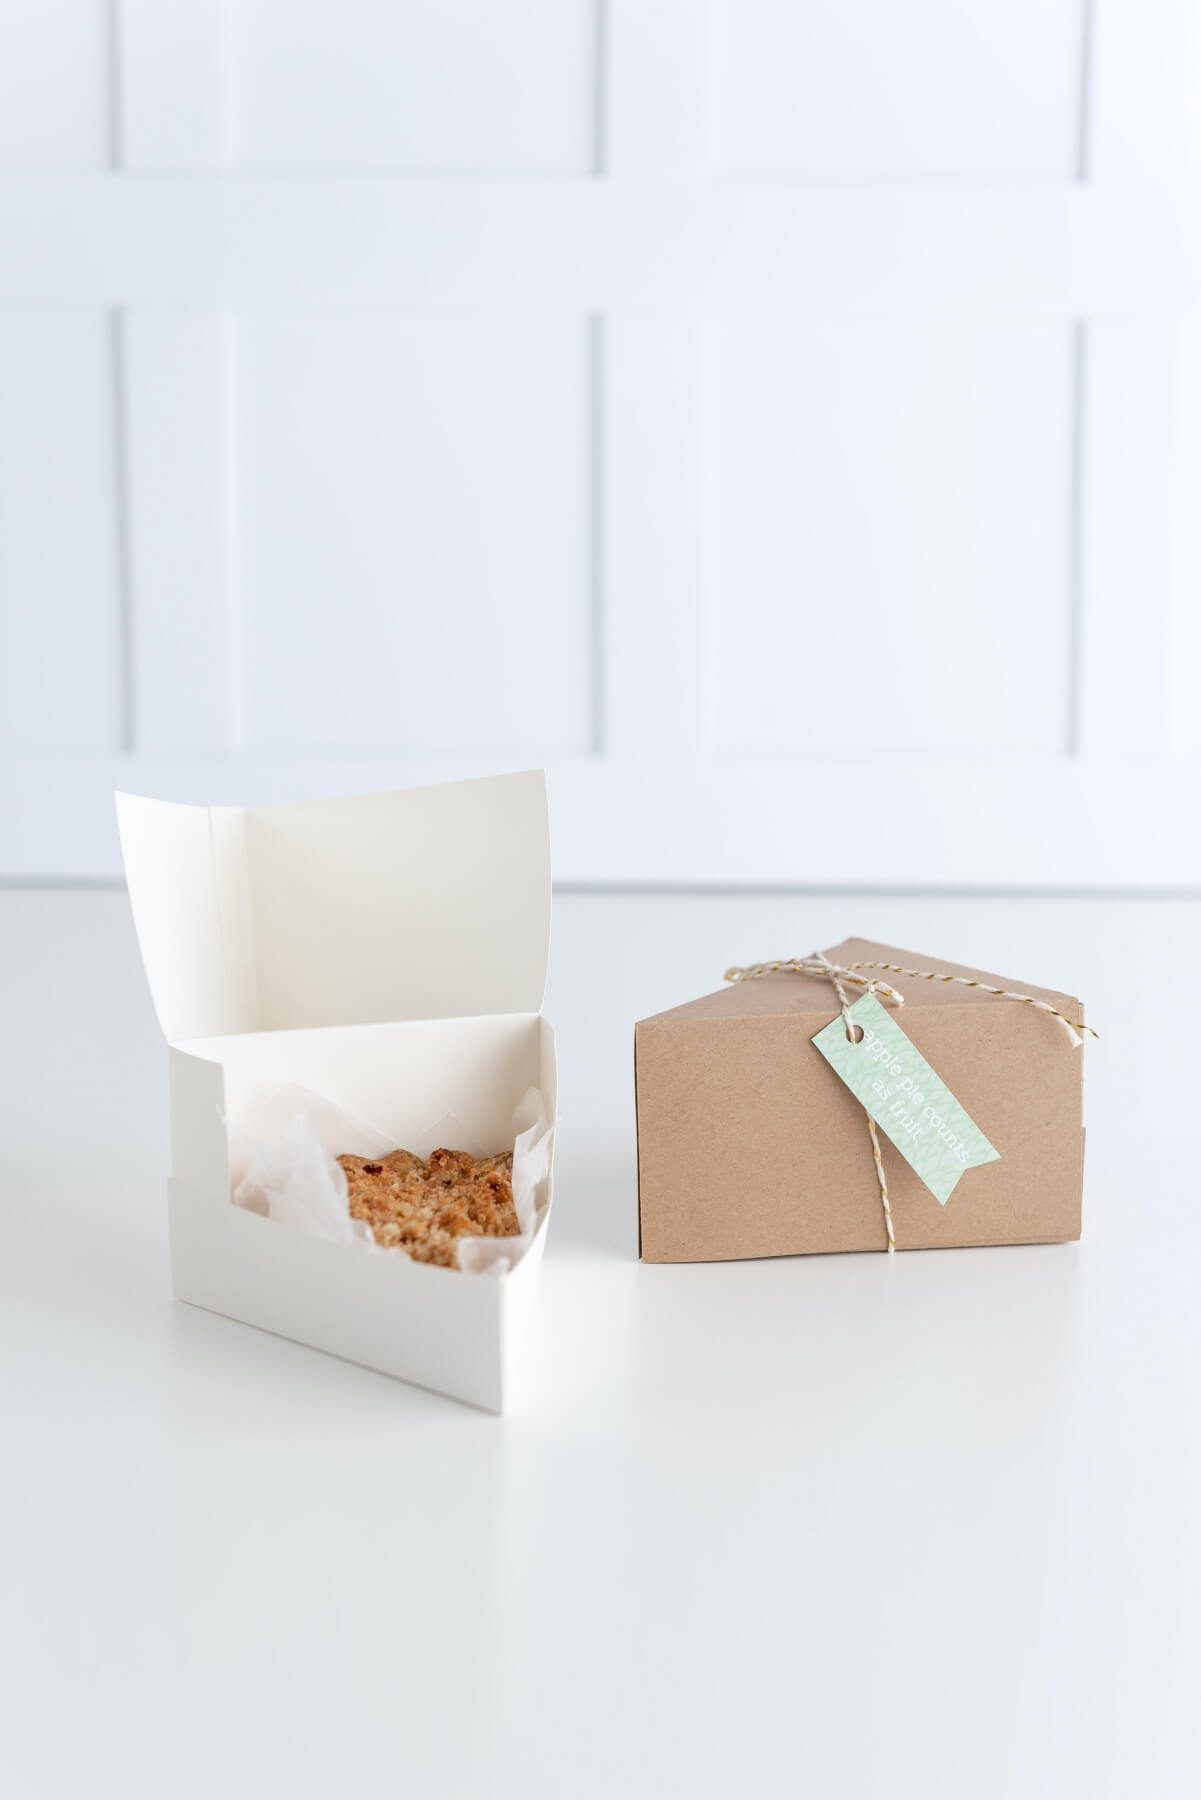
Once your boxes are cut, fold the score lines. The lid will be mountain folds in which you fold downwards. And most of the base of the box will be valley folds in which you fold upwards. The easiest thing to do is use the photos in this blog as you guide.

As long as you fold everything very gently, it should be fine if you make a mistake and need to fold the box again in the opposite direction.
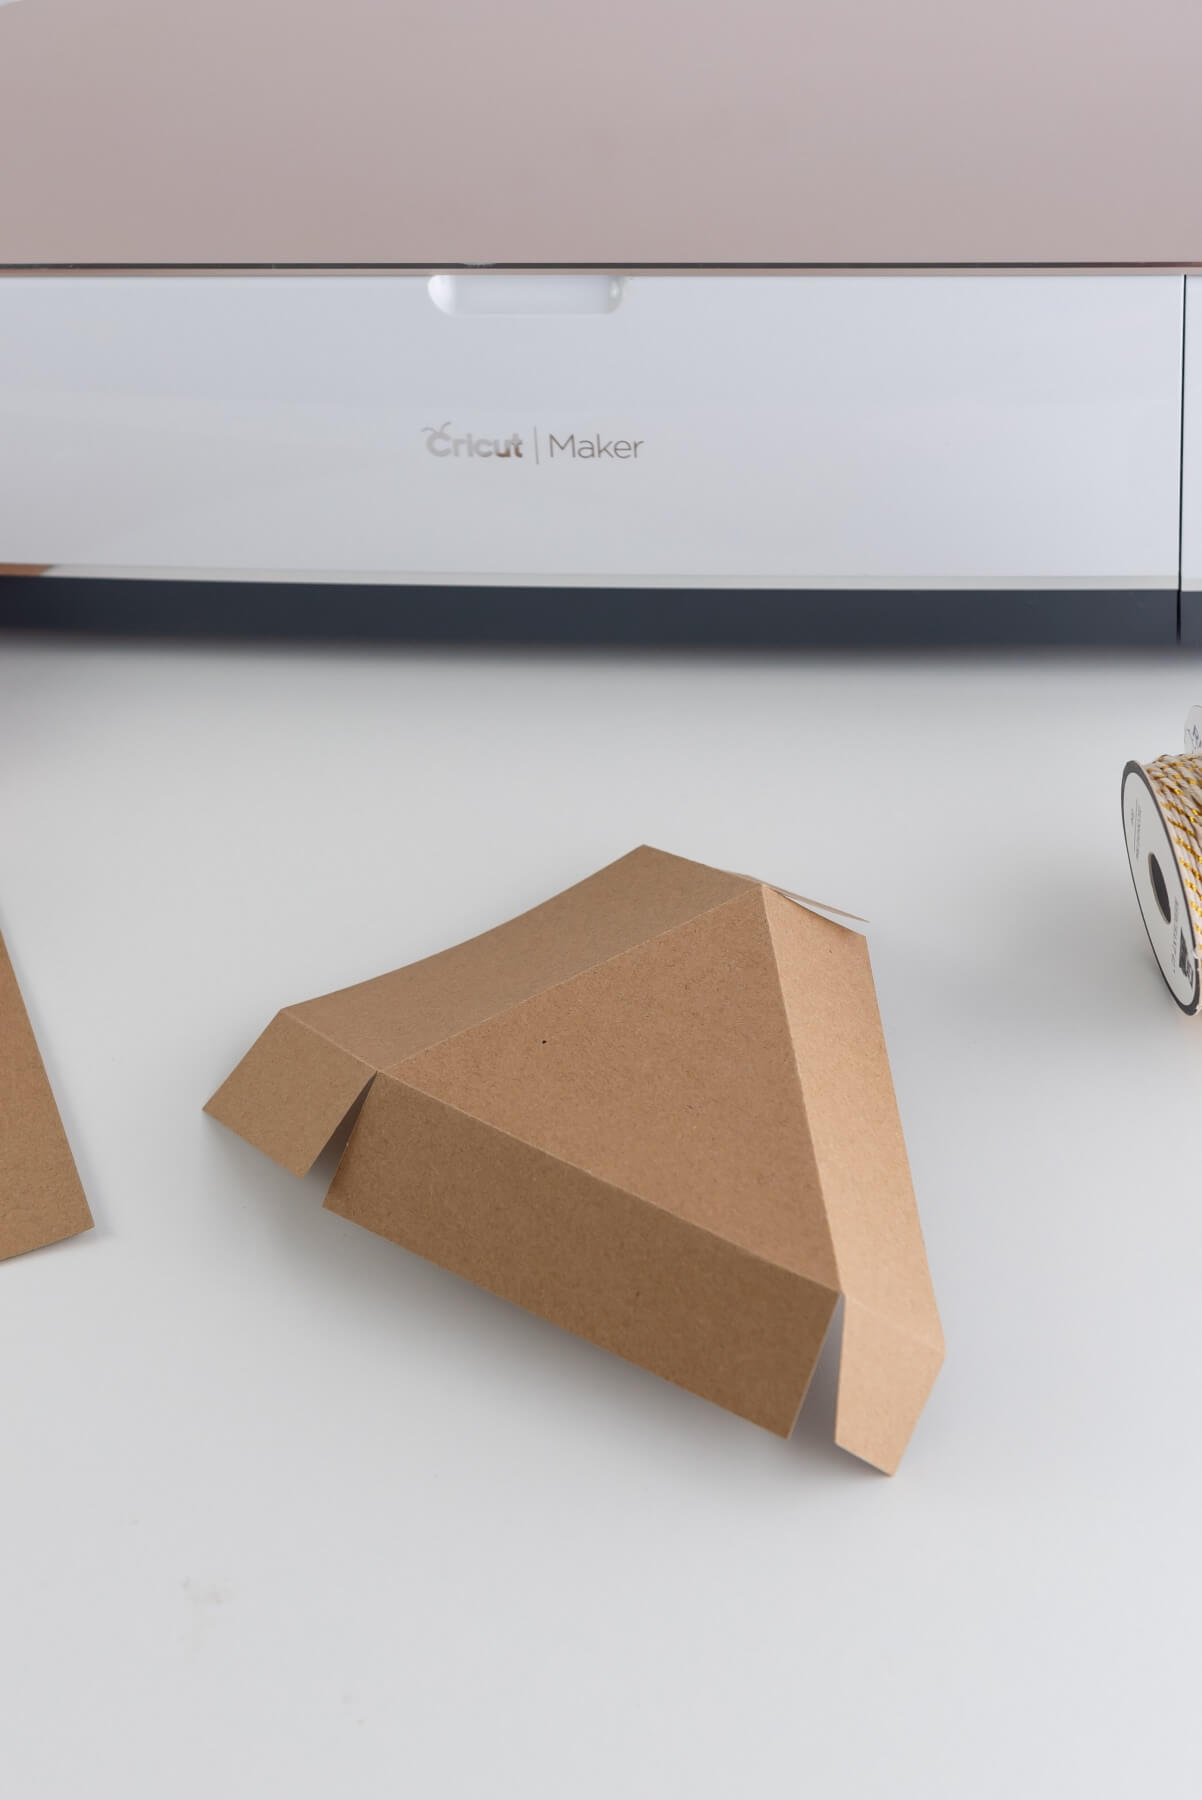
The folds will help define that triangle pie shape too! So as you fold, just envision that slice of pie resting inside which is a great way to know which way your folds should go.
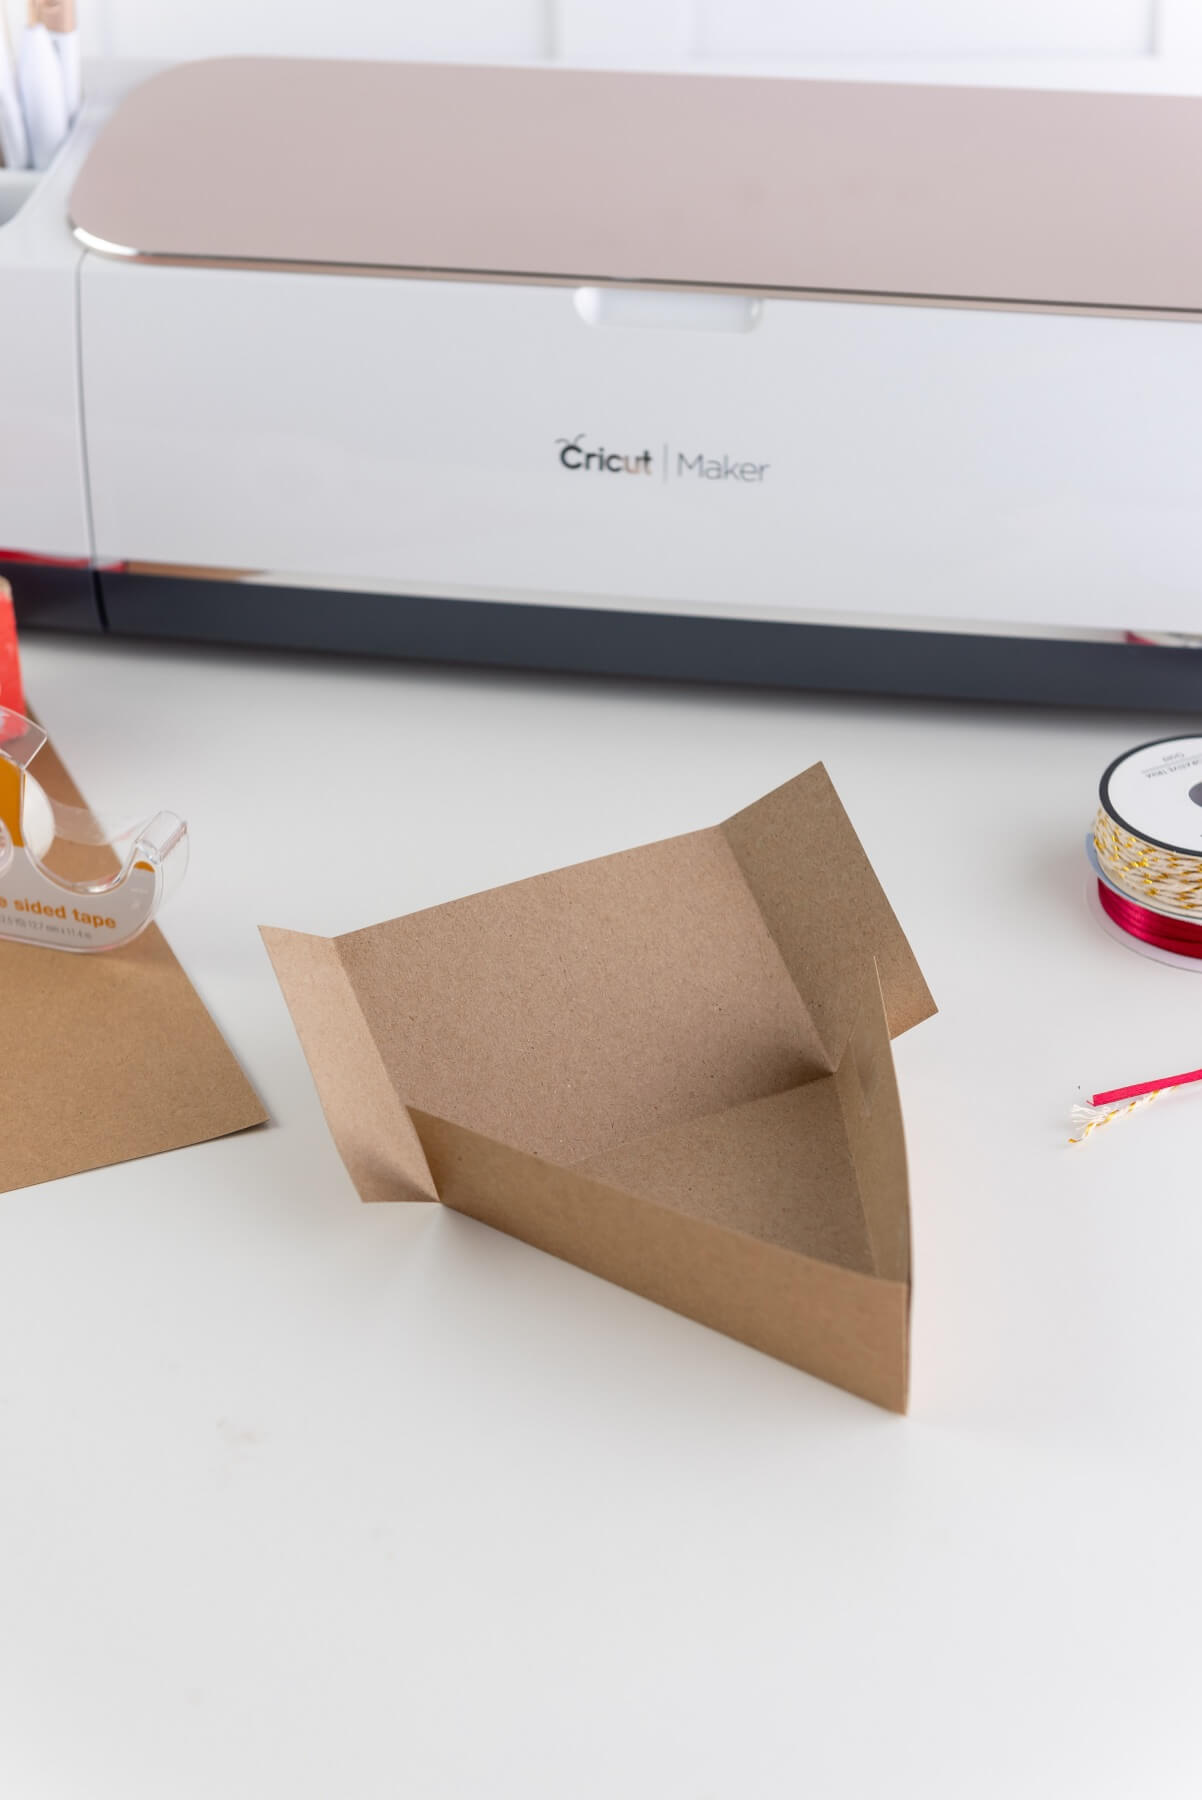
Step 5: Tape the Box in Place
To hold the sides of the Pie Slice Box in place, use a tiny piece of double sided tape. You can also make a loop of Scotch tape. Start with the base of the box and add 2 little pieces along the sides and fold the back of the box into place. Repeat for both box pieces.
Next, on the lid of the box, use the tape to attach the small tab to the corresponding side of the box. But don’t attach the back of the lid – that should be free hanging until you put both of the pieces together.
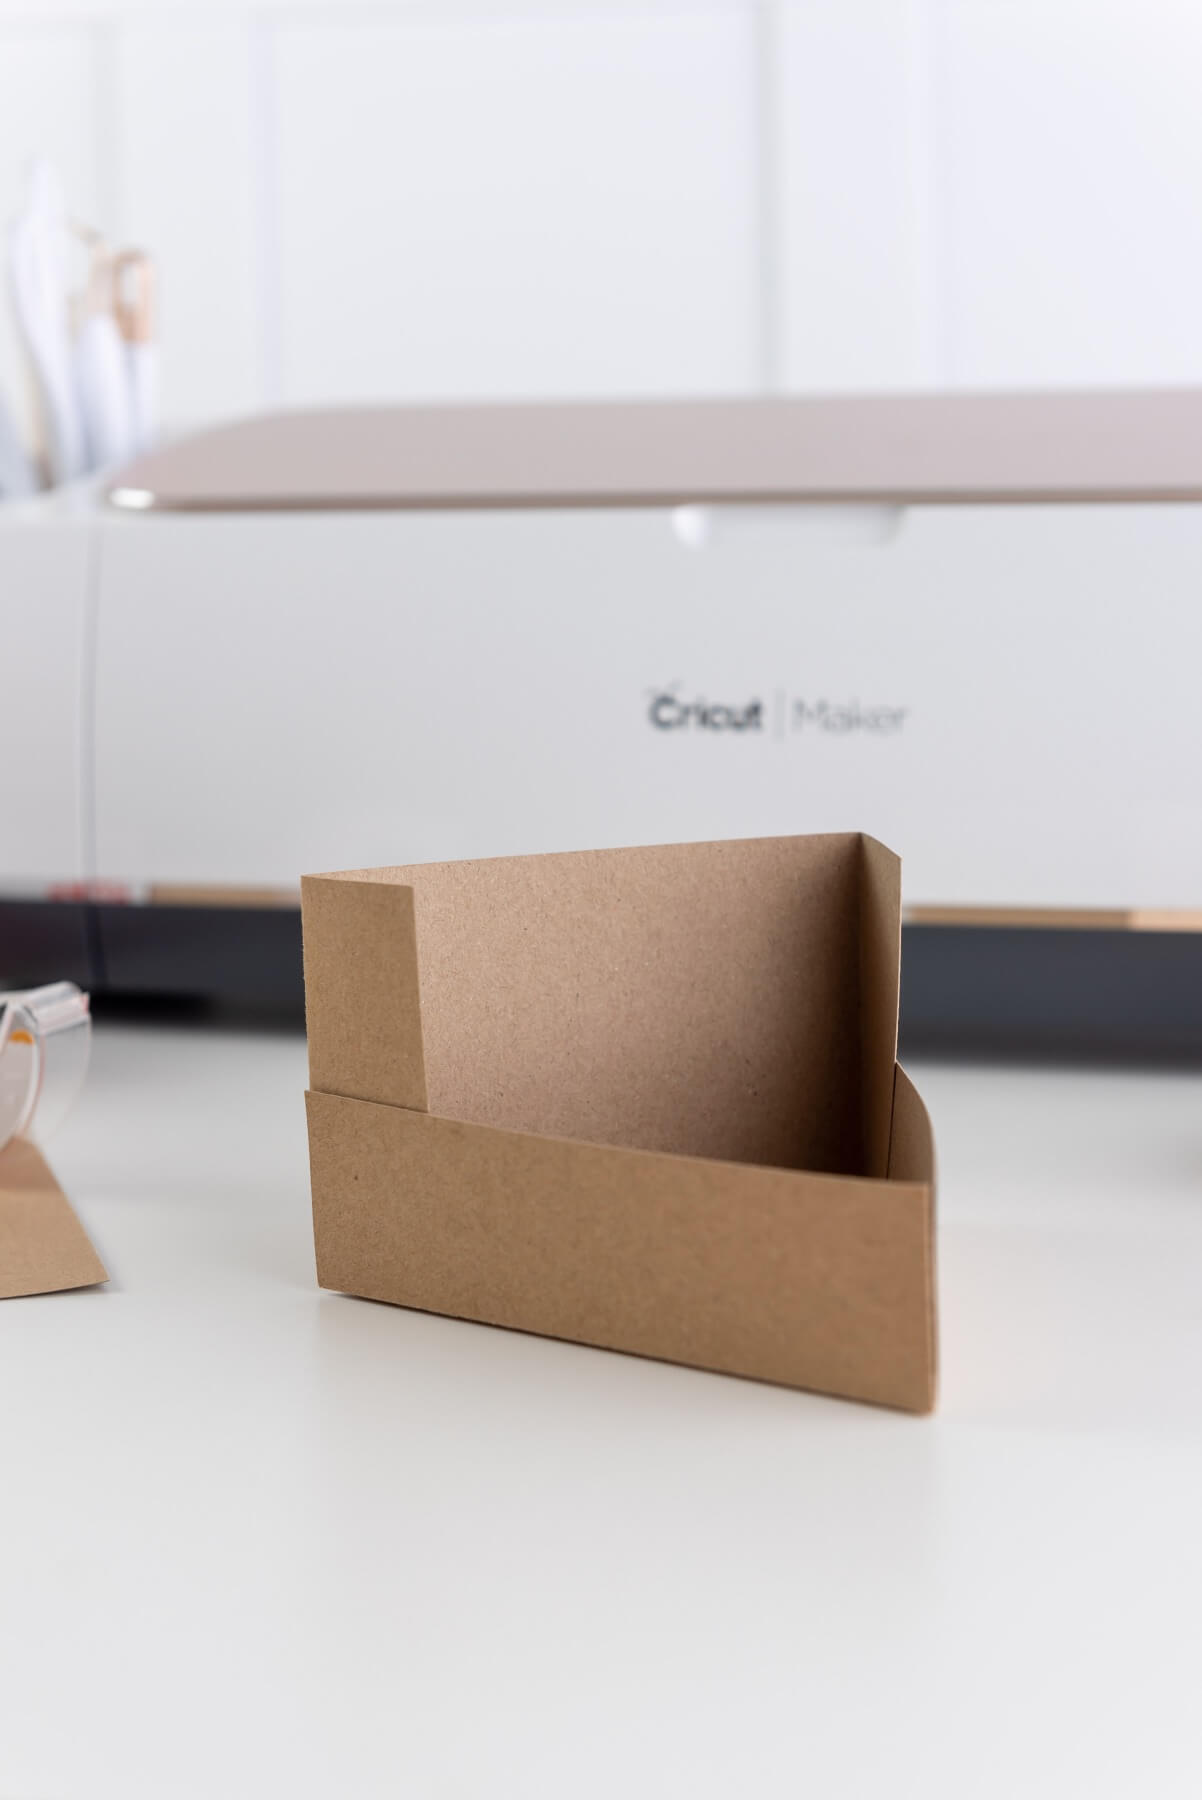
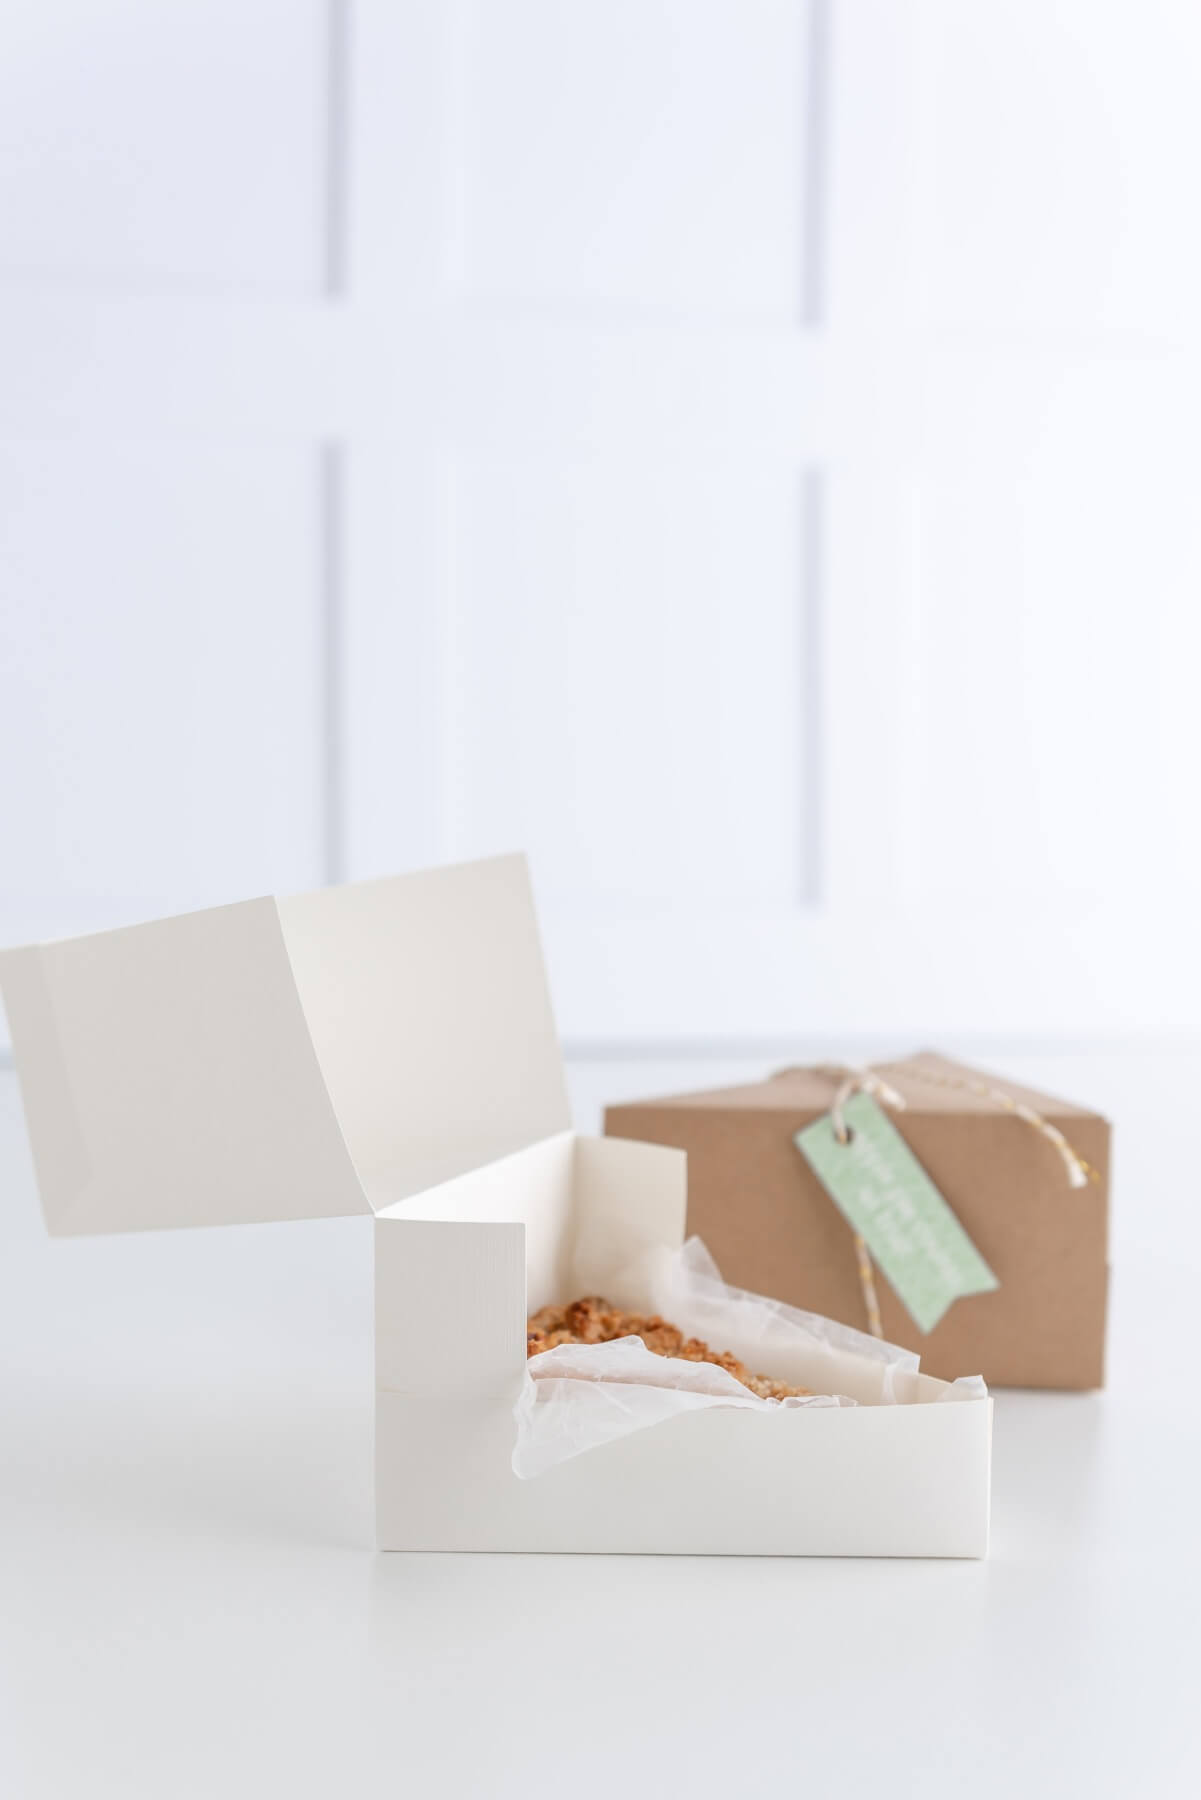
Step 6: Attach the Base & Lid Together
Next, use the tape again to attach both pieces together. Add the tape to the lid on the back. Once your tape is in place, carefully slide the pieces together. Both backs will overlap making the box nice and sturdy!
The back of the lid and the back of the base are the exact same size so they should fit together perfectly.

Step 7: Print the Gift Tags
Next, on a regular printer and on standard size cardstock, print these super silly apple pie inspired gift tags.
If you are going to gift something other than apple pie, you could make your own gift tags by designing them or hand making them.

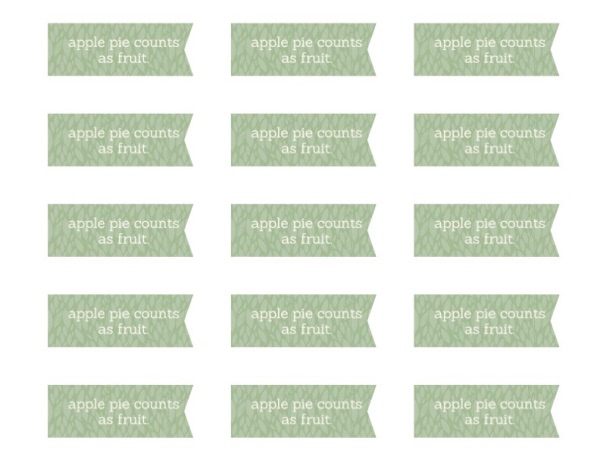
These gift tags are so cute, right?! Once you have them printed, just cut them out with a simple pair of scissors. And if you have a hole punch, give them a punch so you can attach a gift tag to the DIY Pie Slice Box!
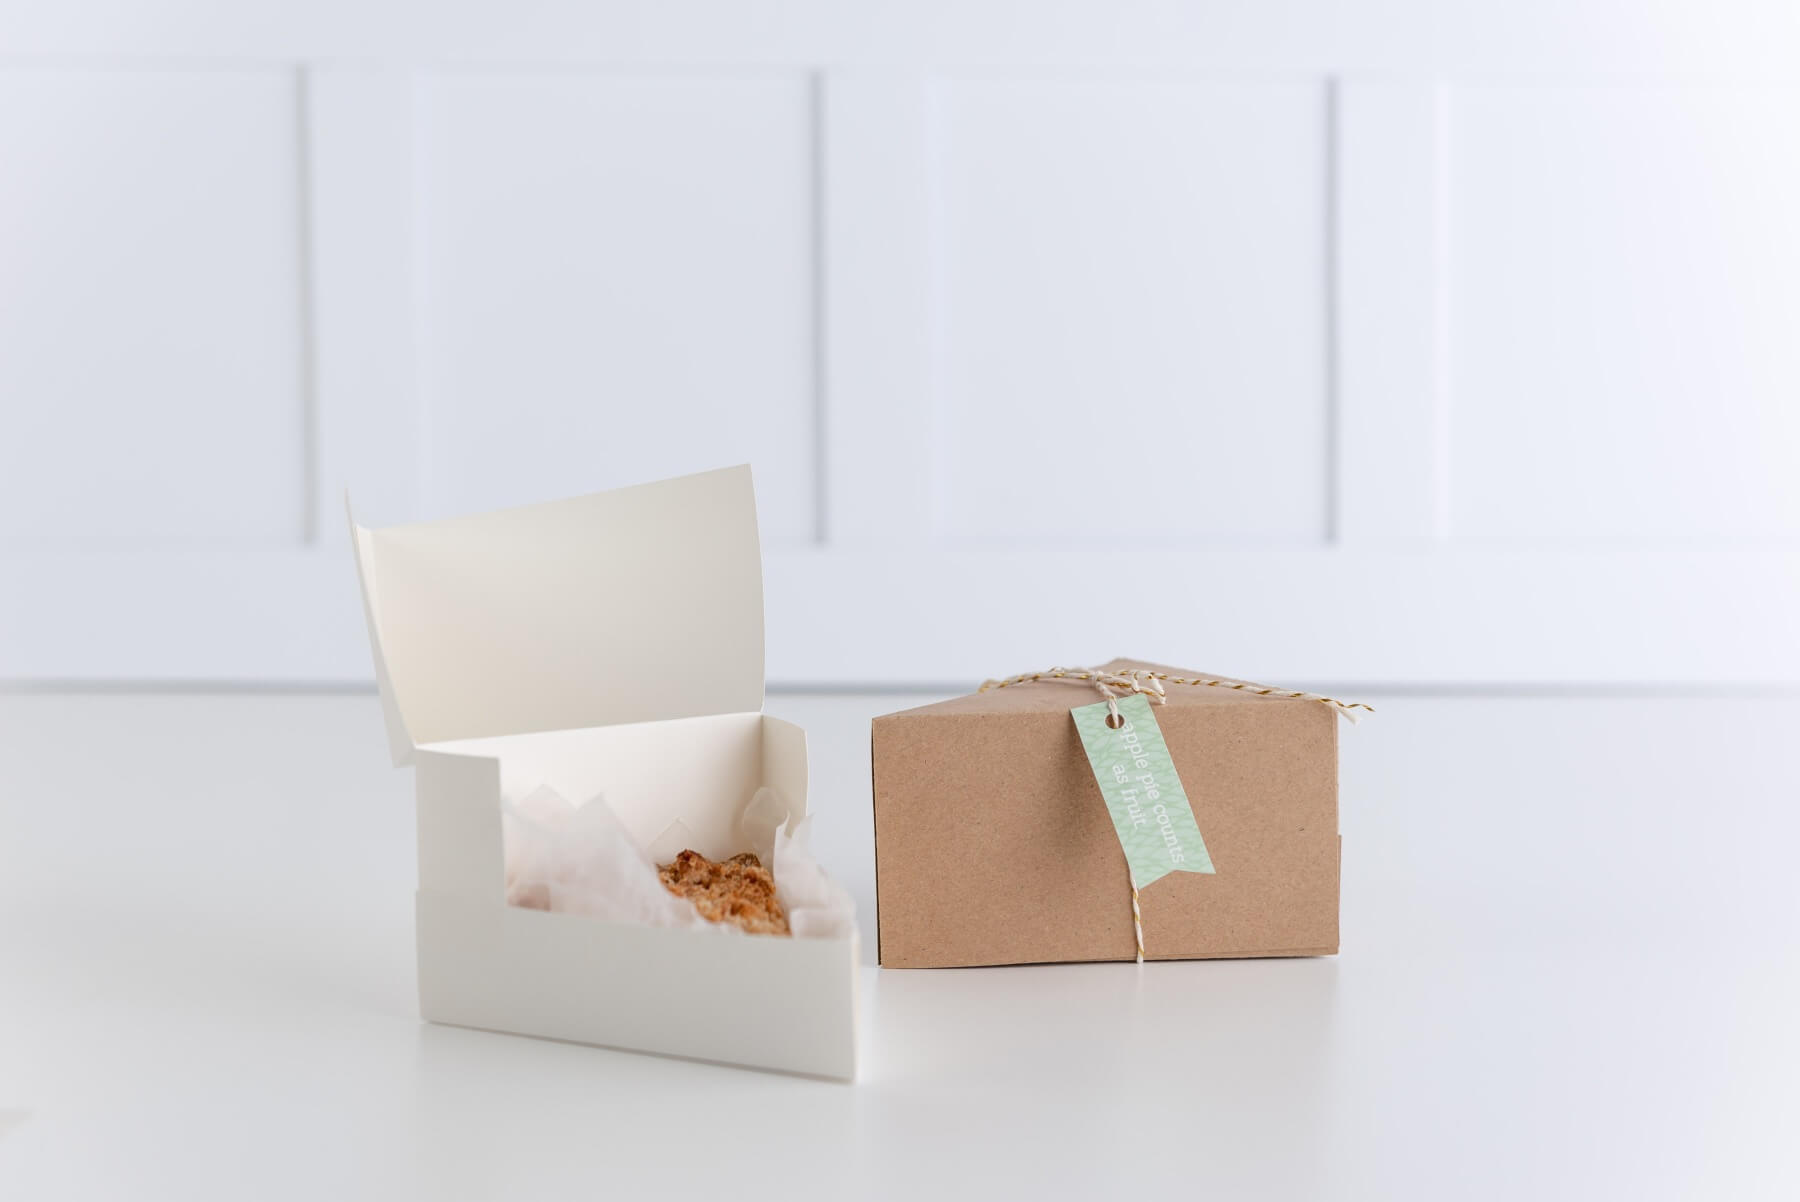
Step 8: Accessorize Your DIY Pie Slice Box
Once you have your gift tags cut out, cut lengths of twine or ribbon to get them ready to attach. You can mix and match the ribbon in a million different ways – make it monochromatic, use a color that makes sense with the type of pie inside, or whatever looks cute to you.
Once your ribbon and gift tags are cut, just set them to the side.
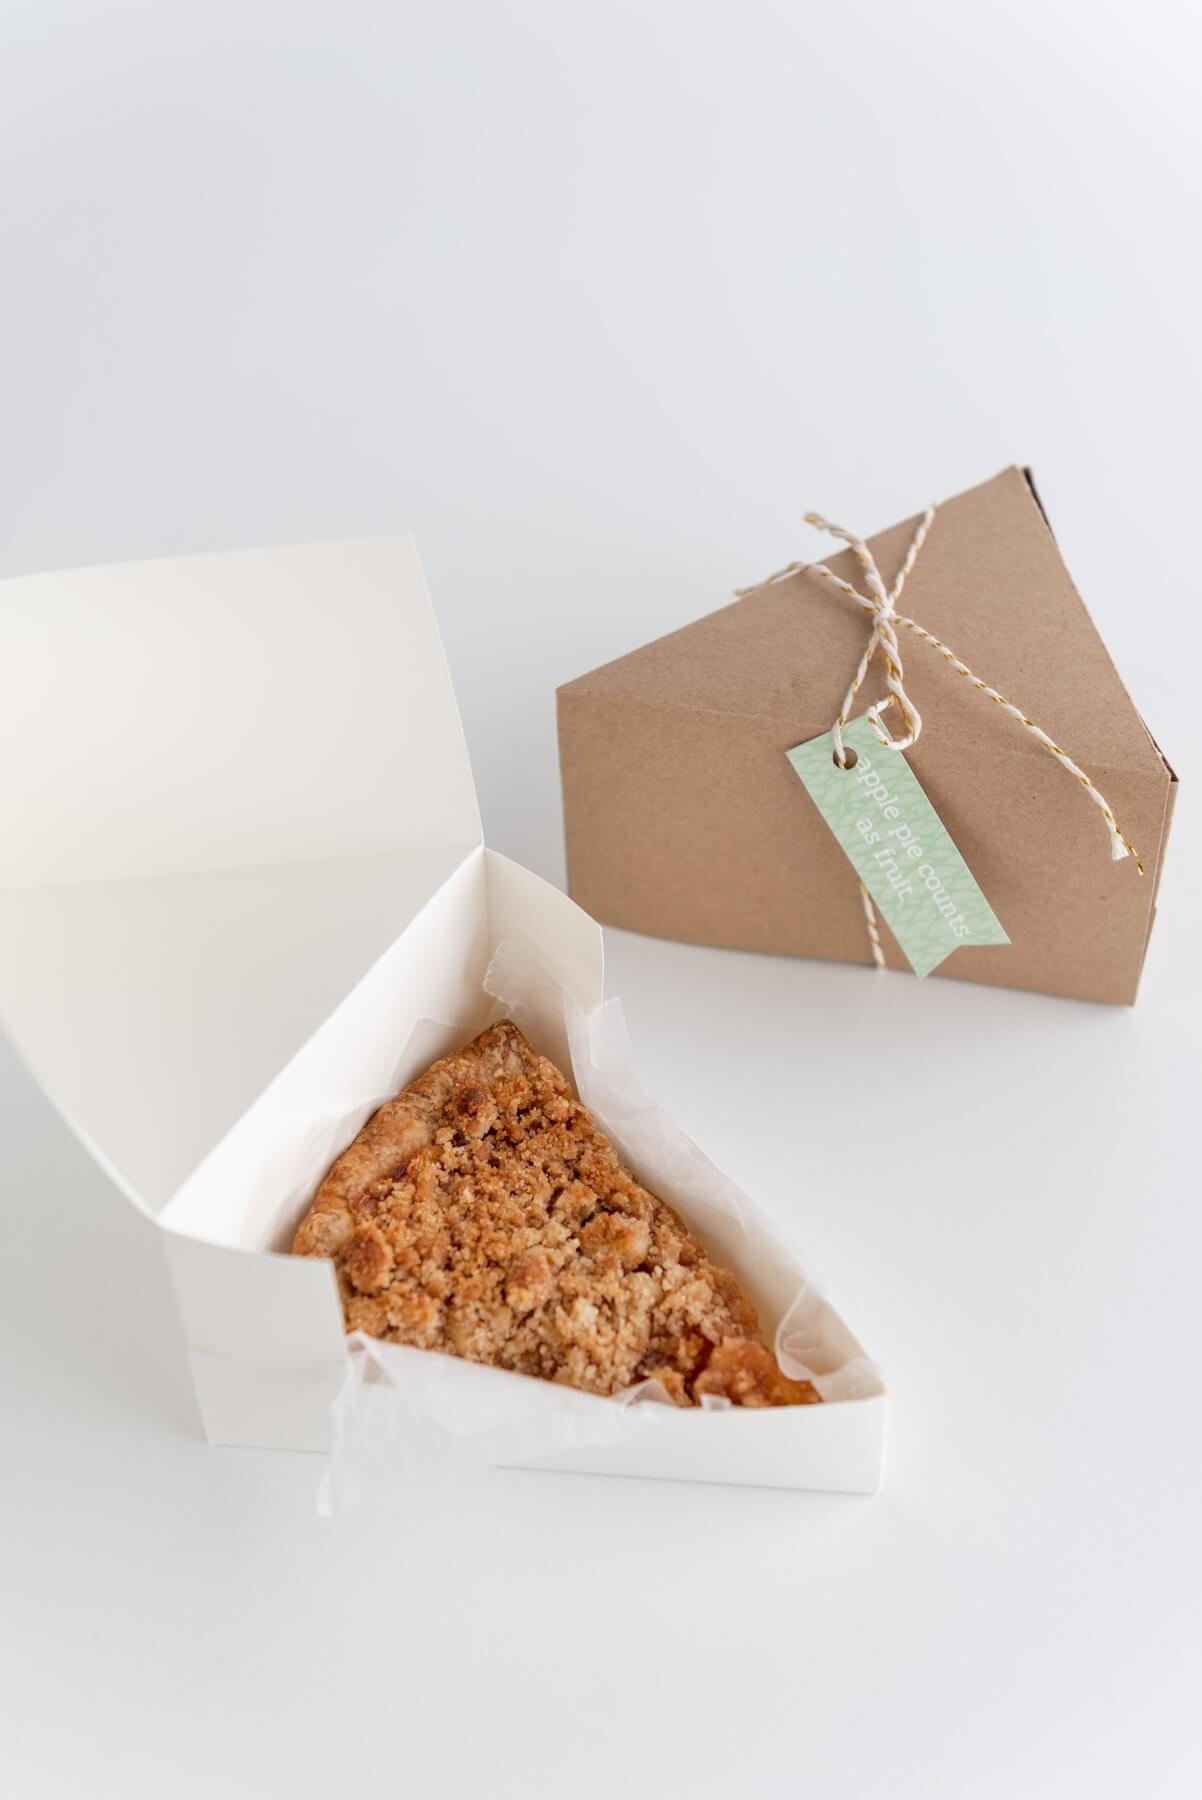
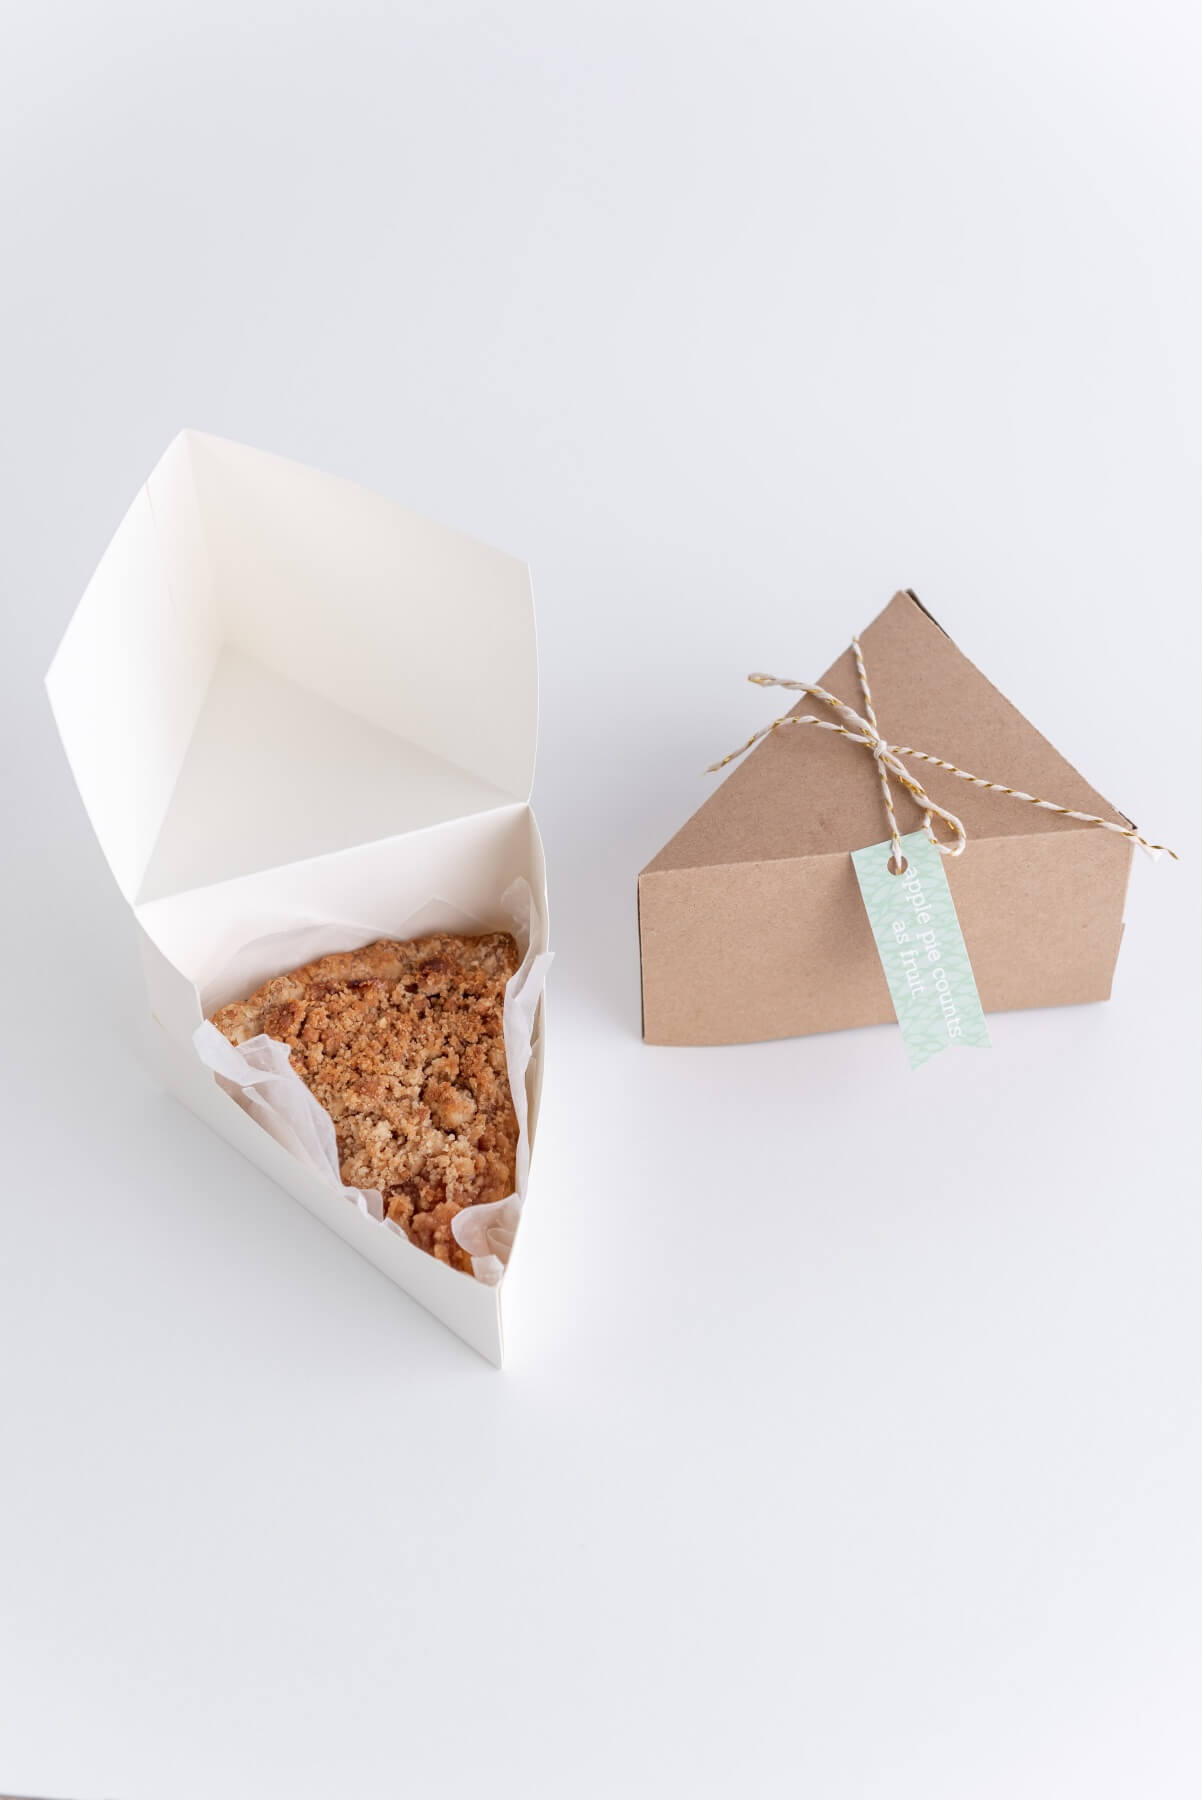
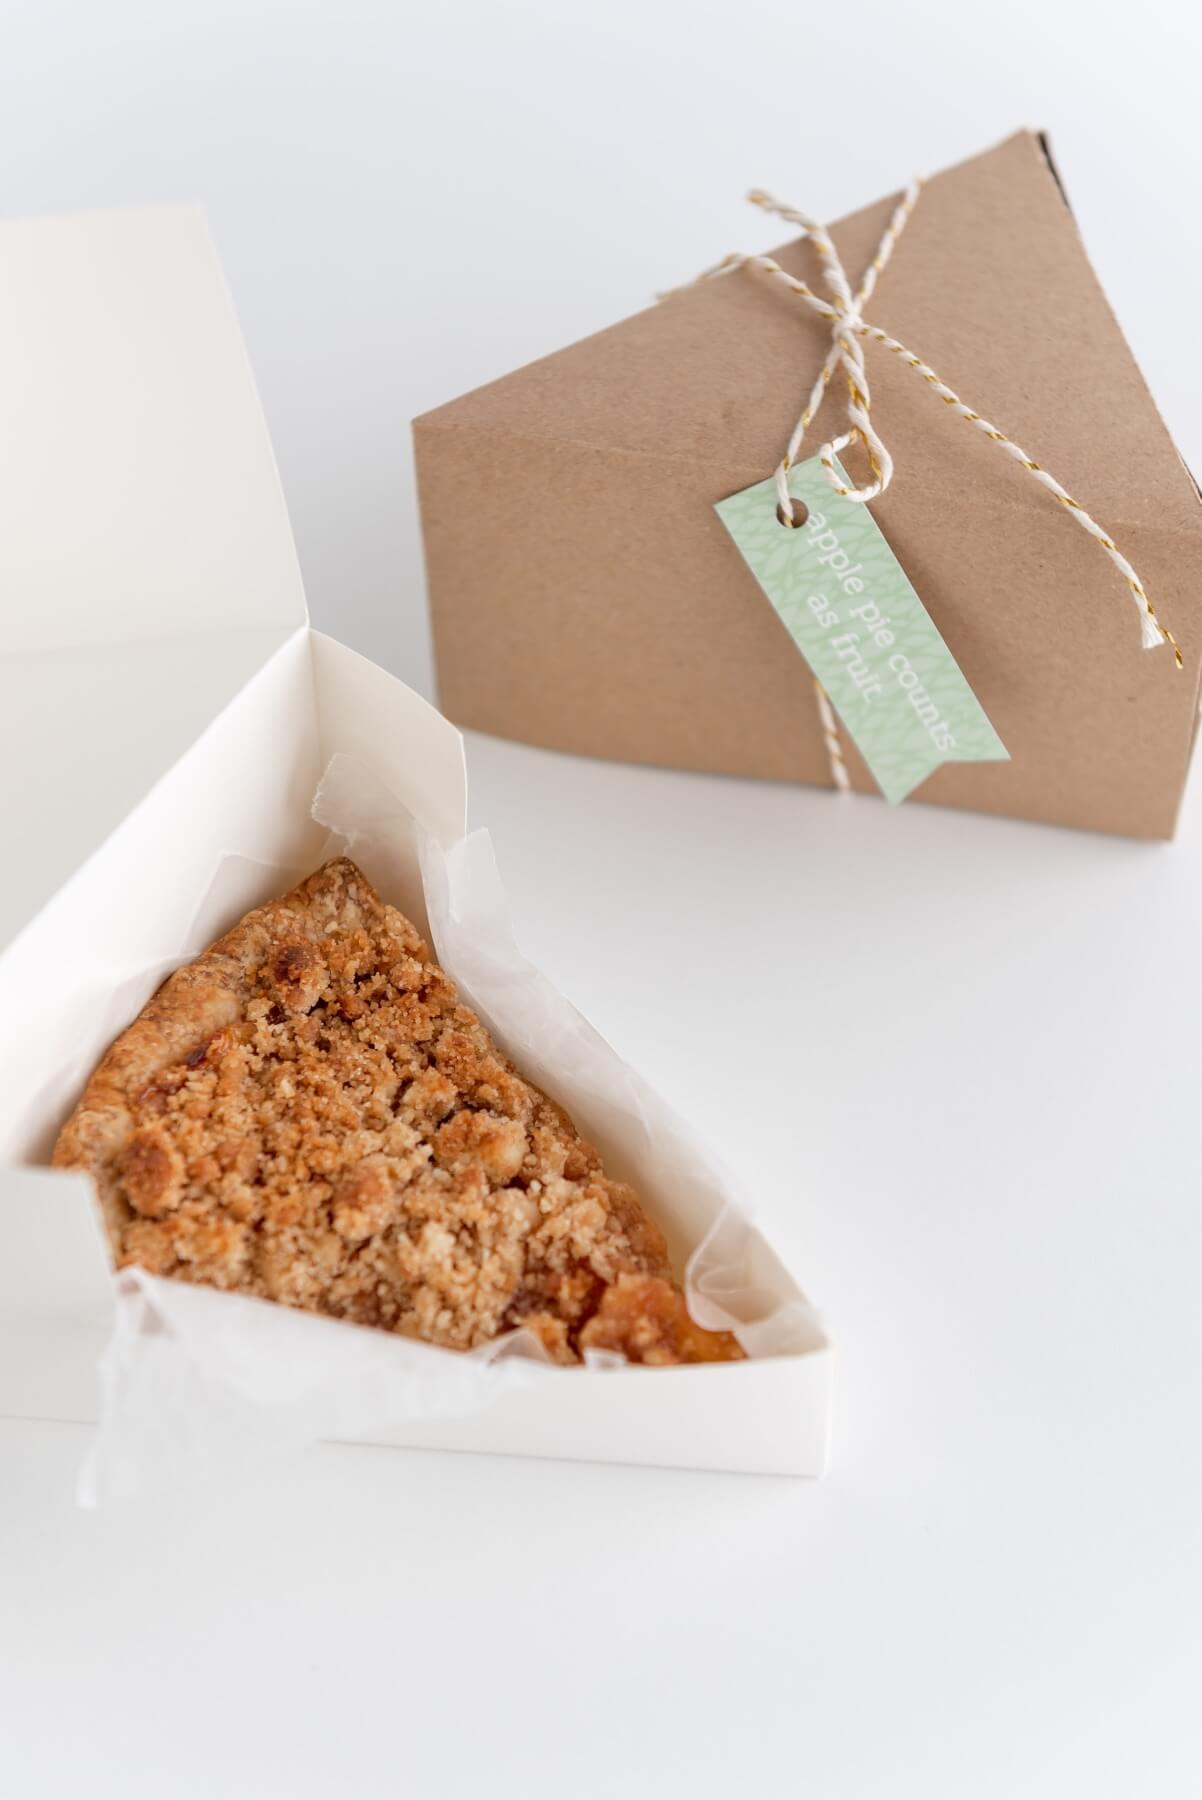
Step 9: Add a Slice of Pie
Now’s the time! It’s time to add pie. Be sure to use a cut piece of wax paper or parchment paper to protect the box and keep it looking fresh.
What may be tricky is cutting your pie slices to the perfect size to fit in the box. It’s not easy, but it can be done! You can also cut the wax paper into a perfect triangle to make these Pie Slice Boxes look so professional.
And viola! Now that you have your own DIY Pie Slice Box it’s time to give these out as gifts! It’s the perfect time of year to give these out as teacher gifts or they would be perfect around Thanksgiving.
If you want to make them for a different season there are a lot of easy ways you could style them for Valentine’s Day, Christmas or any time of year. Instead of kraft paper and white cardstock you could use red and green, Christmas patterned, pink hearts, red, white and blue. There are so many options!
You could even draw and color the box by hand before folding it into its final shape. Apple pie would be a perfect choice for 4th of July but you could pick something pink for Valentine’s Day or use a piece of cake, like a Hummingbird Cake, for Mother’s Day.
So what kind of pie are you going to put inside of your DIY Pie Slice Box? And what color of cardstock are you going to use? Tell us in the comments below. Happy crafting!

Let’s Stay Friends!
Insta | Pinterest | Enews | TikTok