DIY
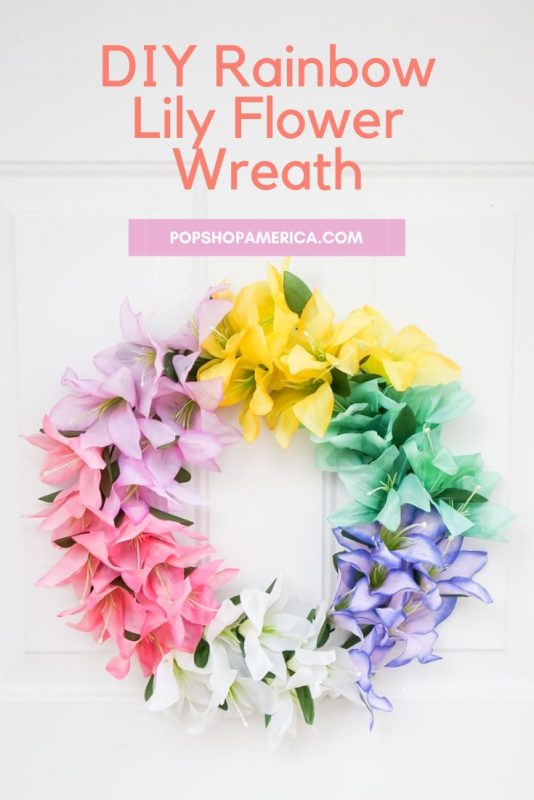
DIY Spring Lily Flower Wreath
Mar
It’s a change in seasons. And you know what that means? Time for a new door wreath!
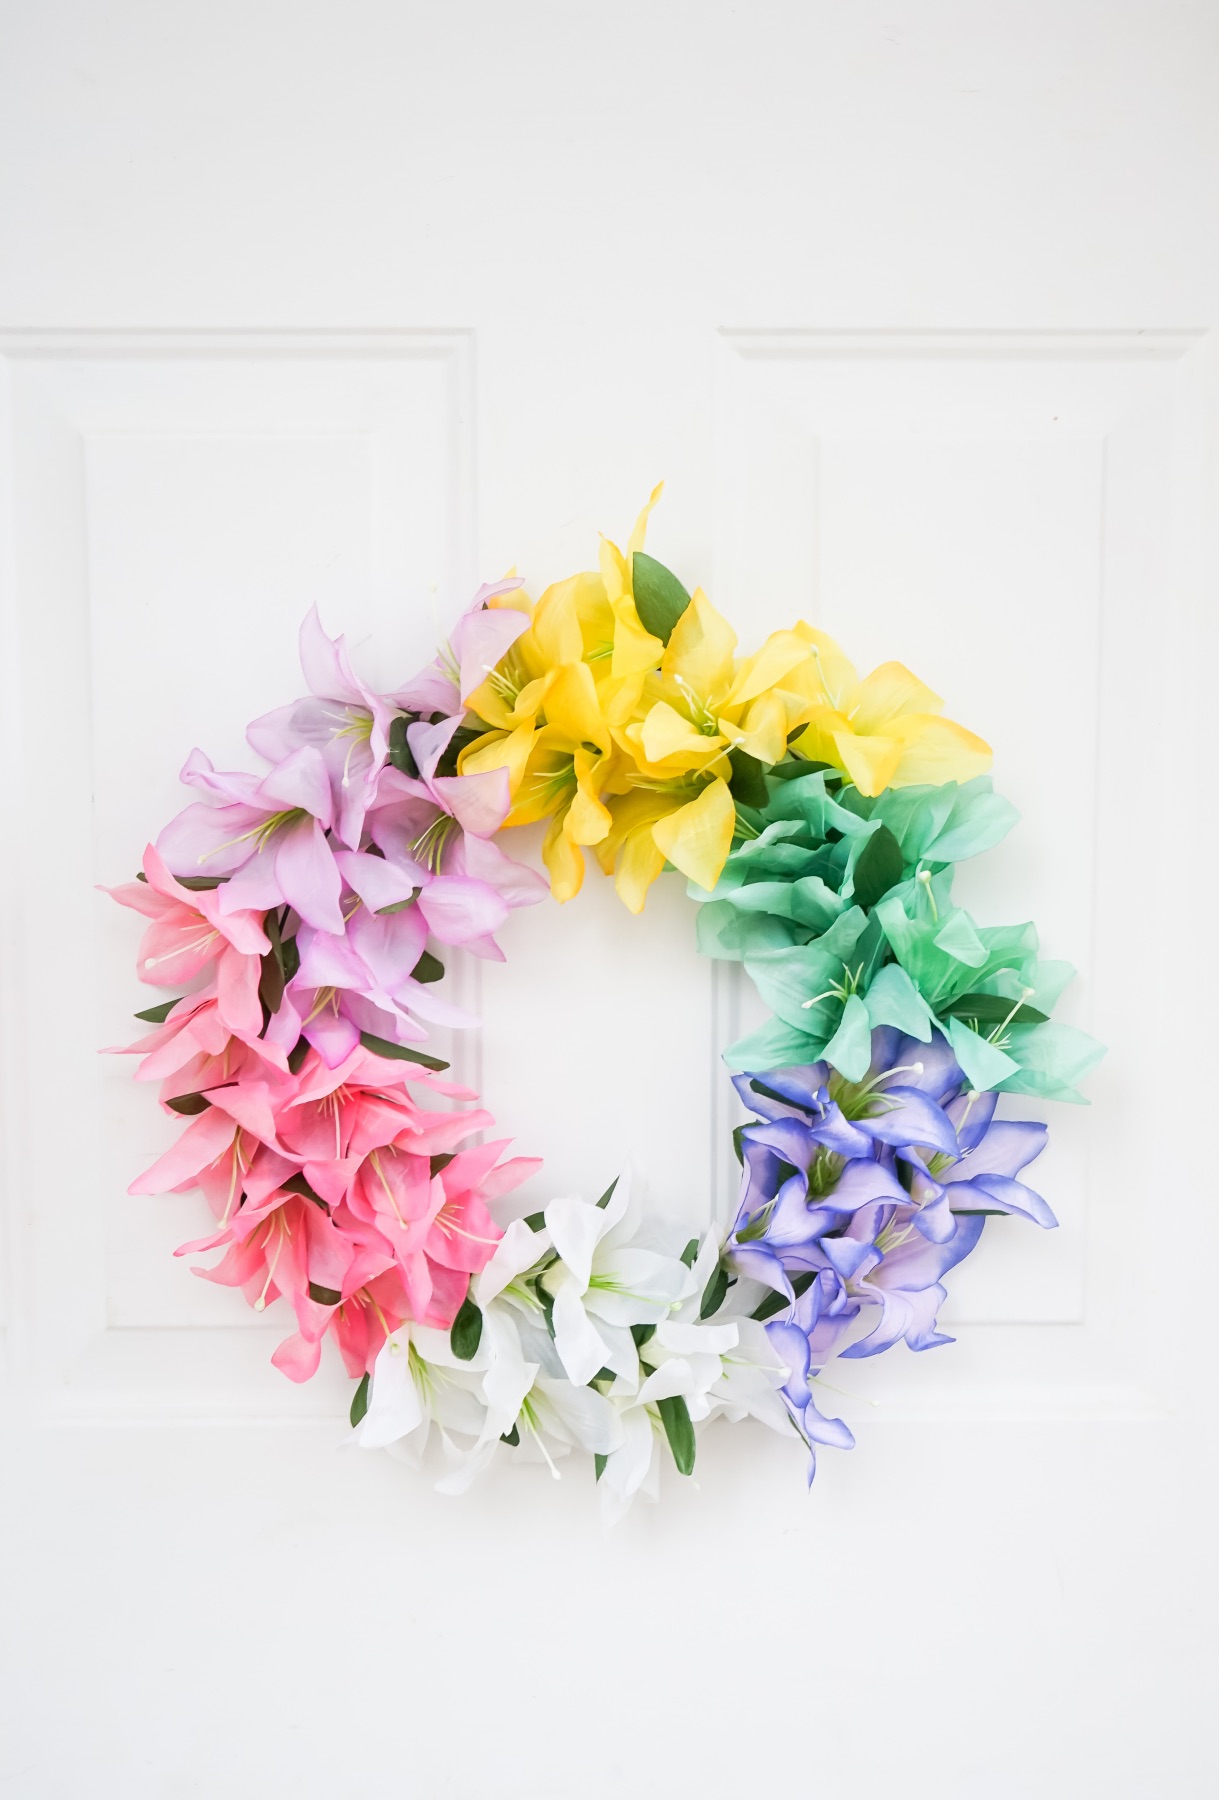
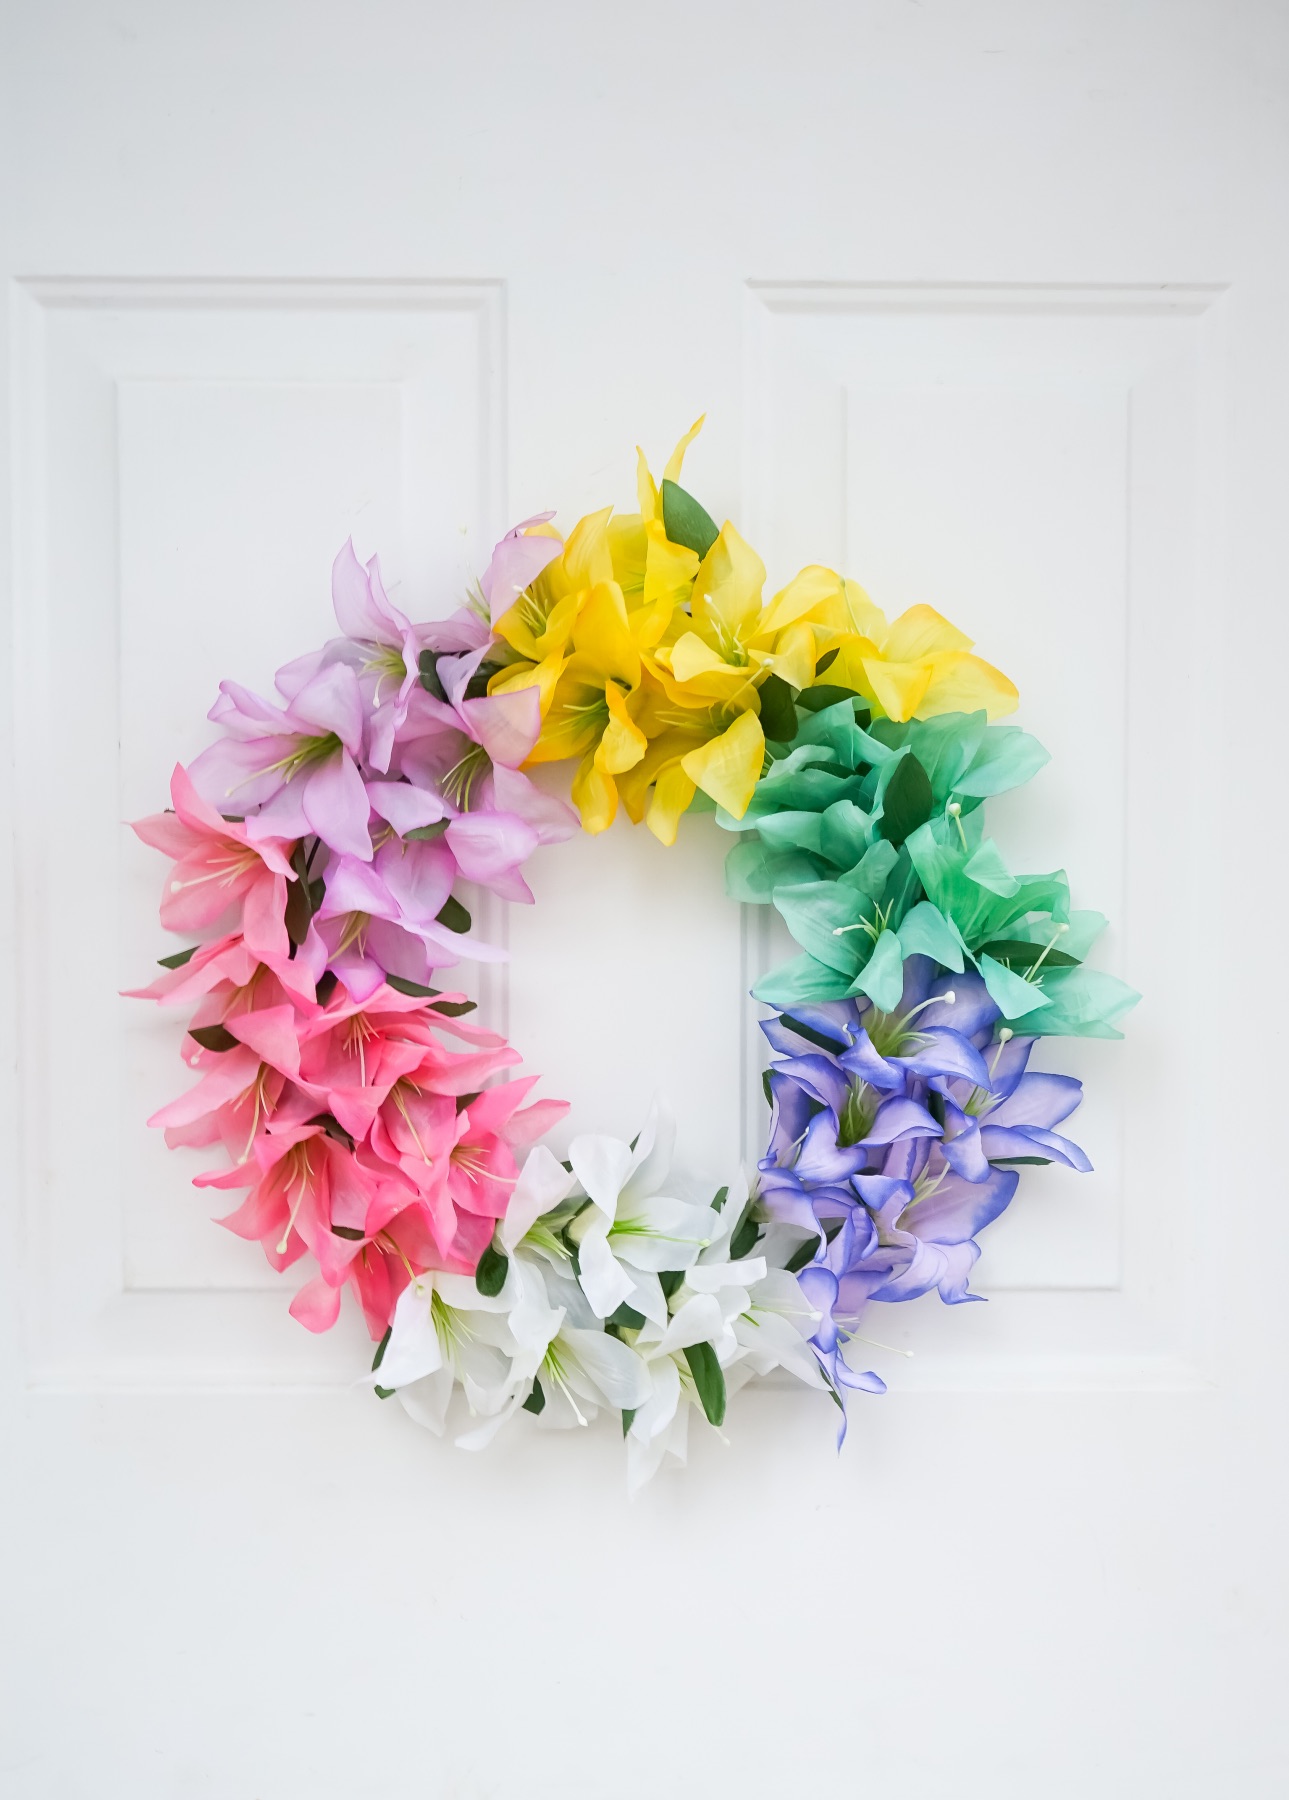
For spring, I love something that’s bright, cheerful, and full of color. This DIY Rainbow Lily Flower Wreath has all of those qualities!
It’s perfect for spring – the colors would even be perfect for Easter. It’s inexpensive to make. You can get all the supplies at Dollar Tree! And it was fast and easy to make too. That’s always a surprise with a wreath that looks this professionally made.
So are you ready to make this DIY Spring Lily Flower Wreath? Let’s do it!
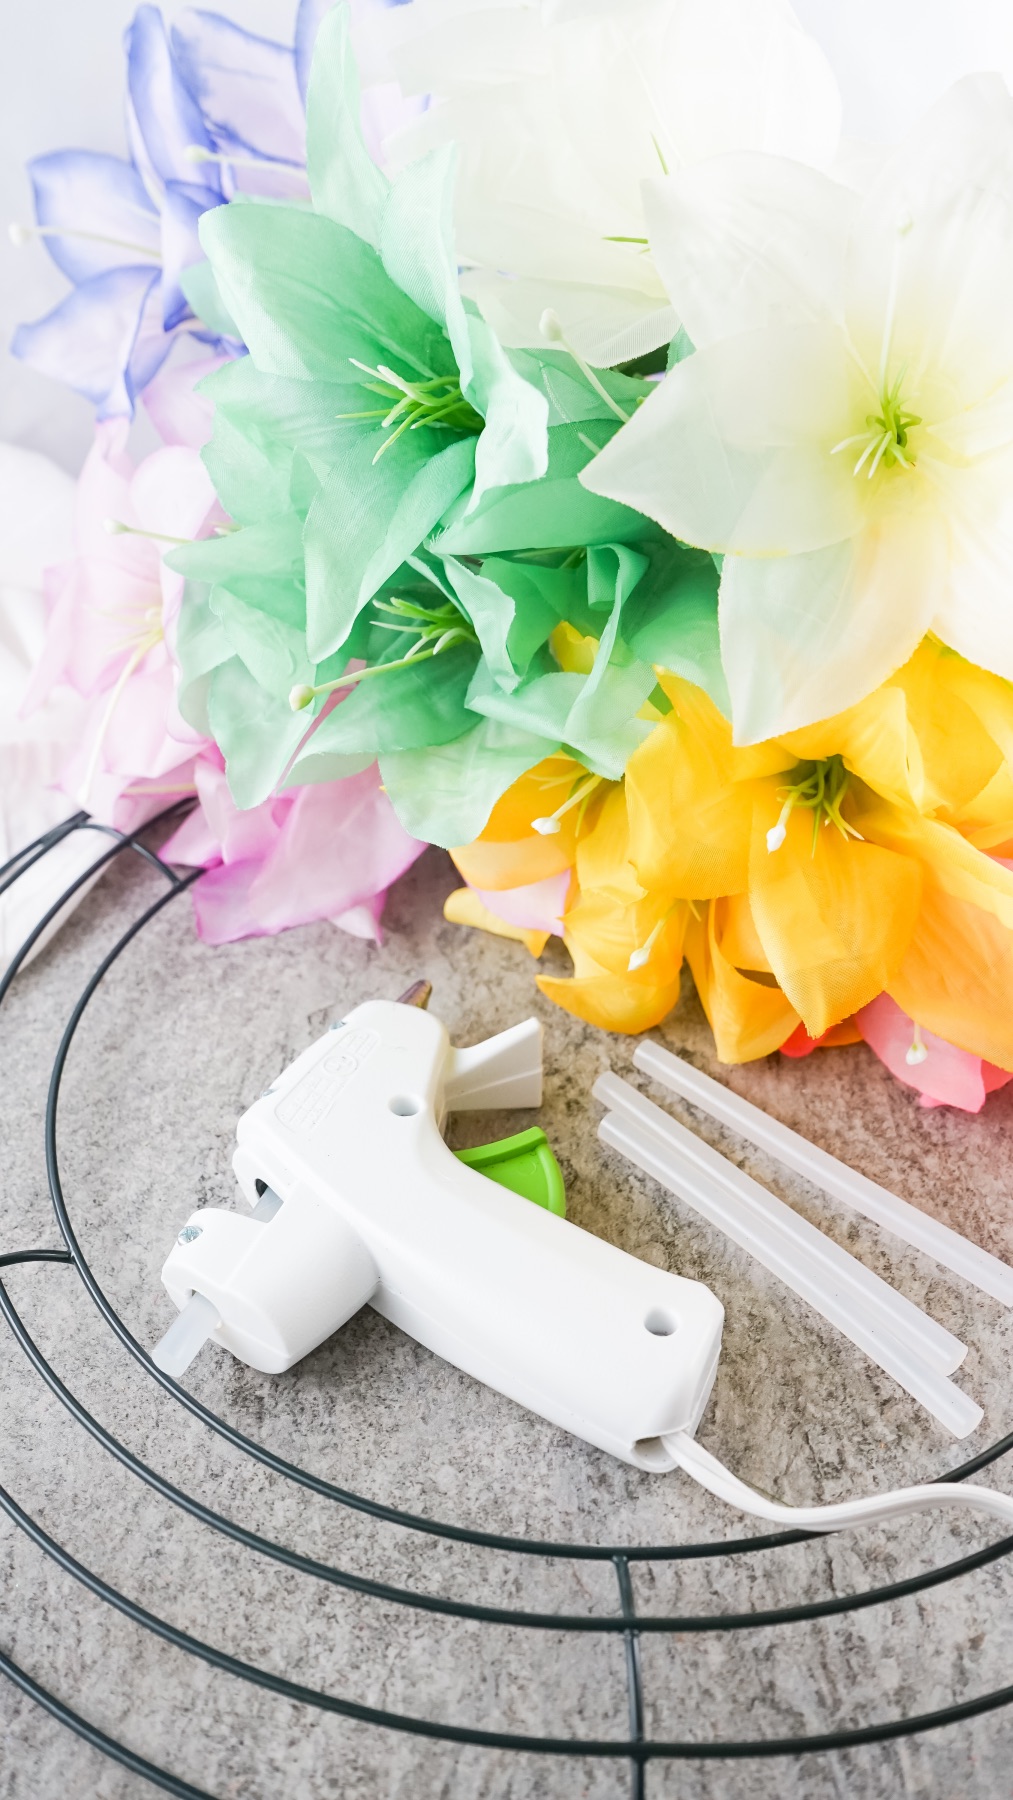
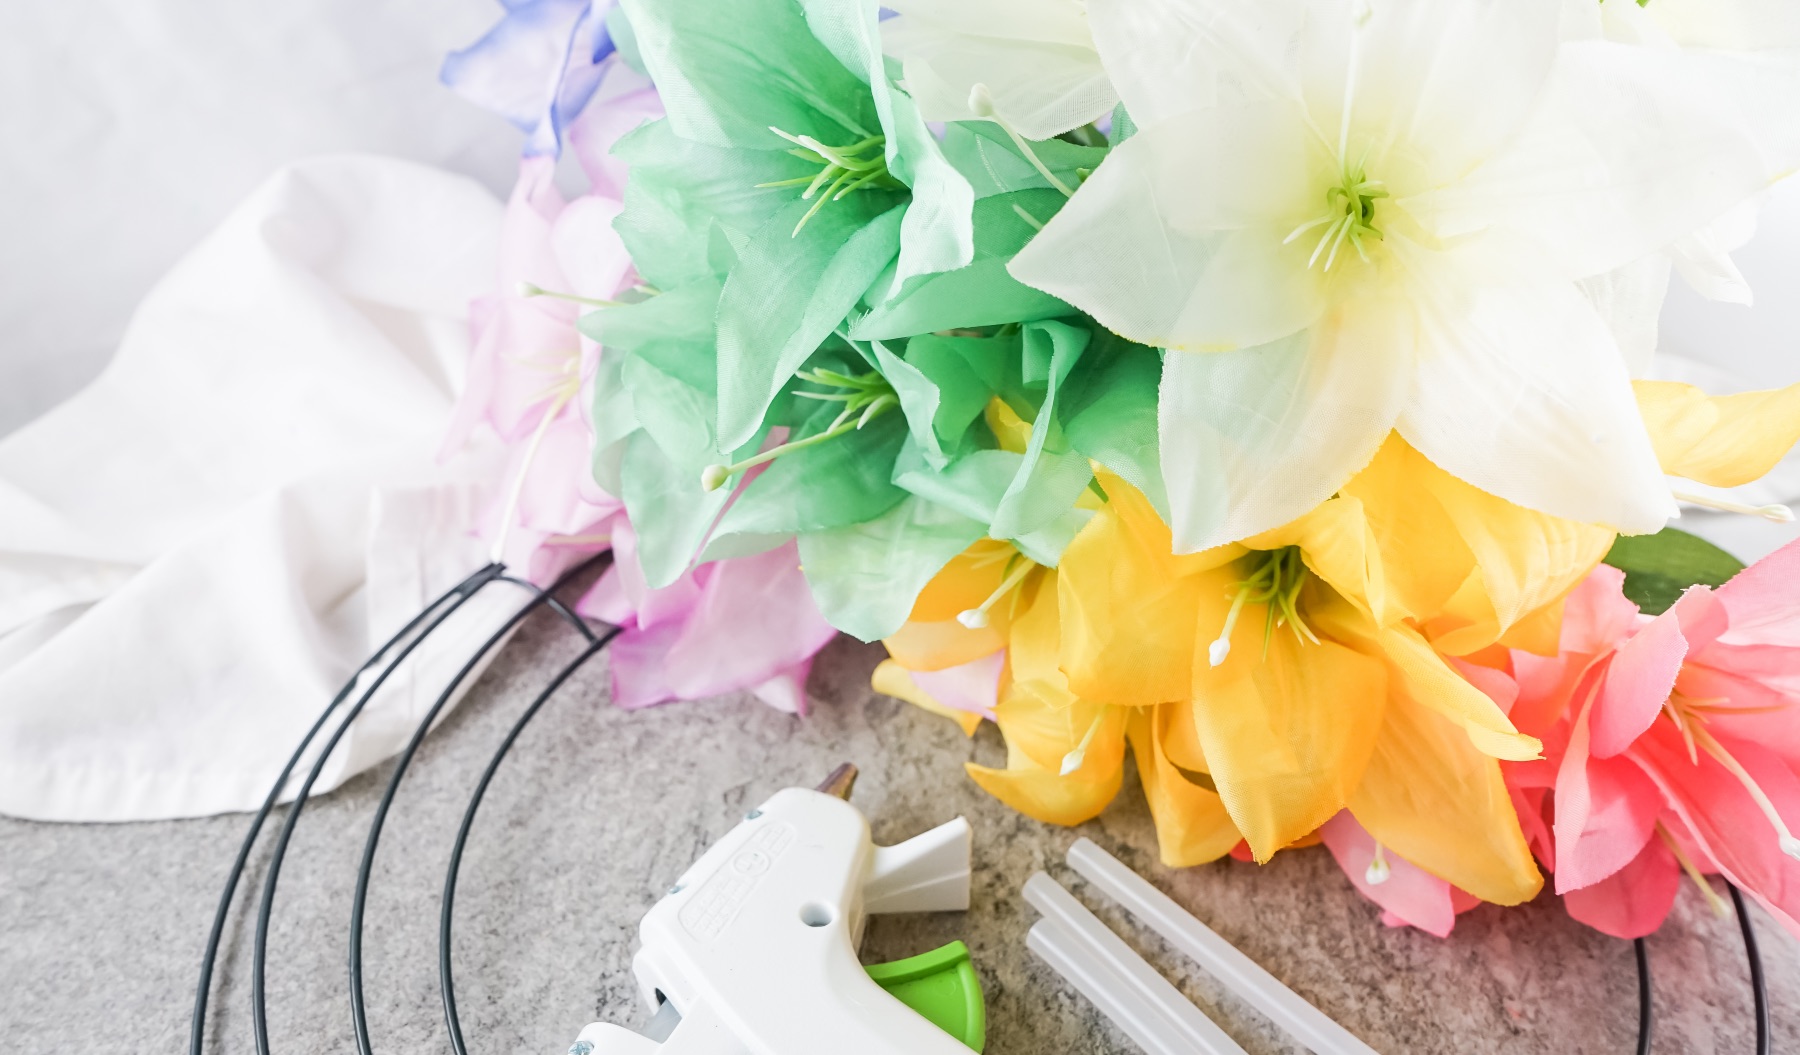
Supplies to Make a DIY Spring Lily Flower Wreath
2 Bundles Pink Lilies (find ALL the lilies here)
1 Bundle Light Purple Lilies
1 Bundle Dark Purple Lilies
1 Bundle White Lilies
1 Bundle Yellow Lilies
1 Bundle Green Lilies
1 Medium Wire Wreath (14 Inches)
Hot Glue Gun
5 Mini Hot Glue Sticks
You could substitute this flower for a different flower. But part of what makes this wreath so special is that all the flowers are the same, the flowers are in a pastel rainbow of colors, and the flowers are not your typical everyday variety.
Step 1: Remove the Flowers from the Stems
To get started making this DIY Spring Lily Flower Wreath, pull the flowers away from the stems. With most faux flowers, they just pop right off. But if you have high end faux flowers you may need to use wire cutters to cut them off.
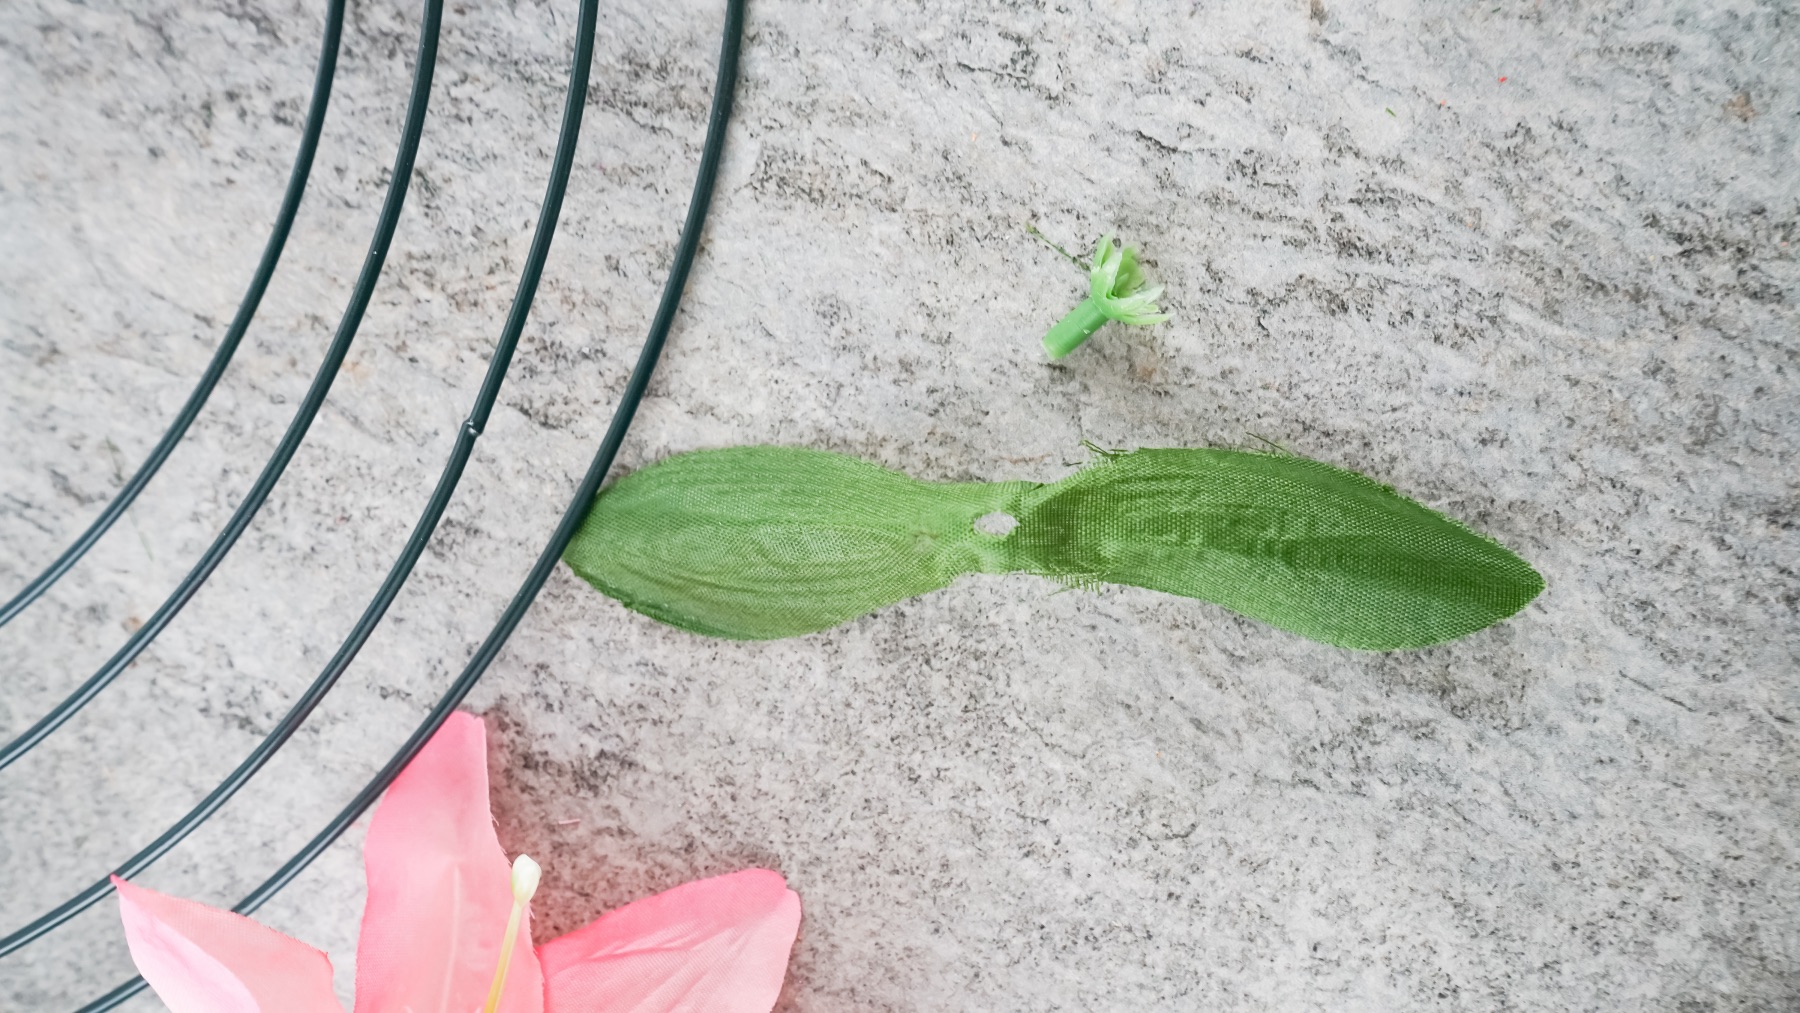
Keep Some But Not All of the Leaves
I like a little pop of green! So I wanted to keep some of my flower leaves. I just randomly selected a few leaves. I pulled the leaves away from the stems and pressed them into the base of the flower.
If your leaves don’t hold in place, you may need to use wire cutters, like I suggested above, and leave a small bit of stem at the bottom of your flower. Then you can use a tiny dab of hot glue at the base of the leaves to adhere the leaves to the flower.
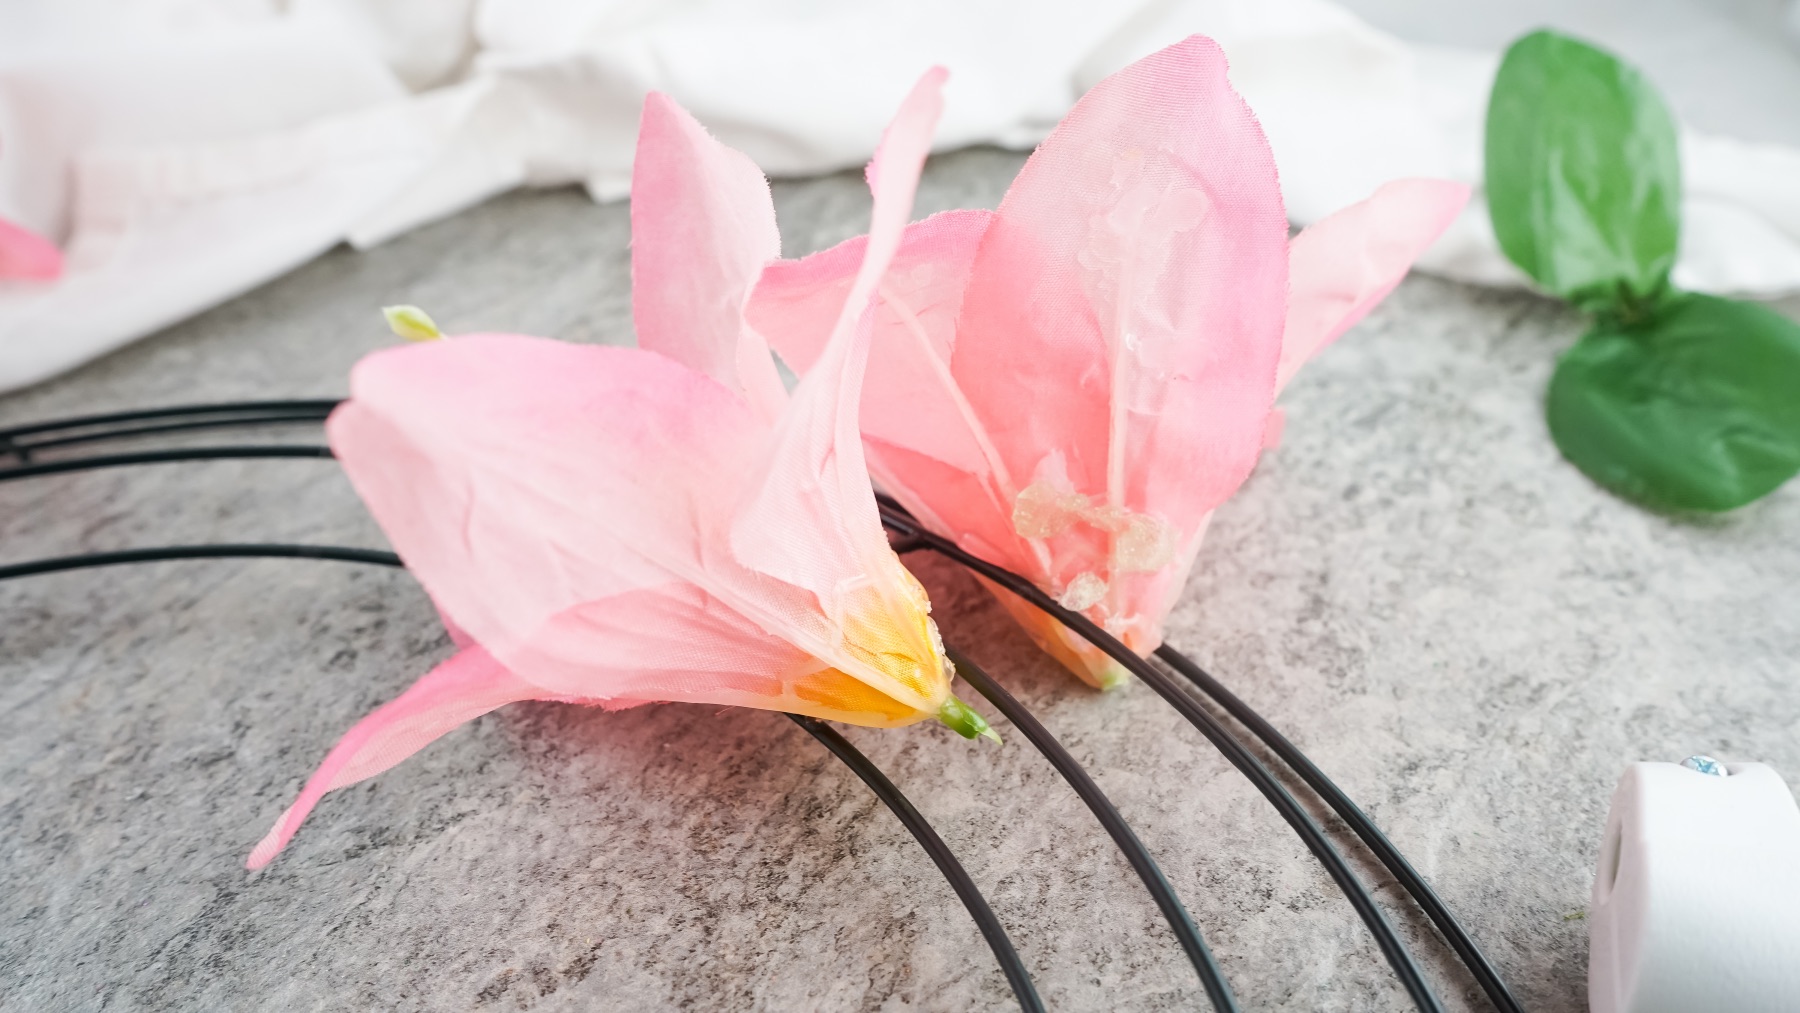
Step 2: Pick Your Orientation
Before you start gluing, make a plan! Make sure you know which side of the wreath you would like facing up. Some wreaths bases are not perfectly round and make look best with a certain side up.
Then decide what color you want to be at the top. You may need to lay your wreath base flat and place some flowers on top to see what looks good to you.
I chose yellow because white made the top look almost invisible. It just didn’t work!
Last, choose what direction you want the flowers to be placed in. Mine are positioned in a circle and the flower opening all faces the same way. But you could try whatever looks good to you!
Step 3: Use Hot Glue to Attach the Flowers
When you have your plan in place, it’s time for some fun! Use a dab of hot glue on the base of the flower, then hold the flower in place against the wreath base.
You will want to hold the flower in place for around 15 seconds to make sure it truly holds and doesn’t fall off. Keep attaching the flowers using this process.
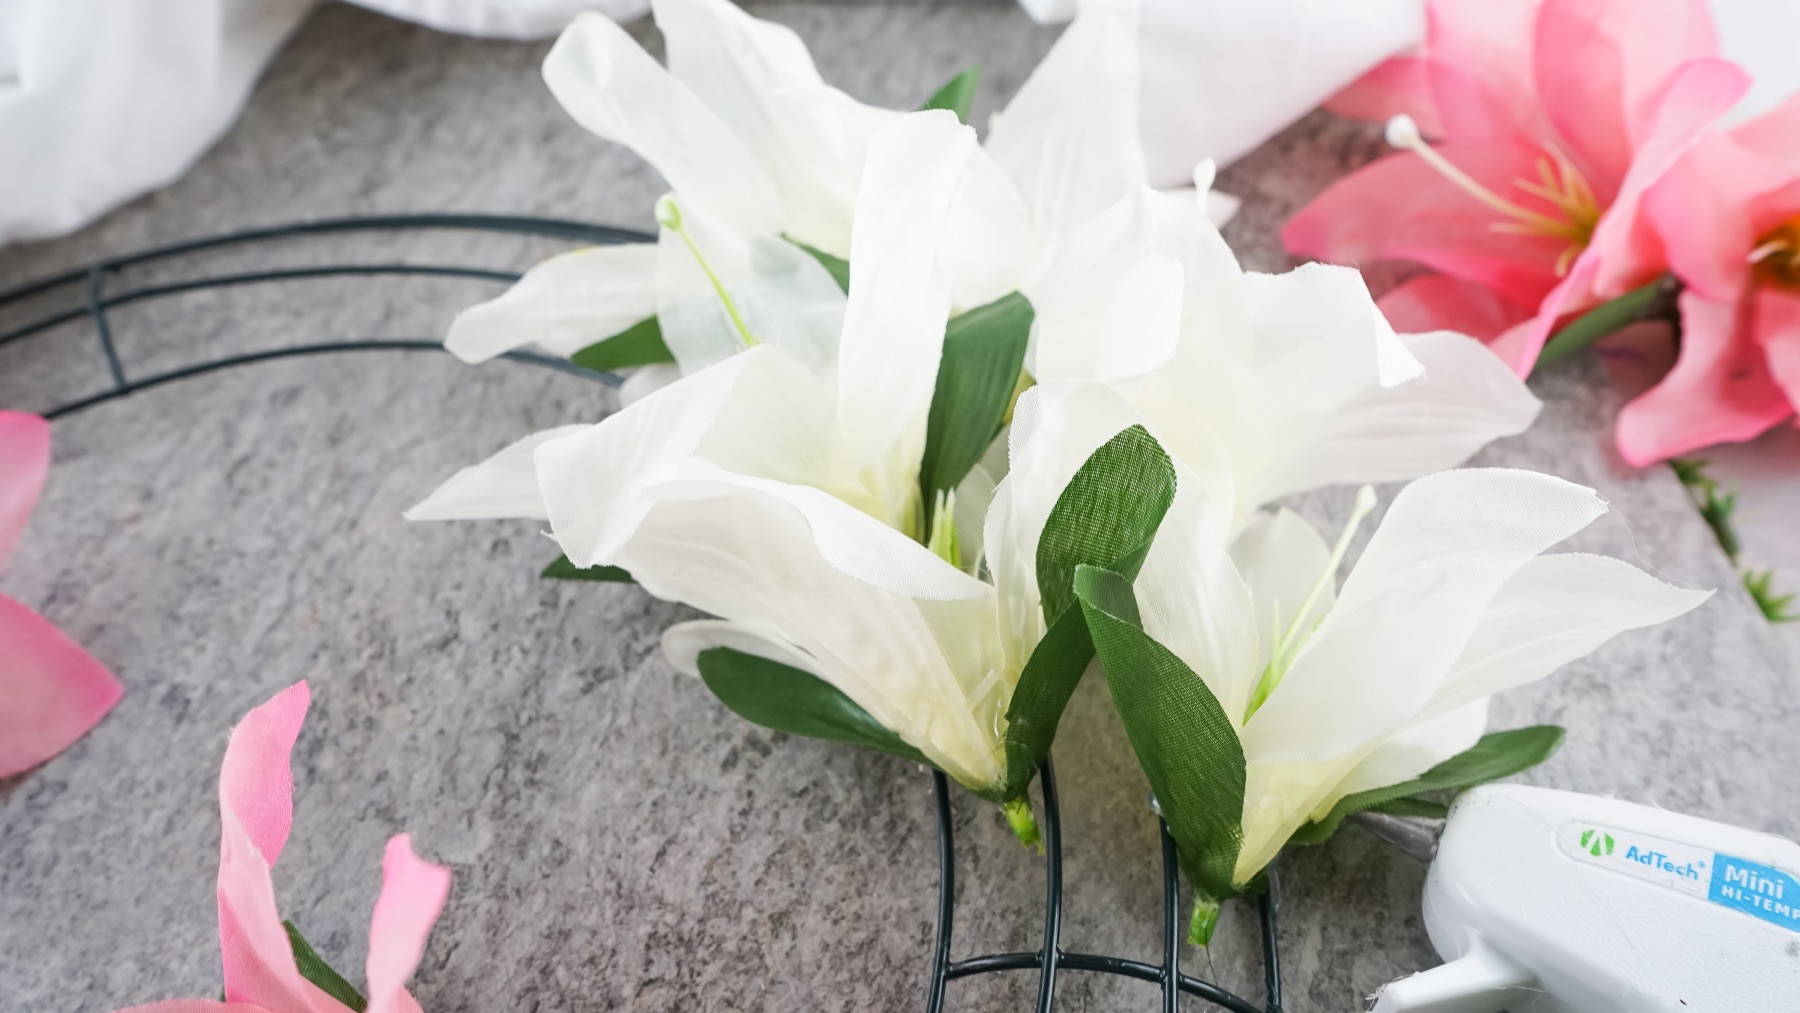
Stagger the Flowers
Notice how my flowers are not perfectly lined up? There are 2 issues with lining up the flowers. First, your wreath base is smaller in the center – so lining them up will only work for the 1st few flowers before they become uneven.
2nd, I promise it will just look weird.
So as you work, pay attention to where the flower lines up to the one next to it. If necessary, try leaving a tiny gap to keep the flowers staggered.

Step 4: Add a 2nd Color of Flower
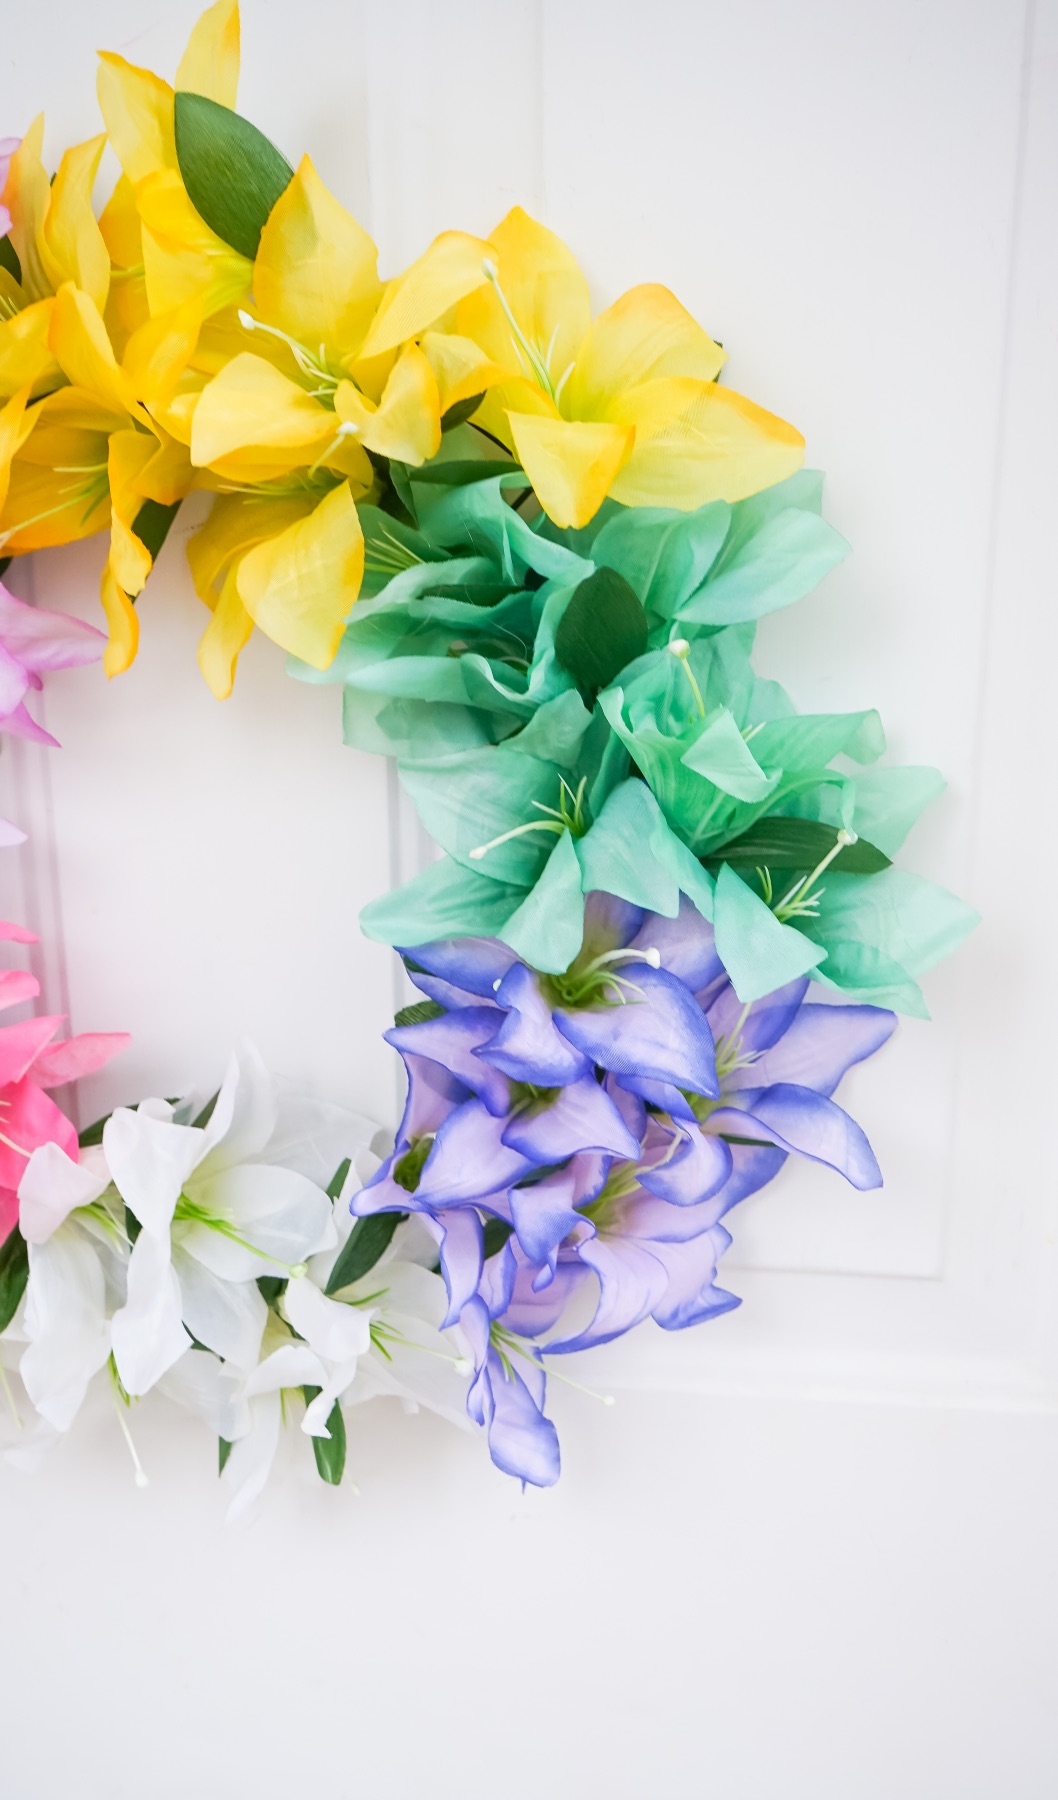
Once you have finished your first color of flower, continue with a 2nd color. You can put any colors next to each other – you don’t have to follow what I did. But my goal was to create a rainbow – it makes for a really pretty wreath.

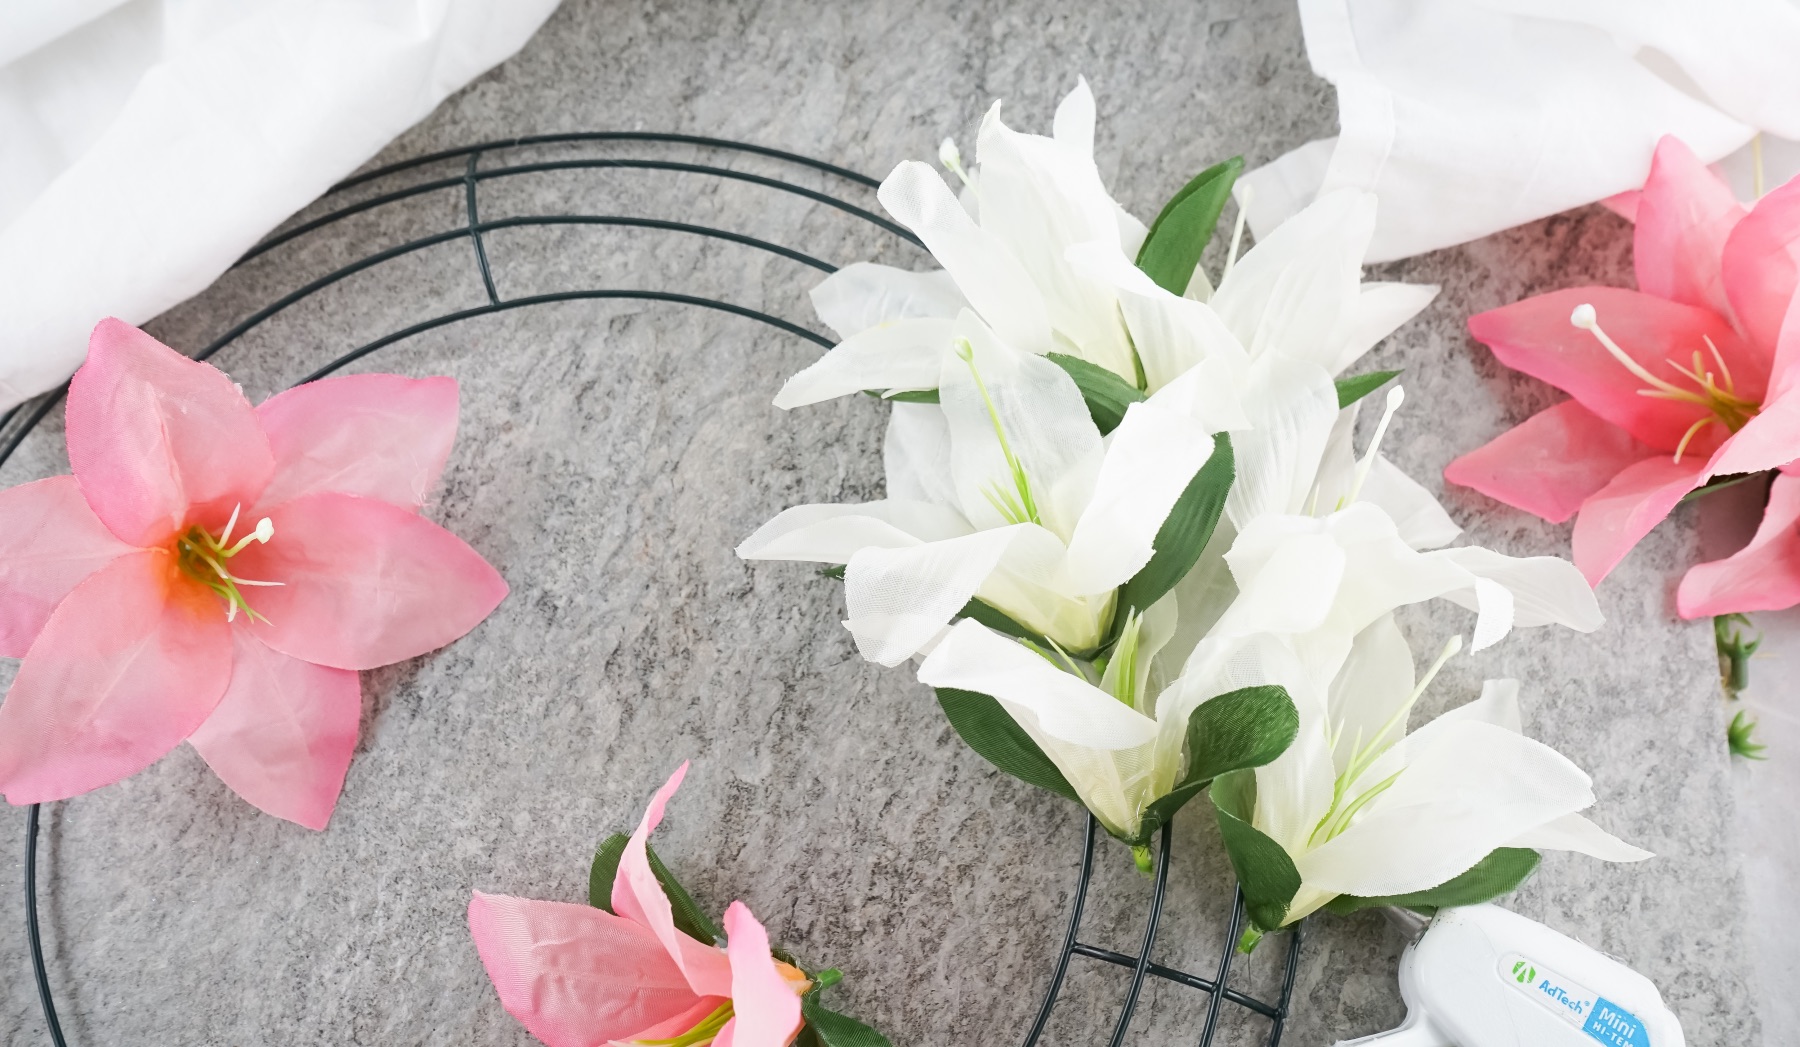
Prevent Gaps
The last thing you want is for any of your wreath base to show through. So as you add flowers, slide each base slightly under the petals of the flower below it.
If you need to, you can always add more leaves to fill in gaps too!

Order Your Colors Like a Rainbow
You don’t need red, orange, yellow, green, blue, purple to give your wreath the look of a rainbow. If you look at mine – I used 2 colors of pink which feels very spring.
And even my blue is light and has flecks of white. But the color order is still the same that it would be if it were a rainbow.

Step 5: Continue Adding Flowers Until the Base is Full
Once you get the hang of how to prevent gaps in between the flowers and how to angle the flowers in a way you like, just keep attaching more.
Fill the wreath base until there are no gaps and don’t worry if some of your sections of flowers end up larger or smaller than other sections. If you noticed, it happened to me! And it would be nearly impossible to add the same number of flowers in each color section.
Step 6: Let the Wreath Set for a Few Hours
Once all your flowers are attached, allow the DIY Spring Lily Flower Wreath to set for a few hours. Or even better, let the wreath set overnight.
Let the glue dry completely before you hang it!

Step 7: Test Each Flower That It’s Firmly Adhered
Once the glue is set, give each flower a gently tug. Wiggle it back and forth to see if it needs any additional glue. If it feels like the flower could fall off, add more glue.

Step 8: Pull Away Any Strings of Glue
Hot glue produces so many globs and strings! I like to wait until the glue is completely set to pull the strings away.
If you pull them off before the glue is set, you can at times damage the hold of the glue. So waiting is best!
Hang Your DIY Spring Lily Flower Wreath
After pulling any glue strings away, your wreath is ready to hang! Of course it’s so pretty on your front door. But that’s not the only place you can hang a wreath.

You could place a mirror inside of the wreath and hang it in your bedroom or a bathroom. And they look so great above a mantle too.
Anywhere that looks cute, is the perfect place to add a DIY Spring Lily Flower Wreath!
Looking for other wreaths that are perfect for spring? This Plaid Carrot Wreath is so cute!
And here’s a topiary that’s giving me all the Easter vibes!
So what are you going to make this spring? Tell us in the comments!

Let’s Be Friends!
Insta | Pinterest | Enews | TikTok