Sep
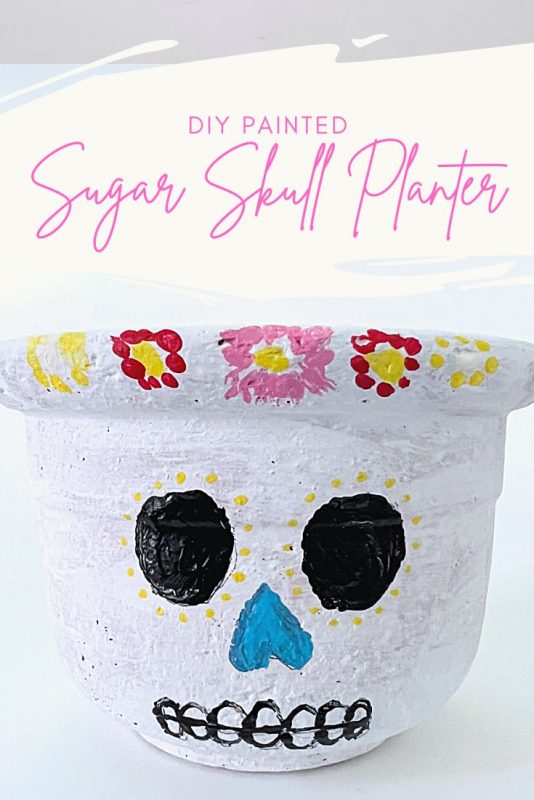
It’s almost Day of the Dead, so it’s the perfect time to dress up a simple terra cotta planter with a Sugar Skull. You don’t need a lot of supplies for this painted planter and it fits so well with this Evil Eye Planter – you can even make them together.
It’s the perfect way to plant marigold on your Day of the Dead alter. So let’s make this Sugar Skull Painted Planter!
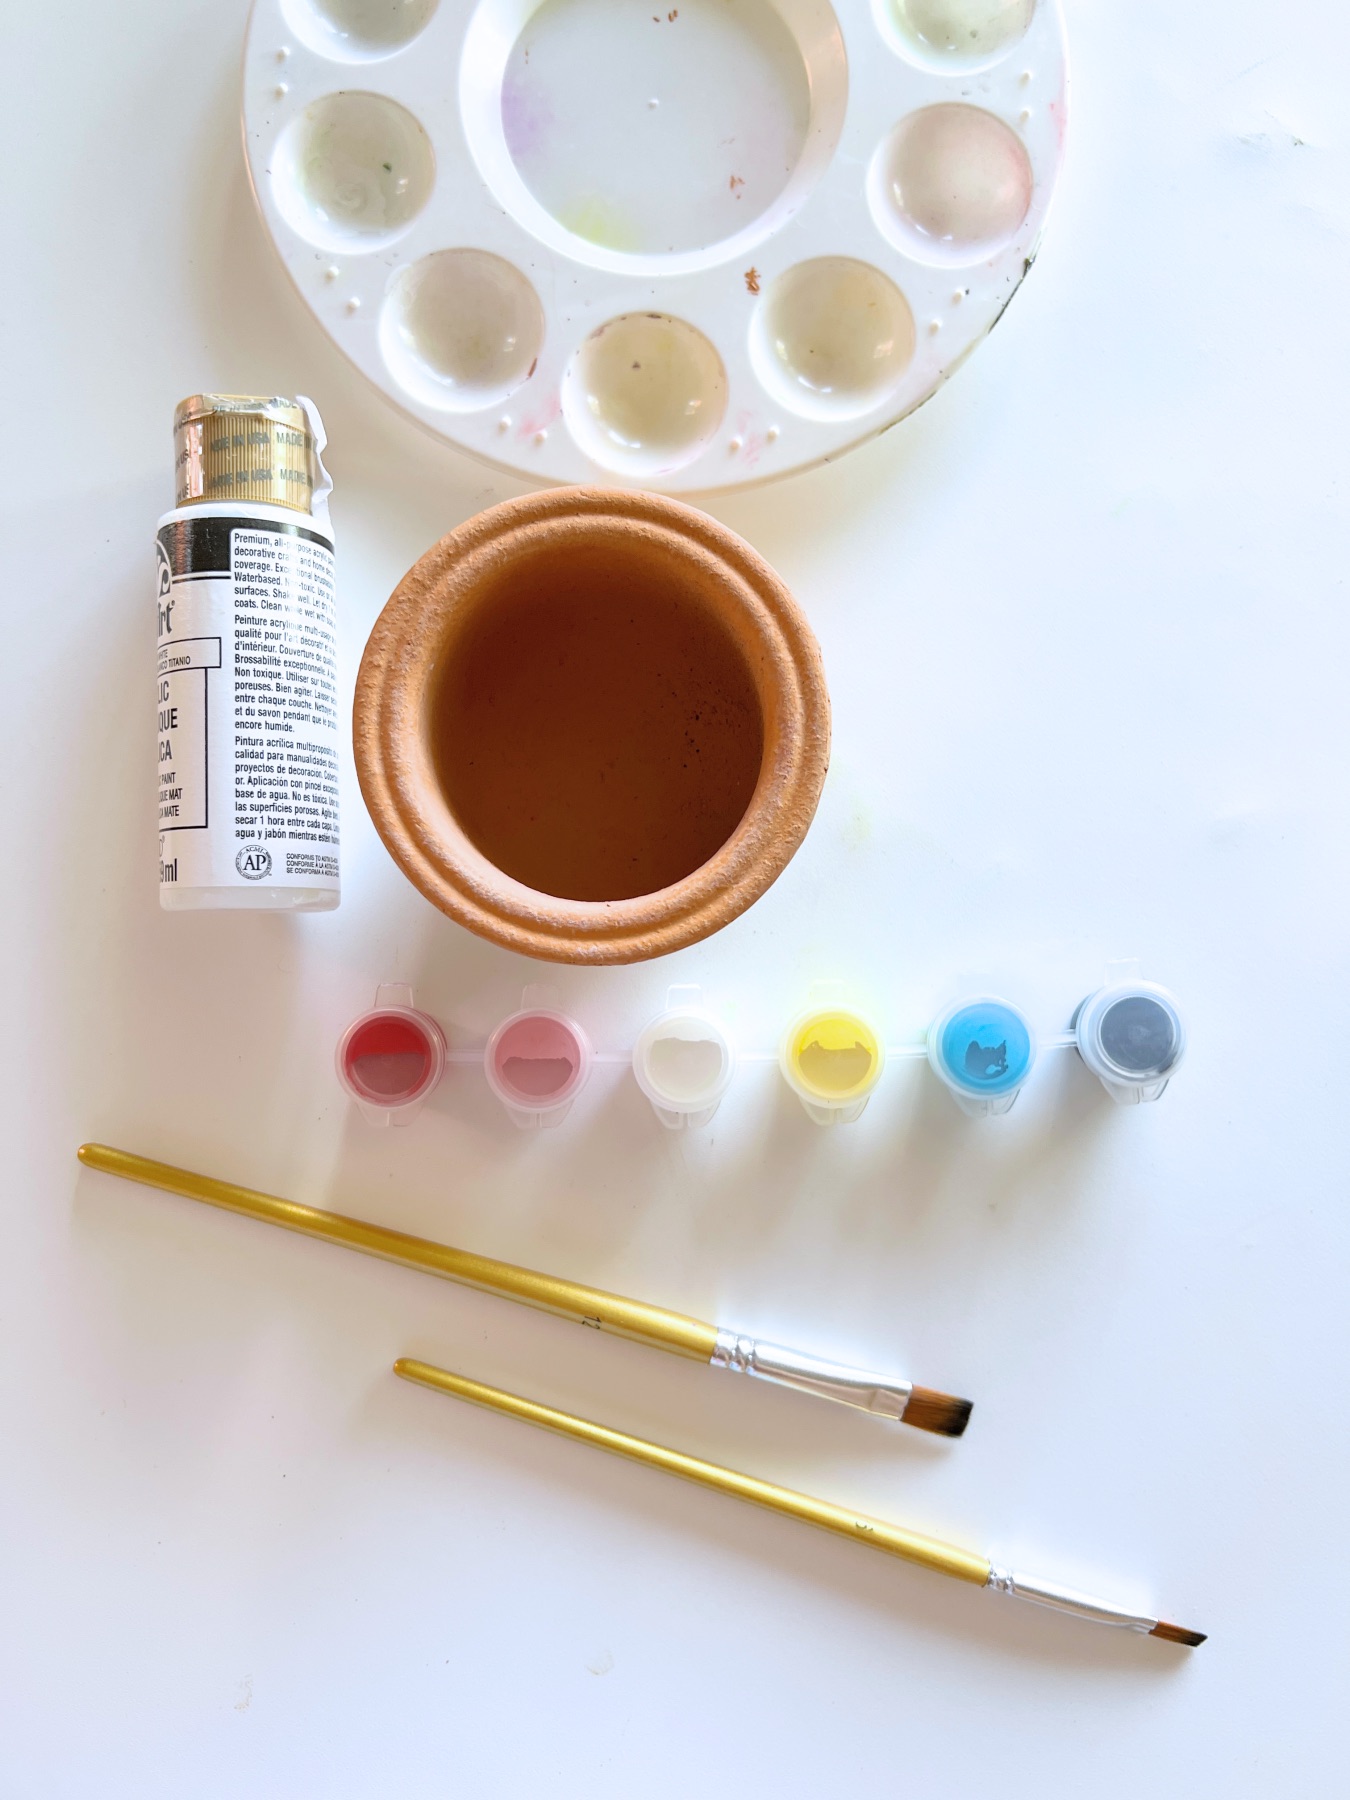
Supplies to Make a Sugar Skull Painted Planter
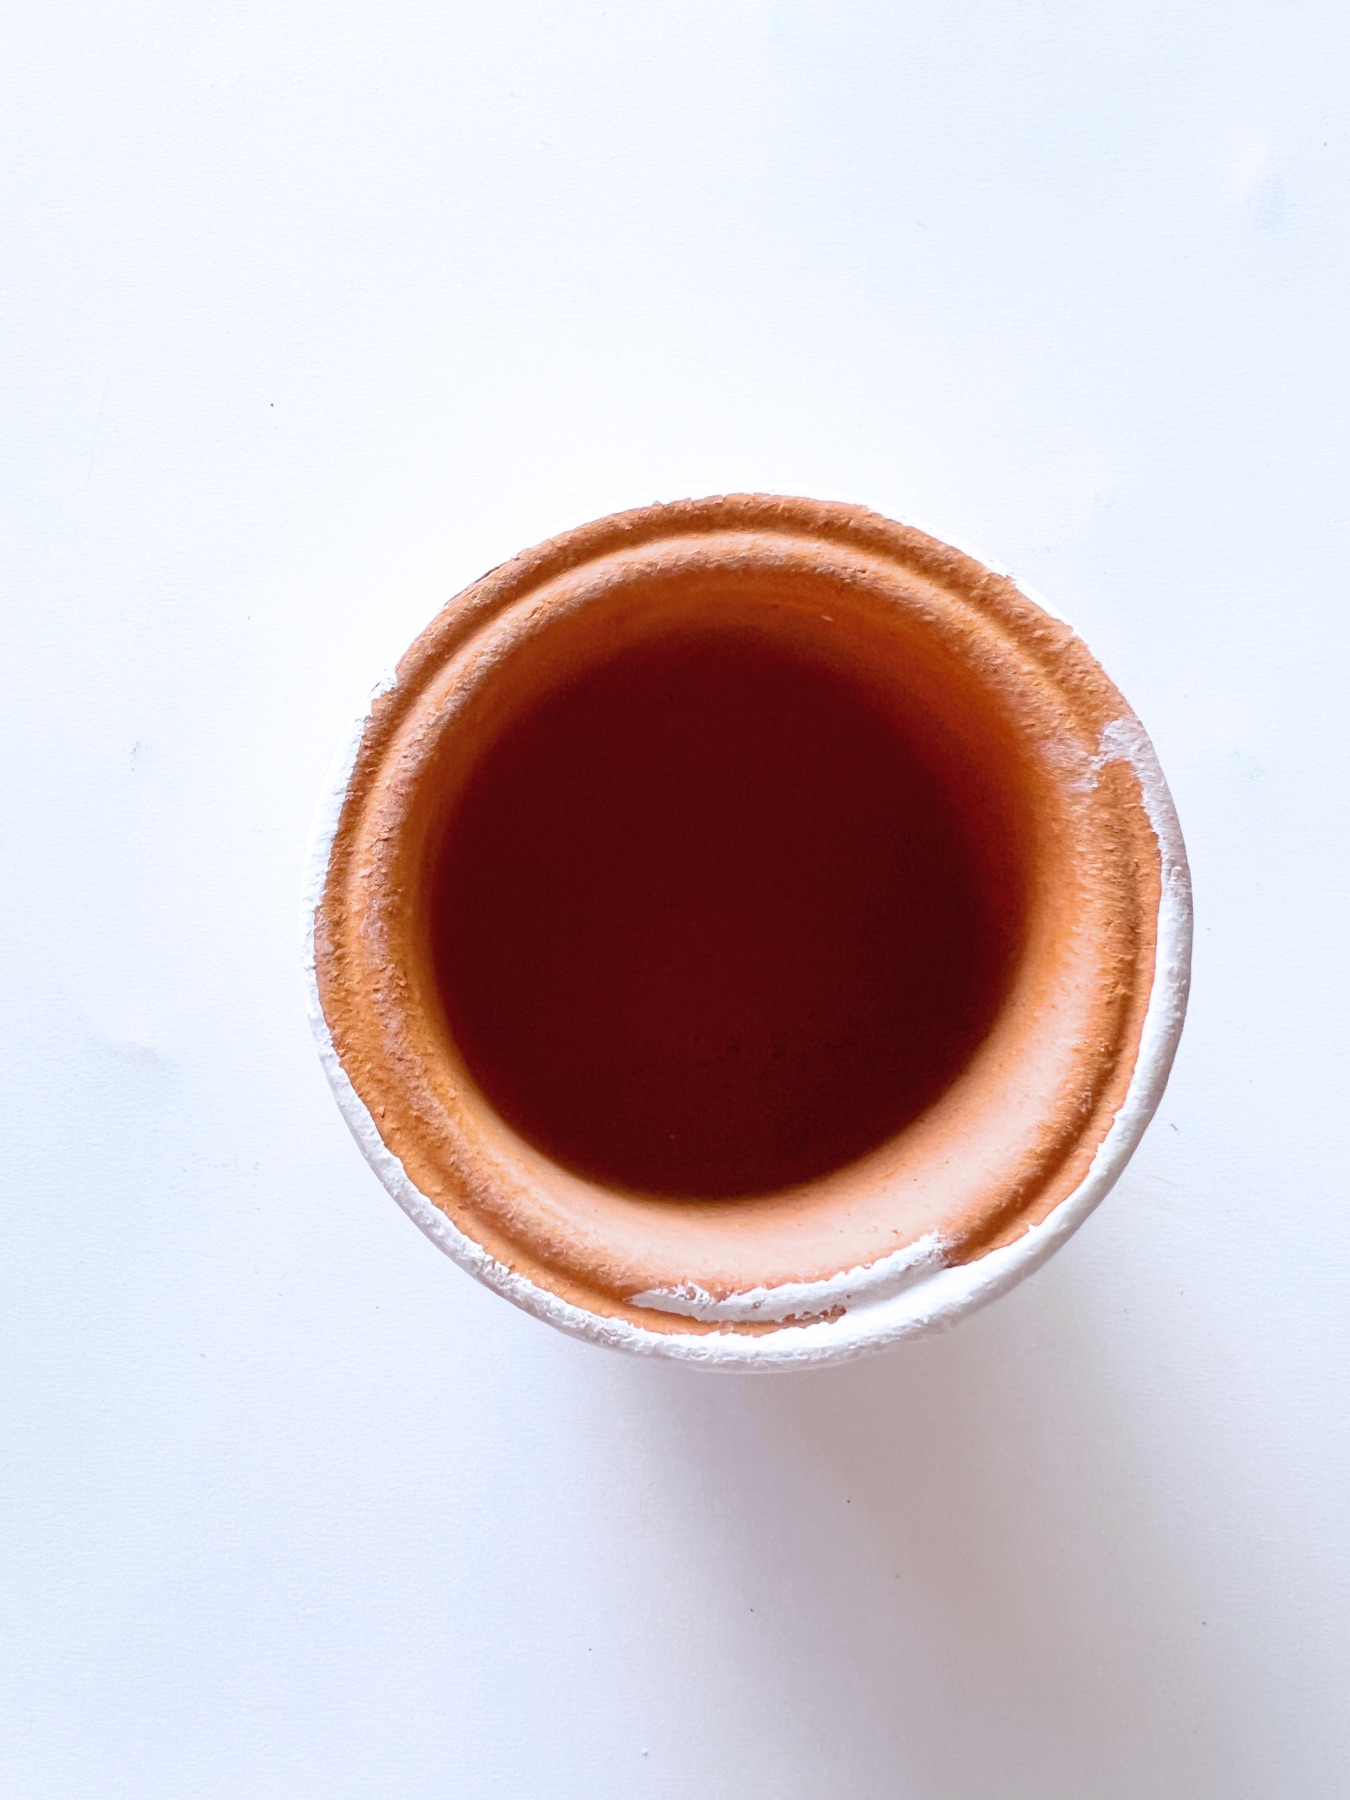
Terra Cotta Pots (Any Size)
Pencil
A Small Acrylic Paint Brush
Toothpicks
Painter’s Palette
Acrylic Paint in an Array of: White, Black, Red, Pink, Yellow, Blue
Sugar Skull Idea Template (below)
Marigold (or another plant)
Soil
Note: If you are making these just for fun, you can use any color of acrylic paint. But if you are making these painted planters for Day of the Dead, use a rainbow of paint. Bright colors are important to the holiday.
What are Sugar Skulls?
A Sugar Skull is traditionally called a Calavera and is a representation of a departed loved one. They are often made of sugar – but not exclusively. You can also see Calavera face painting, art, and more.
When they are made of sugar, they are not usually eaten – they are intended to sit on an alter. The act of making them is a way to honor the departed and help them revisit.
Why Plant Marigold for Day of the Dead?
I planted marigold in my planters for Day of the Dead, but you could plant whatever your heart desires – succulents would be an easy choice.
Marigold is used for Day of the Dead because of it’s gorgeous bright color and strong scent. It was a gift from the Sun God to honor the dead. The more potent the flower, the better it can guide the departed to their alters. And flowers represent the fragility of life.
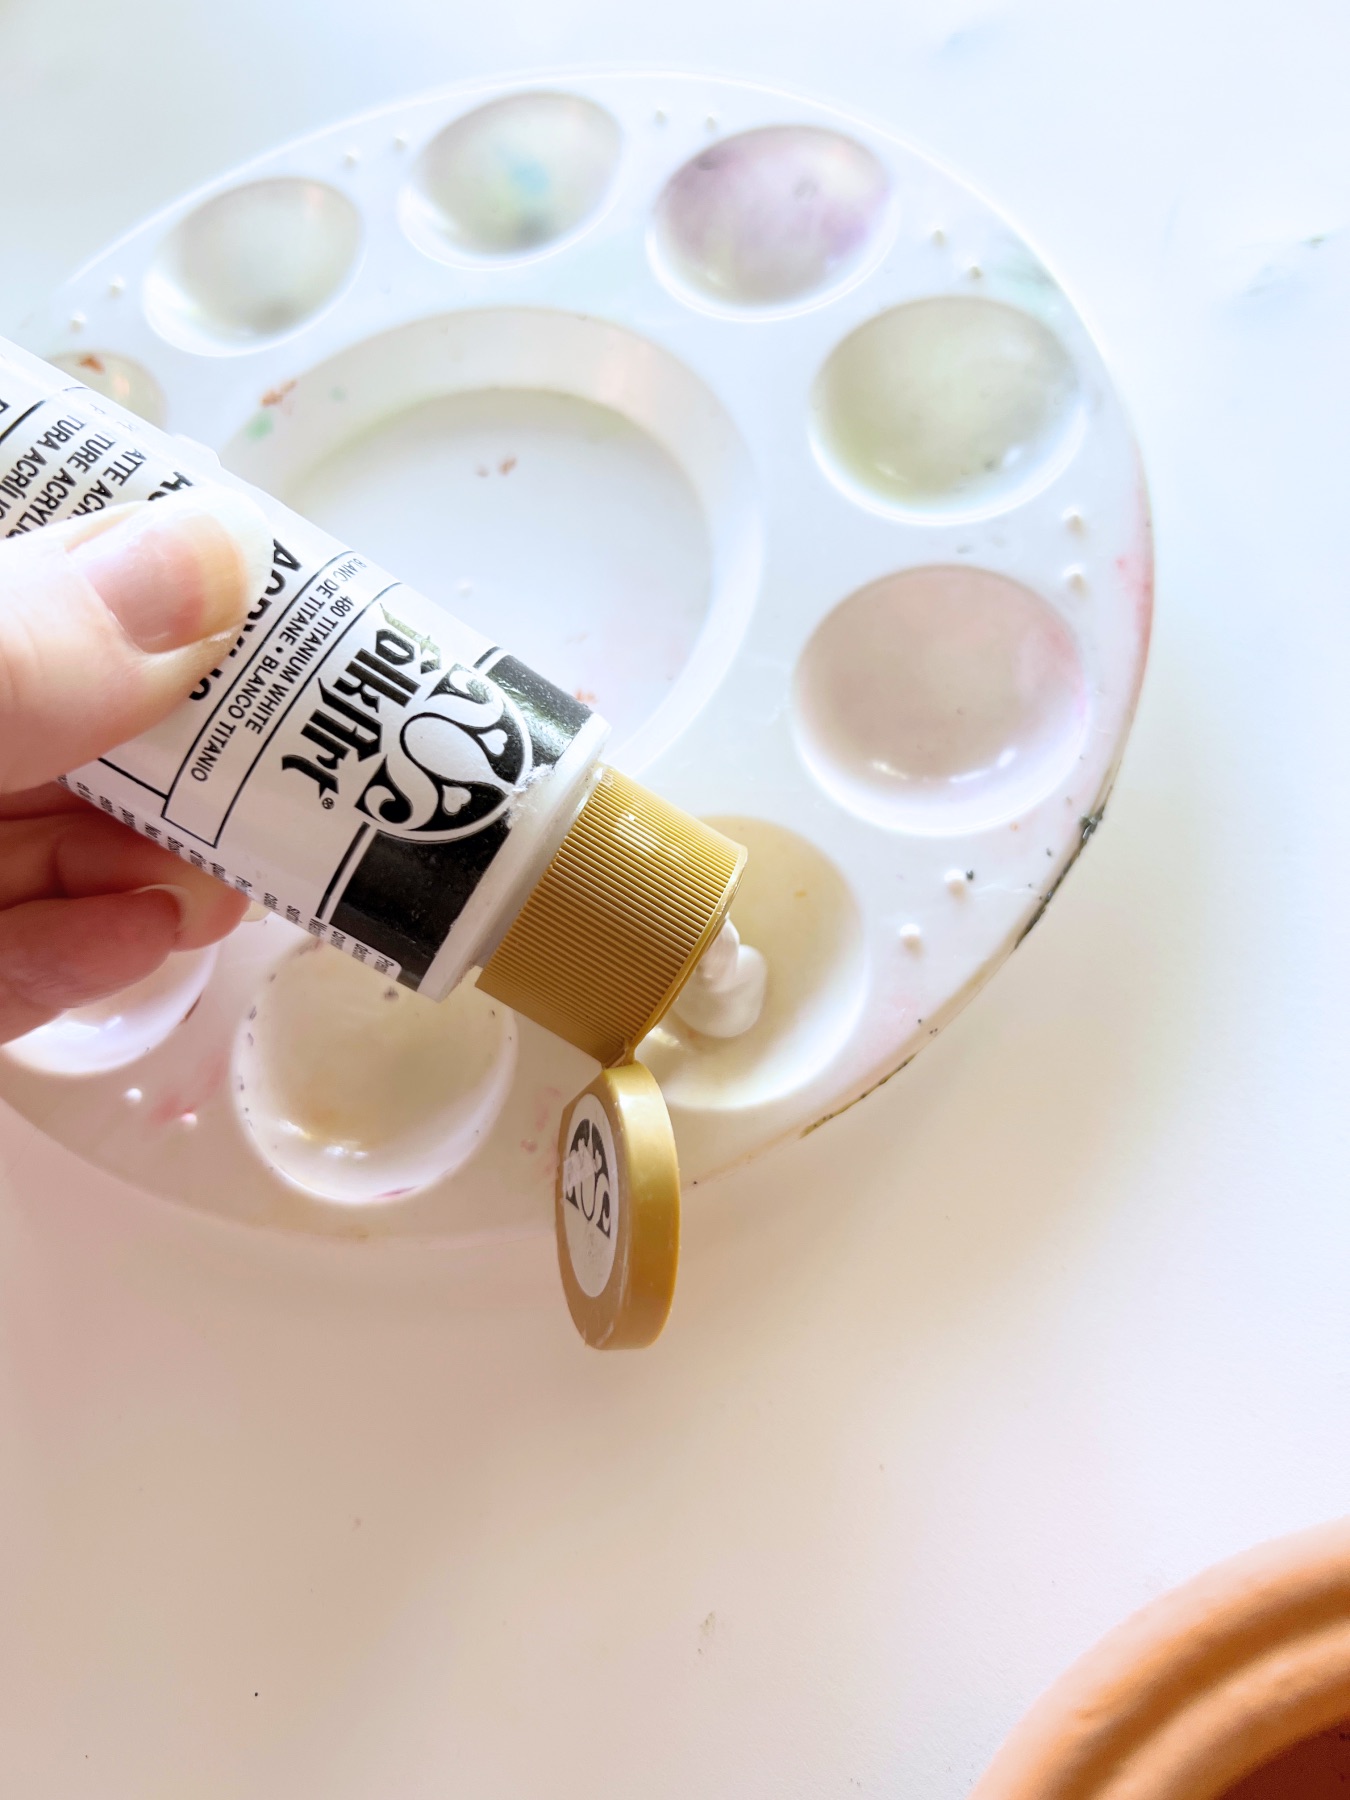
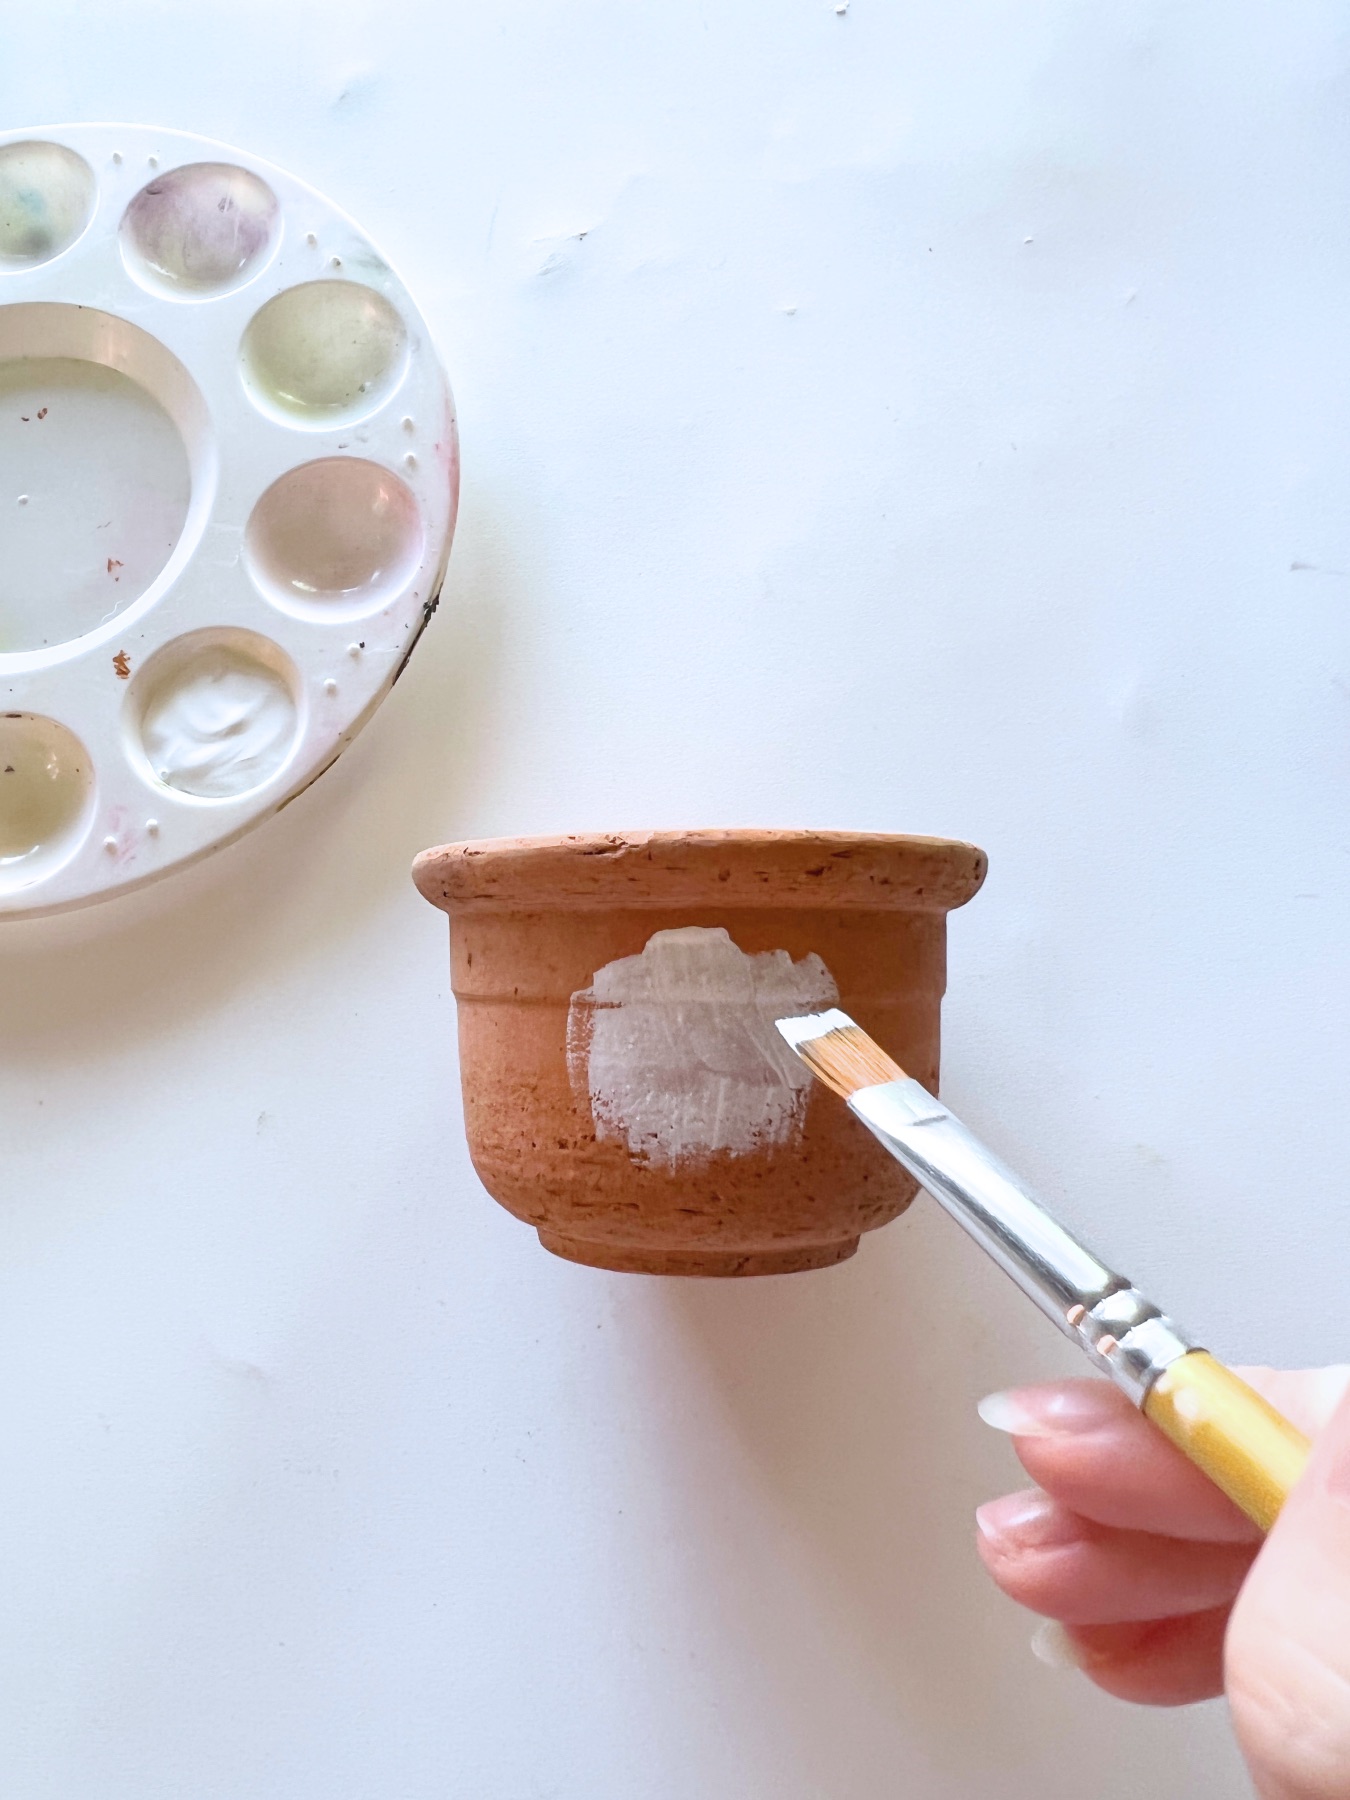
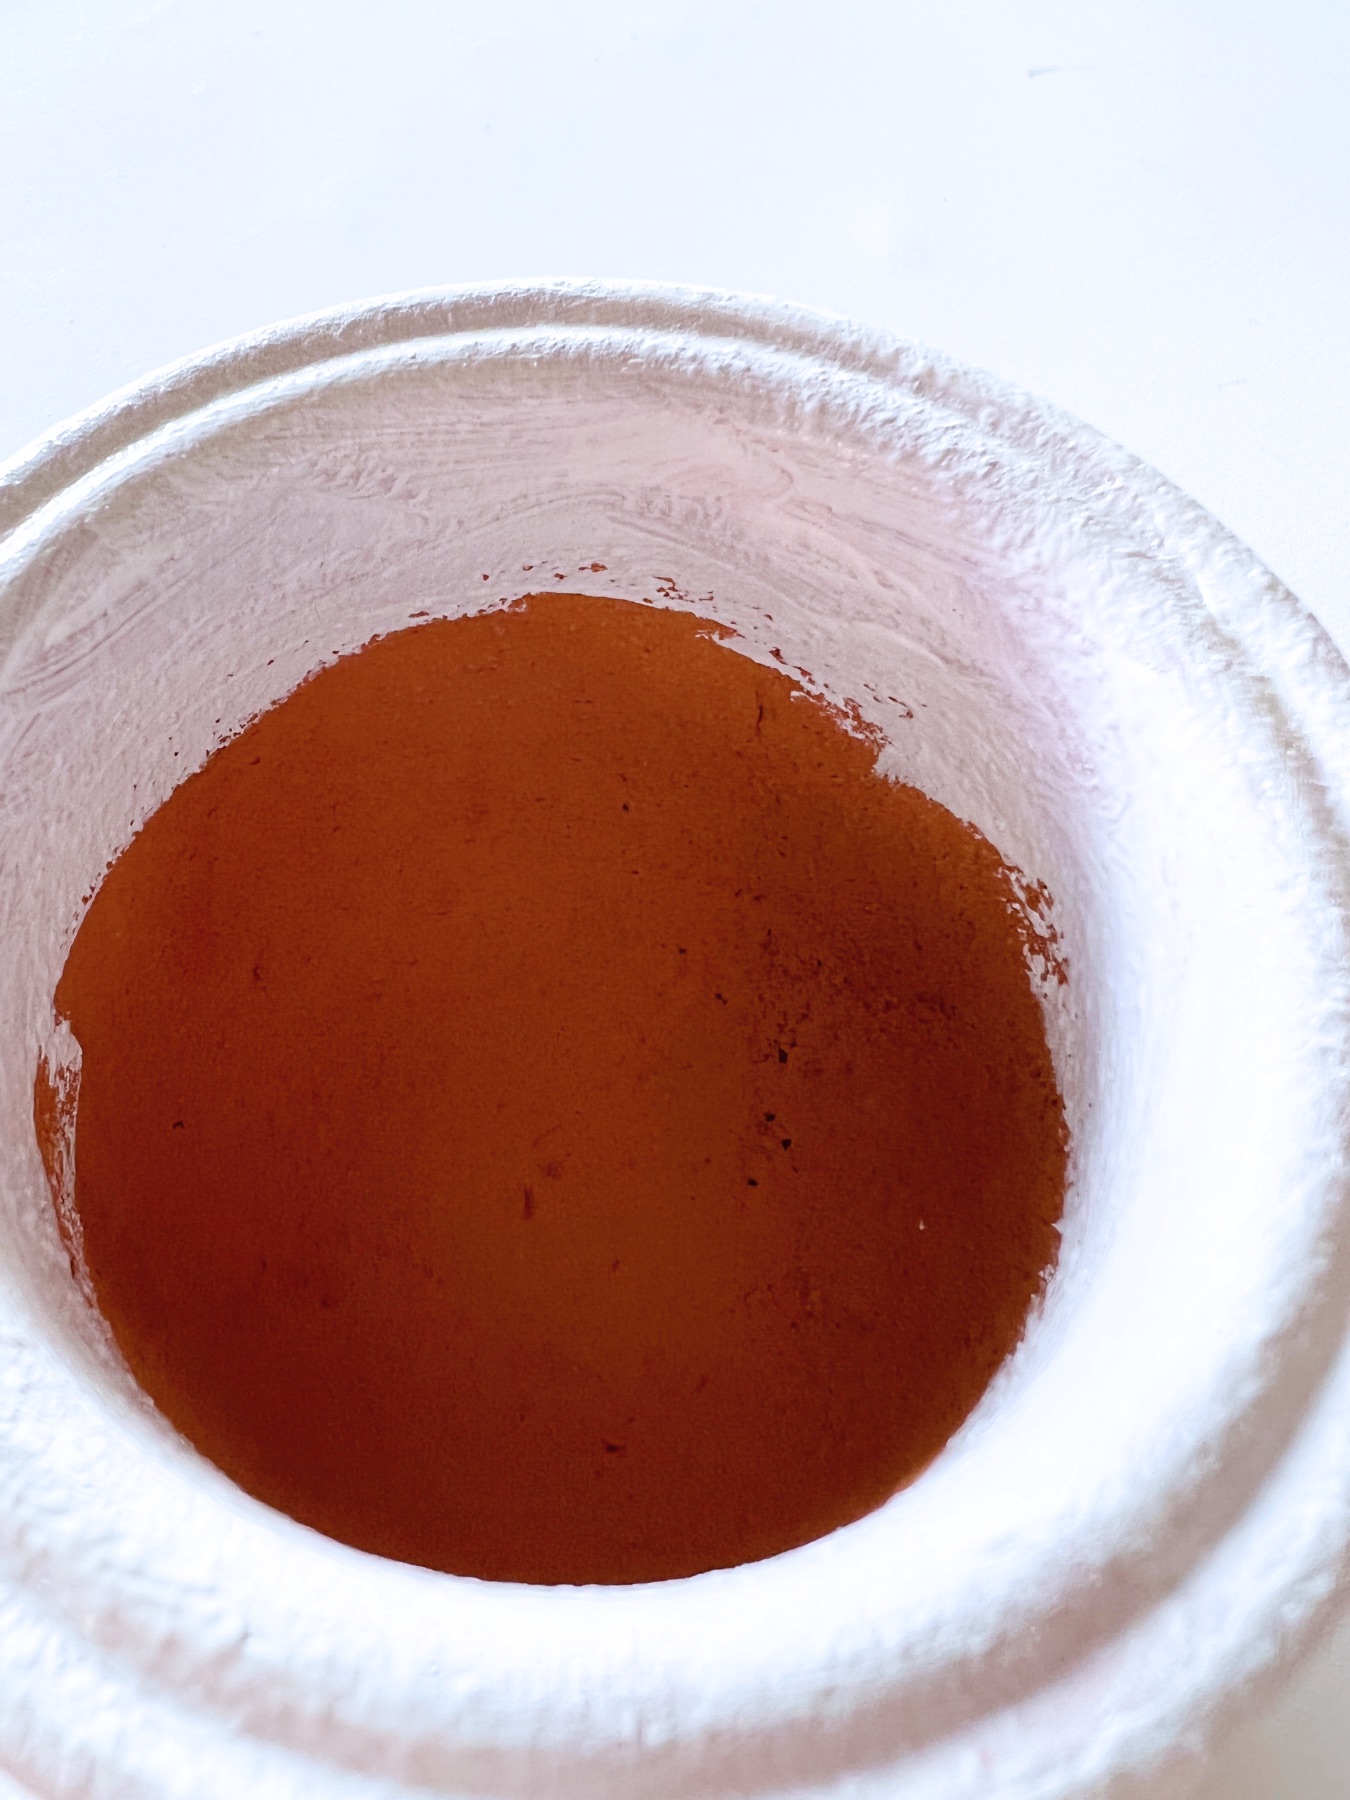
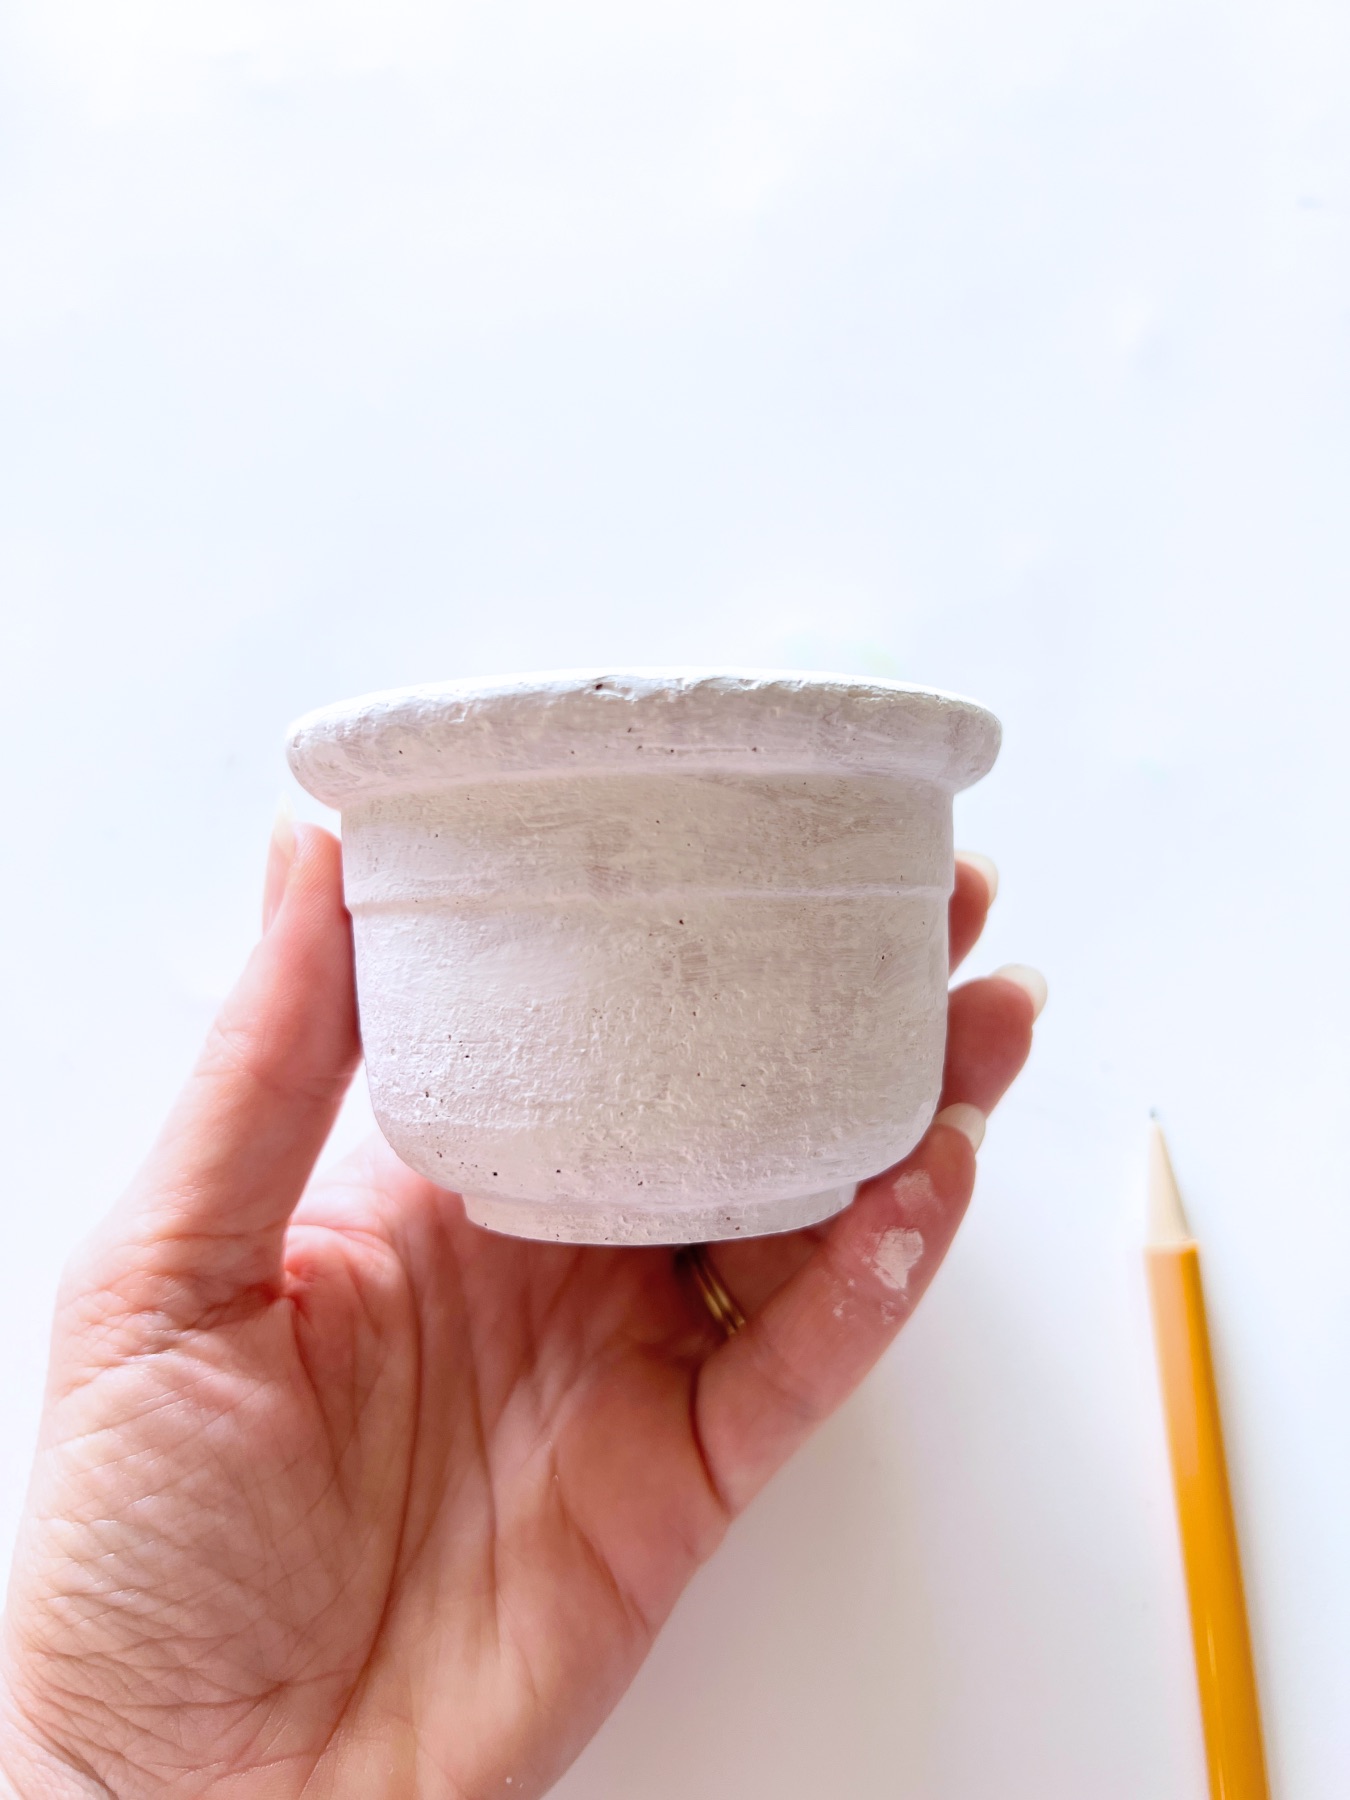
Step 1: Coat the Planter in a Light Color of Paint
To start your Sugar Skull Painted Planter, coat the entire terra cotta planter with at least 1 coat of acrylic paint.
You will want to paint the top of the planter, any bottom portions that may be visible and the inside of the planter where it will show after adding the marigold.
To do this, you will need to paint sections, let them dry, and then paint more sections. The good thing is that acrylic paint dries fast! It usually takes around 10-20 minutes and longer if the paint is very thick.
I chose to paint my Sugar Skull Painted Planter white, but you could choose any light color like pink or yellow. You could use a darker color like black or red, but just expect that anything you paint on top will take MANY coats.


Use this Sugar Skull template for ideas on how to customize and paint your sugar skull! I’ll refer to this image again throughout the blog.
Step 2: Let it Dry
As you paint the sections of the Sugar Skull Painted Planter, you will need to flip it on its side, upside down and lots of different ways to coat all the sides and any parts that will be visible.
So as you paint, check that the entire planter is coated. Paint over it a second time if necessary.
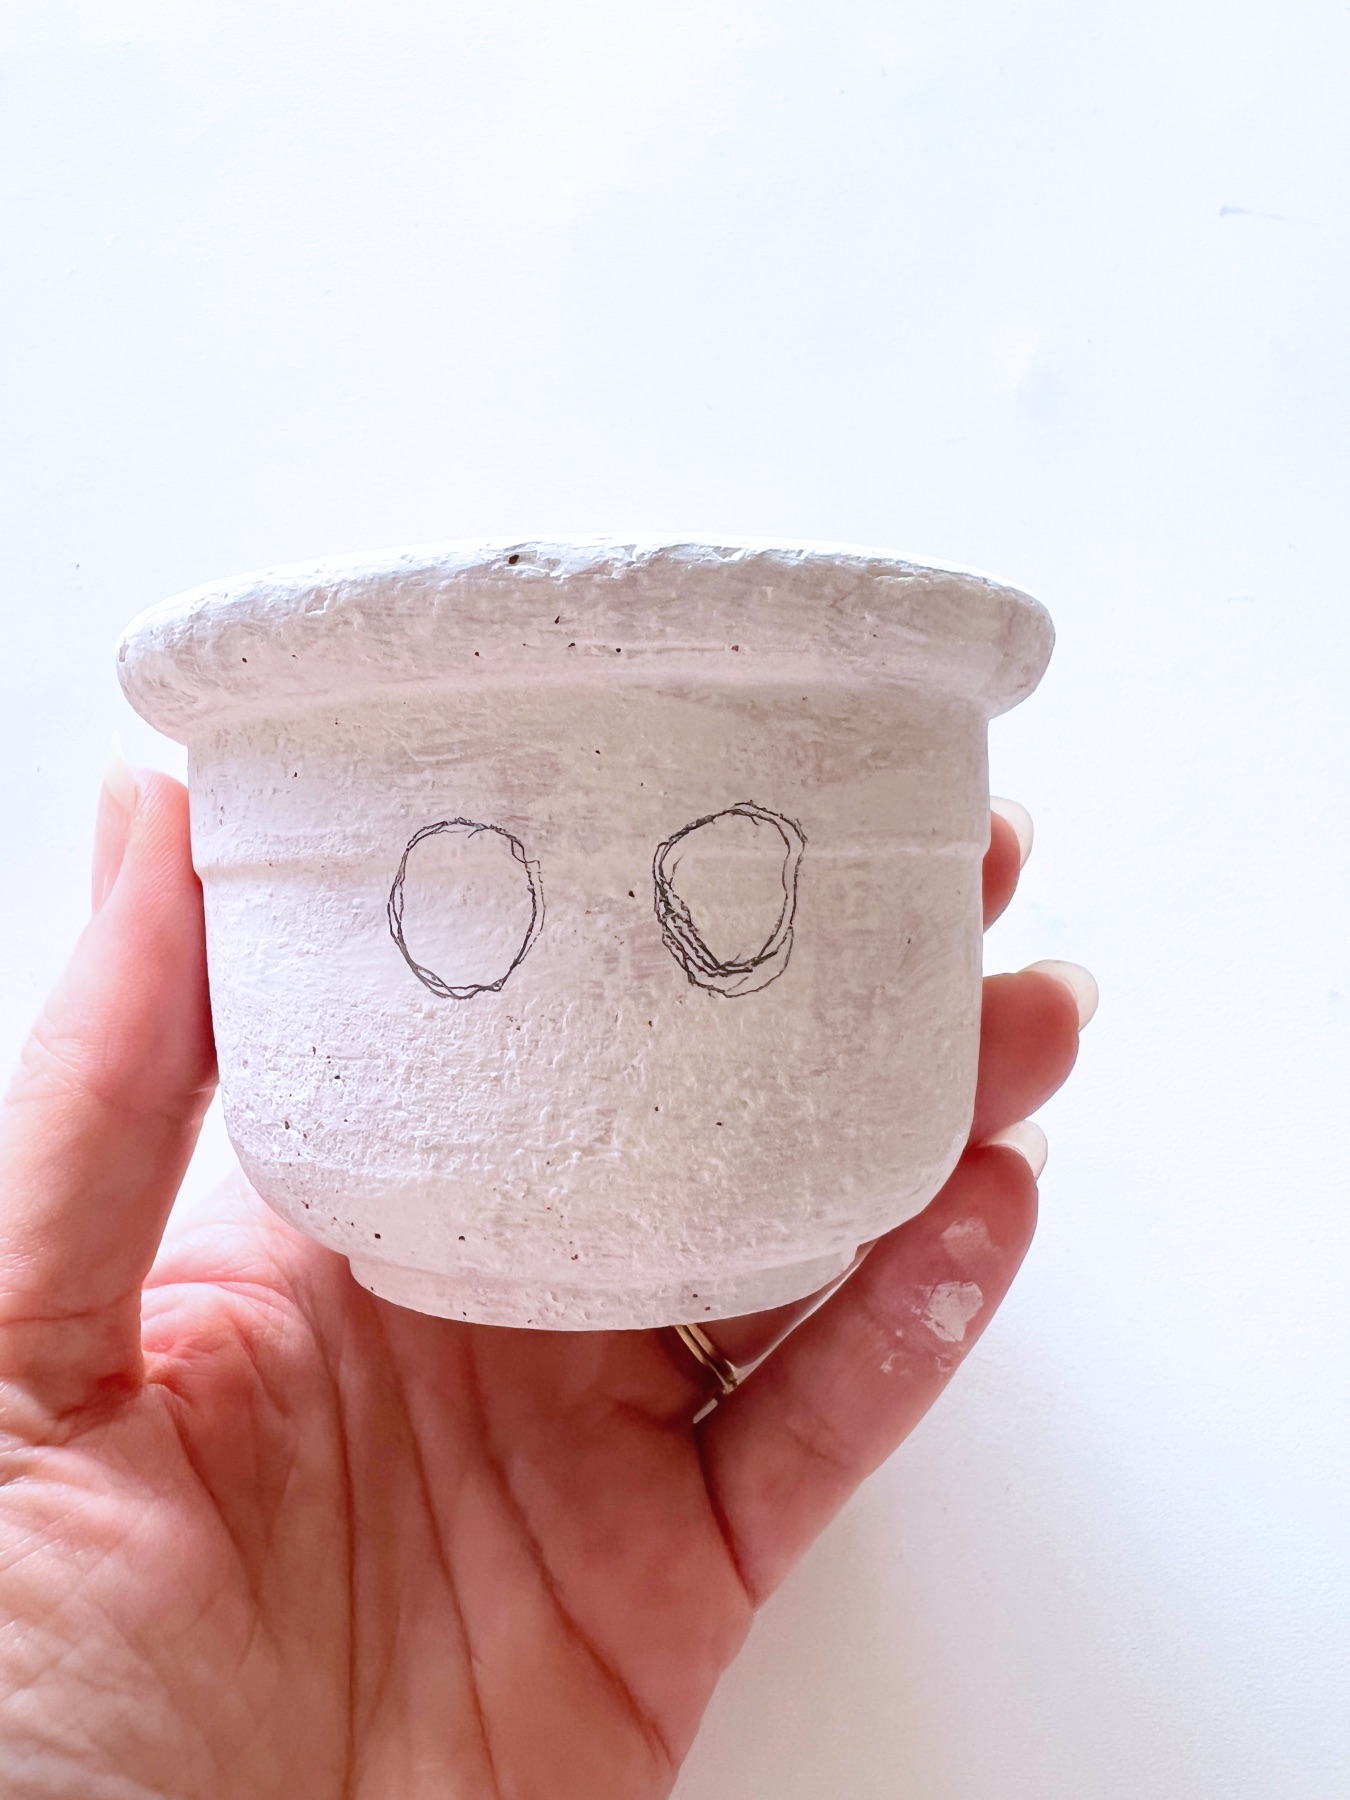
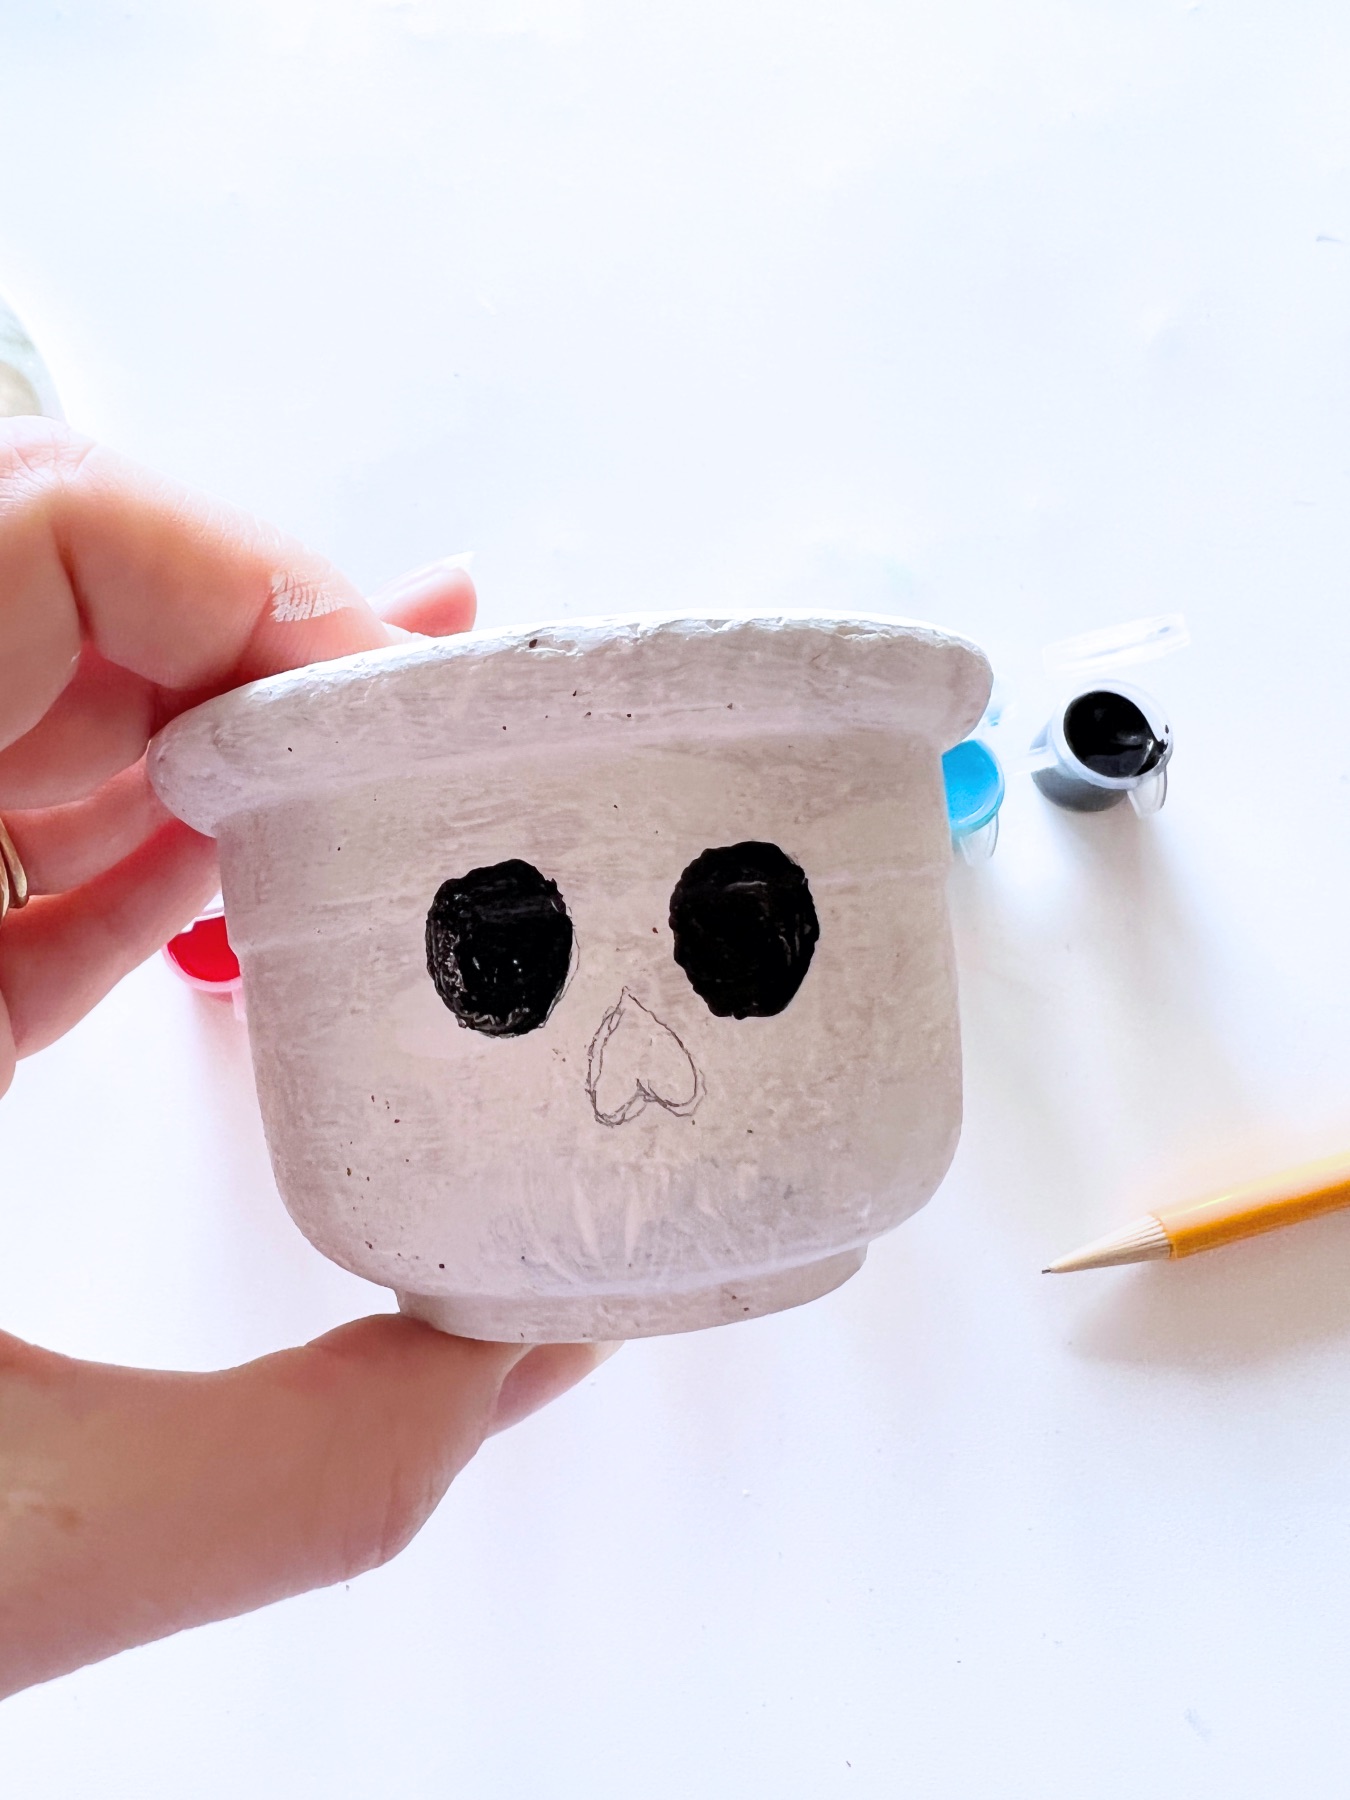
Step 3: Use a pencil to draw your Sugar Skull Eyes
Because planters have sloped edges, it’s really hard to use a template. But if you can find a way to use a template, go for it! I drew all my features – the eyes, the nose, and the teeth with a pencil before painting them.
Drawing on a curved surface is hard too! So don’t worry if your eyes aren’t perfect. They will be fixable along the way – I’ll show you how.
Last, remember that eyes sit much lower on the face that what you would think. So your eyes should be about halfway down from the top.
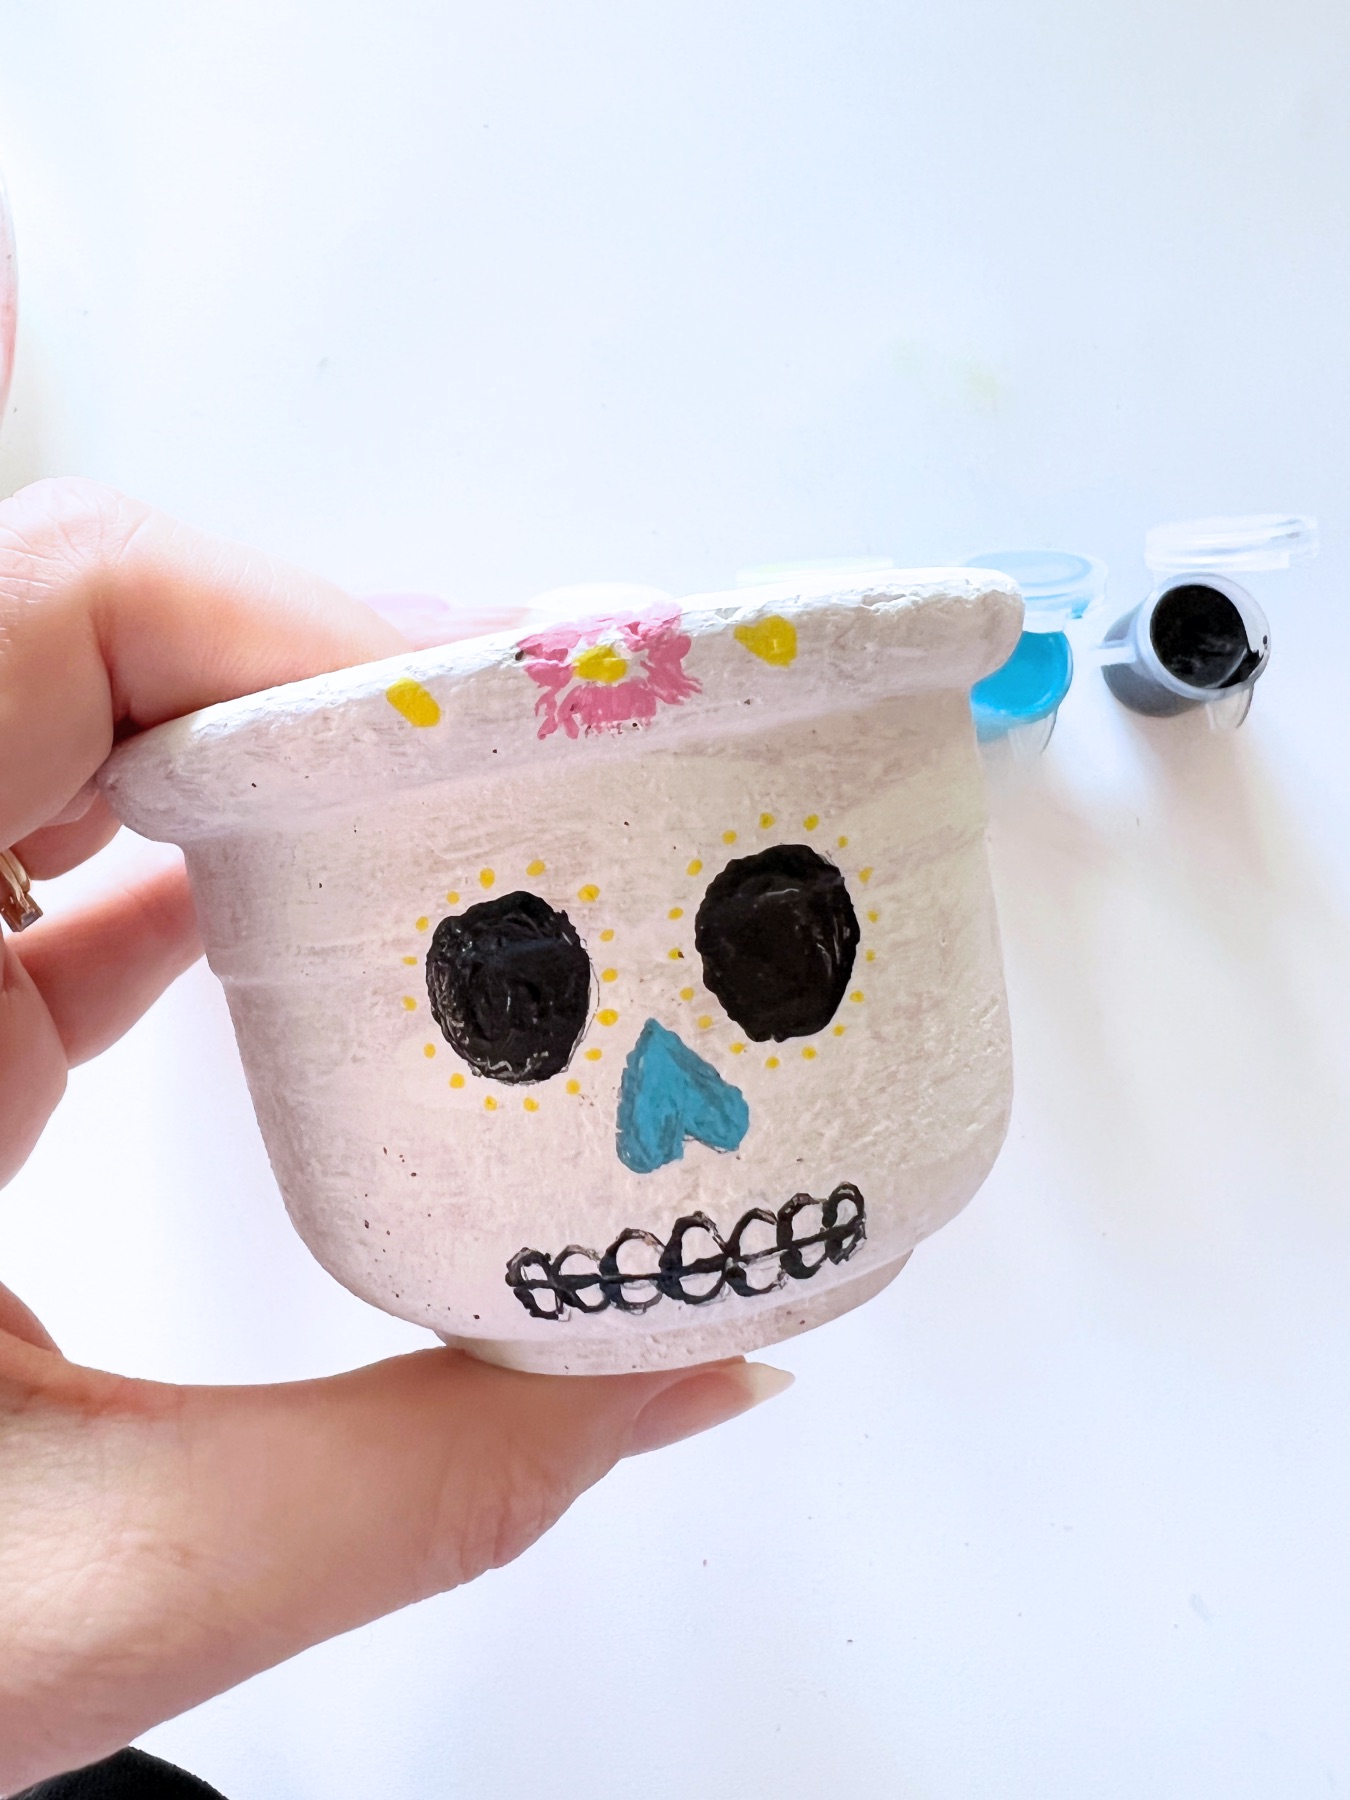
Step 4: Paint the Eyes
I started painting the eyes with a small acrylic paint brush. I recommend using black, which is traditional for a sugar skull. But you could use any color you like.
A lot of people paint additional features inside the eyes like hearts or flowers which is so cute! Just make sure you let the paint dry first before adding any additional shapes inside. So for now, move on to the nose and teeth and we’ll come back to decorate the eyes later.
Step 5: How to Touch Up the Eyes
Once you get your basic circles painted, use a toothpick to even out the edges. To use a toothpick, coat the end of it with acrylic paint, and then just dab on the paint in the areas you need it.
Toothpicks are perfect for tiny details when painting.
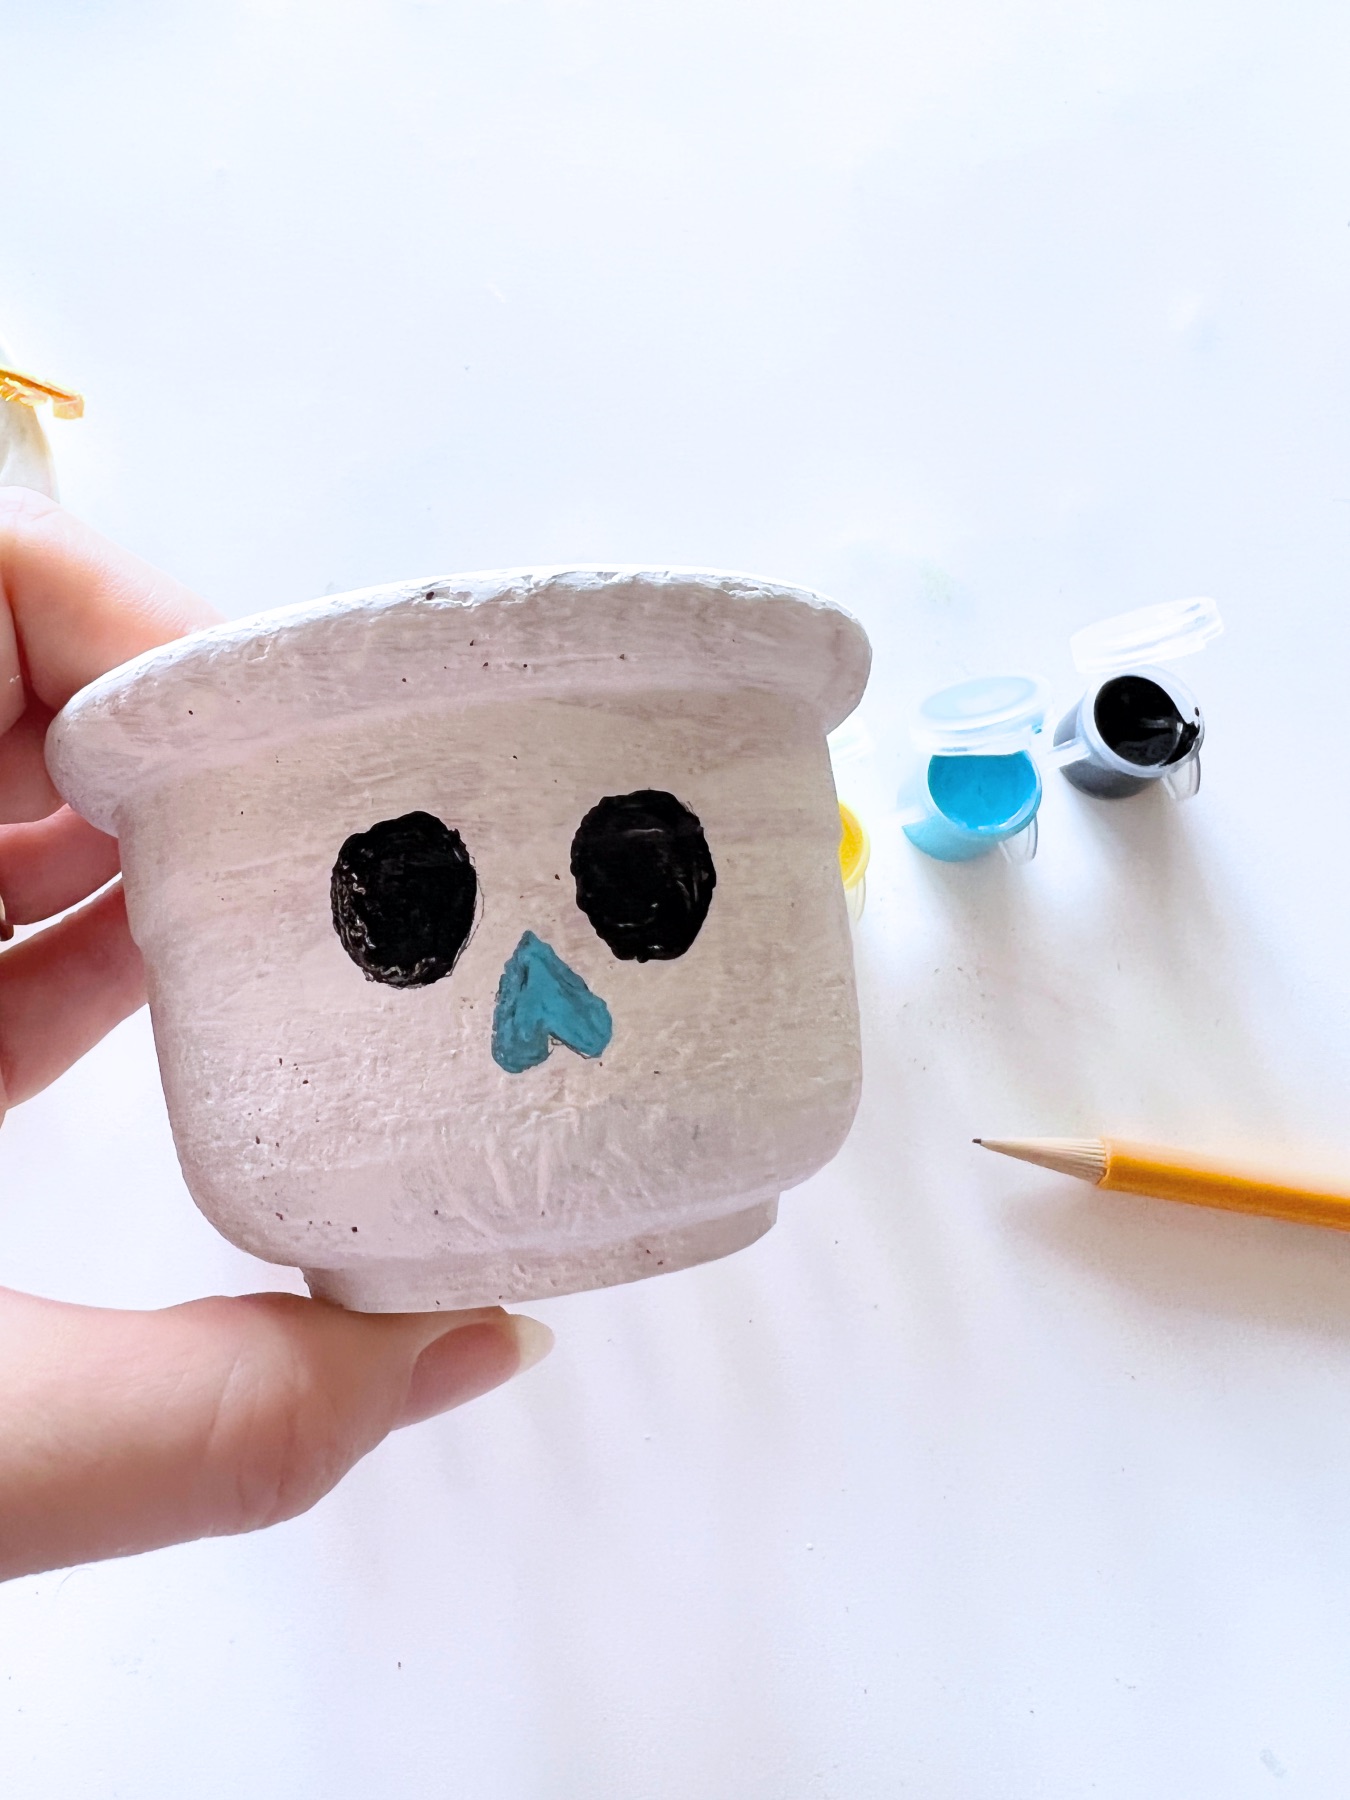
Step 6: Make the Nose an Upside Down Heart
To make the nose, first draw an upside down heart. Then paint it in any color you like – I recommend using a different color than the eyes.
For ideas, refer back to the sugar skull template above.
Your nose should be close to the eyes so that if each were wider, they would overlap. When you draw the nose, be sure to leave enough room underneath for the teeth.
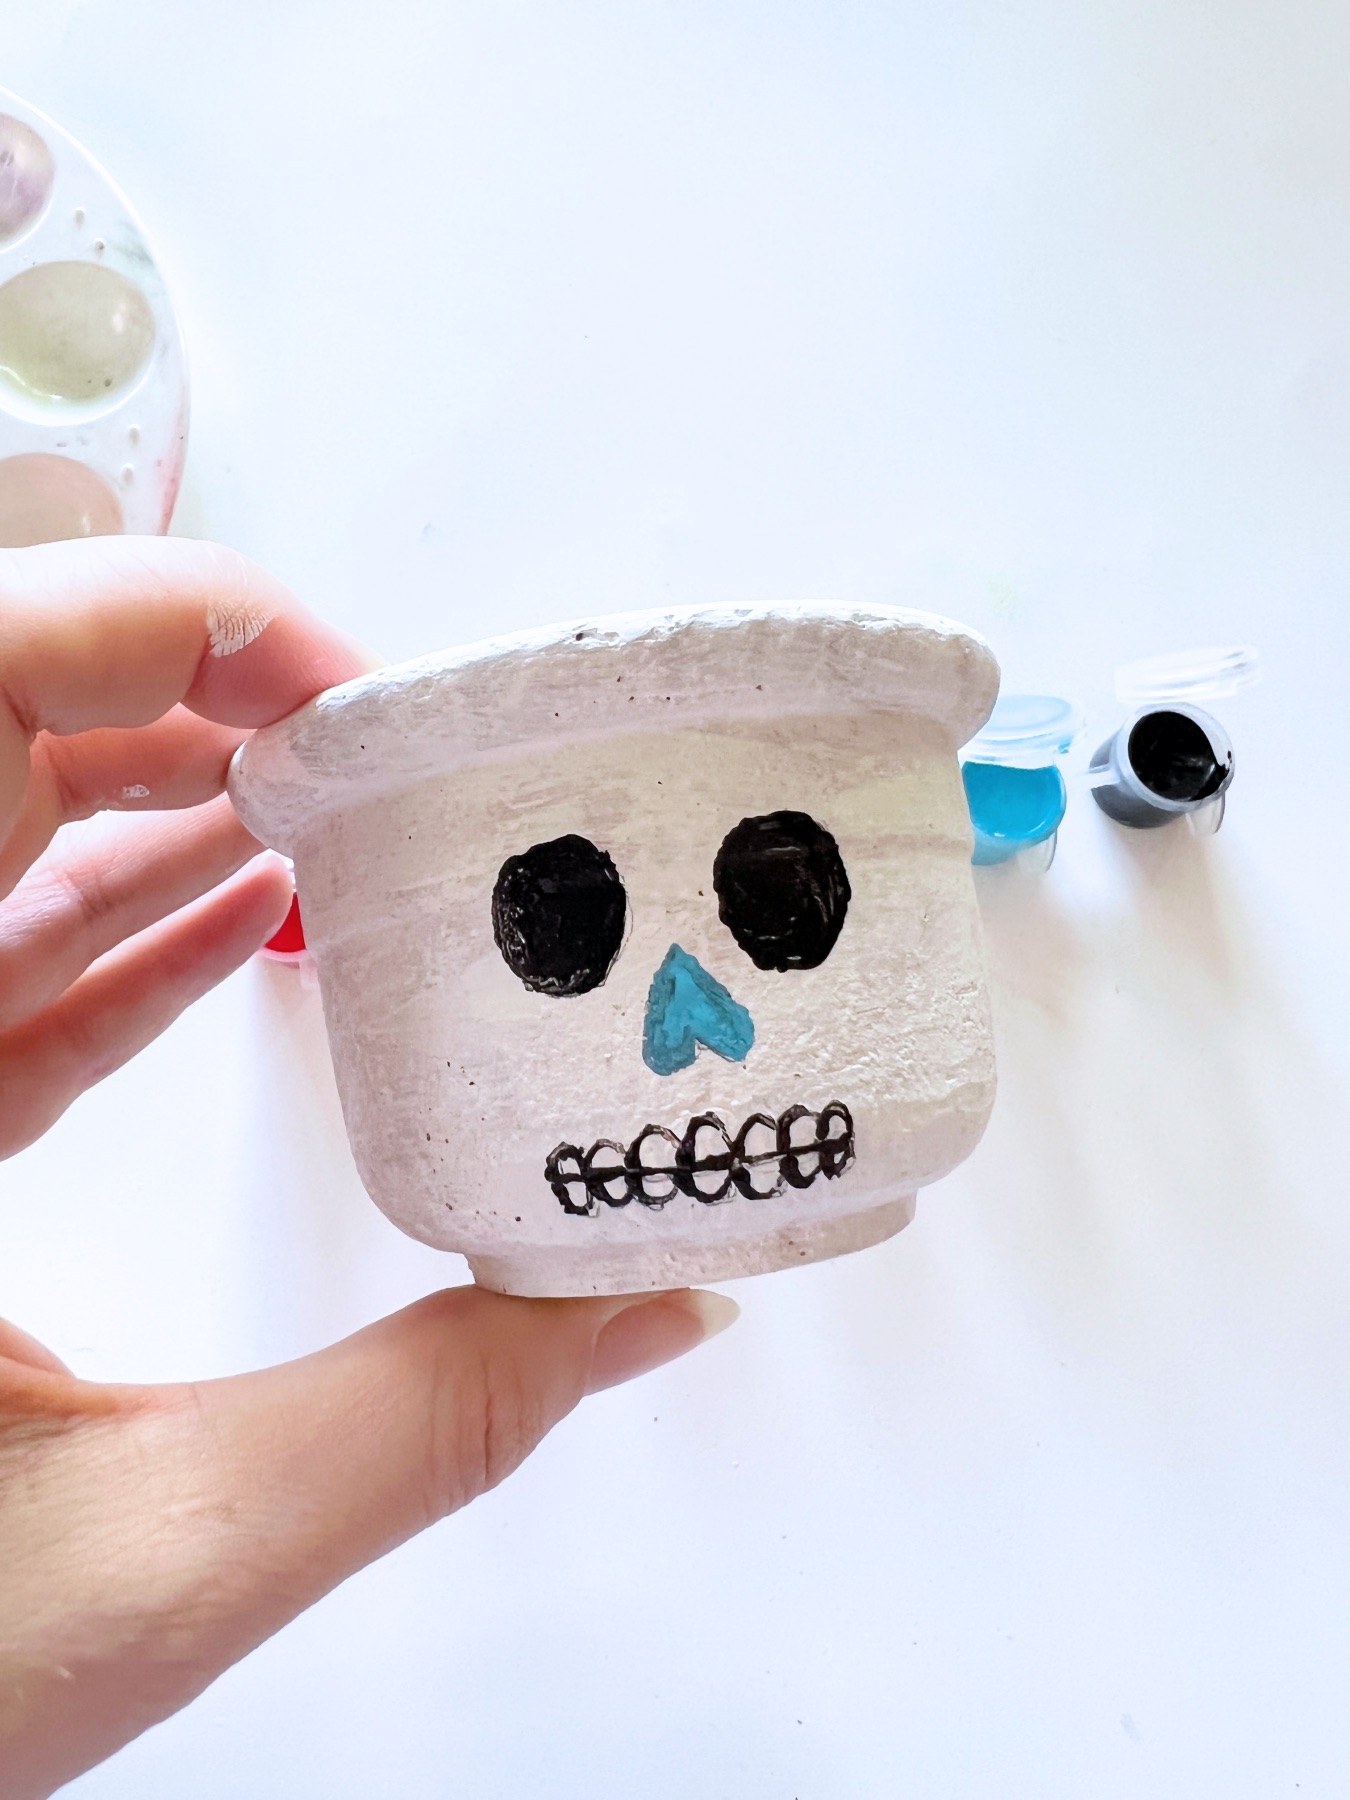
Step 7: Use a Tiny Brush or Toothpick to Draw the Teeth
Once your eyes and nose are painted, start on the teeth. My favorite look is to make a straight line that runs from the outer edges of the eyes horizontally.
Then make half ovals with the horizontal line being the bottom and the top of the teeth.
I recommend using a tooth pick to paint the teeth but if you have a tiny paint brush you could try it.
Remember, if you make any mistakes, let the paint dry completely. Then paint over the mistakes.
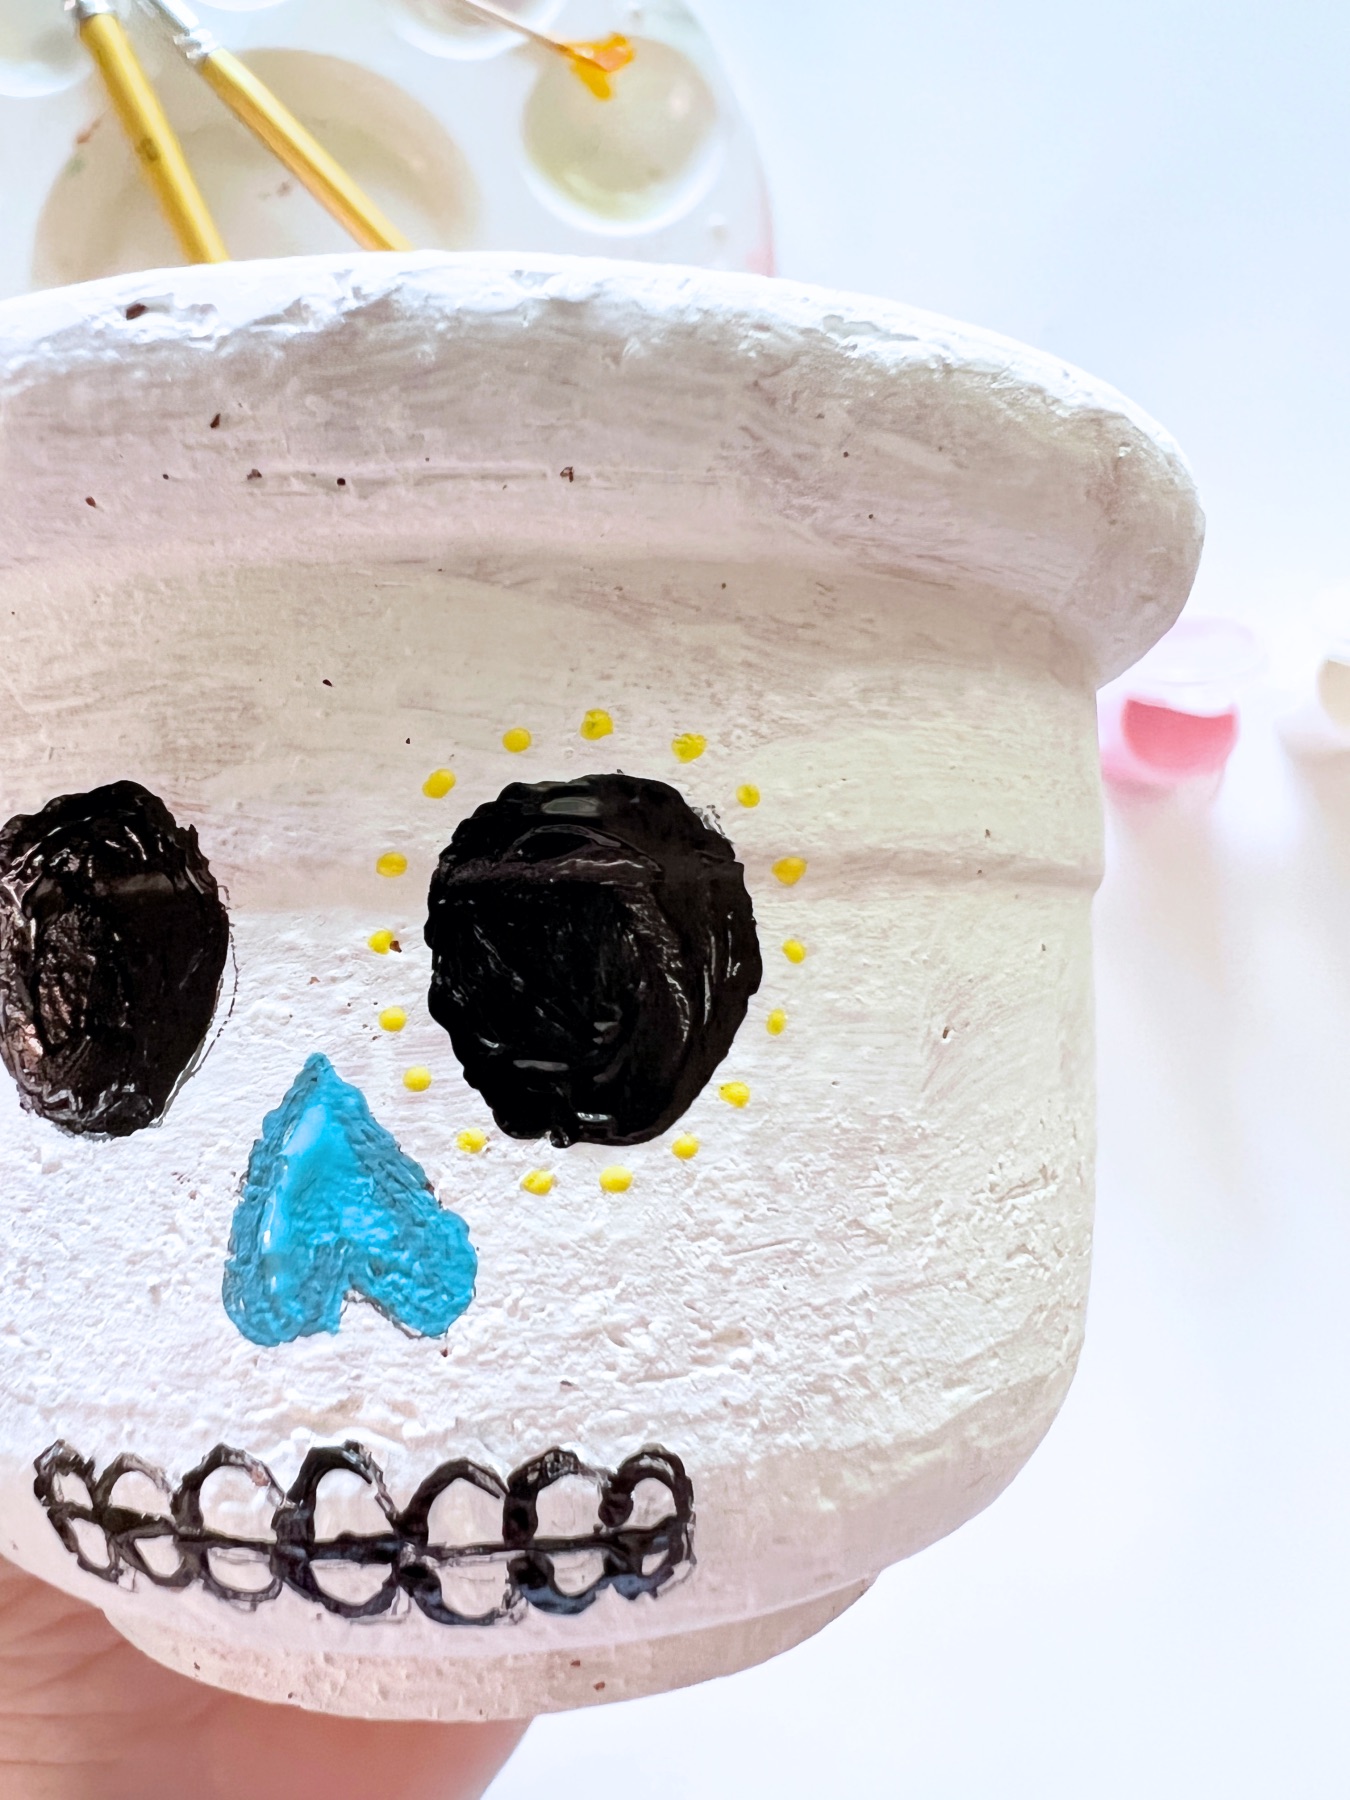
Step 8: Decorate the Eyes
Test your eyes to make sure they are dry. If they are still wet, take a break until the paint is completely and thoroughly dry.
Then add dots around the outside like mine, or you could try flowers, lightning bolts, stars or whatever you like!
The dots I made are very beginner friendly. Just use a toothpick dipped in any bright color paint. Then dot around the eyes making sure each dot is evenly spaced. Dip the toothpick in fresh paint after each dot.
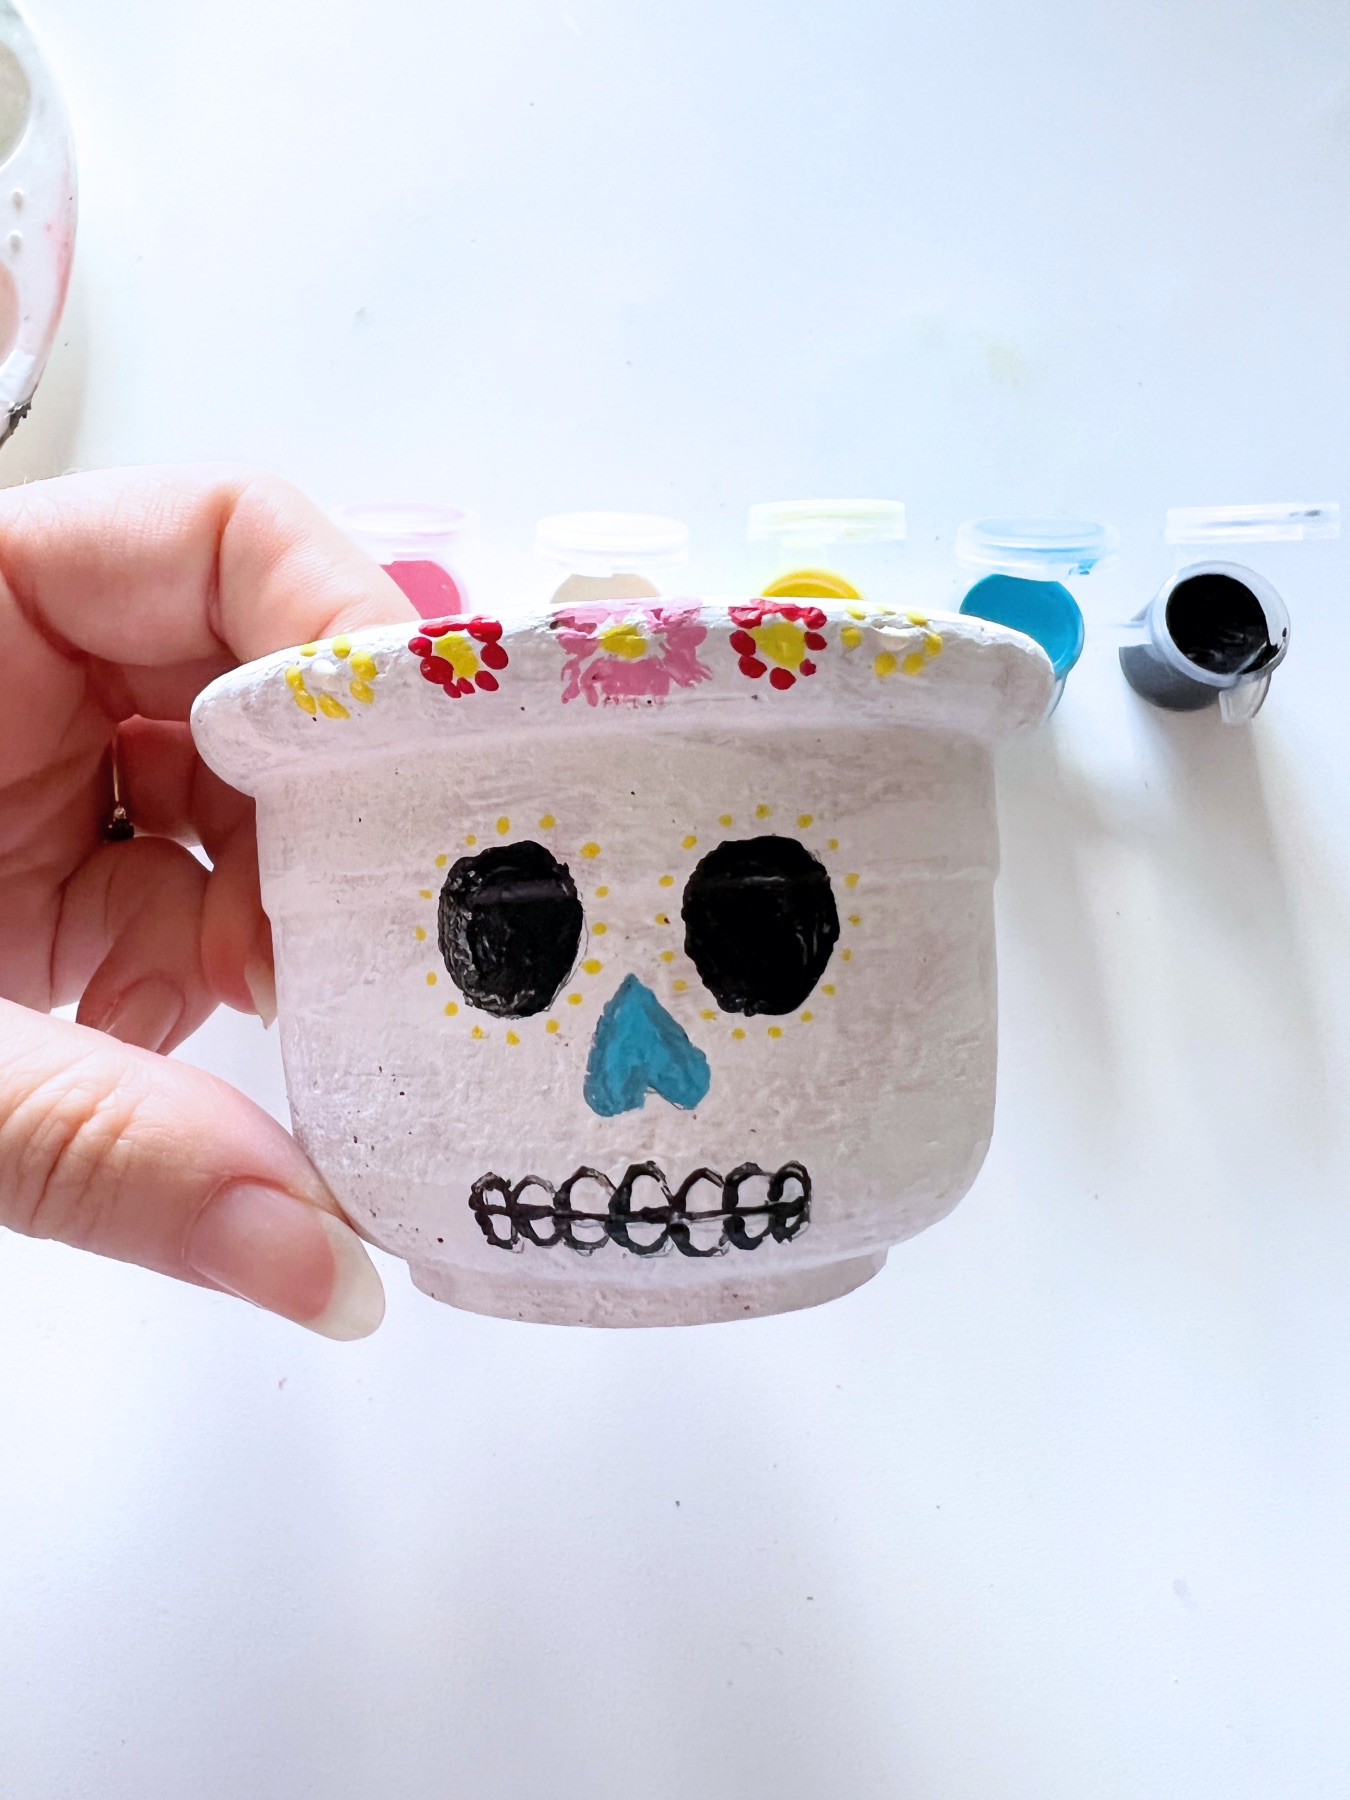
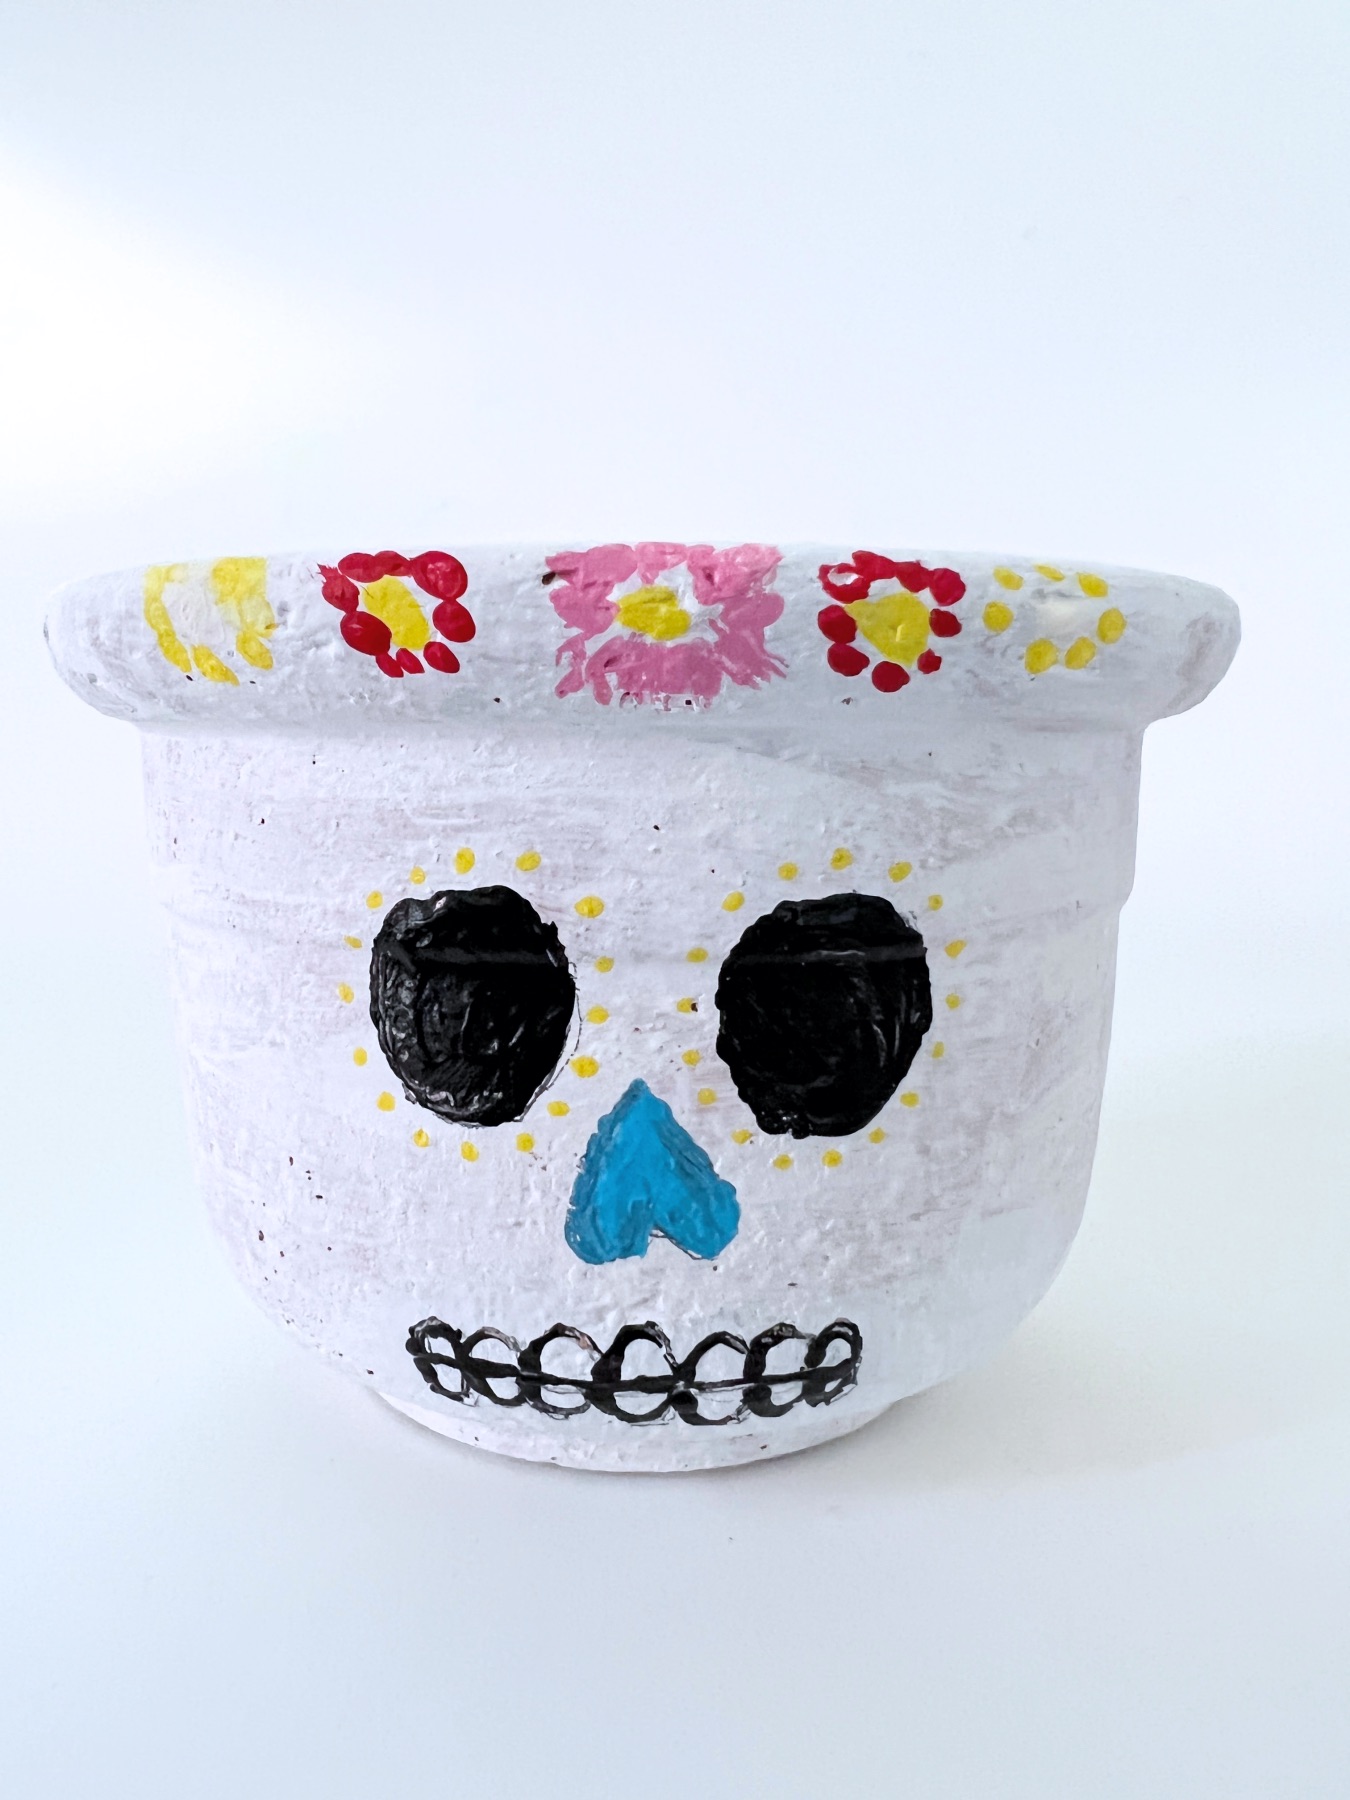
Step 9: Give Your Sugar Skull a Flower Crown
Last, create a row of flowers around the top of the terra cotta planter. Use a rainbow of colors like yellow, pink, and red.
To make the flowers, first use a toothpick to make a dot in the center. I made the center of my flowers yellow, but you could choose any color you like. To illustrate the flowers try either of these methods:
Using a Brush: Use a different color from the inside of the flower. Paint brush strokes outward from the center creating a circle. Make sure the brushstrokes are the same length in all directions – so the outside of the flower is also circular in shape.
Using a toothpick: Make dots with a different color from the interior of the flower. Dip your toothpick in paint after each dot and evenly space the dots around the outside of the interior dot. Make 5-6 dots total.
Let your planter dry.

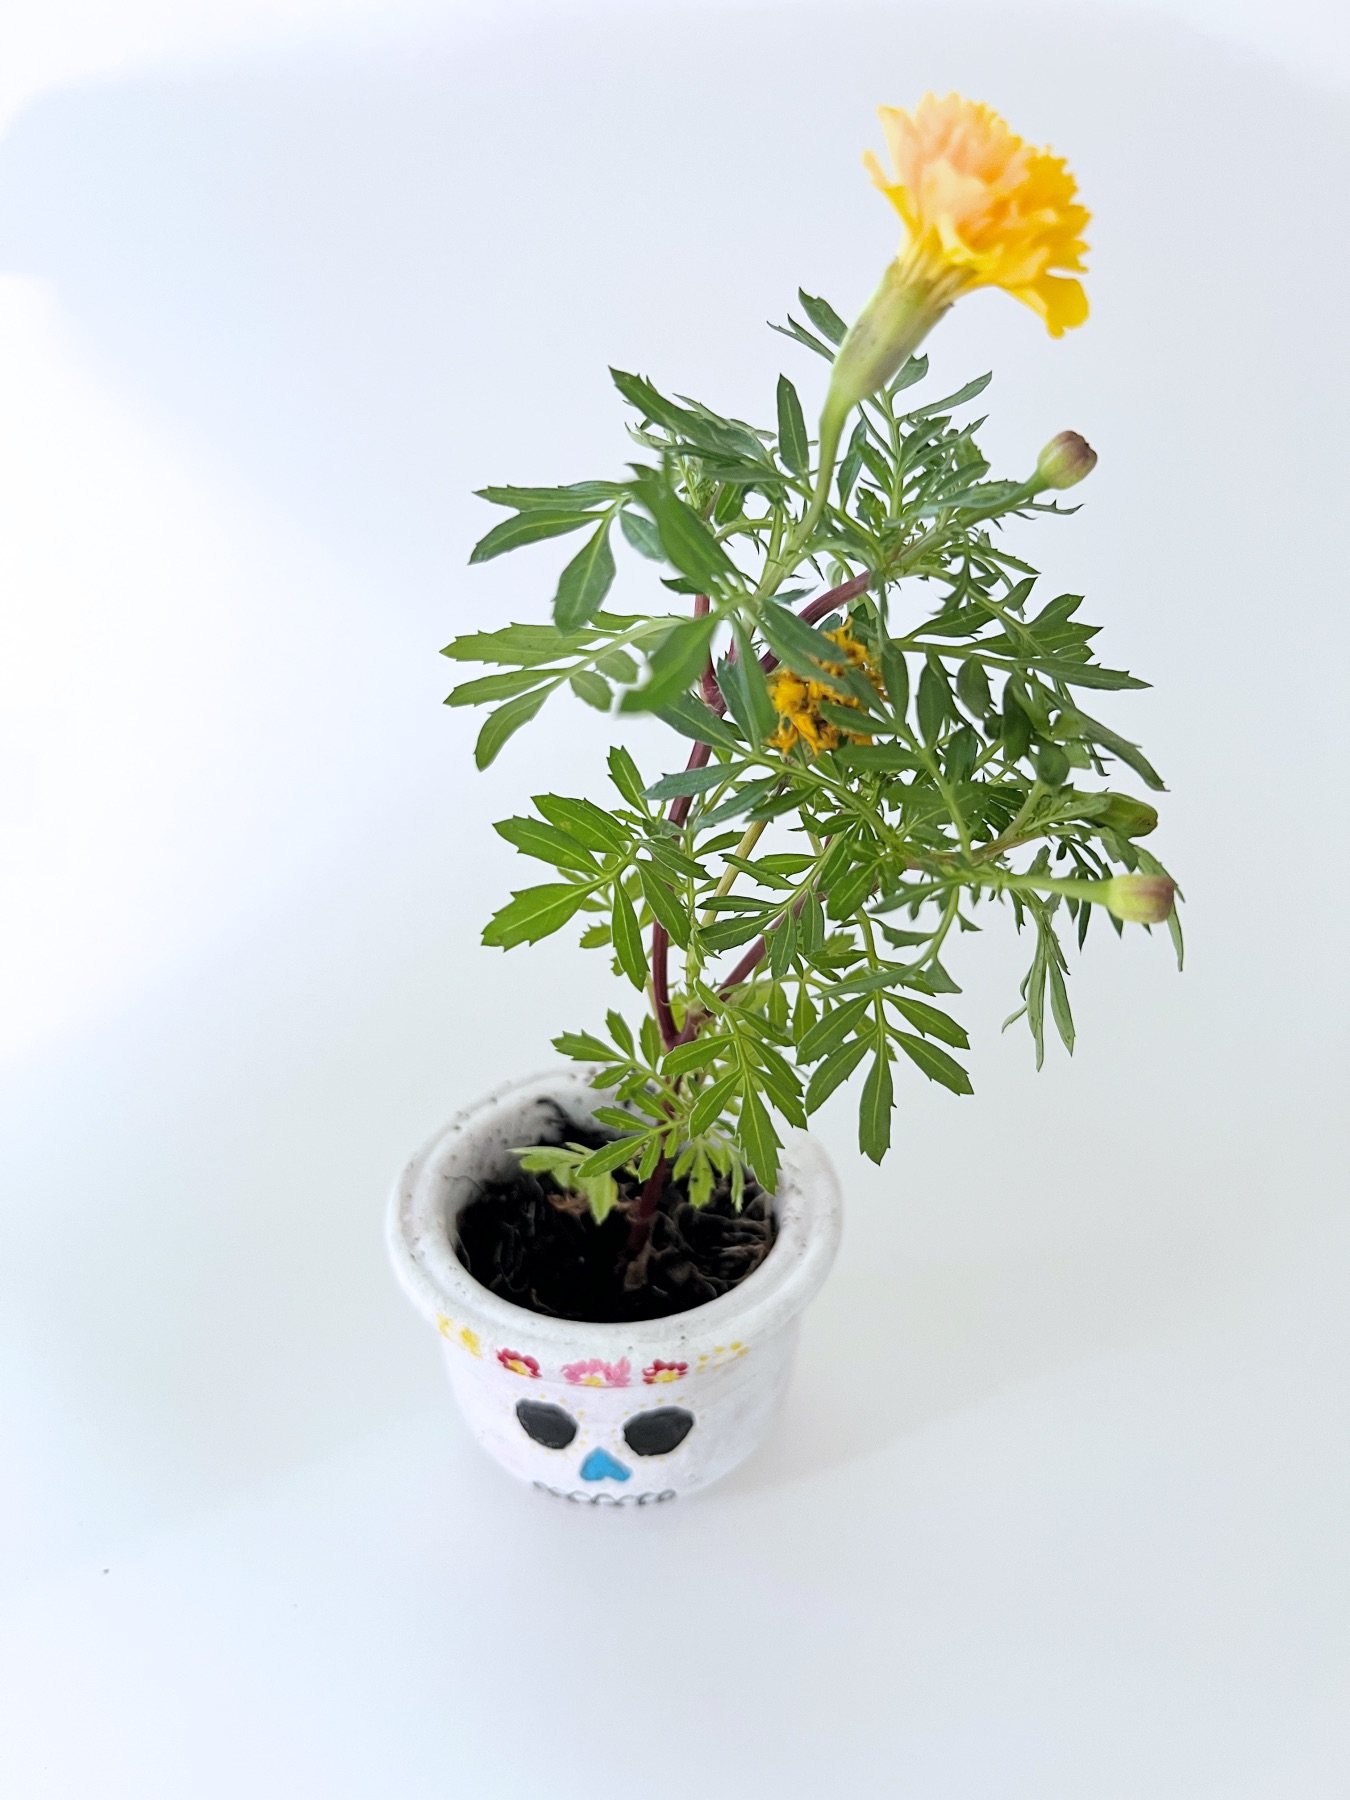
Step 10: Plant Your Marigold
Once your planter is completely dry, it’s time to get planting! Marigolds are easy and don’t require rocks on the bottom, special soil, or anything unusual.
Just pull your marigold out of its container, break the soil away from the roots gently. Let the roots open, spread and create space.

Then place the marigold in the Sugar Skull Painted Planter. Be sure that all the roots are gently placed inside the planter. If any are exposed, add additional soil to cover them.
Marigold Care
Marigolds are annuals, meaning that they live and die all in the span of a year. They need full sun to partial shade, but don’t need to be watered every single day. They are best when they can dry out in between waterings and be watered a few times a week.
Marigolds don’t require deadheading, but dead flowers should still be removed for optimum health.

They prefer regular, no fuss garden soil and there is no need to fertilize them. They prefer warm weather and can grow from Zones 2-11!
Love this diy? Show us your Sugar Skull Painted Planter in the comments below or tag us on social.
Let’s Be Friends!
Insta | Pinterest | Enews | TikTok