Craft in Style Subscription Instructions, DIY
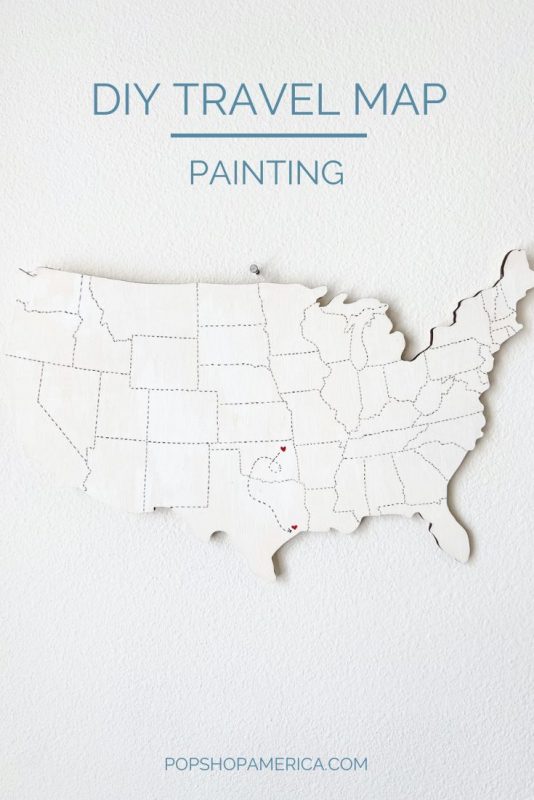
DIY United States Map Painting with Hearts
Jul
This blog is the tutorial for the June Craft in Style Subscription Box. You can find more about this box and other Craft in Style Boxes here.
Sometimes the best way to celebrate what you love is through simple, gorgeous displays of care. This Travel Map of the United States does just that.
First of all, it’s so easy to make. It doesn’t require many supplies – just acrylic paint, a brush, a toothpick, any gel, or paint pen and the gorgeous wood map itself.
Second, it can be customized to you. You can use the map to display where you are from and where you live now like I did. Or you can use the map to display all of your favorite cities, cities where you have traveled or where you plan to travel. So let’s make it!

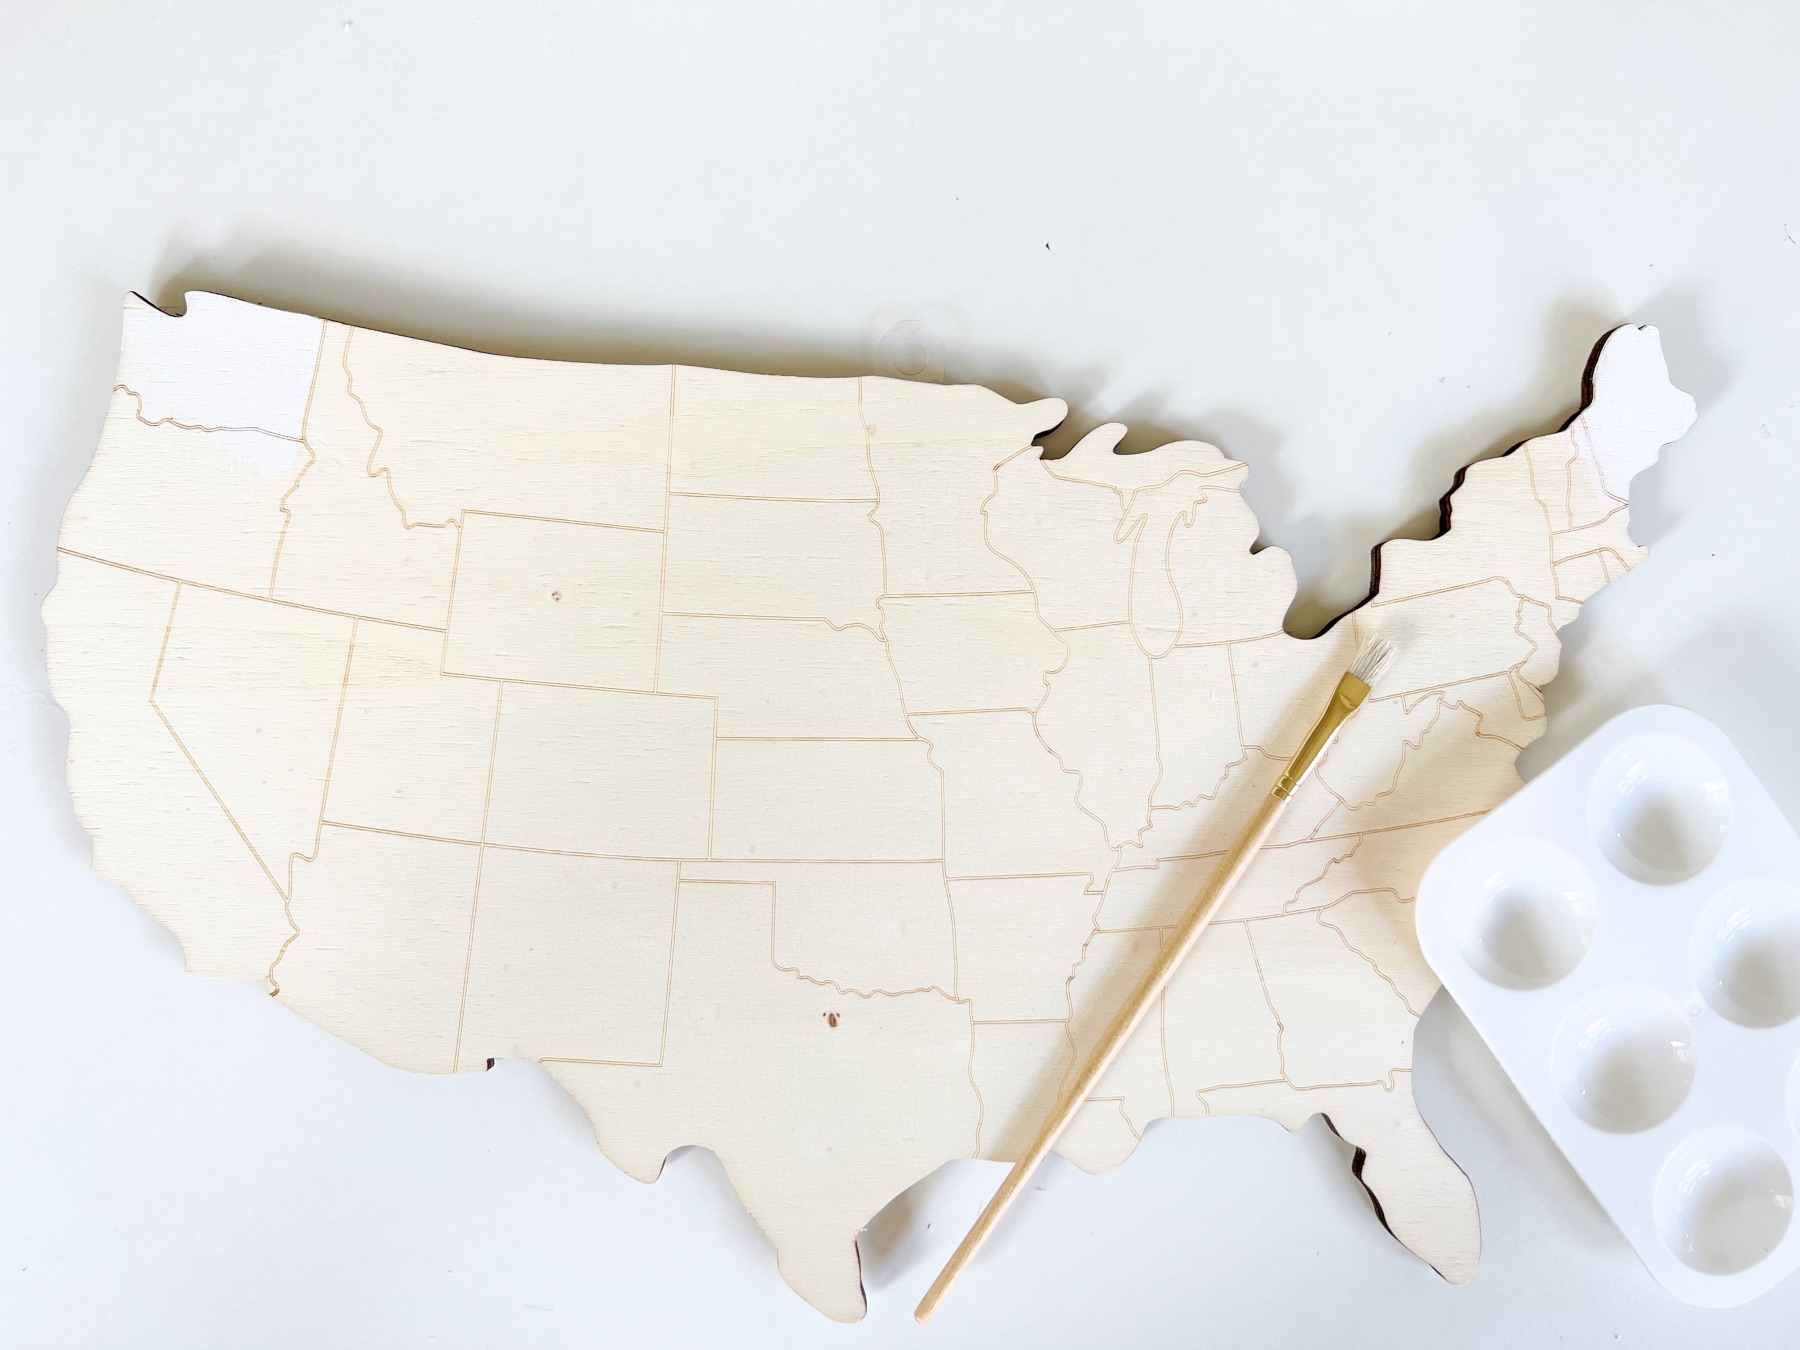
Supplies to Make a DIY United States Map Painting with Hearts
June 2022 Craft in Style Subscription Box
-or-
A Wooden Map of the United States (like this)
A Small Acrylic Paint Brush
Acrylic Paint in Titanium White & A Deep Red like Liquitex Cadmium Red Medium
A Painter’s Palette
Any Gel, Rolling Ball or Paint Pen
Optional: I used a toothpick for the small areas and found that to be easier and better than the paint brush.
Now I recommend using a nice acrylic paint for this project since there are not many other supplies for this project.
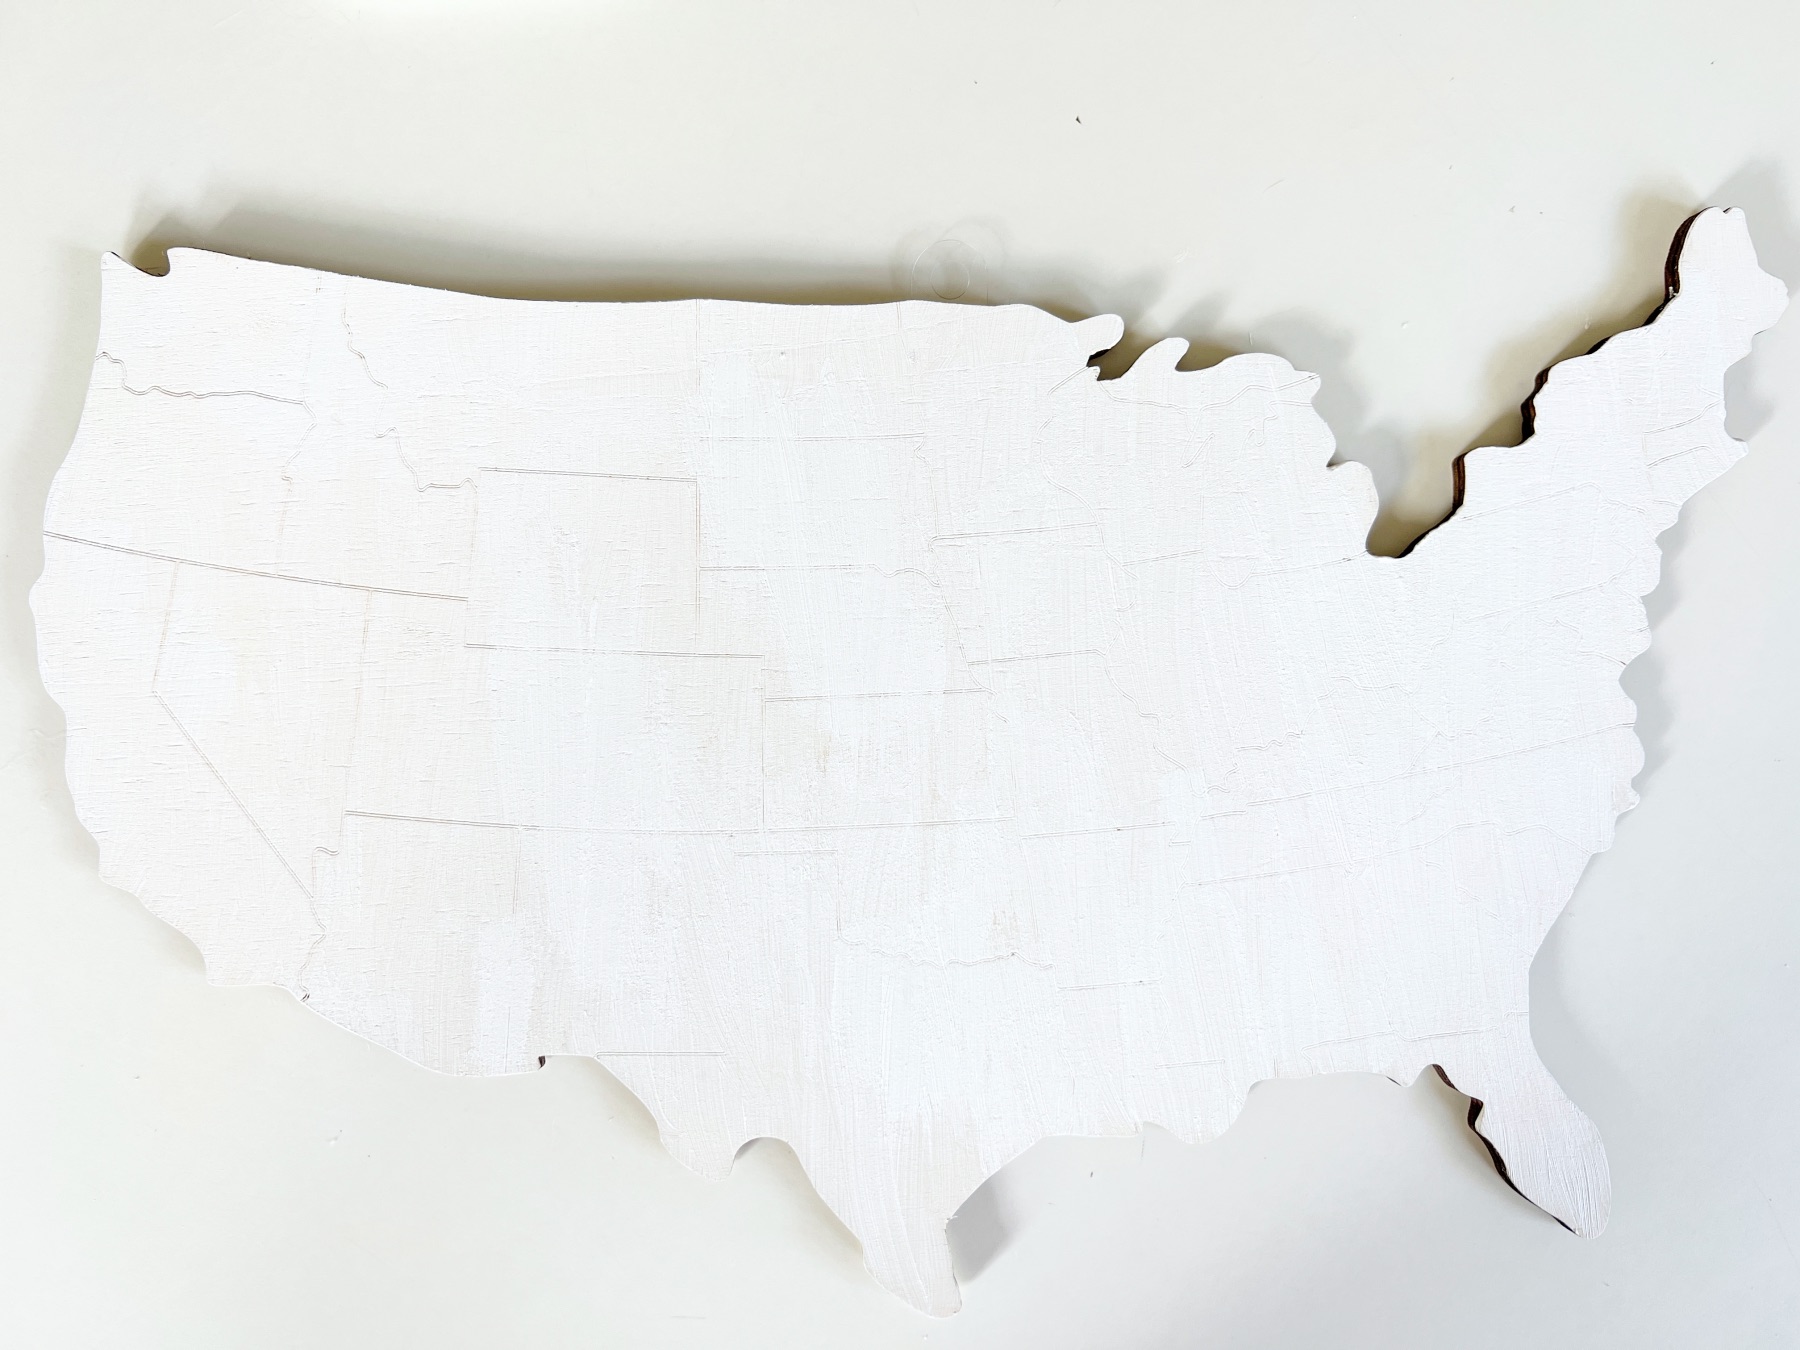
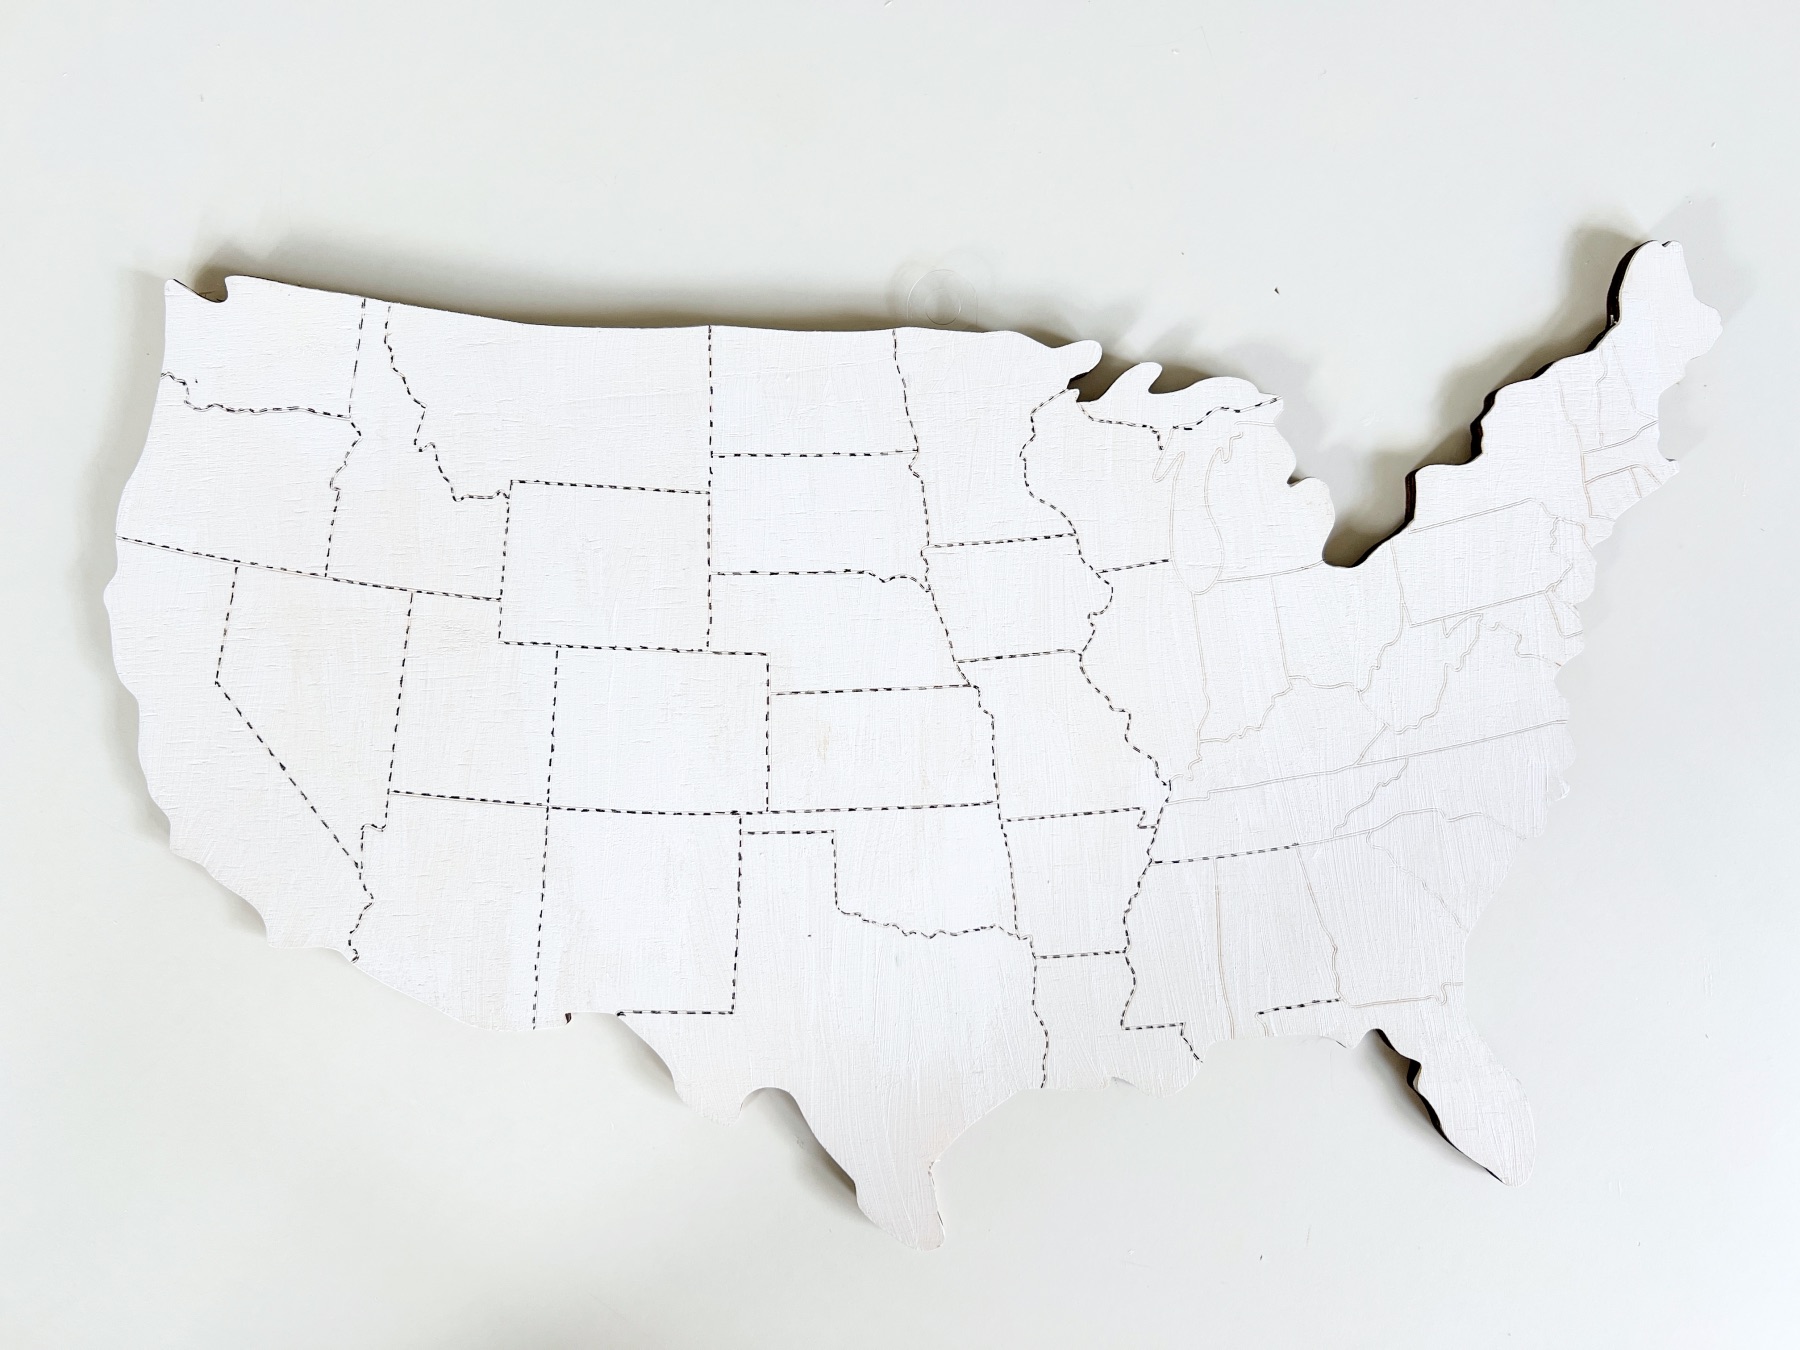
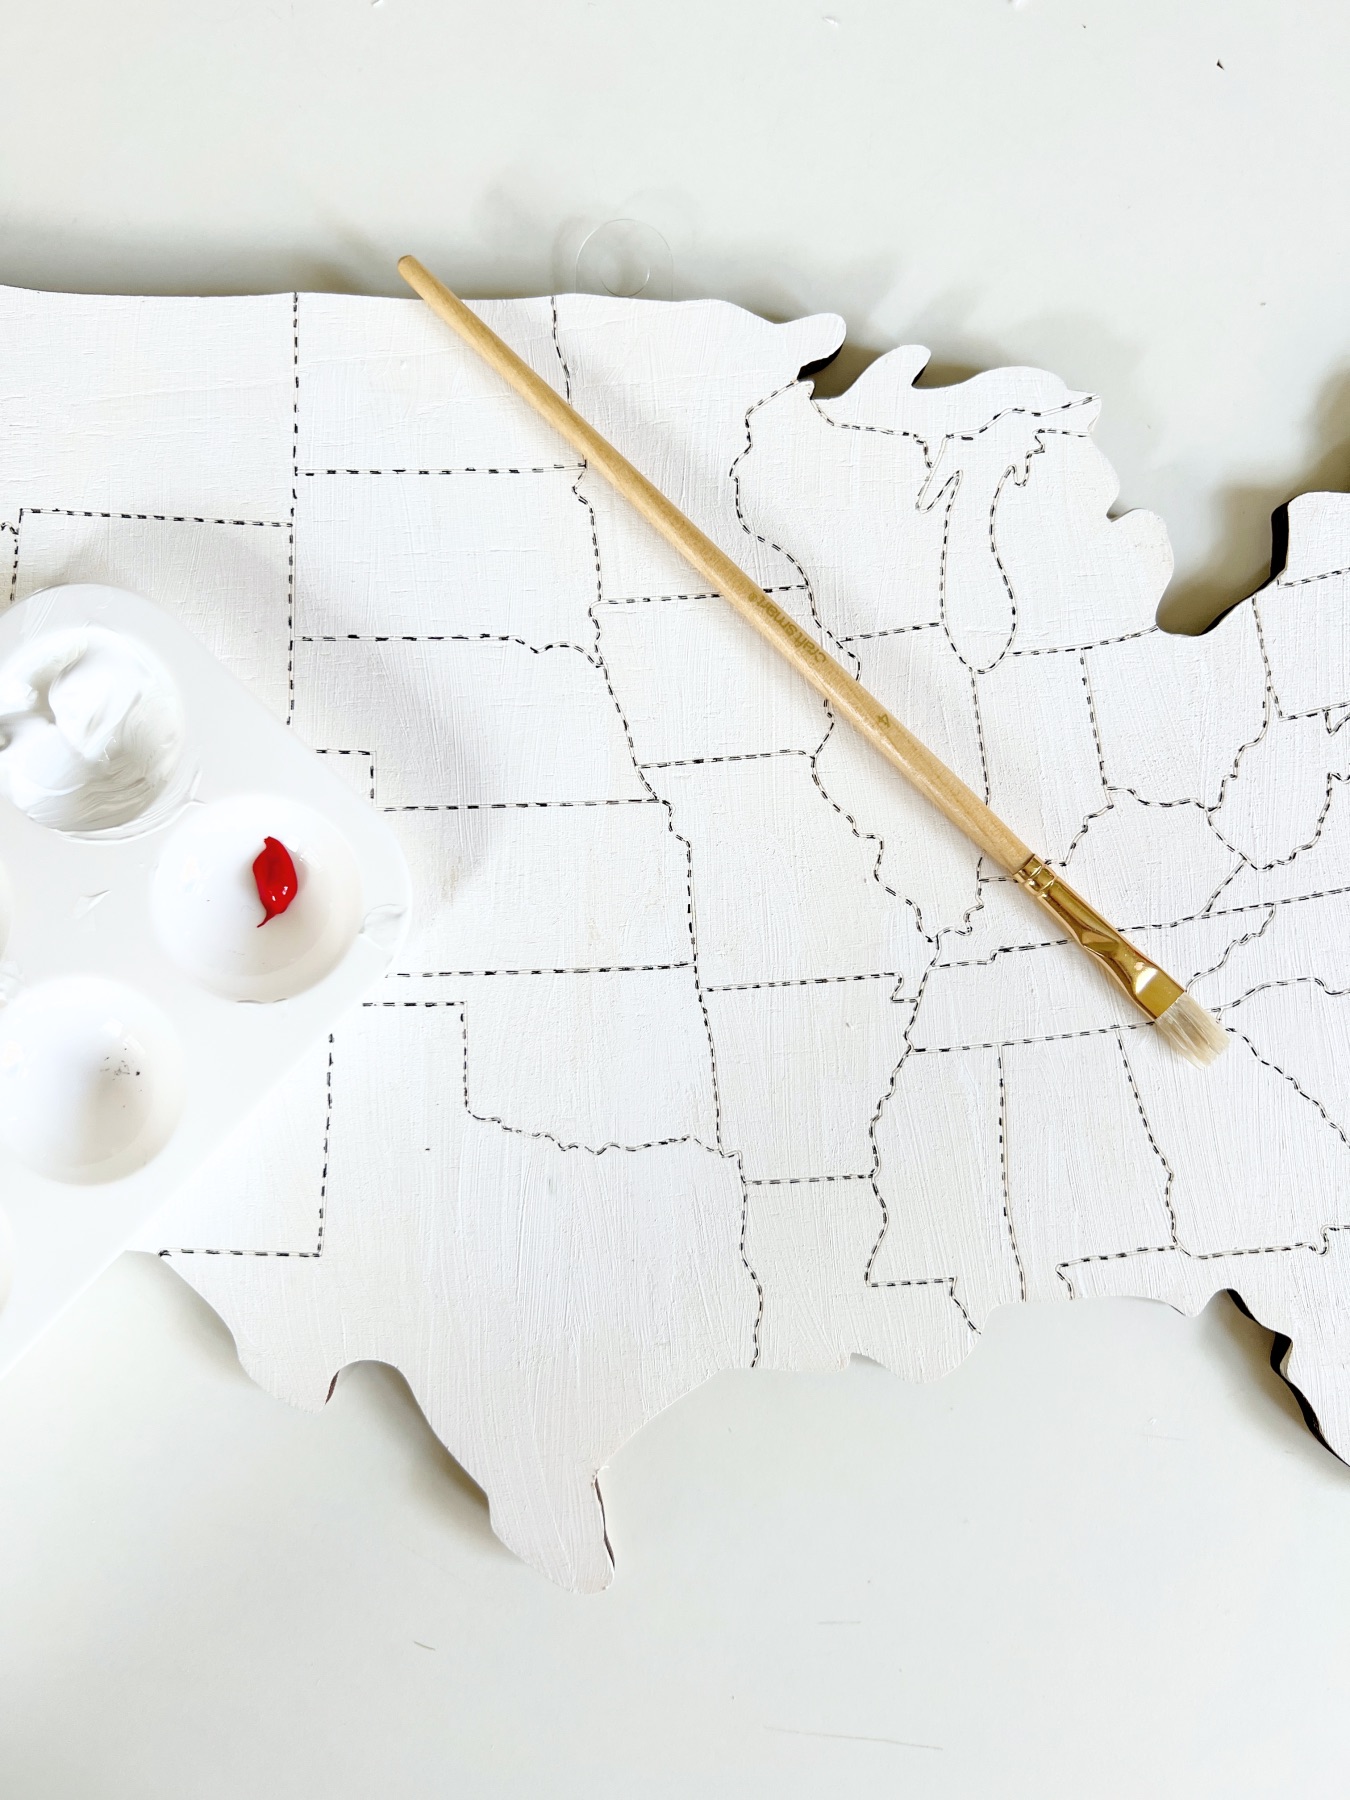
Step 1: Paint the Wood
To get started making this, DIY United States Map Painting with Hearts, paint the entire map white. If you want to make this in a different color palette, you could paint your travel map like a real map – in pastel shades of purple, green, and orange.
Or you could do the reverse of what I did, and paint the map in black and use a white paint pen.
But I personally love the white acrylic paint, because it’s fresh, clean and pristine. Just use a thin even layer. You should only need 1 coat. Once you have painted, the wood, you will need it to dry completely before moving on to the next step. Normally, I would recommend to wait 15 to 30 minutes. But because you will be using a pen on top of the paint, I would let the paint dry for at least 2 full hours.
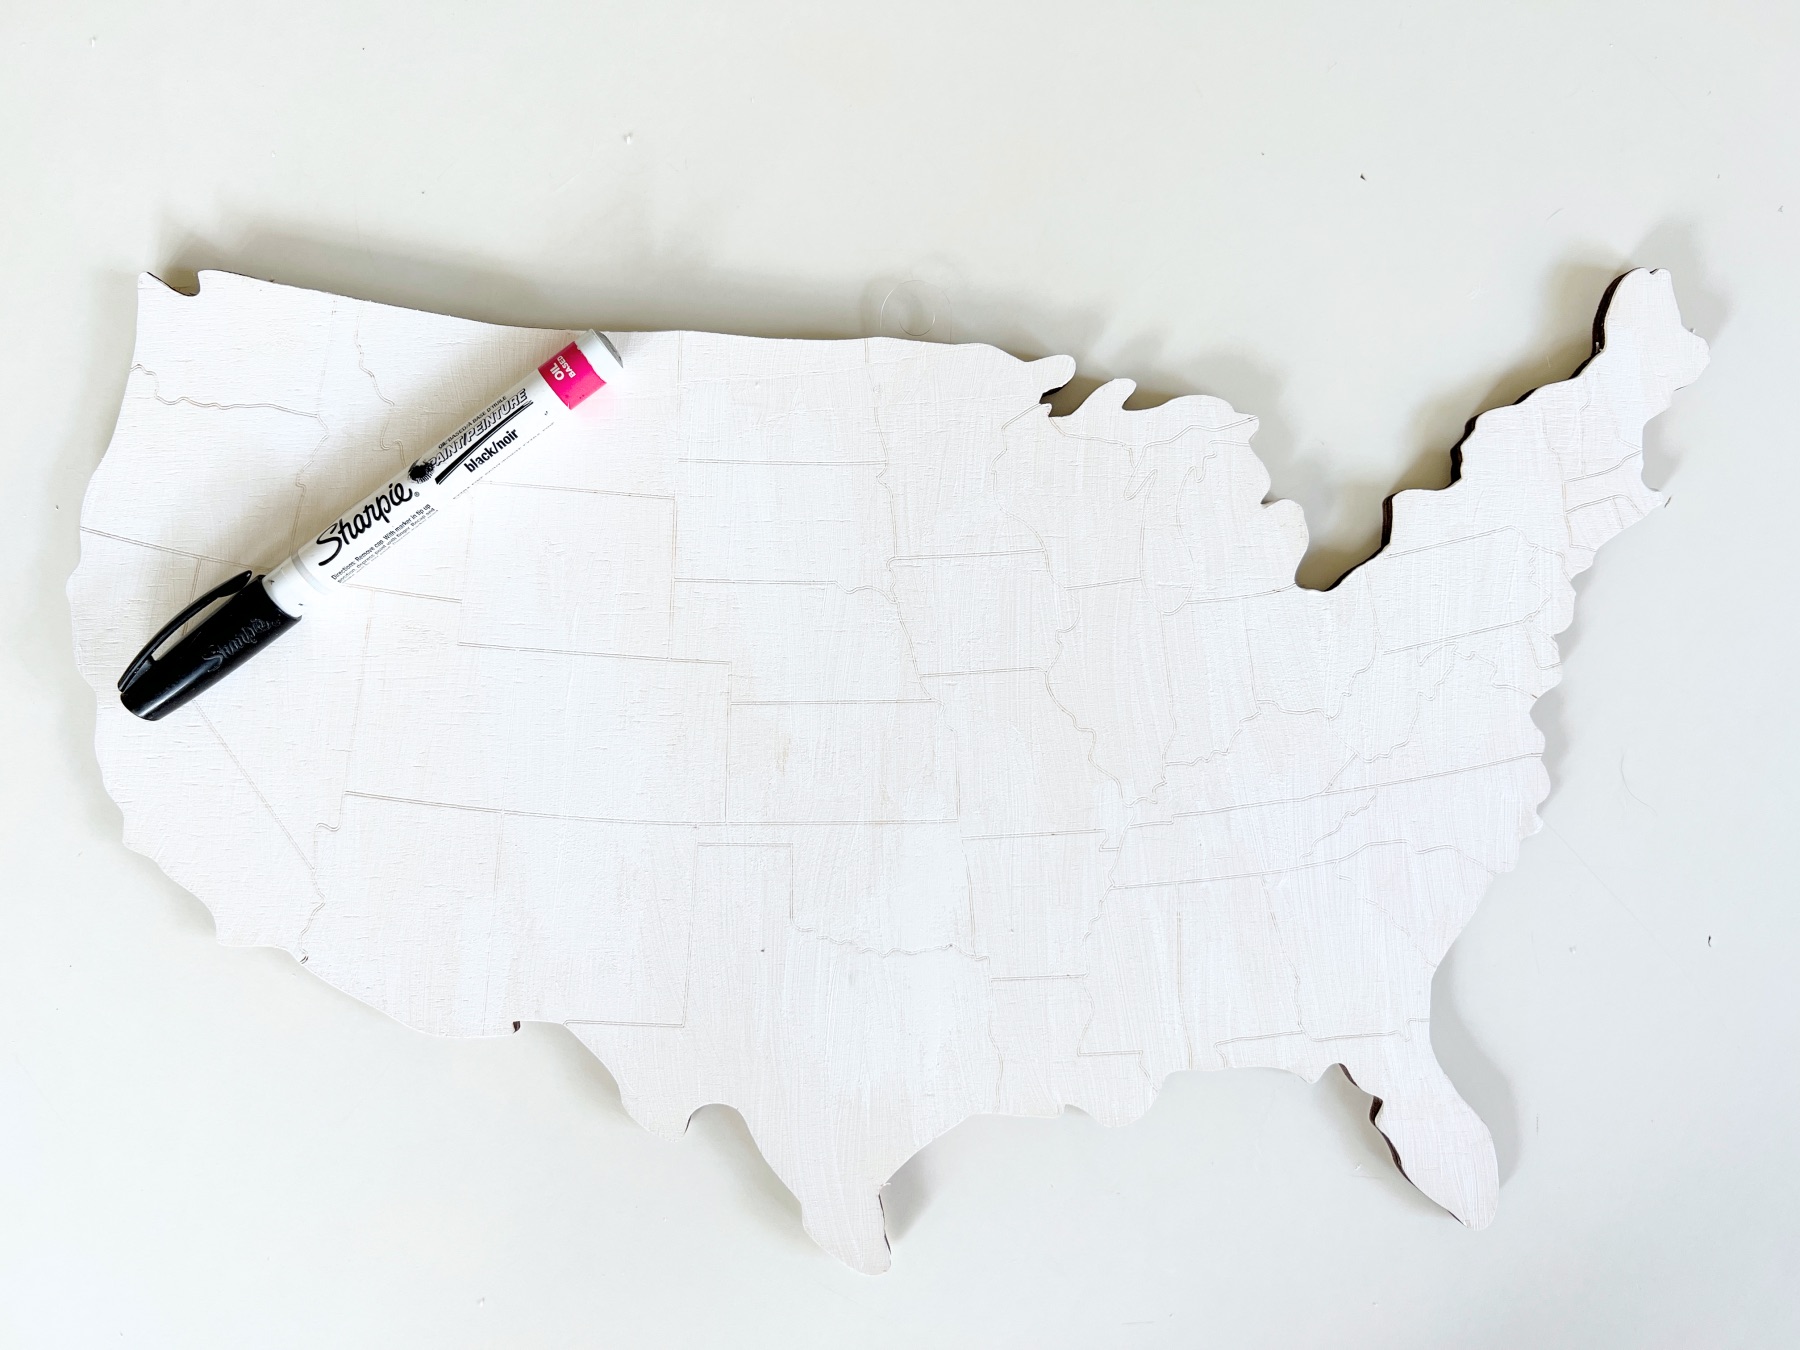
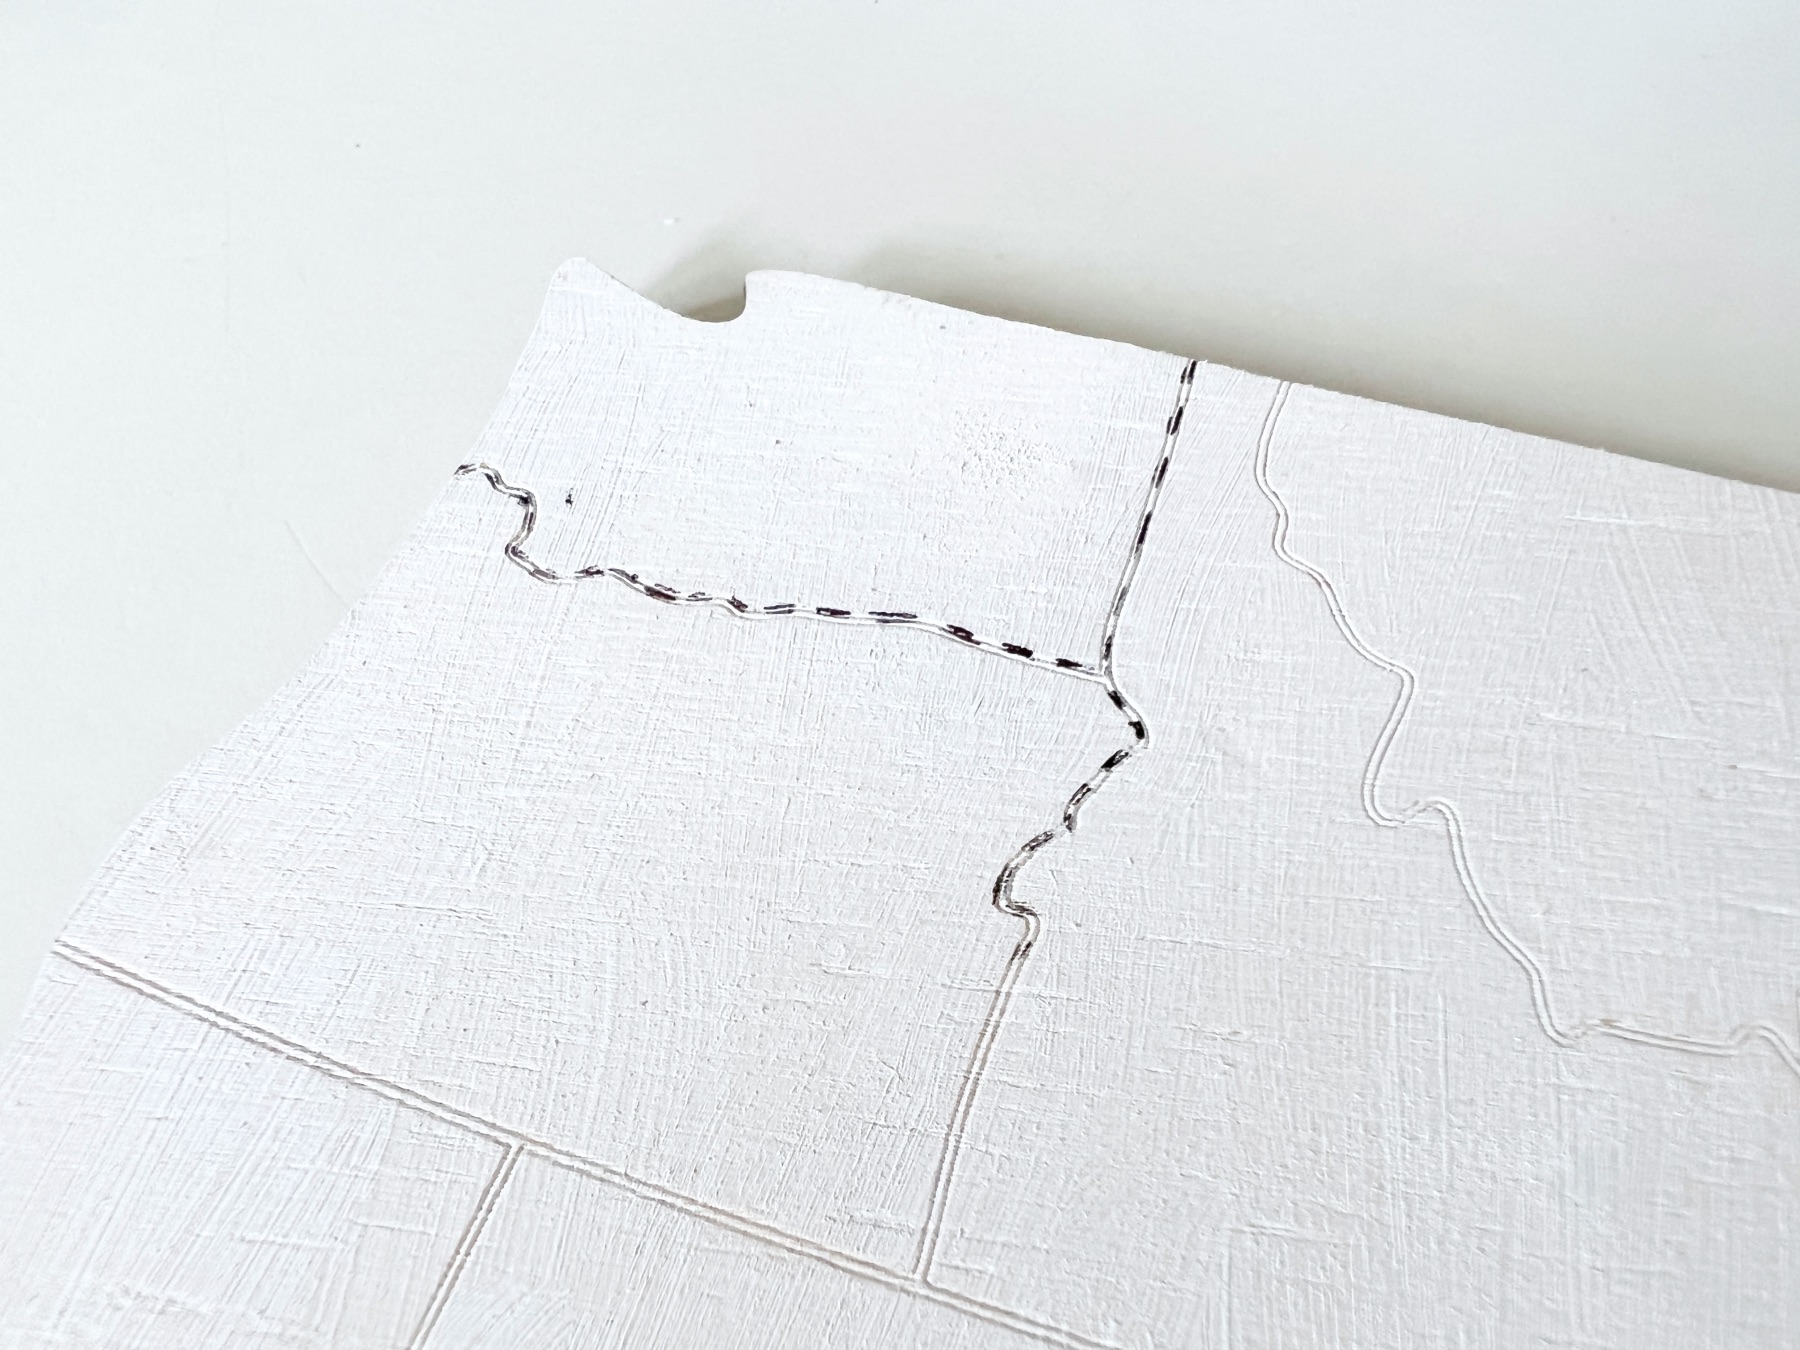
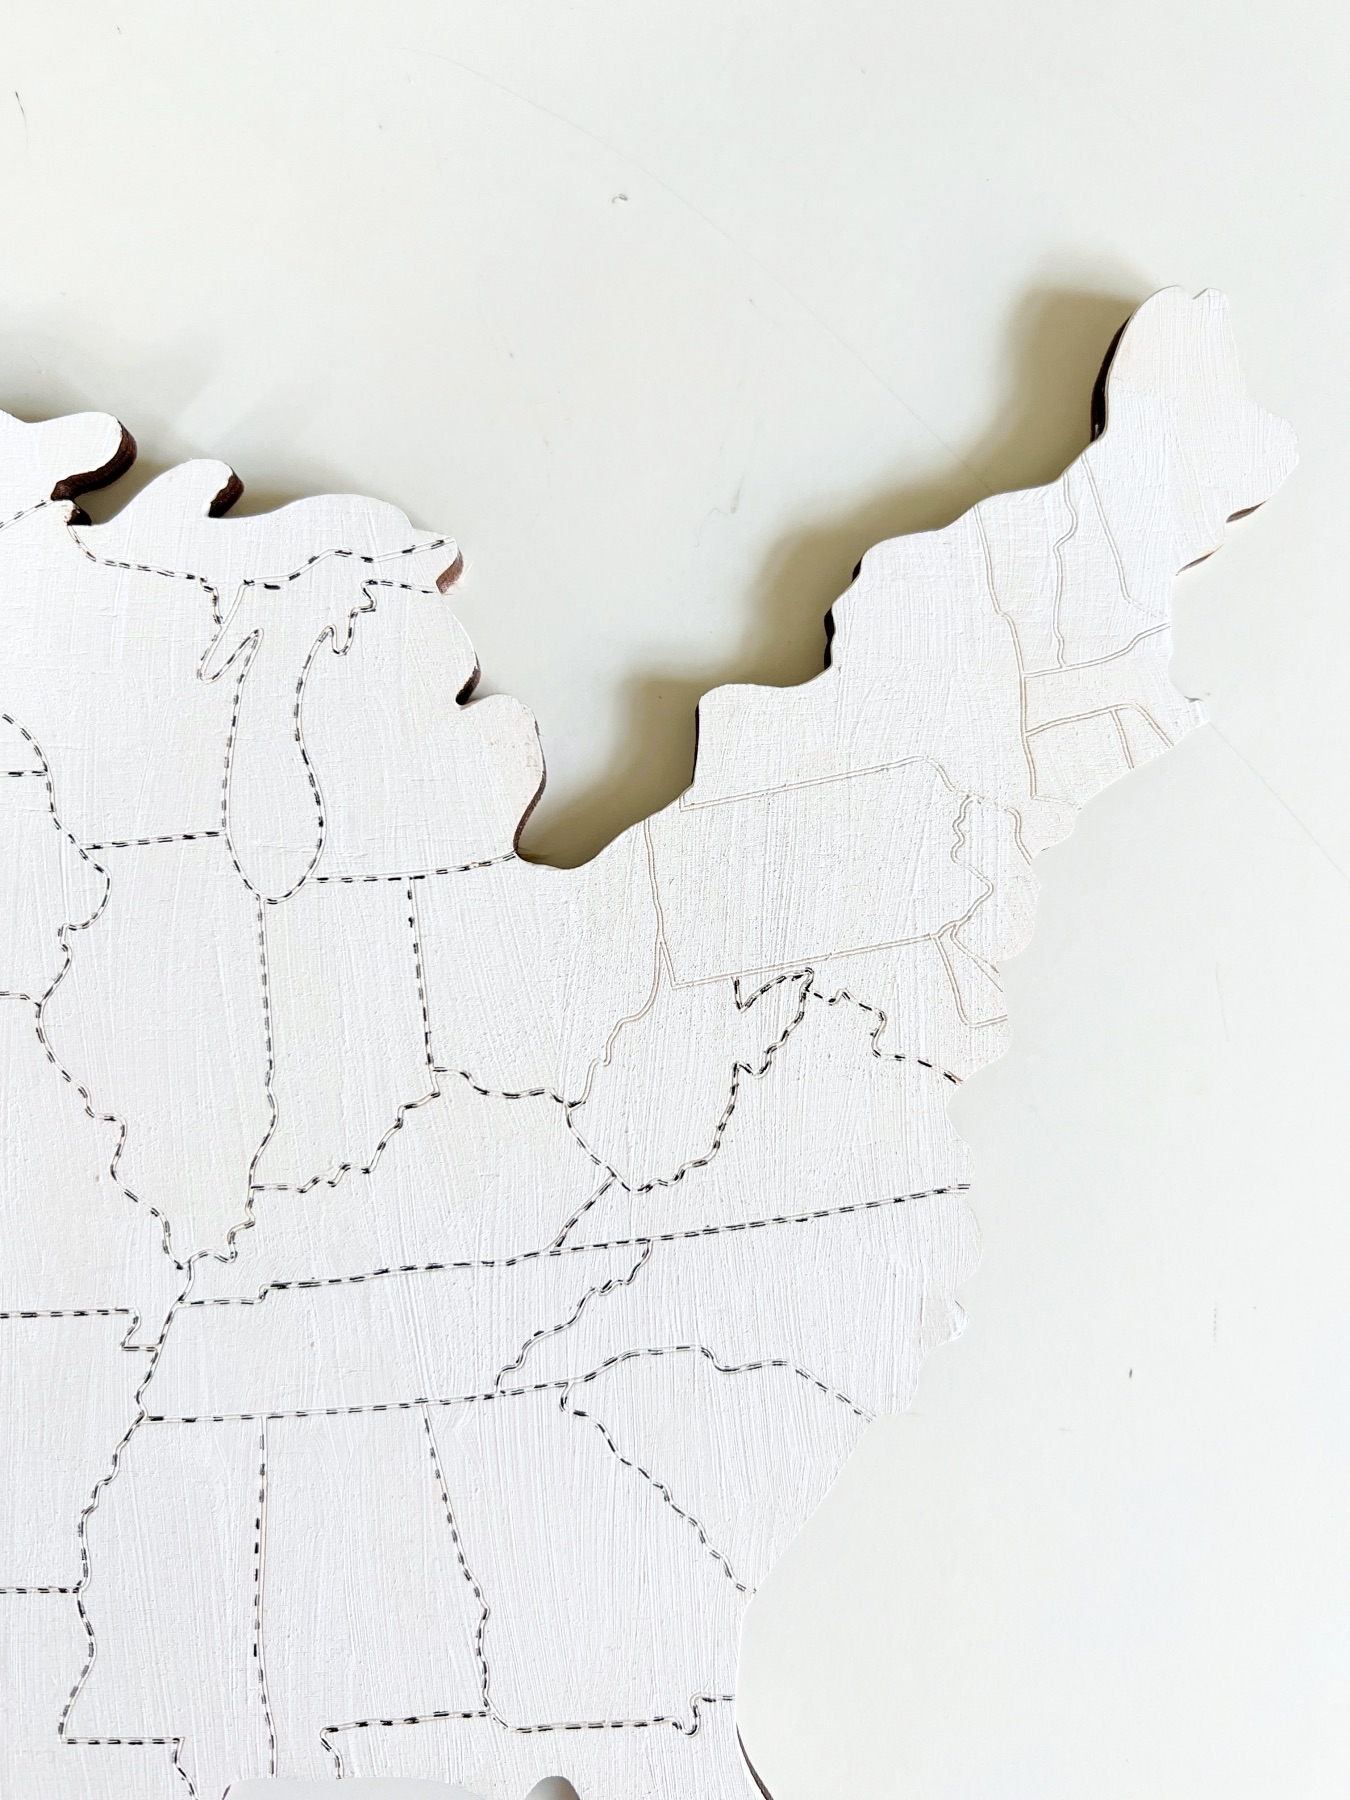
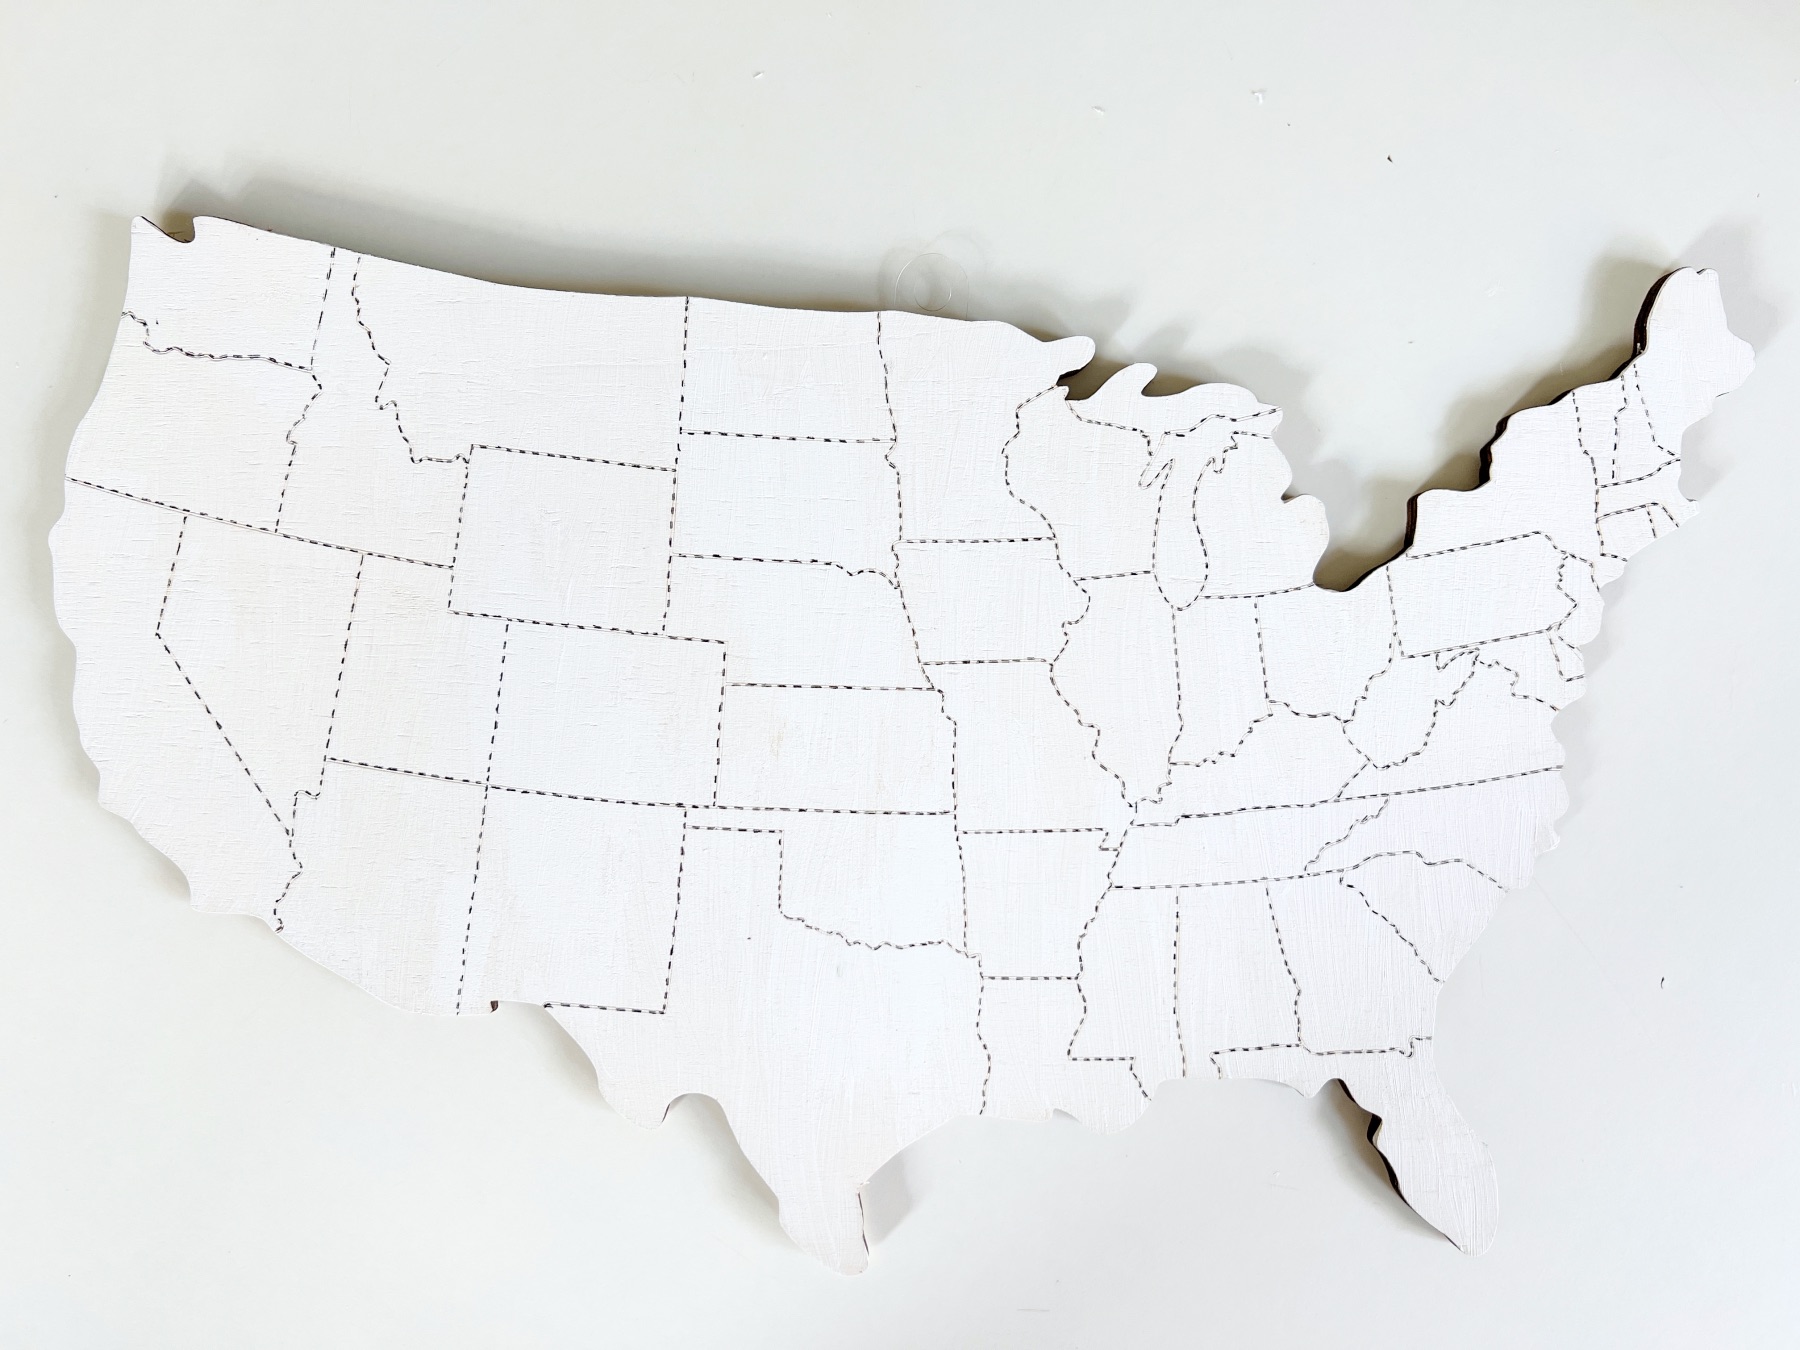
Step 2: Draw in the State Lines
Once the paint is completely dry, begin to draw in the state lines. Luckily, the map I used, had laser engraved state borders. It made it super easy to follow. And I would recommend that you look for that with the United States map that you choose.
However, if you use a map that doesn’t have the state borders engraved, and you are a stylish artist, you could free hand them – which is a great way to learn. If you free hand the state borders, follow them along with a map like this.
To draw the state lines, I chose a sweet dotted line. It doesn’t need to be perfect. It’s okay if at times your dotted lines become more spaced out. It’s okay if your lines become shorter or longer. It’s part of the finished piece feeling hand crafted and so sweet.

Because I am right handed, I worked from left to right. I started with the Pacific Northwest making my horizontal lines before my vertical lines to prevent my hand from dragging through the wet ink. If it happens to you, you can paint over the smudges later.

I also recommend turning the map as you work to prevent any smudges.
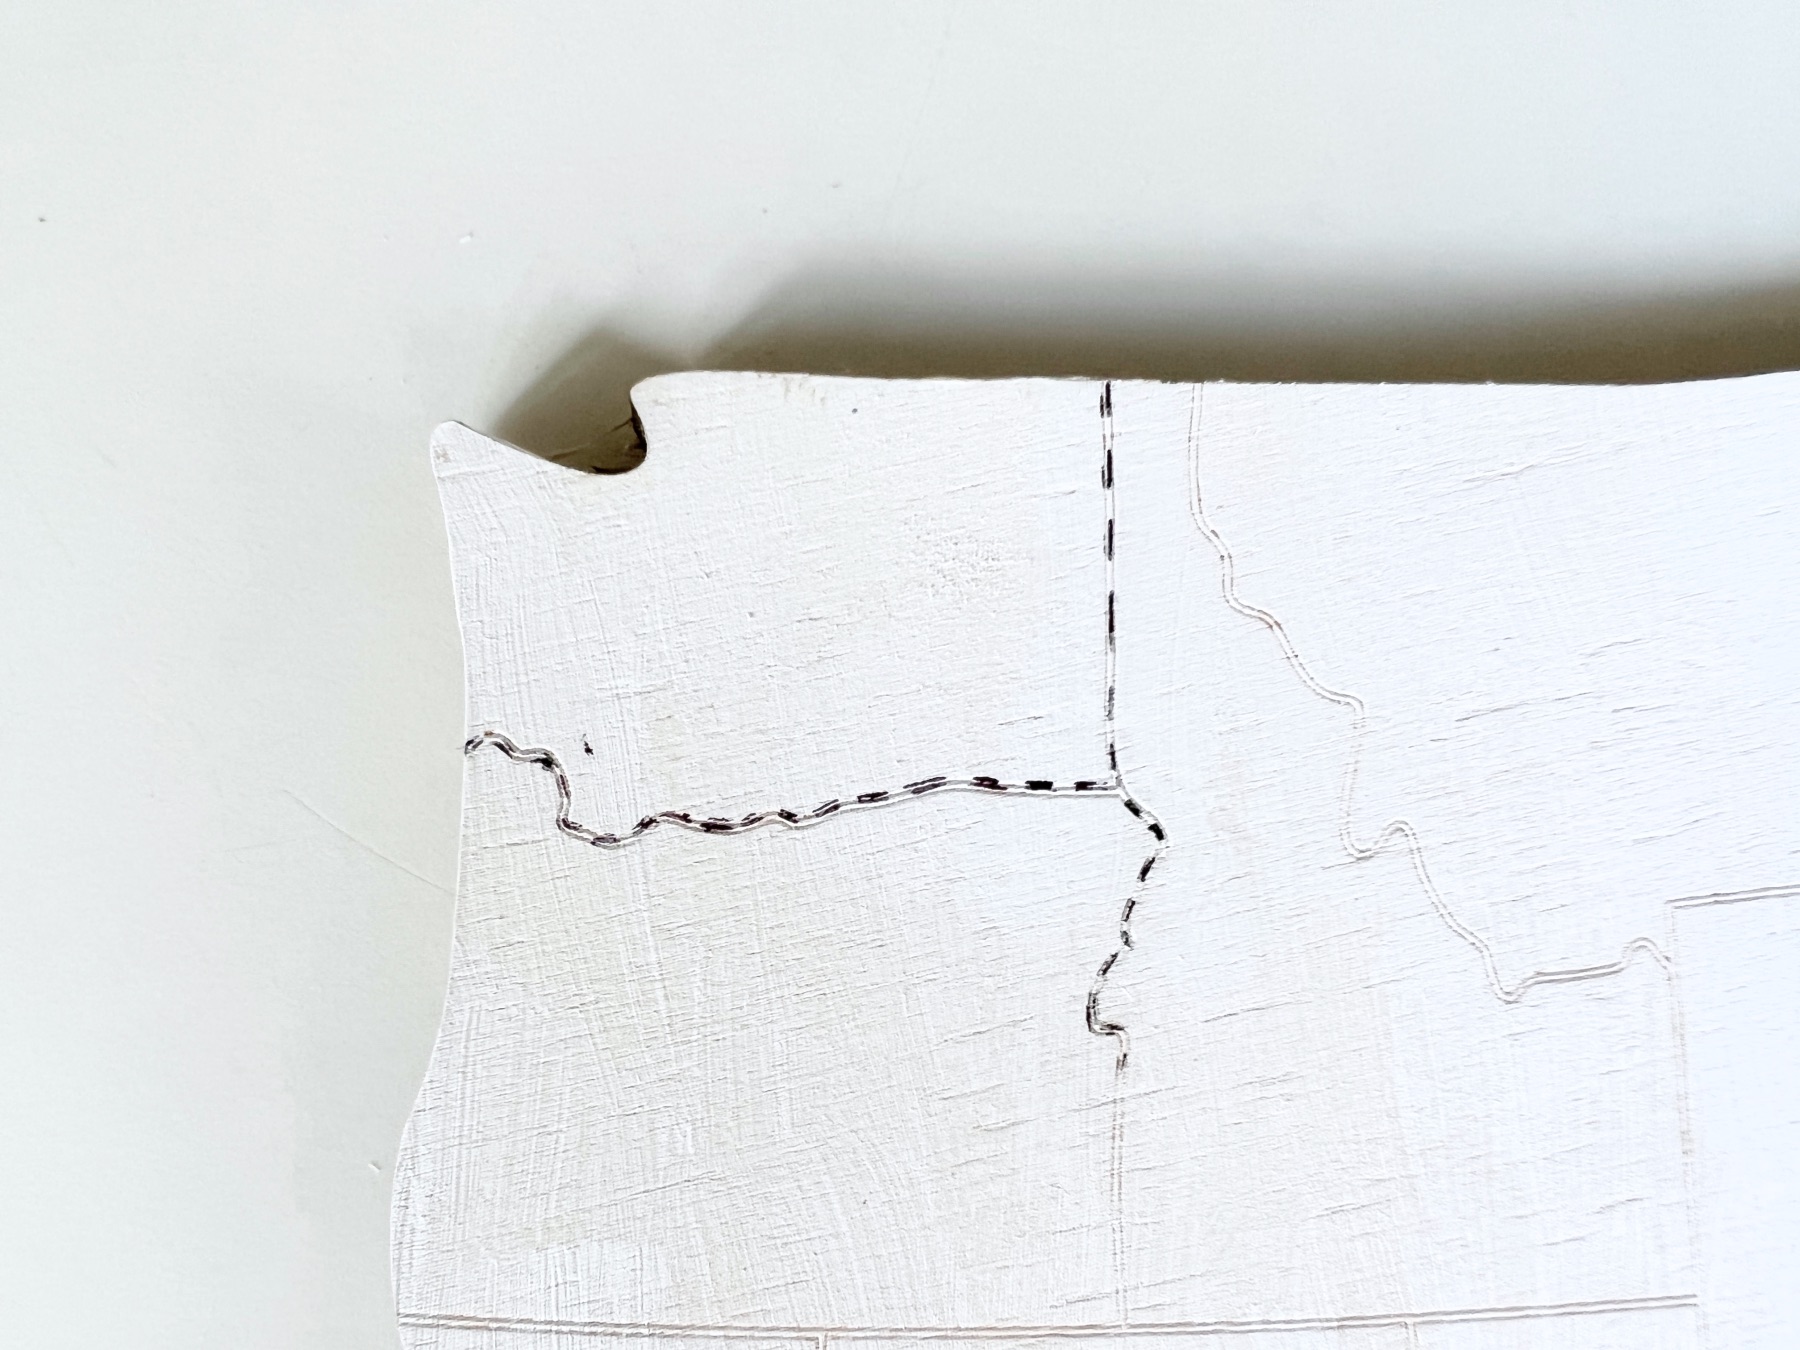
Drawing in the dotted lines was the step that took the longest. I would say it took me around 20-30 minutes, but I really took my time.
If you look closely you might notice that at times my dotted lines have larger spaces. And at times my dotted lines are lighter and more gray. Other times they are darker.
Don’t look to closely if you notice that with your own work. It’s easy to see the imperfections. But no one else will see them. And that’s part of what makes you and your work, unique.
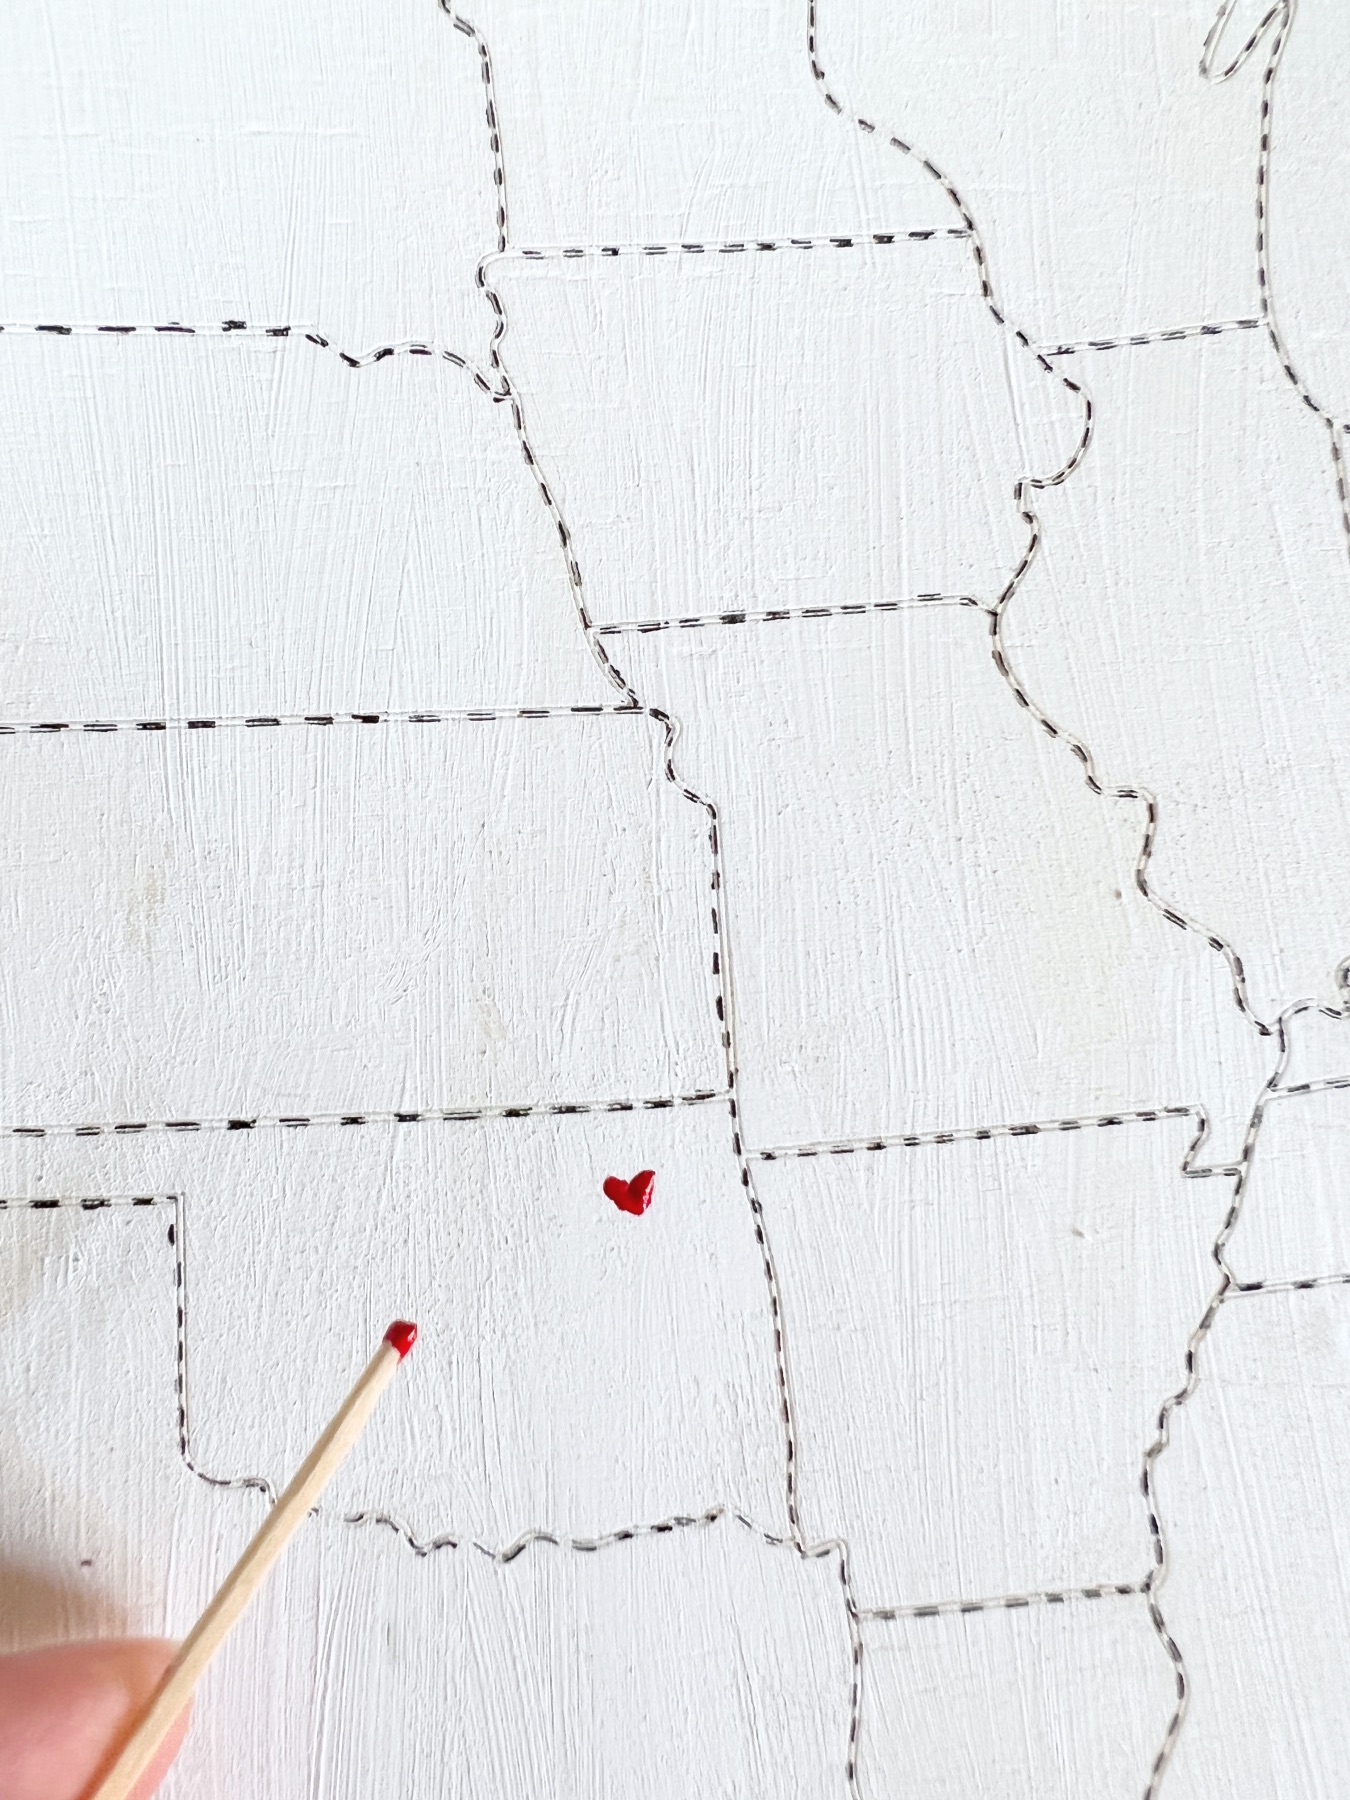
Step 3: Paint the Hearts
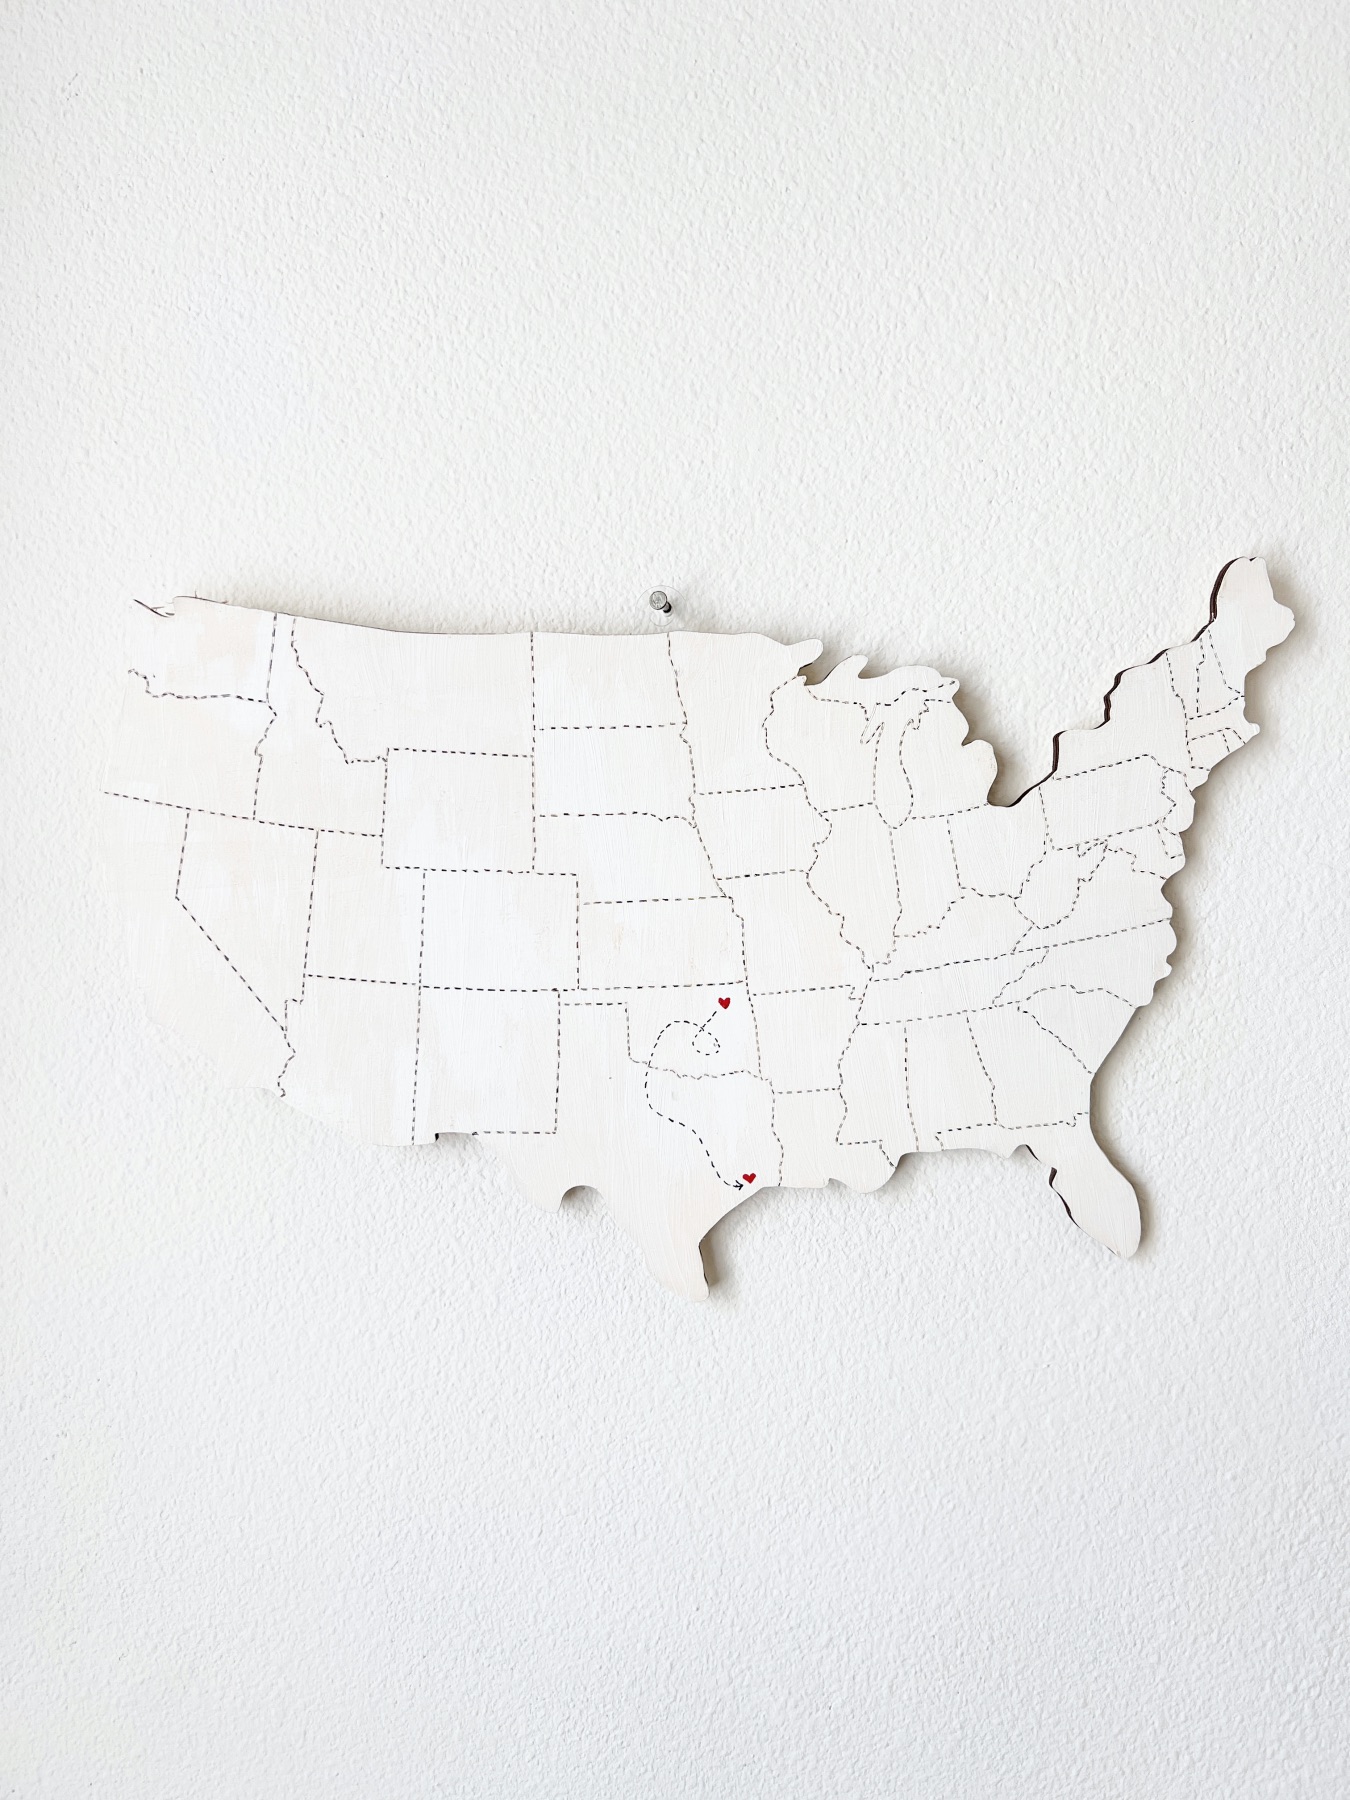
Now this next step will be uniquely you. So make sure you have a plan before you begin. For my piece, I chose to paint a heart to mark the city where I am from (Tulsa, Oklahoma) and the city where I live (Houston, TX).
You could also choose to paint hearts to mark:
1. Where you and your significant other are from.
2. Where your ancestors are from.
3. All the cities you have visited.
4. All the cities you want to visit.
5. Another idea of your choice!
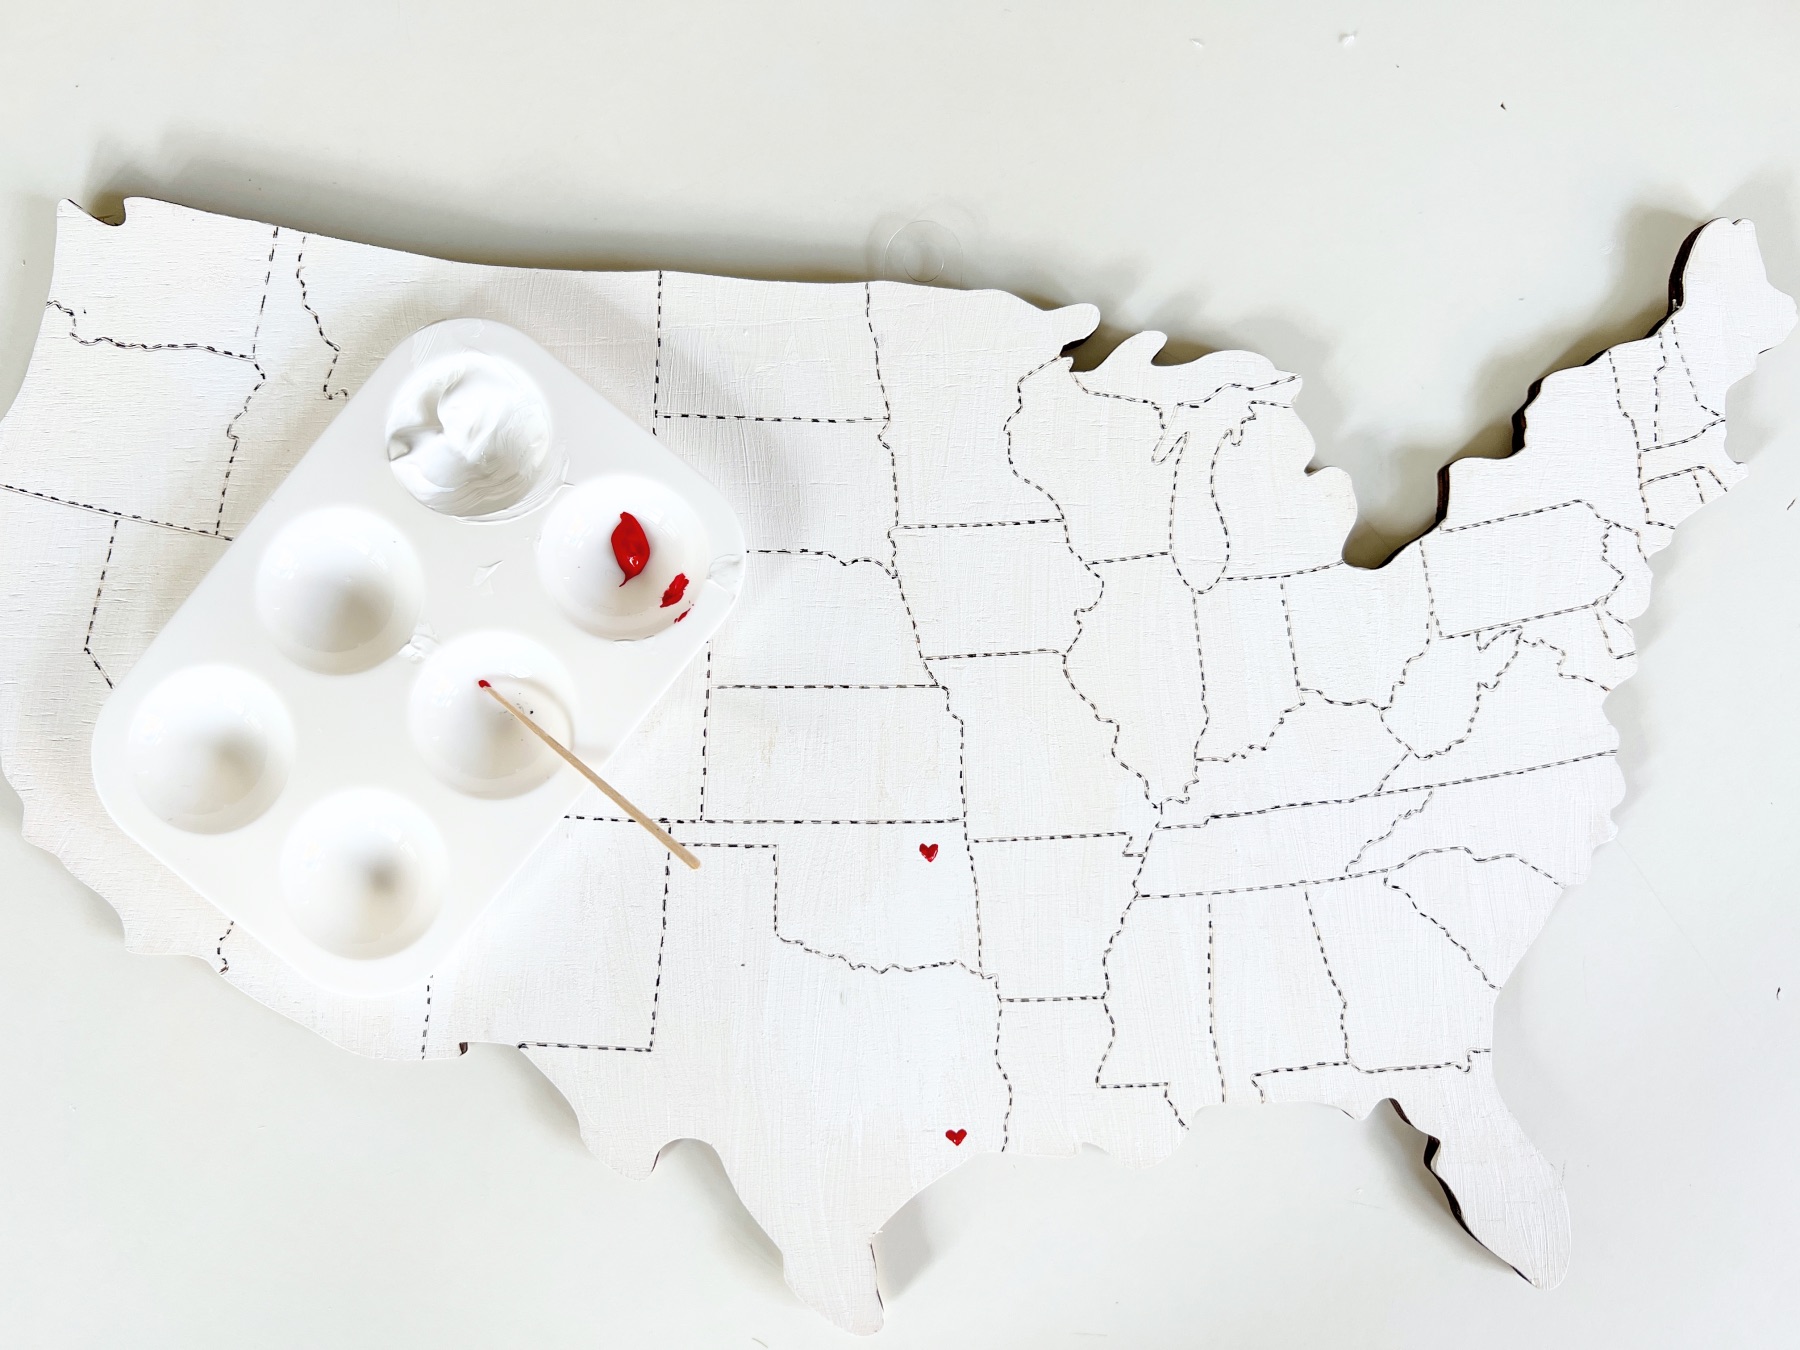
Now do you have that idea ready? If so, paint your first heart. Like I mentioned before, I used a toothpick instead of a paint brush. It was easier and I had more control of such a small area.
Let each heart dry before you start the next one to prevent any damage or smudging.
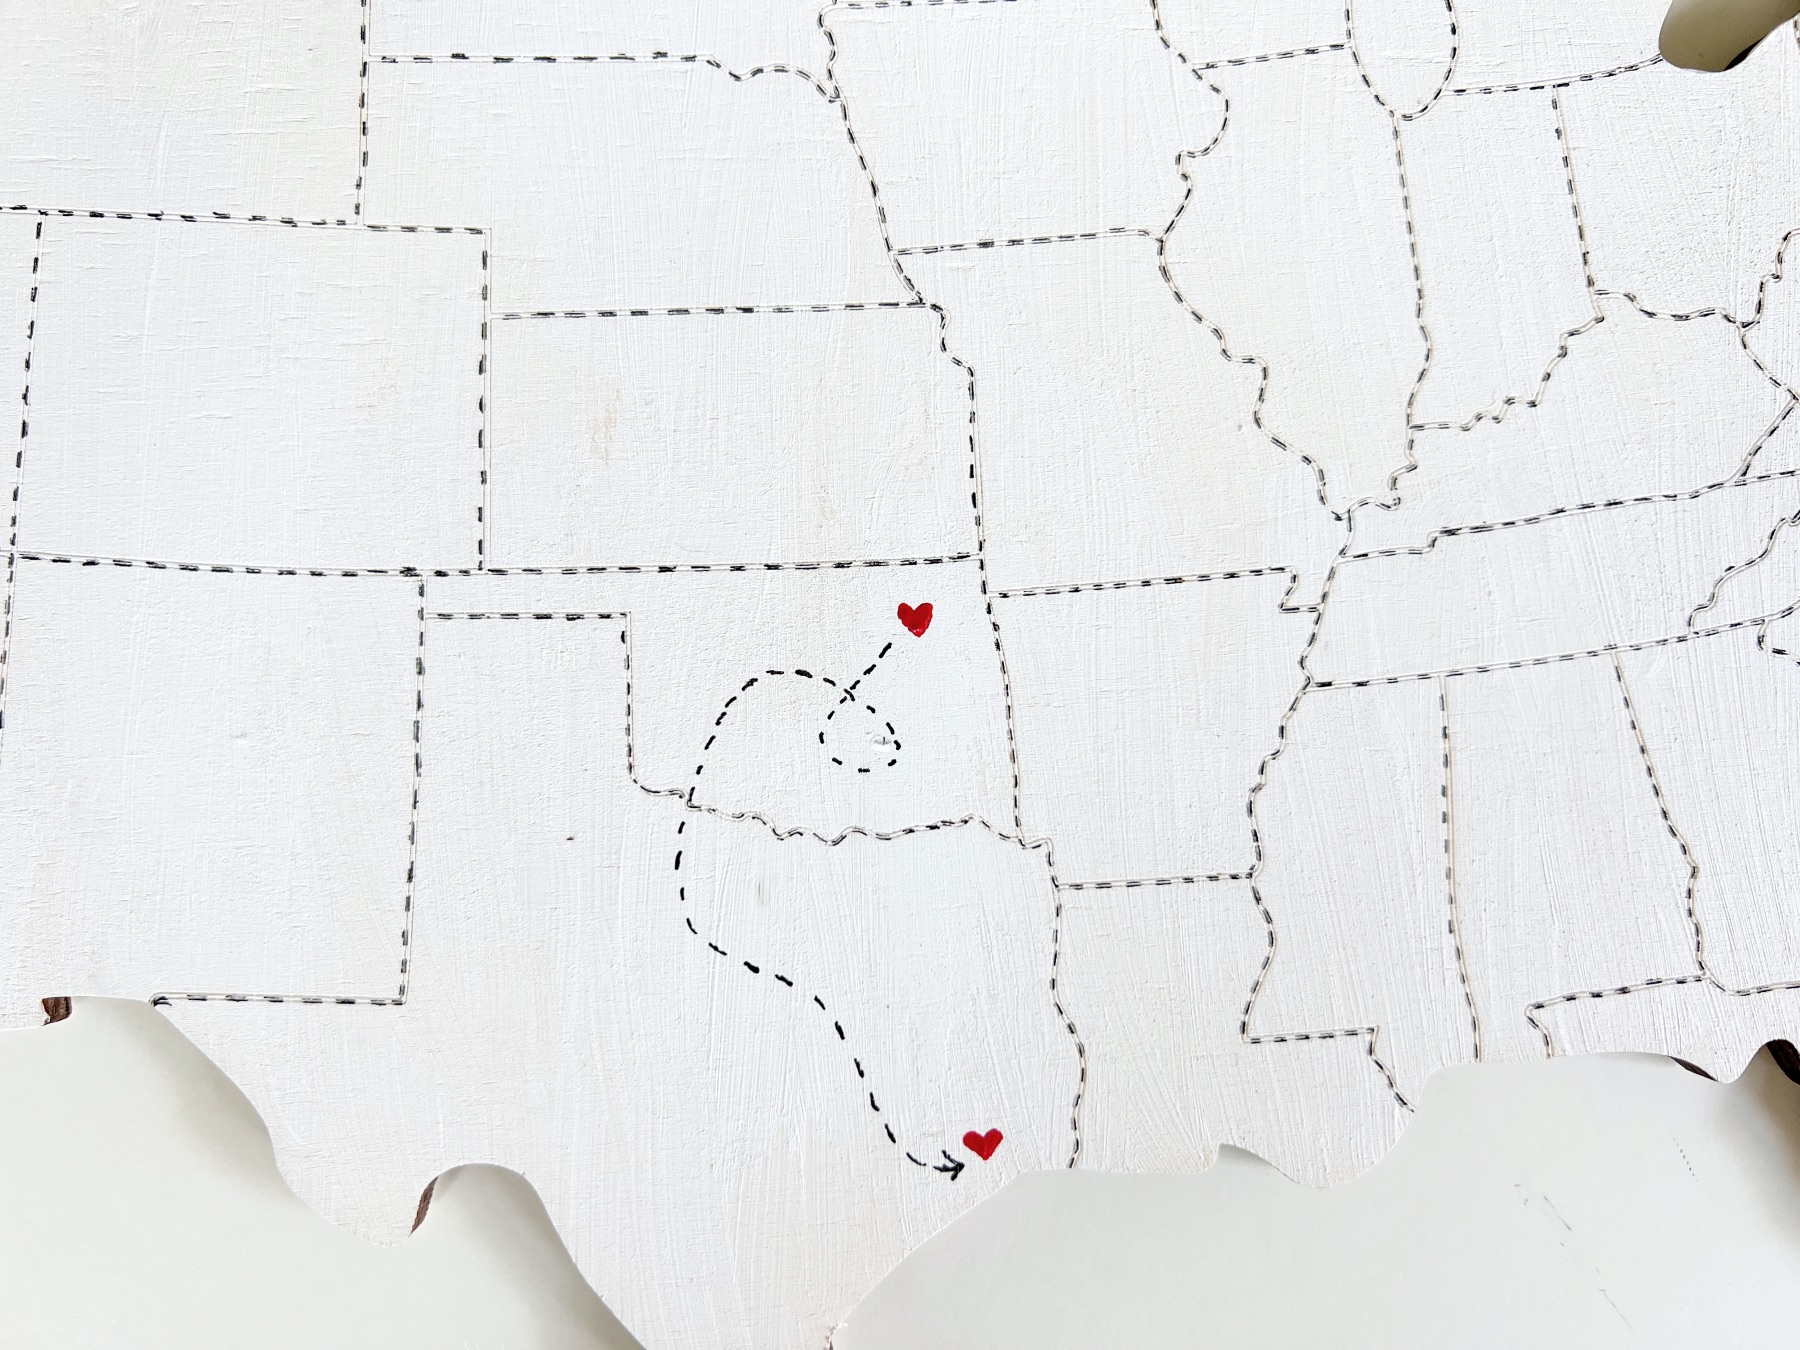
Step 4: Make a Dotted Line to Connect the Cities
Now this last step is completely optional. But if you like what I did, you can use your paint pen or gel pen to make a dotted line to connect one city to another.
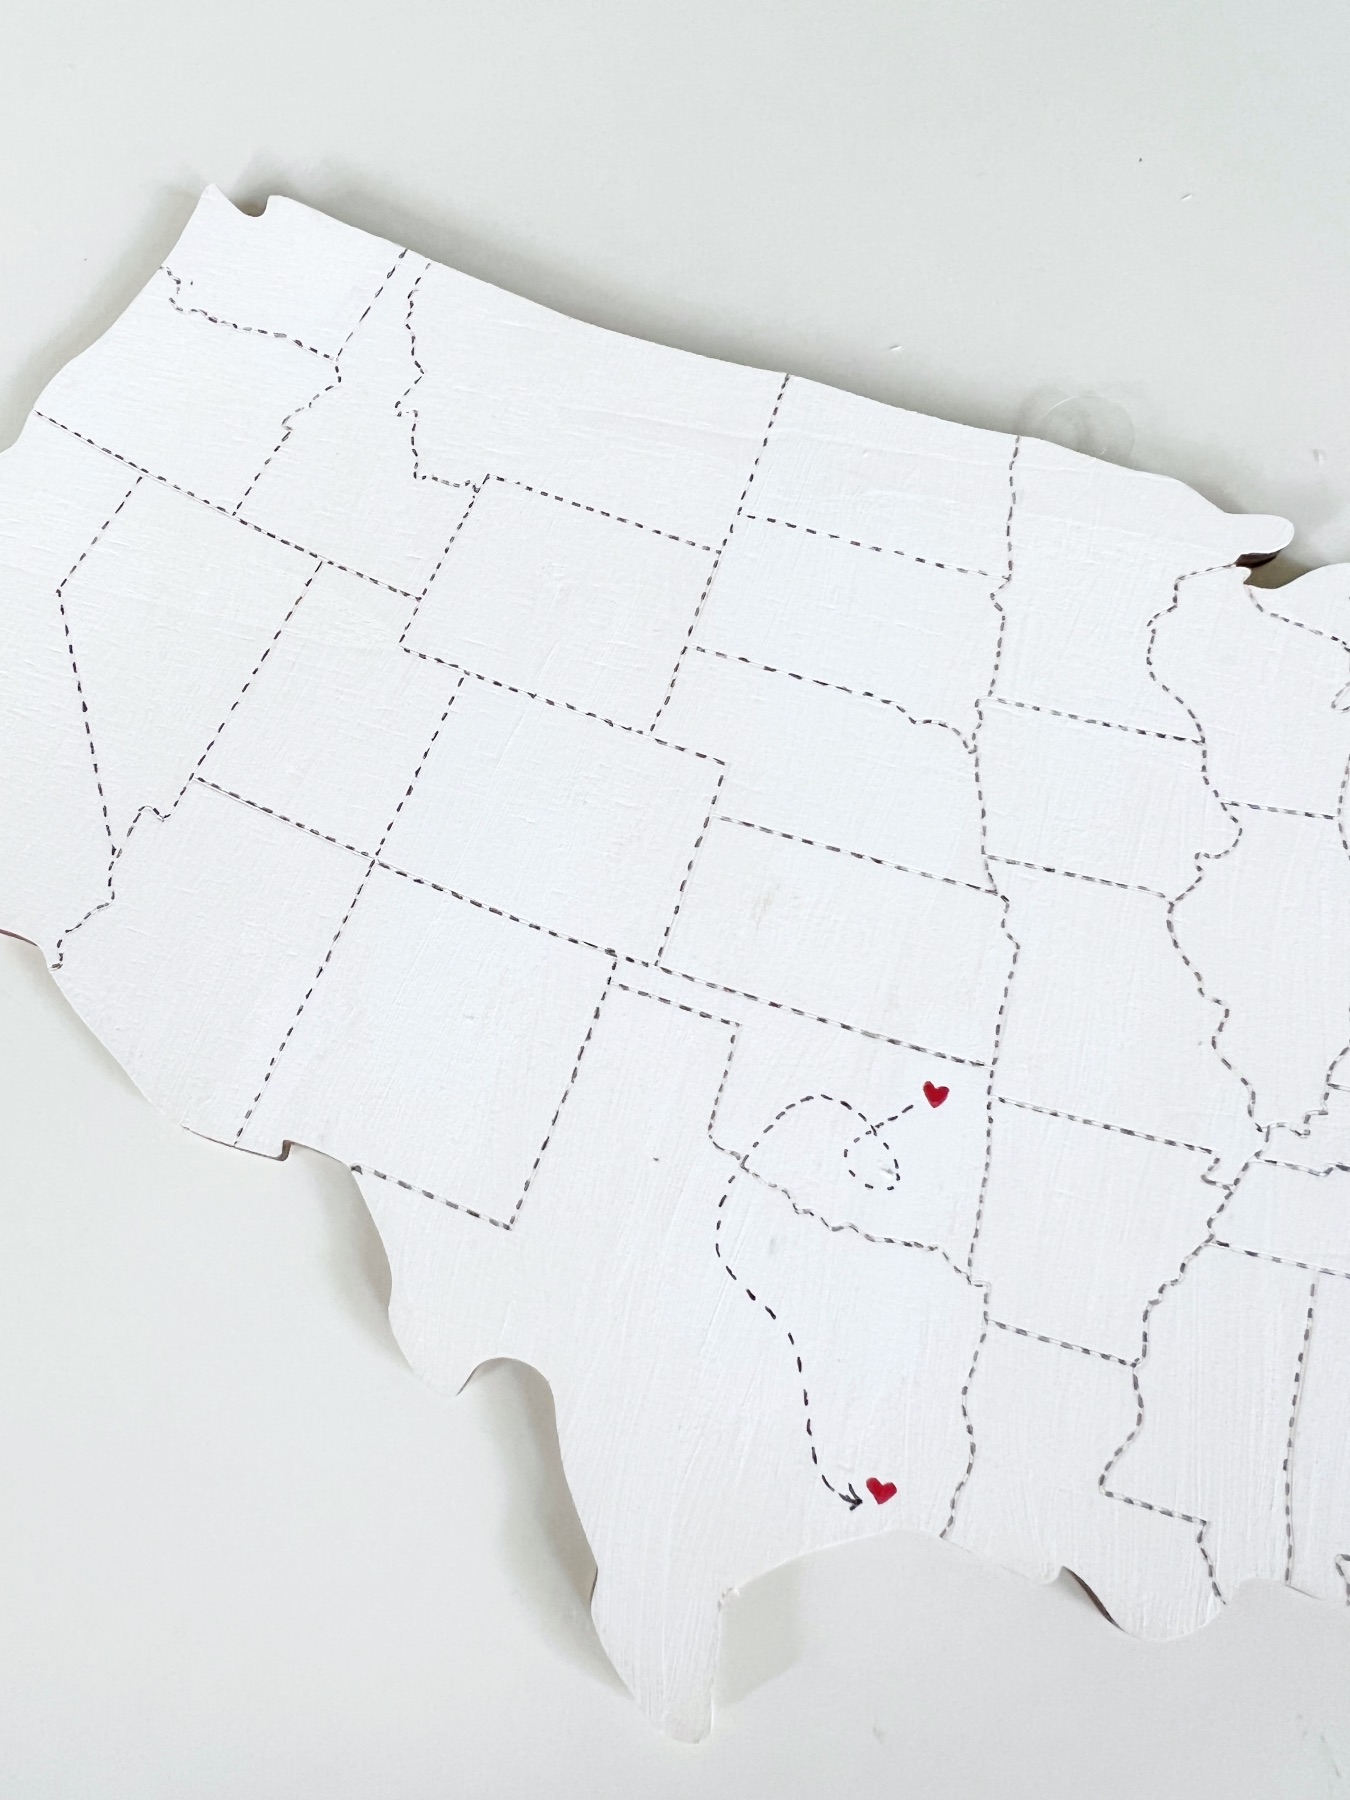
Your line will be a lot more interesting if you make fun swirls and loops! So go for it! If you make any mistakes just wait for the ink to dry, then cover with a thin layer of white paint.

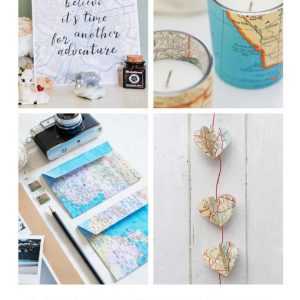
Once your dotted line is drawn in your DIY United States Map Painting with Hearts, your piece is finished! This piece is perfect for hanging anywhere where you need inspiration to travel! And if this is getting you inspired, check out our other Map DIY tutorials below. There are so many travel and map themed crafts you can make. This piece is just the beginning!
And if you want to get these supplies for yourself, don’t miss the Craft in Style Subscription Box, a monthly subscription box that features new projects each month. With each kit, you get all the supplies you need to make new projects from beginning to end. It’s so fun!
Let’s Stay Friends!
Insta | Pinterest | Enews | TikTok