Craft in Style Subscription Instructions, DIY
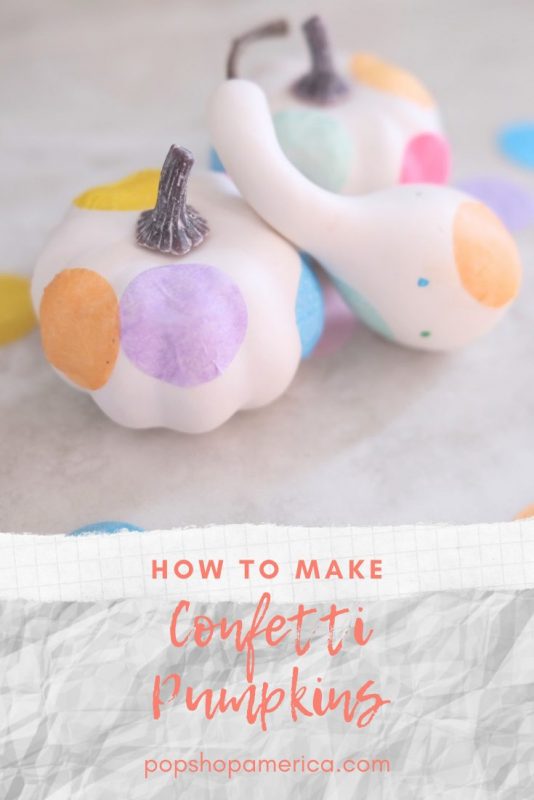
Easy DIY Confetti Pumpkins
Oct
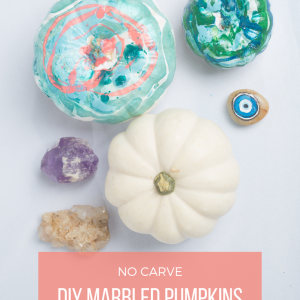
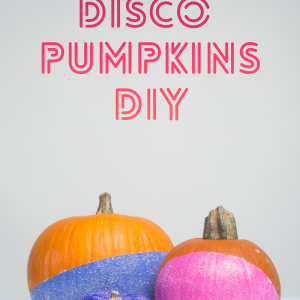
This is Part 5 of the October Craft in Style Subscription Box Tutorials. Shop the Monthly Craft Supply Box – Craft in Style here. Find Part 1: DIY Marbled Pumpkins here. Find Part 2: Disco Color Blocked Pumpkins here. Find Part 3: Ombre Painted Pumpkins here. Find Part 4: 21 Painted Pumpkin Tutorials here.
You know what I love? I love to put a spin on traditional holiday decor. For example, I love fall but I don’t want your typical fall. If I am going to have pumpkins I want them to be a really cool color palette. Or if I am going to do rustic oranges and browns, I hope to use it for something fall themed that’s not your typical pumpkin.
Know what I mean? That’s why these DIY Confetti Pumpkins are so much fun! They have a bright and unusual color palette. Best of all, they are so easy to make. So let’s get started!
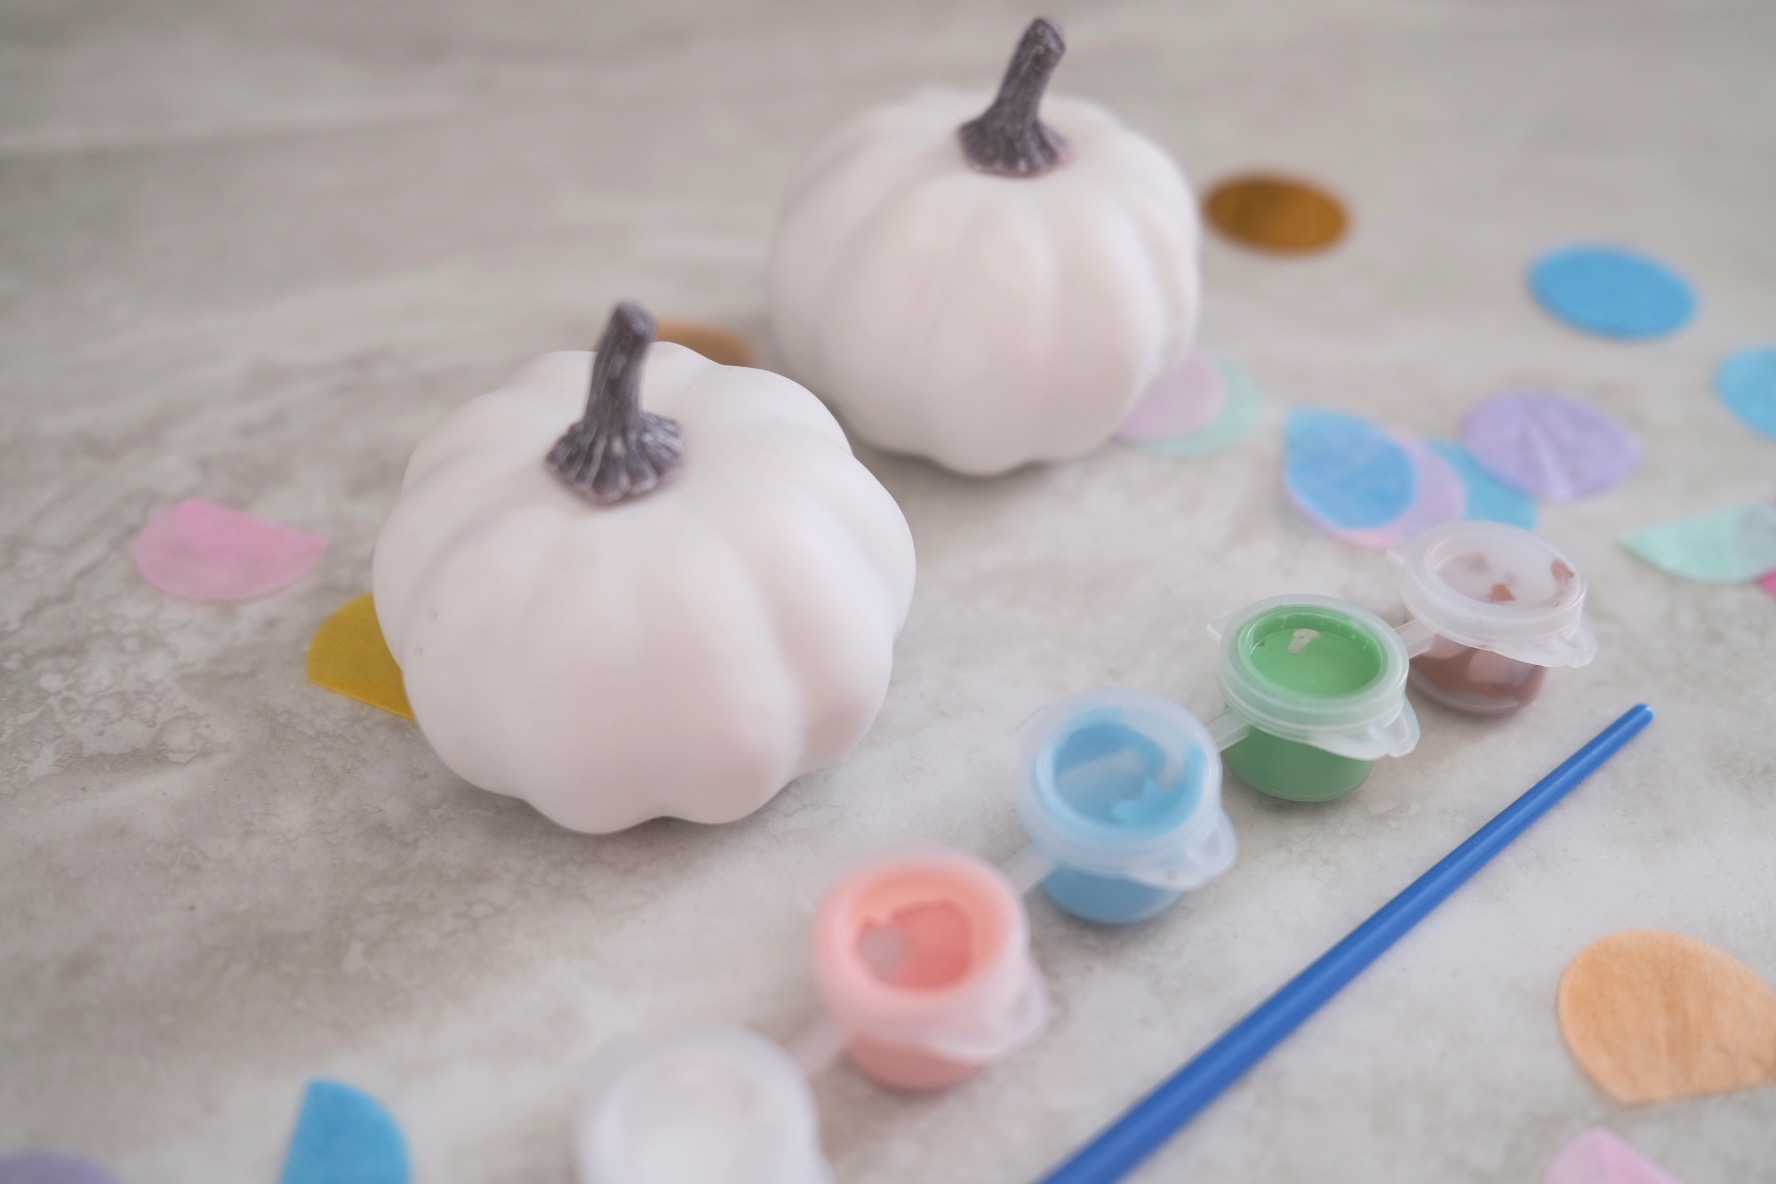
Supplies to Make DIY Confetti Pumpkins
October 2020 Craft in Style Subscription Box
-or-
Small Faux Pumpkins
Mod Podge/Elmer’s Glue
A Small Acrylic Paint Brush
Rainbow Tissue Confetti
You will also want to have some water nearby to rinse your brush. That’s all! The supplies are simple, straightforward, and safe for kids too.
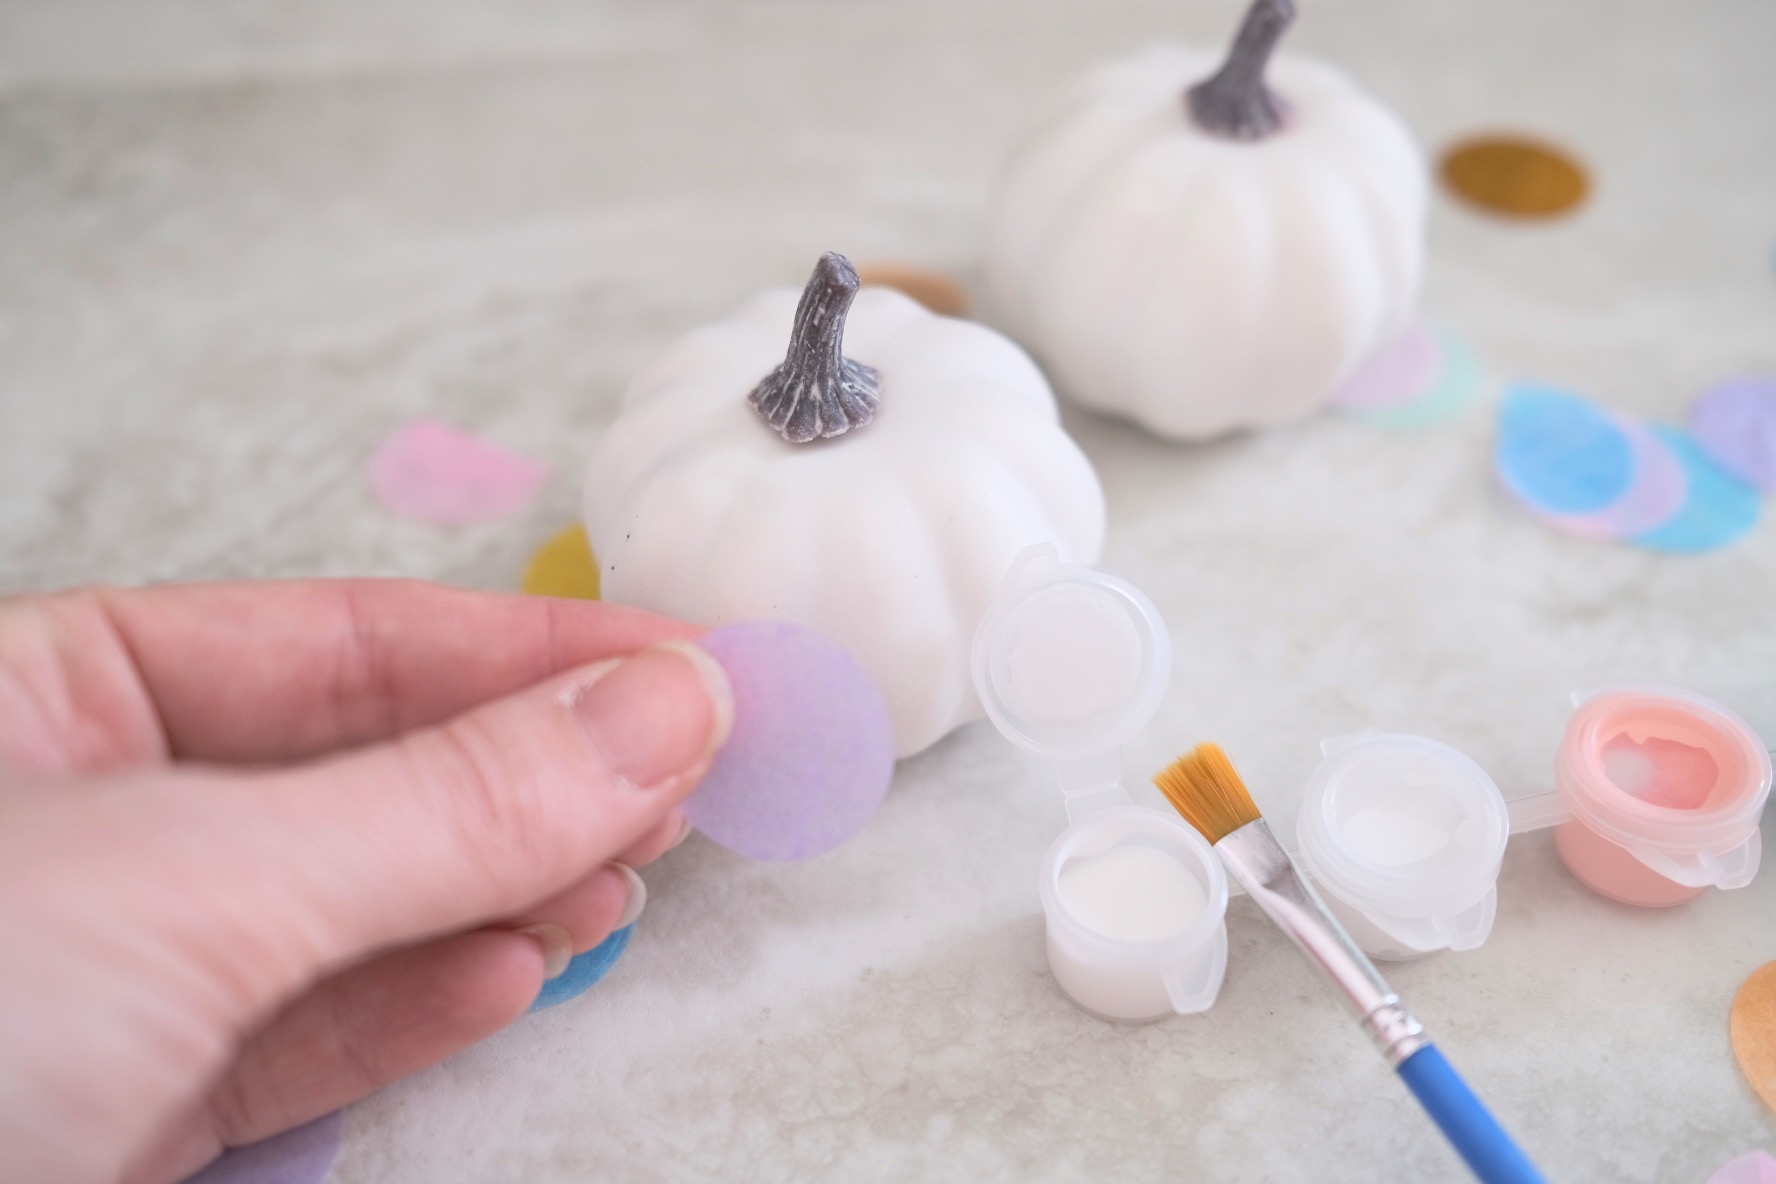
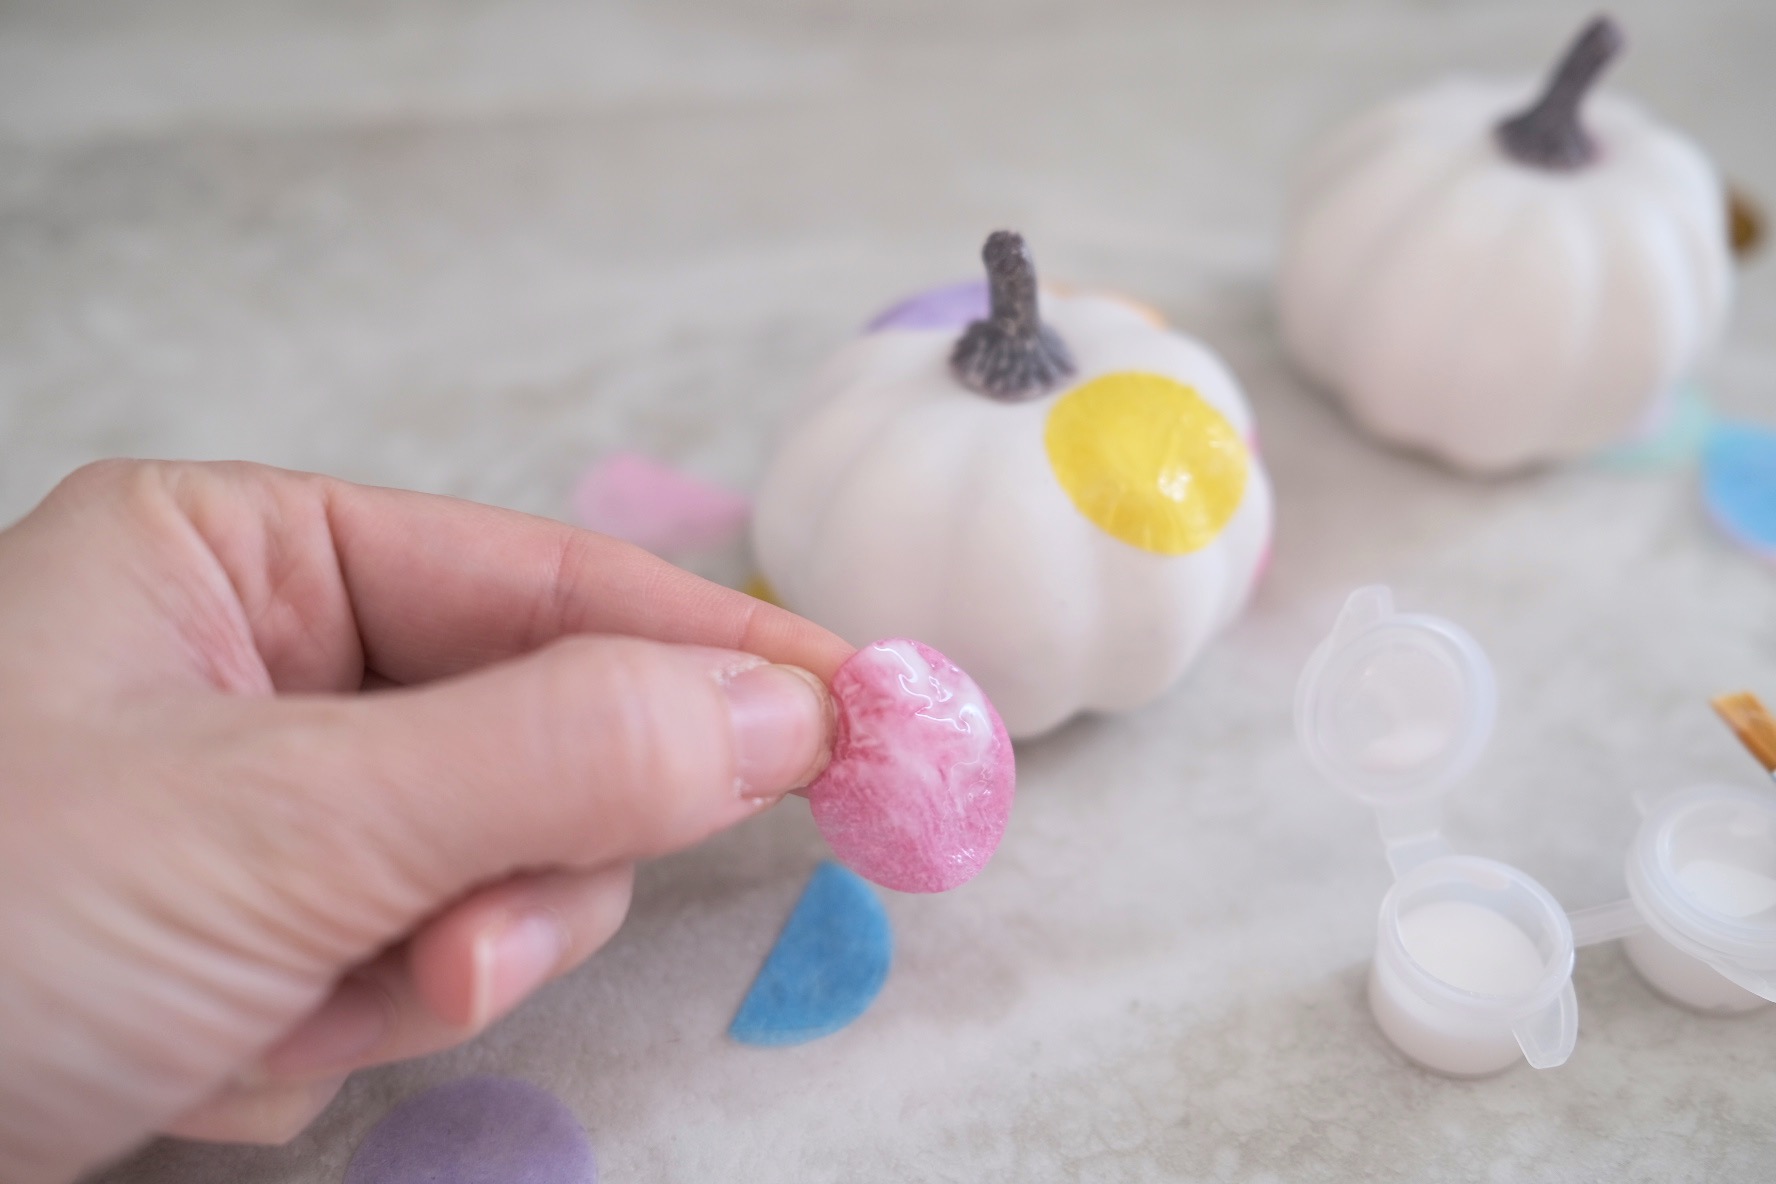
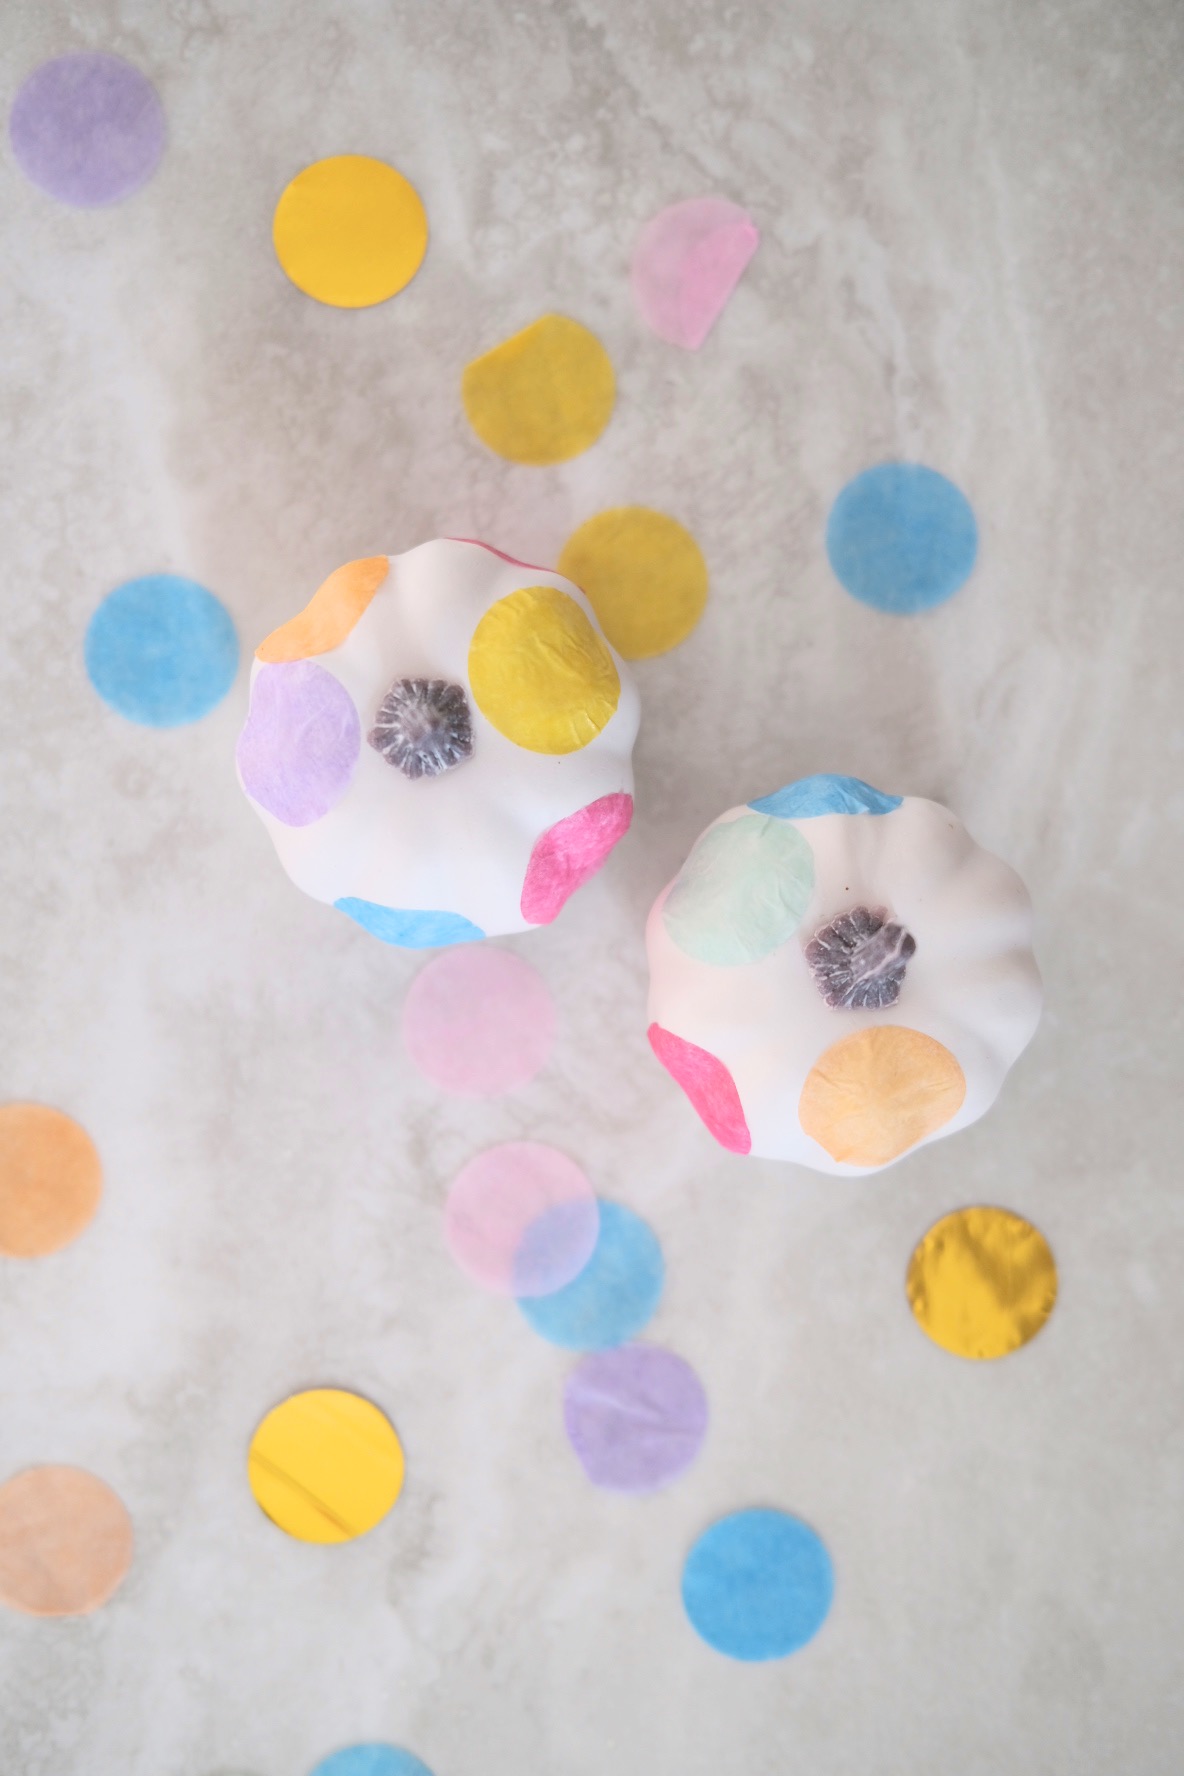
First, gather a range or rainbow tissue paper confetti. This type of confetti often folds, gets crunched, and looses it’s perfectly round shape. The confetti you attach to your pumpkin should look perfect. So find pieces of confetti that are near perfect and smooth them flat and uncurl any edges.
You will also want to find a rainbow of unique colors (unless you want to go monochrome – which could be so cute too!) I used pink, purple, sea green, orange and all kinds of gorgeous colors.
Now the rest of the steps are so easy.
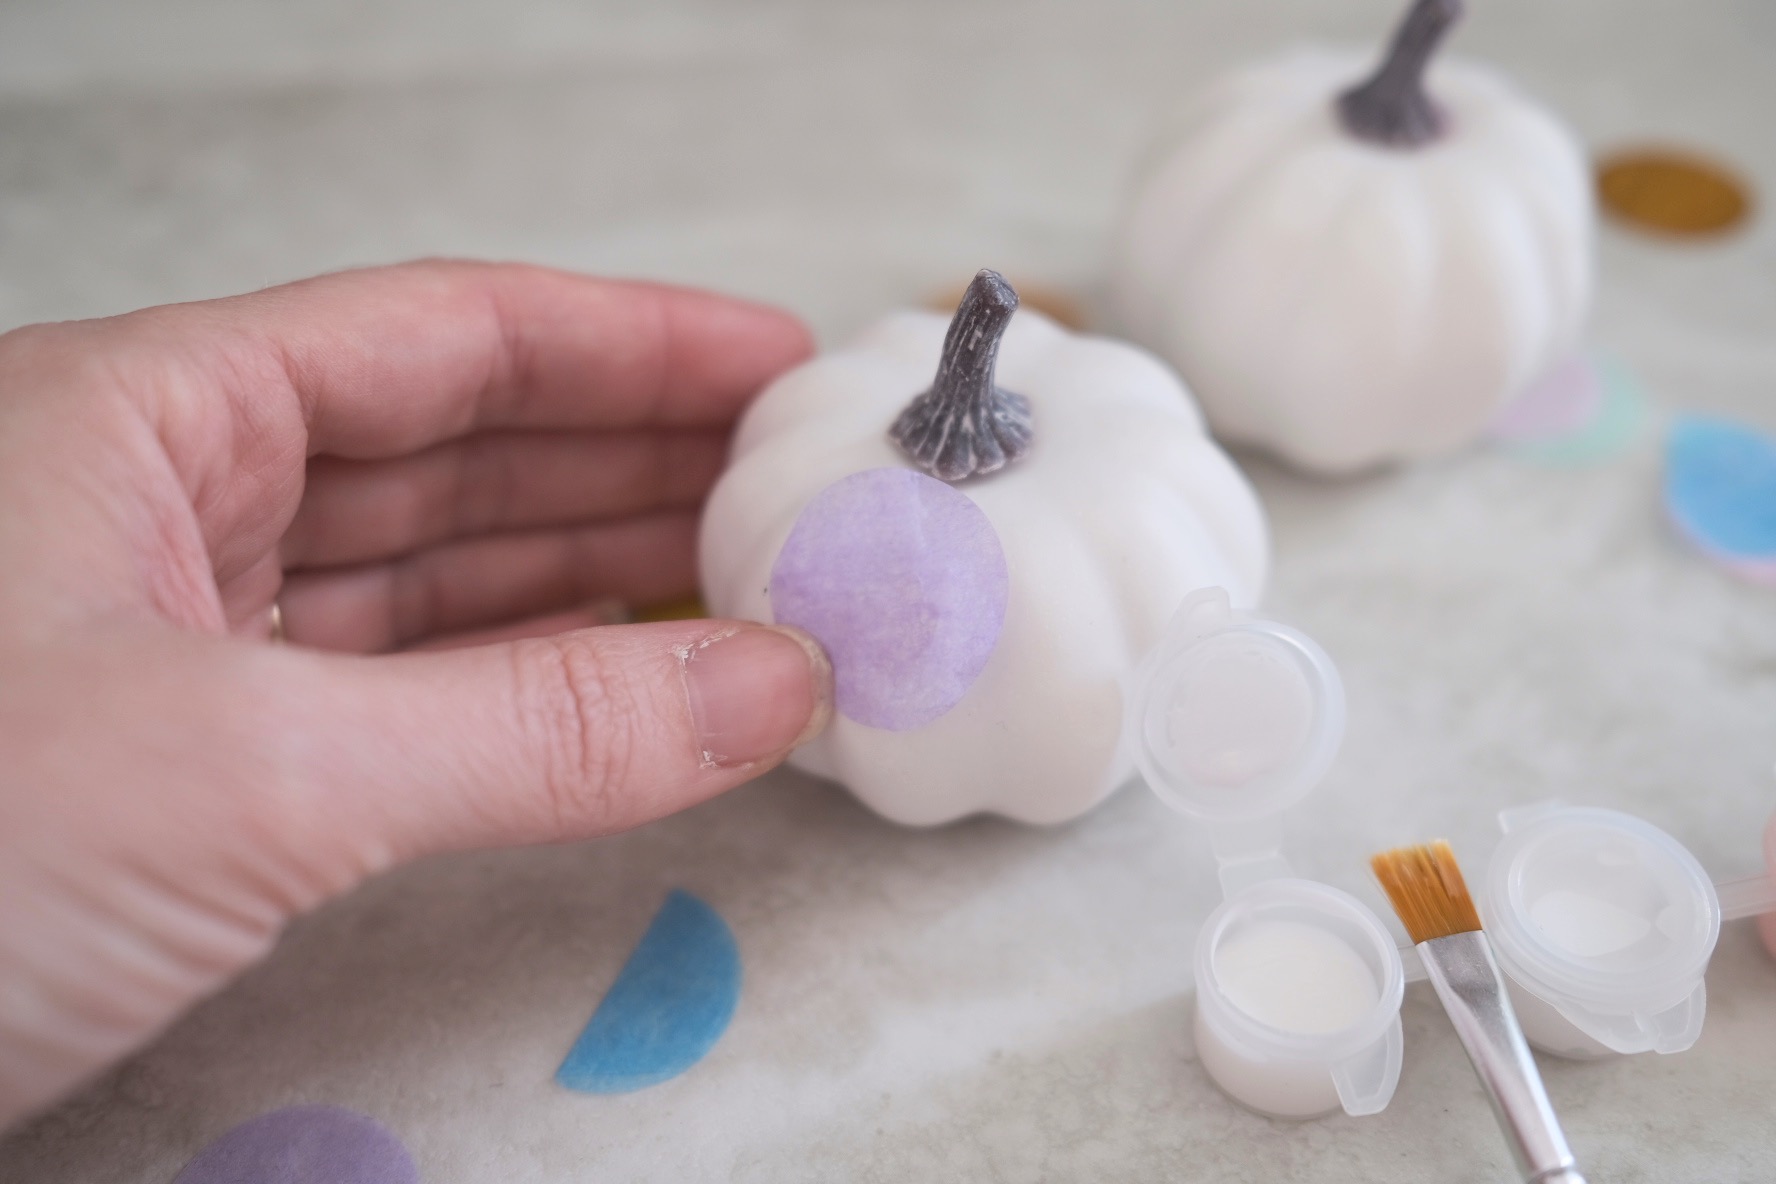
Just take your acrylic paint brush and dip it in the tiniest bit of Mod Podge or Elmer’s Glue. Brush it on one side of the confetti, coating the entire circle. And place the glue side of the confetti on to the pumpkin.
Brush over the entire confetti circle with your acrylic brush smoothing the edges. This will help the edges of confetti adhere to the pumpkin – which is important. If any areas of the confetti are lifted away from the pumpkin, just dab a bit more glue on your paint brush and brush the surface of the confetti with the glue.
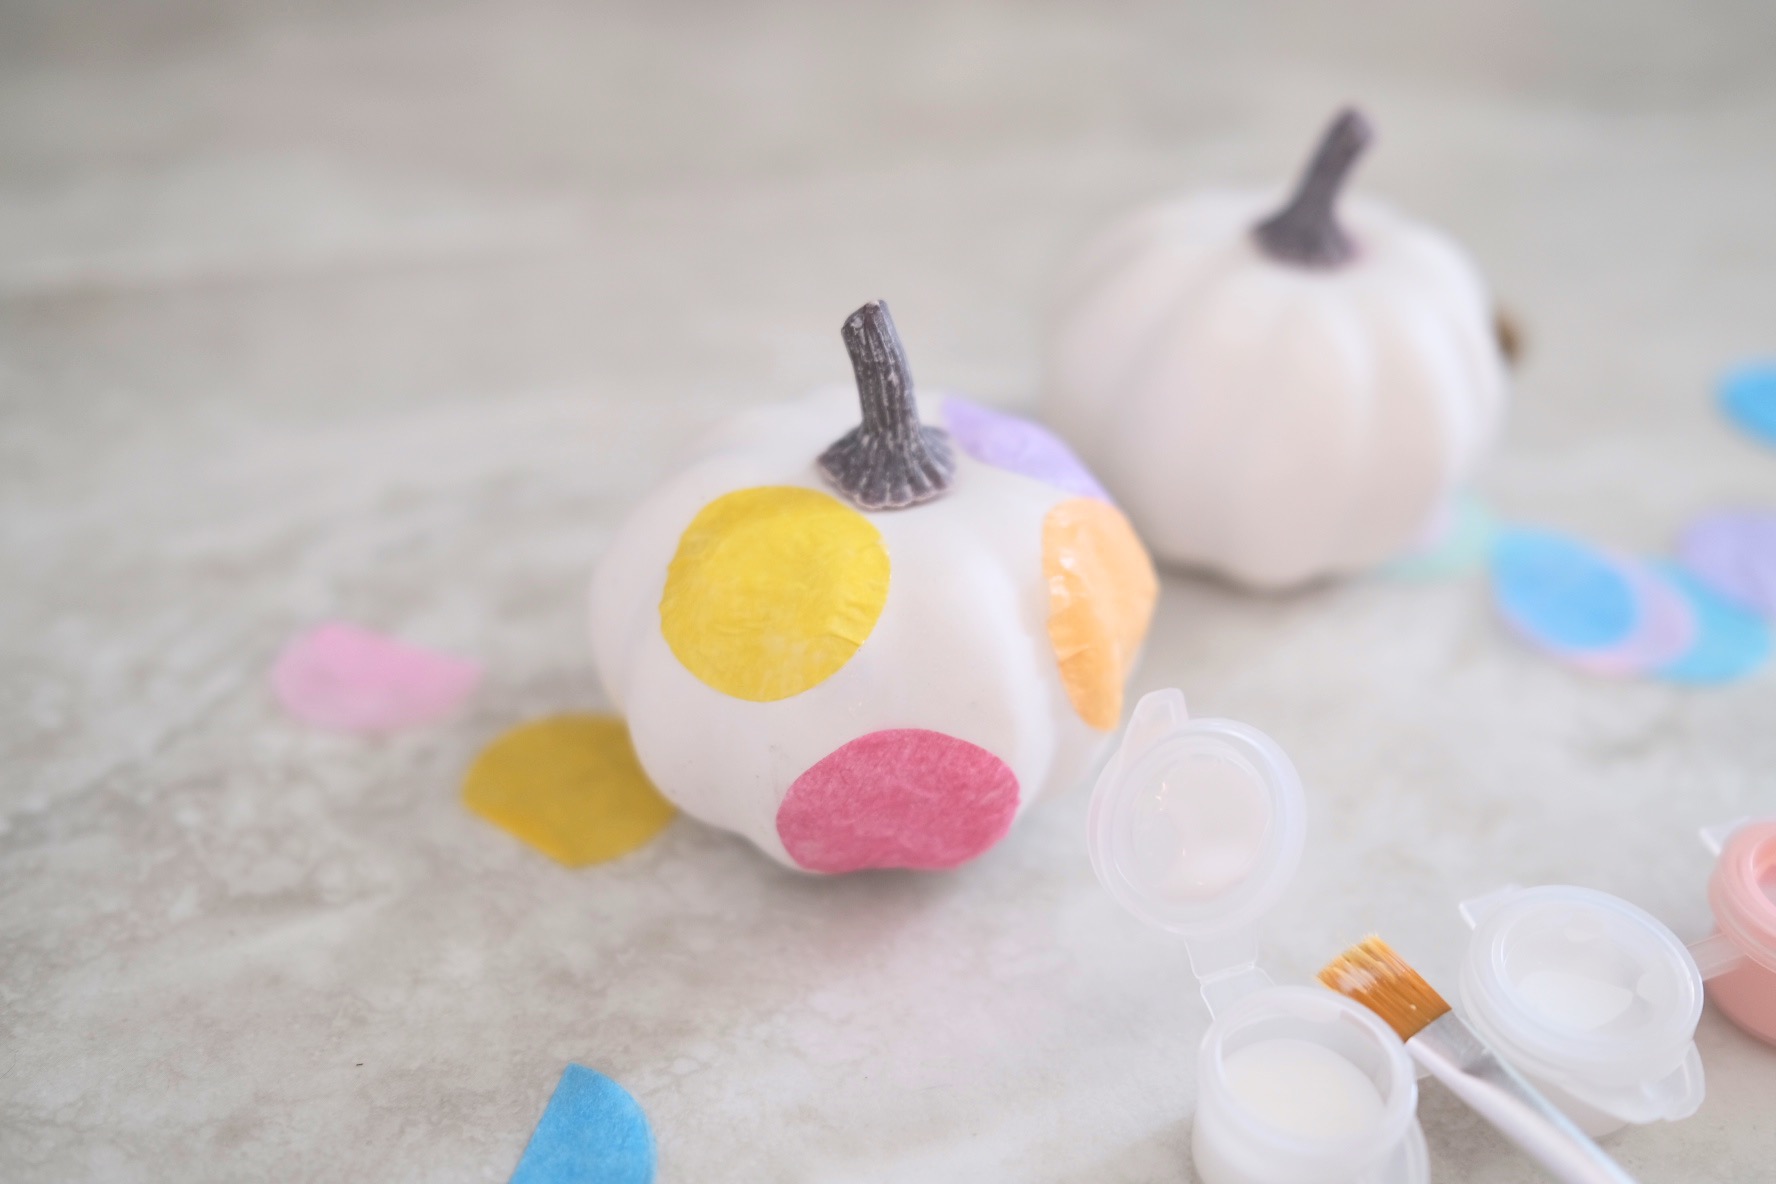
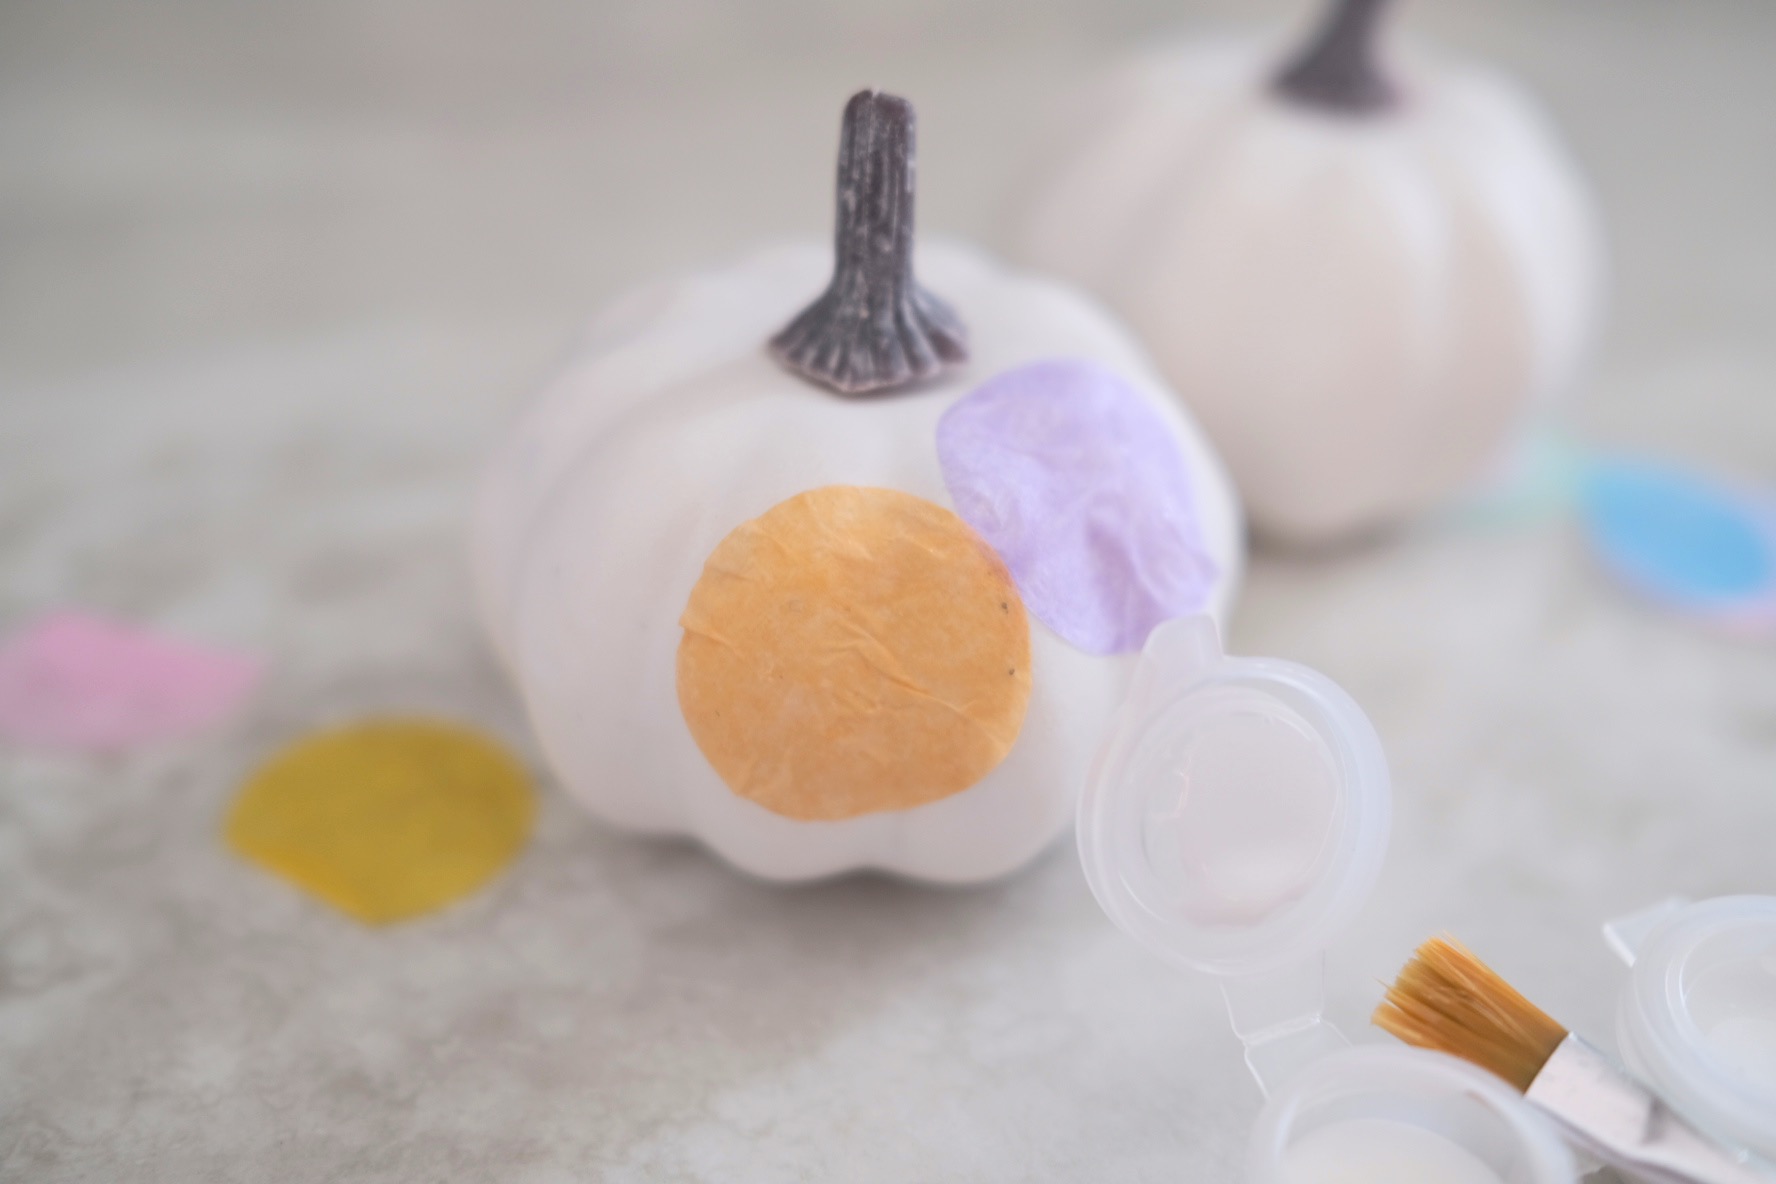
Because the tissue paper confetti is light, it will soak the glue through and help adhere the confetti to the pumpkin. Mod Podge or Elmer’s glue are both perfect for this craft because they dry clear, so you won’t see any of the glue on the confetti pumpkin!
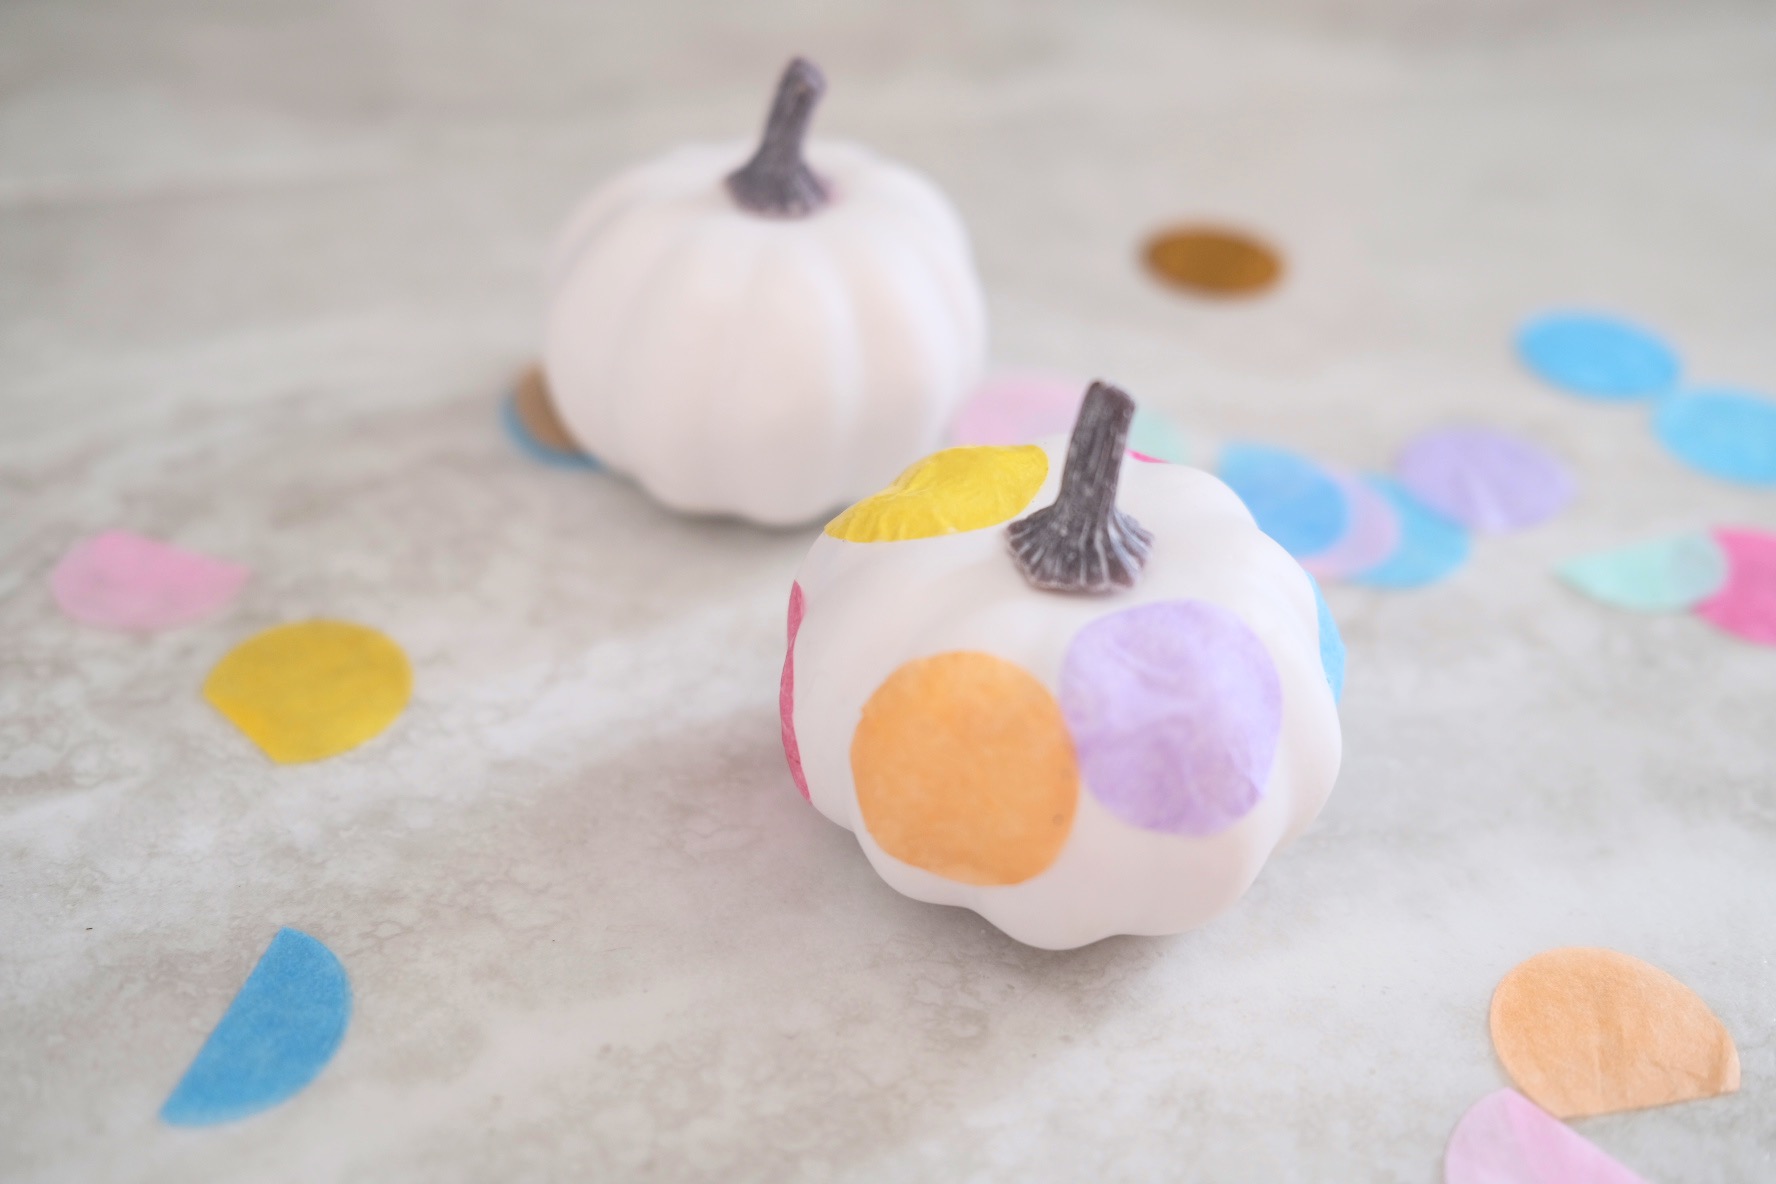
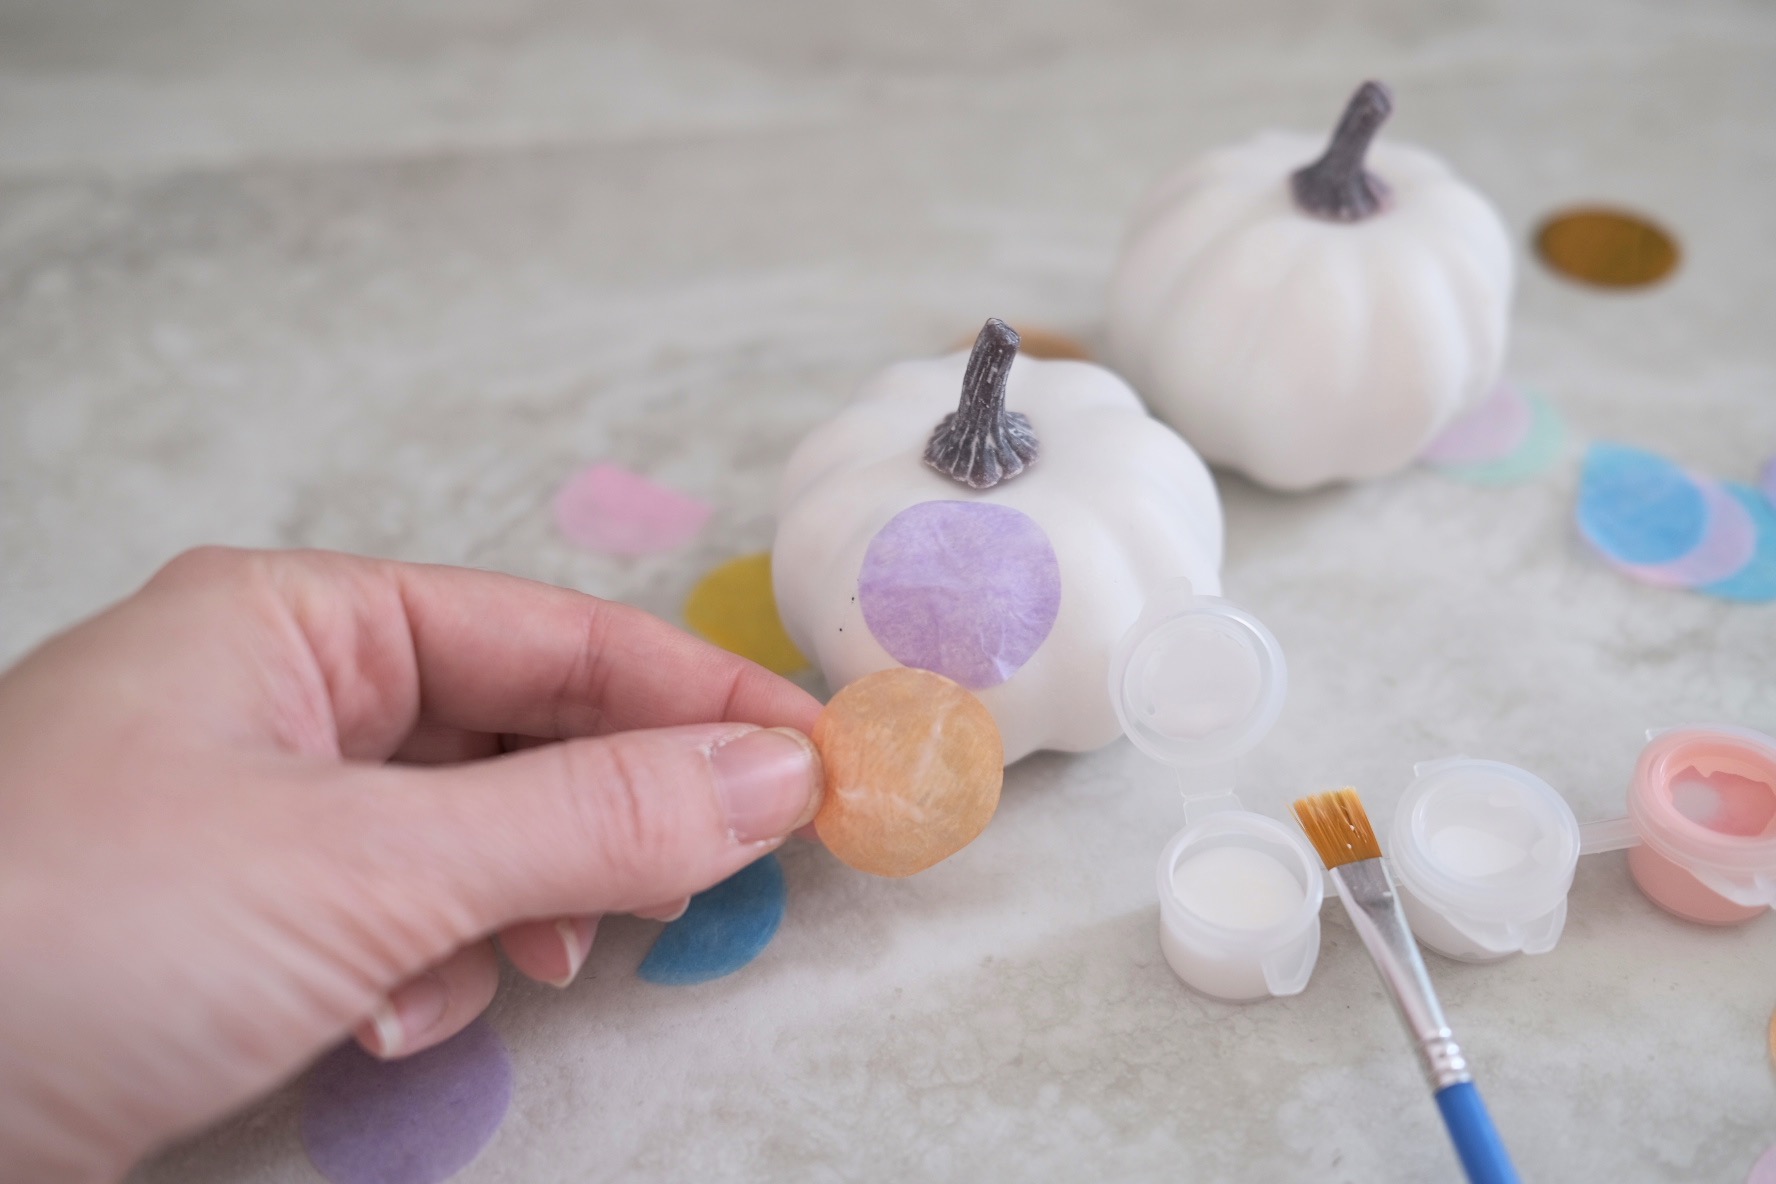
Once you get the hang of adhering your confetti, it’s really just about having fun with color and placement! I recommend using a rainbow of color and adding more and more confetti until it feels finished.
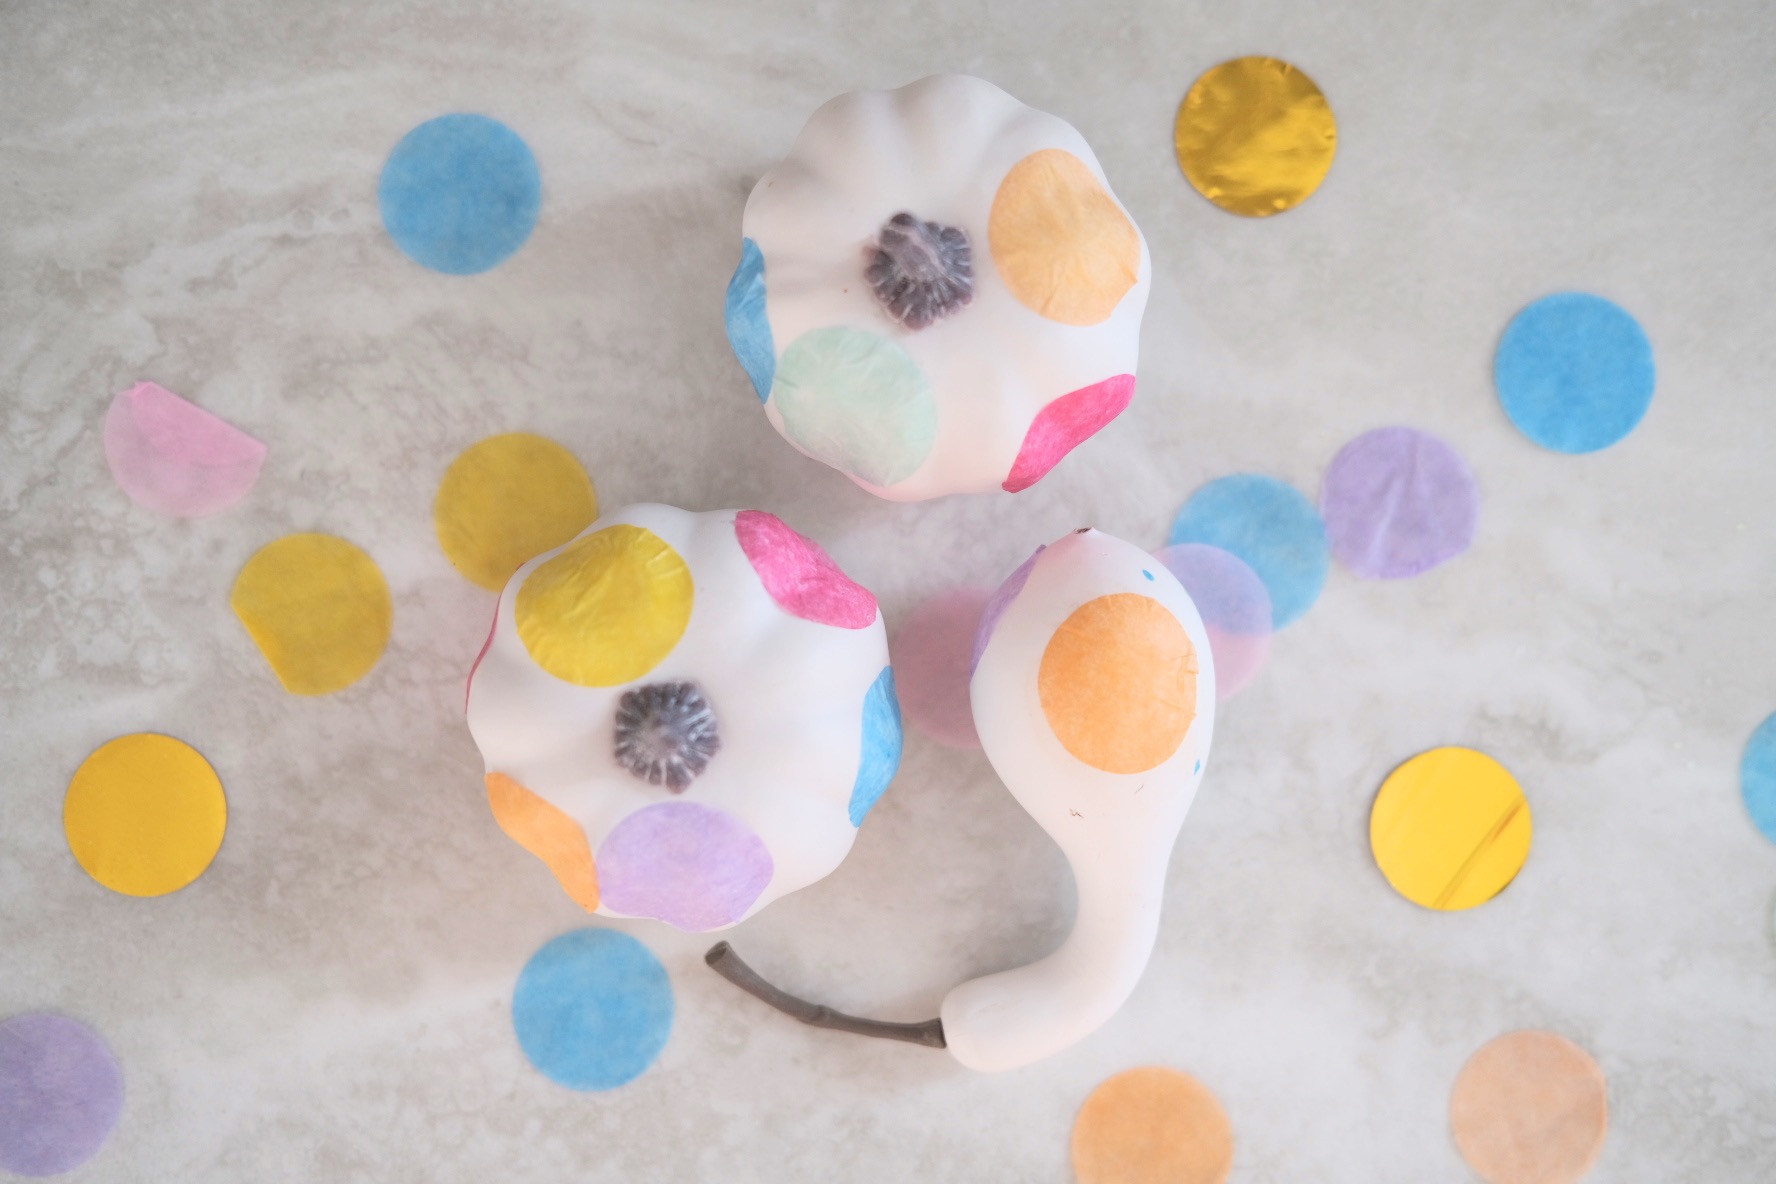
Just keep adding and adding! You can layer colors on top of each other. You can allow the confetti to touch. Make sure you place some confetti up high on the pumpkin and other pieces low on the pumpkin. And make sure you turn the pumpkin all the way around and cover all sides.
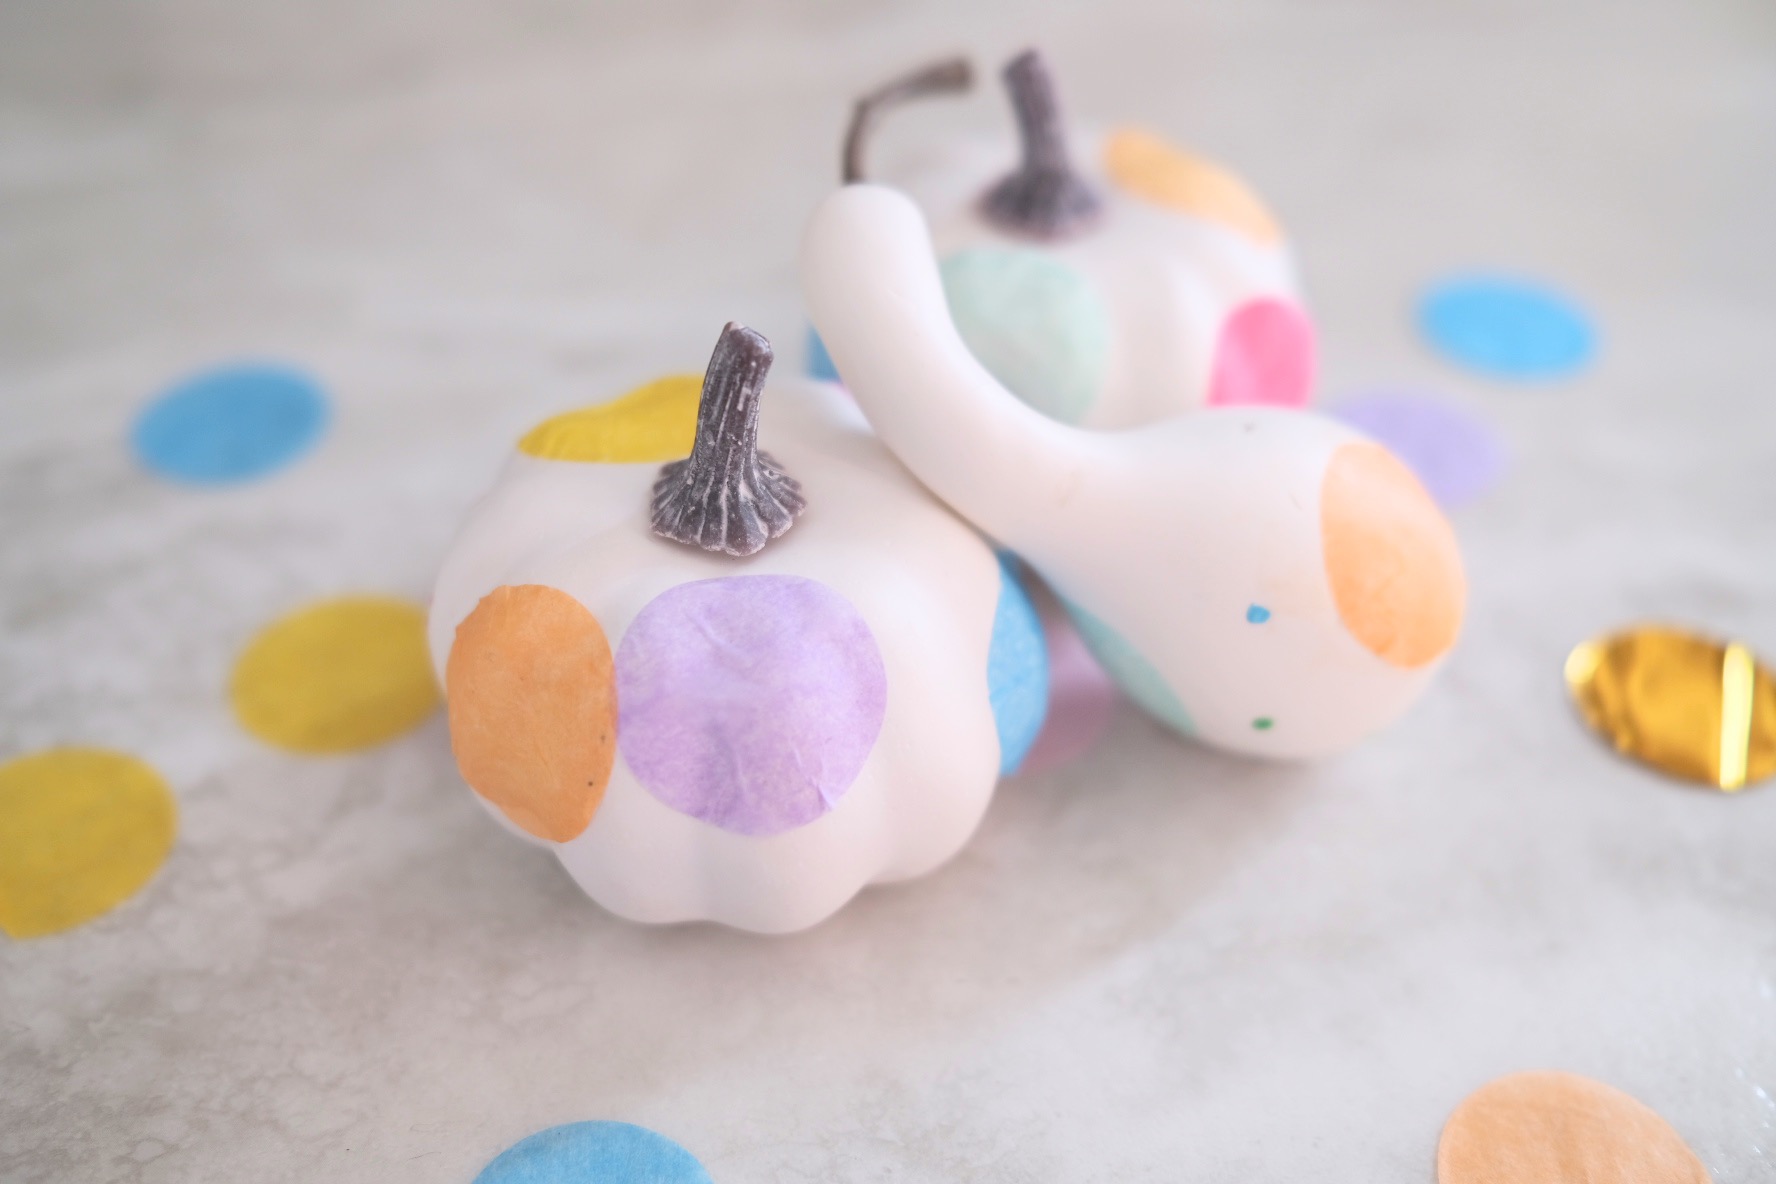
If you want to add an extra touch, you can also add tiny rainbow dots of acrylic paint to mimic smaller pieces of confetti. To make them, just dip the tip of your acrylic paint brush, right along the edge in a matching color of acrylic paint.
Gently dot the surface along the corner of the brush. When you press the paint to the pumpkin and then lift the brush do so with a steady motion. Don’t drag the brush across the pumpkin, the motion should be an up and down press and lift.
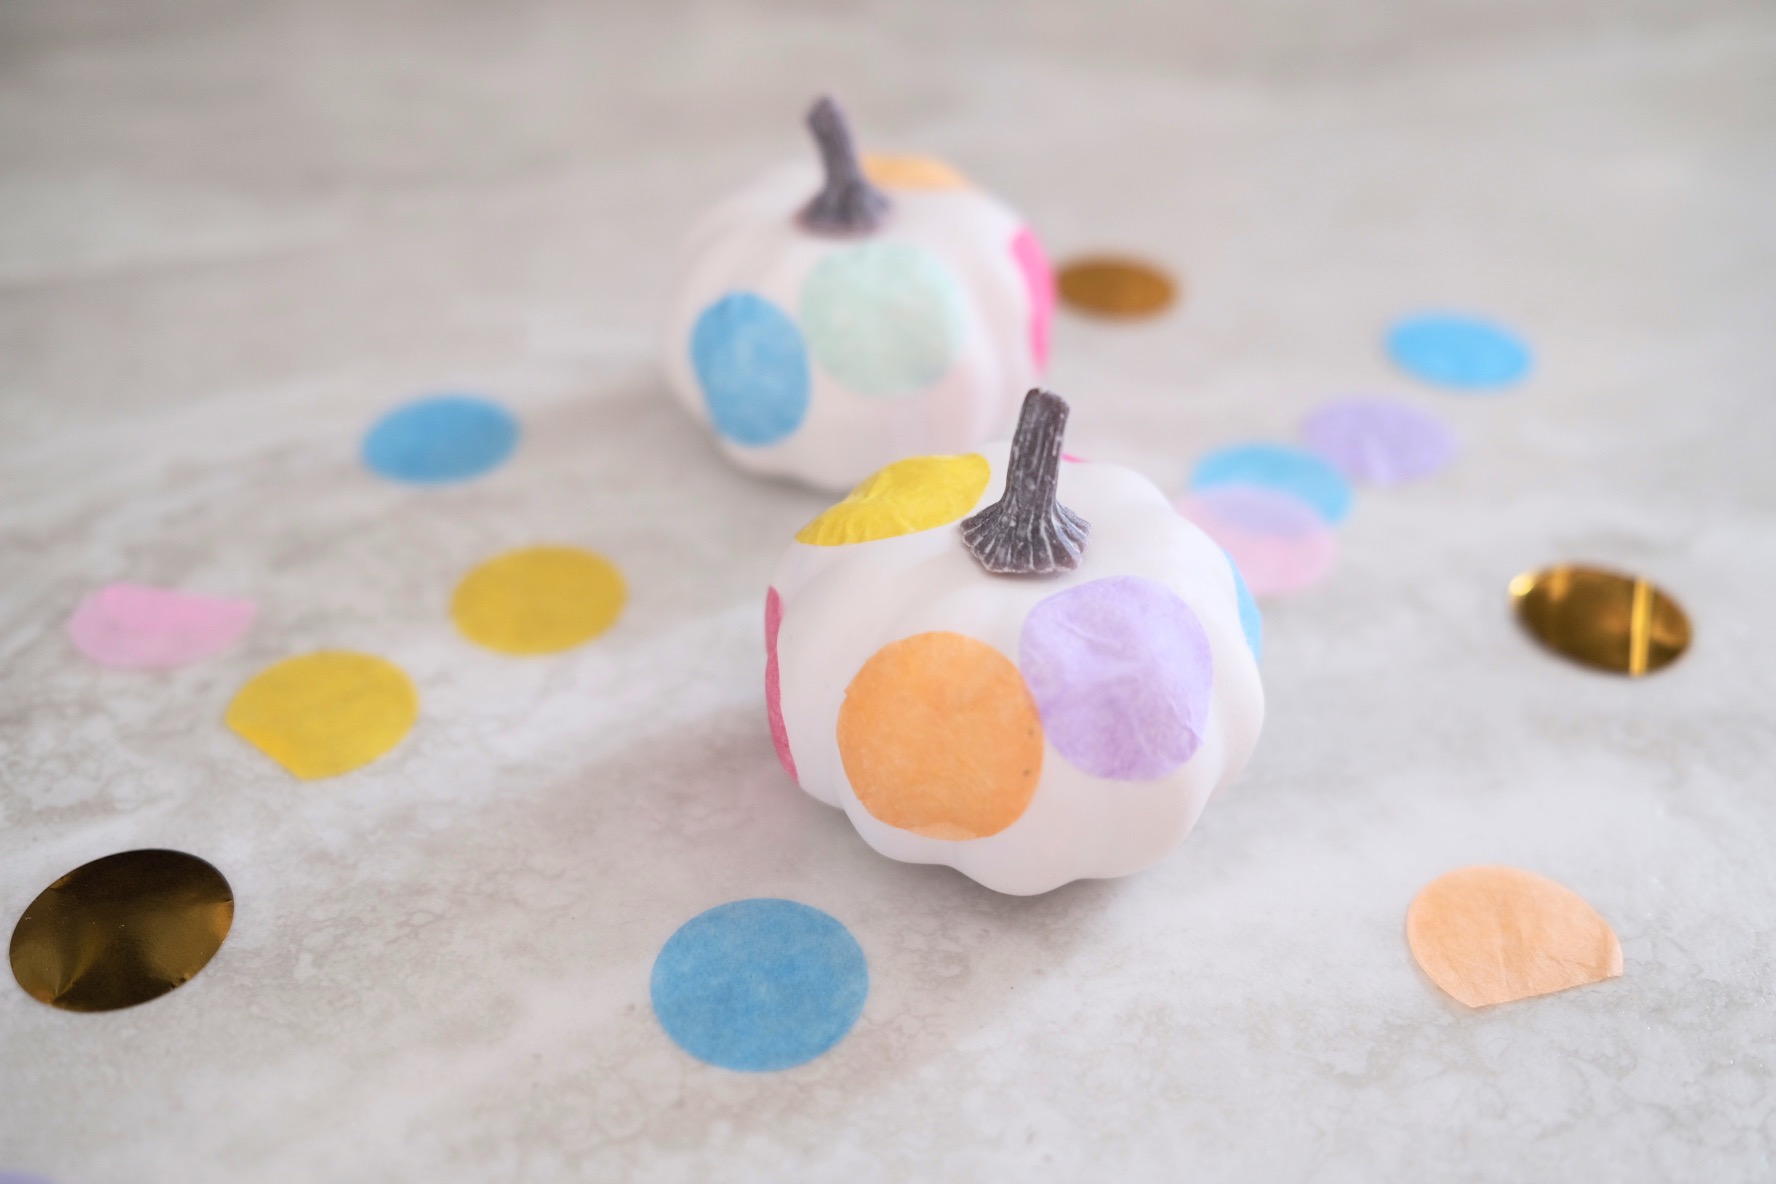
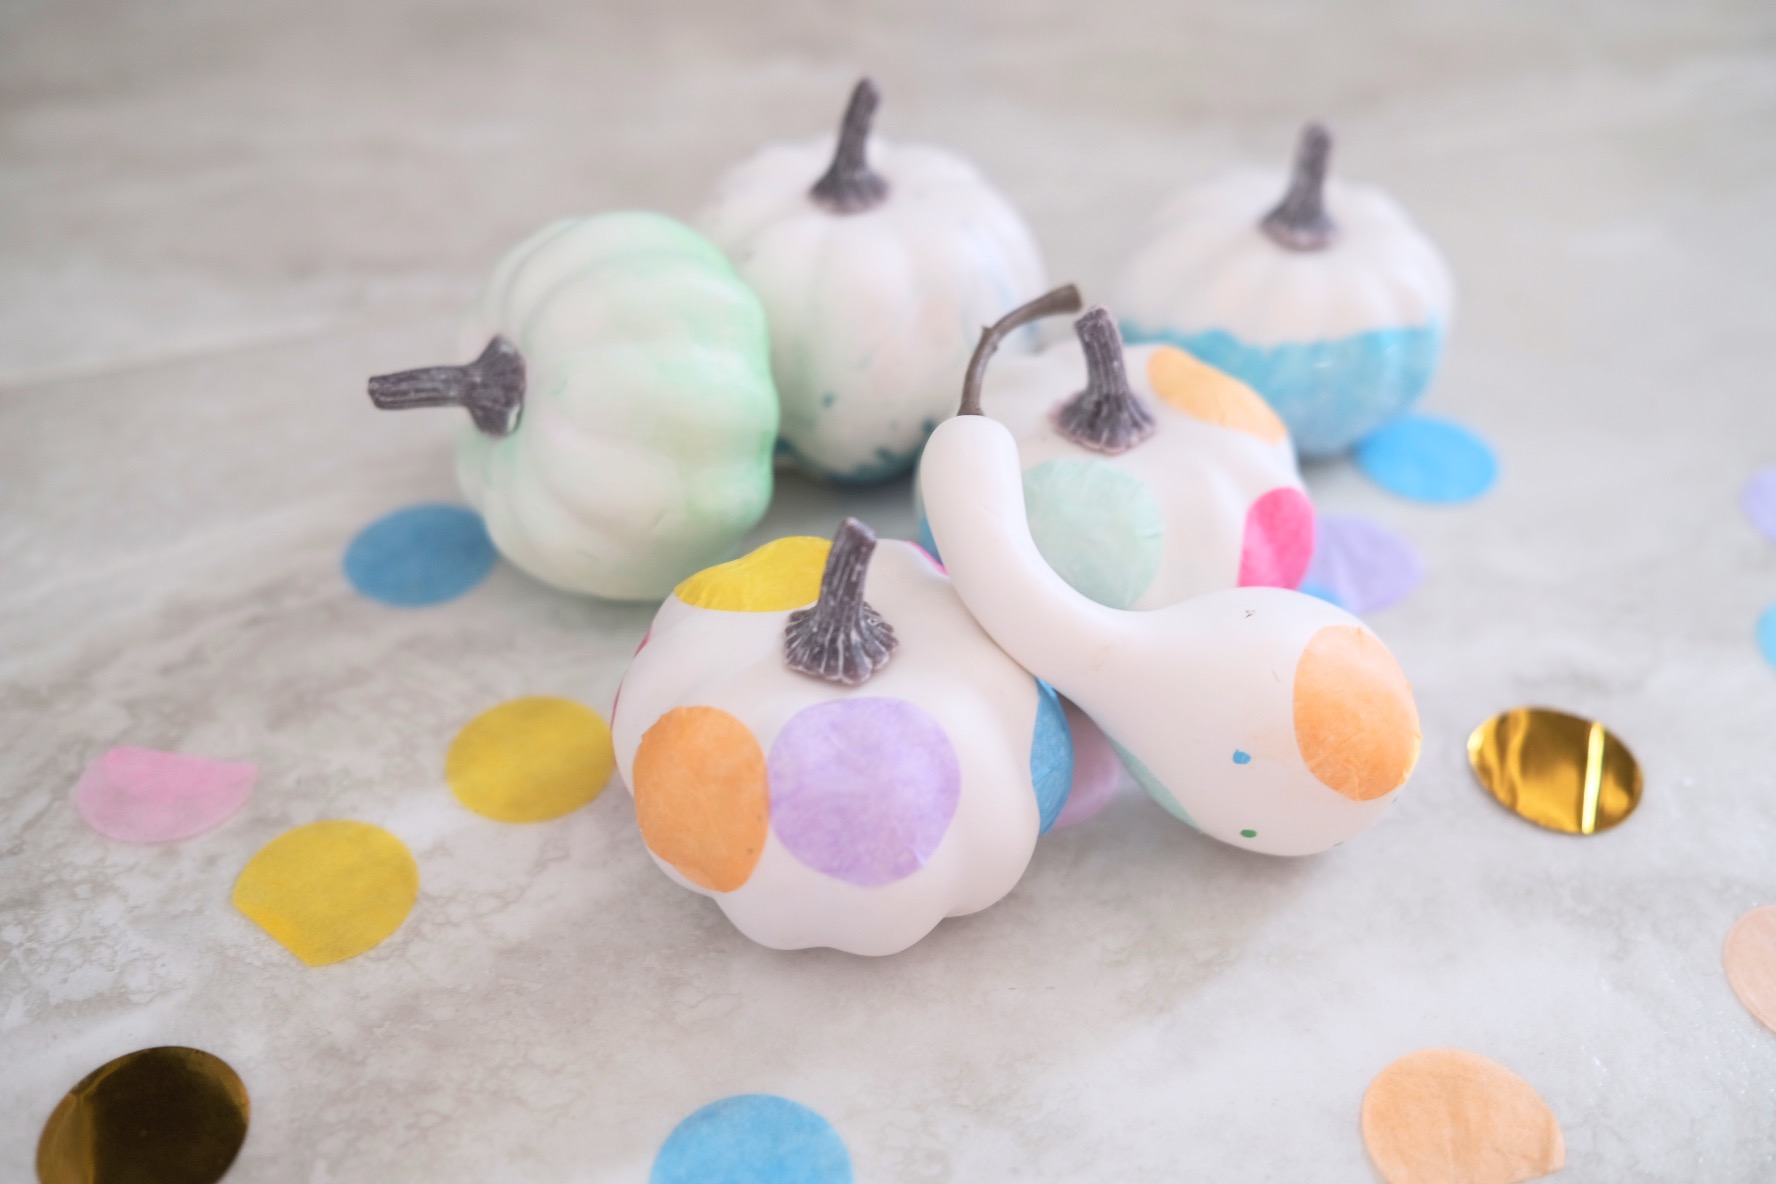
Your Confetti Pumpkins will be ready to use and decorate your home just as soon as the confetti dries and the acrylic paint dries. Both should be at the most 1 hour.
You could place your pumpkins in a group, like I did here to make a super fun holiday display. They make great decor for place settings at a dinner party or could be included in a holiday gift basket.
If you can’t wait to make these for yourself, be sure to shop the October 2020 Craft in Style Box. It has all the supplies you need to be projects from start to finish and includes unique supplies every month!
And if you are ready to go pumpkin crazy, don’t miss these other tutorials below to make all kinds of cool pumpkins! Happy crafting.
Let’s Be Friends!
Insta | Pinterest | Enews | TikTok