Craft in Style Subscription Instructions, DIY
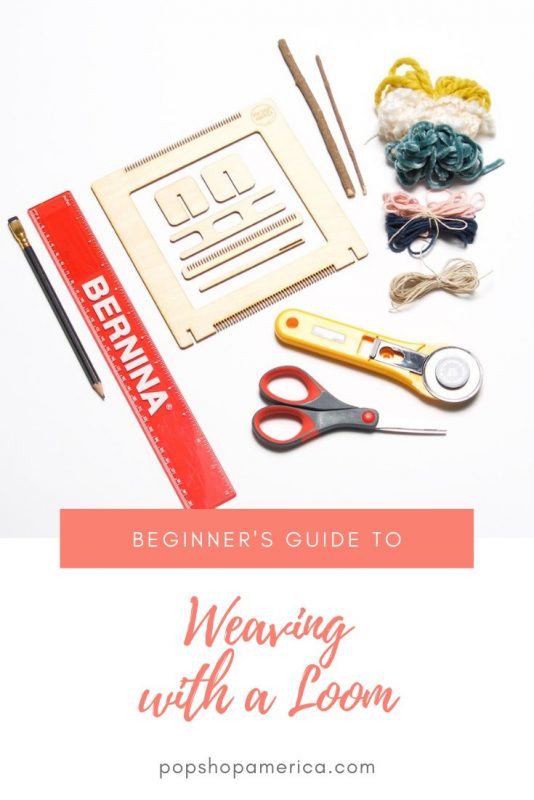
The Easy Beginners Guide to Weaving with a Loom
Jan
This is Part 1 of 3 of the Craft in Style Subscription Box Instructions for January 2021. Find the Craft in Style Subscription Box here. Read Part 2: How to Make a Yarn Wall Hanging here. Read Part 3: 9+ Weaving Crafts You Can Make with a Loom here.
Before you get started working with a loom, let’s get to know the parts of the loom, how they work together, and all the basic weaving terminology.
Starting with the basics is going to make weaving much easier. And weaving is a skill that takes time.
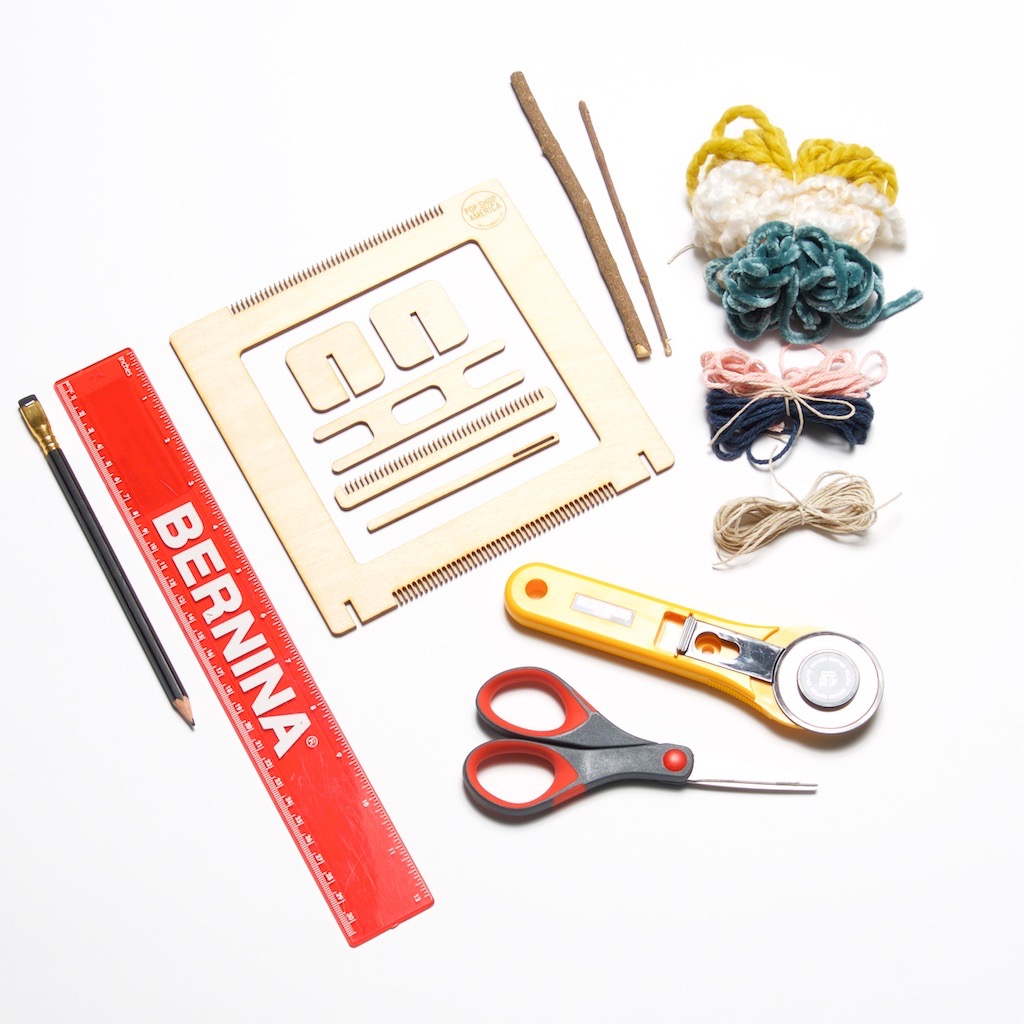
Supplies You Will Need to Begin Weaving with a Loom
January 2021 Craft in Style Subscription Box
-or-
A Small Wooden Loom, with Accessories
Twine/Baker’s Twine
Yarn (Can Be ANY Thickness or Color)
Plus You Will Want: Scissors, A Pencil
The weaving loom included in the Craft in Style Subscription Box (shown here) is around 7 inches. Although you can find smaller looms, this size is a pretty standard small loom. Looms can get much bigger to tabletop size, blanket size, or even larger.
Starting with a small loom is ideal because you can finish projects much quicker than a larger loom. Weaving is a super-relaxing-take-your-time type of craft. It’s perfect for sitting in front of the tele or popping on your favorite mix tape and relaxing in your favorite chair. But it’s certainly not a craft that’s fast.

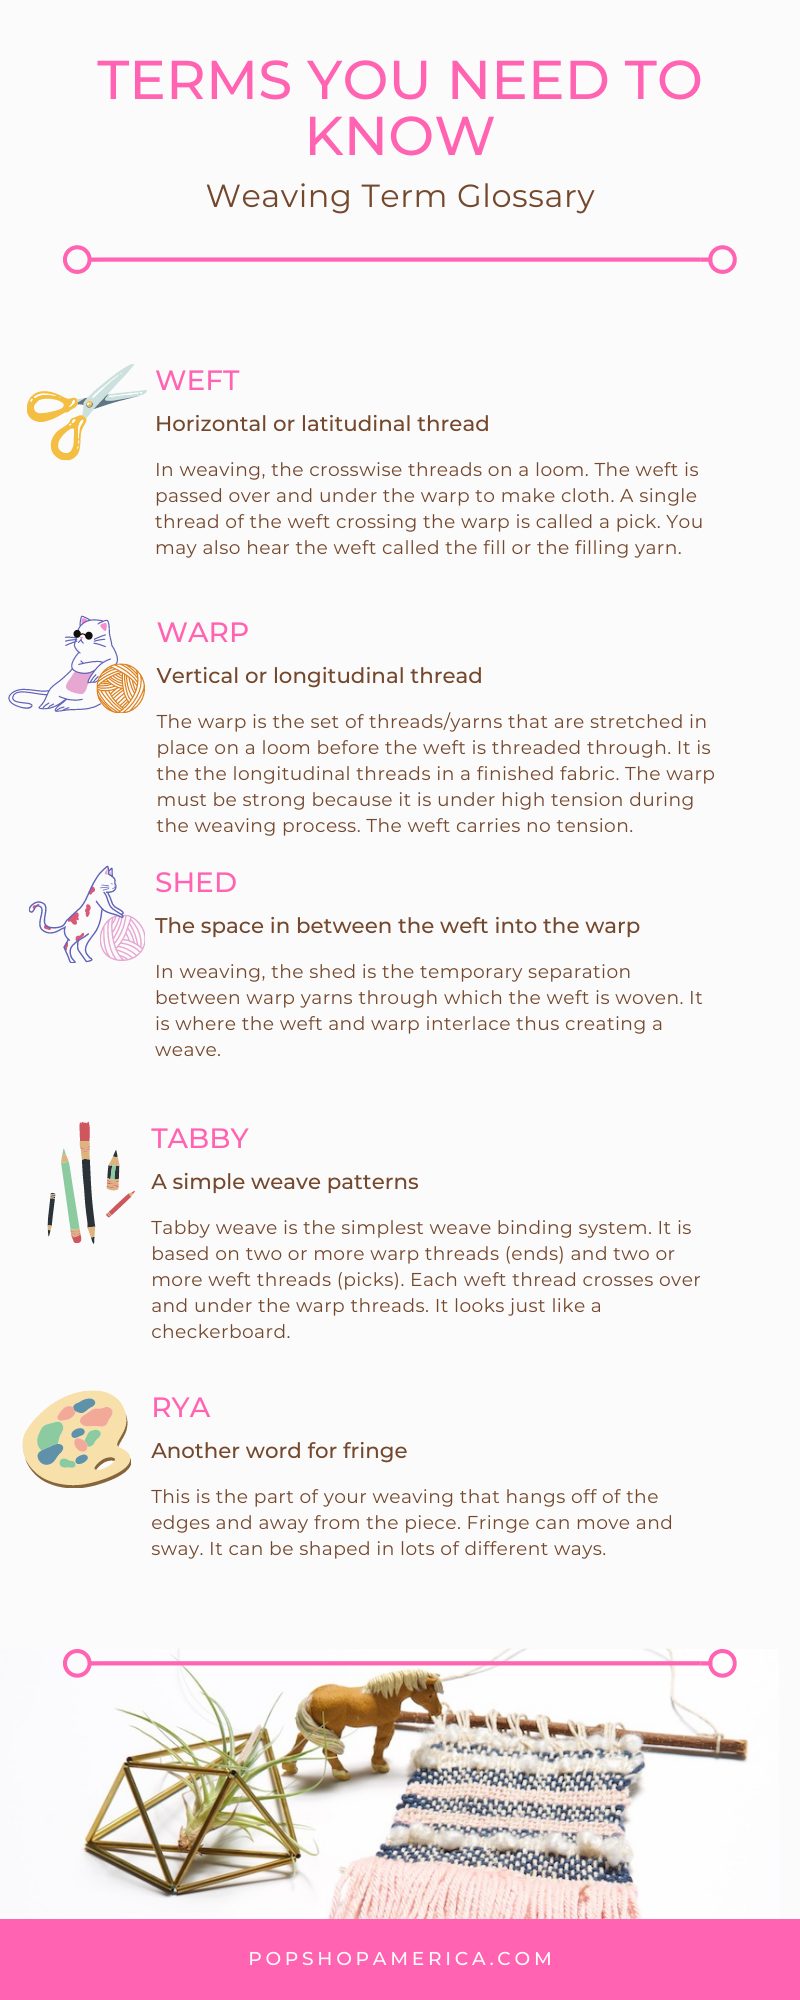
Loom and Weaving Terminology You Need to Know
The terms you will need to know are: weft, warp, shed, tabby, and rya. There are a million more terms but these are the basics and include everything you need to get started.
Pin the easy to share graphic above to keep all your weaving terms handy!
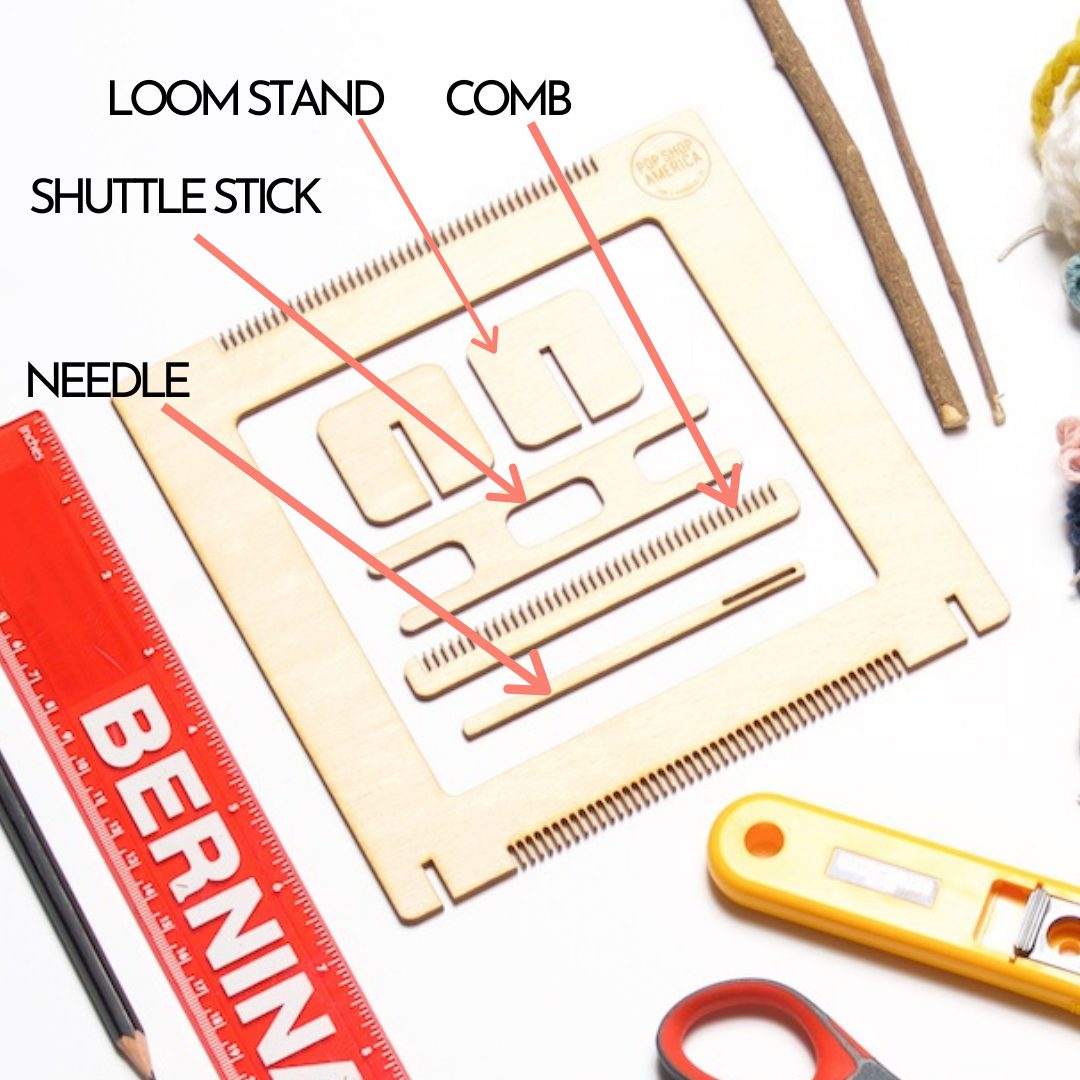
What Are All the Loom Pieces and What Do They Do?
If you are working with the Pop Shop America kit, all the pieces are labeled above. Other kits may have different pieces but these are the most common.
Loom Stand: The square pieces can slip around the loom itself so that you can stand it up. It will likely be easier to weave your thread while the loom is lying down, but you can stand up an unfinished project to put it on display. Or you can keep use the loom itself as a frame.
Shuttle Stick: You can wrap yarn or thread around the shuttle stick and then use this object to pass back and forth as your weft. You don’t need to use it because you can also pass your weft through your warp with a large needle or your hands.
Comb: Use a comb to push the weft tighter together. This can help your project look more even, professional, and balanced. To use it, brush along the warp towards your lines of weft that have already been woven. Push the fill towards the rest of the fill.
Large Needle: This needle is a perfect alternative to a shuttle stick. A nice alternative is a plastic yarn needle – which is also helpful when weaving. If your thread is very fine, you may need a smaller needle.
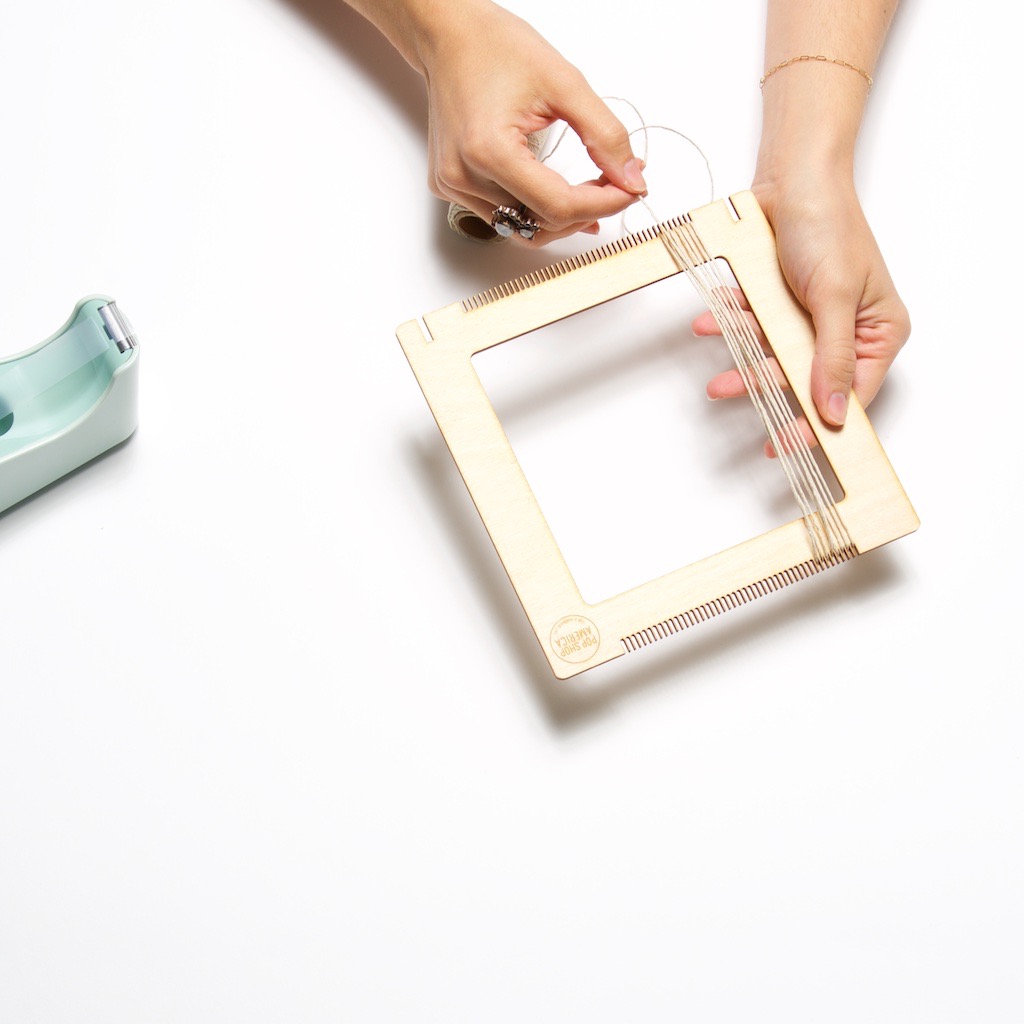
How To Thread a Loom
To thread a loom wind twine around every peg of the loom. Start on 1 side from left to right on the loom. Use 1 string to wind around each peg or tooth back over the front and across to the other side. Do not weave the warp around in a circle – the shape is like a Greek Key and the warp always stays on the front of the loom. Here’s a great video demo!
Do not pull the twine too taught but don’t leave it too loose either. Leave just a little bit of give to the twine – so that you will be able to pass the weft through it.
Use twine that has a bit of strength. Don’t use anything that is stretchy or breaks easily. The warp will take on a lot of tension during the weaving process. So use a thread strong enough to withstand a bit of pressure.
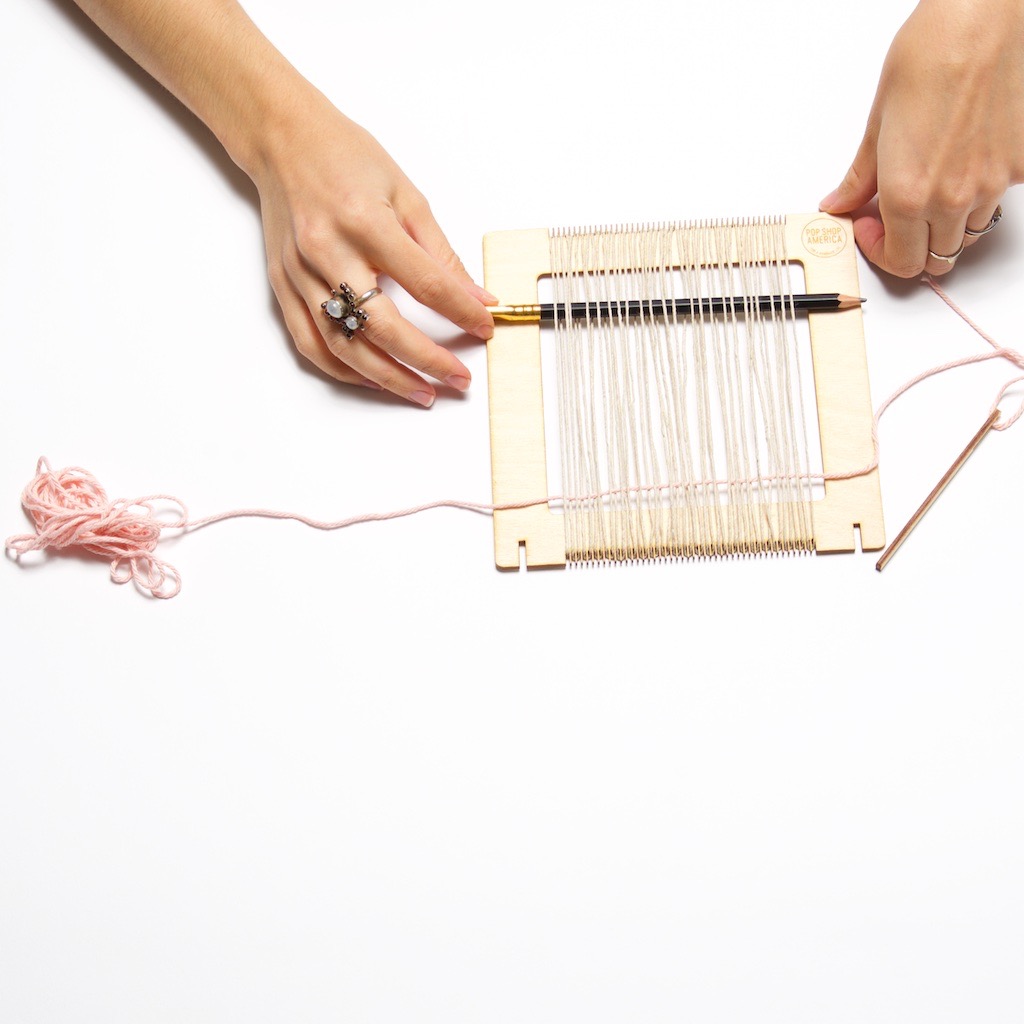
How to Make a Shed
Pop Quiz! What is a shed?
That’s right, it’s the space in between the warp where you will weave your weft. Additionally, the space between the weft and the warp is also called the shed. But what we need to know how to do – how to create a shed because this will tell us the pathway of the weft as we are weaving.
For a small loom like this, you can use a pencil or a small dow rod to mark your space. Larger looms may have a moving part that will help you create the shed.
To create one, weave a pencil inside the warp – back and forth over the thread. Then under the thread. Then over again. Remember your warp are the pieces of twine that run up and down (vertically.) Weft runs across (horizontally.)
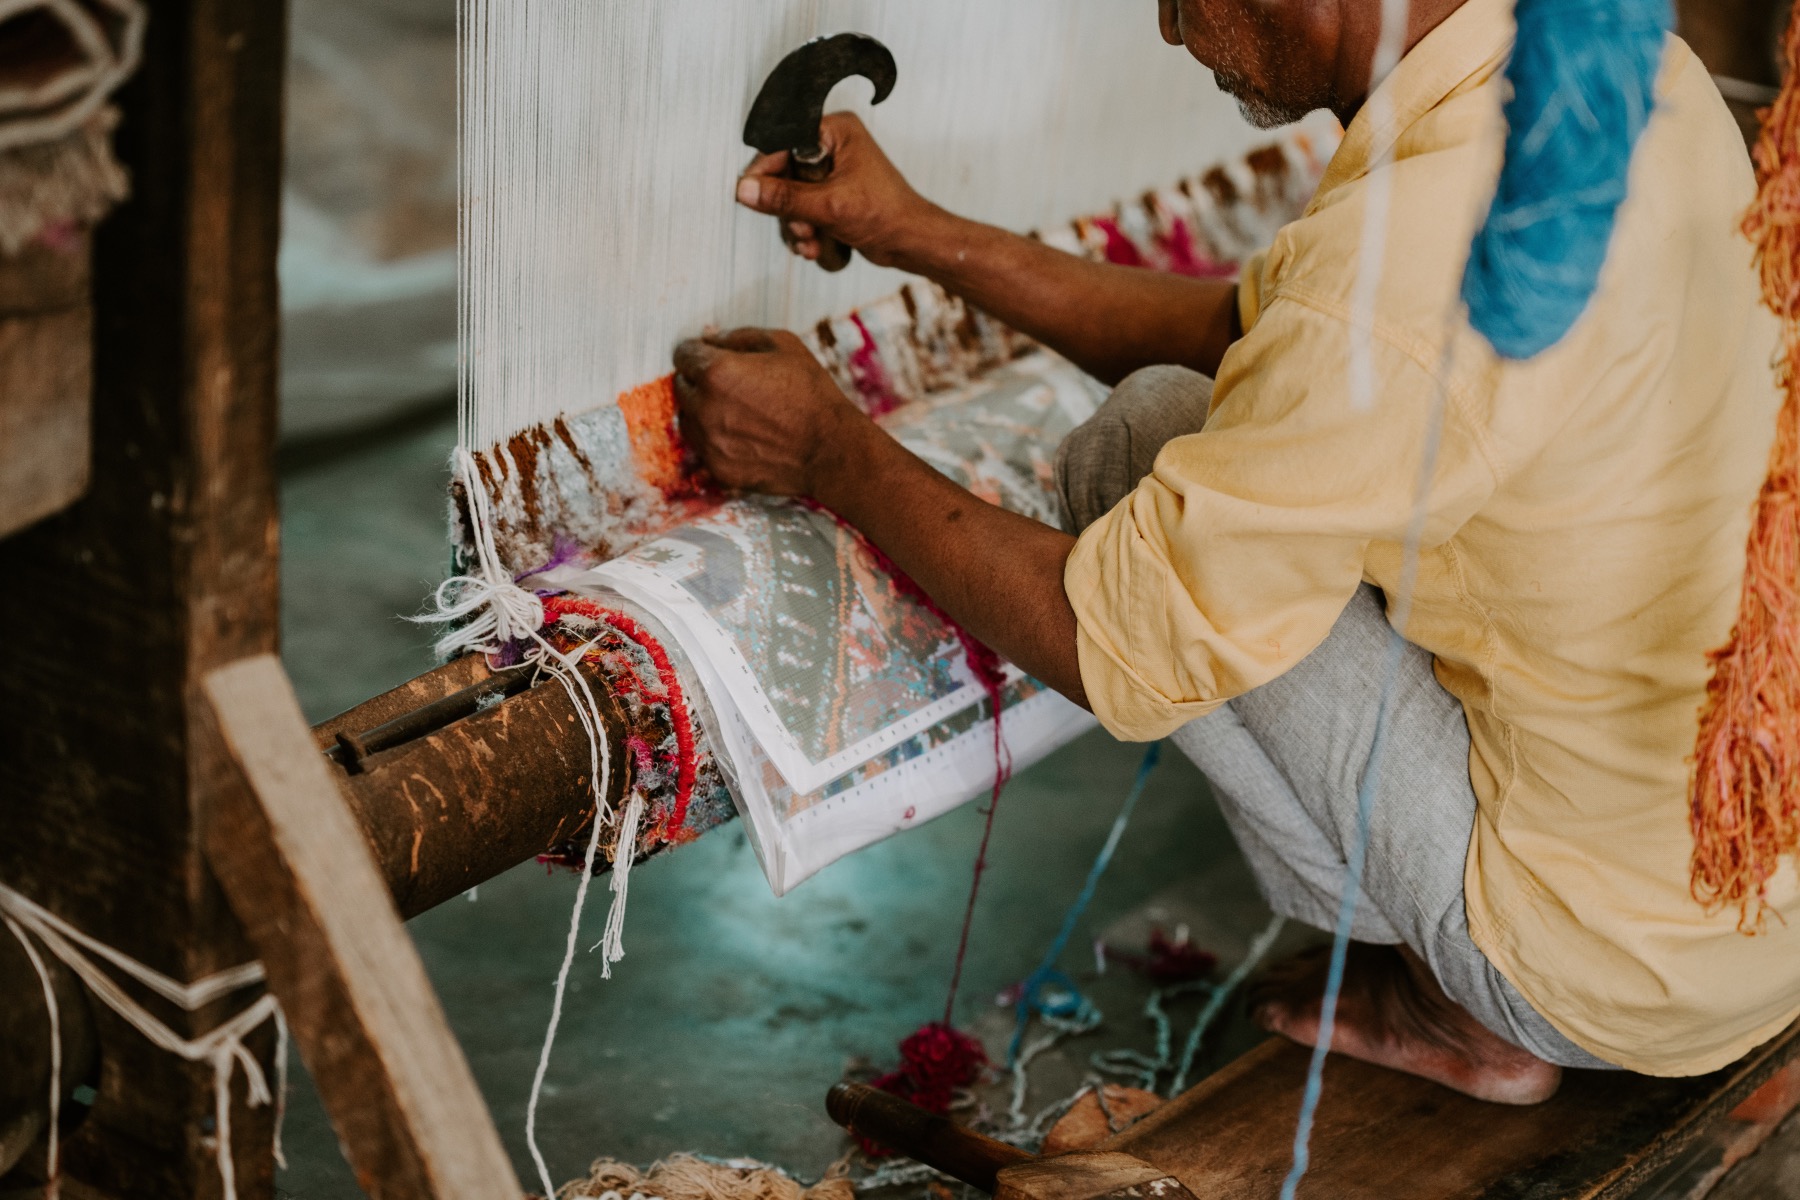
A Brief History of the Loom
According to Wikipedia, the earliest evidence of a horizontal loom is found on a pottery dish in ancient Egypt, dated to 4400 BC! There are many different types of looms that are popular in different parts of the world.
For example, the Back Strap Loom is still used in the Andes and a drawloom was used for silk in Asia. The fundamental operation of the loom hasn’t changed, but a history of small changes and improvements can be found through ancient and medieval times in both Asia and Europe. A major change is that the Industrial Revolution switched weaving from hand to machine.
So are you ready to get weaving? I sure am! Get your own Loom Kit with the January Craft in Style Subscription Box!
Let’s Stay Friends!
Insta | Pinterest | Enews | TikTok