Craft in Style Subscription Instructions, DIY
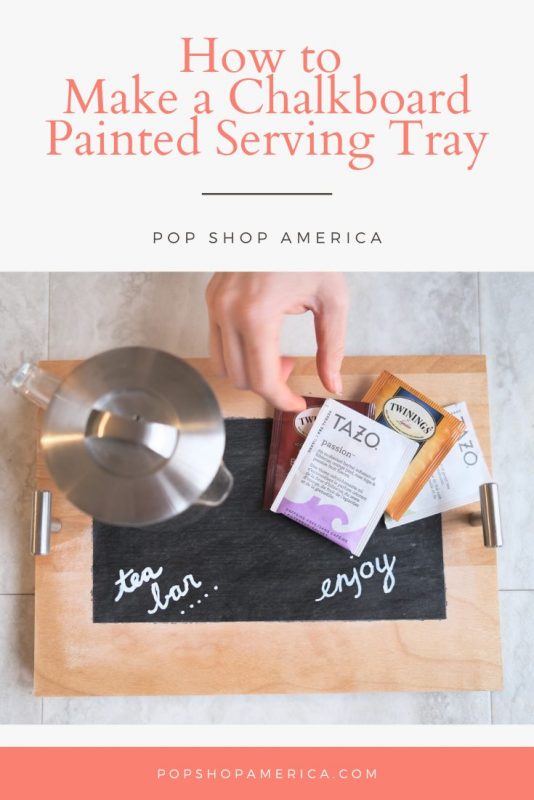
How to Make a Chalkboard Serving Tray
Dec
This is Part 1 of 3 of the Craft in Style Subscription Box Instructions for December 2020. Find the Craft in Style Subscription Box here. Read Part 2: How to Season a Chalkboard here. Read Part 3: 15+ Chalkboard Painting Craft Ideas here.
The holidays are such a perfect time to make this gorgeous Chalkboard Serving Tray! It’s perfect for holiday appetizers or a New Year’s Eve party platter full of cocktails. It’s also a lovely way to serve breakfast in bed, especially if you are snuggling under a blanket like this!
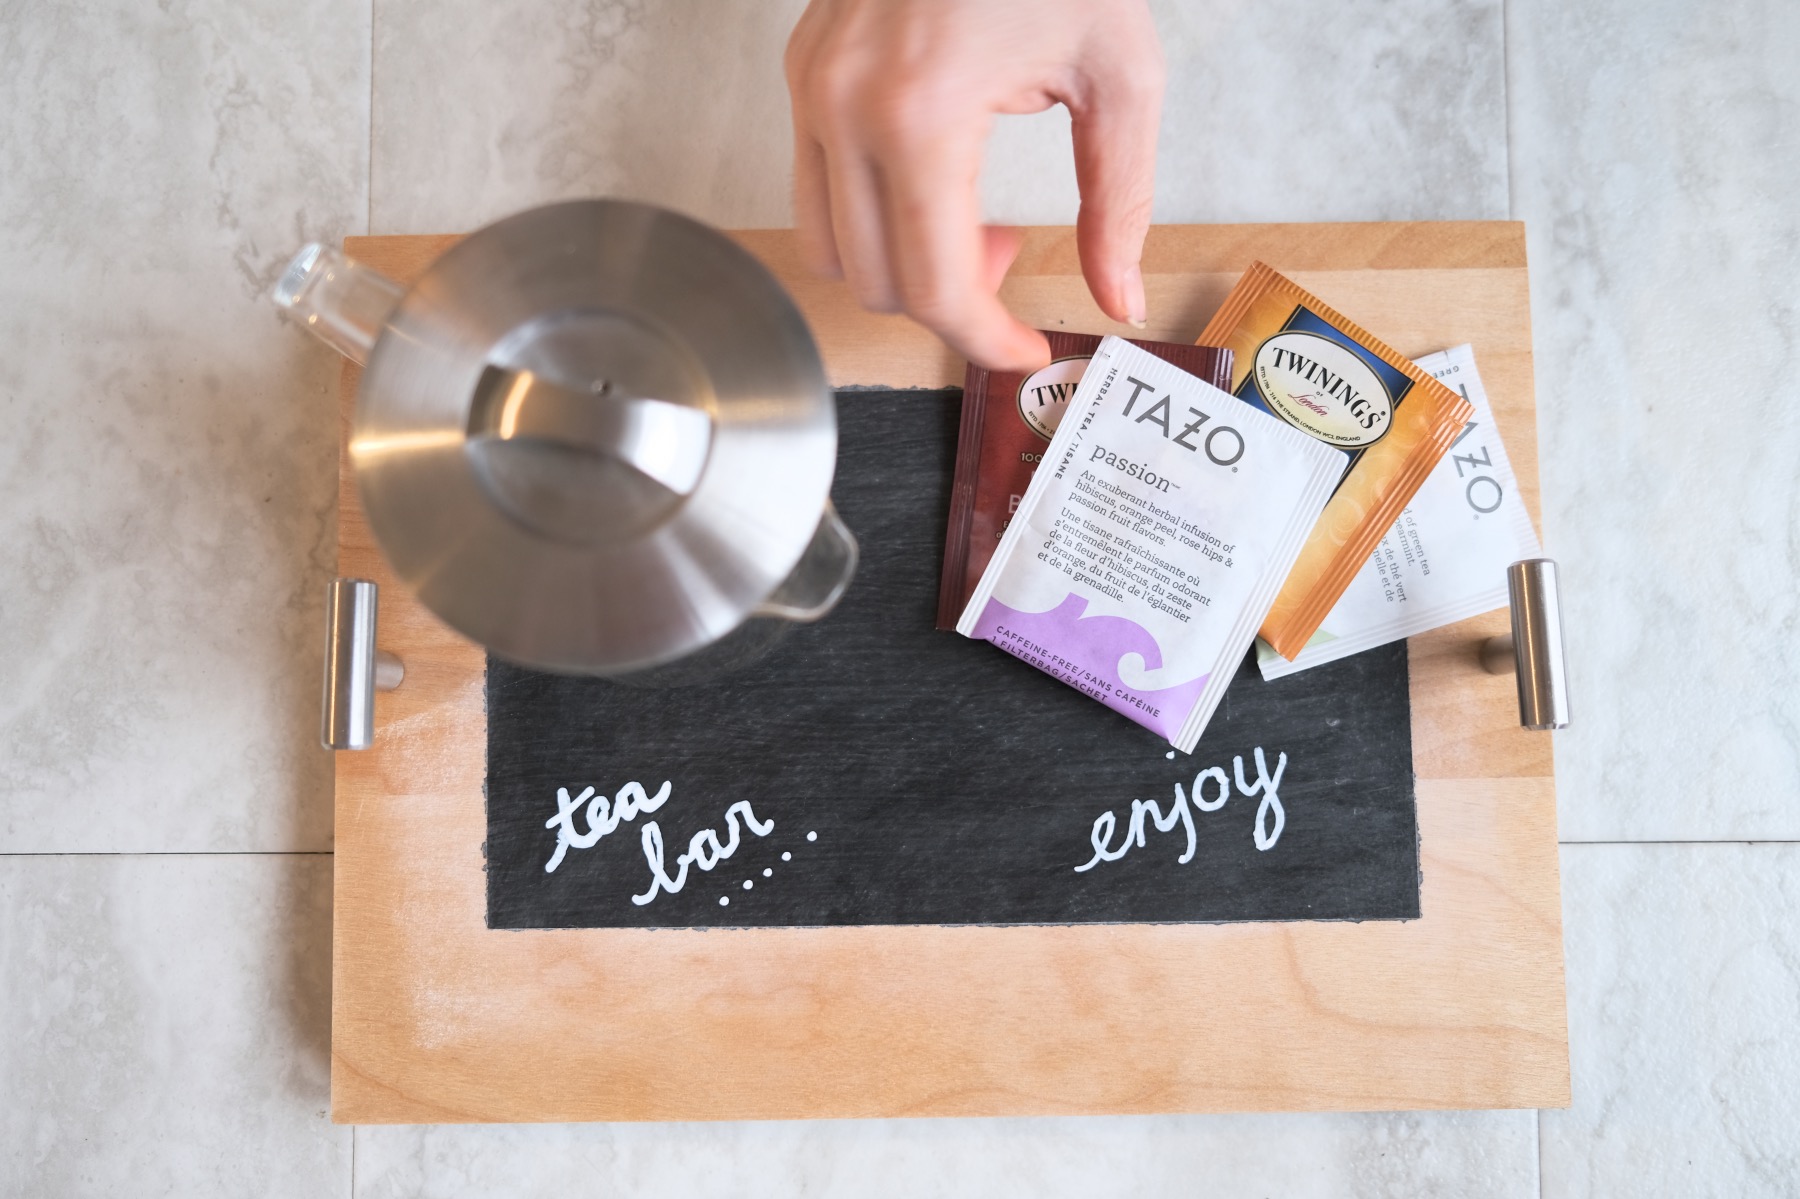
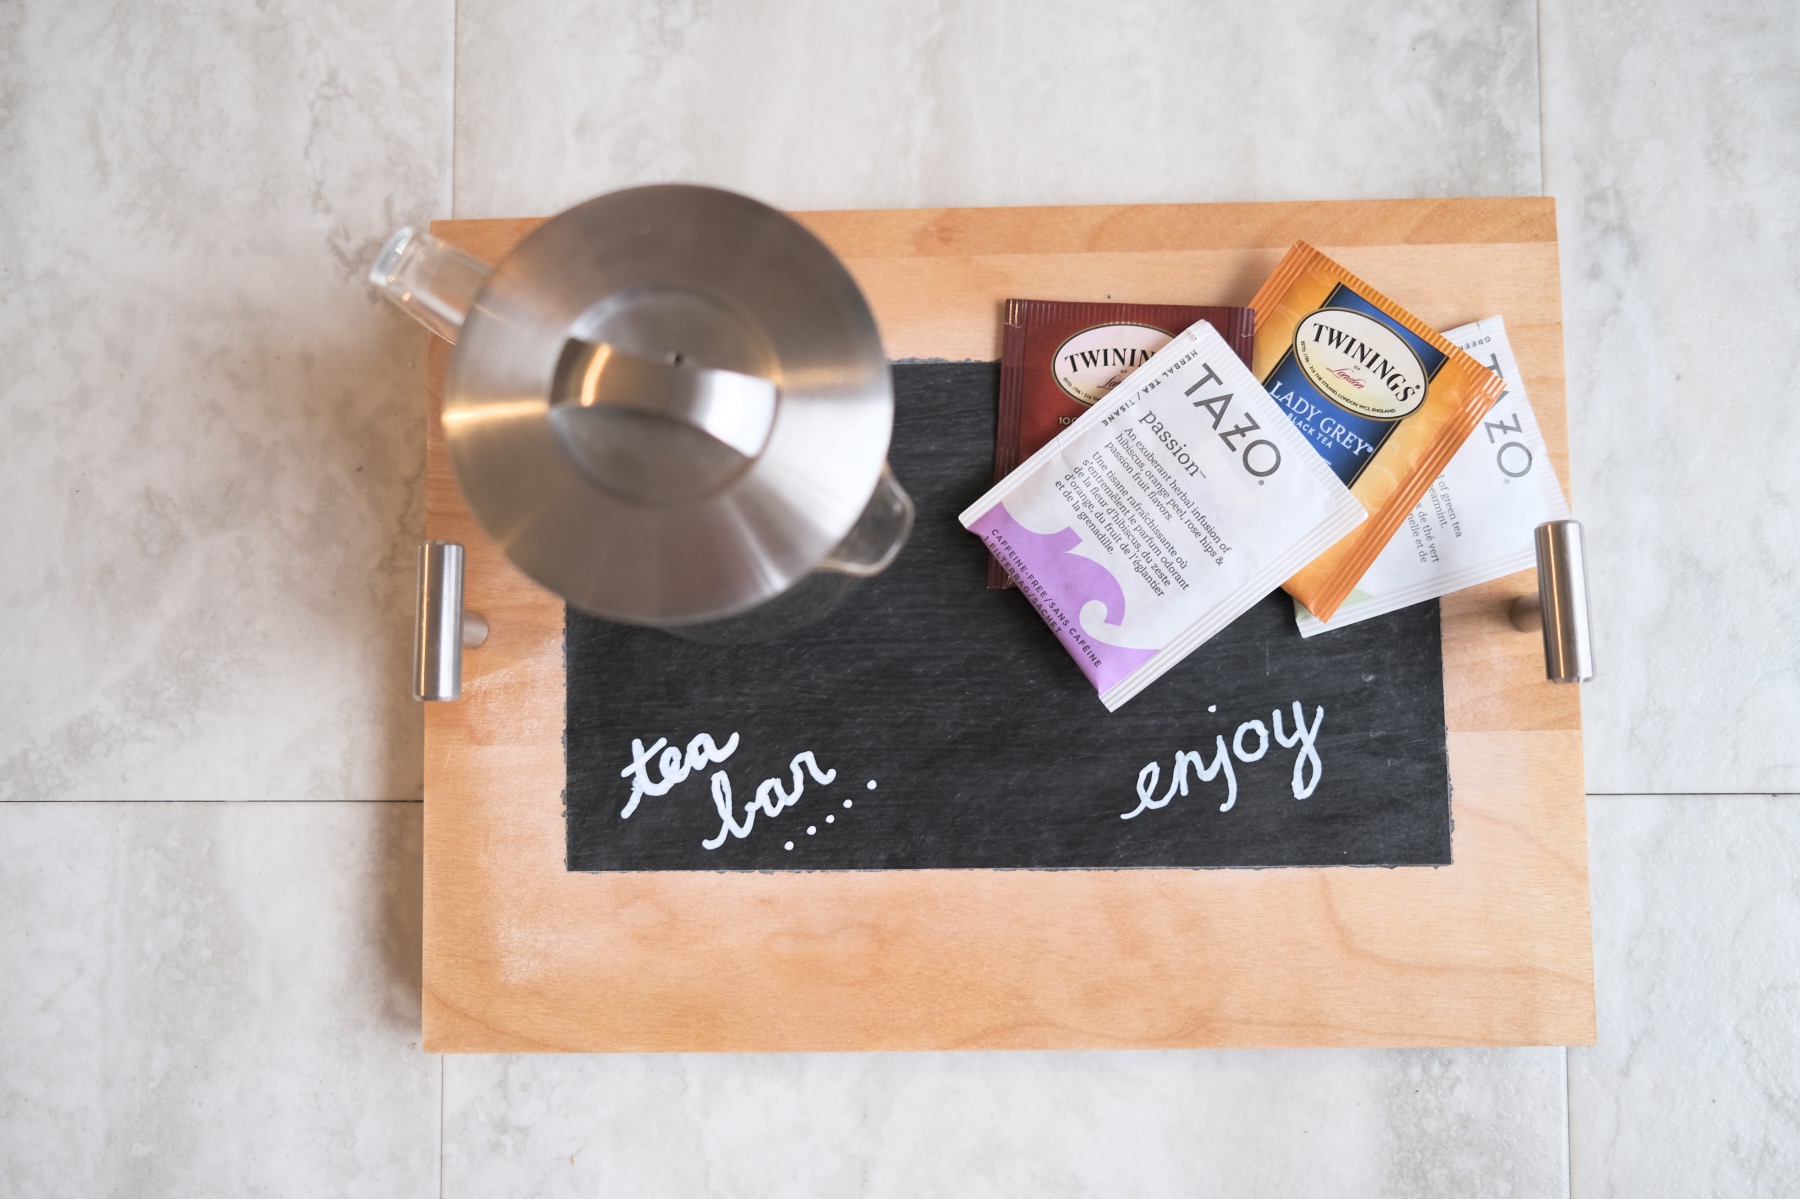
And it’s a cool way to make a portable coffee or tea bar when you have hot drinks that need some extra caution. Best of all, it’s a fun and gorgeous project for Chalkboard Paint – a personal favorite craft supply! So let’s make it.
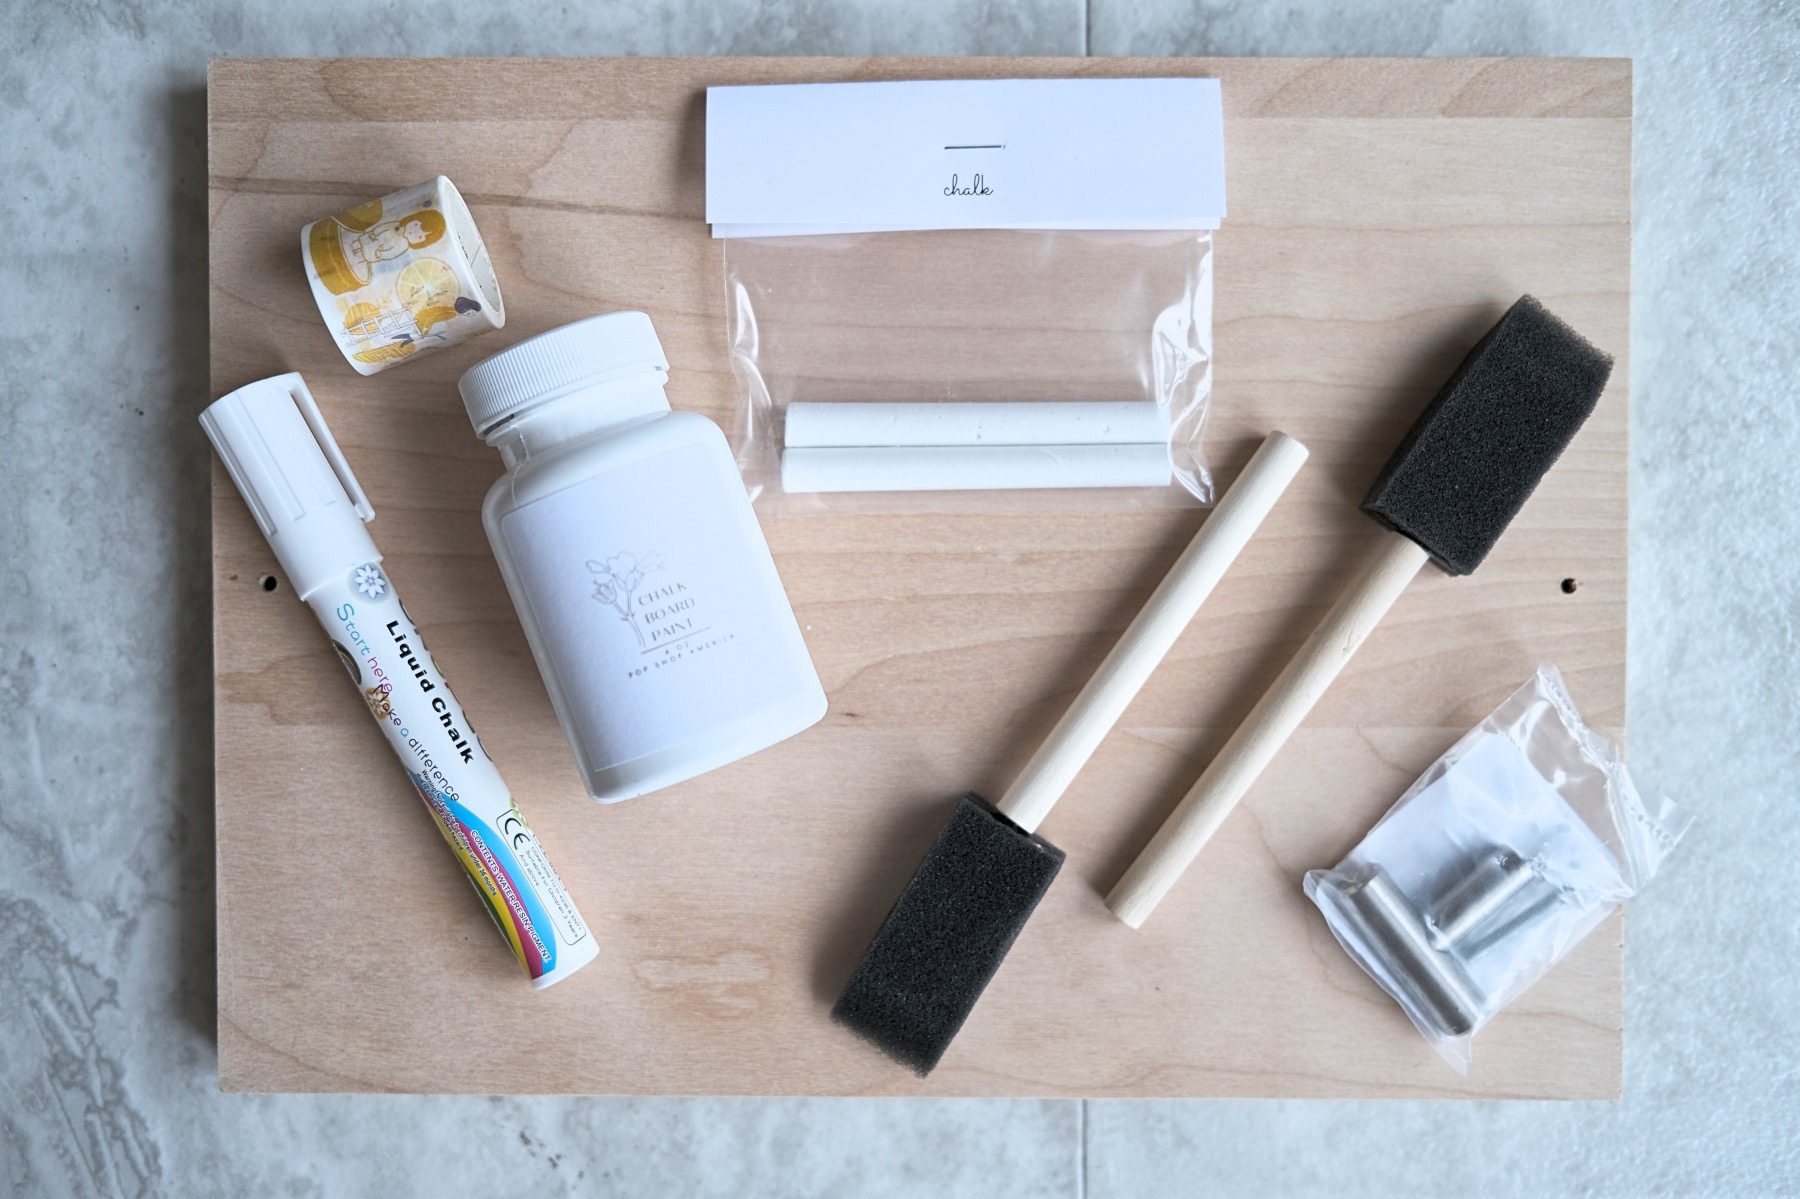
Supplies to Make a Chalkboard Serving Tray
December 2020 Craft in Style Subscription Box
-or-
9×12 Sheet of Thick, Gorgeous Wood (I chose Birch)
2 Ounces Food Safe Wood Clear Coat
1-2 Ounces Black Chalkboard Paint
A Foam Brush
Washi Tape
2 Drawer Knobs, with screws
A Piece of Felt or 2 Felt Furniture Protectors
Plus: A Drill, A Phillips Screwdriver
And Optional: Chalkboard Pens & Dry Chalk
I know it’s a lot of supplies but don’t be intimidated! The steps are fairly easy. Plus, many of the supplies can be adapted to your tastes. For example, the clear coat can be satin, gloss, or you could use a stain instead.
The knobs can be any style you like. Knobs that use 1 screw are much easier to work with than knobs that use 2 screws. If you choose a knob with 2 screws, you will need to be very careful to line the knobs, drill holes, and screws perfectly.
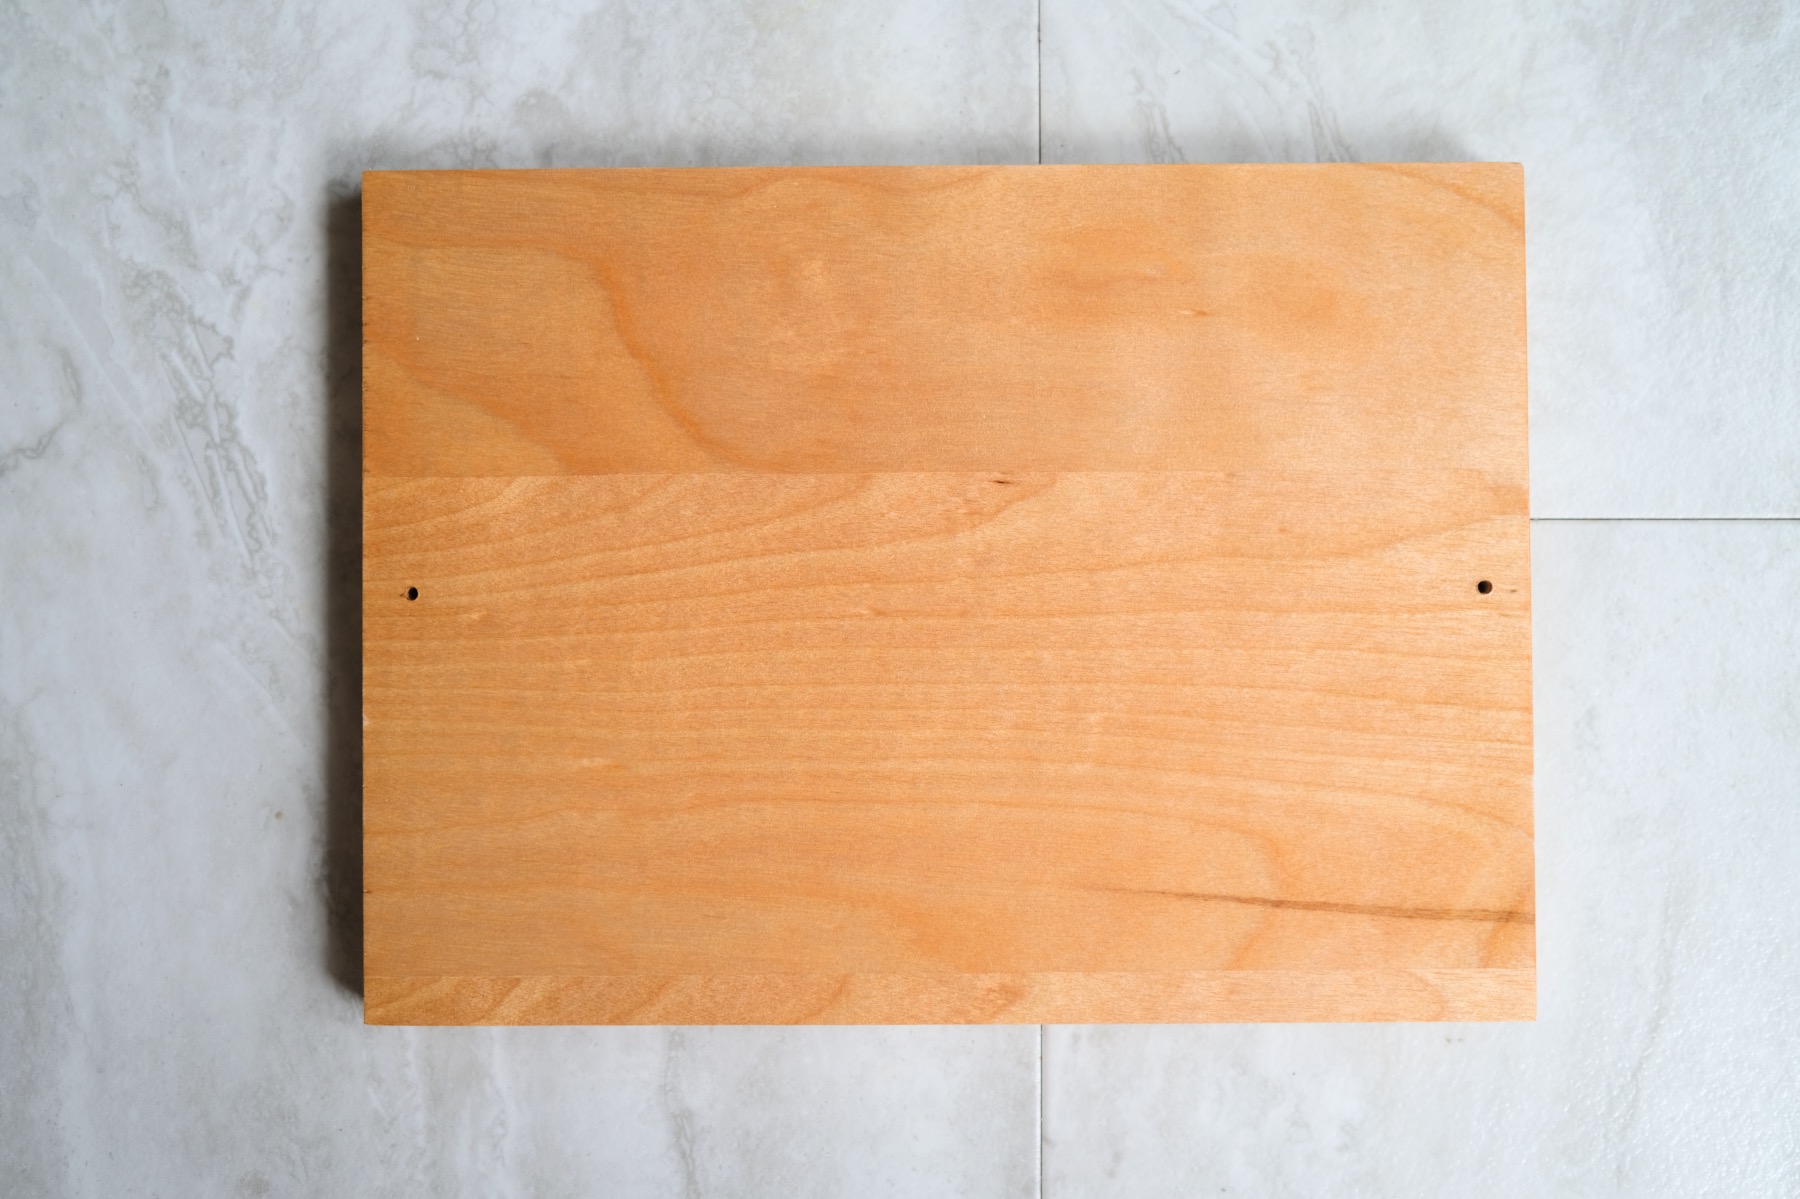
If you aren’t working from the Craft in Style Subscription Box, start by cutting and drilling your wood. You can make a cutting board out of any hardwood – maple, birch, oak – whatever you like! I chose birch because the wood is lighter in color, which makes this project so versatile. You can stain it to make the piece dark, or you can leave the wood light too.
Because you are working with hard wood, you will need to drill the holes where the knobs and screws will go. Be sure to read the measurements of the knob screws and match them to the drill bit. Drill all the way through the wood.

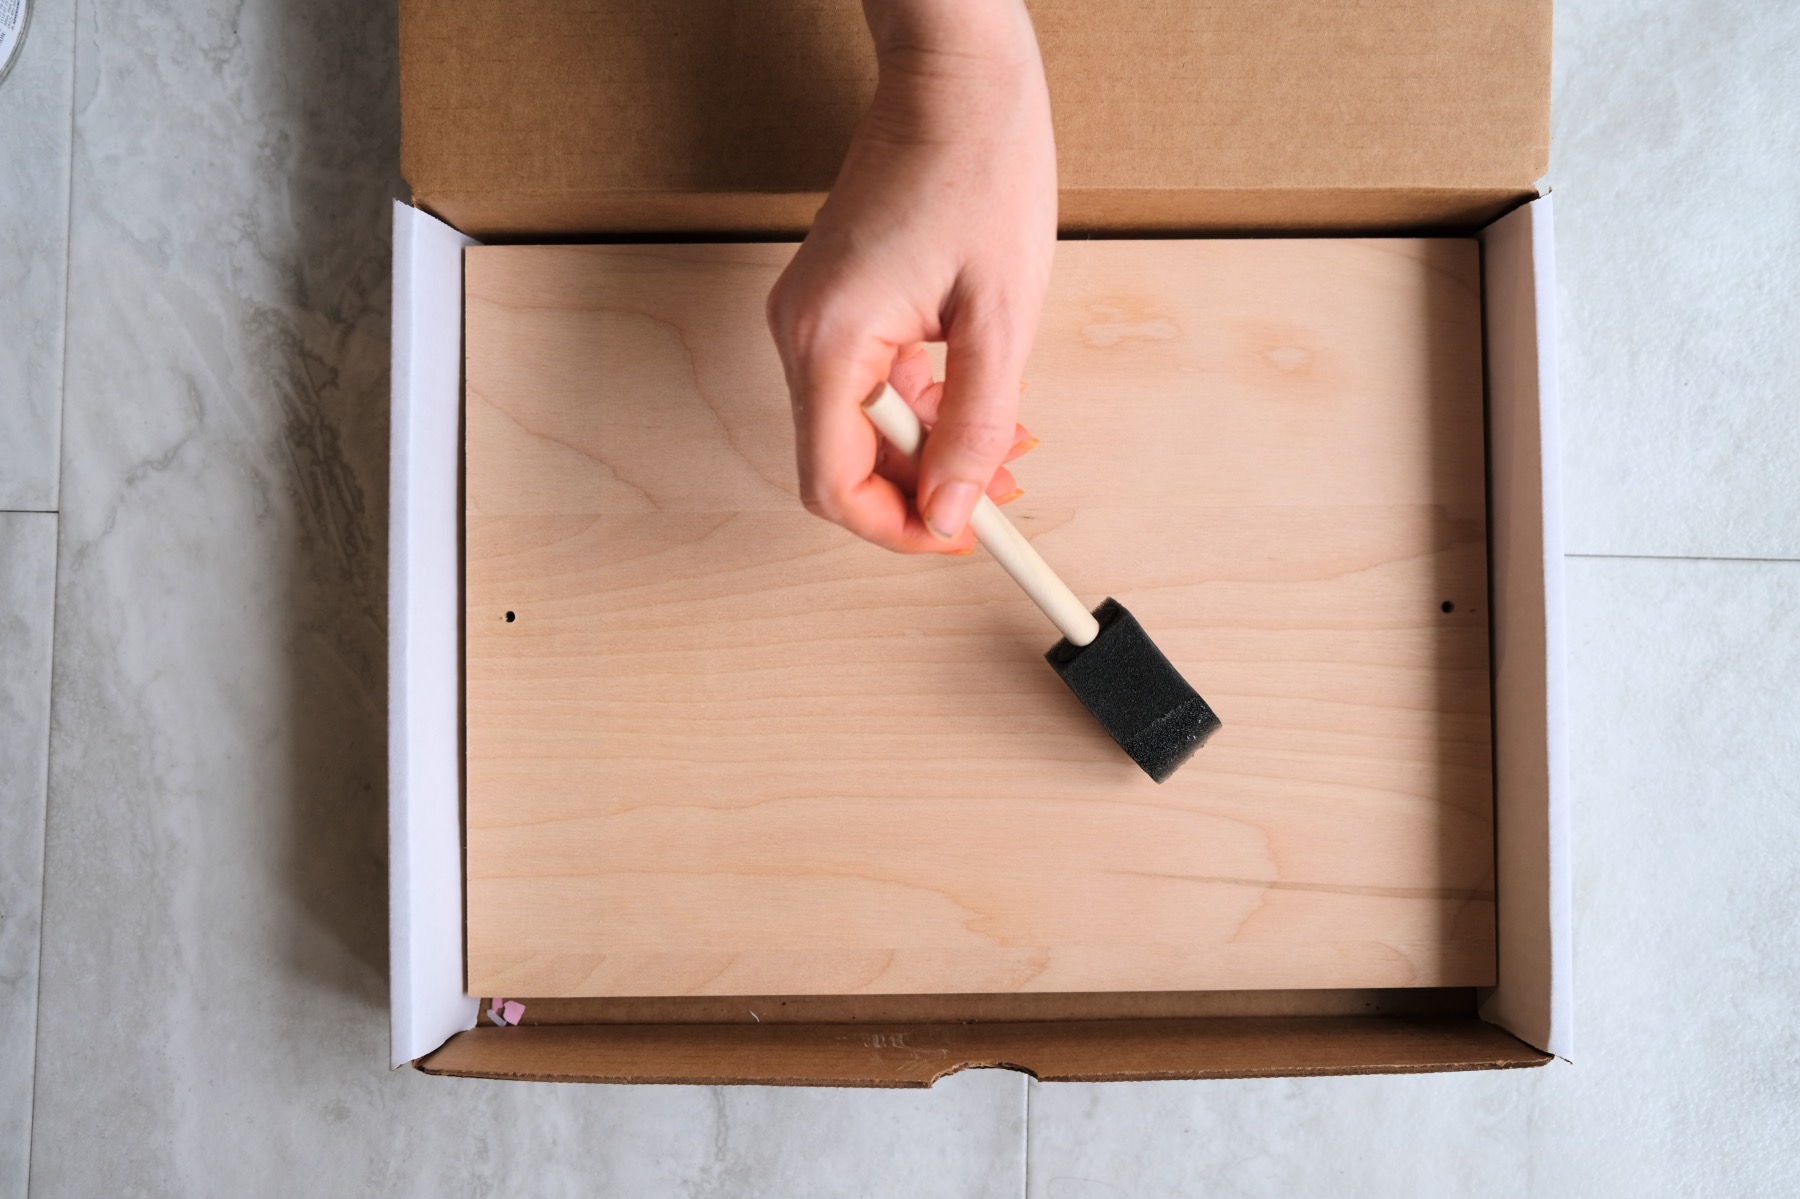
Next, use a foam brush to coat your wood board in clear coat. Paint along the grain. If you get this kit as the Craft in Style Subscription Box, keep your shipping box, because it’s the perfect place to add your clear coat! I used Deft Brand Satin Coat, because it’s food safe. Whatever you do – be sure that your wood finish is food safe.
It’s also extremely fumey. I recommend using the clear coat outdoors or in a very well ventilated area.
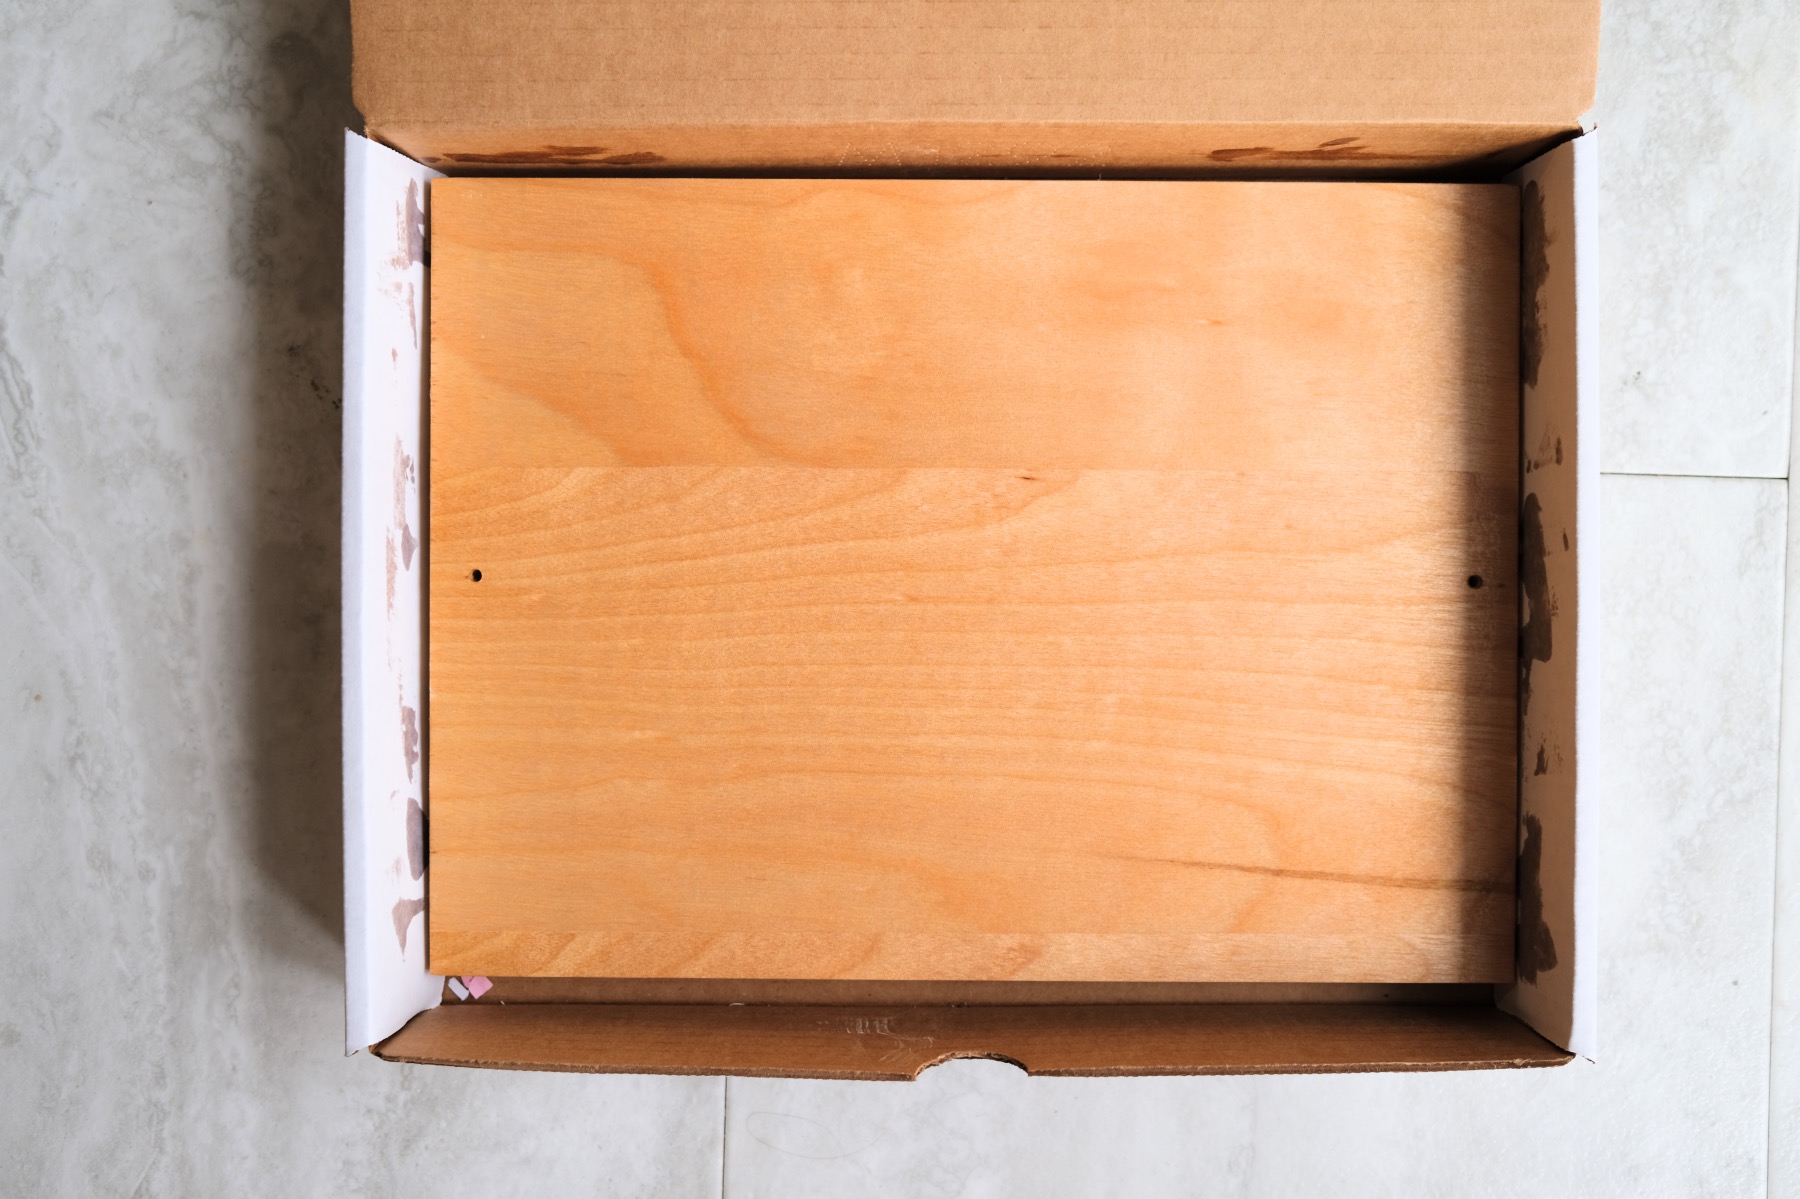
You can choose to coat the sides and the bottom if you like, but be sure to let each side dry completely before moving on to the next side. This clear coat takes around 2 hours to dry. While you are literally waiting for your paint to dry, wash your foam brush so you can use it again later for your chalkboard paint!
Once your clear coat is dry, get ready to paint your wood tray with chalkboard paint. I chose to make a border around the edge of the tray. That way you can see the wood and the chalkboard paint sits in the center of the board.
To block your tray and get it ready to paint, use washi tape or painter’s tape to make a border. Be sure to create perfectly straight and even lines. You could use a ruler or eyeball it depending on your preferences.
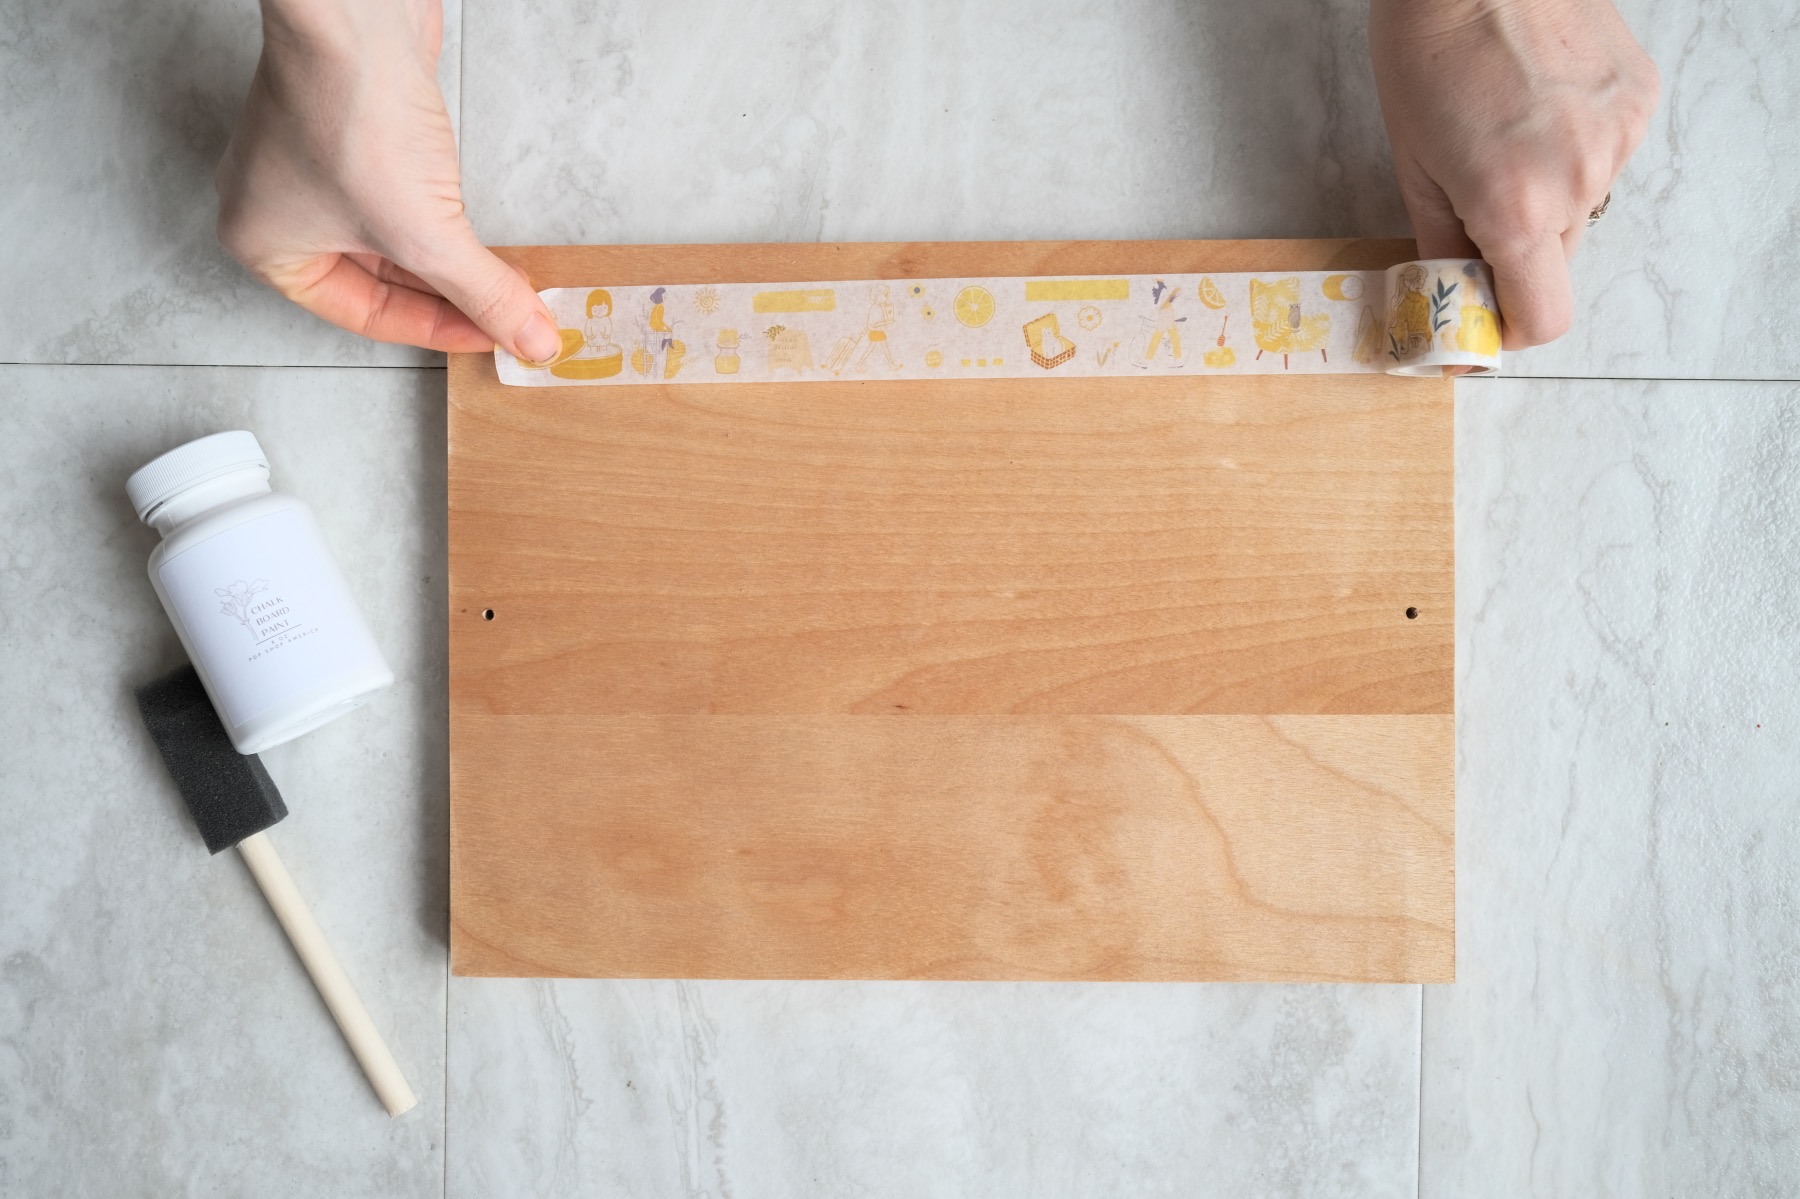
I highly recommend to try to keep all sides equal – so that the border matches all the way around. When you are working on this step, remember that the area underneath your tape will not get painted. It’s important to remember this so that your finished chalkboard tray looks how you want it to when it’s finished.
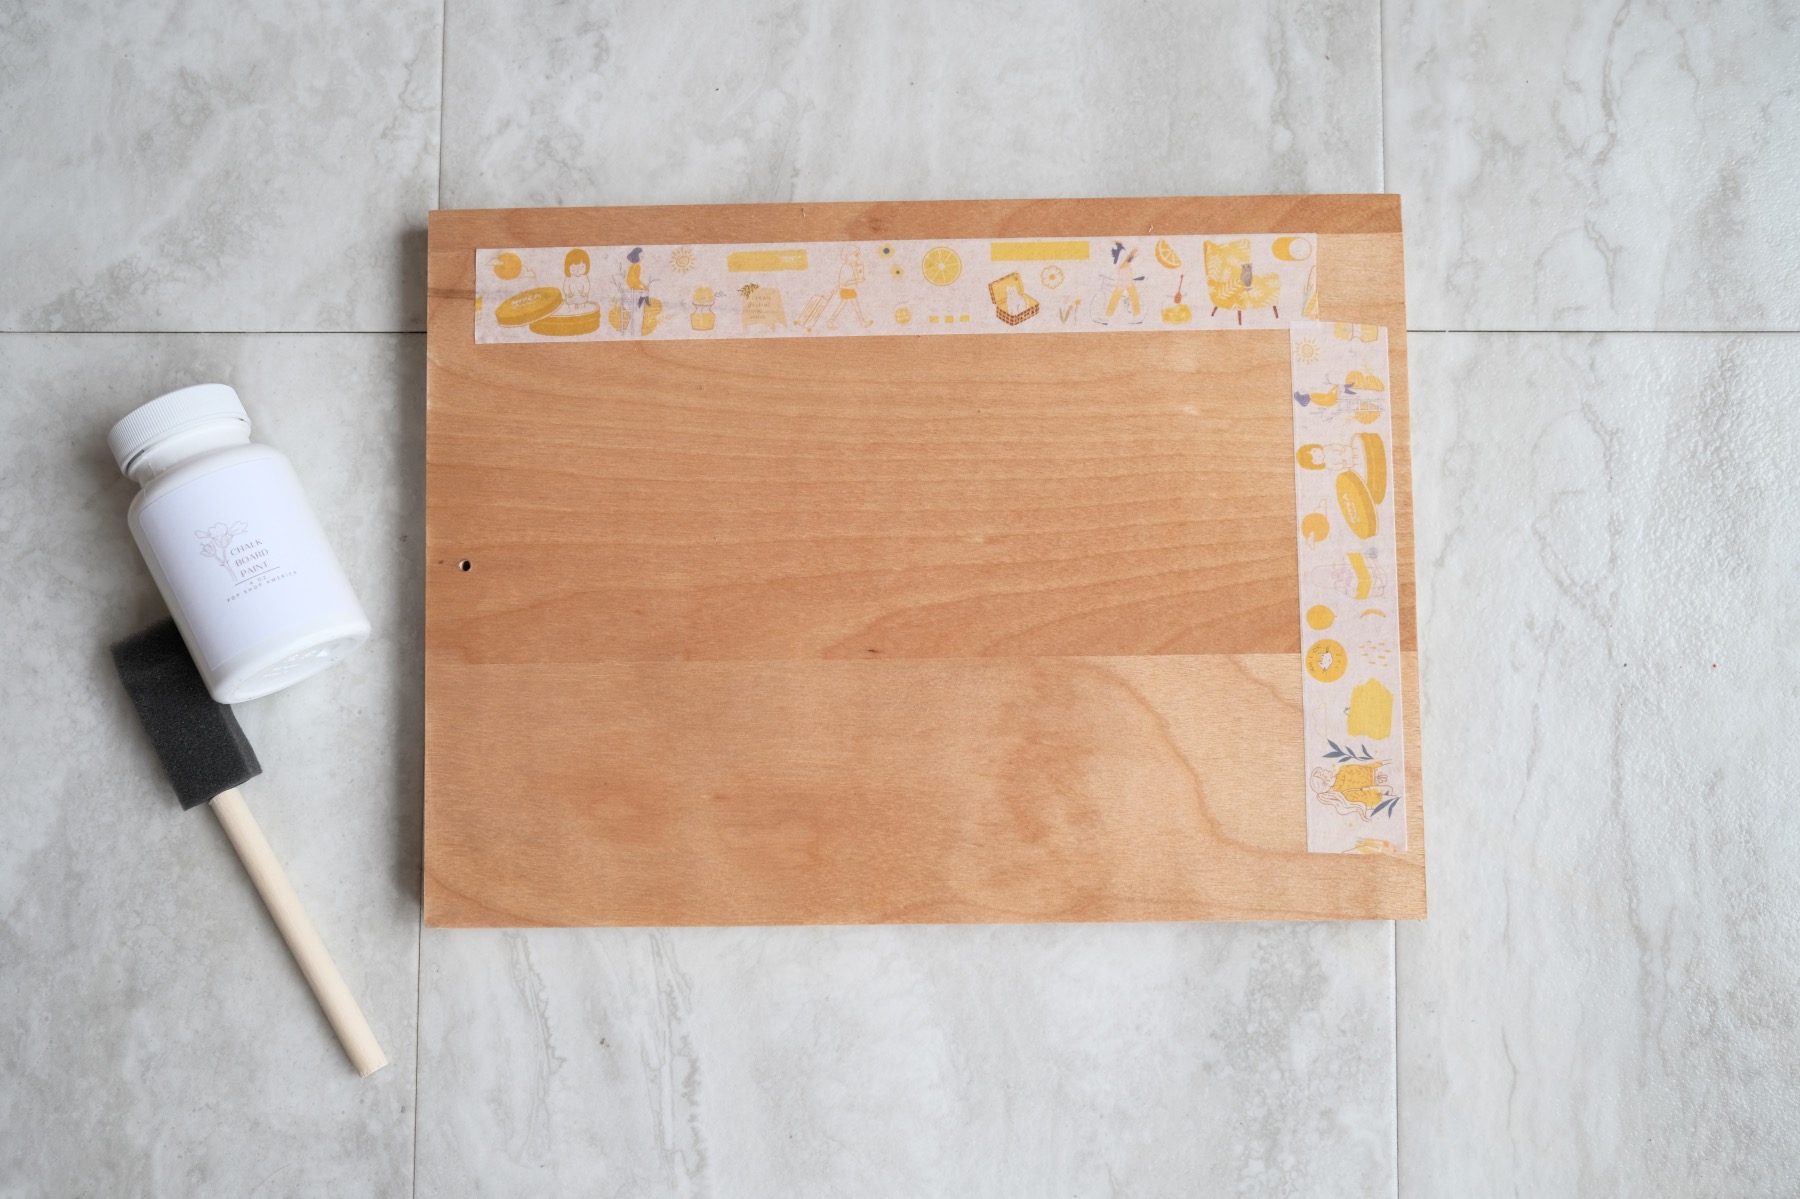
When you have your washi tape or painter’s tape placed where you want it, press the interior edges of the tape down extremely firmly. Don’t let any air pockets rise or allow any edges to stay raised before you paint. When you add the chalkboard paint, it can flow underneath and make your lines uneven.
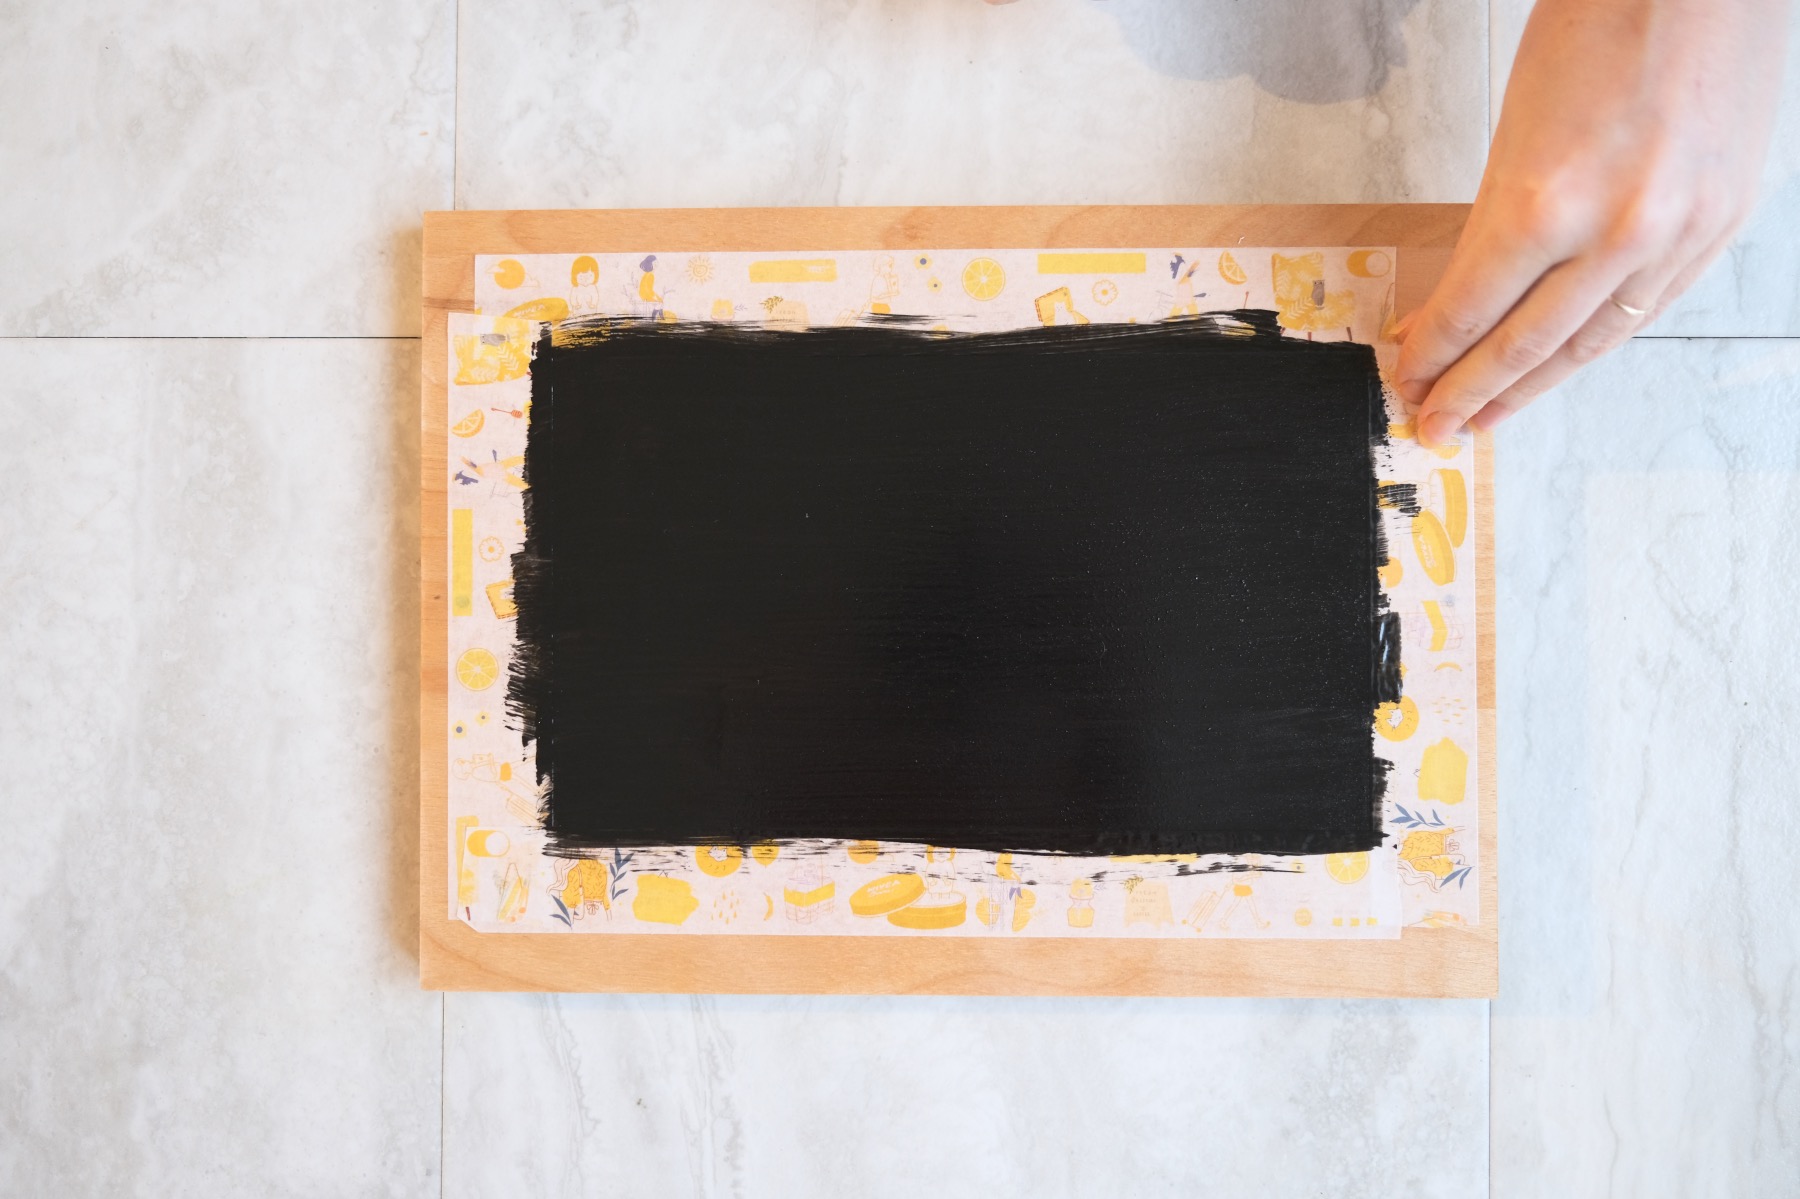
Next, paint the chalkboard paint. Use a thin even coat. When your chalkboard paint is wet, it will look blue – almost like Wonder Woman’s hair! But it will dry a matte black.
Paint on one coat of paint. Allow it to dry completely – around 30 minutes and add a second coat.
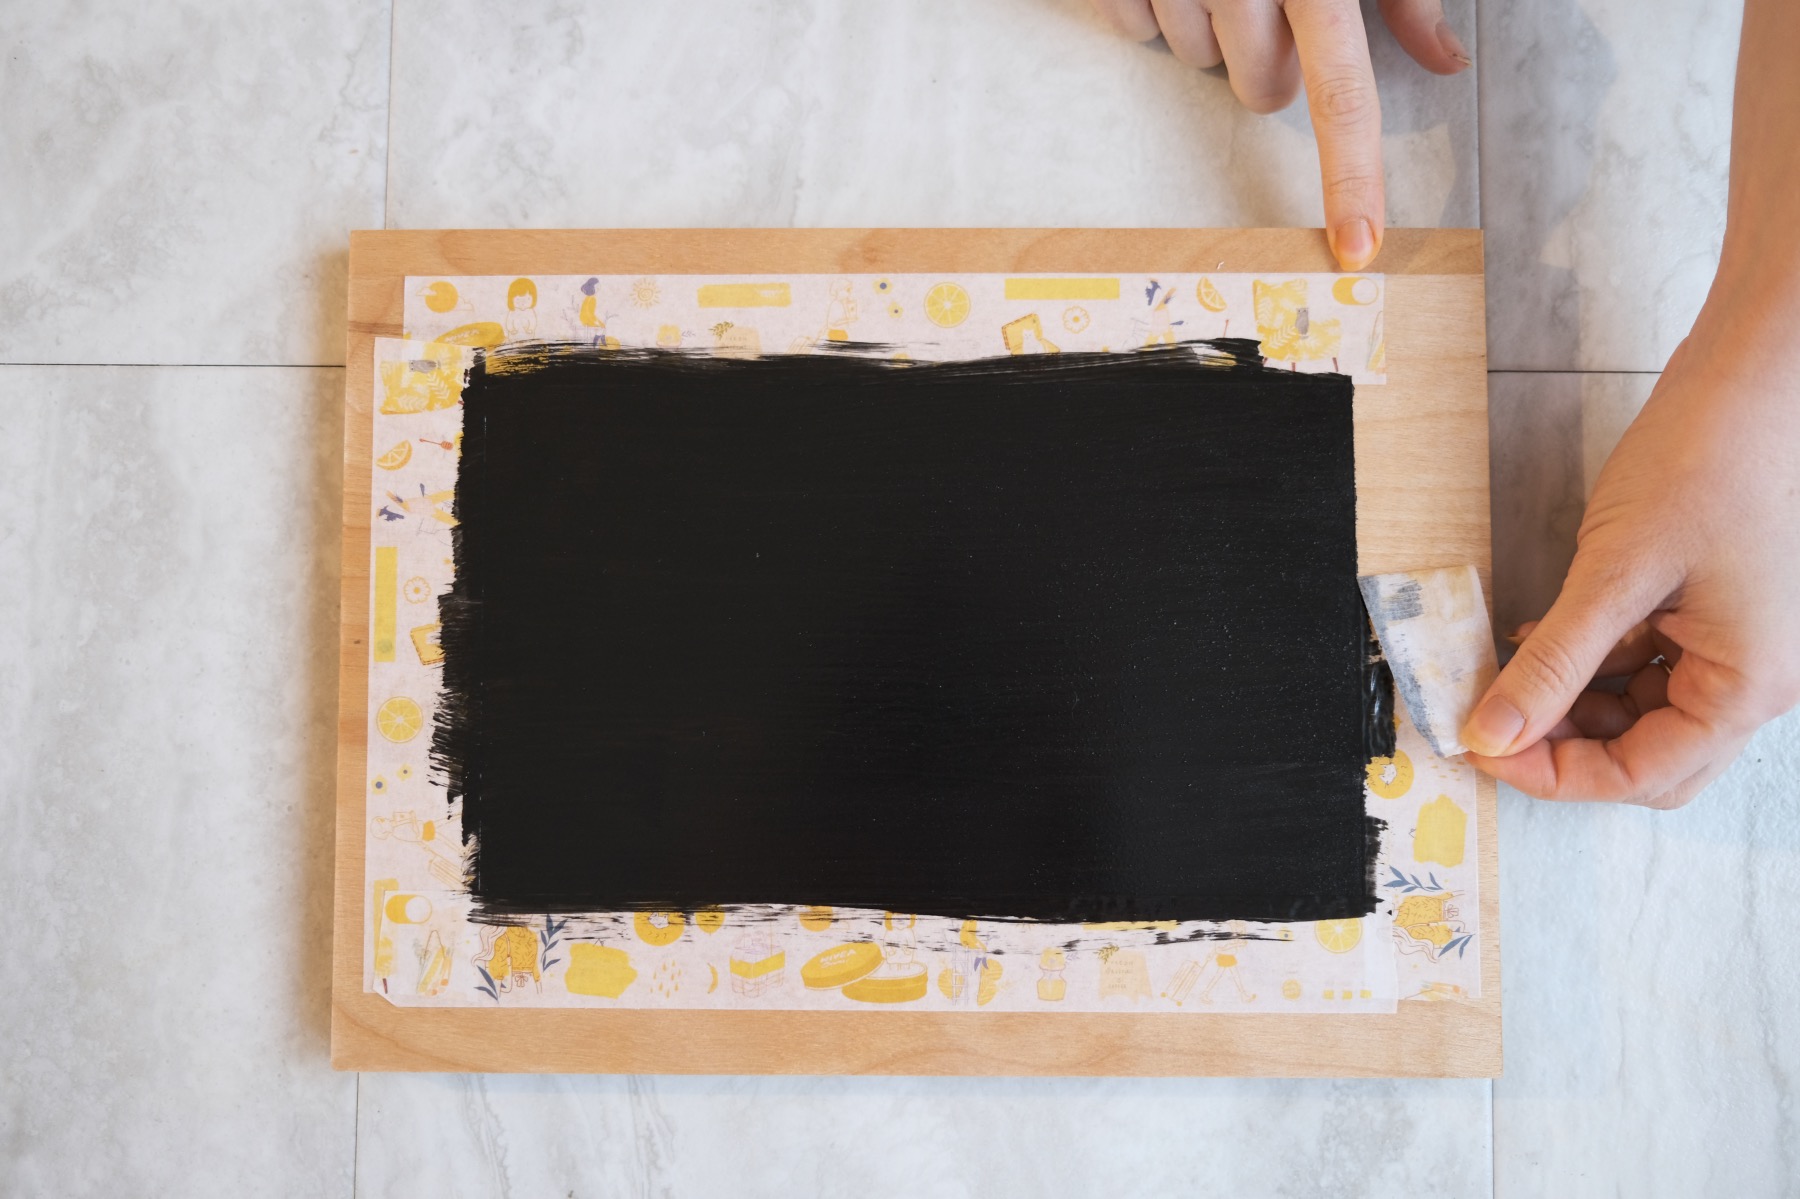
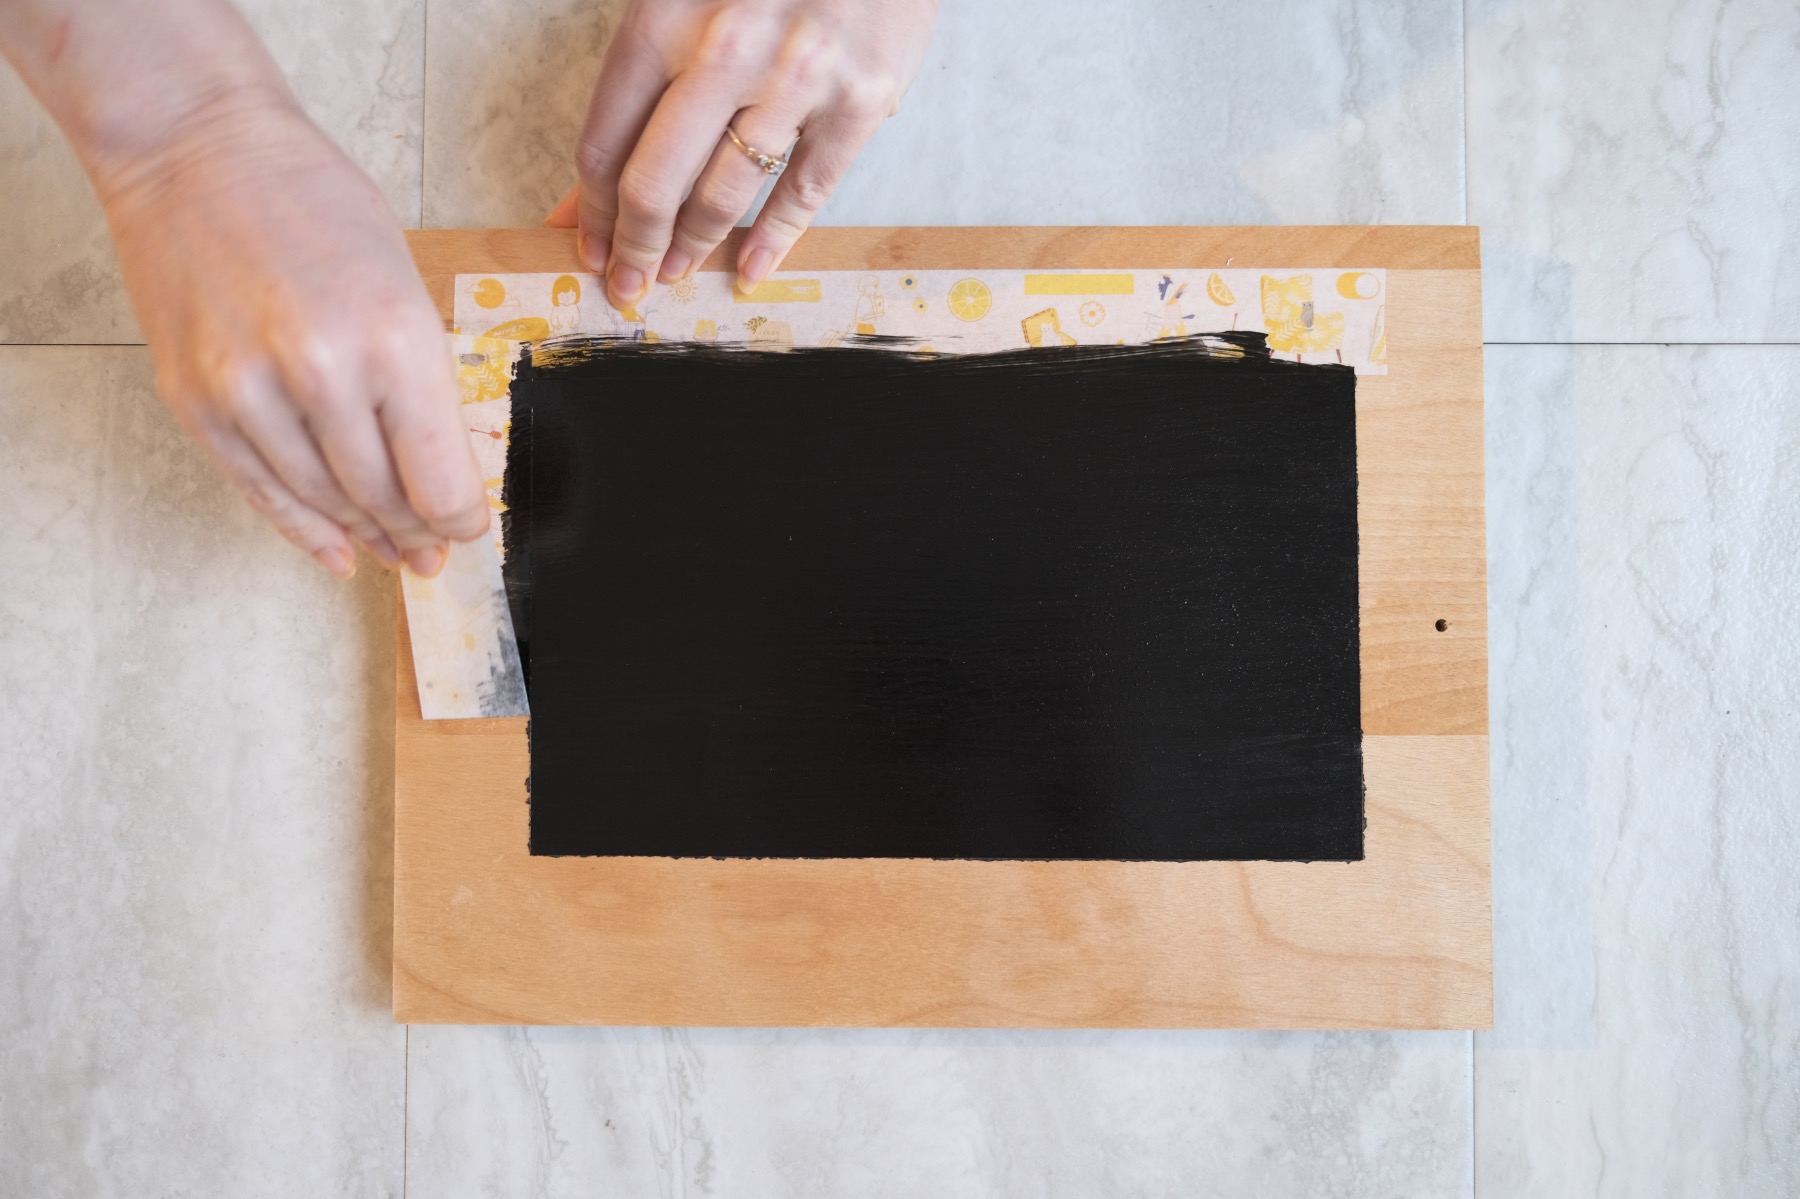
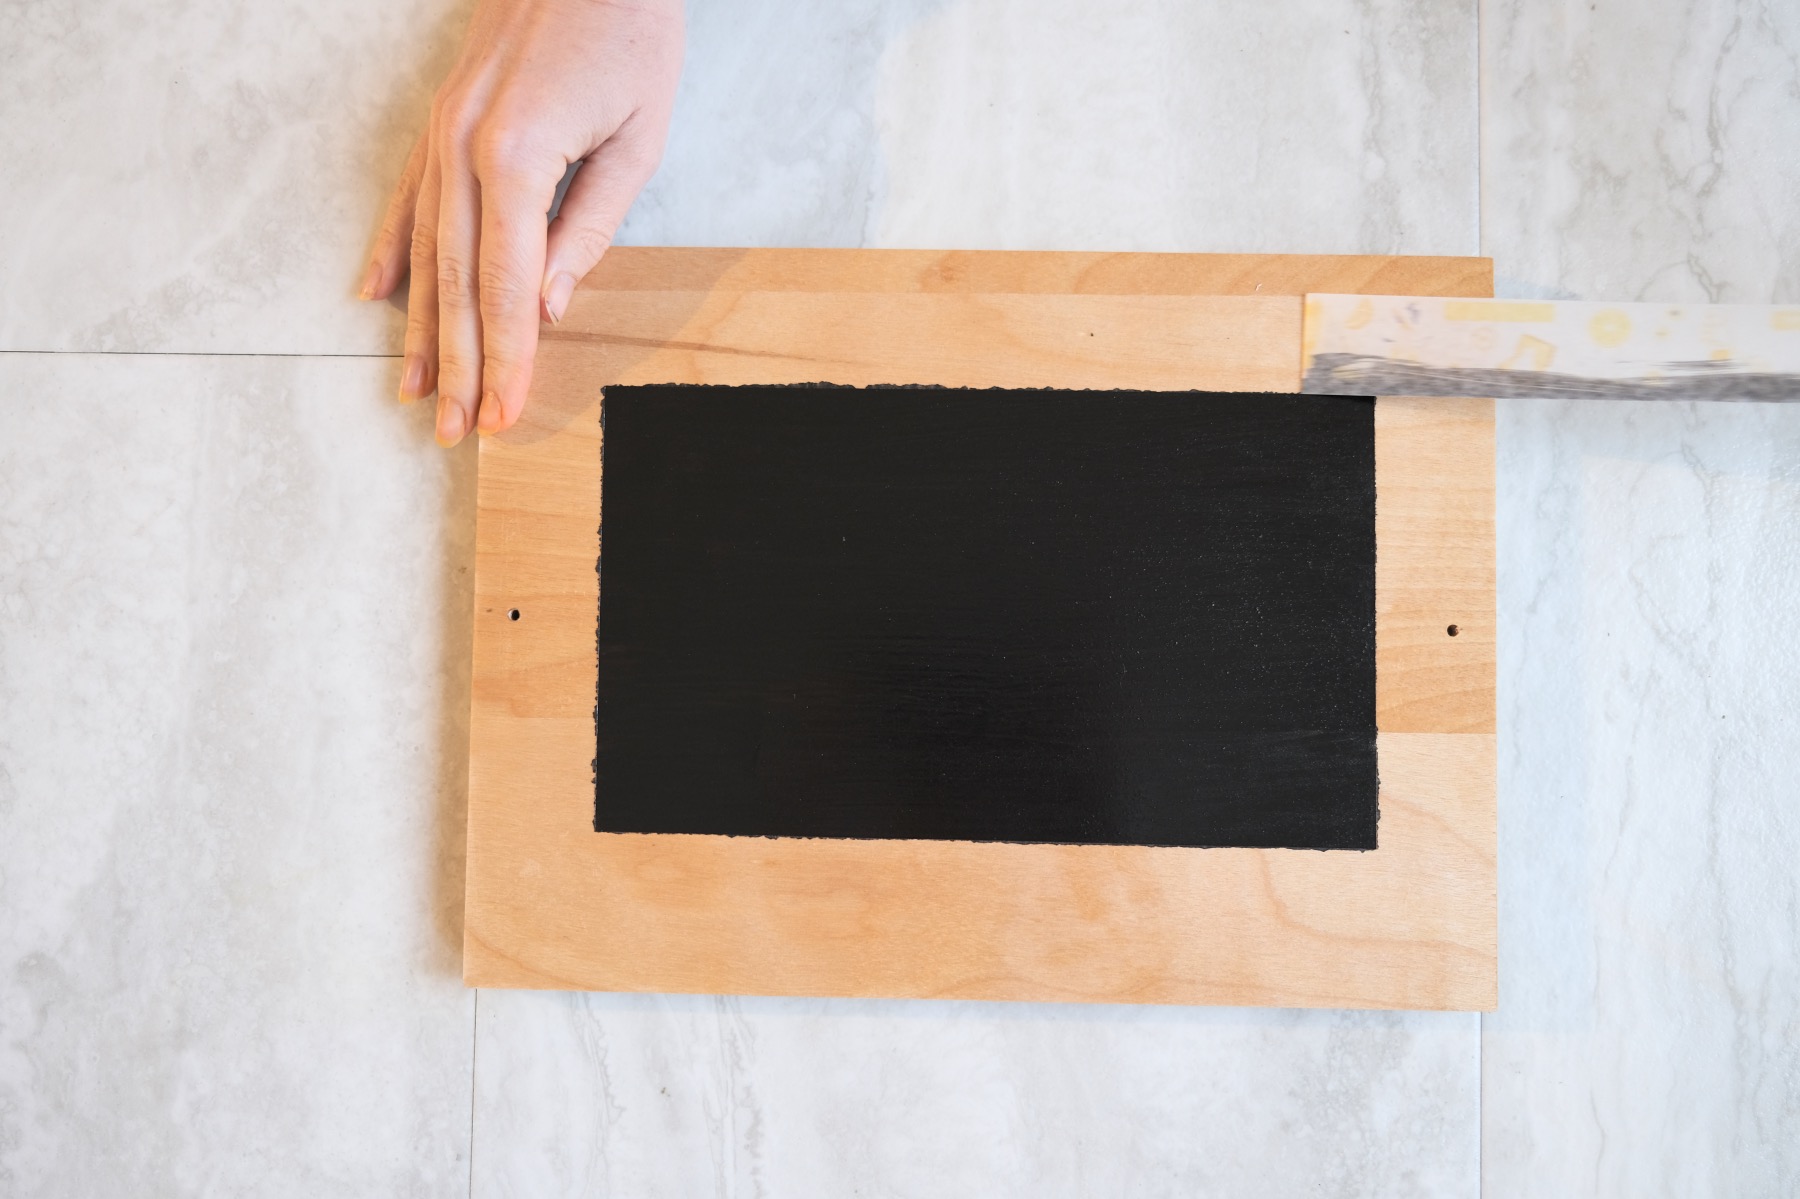
Once your paint is completely and thoroughly dry, gently remove the washi tape.
Now here’s the most important part.
Chalkboard Paint is not food safe! It’s cute, it’s stylish, and it’s perfect for labeling and helping people understand what’s on the tray. But you will need to place small plates, glasses, or parchment paper directly on the chalkboard tray.
If you prefer to add food directly to the tray, add another 2 coats of clear coat – any clear coat that’s food safe and allow it to dry completely.
Even if you add clear coat to the top, you will still be able to use your chalkboard pens but dry chalk will not work – and it won’t be as versatile.
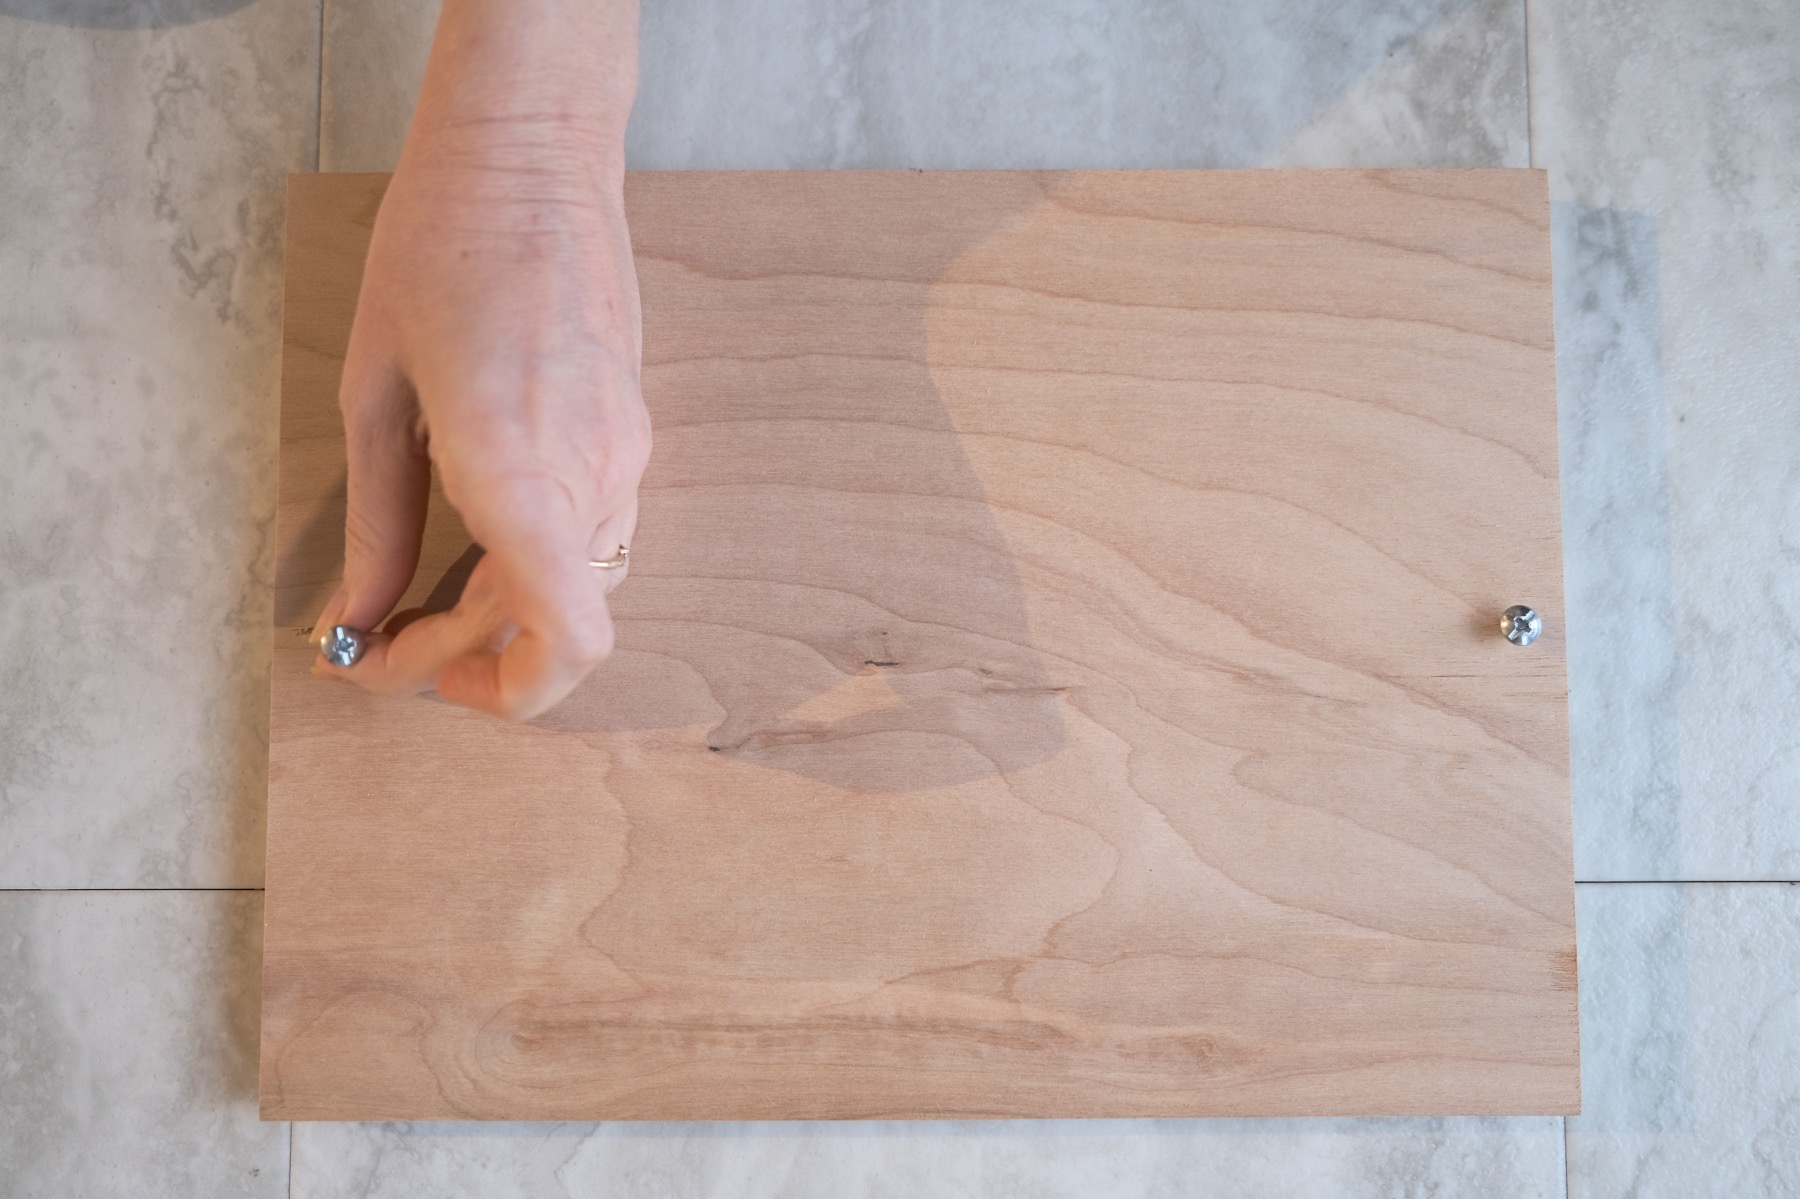
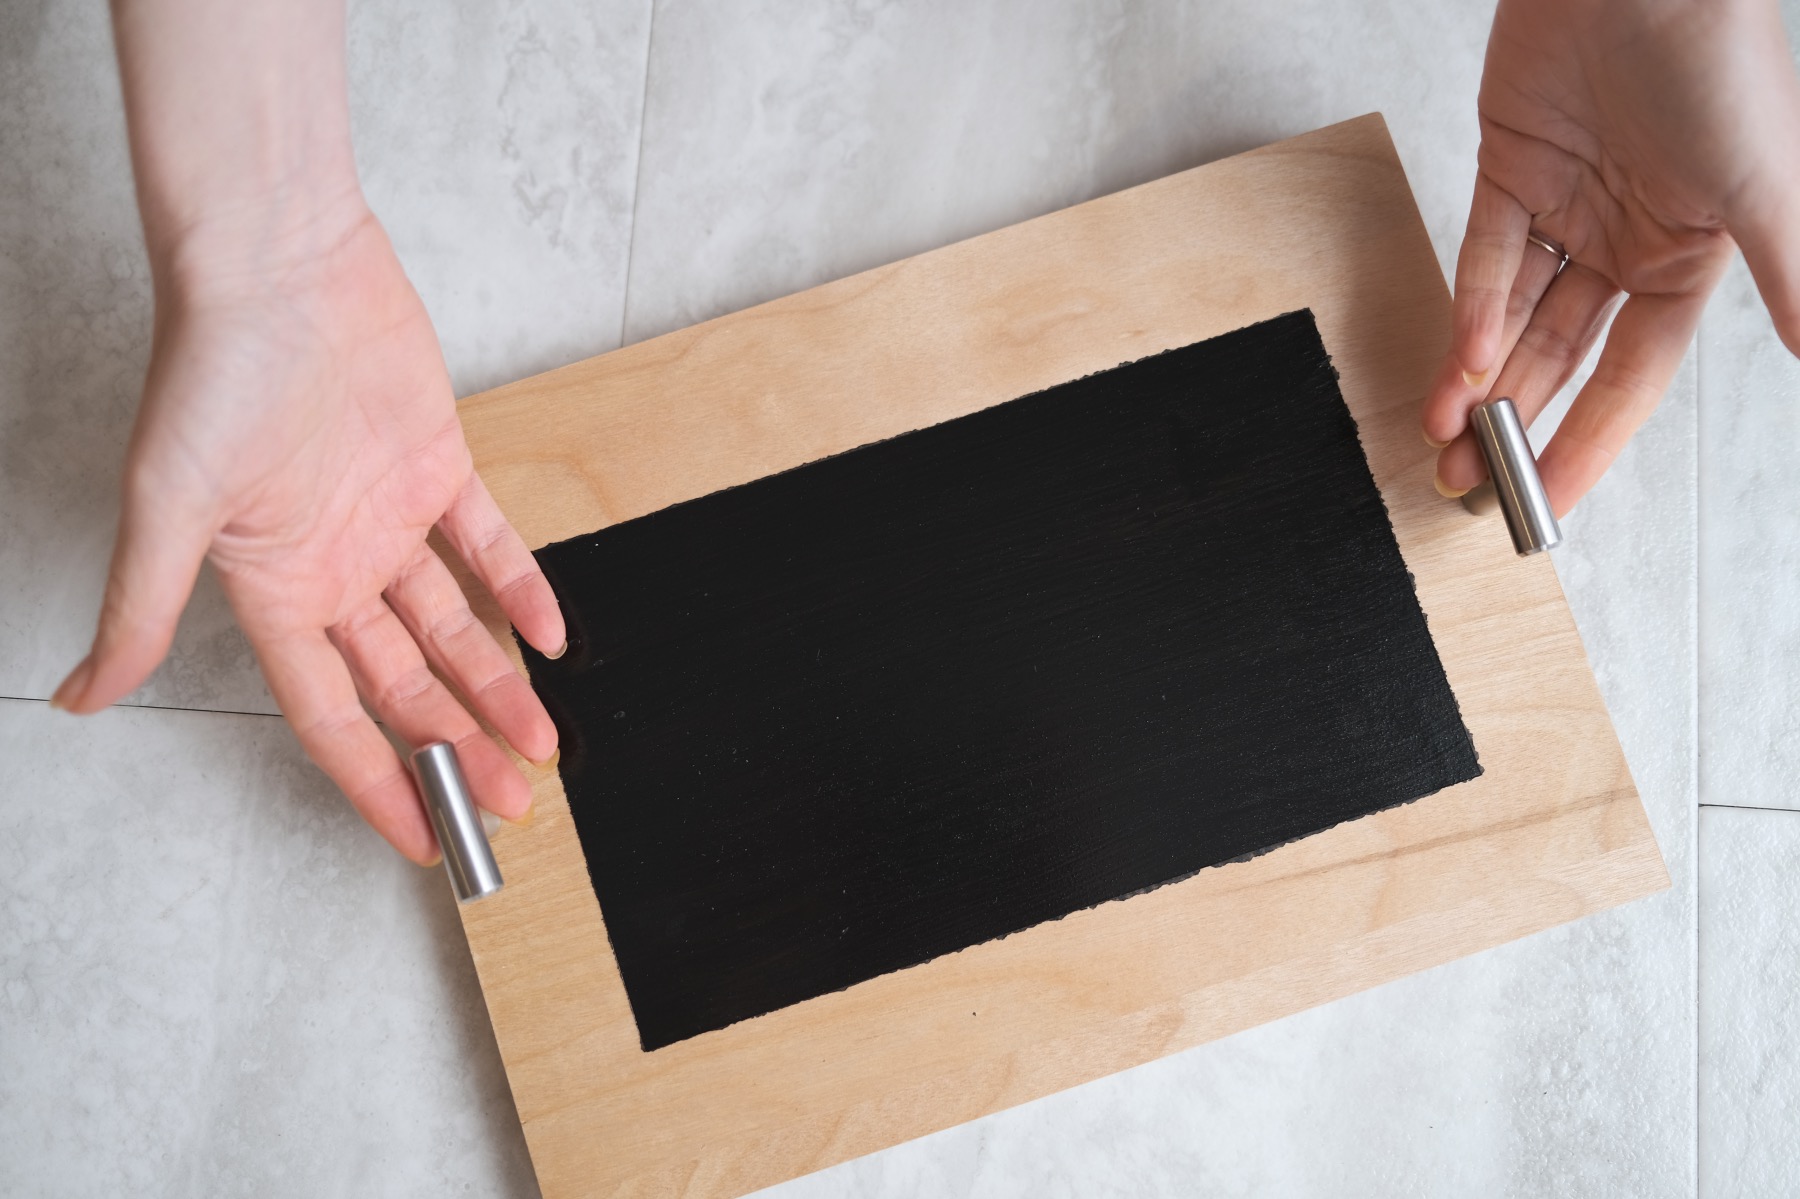
Now it’s time to add the knobs. Use a Phillips screwdriver to screw in the knobs. Because this is a hard wood, your holes will need to be pre-drilled.
When you are attaching the knobs, make sure your screws are as flush to the wood as possible which will help the balance of the tray.
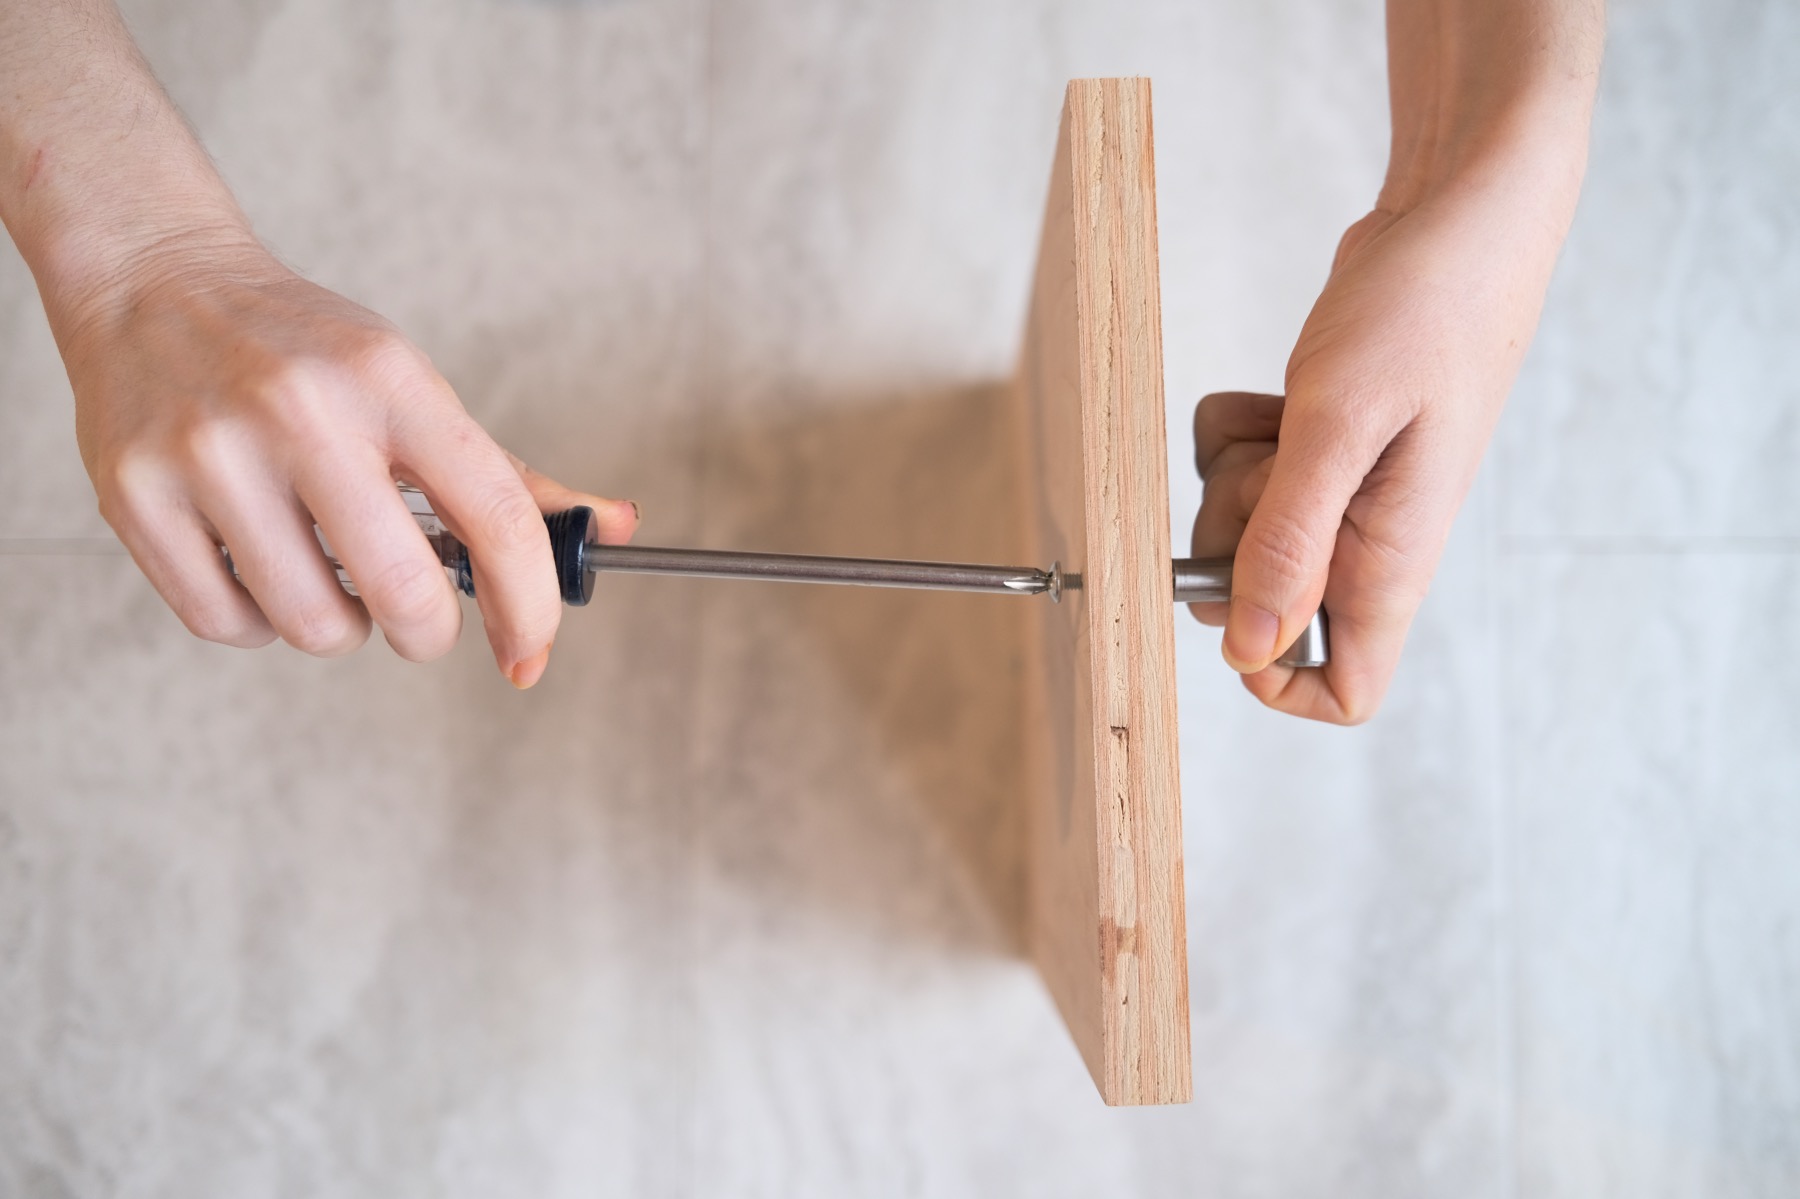
If you wanted to get super fancy, you could cut circle indentures into the wood so they screws will sit perfectly flush to the bottom – but that seemed like overkill to me!
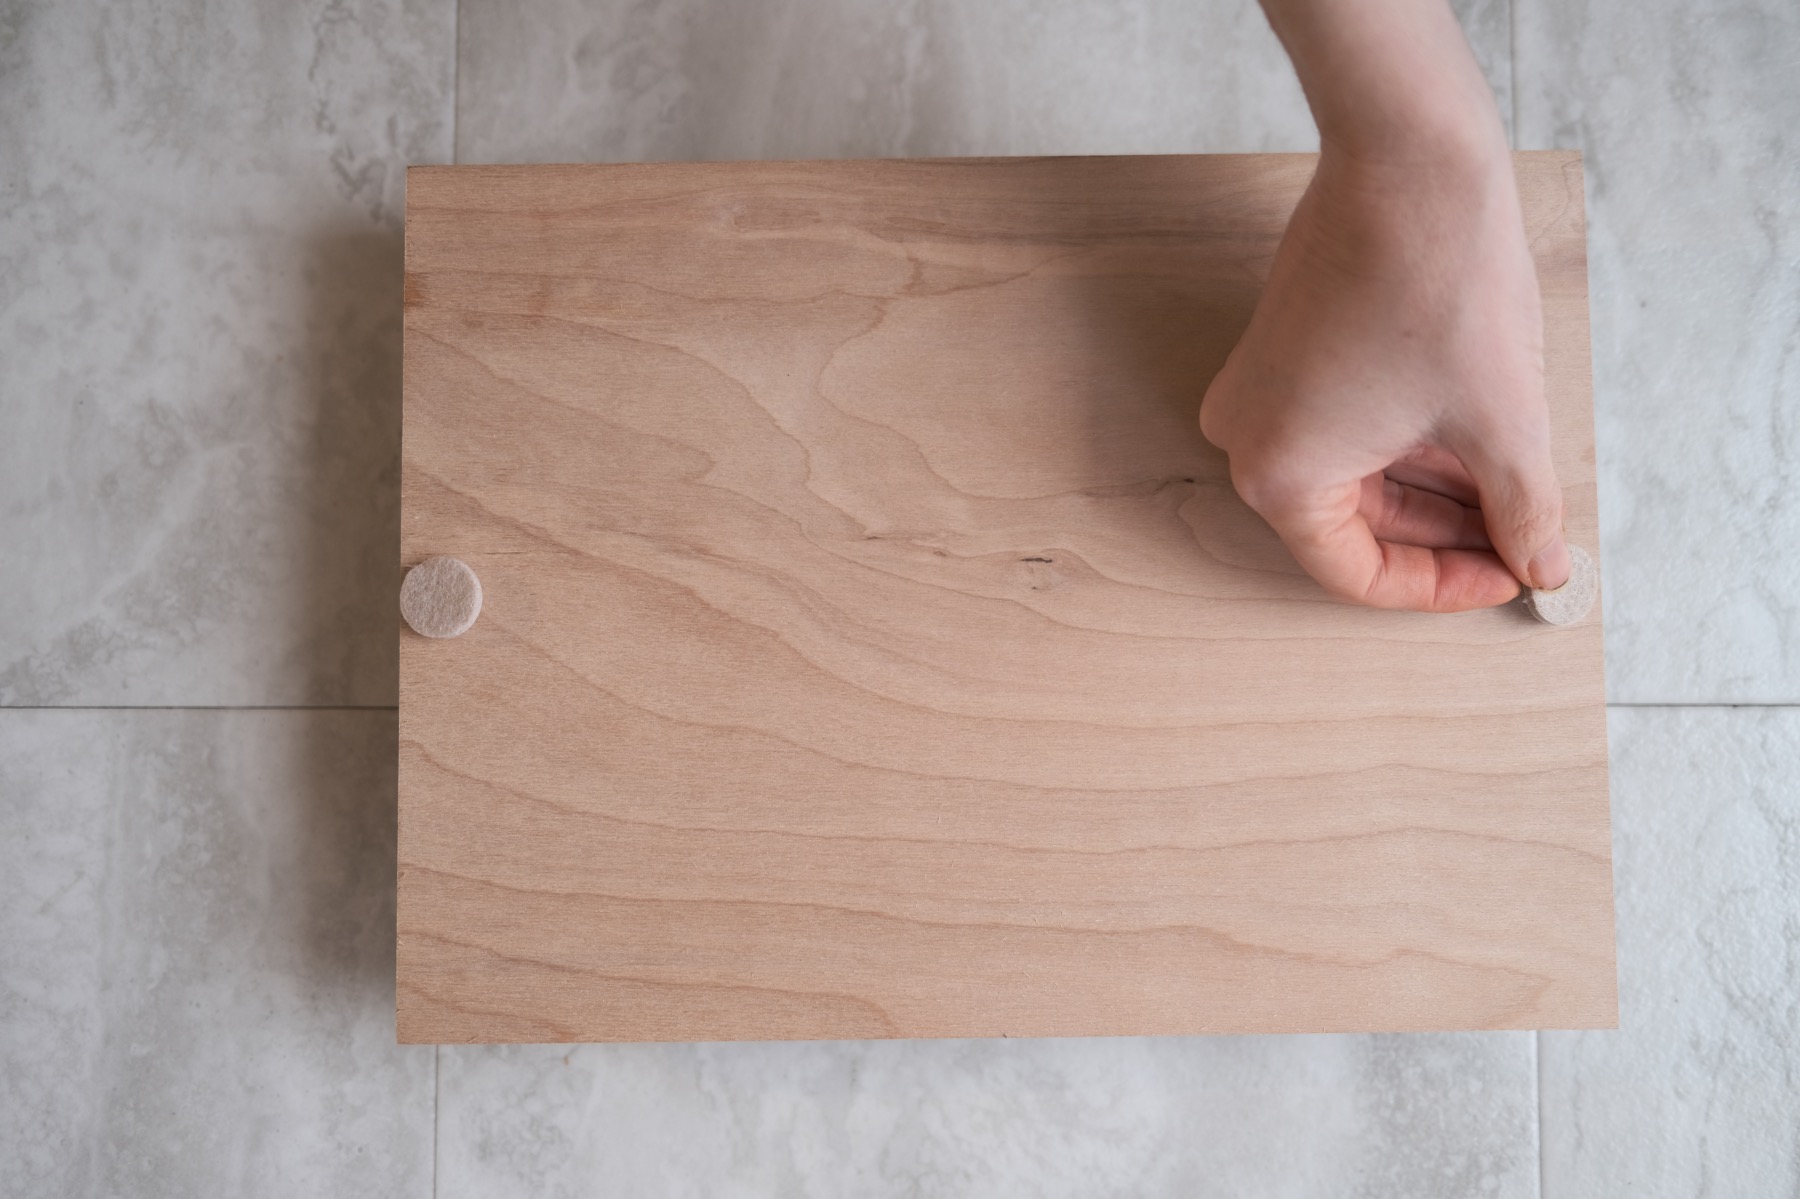
Because your screws do stick out a bit, be sure to protect your furniture! Add a small amount of felt – you can glue them to the screws. You may even be able to attach the felt in between the wood and screw and still have it work.
Sticky felt furniture protectors are also perfect for this! However you decide to protect your screws, be sure to test it on a surface before you place your tray on any hardwood surfaces.
[Tweet “Pro Tip: Add a tiny block of felt to each corner to balance the Chalkboard Painted Serving Tray. “]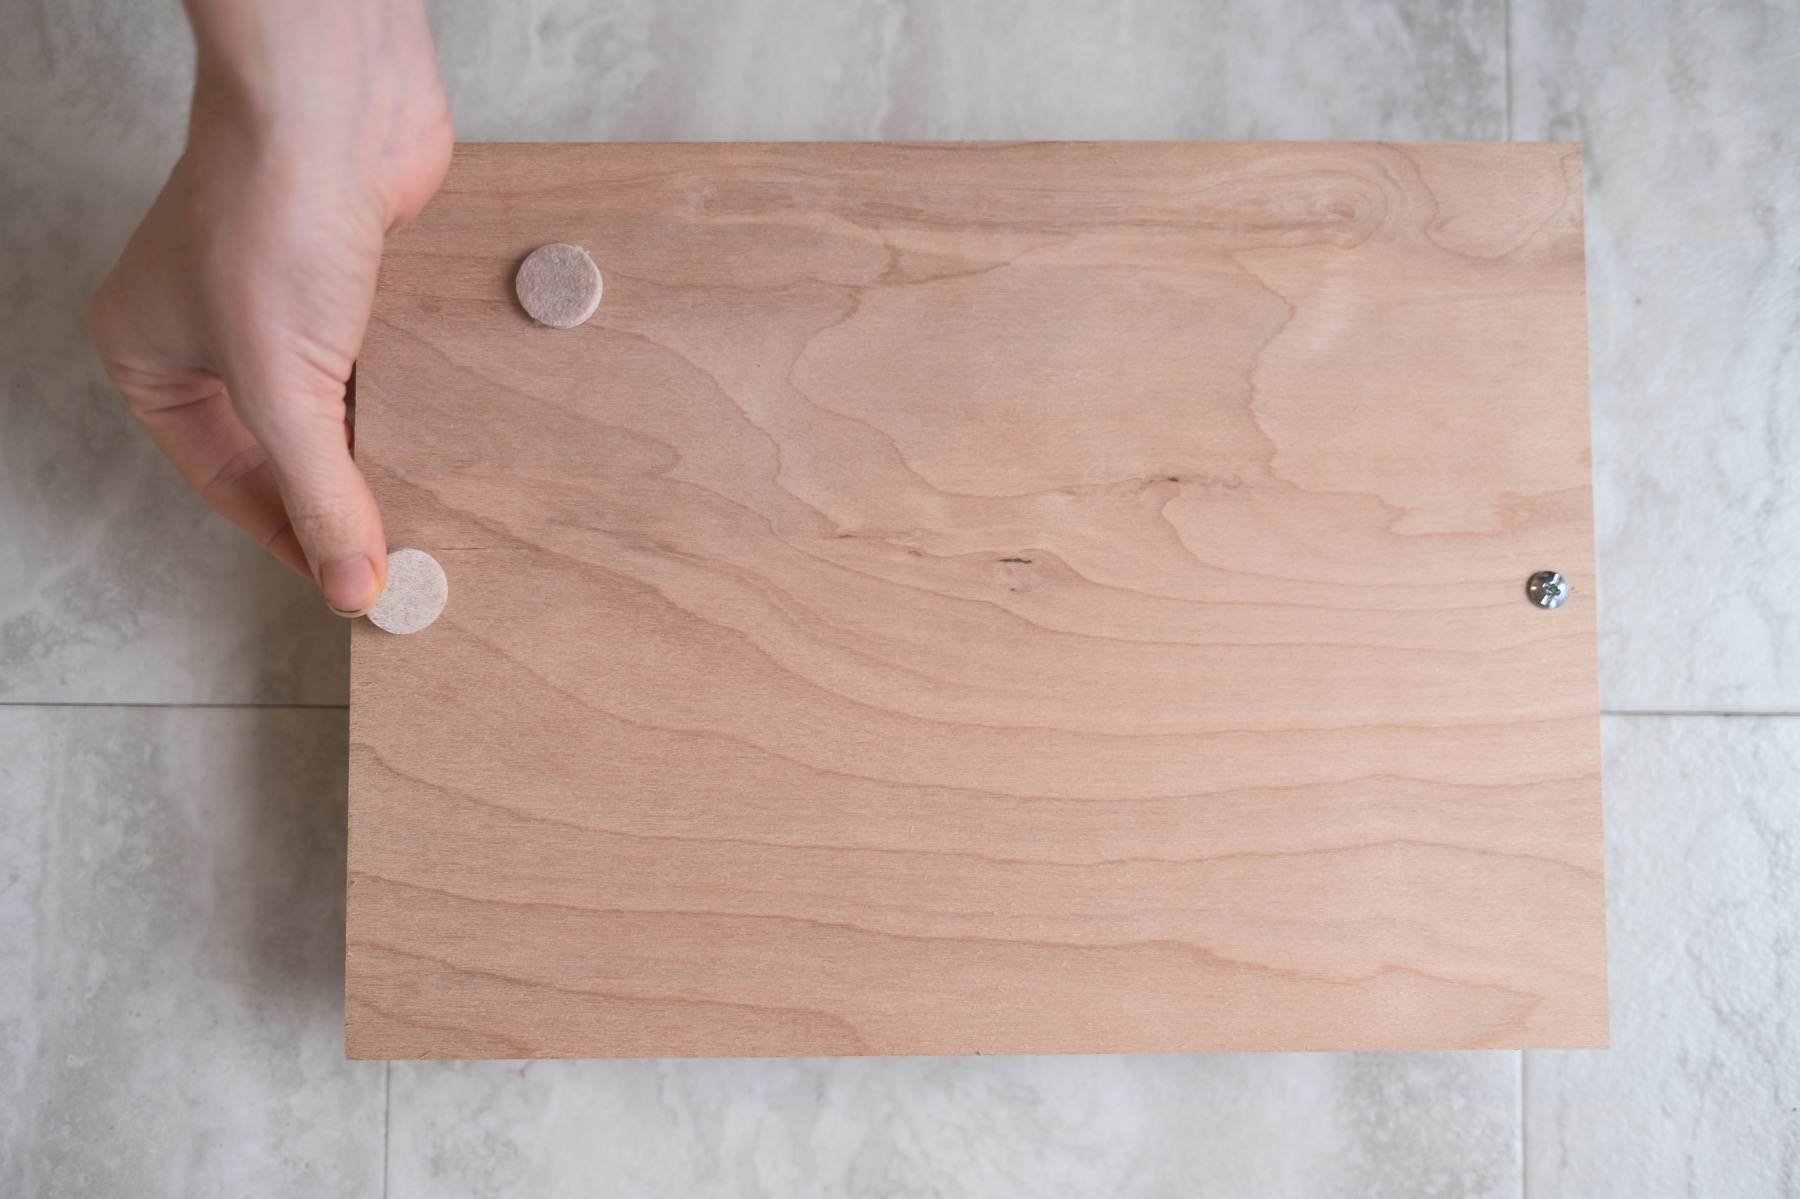
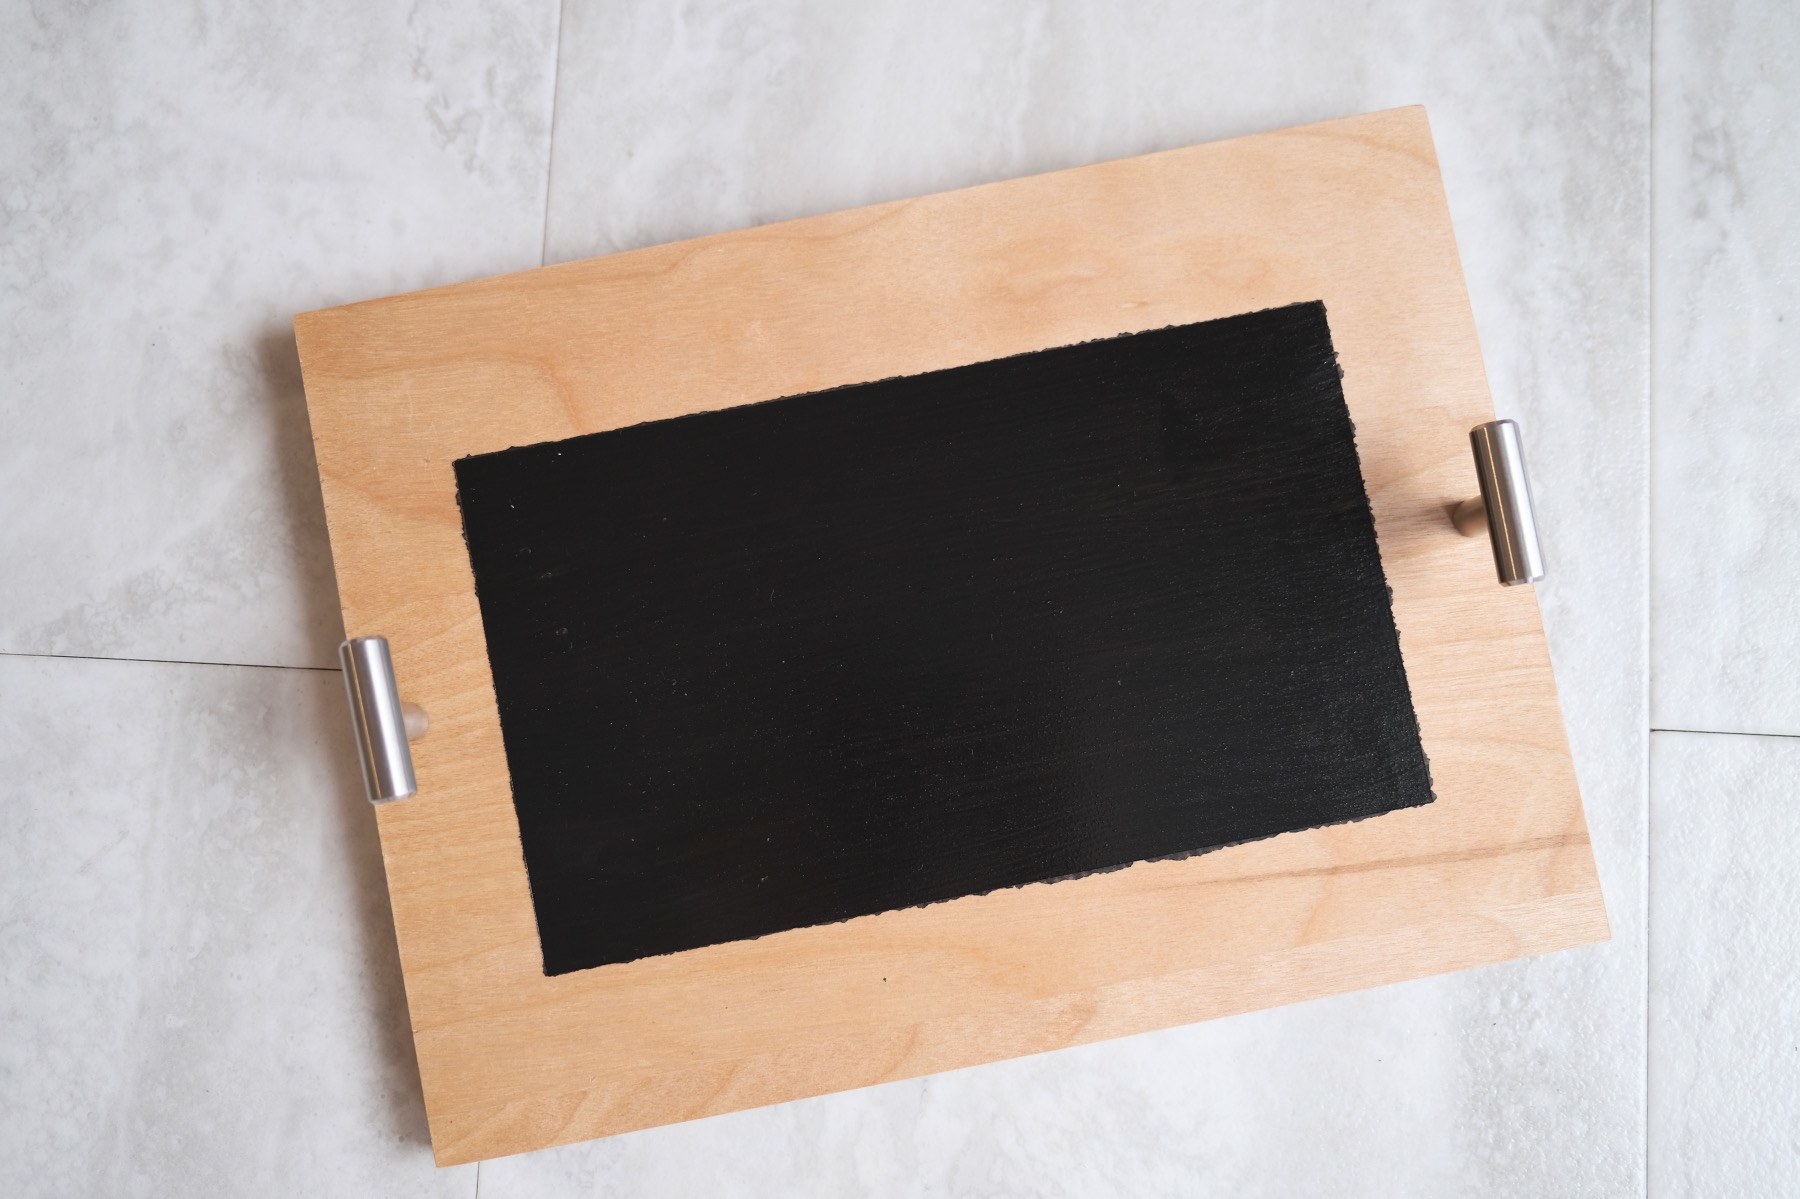
And viola! Your Wood Serving Tray is finished! Now it’s all about chalkboard lettering. You will want to prep your chalkboard to get it ready for lettering and then start to decorate!
Find the full instructions on Seasoning a Chalkboard here. But here’s the short version. If you want to reuse your chalkboard again and again, you will want to first season it.
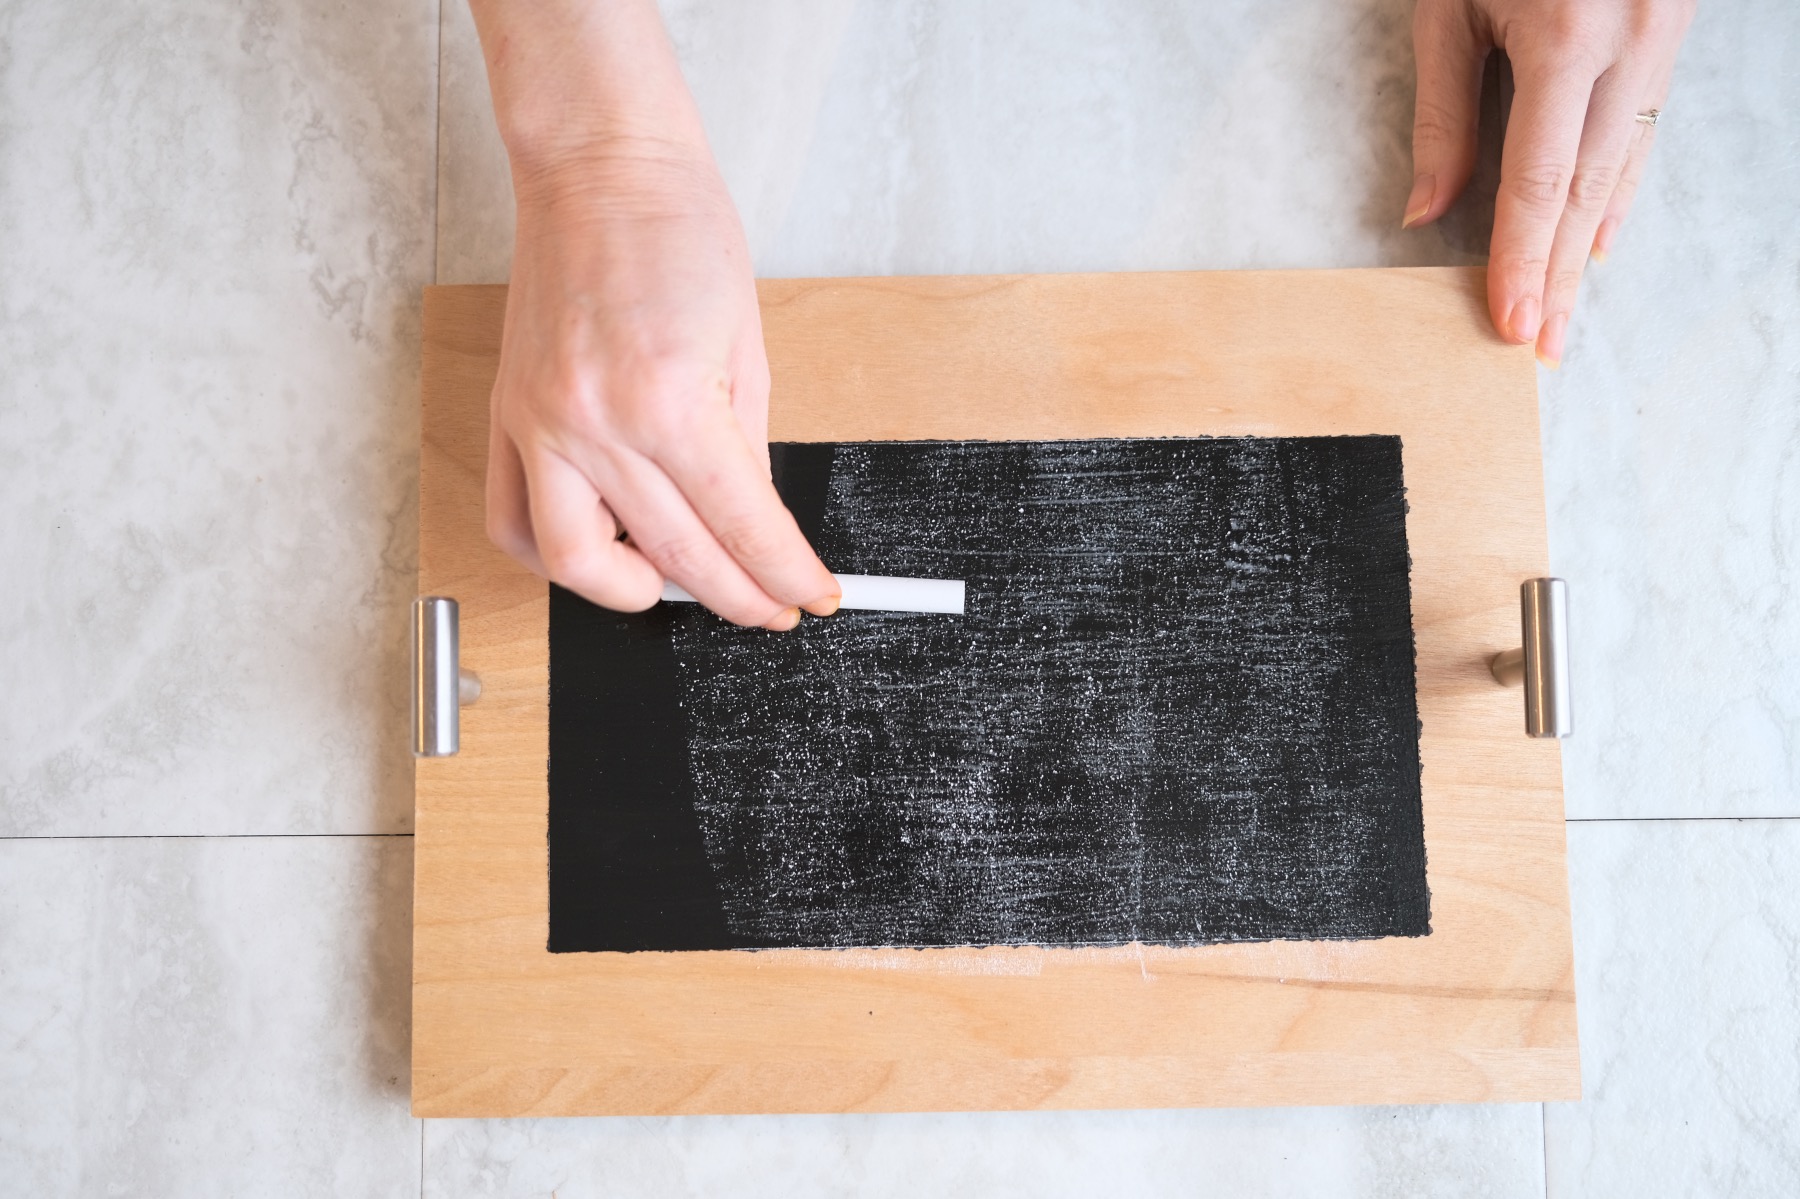
Start by using the long side of your chalk and rub the entire length across the chalkboard. Rub the chalk across the chalkboard up and down and left and right.

Then use a gentle cloth to remove all of the excess dry chalk. Your chalkboard will look a bit more gray and not flat black. But it will erase and be able to reuse easily.
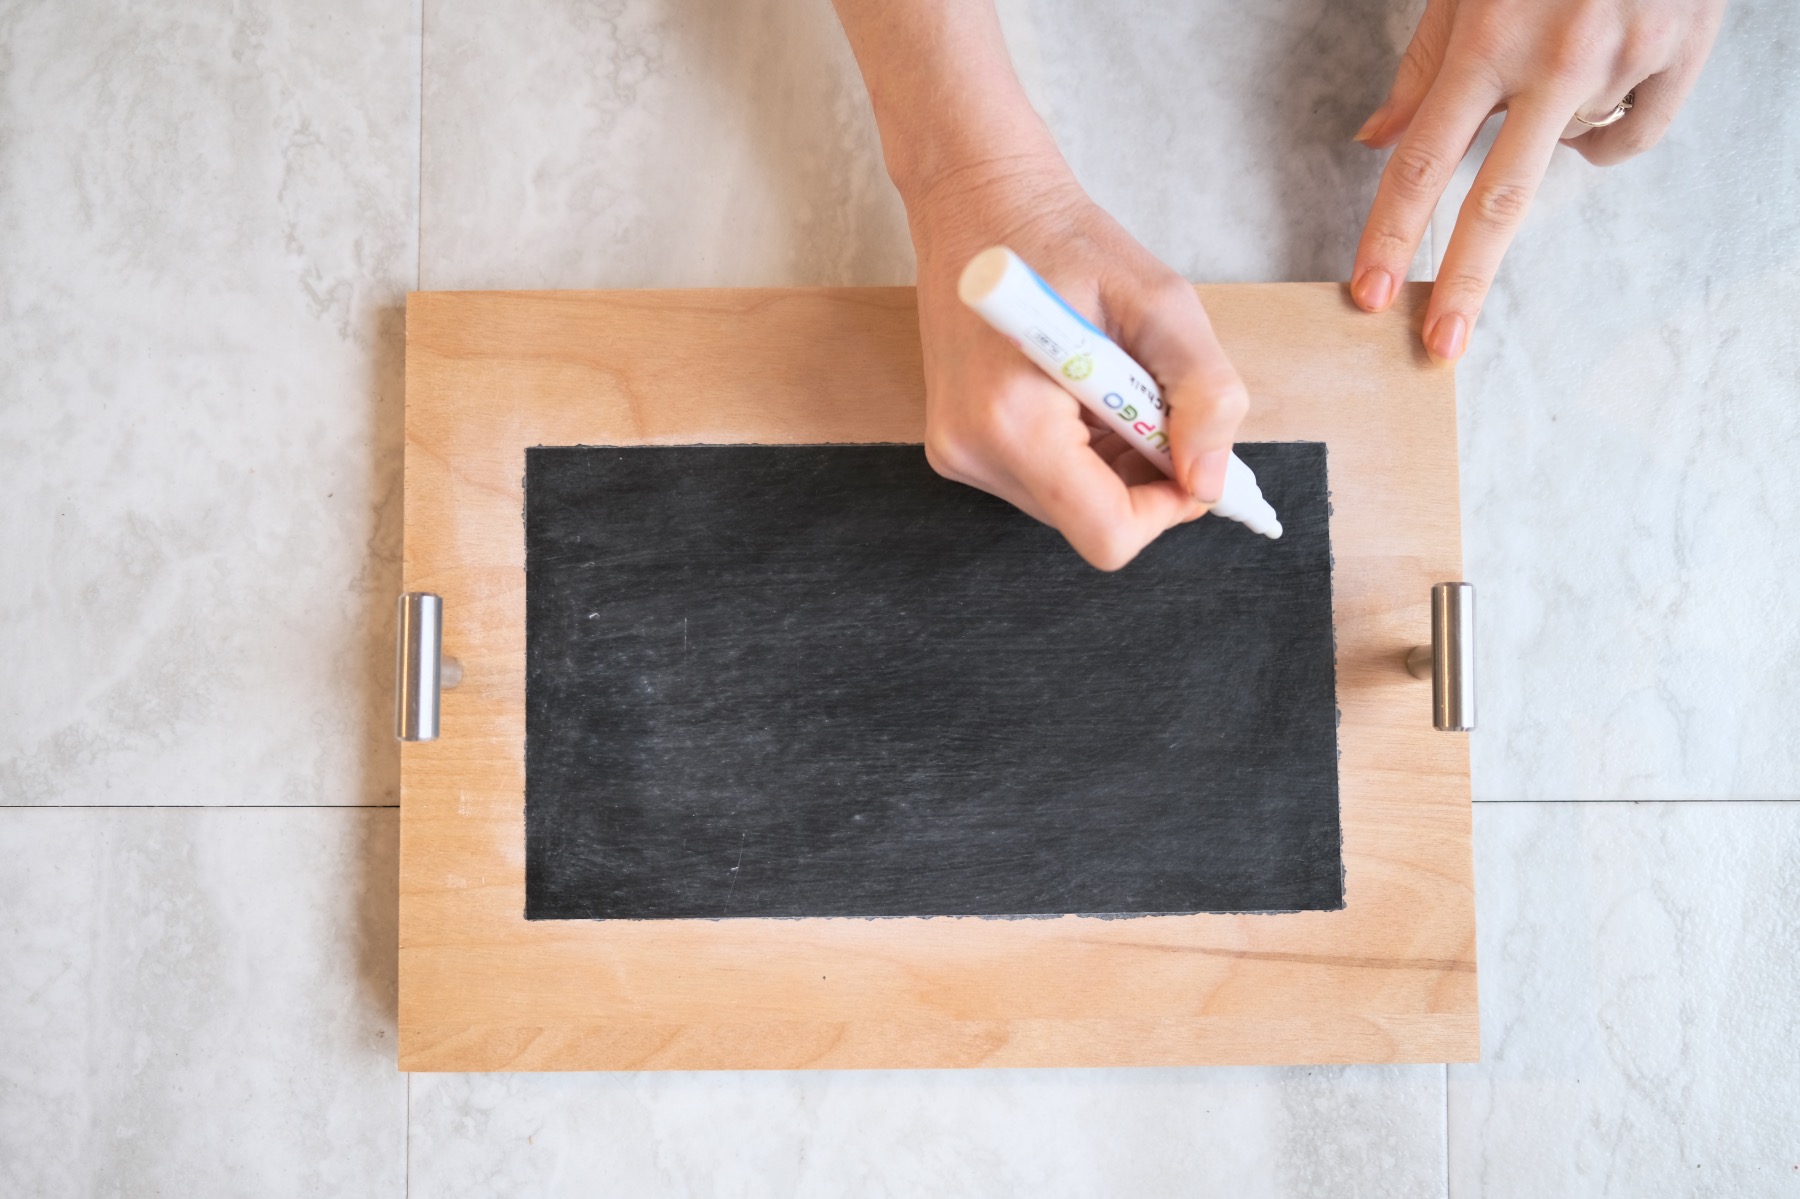
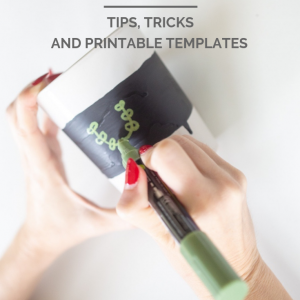
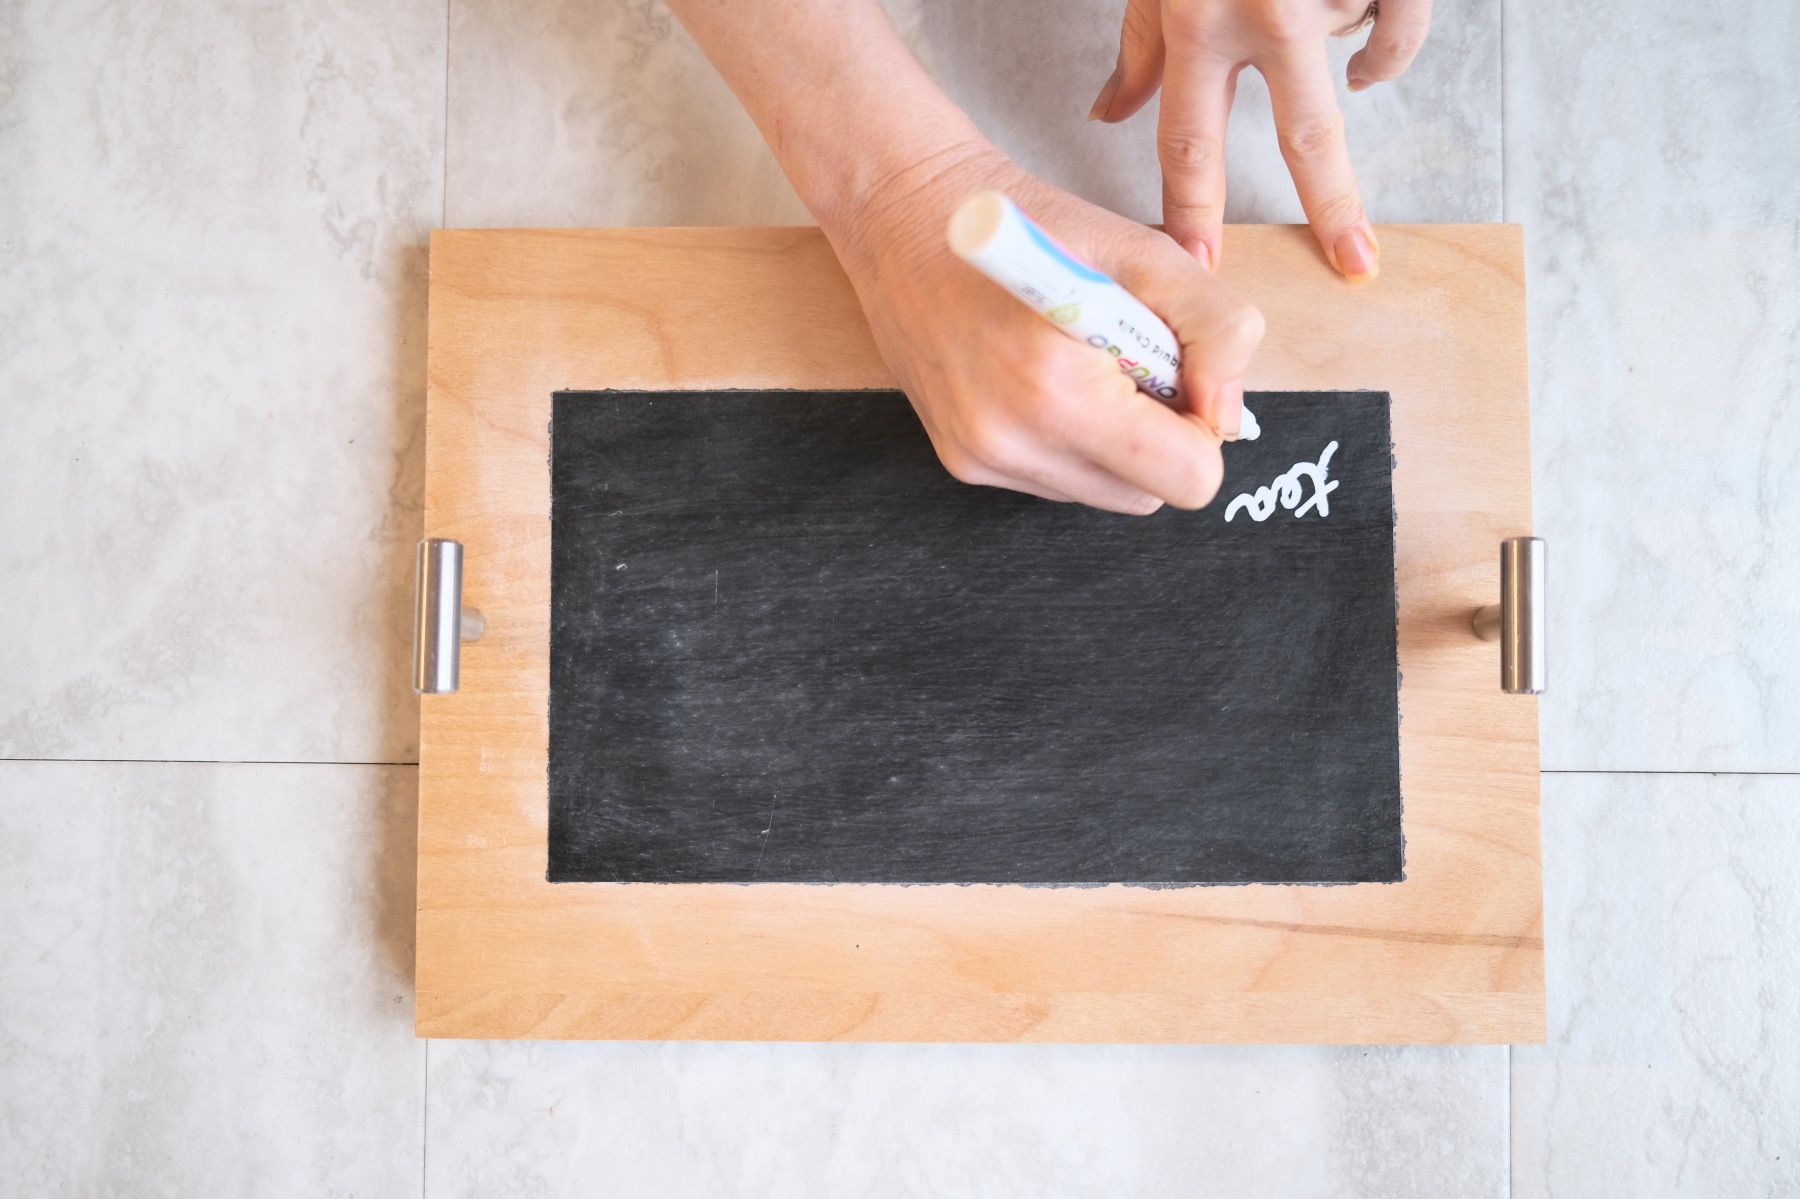
To use your chalk pens, first shake them thoroughly. Then press the tip of the pen to a surface until the chalk starts to flow. Chalk pens and chalkboard lettering is perfect for describing what’s on the tray or adding a cool message like “Happy Holidays” or “Congratulations.”
Best of all you don’t need to be a talented artist to make something stylish!
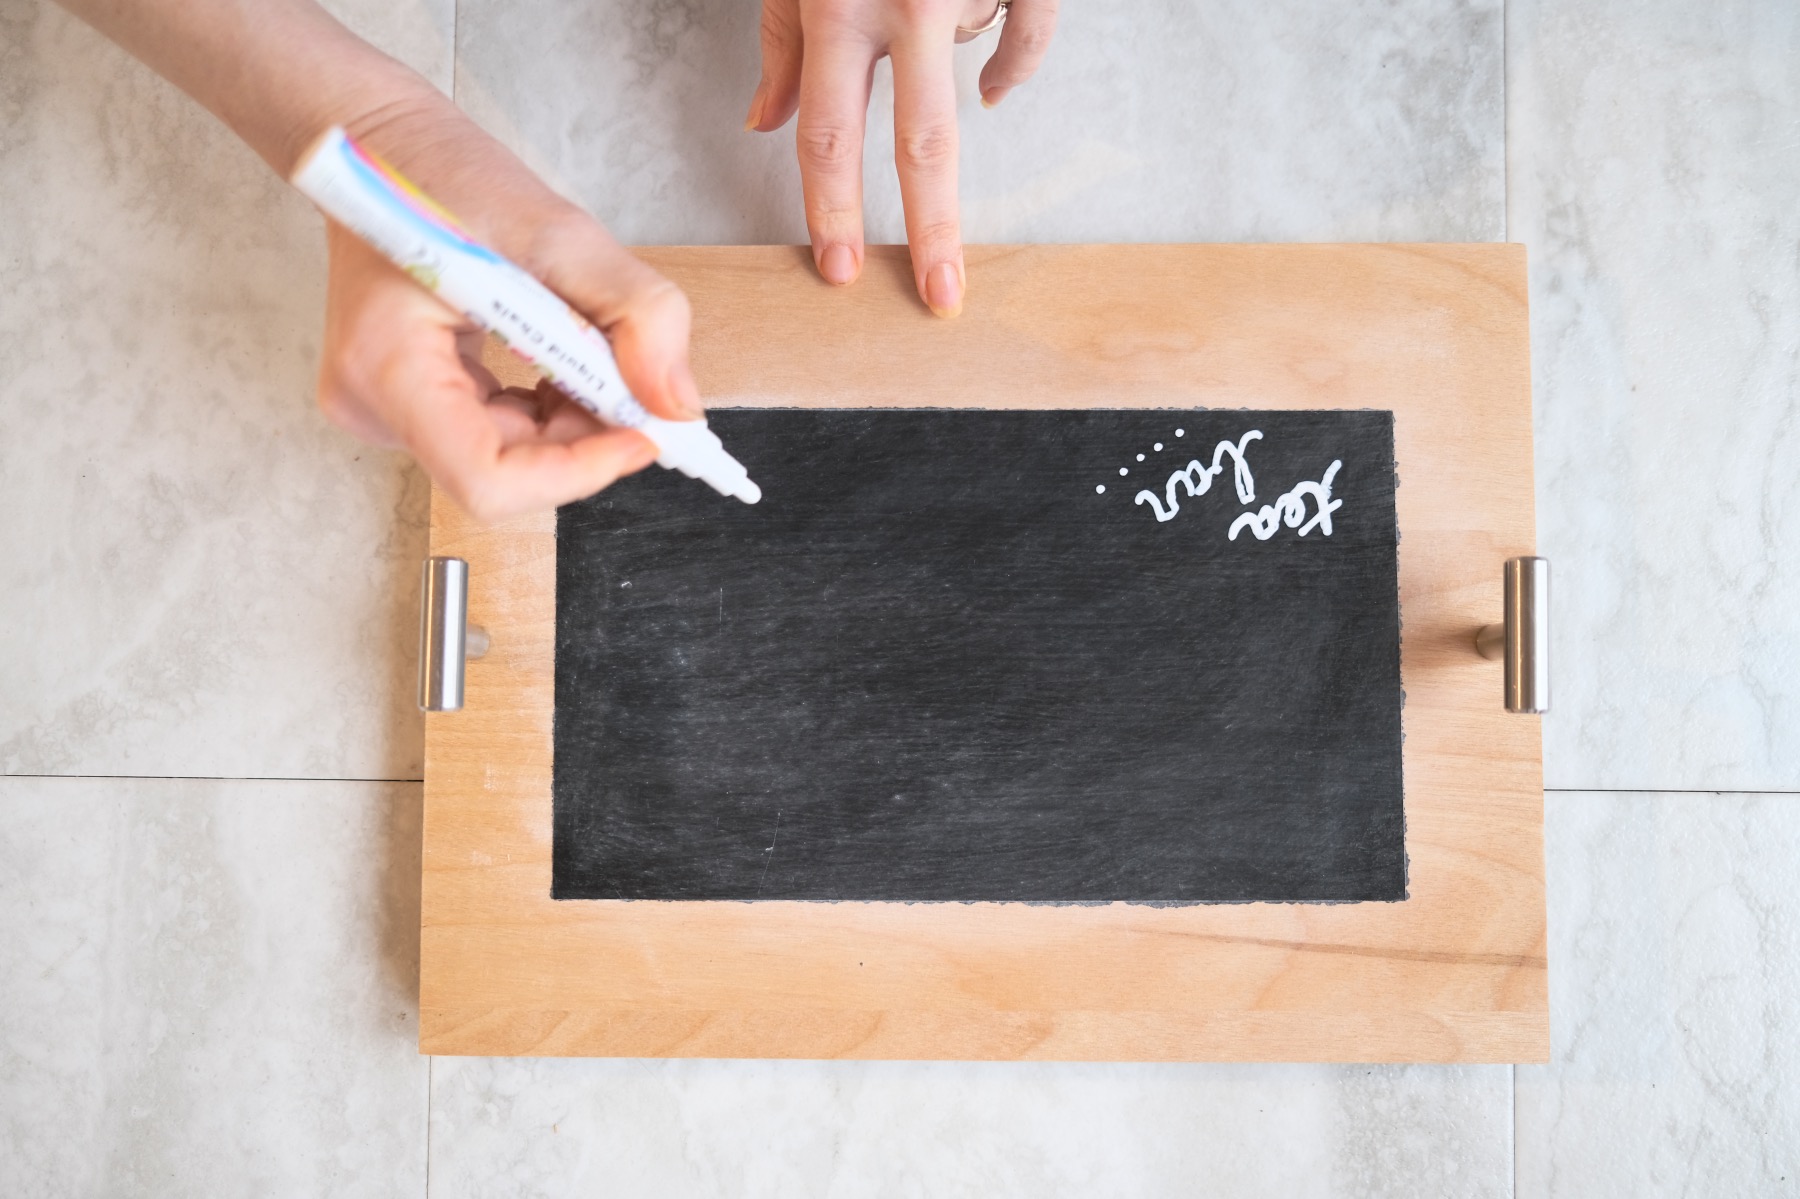
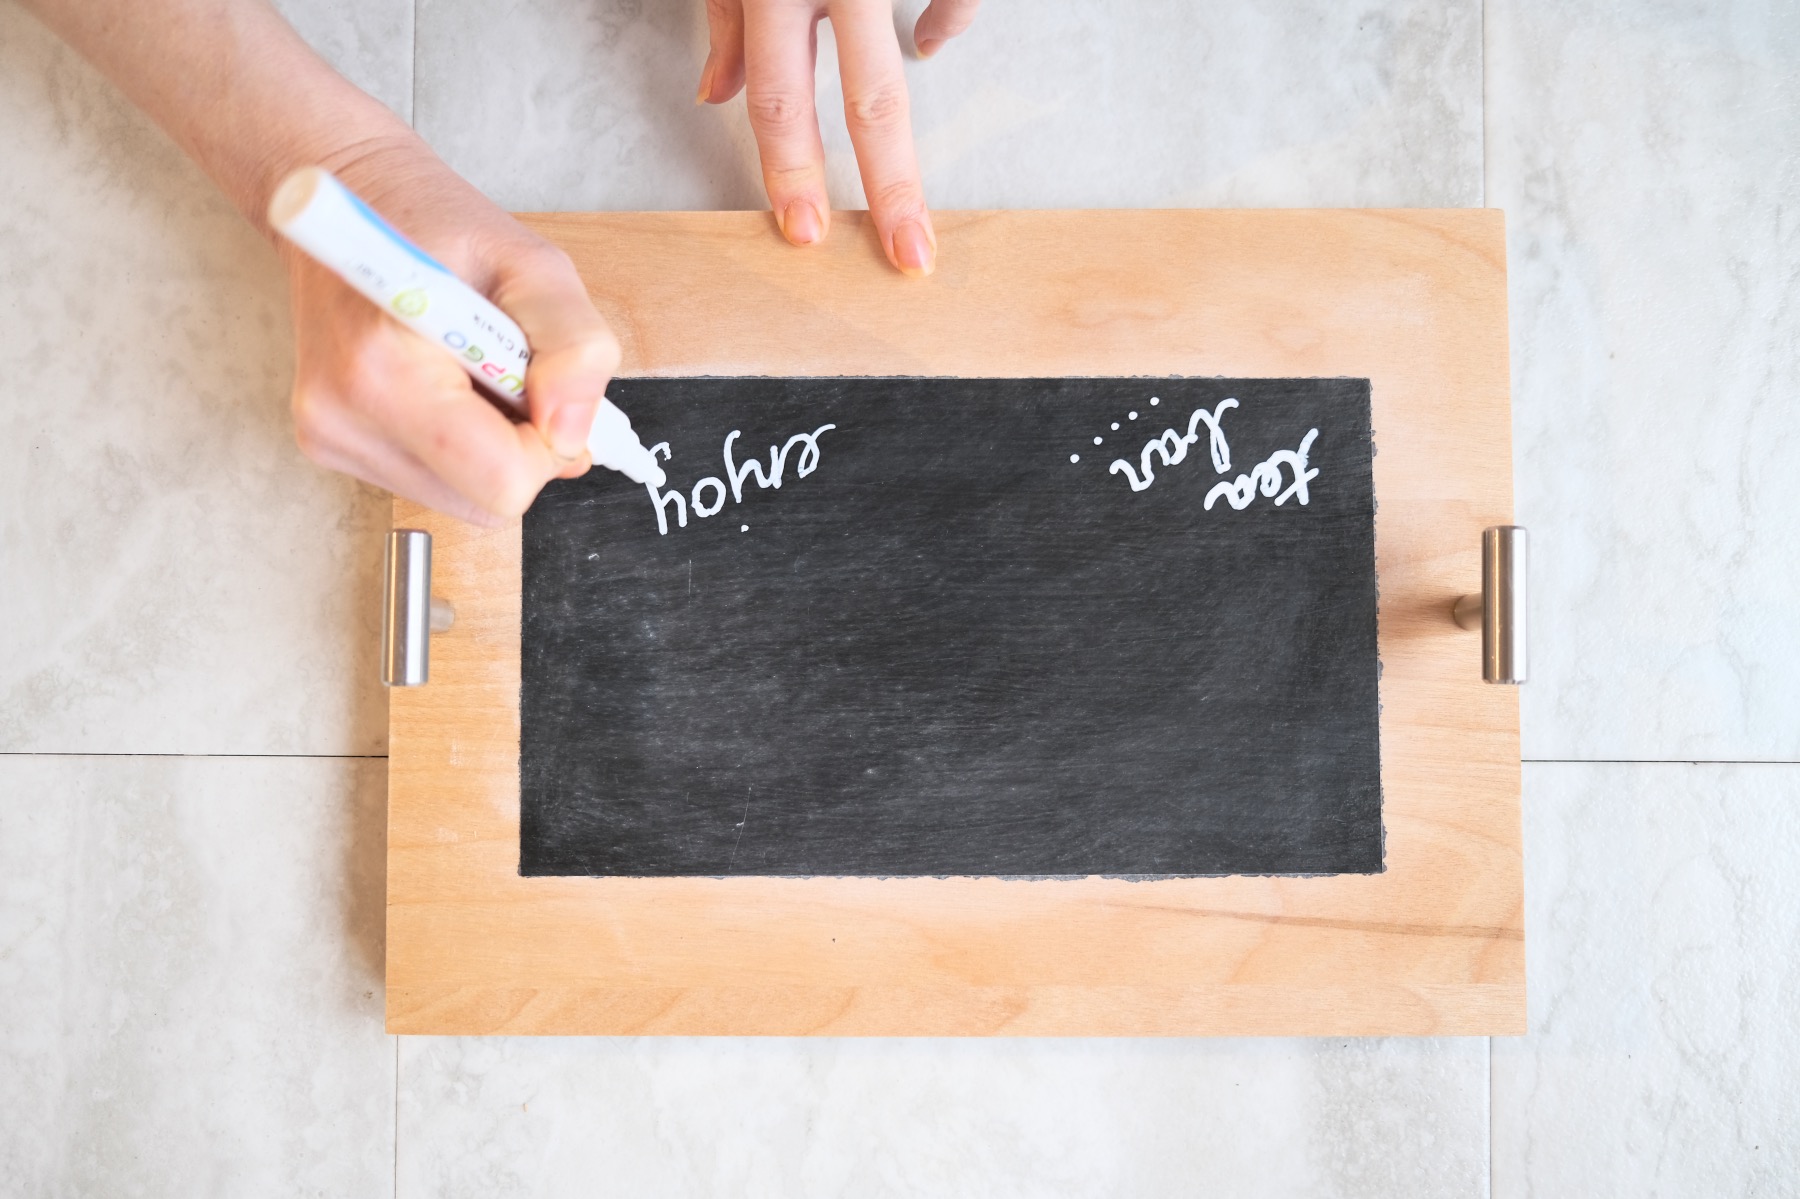
Chalkboard Lettering is best made with paper templates. The templates are backwards – a mirror image. Chalked, then reversed and applied to the surface of the chalkboard to create a tracing that can be filled in with greater detail.
To go in depth on Chalkboard Lettering check out this Easy to Follow Guide with 6+ free templates. Or try these advanced Chalkboard Lettering techniques with an additional 5 templates.
To care for your chalkboard tray, hand wash with soap and water but never put in a dishwasher. Your chalkboard paint is permanent but can’t be scrubbed with a scouring pad. Instead be really gentle when cleaning it.
When you wash your tray, depending on how you added your felt – whether you added felt to the corners for balance or whether you just added felt to protect the screws, you may want to try to keep it dry.
That’s it! It’s such a cool diy that is surprisingly simple given how many steps there are!
Want to make one for yourself? Then don’t miss the December 2020 Craft in Style Subscription Box and get all these supplies to make your own! Have questions? Message us below and we’ll help you with all the tips and tricks imaginable. Happy Crafting!
Let’s Stay Friends!
Insta | Pinterest | Enews | TikTok