Craft in Style Subscription Instructions, DIY
How to Make a DIY Tassel Blanket
Nov
This blog is Part 2 of 2 of the November 2020 Craft in Style Subscription Box Instructions. Part 1: How to Make a Dip Dyed Blanket can be found here. Craft in Style Subscription Box can be found here.
You know I am tassel crazy! I love these tassel bookmarks here. They are a great way to dress up a simple bookmark. And they make great gifts for any book lover. I also love these DIY Tassel Earrings that are cute enough to wear anytime!
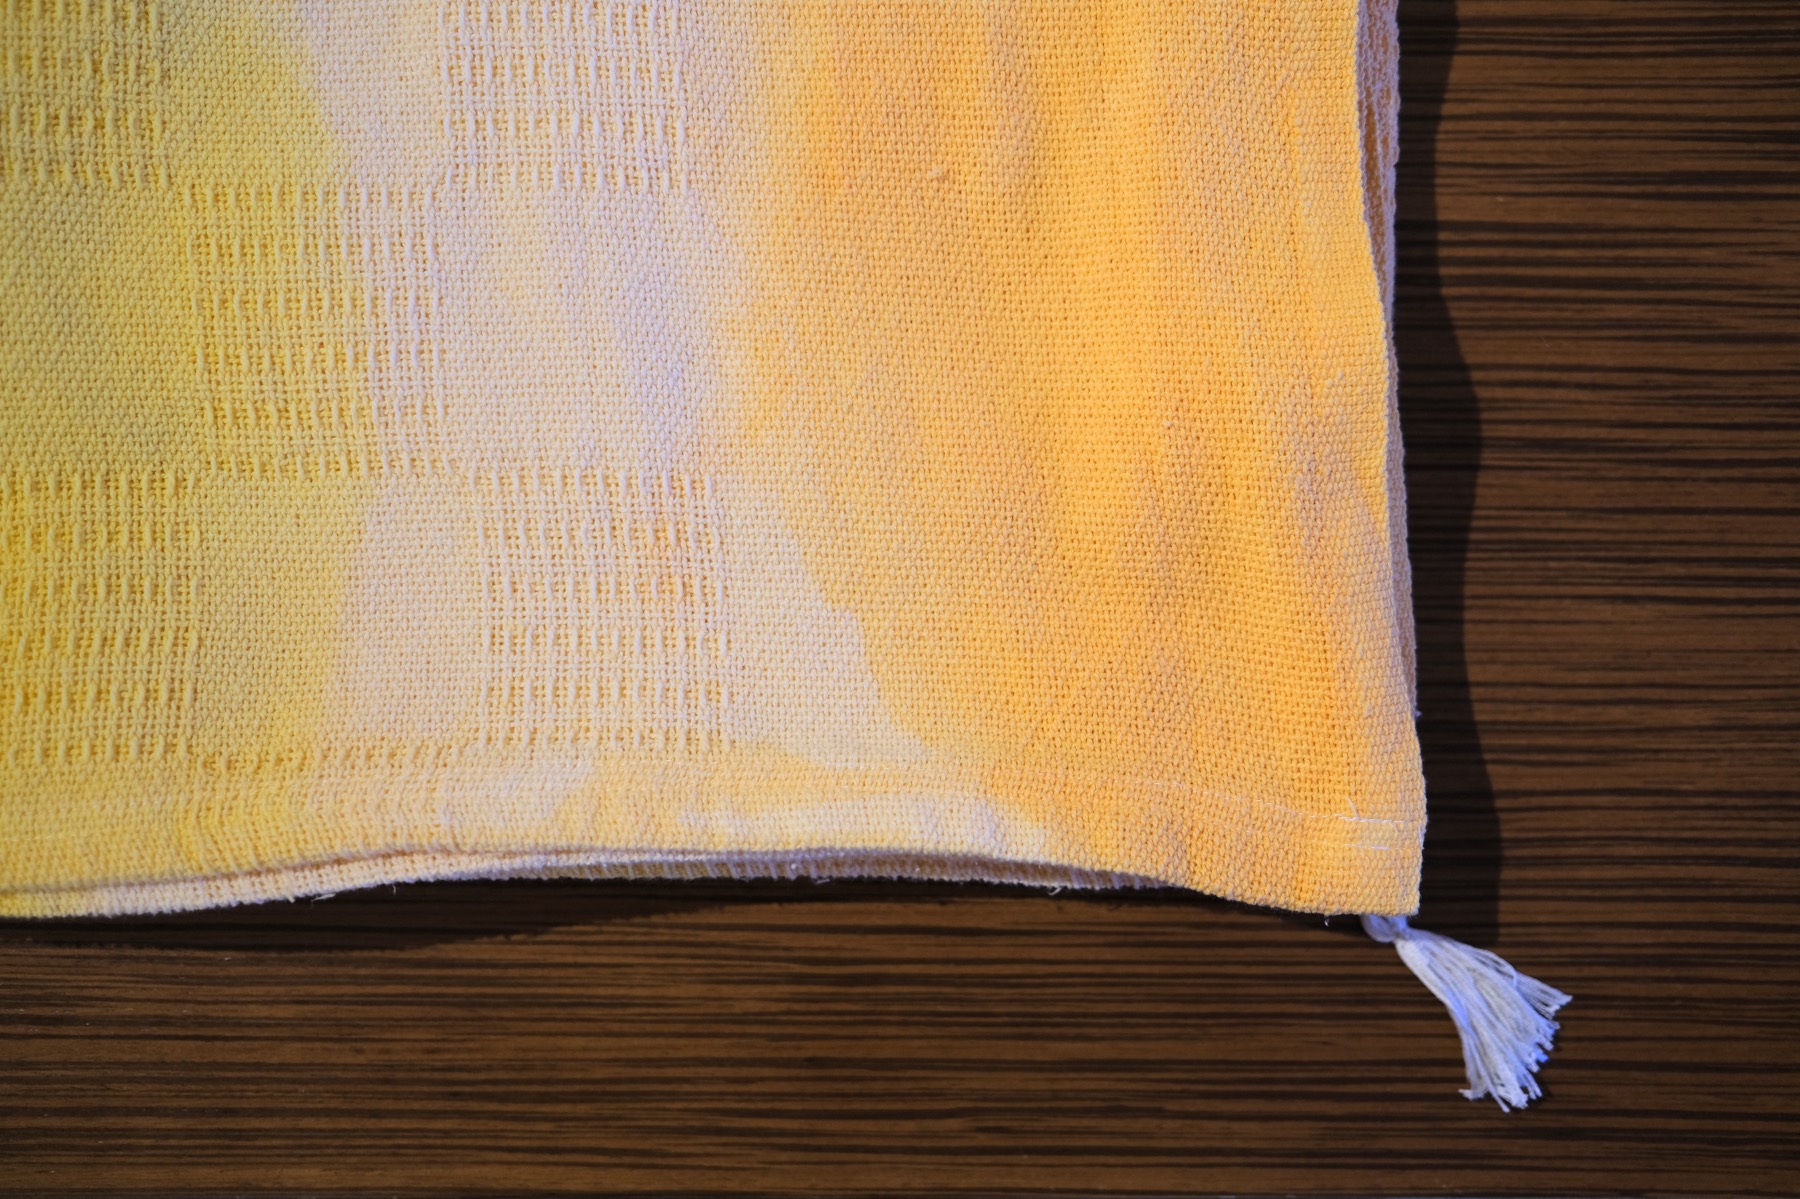
So I couldn’t resist adding sweet and adorable tassels to this Dip Dyed Blanket! It’s the perfect way to take your blanket to the next level. And it helps something that is DIY look super professional and totally unique.
So let’s make it!
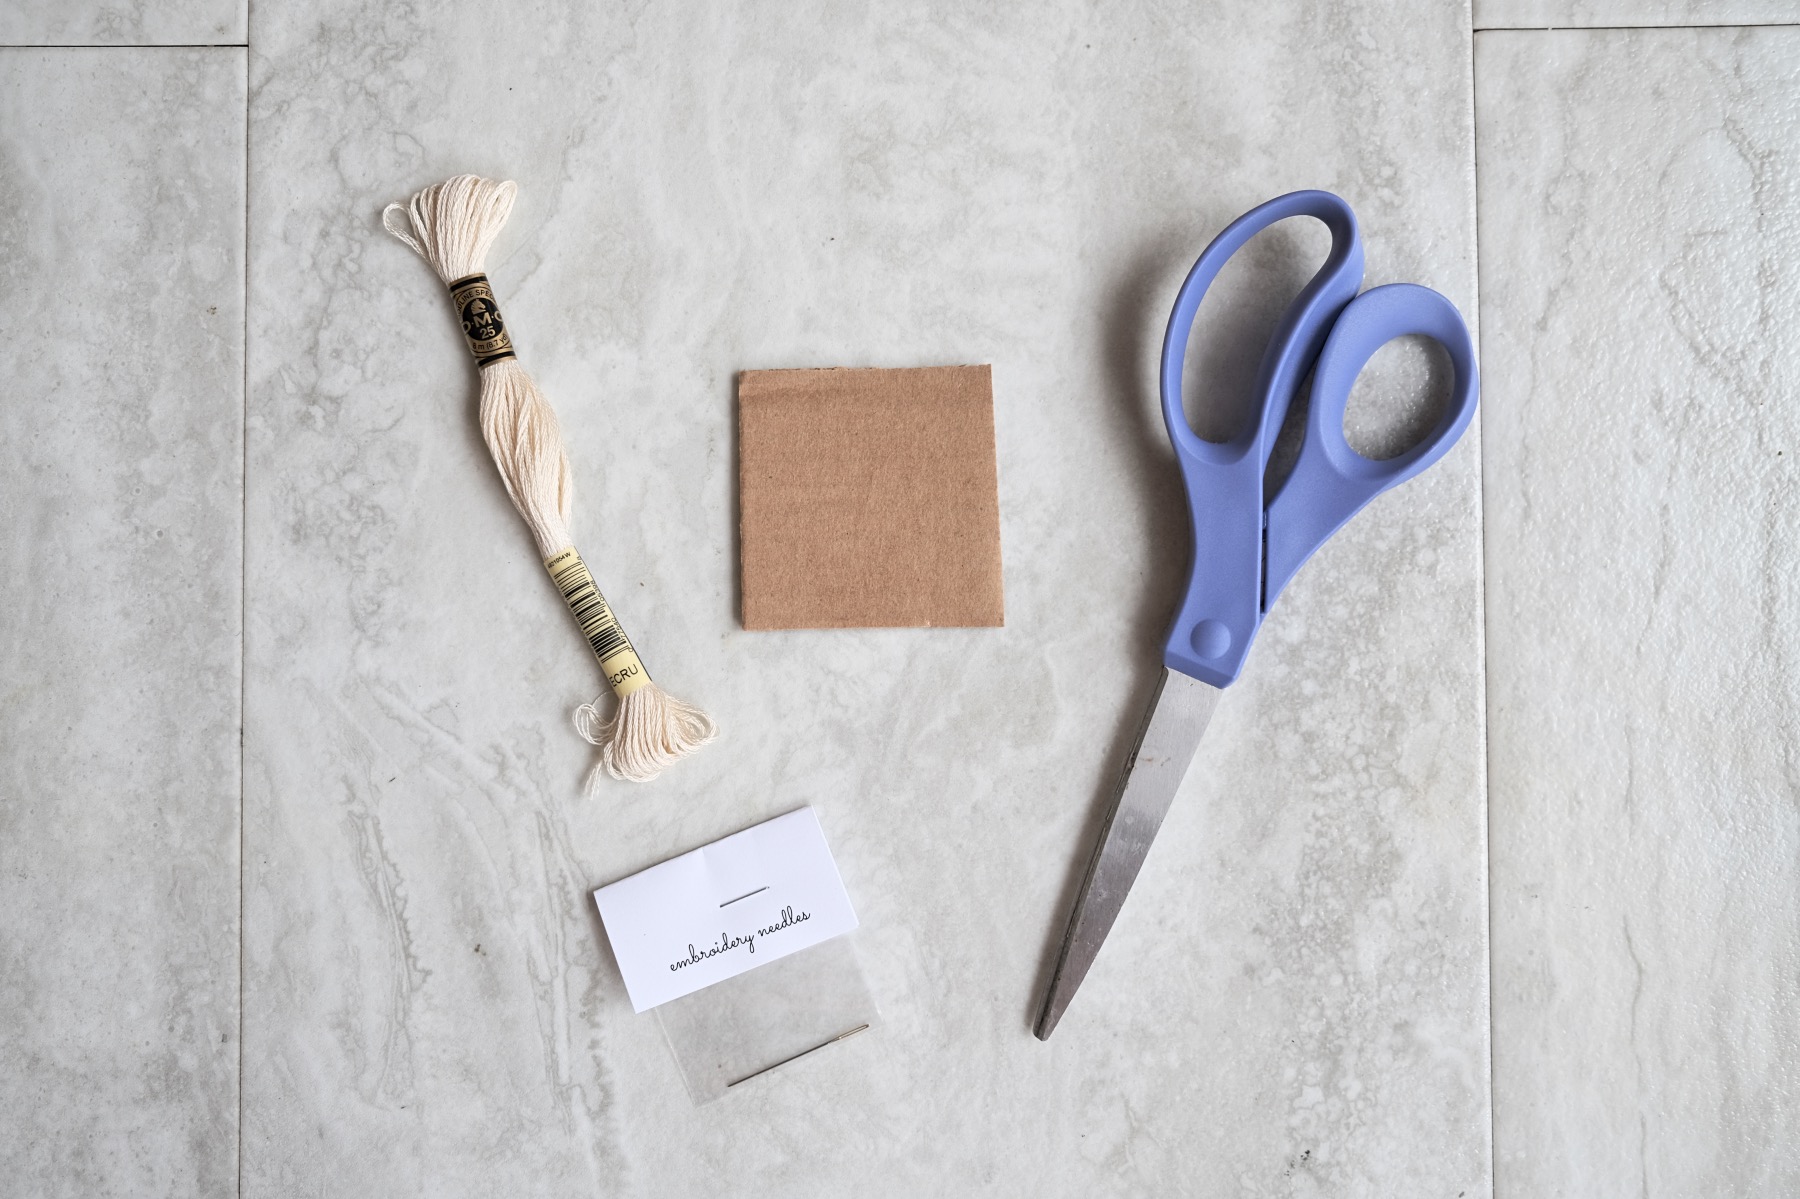
Supplies to Make a DIY Tassel Blanket:
November 2020 Craft in Style Subscription Box
-or-
A Blanket (I used this Dip Dyed Blanket)
Embroidery Floss or Yarn
Scissors
Embroidery Needle
Optional: A Small Piece of Cardboard
The small piece of cardboard can be around 4 or 5 inches but you could also use chip board. If you don’t have either of these, fold a piece of paper to a 4 inch square and make sure it’s thick, dense and immovable.
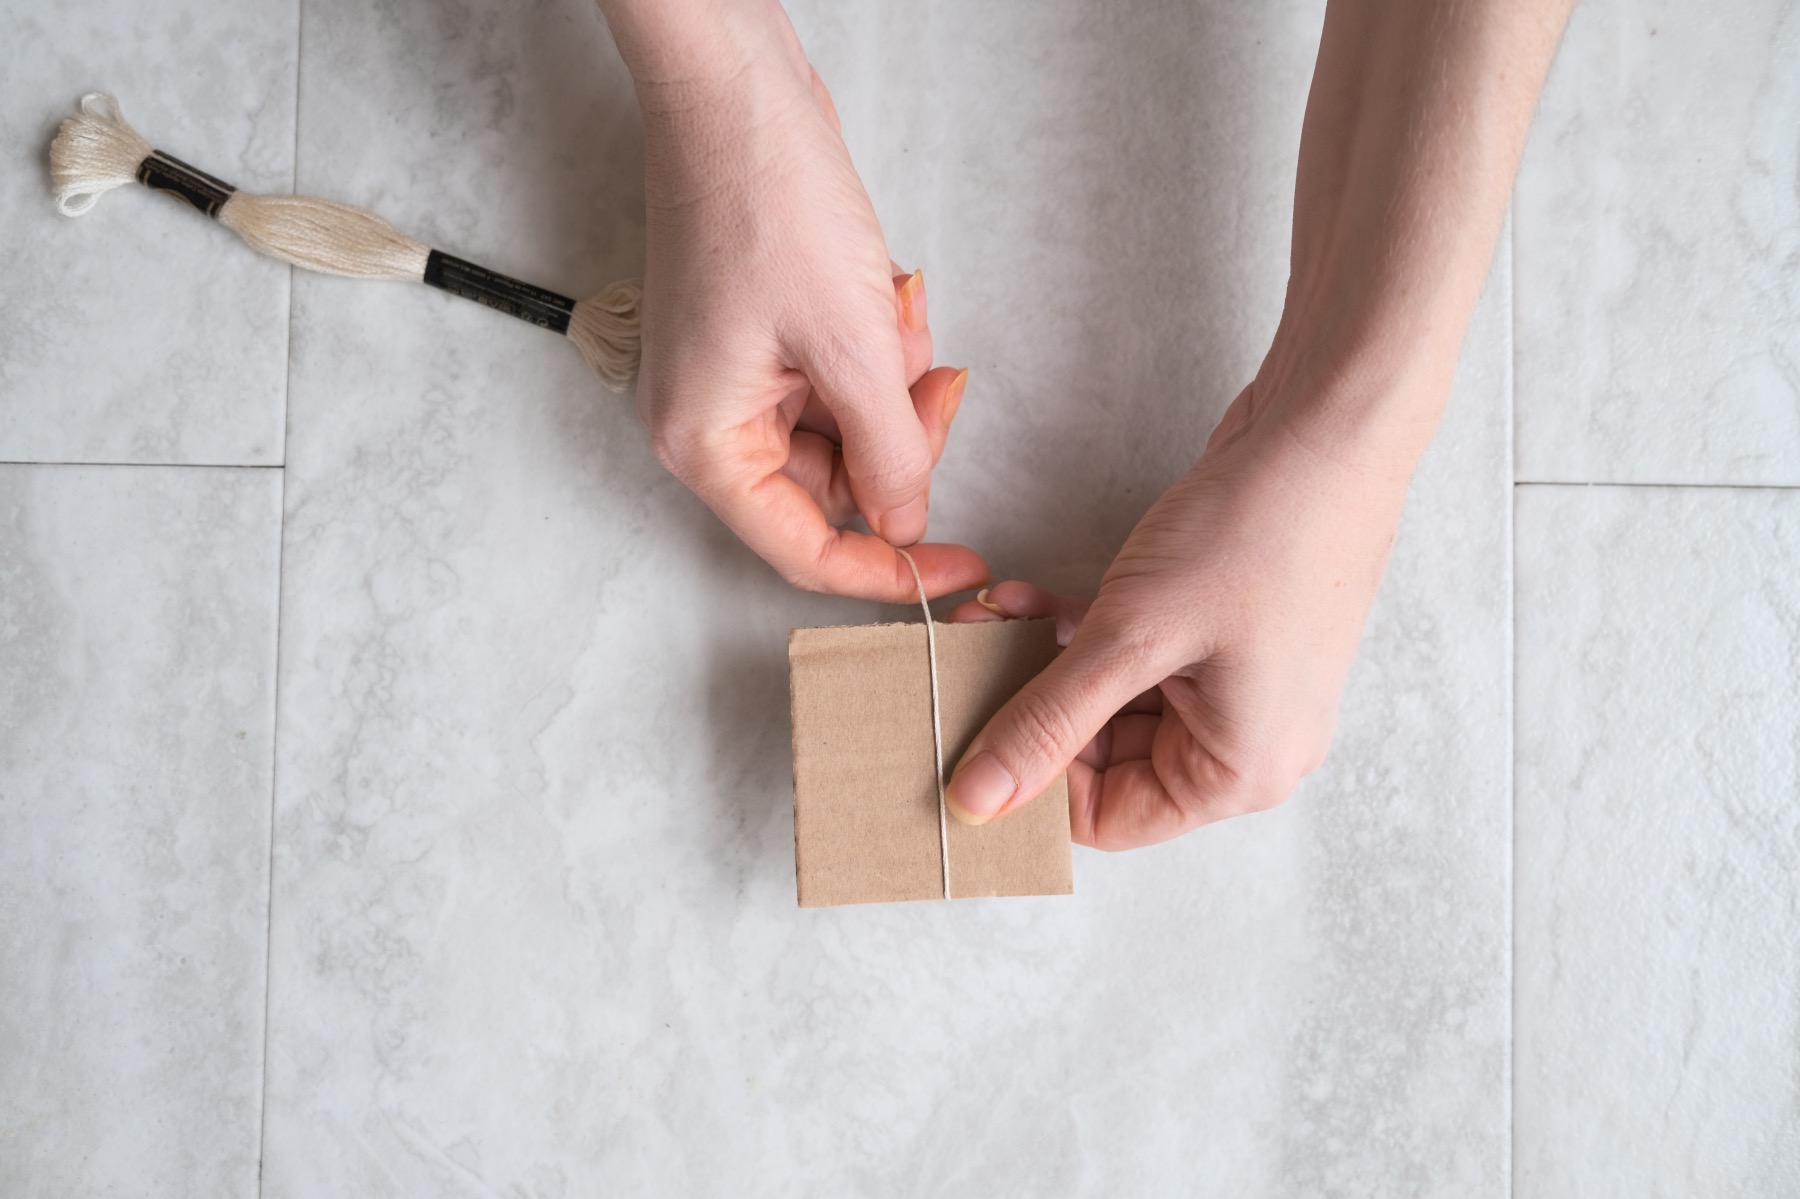
Wind the Thread
Start by wrapping your embroidery thread around and around and around a piece of cardboard. The more you wrap the larger your tassel will become! The end of the embroidery floss that you start with should not be taped or tied off. Just wrap the loops right on top of the end. This will hold the end in place.
For a small tassel, loop the floss at least 7-10 times. For a fluffy and full tassel, wind the thread 15 or more times around the cardboard.
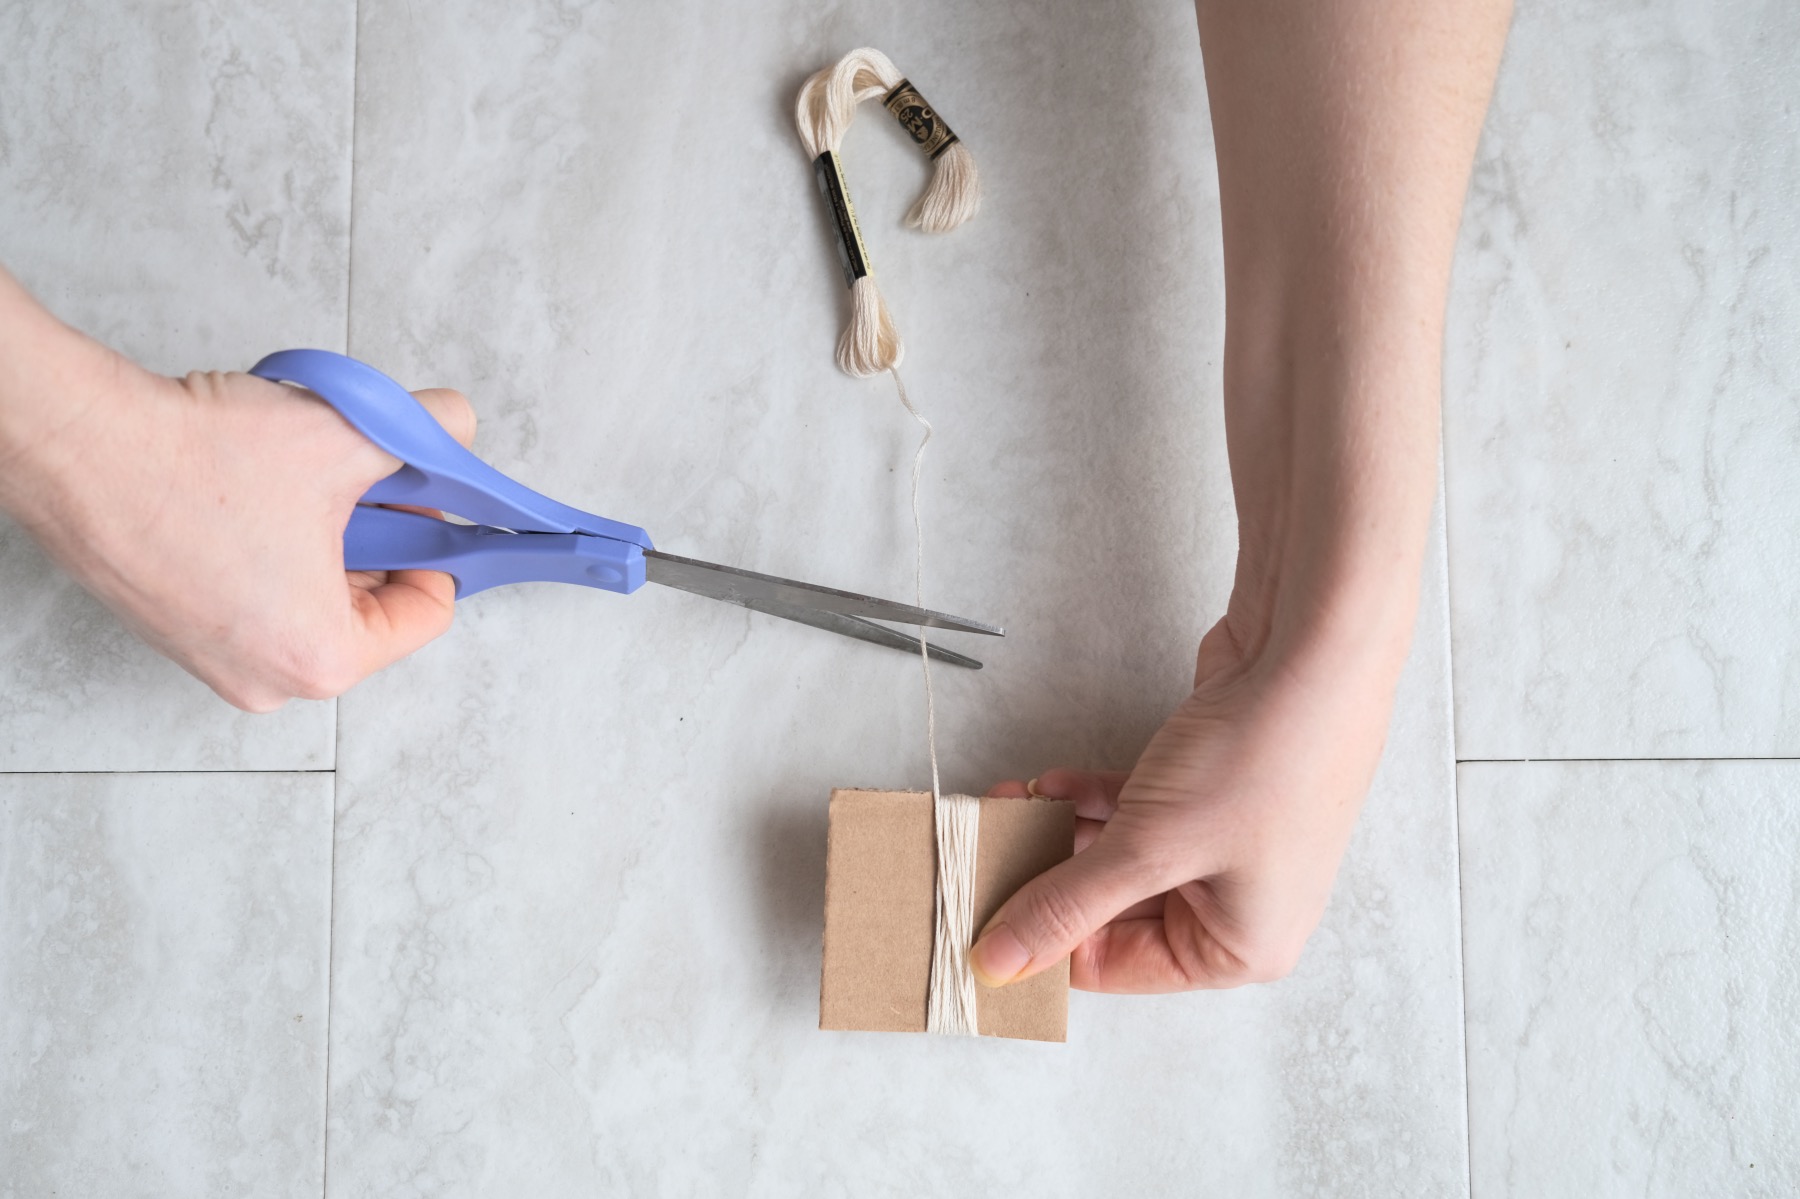
When you have enough loops, simply cut the thread. Just like the other end, you do not need to tie, knot or tape the end. Just leave the end hanging.
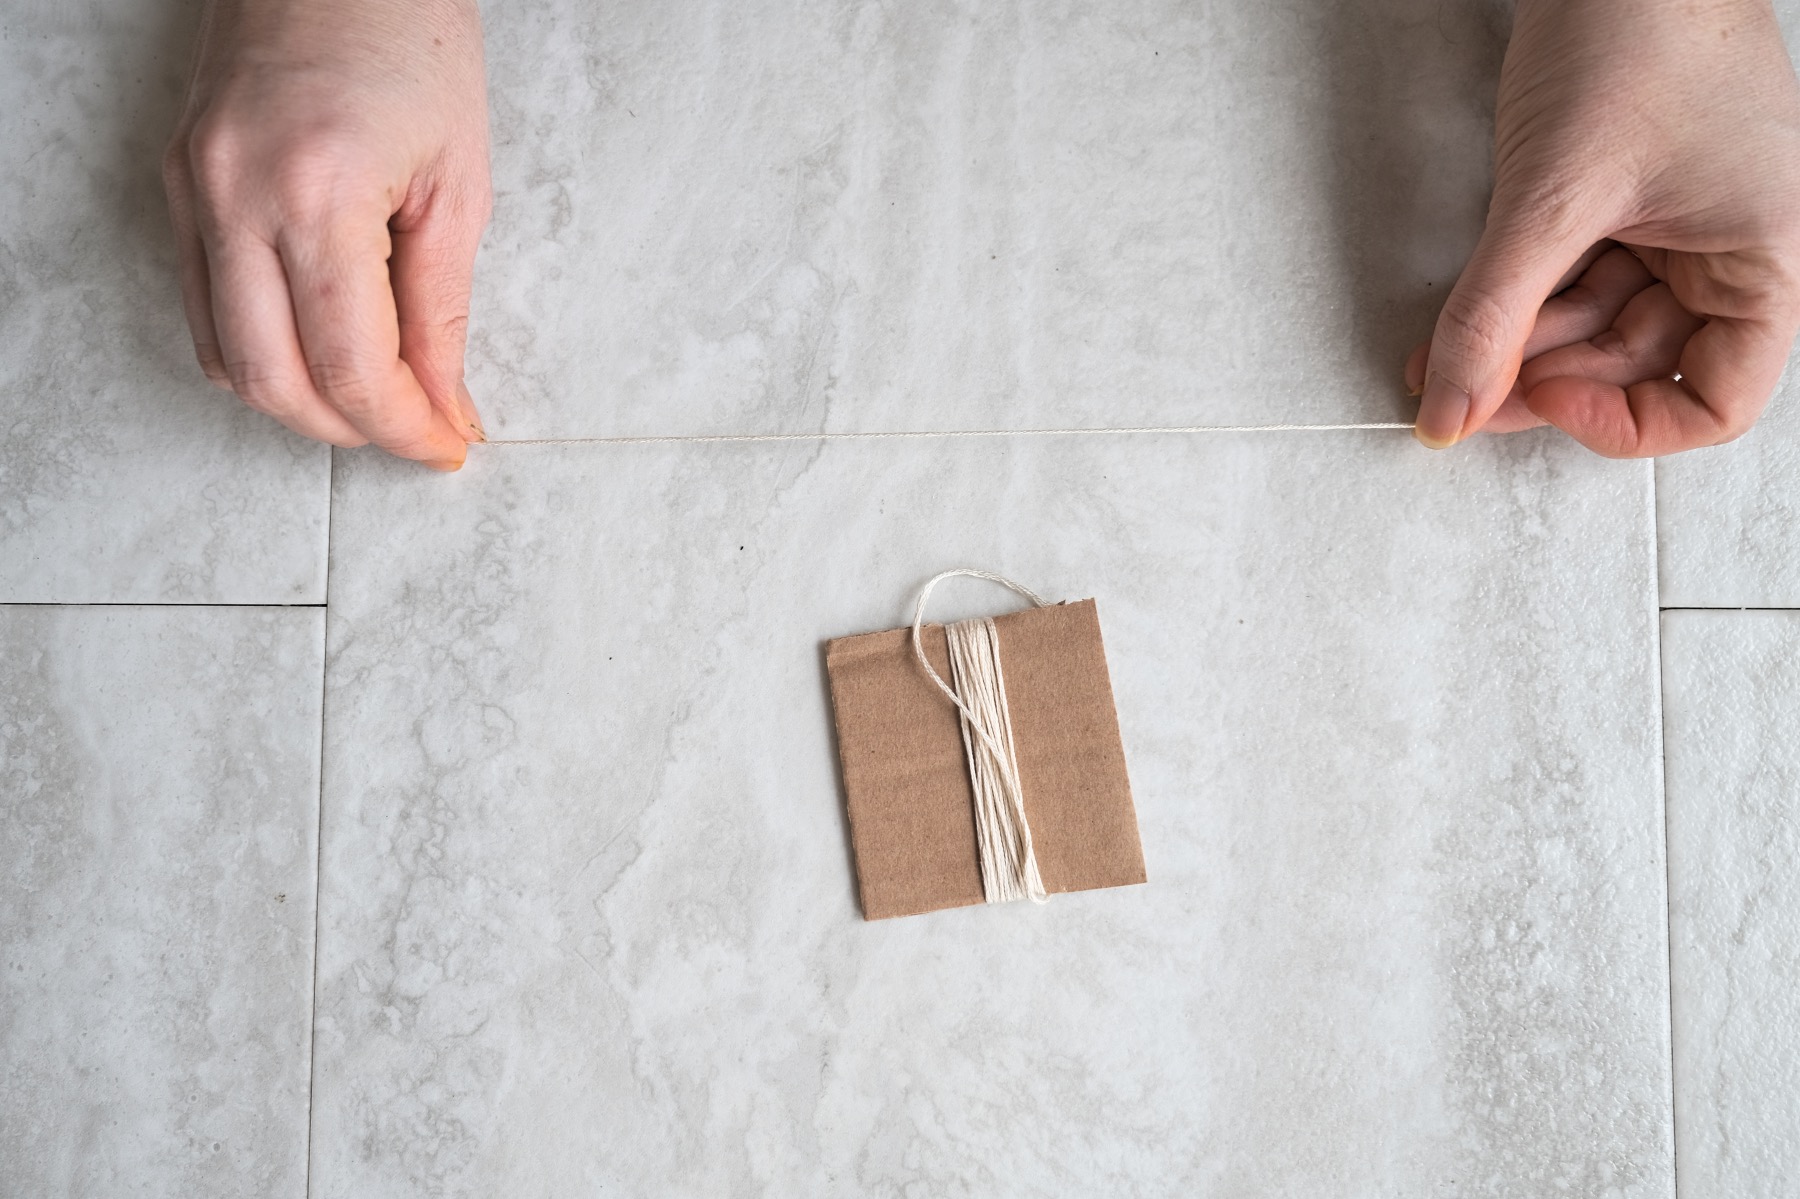
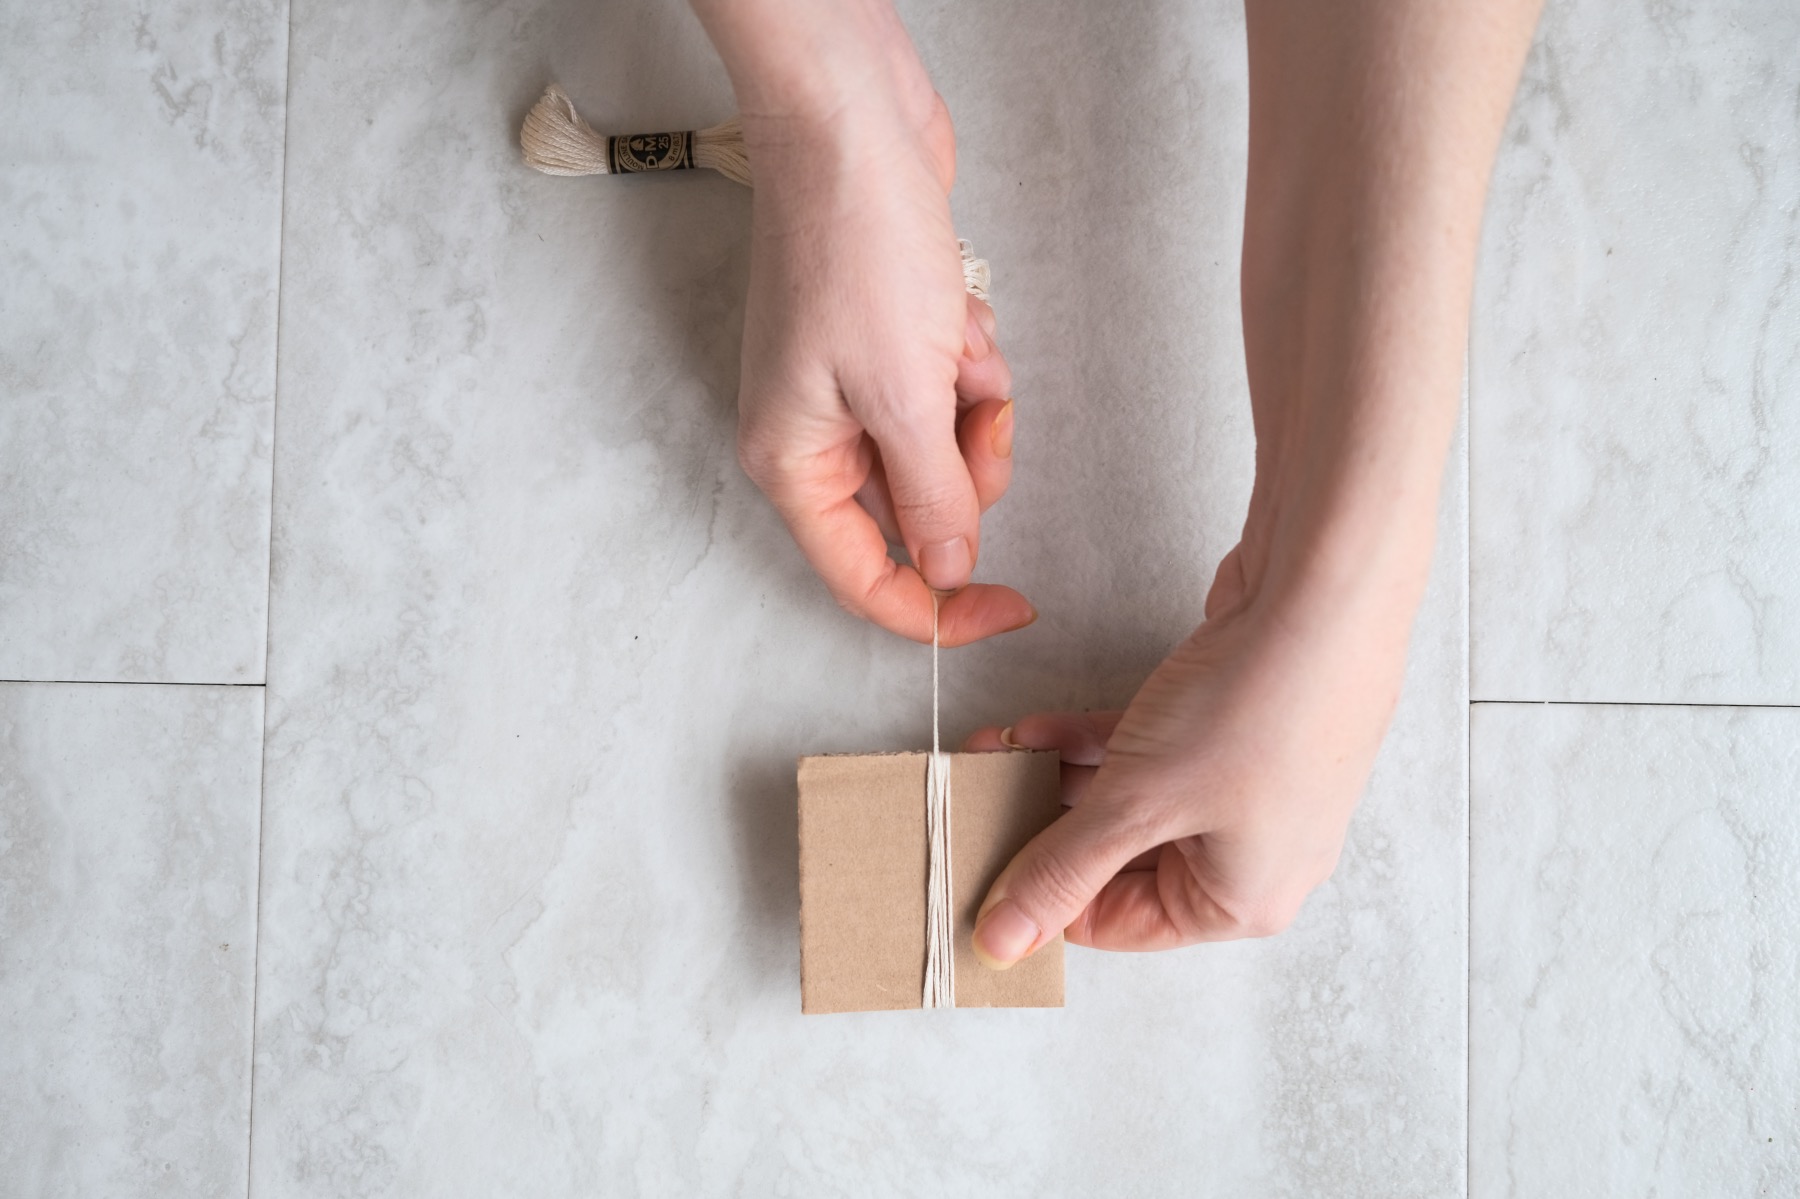
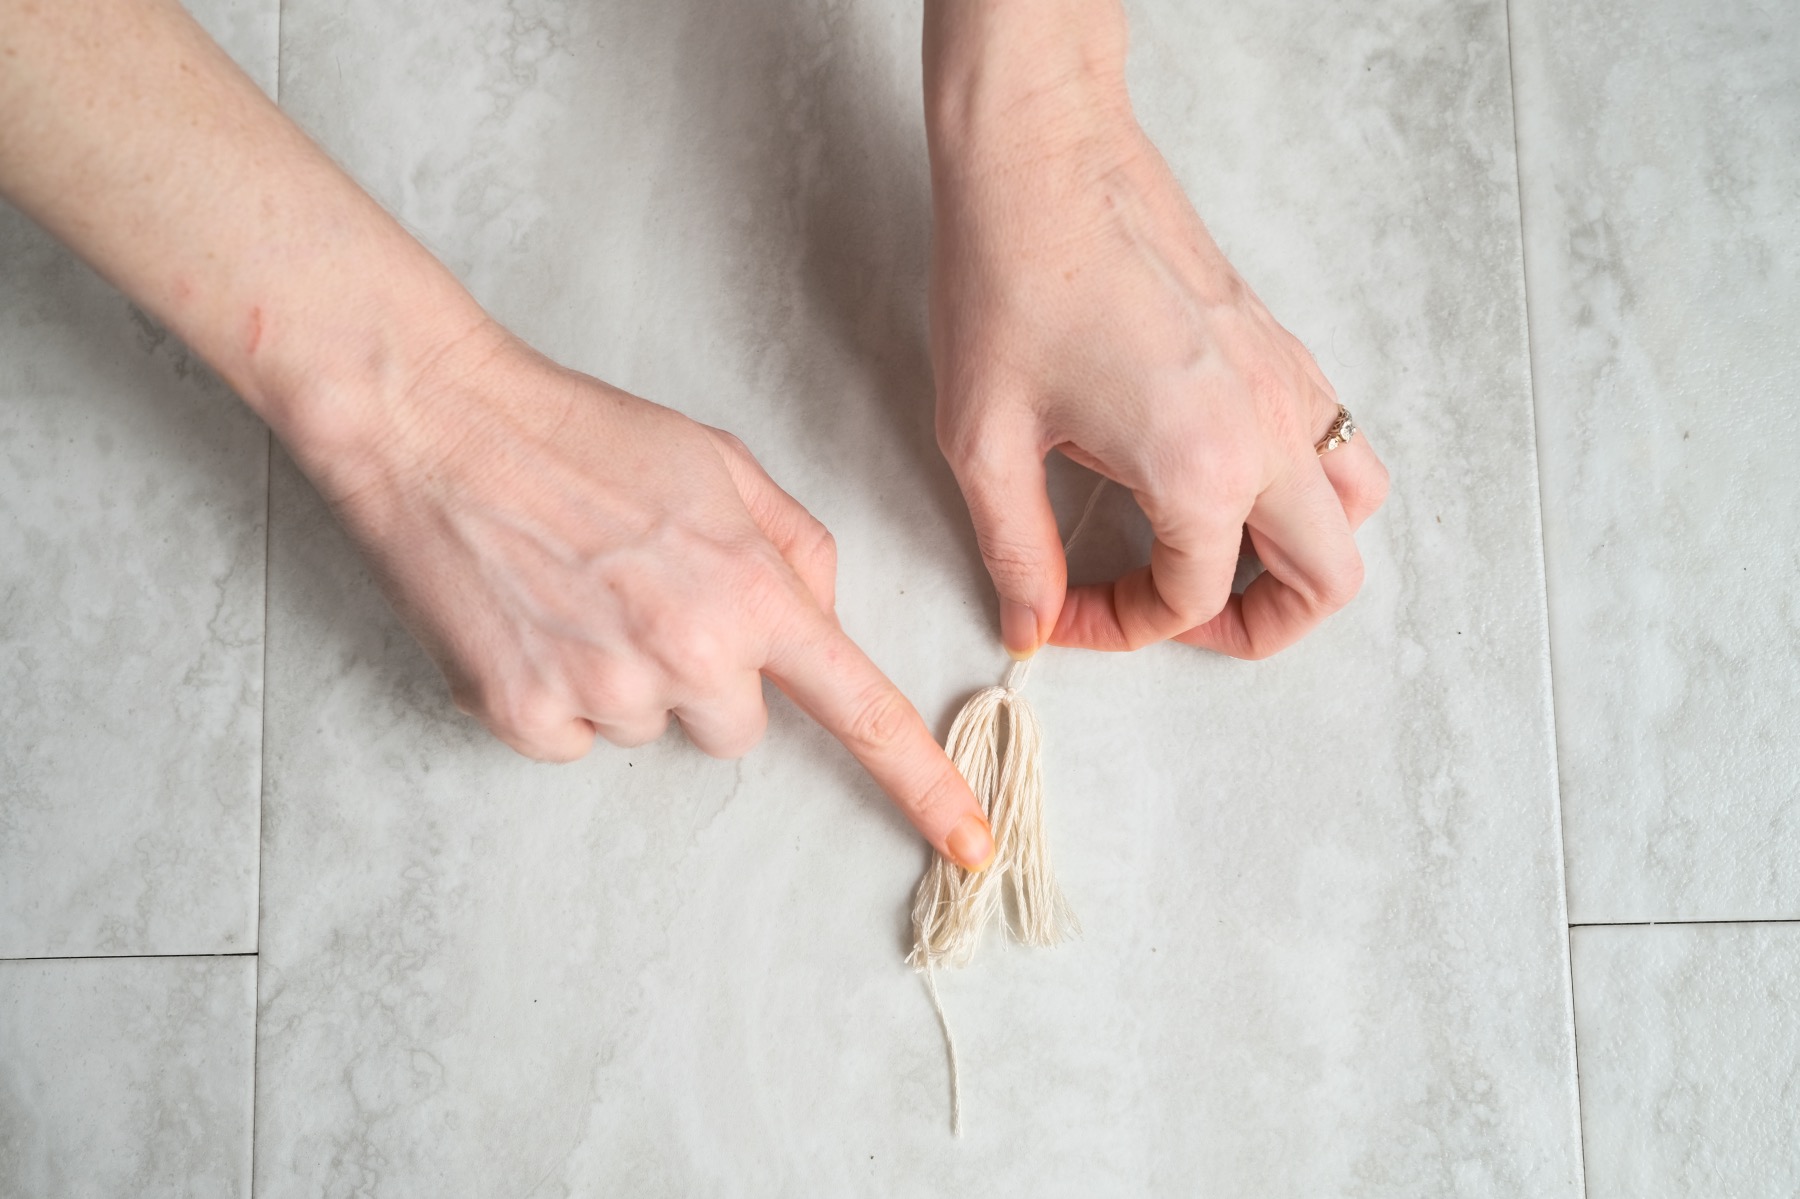
Make a Knot
Next, cut a length of embroidery floss that’s around 6 inches. Place it inside the loops so that it rests in between the cardboard and the embroidery floss. Move the short length of string to the edge of the cardboard.
Tie the embroidery floss in a simple double knot. Pull the knot taught so that the loops that you first created will be firmly pulled together.
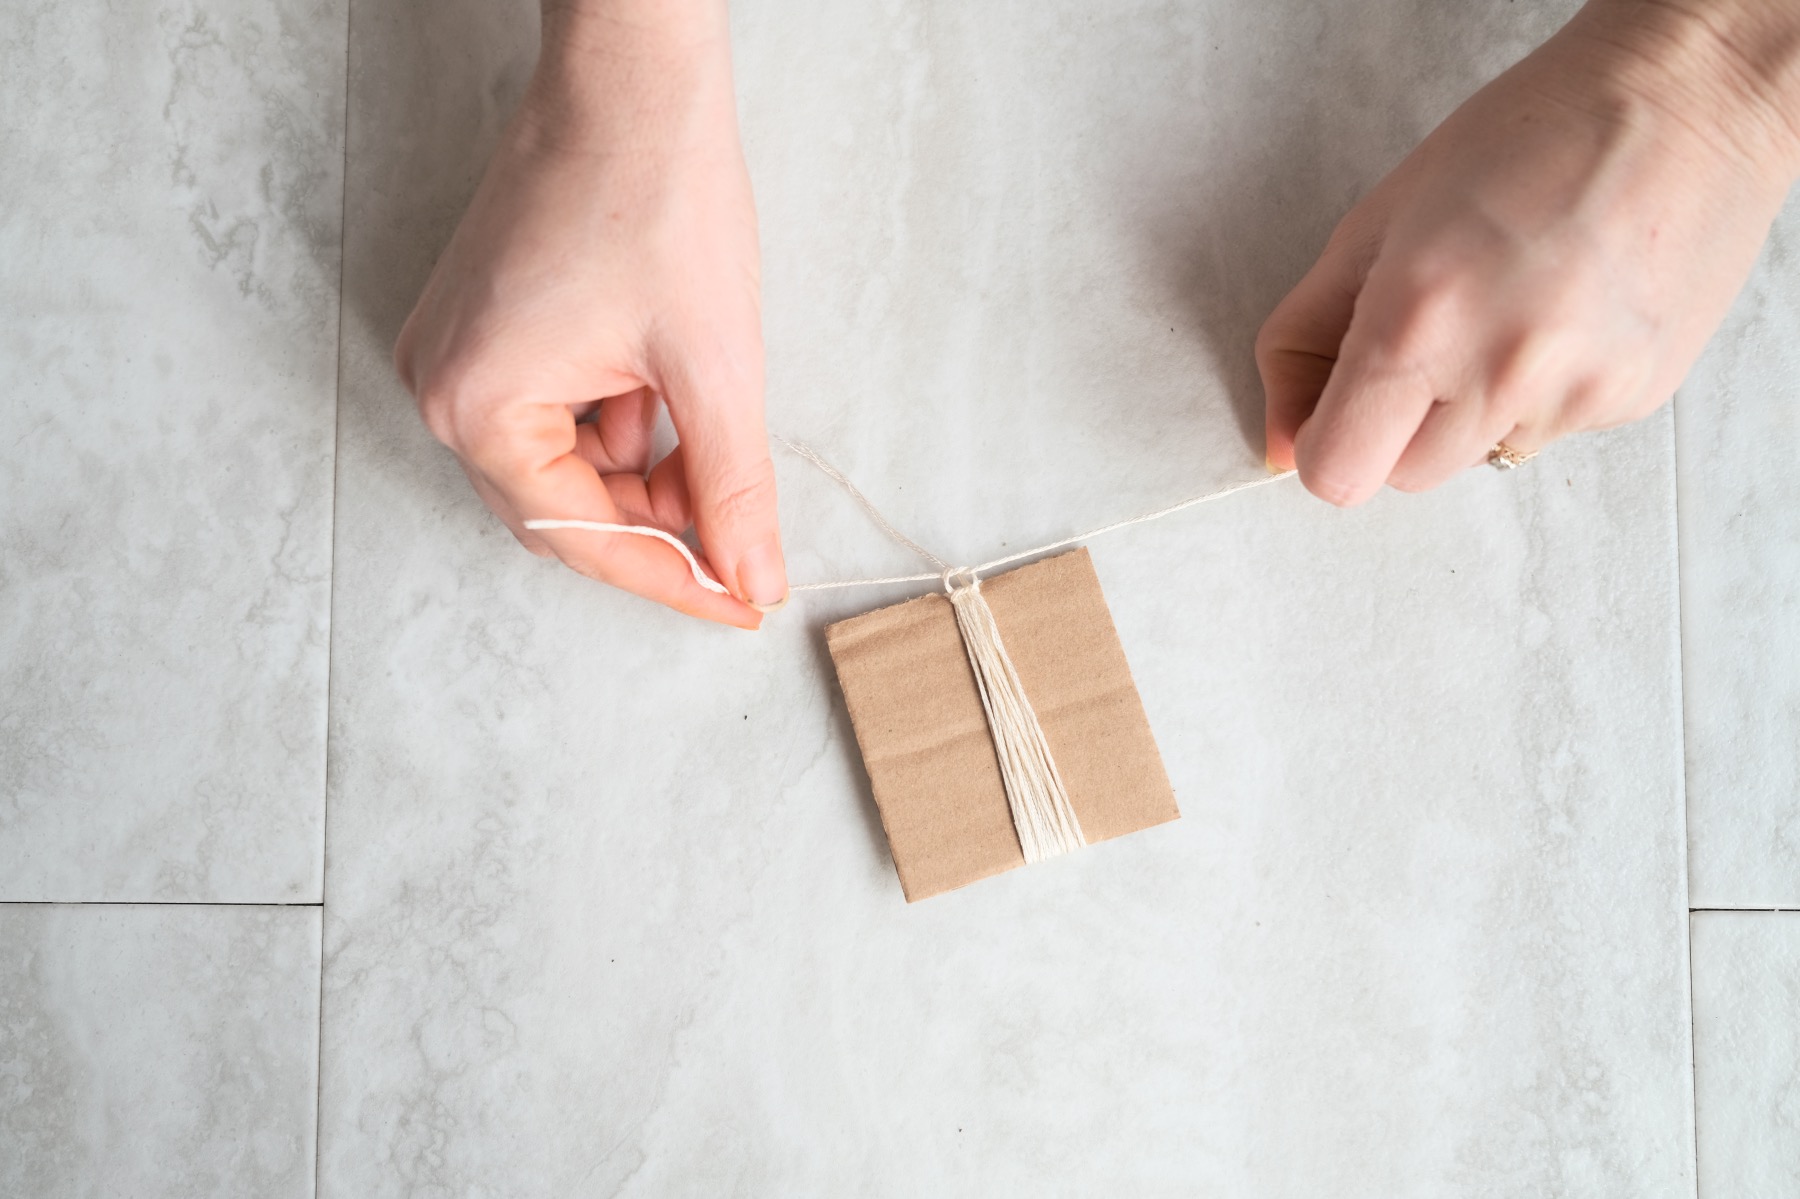
As you are creating your knot, be sure that it stays in place on one edge of the cardboard. It should be along the side of the cardboard, but doesn’t need to be perfect! So don’t overthink this step.
+Don’t trim the extra ends of the knot. Instead we will use this later to attach the tassel to the blanket.
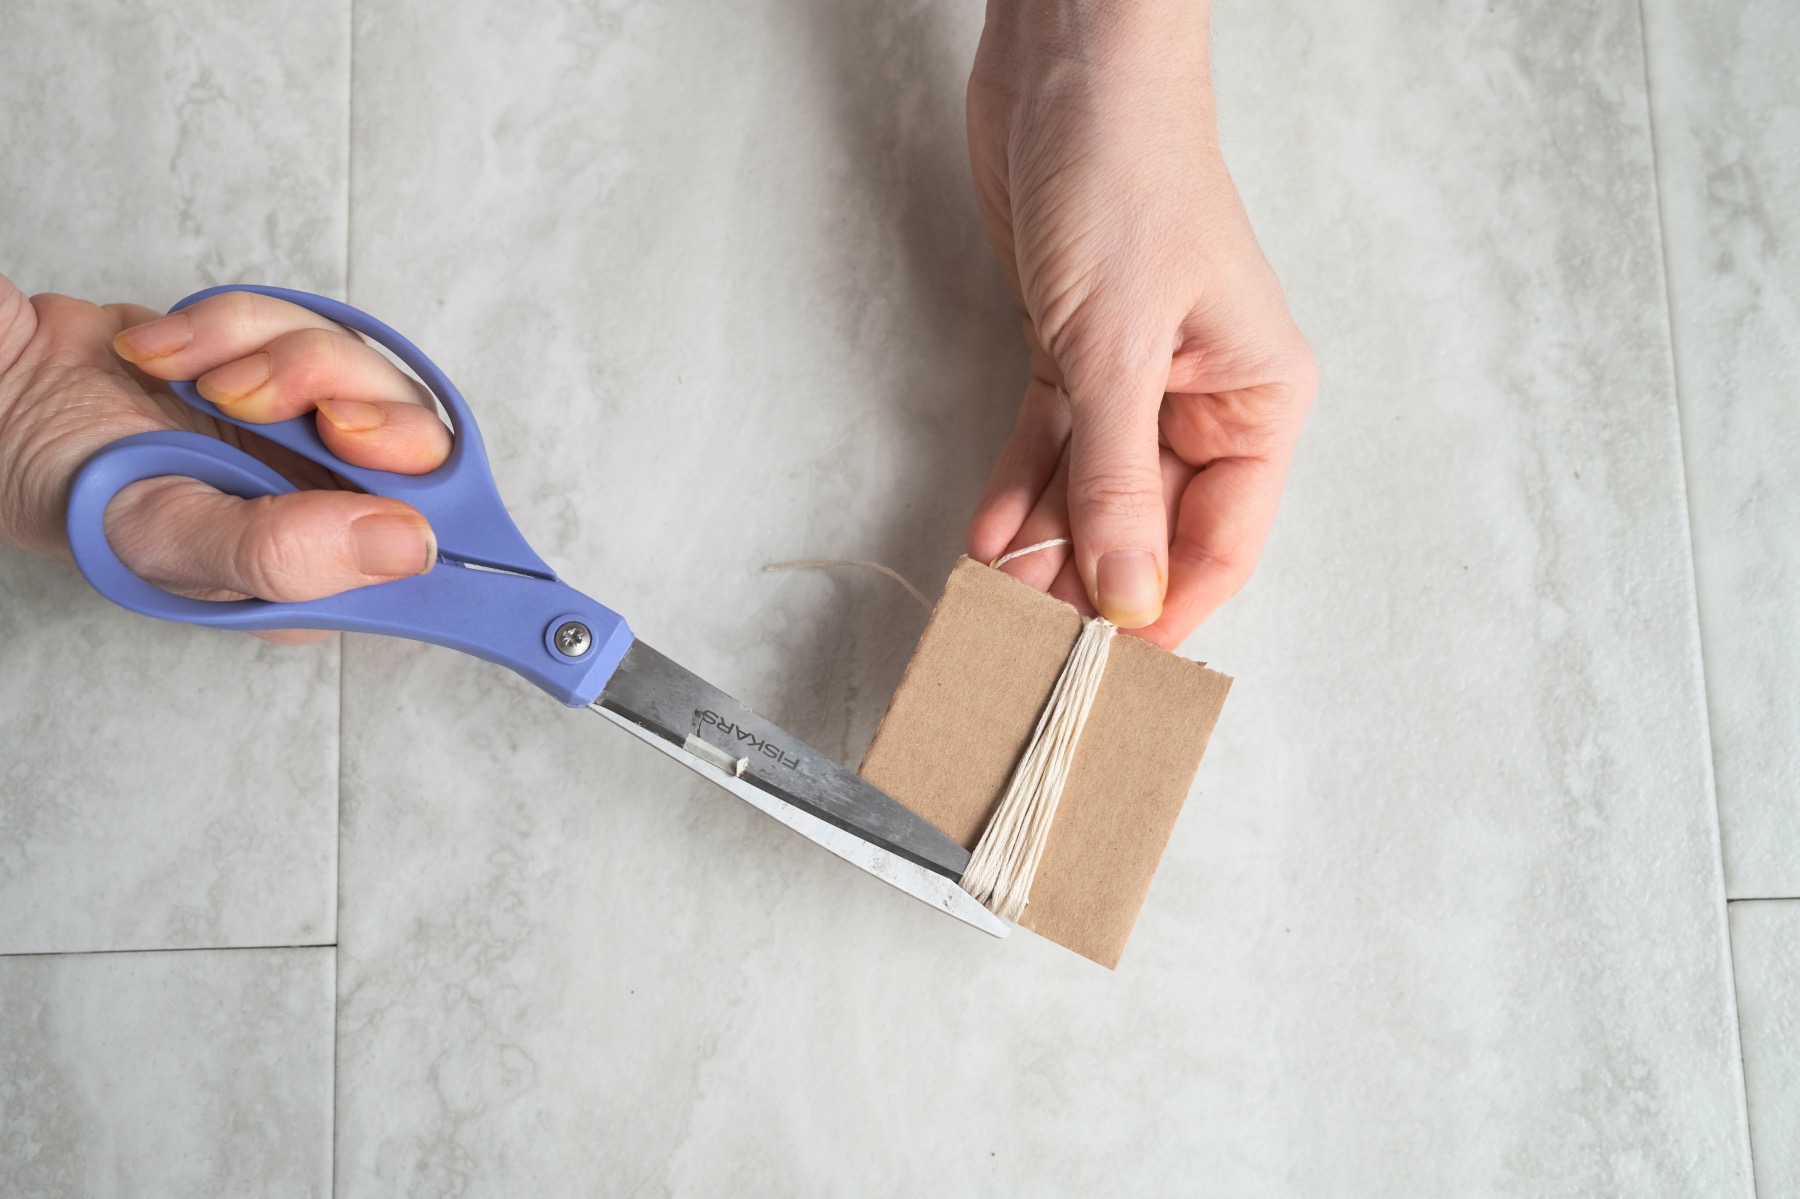
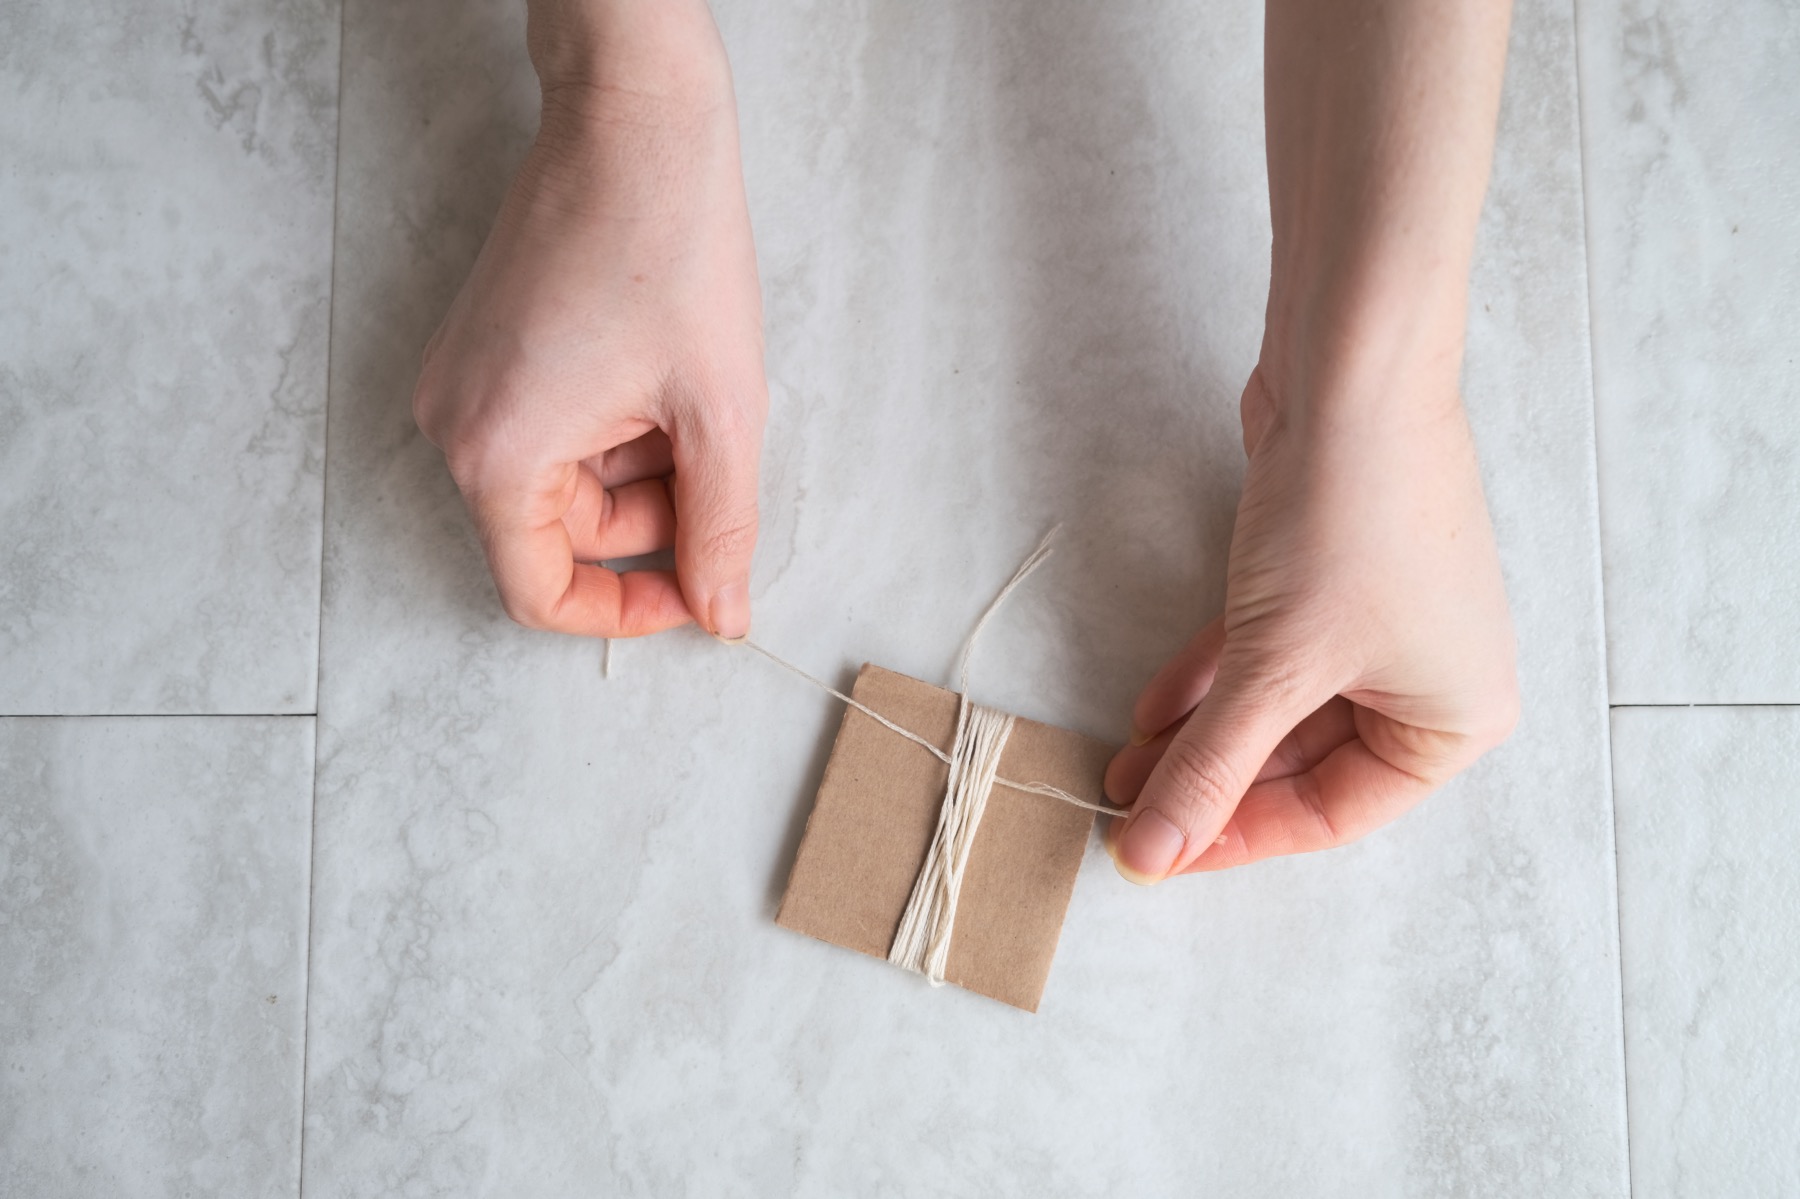
Cut the Loops
Next, hold the knot firmly in place and cut the opposite end, along the other edge of the cardboard. Cut through all the loops as evenly and smoothly as you can.
Once all have the loops have been cut, remove your cardboard. You can throw it out because you won’t need to use it for any additional steps.
Next, while still holding the knot, set the tassel on any surface and use your fingers to smooth all of the ends.
This will help you prep for making 1 more knot – right by the 1st knot but just a little lower.
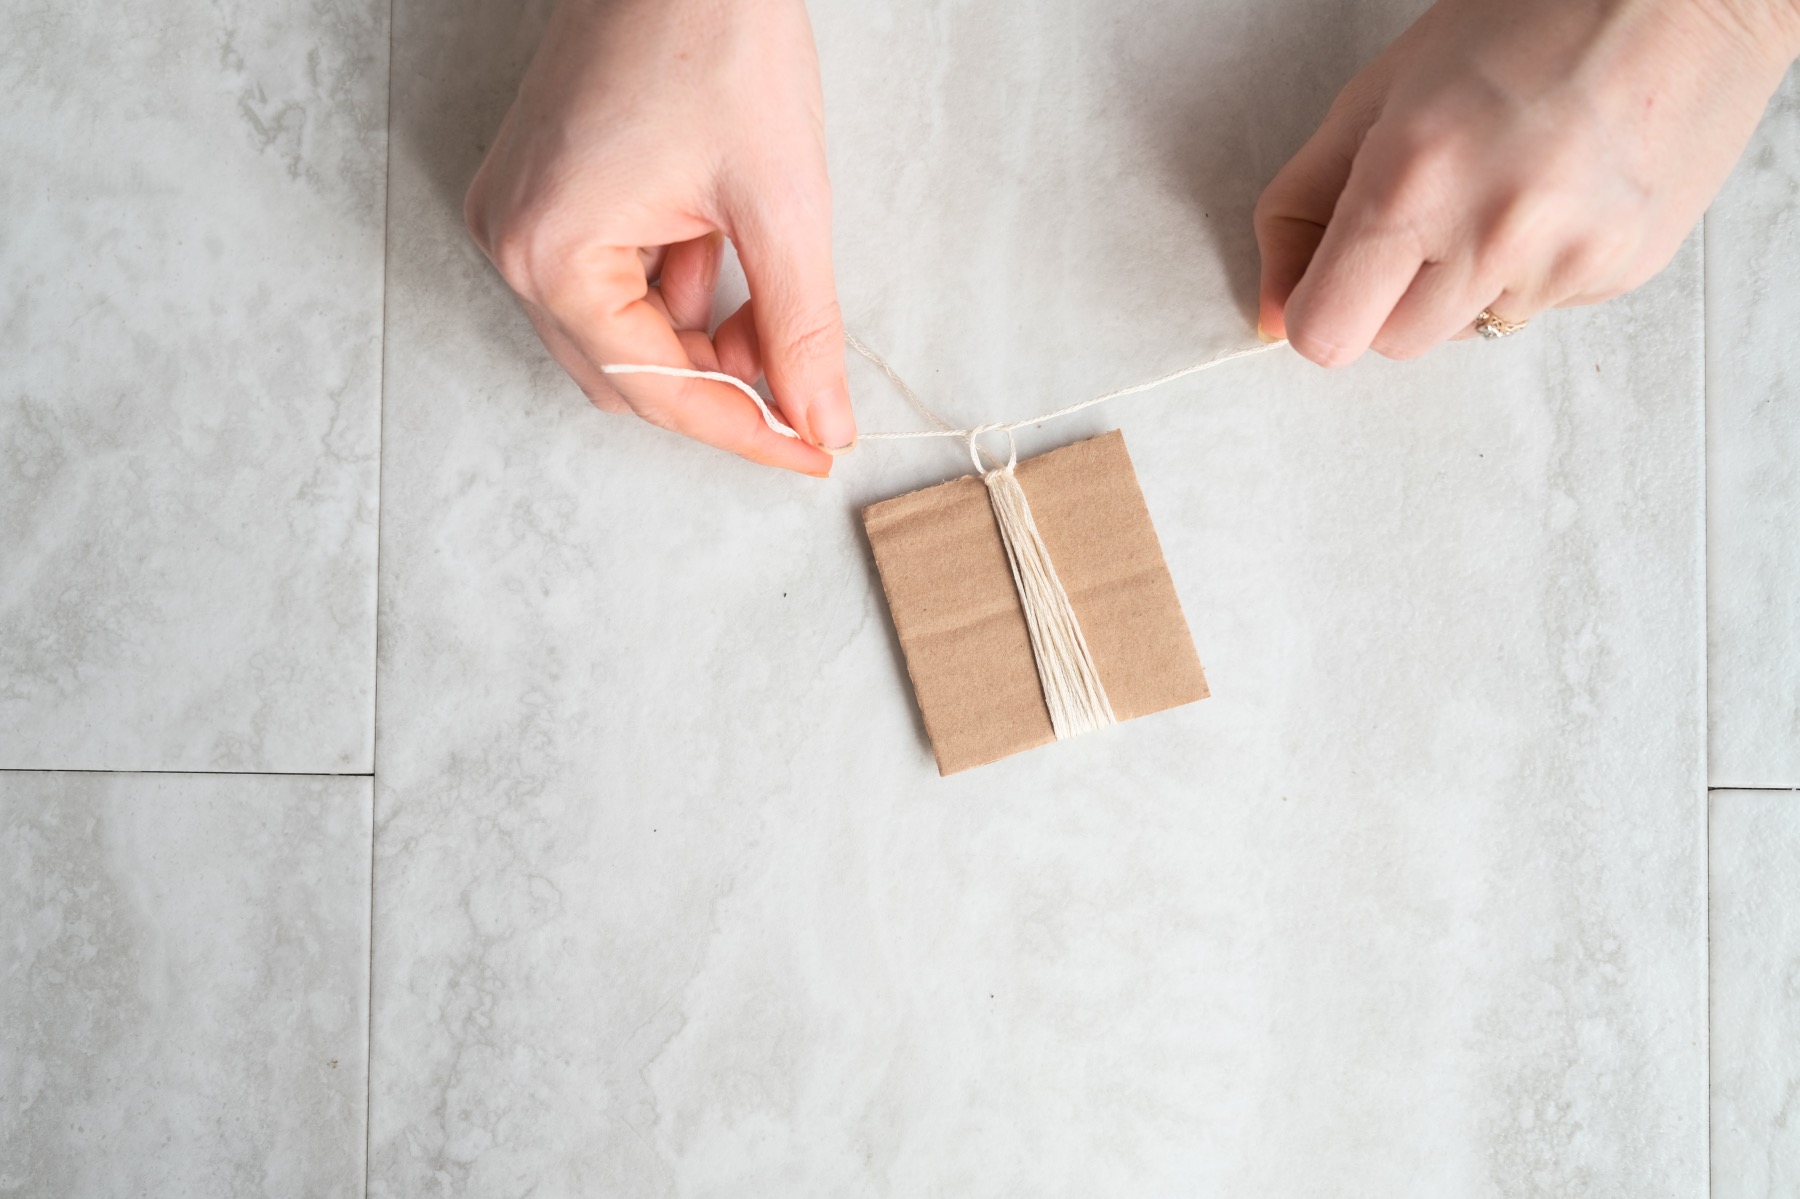
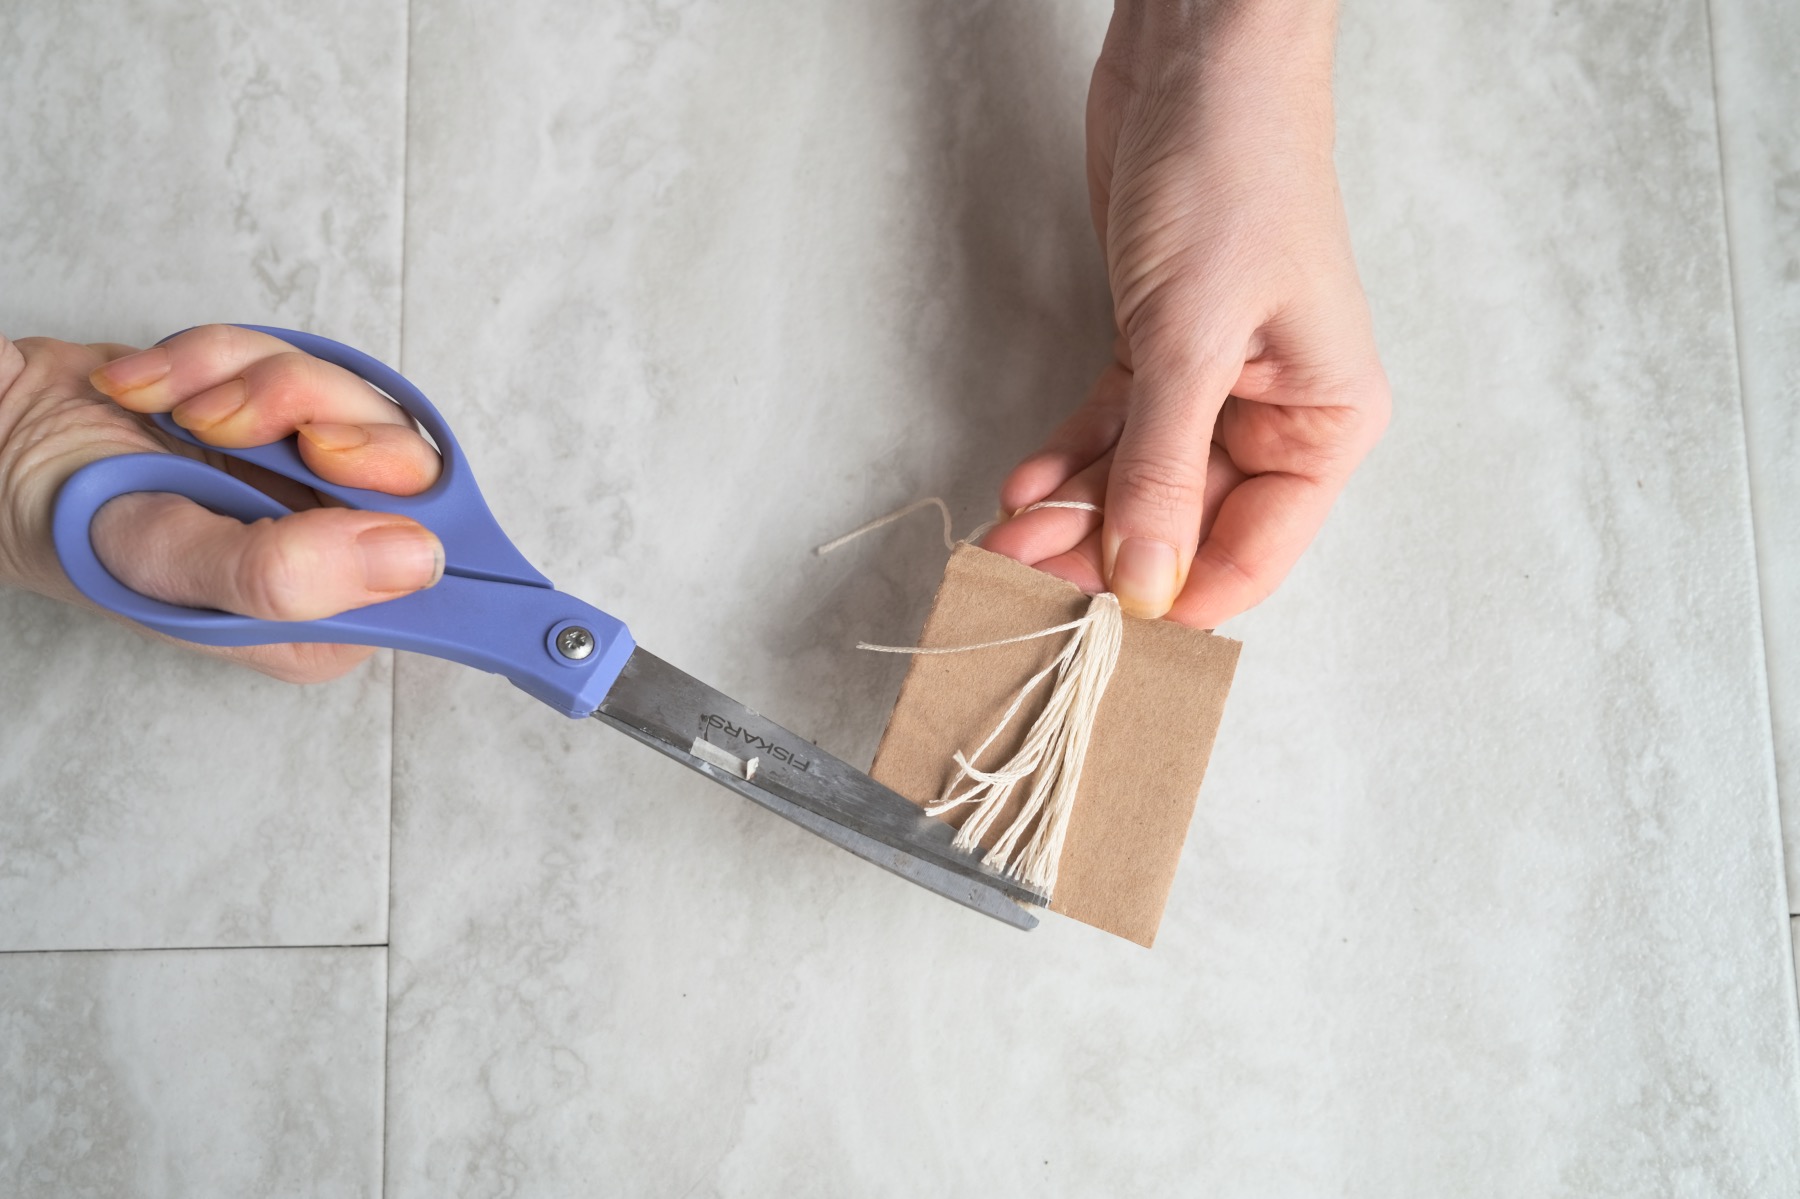
Make a Second Knot
To make the 2nd knot, cut another 6 inch length of thread. Wrap it around all of the cut loops, right near the 1st knot.
Make sure your second knot will tie the loops together along their side, not at the top like the 1st knot. But very close to the 1st knot with just a touch of embroidery floss in between the 2 knots.
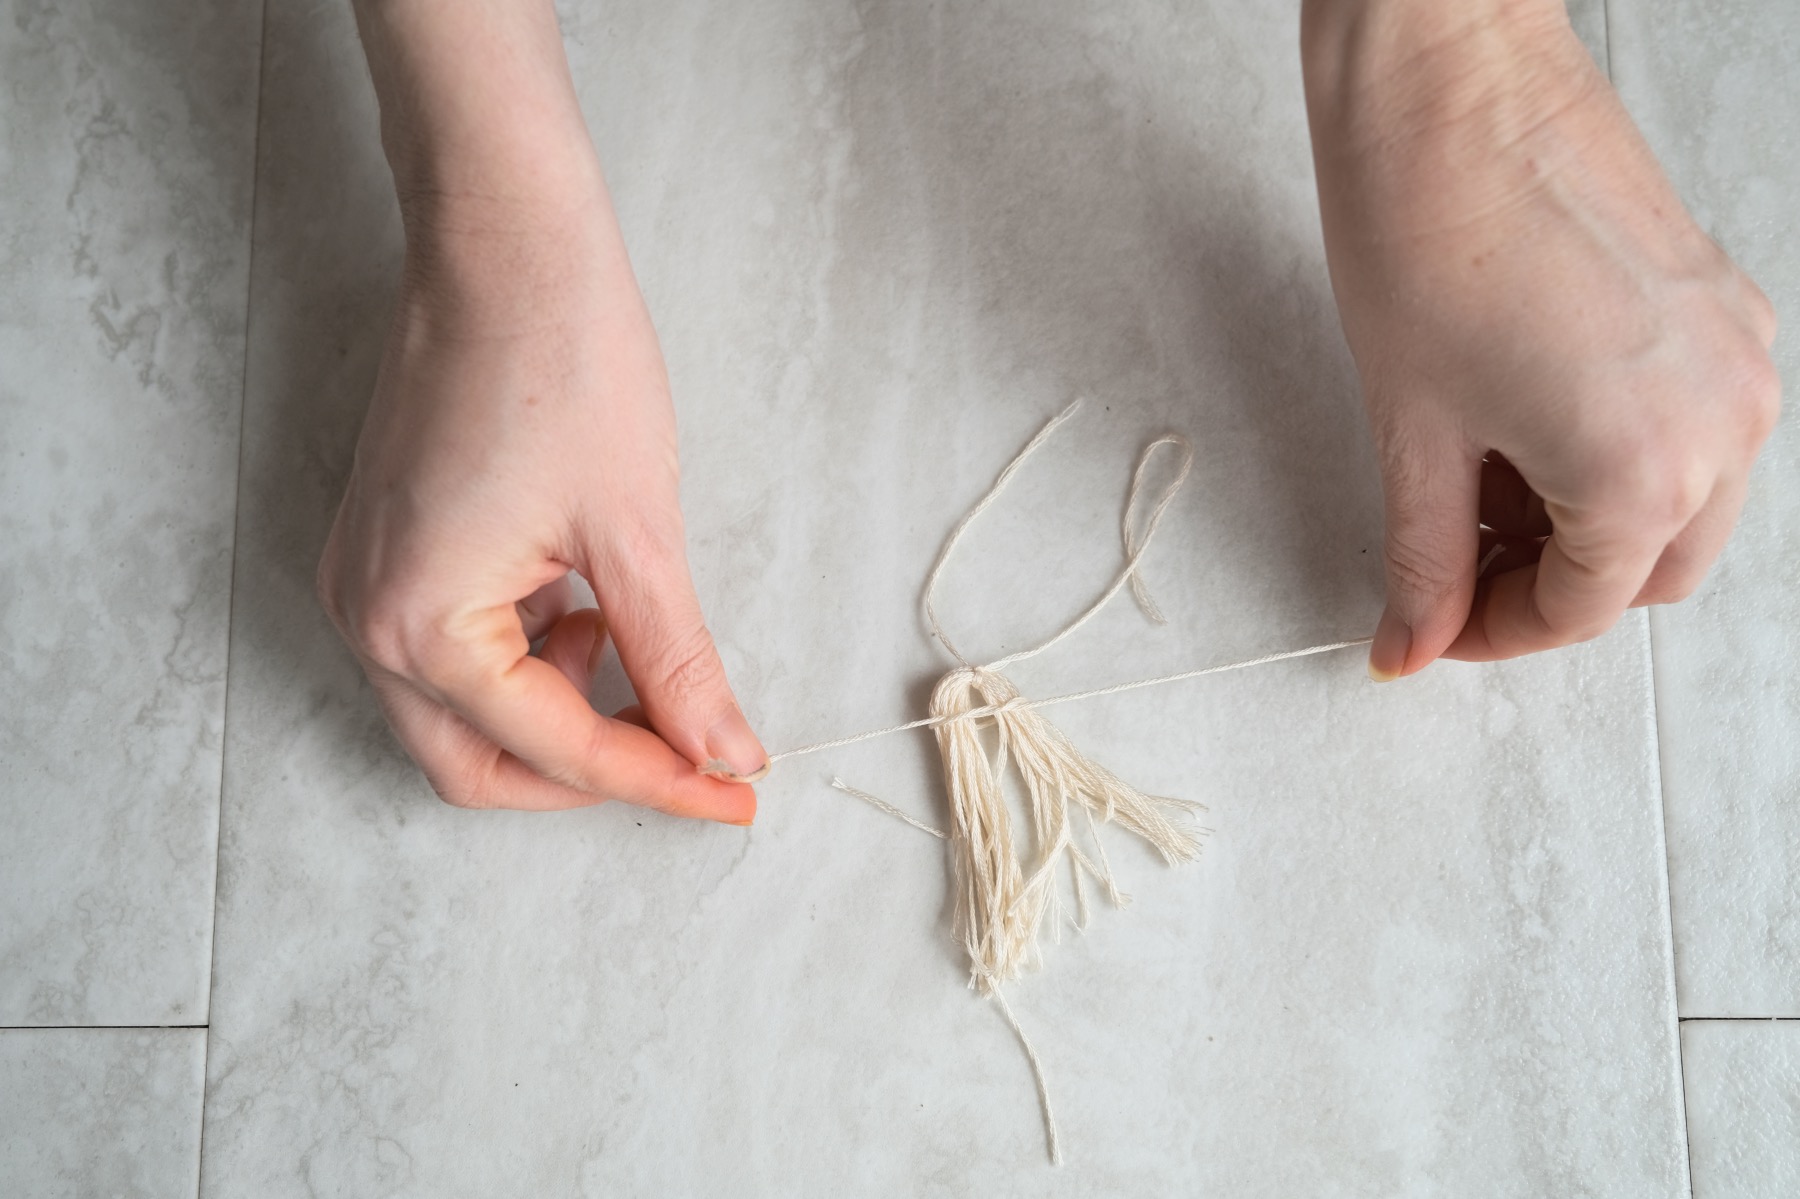
Use the same type of double knot and pull it nice and taught!
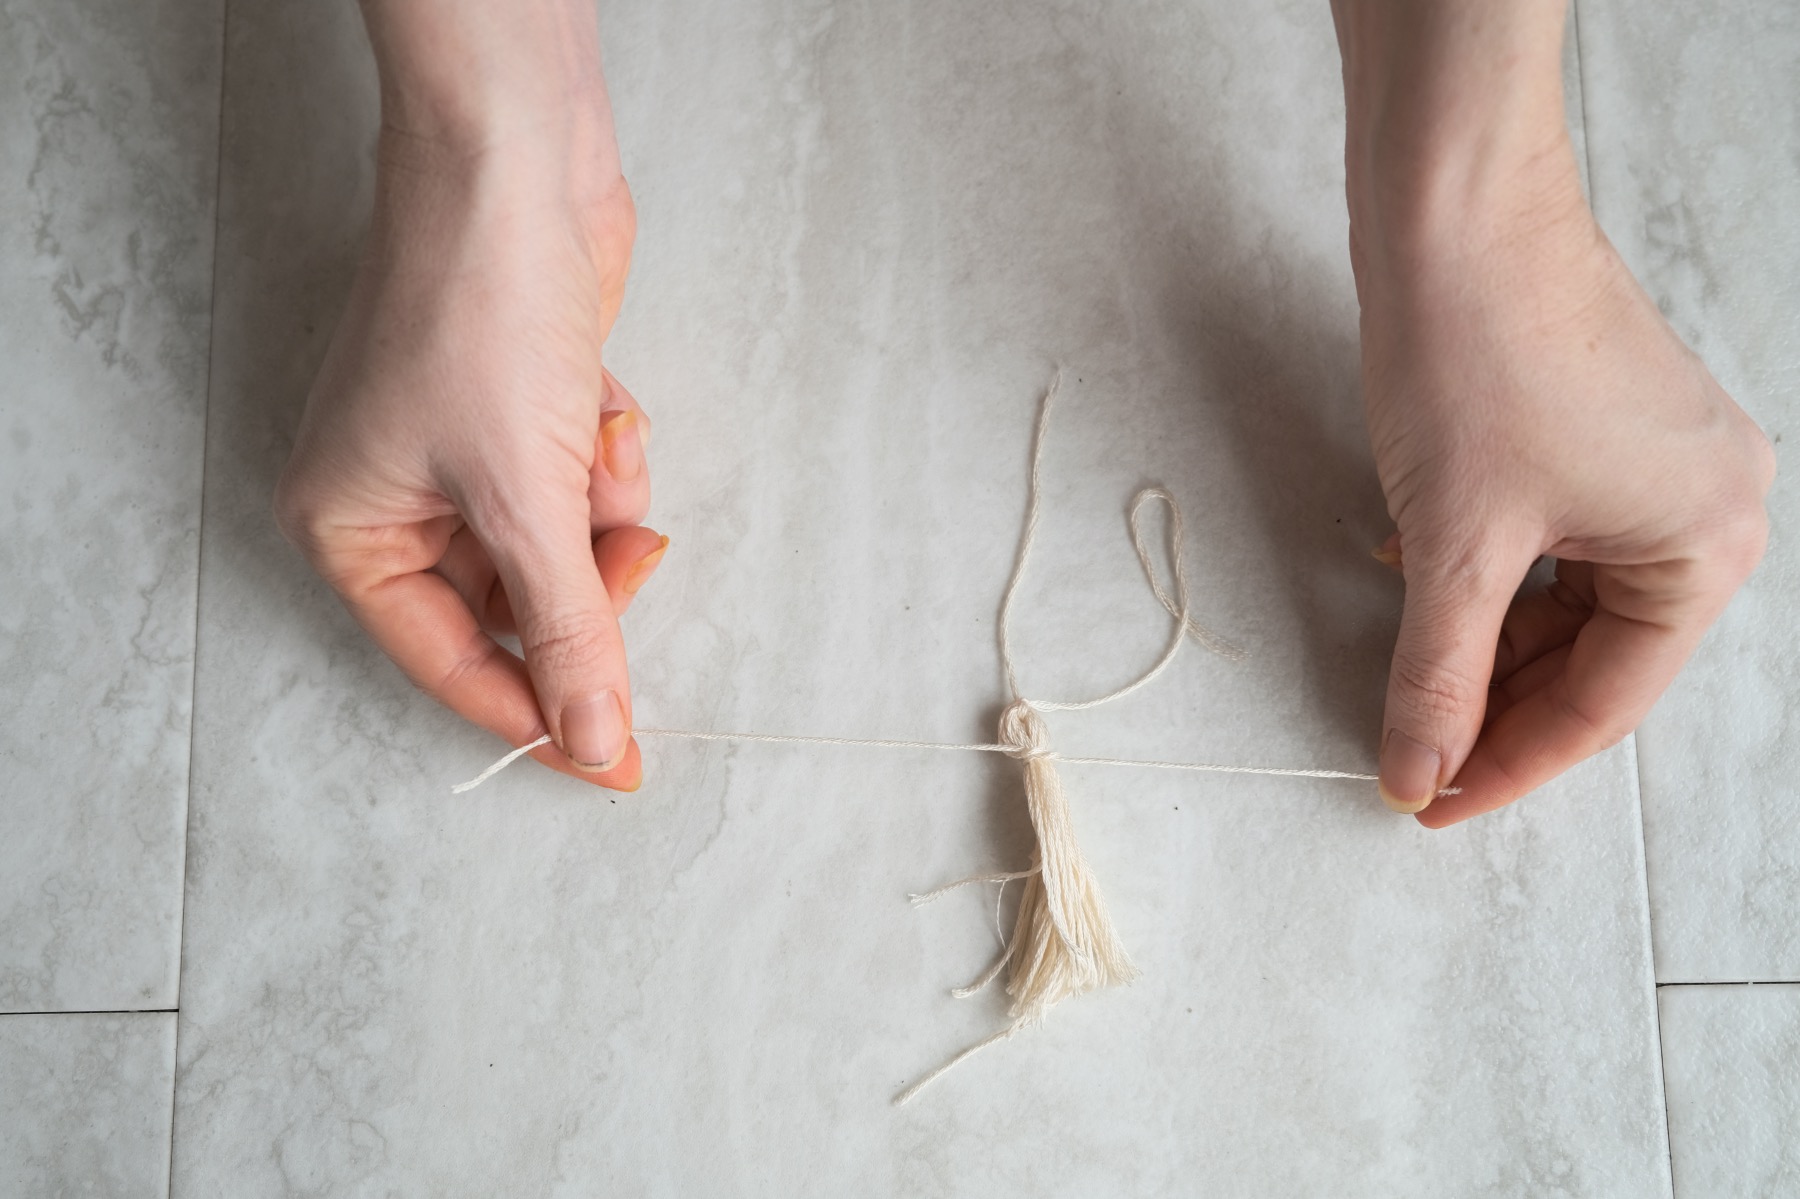
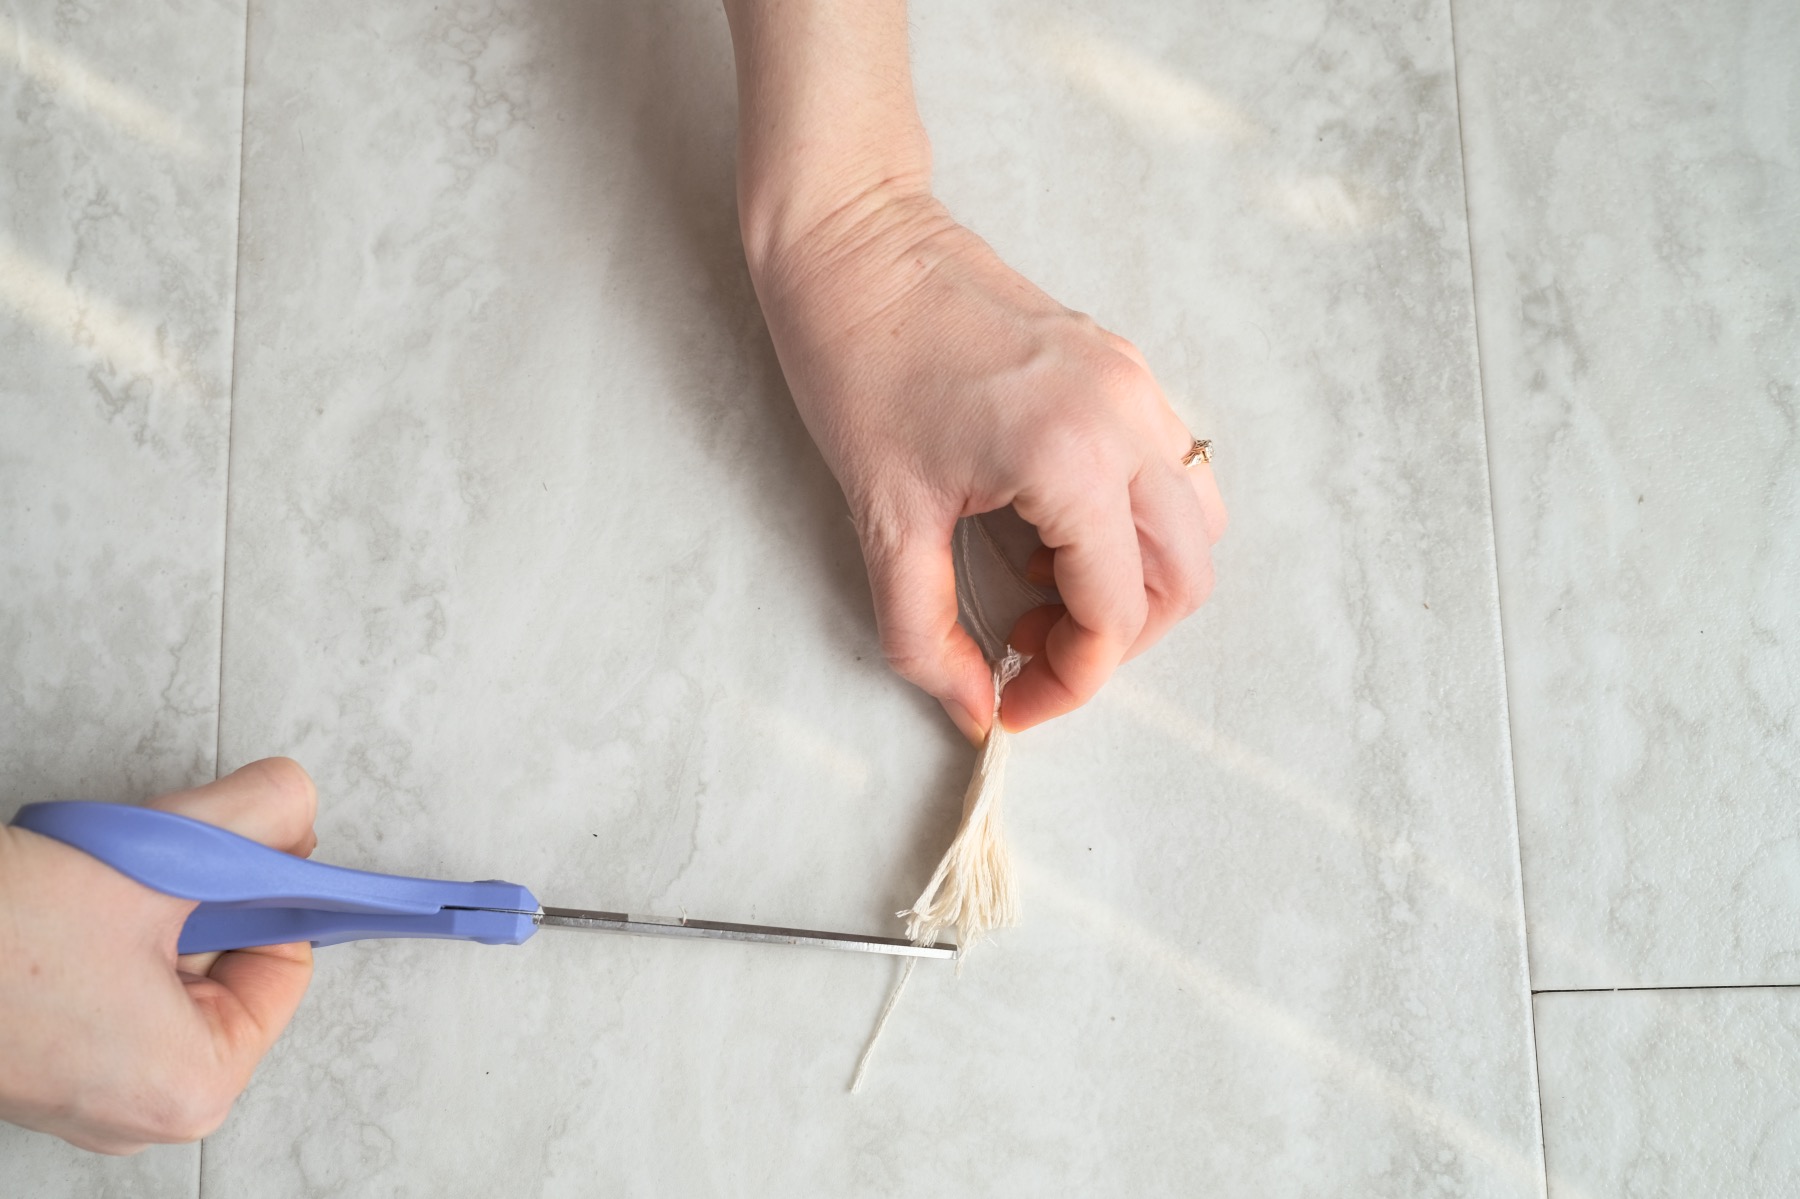
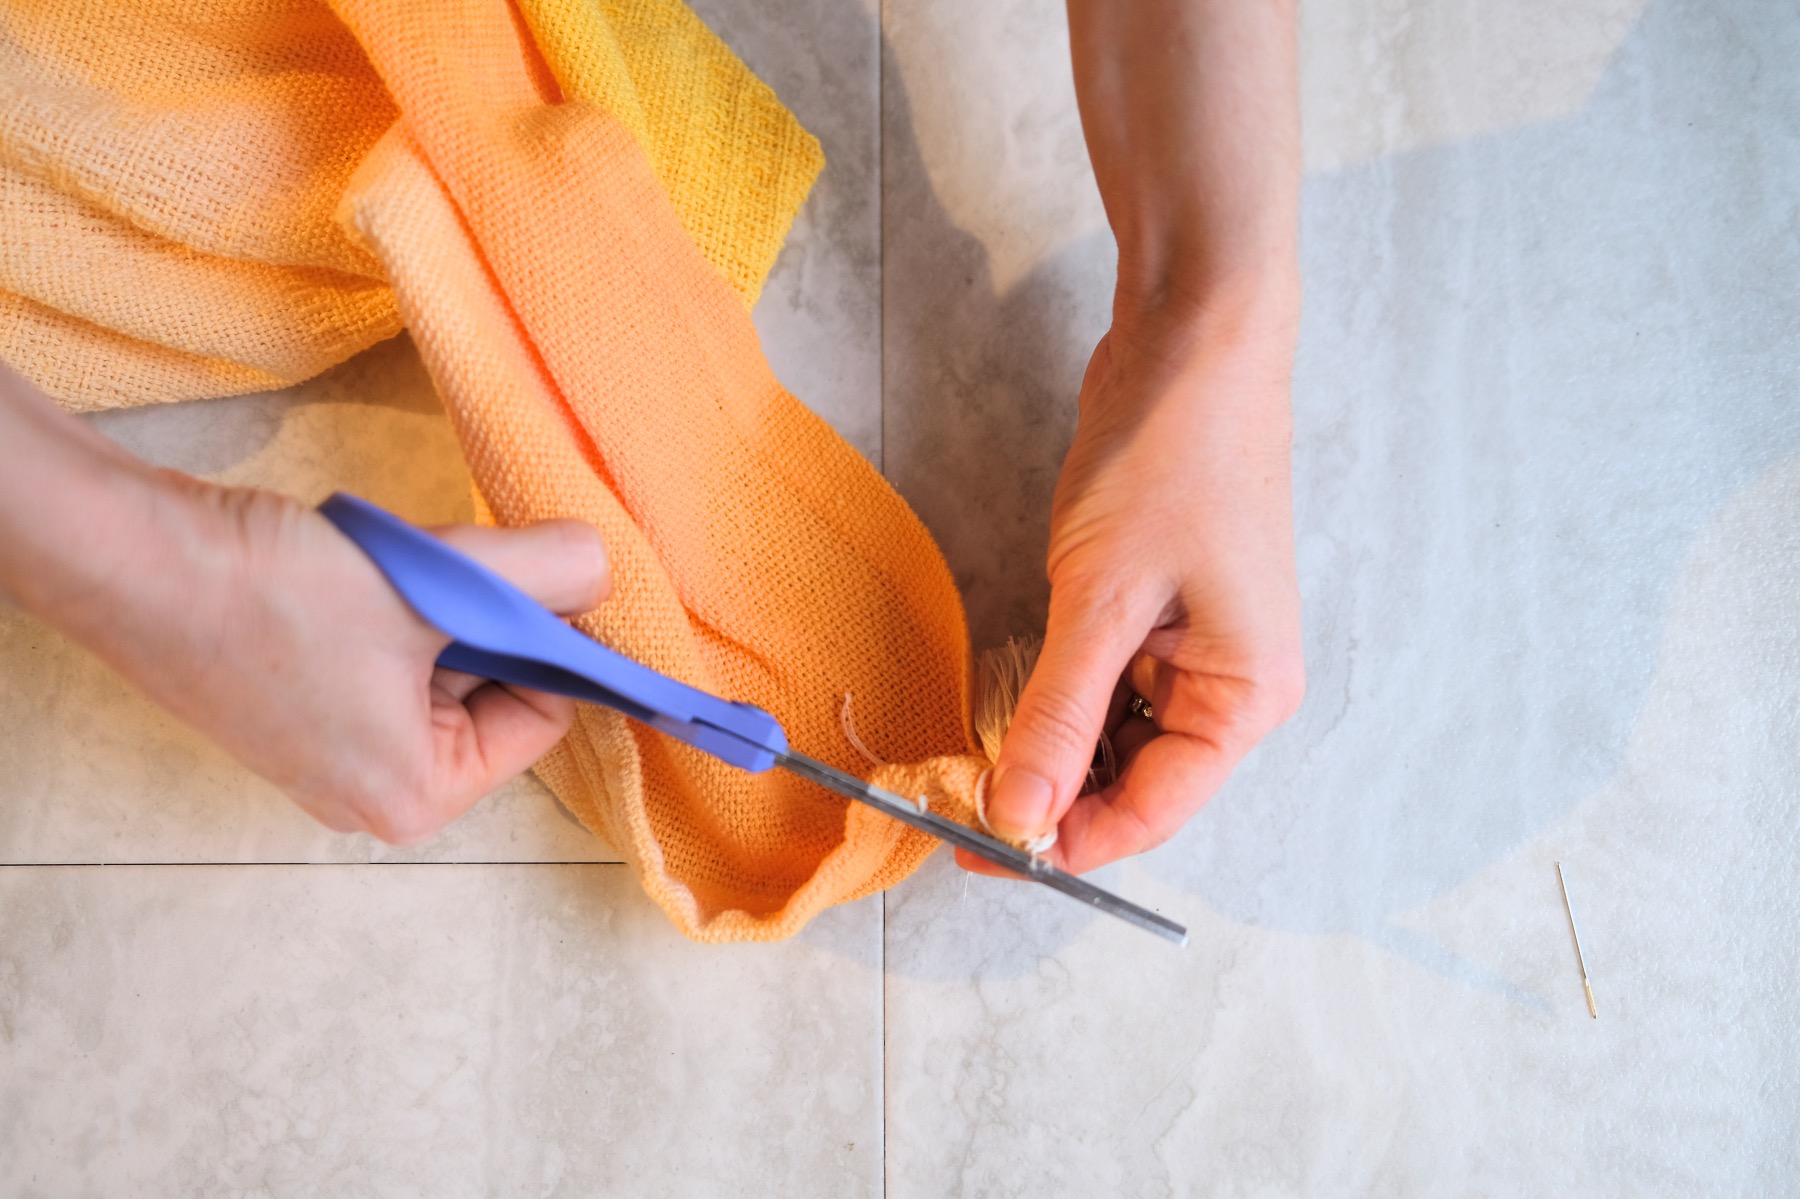
Once your 2nd knot is firmly in place, it’s time to even out the cut loops and make them nice and even! Grab your scissors and trim the ends until they are all even.
+Do not trim the knots. Wait until the end to do this.
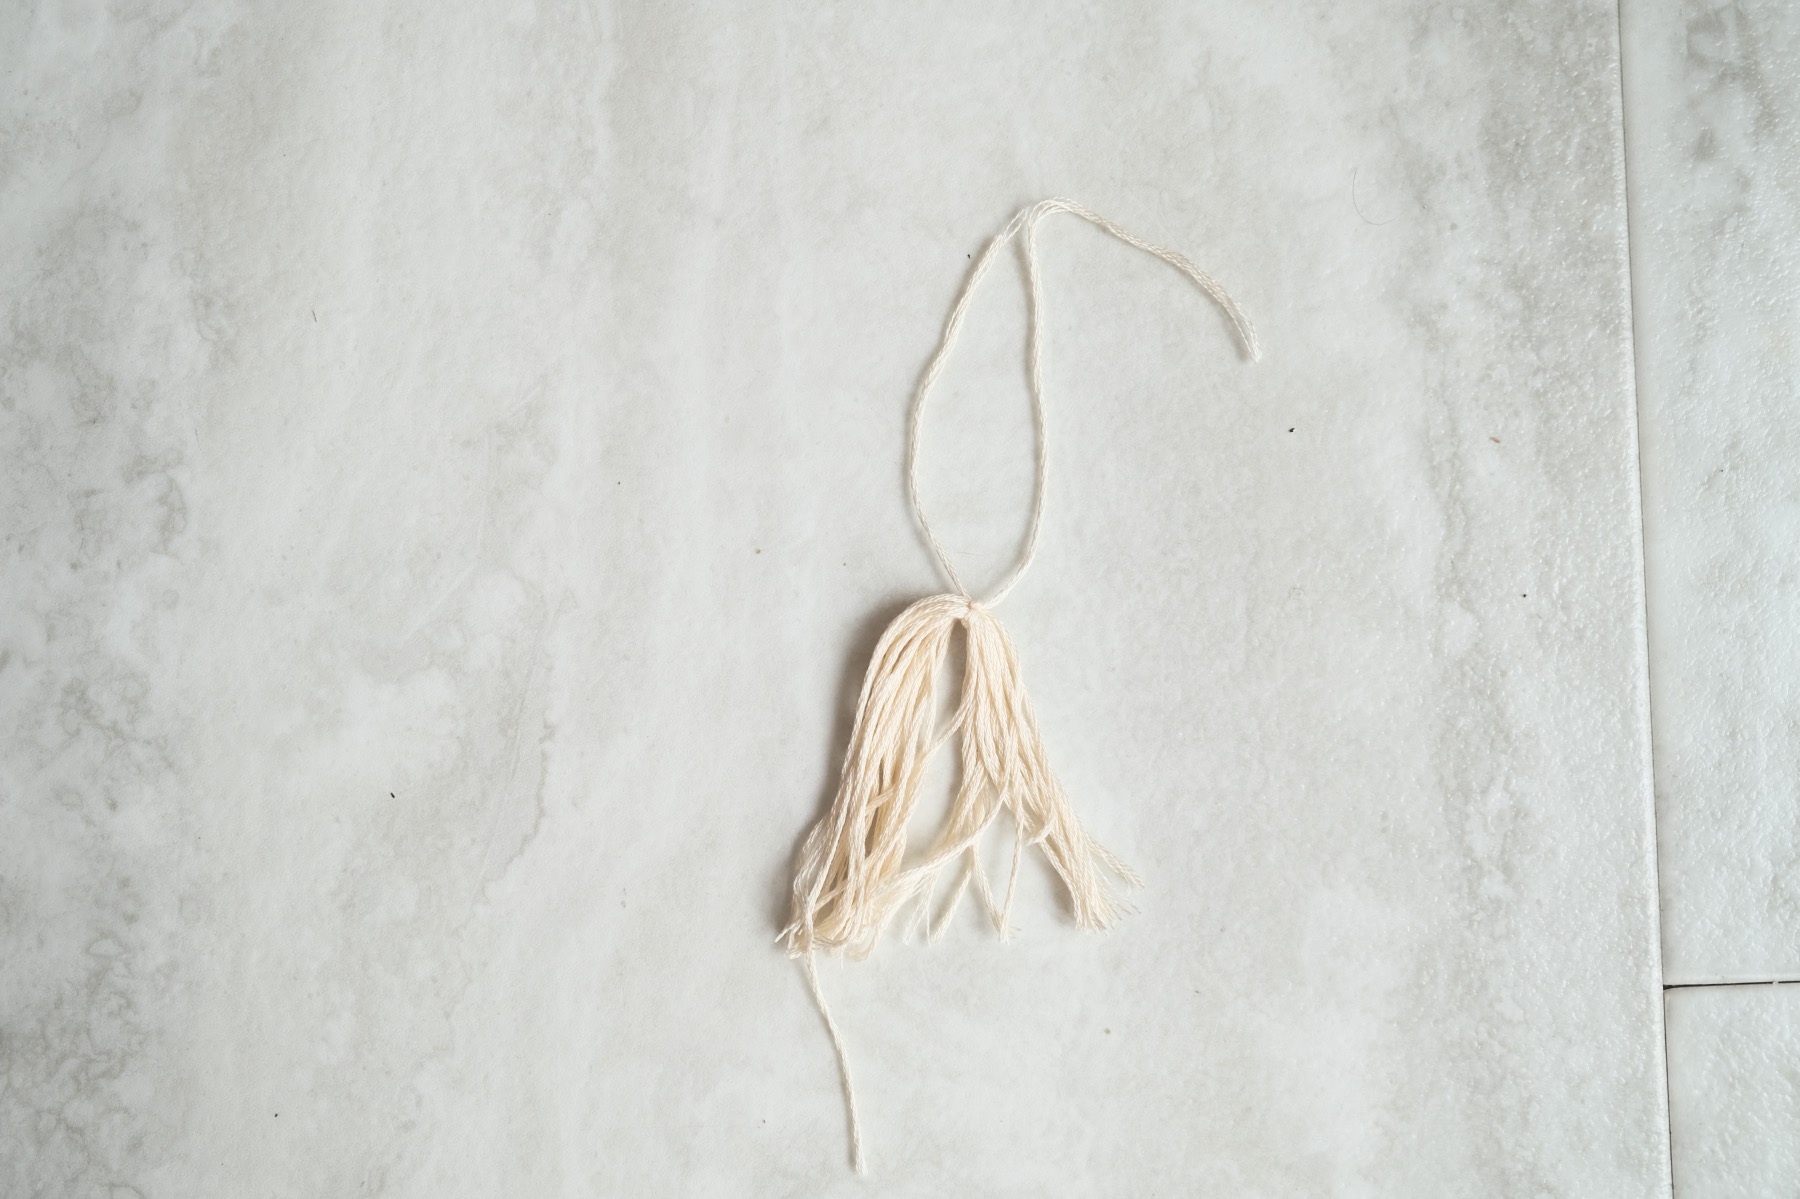
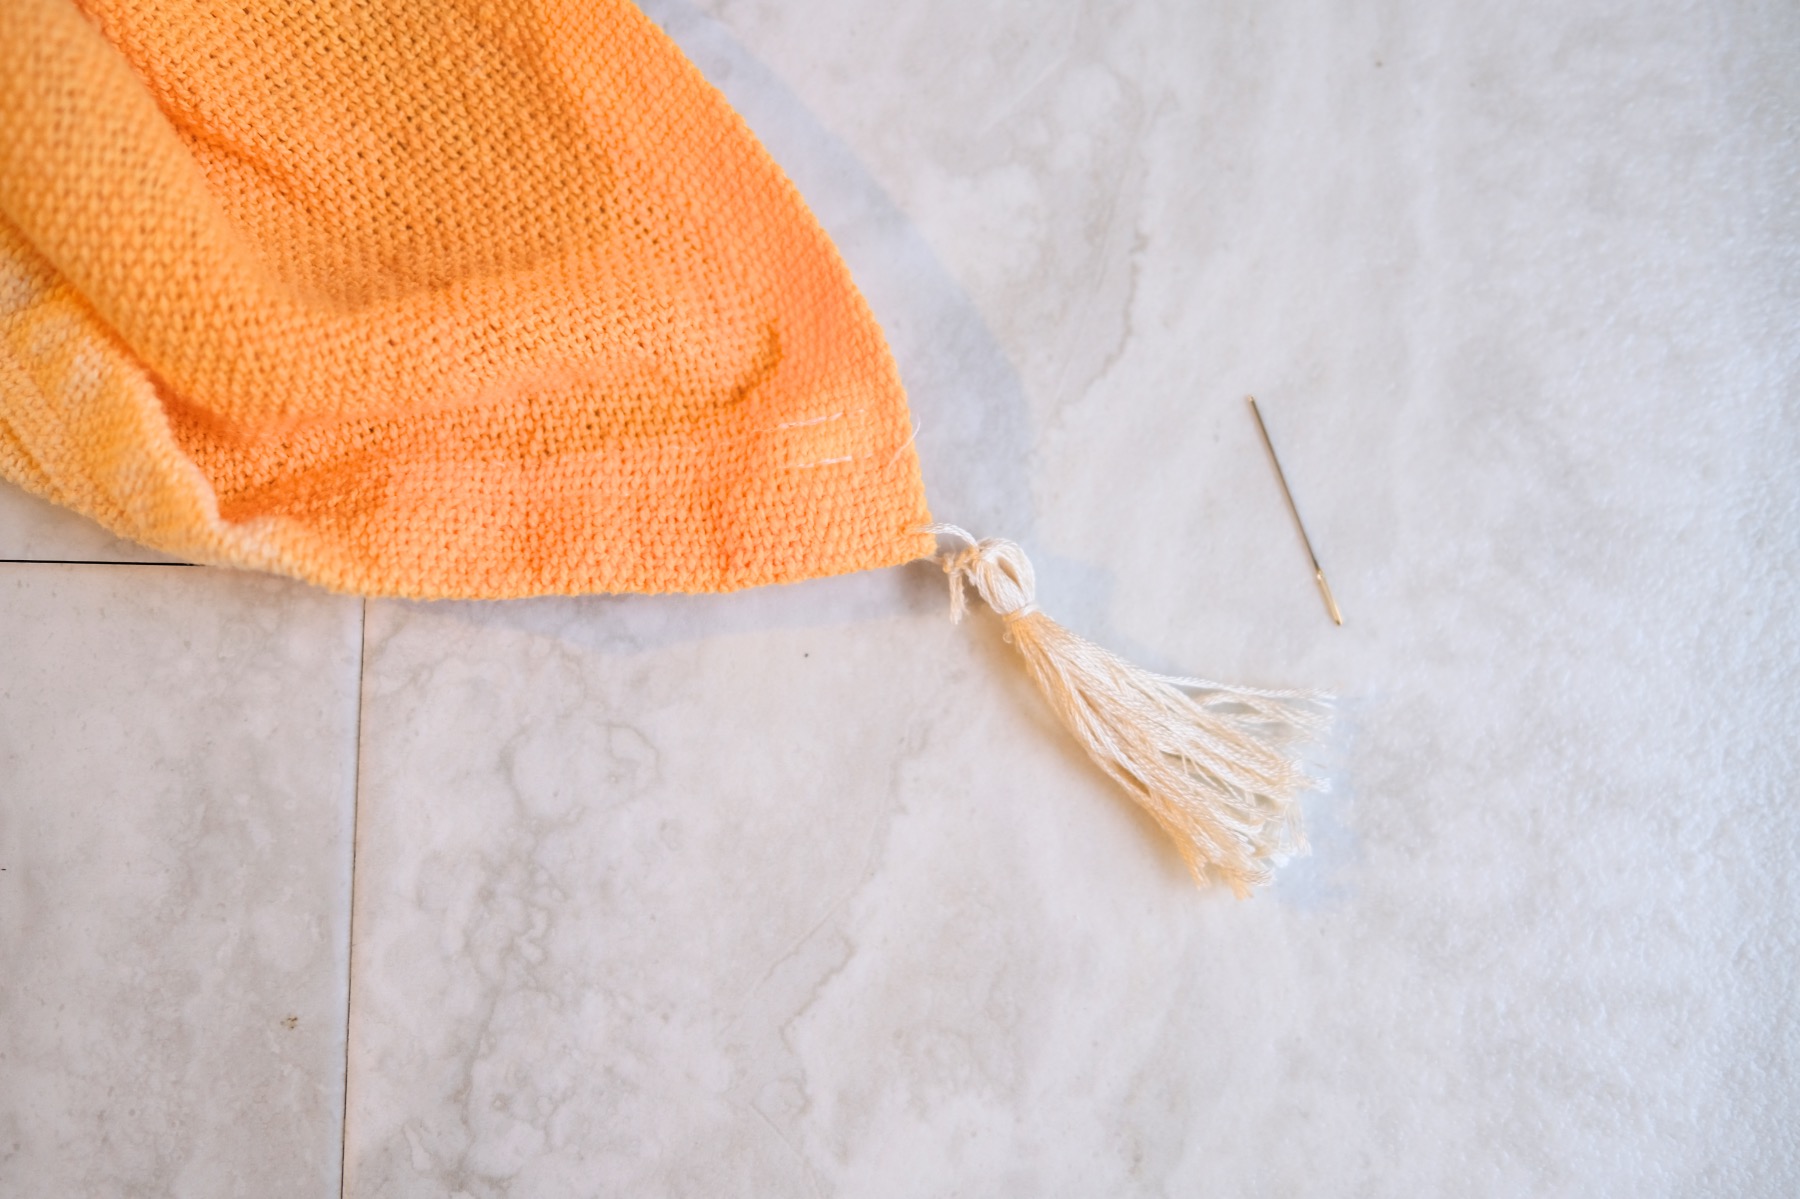
You may want to smooth your ends again once they are cut. Then viola! You have a finished tassel! Once your tassel is finished, thread an embroidery needle through the 1st tassel. That’s the knot that’s on the top of tassel, not on the side.
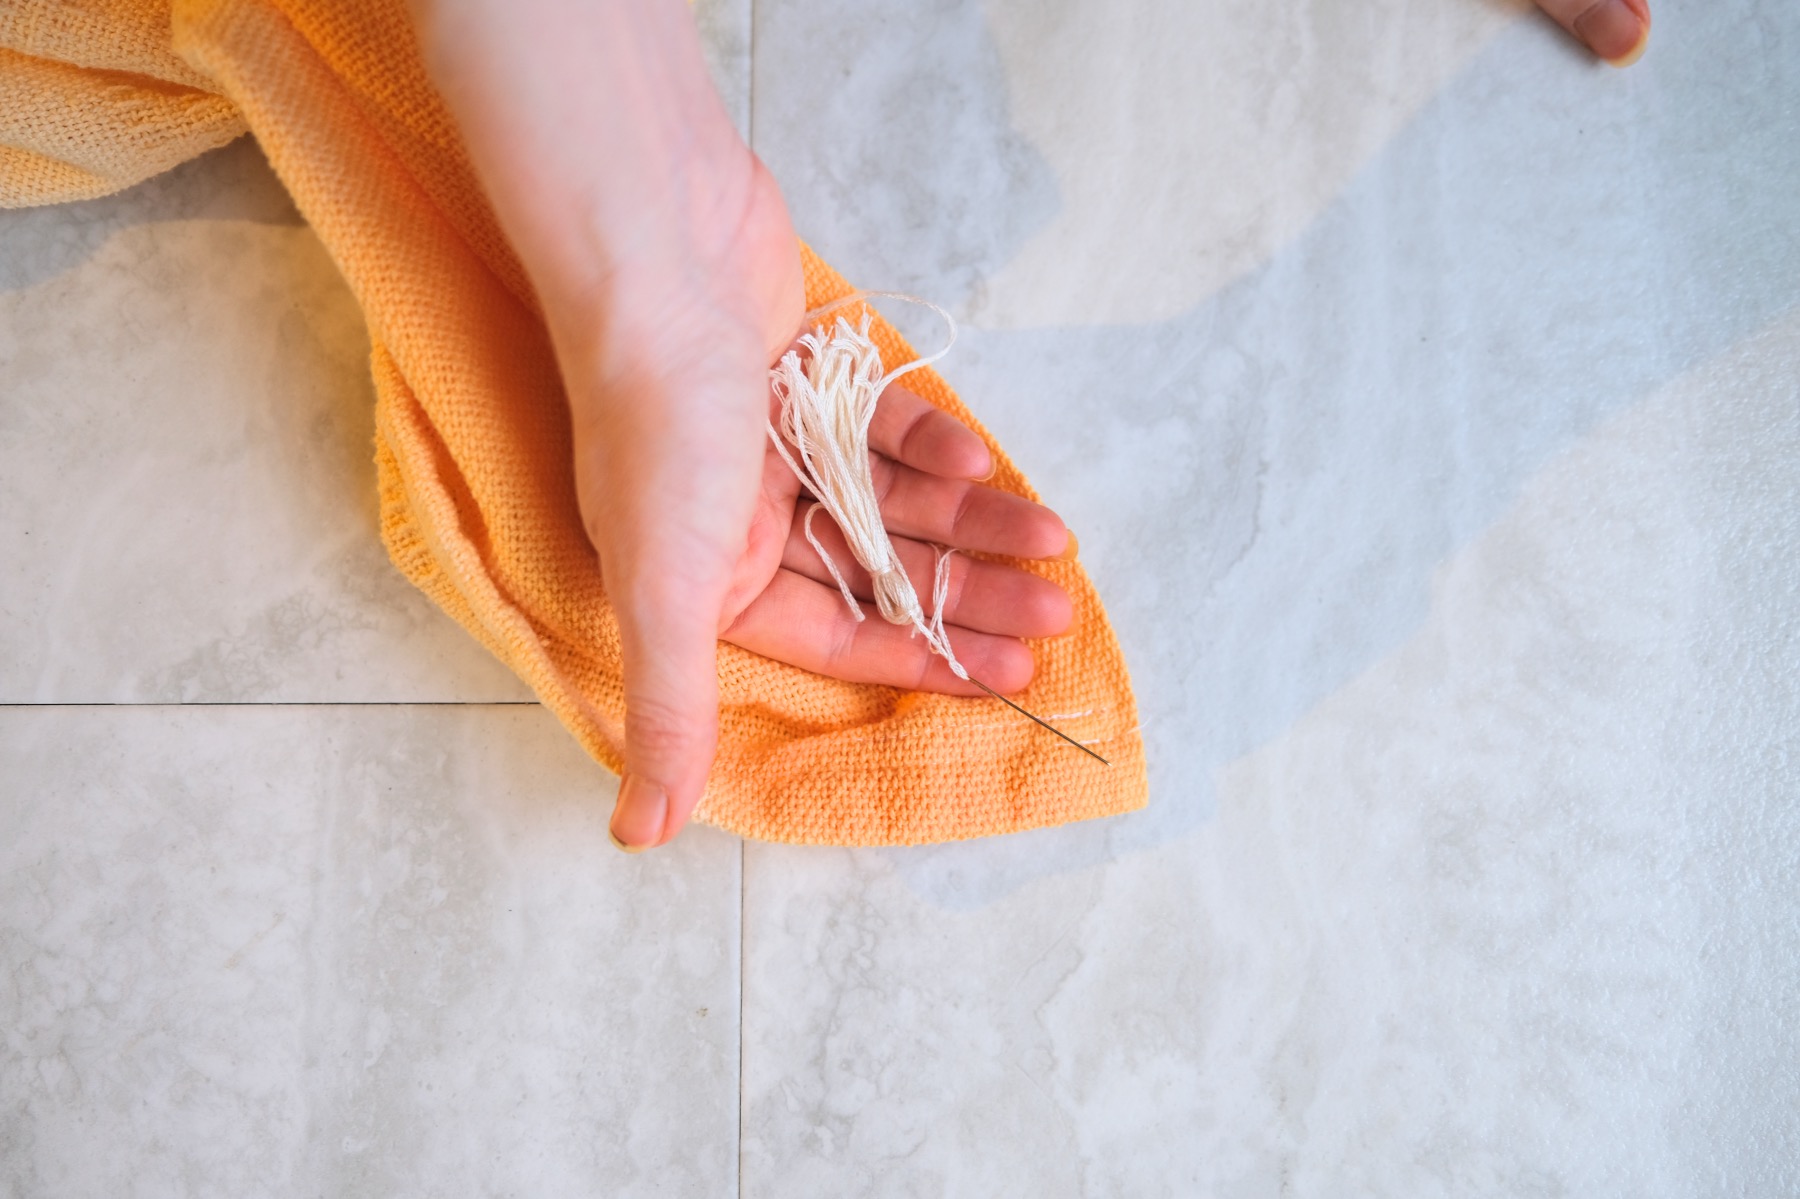
Attach the Tassel
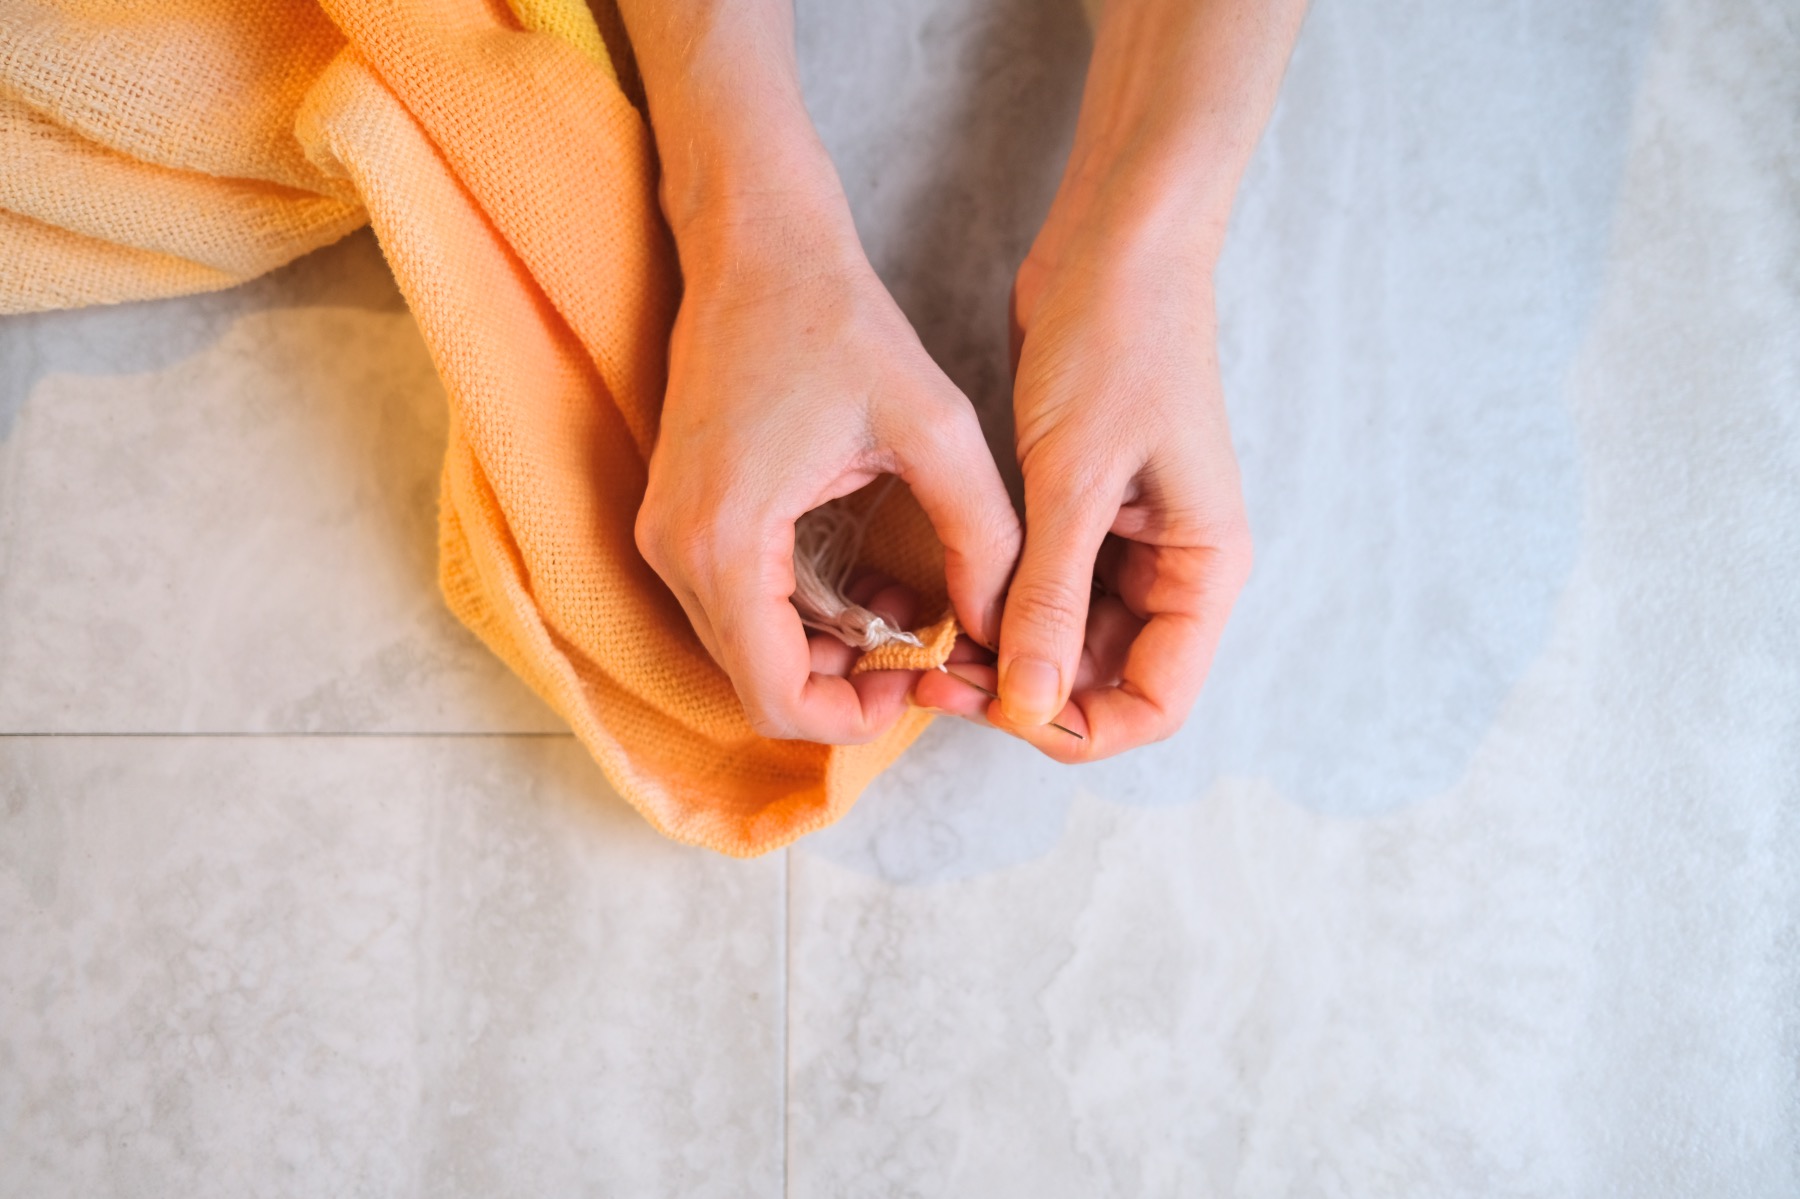
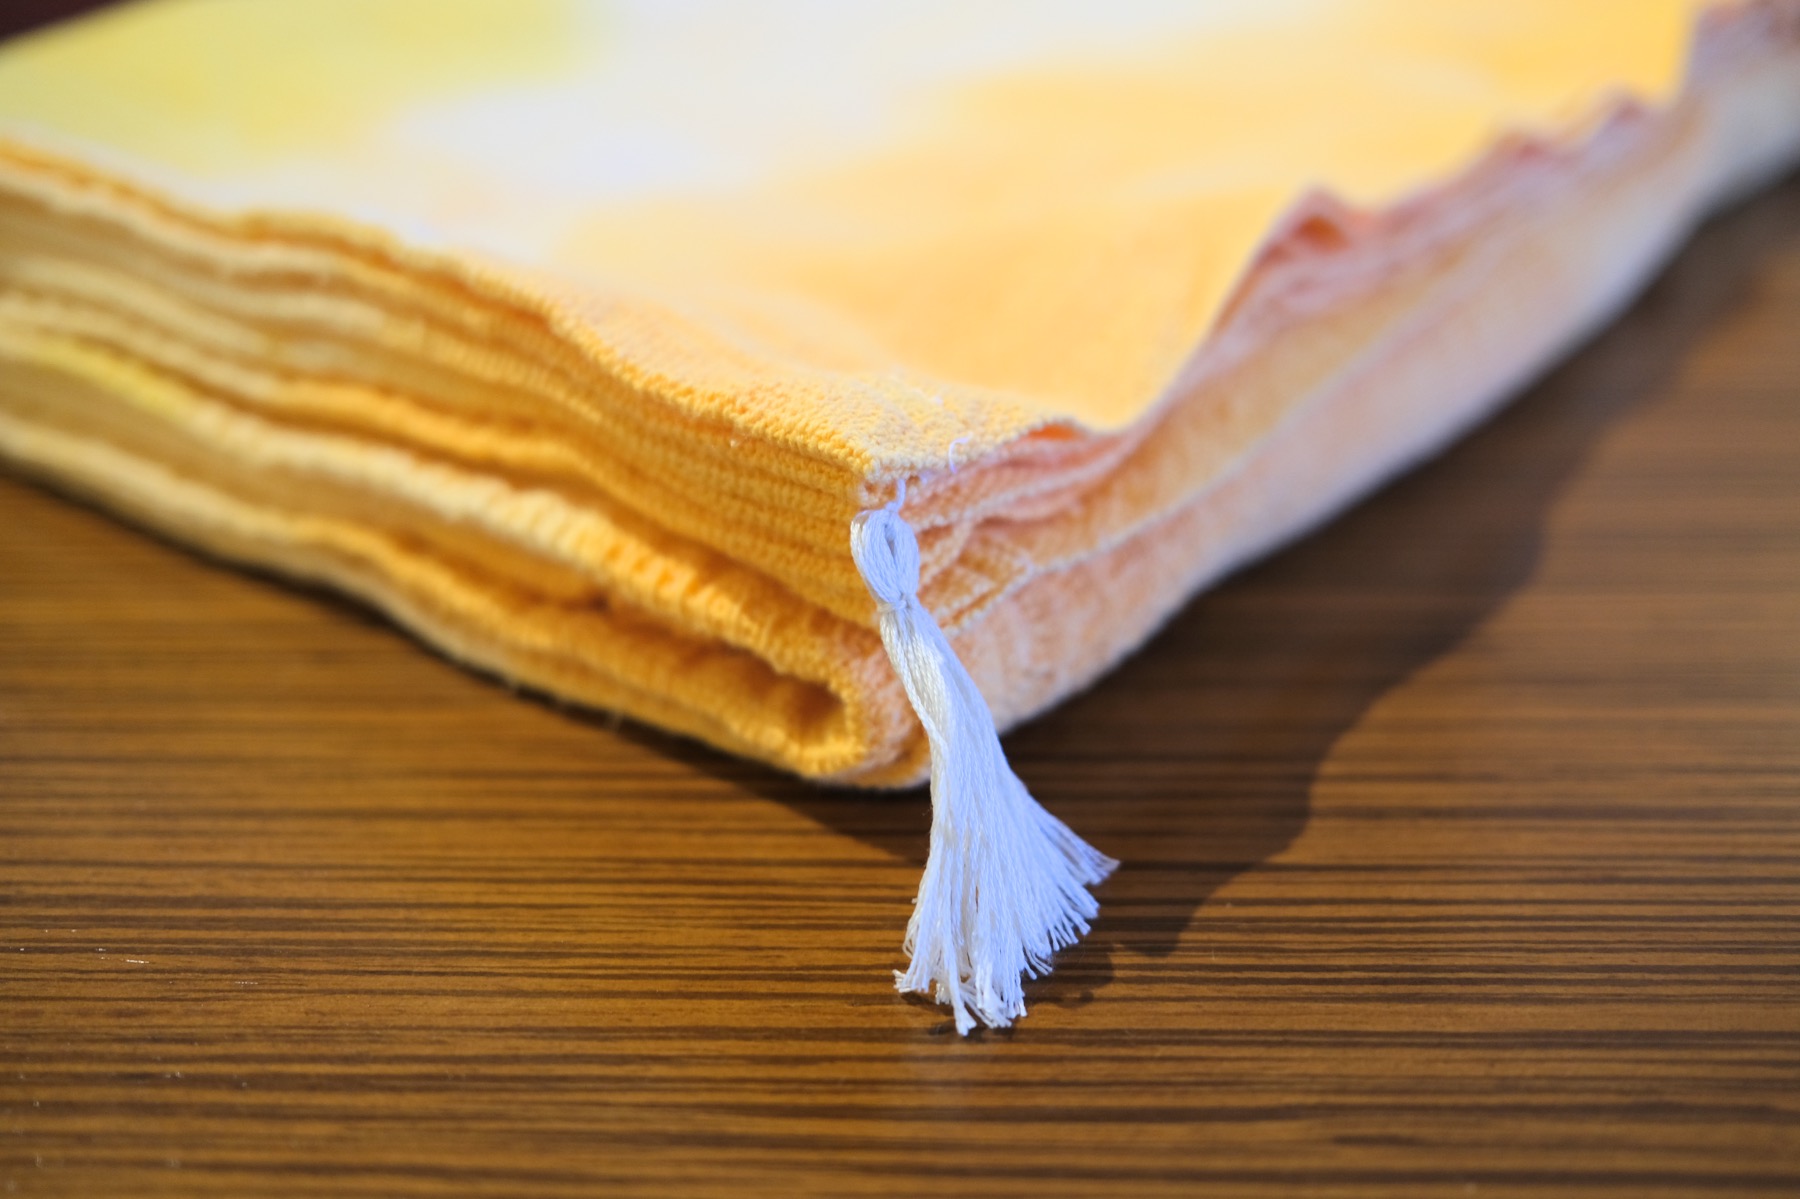
I attached my tassels to this gorgeous Dip Dyed Blanket! Whatever you choose, get your blanket ready. Use your embroidery needled threaded with the top knot to attach the tassel anywhere along the edge of the blanket.
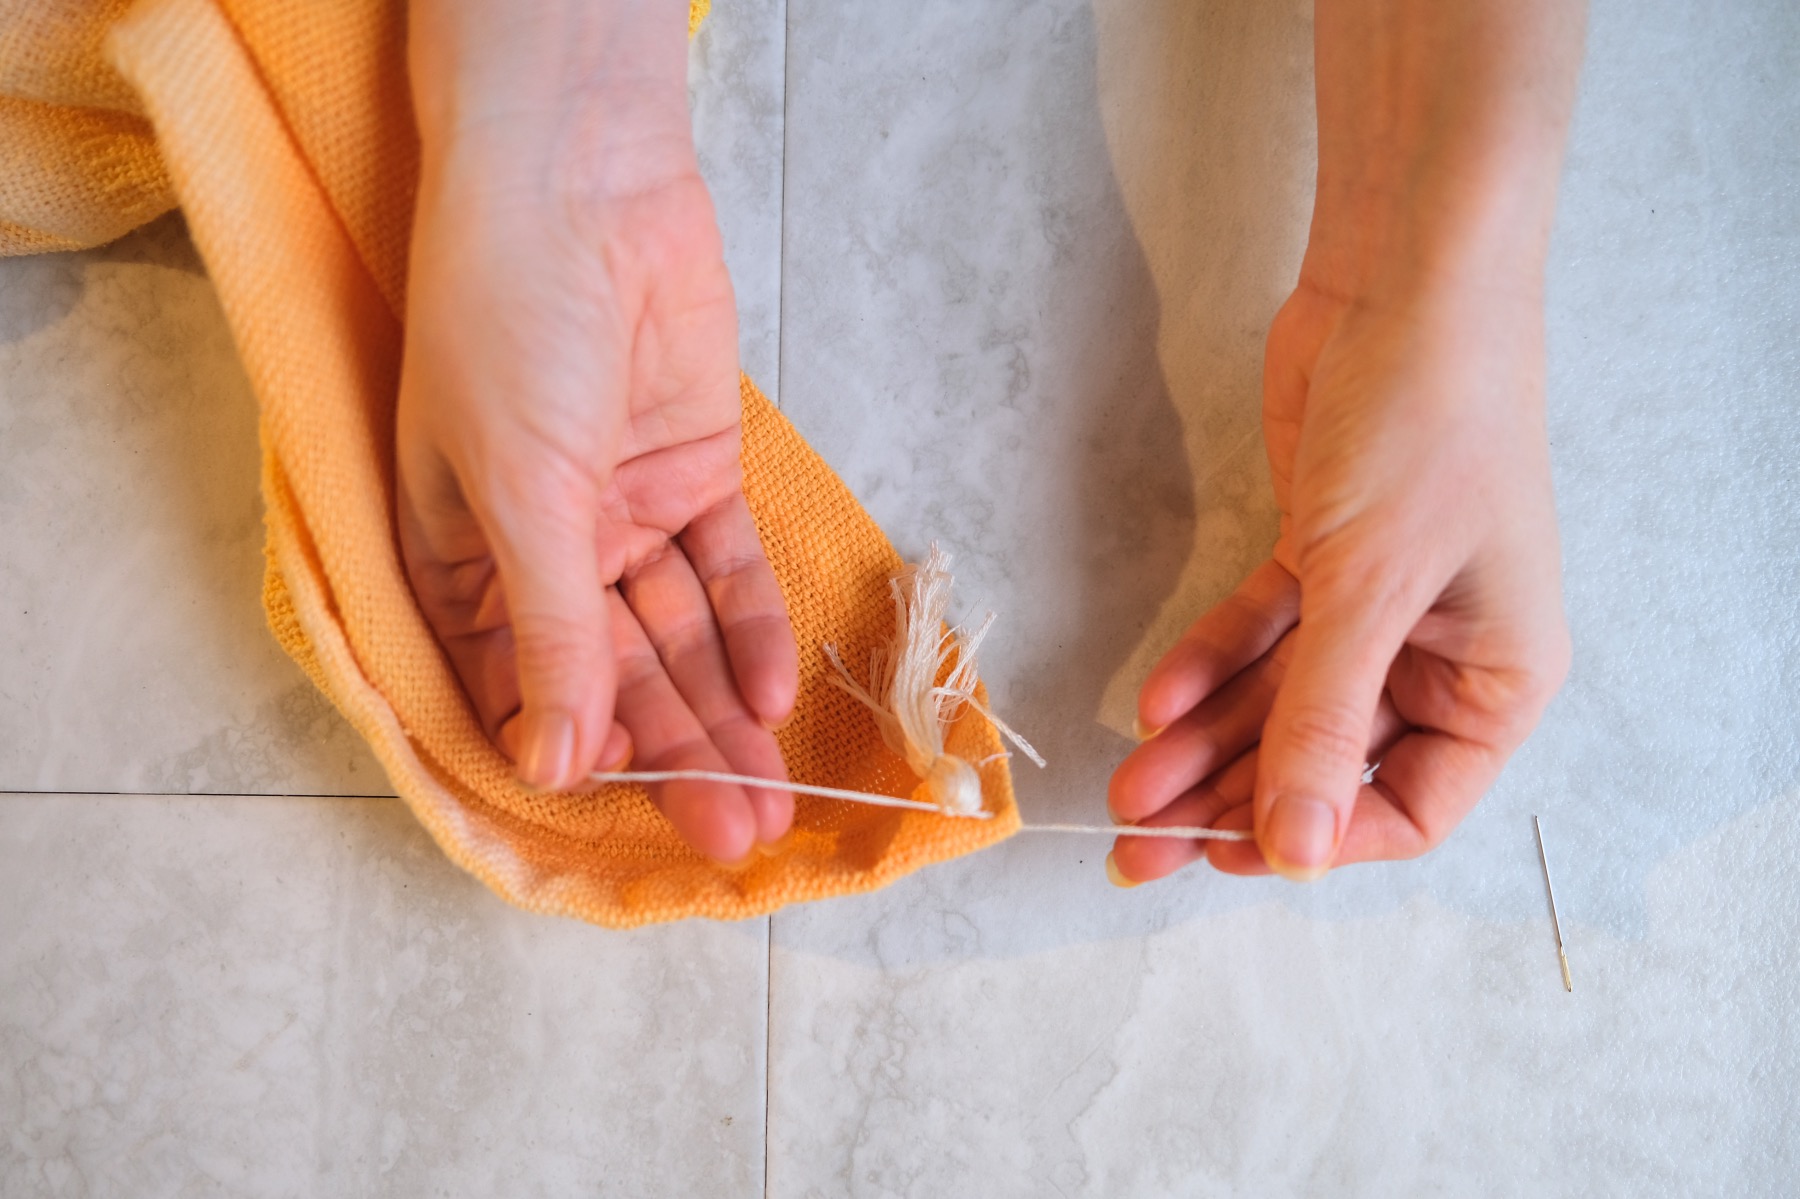
Use a several stitches, stitching both back and forth to hold the tassel in place. If you are not familiar with sewing, making a stitch moving in one direction, then reversing and going in the opposite direction, over and around your original stitch will help the tassel hold in place and will make your stitch super strong.
If that sounds complicated, you can also try double knotting it like the images here. Although this type of knot is not as strong.
Once you have 1 tassel in place, you can continue to create and add tassels to your heart’s content!
I recommend starting in one corner – perhaps even adding a tassel to each corner. And then continue adding tassels until the blanket feels done.

You could just add one tassel, like a little quirk along 1 edge. You could add dozens and dozens in the same color or several different colors. The possibilities are endless!
Once you have your tassels attached and your blanket is finished, throw it over a couch for some cozy warmth while you are reading and watching movies.
Or show it off and place it on the end of a guest room bed. Tres chic!
How to Care for Your Tassel Blanket
Tassels like this aren’t great for a washing machine but are just fine to hand wash and line dry. Although it’s not my favorite method, you could cut the tassels off to launder the blanket and then sew them back on after it’s clean. If you love a good risk, you could even try the DIY Tassel Blanket on a gentle cycle. 🤞🏽
If you are ready to make your own DIY Tassel Blanket, you need the November 2020 Craft in Style Subscription Box! It has unique craft supplies each month that give you everything you need to create your own project from start to finish. It’s so much fun!
And check out these other stylish home diy’s below.
Let’s Stay Friends!
Insta | Pinterest | Enews | TikTok