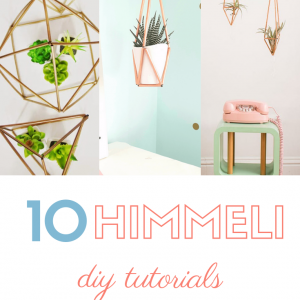
Craft in Style Subscription Instructions, DIY
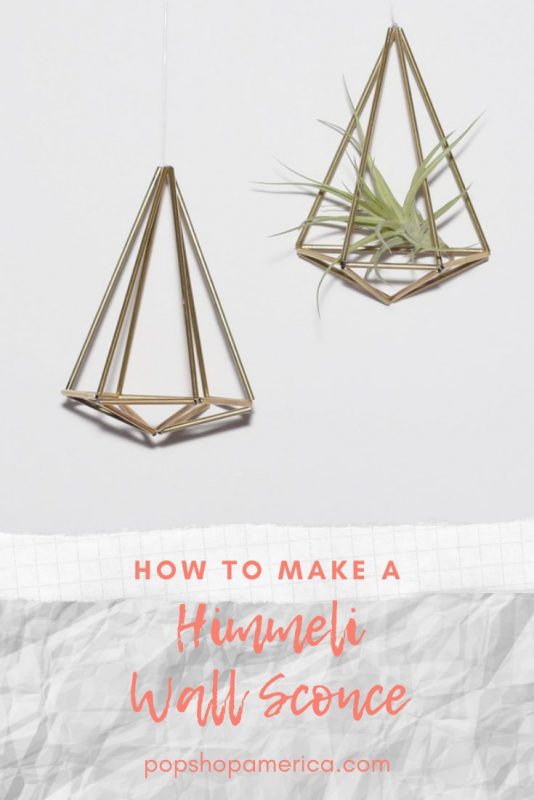
How to Make a Himmeli Wall Sconce
Aug
This is part 2 of 3 of the August Craft in Style Subscription Box tutorials. Part 1: How to Make a Triangle Himmeli Sculpture can be found here. Part 3: How to Make a Himmeli Hanging Air Planter can be found here. And you can find out How to Care for Air Plants here. Craft in Style Subscription Box is available here.
Himmeli is such a gorgeous, minimal, and unique decor item, you have to make it! If you haven’t heard of himmeli before, it’s a series of tiny copper and brass pipes made into cool geometric sculptures. Here’s where you can see an array of different himmeli designs and tutorials.
The trick with himmeli are the patterns. You can make dozens of different designs, but it’s best to start with patterns that are nice and simple and then move to something a bit more complex. I would call this diy an intermediate level himmeli.
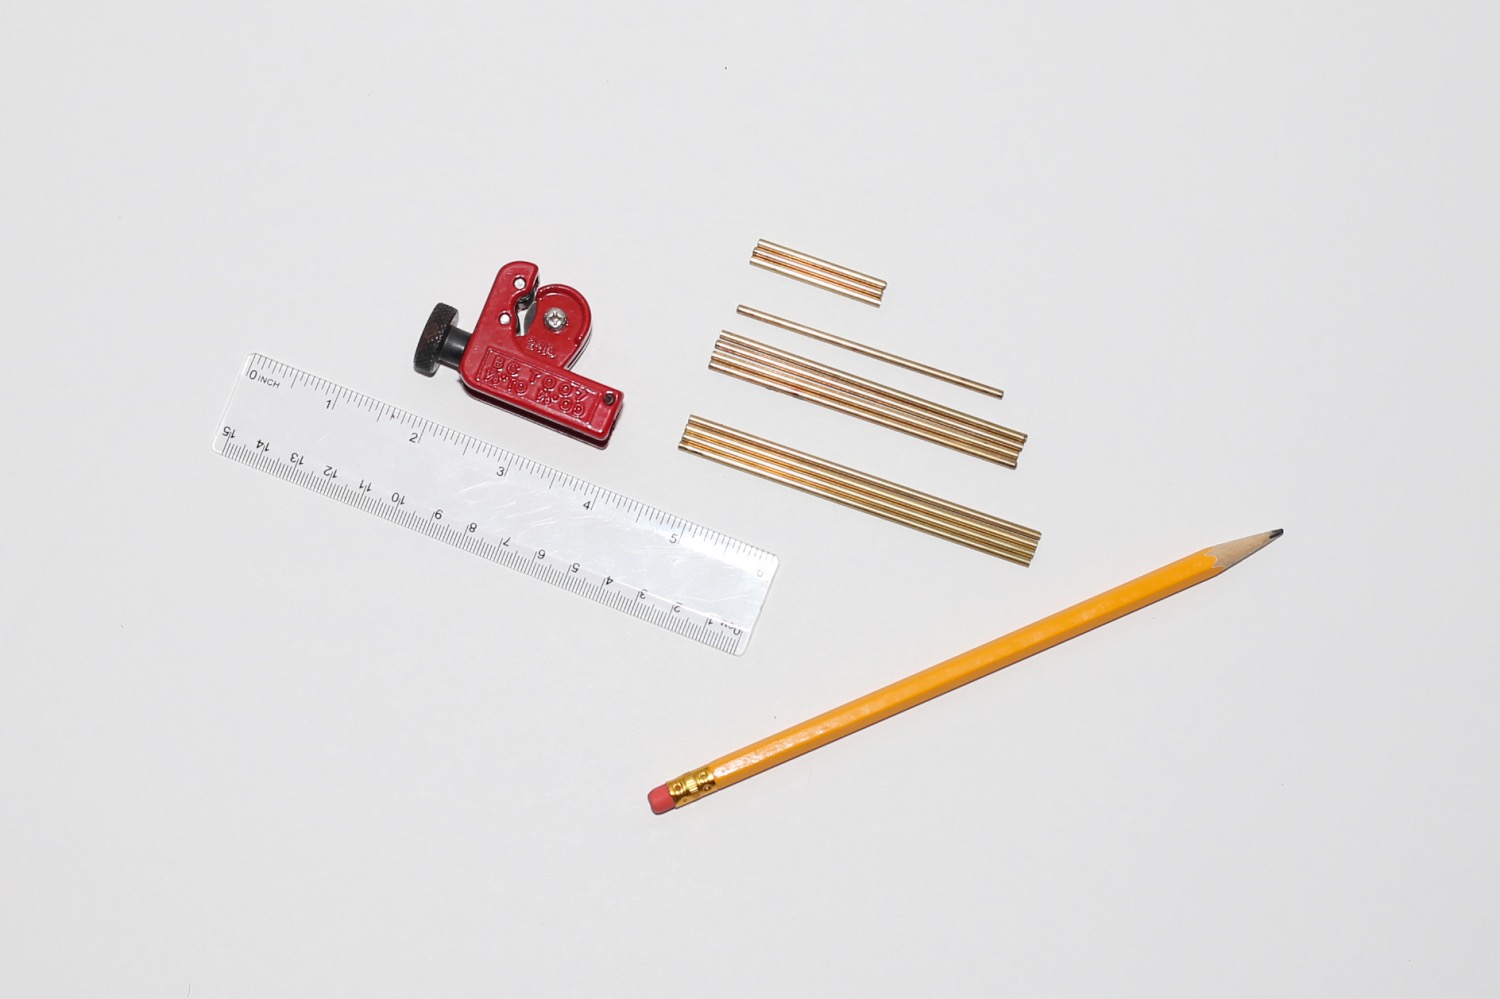
Supplies to Make a Himmeli Wall Sconce:
DIY Himmeli Hanging Air Plant Holder Craft Kit
-or-
Brass or Copper Tube in:
4x 3.5 inch pieces
1x 3 inch piece
2x 4 inch pieces
3x 1.5 inch pieces
Plus you will need:
A Pipe Cutter
Nylon Thread
This Template
Optional: Ruler & Pen
You will need 10 pieces of cut copper pipe total, plus, be sure to download and print, or just have this template available to look at while you are working!
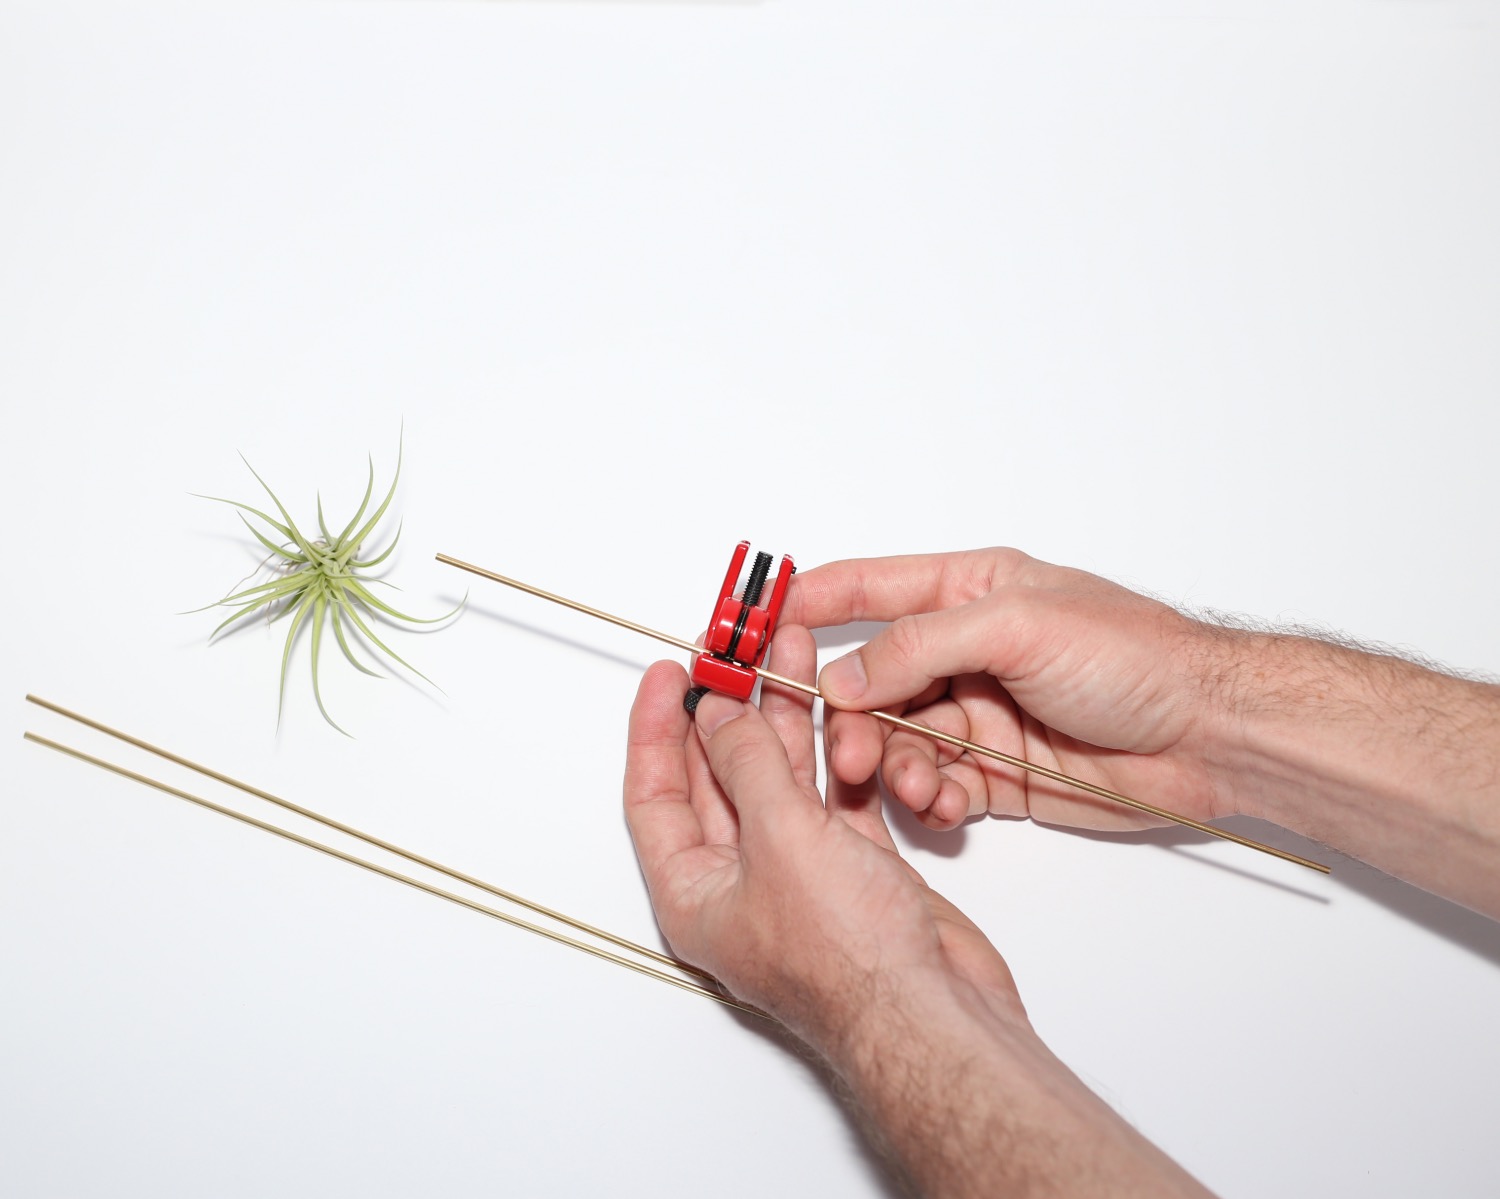
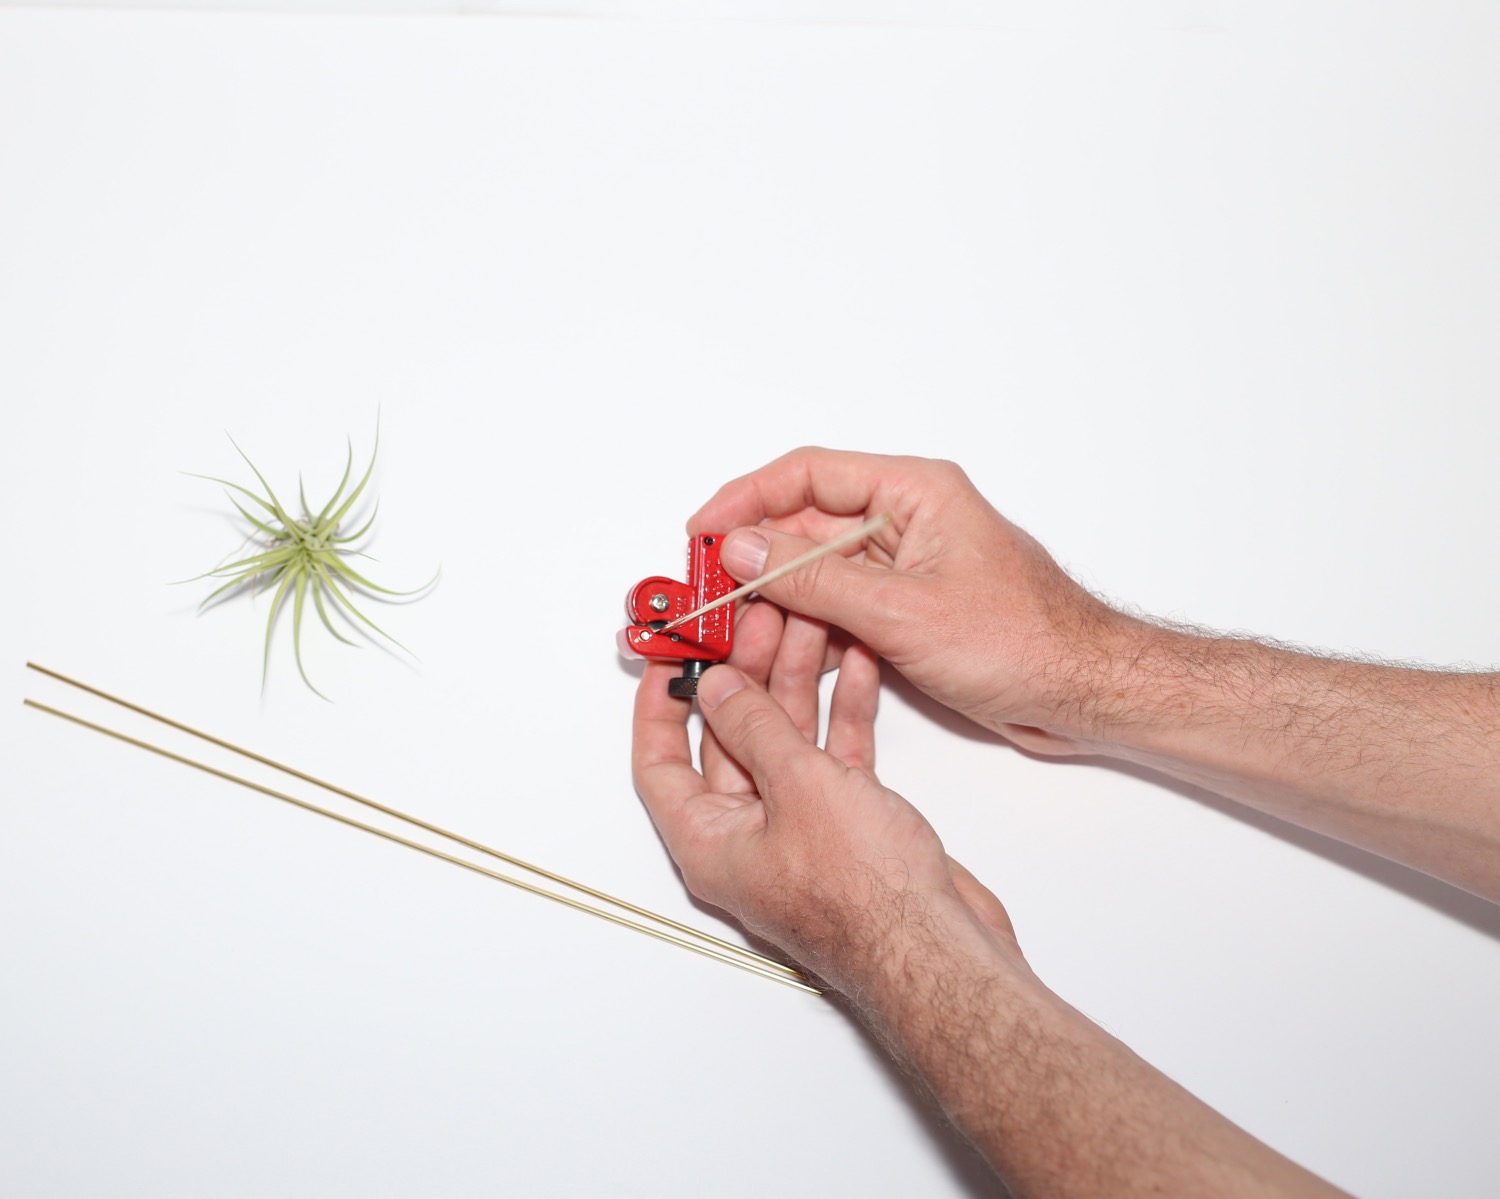
First things first, measure and cut all the pipe. I measured the pipe with a ruler and then marked each piece with a pen. Double checking your lengths before you cut is such an easy way to make sure it’s right.
To cut pipe with a pipe cutter, use the twist knob to open it, or in other words move the two pieces away from each other. Then place the pipe inside the cutter so that the cutting wheel is pressed up against the cut line you have drawn with pen.
Close the pipe cutter gently until the cutting blade is against the pipe, but not bending the pipe. Turn the pipe (or cutter) around and around and around in circles until the pipe breaks. It should just take a few passes, but as your pipe cutter begins to dull, it could take up to 20 passes, even 50 passes or more!
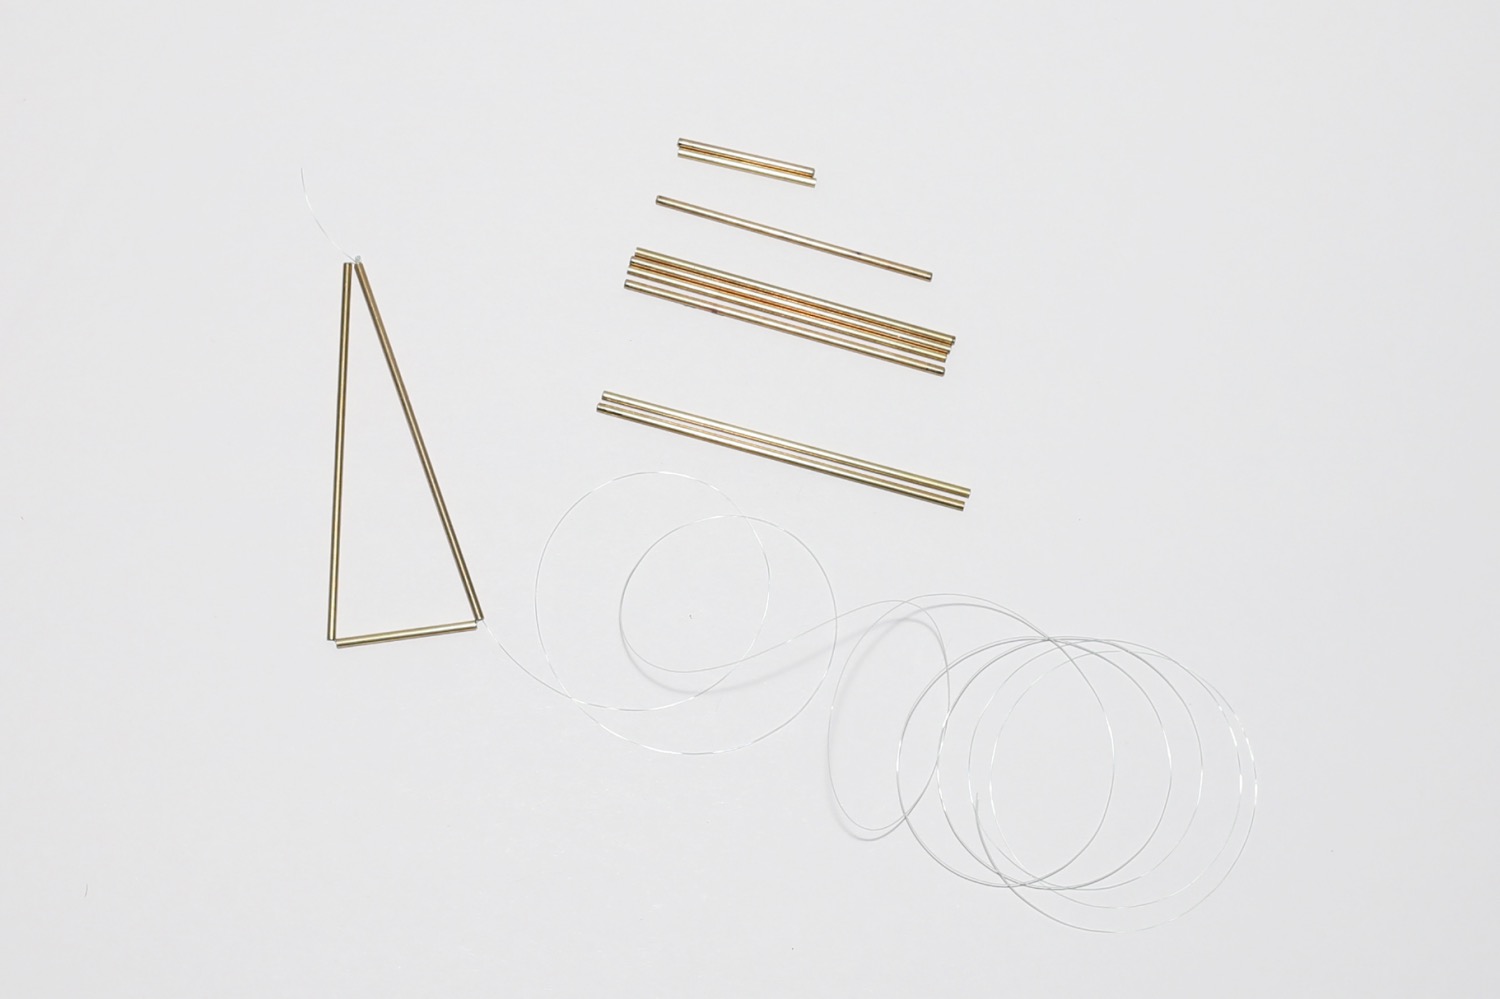
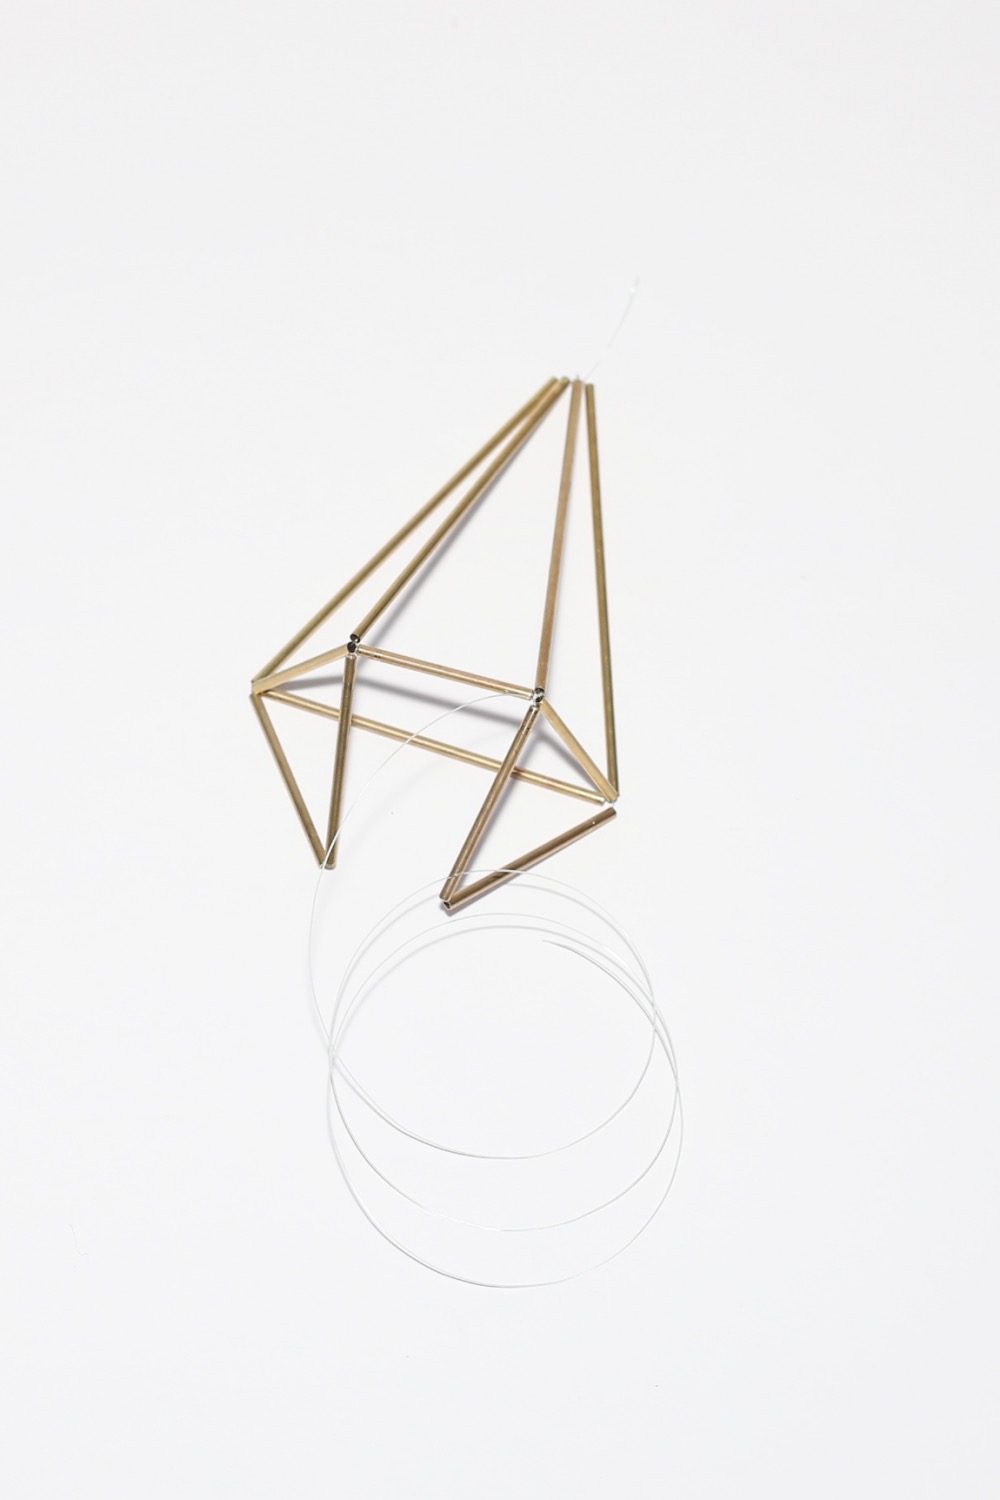
Once you have your pipe cut, it’s time to start weaving it together using your clear nylon thread. Your thread should be longer than the length of all your pipe pieces combined.
To start the weaving, you do not need to make a knot in the thread. In fact it’s best if you don’t because later, you can grip both ends of the thread and pull, which will tighten the himmeli easier than if you can only pull from one side.
The pattern for how to weave the thread through the copper pipe is included in the template, but you could also create your own pattern.
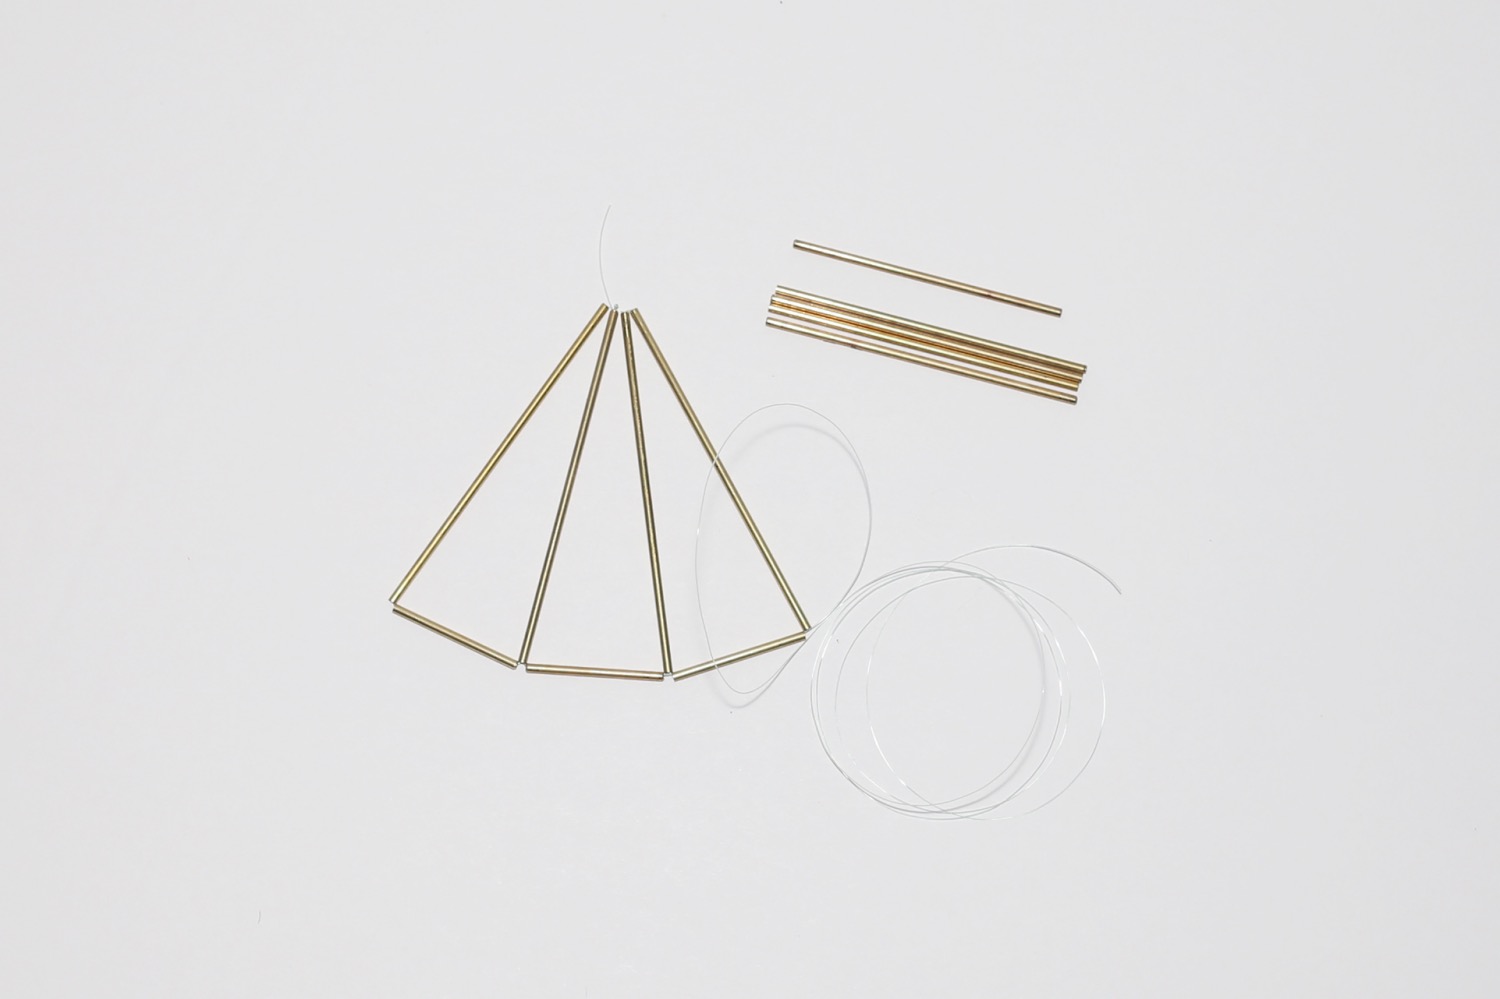
I also that just following these photos step by step is a great way to weave the pipe together. It’s all about how you learn best.

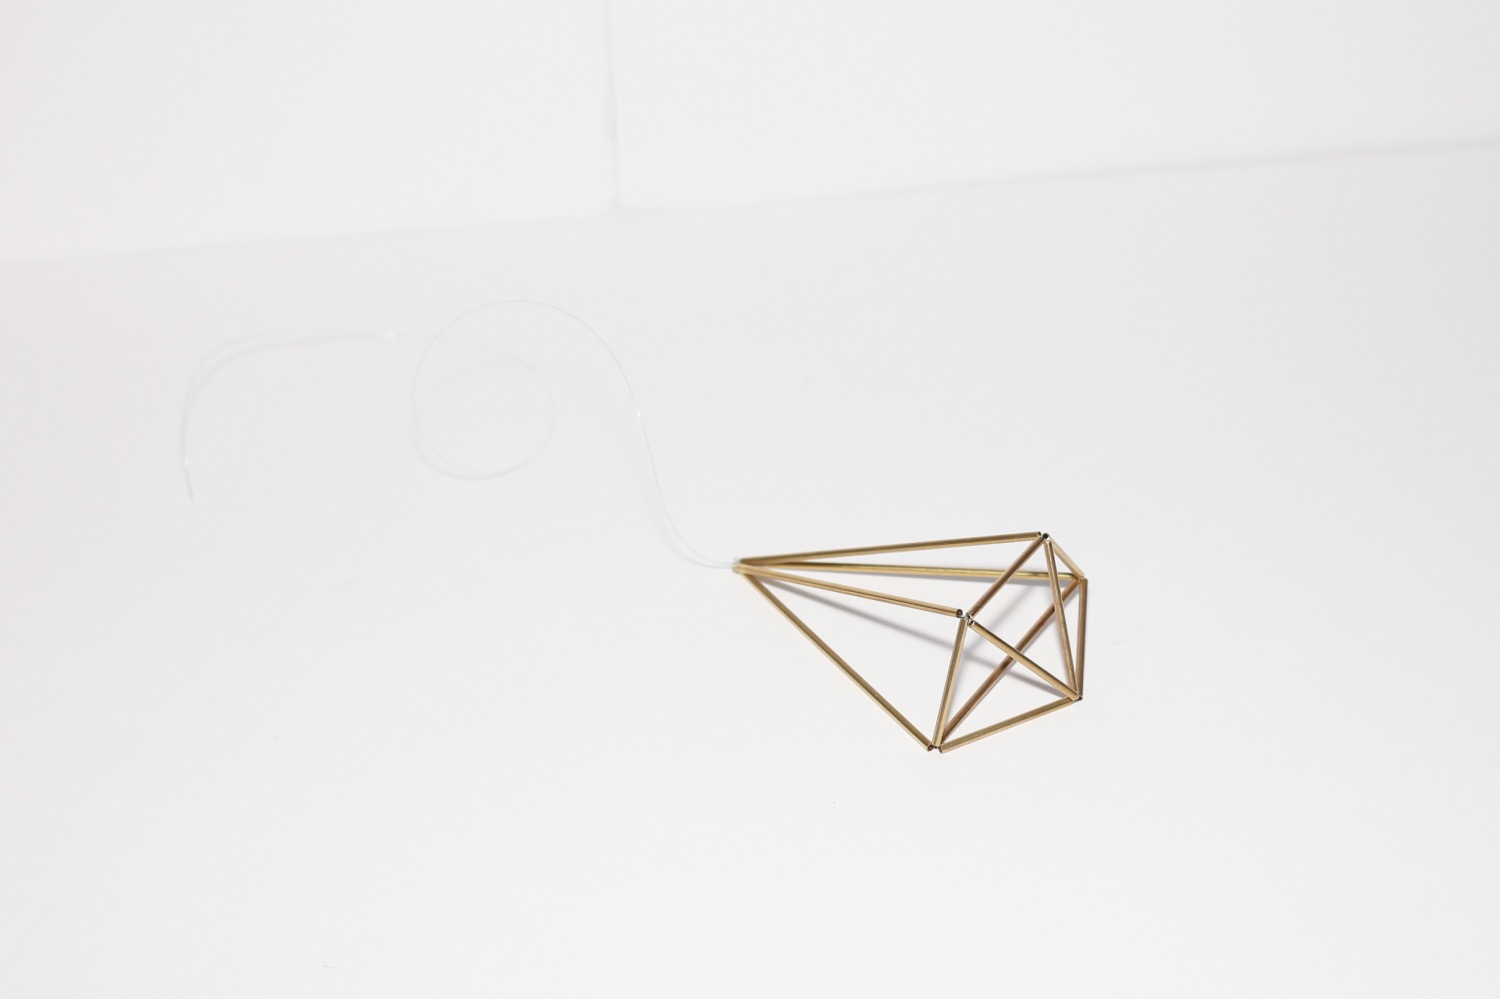
Remember that because this is a wall sconce and will hang flat on the wall, the finished piece will have 1 flat side. That’s the side that hangs along the wall but the rest of the shape will be 3 dimensional.
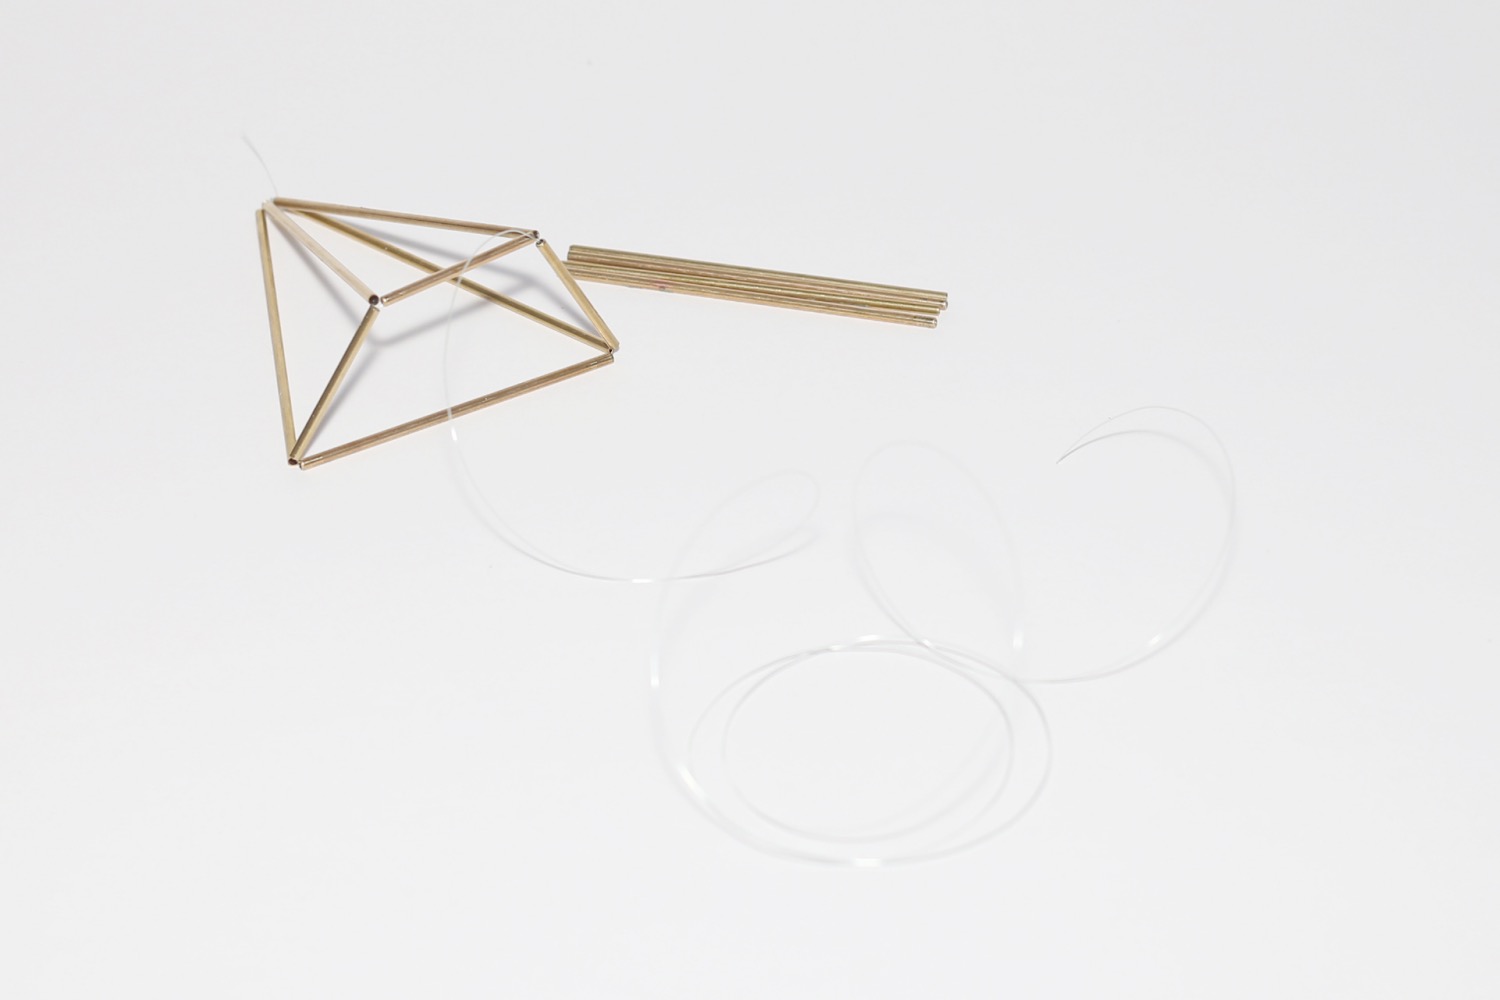
As you continue to add more copper pipe to the himmeli sculpture, continue to pull the thread from both ends so that the piece will tighten. This is what will cause the himmeli to form into a 3 dimensional shape. It will also make the clear thread less noticeable because it won’t hang loosely out of the ends of the pipe.

Once you have all your pipe threaded, you will need to tie the nylon thread together into a permanent hold. Nylon thread is best tied together with a balloon knot. A balloon knot is exactly how it sounds! It’s just like how you tie the end of a balloon – hold both ends of thread in both hands and weave the thread through together.
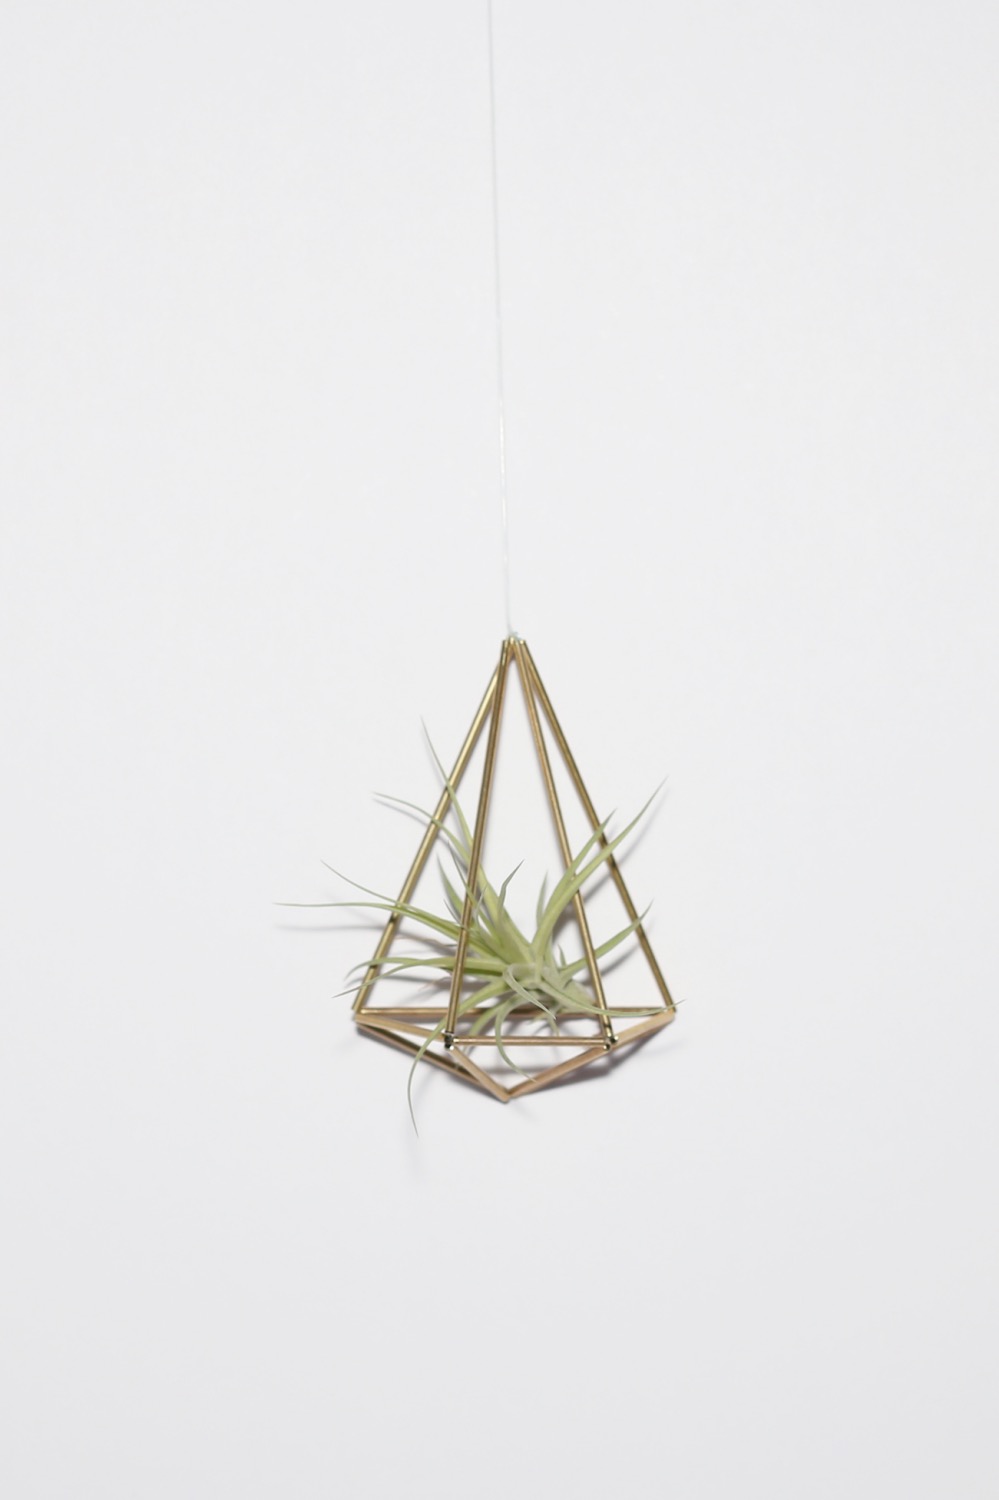
And viola, you have a gorgeous himmeli wall sconce with a cool diamond shape! It’s perfect for filling with air plants, faux plants or even hanging a crystal inside. Best all all, these sconces are easy to hang because they are so lightweight.

Aren’t they just stunning? Now if you are ready to go himmeli crazy, then this is just the tip of the iceberg. You can also make sculptures to sit on a tabletop and hanging sculptures too.
Since all of these projects use the same materials, it’s fun to get an abundance of himmeli pipe and get creative! Don’t be afraid to try your own shapes – because there are so many that you can make.

And if you love this Himmeli Project but missed the August Craft in Style Subscription Box, you can get the DIY Himmeli Air Plant Holders Kit here. Happy crafting!

Let’s Stay Friends!
Insta | Pinterest | Enews | Bloglovin