Craft in Style Subscription Instructions, DIY, Gardening
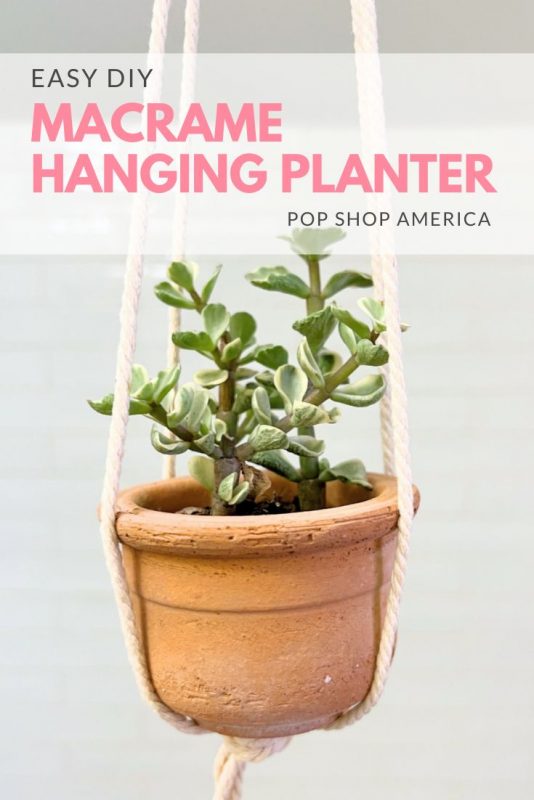
How to Make a Simple & Easy Macrame Hanging Planter
Aug
This blog is 2 of 5 tutorials for the July Craft in Style Subscription Box. You can find the other 3 tutorials, more about this box, and other Craft in Style Boxes here.
There are a million different styles, knots, and cool ways to make a macrame hanging planter. You can use wood beads, you can dye the macrame cord, you can make your planter hang long or make it super short.
There are so many different ways that you can stylize your own macrame hanging planters that it’s almost overwhelming. That’s part of why I made this incredibly easy, super simple tutorial on how to make a basic macrame planter. Once you understand the basic shape and how a macrame hanging planter holds the planter in place, it’s easy to dream of all the possibilities.
Additionally, macrame can be hard. It can be confusing. It can be time consuming. But not with this tutorial! If you are a beginner or just want to make something fast and easy, this tutorial is for you. So let’s make it!
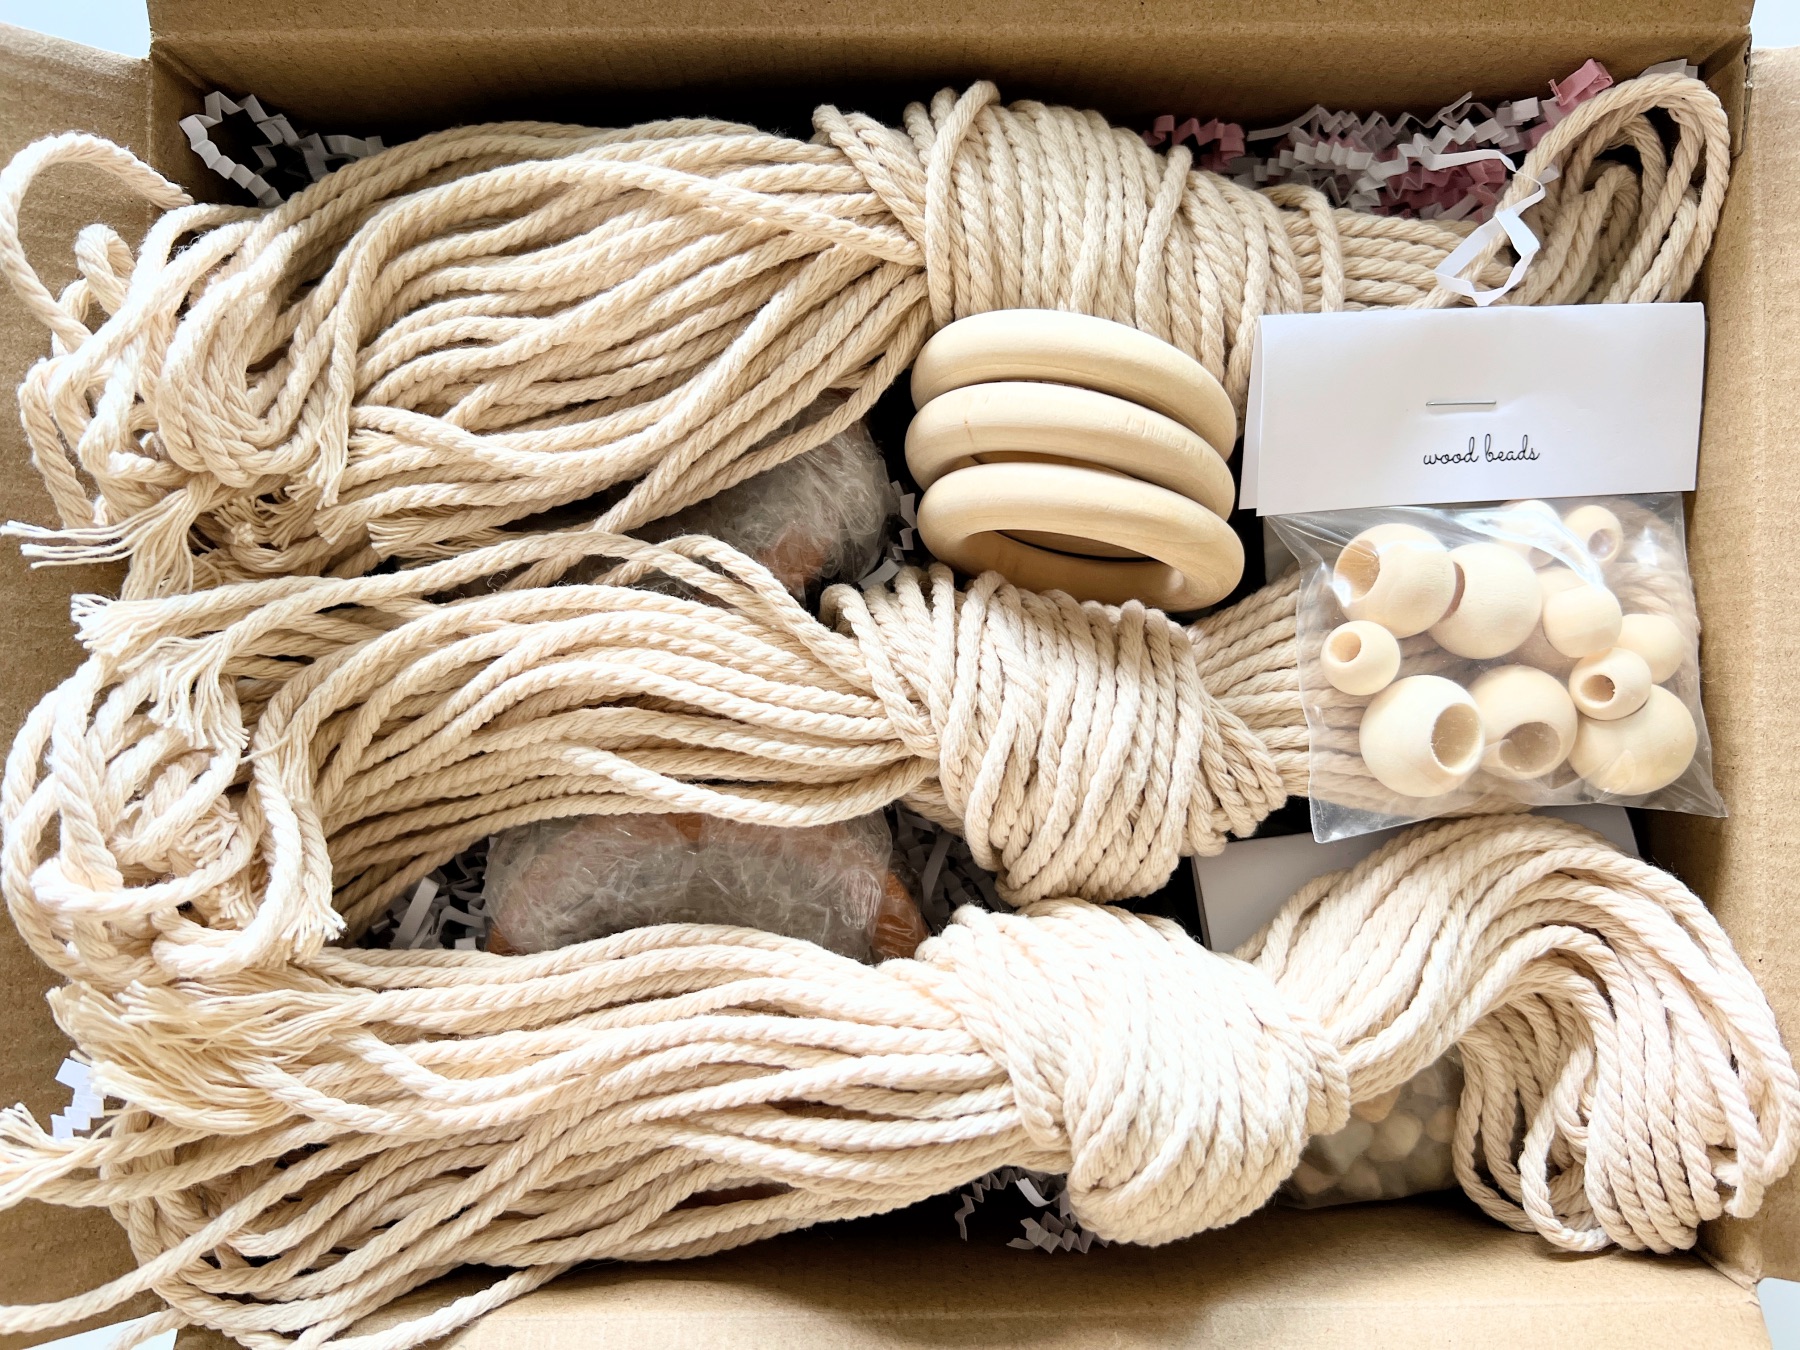
Supplies to Make an Easy Macrame Hanging Planter
July 2022 Craft in Style Subscription Box
-or-
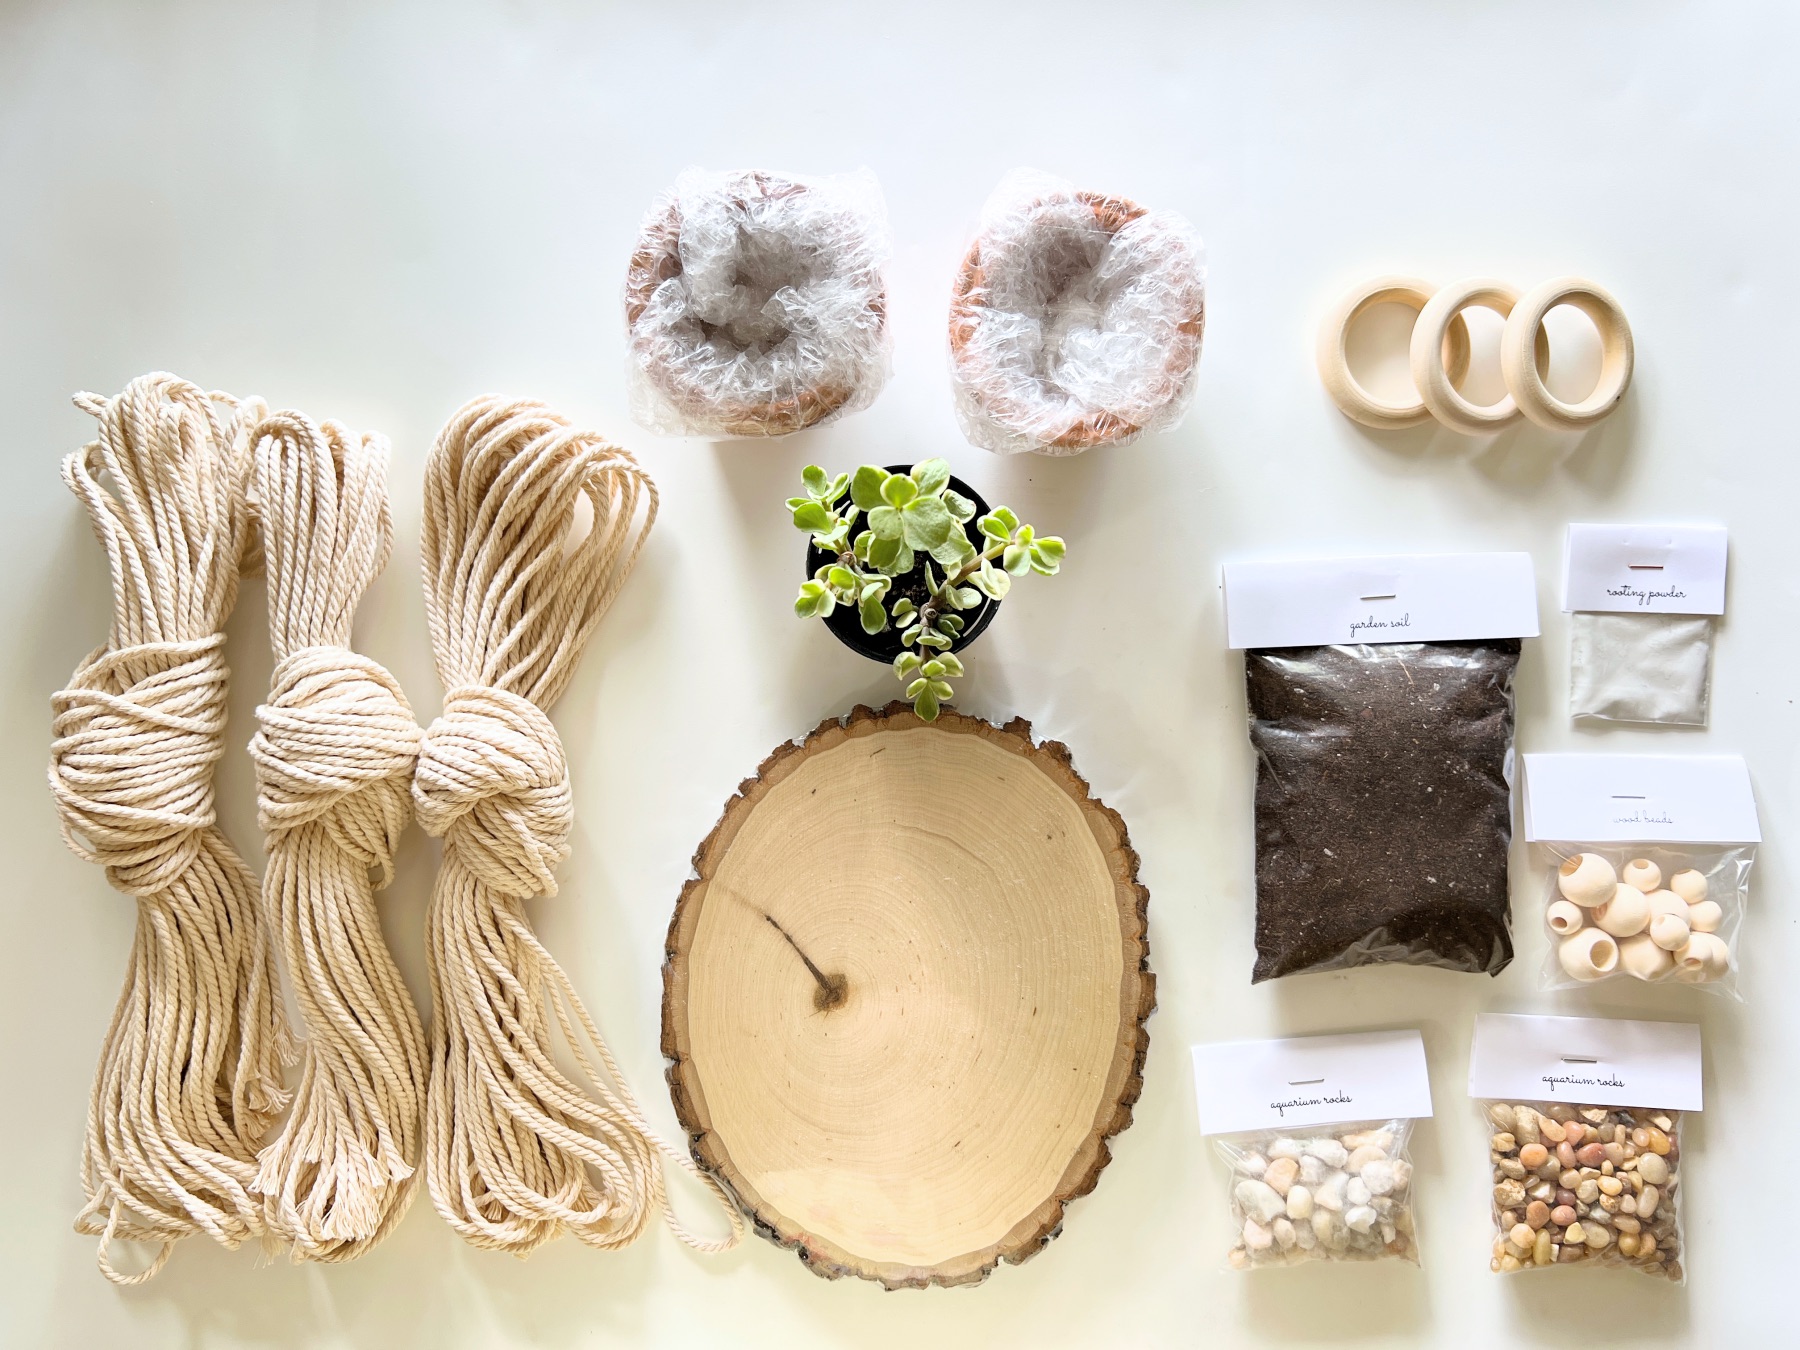
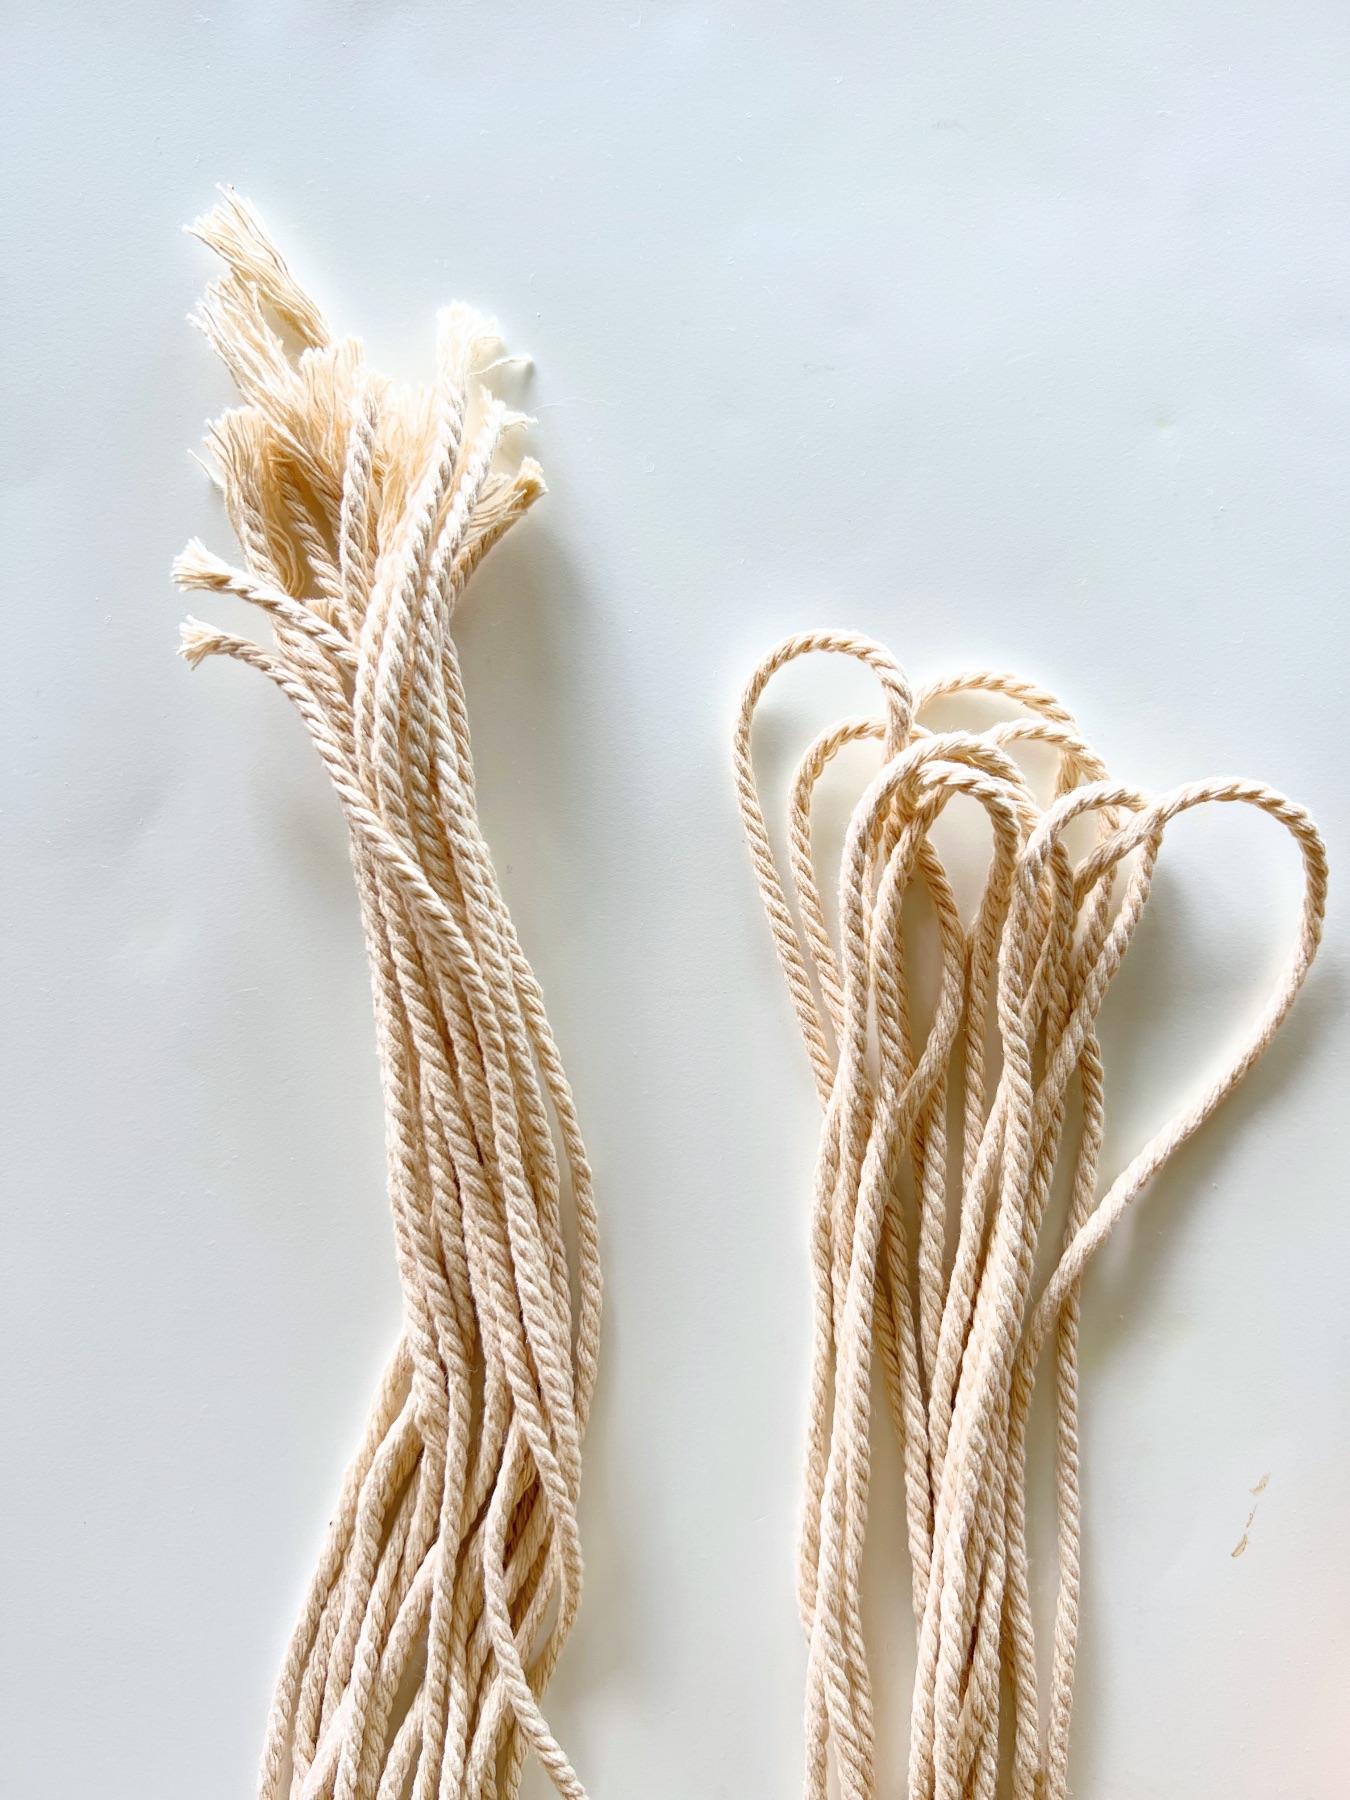
2 6 feet or longer lengths of macrame cord* (I used 3mm)
1 Terra Cotta Pot
Wooden Ring (I used a 2 inch ring)
Scissors
Soil & Succulents or Other Plants of Your Choice
*I’ll explain this again later but I only used 2 lengths of macrame cord because the goal was to make this project super simple. If you have a large or heavy planter, or plan to make a more intricate and detailed piece of macrame, you will need more lengths of cord.
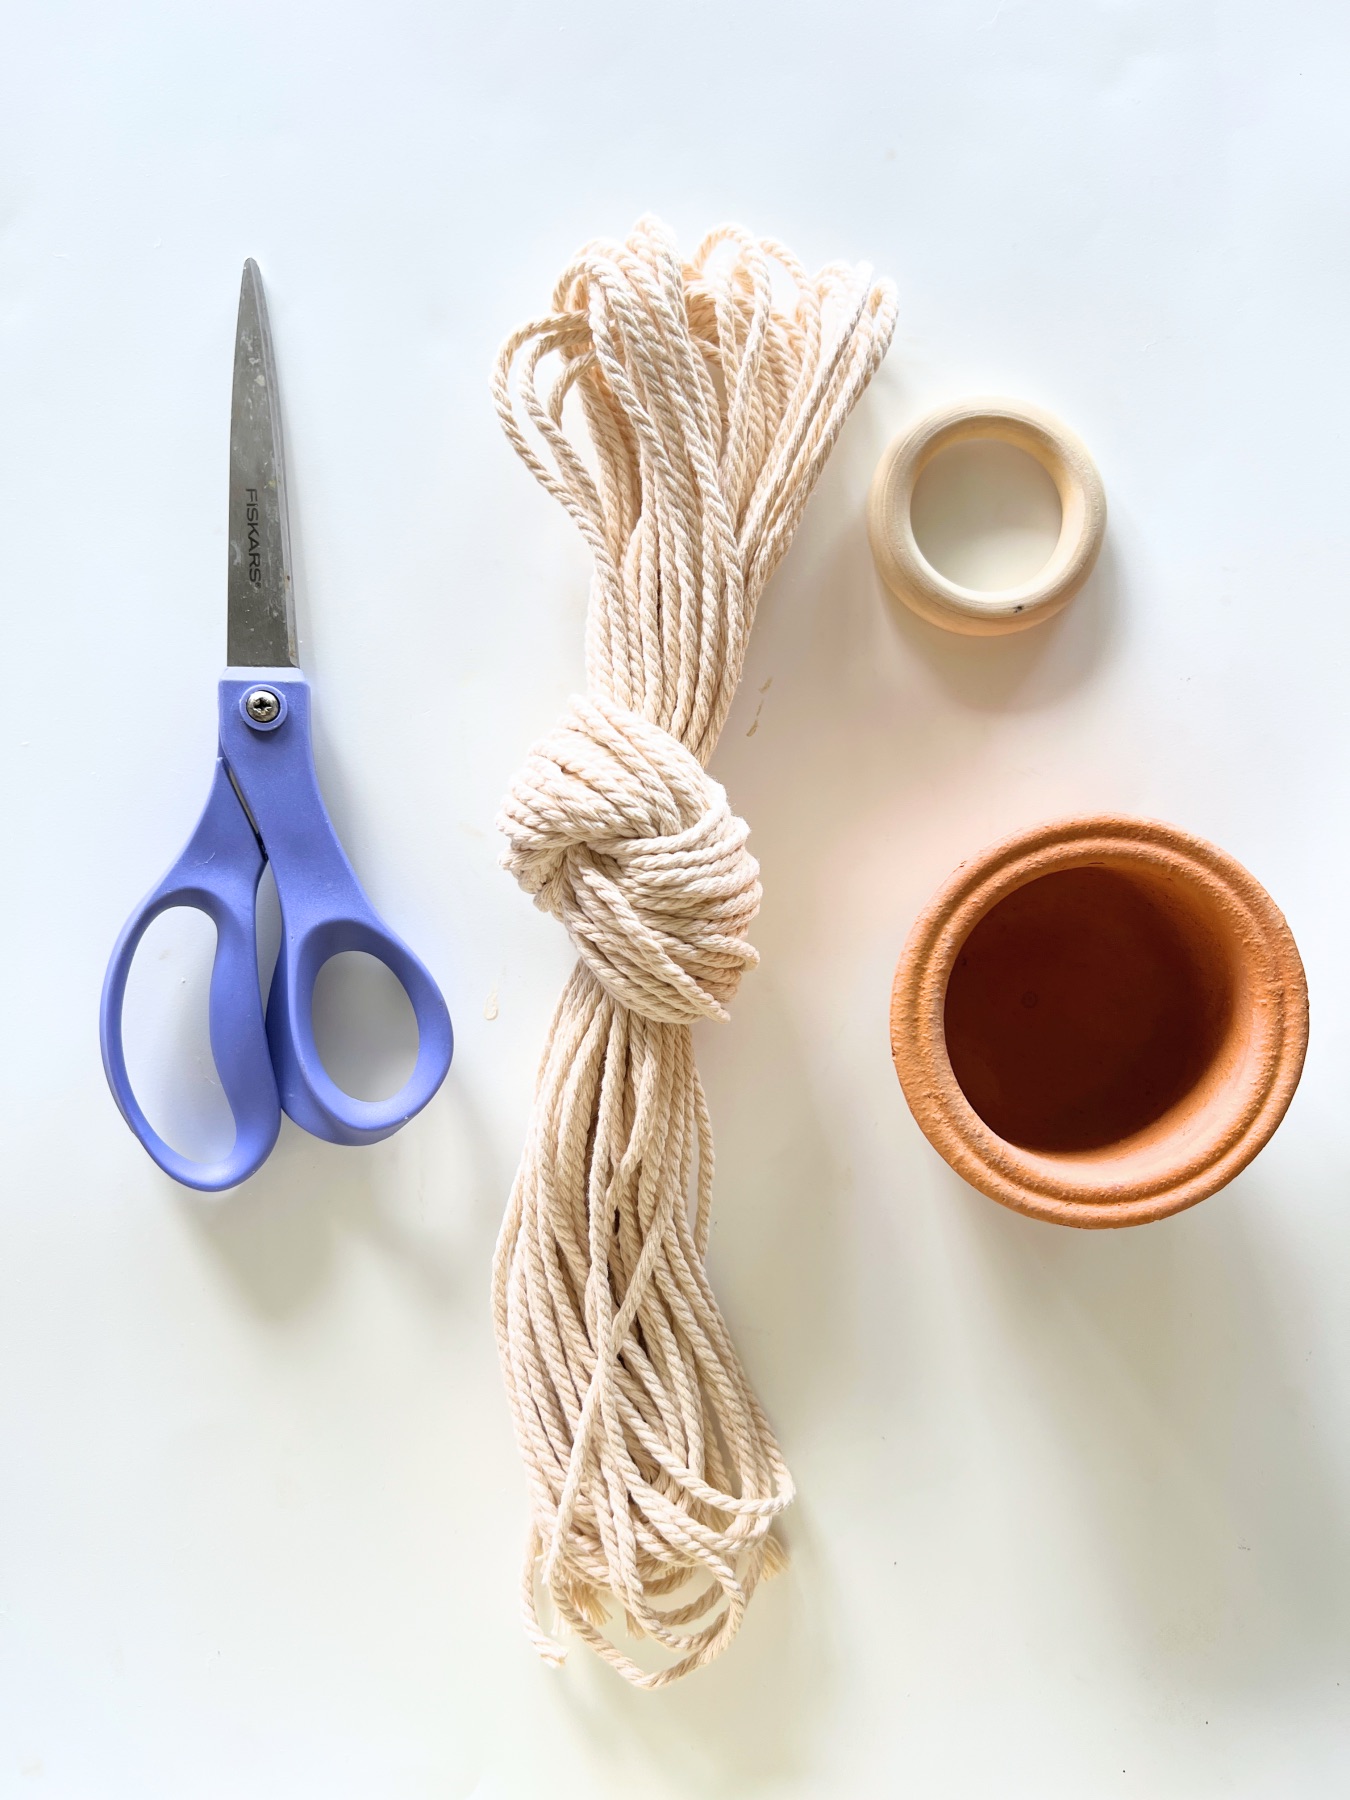
Gather Your Supplies
To get started, you will first need your wood ring, macrame cord and scissors. Start by cutting your macrame cord to around 6 feet in length. You can use your stretched open arms or a table to measure these long lengths instead of trying to use a ruler.
How to Set Up a Macrame Work Station
Working on macrame projects is a bit different than other projects because it’s easiest to work off a wall! If you can, start with a small nail slightly angled upwards. Another option is to use a clothing rack and a clothing hanger.
What doesn’t work is using a craft table. So get creative and see what you can do! Here are things you should consider:
1. Start with a nail or area that’s slightly taller than you.
2. You need to be able to work downwards and touch the entire piece you are creating with your hands.
3. With macrame, you pull slightly downwards to build the knots. So be ready for this as you prep your space.
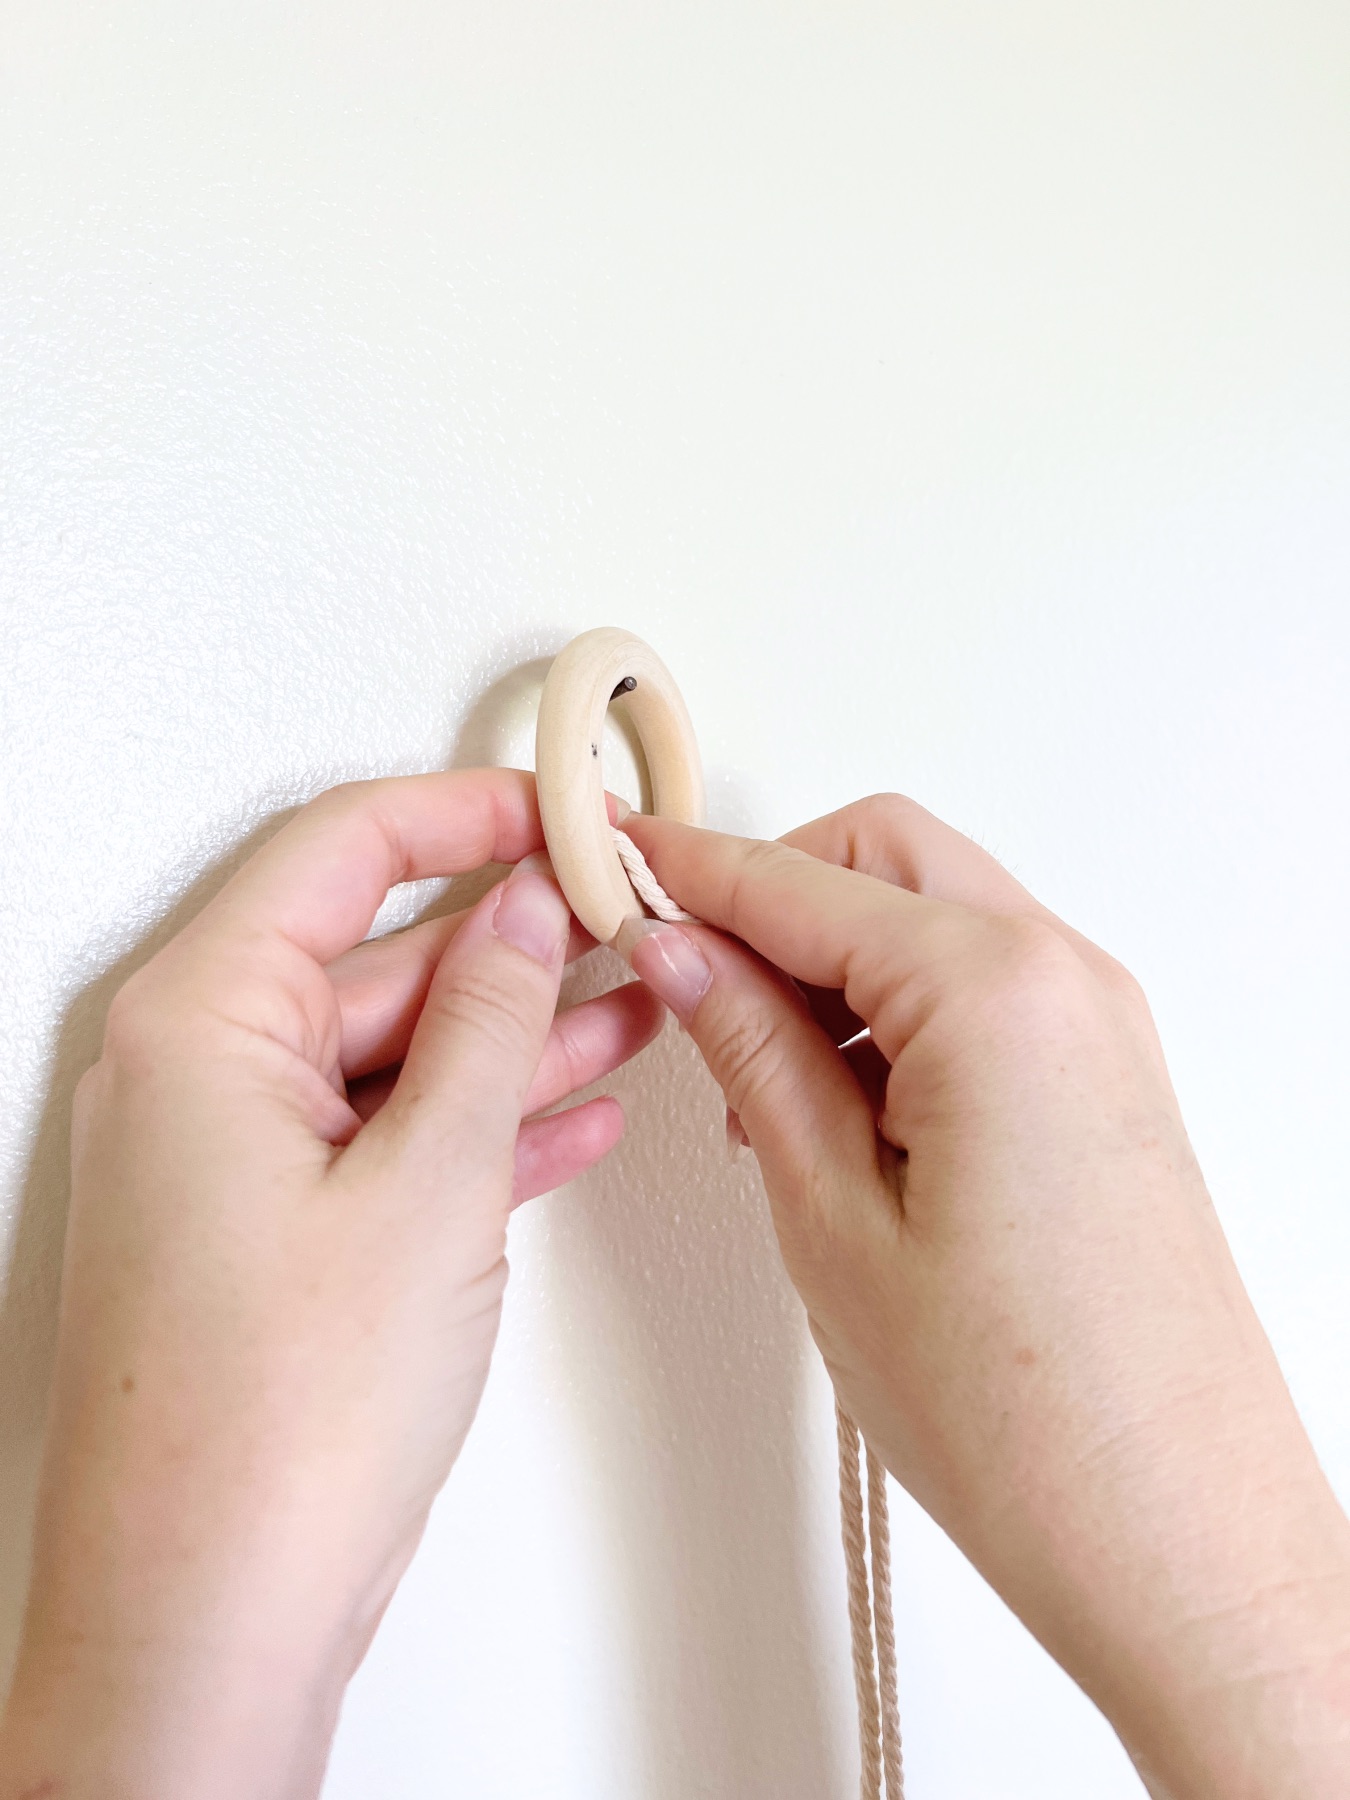
How to Make a Lark’s Head Knot
All macrame projects start with the most simple of knots – a Lark’s Head Knot!
You can make this knot it 2 directions by placing the cord either in front of your wooden ring or in back of your wooden ring.
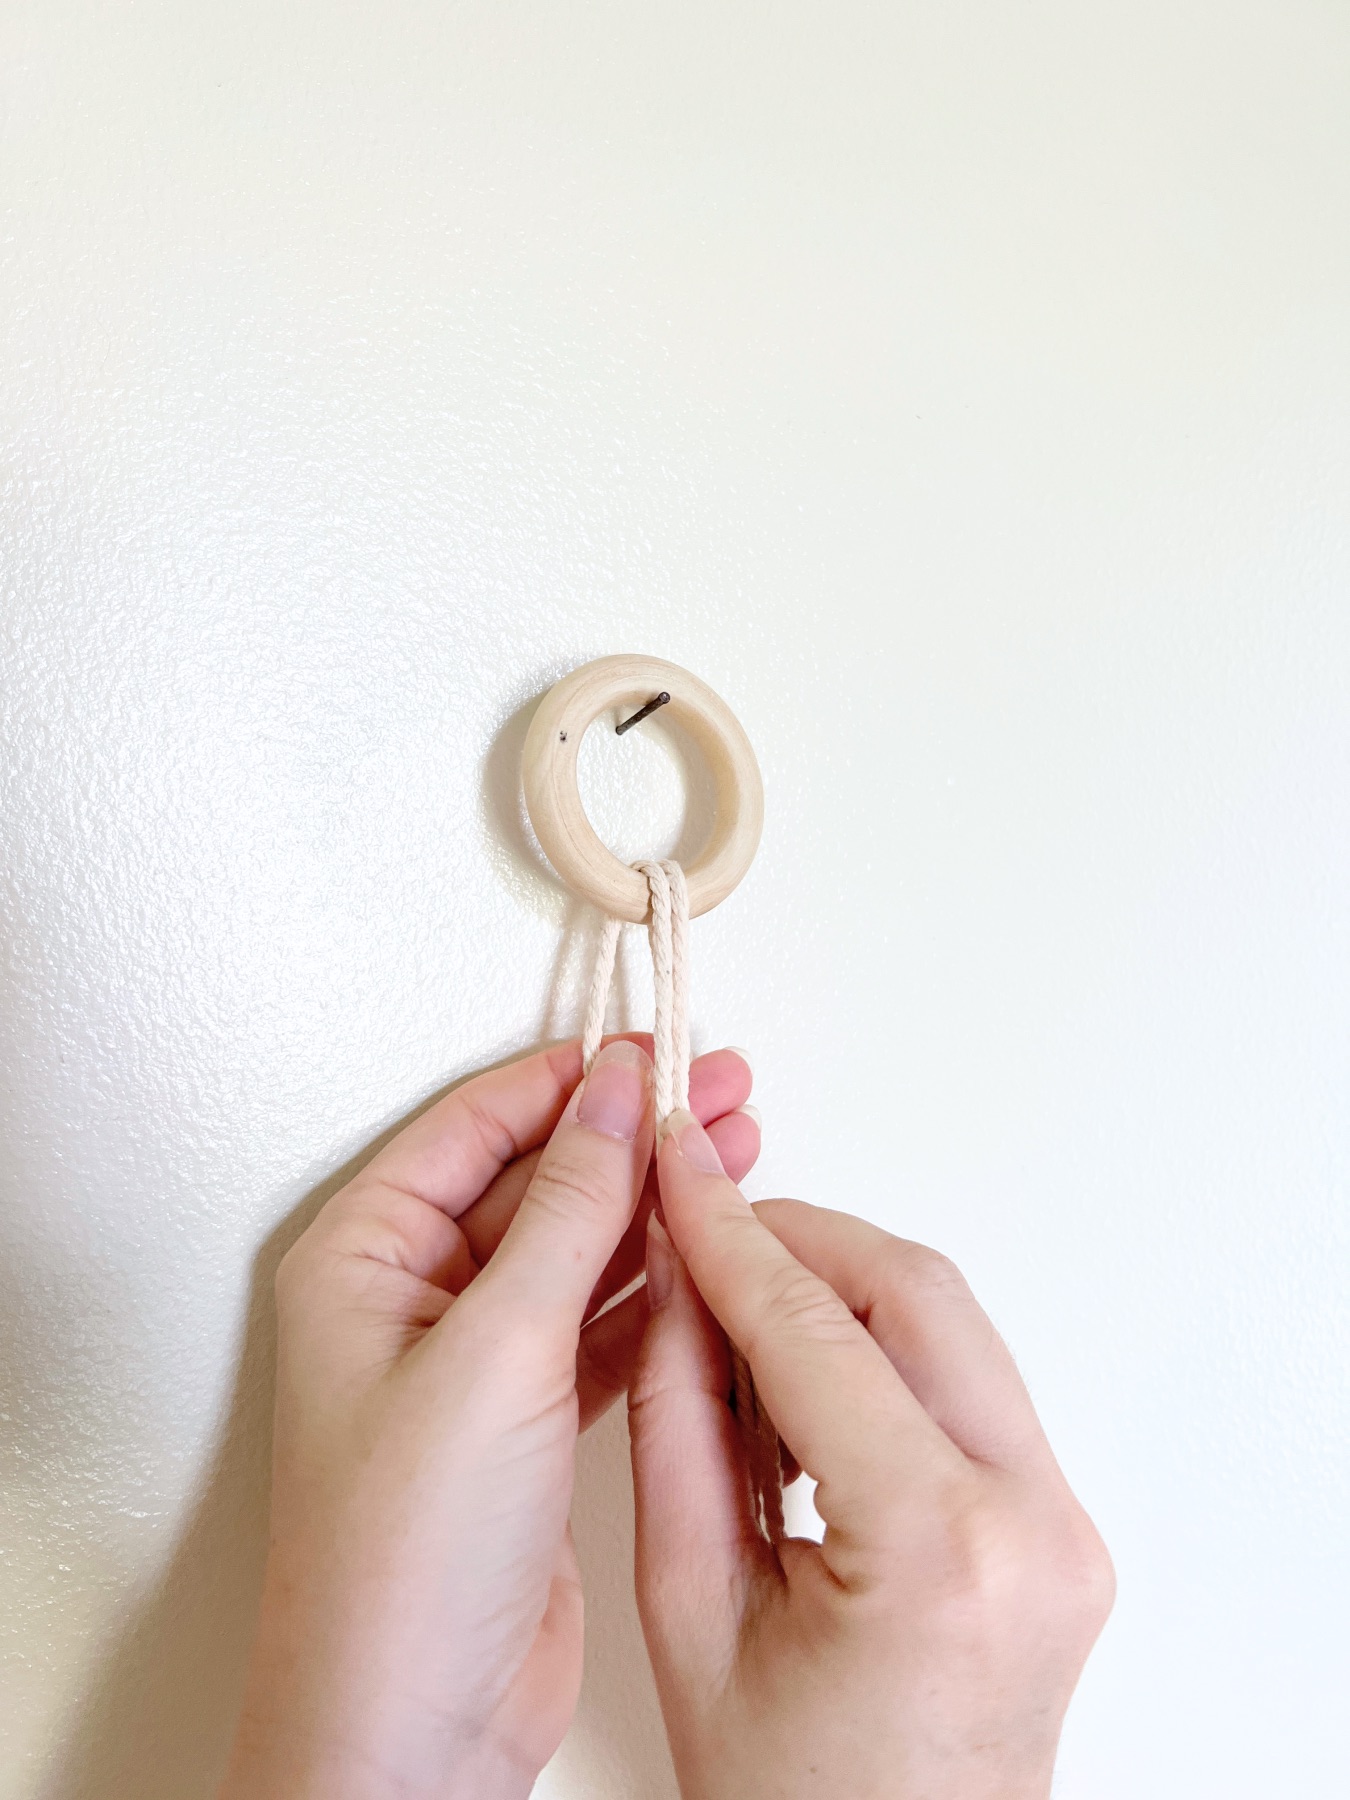
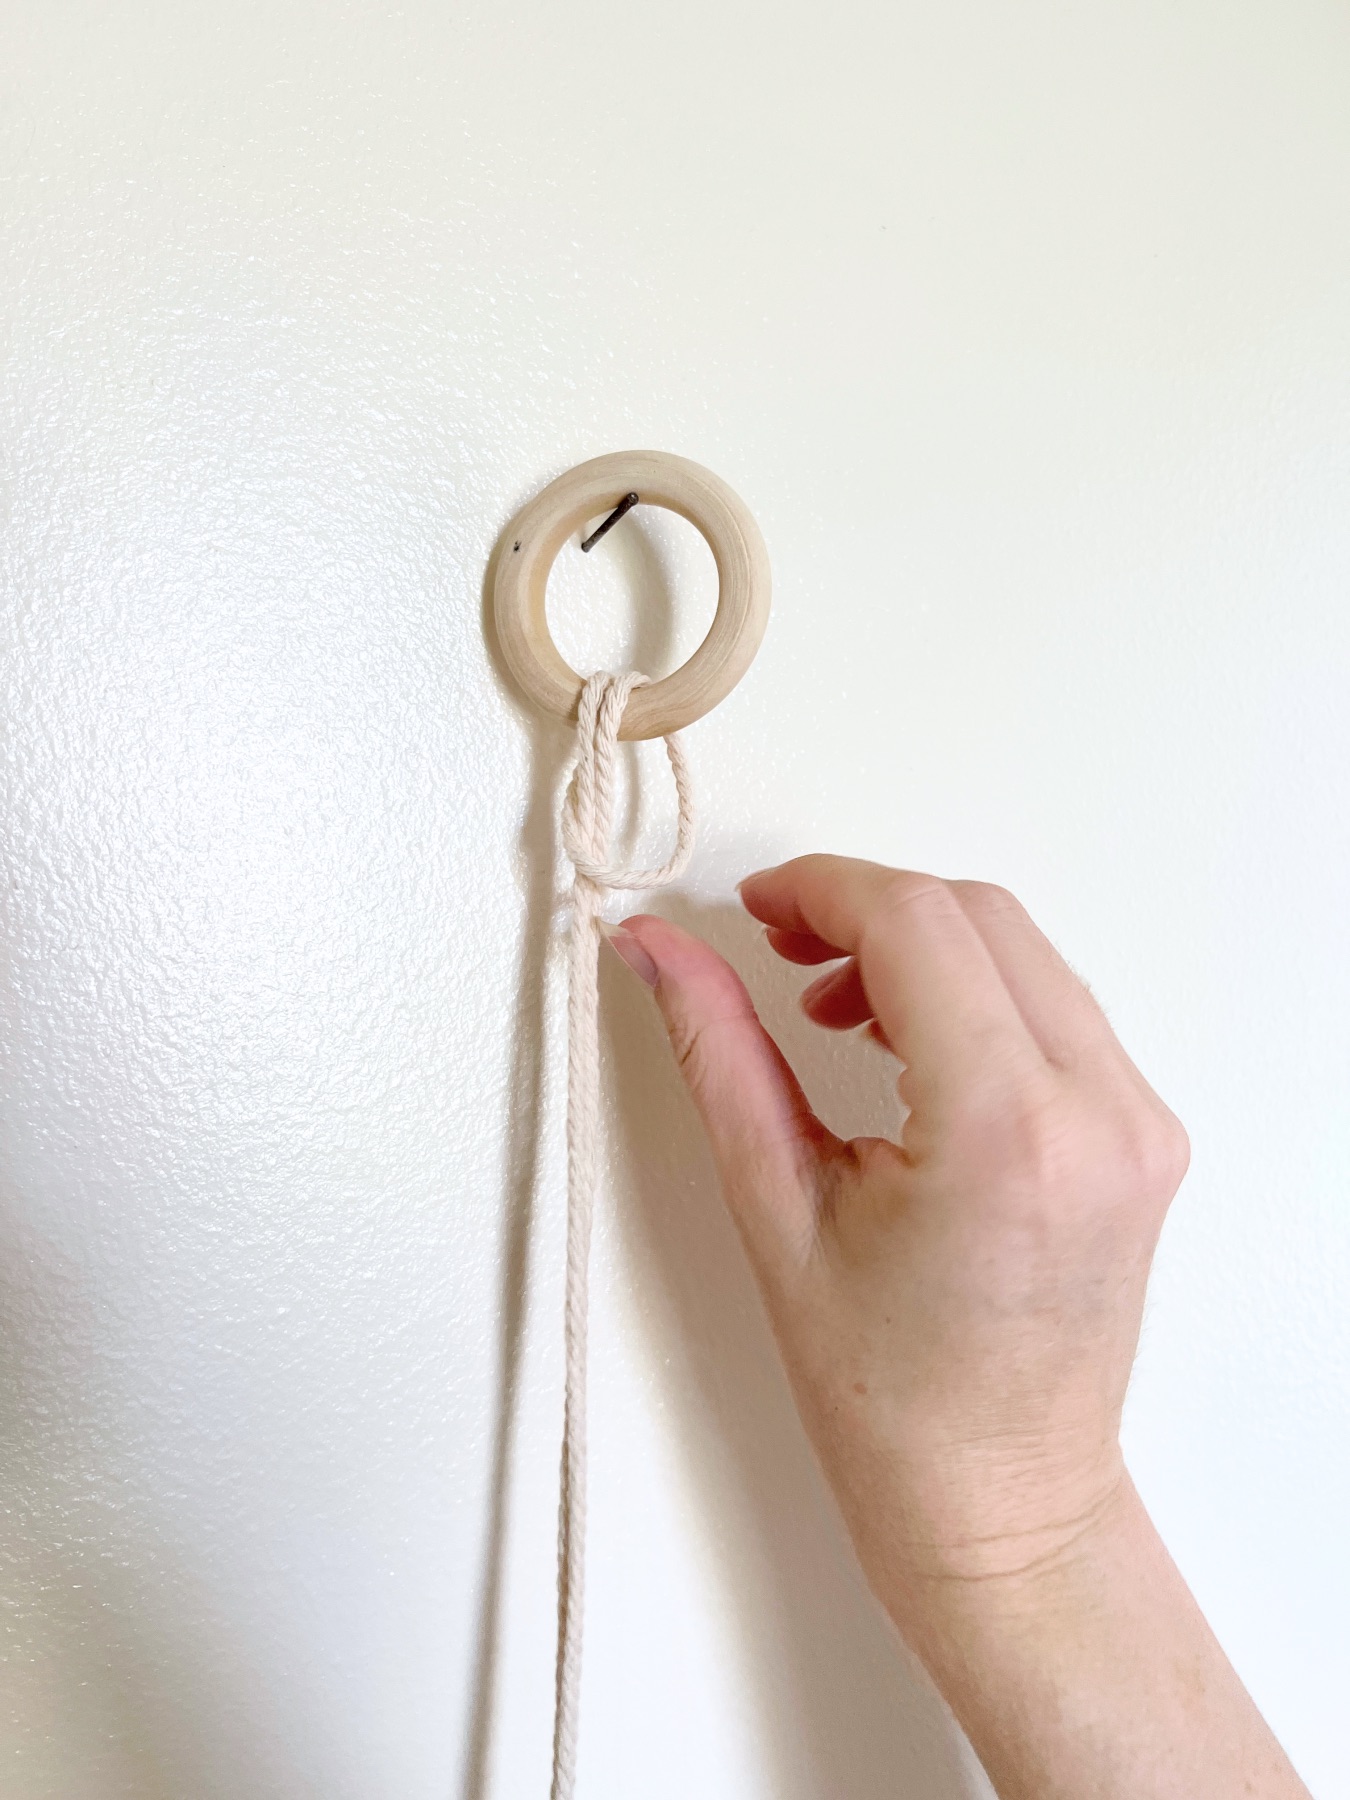
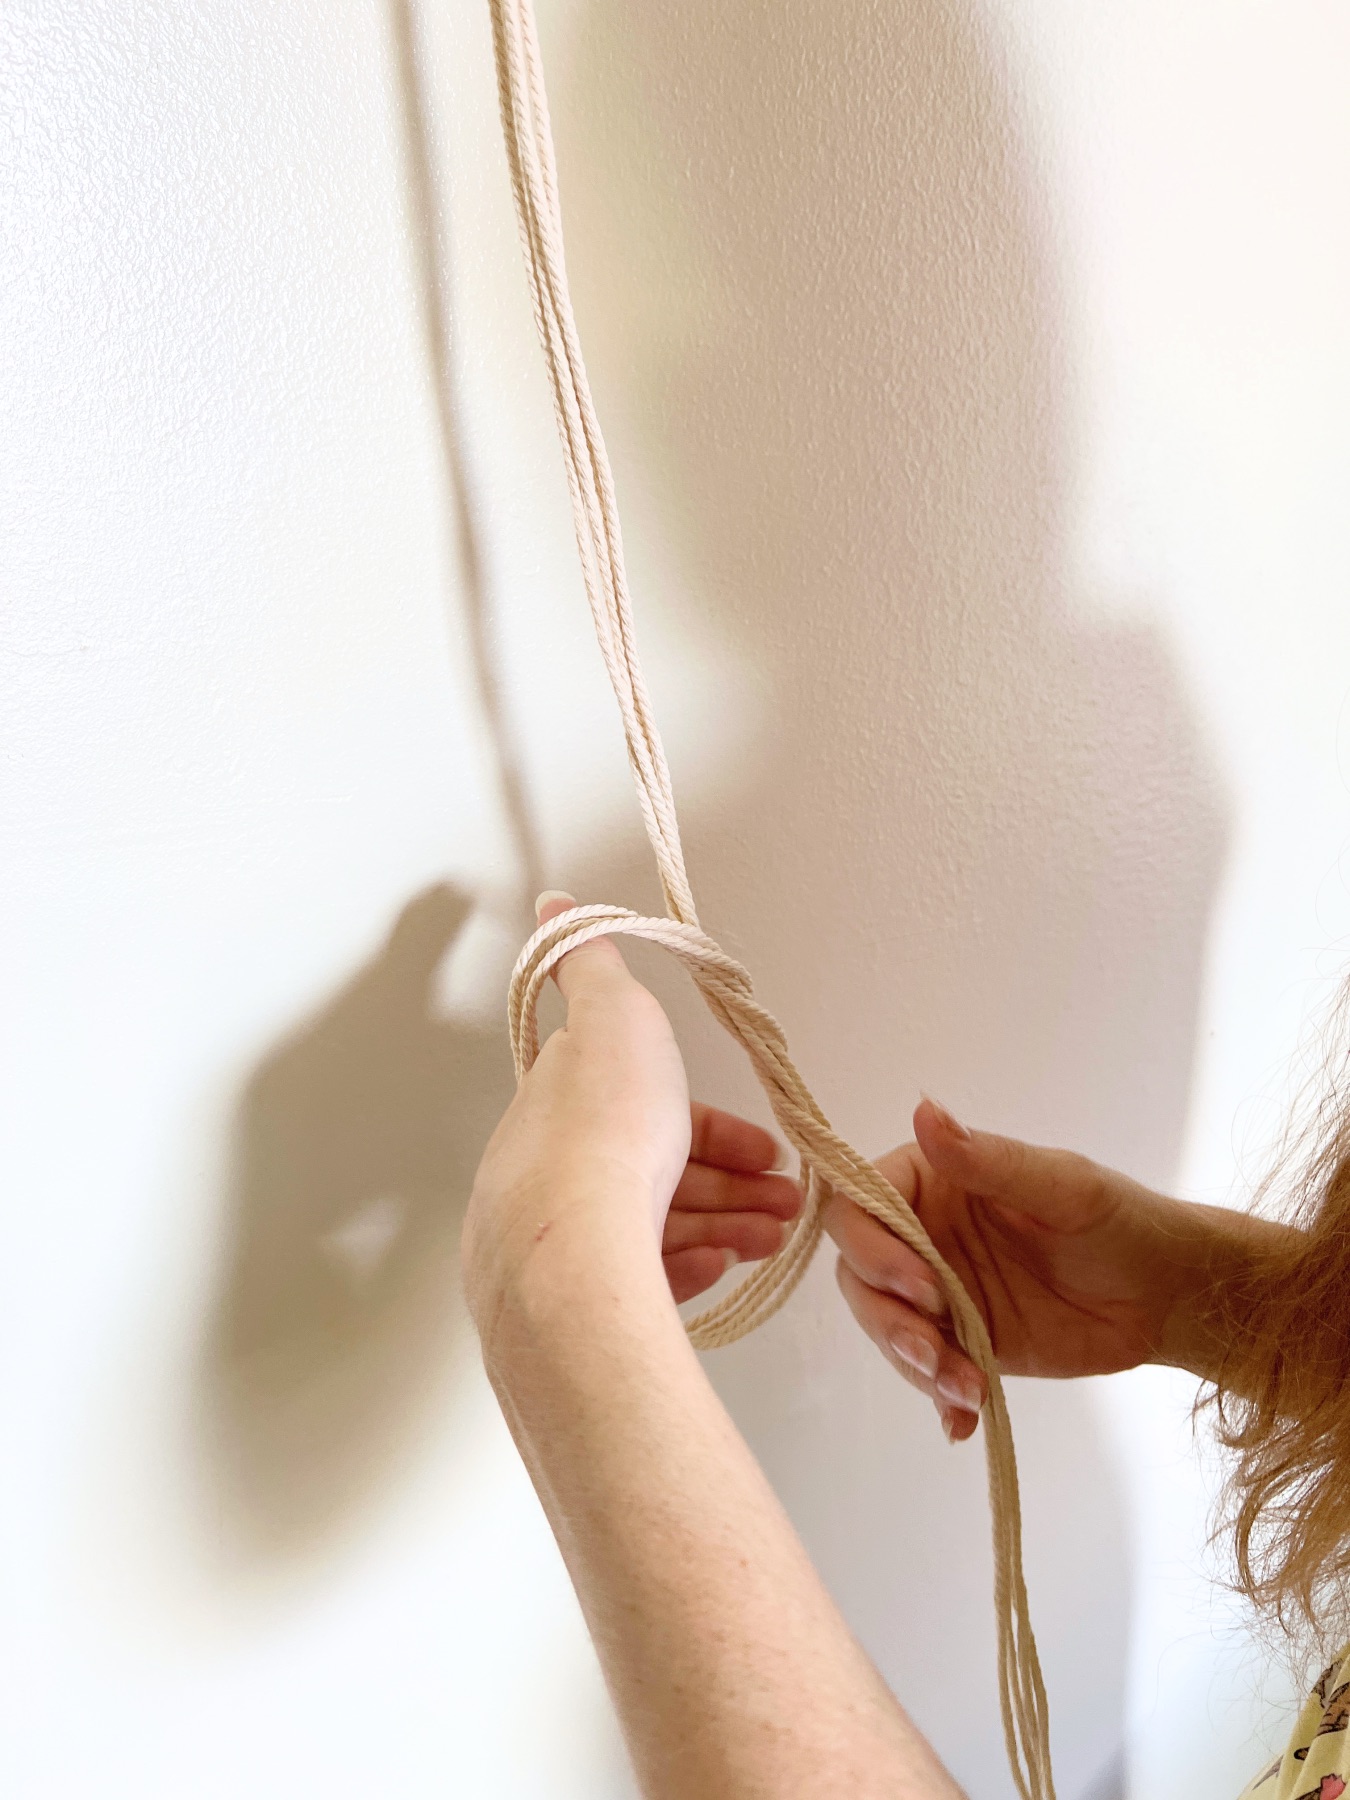
To make the knot, place both of the ends of the cord together. Now find your centerpoint.
Hold that center point up to the wooden ring. Pull the ends through.
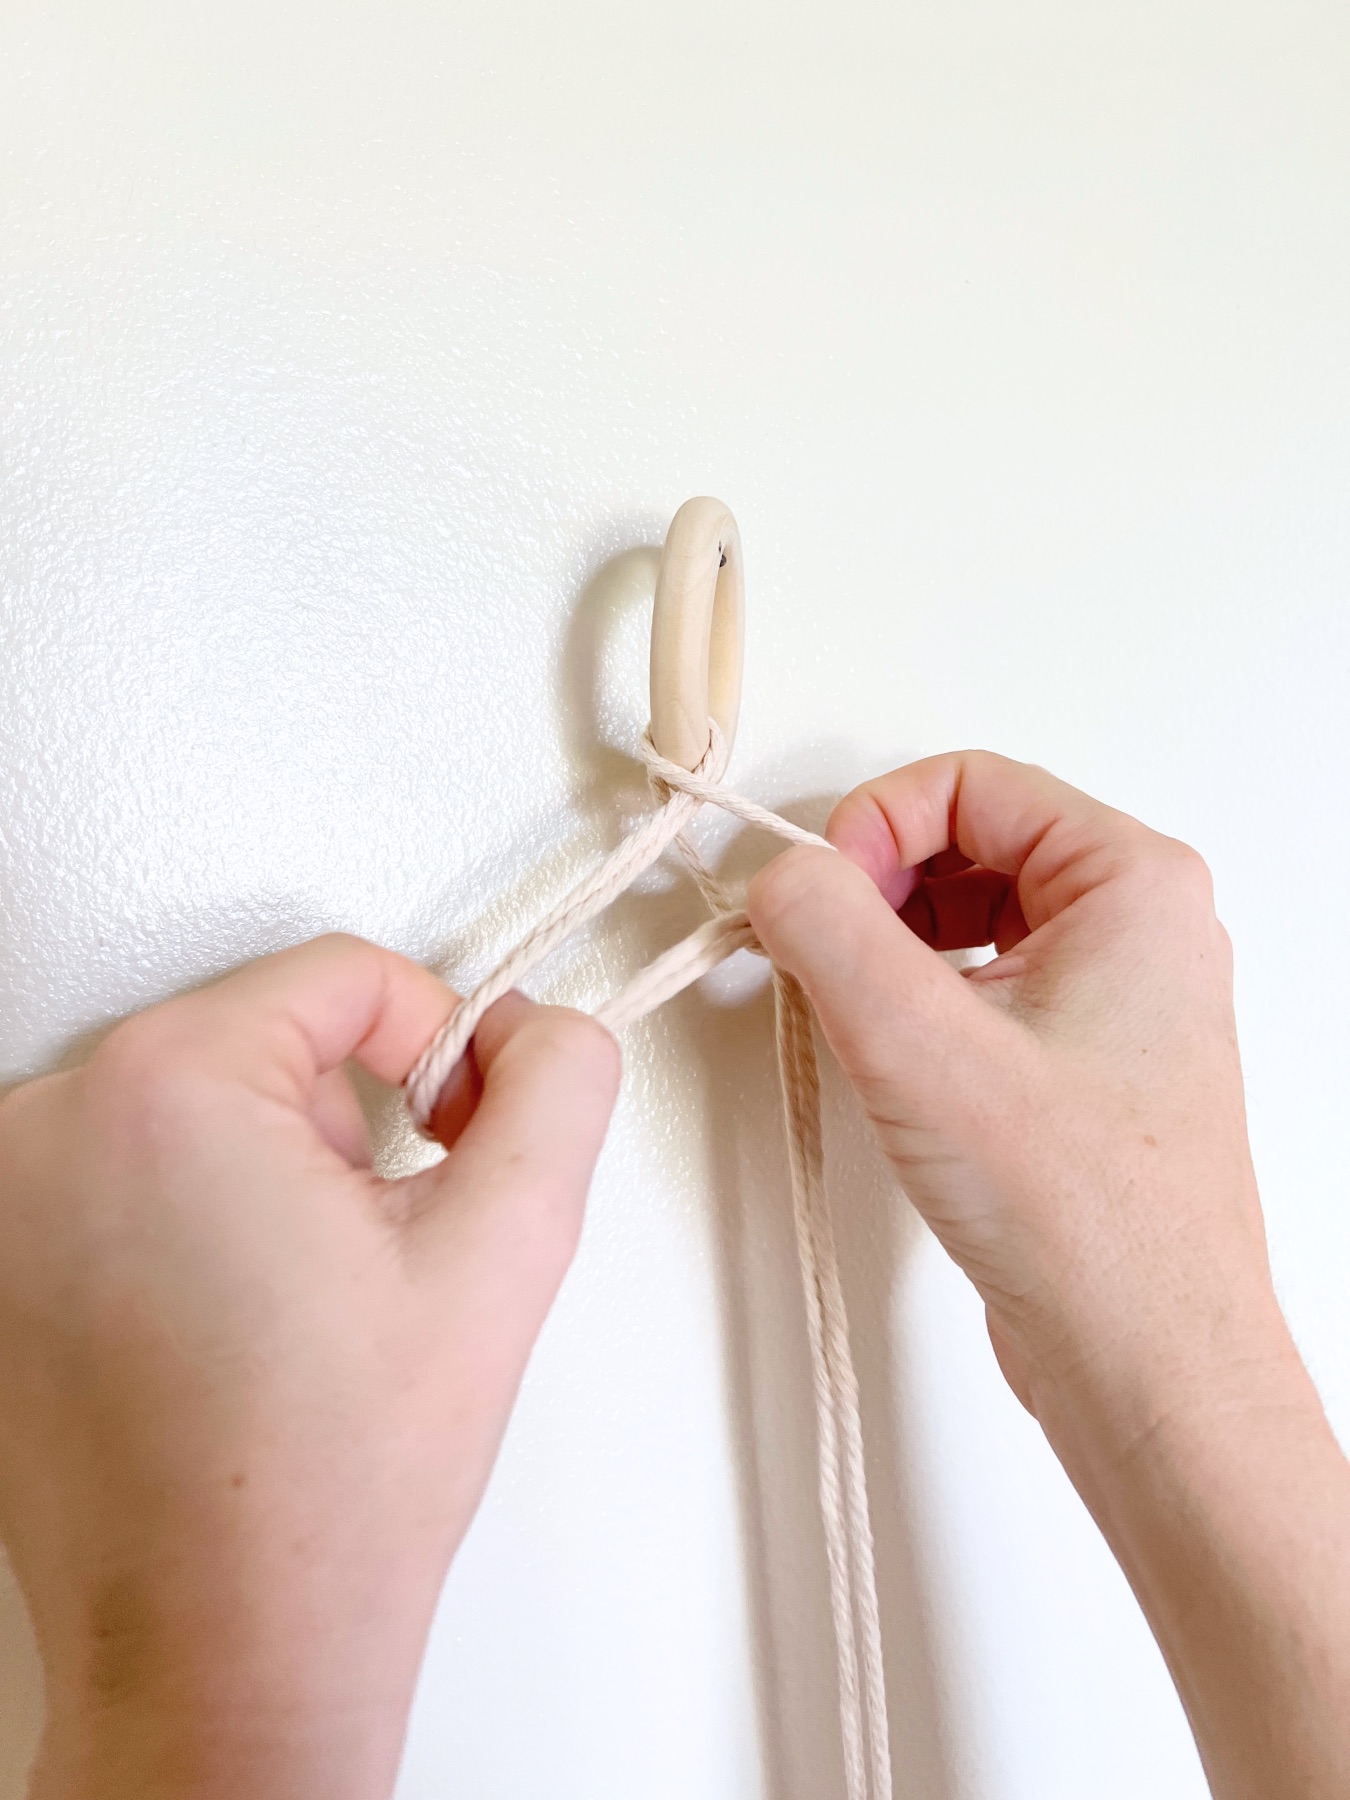
Straighten and tighten the Lark’s Head Knot.
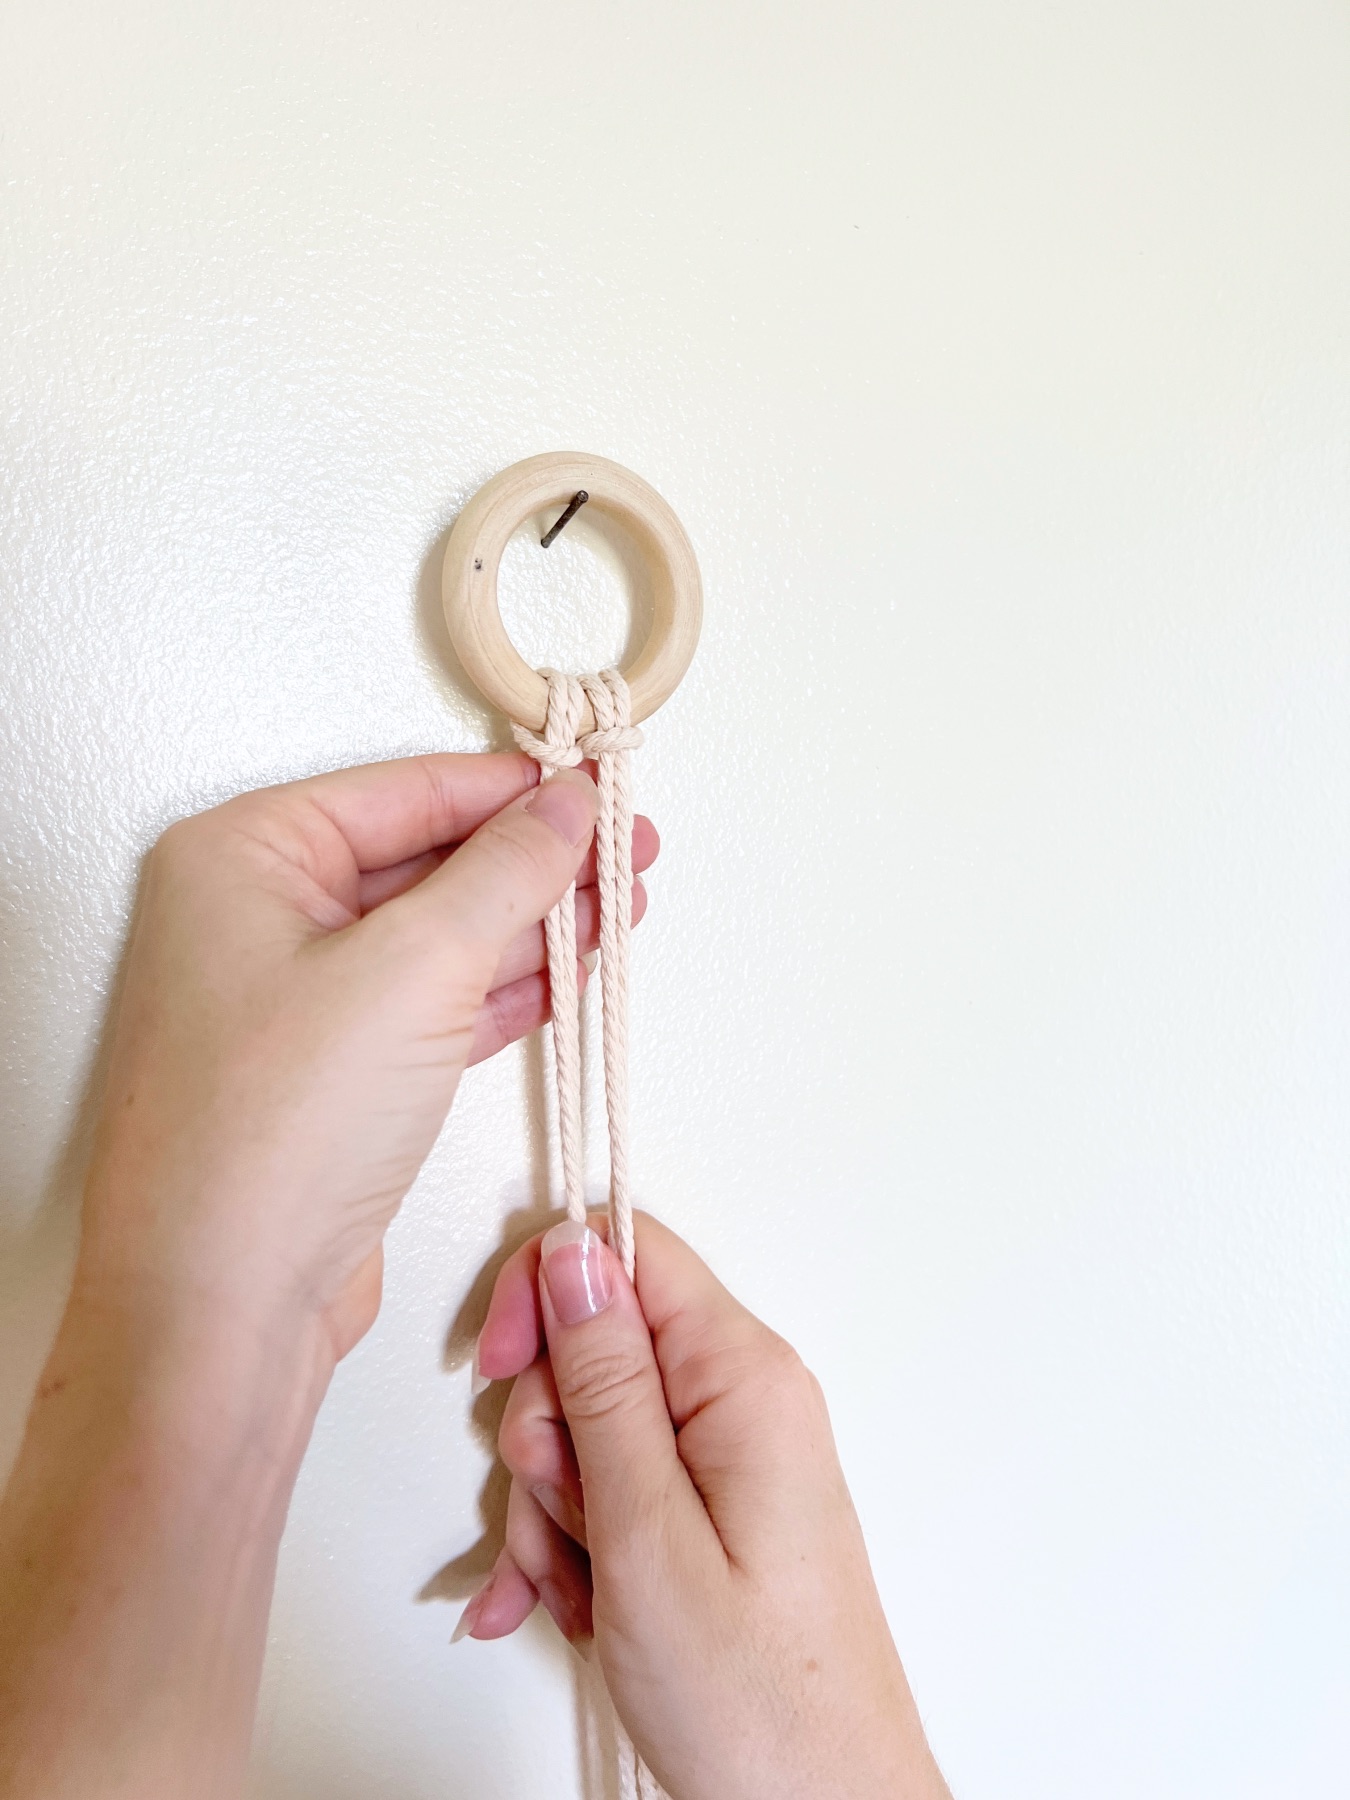
Now repeat! Make a 2nd Lark’s Head Knot to finish with 4 strands of macrame cord.
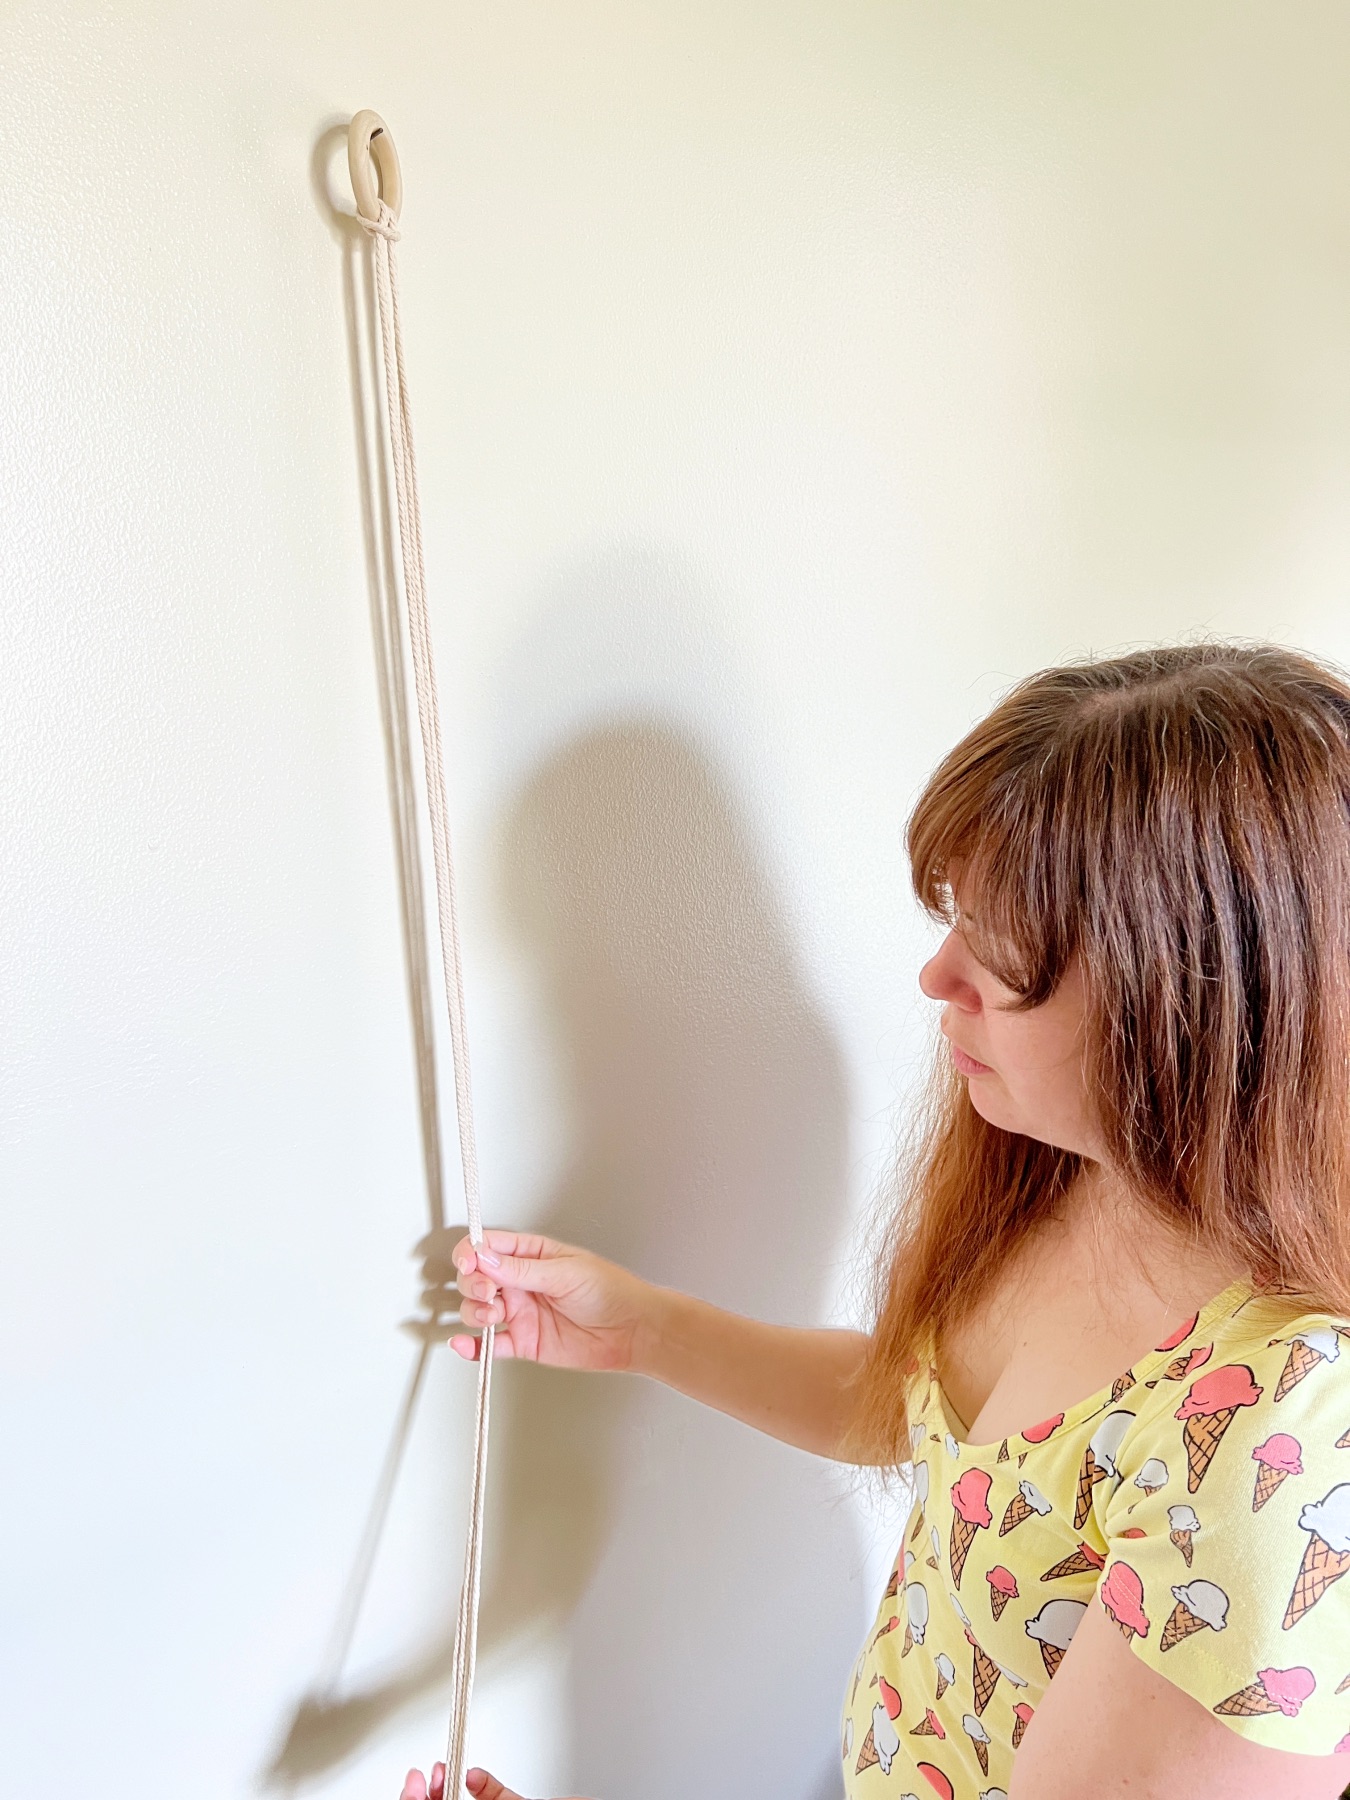
Determine the Length of Your Hanging Planter
The next knot you make will determine where your planter sits and it will determine the length of your hanging planter. So take your time planning before you commit to anything.
If you are going to hang several macrame planters in a group, you may want to make them all similar lengths that are just slightly different from each other. So grab any additional items you need to determine your length.
You could also bring your project to the area you want to install it permanently, to get a sense of how it will look in that space.
Tie Off the Bottom of the Planter
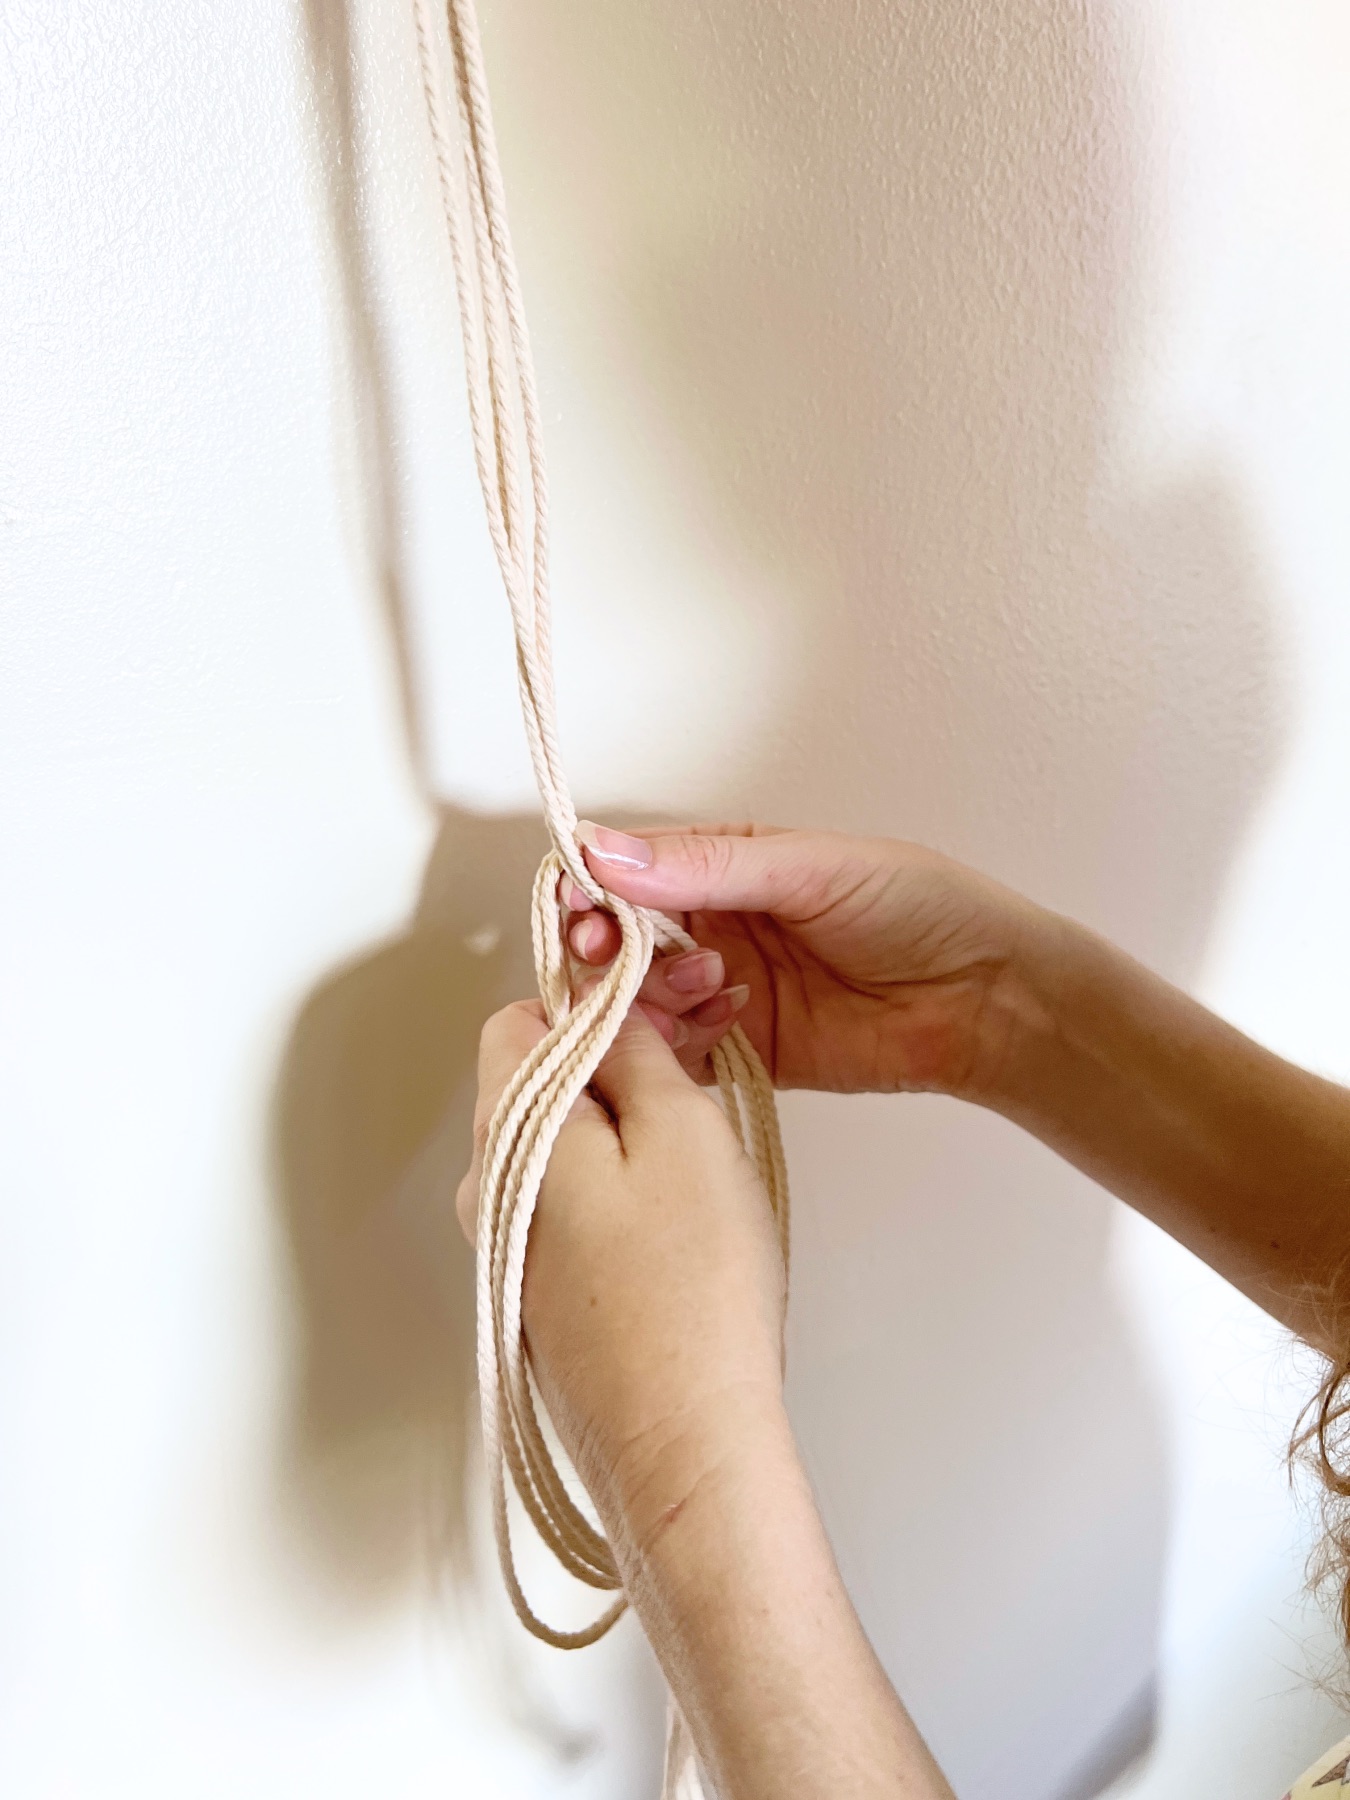
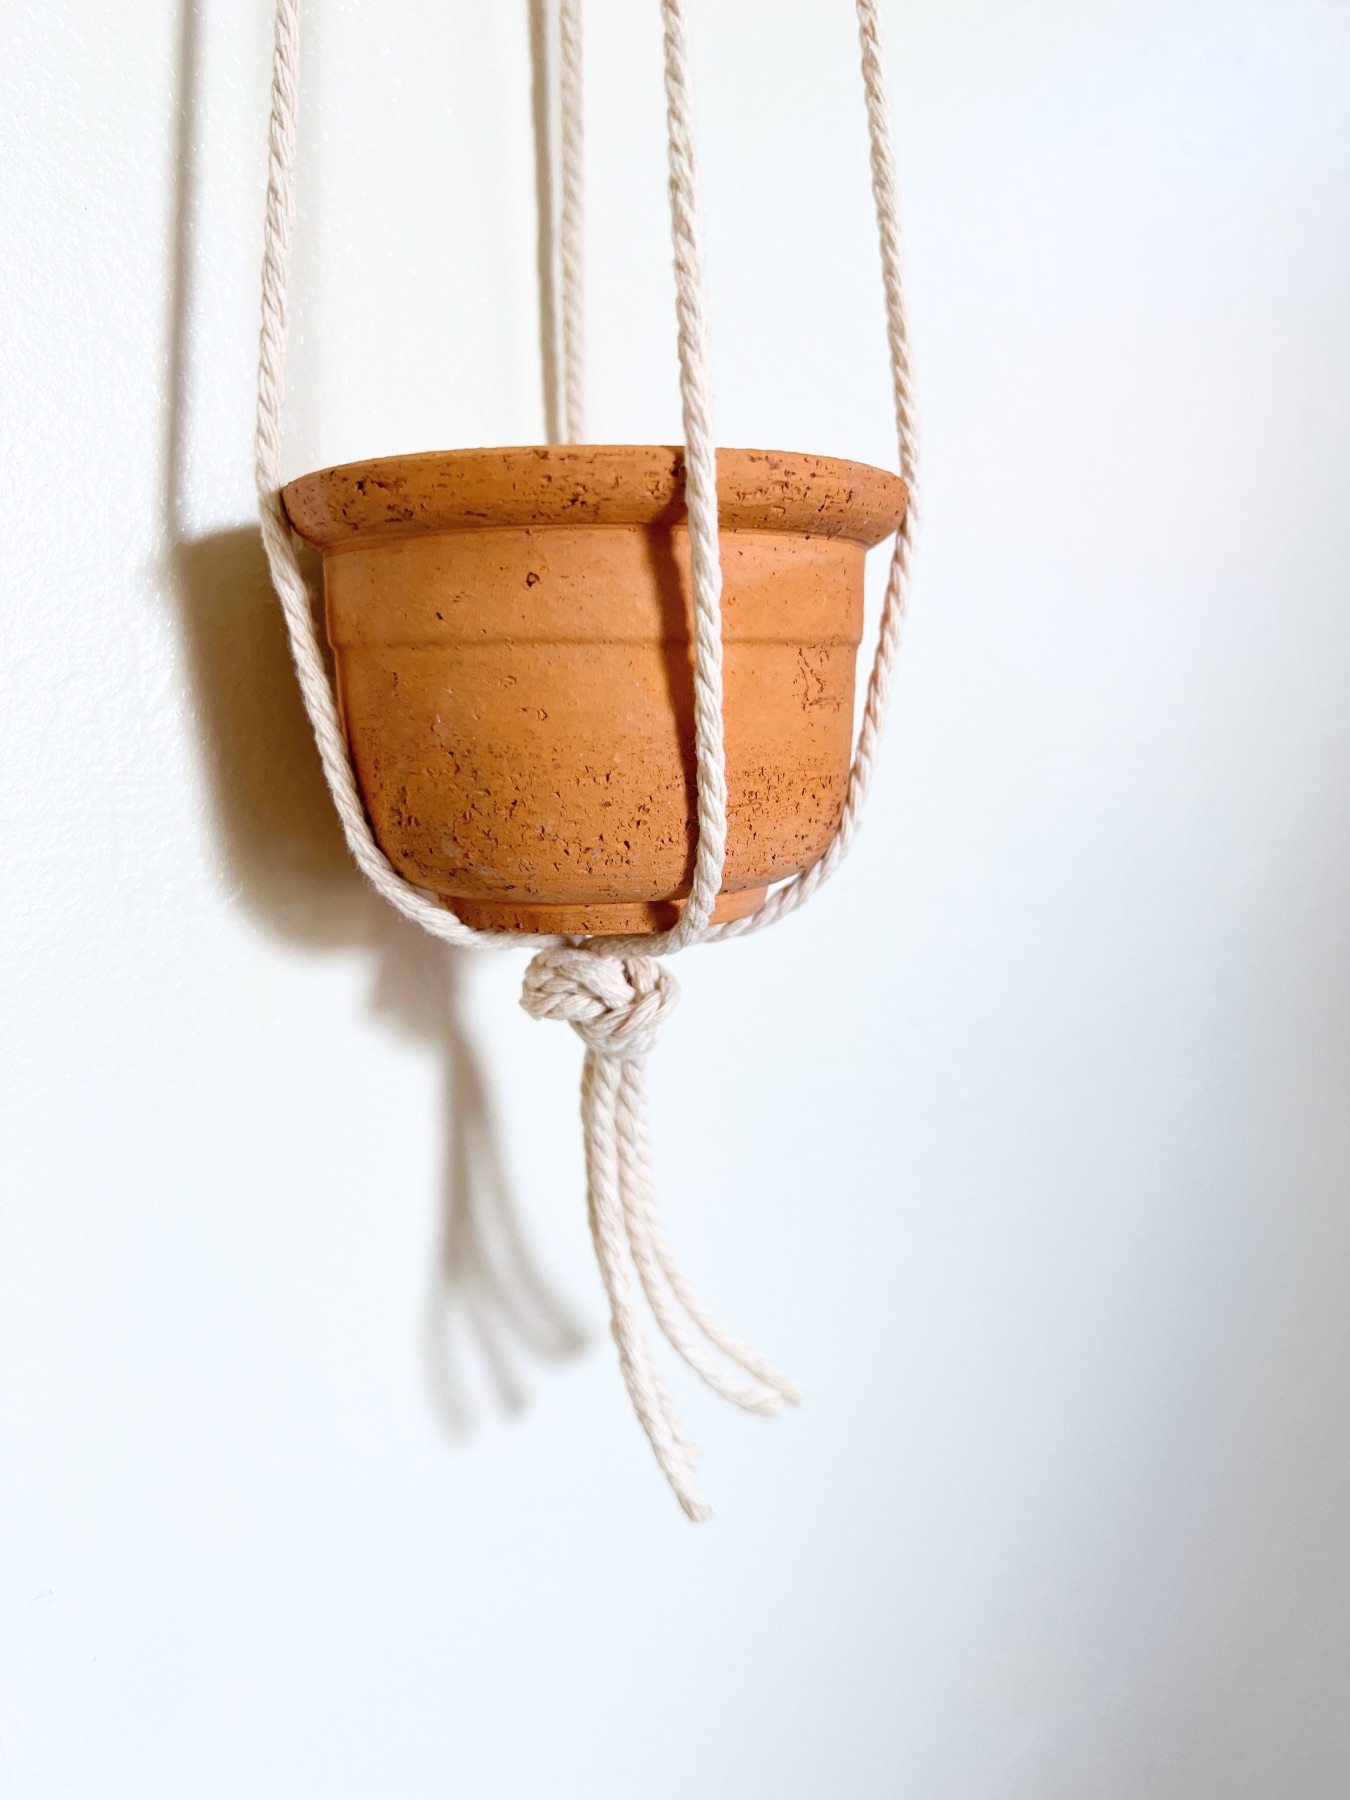
Once you know the length of your hanging planter, make a balloon knot that will be the bottom most area of the planter. Use a balloon knot, which is the same knot you use to tie balloons closed.
Bundle all your macrame cords together and then make a large loop.
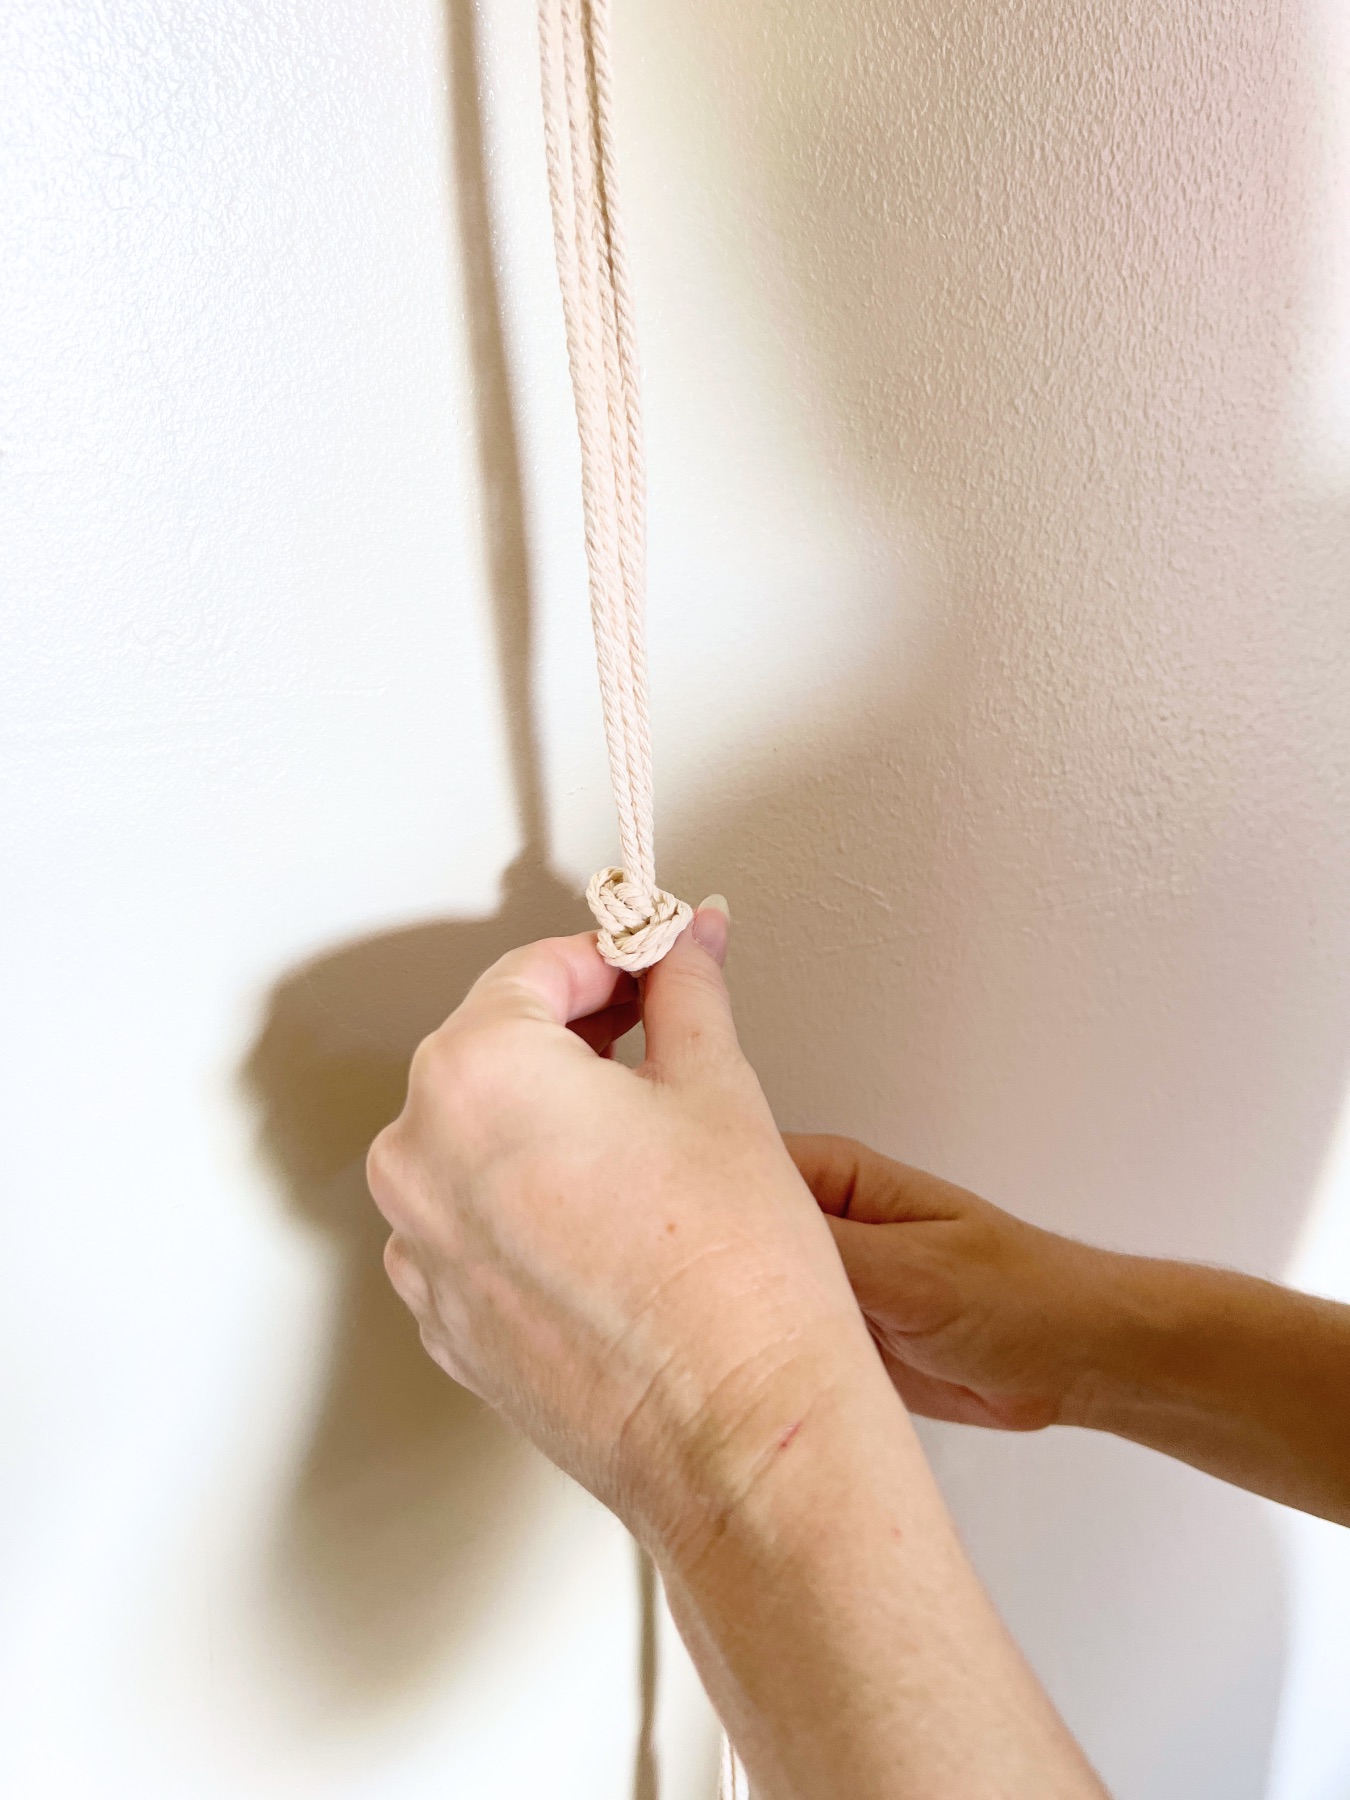
Pull the ends through the hoop and straighten and tighten the knot.
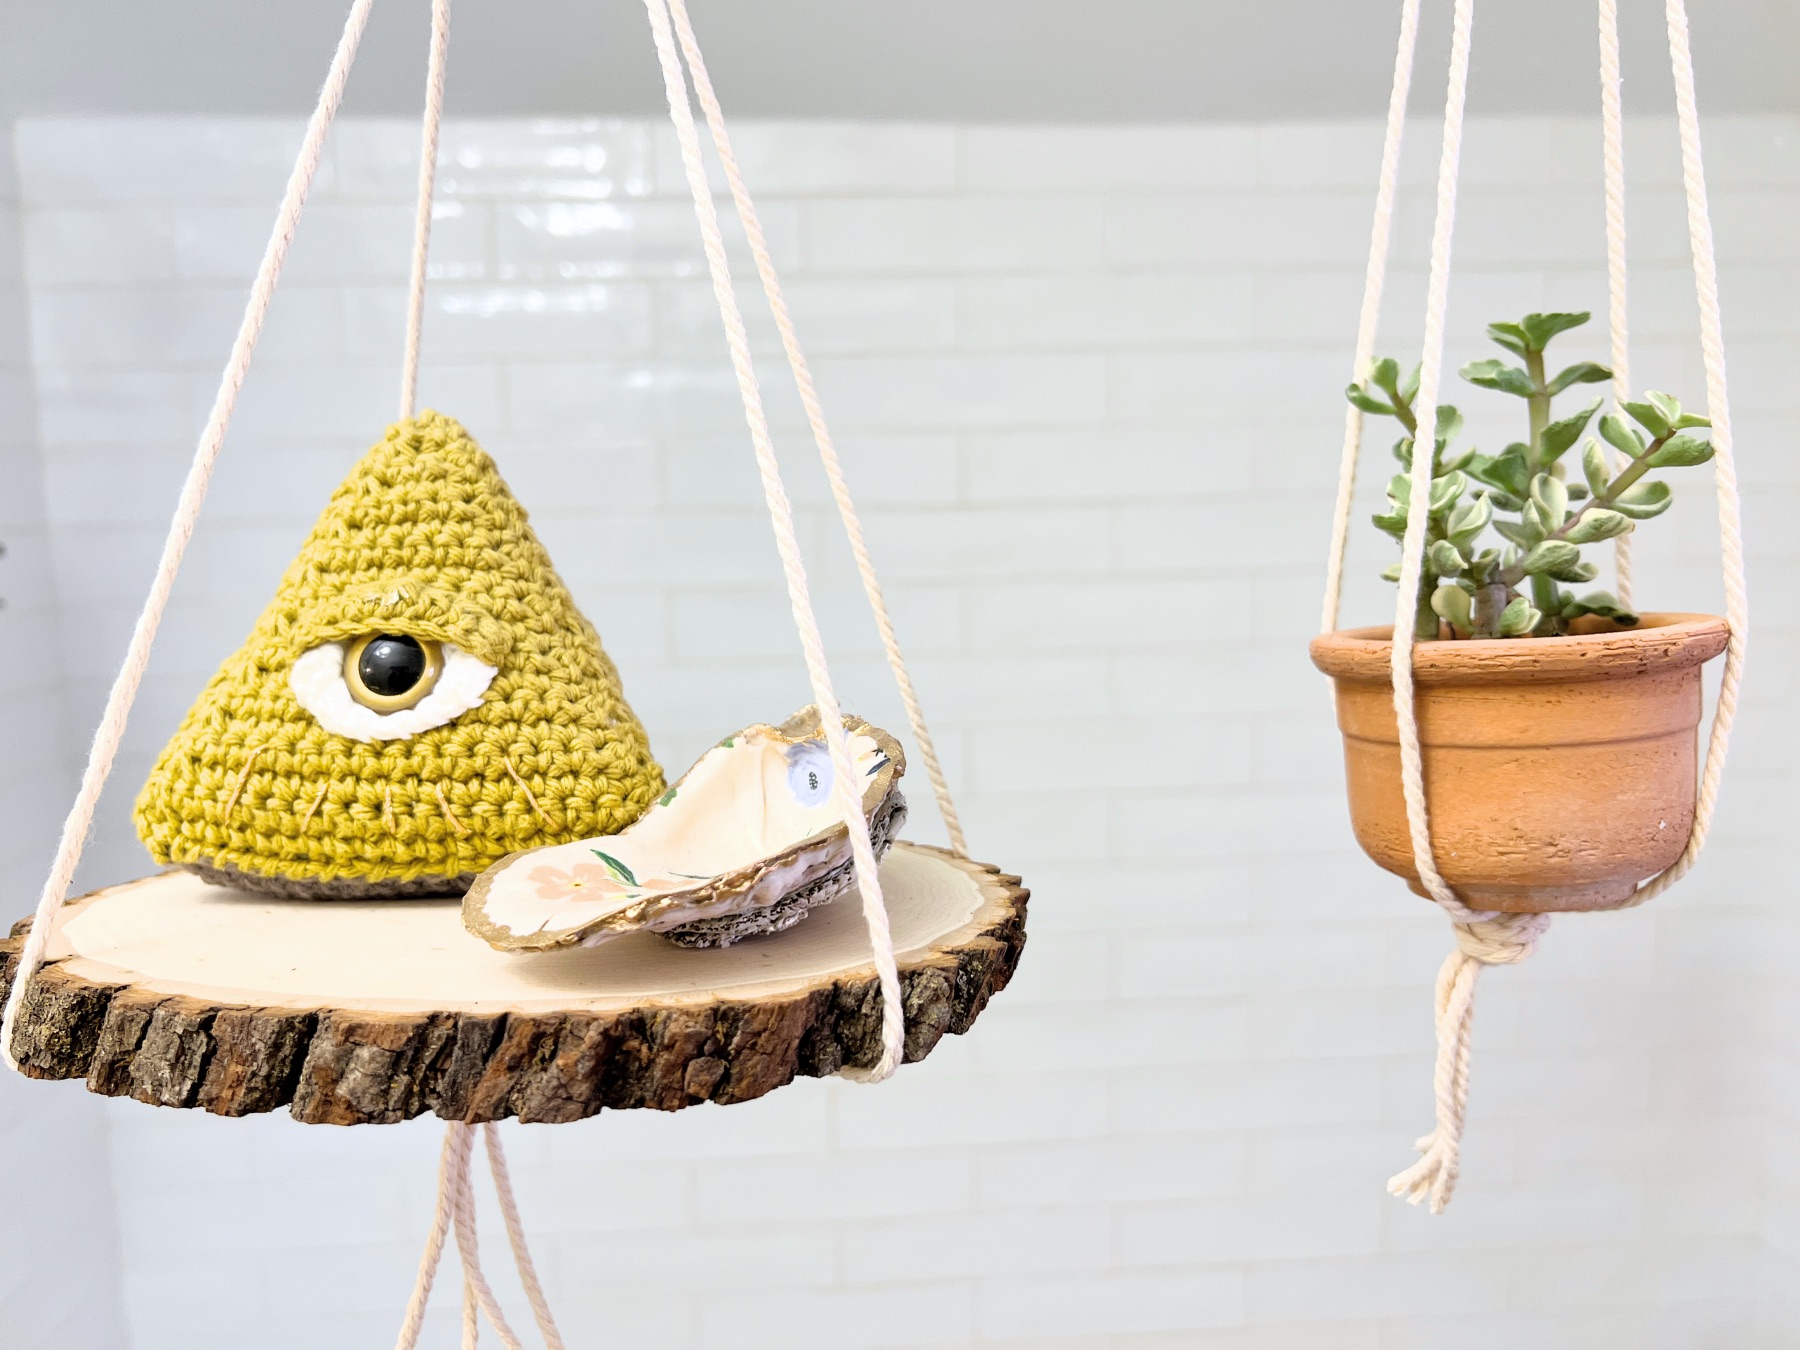
A Quick Guide to Structural Integrity
The larger and lighter the item, the easier it is to place inside the macrame cords. For example, if you make a floating shelf, the wood piece will hold in place so easily. It’s much easier for a planter to slip out because it’s small.
What will help the planter stay in place is using more cords. Or you can use a planter that’s larger on the bottom and smaller on top. A wide bottom really helps the object hold in place.
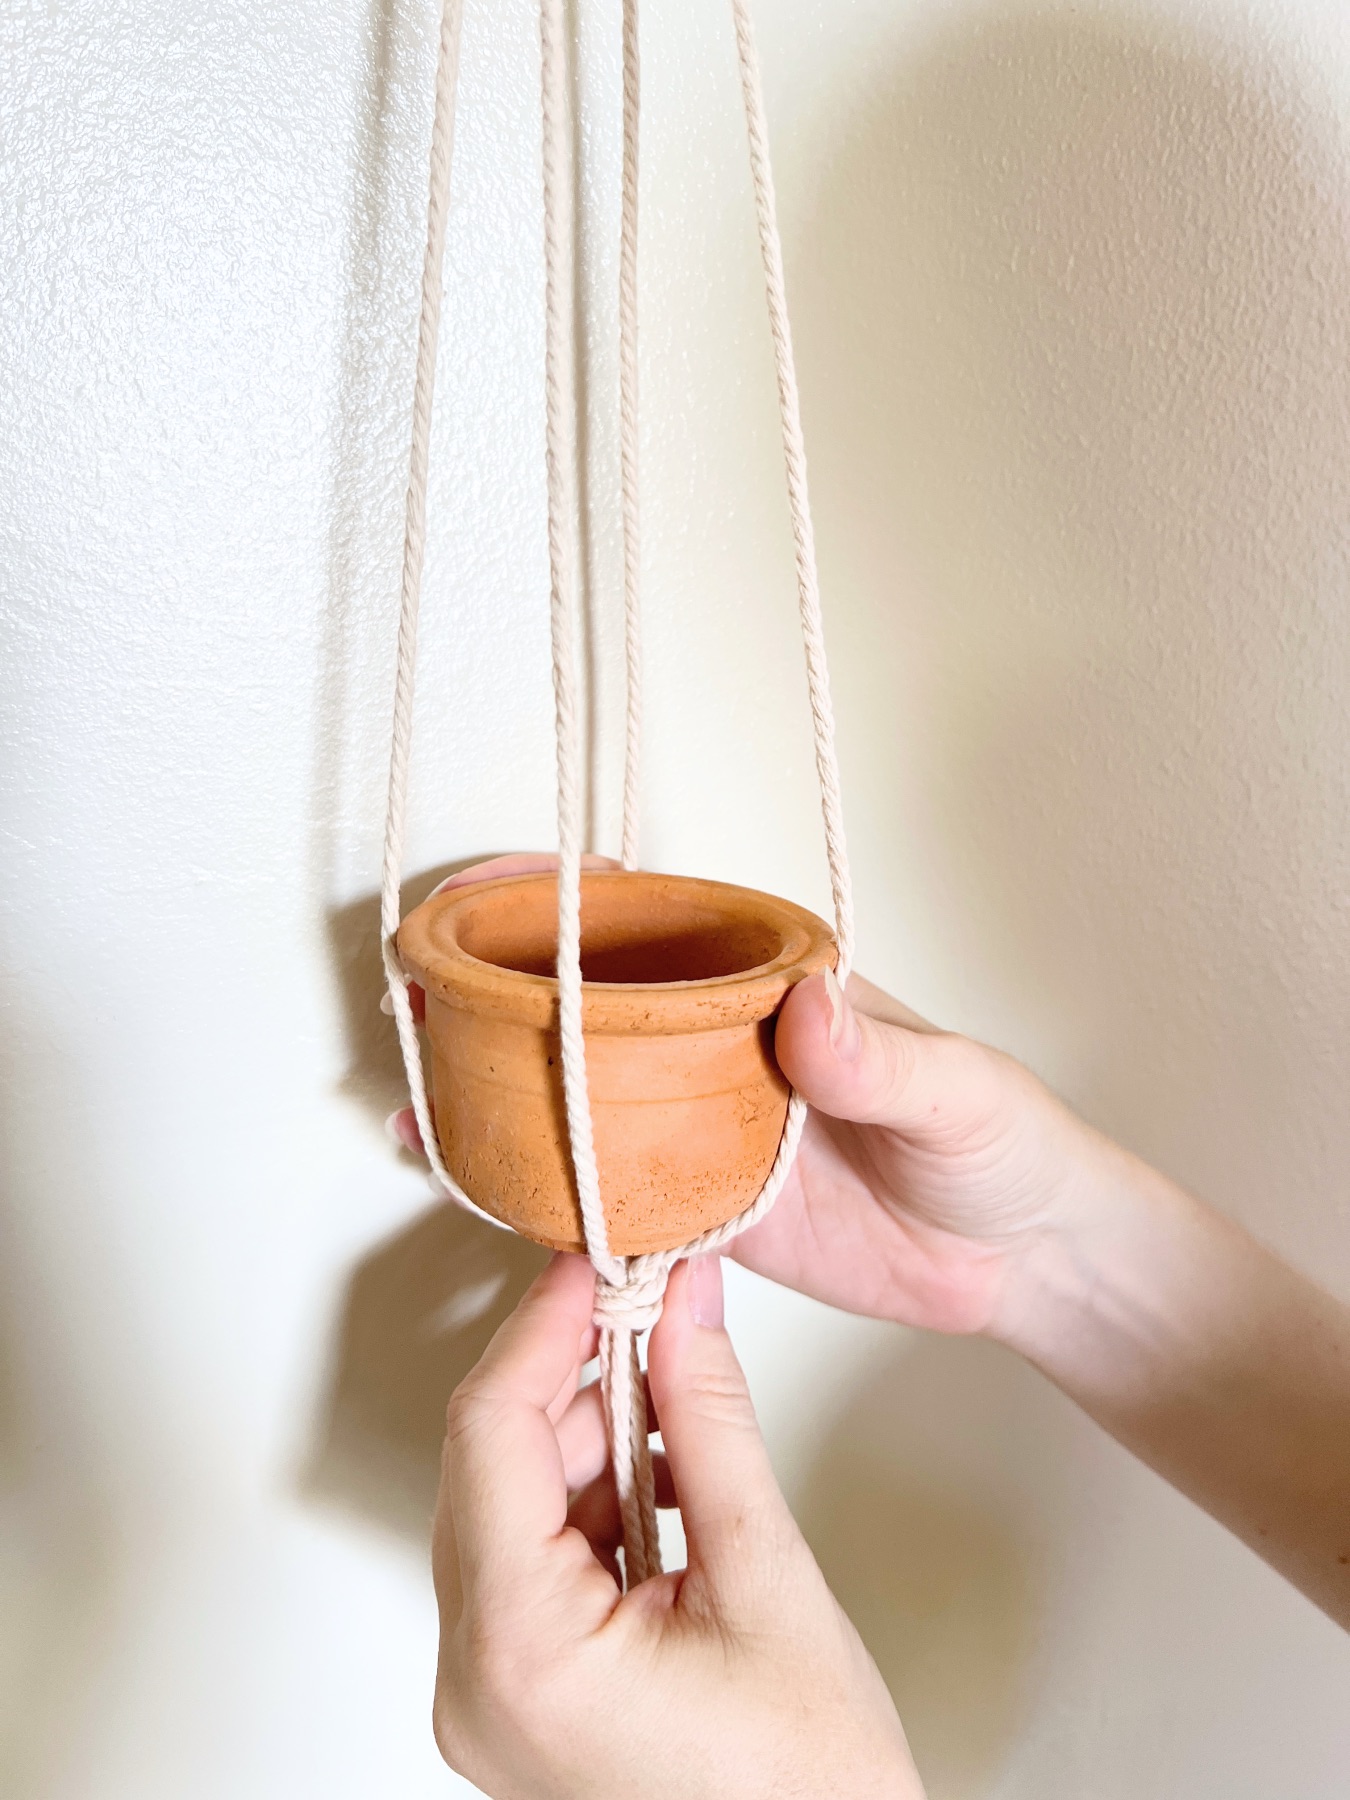
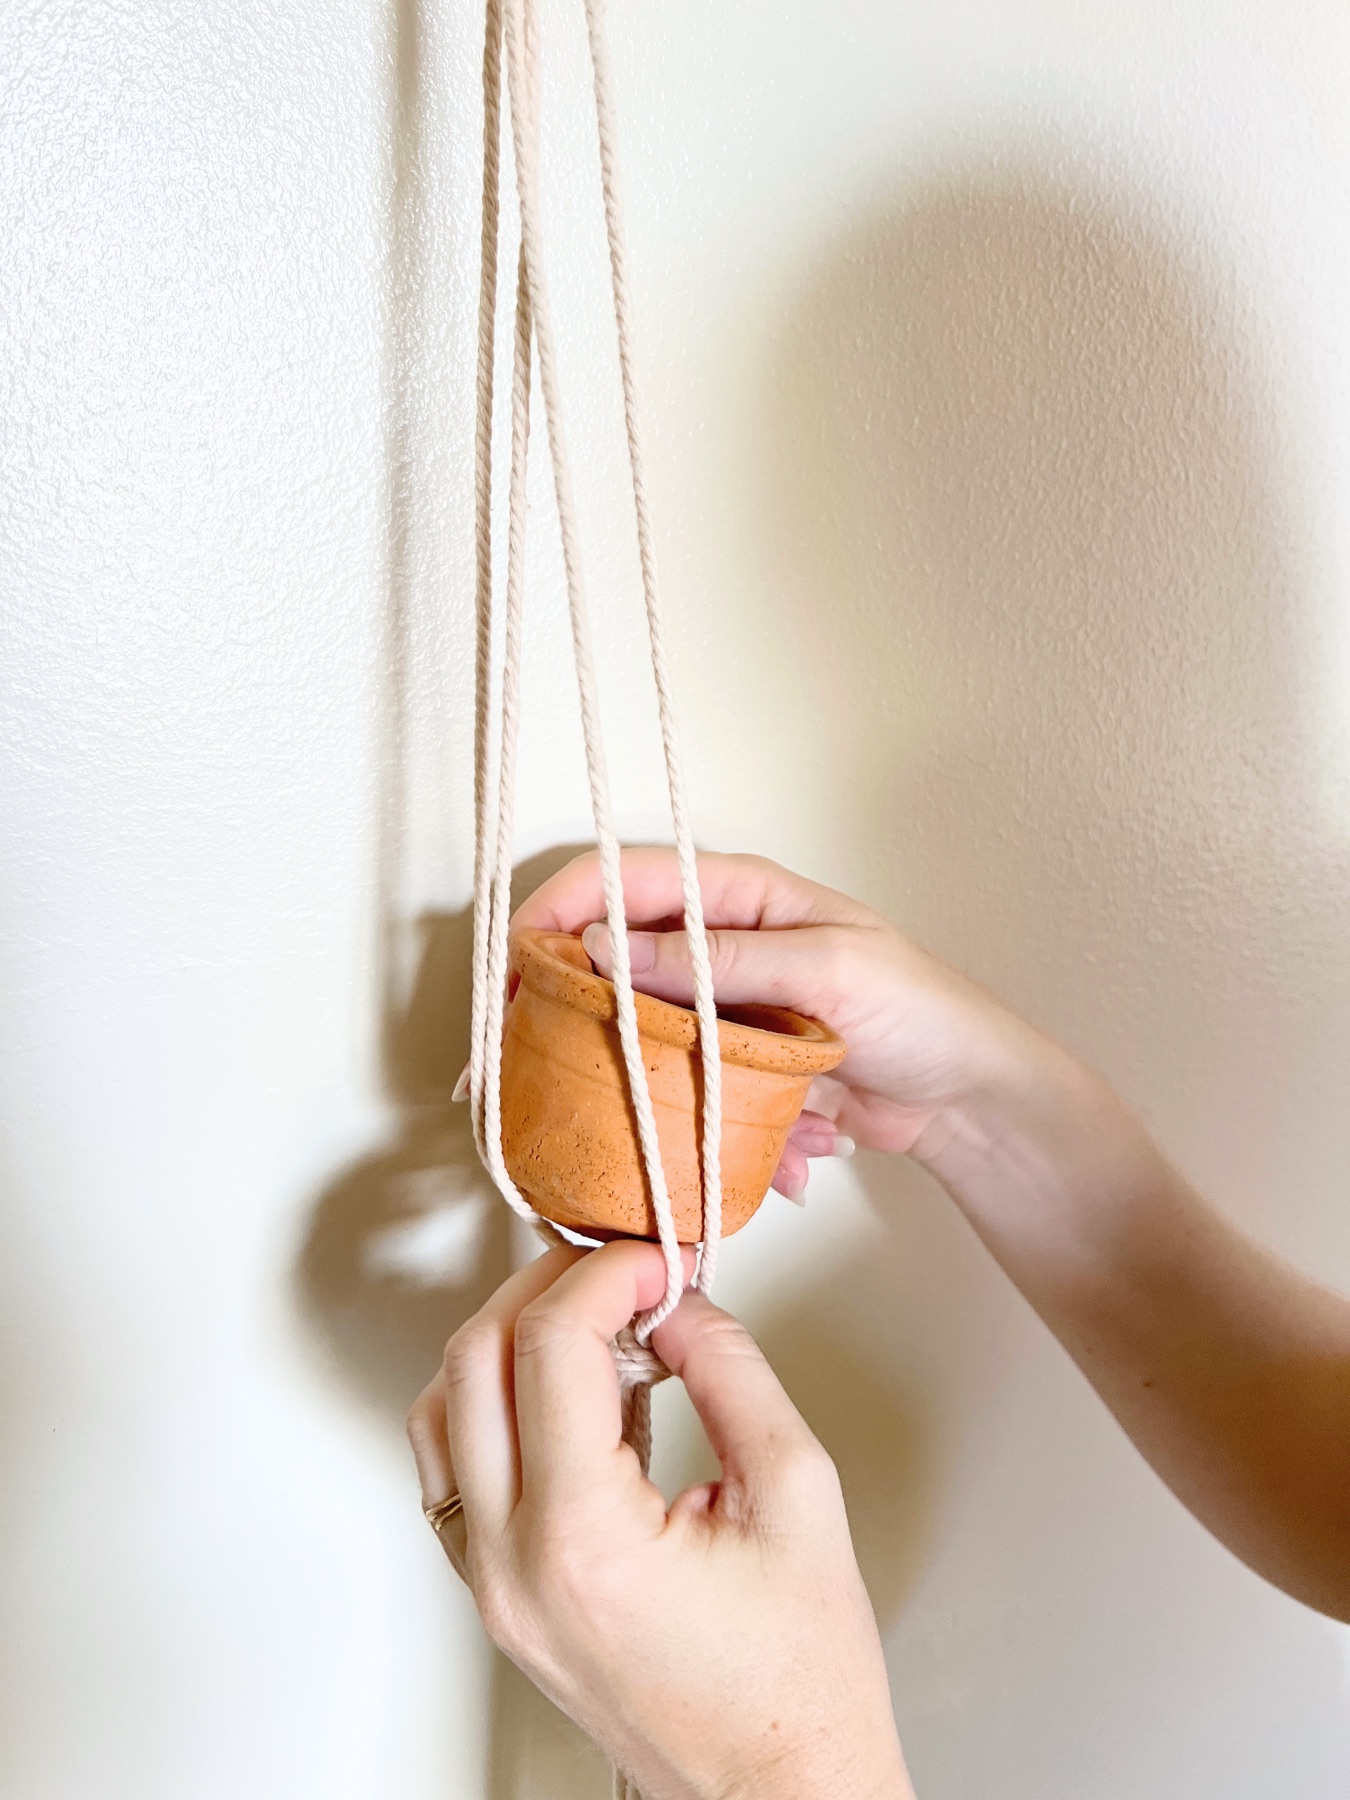
Center the Planter
Another thing that’s helpful, is that you should always make sure that the balloon knot is in the dead center of planter. Centering will help the planter hold in place.
So once you slide your planter inside, untangle any of the strands so they the macrame cords aren’t twisted at the top, evenly space them from each other and make sure the balloon knot is in the center.

Trim the Bottom of the Macrame Cord
If you are happy with your hanging planter, trim the bottom of the cords underneath the balloon knot so that only a few inches of length remains.
You can unravel and fray the ends. You can even cut the ends to slightly different lengths. But I just cut mine straight across which is still cute.
Now you don’t actually need to use your hanging planter for plants. You can use this as a stylish way to hold keys, small decorative items or even faux plants. But I chose succulents because they are so cute and easy to care for.
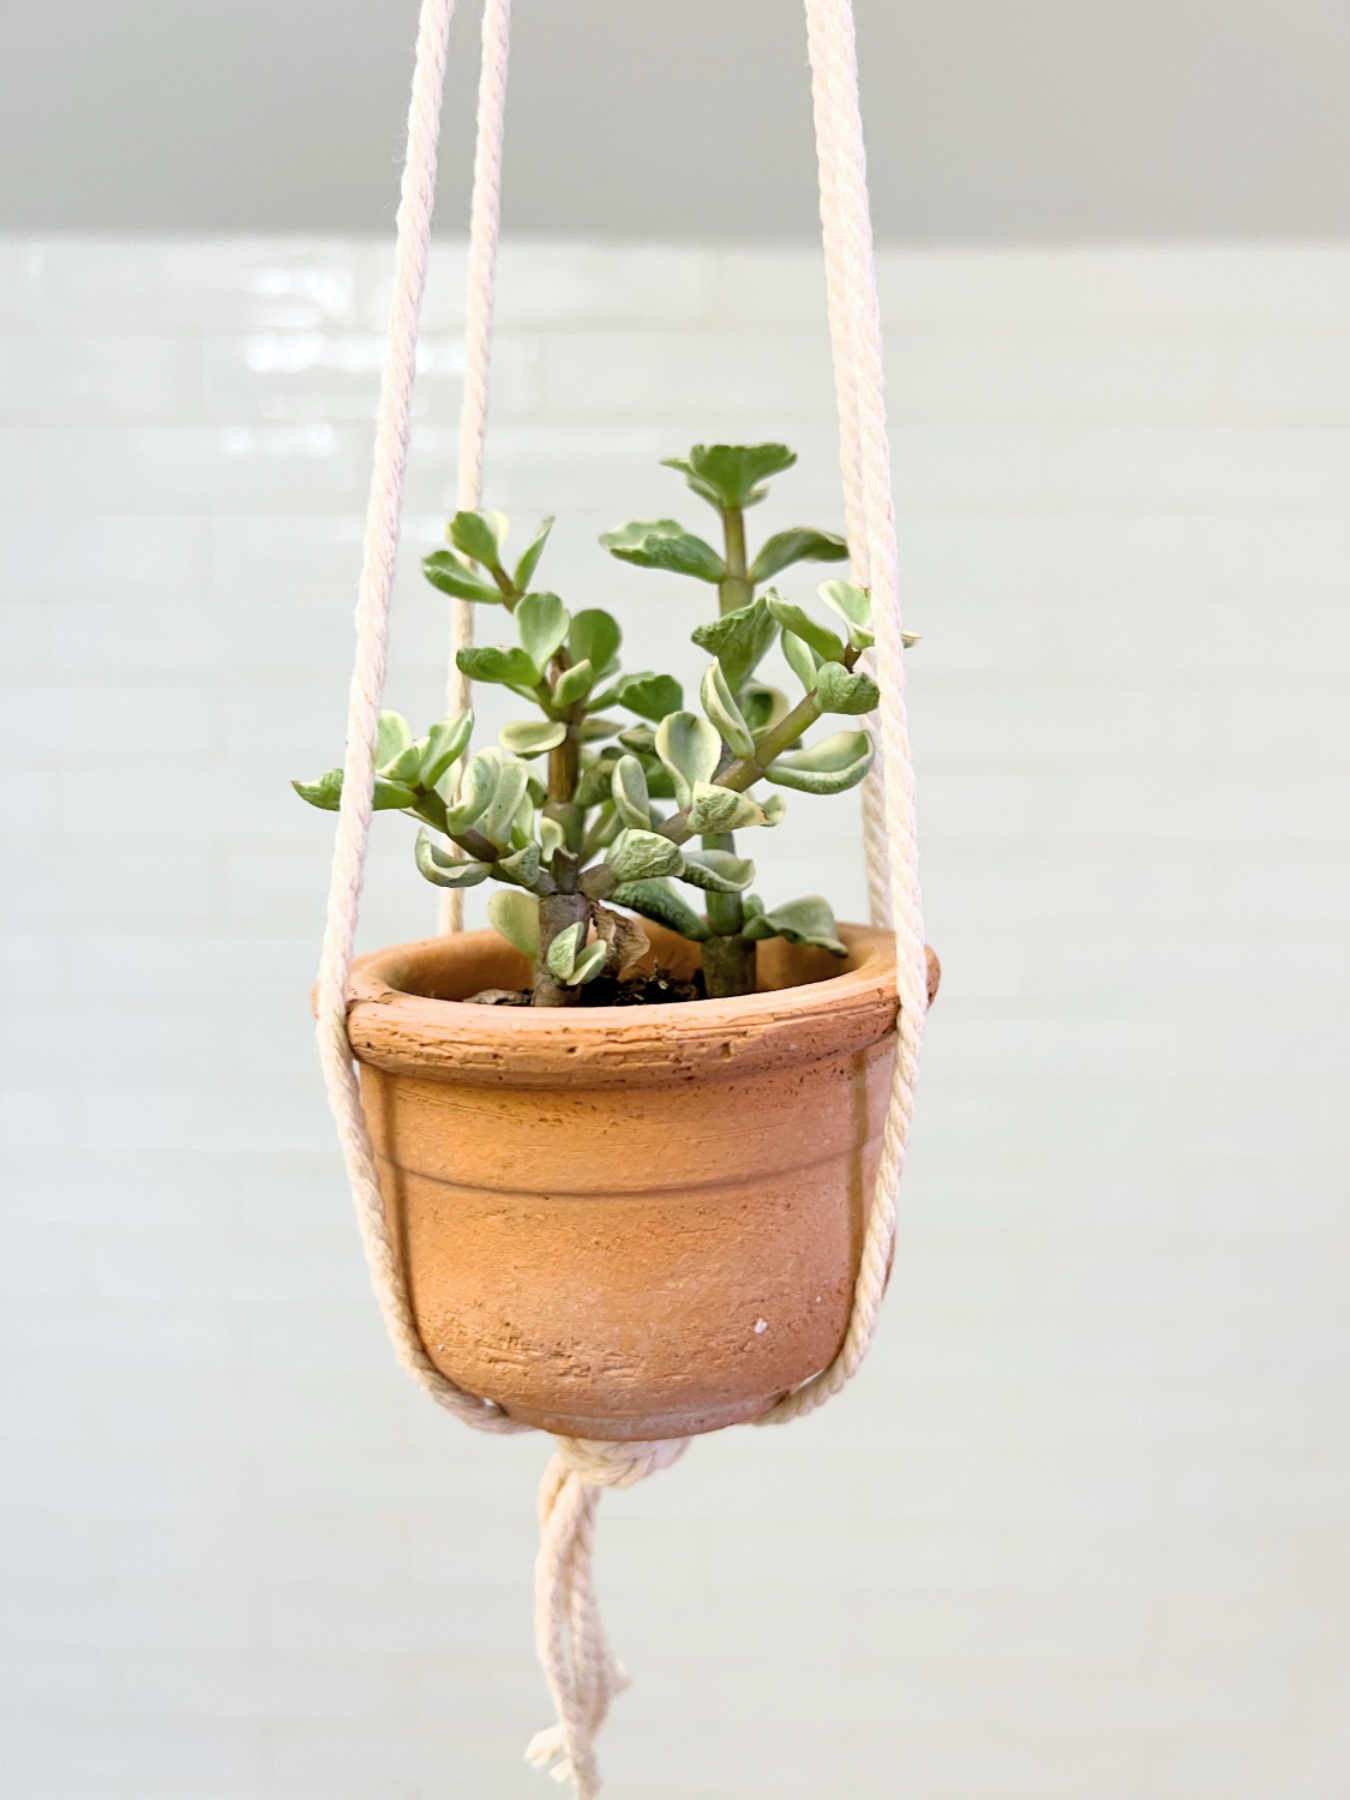
Add Plants to Your Planter
If you also want to plant succulents follow this tutorial.
Terra cotta drains really well, because the moisture can slowly drain into the terra cotta itself and evaporate. But if you are using another type of planter without a hole on the bottom, you will need to first add a thin layer of rocks. Next, break the soil away from the plants roots and add the plant to the planter. Last, add lightly packed soil to the top of the planter. And dust away any excess soil.
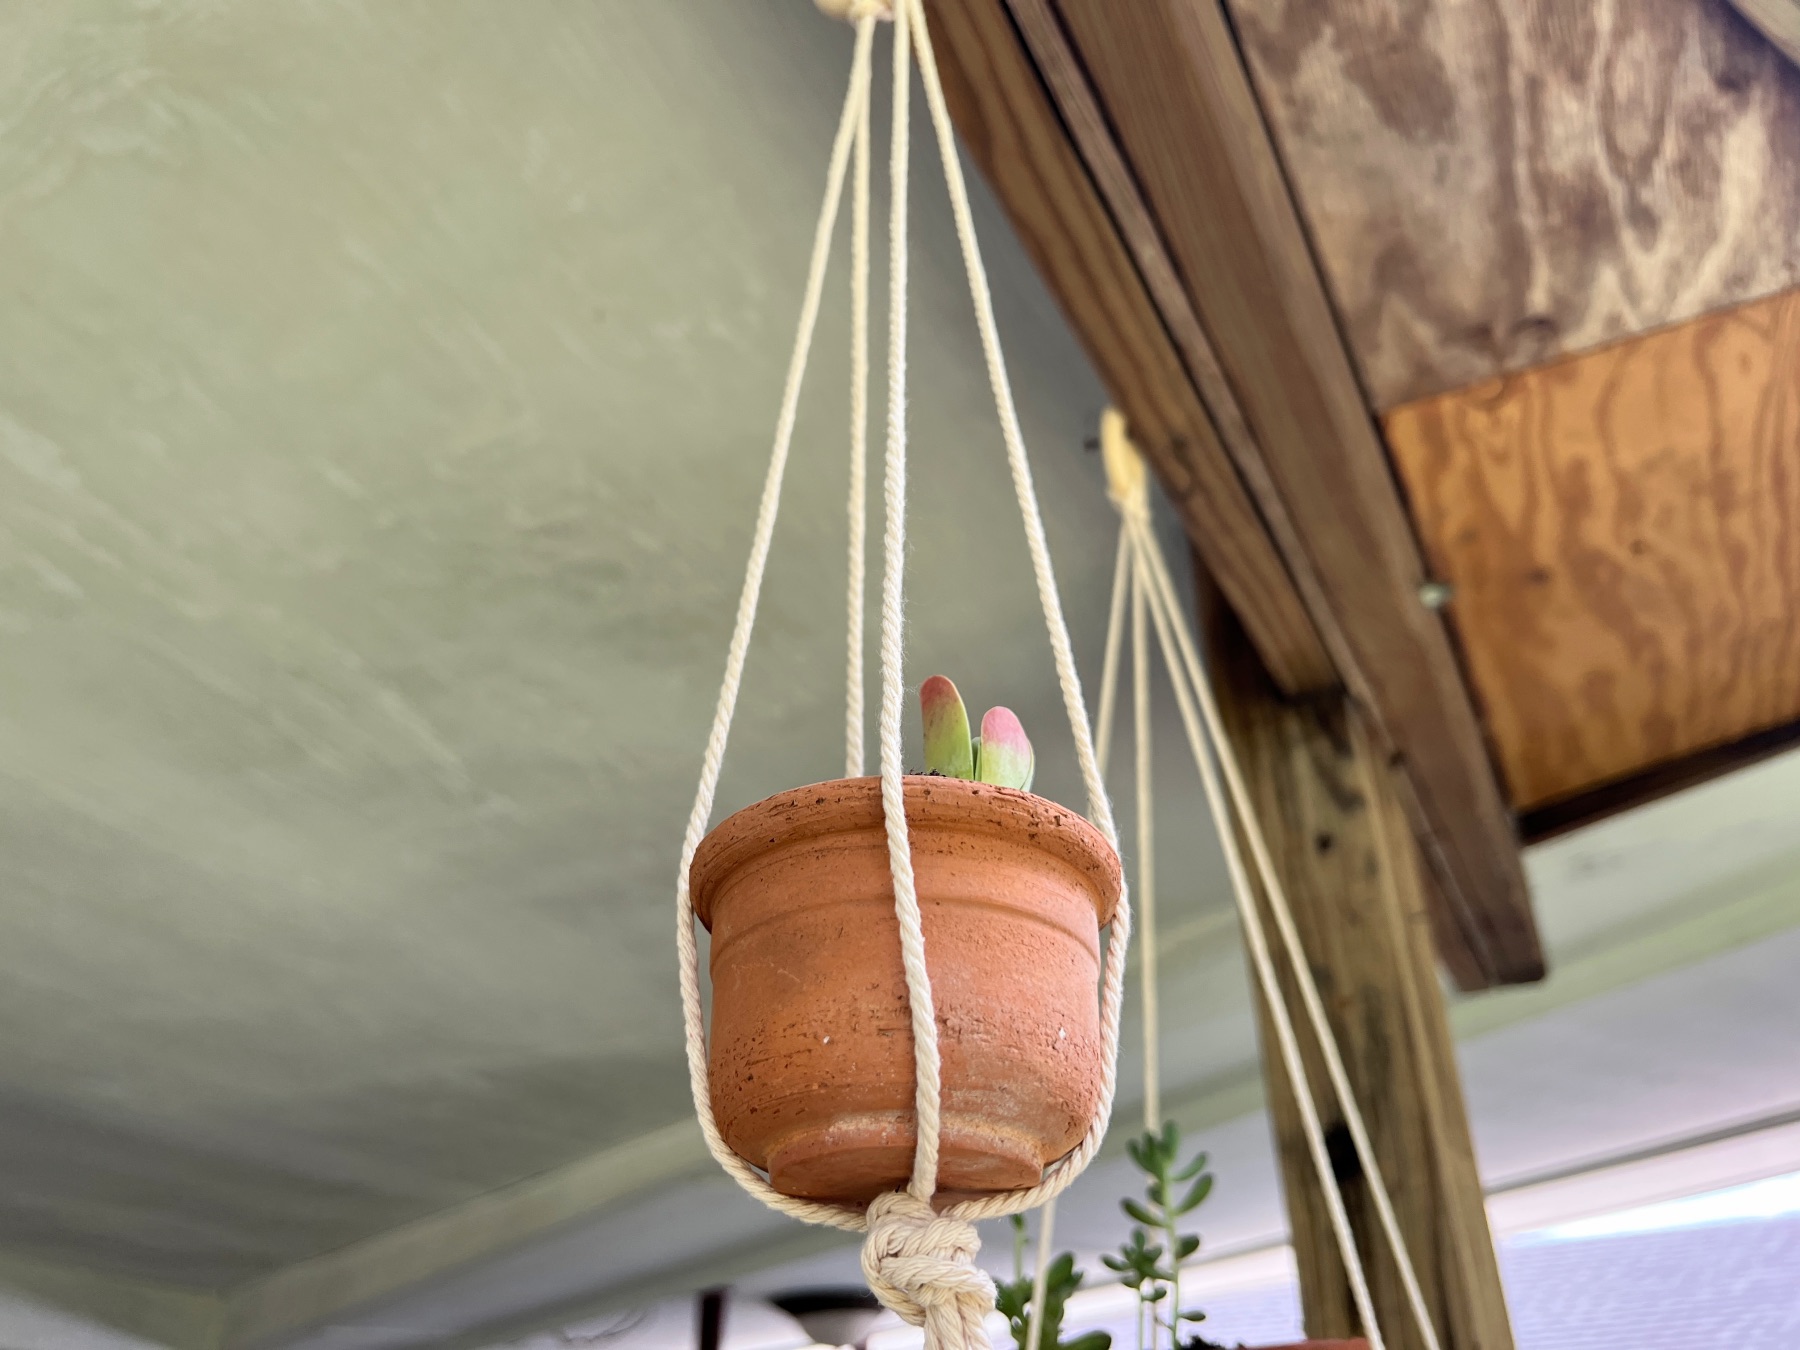
Where to Hang Your Easy Macrame Hanging Planter
You can hang your macrame planter outdoors or indoors – whatever you prefer! If you choose outdoors, be sure to hang it in the shade to protect the macrame and the plants as well. If you hang it indoors, near a window is preferable.
A C hook in the ceiling is the easiest way to hang your planter. But if you have a shelf or anything that protrudes enough from the wall, that could be a great way to hang it as well!
Where ever you choose to hang your Easy Macrame Hanging Planter I hope you love it! It’s so cute, it’s so boho and best of all it’s an easy way to get started! If you are ready to add some knots and more intricate detail to your hanging planters – this blog post is a must read! And if you love this DIY, shop the Craft in Style Subscription Box here.
Let’s Stay Friends!
Insta | Pinterest | Enews | TikTok