Craft in Style Subscription Instructions, DIY
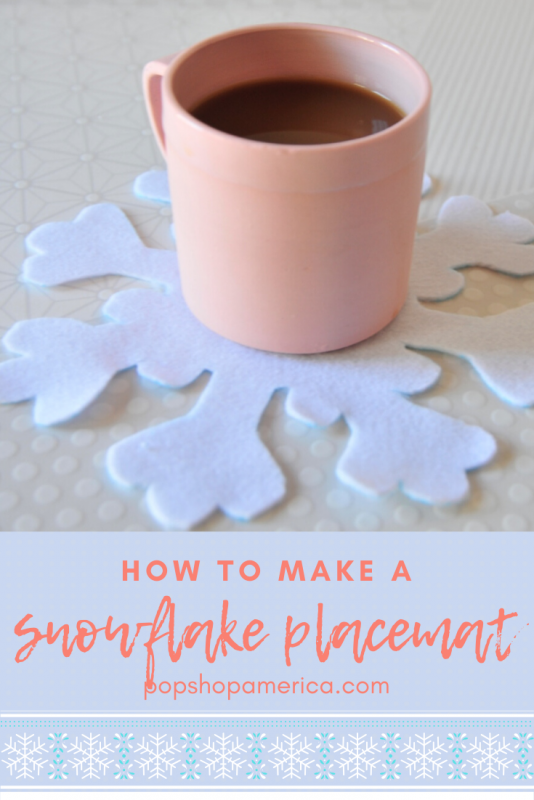
How to Make a Snowflake Placemat
Dec
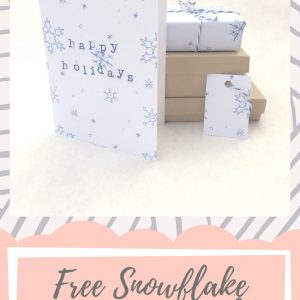
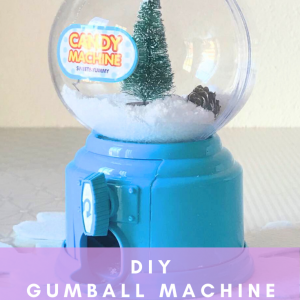
This is the 2nd Tutorial for the December 2019 Craft in Style Subscription Box. Part 1: How to Make a Gumball Machine Snow Globe can be found here. Part 3 will show you How to Make a Holiday Themed Embroidery Hoop!
I saw Snowflake Placemats on Pinterest and I thought wow now that is something that anyone can diy! Unique trivets and placemats are totally my thing. These placemats are perfect to place underneath your Gumball Machine Snow Globe and the supplies are included in the December Craft in Style Box!

If you aren’t a Craft in Style Subscriber, don’t worry! The supplies are simple and available at most craft supply stores. The only additional item you will need is a Snowflake Template that you can download for free from this blog. So let’s make them!
Supplies to Make a Snowflake Placemat
Craft in Style Subscription Box December 2019
or
White Felt (8 x 10 inches or larger)
A Fabric Pen, Pencil, or Regular Pen
Scissors
This Snowflake Placemat Template
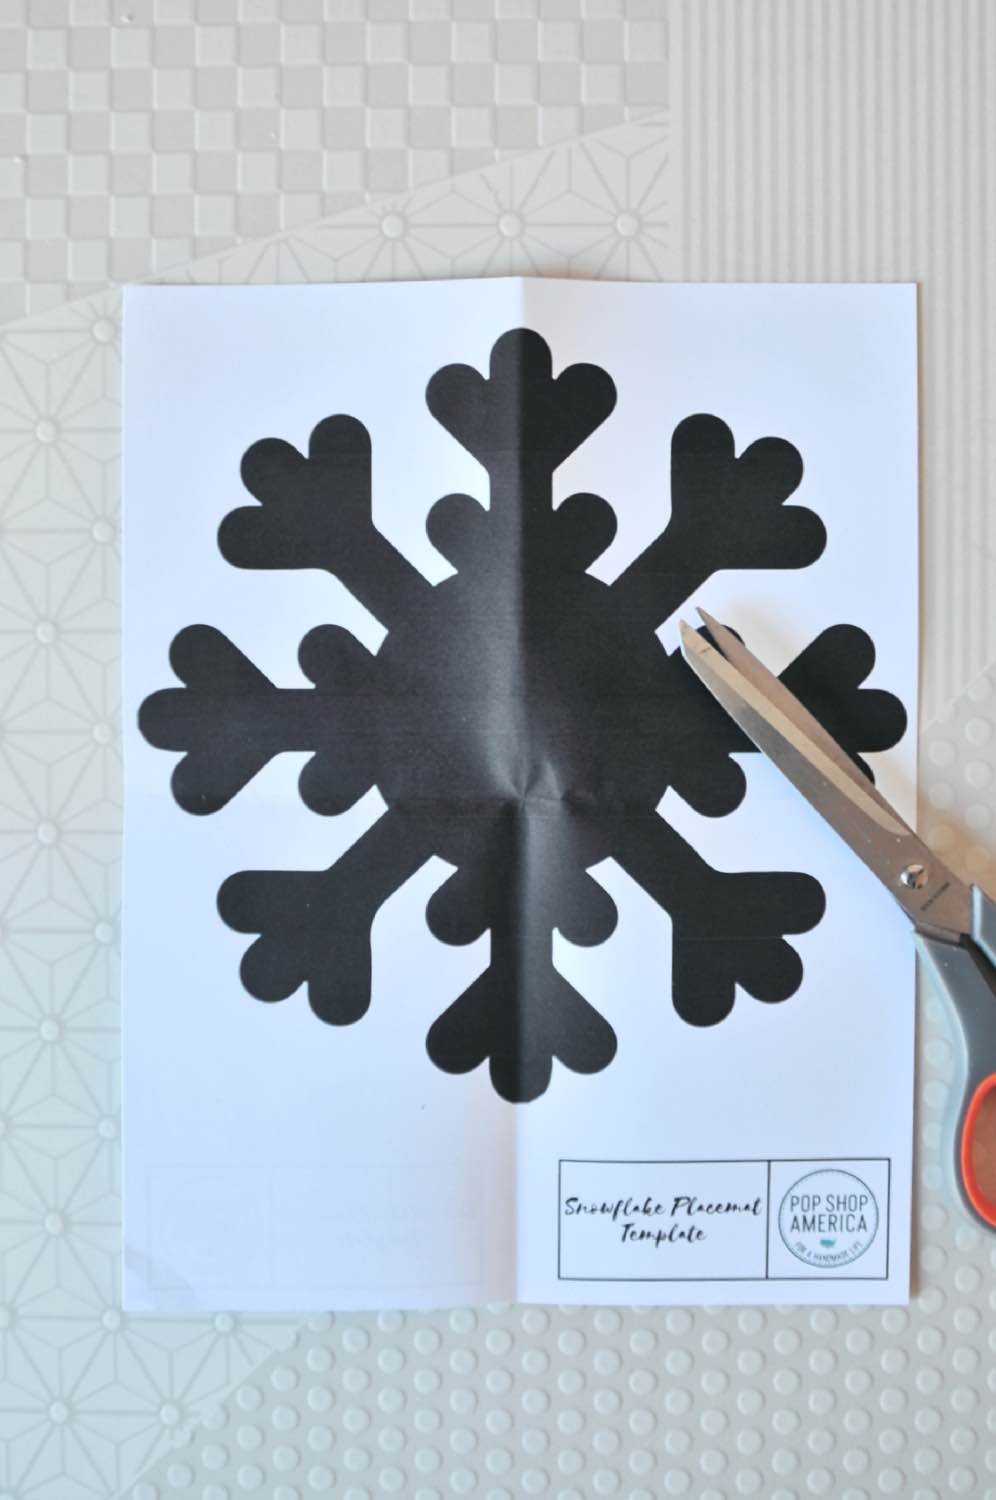
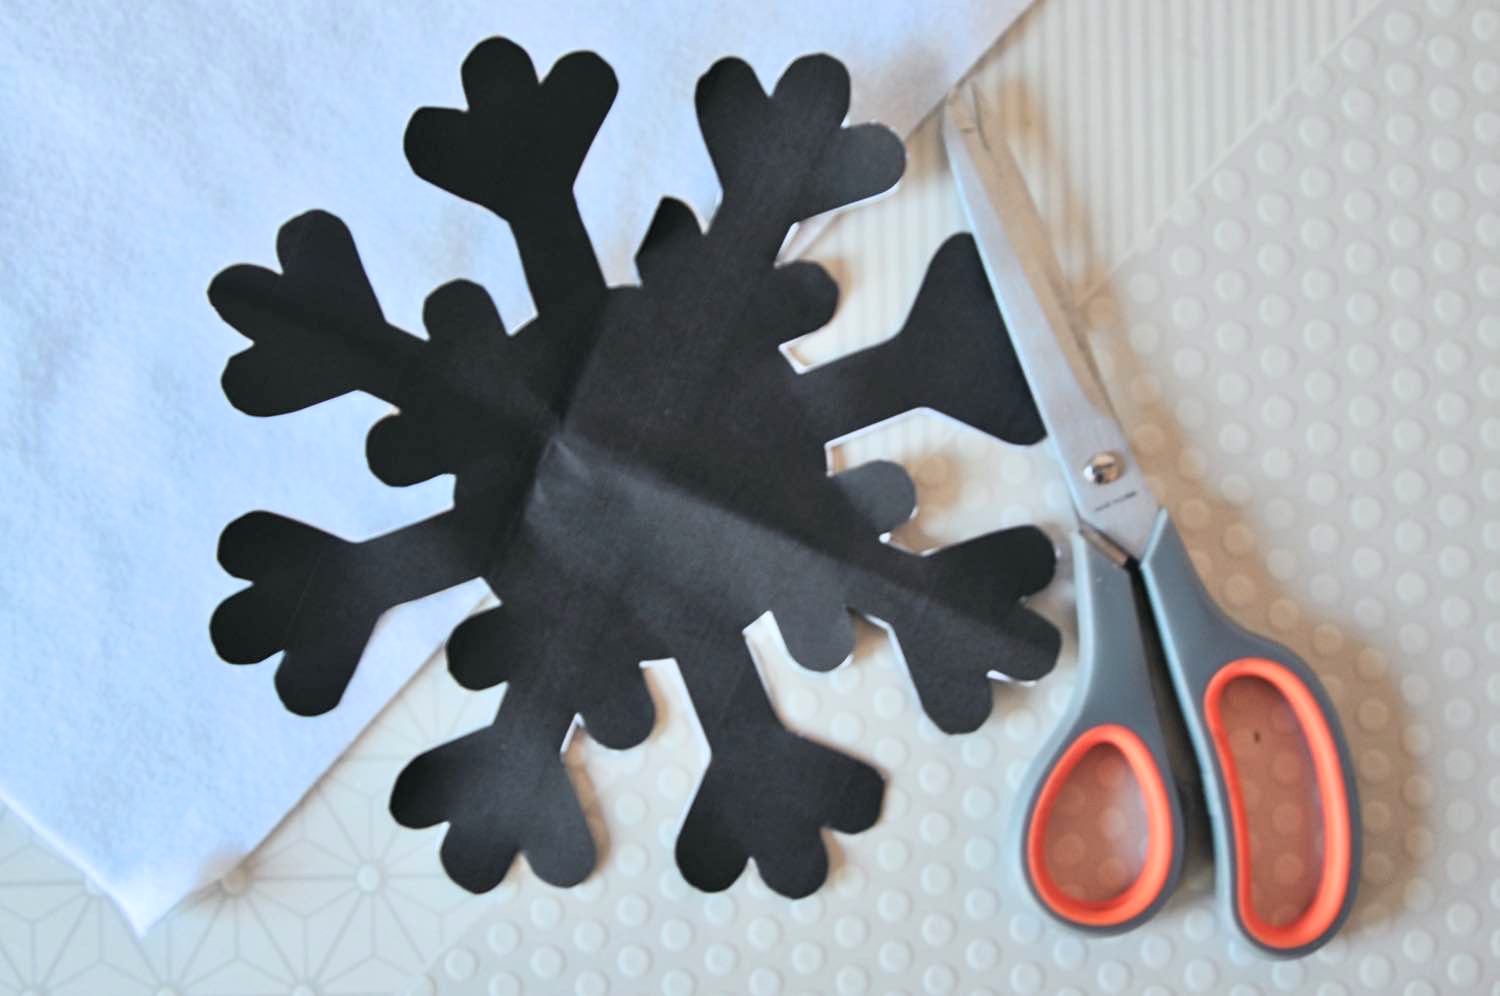
First, start by cutting out your Snowflake Template. If you download the template above or here, you will notice that there’s actually 2 different ones! They are really similar. One is just a bit more simple while the other is a bit more detailed.
Cut either one out and then place it on top of your felt.
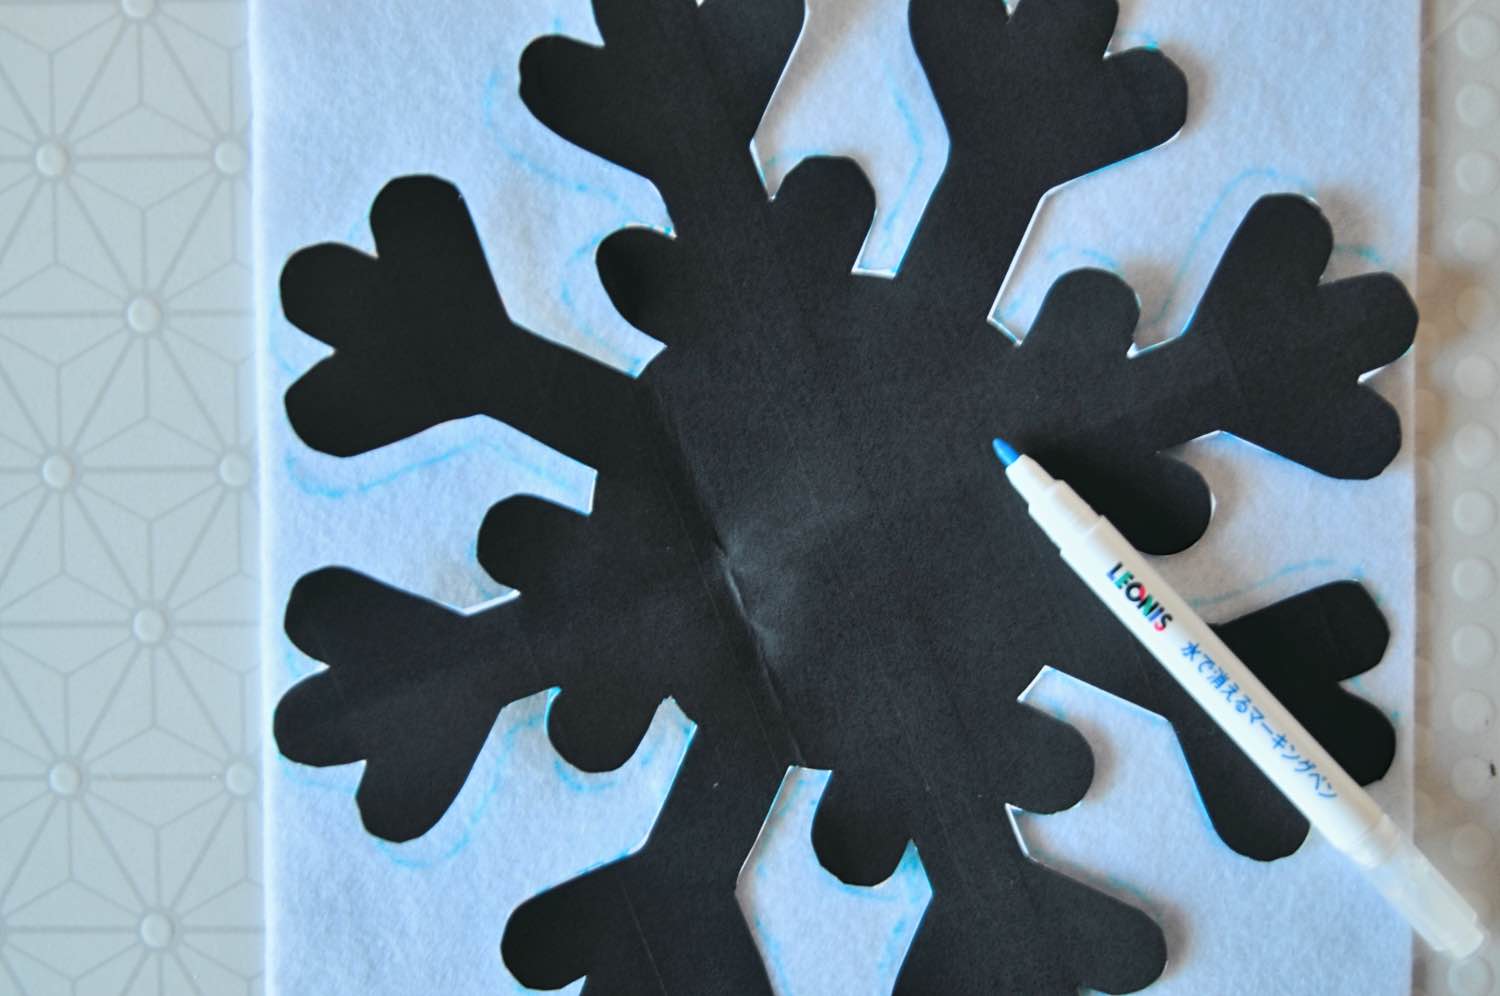
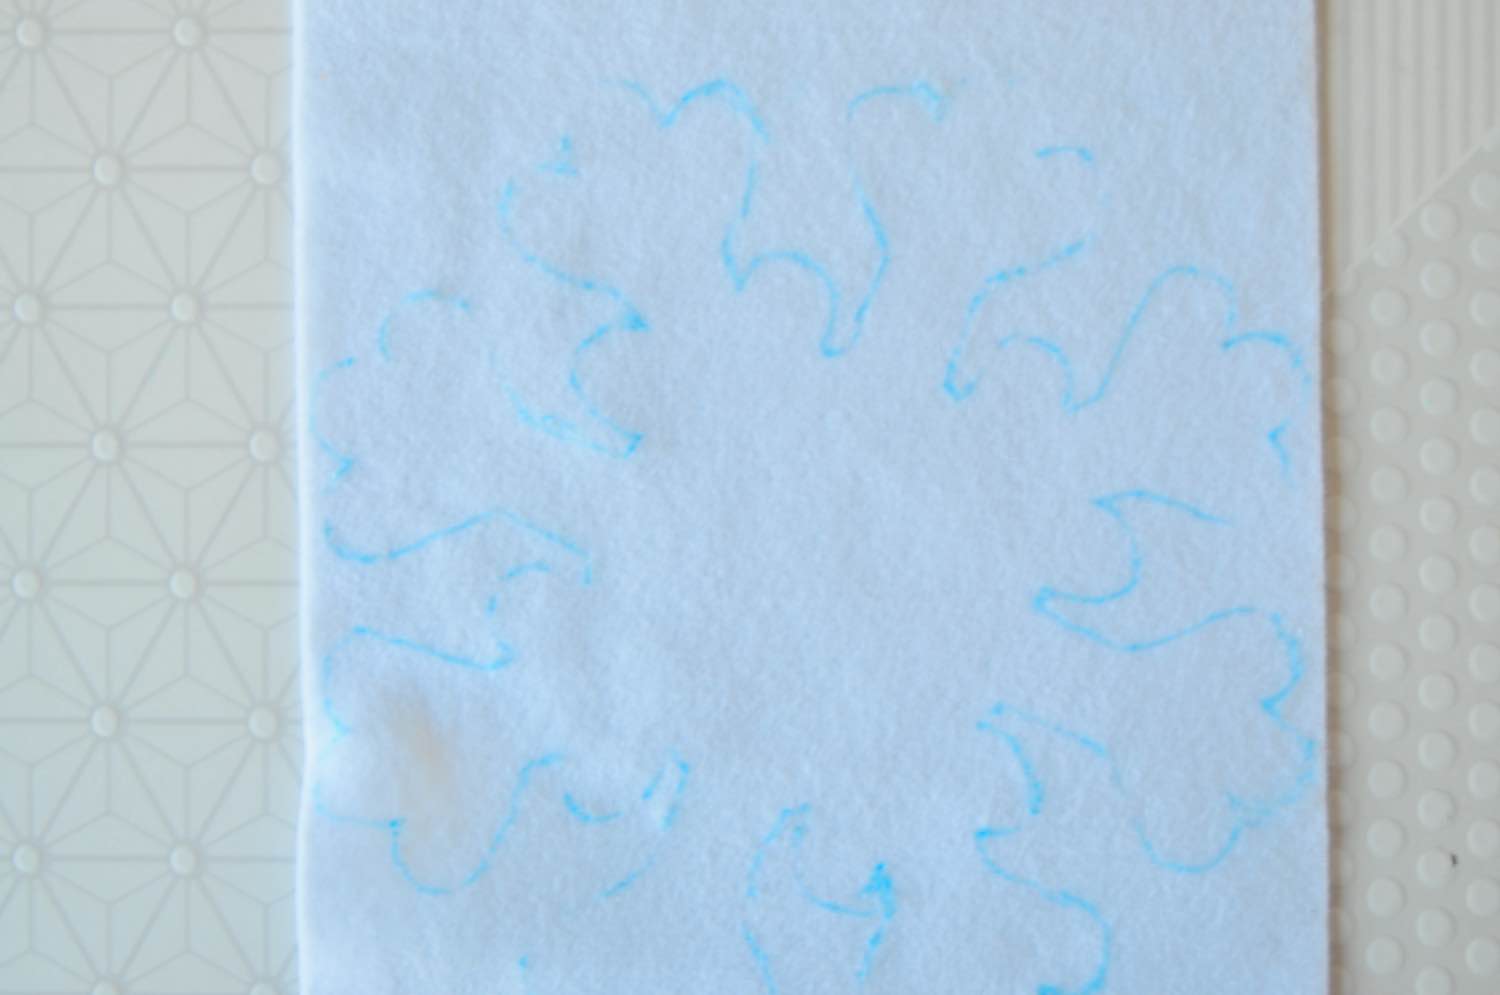
Use a pen, fabric pen or pencil to trace the edge of the snowflake on your felt. It’s best to use something washable. If you don’t have a washable pen handy, use a dotted line so that less of your color will show on the white. This will make it a little easier to get it to a professional quality when finished.
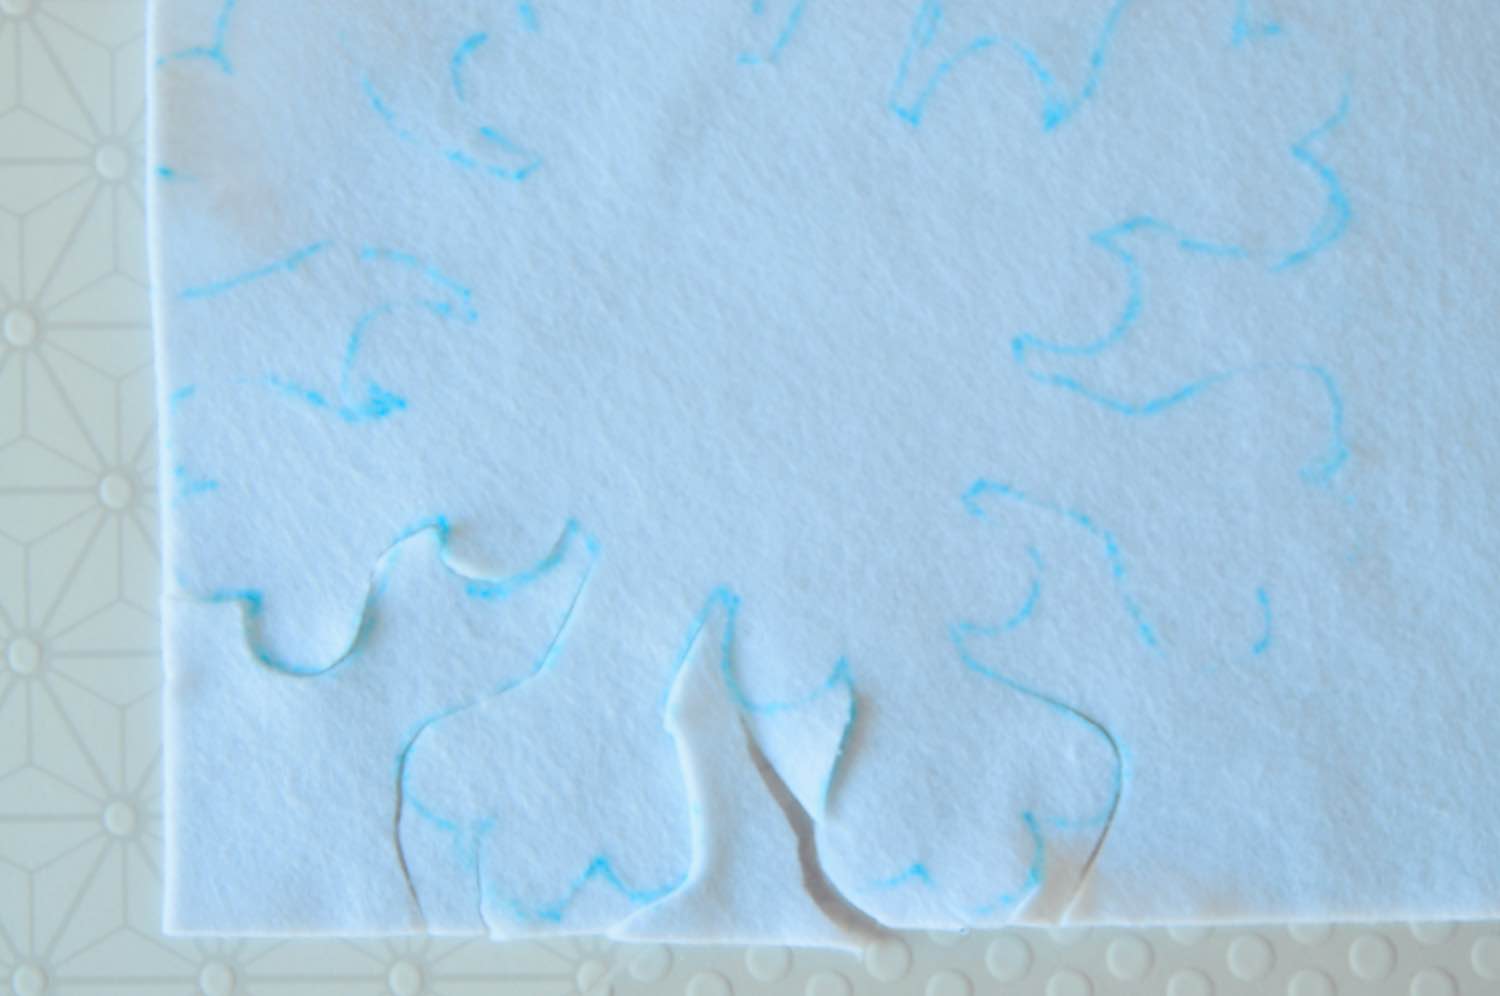
Now it’s time to cut your felt! Take your time and have some fun with this step. Be sure that your edges are nice and smooth along the outside of the snowflake. The smoother your curves, the better your finished placemats will look.
Cutting Hack!
If you struggle with cutting felt, I have a trick for you! Cut in an upward direction with each cut. So rather than turning your hand and turning your scissors, turn the felt so that you are always cutting up.
If you are right handed, cut corners in a counterclockwise direction. If you are left handed, cut in a clockwise direction.
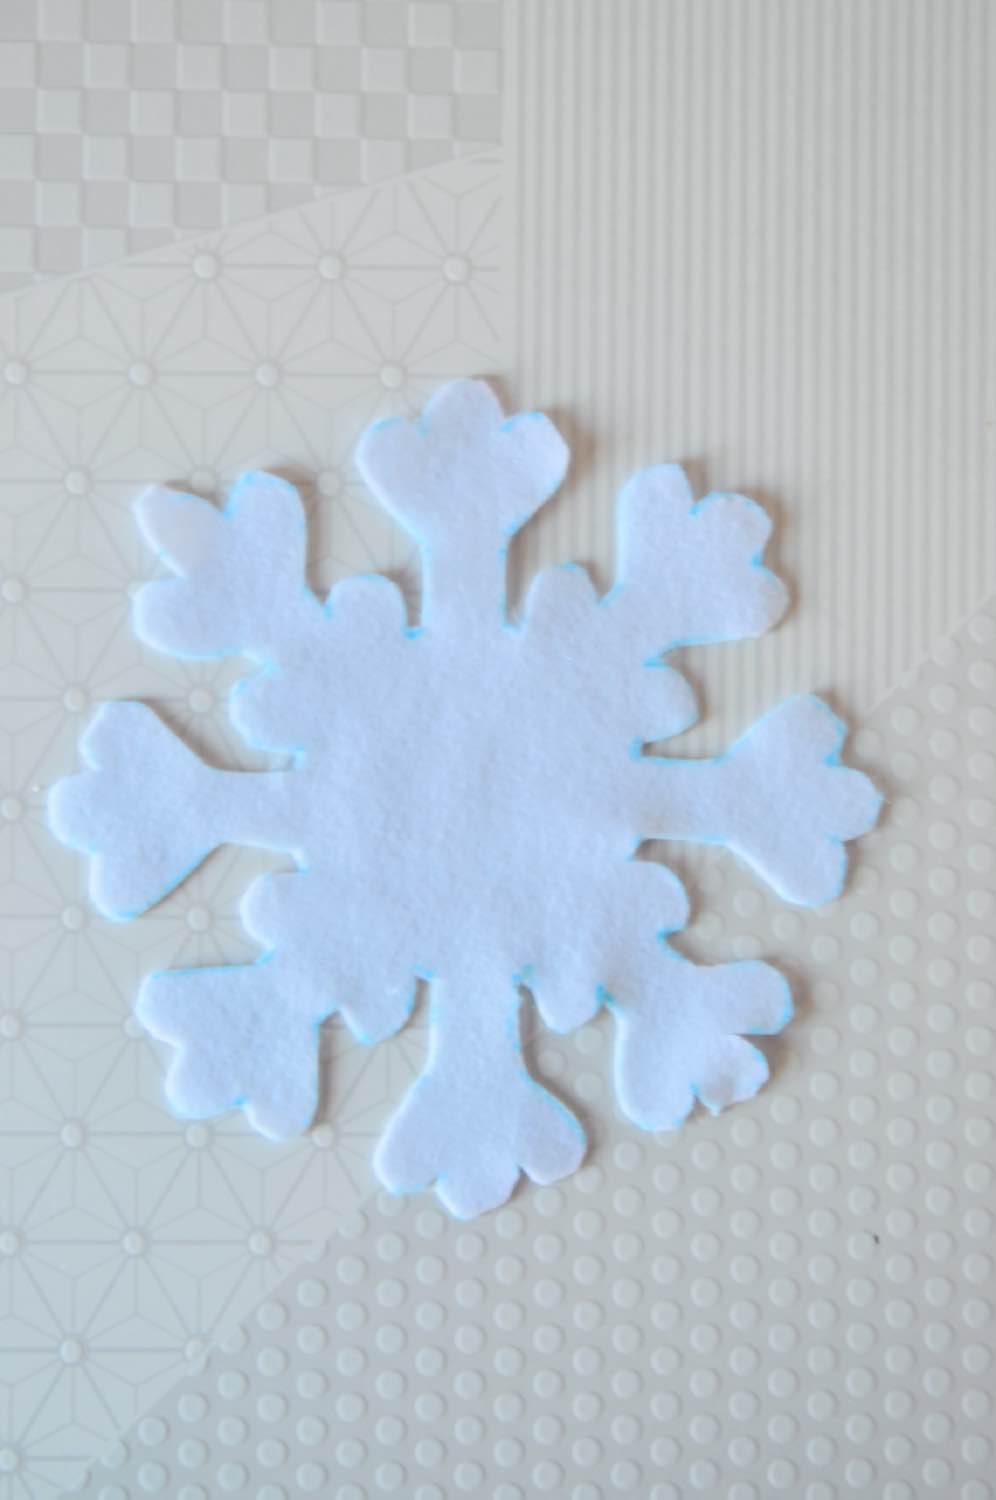
And viola! You have a finished Snowflake Placemat. Now you may notice that you can still see some of my pen marks! It could wash it off, since I used a fabric pen. But instead, just flip your placemat over and make this the backside!
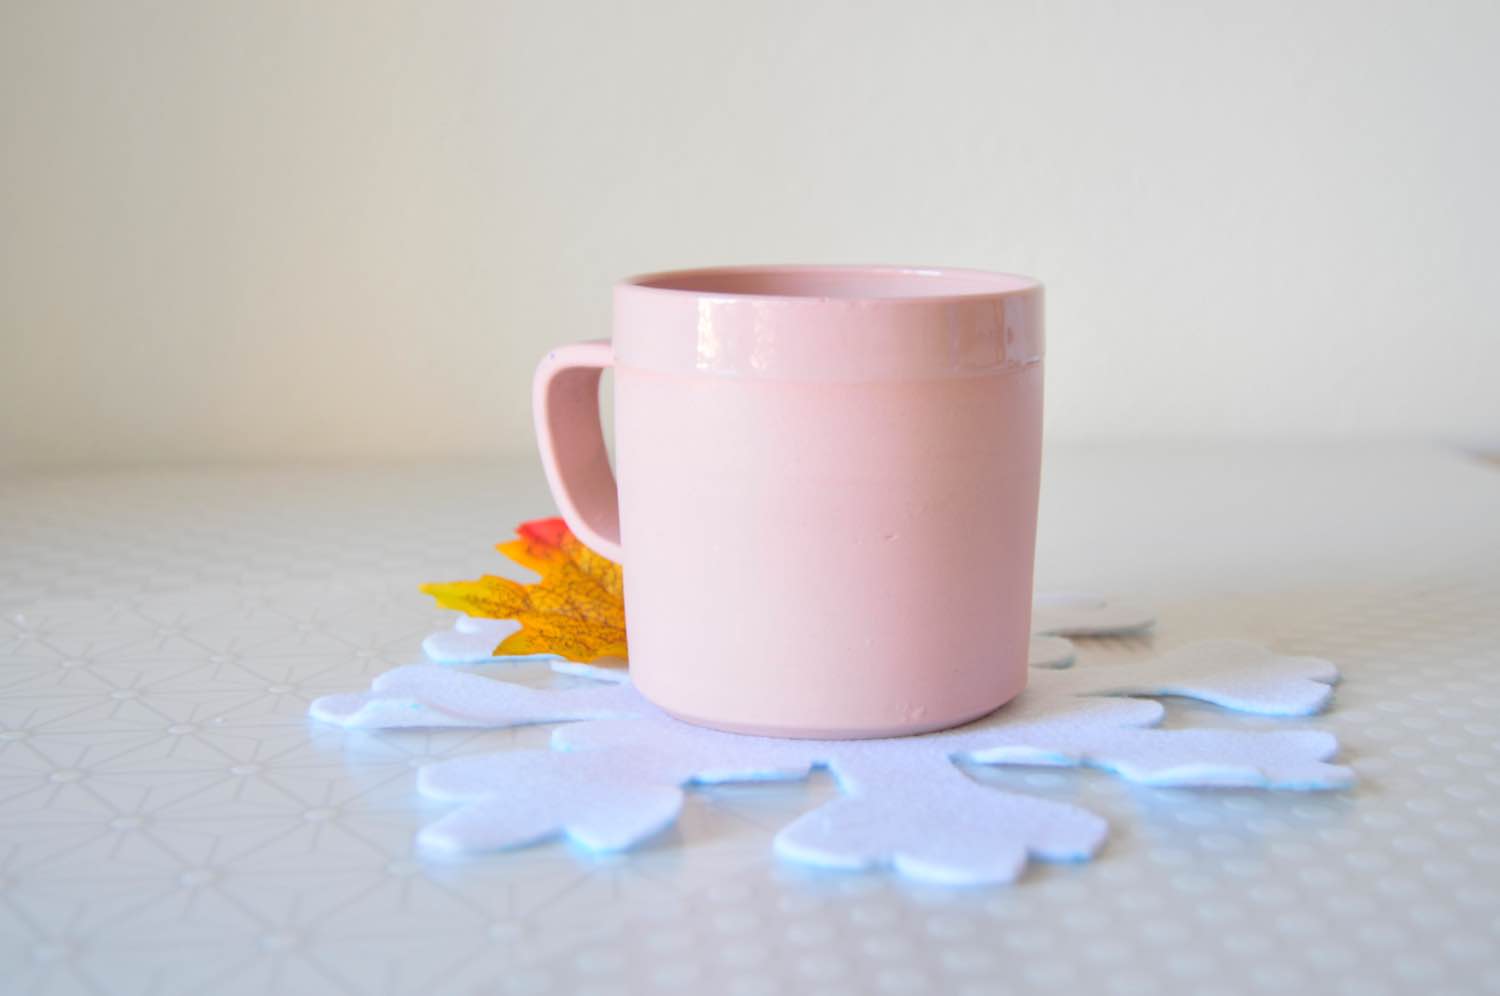
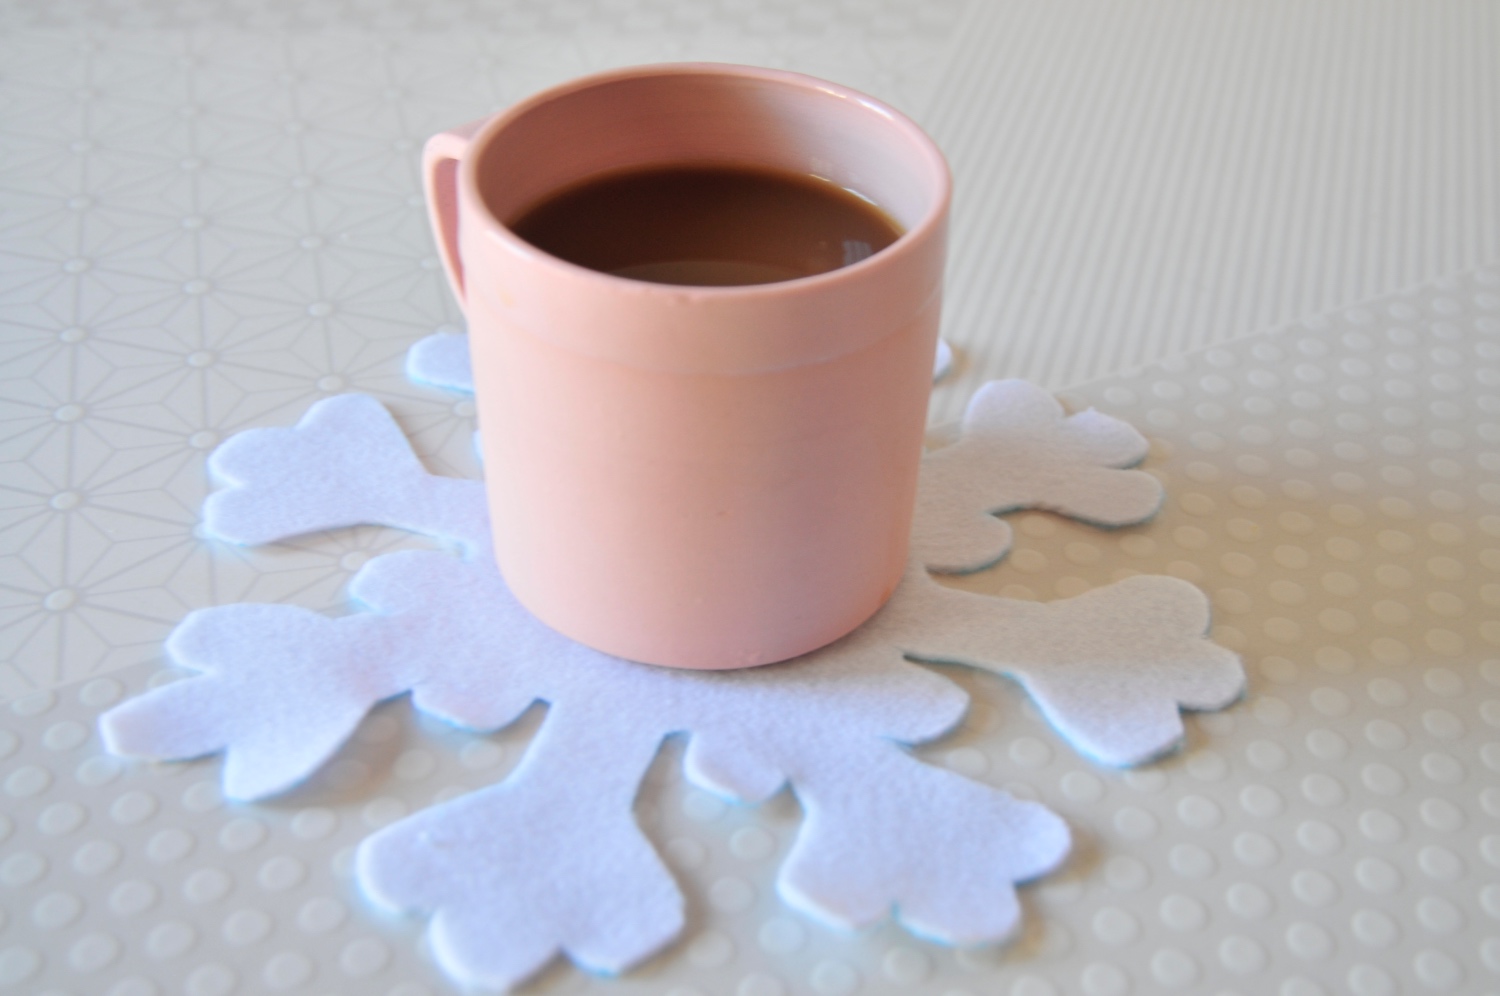
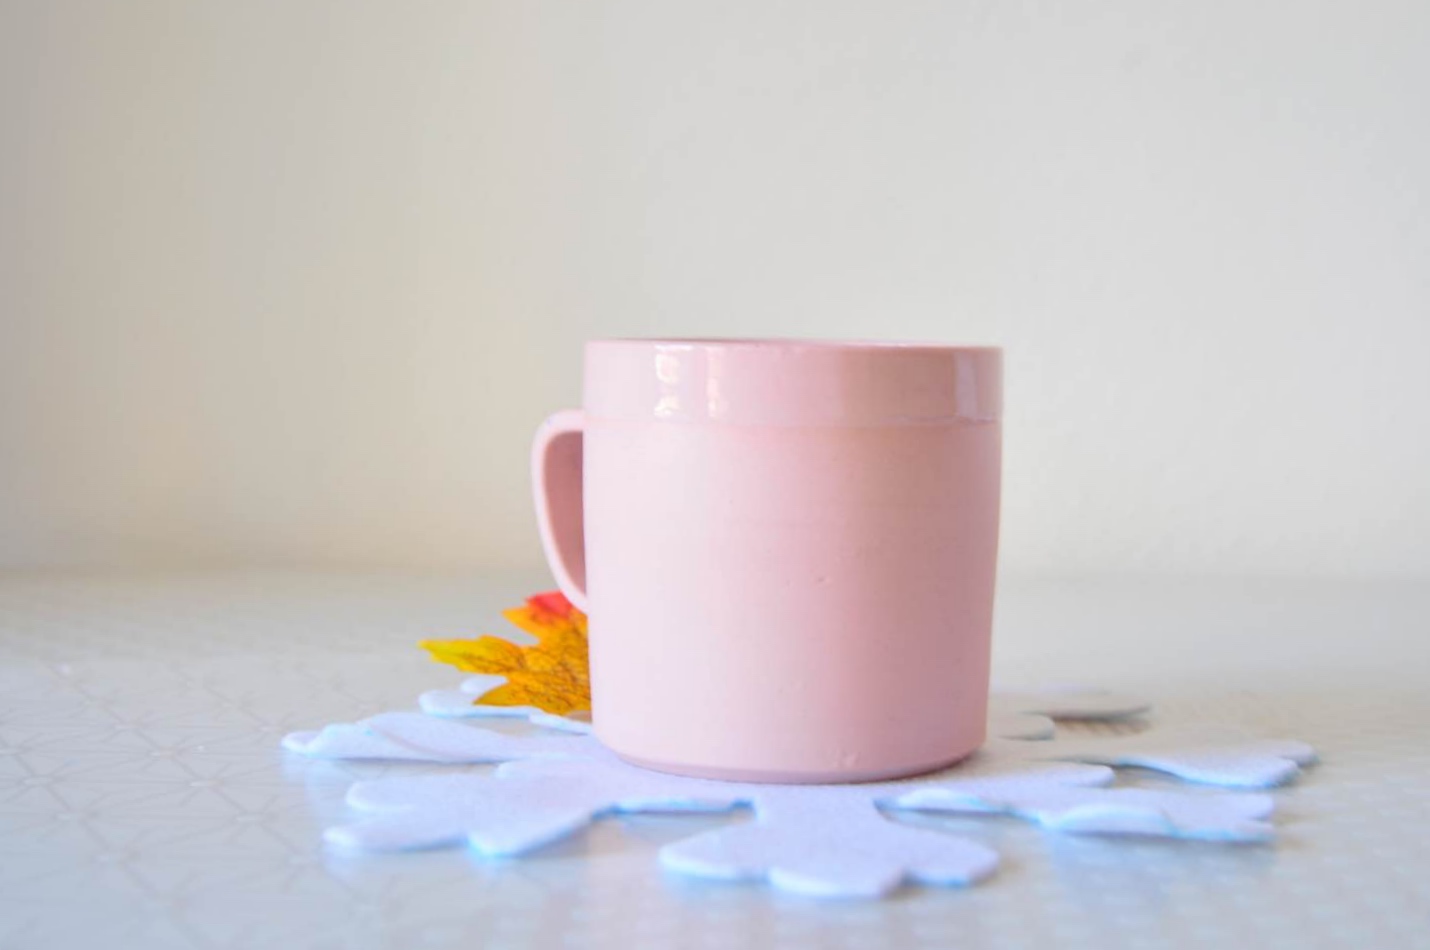
So what are you going to do with your snowflake placemat? Use them underneath chargers for a holiday feast? Or place them underneath your Gumball Machine Snow Globe? We want to know!
And if you love these and want to make them for yourself, you have to try the Craft in Style Subscription Box! It’s full of unique craft supplies to make new projects each month.
Let’s Stay Friends!
Insta | Pinterest | Enews | TikTok