Craft in Style Subscription Instructions, DIY
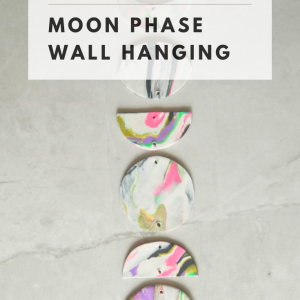
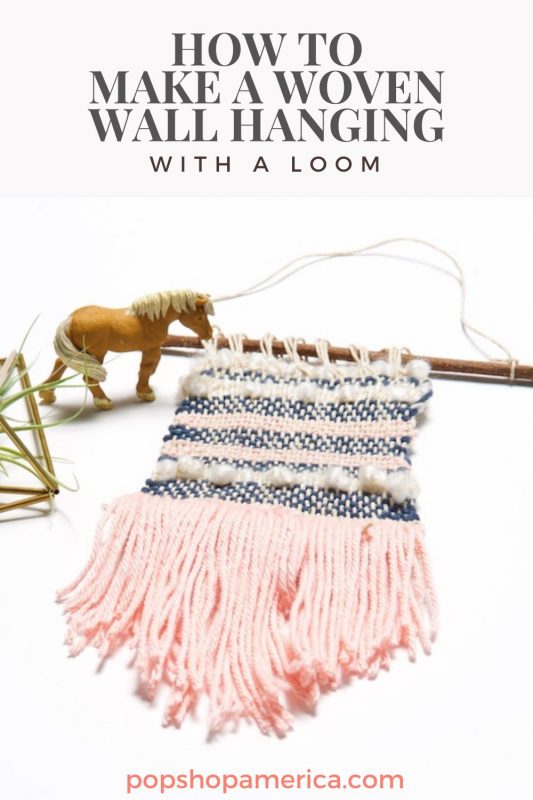
How to Make a Woven Wall Hanging
Jan
This is Part 2 of 3 of the Craft in Style Subscription Box Instructions for January 2021. Find the Craft in Style Subscription Box here. Read Part 1: The Easy Beginners Guide to Weaving with a Loom. Read Part 3: 9+ Weaving Crafts You Can Make with a Loom here.
Ready to get your weave on? Here is one of my favorite loom projects. This Woven Wall Hanging is perfectly modern, stylish, and totally boho! Best of all it’s beginner friendly. This Woven Wall Hanging can be created in all your favorite colors of yarn to match your favorite colors and style!
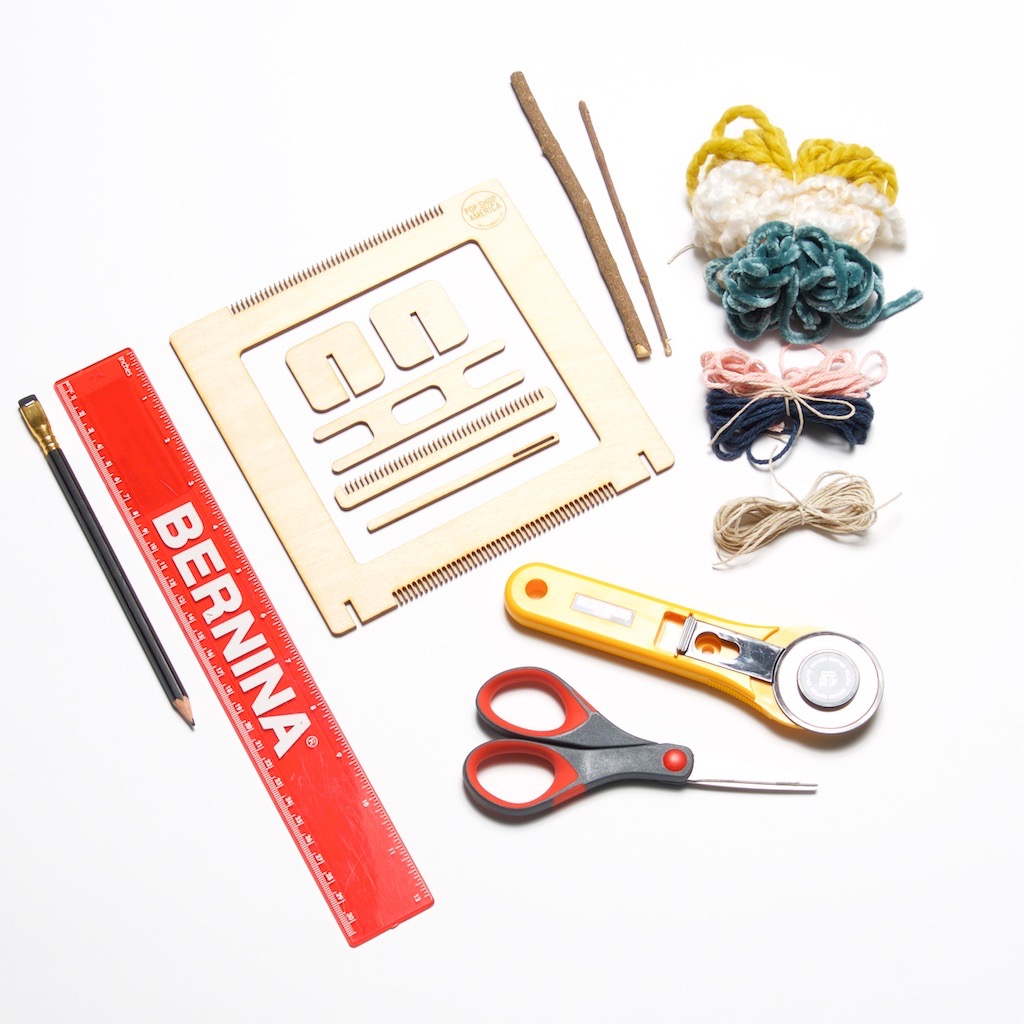
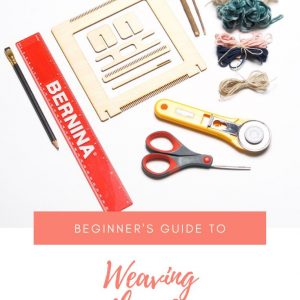
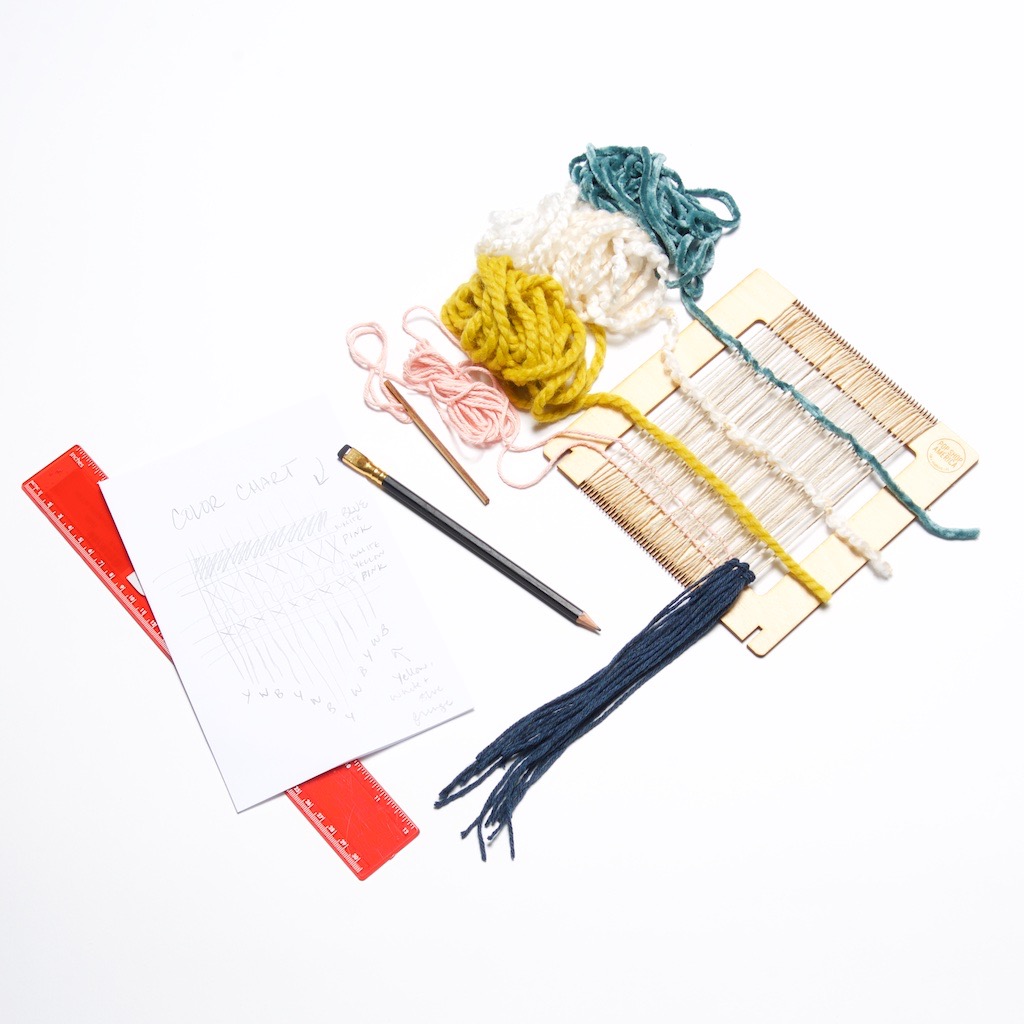
Supplies to Make a Woven Wall Hanging
January 2021 Craft in Style Subscription Box
-or-
A Small Loom plus it’s accessories (I used a 7 inch loom)
A Smaller Yarn Needle
Twine (A few yards)
Yarn in an array of colors (We used 3 different colors)
+Lengths of yarn
+1/2 yard or less of the accent yarns
+2 yards of the regular yarns
Scissors
A Raw Twig to Hang Your Wall Hanging
Plus: A Scratch Paper and Pencil to Plan Your Pattern
Before you get started, I highly recommend reviewing the Beginner’s Guide to Weaving with a Loom. It will give you all your terminology and help you understand what the loom accessories do. It’s a great way to get started with weaving.
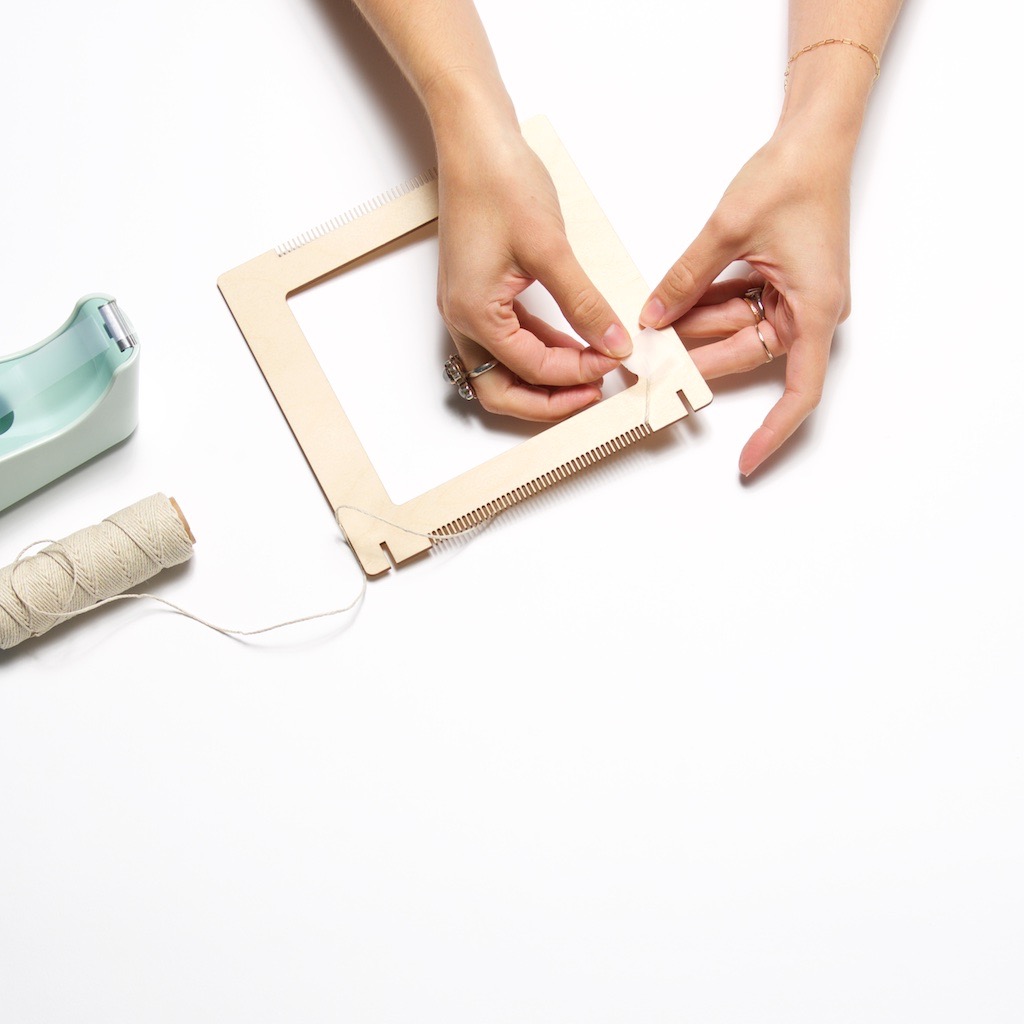
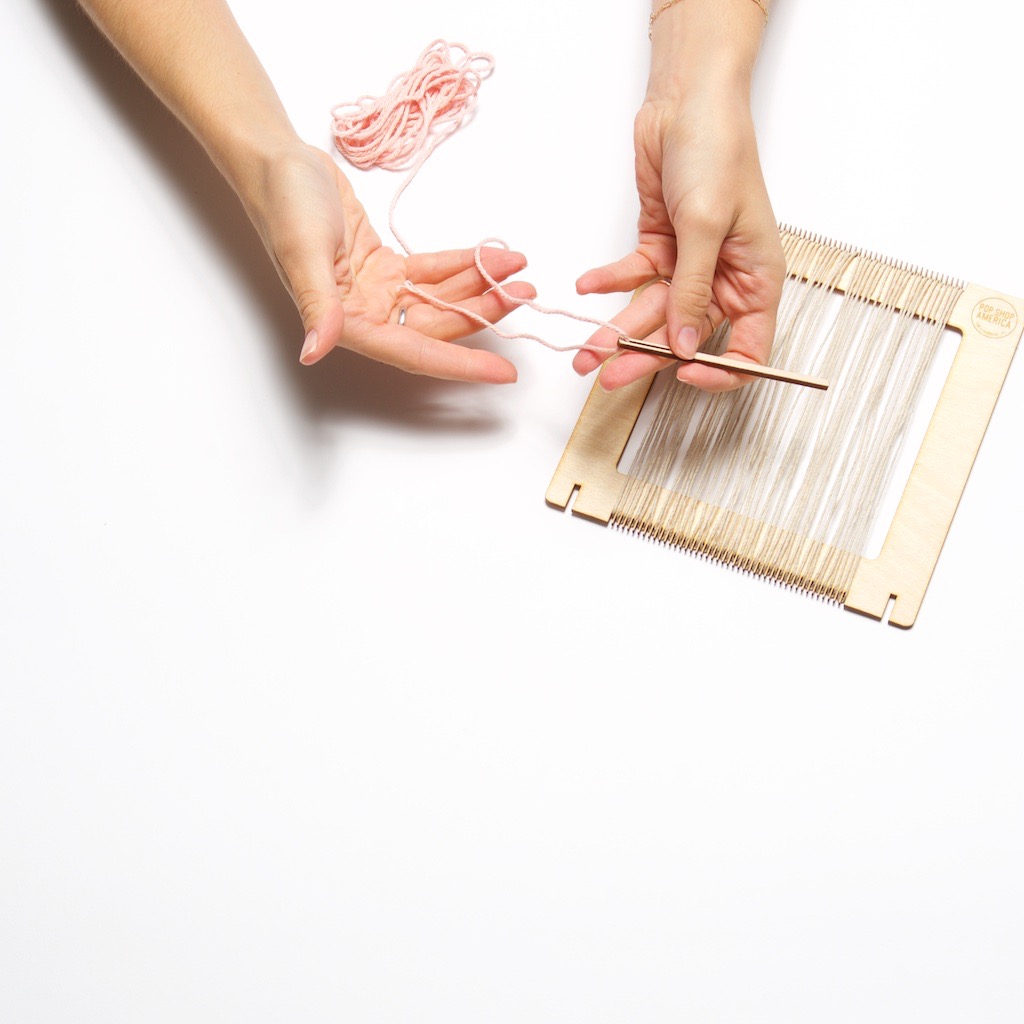
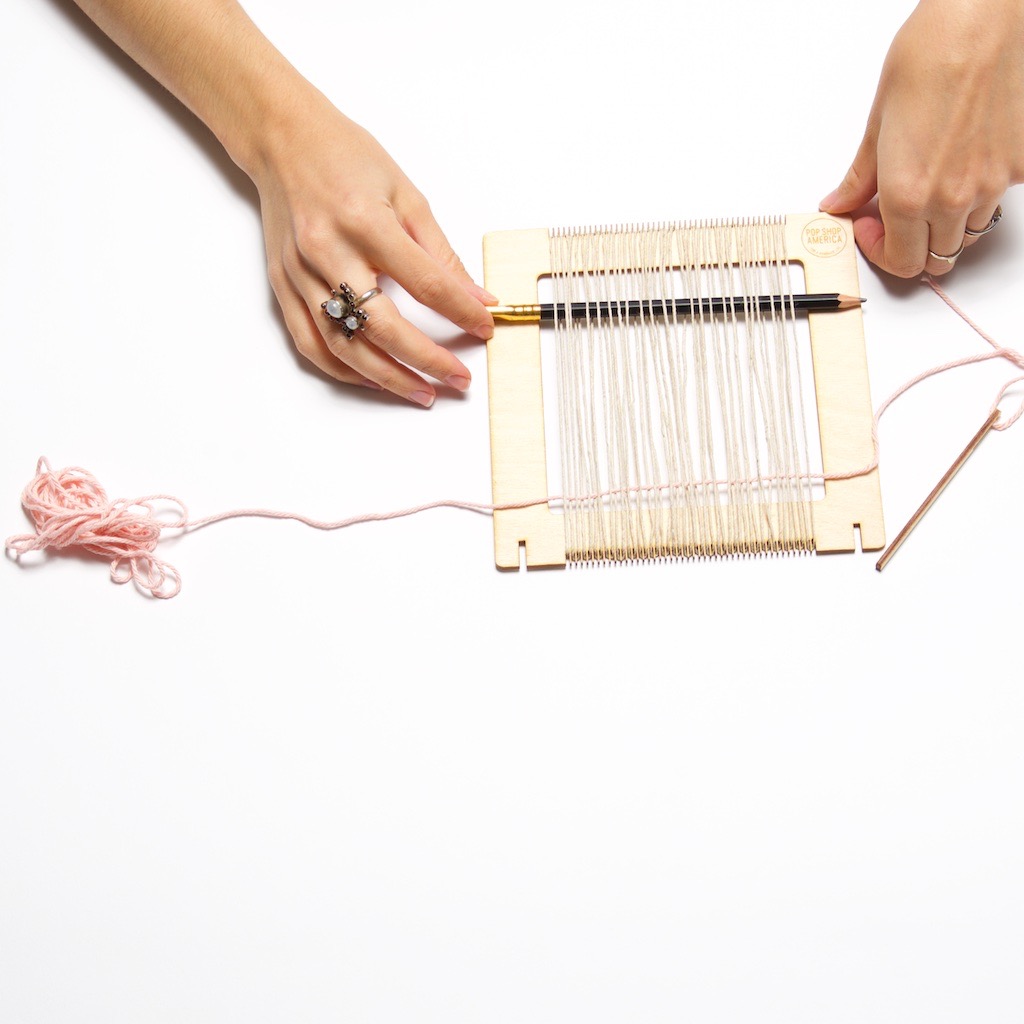
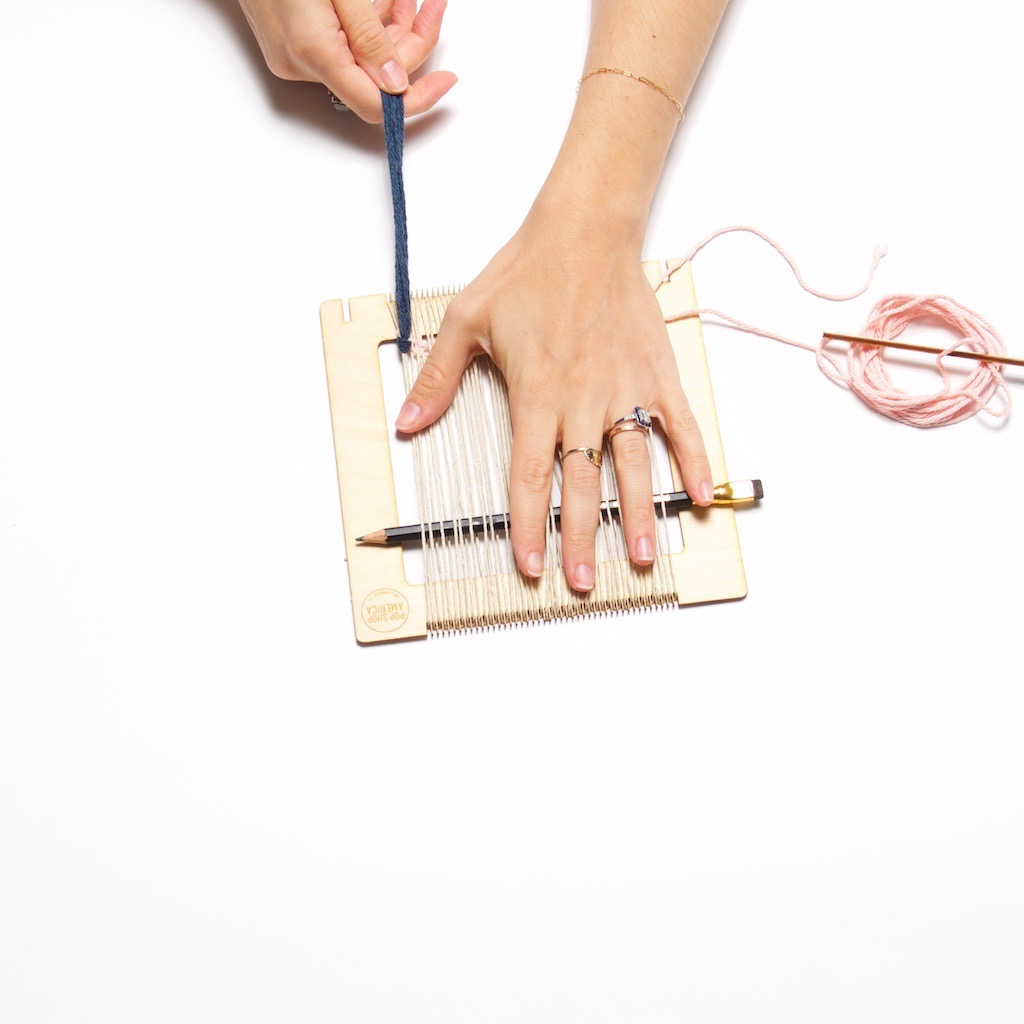
How to Warp Your Loom
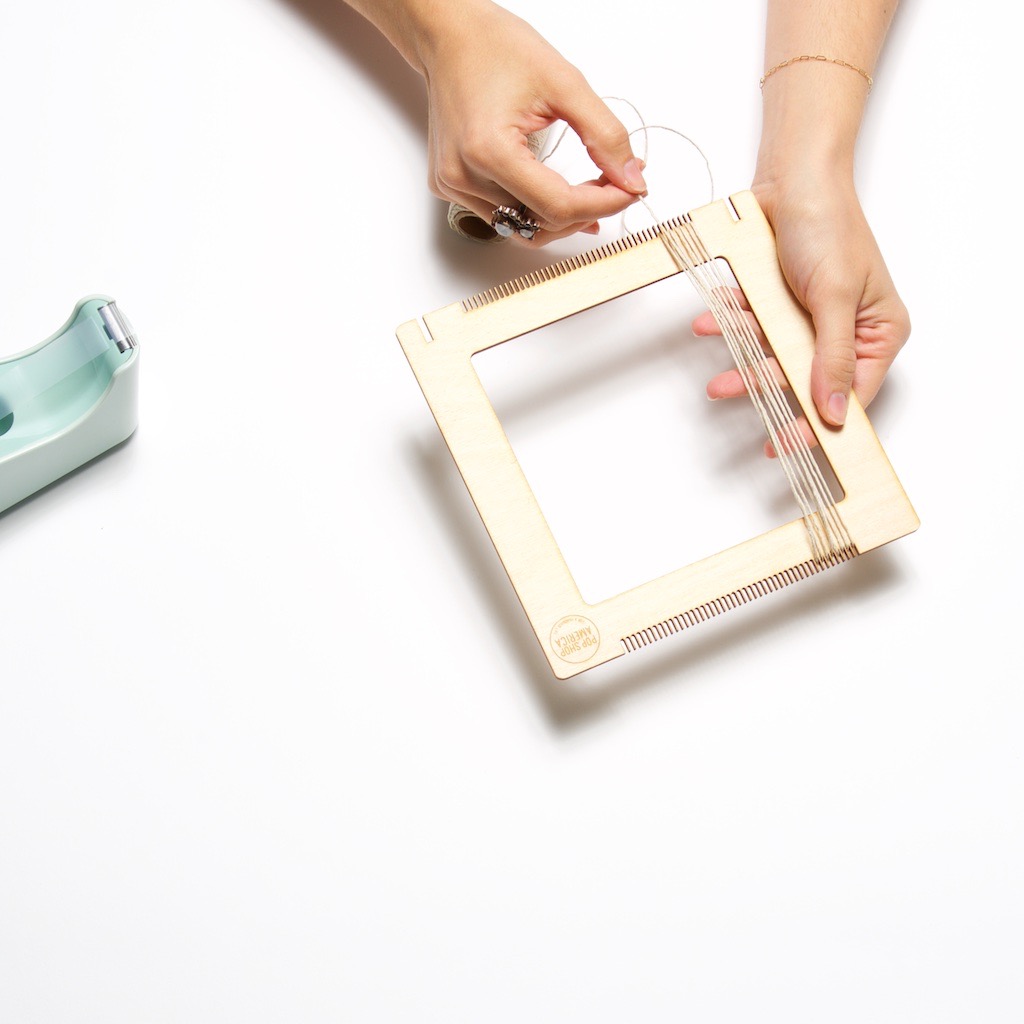
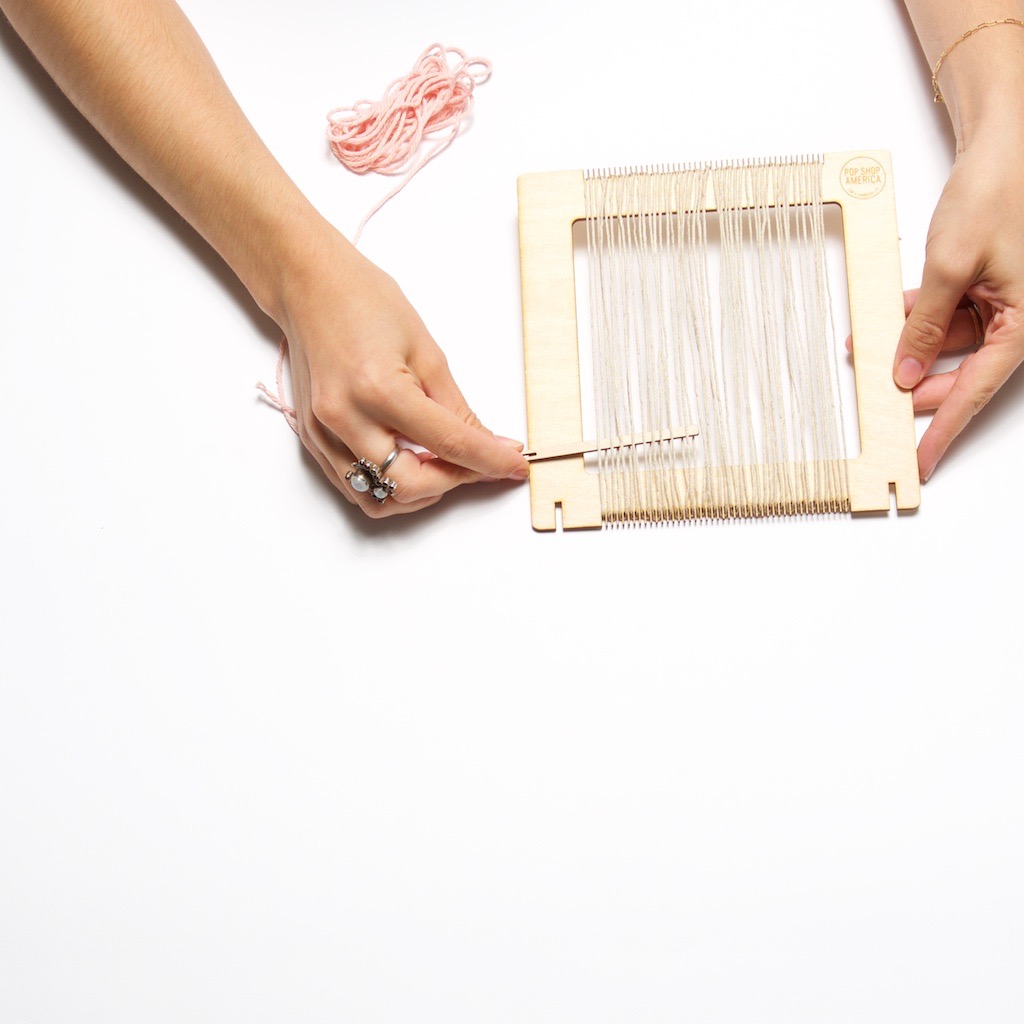
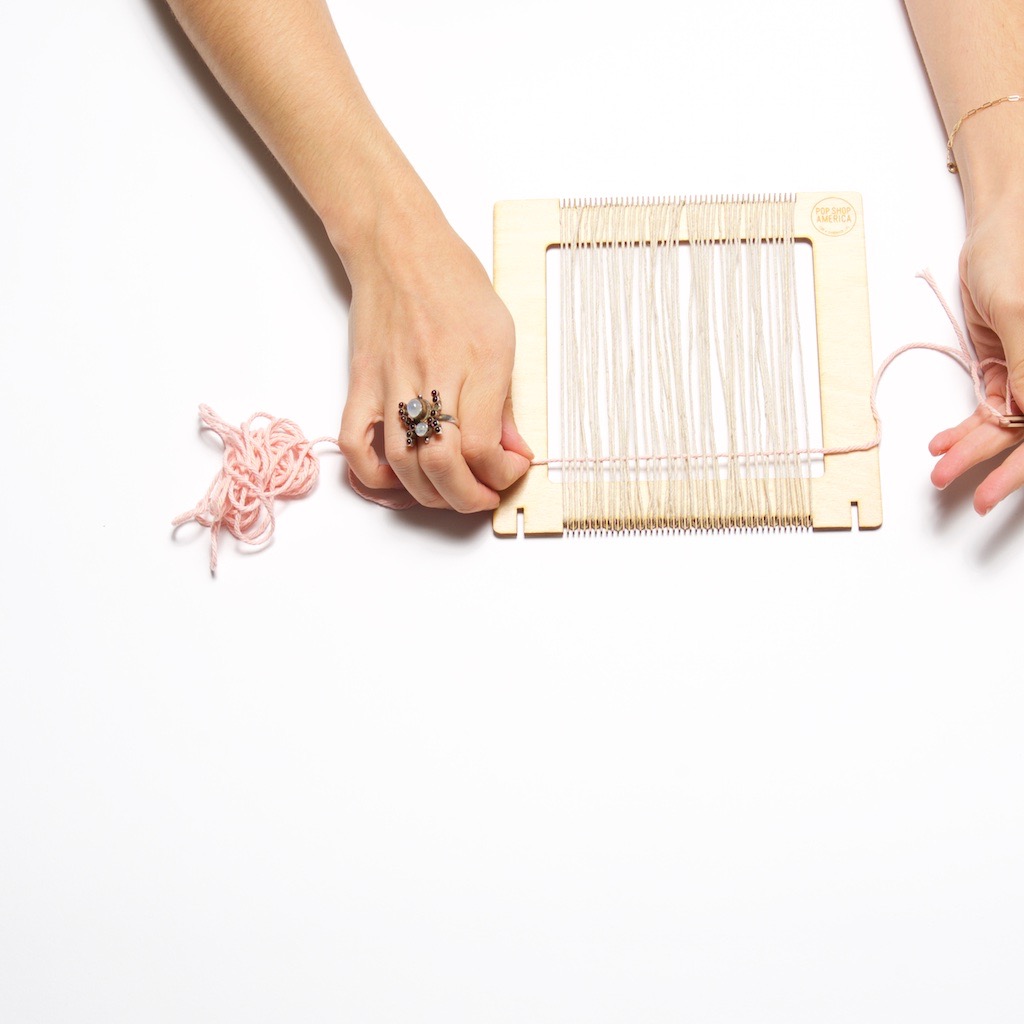
To start any new weaving project, the first step is to create your warp. Start on one side (left or right) of the loom, and tape the end of the twine in place along the edge of the loom. Then wind the twine through every tooth working around each back and forth from top to bottom. Always keep your warp on the front of the loom. Use this video as a guide! You will use one piece of twine for the entire loom.
Do not pull the warp too tight. It should have just a slight amount of give so that you can weave the weft through the warp.
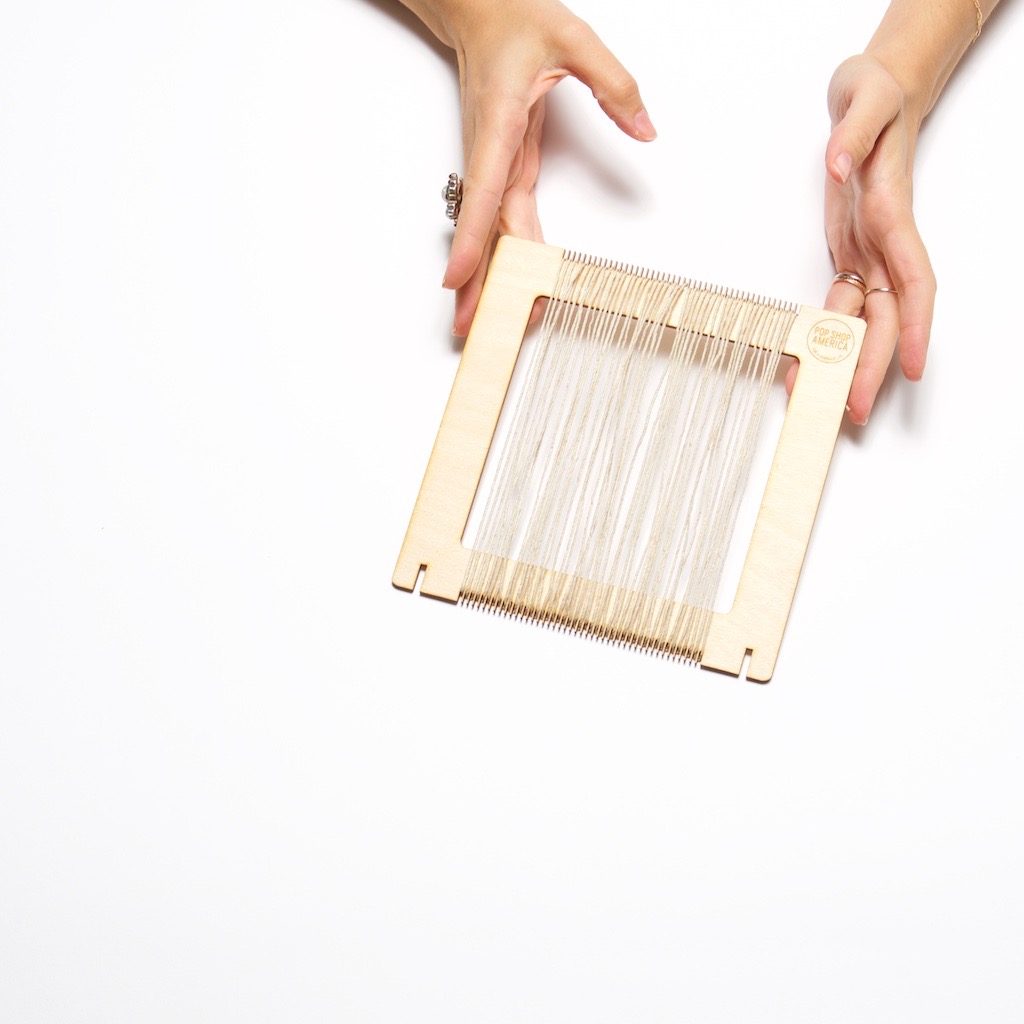
Do not make any knots or tie the warp to the loom in any way. The warp will hold in place once you begin to weave the weft. But if you need, you can tape both ends of the twine to the loom itself. Tape it along the border of the loom so you can remove the tape later.
Plan Your Weaving Pattern
Now that your warp is in place, you can decide what you want your piece to look like! What colors to you want to use? Will you add fringe?
Making a plan is a great idea because you can ensure that your wall hanging turns out looking professional and gorgeous.
Things to consider when Planning a Woven Wall Hanging:
1. The color palette and how the colors look together.
2. Add a variety of textures to give the piece something special.
3. Consider a variety of yarn thicknesses to play with size and space.
4. How large or small each color block will be. And once you know how big or small these blocks of color will be – how many rows of yarn will you need to make that size of color.
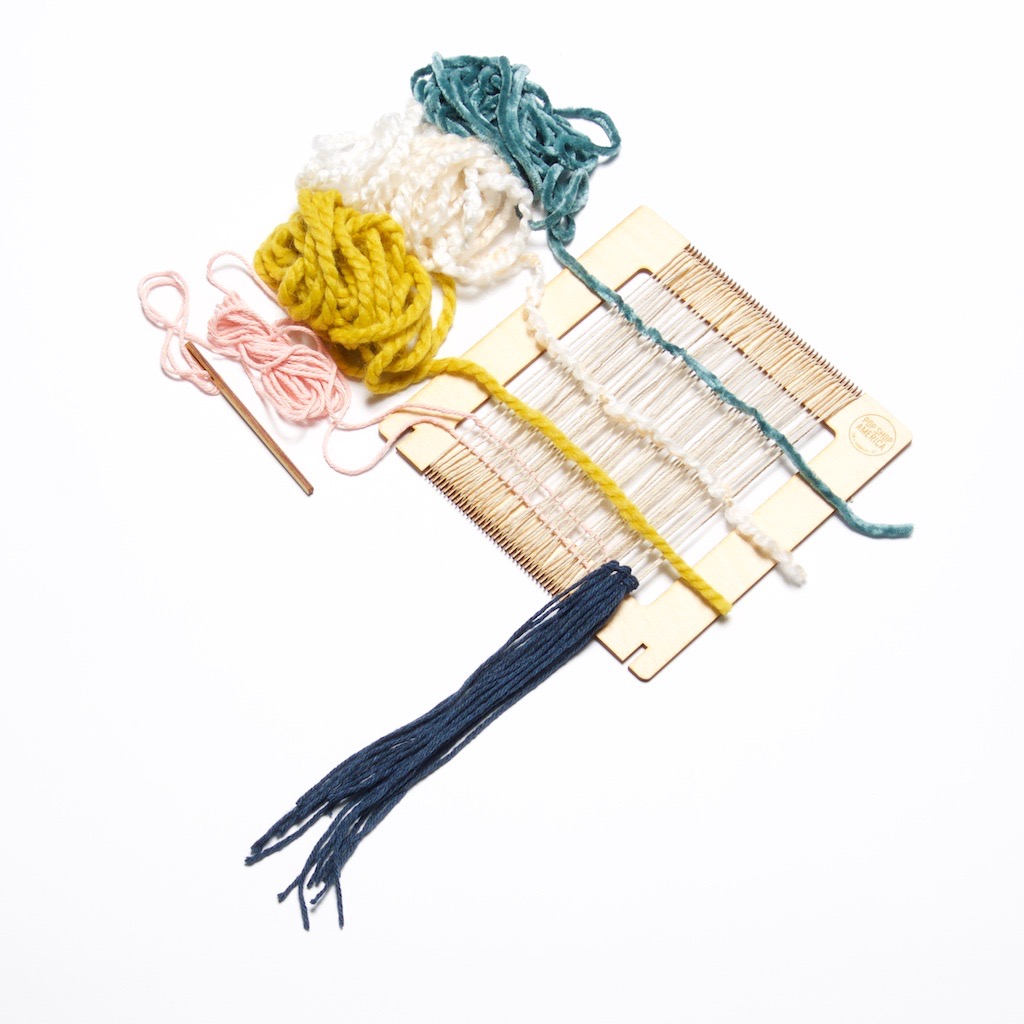
Thread Your Needle
Once you are ready to start, thread your needle or your shuttle stick.
To make a traditional tabby pattern, all you need to do is weave your yarn:
over, under, over, under, over, under,
back and forth across the entire weft. It’s simple!
Just weave back and forth, above and below your twine. Weave one strand of twine at a time.
Pull your yarn through the warp nearly all the way through. But leave a 6 inch tail at the end. This tail can be tucked into the back or even woven back into the piece later!
When you are ready to reverse directions and weave the yarn back through the warp in the opposite direction, you will repeat the same tabby pattern – but in reverse.
Where you previously wove the yarn under the warp you will now weave it over.
Where you previous wove the yarn over the warp you will now weave it under.
It’s the exact same pattern as your first weft but in reverse.
How to Hold a Shed in Place
To help fit the needle through and make your pattern, use one hand to pull the warp up and down and use your other hand to weave the needle and yarn.
When weaving, the strands of twine (that make up your warp) and yarn (that make up your weft) are quite small and close together. And you need them to be close together to make a weave that’s tight! So sometimes it can be hard to weave the needle through. If you have any challenges, use this trick to make your shed larger.
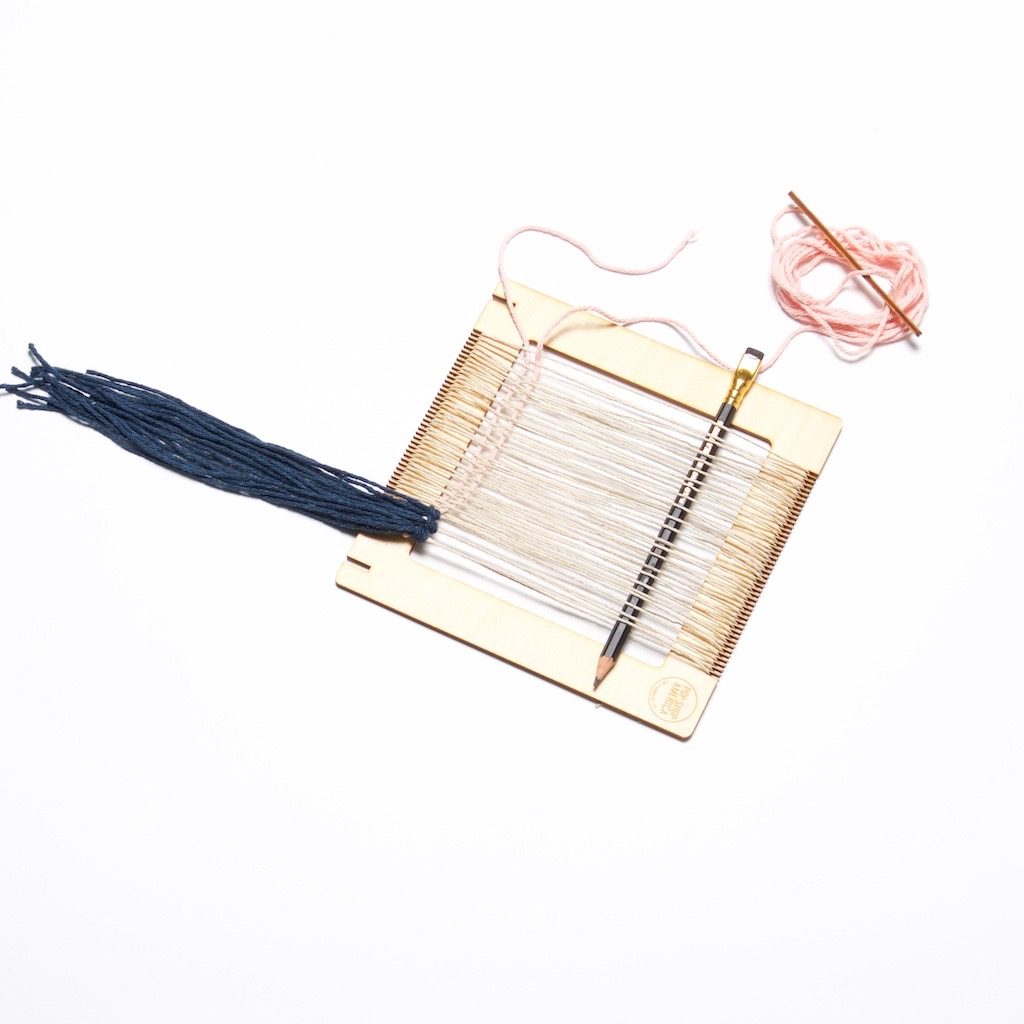
Use a tool like a pencil: weave the pencil through the warp – just like you would the needle. Then thread the needle and yarn through the space created by the pencil. Last, remove the pencil.


Comb Your Weft
After your second strand of weft is in place, you may need to use your comb. Your comb can help you move the weft into its final position. It can help you create even rows making your wall hanging look fabulous.
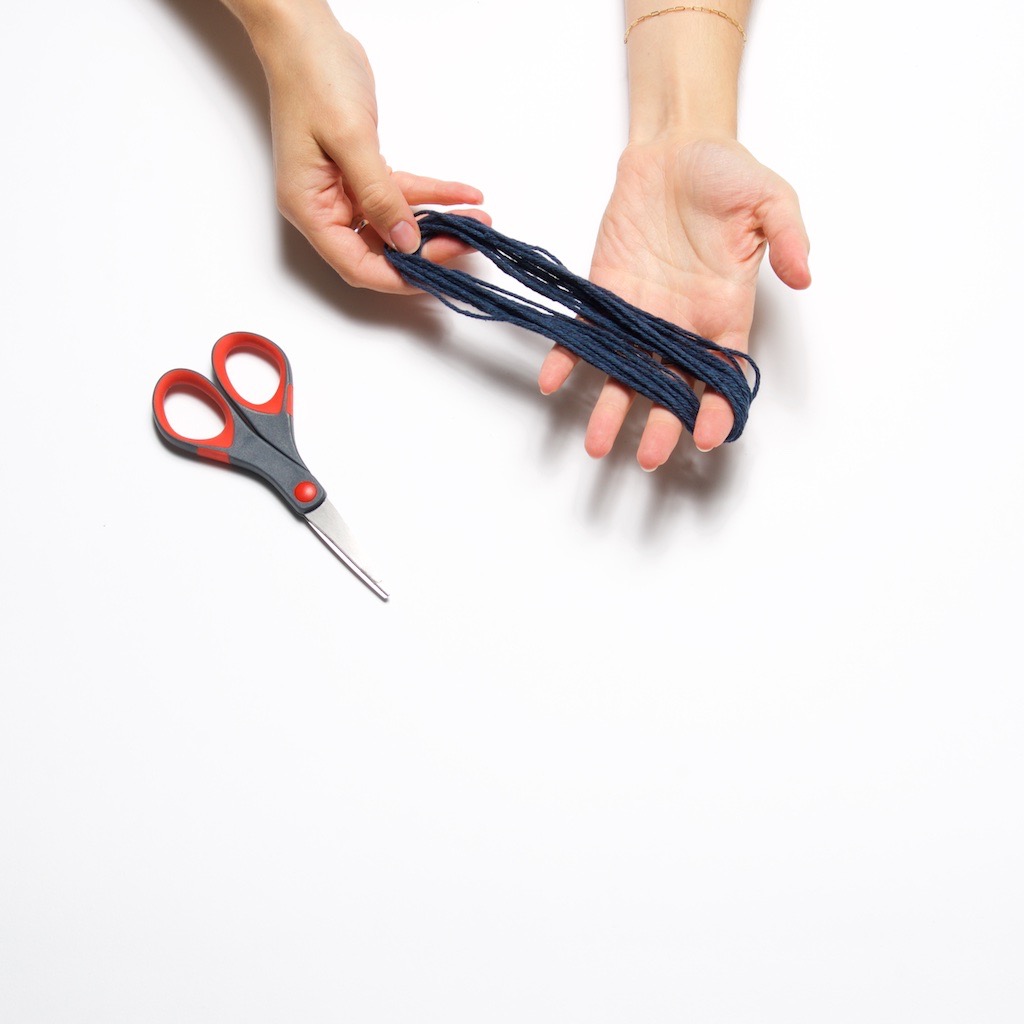

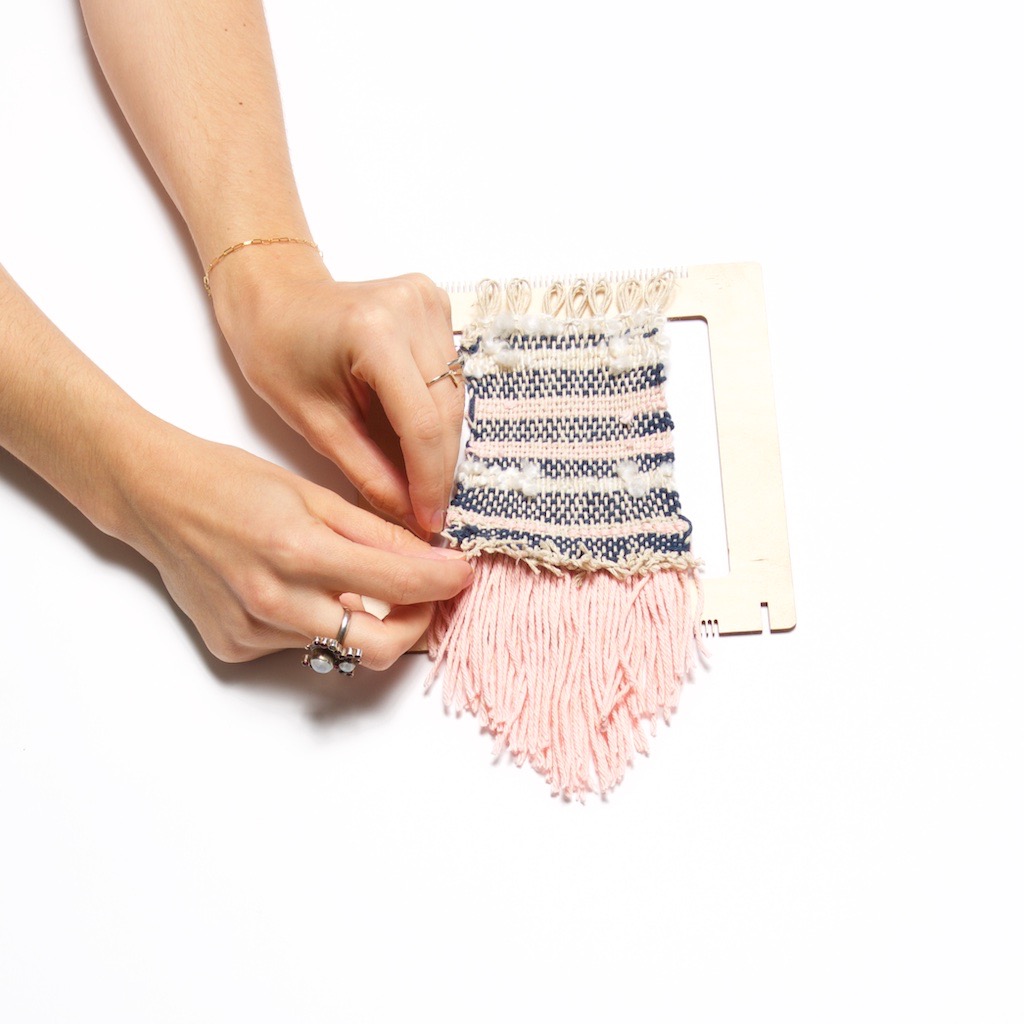
How to Make Fringe
To make fringe always measure your yarn twice the length that you want the finished fringe to be.
This is because you will be tying the center of your fringe to the warp and allowing both sides of the fringe to dangle down.
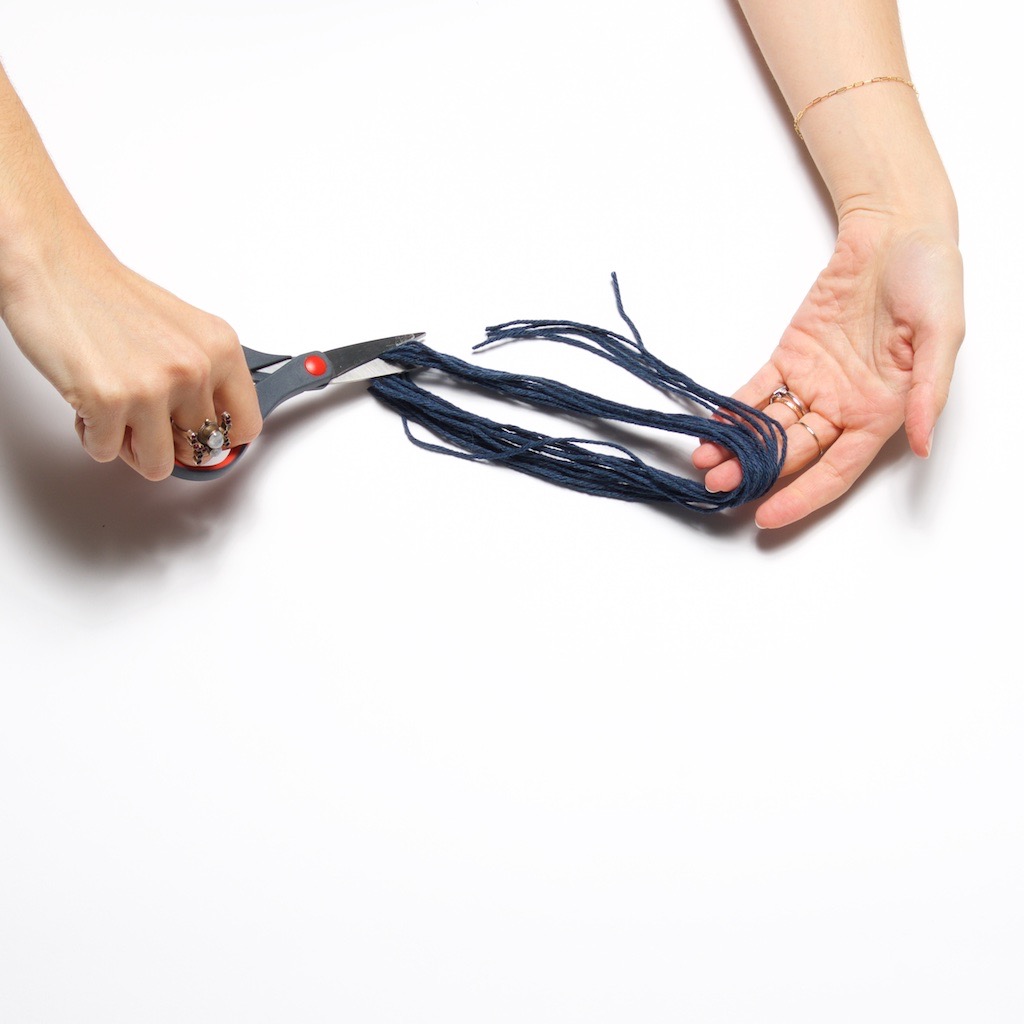
Once you have cut your length of yarn for the fringe, gather 2-4 strands of warp together on your bottom end of the loom. And start along either end.
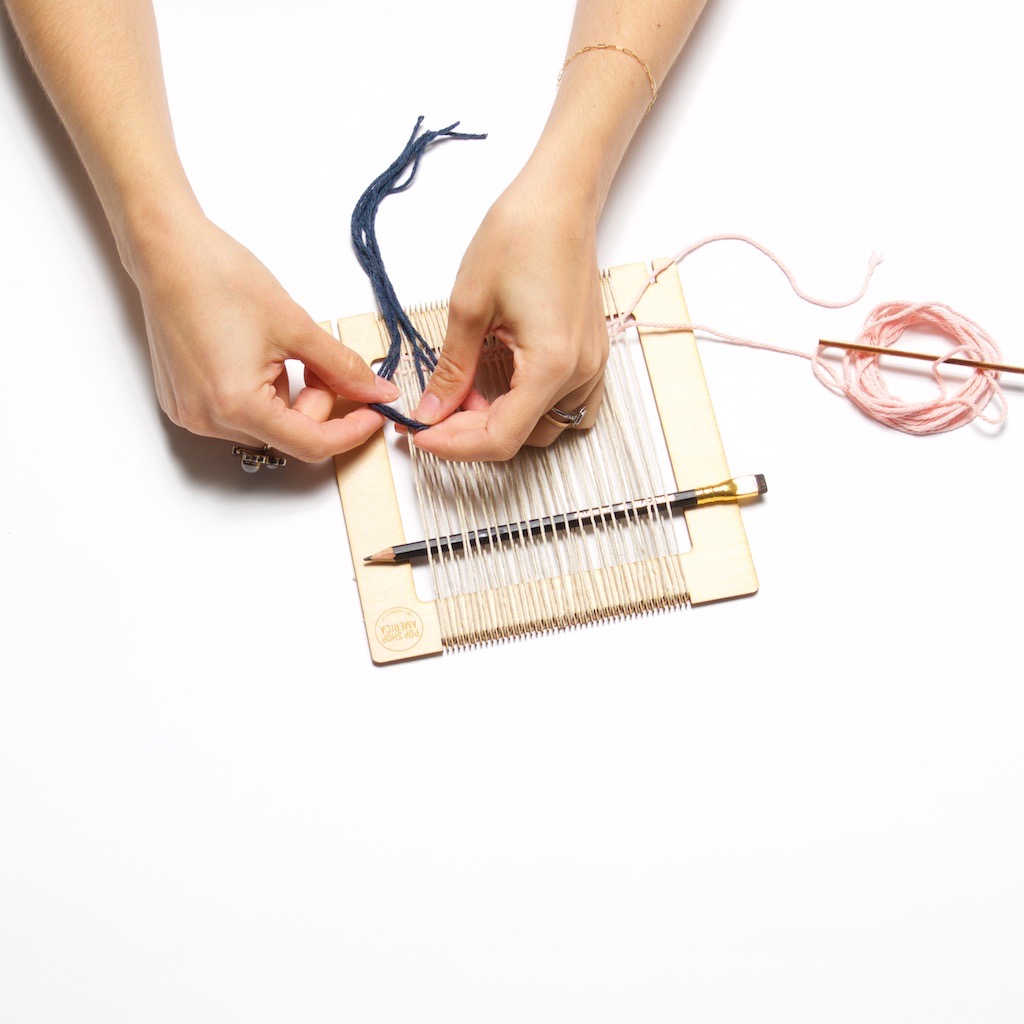
Knot the yarn fringe around the warp. You can see the process of attaching fringe in this macrame tutorial here.
Continue gathering the same amount of warp threads across the entire loom – and attaching the fringe. Work from one side of the loom to the other.

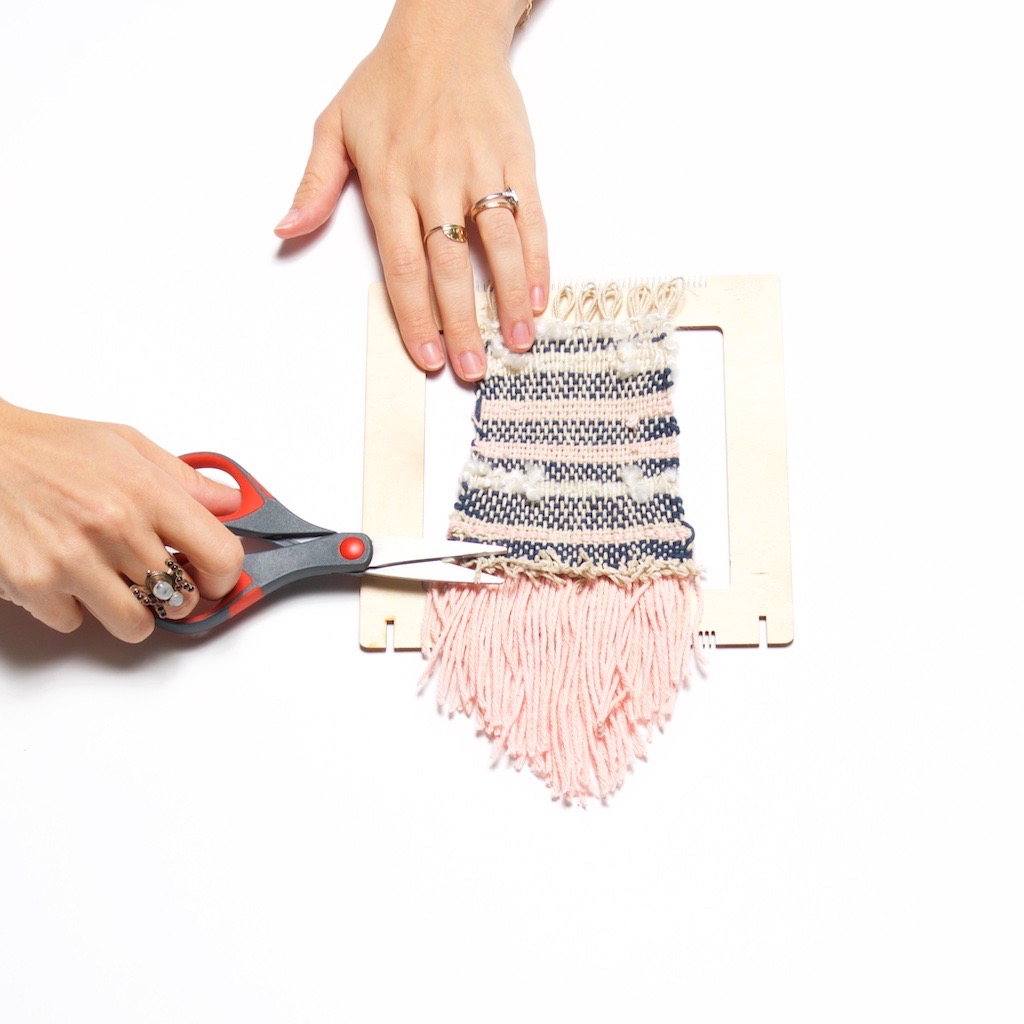
Last, you can cut your fringe into an array of patterns! Again, check out this Macrame Tutorial – for several different fringe patterns you can try!
How to Change Colors
At any point during the creation of your wall hanging, you may want to change colors of yarn. To do so, cut your current color of yarn and leave a tail around 6 inches.
Then thread your new color onto the needle and pick of your weaving pattern exactly where you left off.
When you weave your first strand of your new color, be sure to leave a 6 inch tail at the end. These tails can be knotted, sewn in and trimmed up at the very end of making your wall hanging as a finishing touch.
To Finish A Woven Wall Hanging
Tuck all your yarn pieces into the back of the wall hanging using your smaller yarn needle. Next begin to gently unhook your warp from the loom teeth.
You can knot the warp – tying bottom pieces together and top pieces together to secure your woven wall hanging.
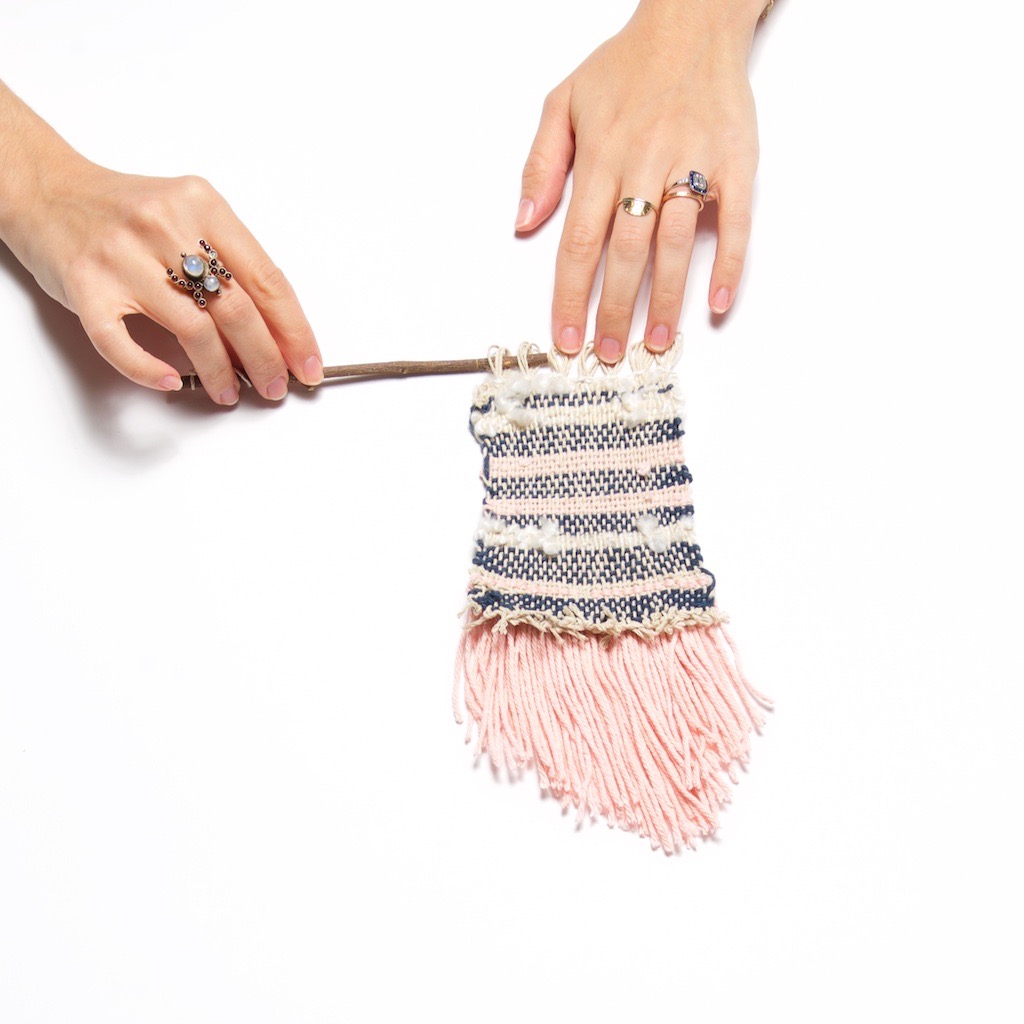
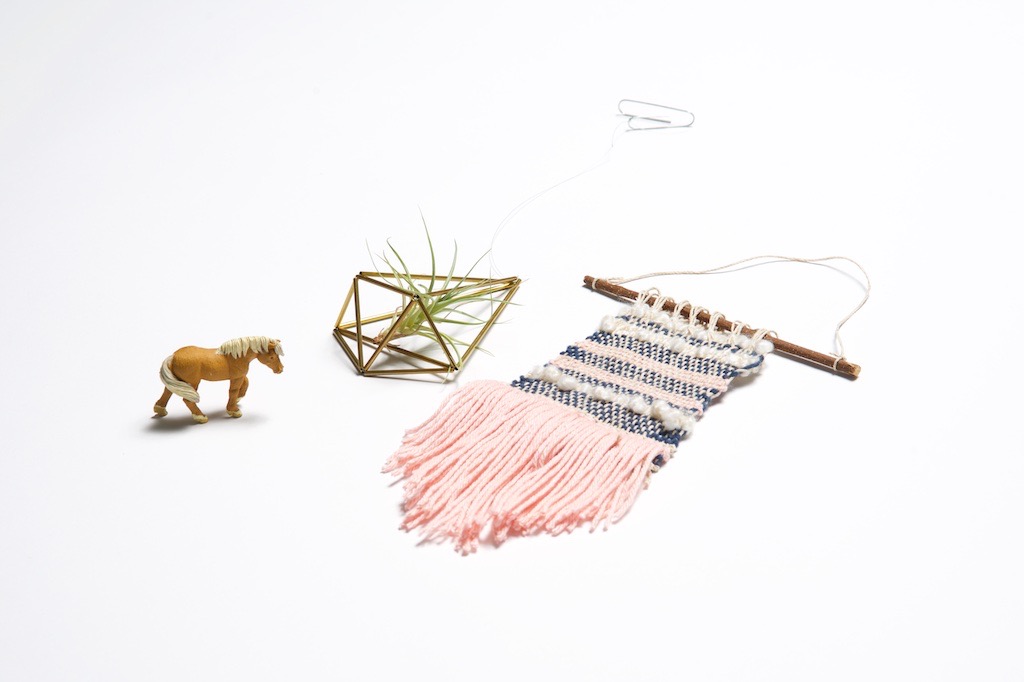
Use a raw twig, like mine here, sliding the twig through the warp at the top. You can also use a piece of metal tube or a dowel rod if you are looking for a hanger that’s a little more clean.
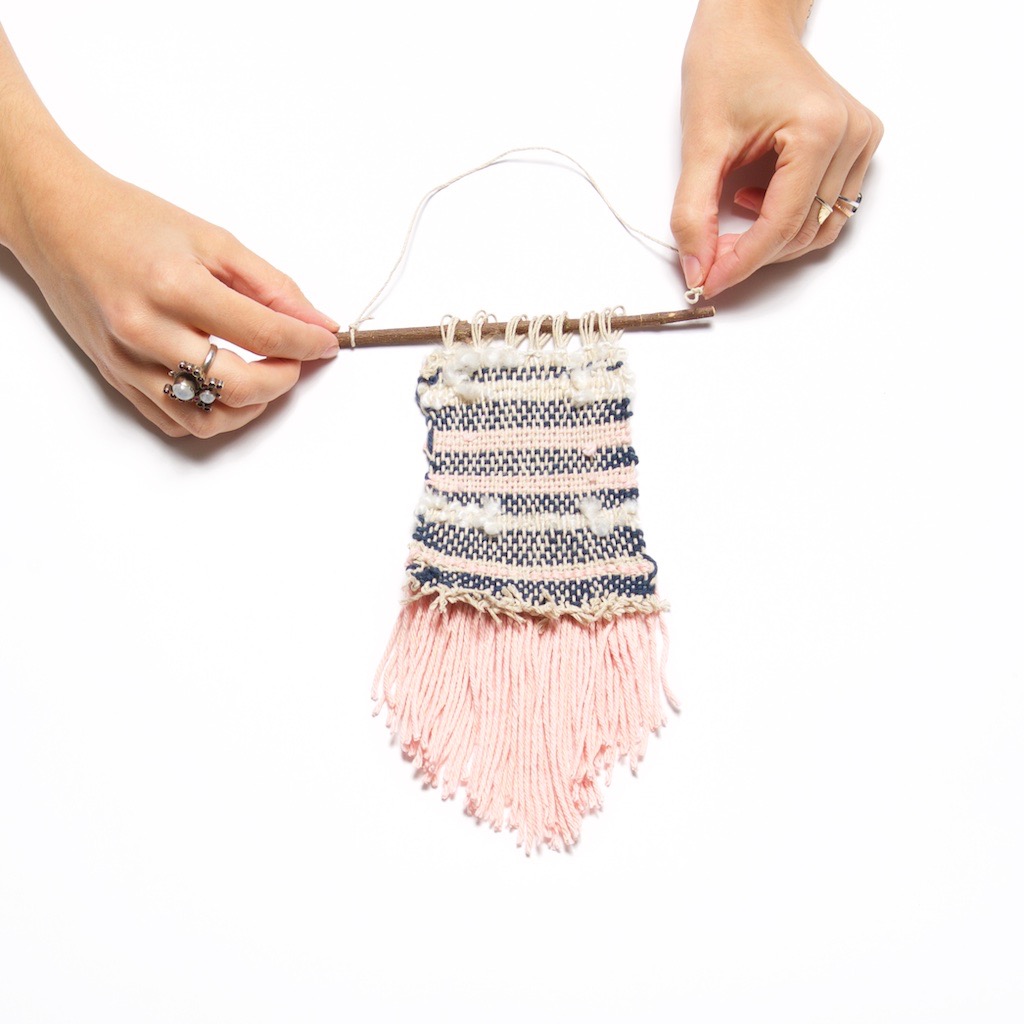
Last, tie a piece of twine around each side of the twig so that you can hang your Woven Wall Hanging with a thumbtack, small nail, or a small hook.
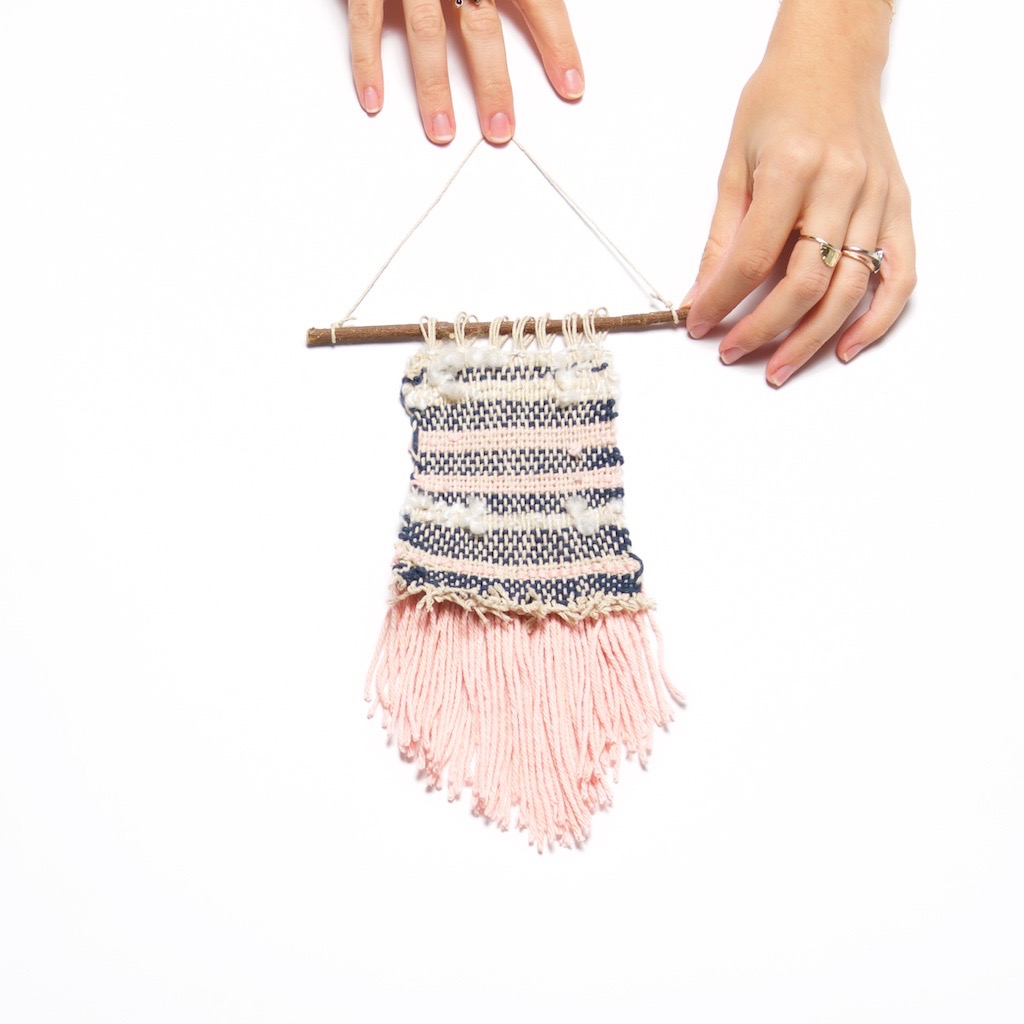
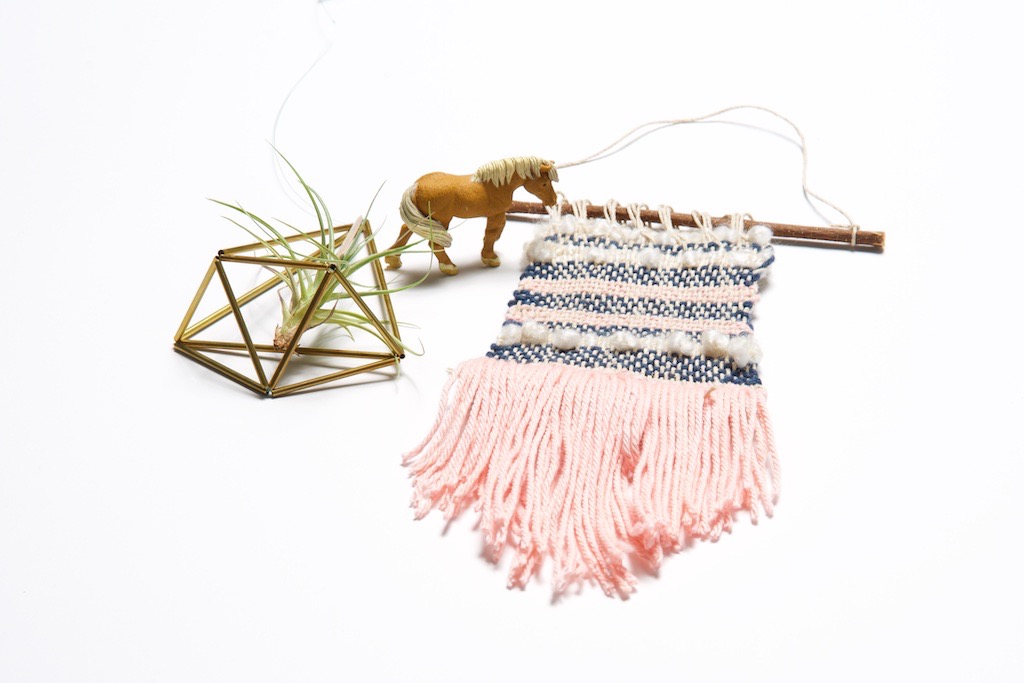
And viola! Your very own gorgeous Woven Wall Hanging! This wall hanging will look perfect in the living room featured on display. You could add it to your bedroom because the yarn gives it a touch of softness.
Best of all, with your loom, you can continue to make more and more wall hangings. Each one can have different colors and textures of yarn to make them totally unique.
Once you get the hang of weaving, this is the perfect craft for while you are sitting in front of the tv. Or you take your weaving project on a plane or when you have an appointment that may leave you in a waiting room for a period of time.
Want other ideas of what you can make with a loom? Don’t miss this blog on 9+ Weaving Crafts You Can Make with a Loom! And want your own loom to make this project? Shop your own kit that comes with an array of gorgeous yarn and everything you need here.

Let’s Stay Friends!
Insta | Pinterest | Enews | TikTok