
Craft in Style Subscription Instructions, DIY
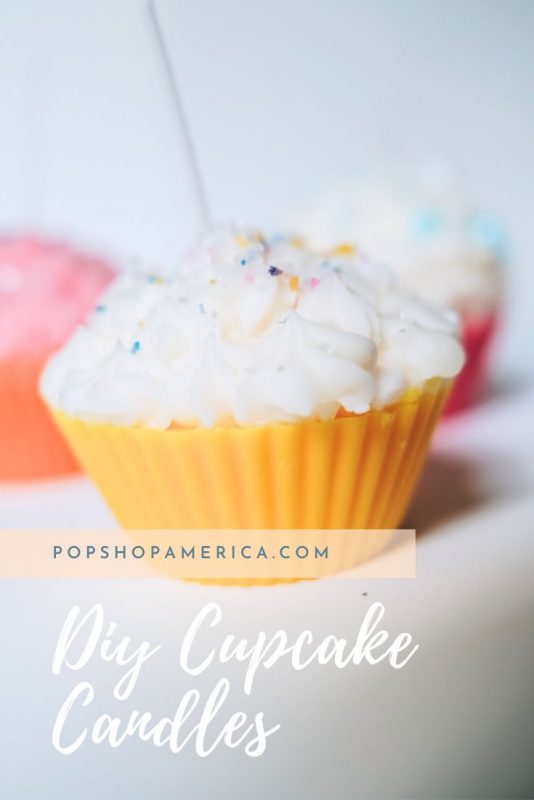
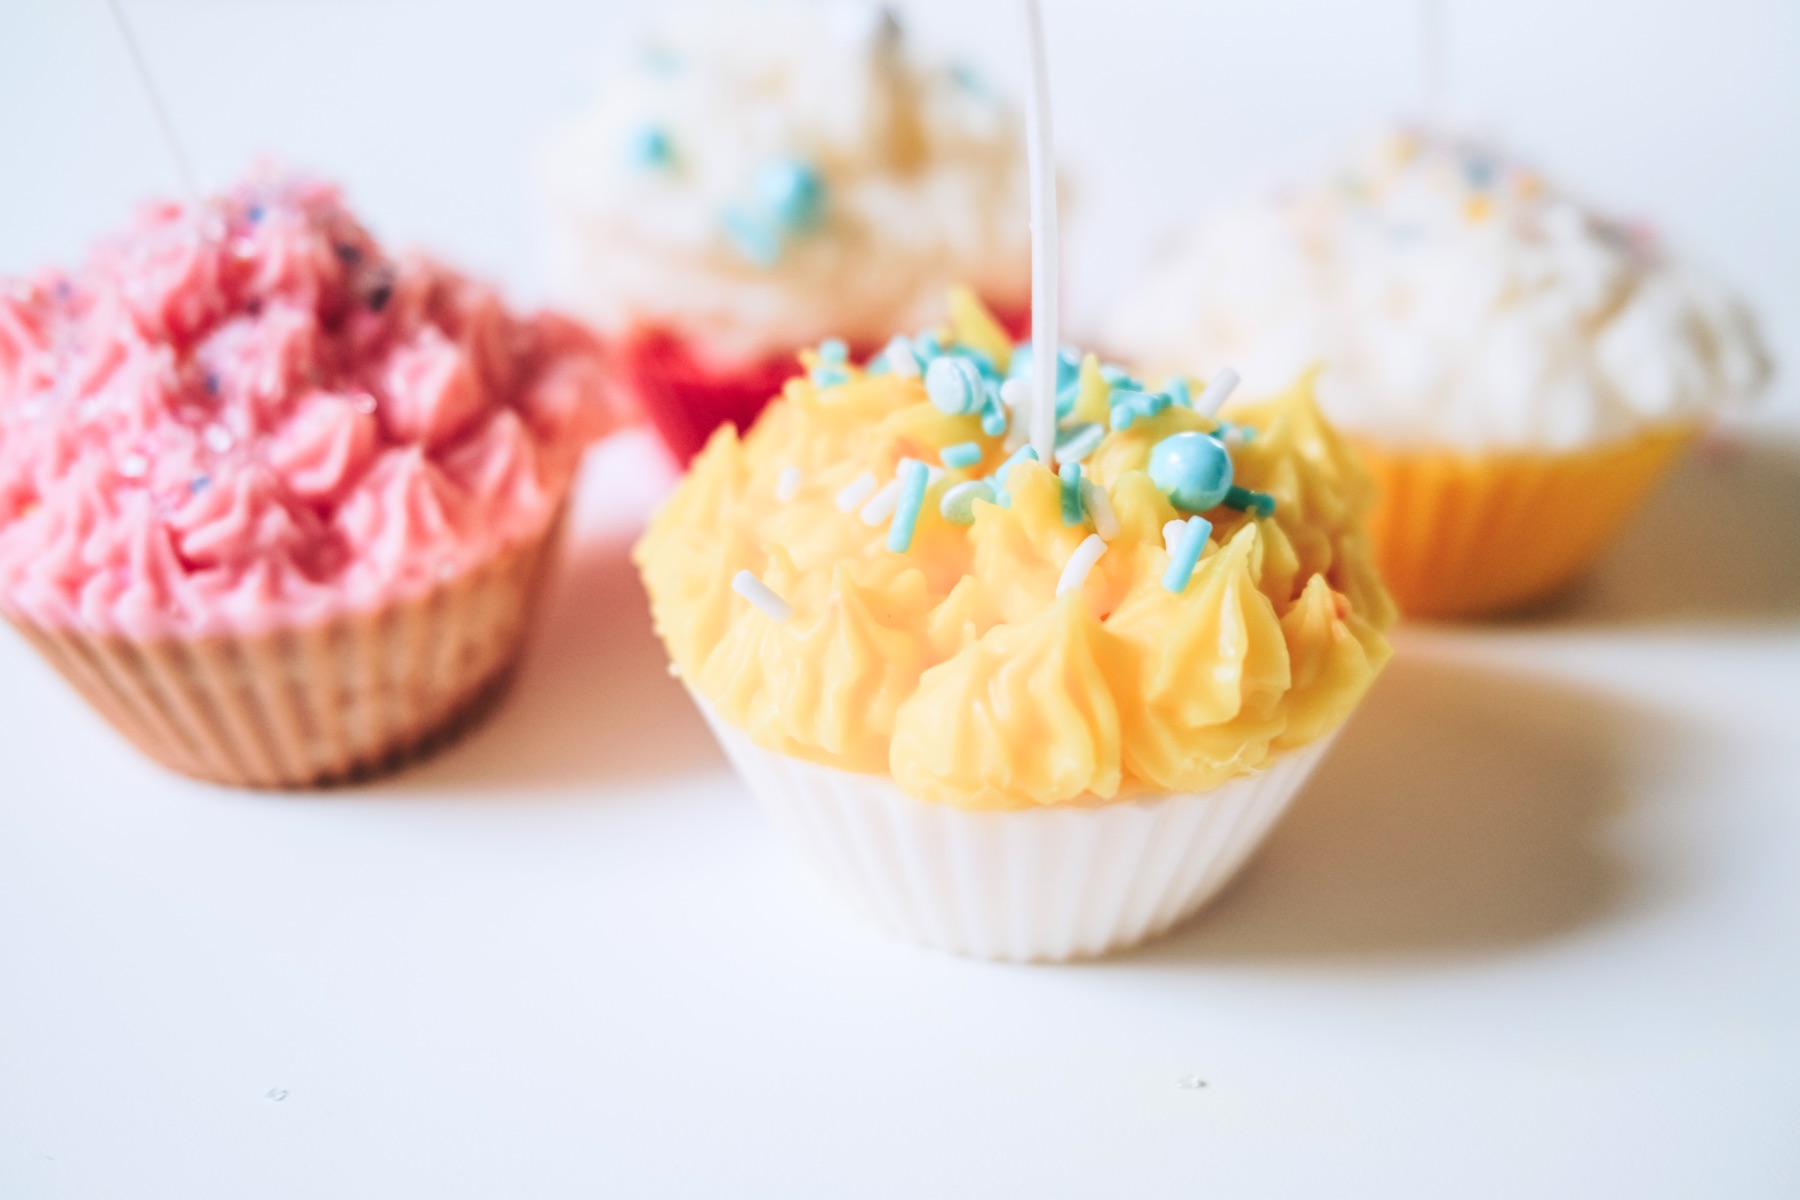
How to Make Cupcake Candles
May
This blog is the tutorial for the April Craft in Style Subscription Box. You can find more about this box and other Craft in Style Boxes here.
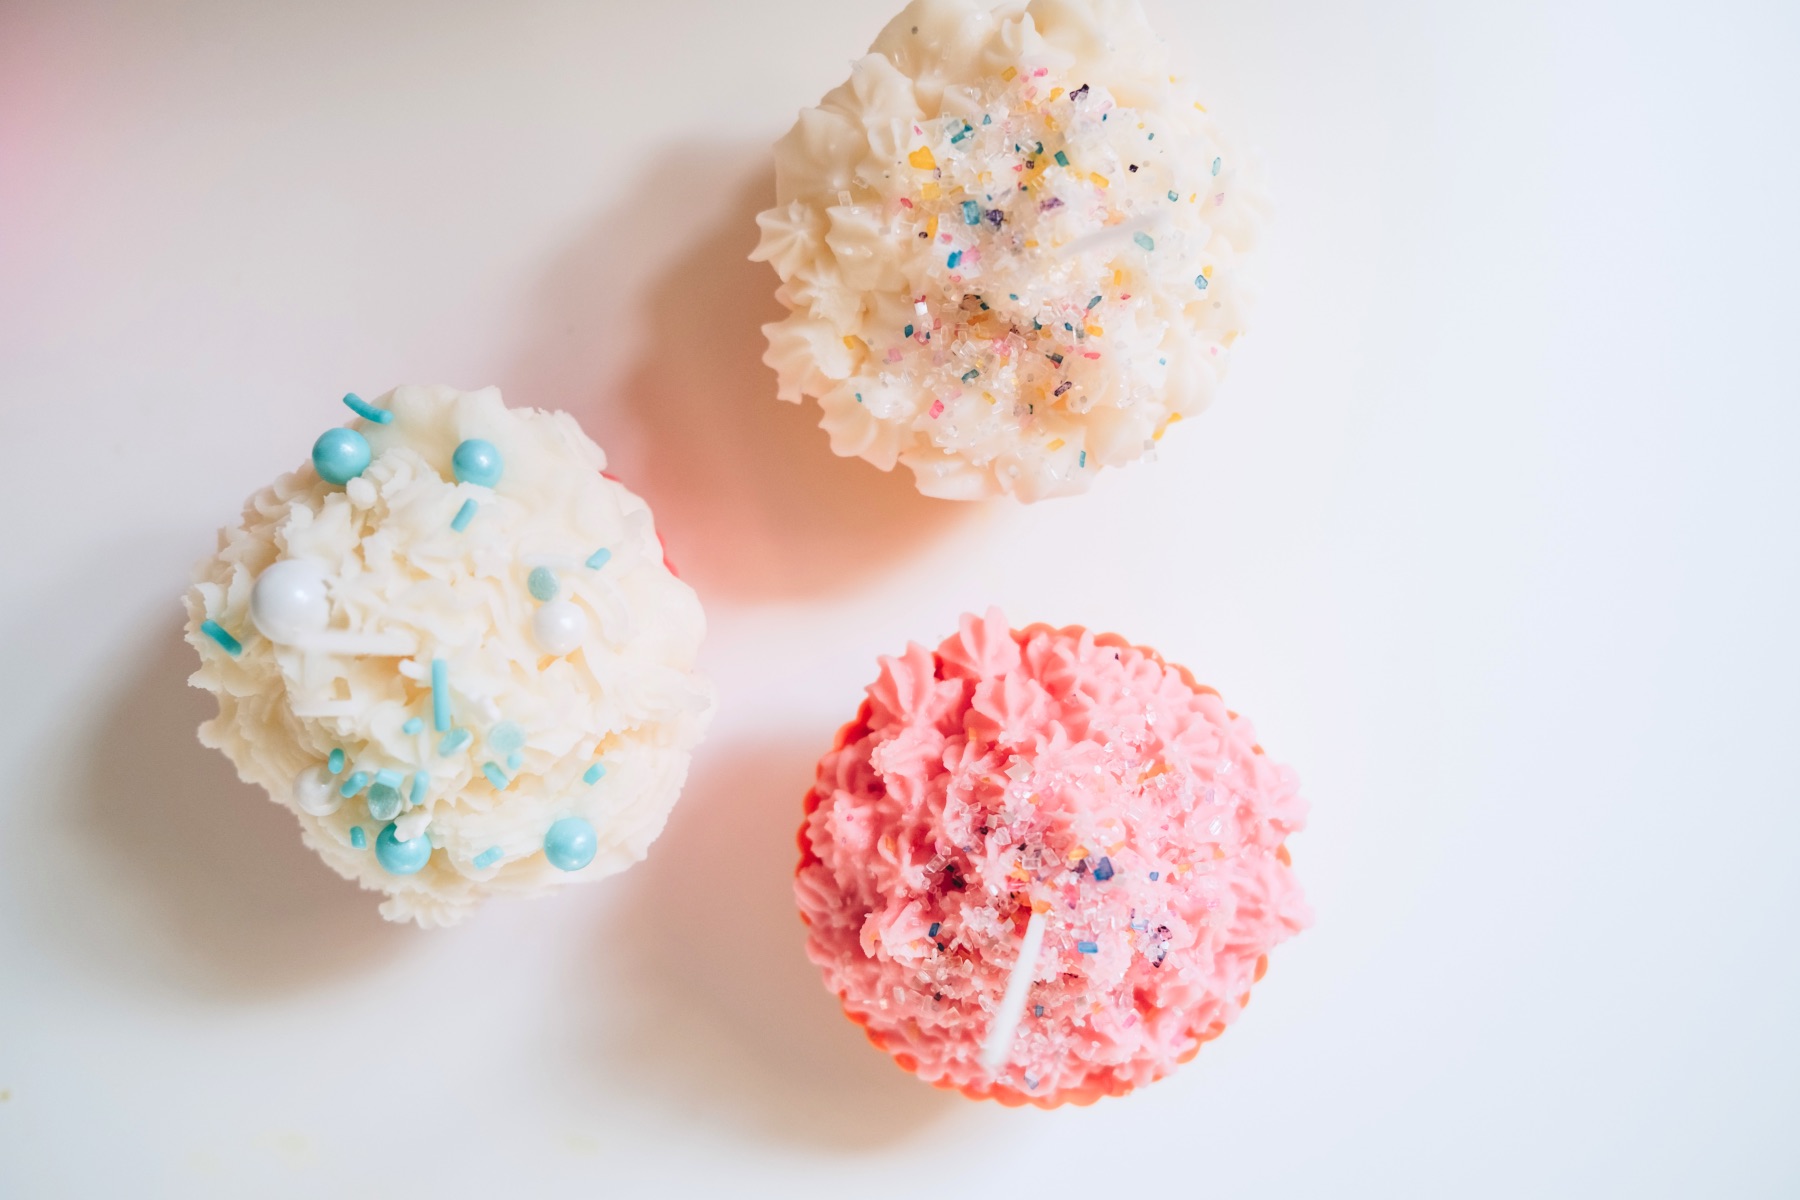
Can you believe that this is a candle and not a cupcake? It’s so fun to make these cupcake candles because of how scrumptious they turn out. They are irresistable!
Best of all, they are stylish enough to give as a gift or put them on display. So let’s get to making them.
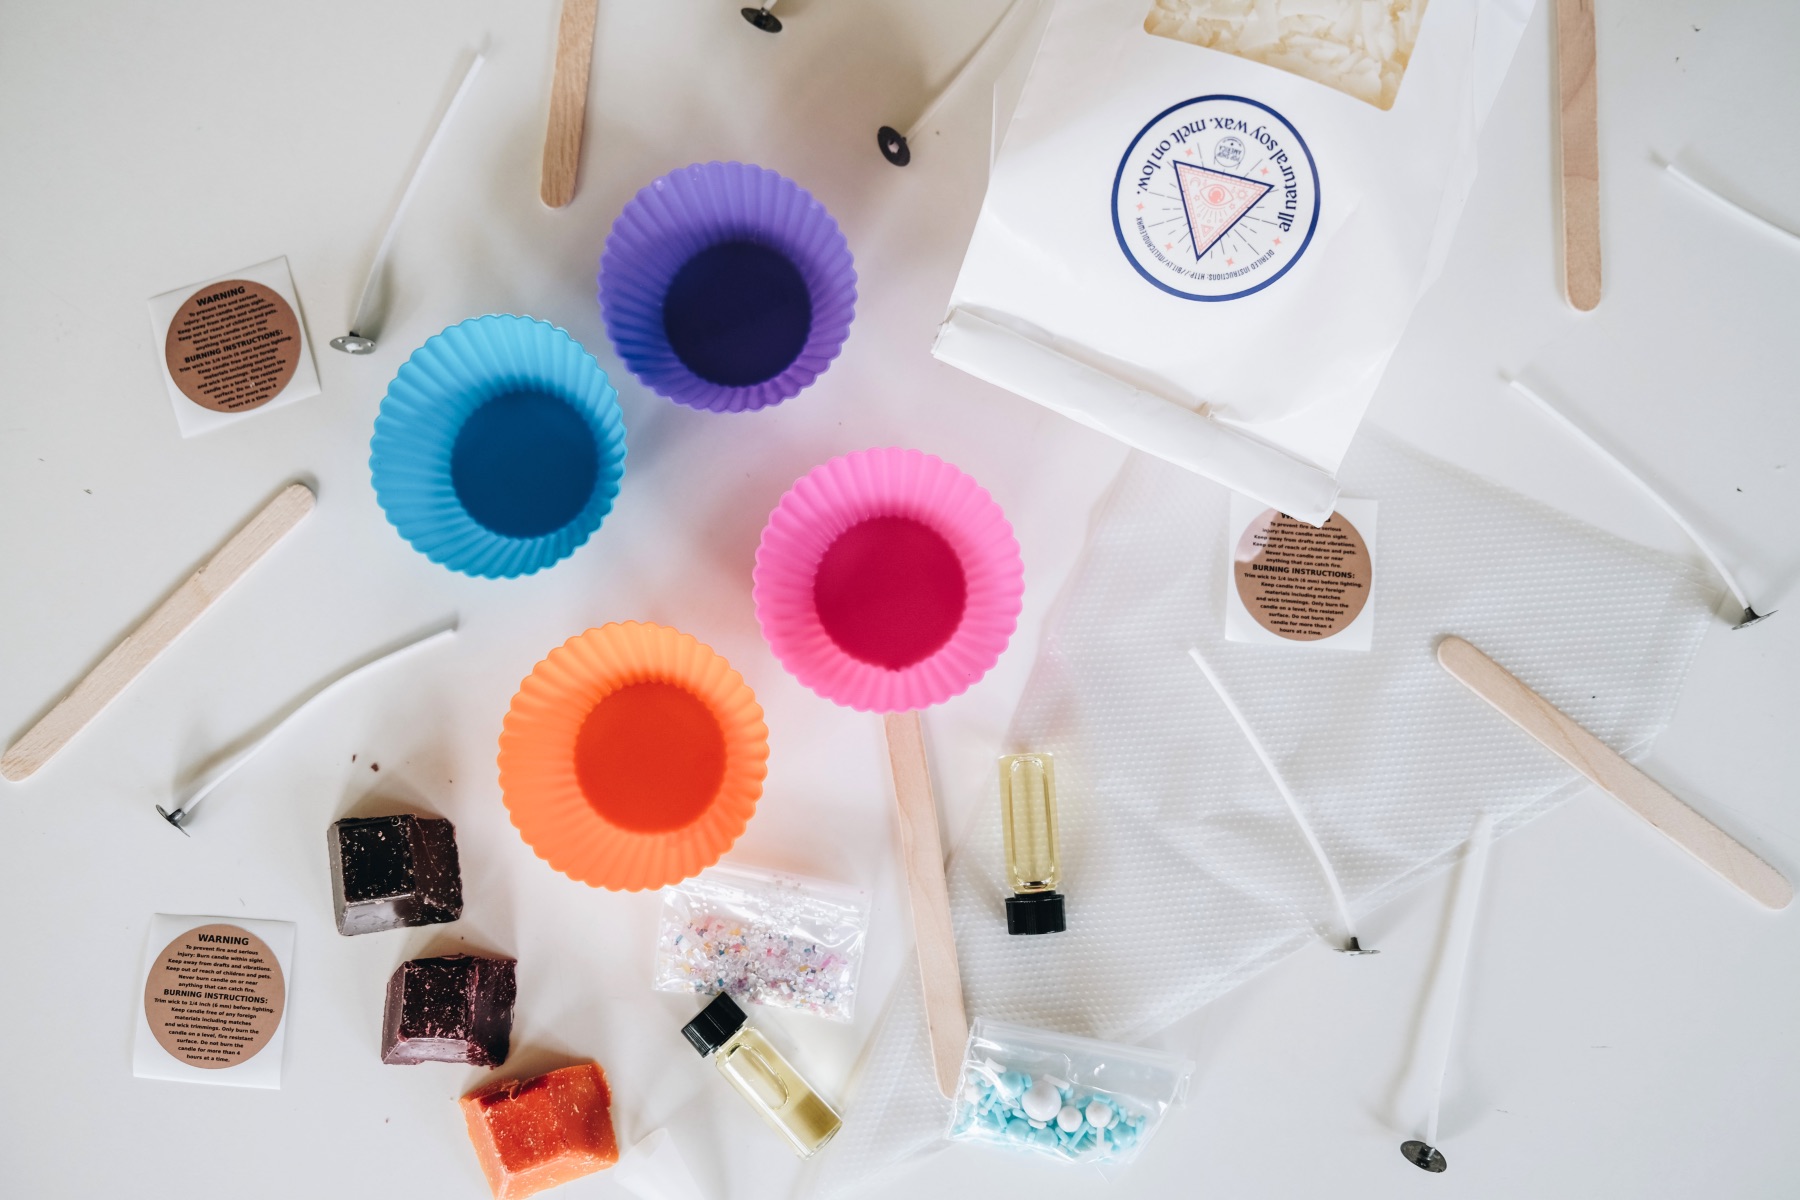
Supplies to Make DIY Cupcake Candles
April 2022 Craft in Style Subscription Box
-or-
Soy Wax
Cotton Wicks
Silicone Cupcake Liners
A Microwave Safe Bowl (or wax pitcher)
Candle Colorant in Cupcake Colors (I used lemon yellow, strawberry pink, and honey brown)
Candle Fragrances (more on this later)
Sprinkles
Piping Bag
Star Frosting Tip
Spoons
Toothpicks
A Knife
Plus you will need access to a microwave or a stovetop/hot plate to heat your wax. Ordinarily I would recommend using a stovetop to melt candle wax. But to make DIY Cupcake Candles, I think it’s easier to use a microwave!
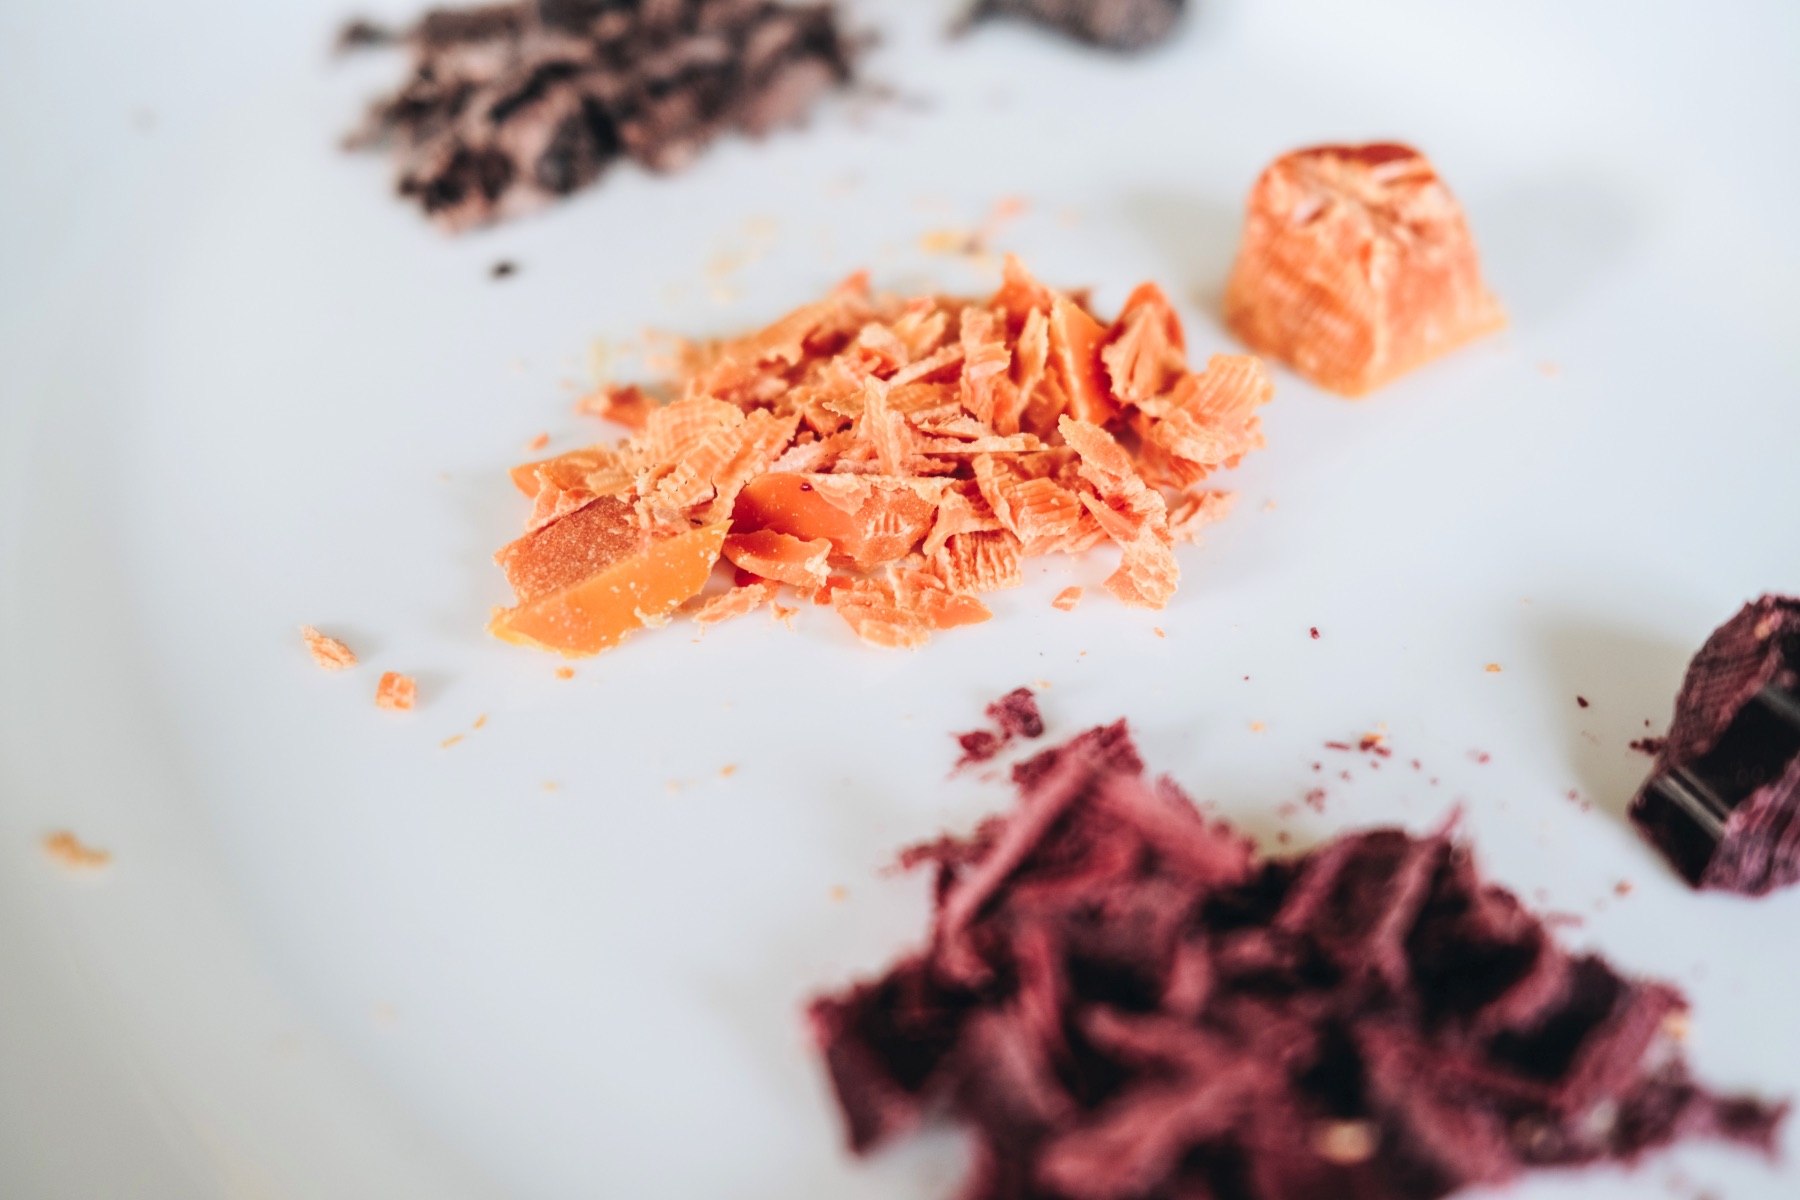
How to Get Started
To get started, prep your candle colorant. If you are using solid (not liquid) colorant, chop the colorant into small pieces using a regular kitchen knife. The pieces don’t need to be even or perfect. But they should be as tiny as possible.
You shouldn’t need to prep any of your other supplies – but you will need to gather everything. This tutorial takes a lot of supplies, so double check that you have them all ready!
Making the cupcake frosting can be messy, so you may want to have an extra bowl lying around. Or if you got these supplies in our Craft in Style kit, keep your shipping box handy.
Step 1: Make the Cake of the Cupcake
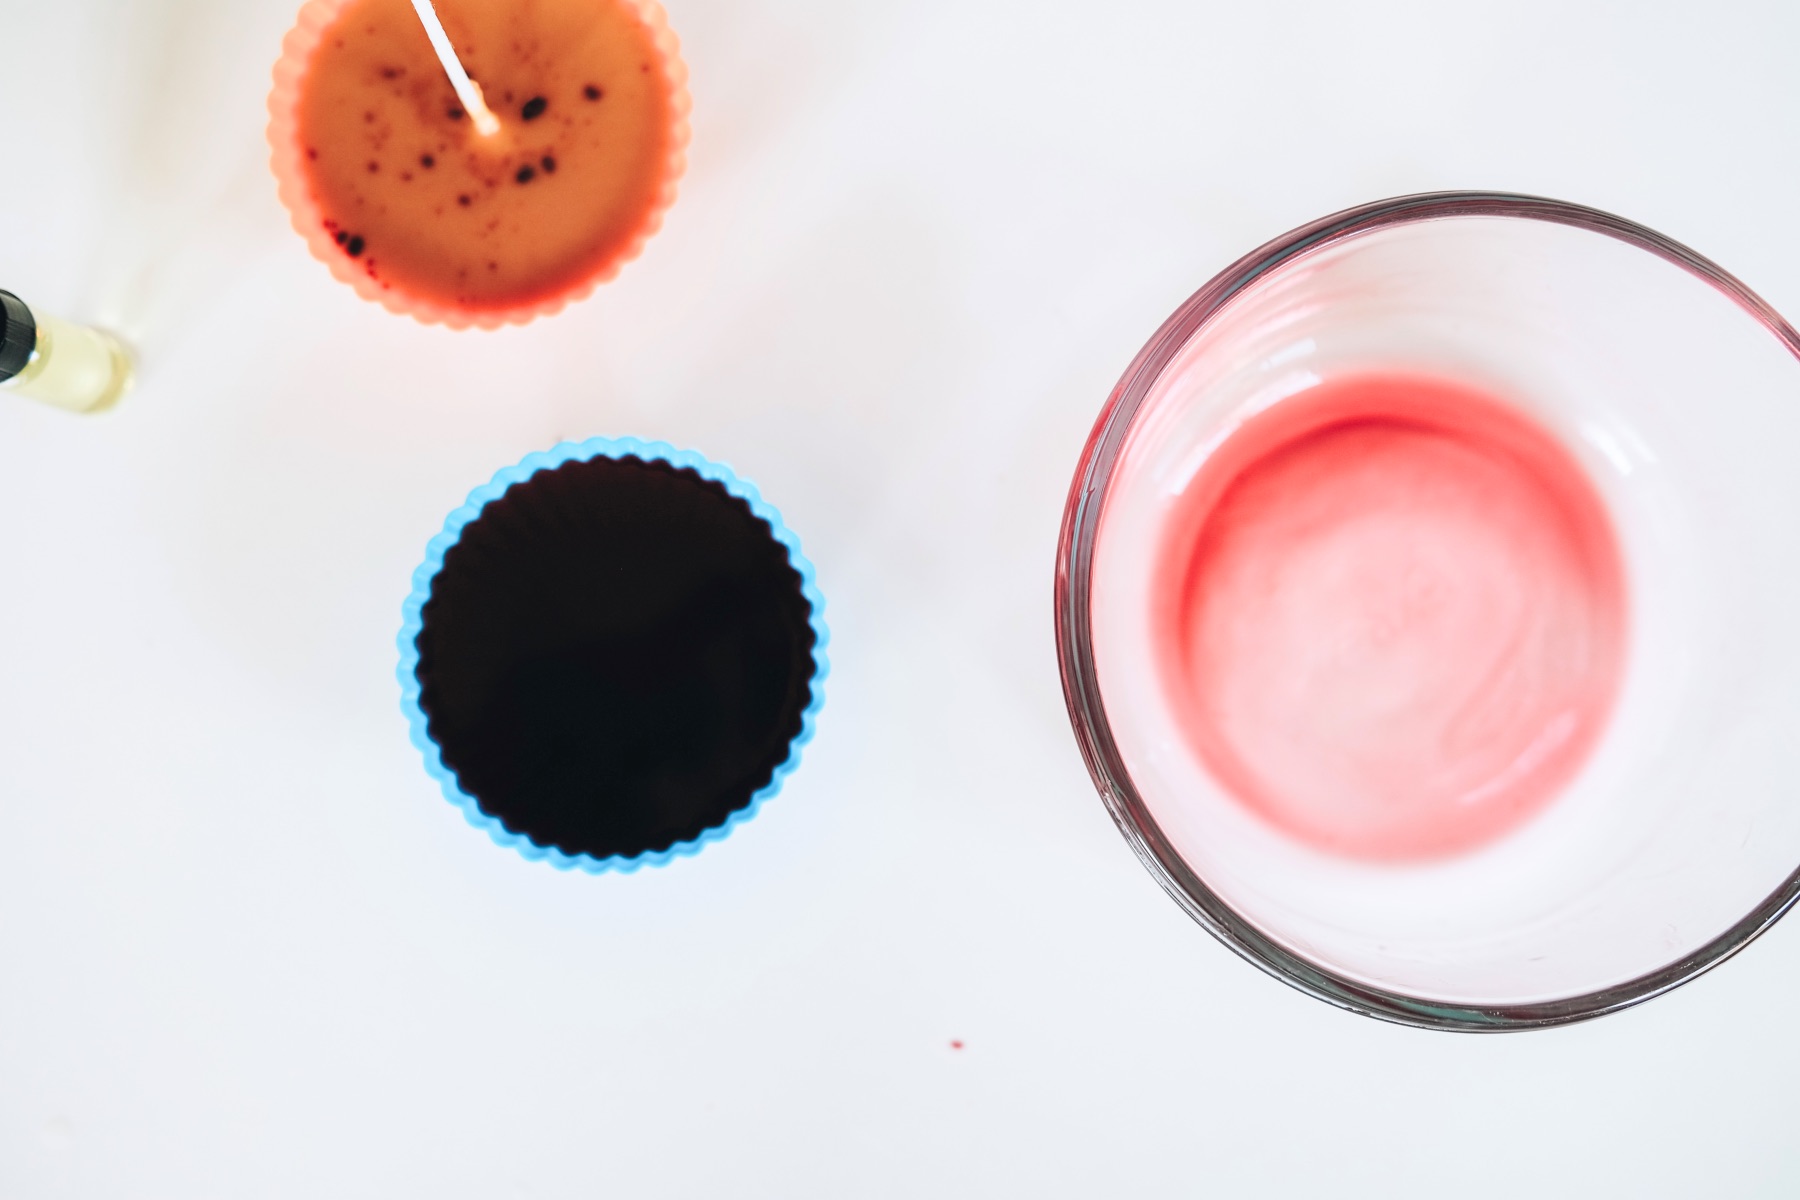
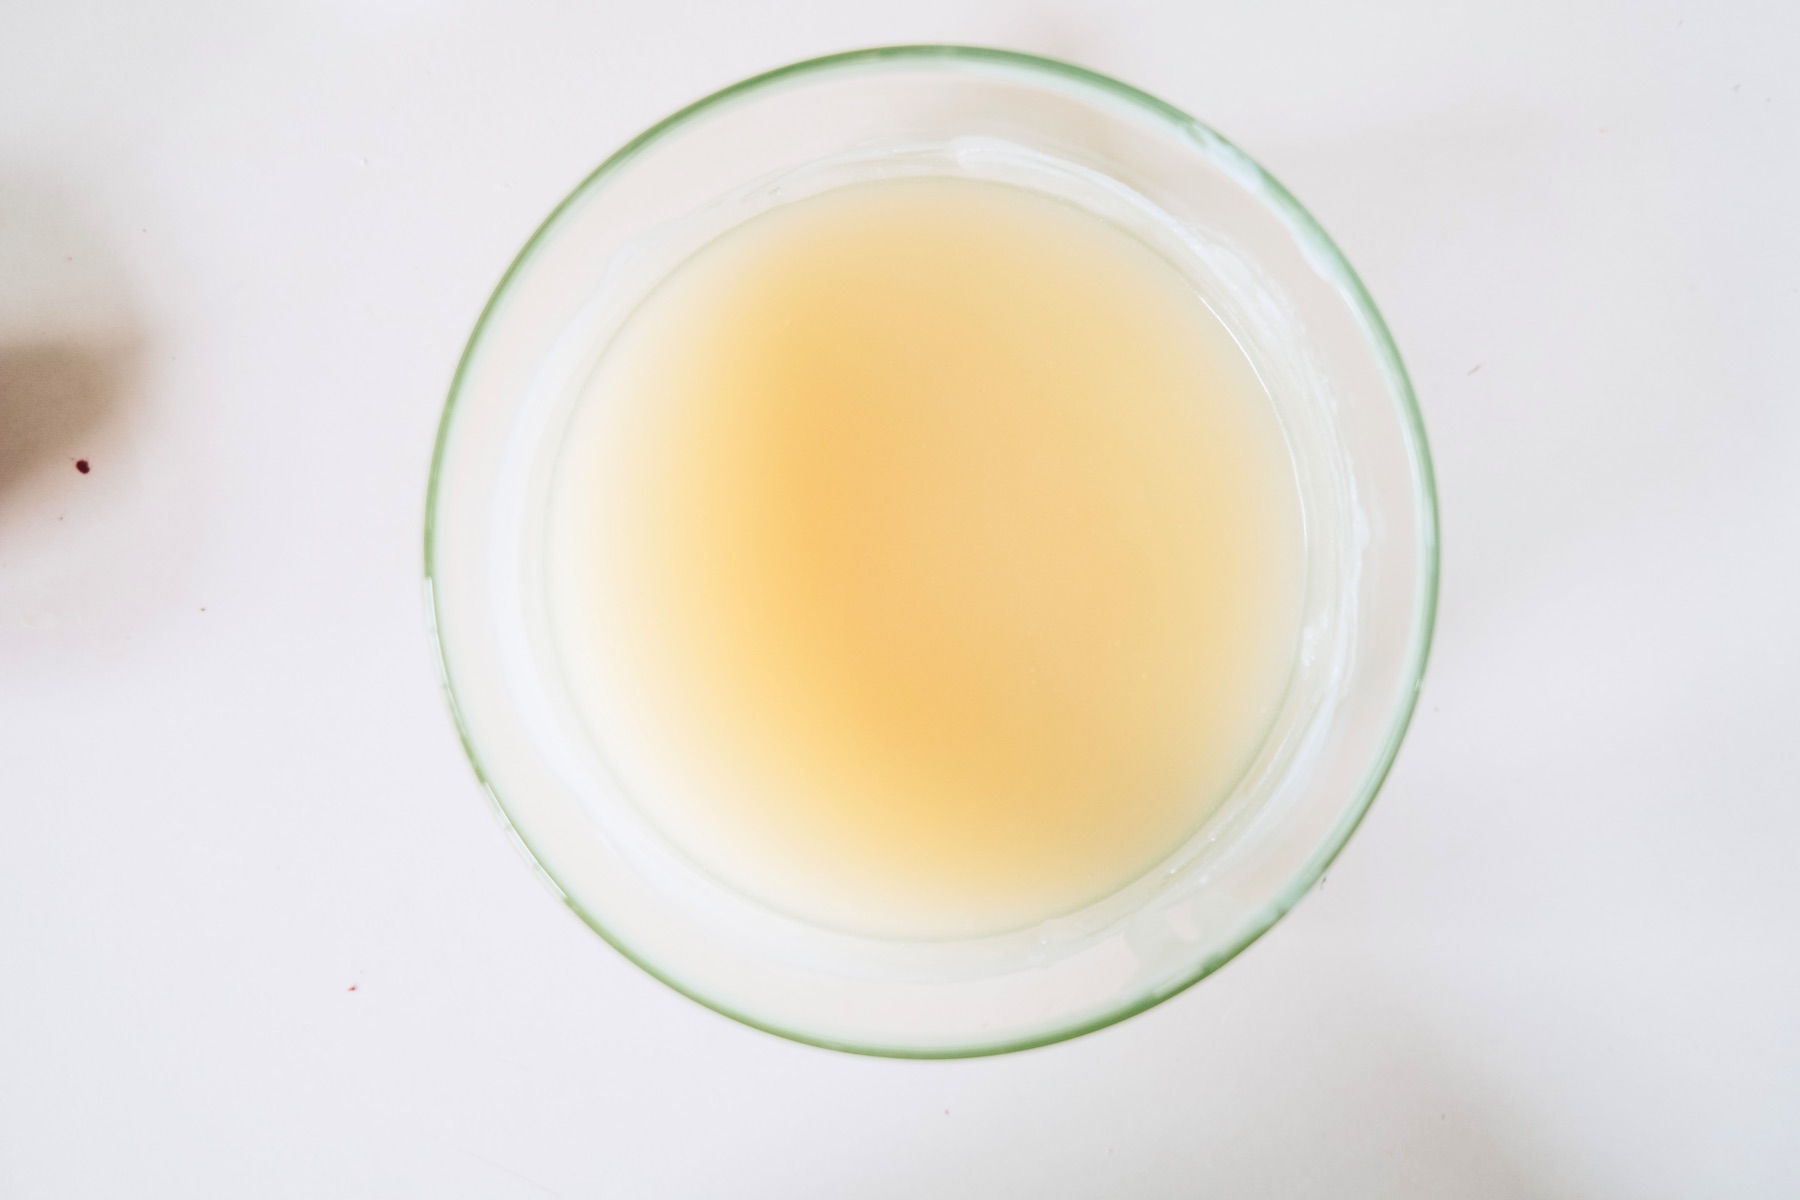
To make the cake of the cupcake, start by melting any color of wax. Most silicone cupcake liners are around 4 ounces. Ordinarily that would be a round 1/2 cup. But we are also taking a solid – wax and melting it.
When we melt it and make it into a candle it will loose a lot of volume. So I would start by adding around 1 cup of dry wax into a microwave safe bowl with around 1/3 of a block of candle colorant.

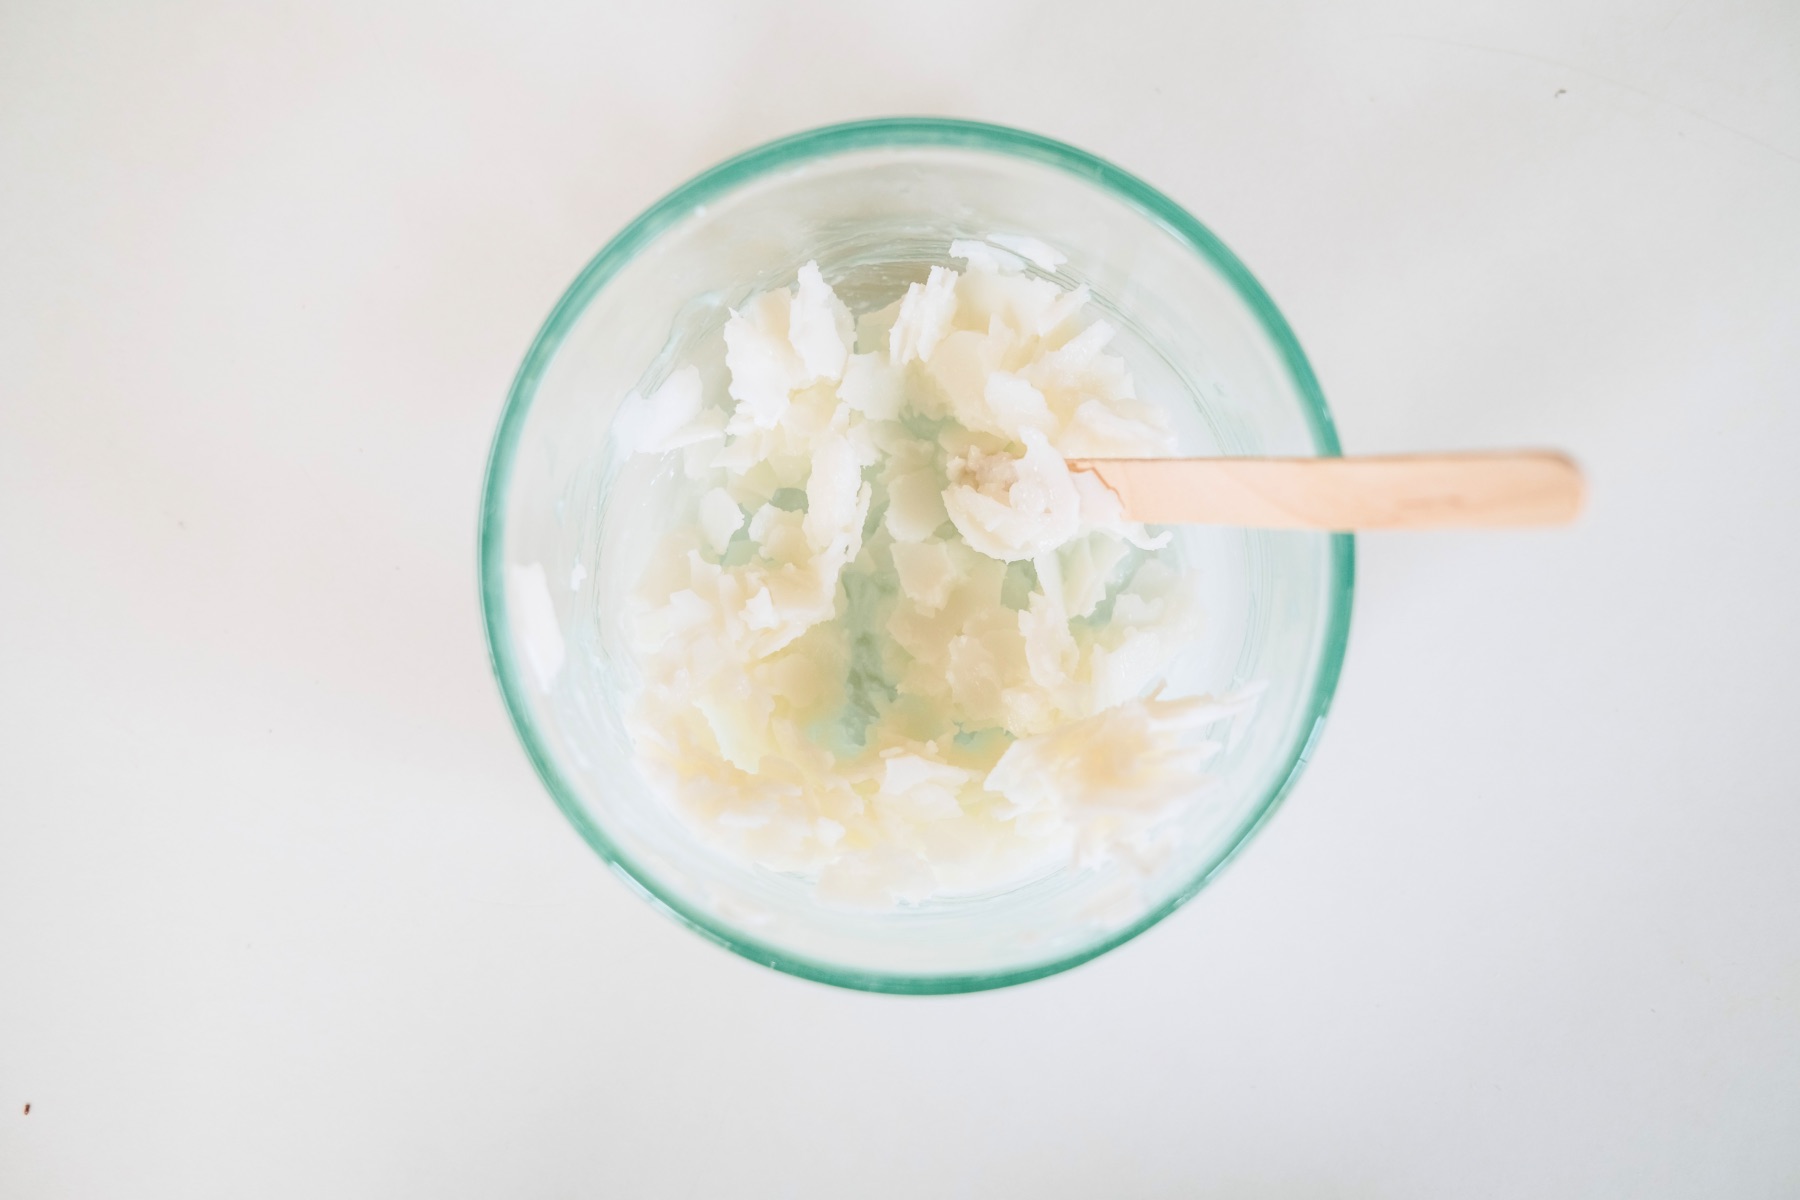
How to Melt Candle Wax in the Microwave
Anytime you are making candles, you want to heat your wax as minimally as possible. The cooler your wax when you pour it, the better looking candles you will get. They will also set faster and it will be safer too.
With a microwave safe bowl, heat the soy wax for 30 seconds. Then remove the wax, and stir it thoroughly and completely to even the heat.
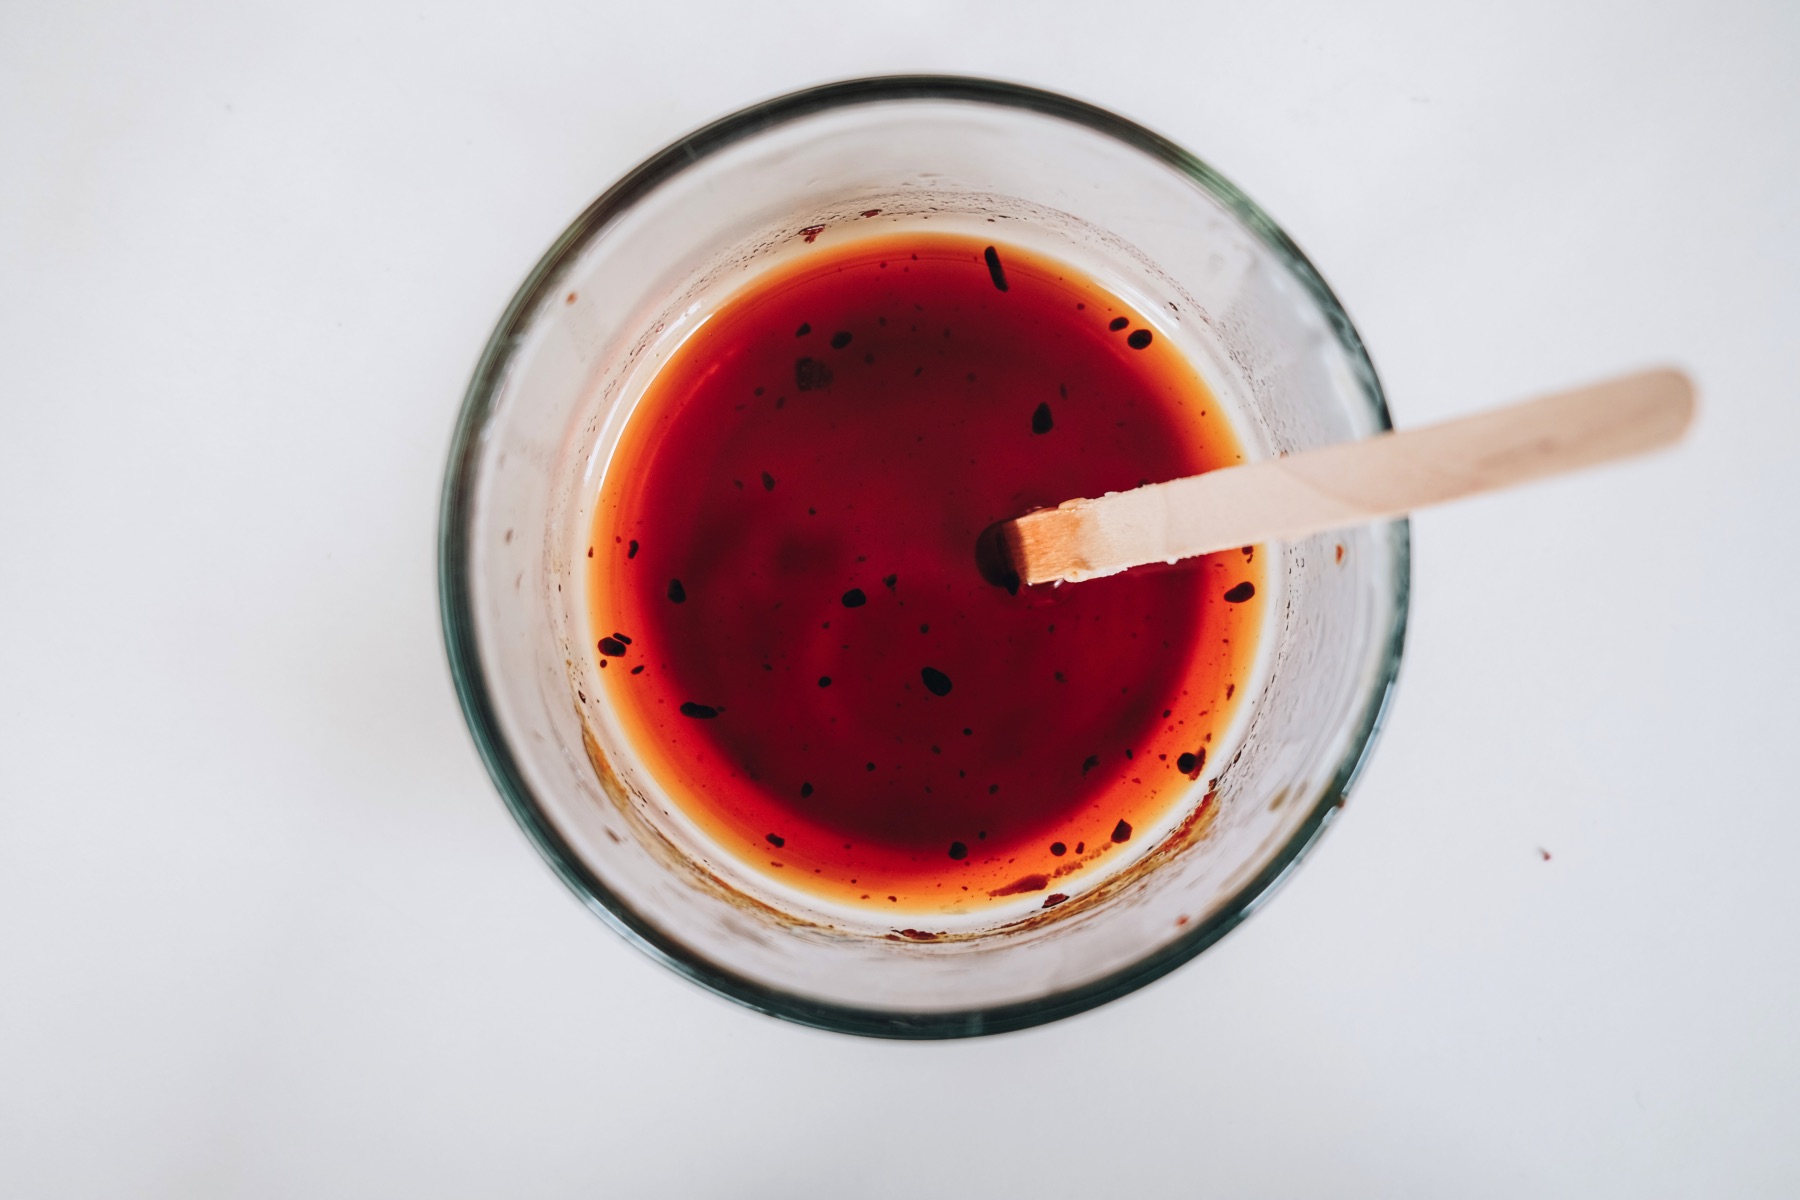
Continue this process until all the wax is liquid. Then don’t heat it anymore. If you are using candle colorant, you also need to be sure that your colorant is completely melted too. This Again you never want to overheat wax!
Alternative: If you don’t want to use a microwave or don’t have a microwave, use this tutorial. It’s a little slower process but works wonderfully!
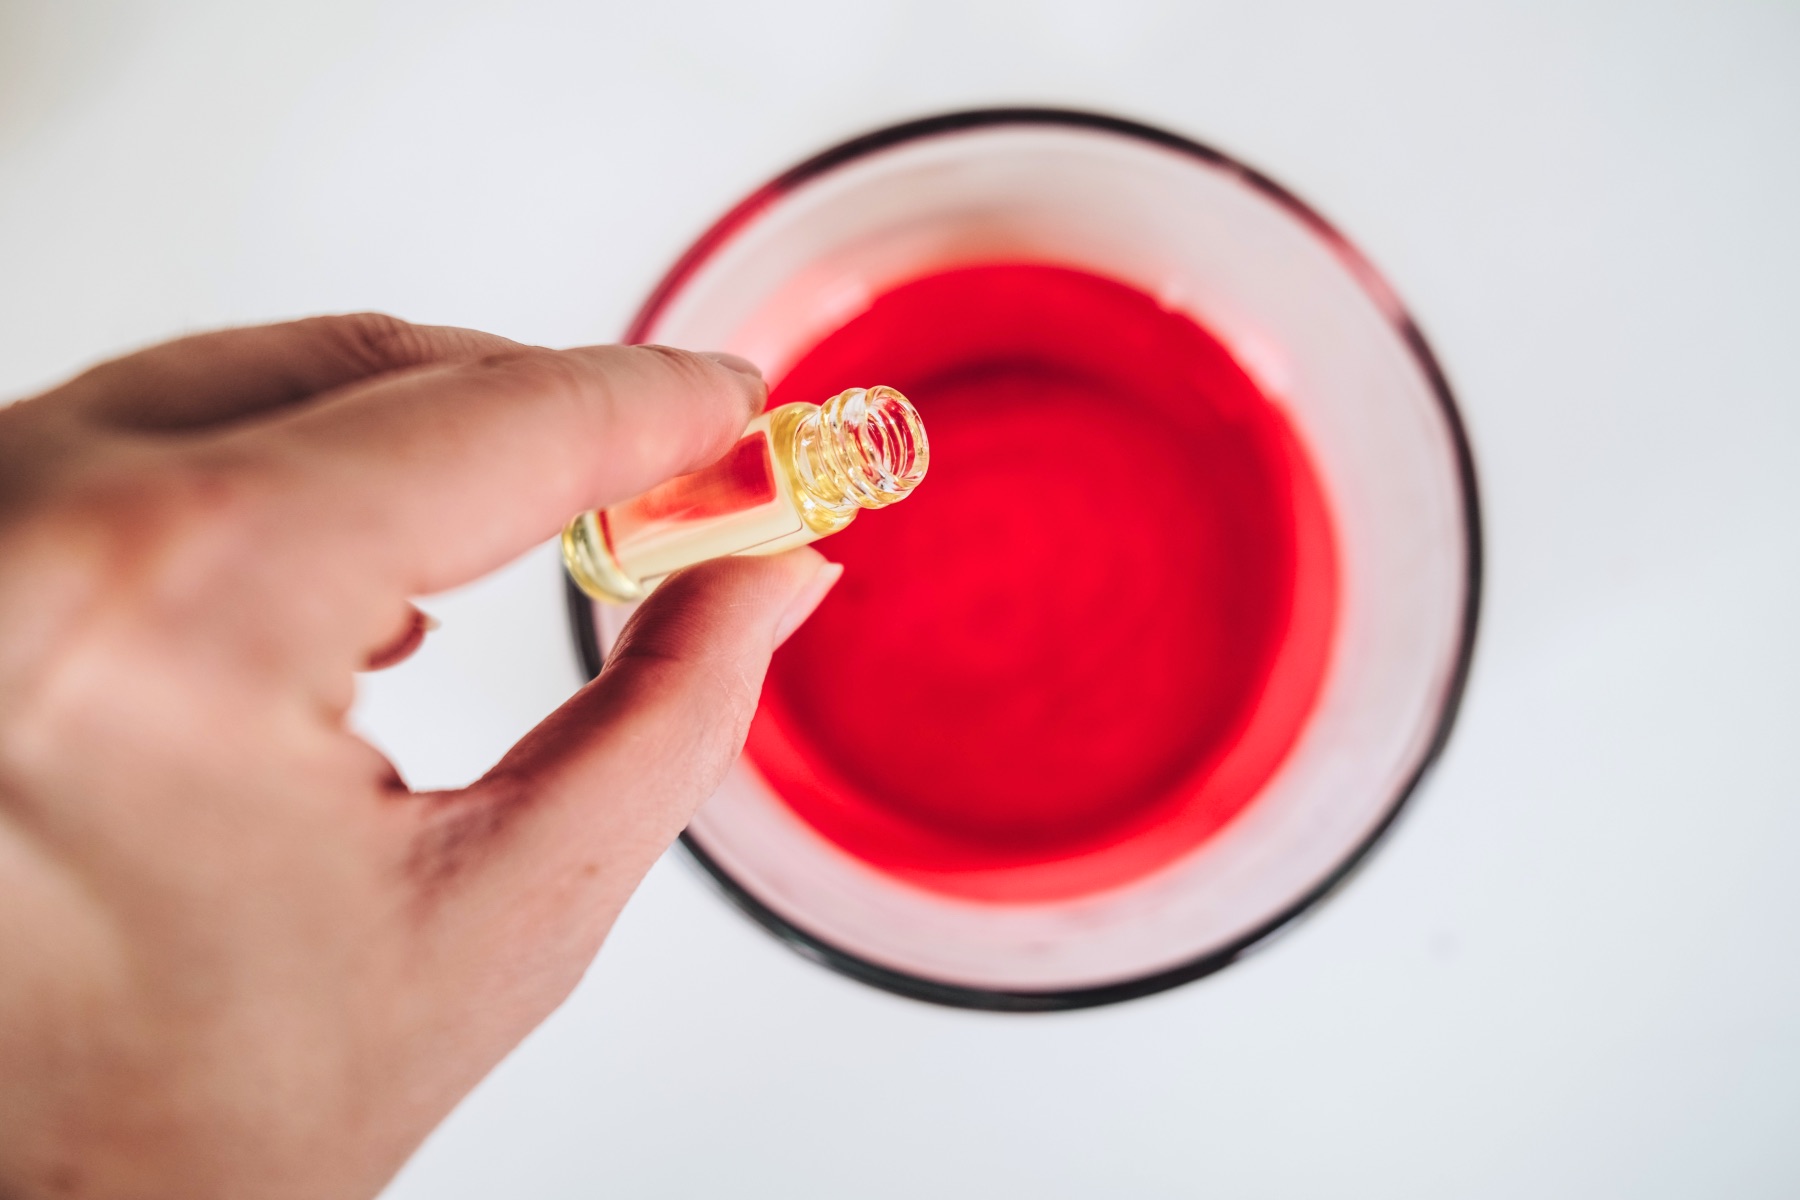
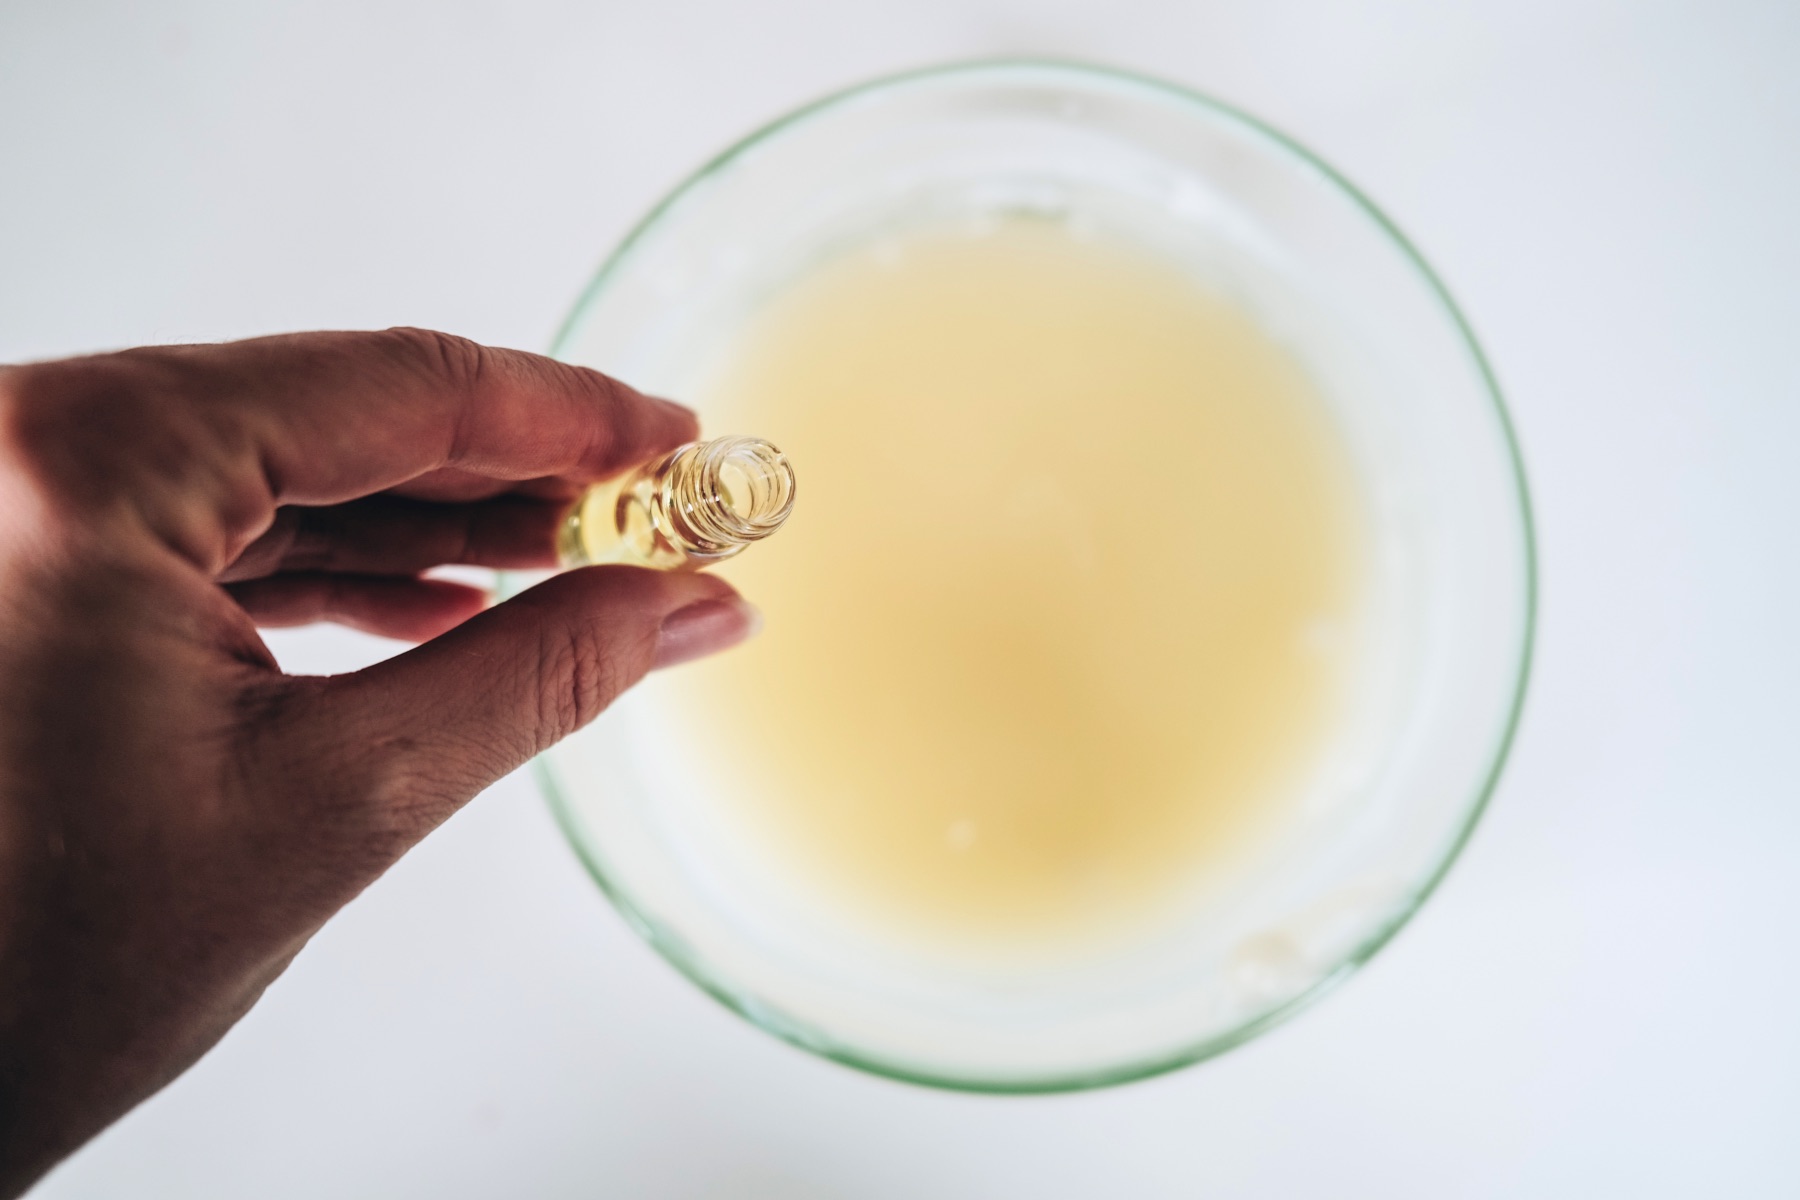
The last thing you will want to do before pouring your wax is to add your fragrance. Fragrances should always be added last, right before you pour to retain as much of the scent. If you add the fragrances too early or while the wax is too hot, the scents will be released when you are making the candle, not burning the candle.
I love using vanilla cake-like scents and fruity scents for these candles. So my choice was birthday cake and berry bliss. But I would love to add a citrus scent as well. Depending on the brand you use, the quality of your fragrance, and your palette, you may need as few as 5 drops or as many as 20 drops of fragrance per candle section. I would start with 5 just to be safe. If it’s not enough you could always increase the amount you put in the frosting.
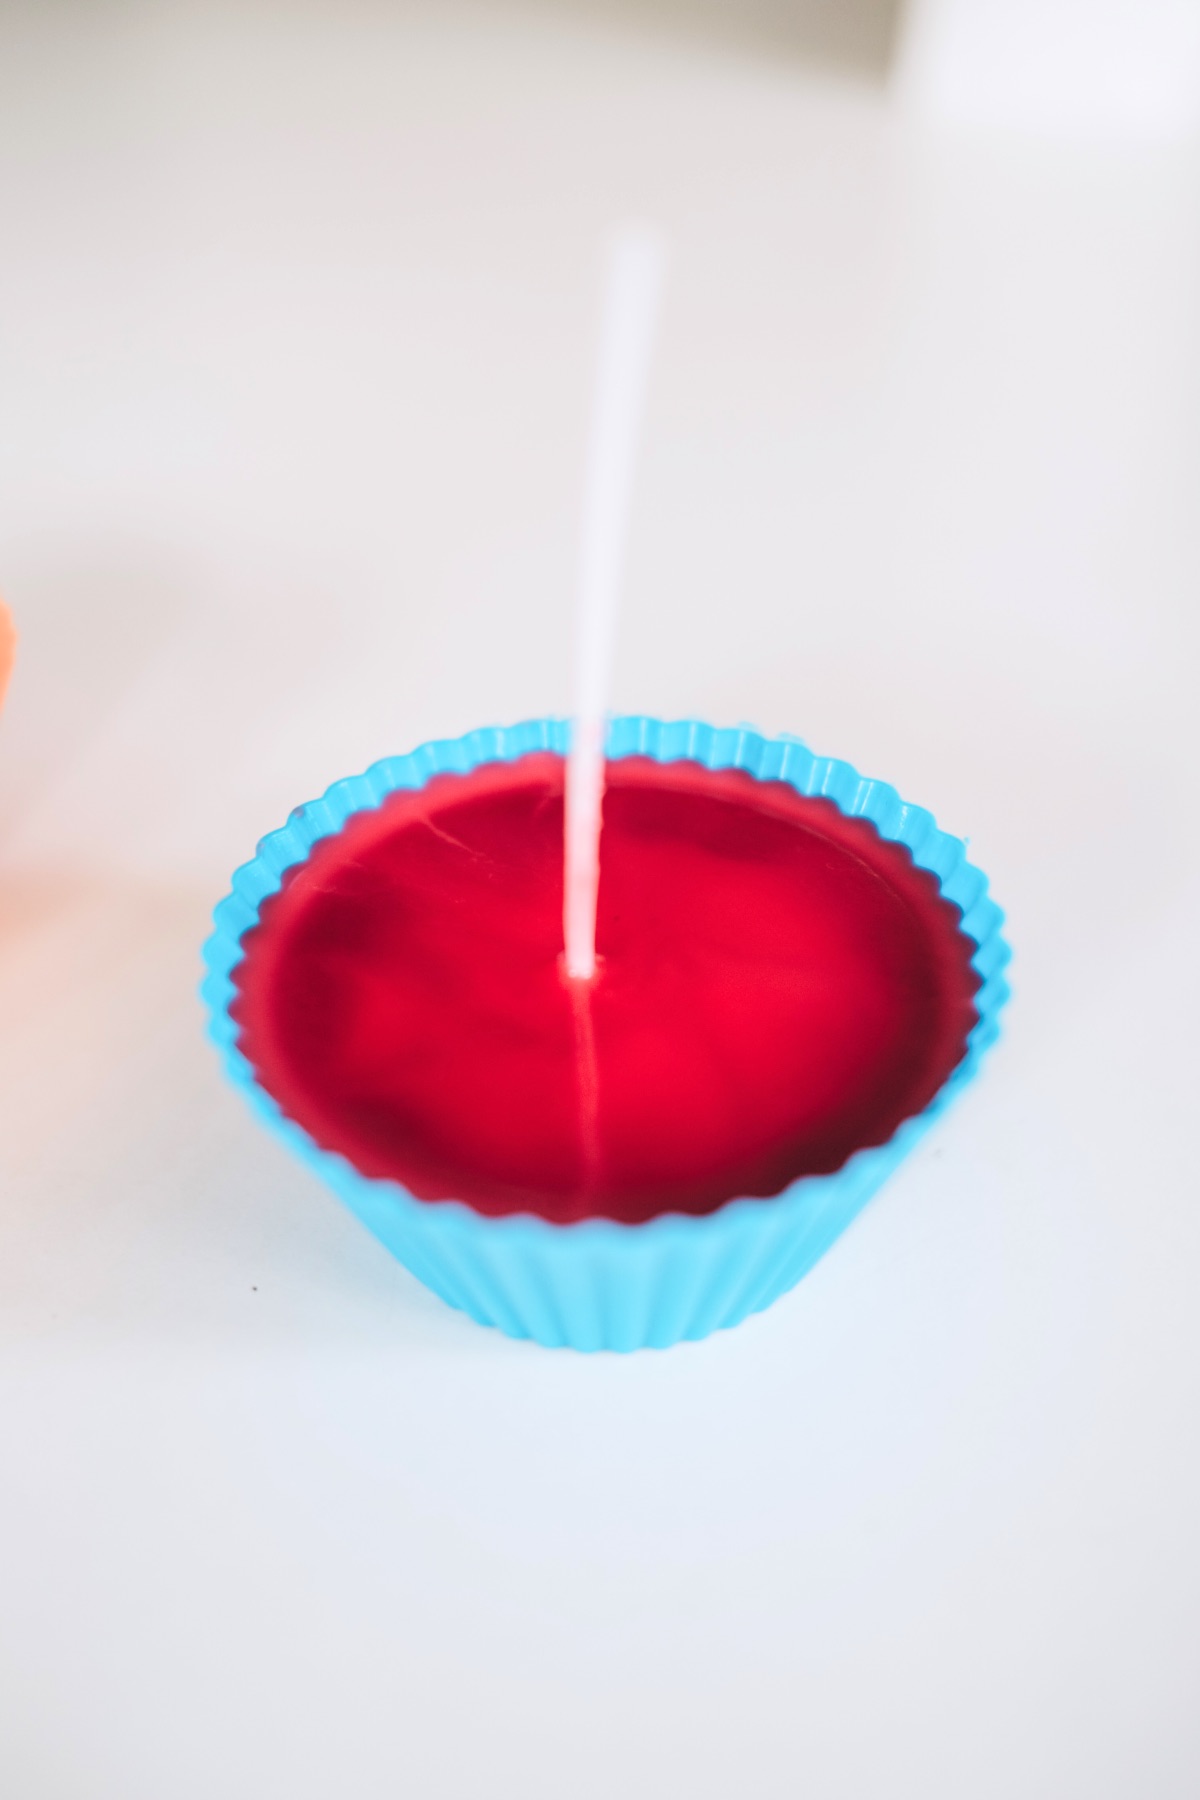
How to Add the Wick
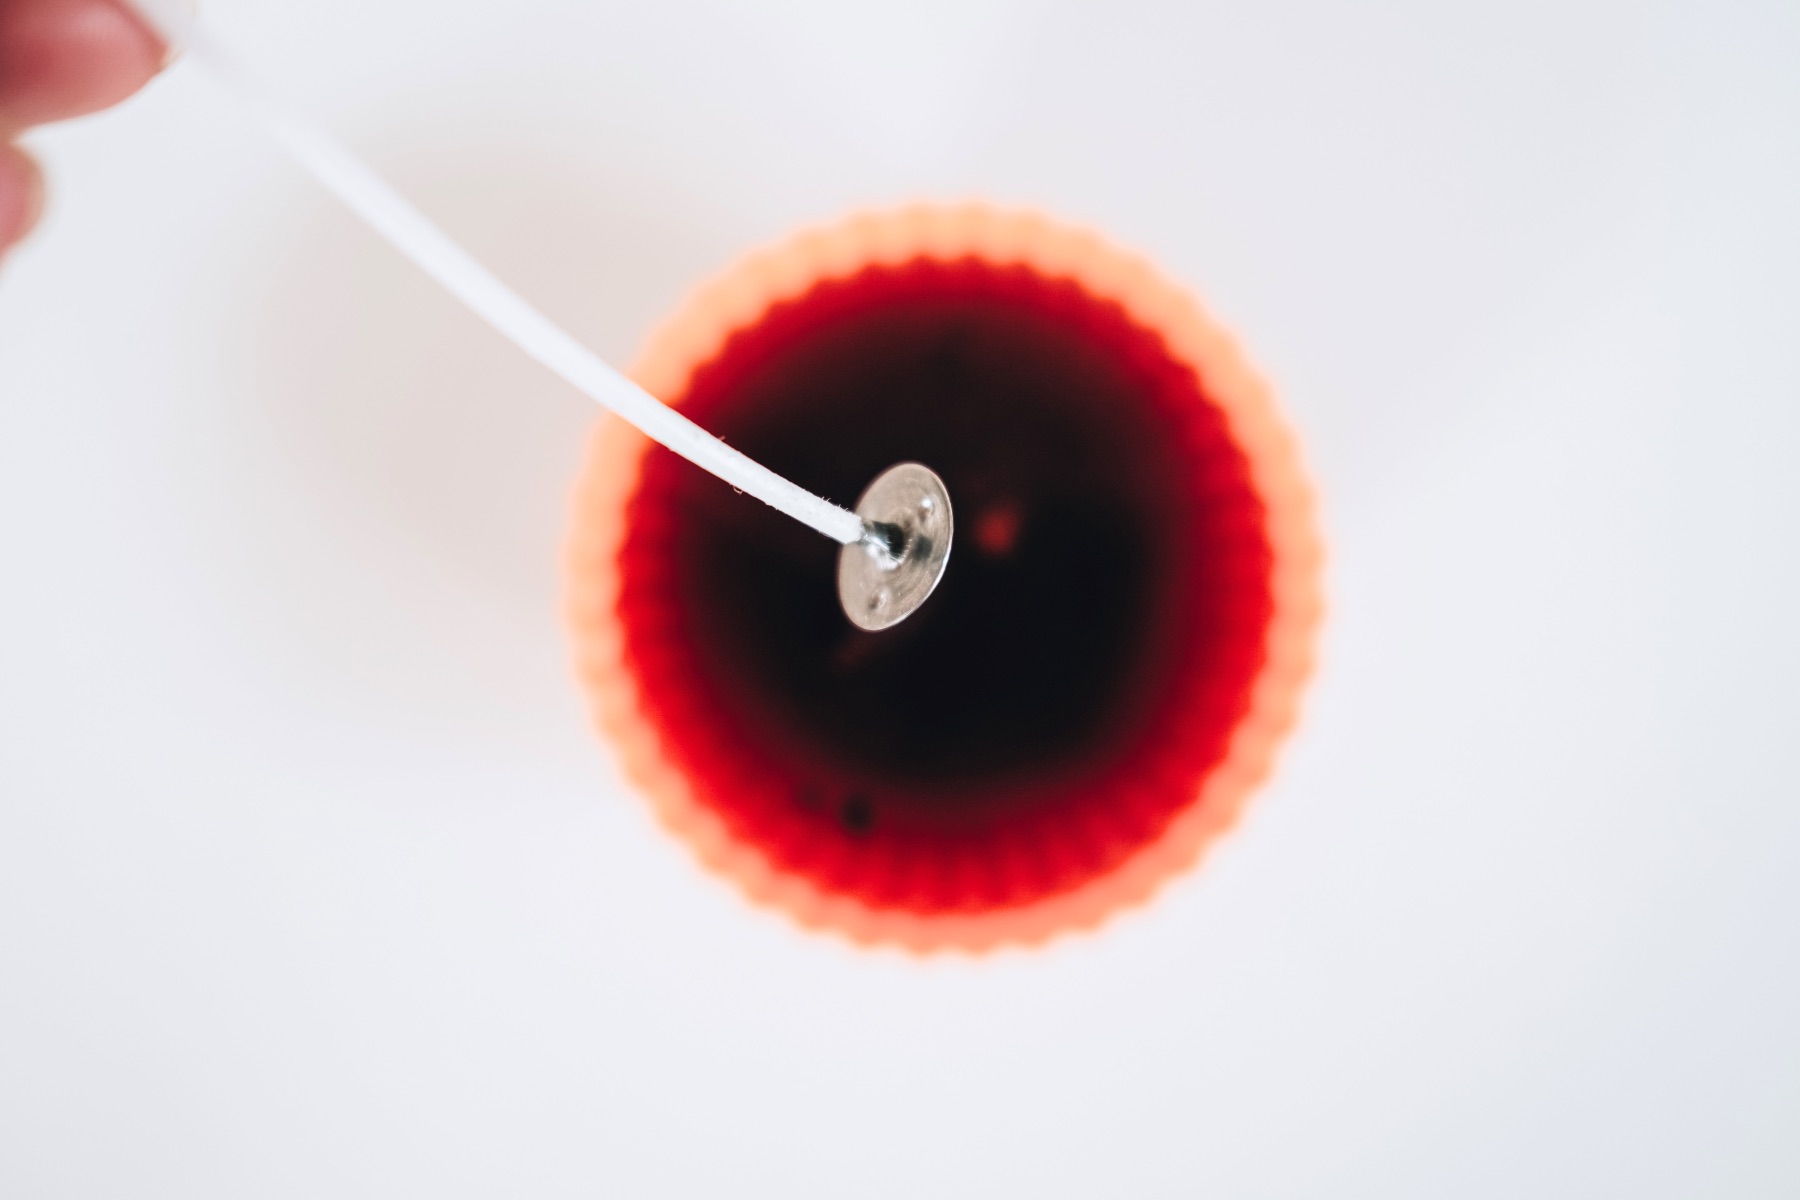
With any candle, you want your wick to be in the dead center. Ordinarily you can use a popsicle stick or pencil and wind the top of the candle wick down. But you can’t do that with cupcake candles.
Instead, you will need to wait until the wick can hold itself in place without bending the wick.
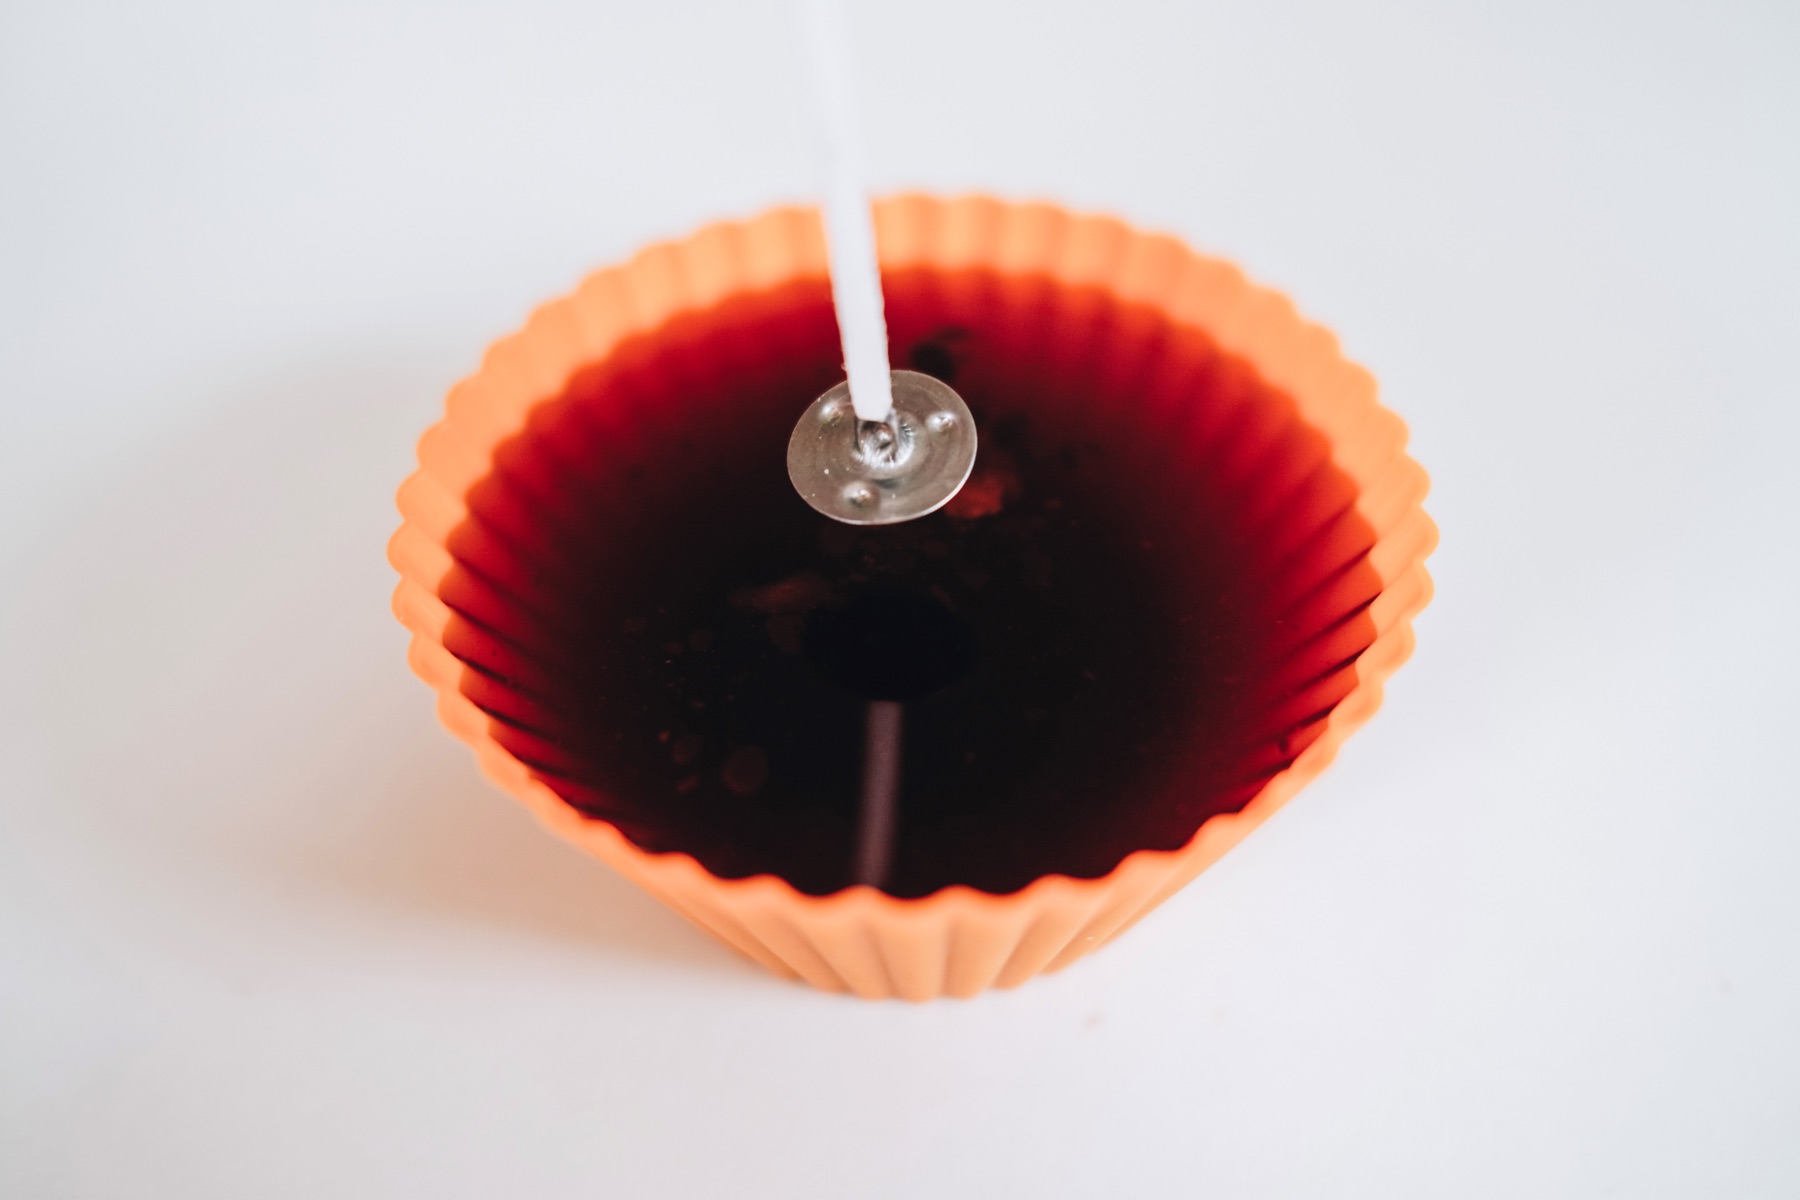
The wick will hold in place when the wax begins to solidify. It’s hard to know the perfect time – so just place your wick in the cupcake liner with the metal piece touching the center. If the wick falls over, it’s not ready. Pull the wick back out and try again in another minute or two until it stays.
Let the Wax Cool
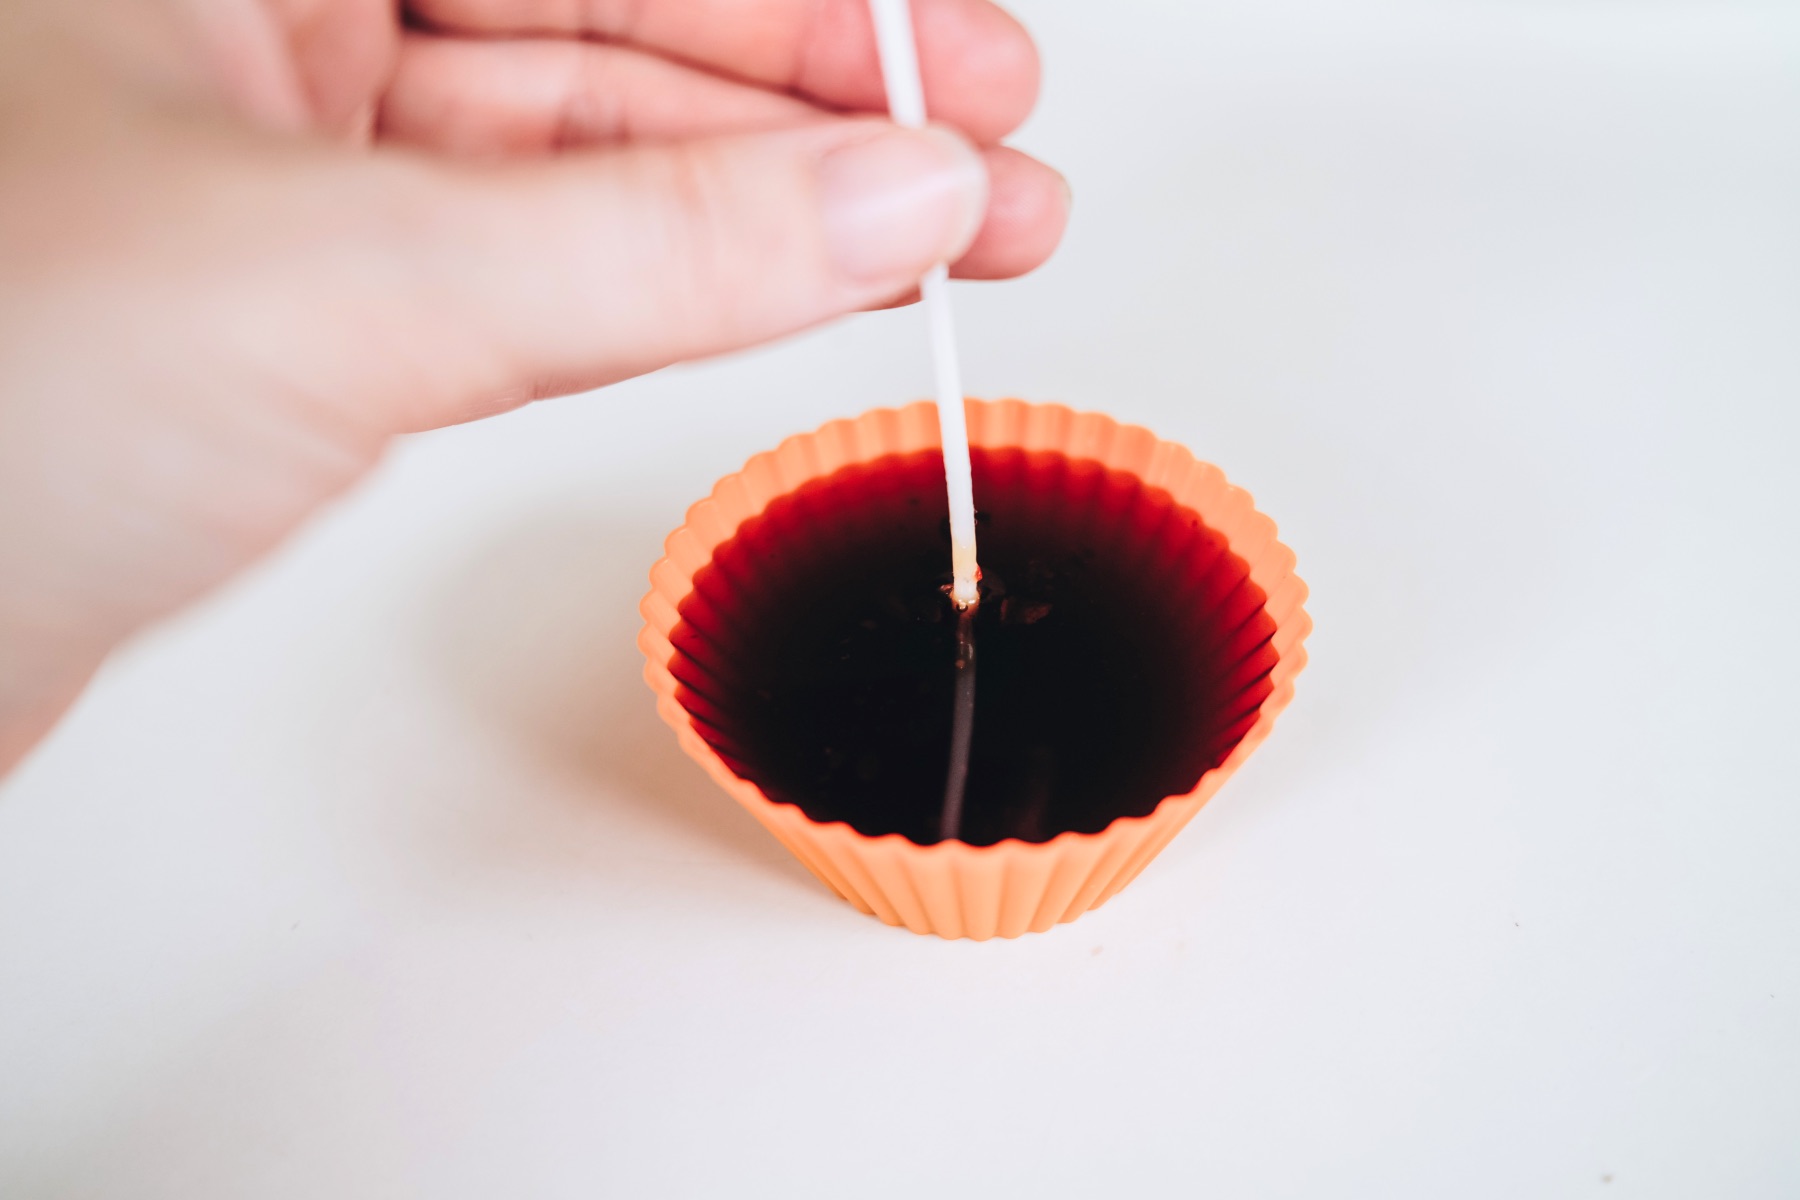
Once your wick is holding in place, all you need to do is wait for the wax to completely solidify. The amount of time this takes can vary, based on how hot your wax was.
Usually it’s about 30 minutes. So I would recommend making several cupcake cake portions at once and waiting for them all to solidify. Then frosting them all together.
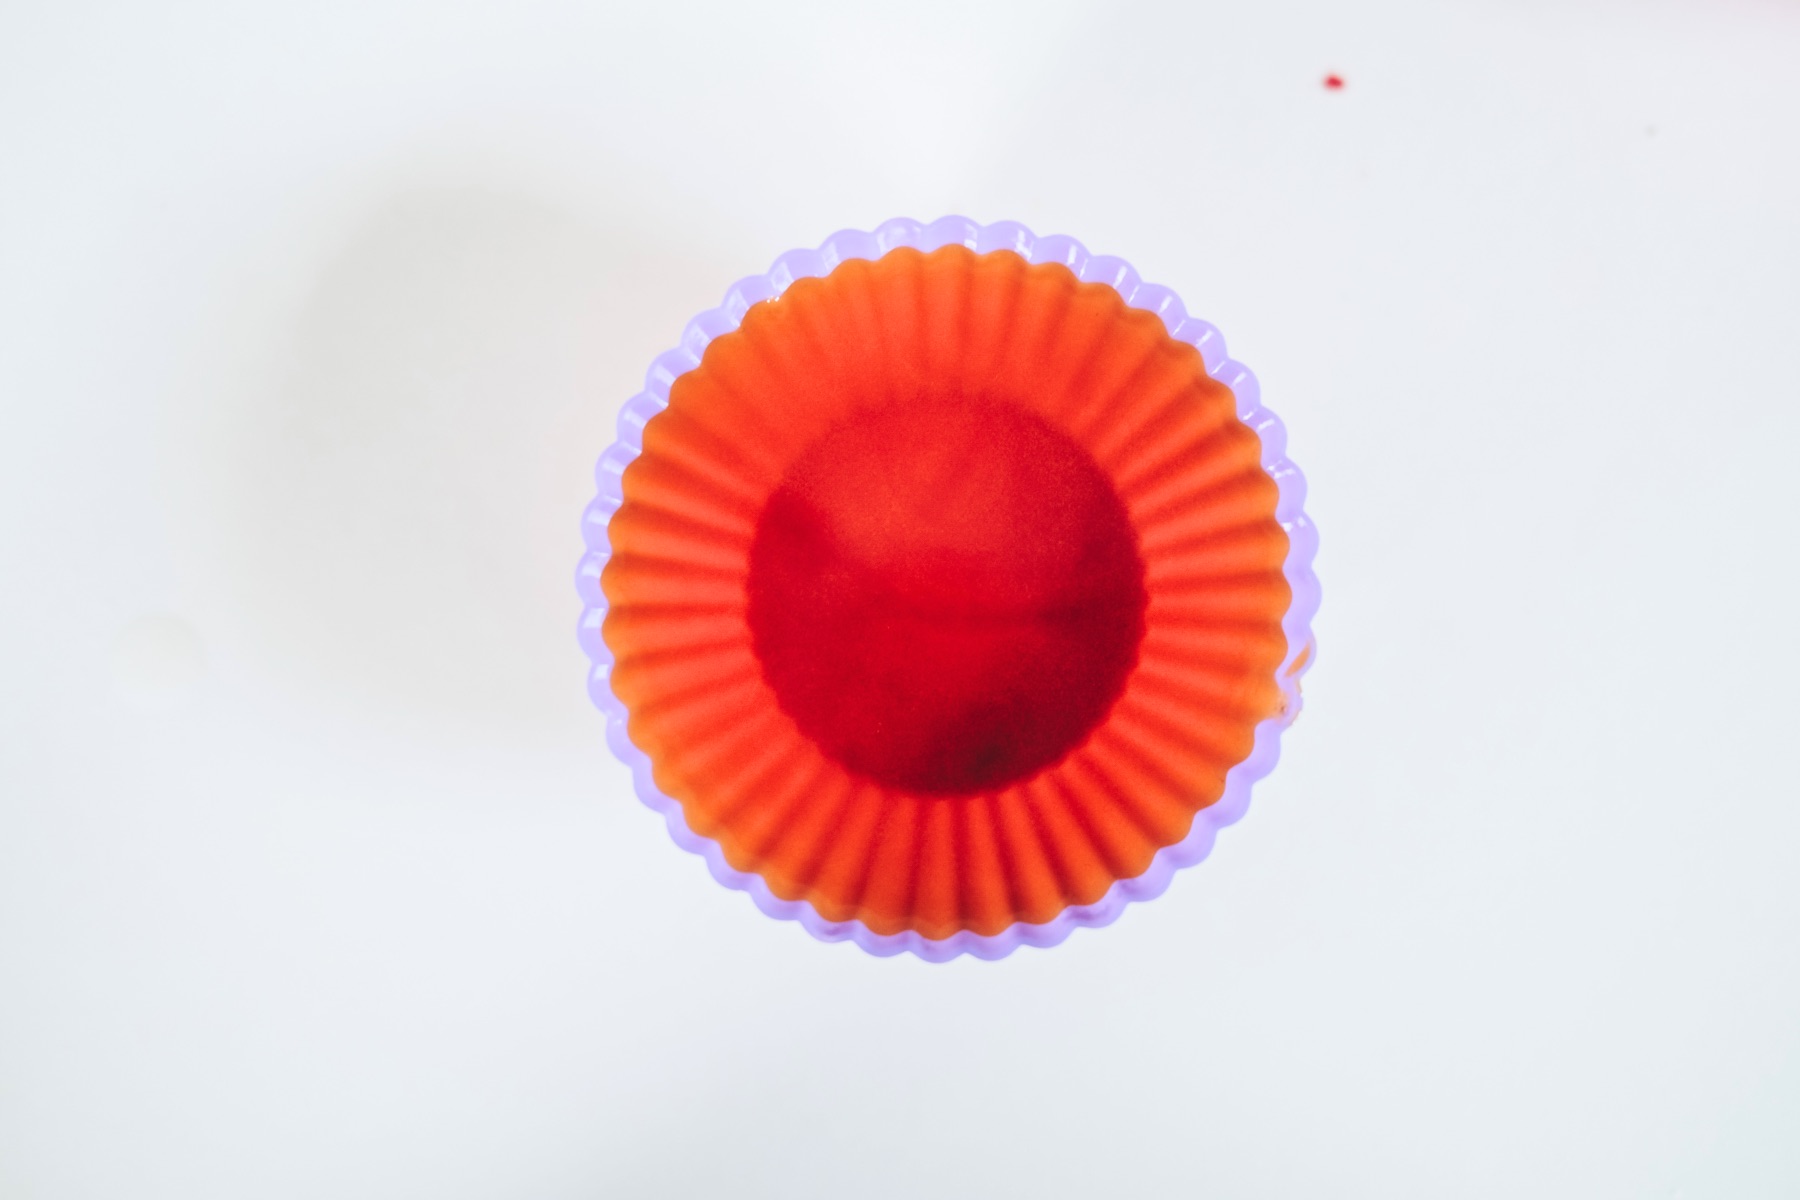
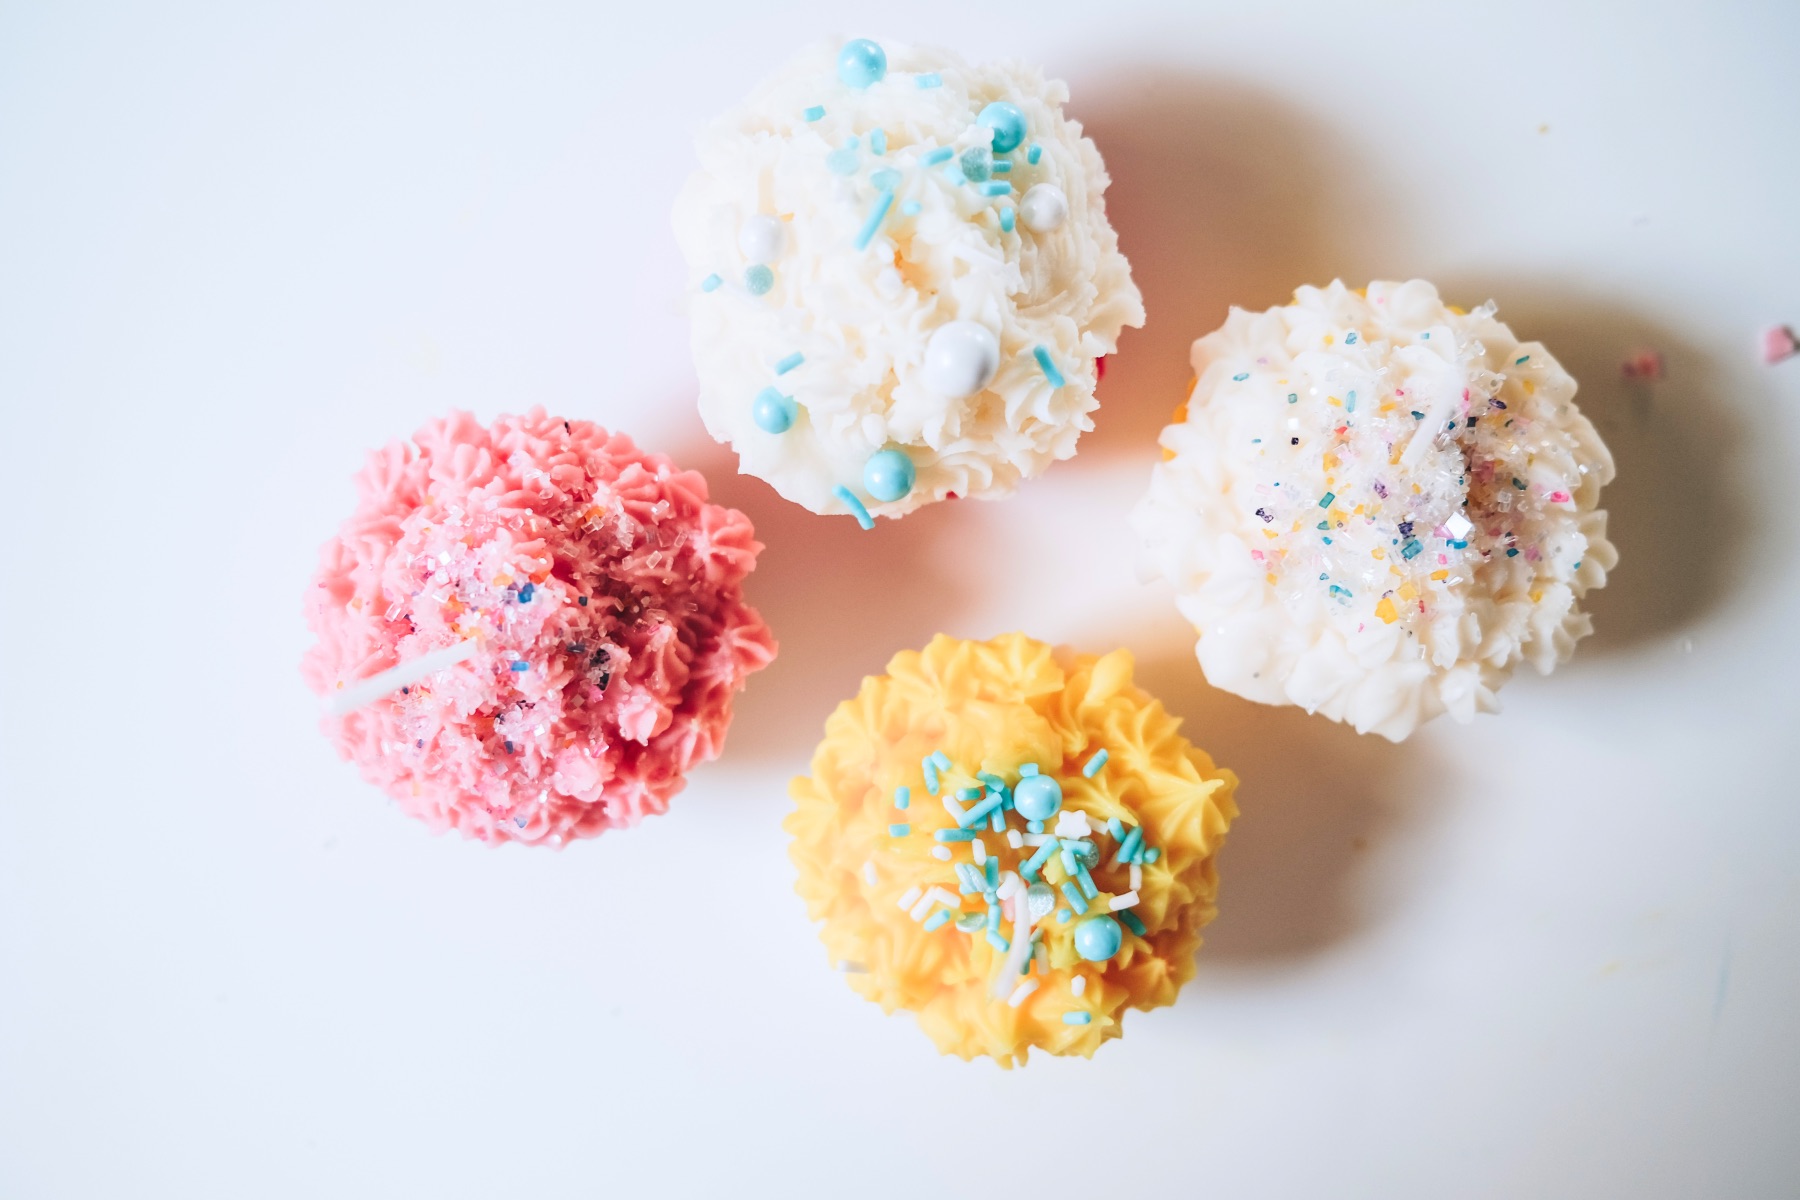
Make Your Cake Different “Flavors”
If you are ready to make a few pieces of “cake” all at once and then frosting them together, I would recommend making different flavors of cake. Or rather making them different colors of wax.
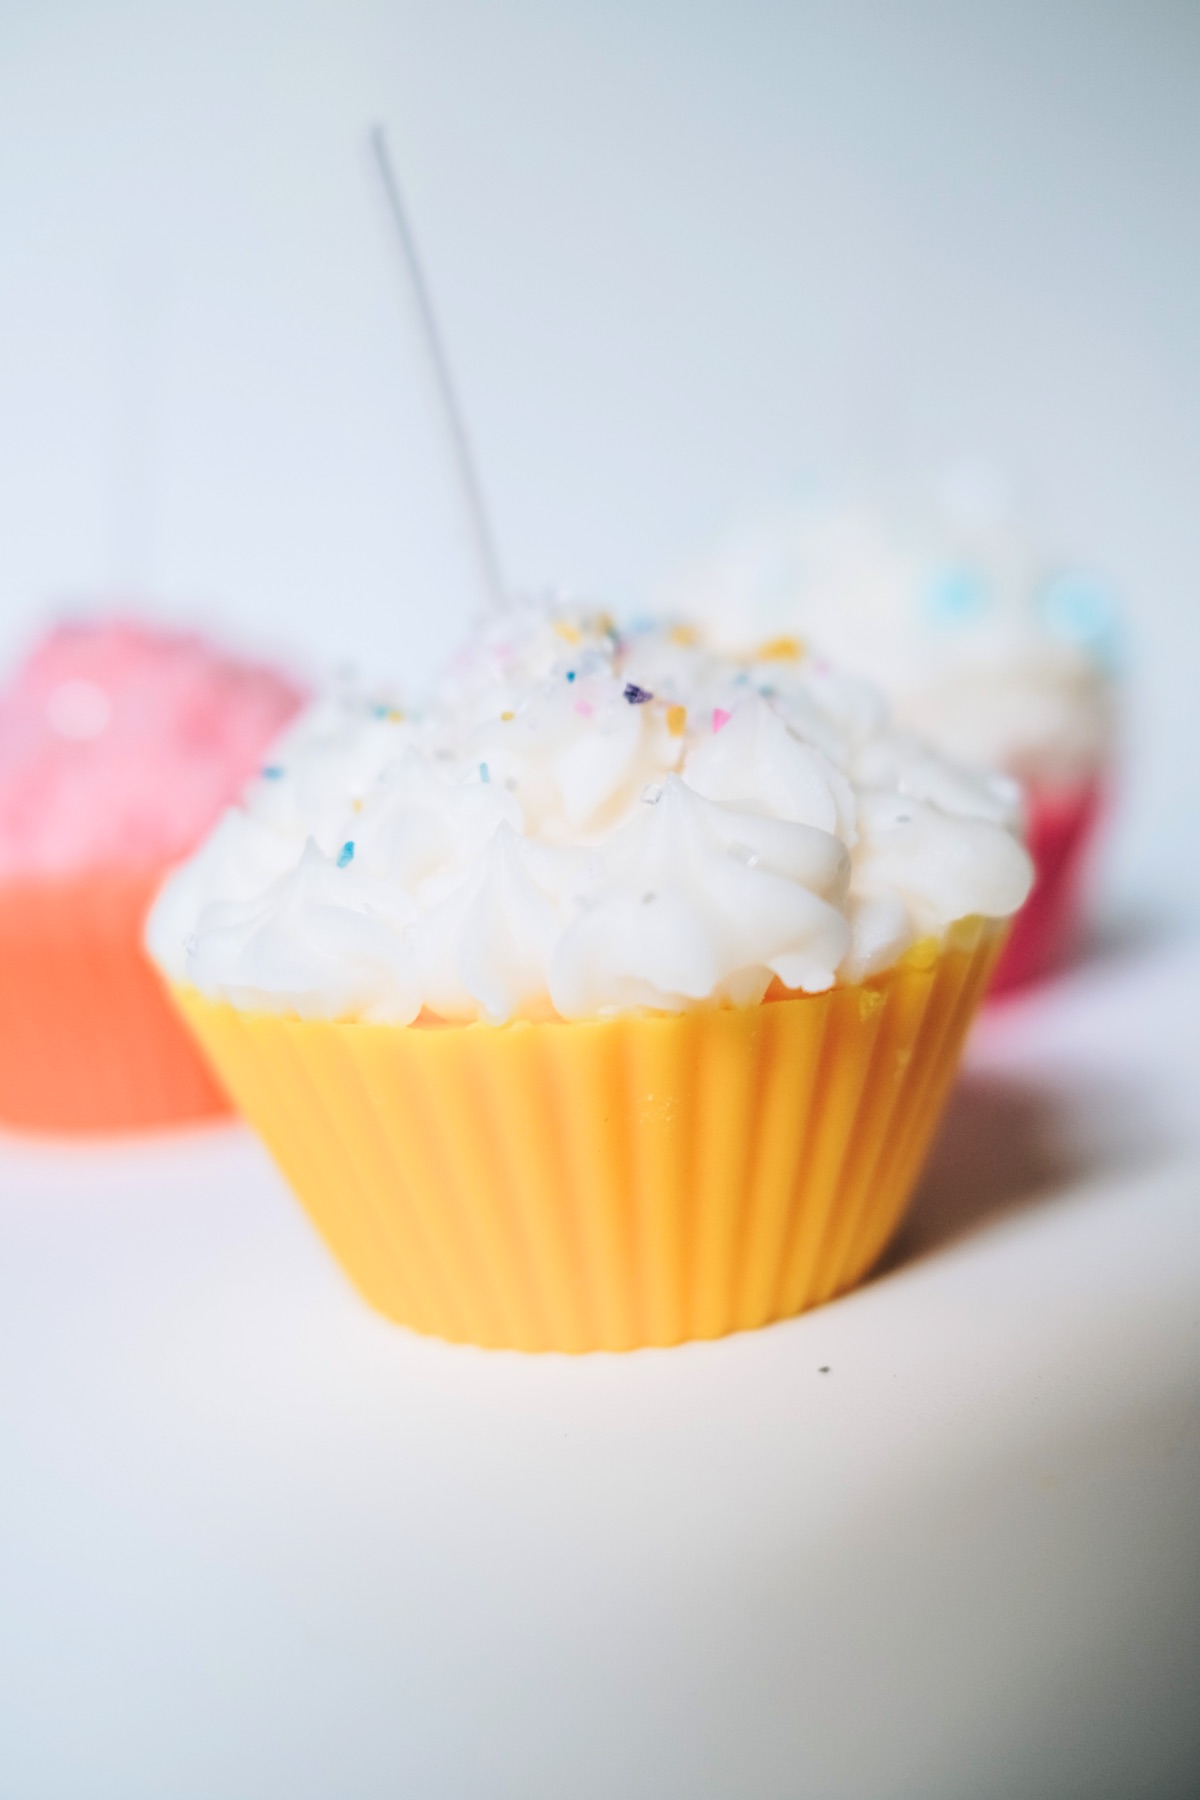
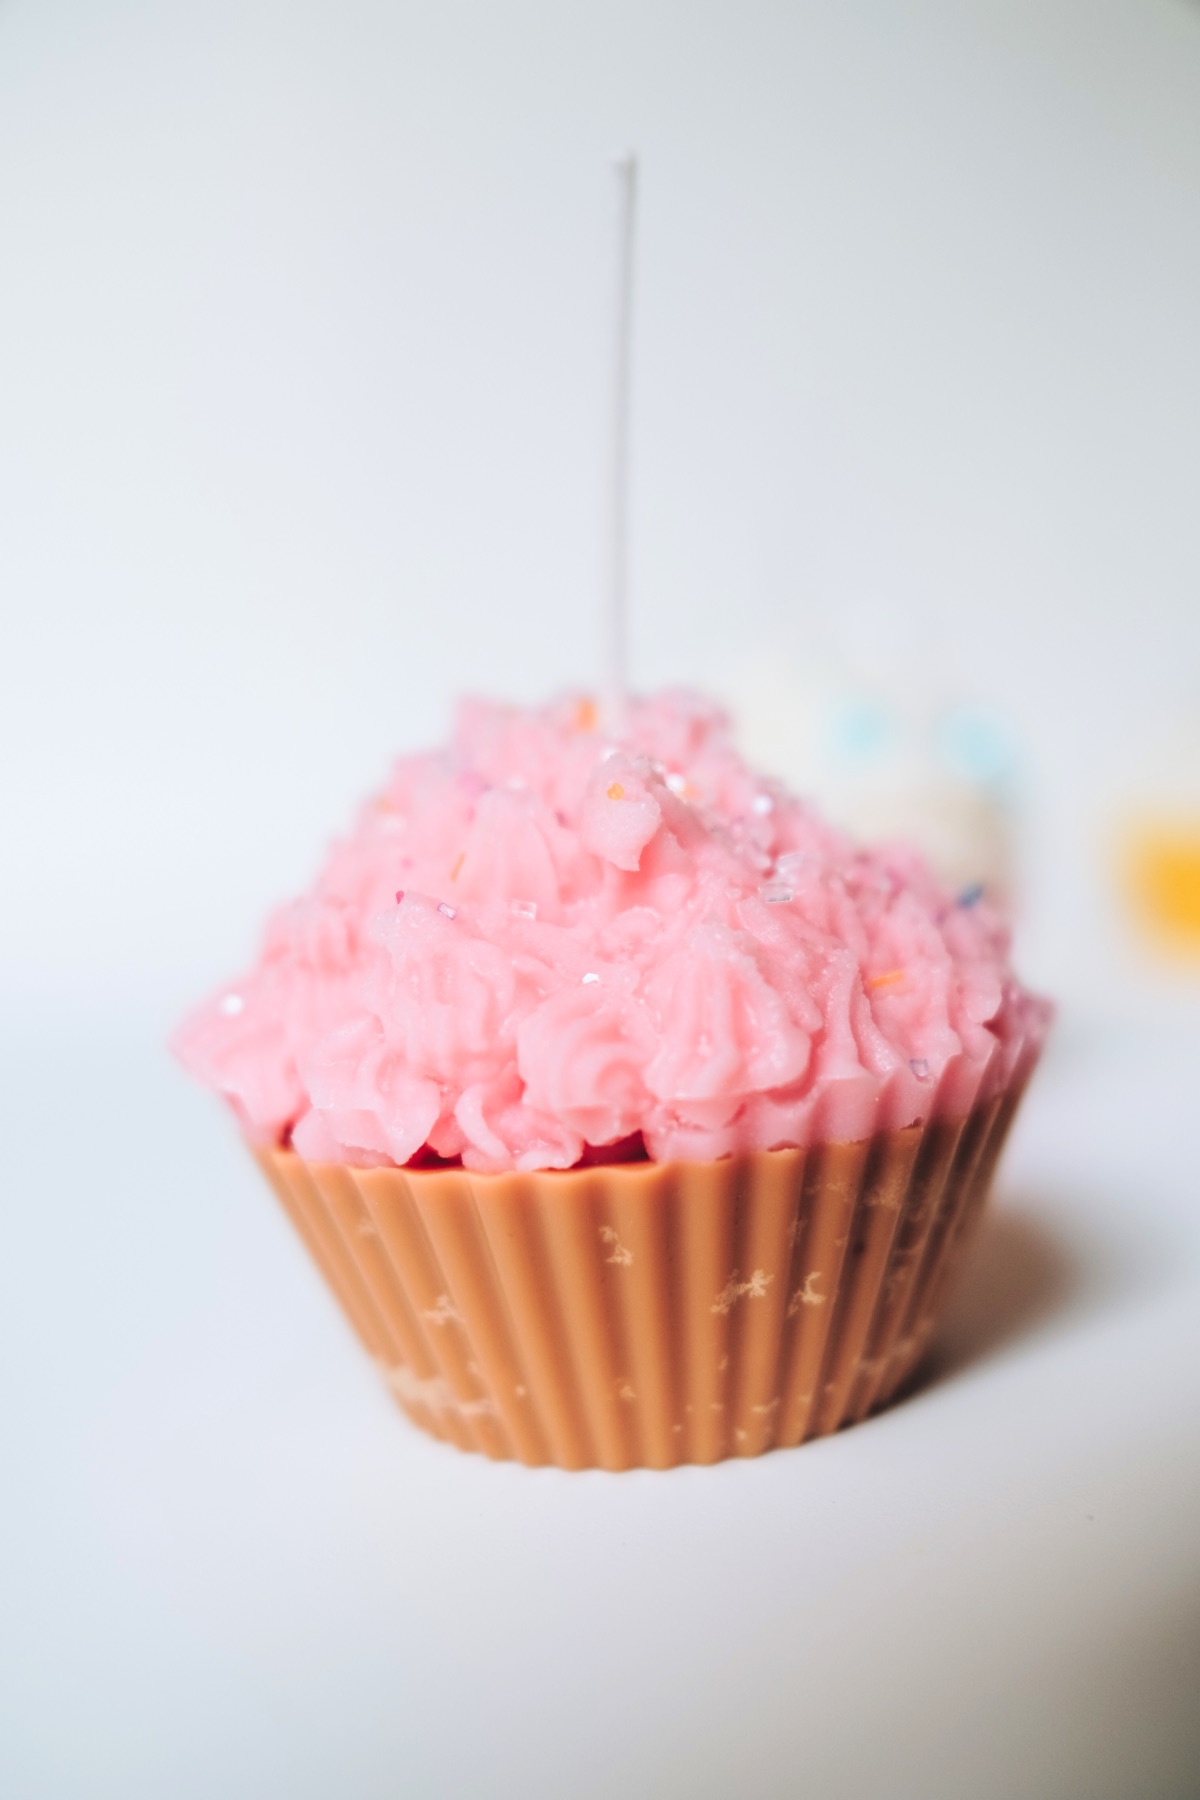
Toasty brown is a perfect color for the cake. But you could also consider leaving some white – like a vanilla cake. Make some yellow – like a lemon or butter cake. And you could make some pink – like a strawberry cake.
Part of the illusion of these cupcake candles is making them look like real cupcakes.
For the white cake, you don’t need to add any colorant. For the colored cake, you can add up to 1/3 of 1 block of colorant. You could also add less since cake is never perfectly uniform in color.
With each piece your steps are the same. Melt the wax and colorant for 30 seconds at a time and stir it completely and thoroughly. Once the wax is melted and ready for pouring, add a small amount of fragrance and stir it in completely and thoroughly. If you want to really have fun with this, you could make your cake colors have different scents. Your pink cake could be better scented, while your white cake is birthday cake scented.
Then pour your wax into the silicone cups and wait for it to cool enough to add your wick to the center. Last, continue to wait for the wax to cool completely.
Once the wax is completely solid, it’s time to add the frosting. That’s the fun part!
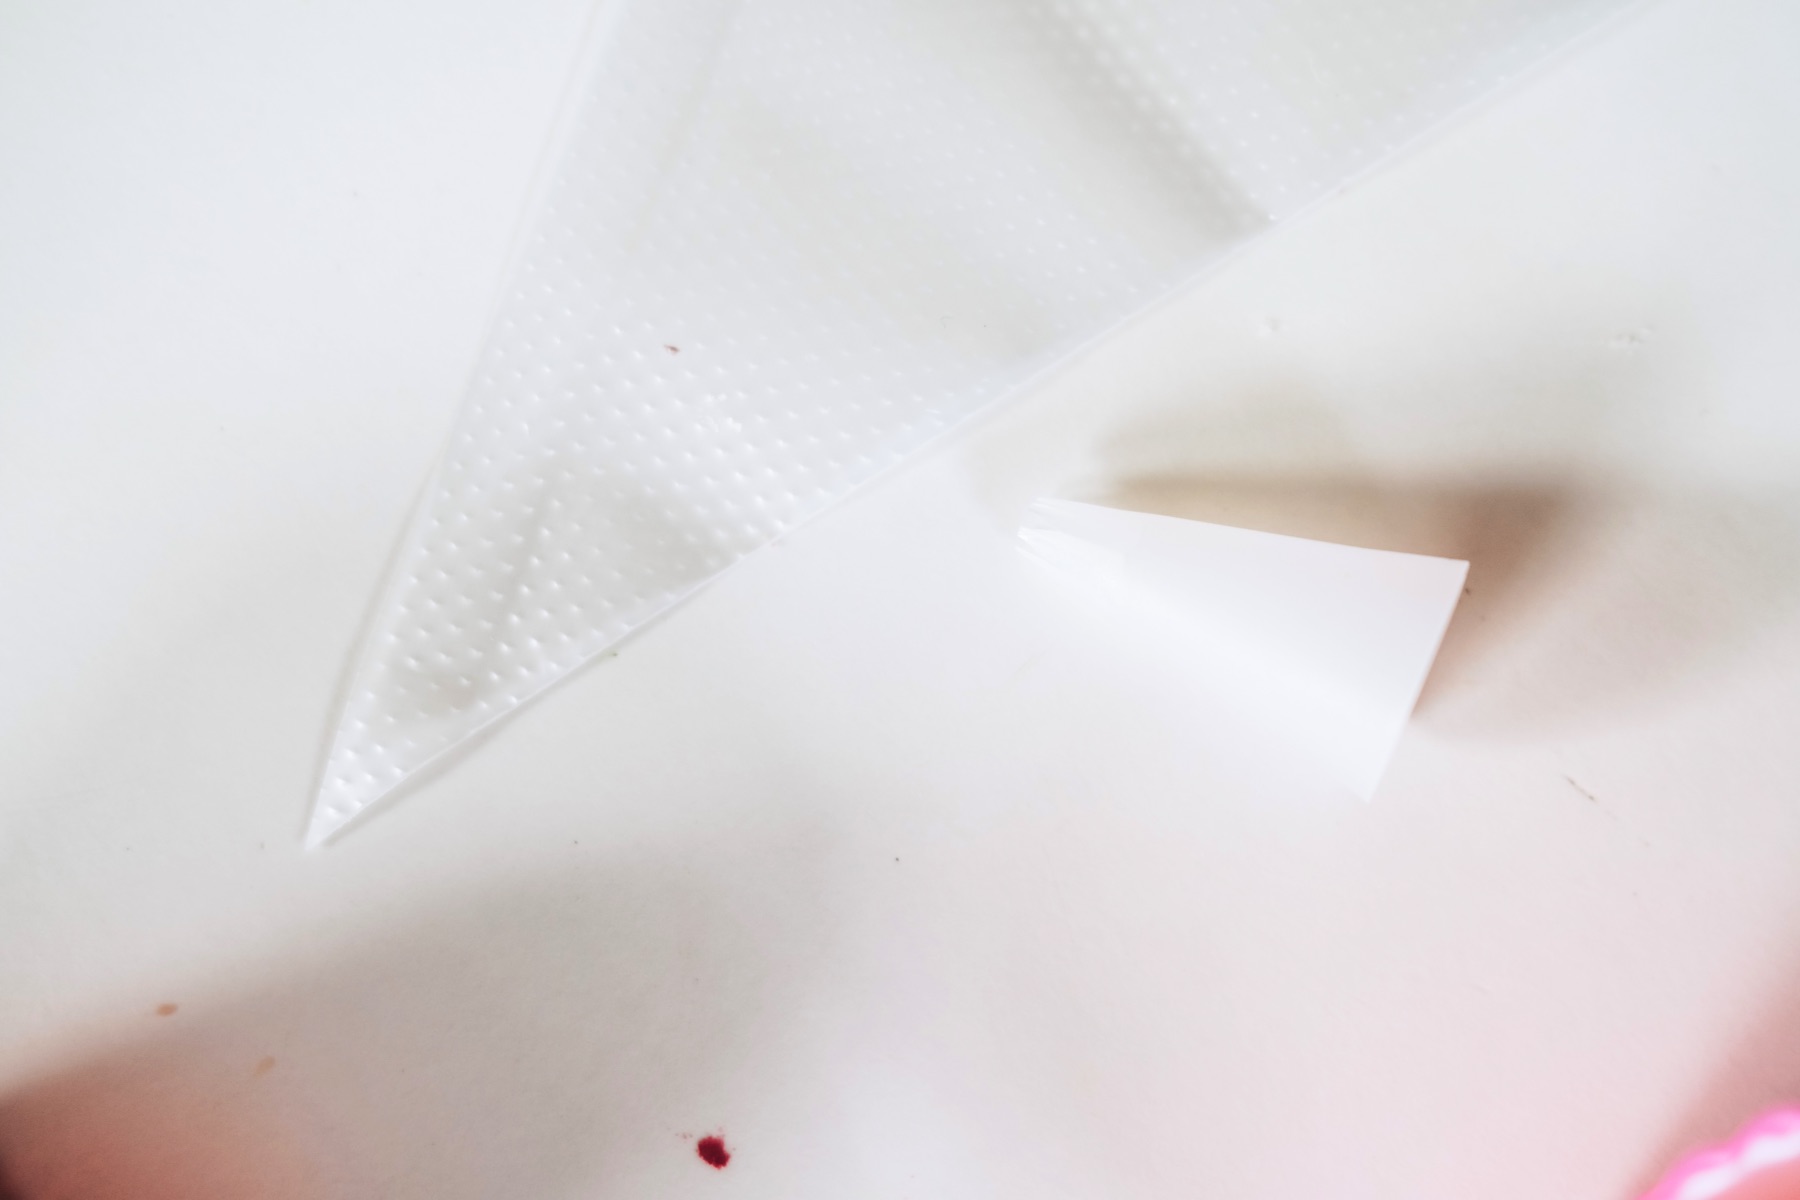
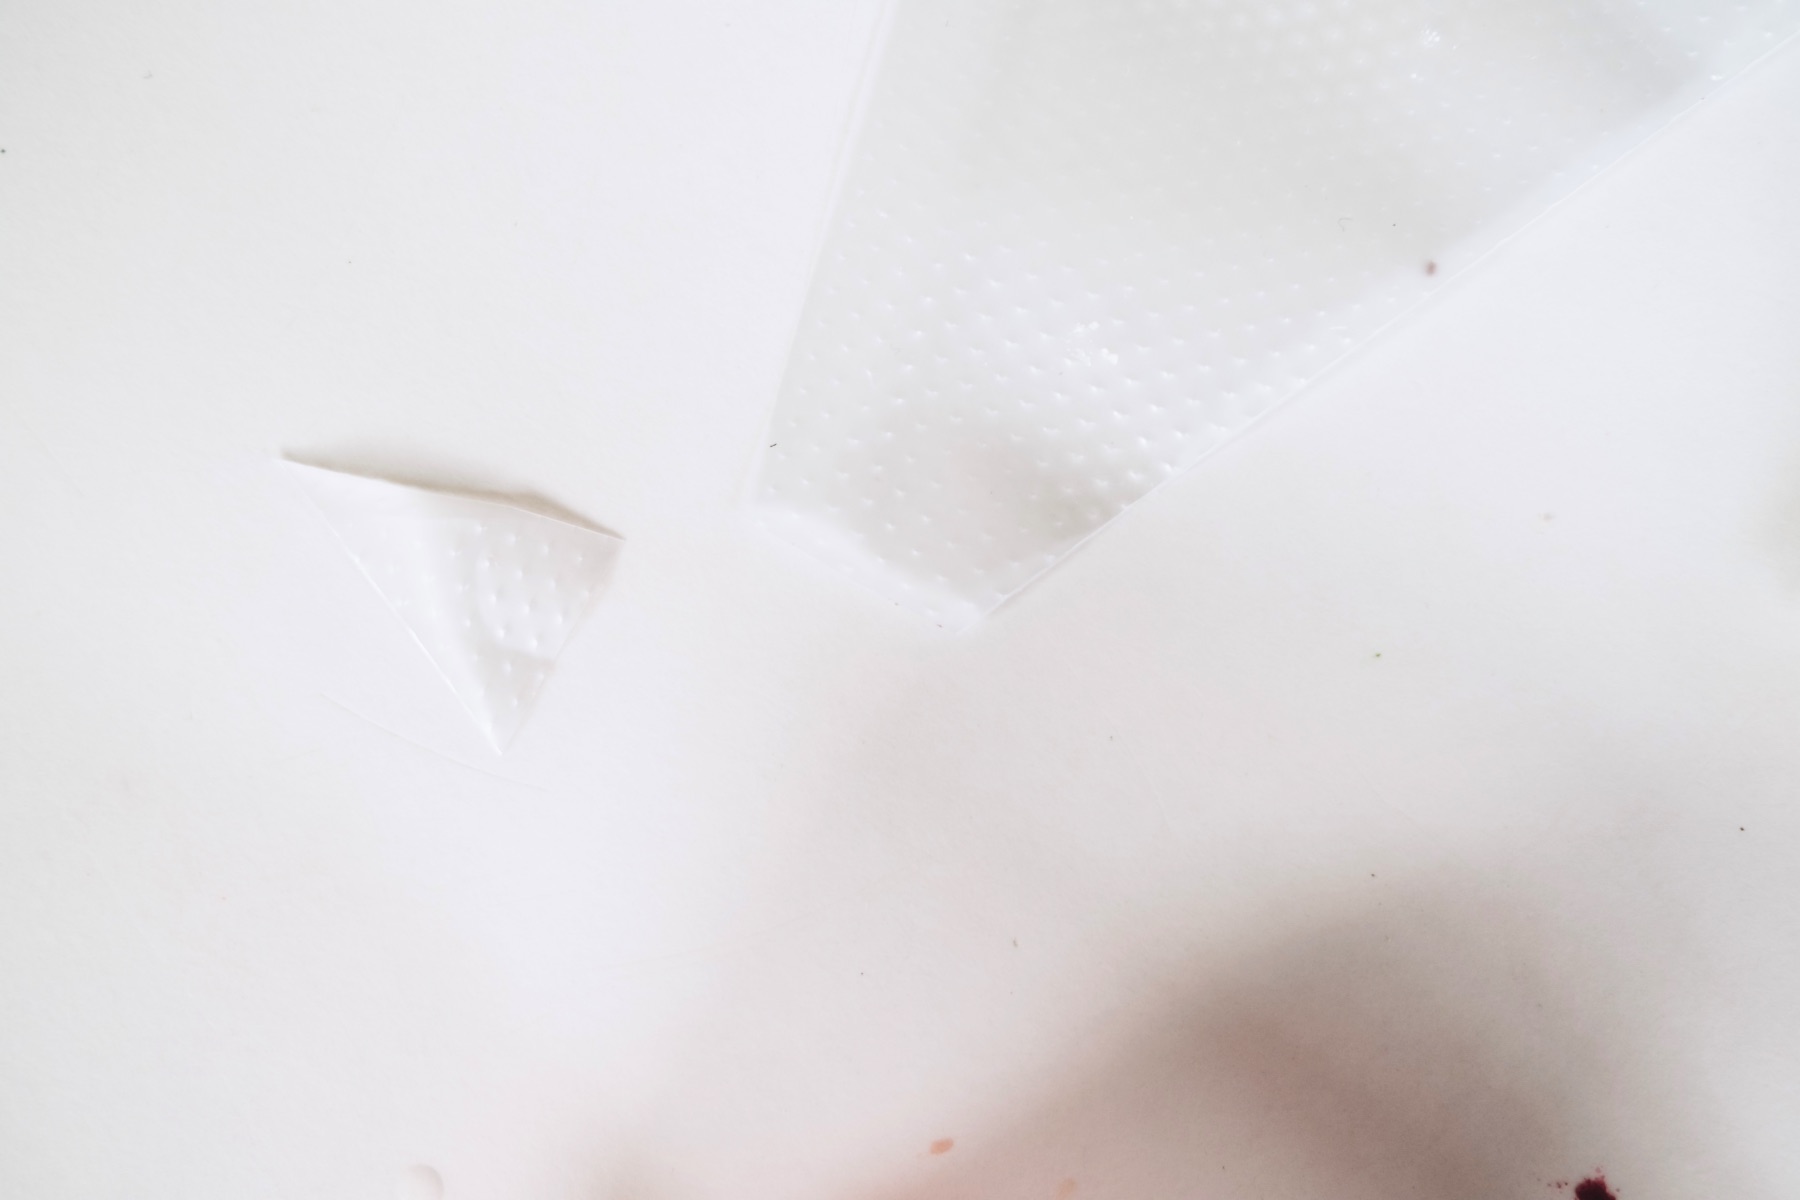
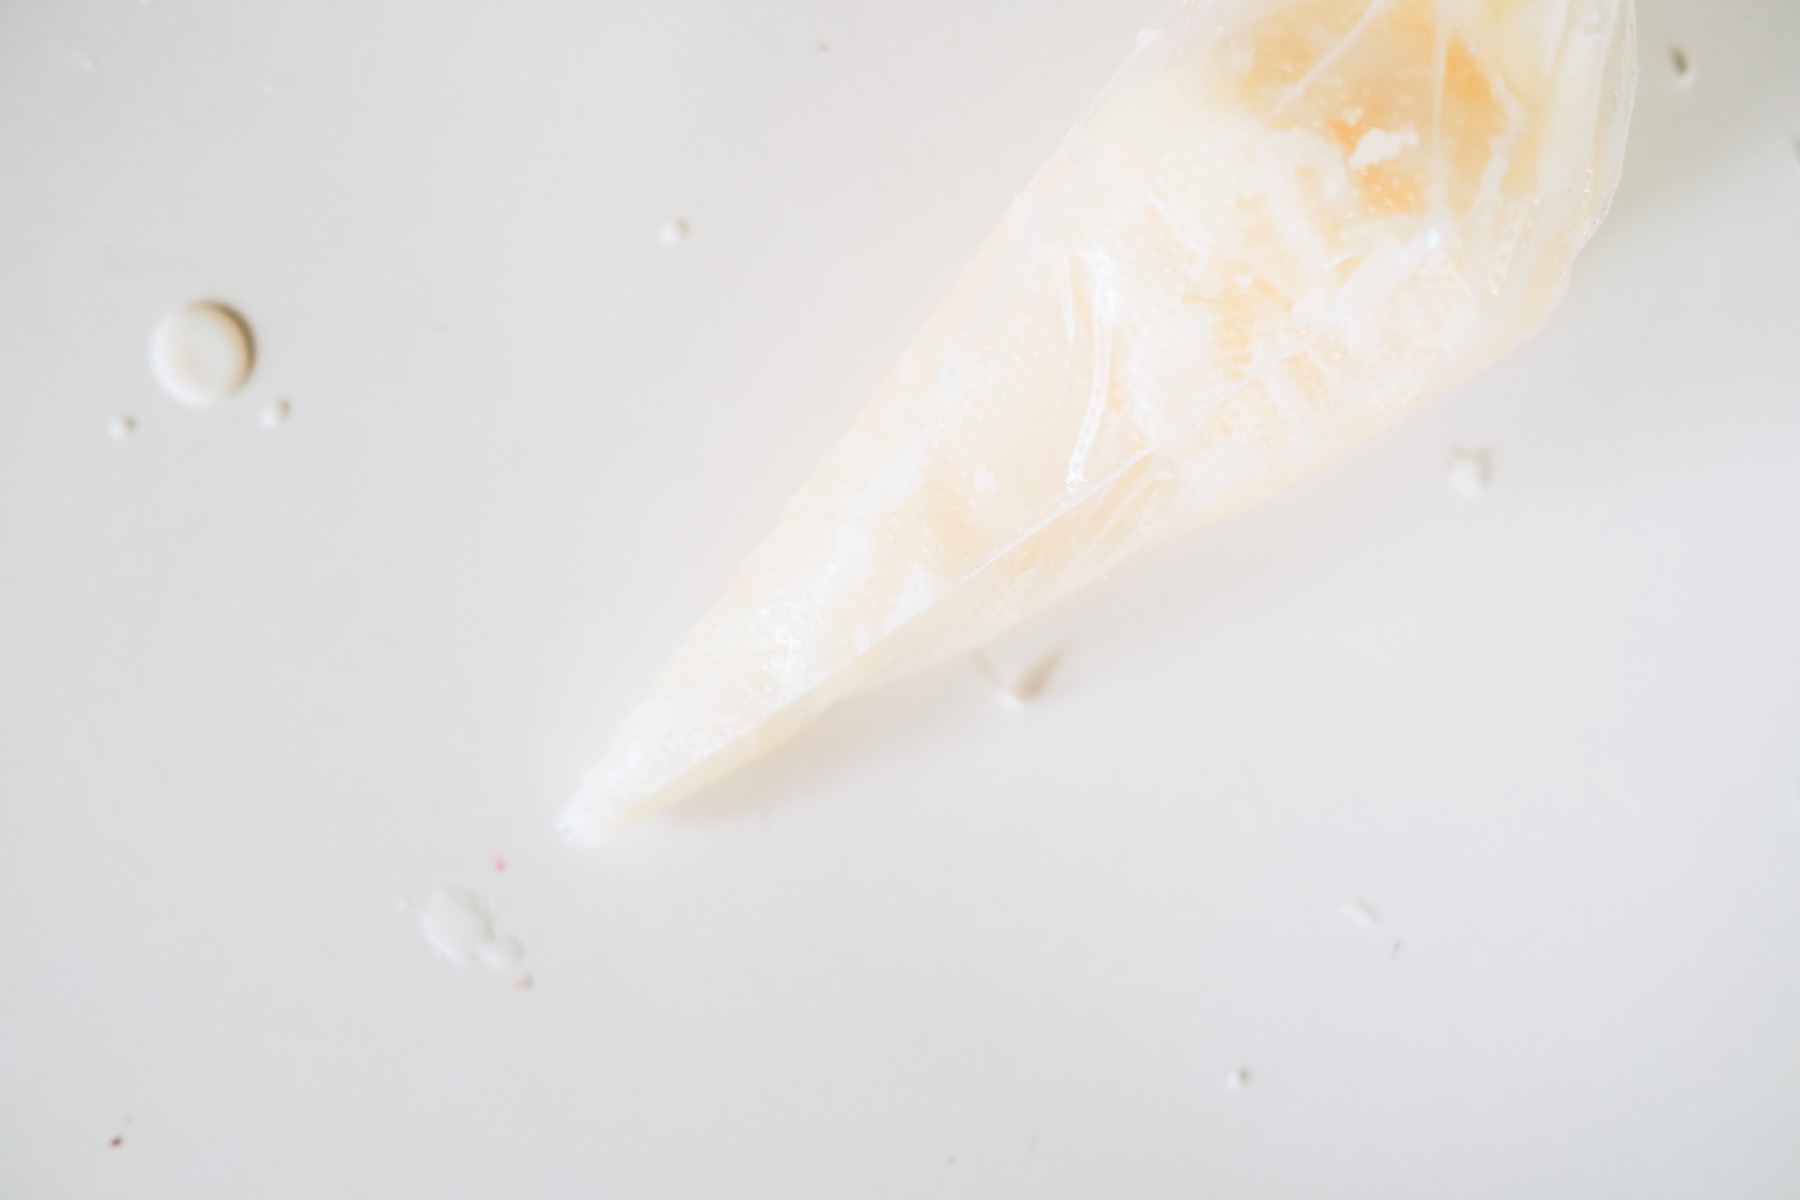
Prep Your Piping Bag
To make your piping bag, use scissors to cut the sealed end. Make sure your cut is smaller than the frosting tip, so that your frosting tip can fit inside.
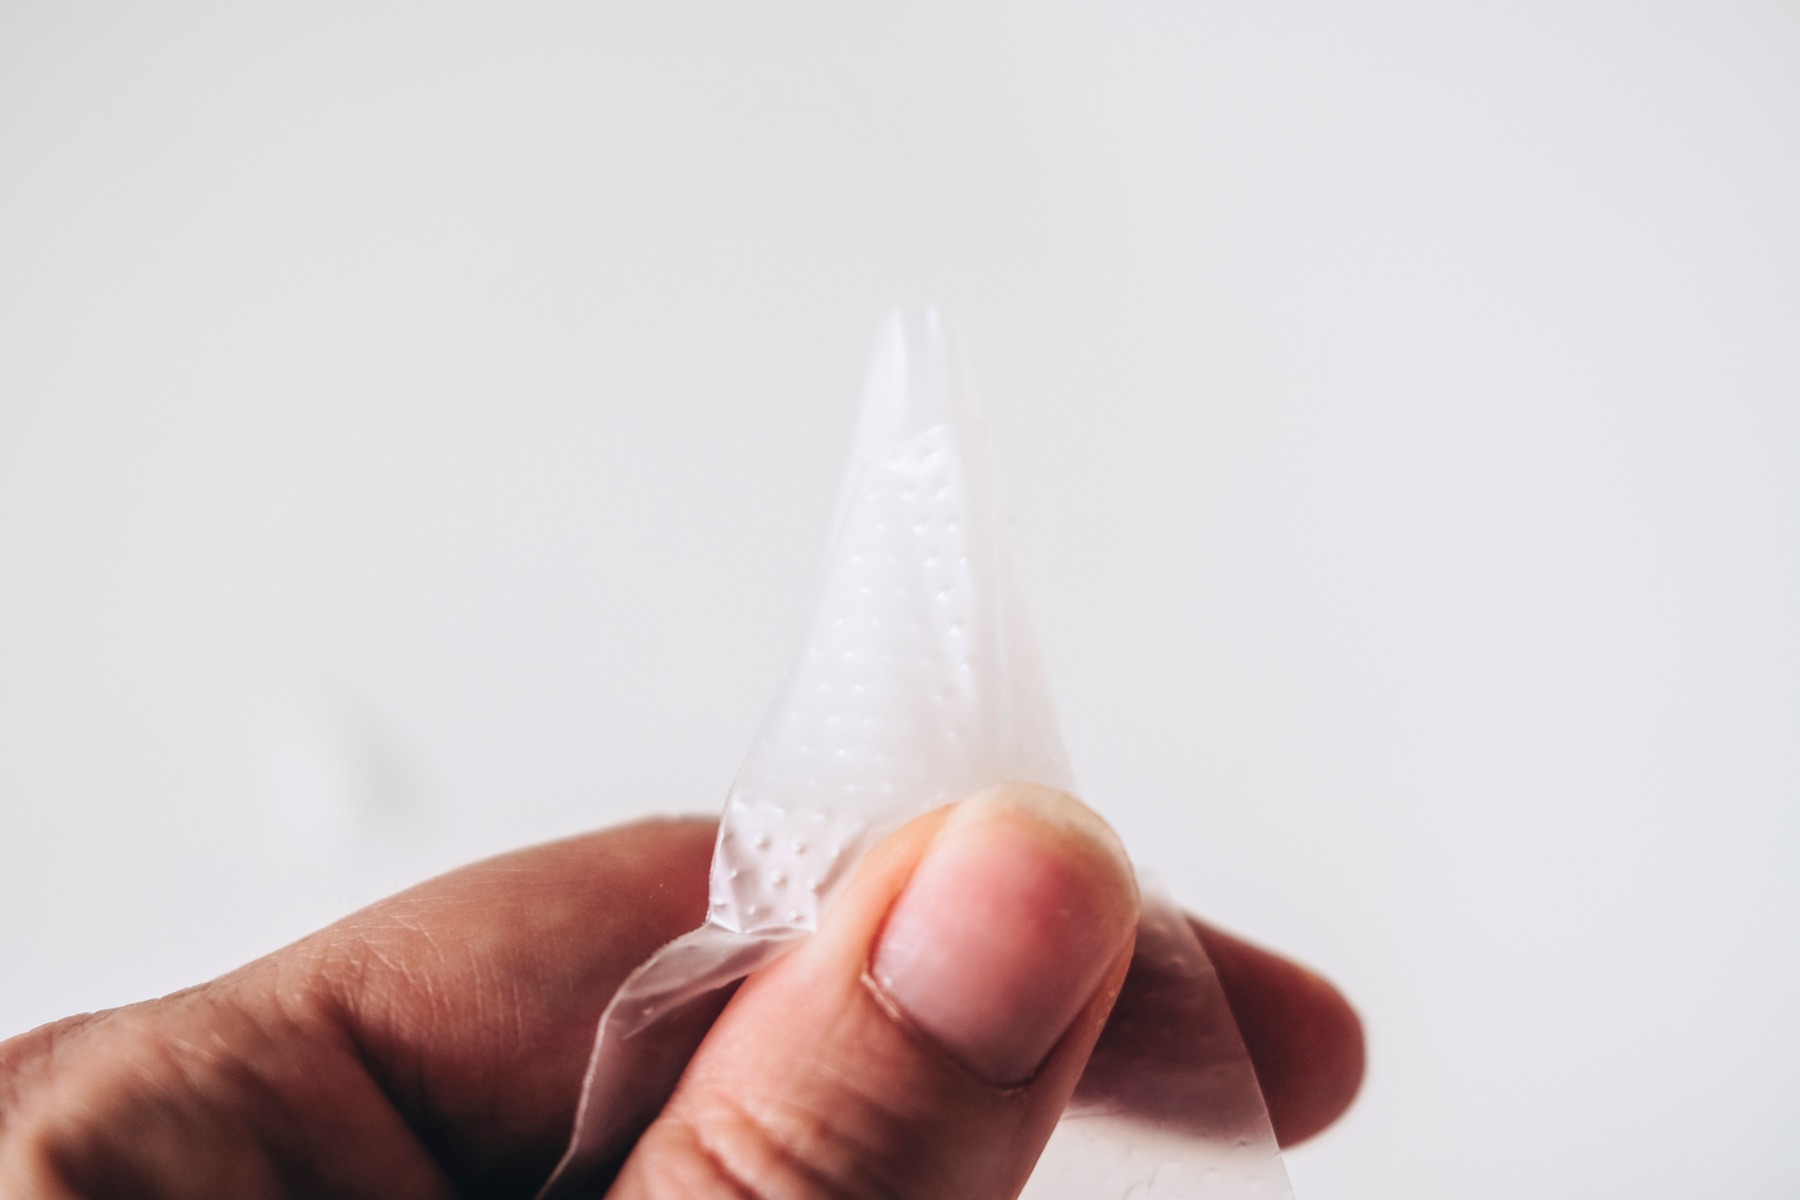
Push the tip all the way to the end.
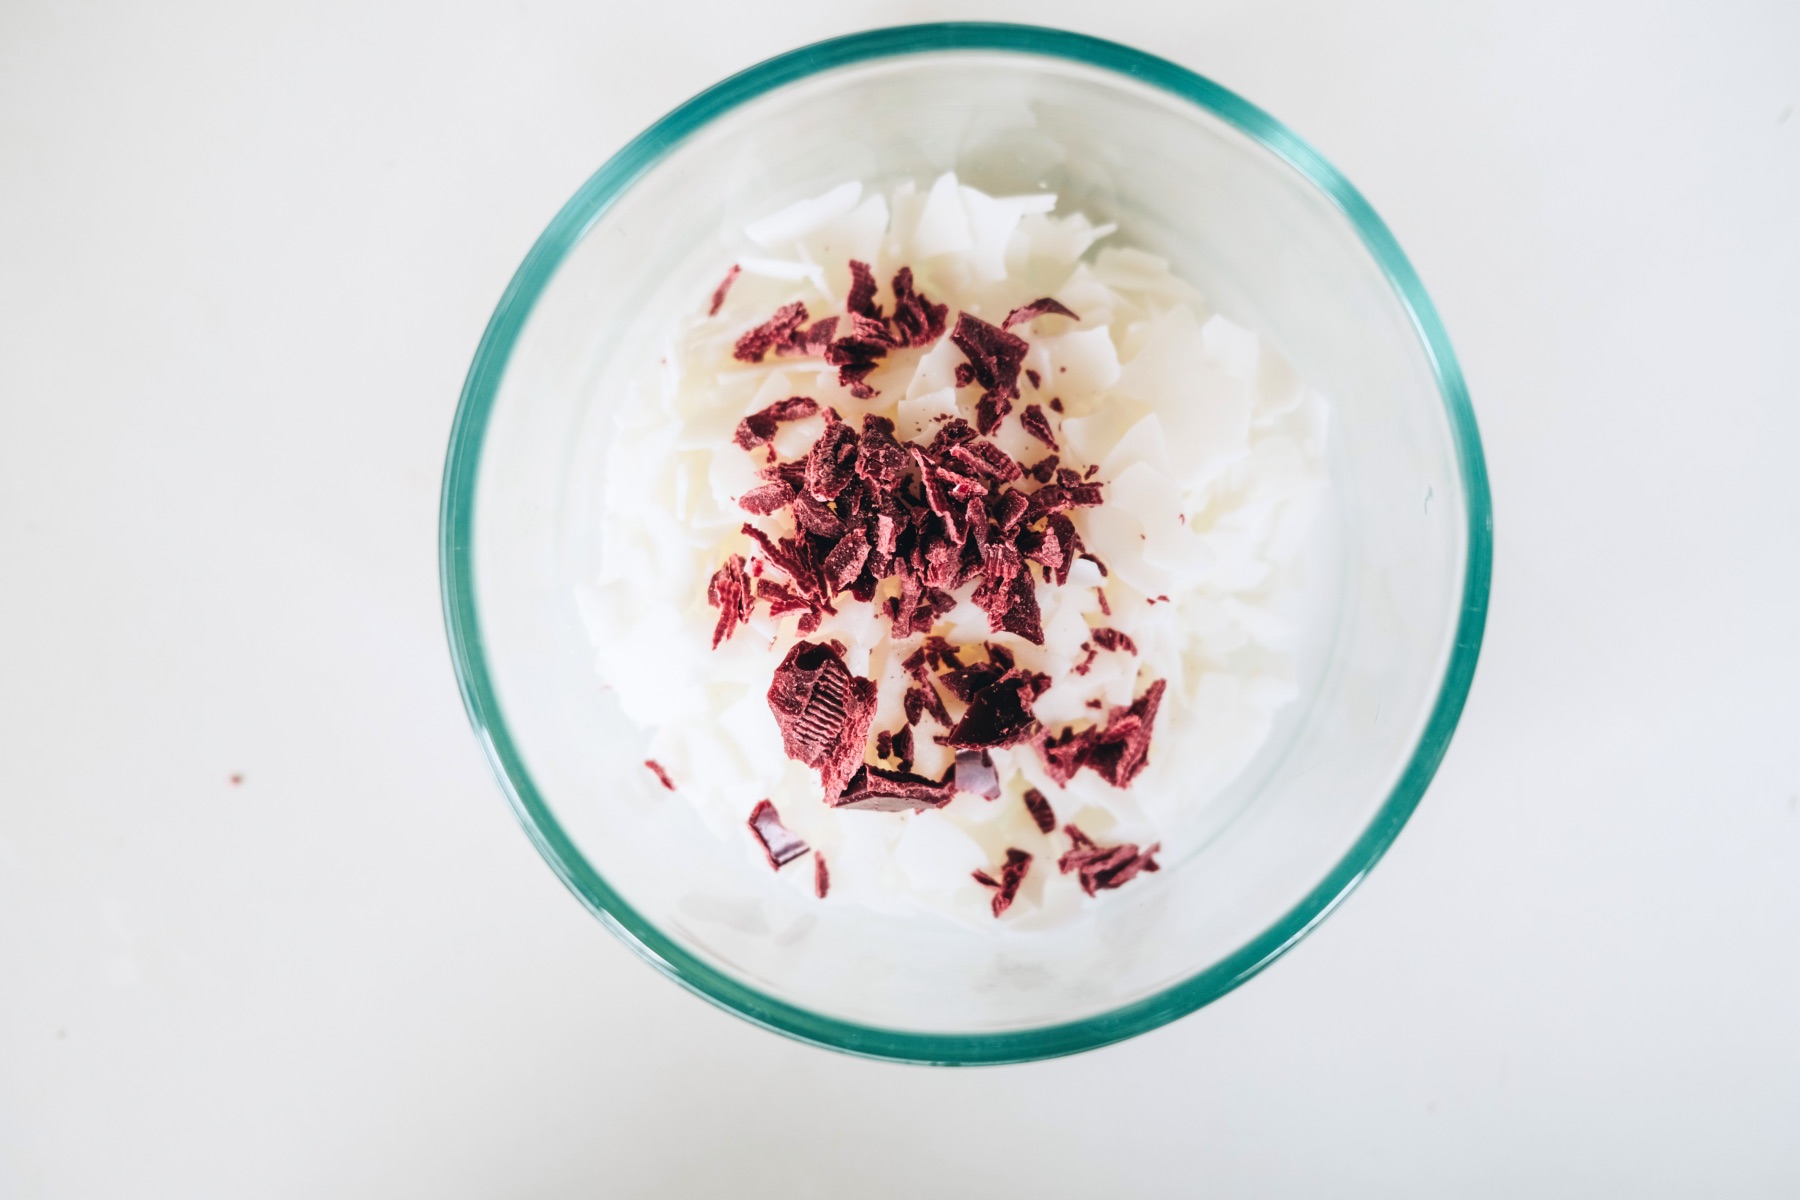
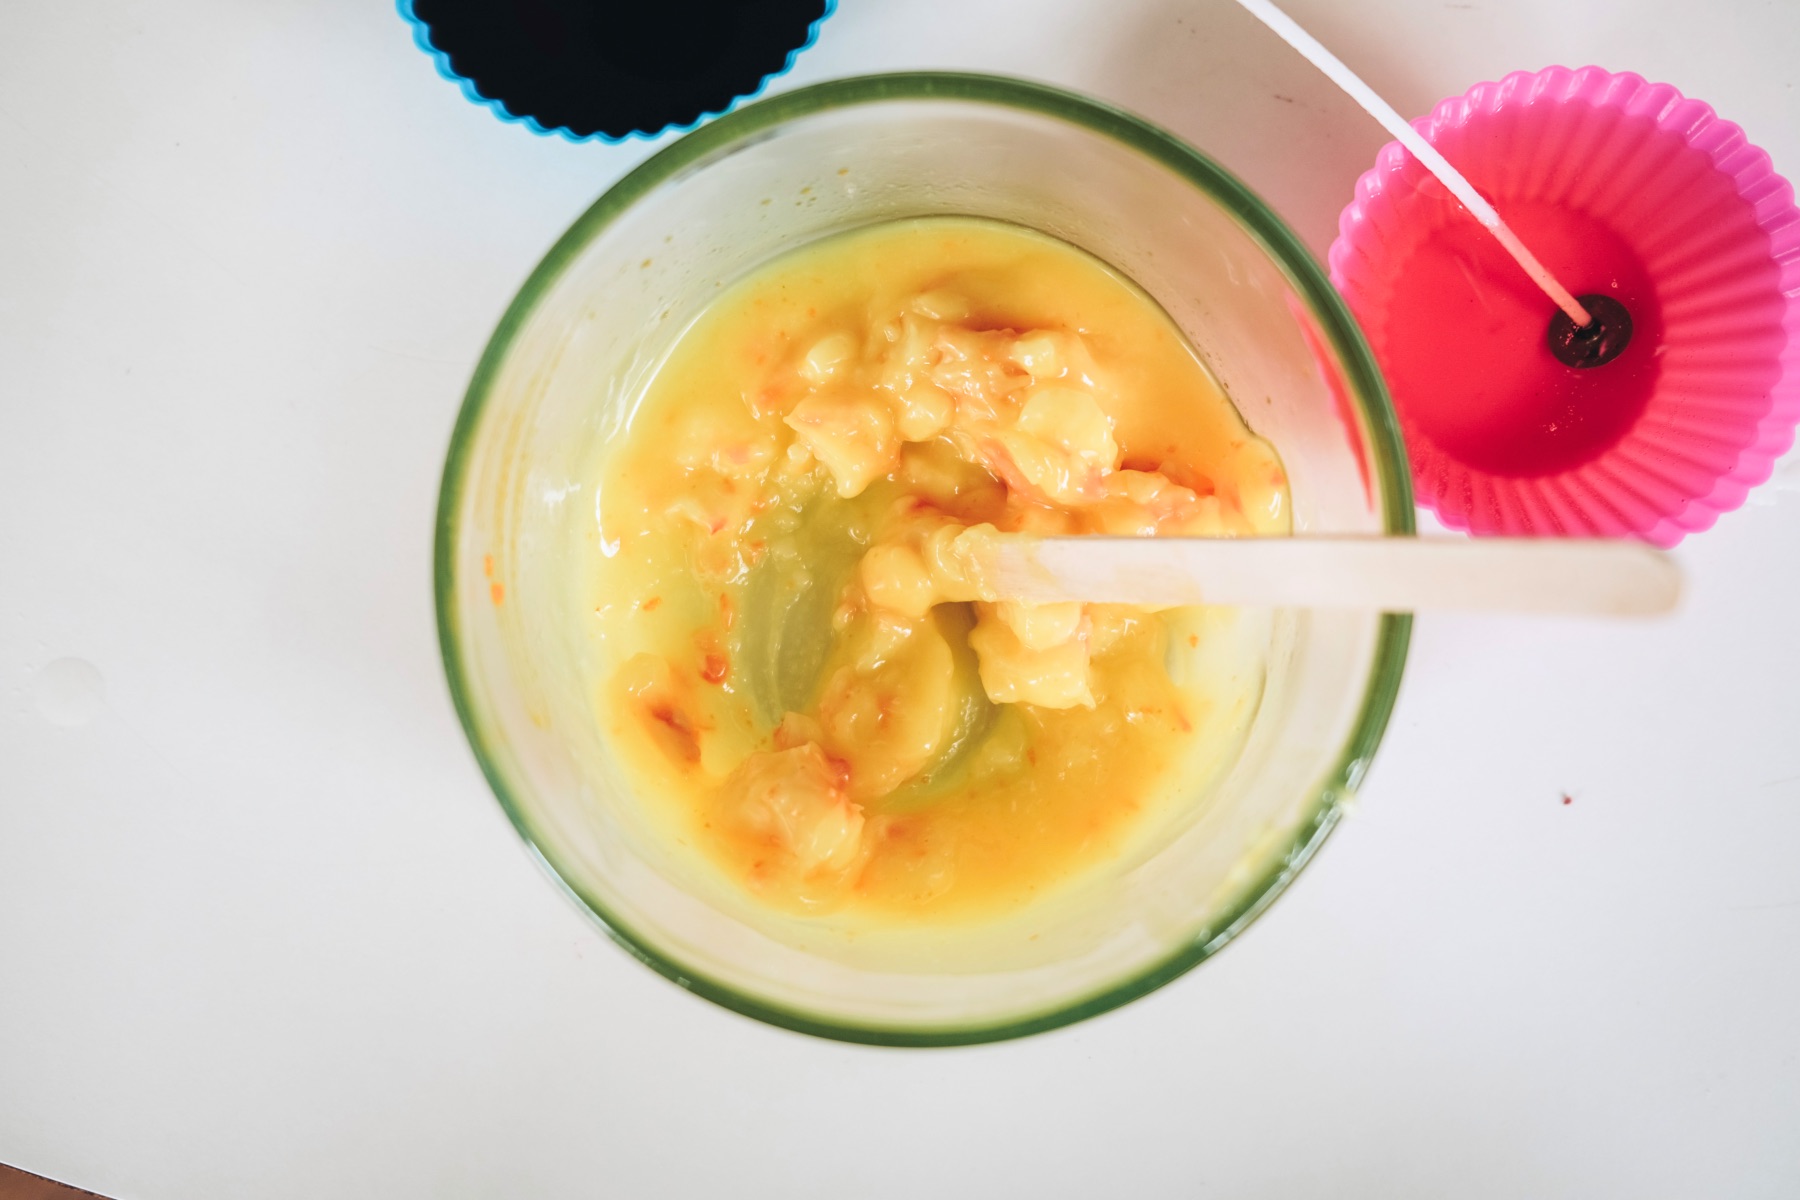
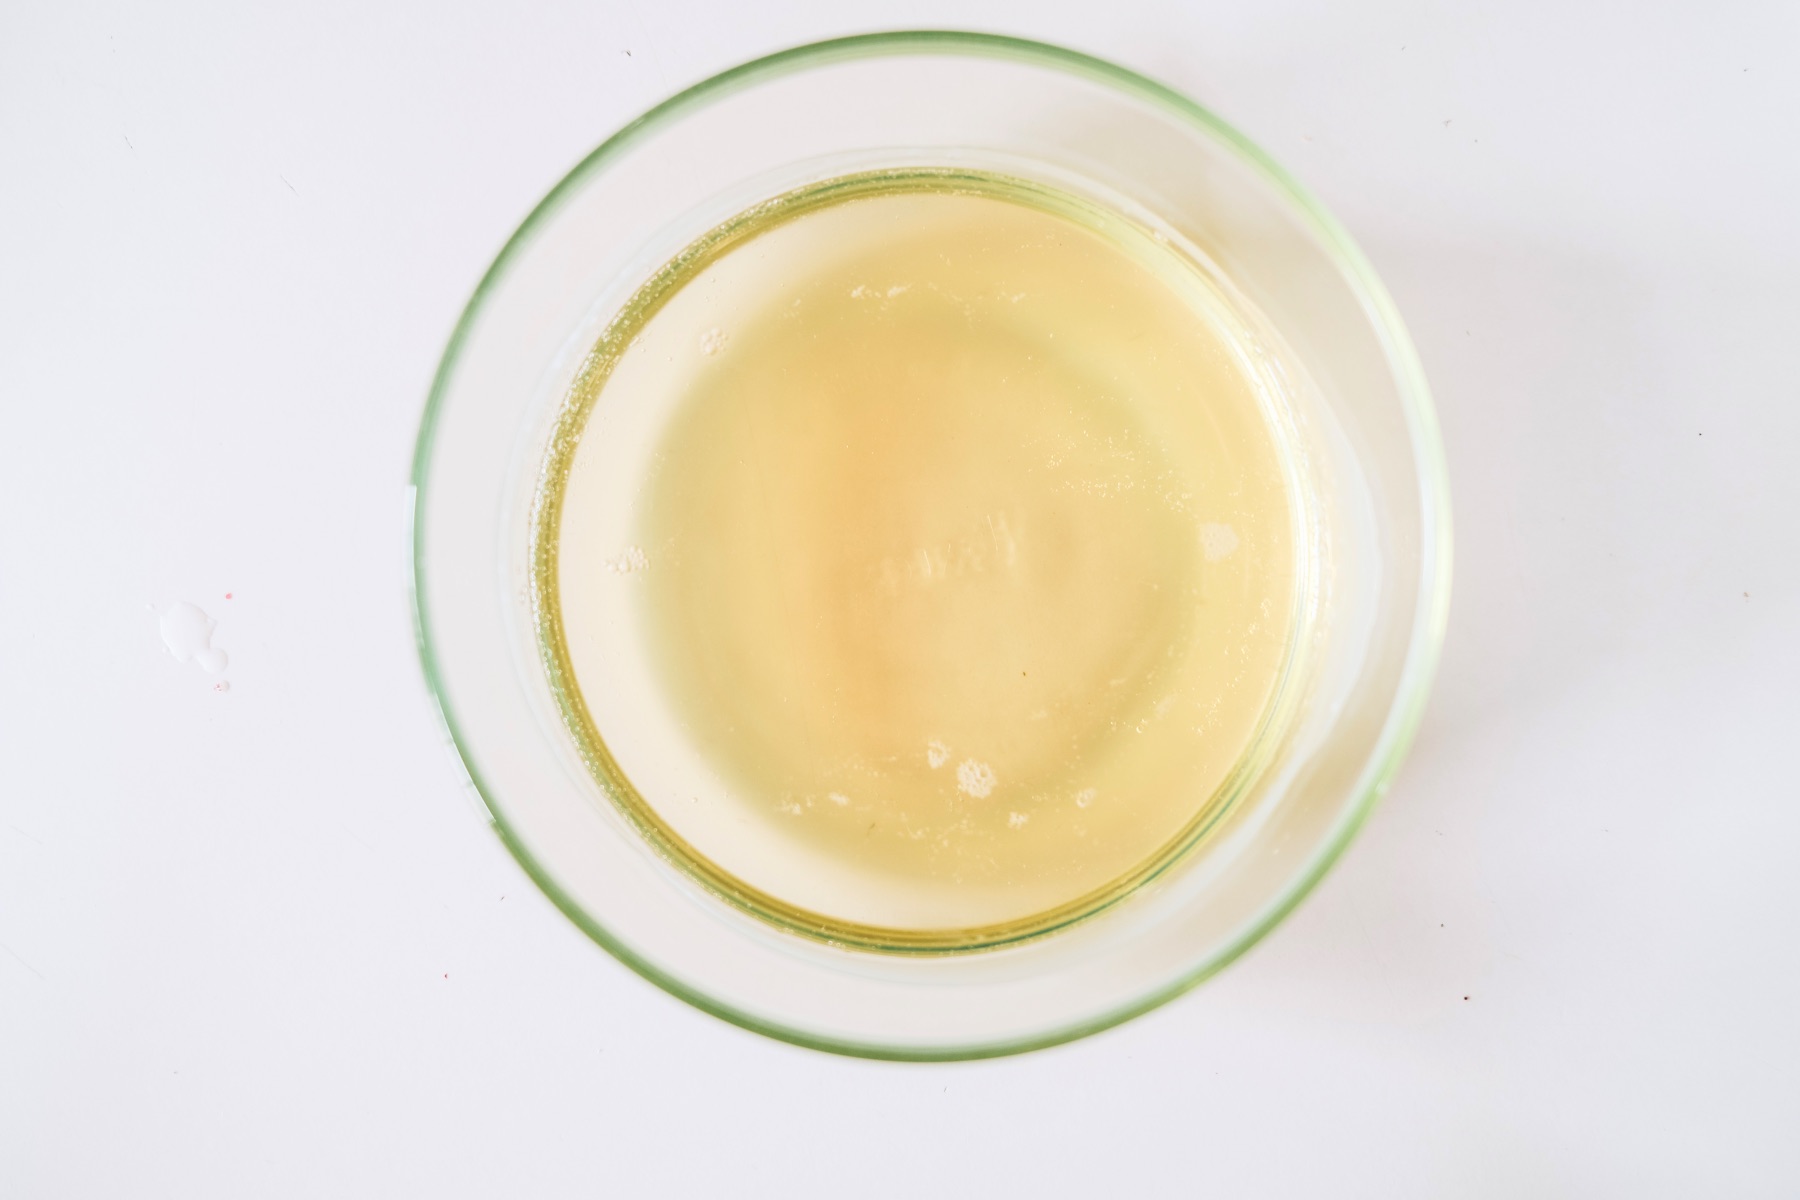
Make the Frosting
To make the frosting, we’re going to melt more wax, but this time there will be a twist!
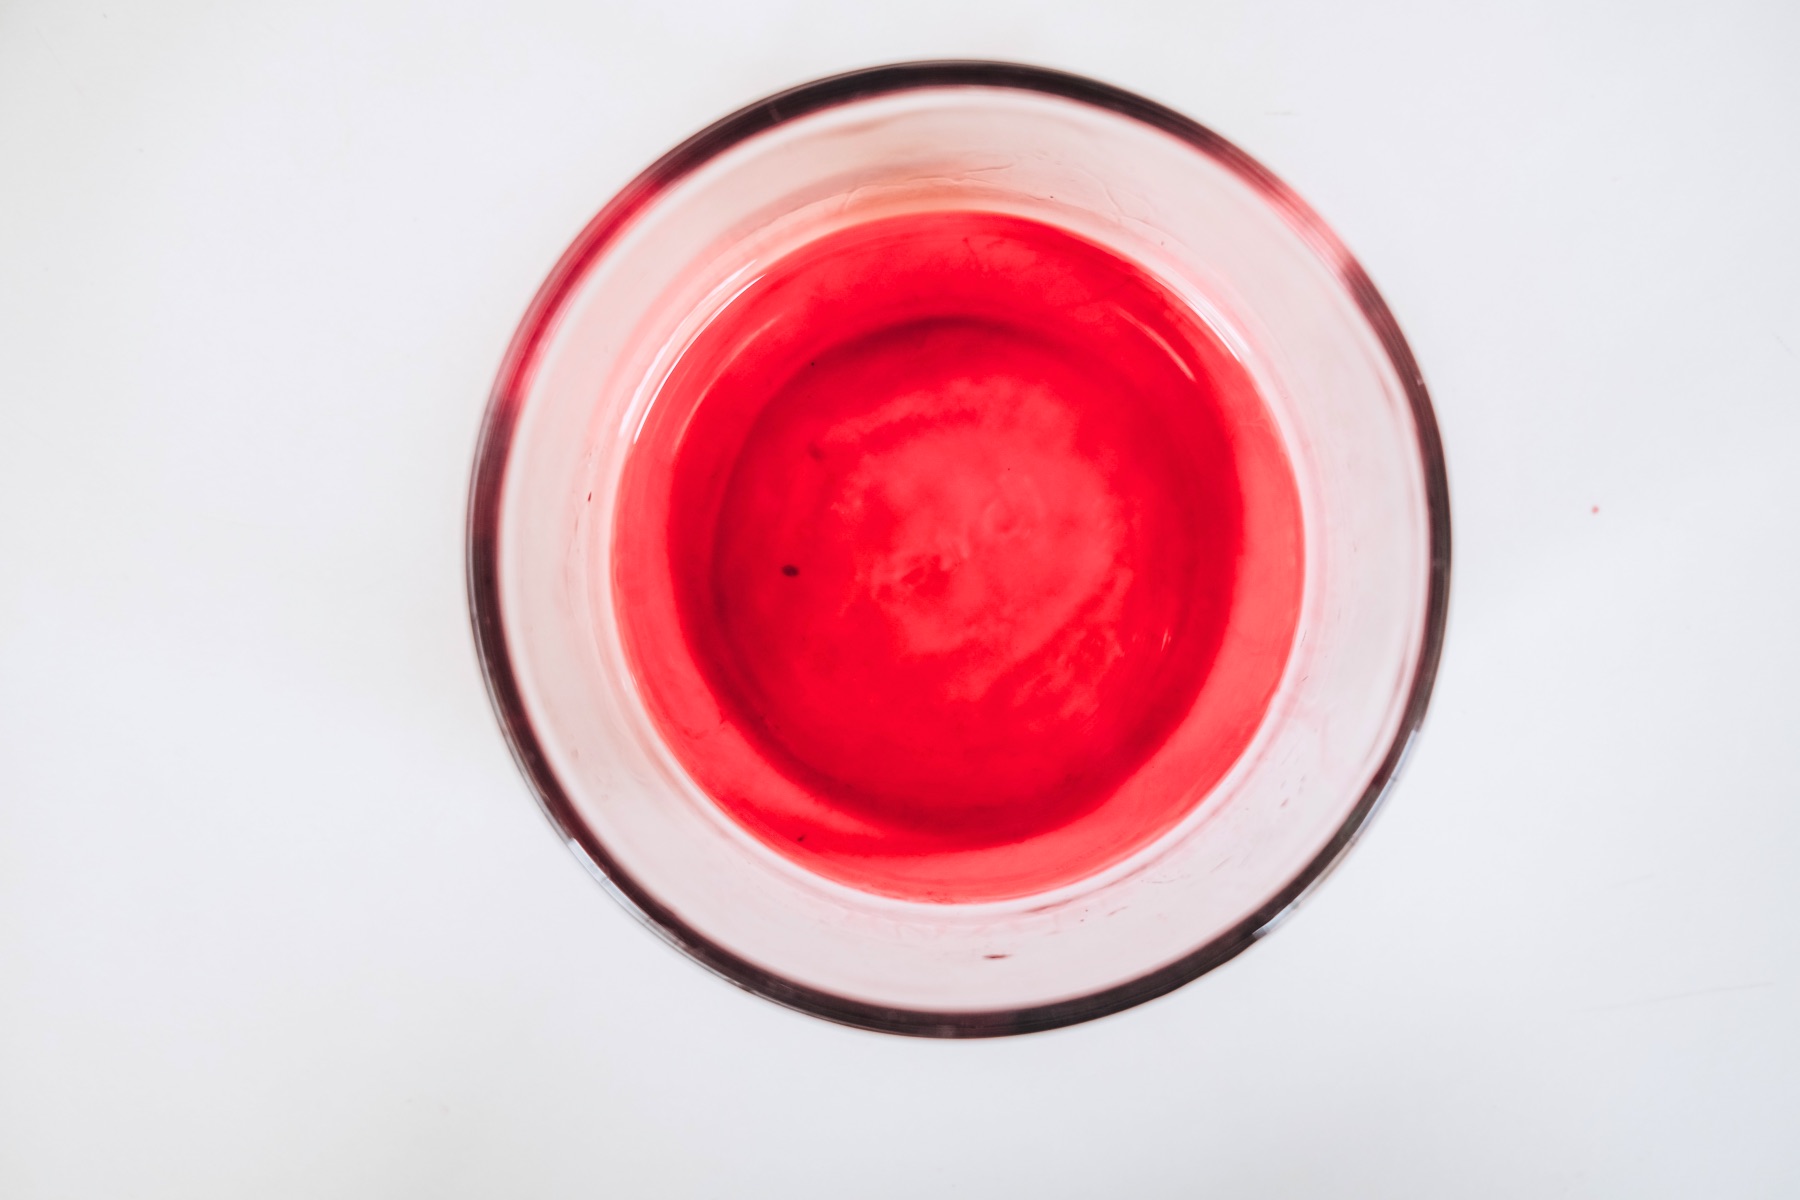
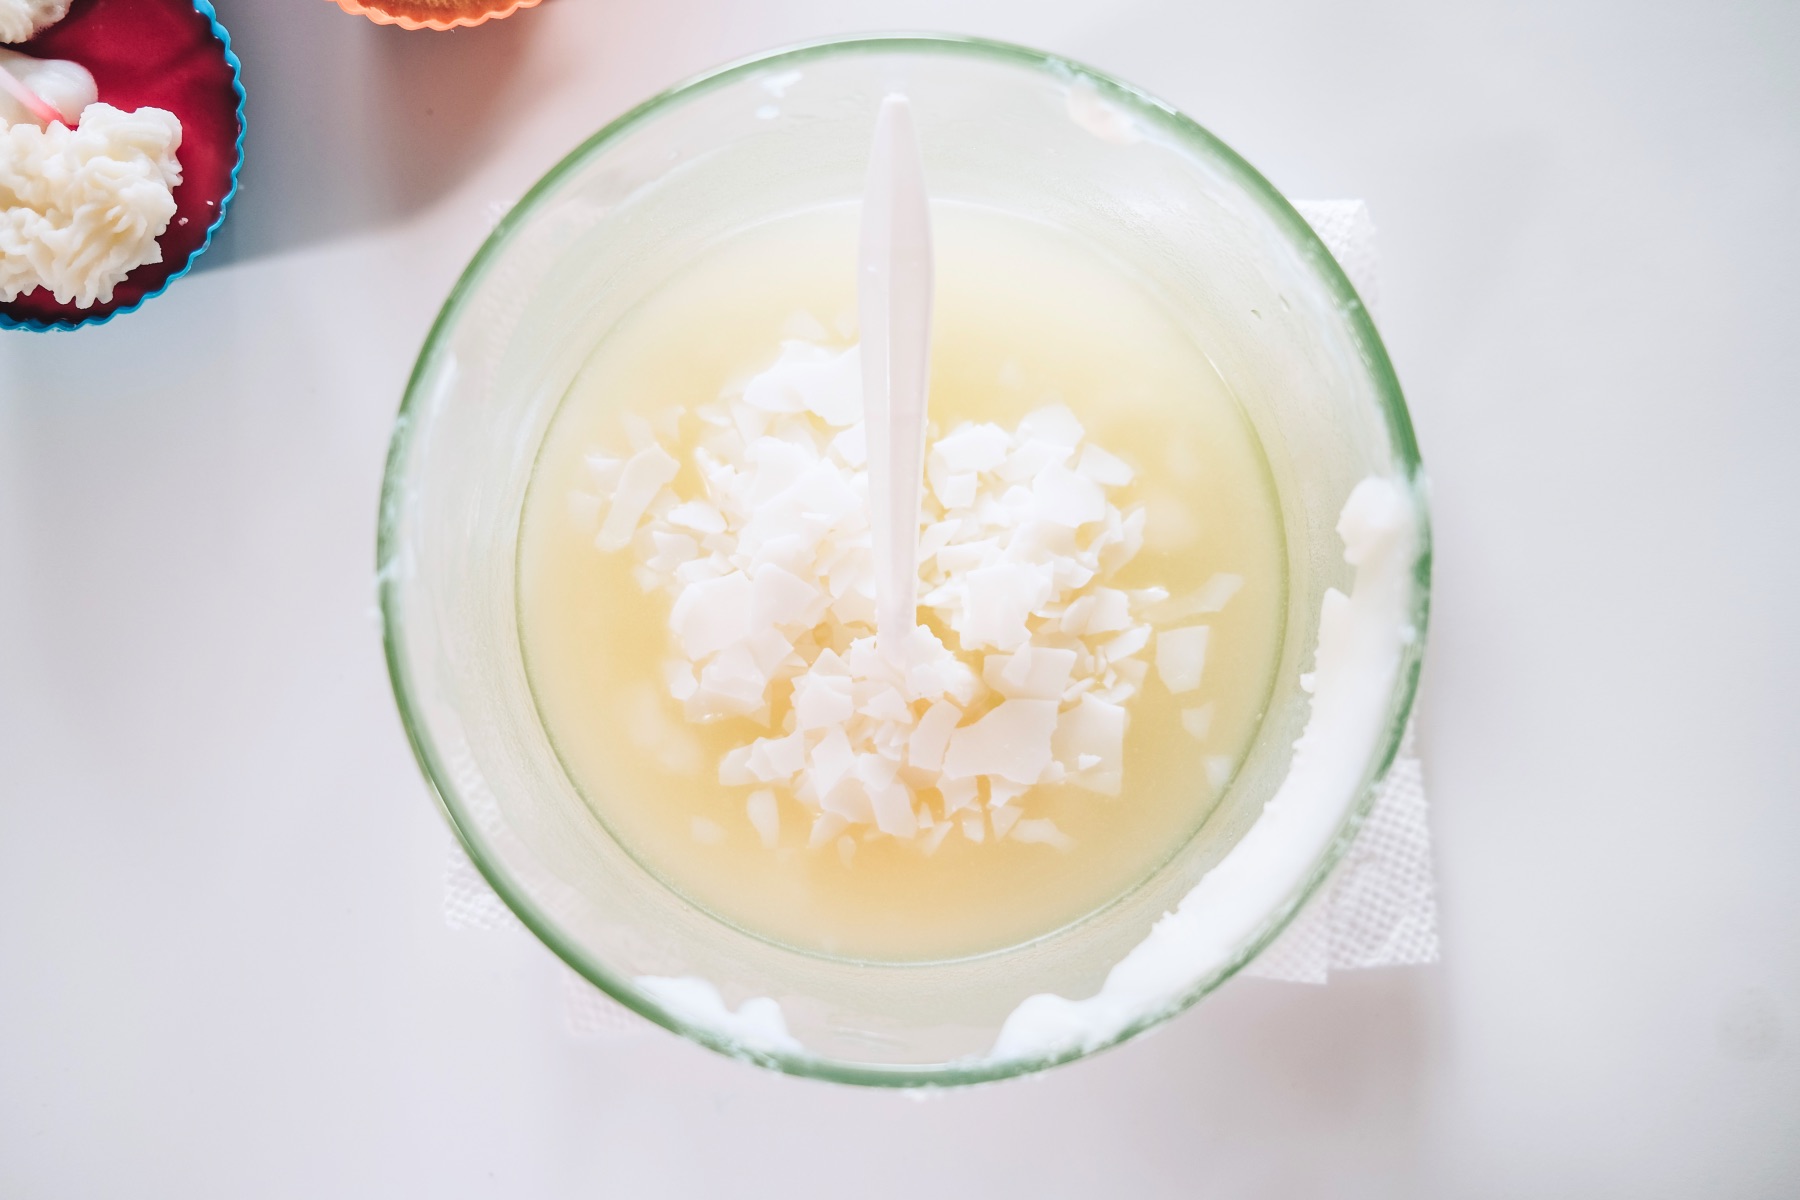
Start by melting around the same amount of wax – around 1 cup. For your colorant, I would actually use slightly less since frosting is always so light in color. For that reason, I would use a little less than 1/3 of a block. Just a sprinkle really.
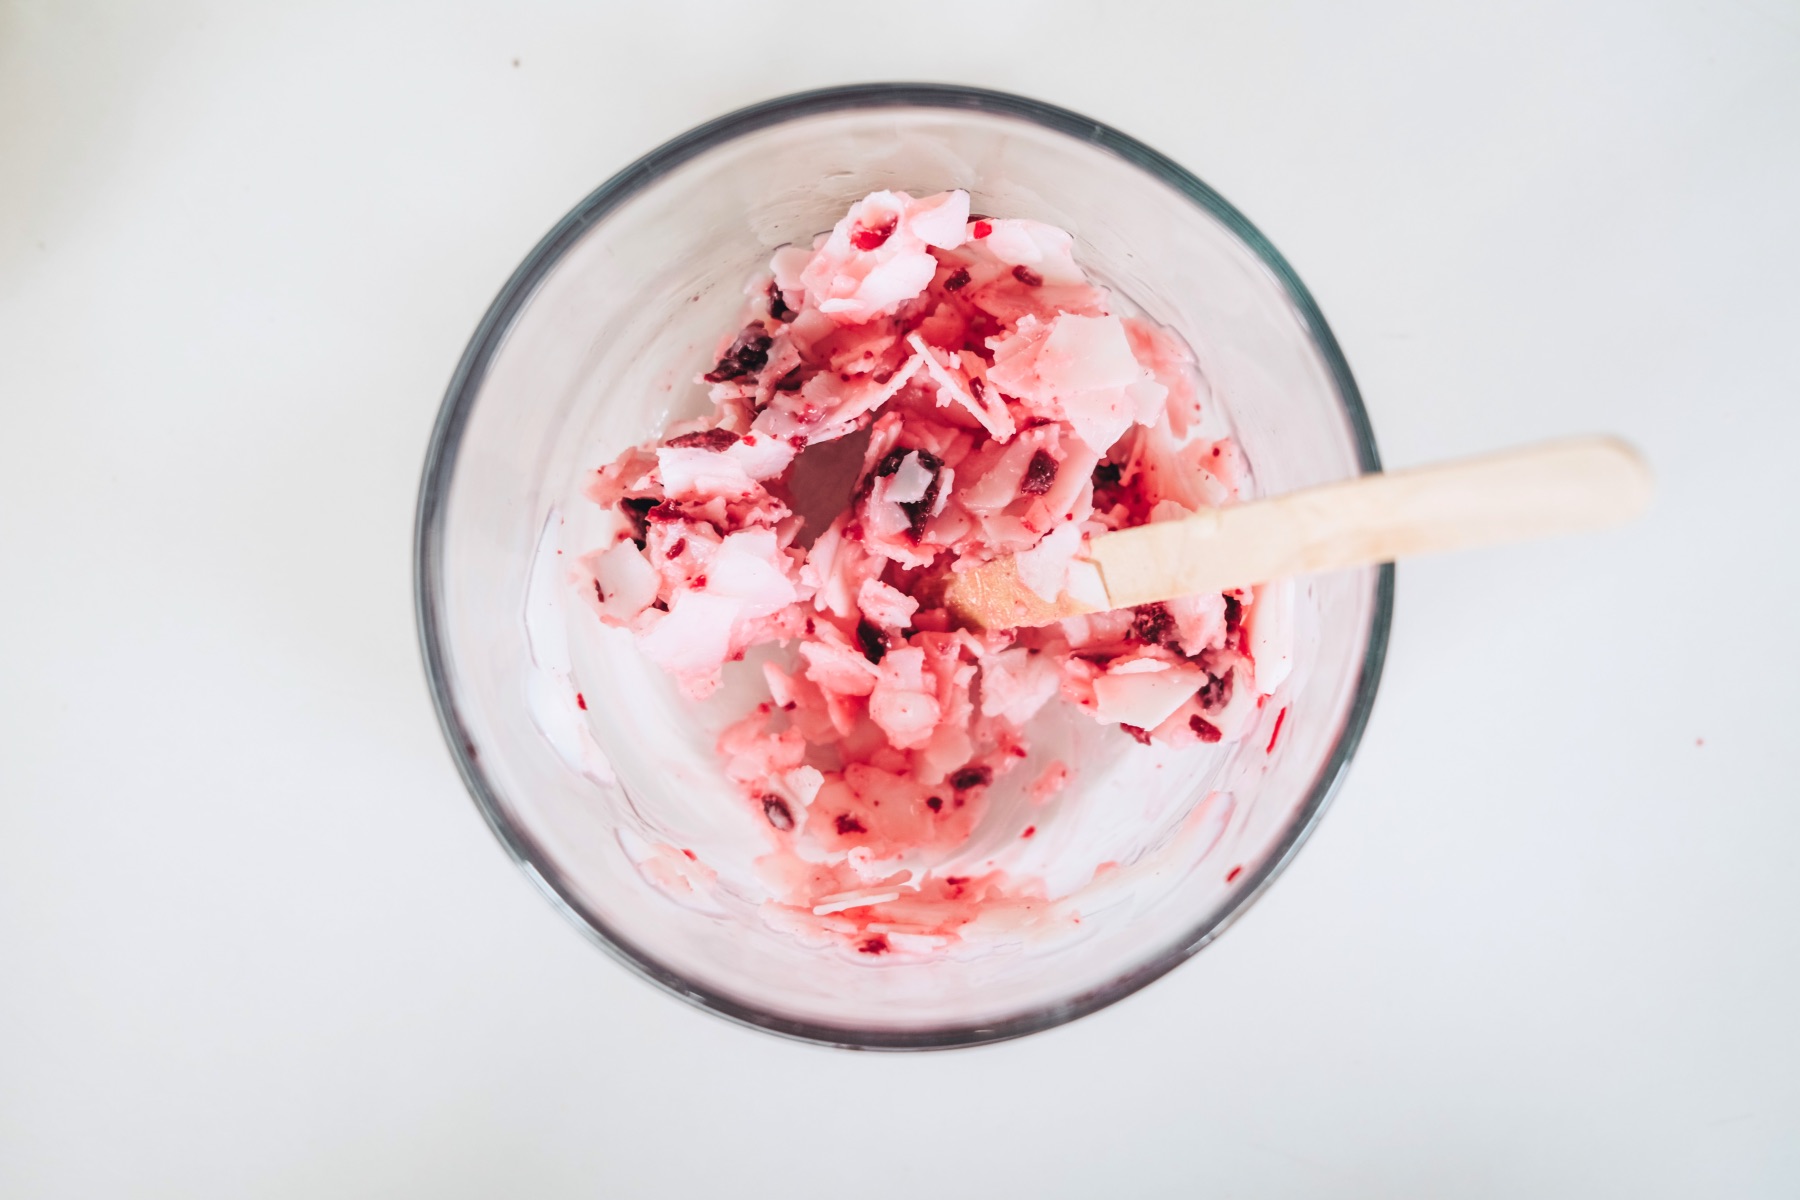
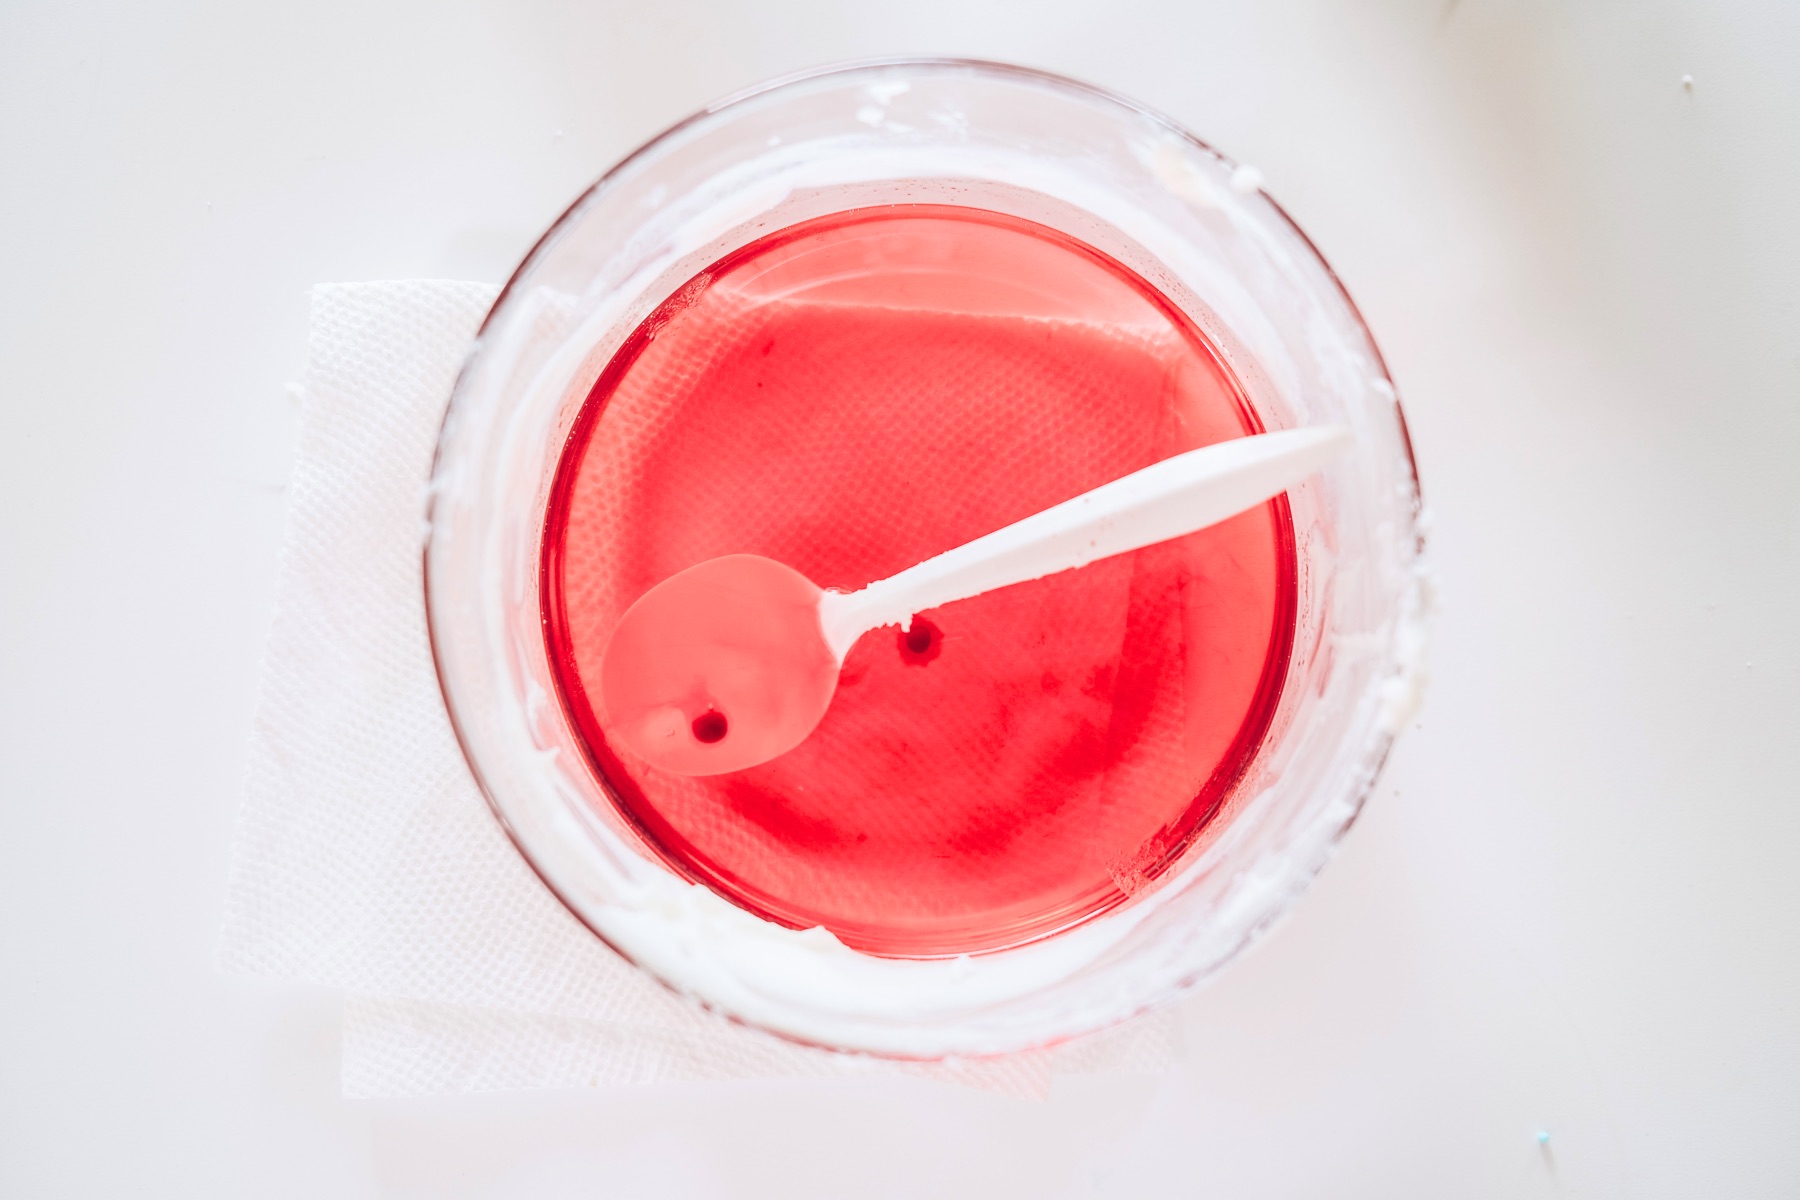
Again, melt the wax and the colorant until both are completely liquid. Now leave the wax in the bowl and grab a spoon and begin to stir.
It’s okay if you don’t have a plastic disposable spoon like mine. Most candle wax is food safe. And the kind we carry is.
That means that you can safely use a kitchen spoon. When you are done with the bowl you are using, you can wash it in your sink with your other dishes. It makes candle making so much easier!
Continue to stir the wax, scraping the sides of the bowl until you are ready to add your fragrances. Remember, you don’t have to add more fragrance if your cake portion is heavily scented. Just add fragrance if you think it needs more.
You can also make your cake and frosting have different scents so that as you burn the candle they smell different as you burn them!
Continue to stir the wax, scraping the sides of the bowl until the wax is scoopable and when you scoop it into your spoon, it doesn’t run off the side of the spoon. Instead, you want the wax to be barely solid enough to hold its shape.
If this is happening too slowly, you can always add a small handful of dry wax to the liquid wax to speed up the process.
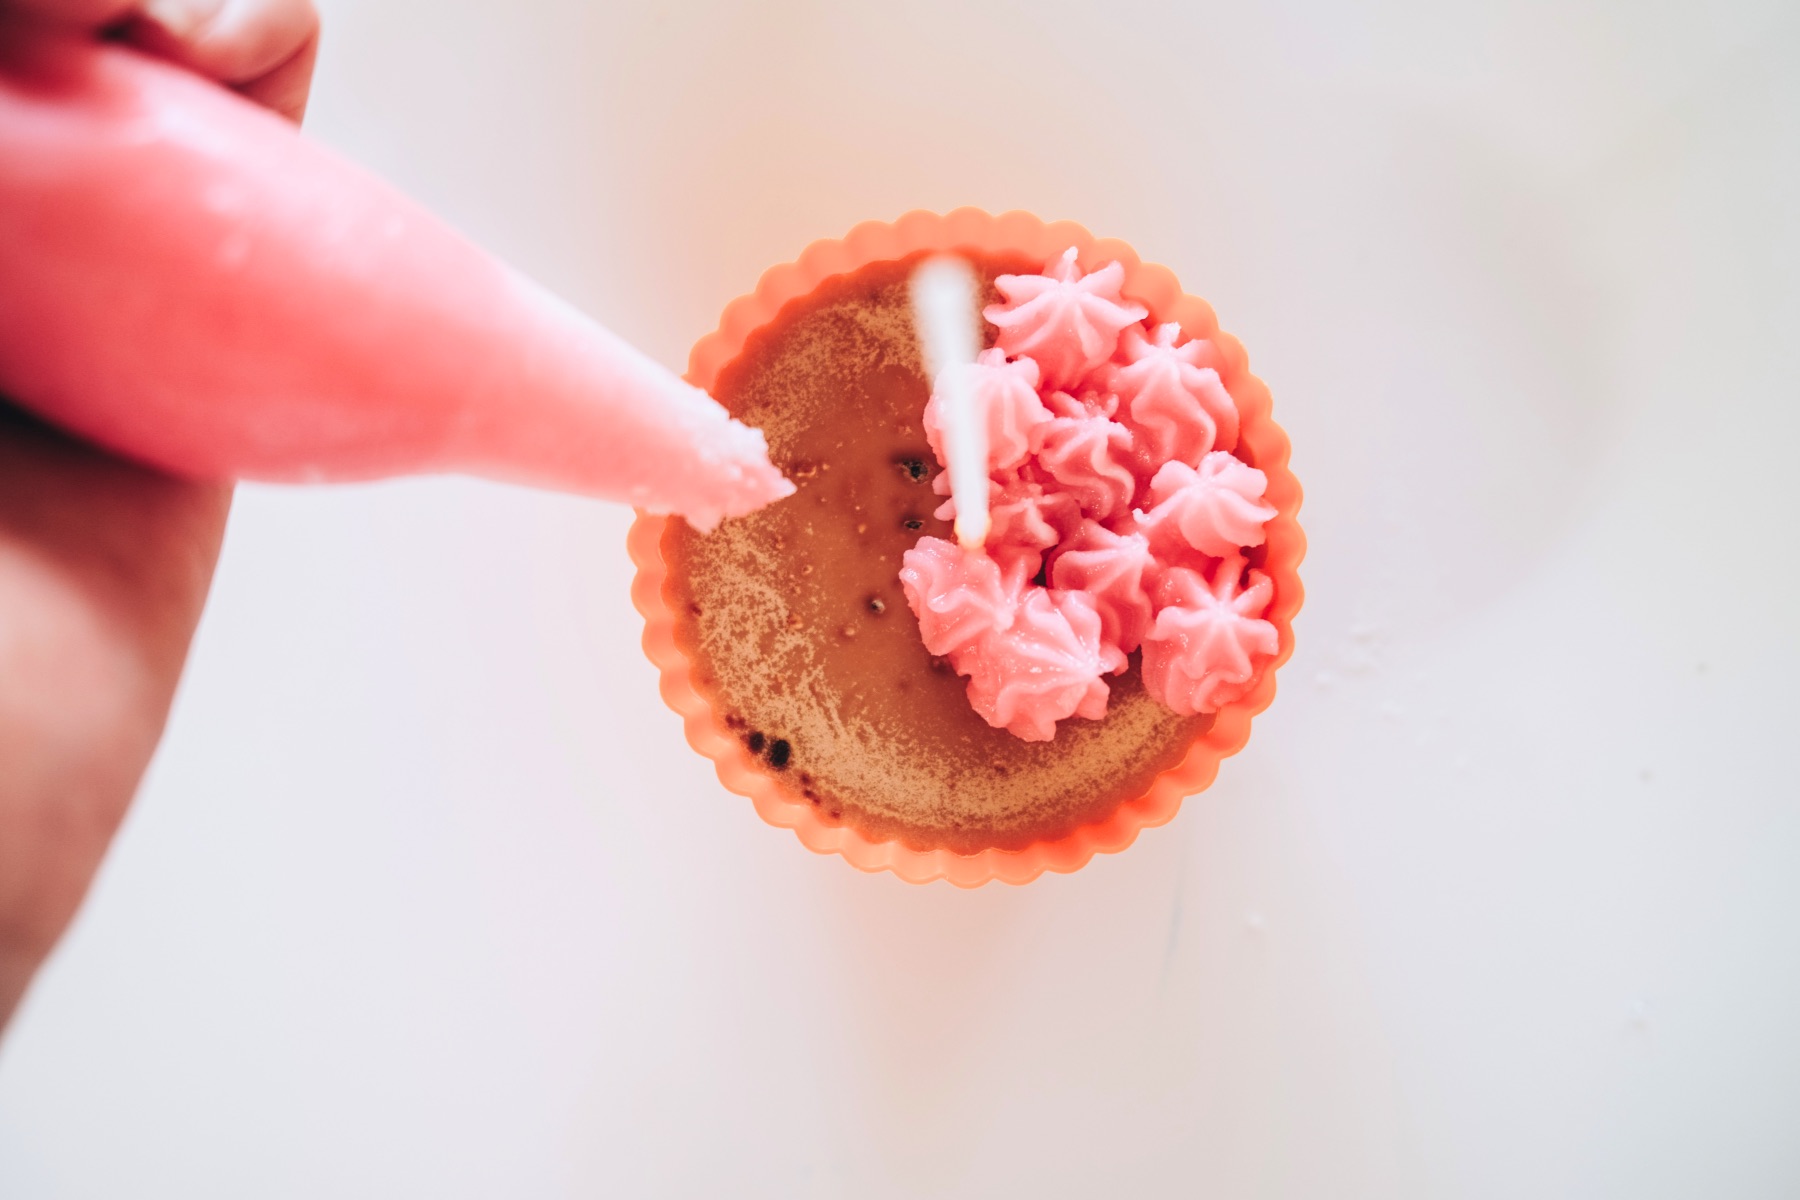
When the wax is ready, use the spoon to scoop your wax into the piping bag. Press the wax all the way down to the star shaped tip and twist the open end of the piping bag around and around to seal the open end.
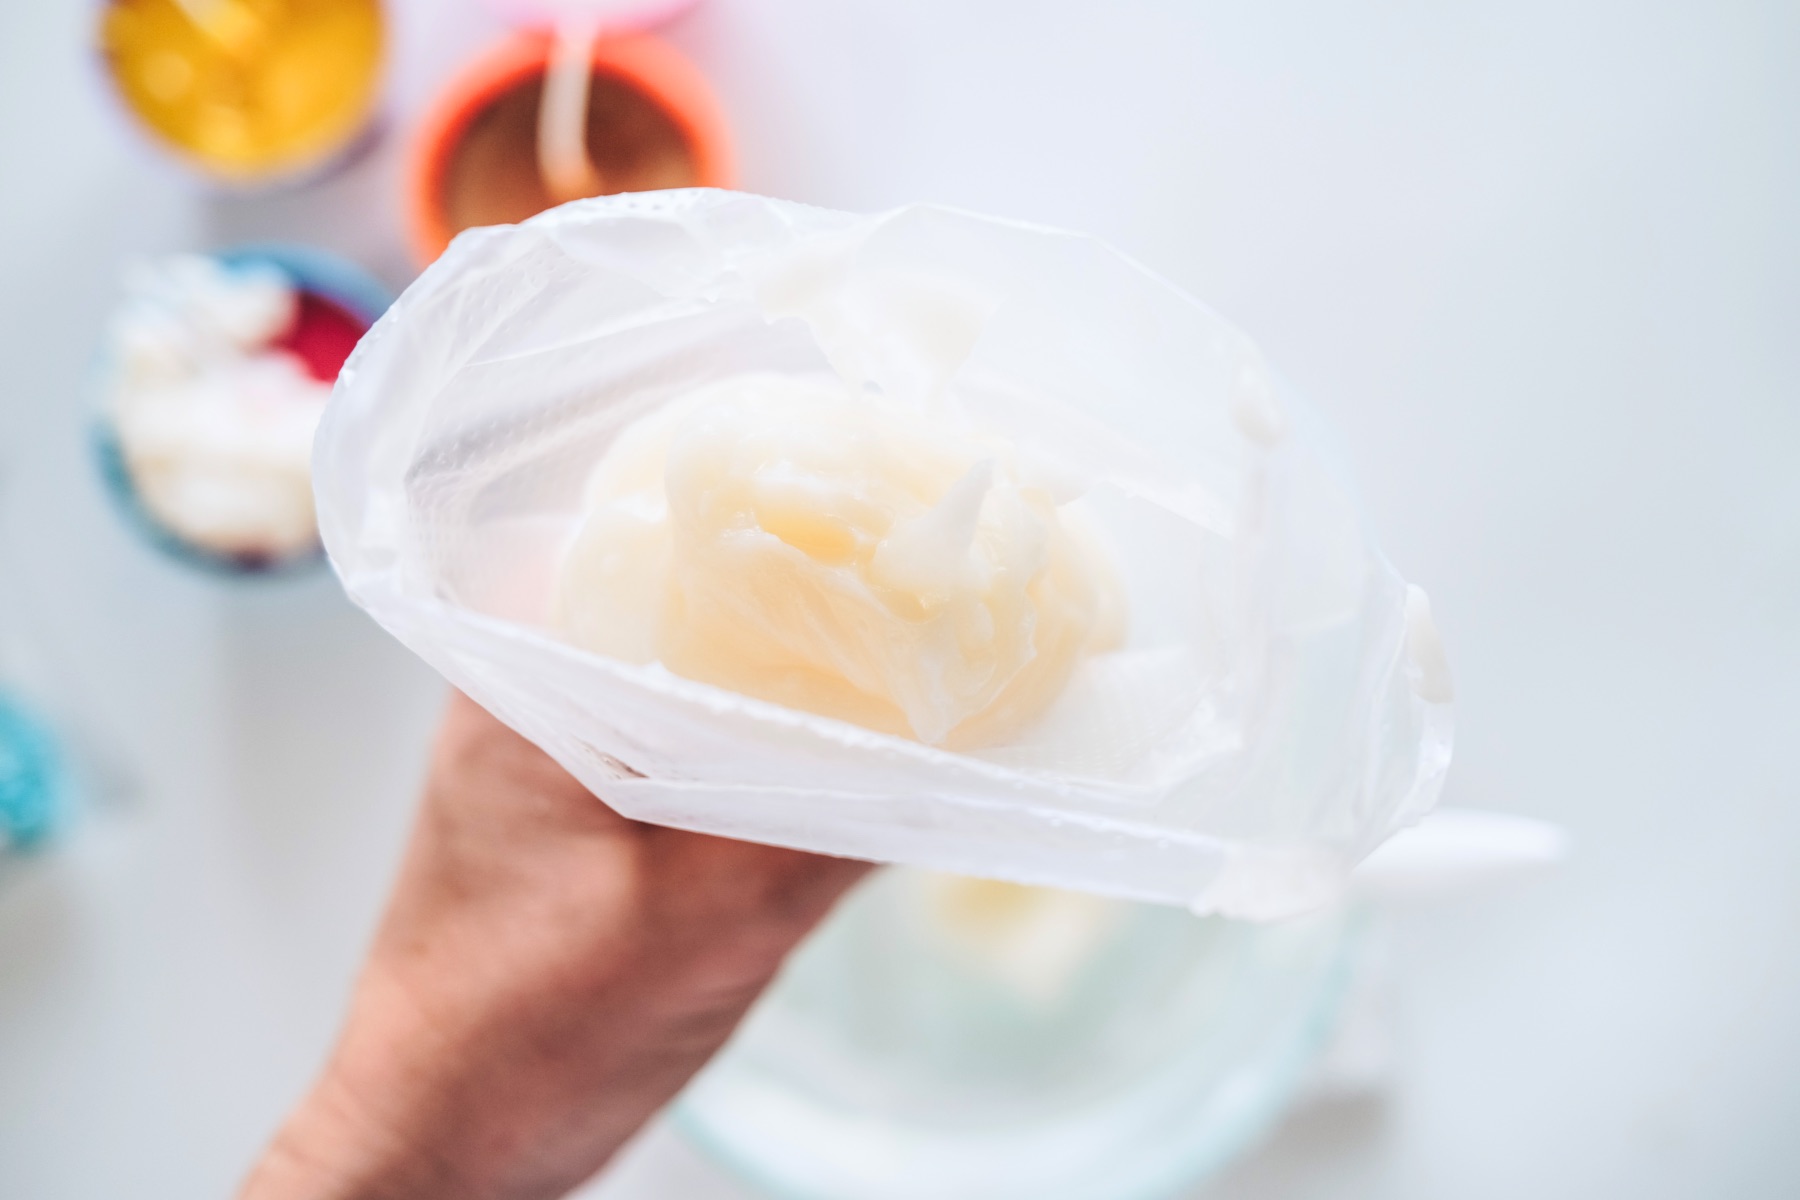
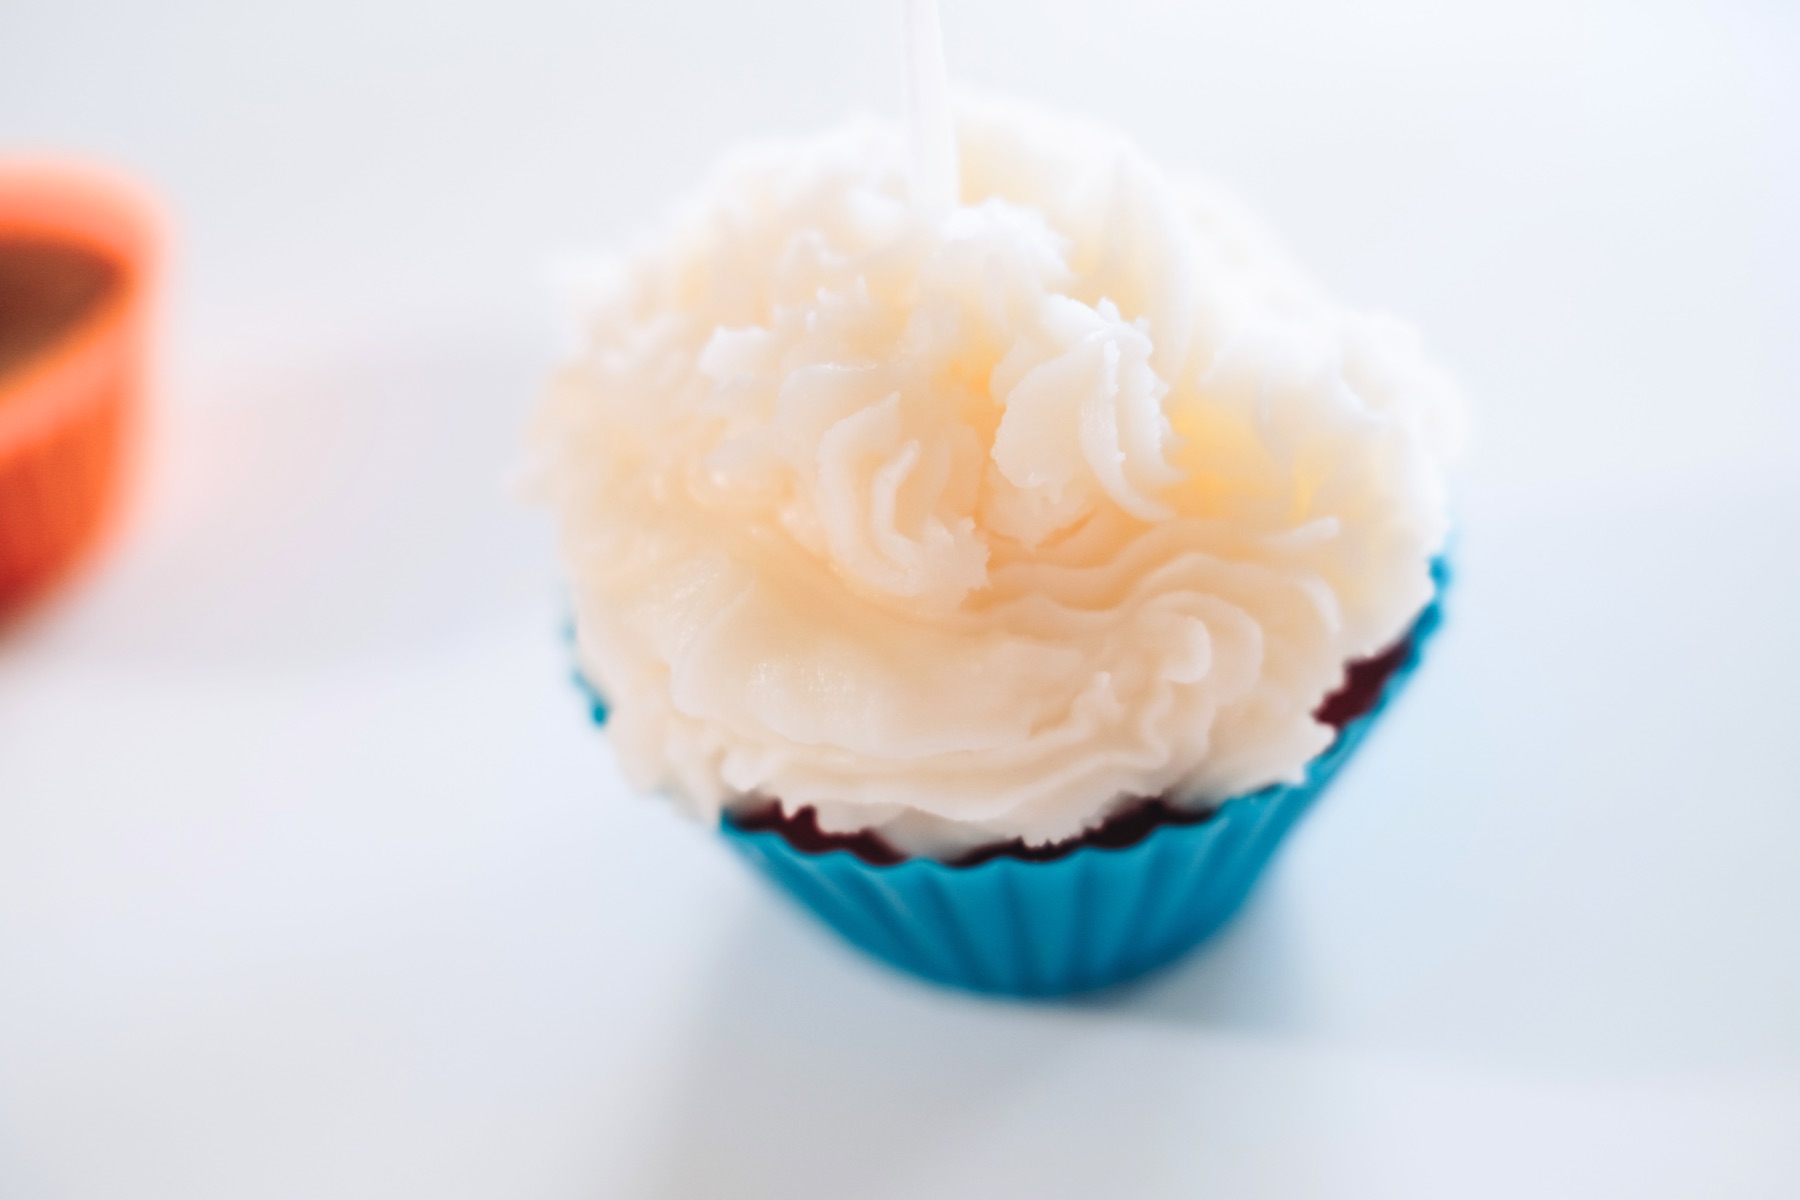
Now just have fun with your piping!
If the wax is not holding it’s shape and if the frosting just falls flat into mush, the wax is still too liquid. Just leave it alone in the piping bag for a few more minutes and then begin to pipe.
If for any reason, your piping bag gets clogged, use a toothpick to push the wax out of the star shaped tip so that you can continue to pipe the candle wax again.
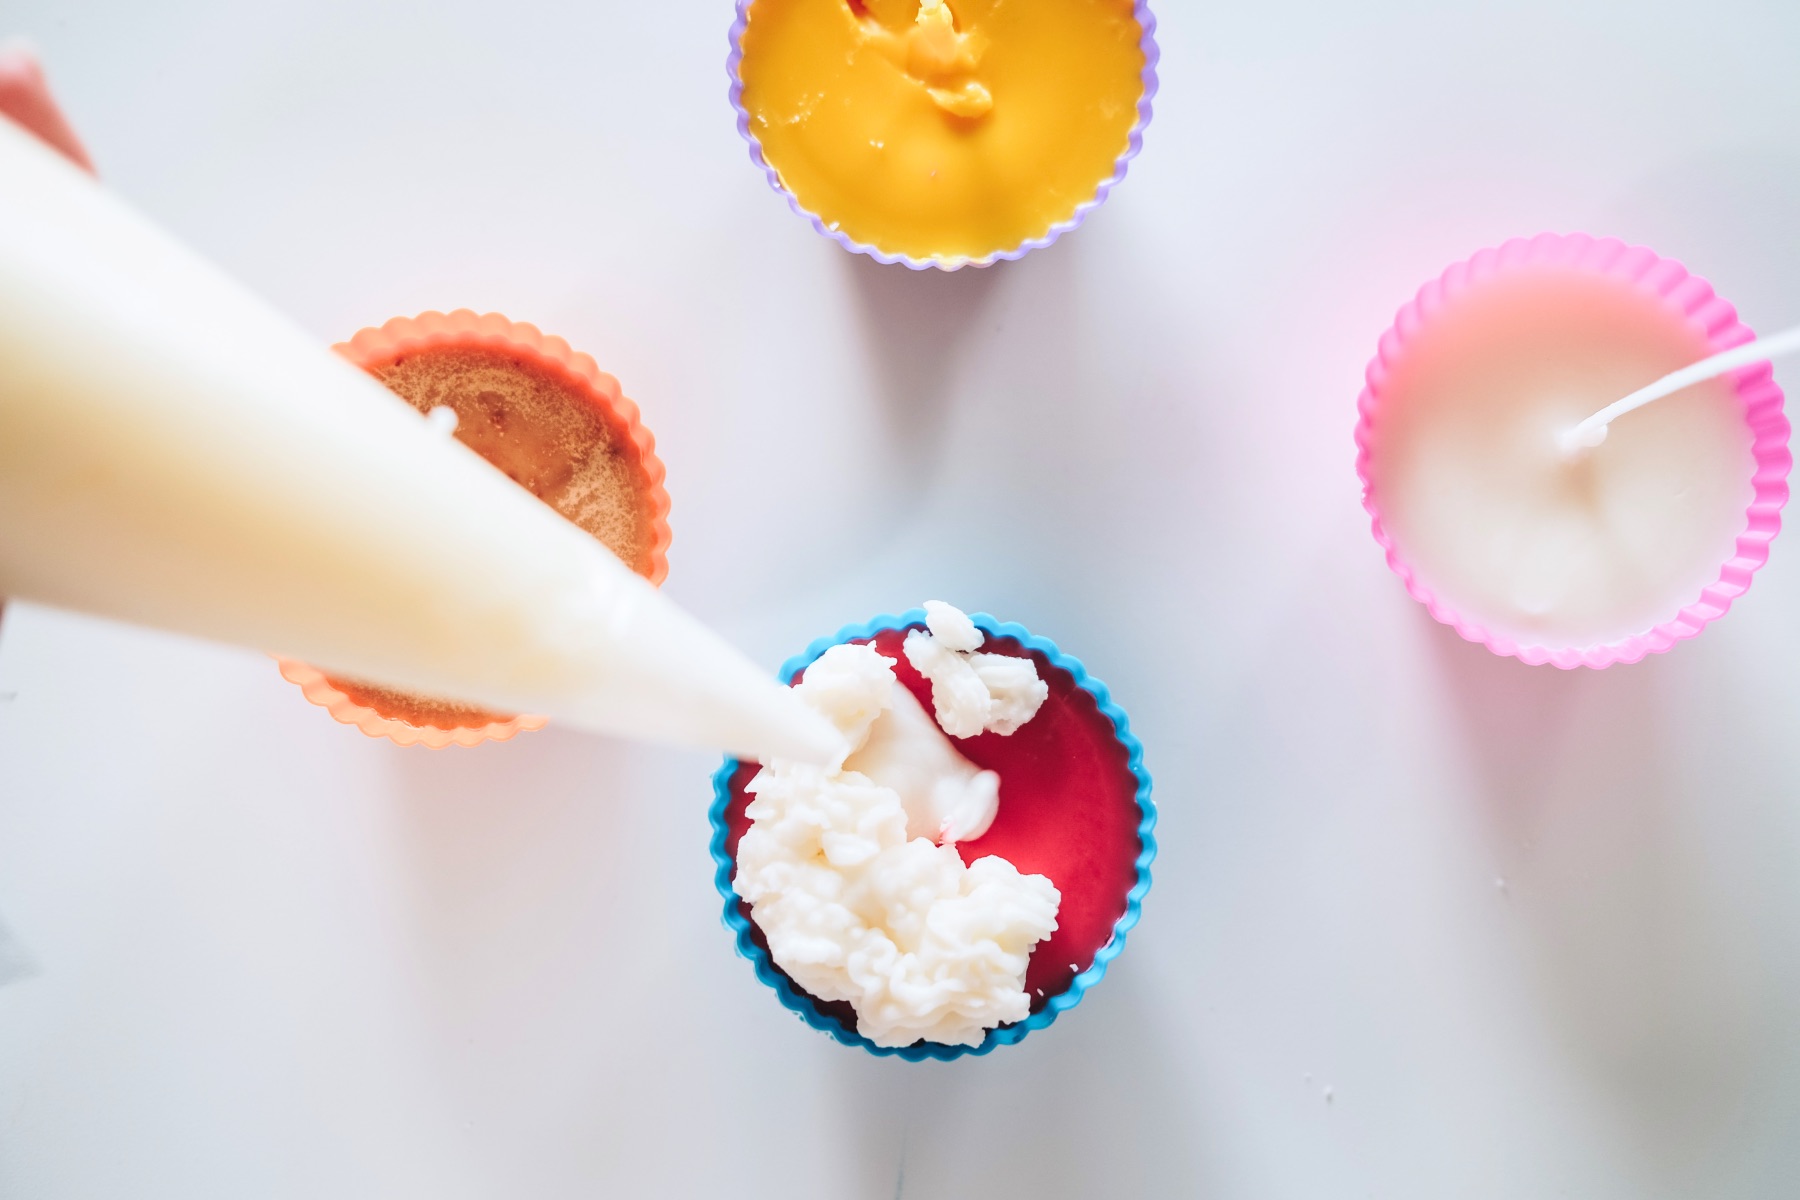
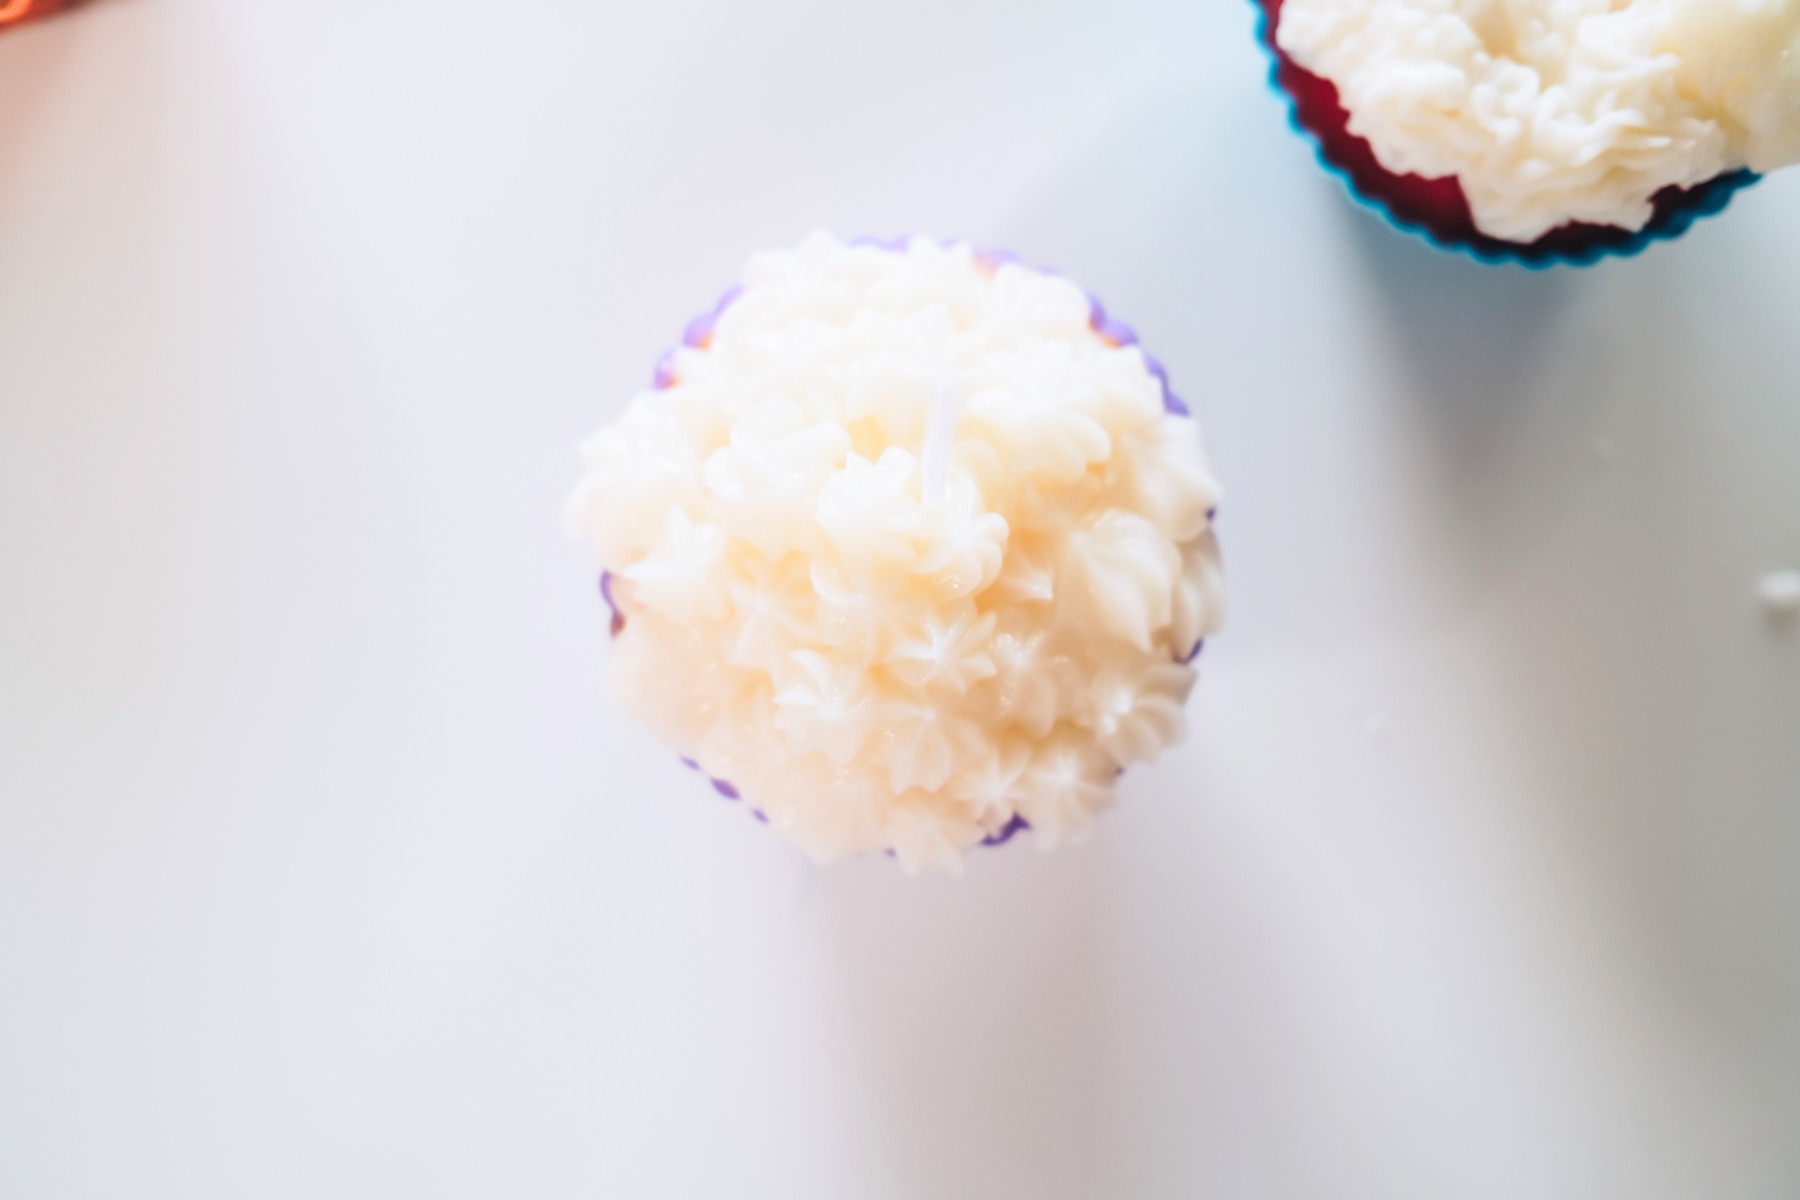
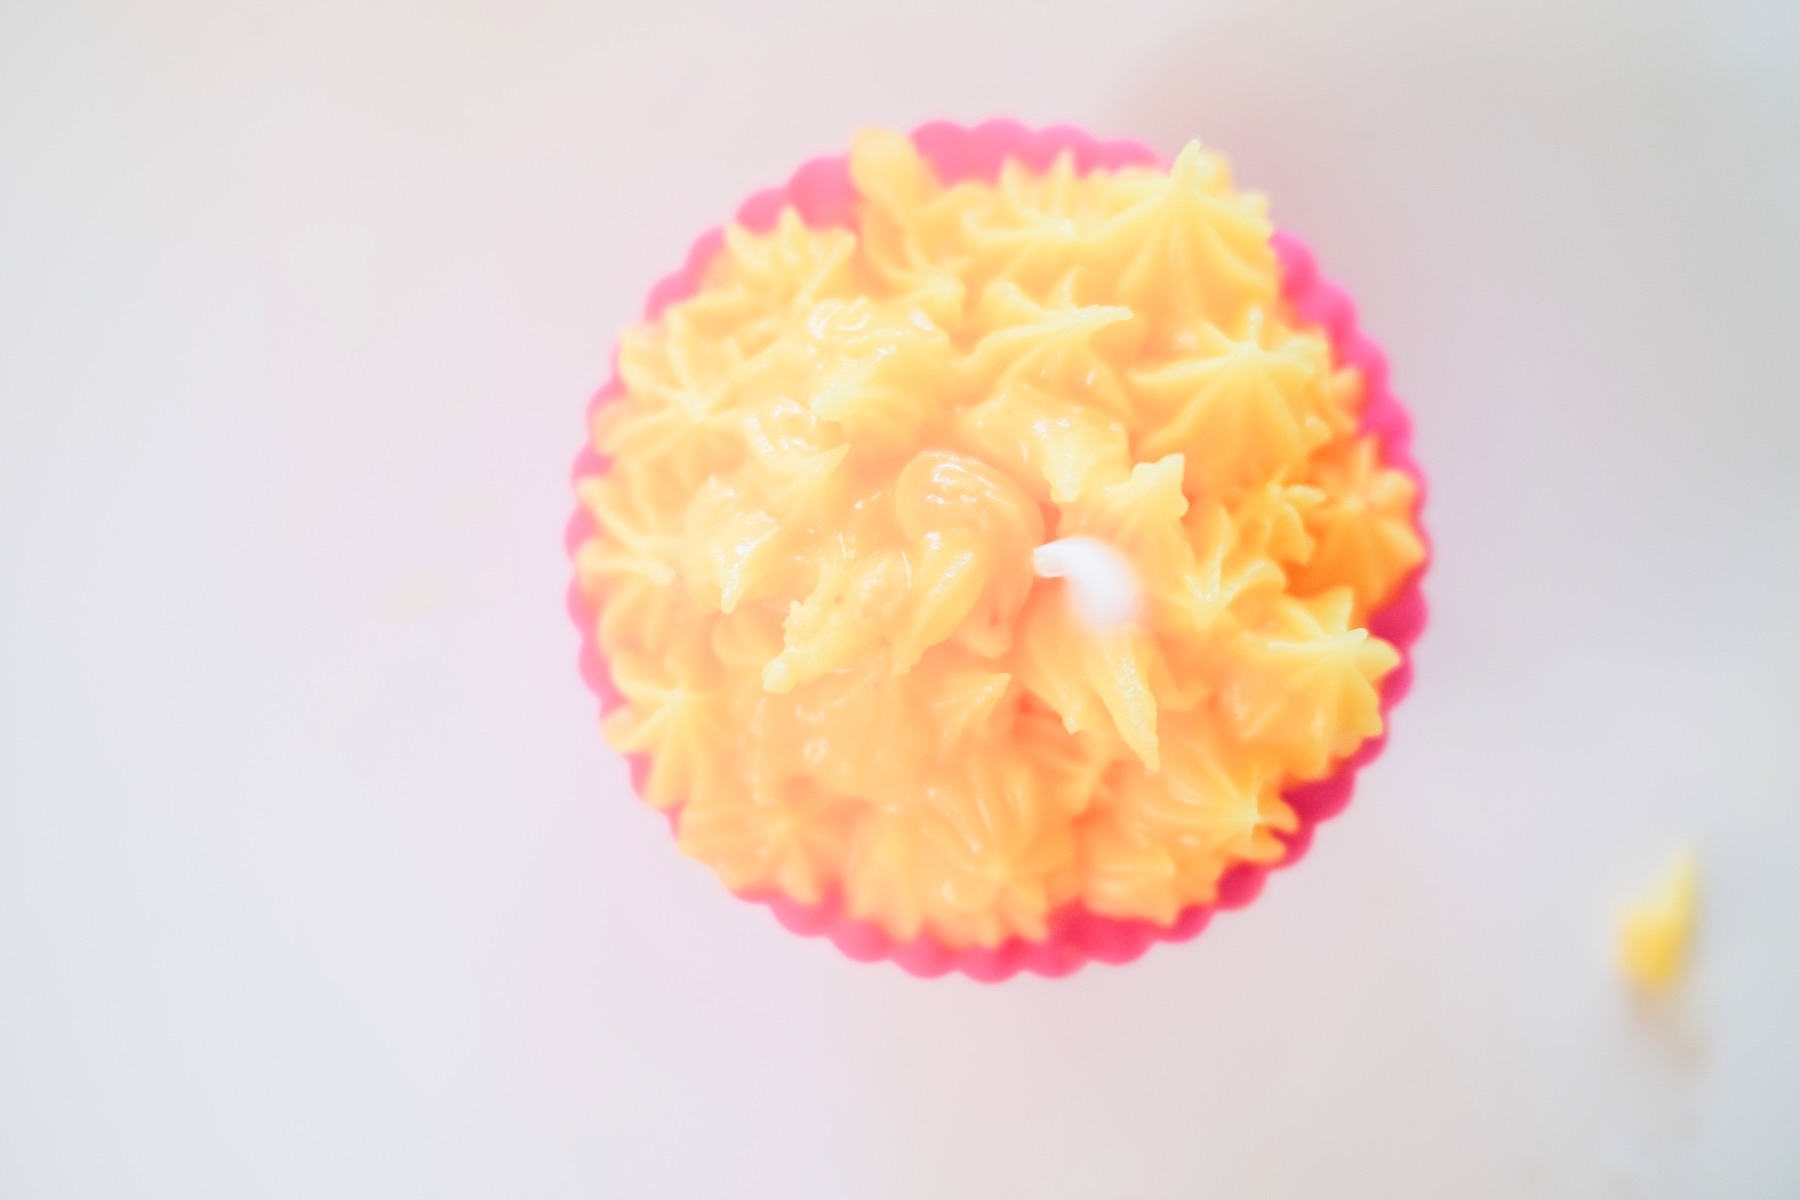
You can pipe the wax all in one continuous stream. Or you can make small star shapes across your cupcake candle.
Whatever you choose make sure you build up your frosting layer very high. It will look more authentic that way.
Tips for Frosting Your Cupcakes
Frosting your cupcakes is fun, but it does have a slight learning curve. So here are a few things you need to know.
1. Once you are done decorating your cupcakes, squeeze out all the remaining wax out of the piping bag. You could squeeze it into a bowl to be used again or you could just squeeze it out and throw it away.
2. If you let a lot of wax harden and cool in the piping bag, it’s really challenging to clean up, get the frosting tip off of the piping bag to use it again.
3. Once you squeeze out all the candle wax from the piping bag, open the bag bag up. The wax will seal the piping bag closed, but in case you want to use the bag again, open it up now while the wax is still wet.

4. When you reuse your tip, you will likely need to use toothpicks to remove any solid wax. This can be a touch messy. But it’s fast and easy, once you know that you need to do it.
5. Use a fresh bag for each color change. Use a new bag when you decide to make pink frosting or yellow frosting.
6. Last, whatever you do, don’t leave any chunks of colorant in the wax. The colorant needs to be completely melted along with the wax. Any chunks will clog the frosting tip and prevent you from being able to squeeze the frosting through.
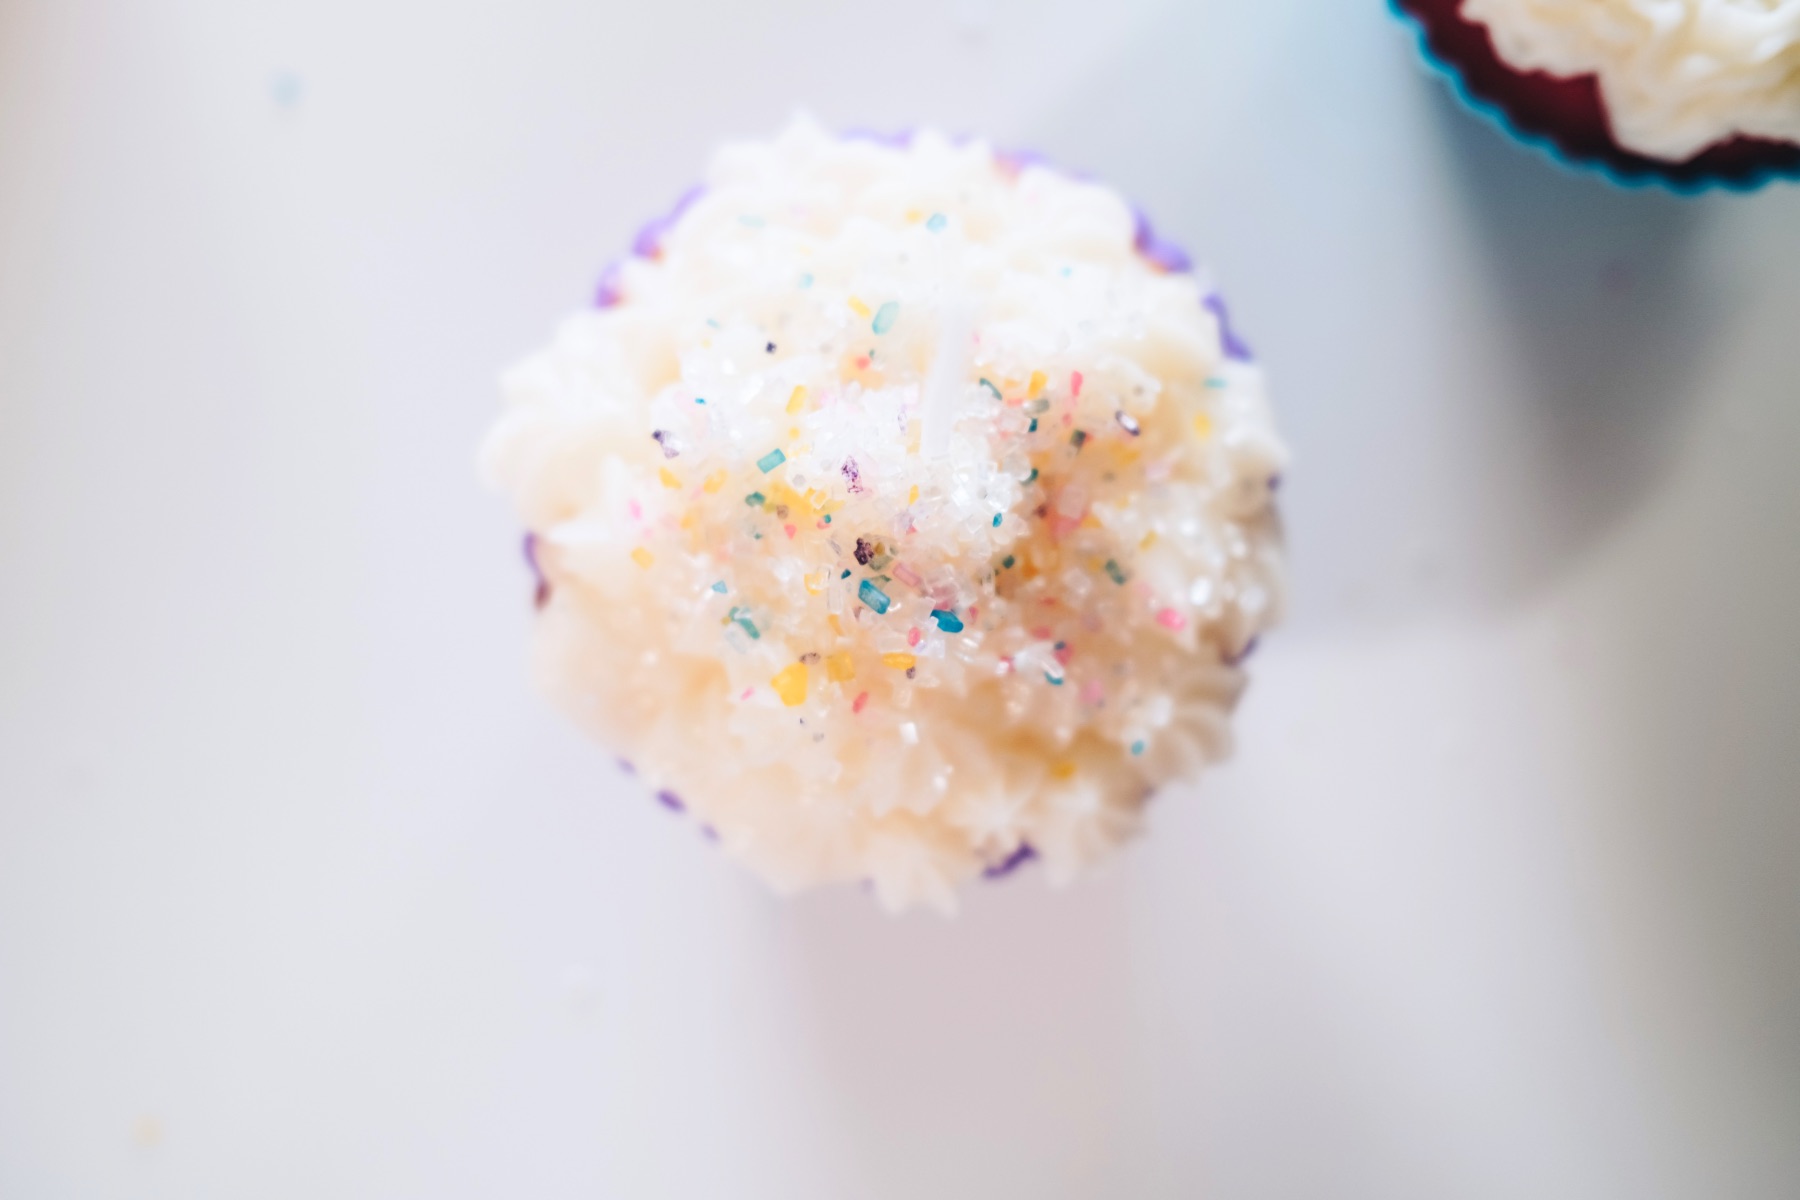
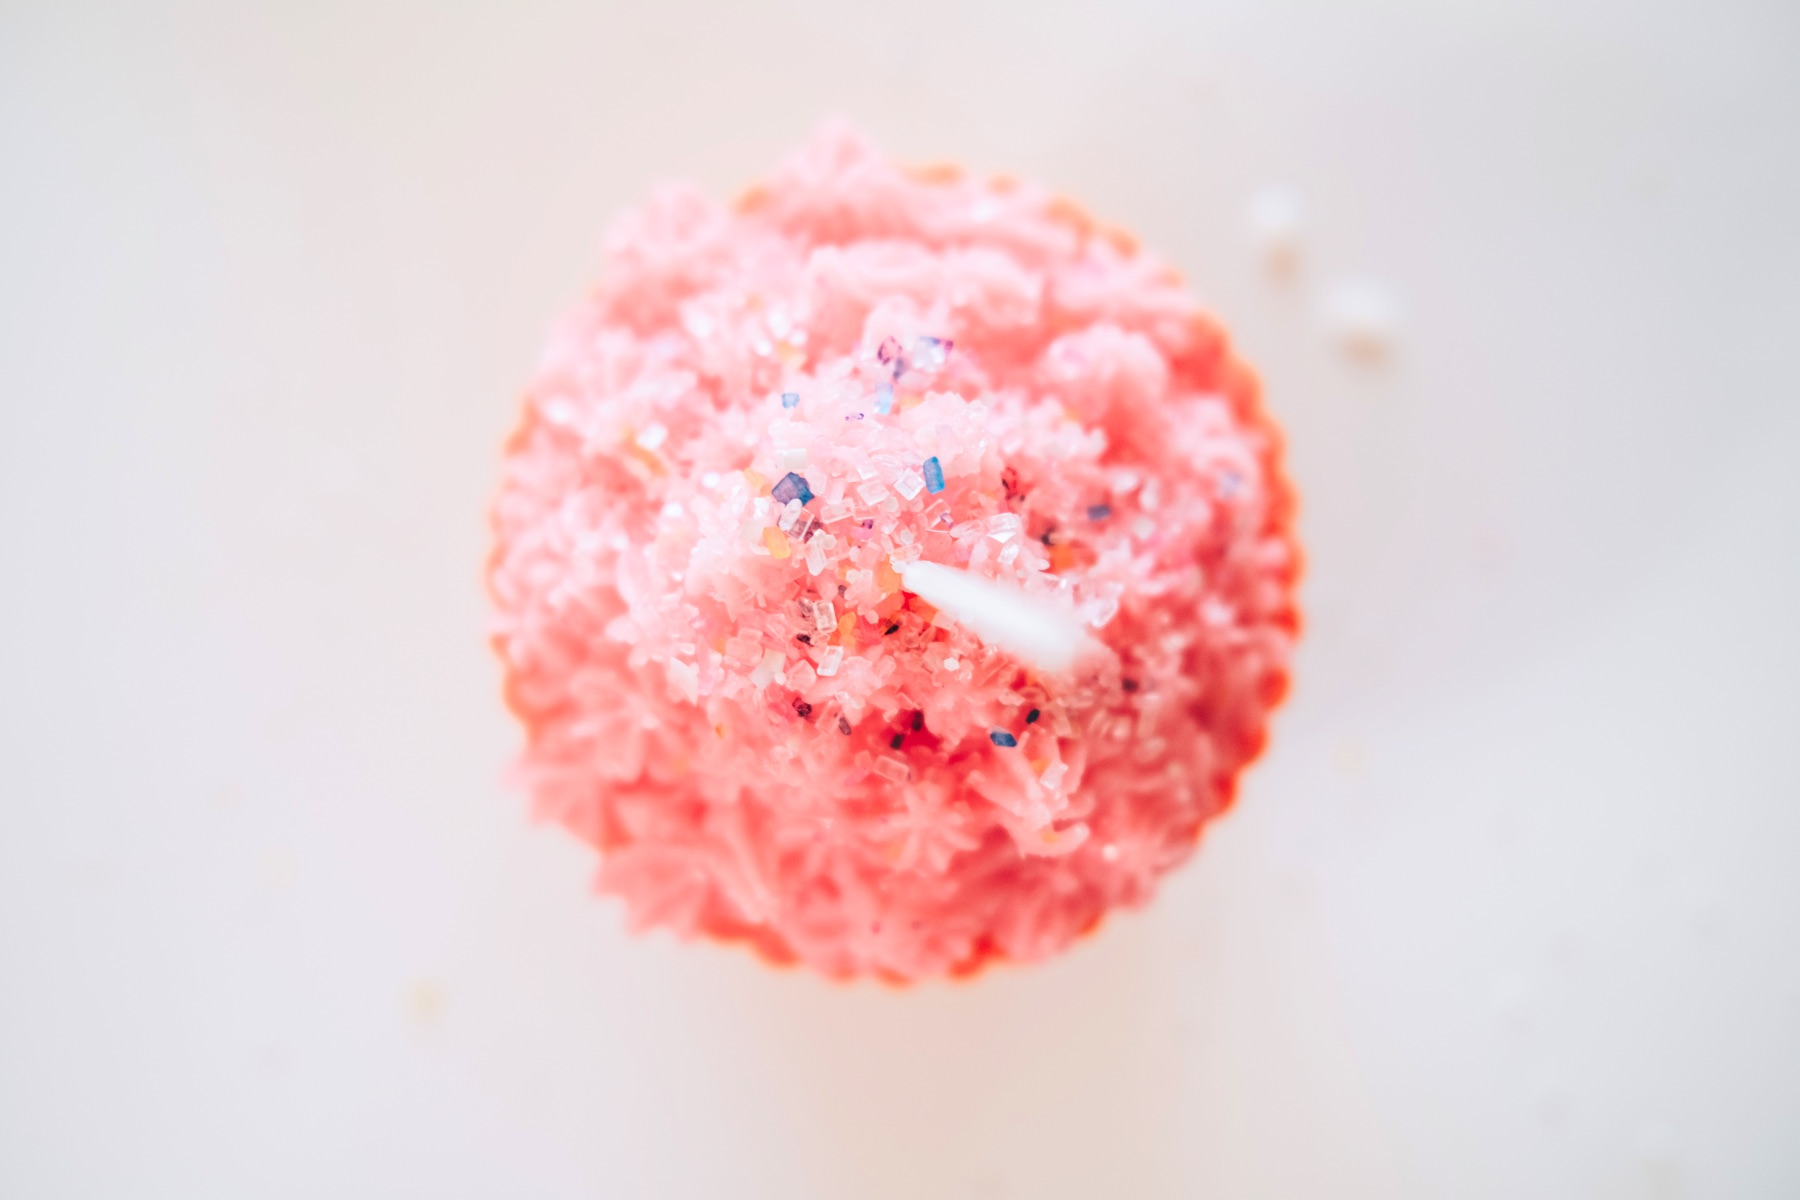
Add the Sprinkles
While the wax is still wet and not completely solidified, add a sprinkle of any cute shaped confections. Use chunky sprinkles, fine sprinkles, rainbow jimmies and more.
It’s best to use real sprinkles so whatever color you like, is perfect for this.
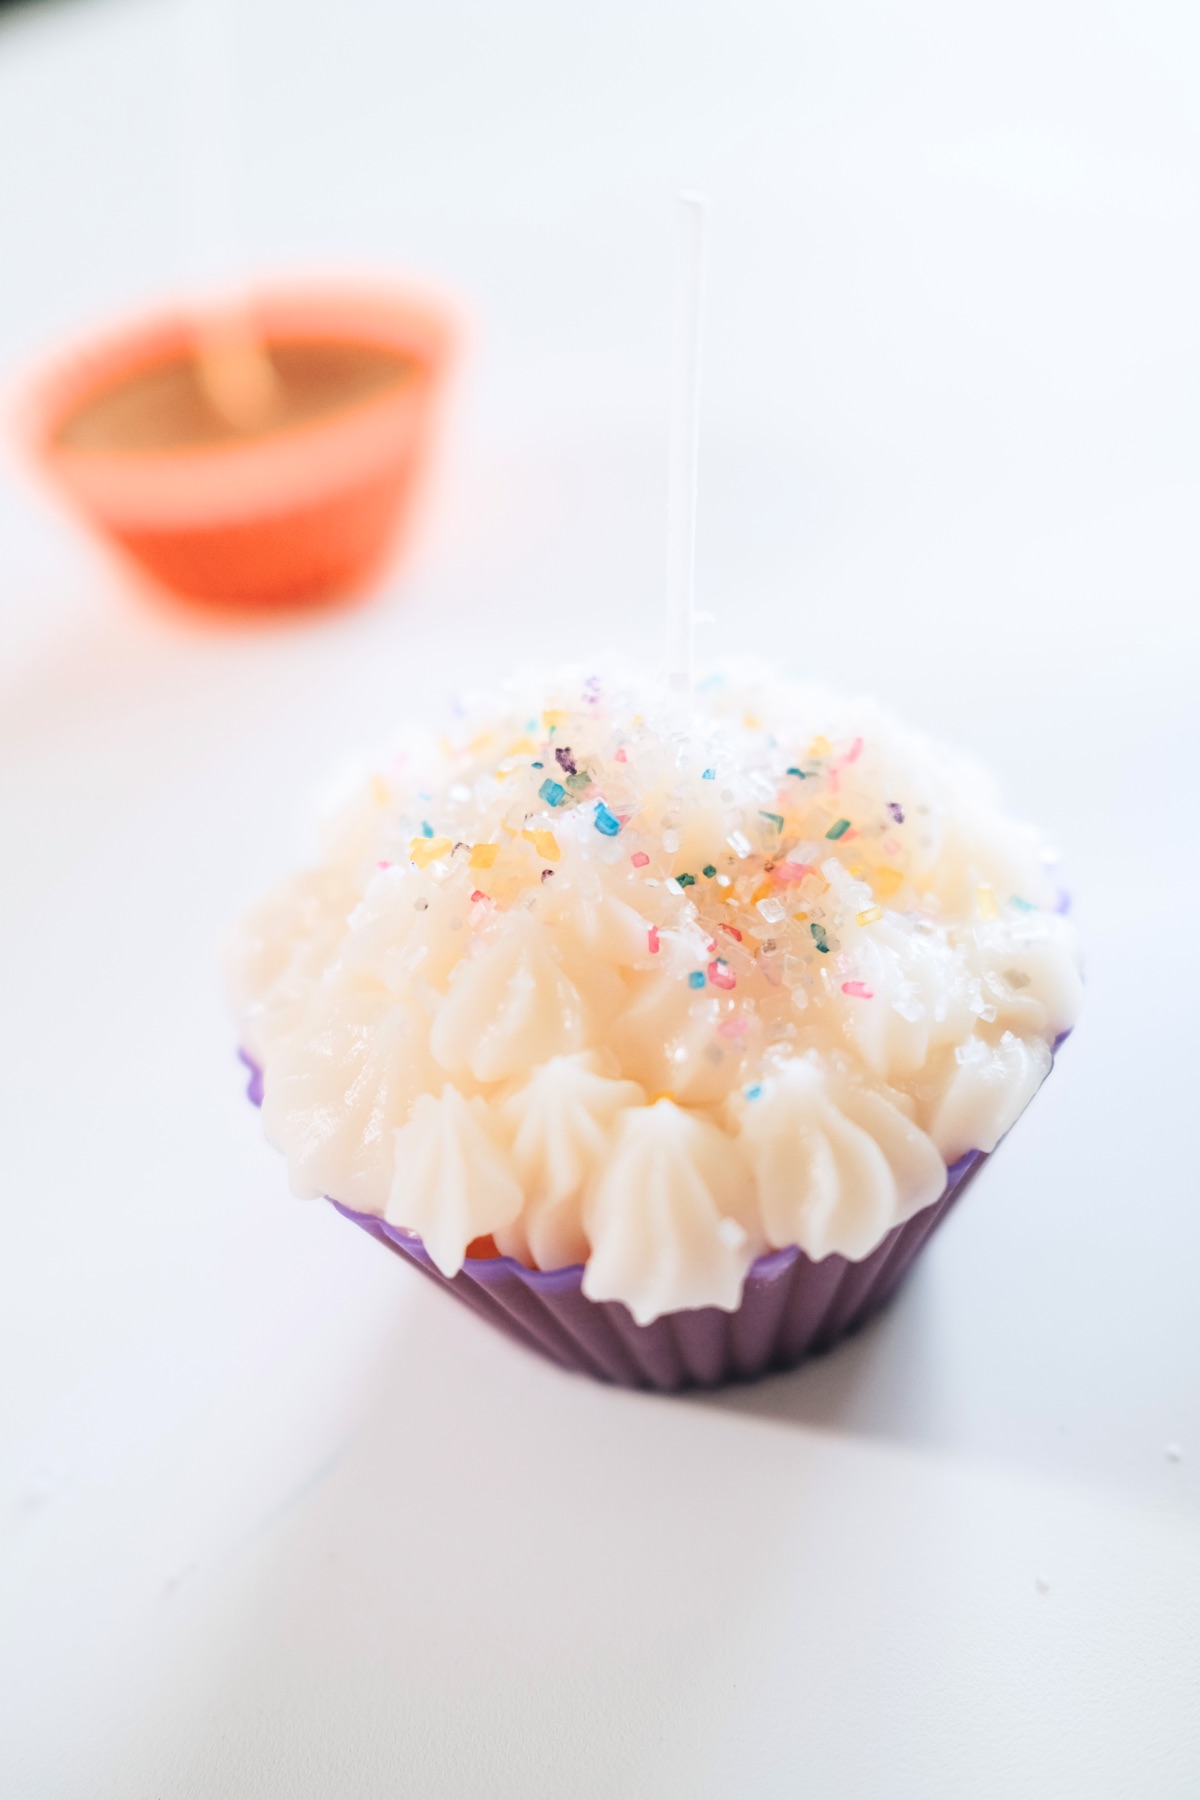
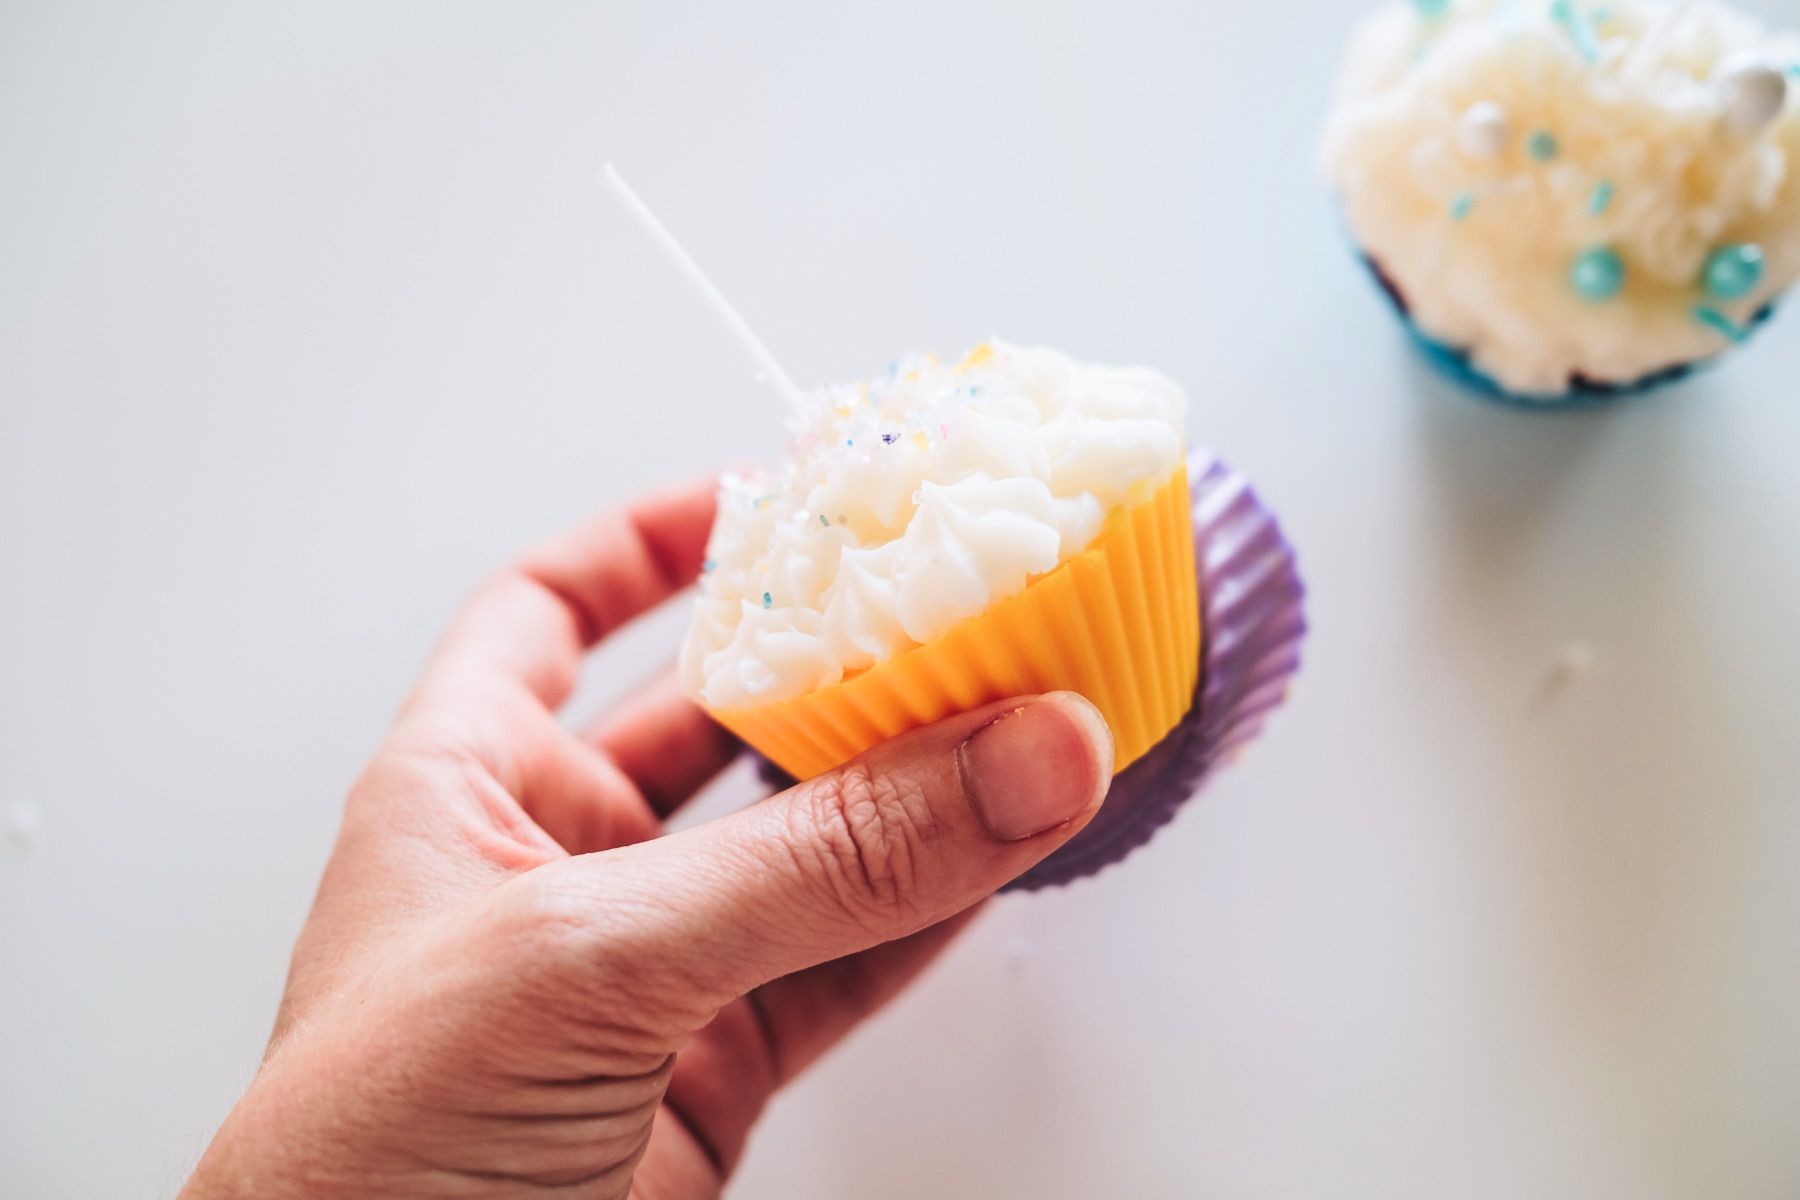
Your Finished Cupcake Candles
Once you’ve added your sprinkles, just let the wax completely solidify and viola they are finished!!
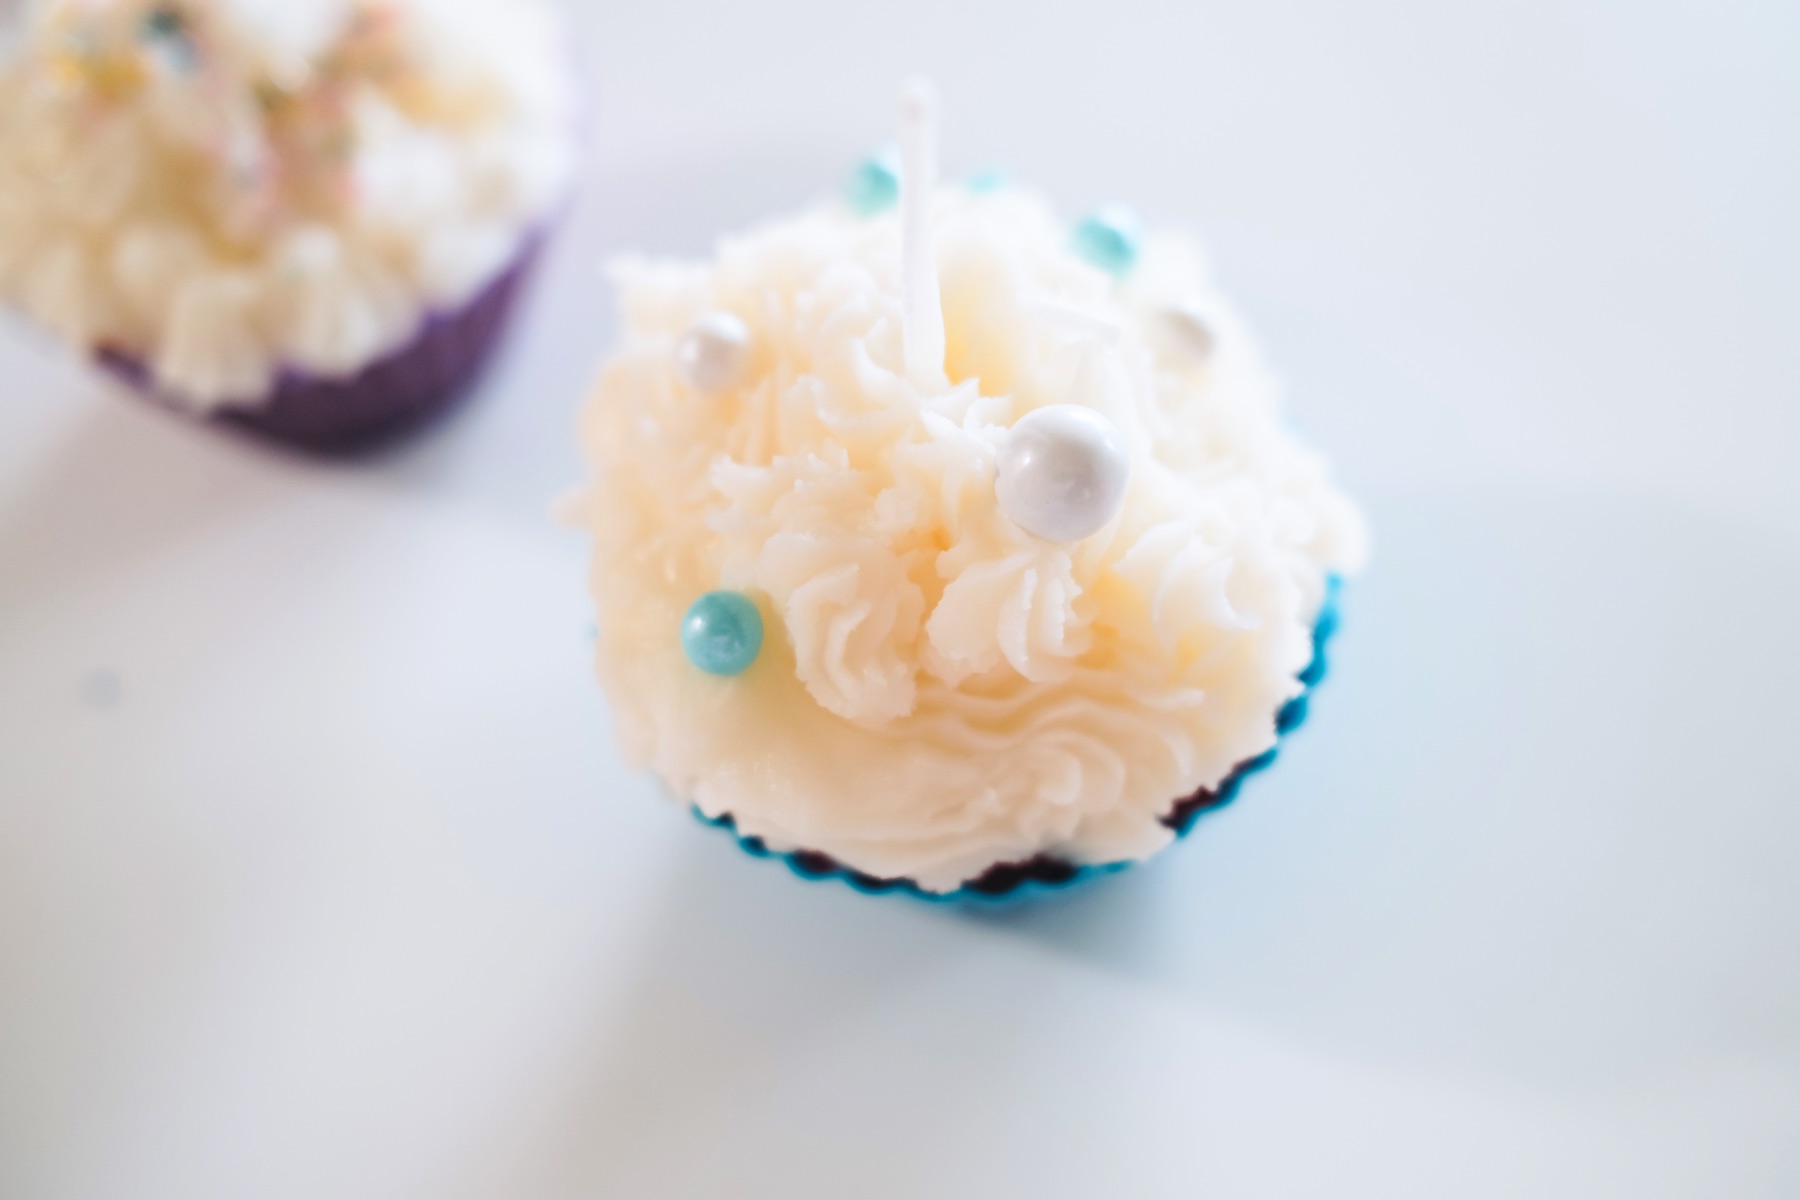
Now it’s just about perfecting your technique. Try different styles of frosting the cupcake. Try using different colors and color combinations for new types of cupcakes.
And try different placement and colors of sprinkles.
How to Use Your DIY Cupcake Candles
First of all, after they are finished, you should always let candles rest for 25 hours before trimming the wick, burning the candle or anything at all.
So wait one full day and then first, remove the candle from the silicone cupcake mold.
You can use your silicone cupcake mold to make more candles later. But you should NEVER burn your candles in the silicone mold.
Instead, place the candle in a ceramic or heat safe surface.
Additionally, before you burn them, trim the wick to 1/4 inch. This will make the flame smaller and make the candle burn slower.
Always keep the wick trimmed to 1/4 inch.

Additionally, you should never leave candles unattended. You should never leave them where the wind could knock them over or leave them burning around young kids. That’s just for safety.

In fact, if there are little stickers that you can find that have candle safety instructions. I would always recommend placing one on the bottom of the candle.
Just in case you want to give these as a gift or display them where another family member can access them. At least there’s a warning label in place.
Well enough of safety – Aren’t these the cutest candles you’ve ever seen? And yes, there are a lot of steps but it’s not too hard!
It’s really fun!
All candle making is a lot of fun because the finished candles are so useful. So if you like this tutorial, there are so many other candle making tutorials that are fun – like these Geometric Gemstone Candles. I love this one.
And if you love this diy, don’t miss out of the Craft in Style Subscription Box. That’s our monthly box with new craft supplies each month to make a full project from beginning to end.
Craft in Style includes all the supplies in all the right quantities so you can focus on making instead of needing to go to multiple stores and ending up with too much or too little of a certain supply.
Happy crafting!
Let’s Stay Friends!
Insta | Pinterest | Enews | TikTok

They look tasty and so cute for a shelf!