Craft in Style Subscription Instructions, DIY
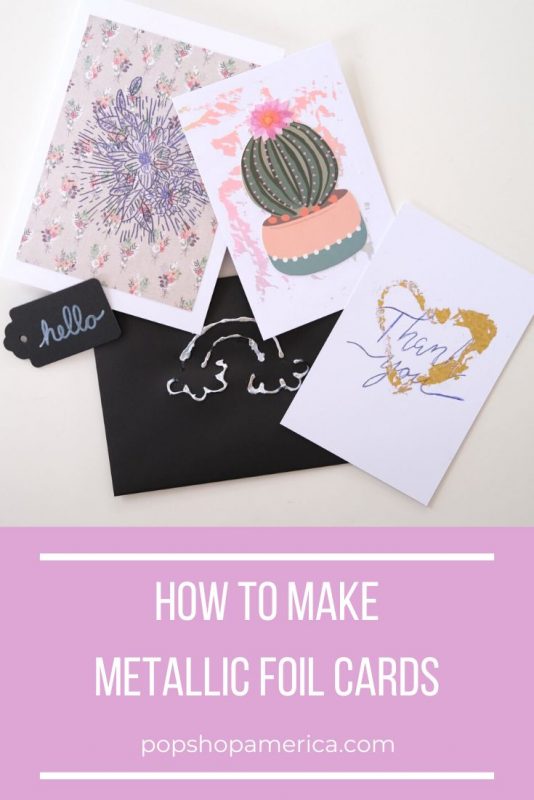
How to Make DIY Metallic Foil Cards
Dec
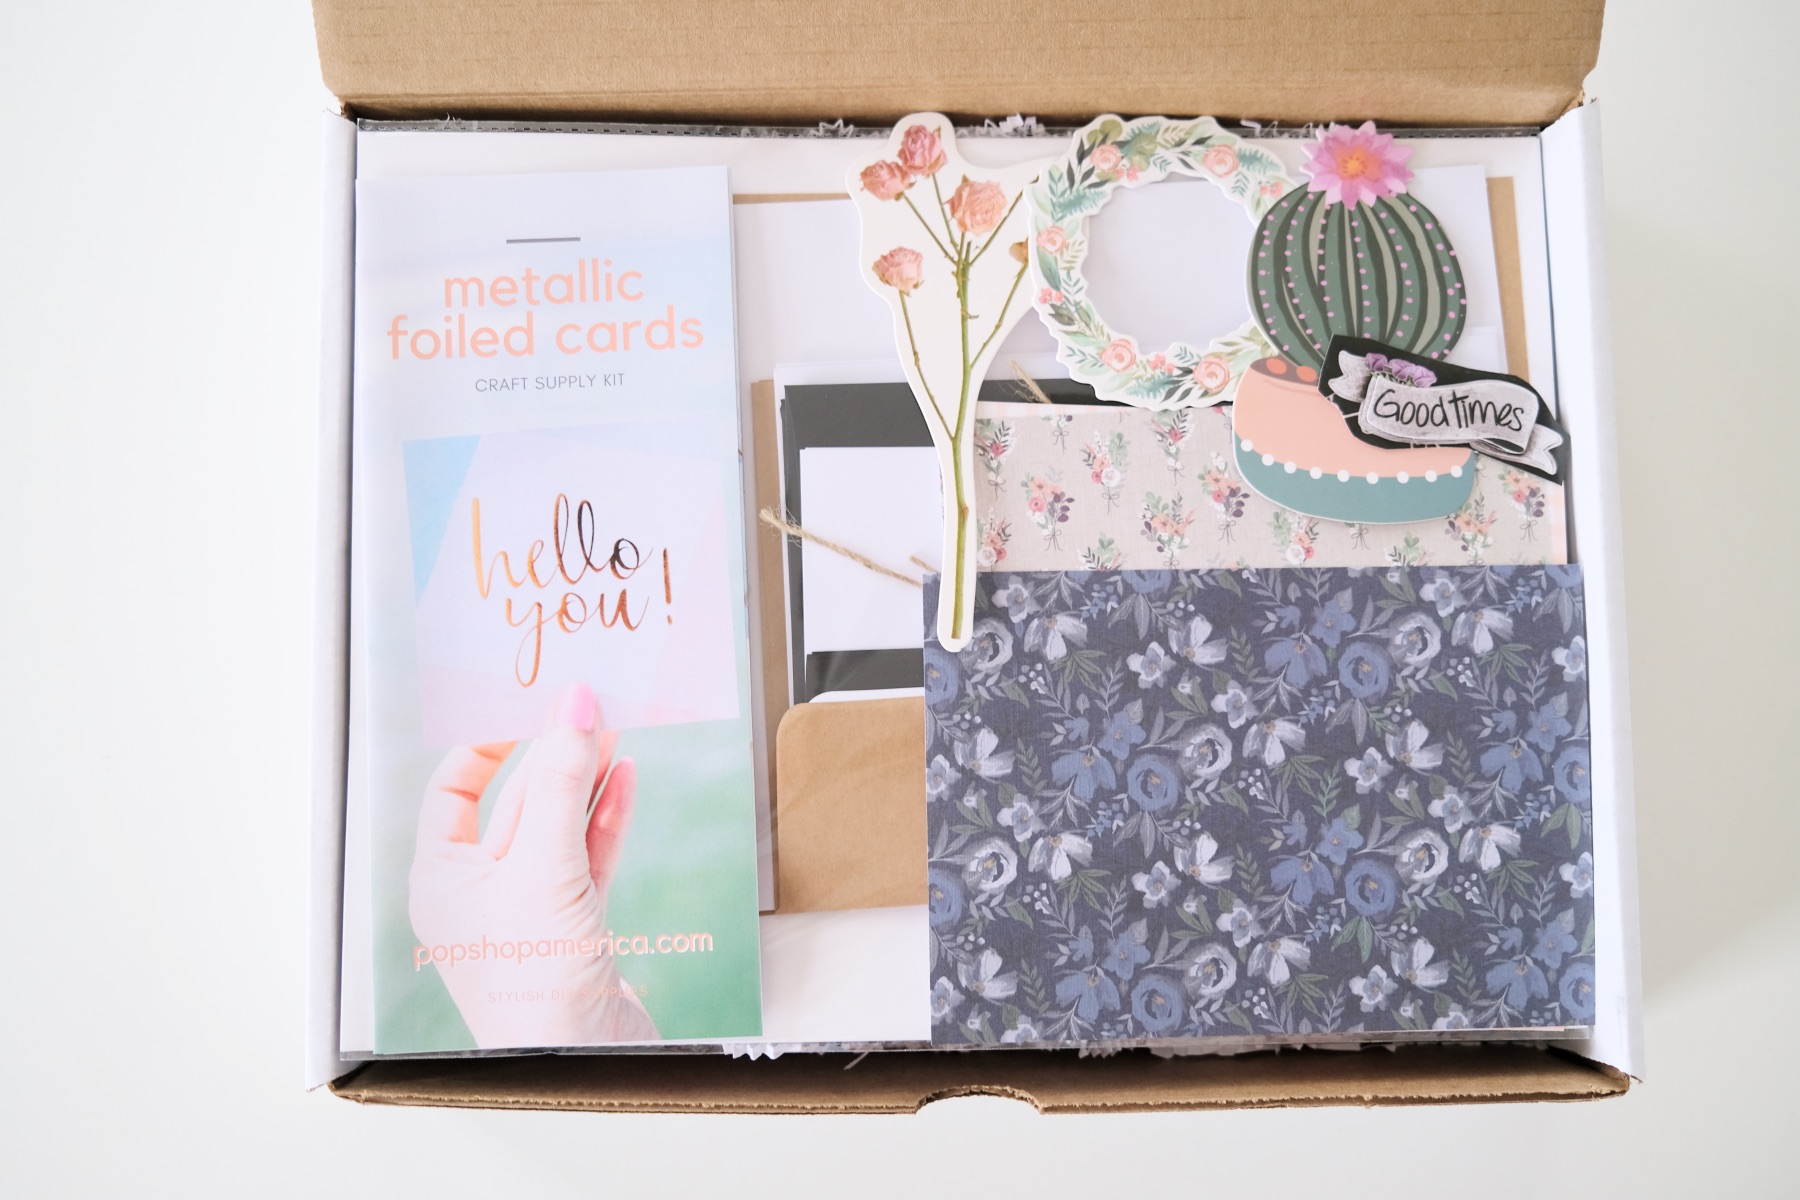
This blog is the tutorial for the December Craft in Style Subscription Box. You can find previous box tutorials, more about this box, and other Craft in Style Boxes here.
You know what I love about card making? It can be so versatile. You can make so many different things. You can use different paper. You can use cards in different shapes.
It’s a whole universe of crafting that can have so many styles and variations. And so, it can be so creative!

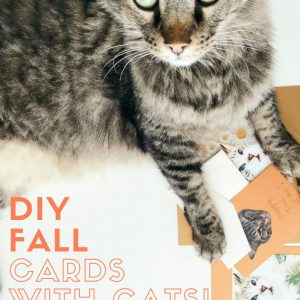
Here are 4 different card making tutorials that use metallic transfer foiling in lots of different ways.
If you haven’t used transfer foil before, it’s stunning and it’s a lot of fun. But it can be an unusual supply with a bit of a learning curve.
About Transfer Foil
There are several different types of transfer foils. There is a special transfer foil for Cricut Cutters. You can find transfer foil for laser printers that heat sets the foil. This is sometimes called reactive transfer foil. Some reactive transfer foils can work with glue and adhesives.
The most beginner friendly and easiest to start with is adhesive transfer foil.
And in general, I don’t recommend laser transfer foil at all! It can be spotty and only work with certain brands and printer ink. And it can get really expensive.
What Type of Glue Works with Adhesive Transfer Foil
A lot of people recommend Zig Glue Pens. But I’ve found that most glue pens work just fine. What you want is a glue pen that becomes tacky as it dries. You can also try:
Glue Sticks
Rubber Cement (a new personal favorite)
Double Sided Tape
Basically, if it sticks, it will likely work on adhesive transfer foil.
What Other Kinds of Supplies Should You Have?
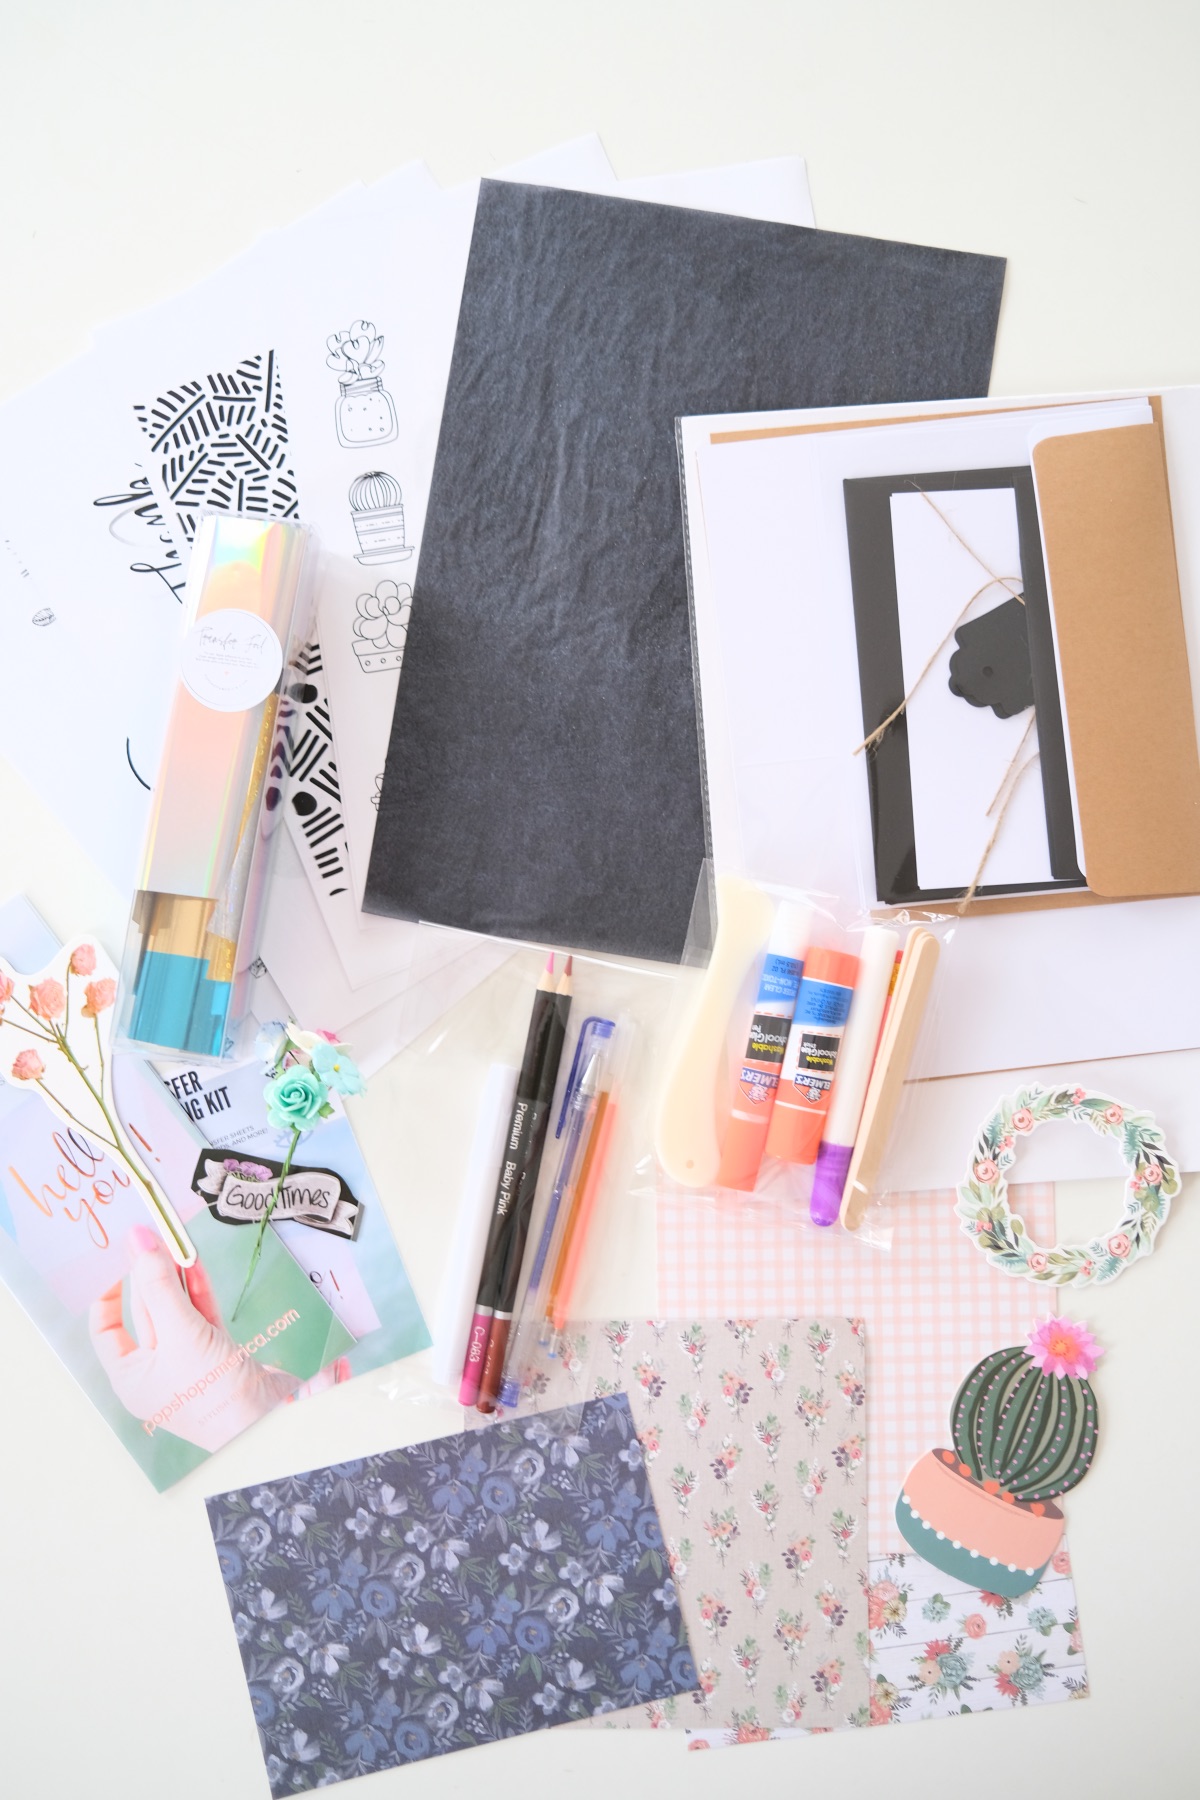
If you are making foiled cards, the metallic sheen of foil lends it so well to other card making supplies. I recommend having gel pens, templates, carbon paper, colored pencils, glitter, die cuts, decorative paper, and more.
But the basic supplies you need to have to make foiled cards are just:
Paper
Transfer Foil
Glue
Bone Folder/Burnishing Tool/Your Hands
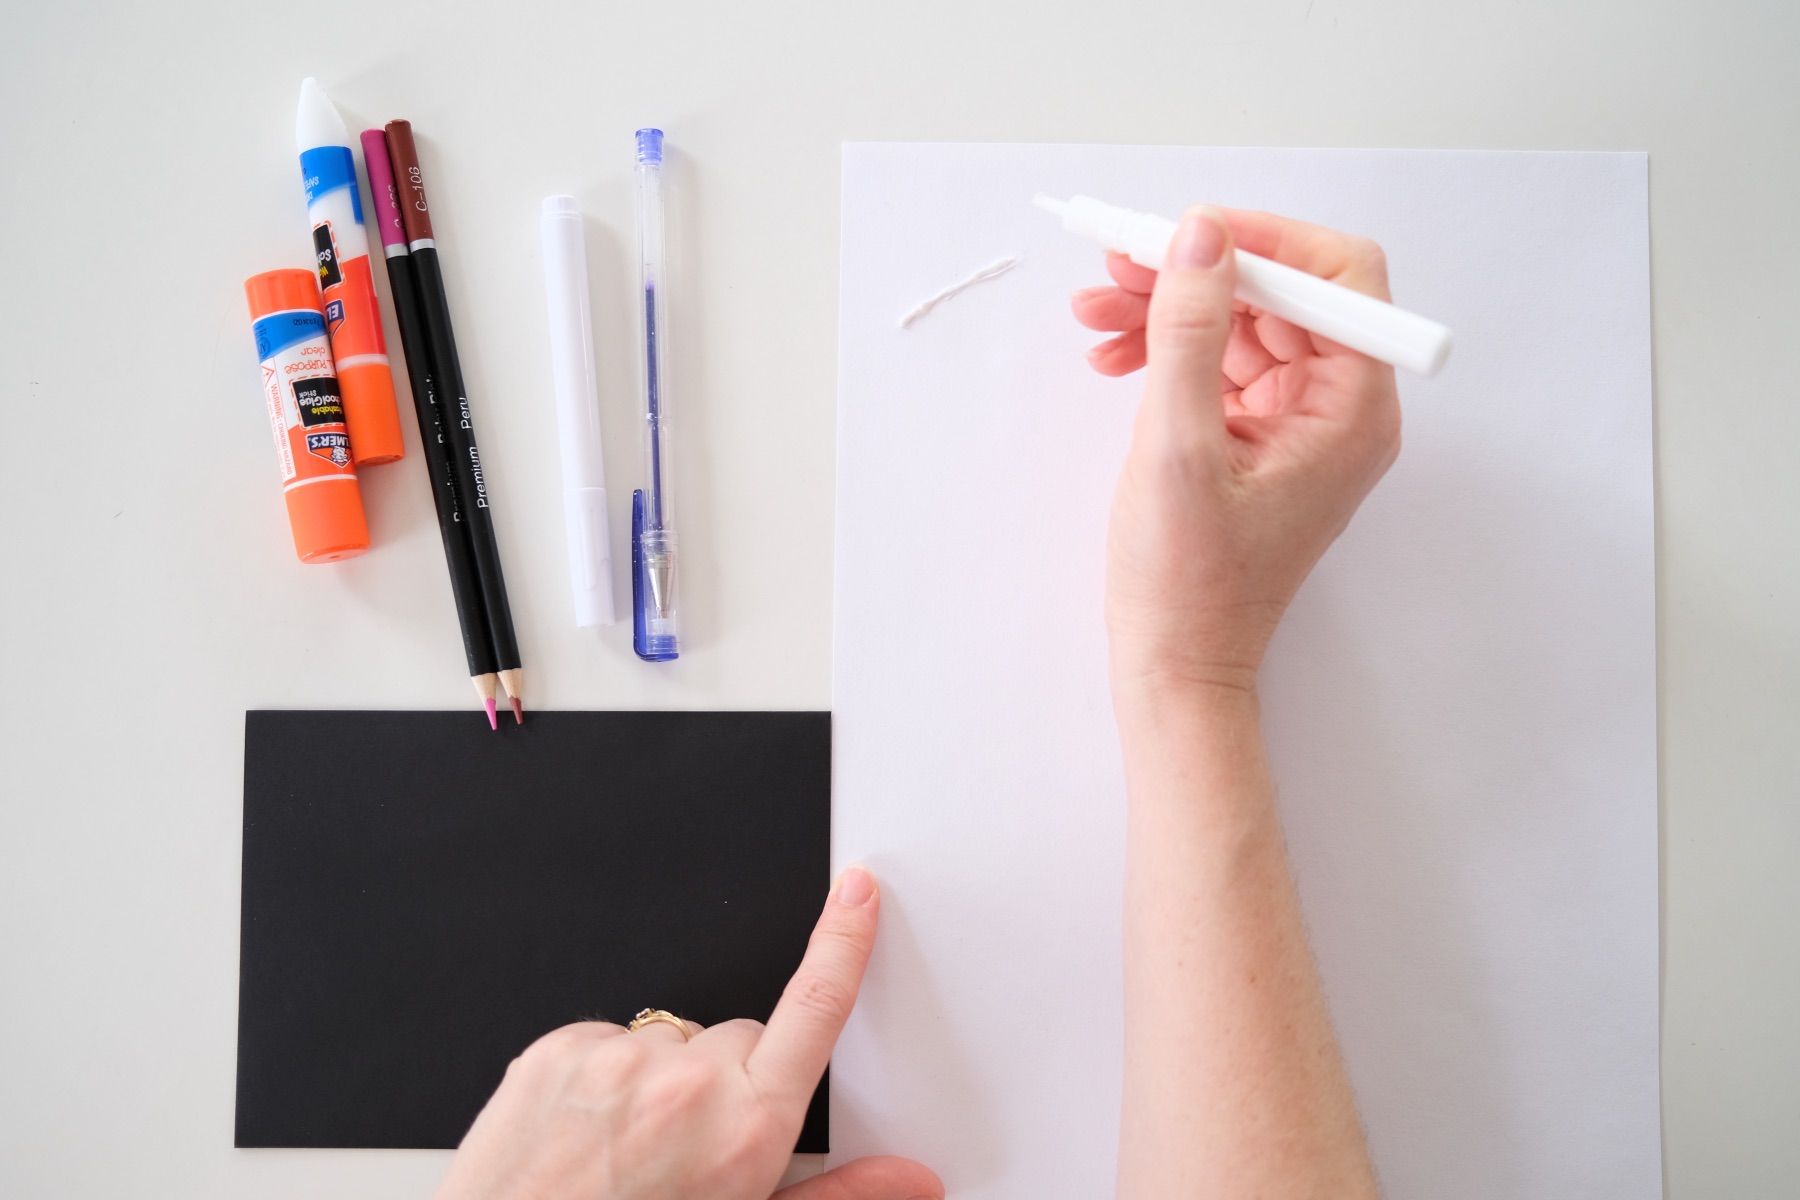
Start by Swatching Your Supplies
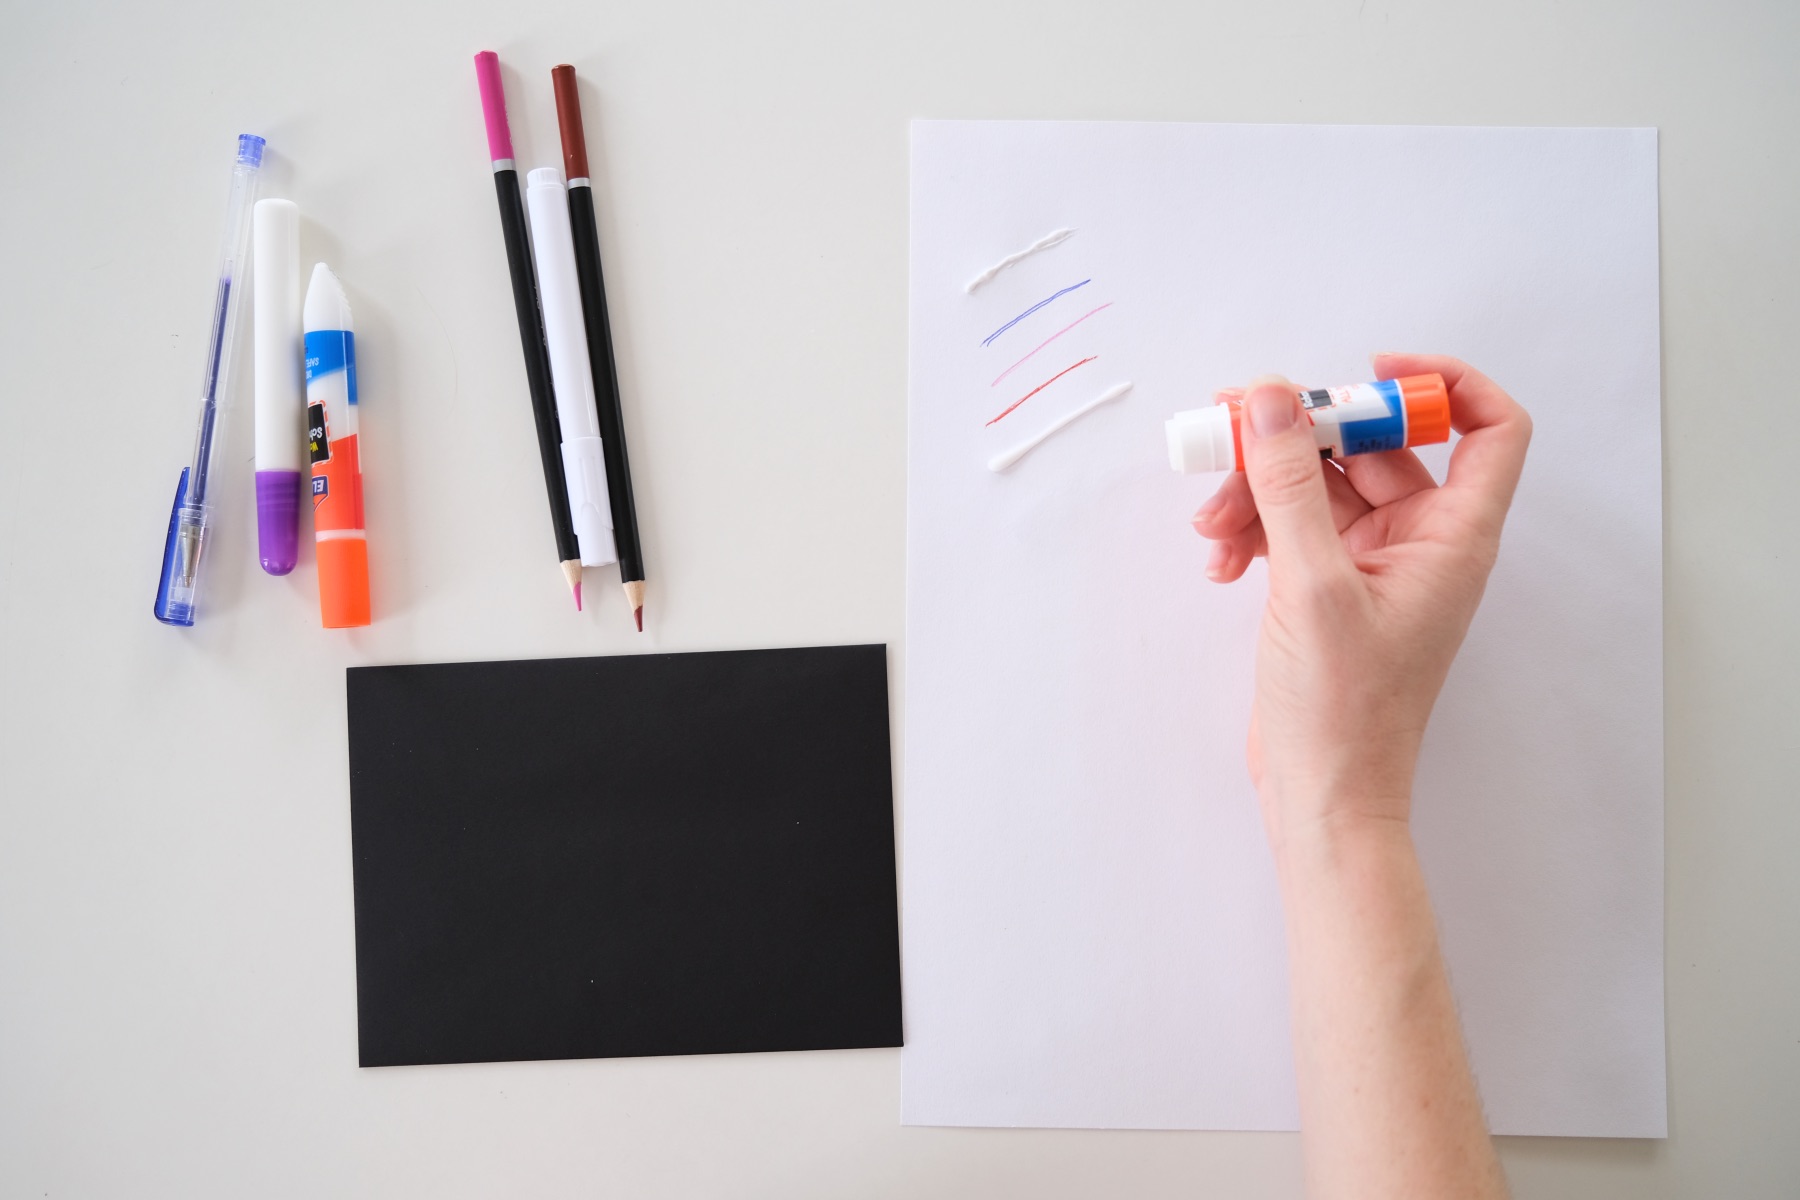
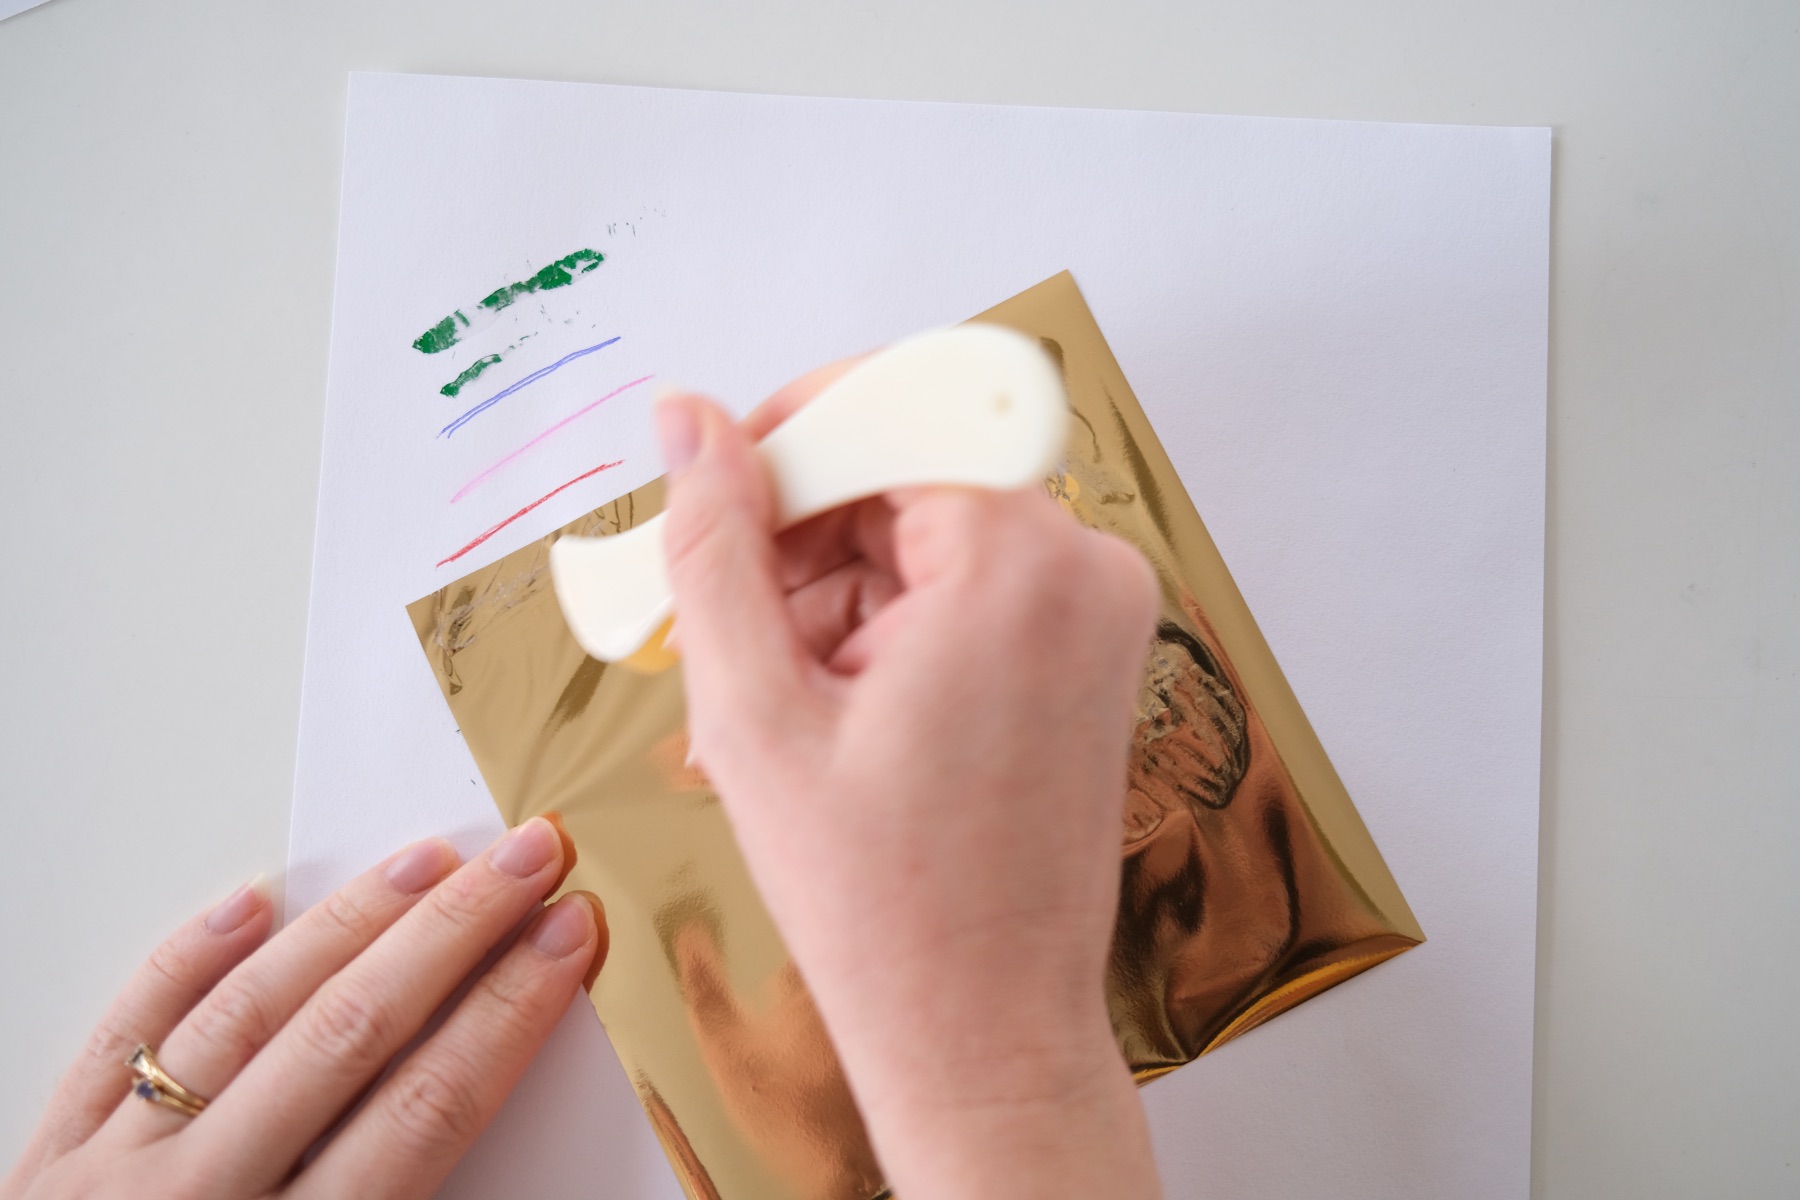
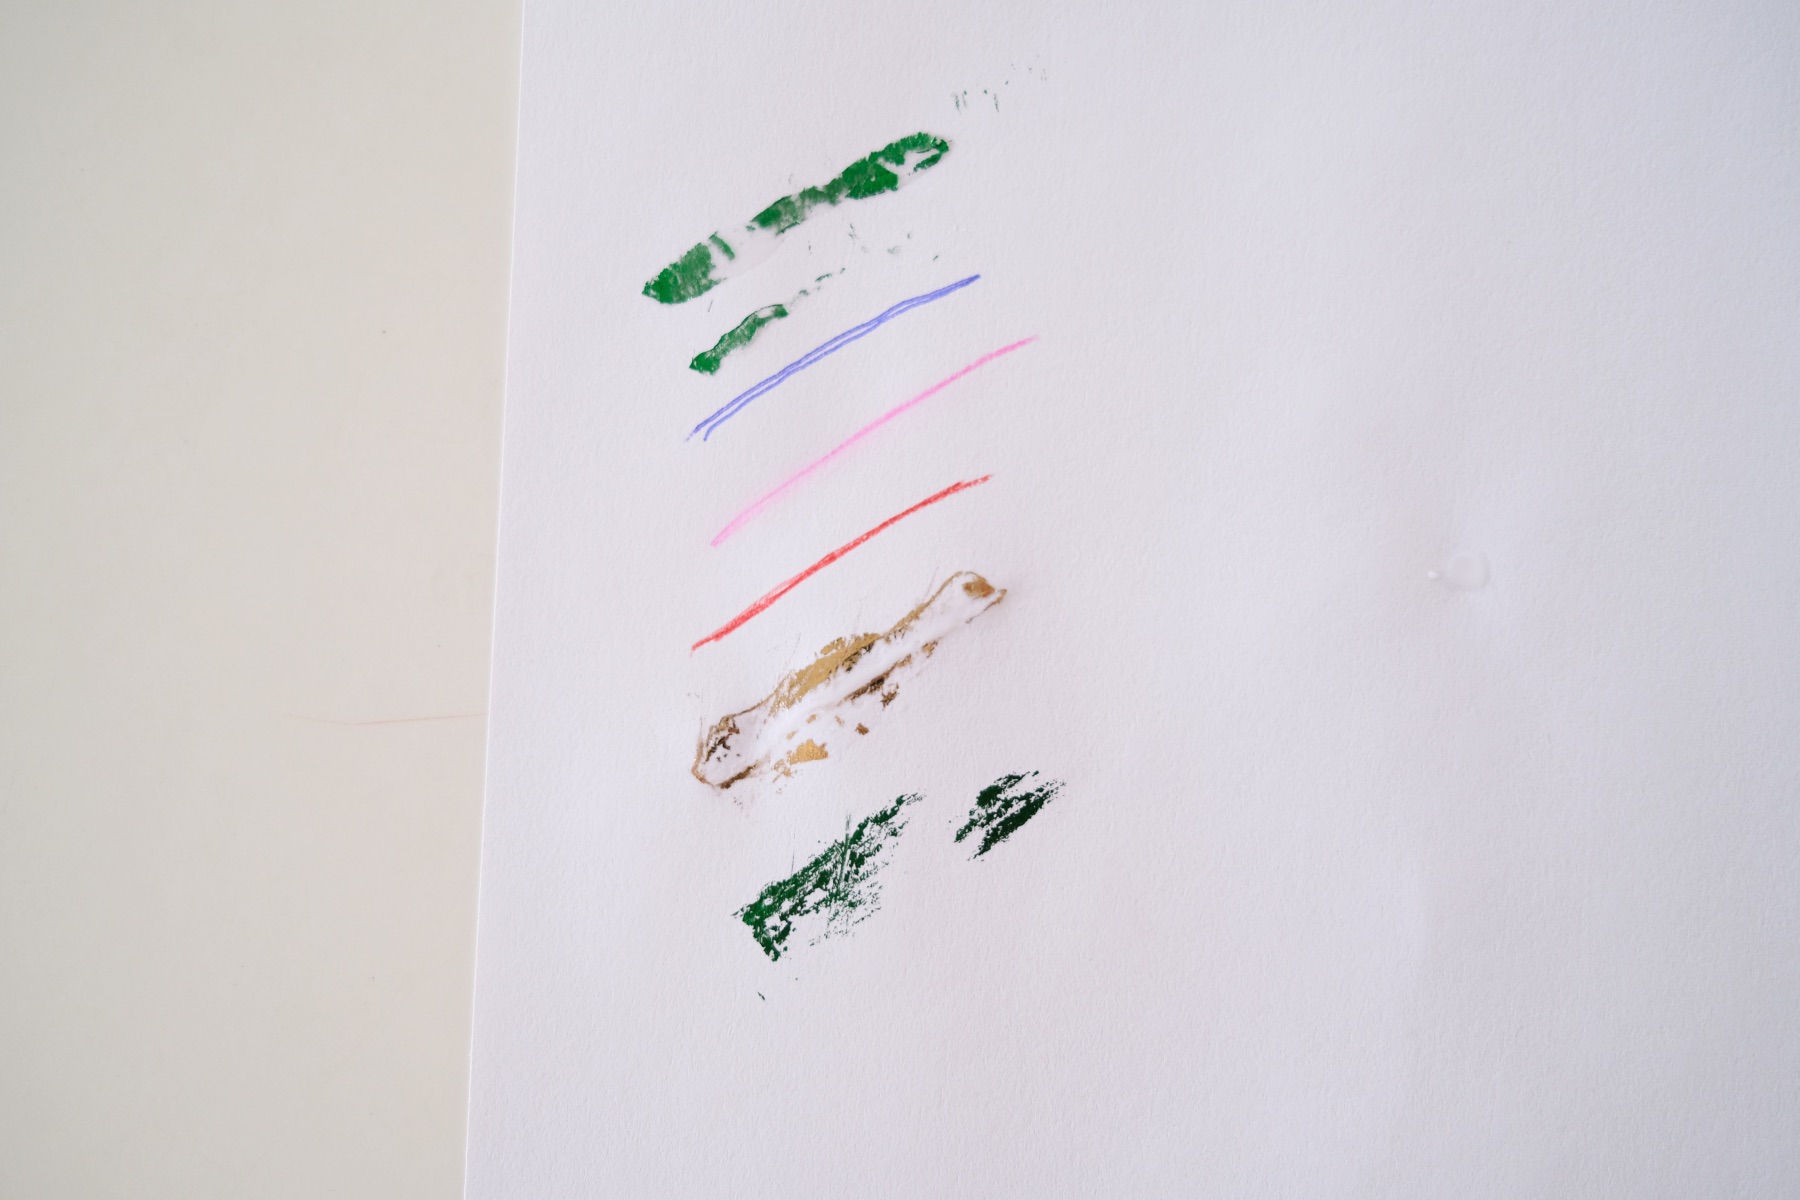
I recommend starting by swatching all your supplies so you can see how they work. Test all your different glues that you have available and if you have different brands or style of transfer foil, you may want to swatch all of those as well.
The Basics of How to Use Adhesive Transfer Foil
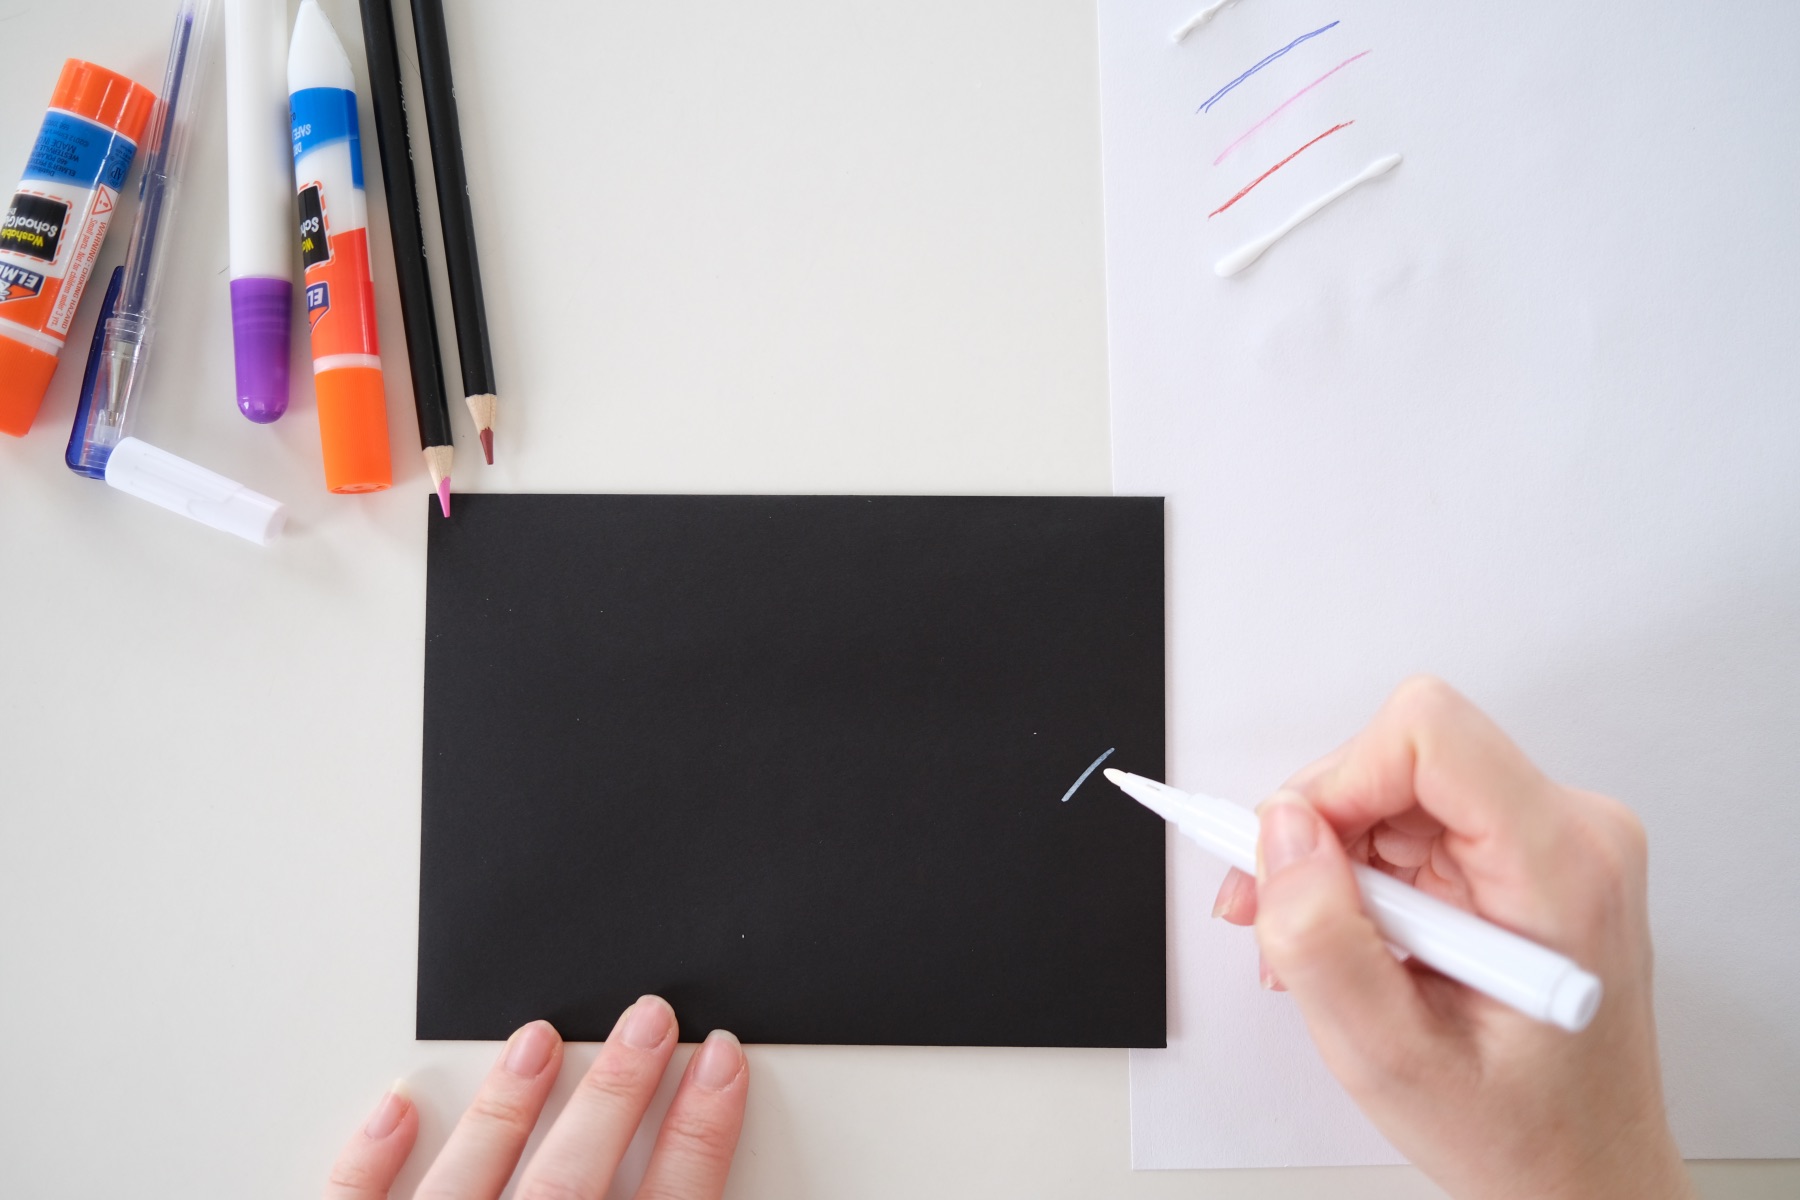
To use your transfer foil, start by making a line, shape, or brush stroke of glue on your paper. If you are using a glue stick, you can work quickly. But any other glue, let it set and rest for some time.
You only want to work with liquid glue when it becomes tacky. Do not try to use glue and transfer foil when the glue is wet.
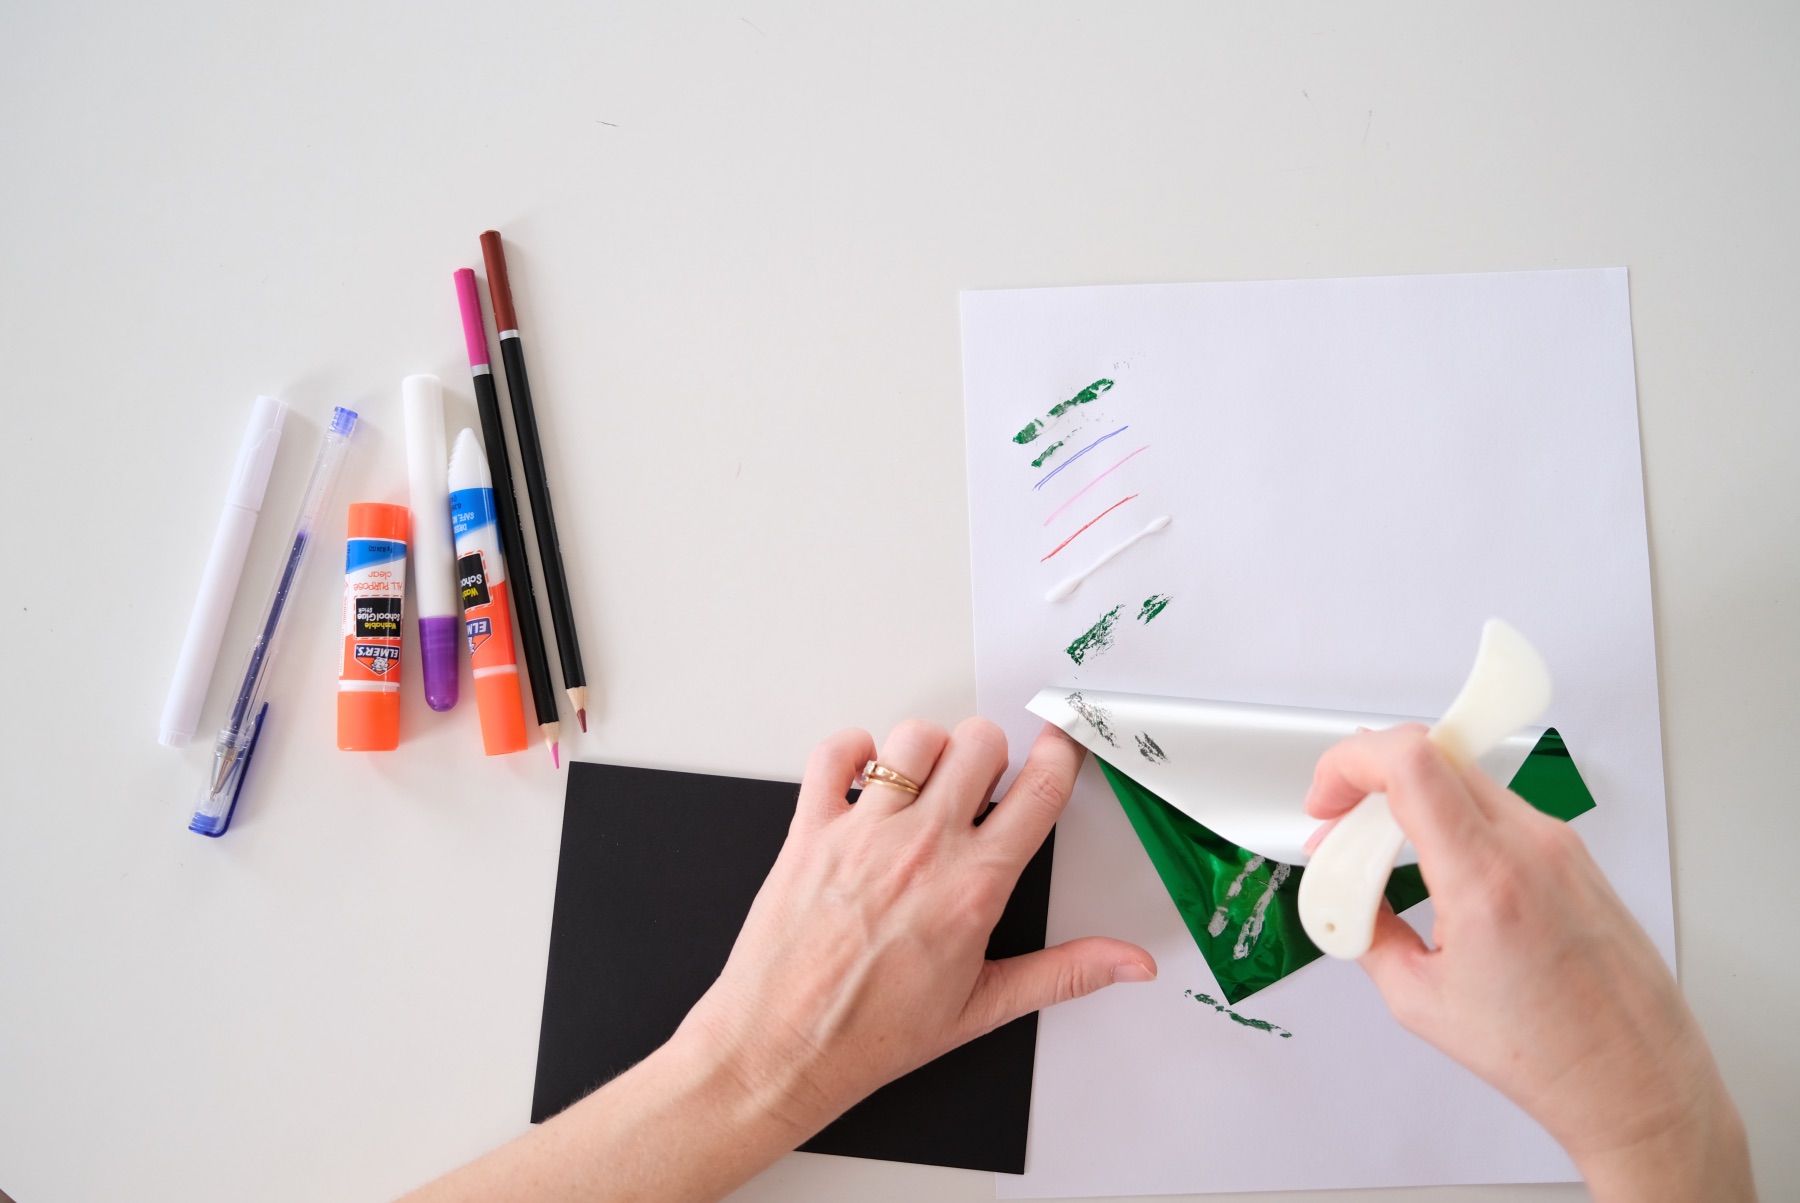
Once your glue is tacky, place the foil colored side up on the surface of the glue. Use a bone folder or your finger to firmly press the foil across the surface of the glue. Be sure that all of the glue is burnished. Then lift the transfer foil up and away from the paper to reveal your metallic image.
You may notice as you make your swatch that the glue stick will make brush like foil transfers. But you can get more detail with your glue pens.
Once you have all of your pens and markers swatched, it’s time to actually make some cards!
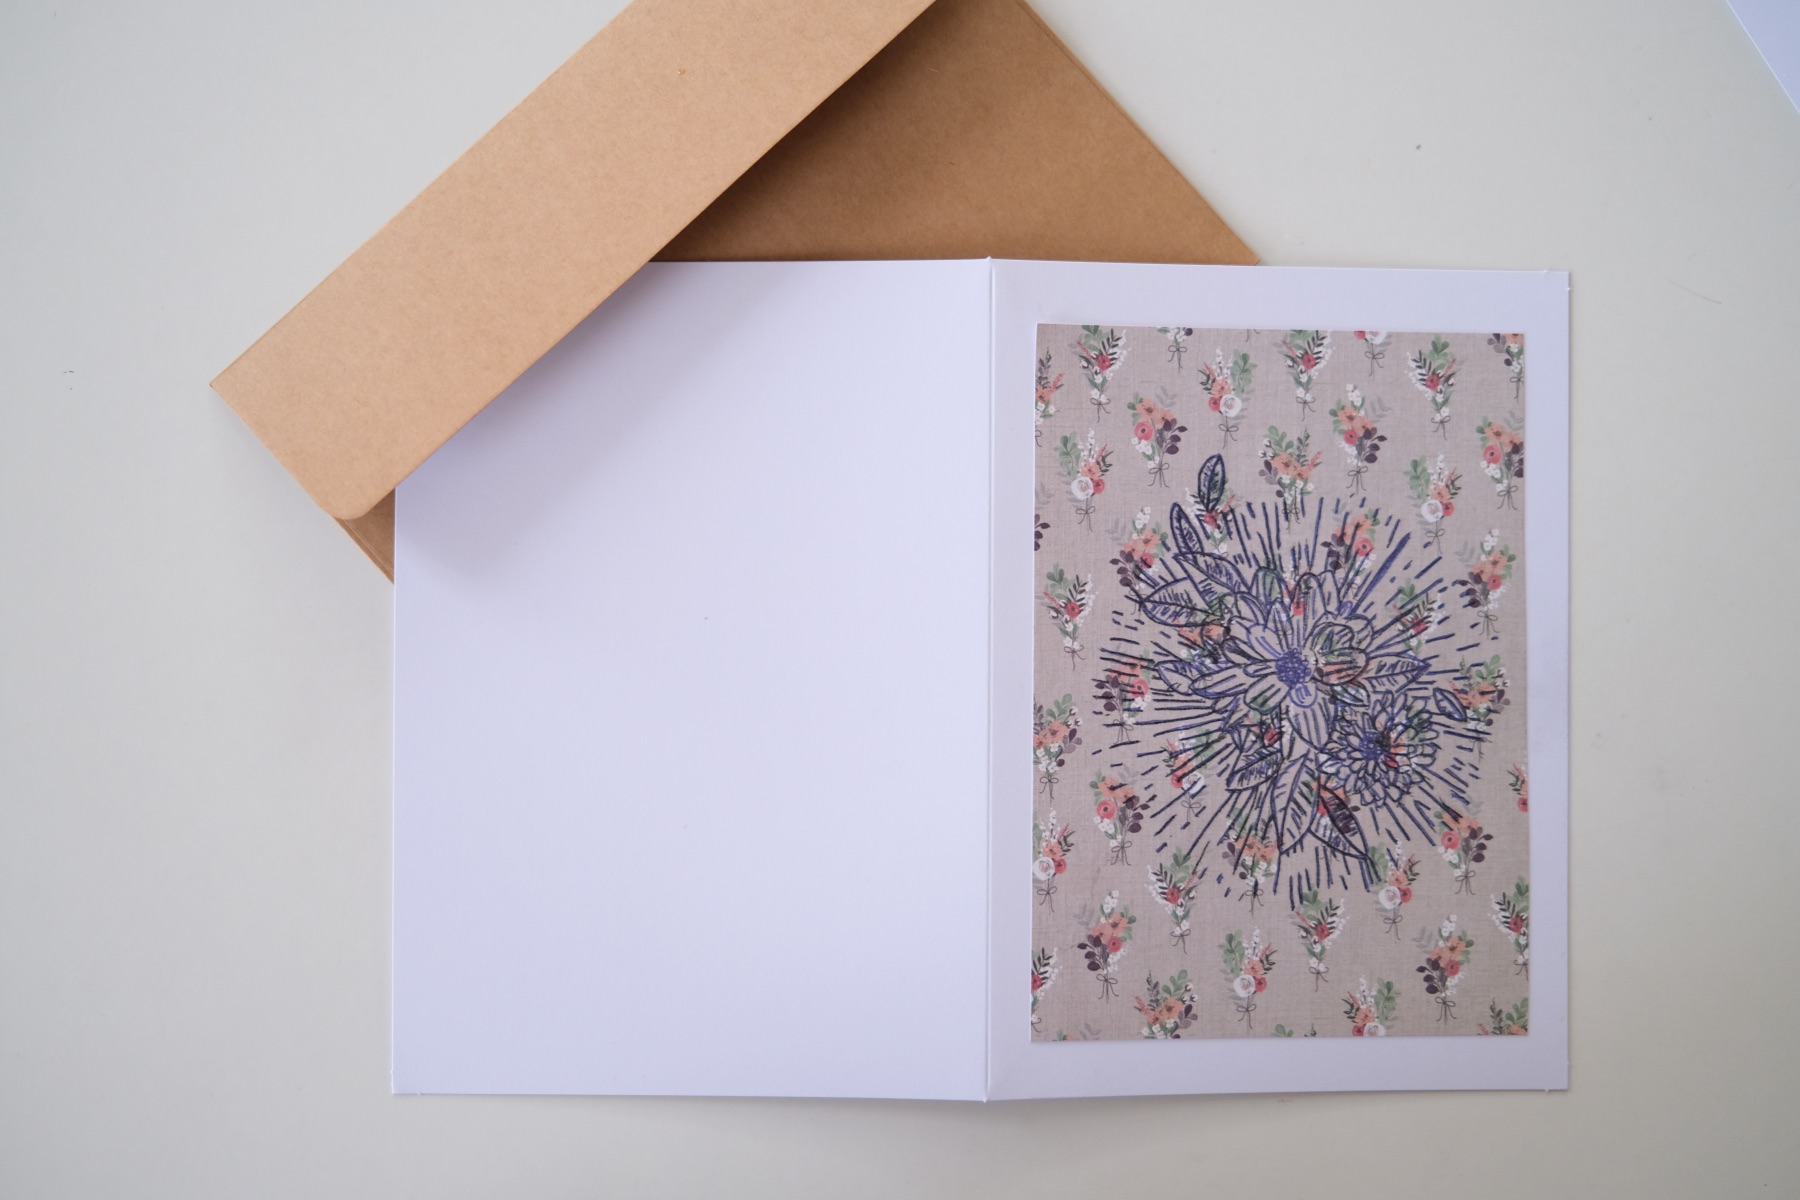
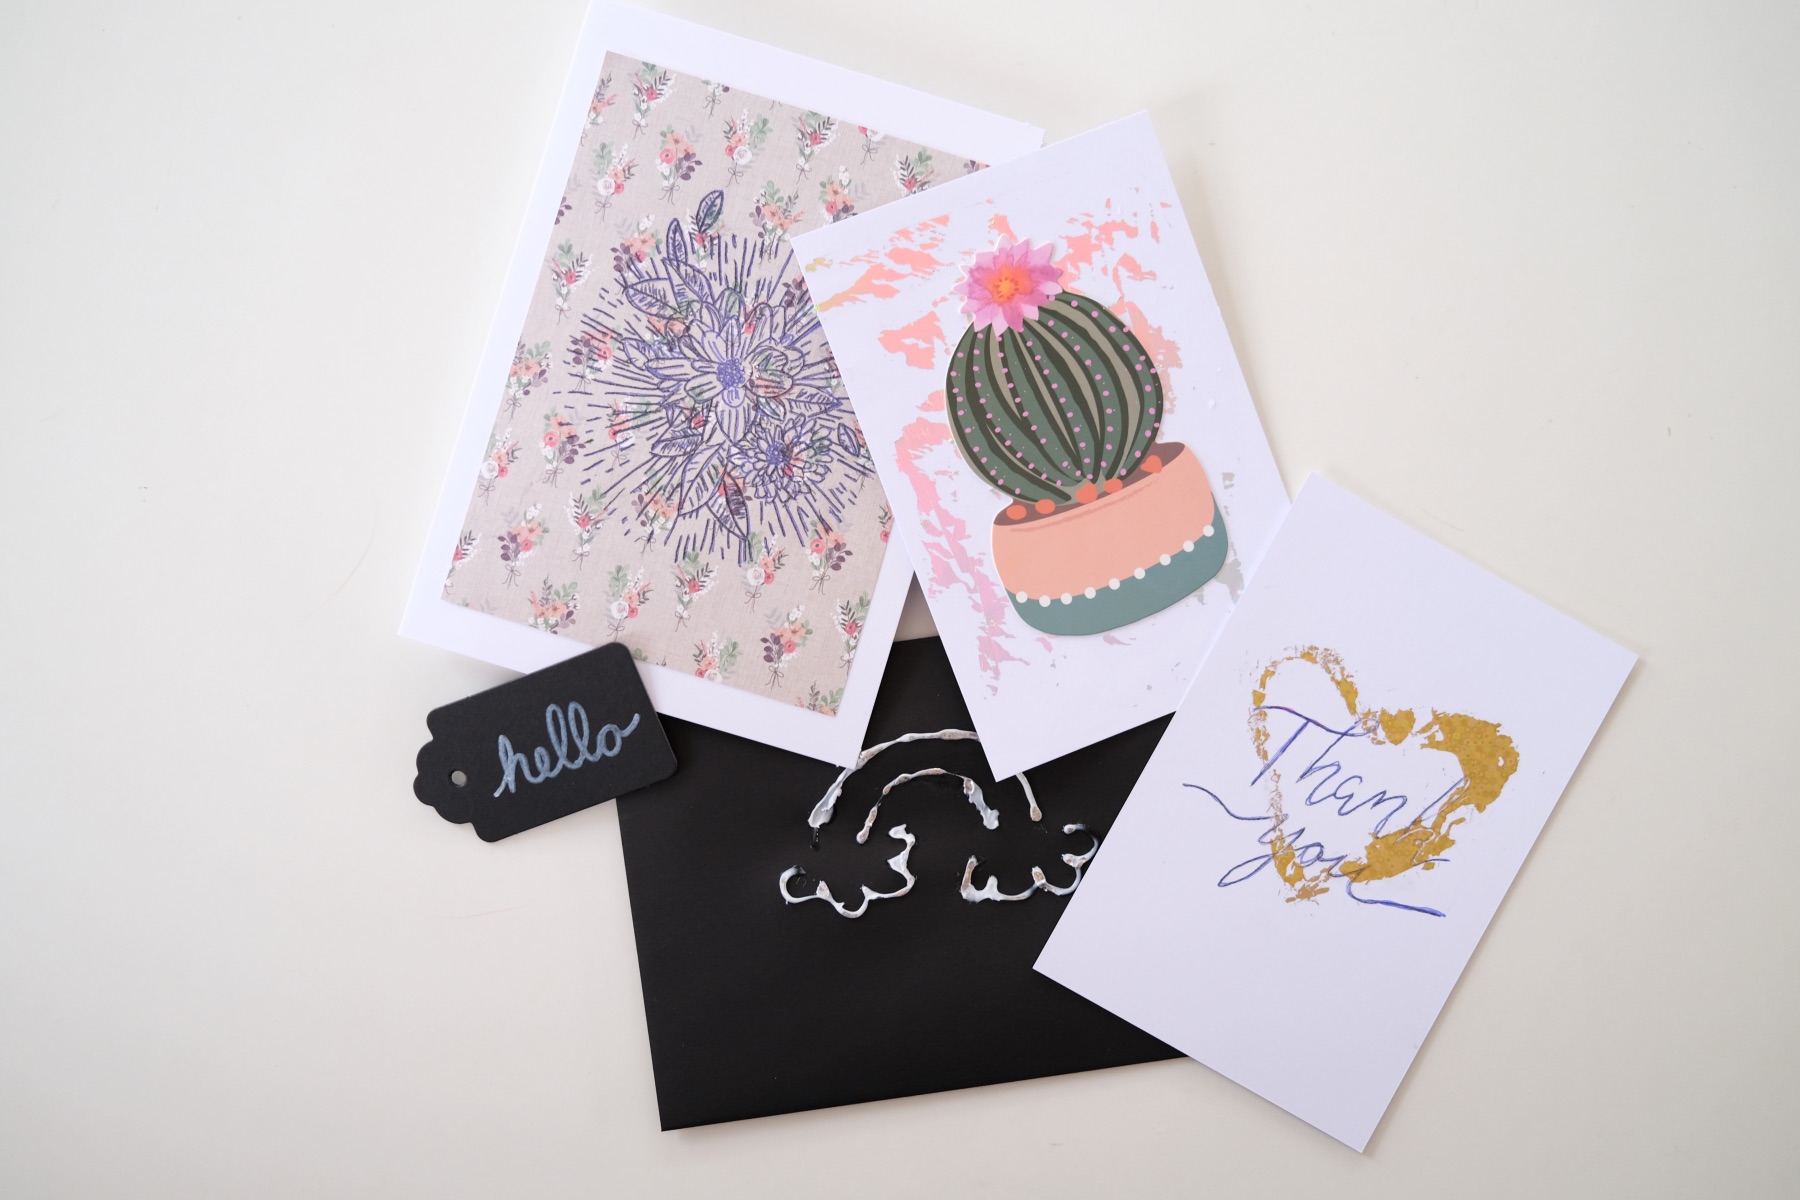
Double Layered Flower Card

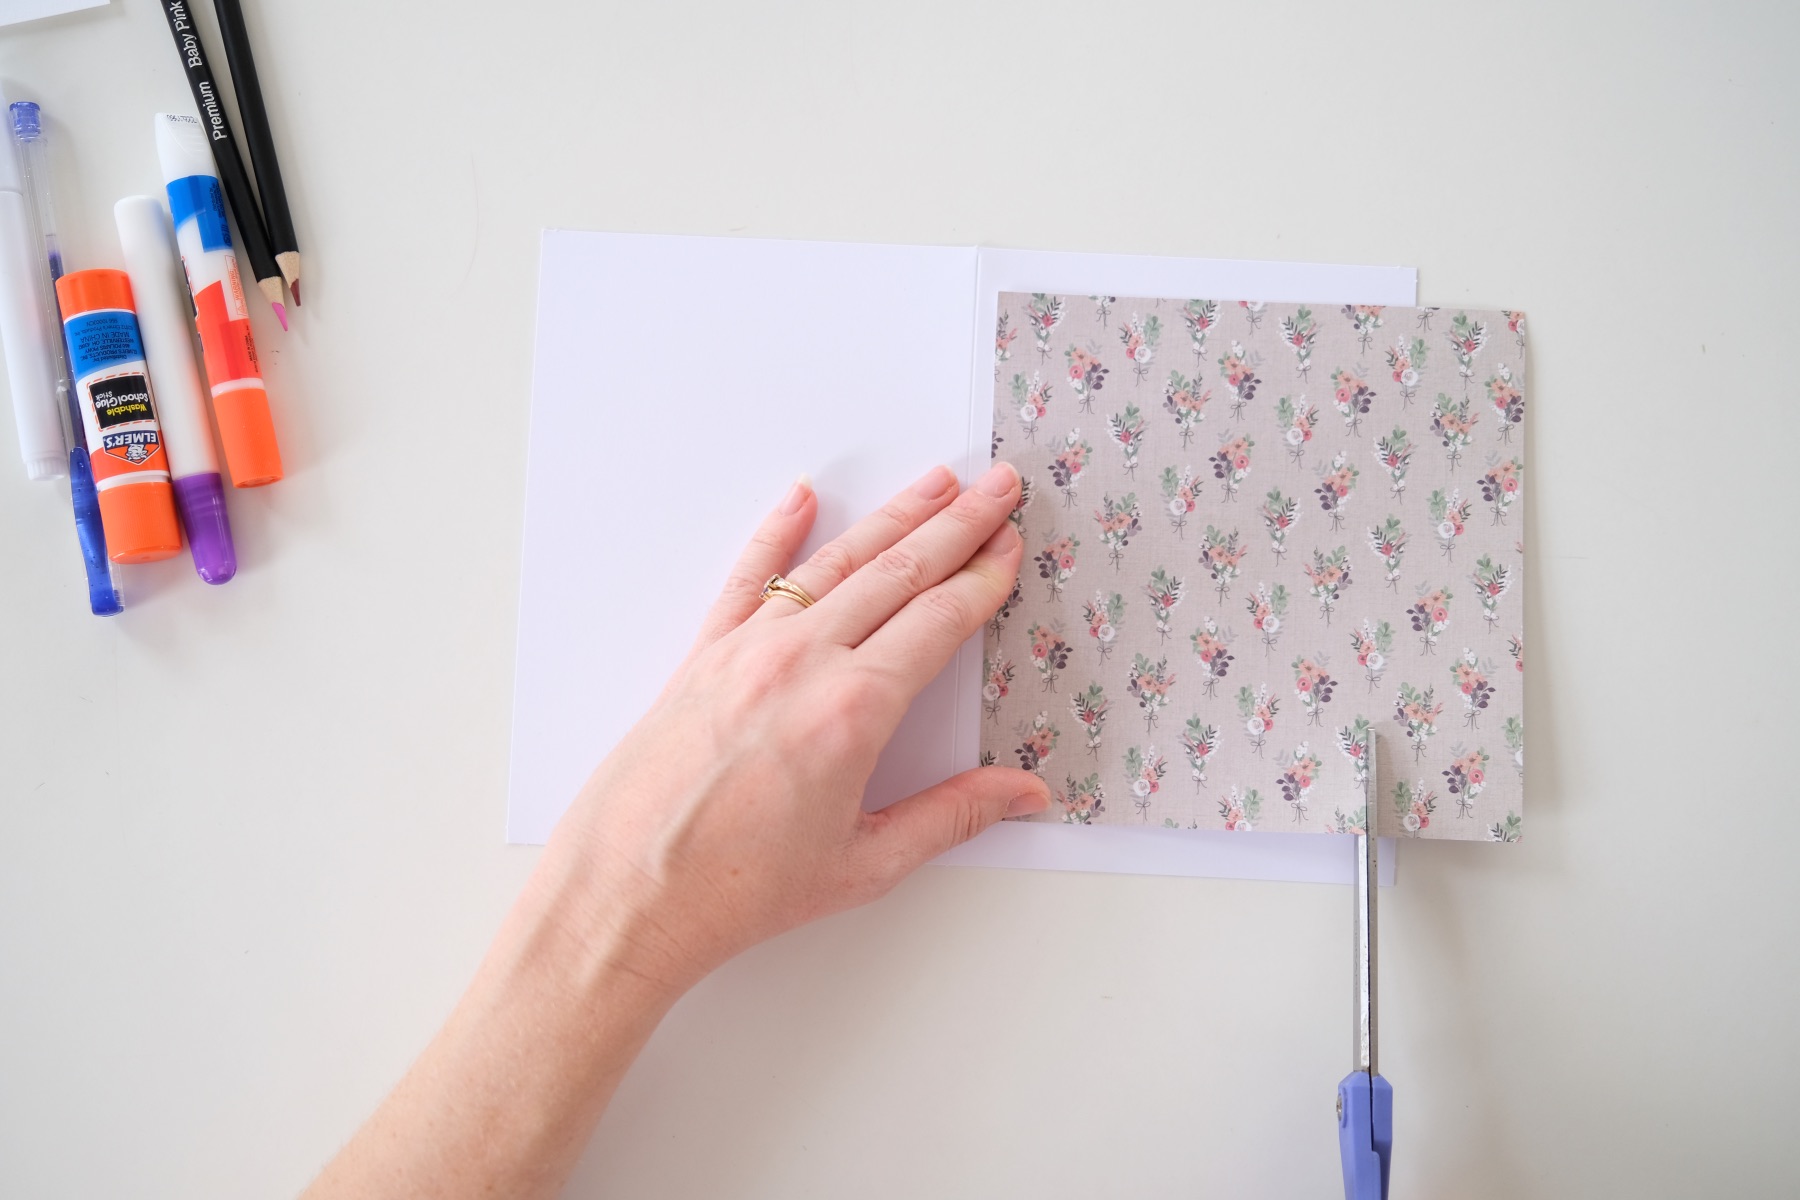
To make this first card, start by cutting a piece of decorative paper to frame the inside of any greeting card. Make sure your cuts are very straight so that your finished card will look professional!
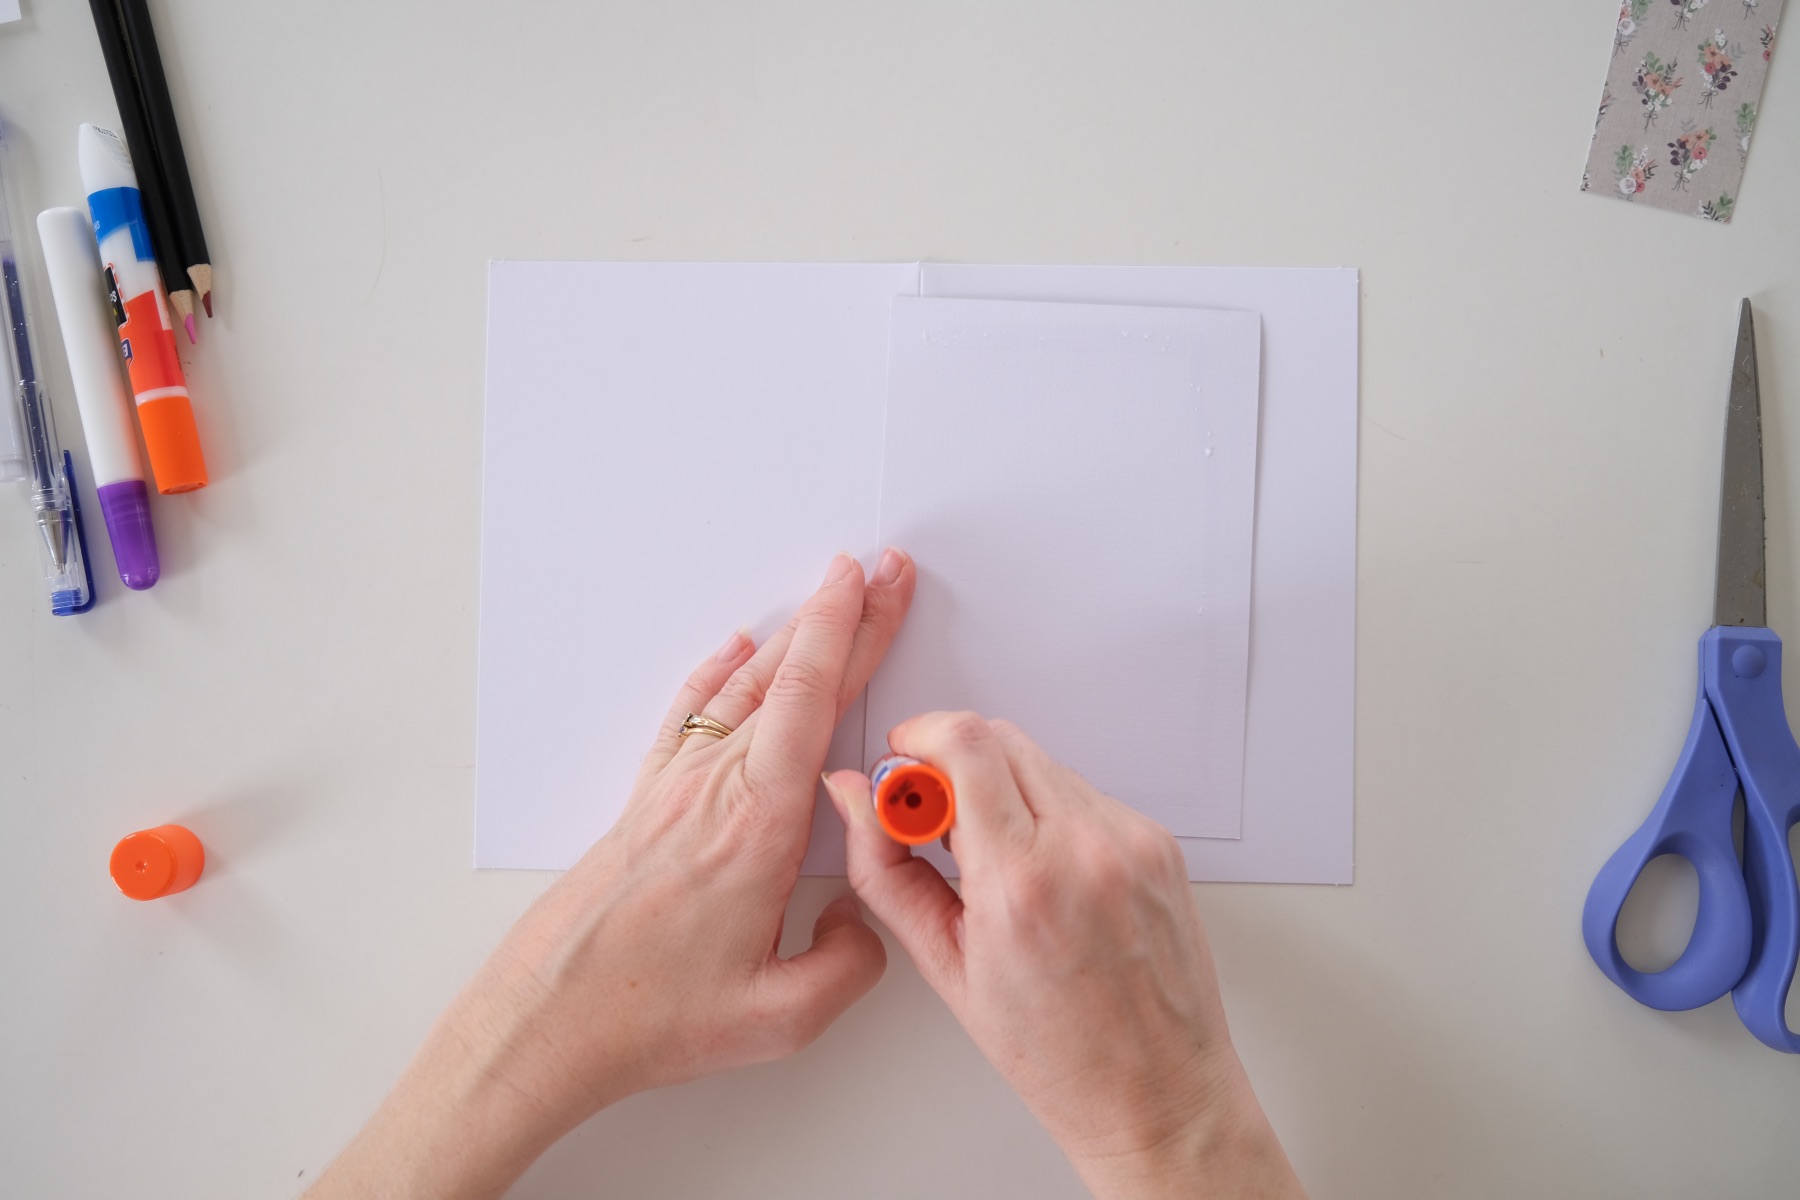
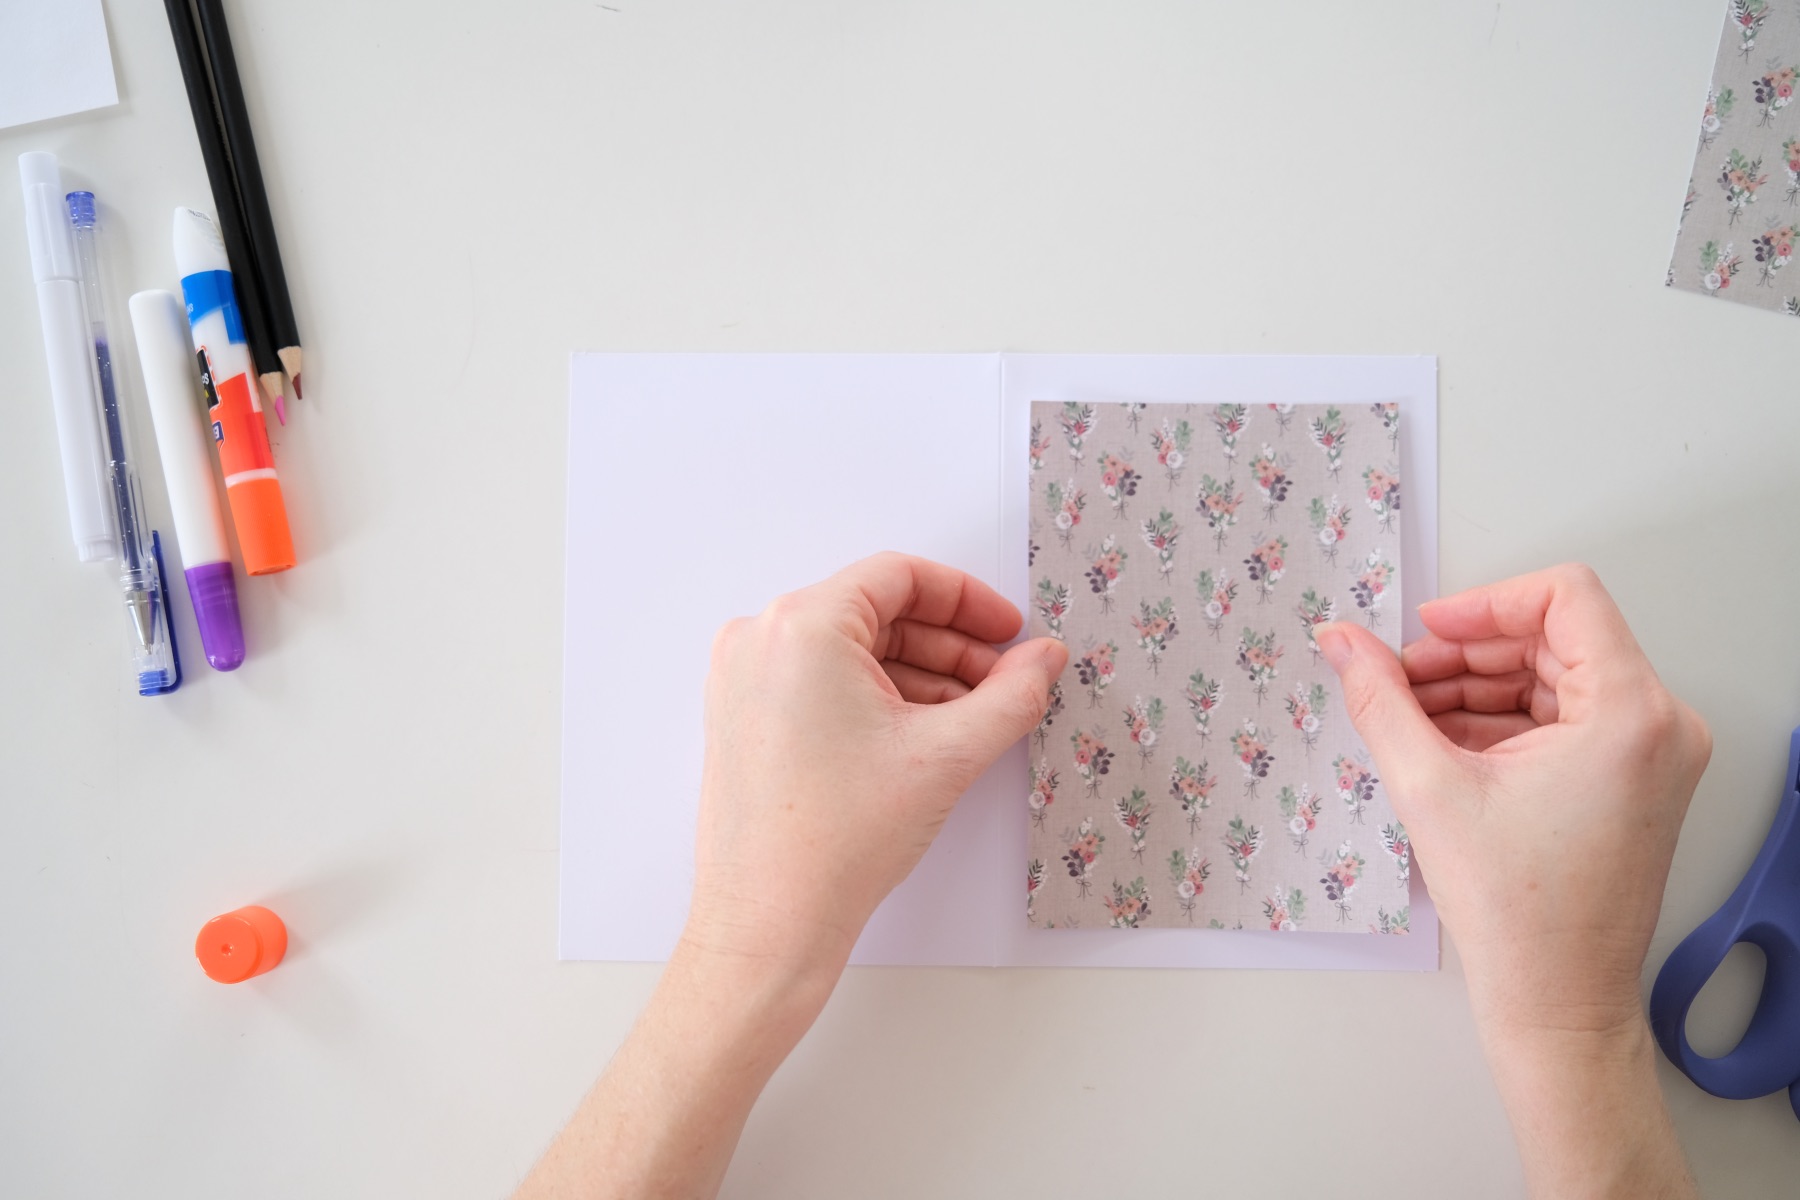
Then use a glue stick to attach the decorative paper to the front of the card. You may need a touch of extra glue for the corners.
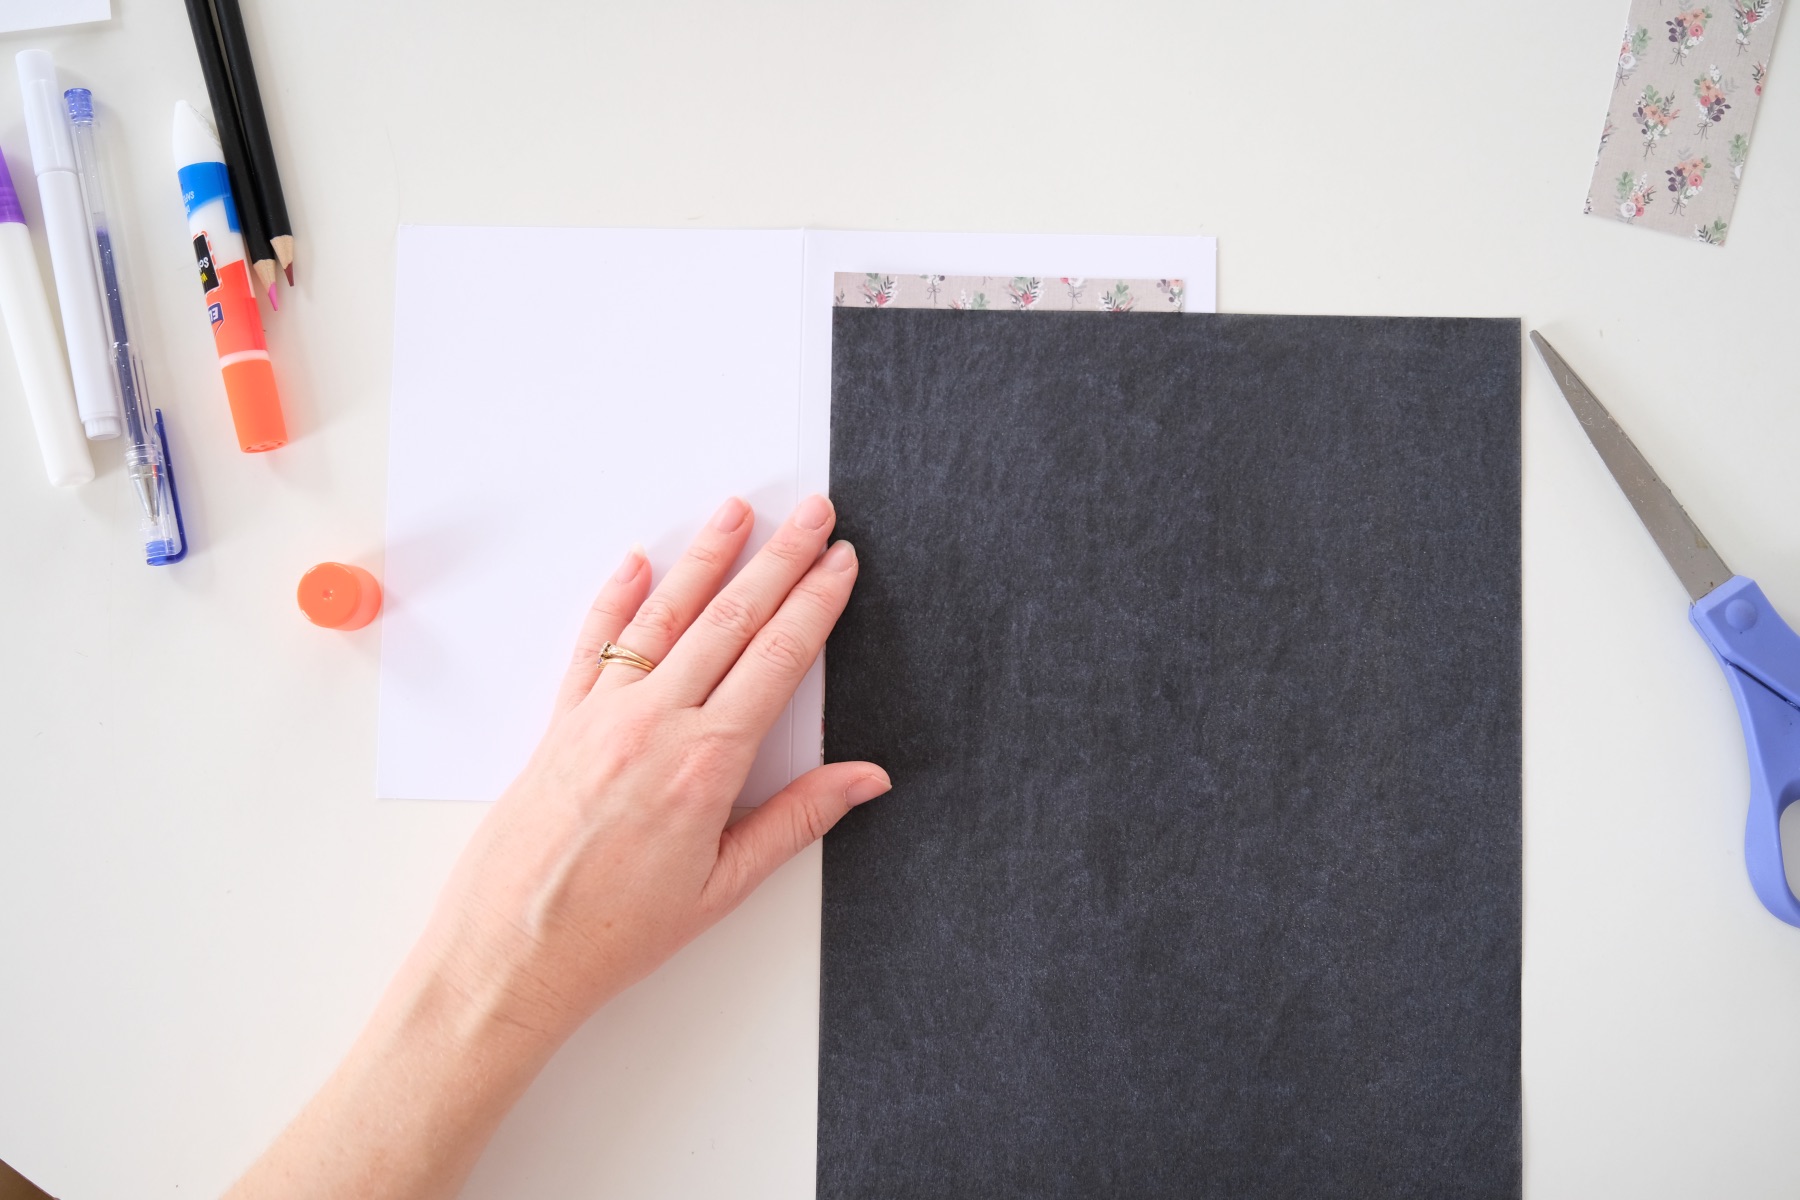
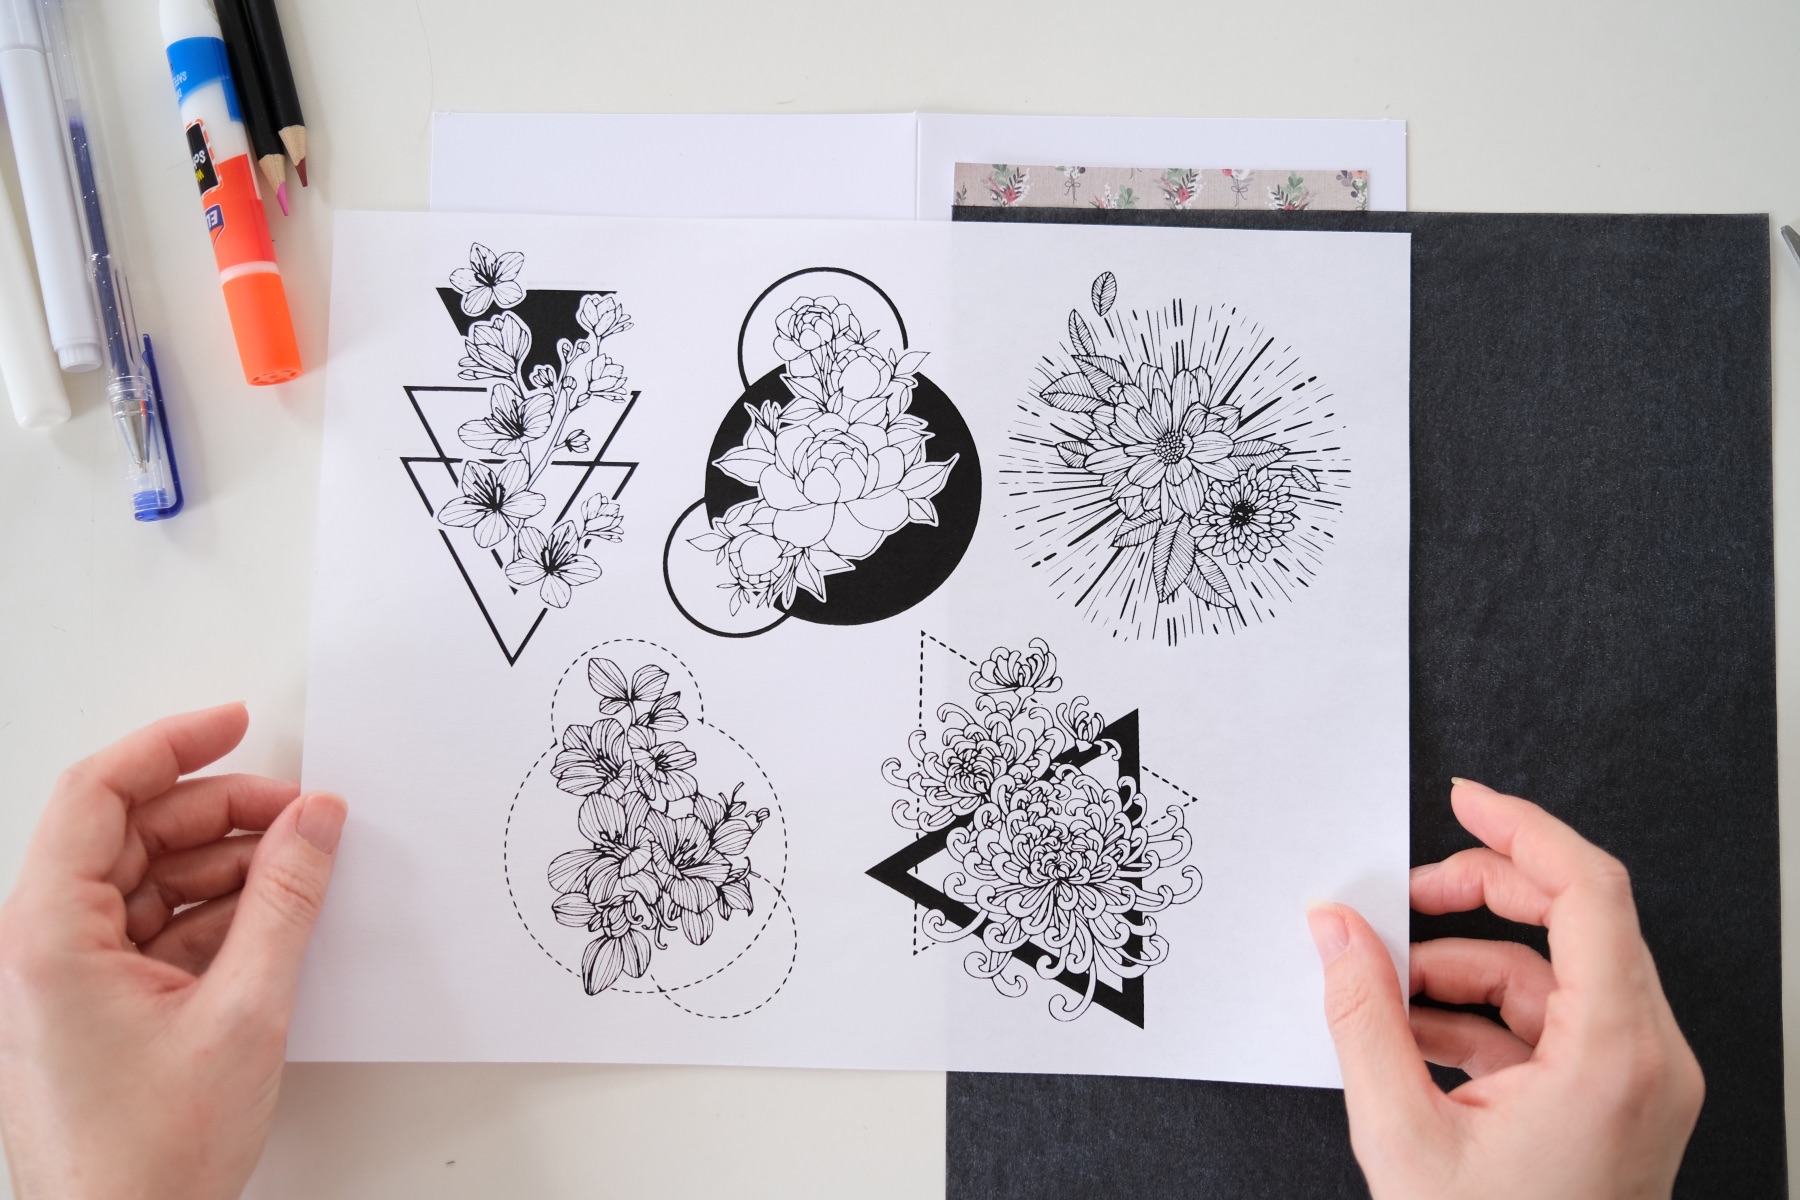
Place transfer paper on top of the decorative paper. And on top of that, place a flower image like this. Make sure that the flower template is exactly where you want the flower to be on the card. This step is unforgiving.
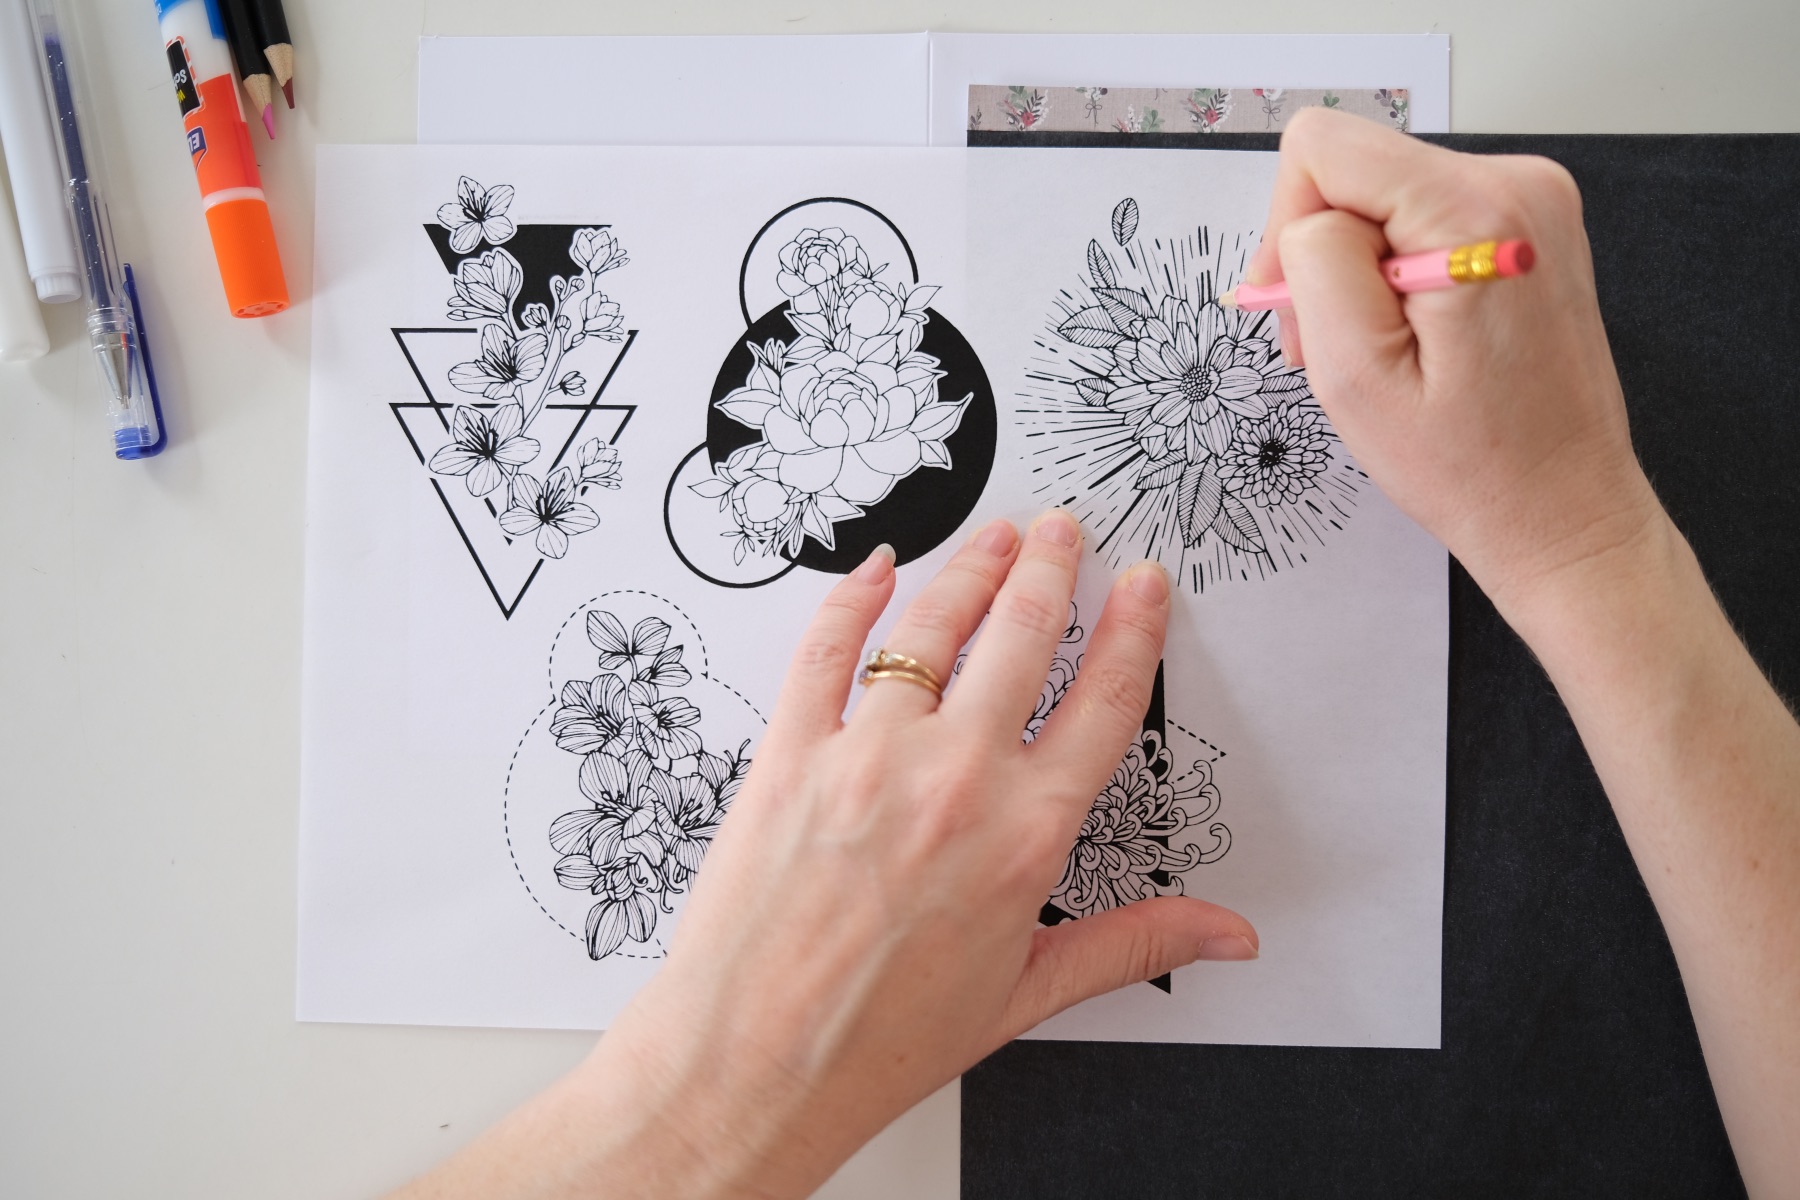
Then pencil across all your black lines, directly on the template, to transfer the carbon paper to the card. Take your time and do anything you can to prevent moving the template even a millimeter!
Once you’ve finished penciling in the flower, remove the carbon paper and template.
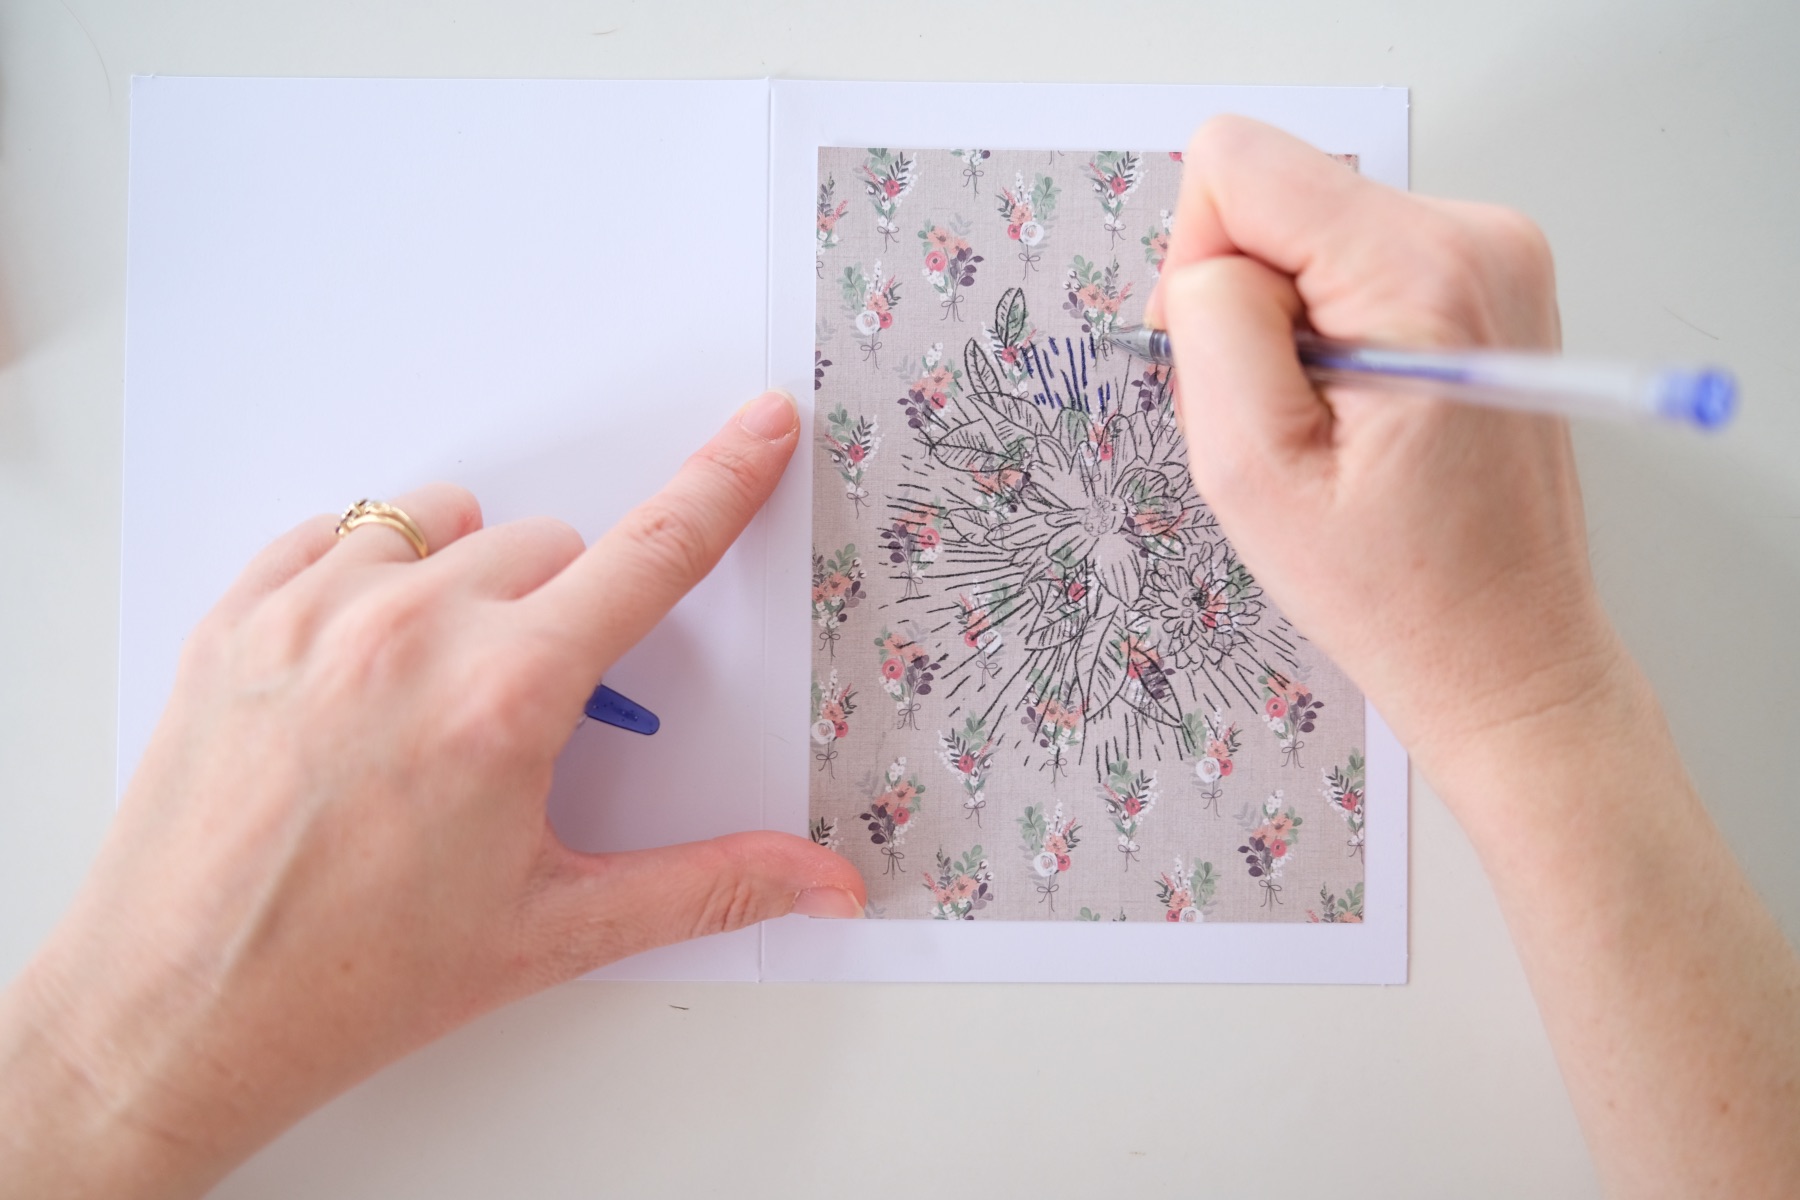
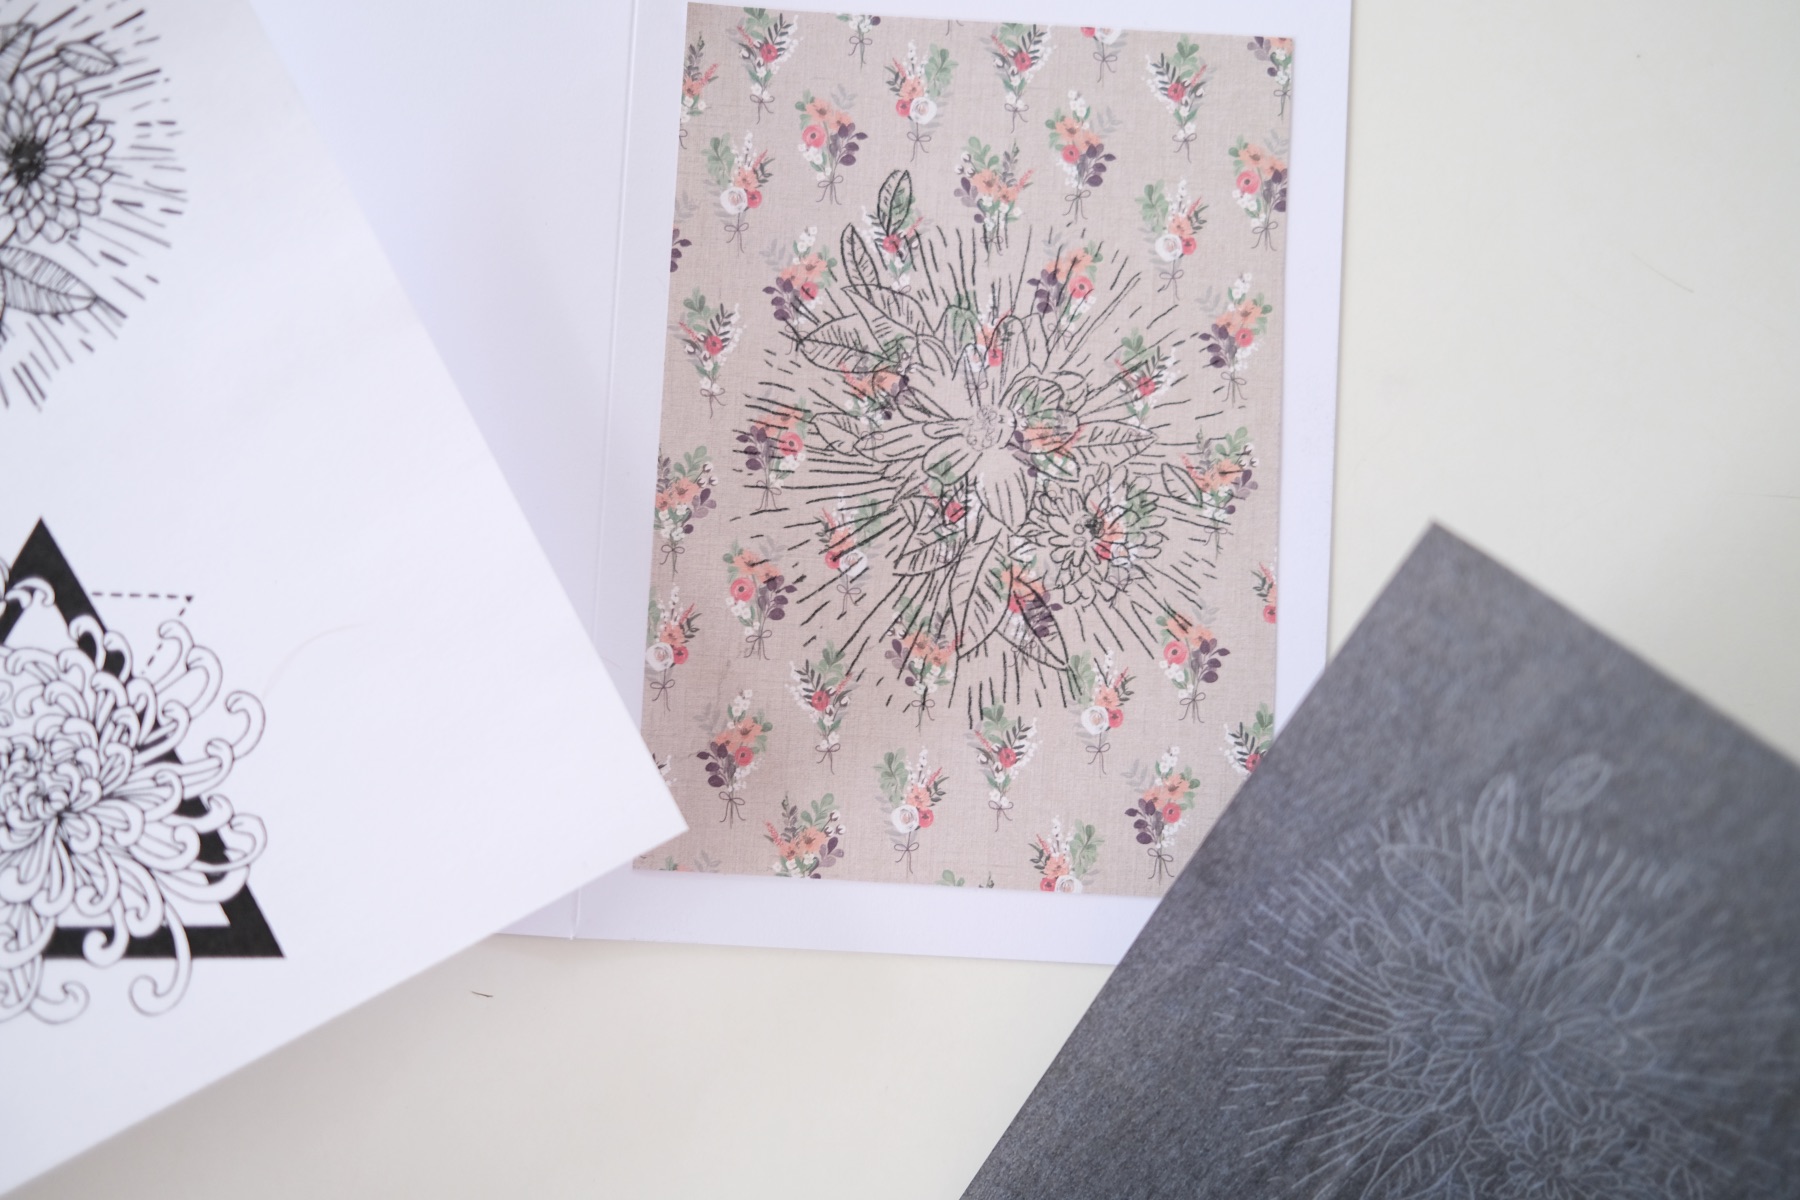
Then use a gel pen to ink over all of the transfer markings. I stopped at this point, but if you want to add foil, just add tiny dots of glue and foil as sparkly accents across the image.
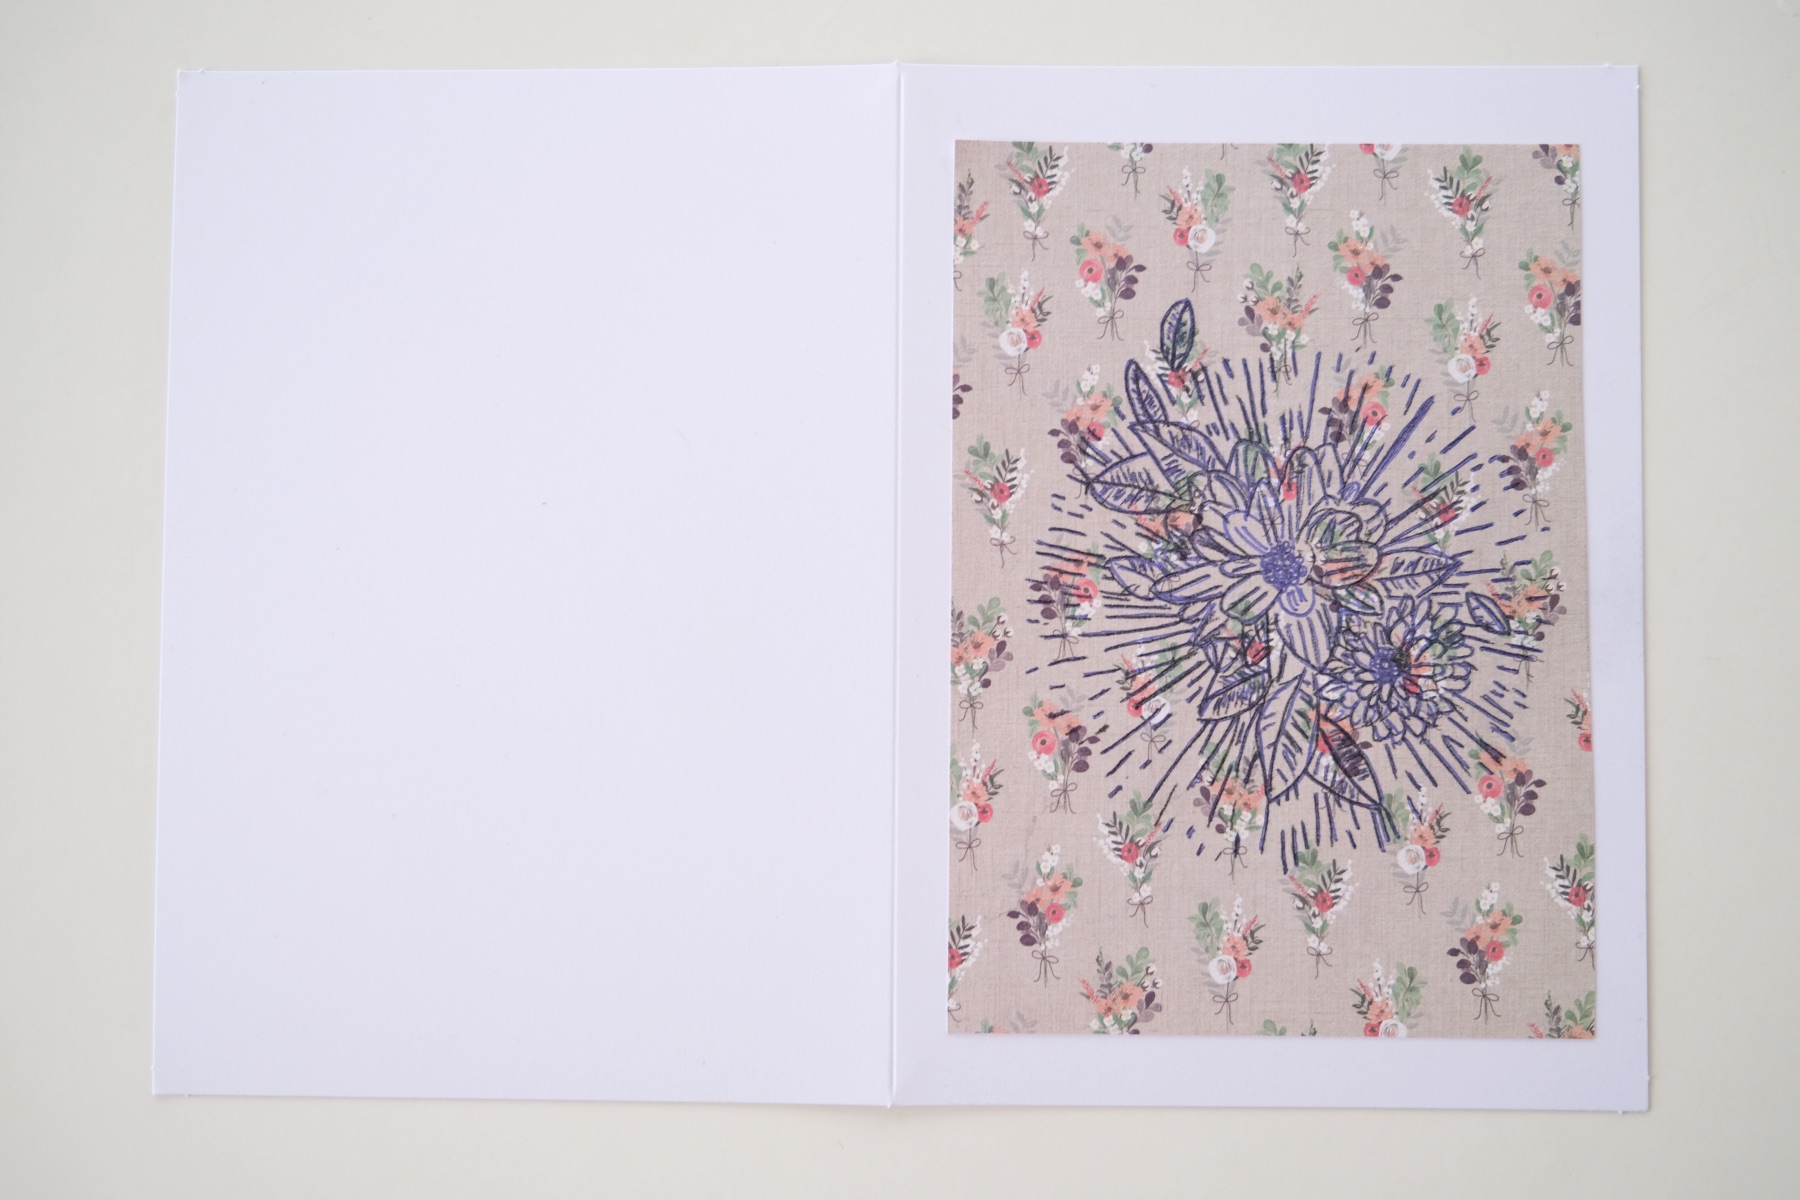
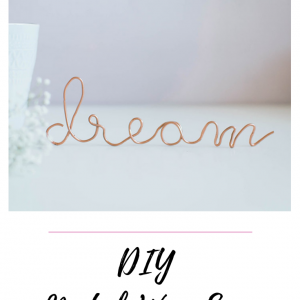
Give this layered card a matching envelope and viola! You have your very first diy greeting card finished and this one is so dreamy.
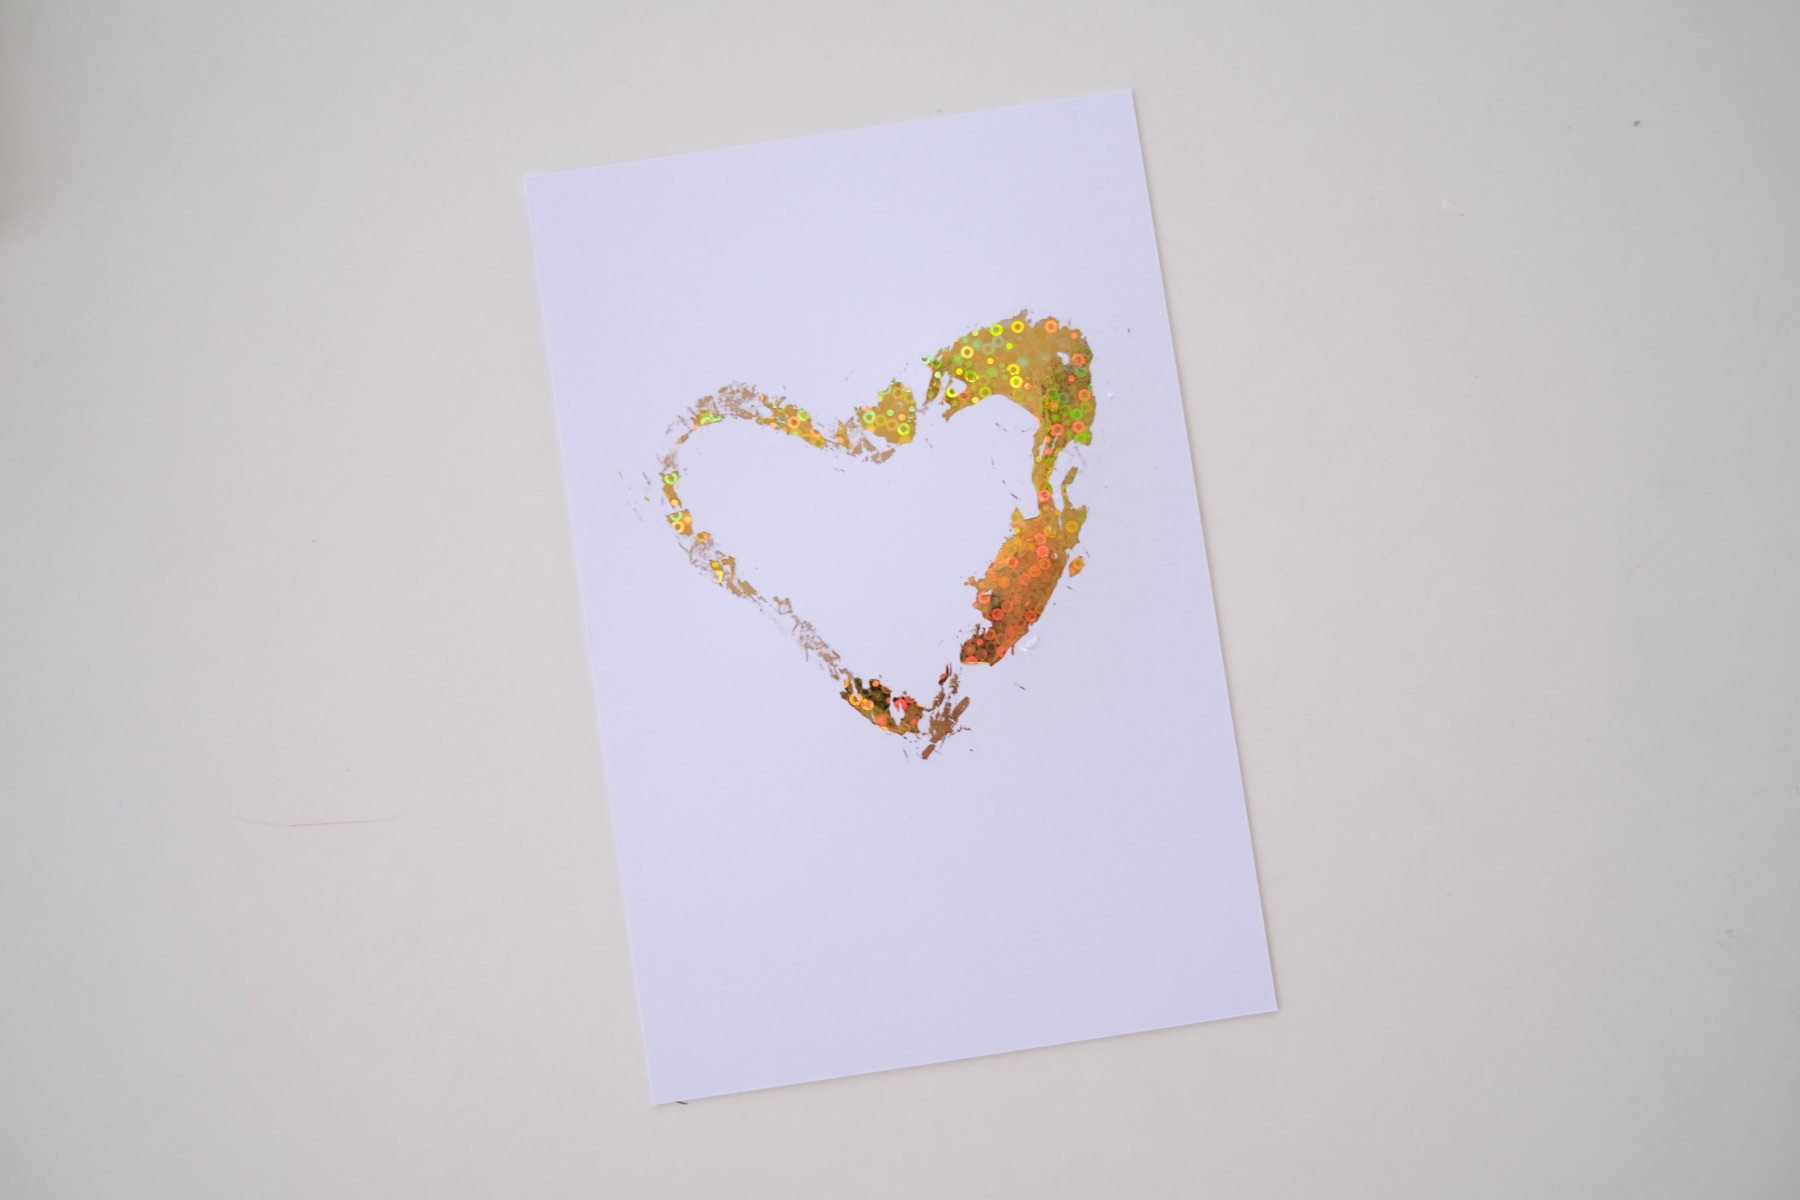
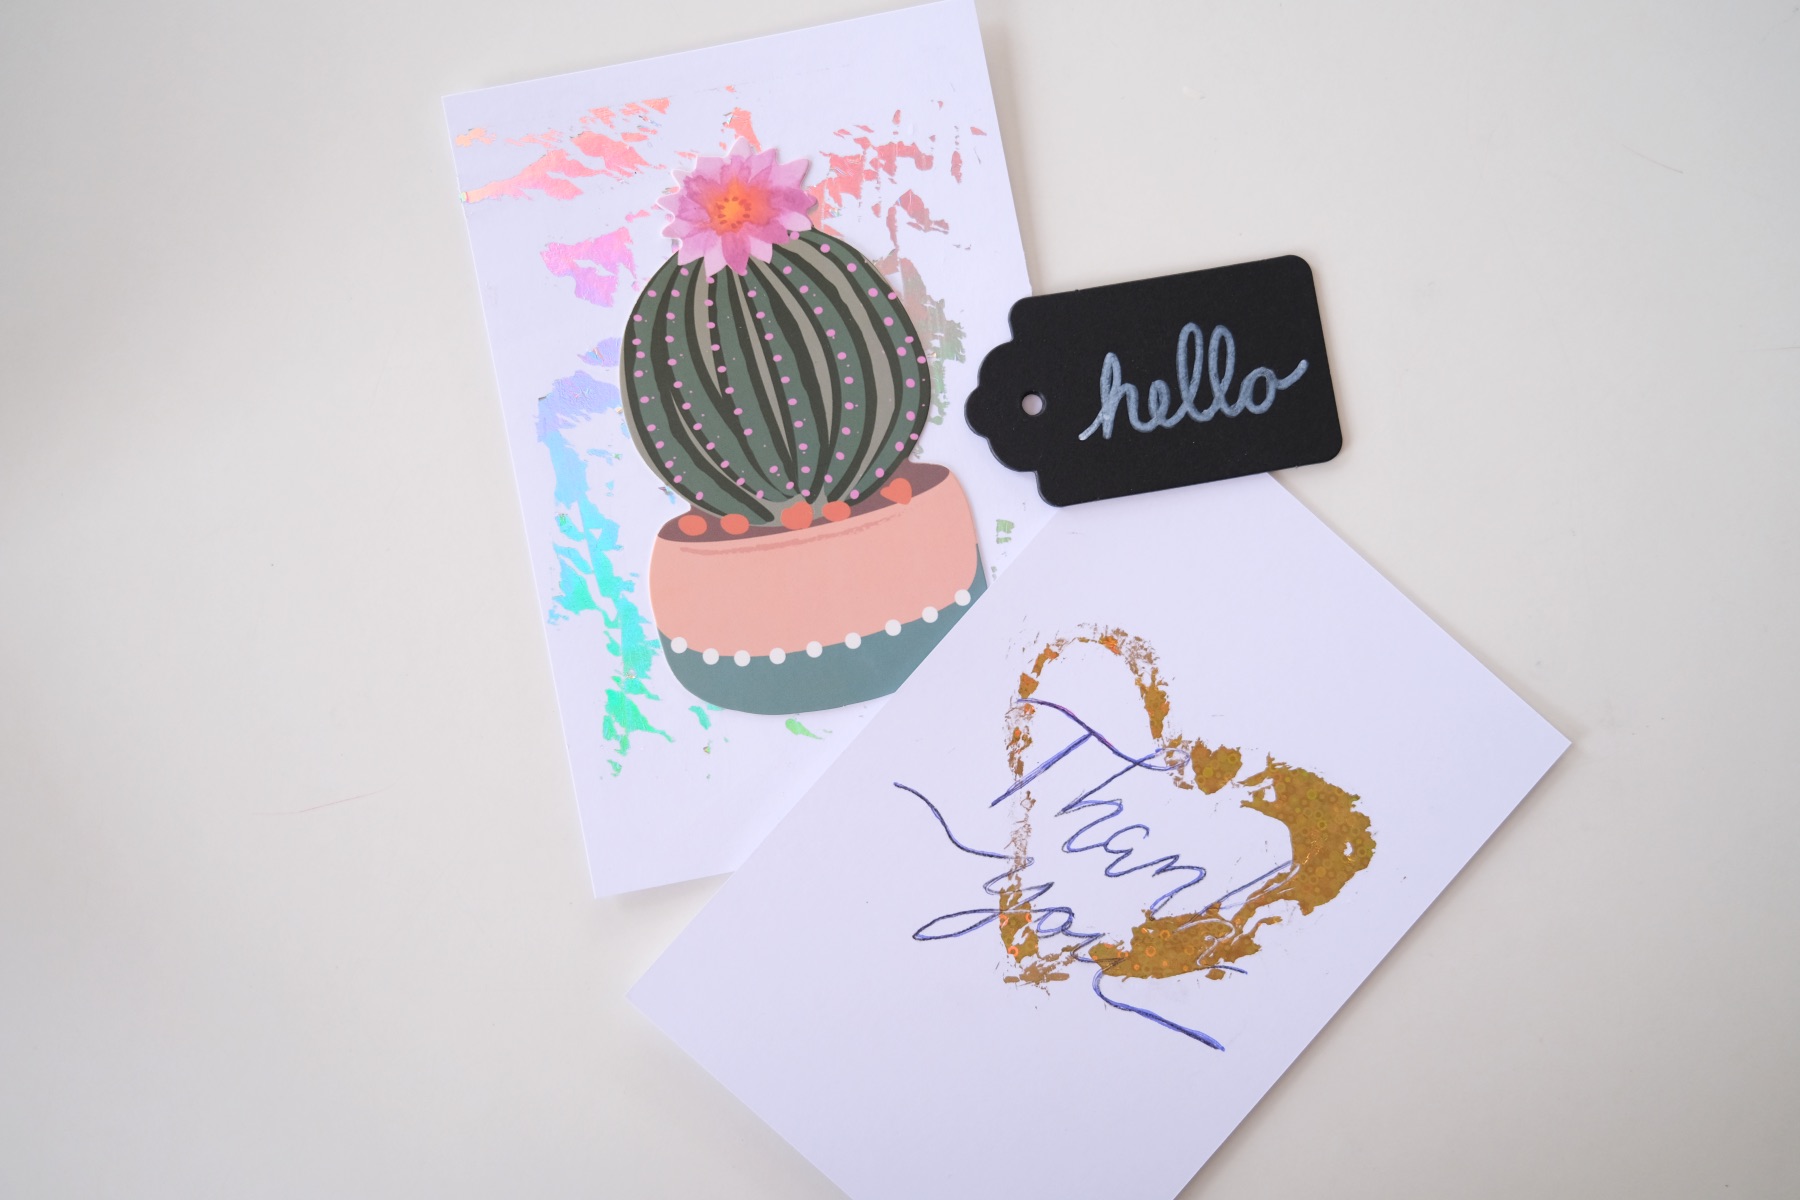
Thank You Card with a Metallic Gold Heart
I would actually recommend making this slightly different than how I did it. I was experimenting and then fell in love with this card. For you, I would recommend transferring a calligraphy thank you like this with carbon paper first.
Then using the transfer foil second. It’s a follow what I say not what I’ve done thing. 😂
To do it the right way, start by finding a message like “thank you” in a font that you resonate with. You could choose any word phrase like “Happy Mother’s Day” or “Hello” too.
Then place the carbon paper on top of your card. And the template on top of that.

Make sure that your template is perfectly placed exactly where you want it. And be sure to hold it in place while you pencil over the words to transfer the carbon paper to the card. Then lift up the template and the carbon paper. Ink over the transferred words directly on the card.
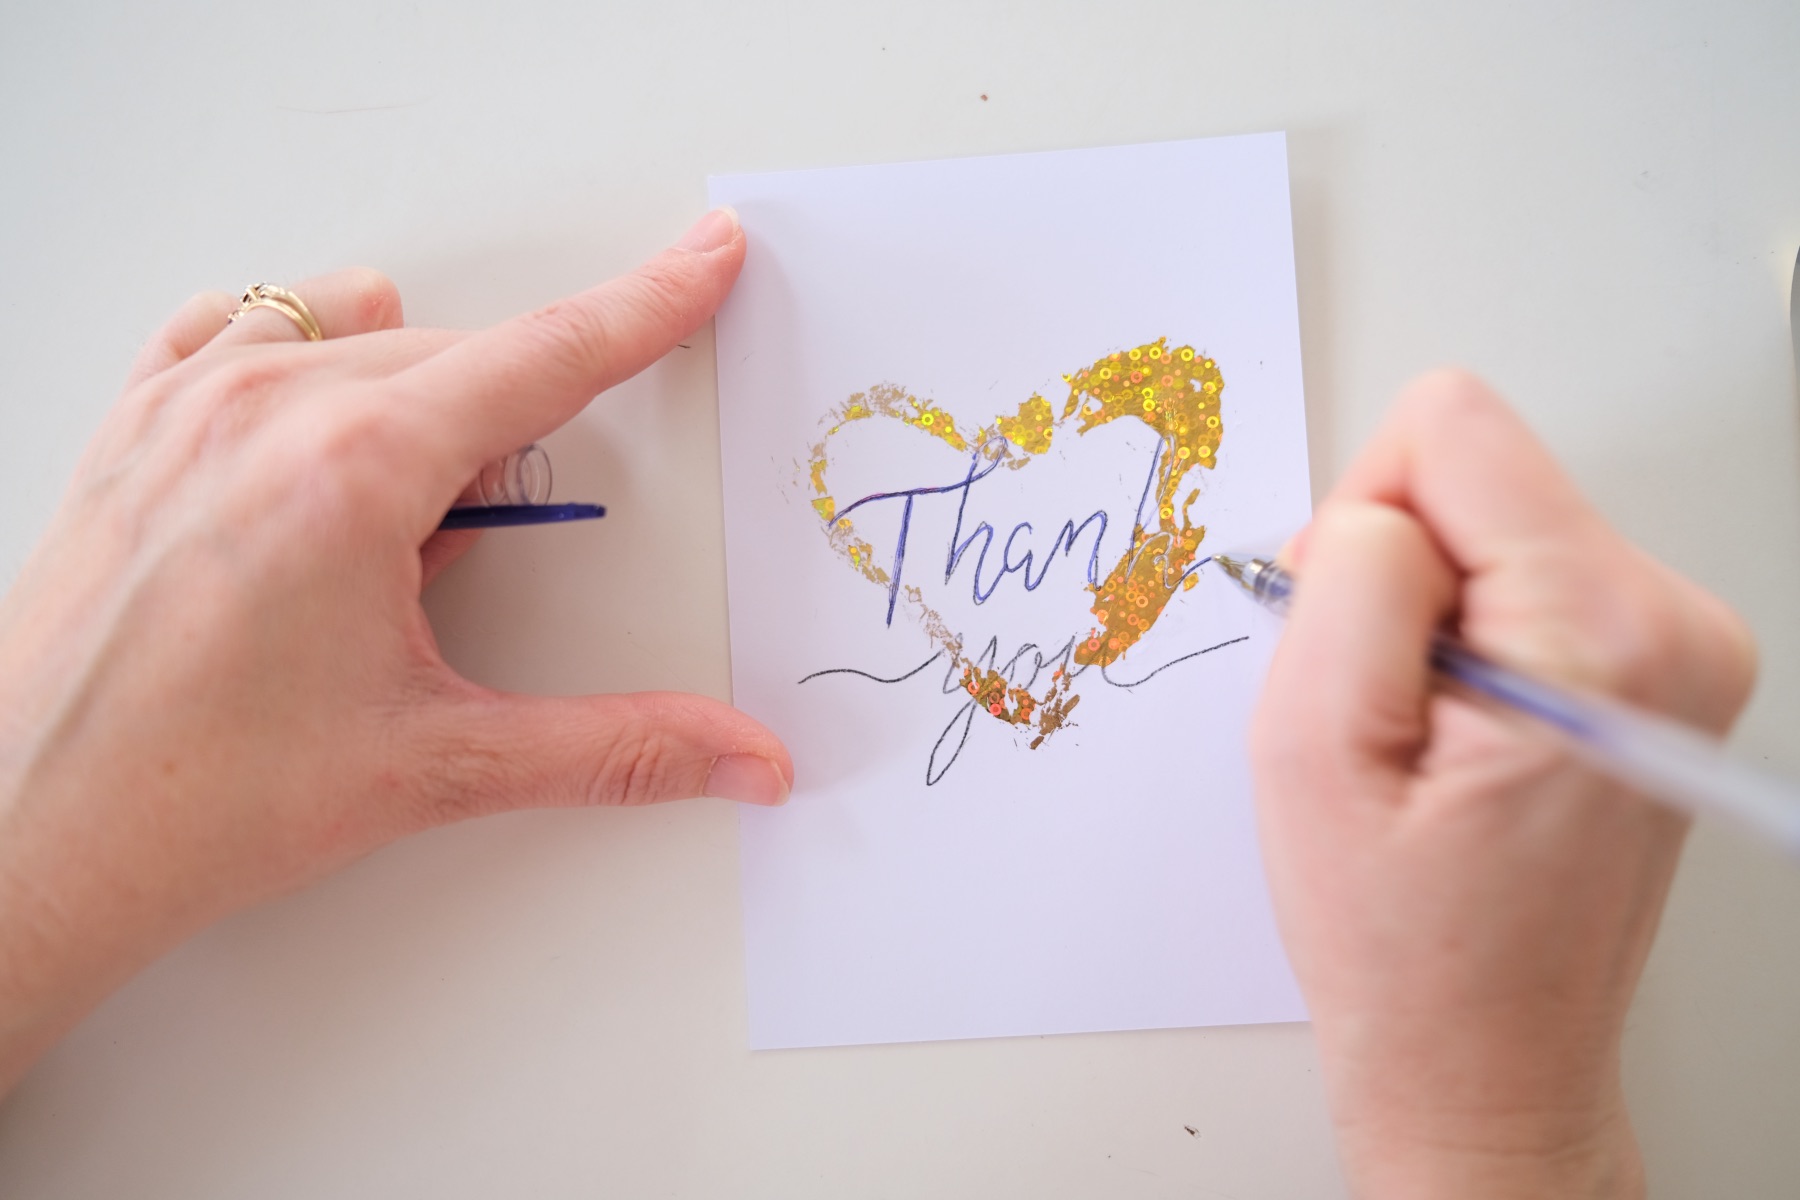
Last, use a swipe of a glue stick in the shape of a heart and immediately place a foil transfer sheet on top. Firmly press into the transfer foil and lift the foil away to reveal a messy, brush-like heart.
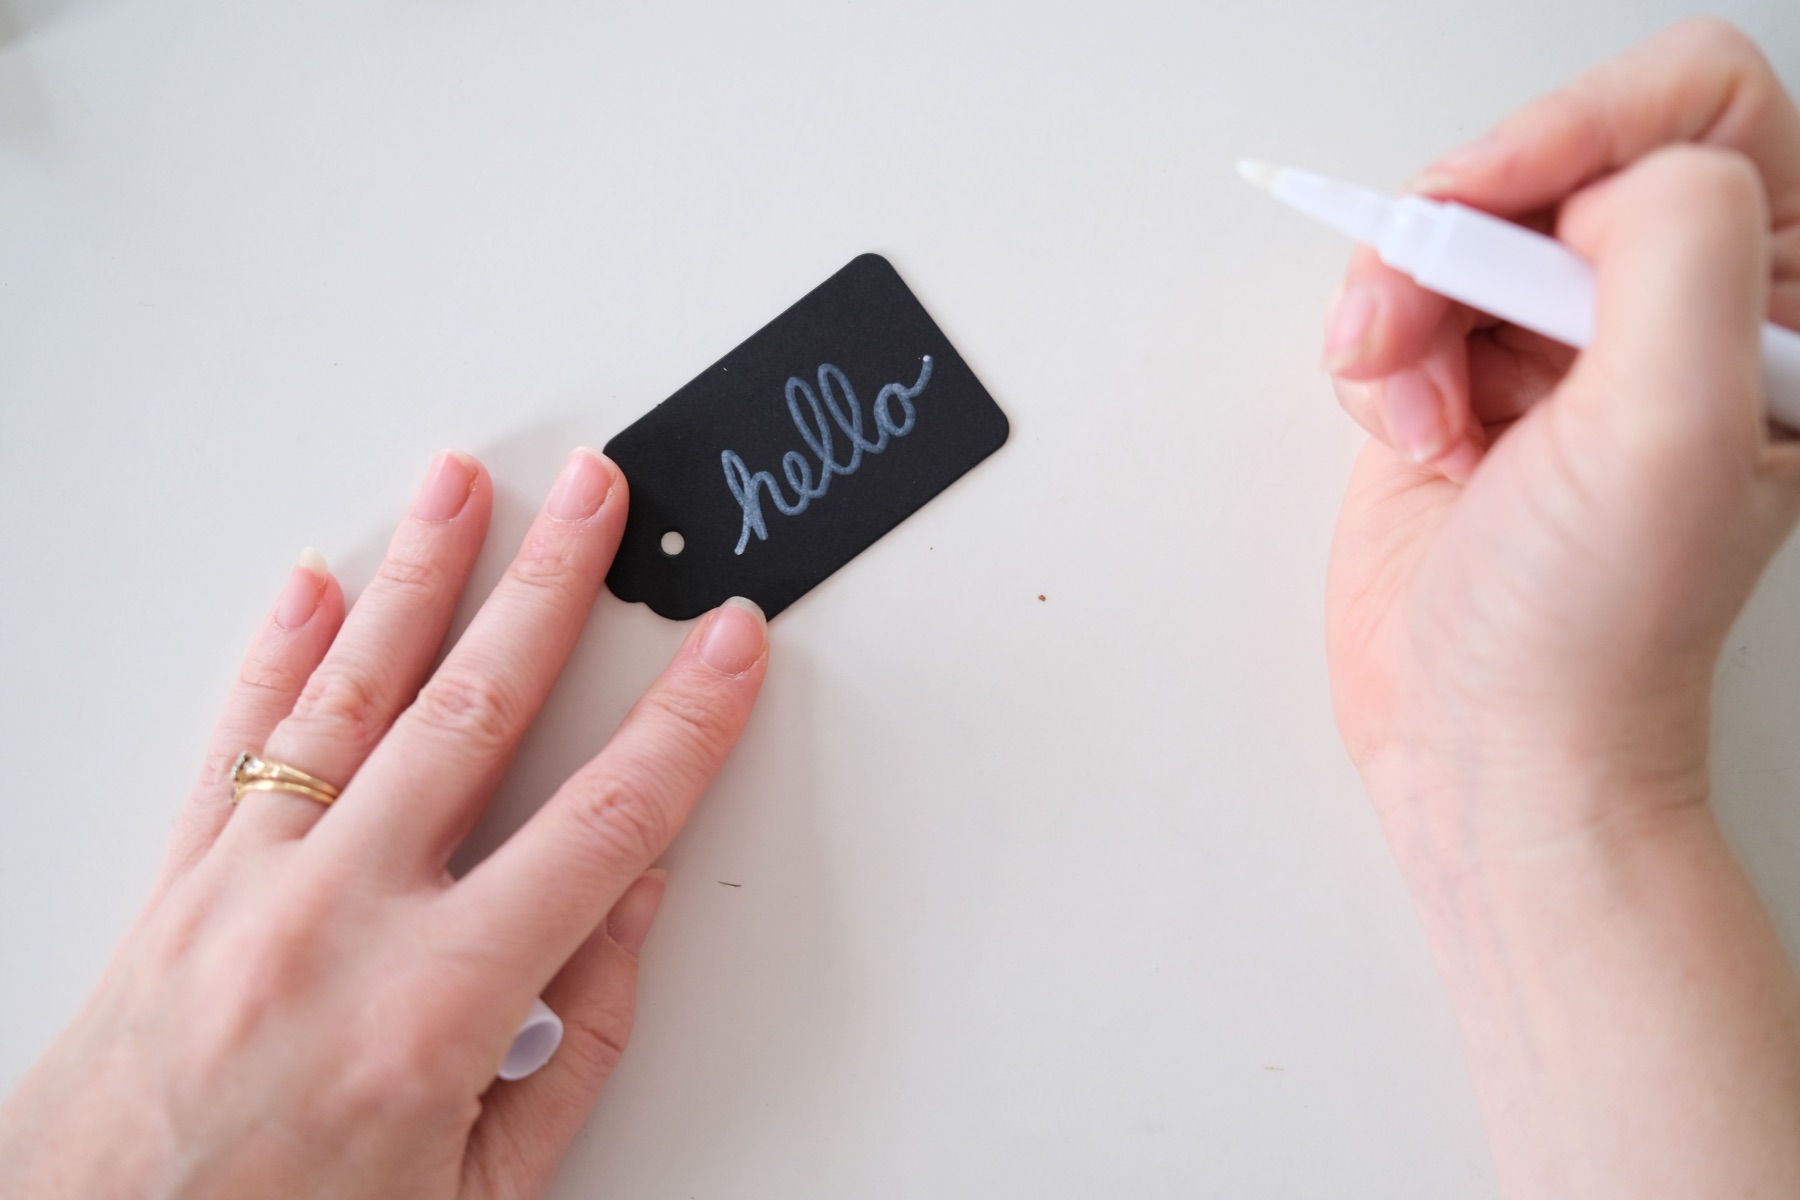
Simple Hello Gift Tag
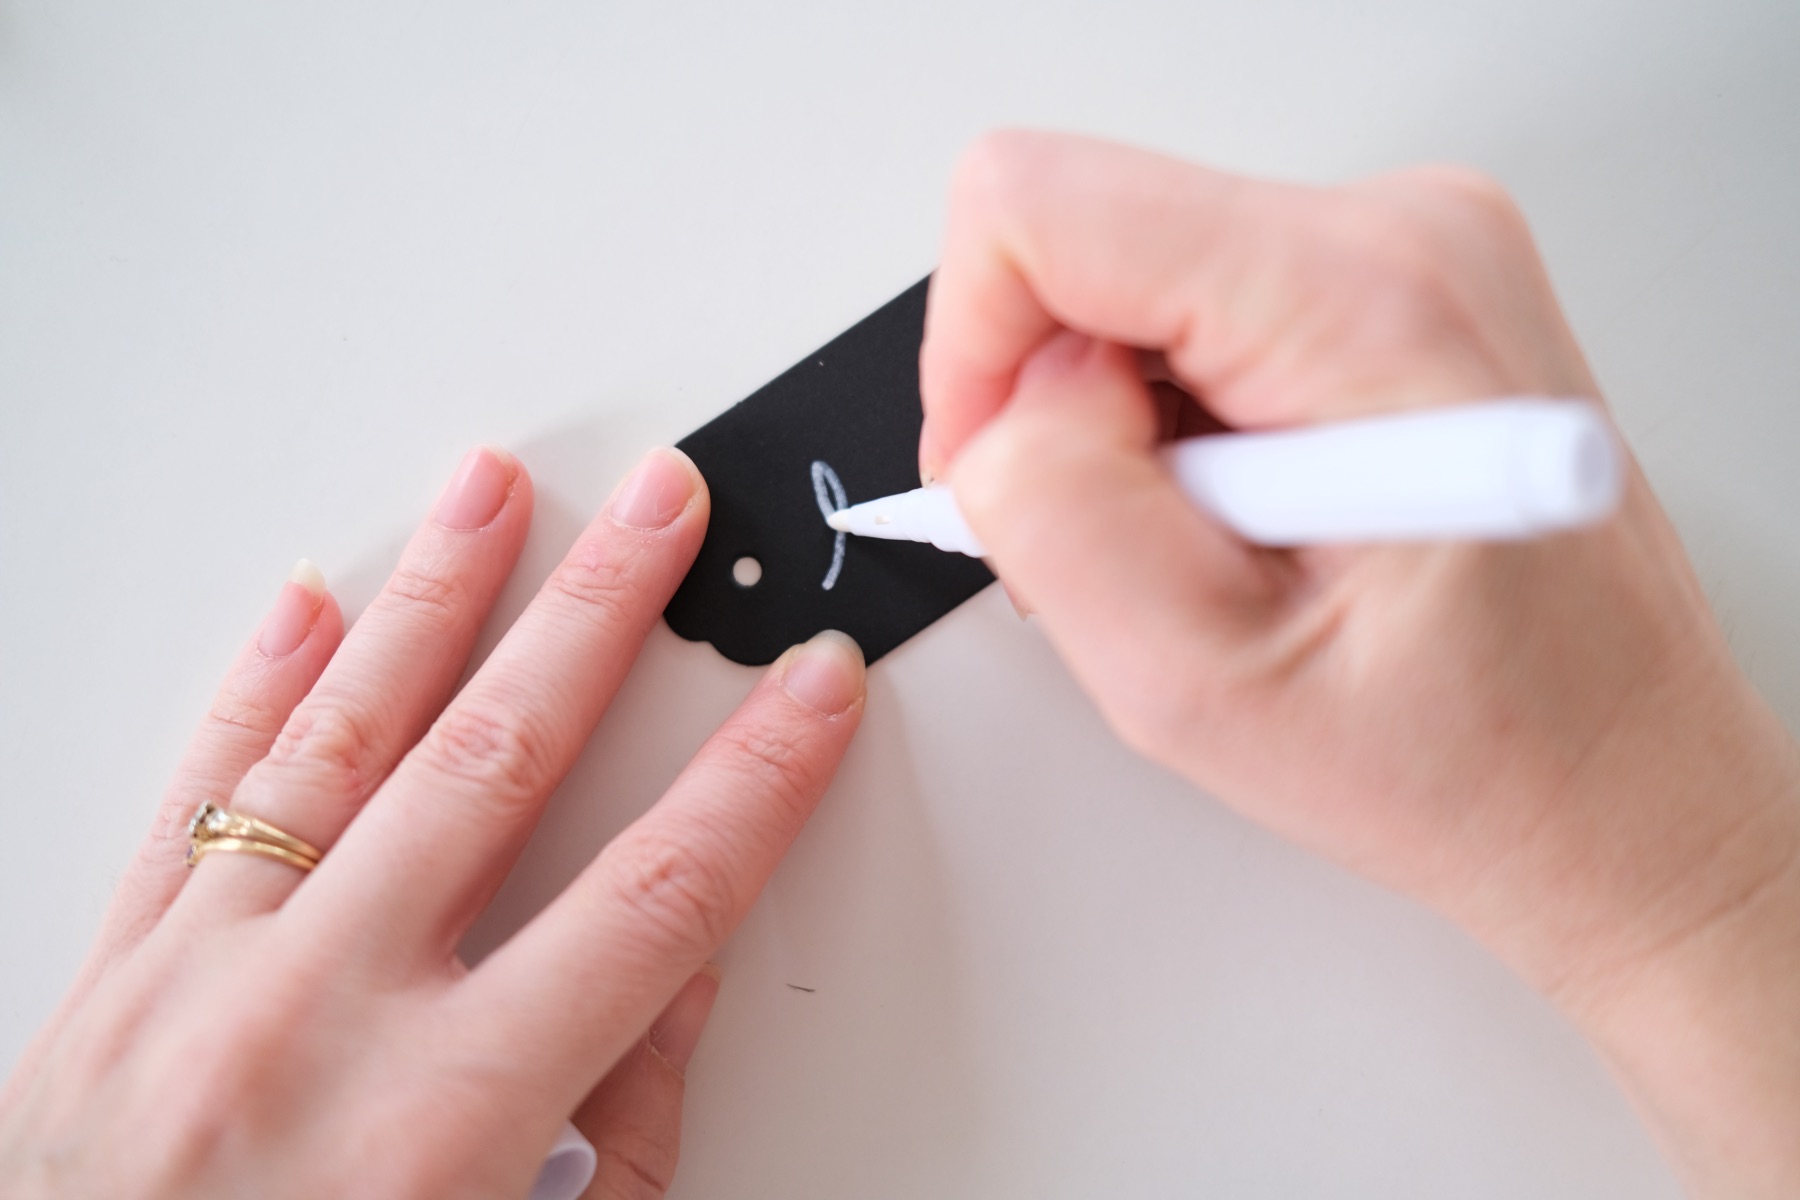

With this gift tag, I only used a white pen. I simply wrote “hello” in the nicest font I could. That’s it! I just wanted to show you that when you are making cards, sometimes very simple designs can be the most beautiful.
If you don’t love your handwriting, you can still use templates and carbon paper. But the carbon paper will only be visible when your light or a nearby lamp is at the perfect angle. So try going to a sunny window so you can see the glimmer of the carbon paper.
Rainbow Metallic Silver Envelope

Want to see what foiling looks like on black? It’s super stylish! Use a glue pen or your favorite adhesive to draw a simple shape.
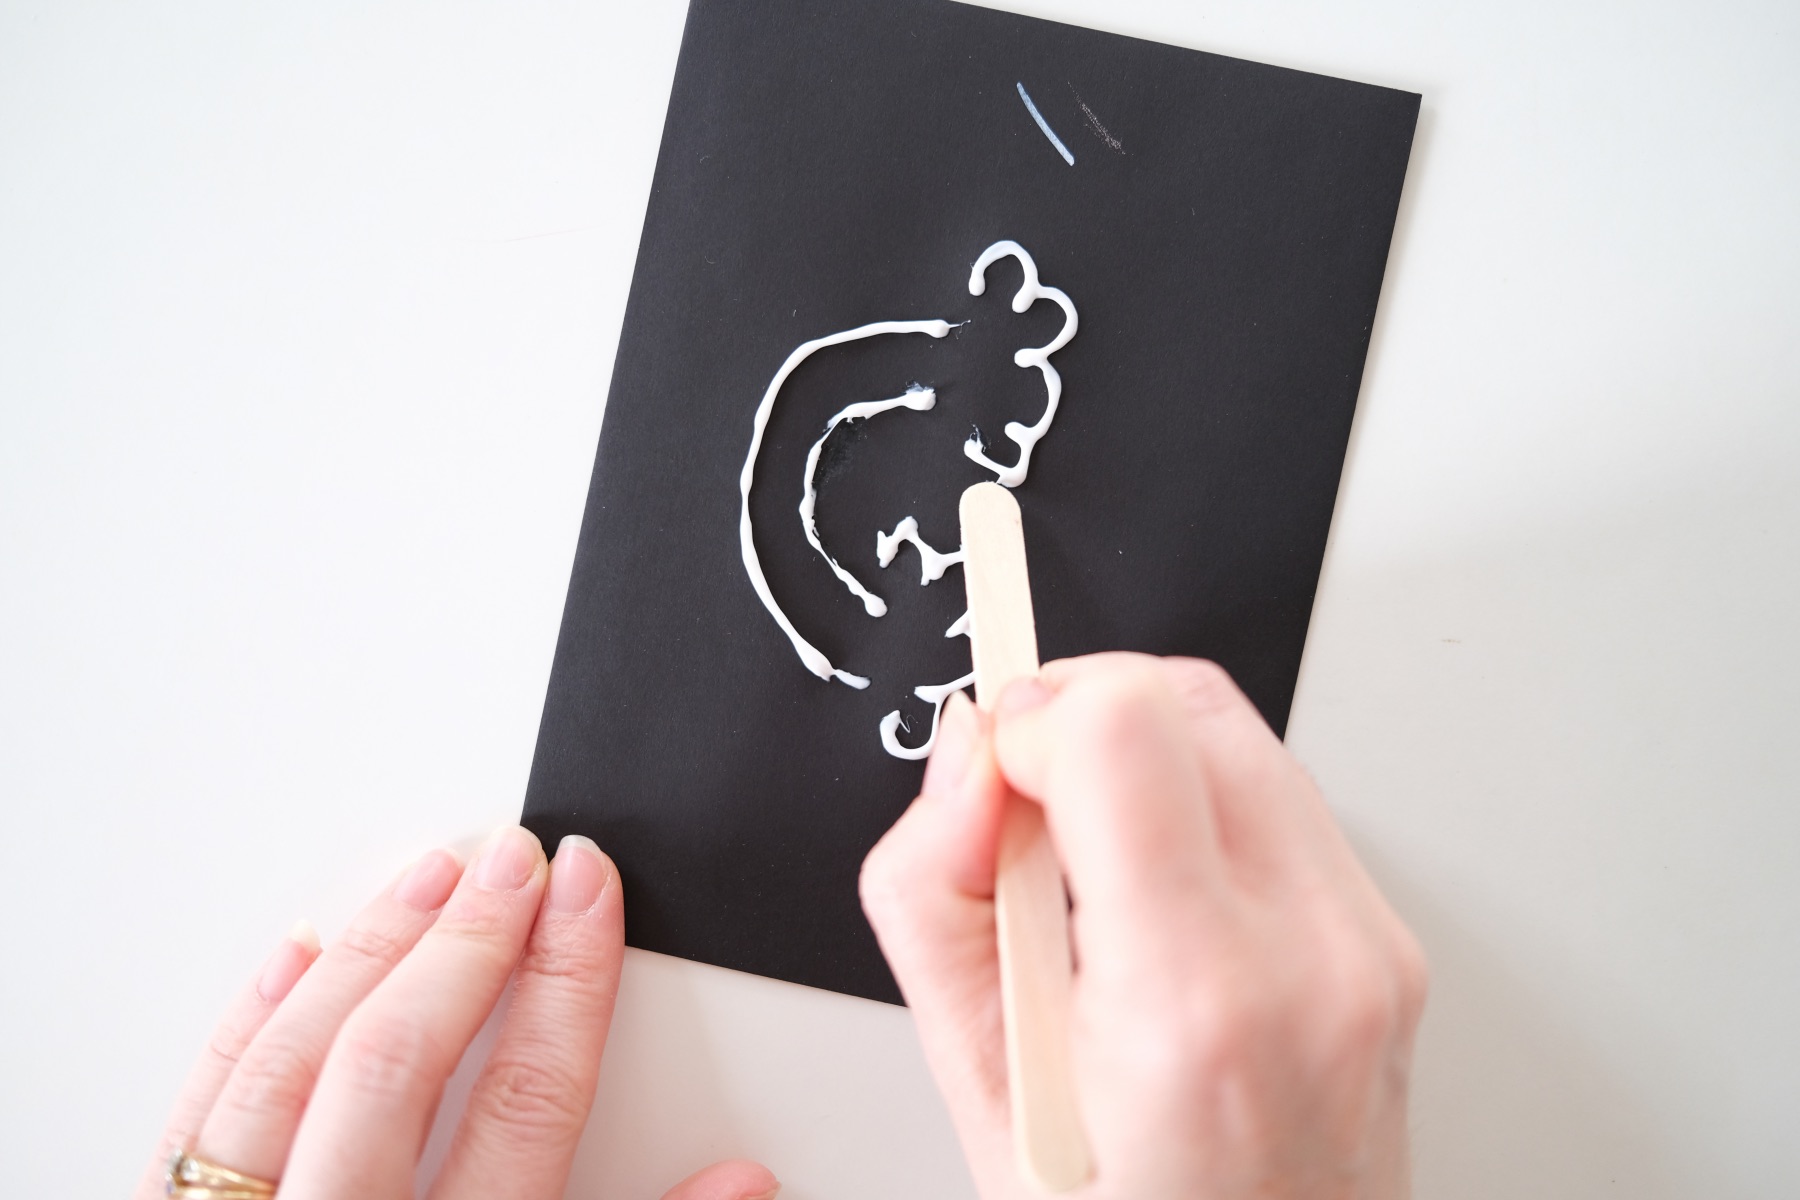
Remember anytime we are working with a liquid glue, you must wait until that glue is almost set and just tacky. It should no longer be wet.
Pro Tip: If you make a mess with your lines, like I did, use a popsicle stick to push the glue where you want it to go. Then if necessary, use your finger to dab away any excess.
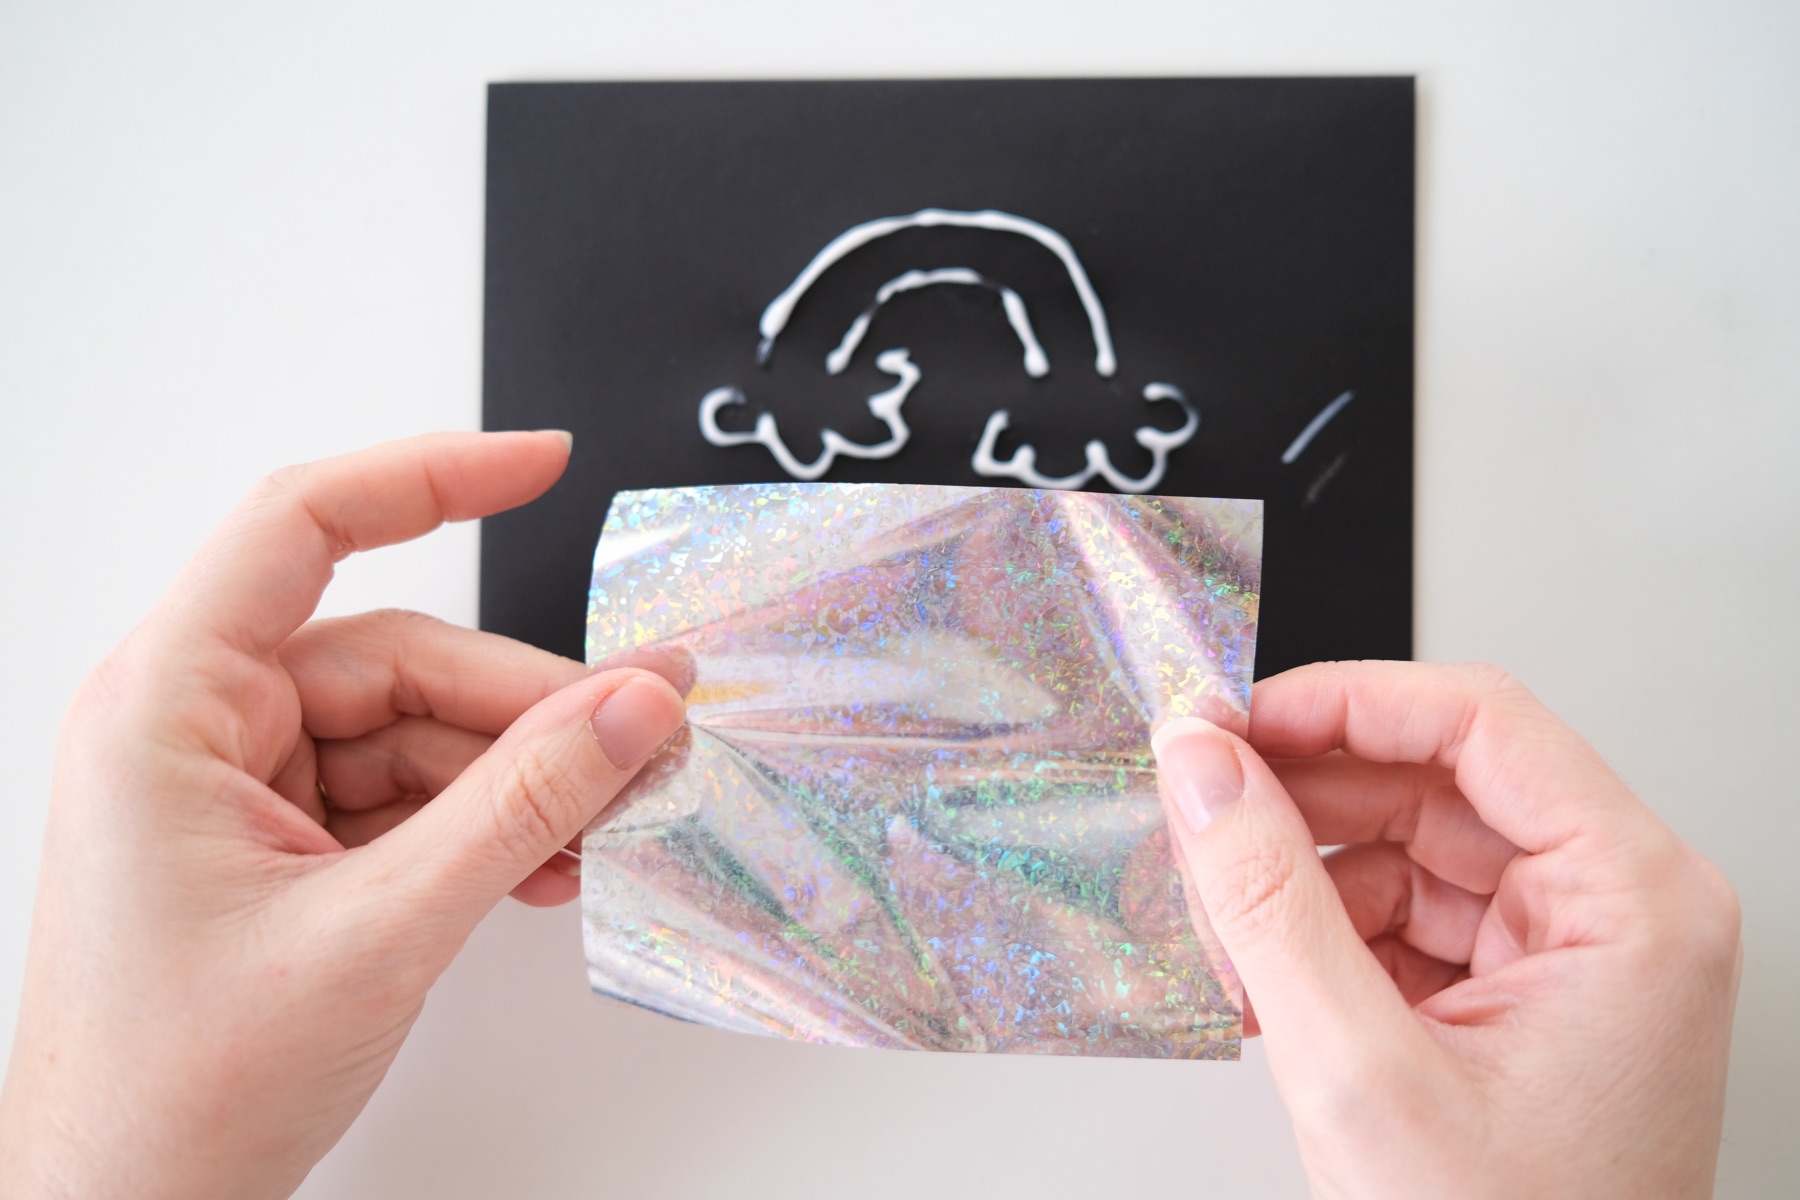
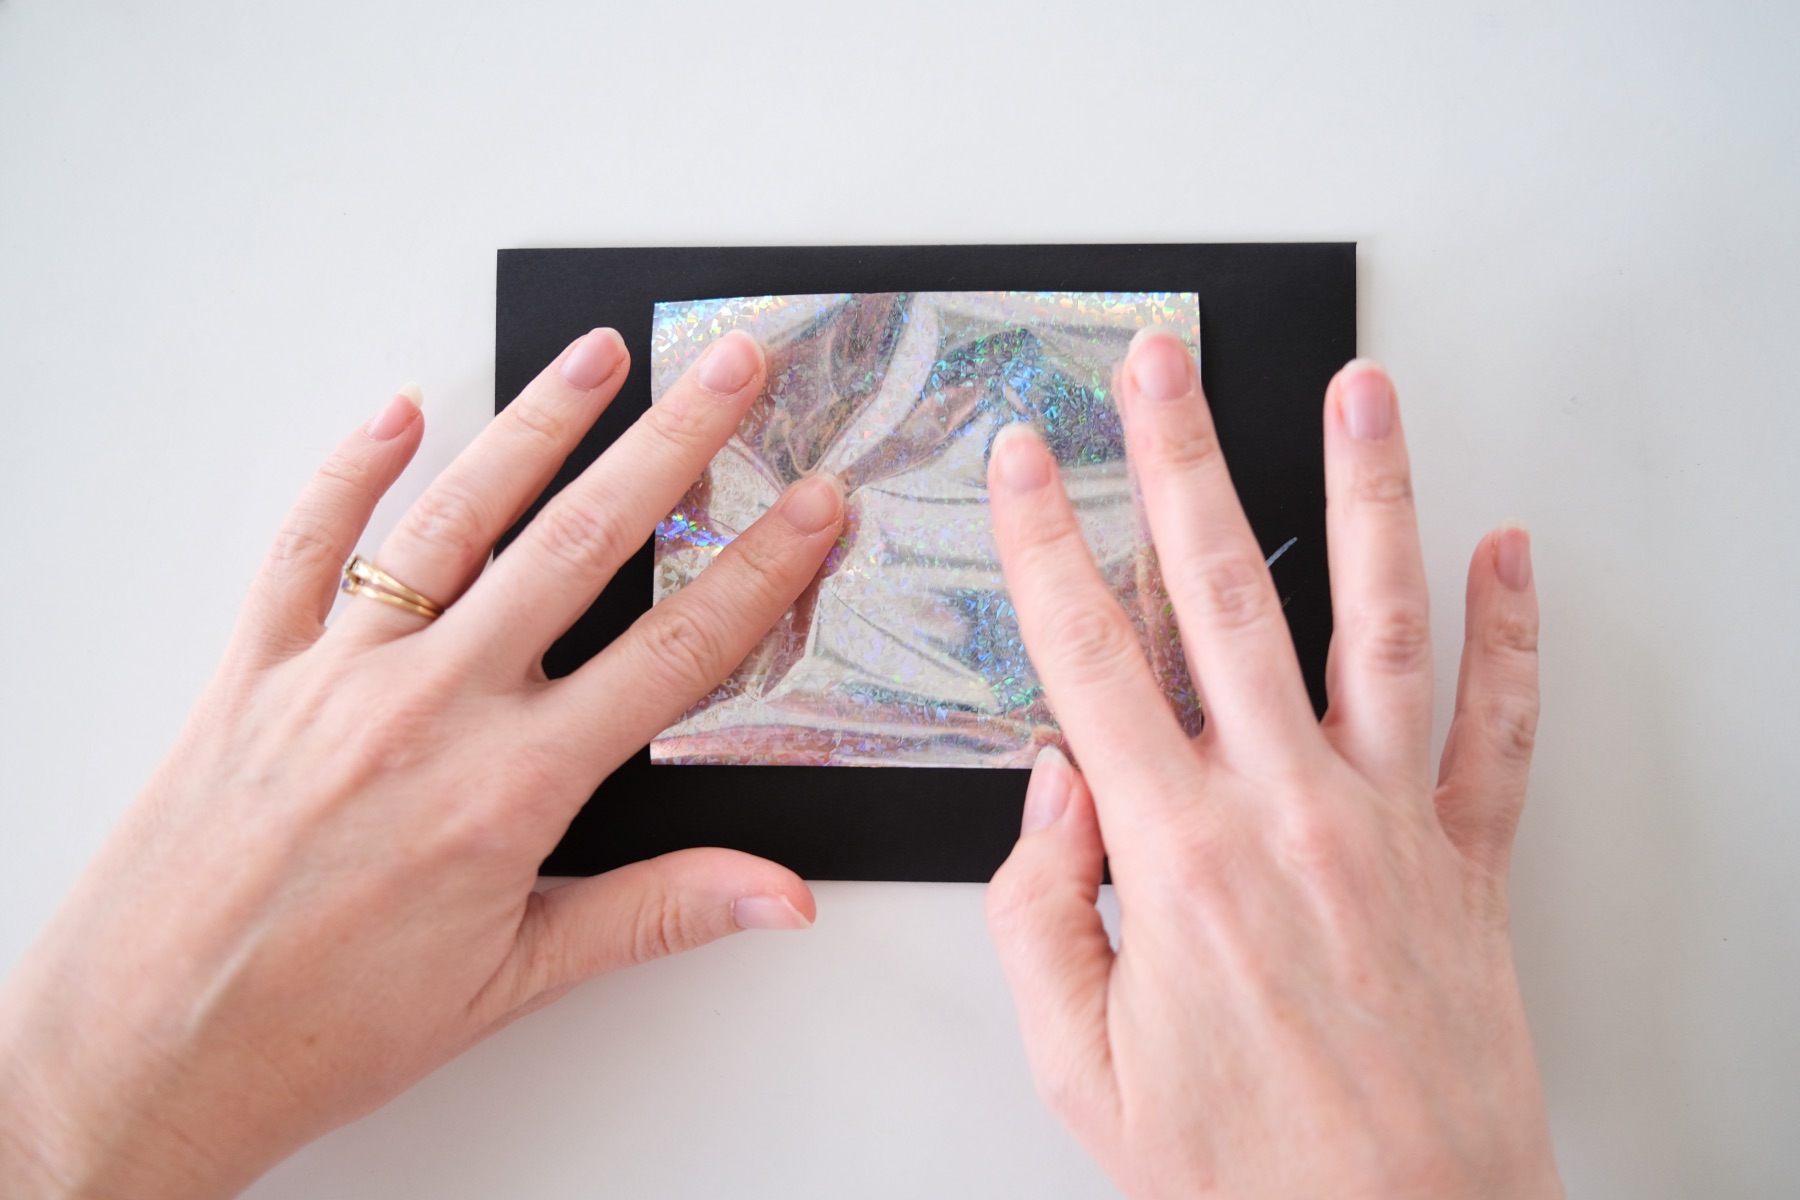
Once the glue is tacky and not wet, place the transfer foil on top of the image. Press the foil down firmly with a bone folder or your finger. When I’m working with a glue pen, I like to use my finger to burnish because the glue pen will add a layer of dimension. I have more control by using my finger.
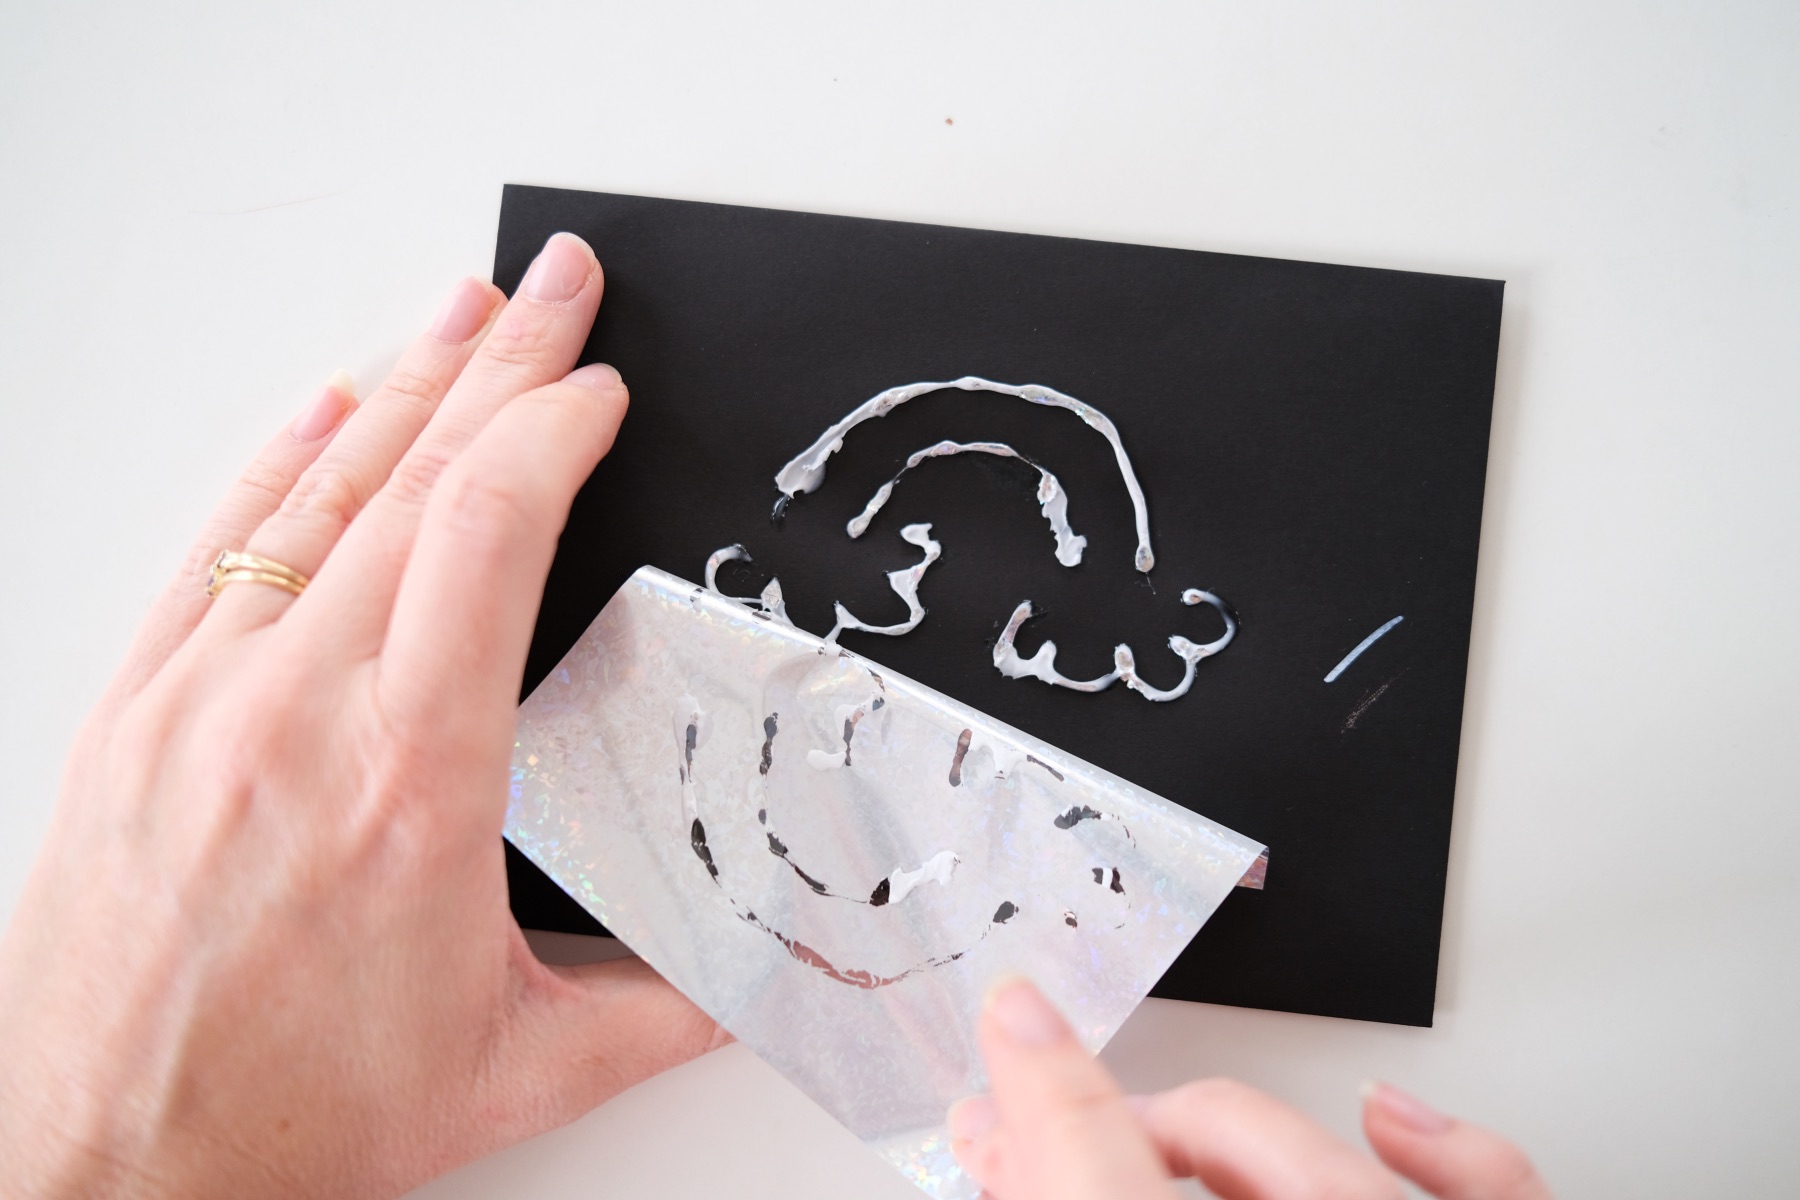
Then pull the foil alway. If necessary, you can always place the foil back down and burnish again to add more foil if you missed a spot.
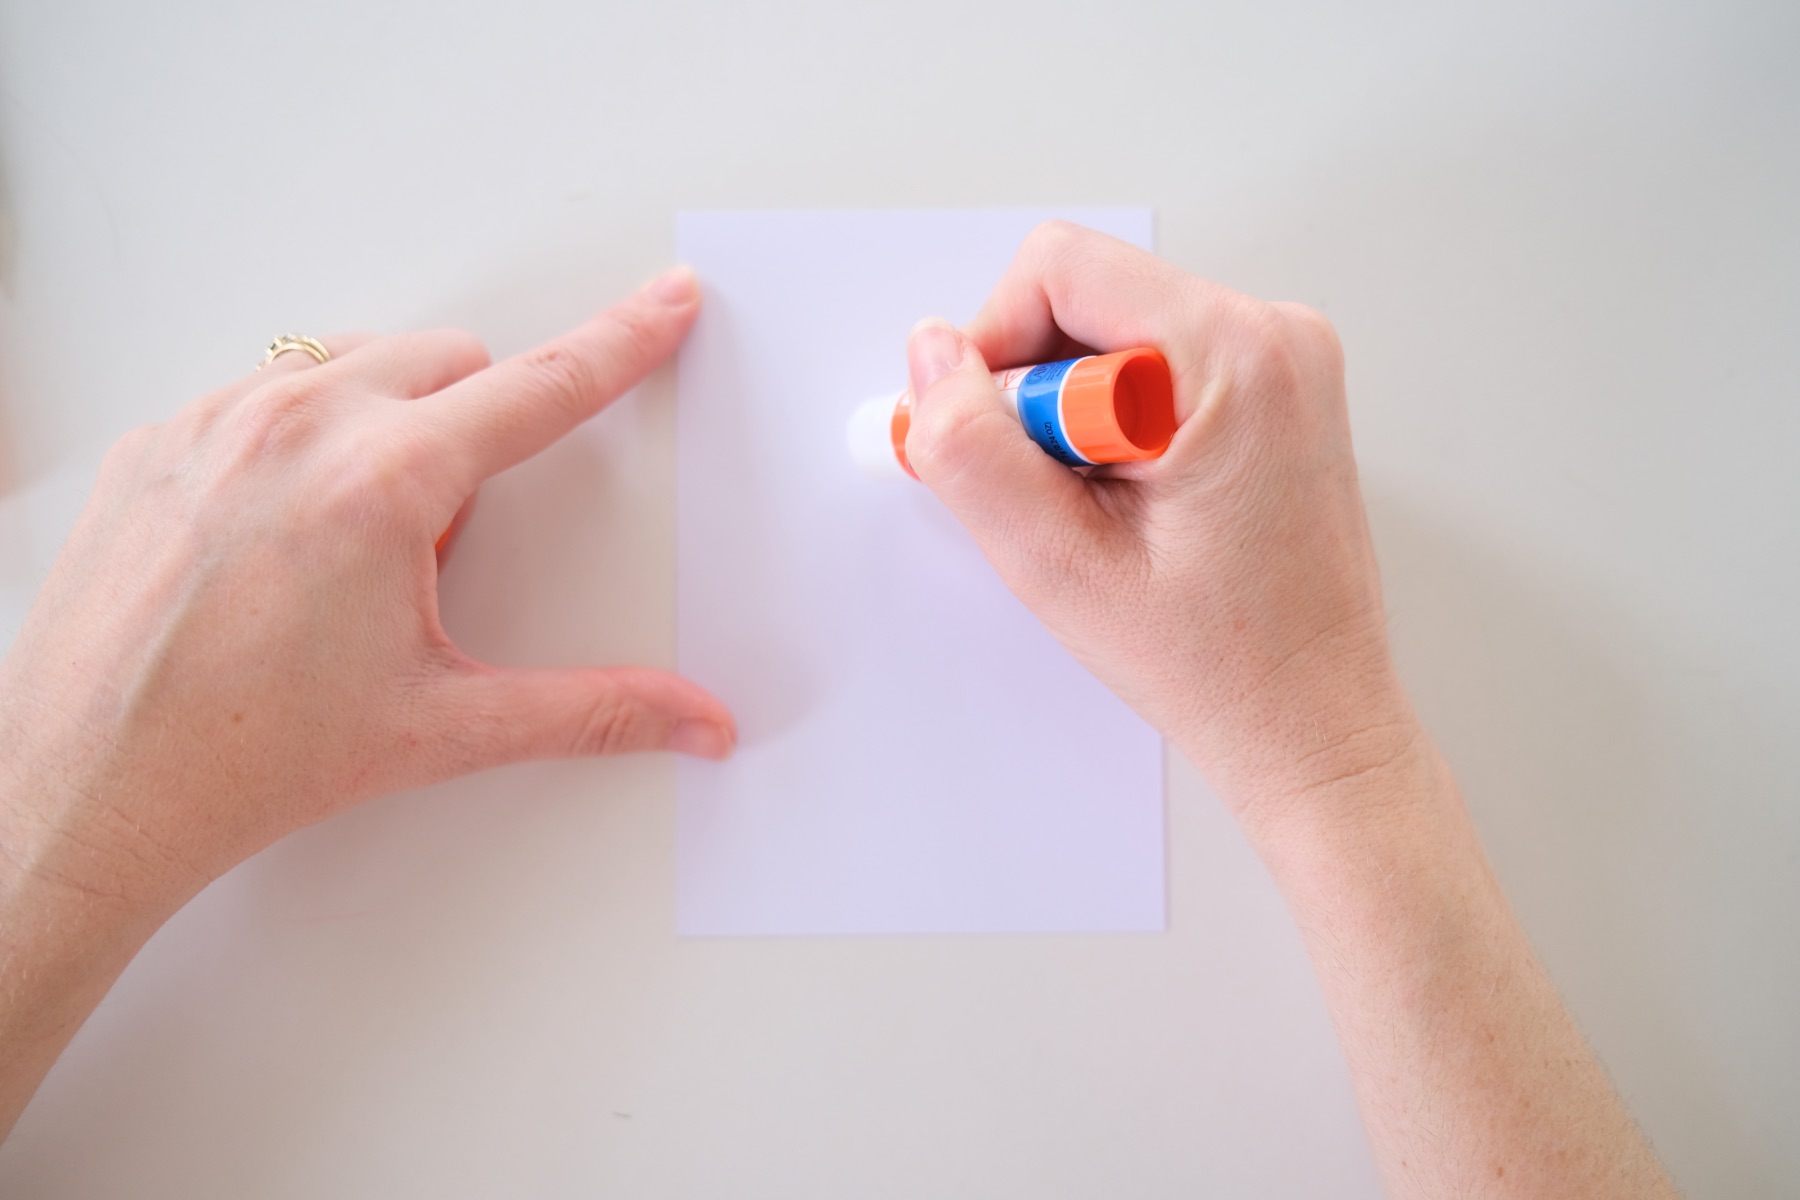
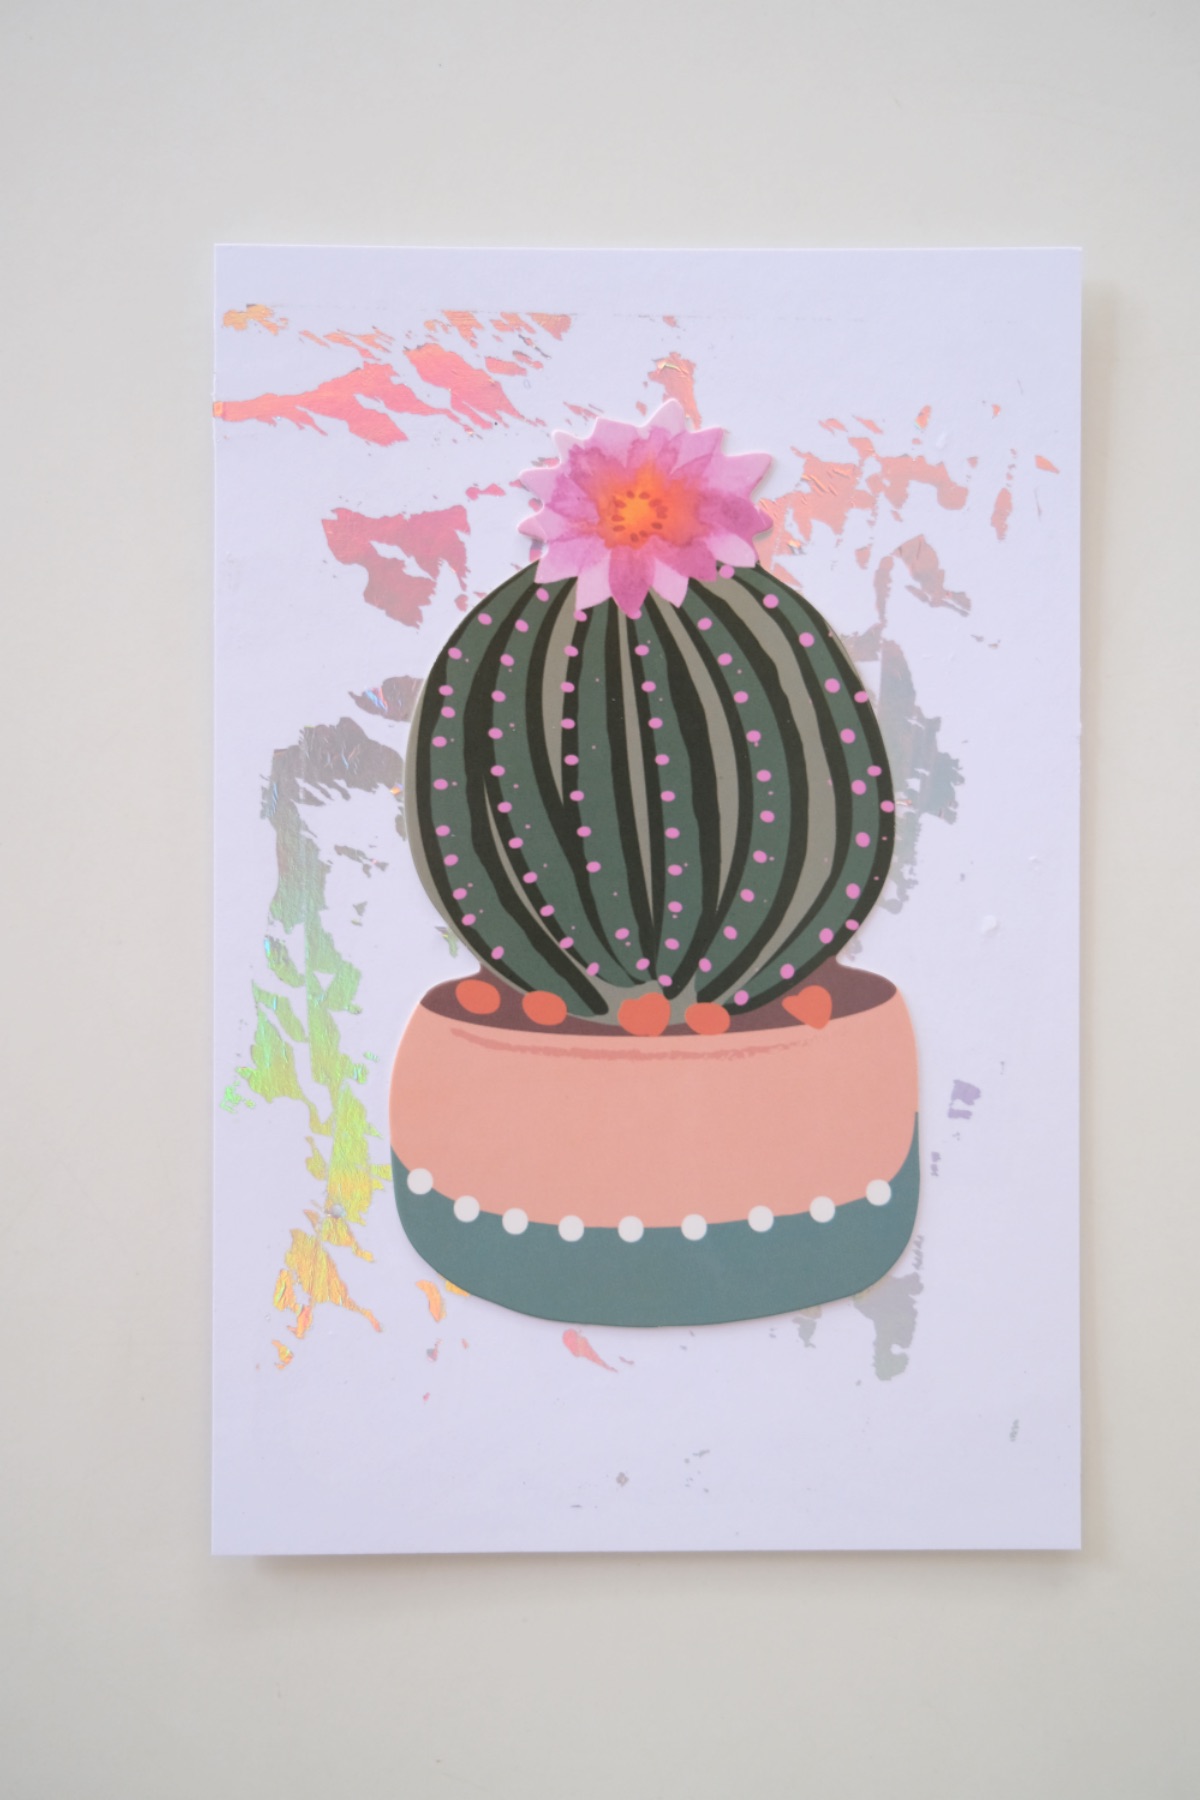
Cactus Card with a Metallic Background
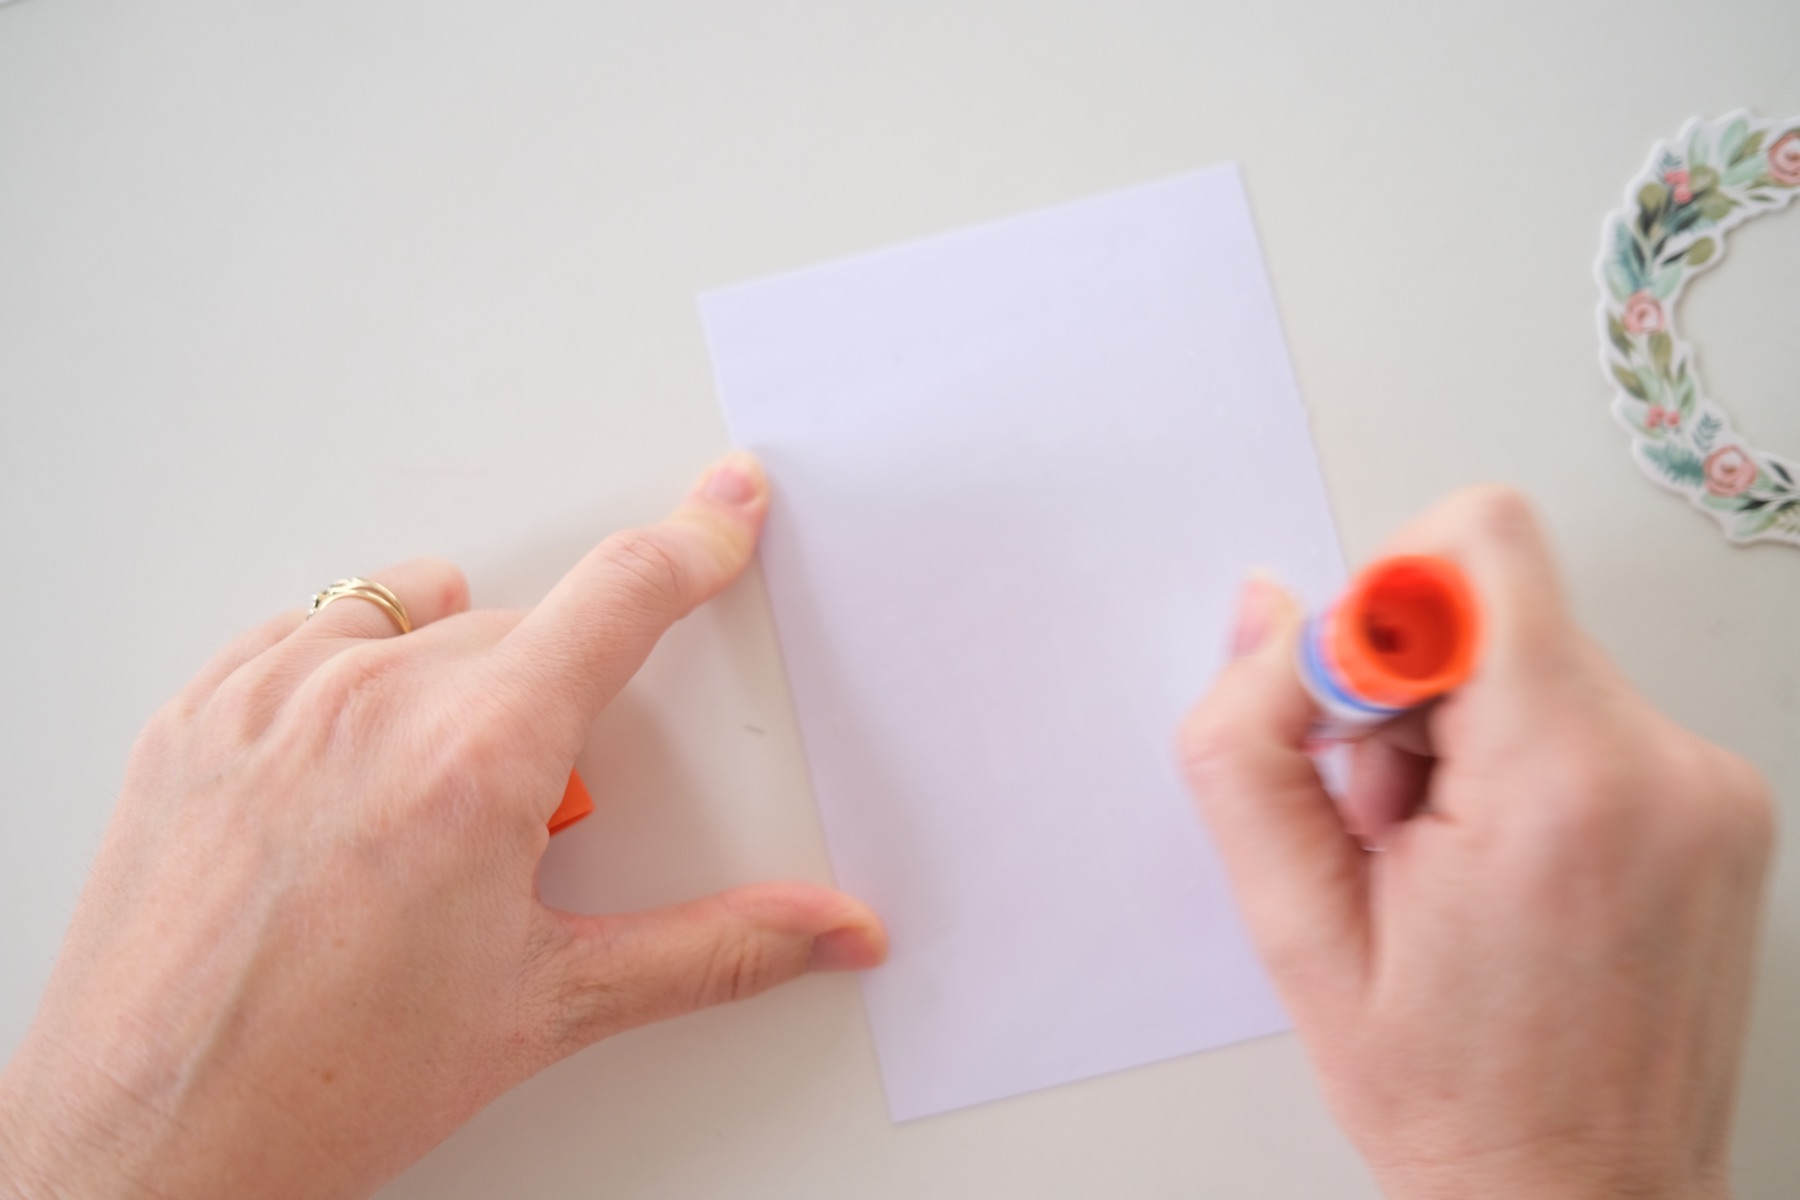
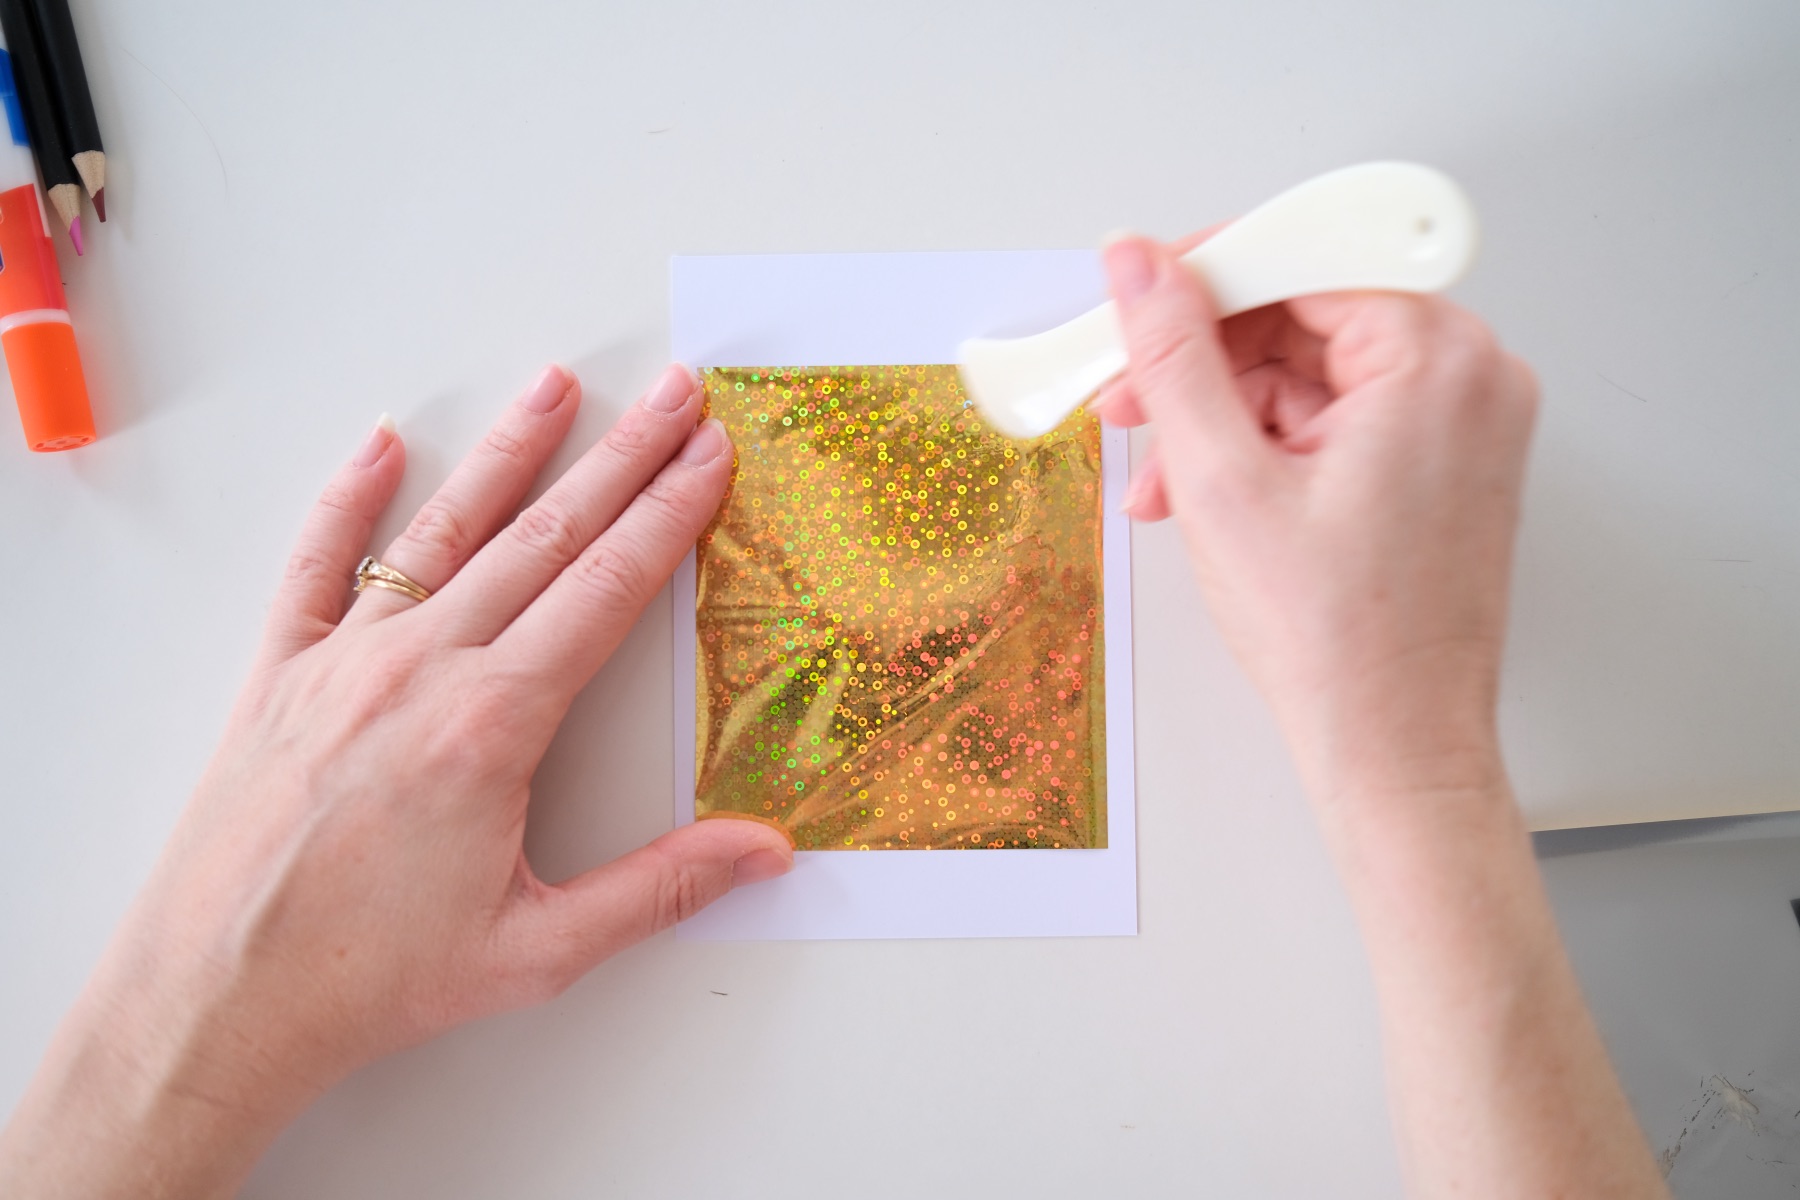
This may be my favorite of all of these cards! To make it, start by using a glue stick and any color of transfer foil that you like. Add glue to the entire card quickly. It doesn’t matter if you miss some spots. In fact, it’s probably better if you do!
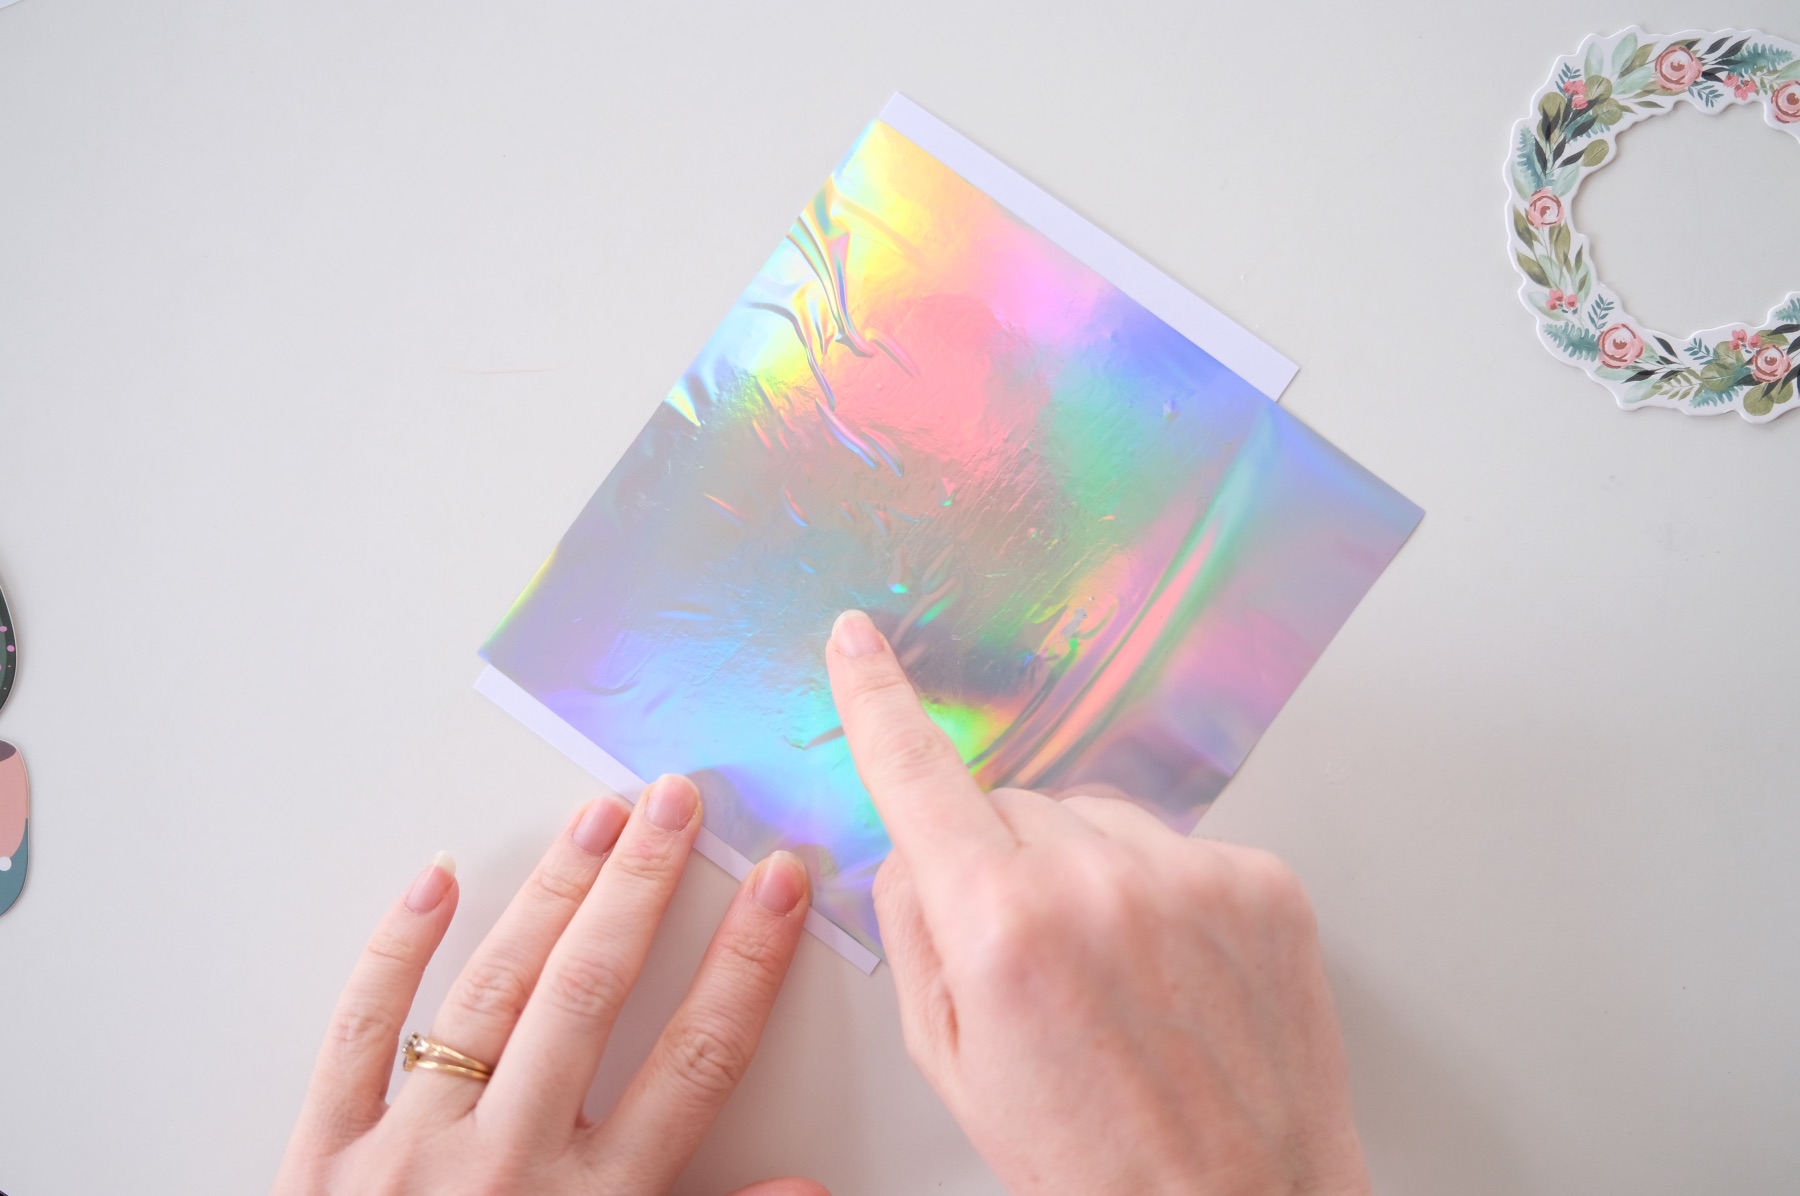
Then place the transfer foil on top and burnish with your finger or a bone folder. Remember, to transfer the foil, you will need to press firmly.
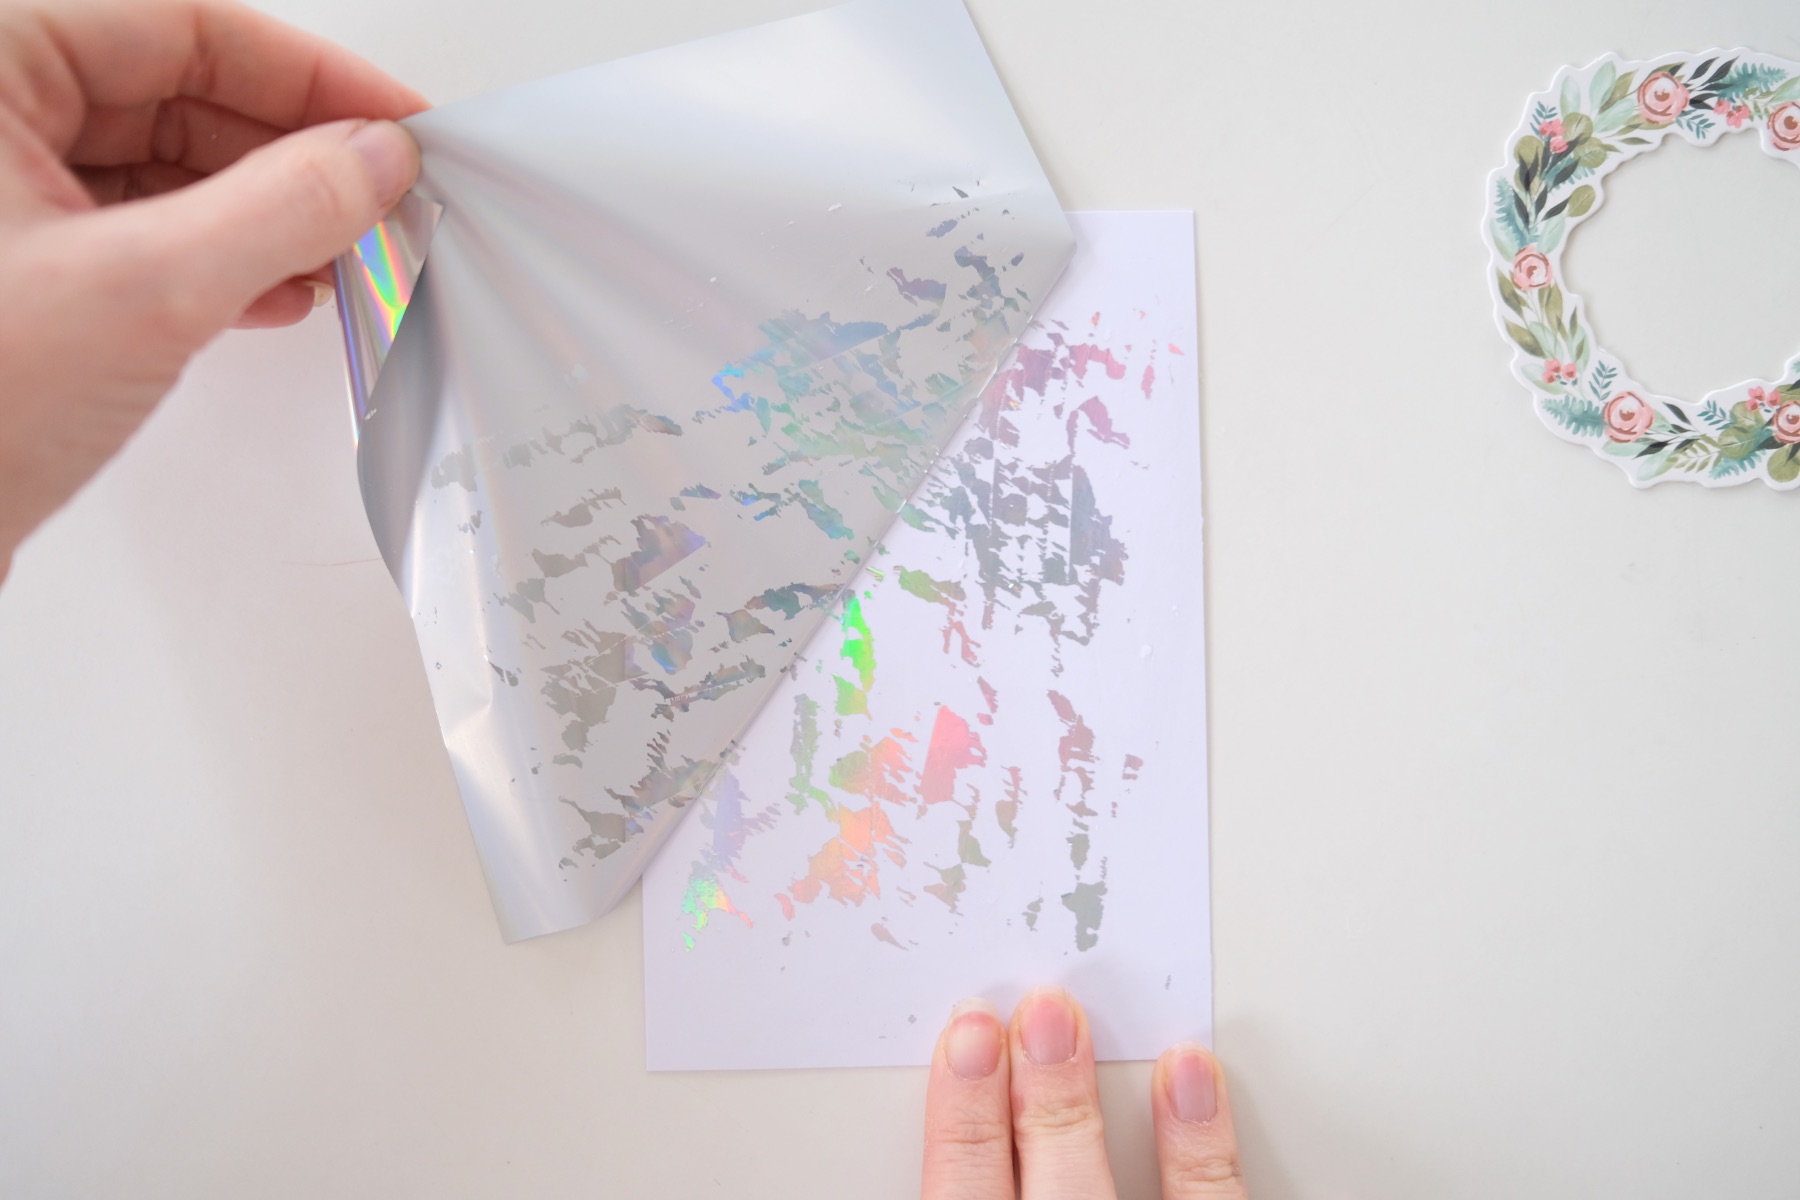
Pull the transfer foil away to reveal a washed out metallic background that’s perfect for die cuts or anything you like.
I added a die cut cactus sticker.
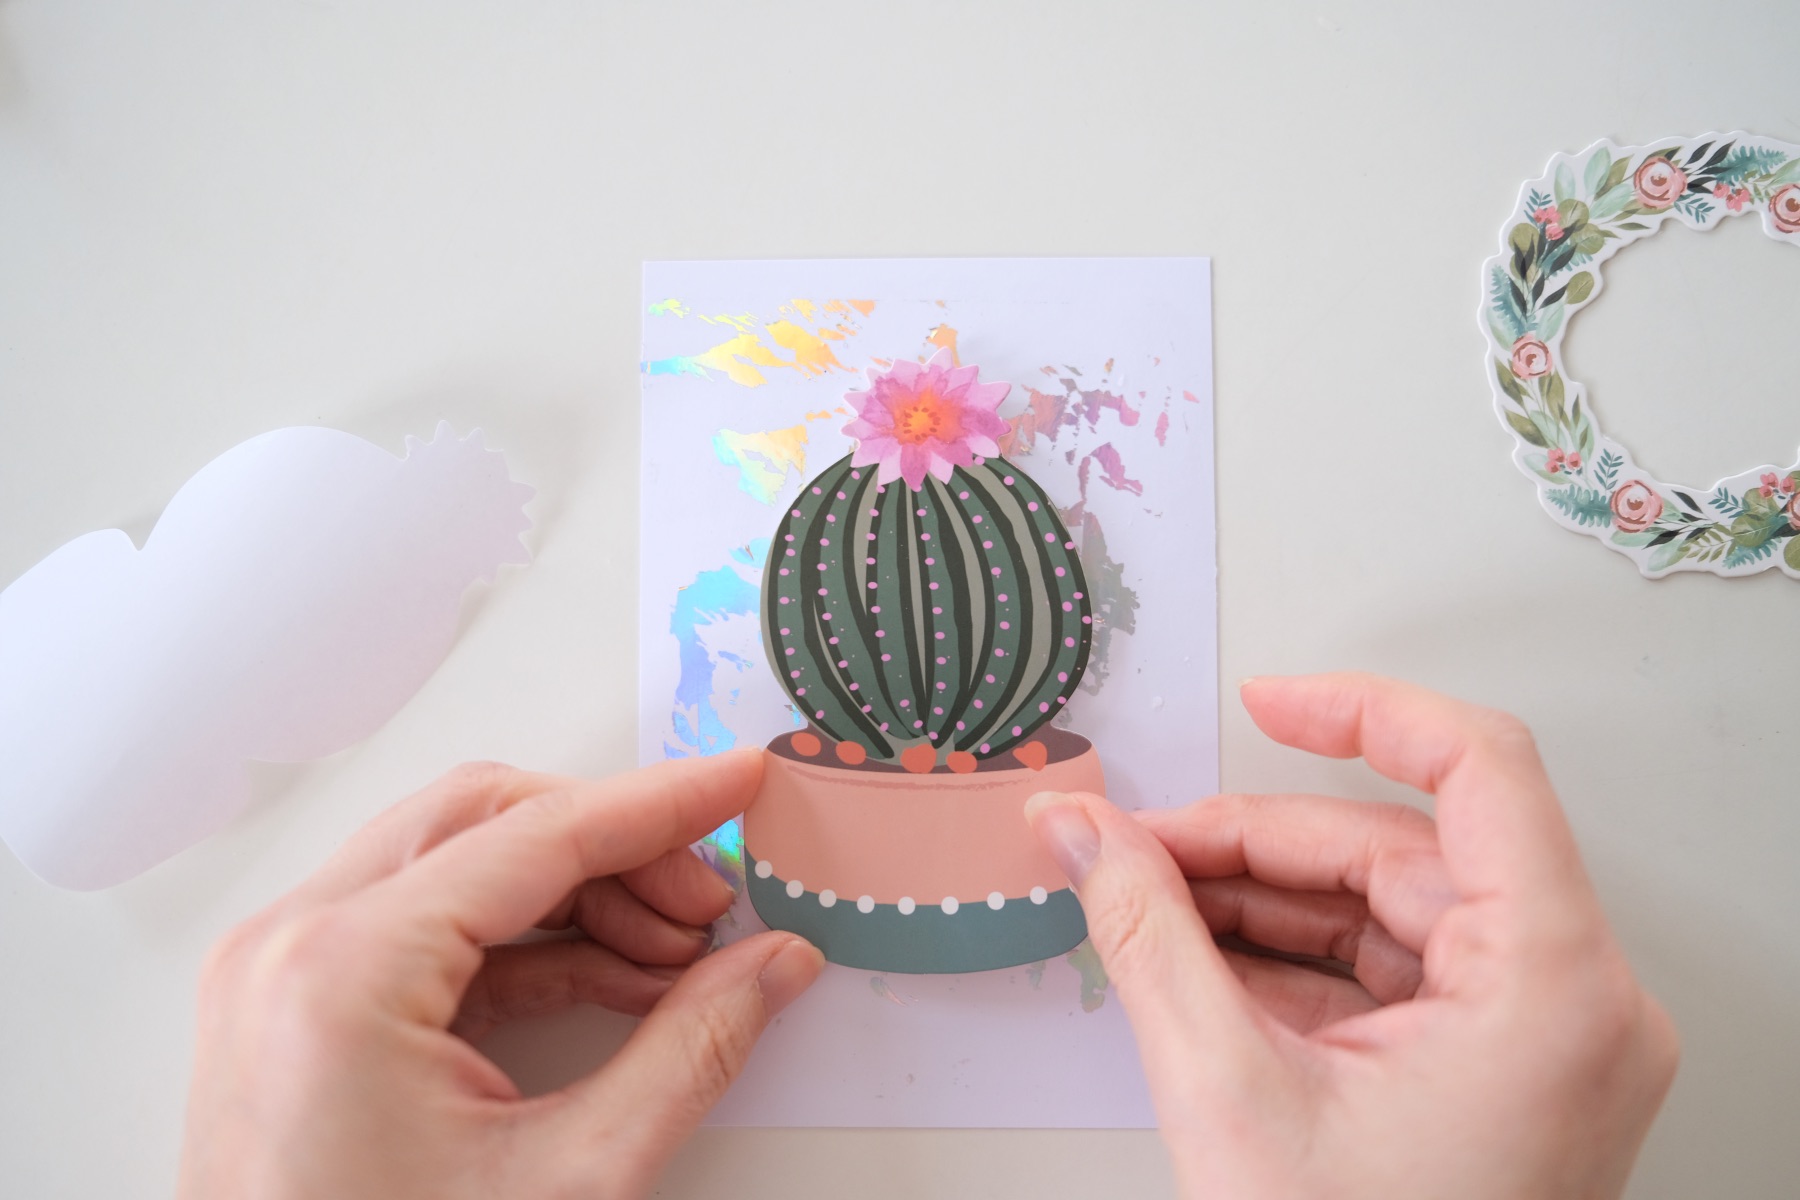
It’s so dreamy! But you could add a different sticker of your choice or add pen and ink or more. The trick with all of these cards is to make sure that your featured image like this cactus in this case is the right size for the card.
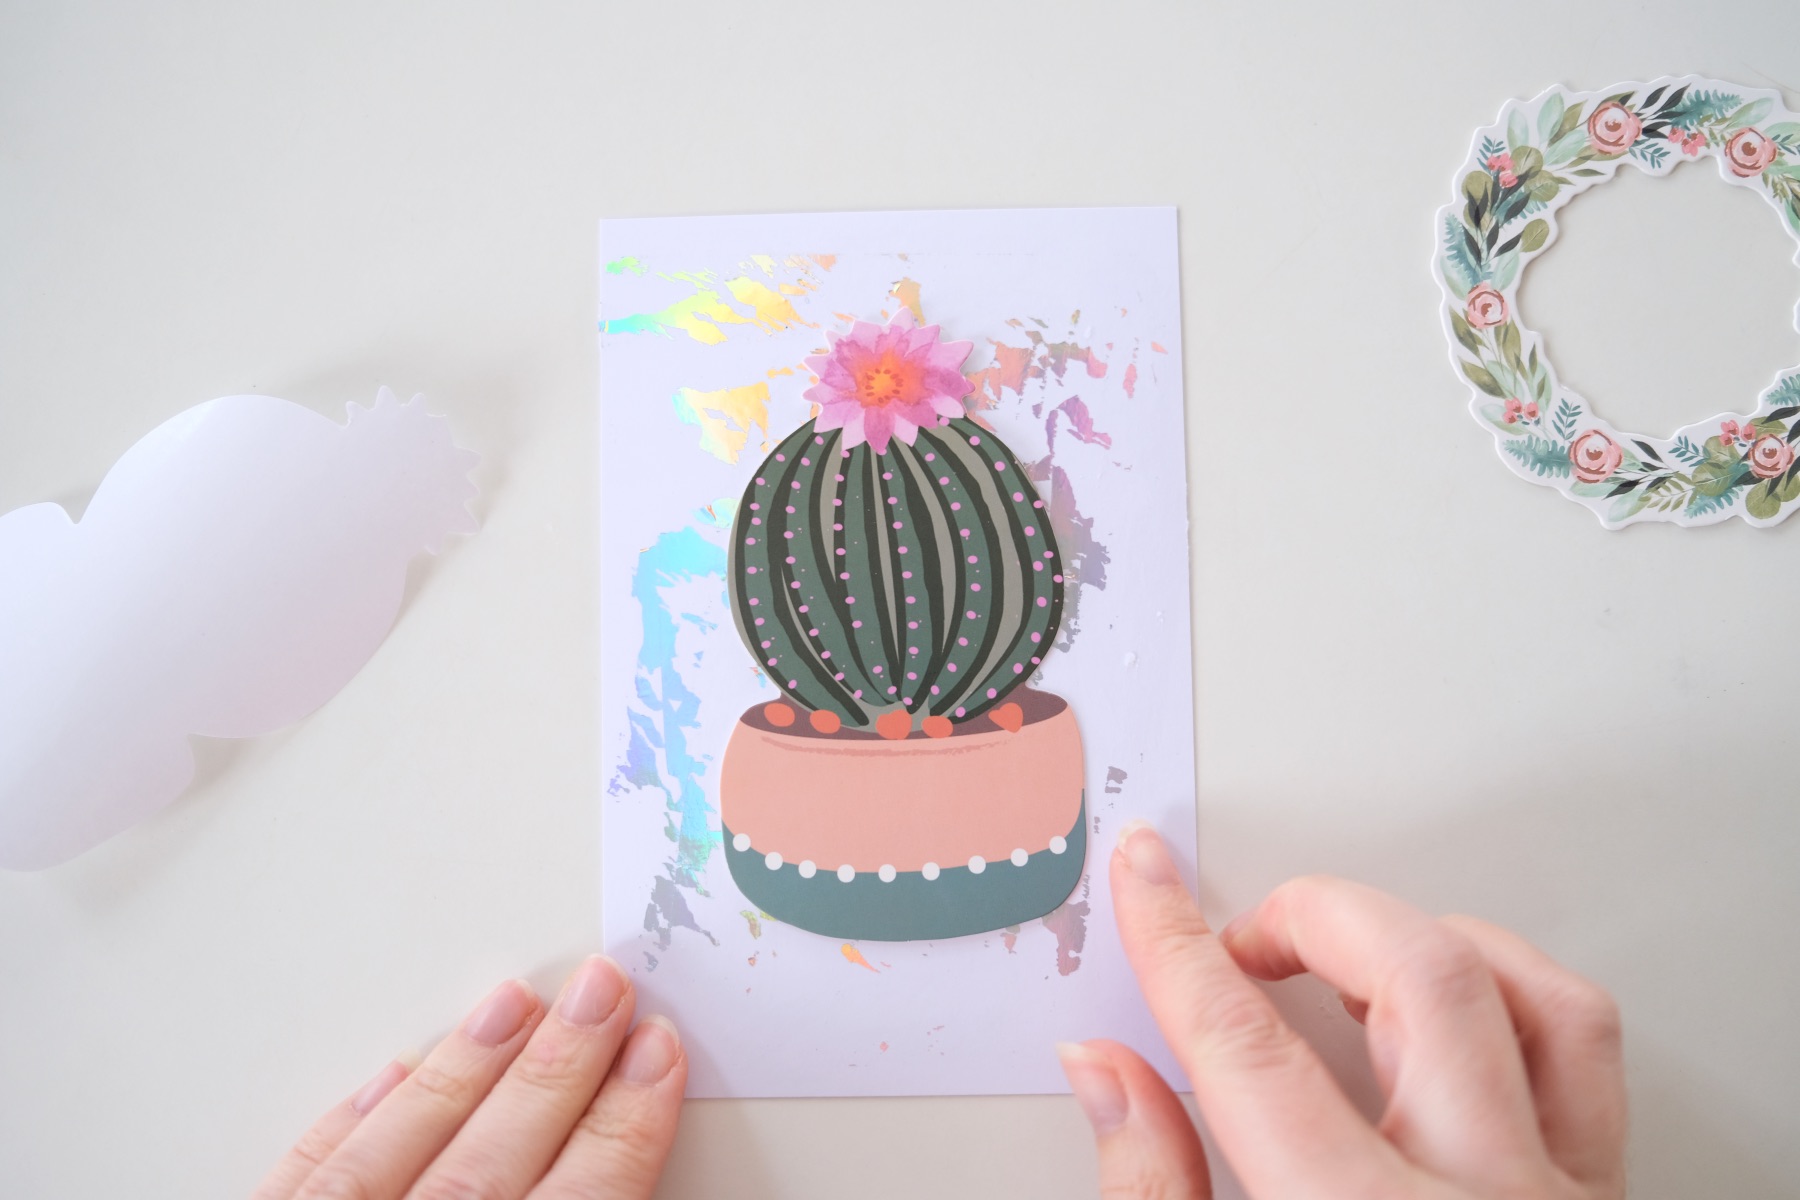
I recommend making the featured image dominant, big and really fill the space. That way it doesn’t feel like a blank card, but feels complete.
Remember, working with adhesive transfer foil is a lot more fail proof than working with a laser printer and less expensive than using a Cricut. So try experimenting to see what you like!
And combine other materials, style, and designs together to make cards that are gorgeous and dynamic.
Happy crafting!
Let’s Stay Friends!
Insta | Pinterest | Enews | TikTok