Craft in Style Subscription Instructions, DIY
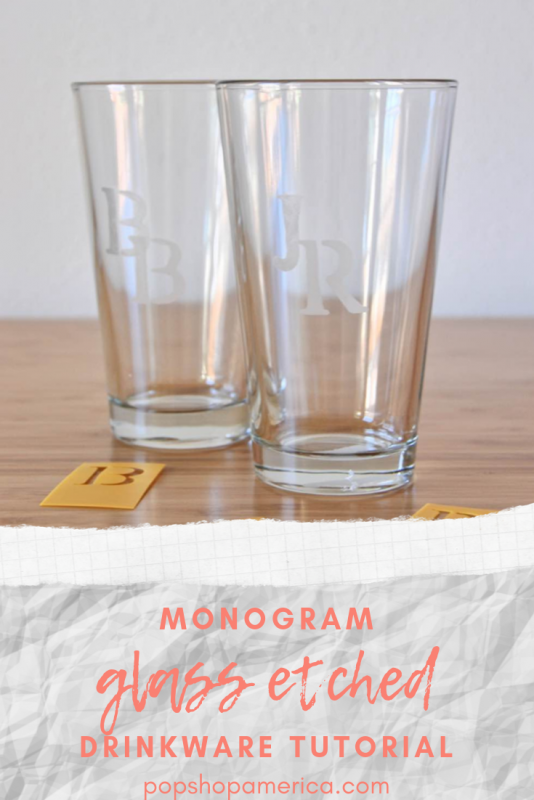
How to Make Glass Etched Monogram Drinkware
Oct
Hello glass etching! It’s our first DIY of the October 2019 Craft in Style Subscription Box and it sure is one of my favorites. Glass etching is fast, fun, and totally stylish. We teach glass etching as in person workshops and this is the fist online tutorial that I’ve ever written about glass etching.
While October 2019 has passed, you can still buy this DIY Glass Etching Kit as a standalone kit!
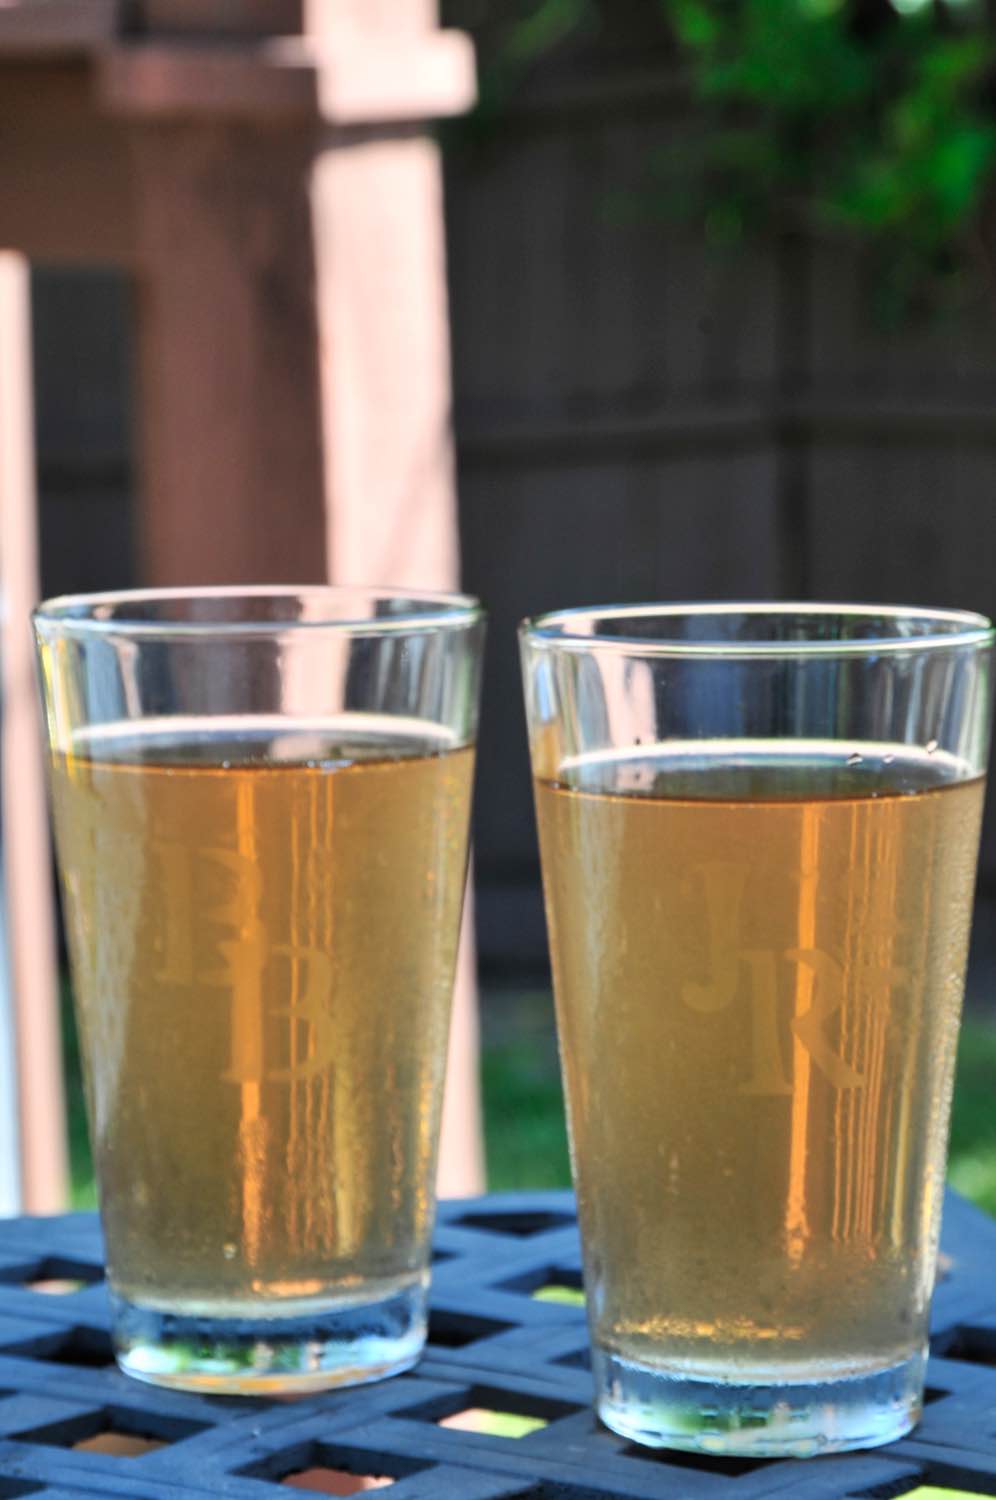
Trust me, I have etched glass a lot! My favorite glass etching project to start with is a simple set of monogram glasses. You could choose wine glasses, champagne flutes, or highball glasses. I chose pint glasses.
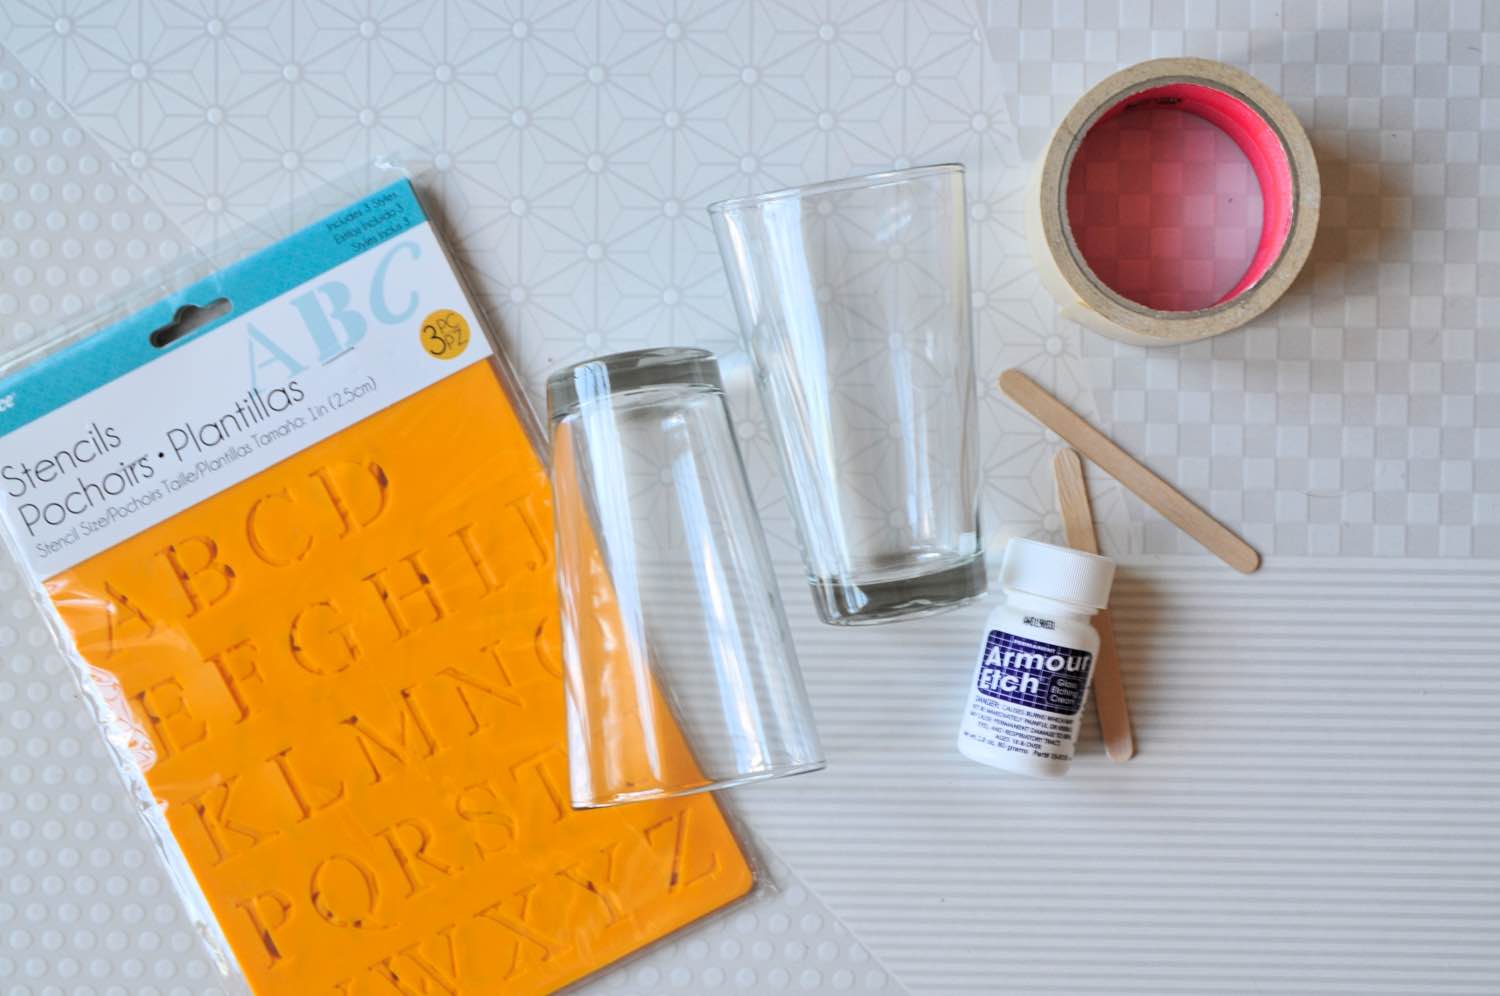
Supplies to Make Glass Etched Monogram Drinkware:
DIY Glass Etching Kit
-or-
Armour Etch Glass Etching Cream
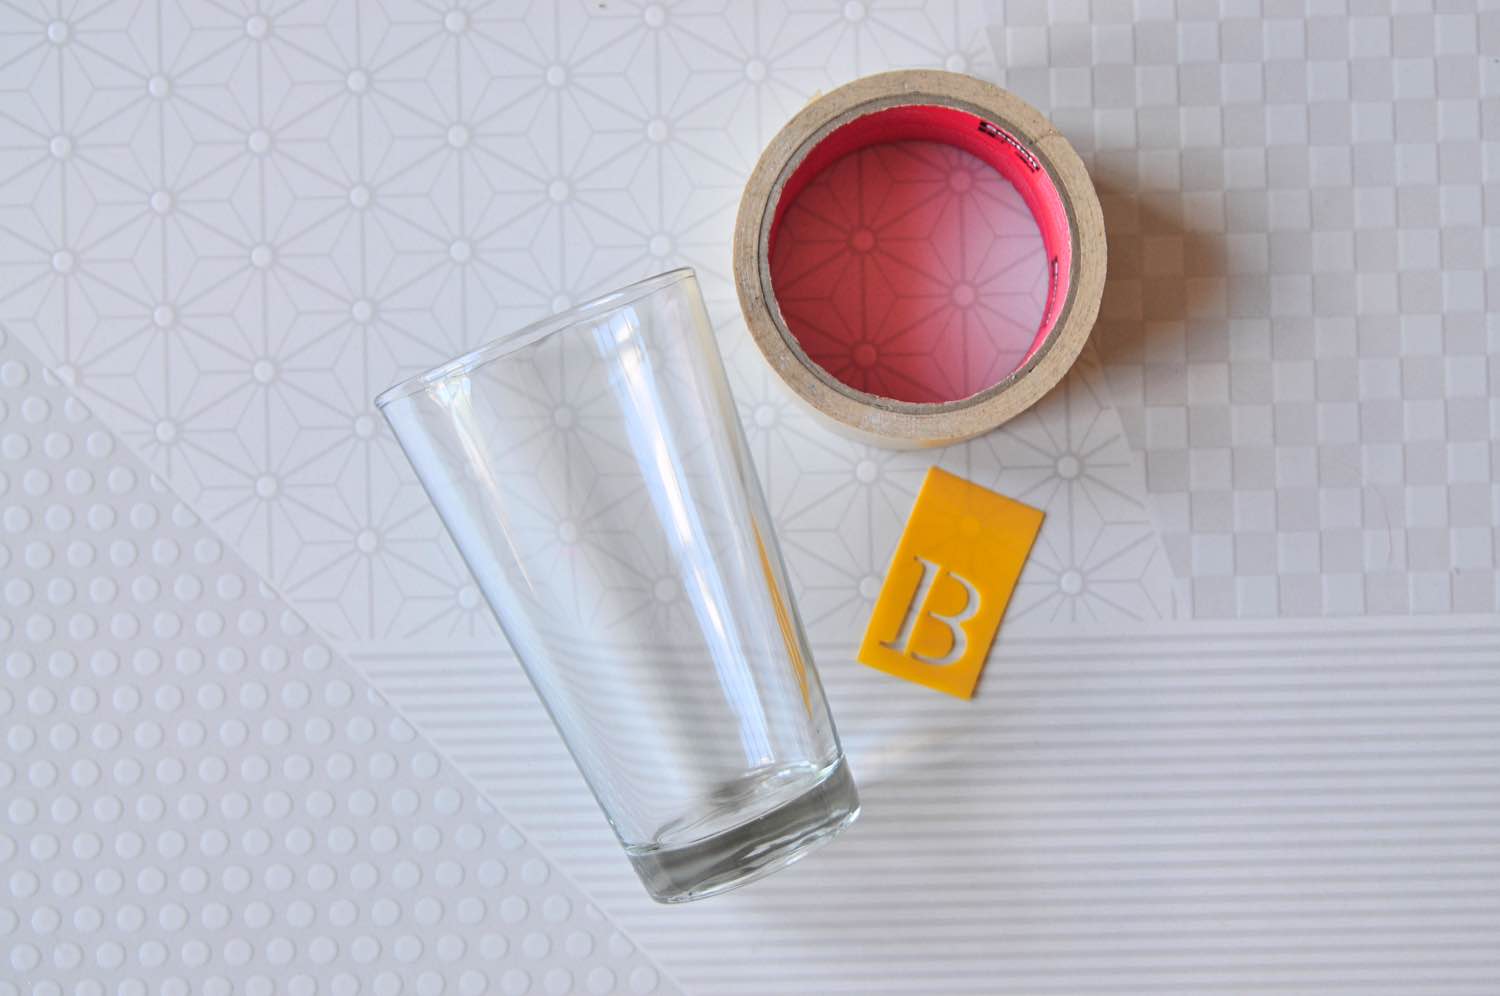
Pint Glasses
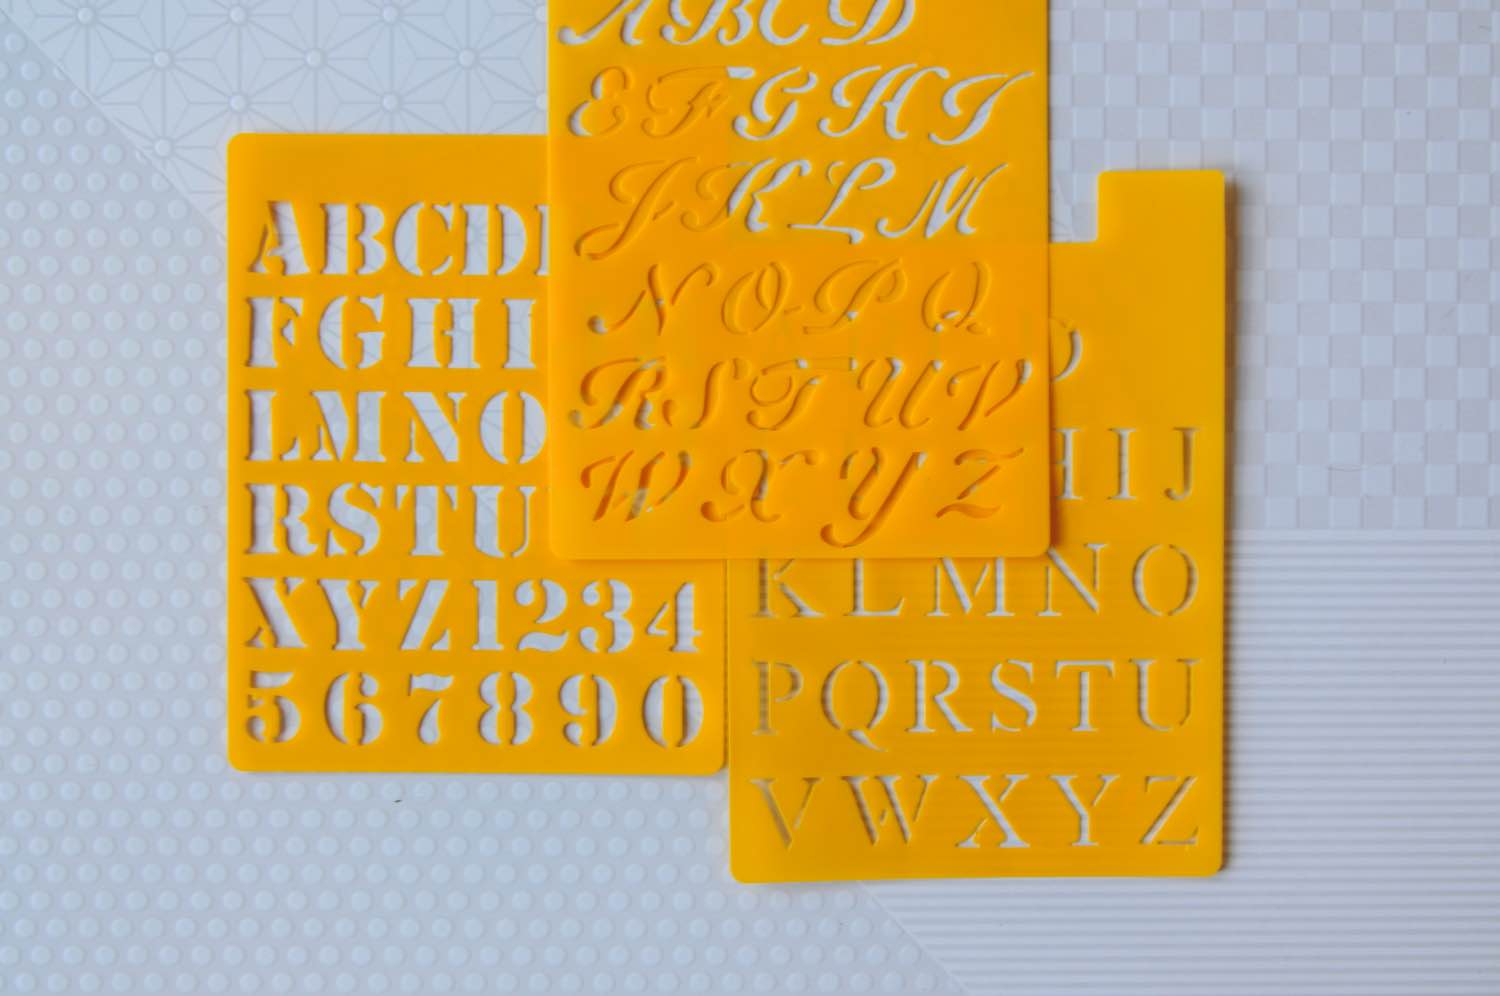
Alphabet Stencils (Sticker Stencils or Regular Stencils + Painter’s Tape)
Popsicle Sticks
Gloves
You will also need:
Running Water
So let’s get started making our Glass Etched Monogram Drinkware!
Before you get started, make sure your pint glasses are clean! If you need to, wash them before starting with your glass etching.
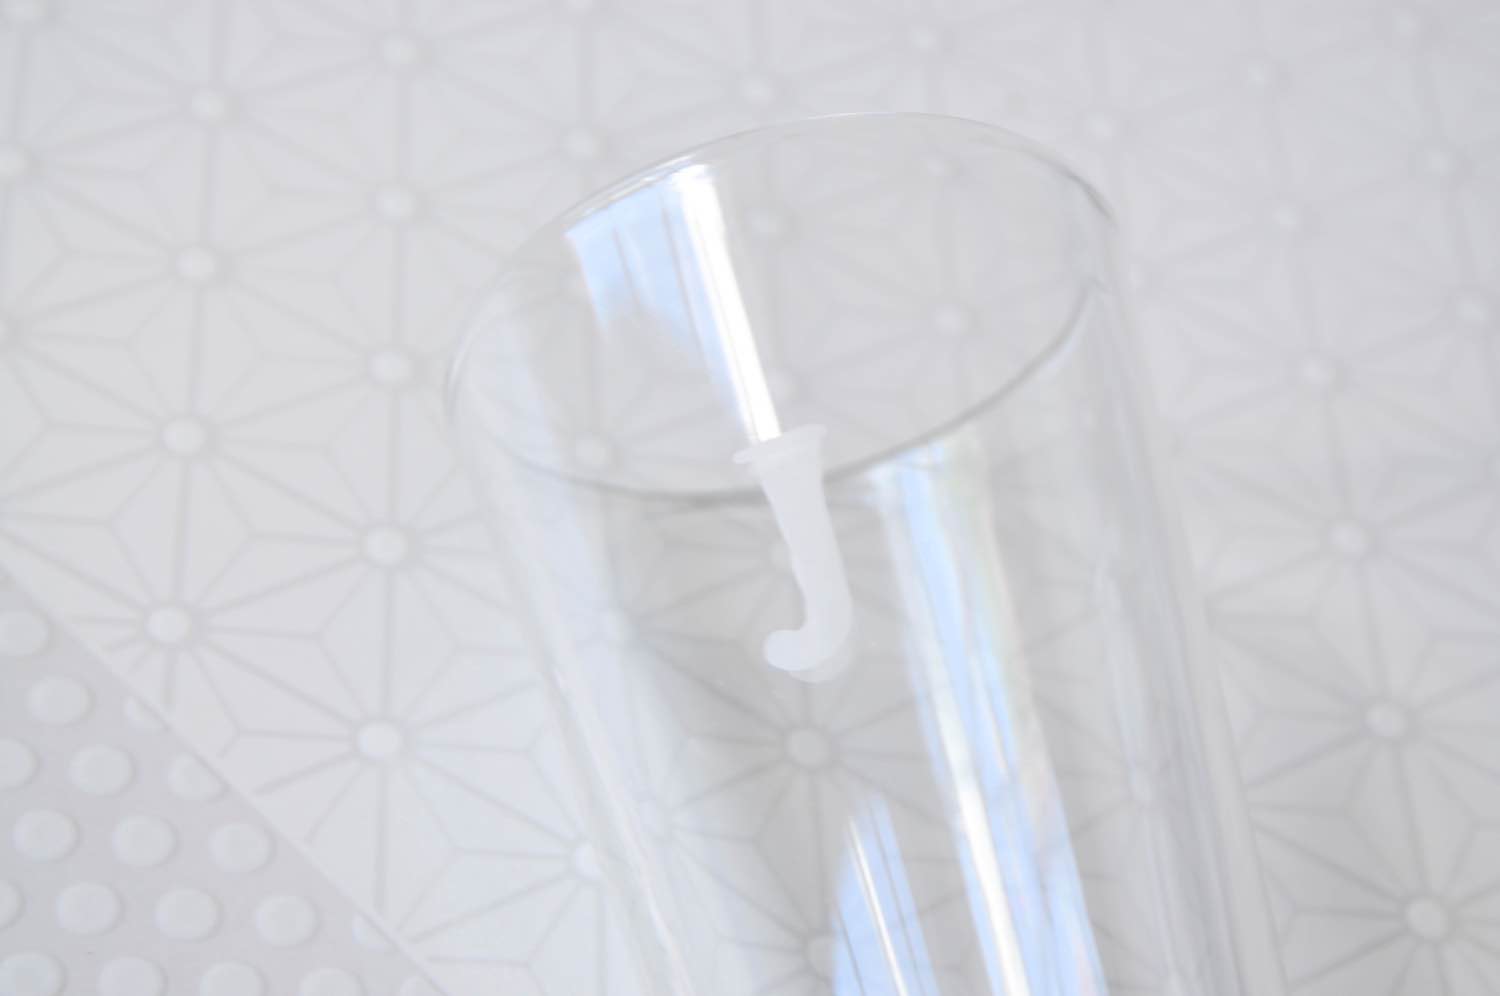
You will most likely need to cut the alphabet stencils into individual letters. The stencils will be much harder to work with if you don’t. Sticker stencils are great because they can lay across the surface of the glass smoothly. But regular stencils are so much more plentiful, that if can find a stencil that you like, use it!
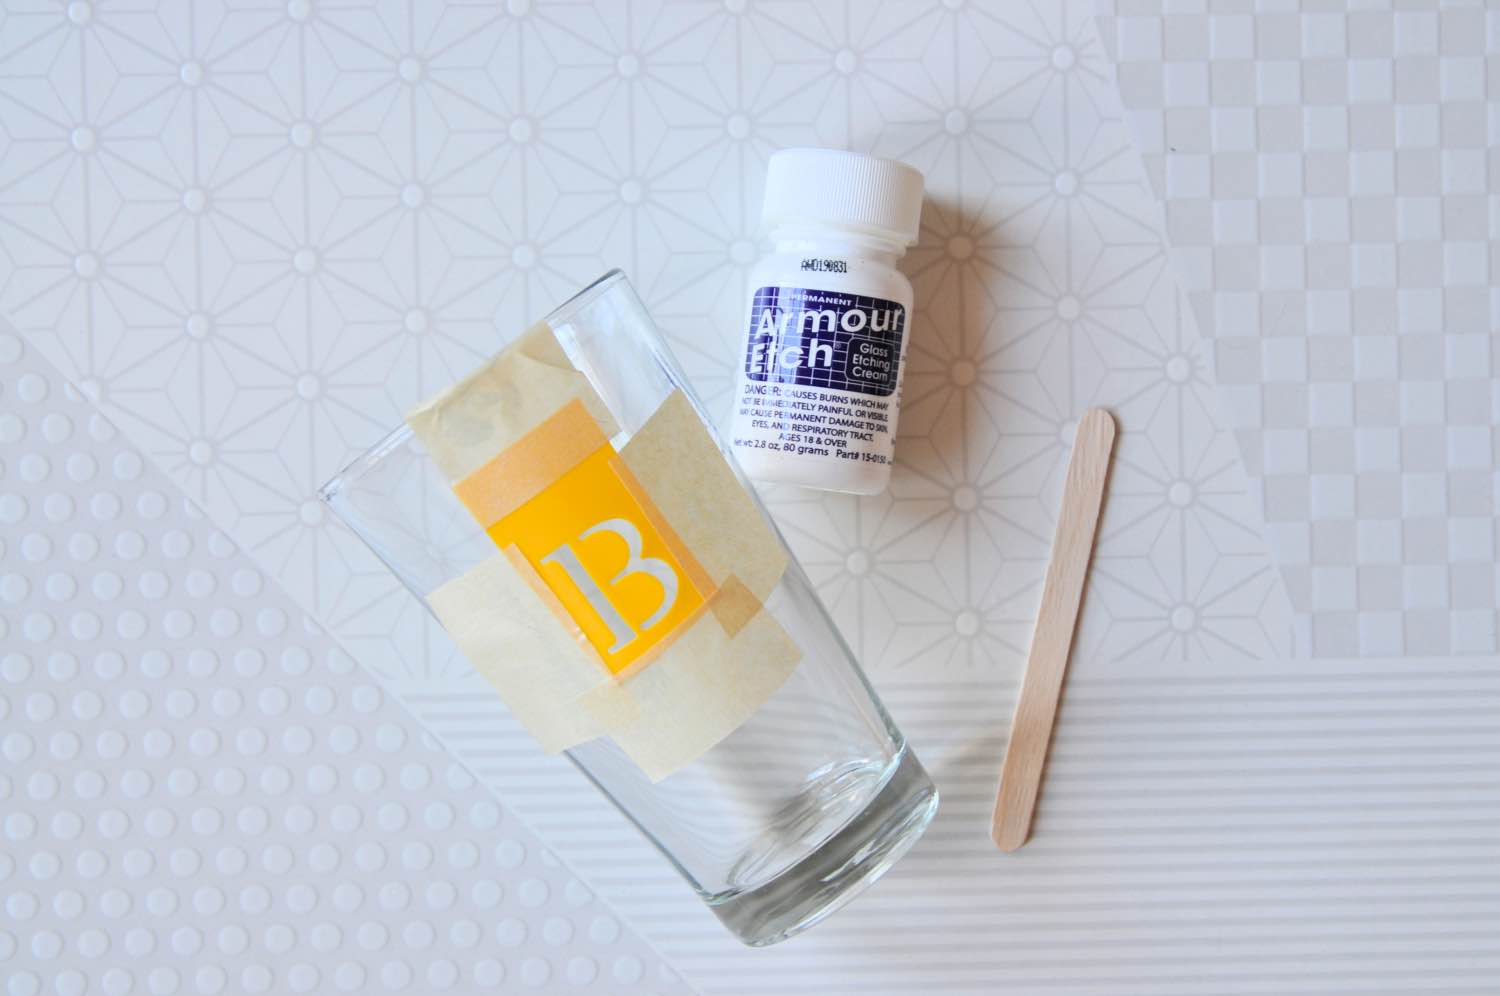
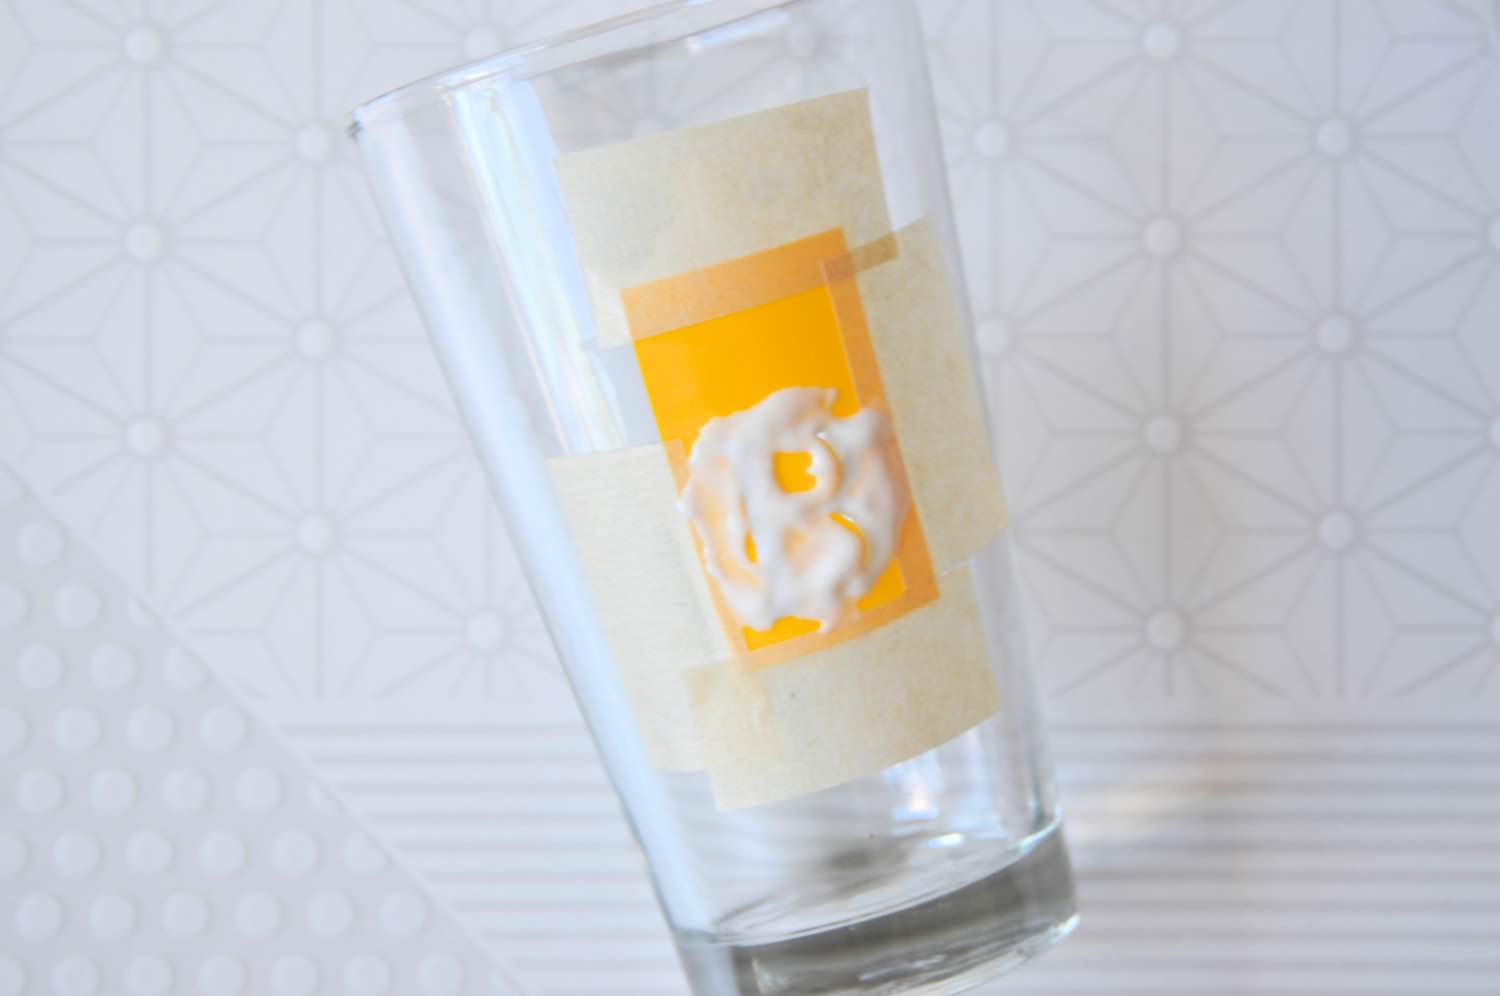
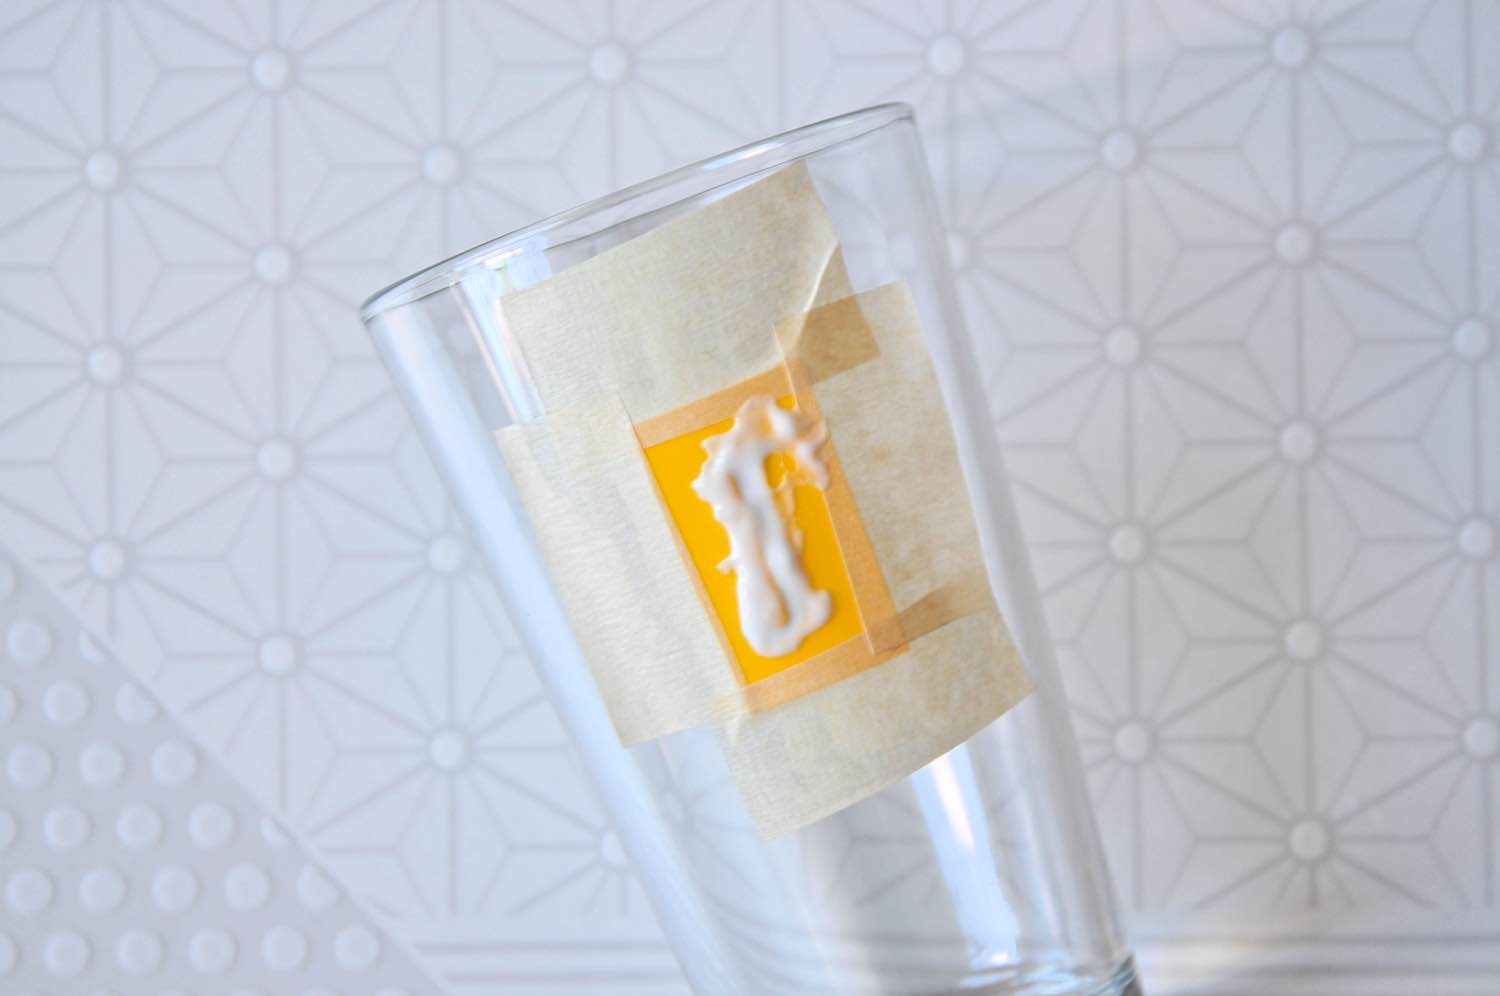
To use a stencil without a sticker back, be sure that the stencil is taut, and hold it in place with painters tape or masking tape around the entire perimeter. The entire perimeter! Be sure that you stencil is in the perfect spot, angled the way you want it. You need your stencil placement to be perfect before you add the glass etching cream.
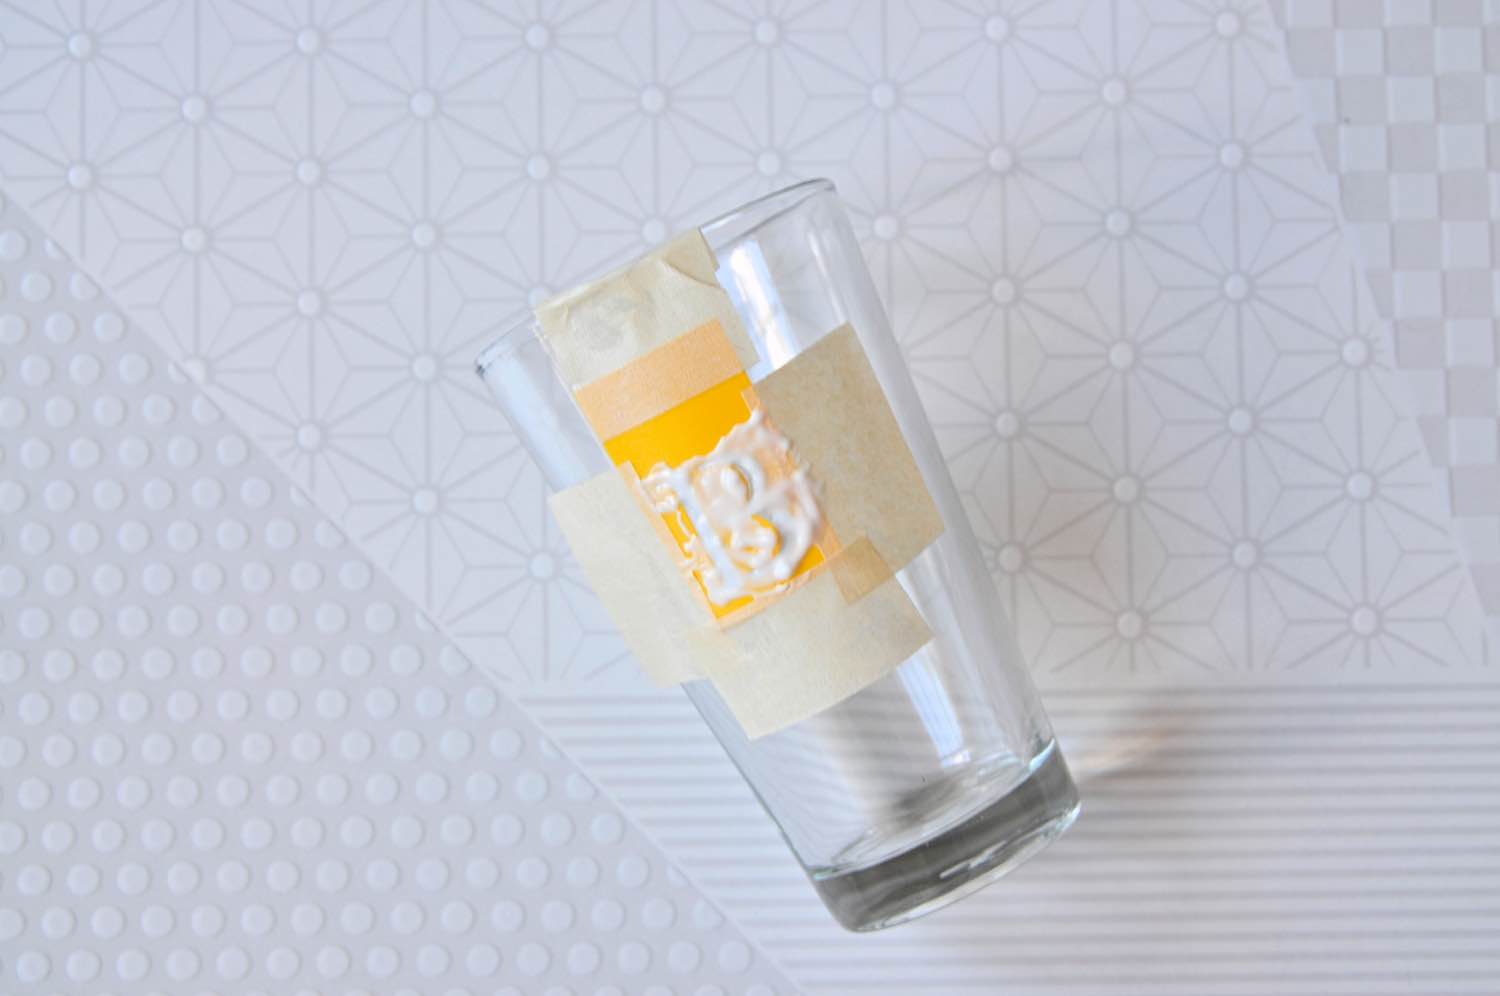
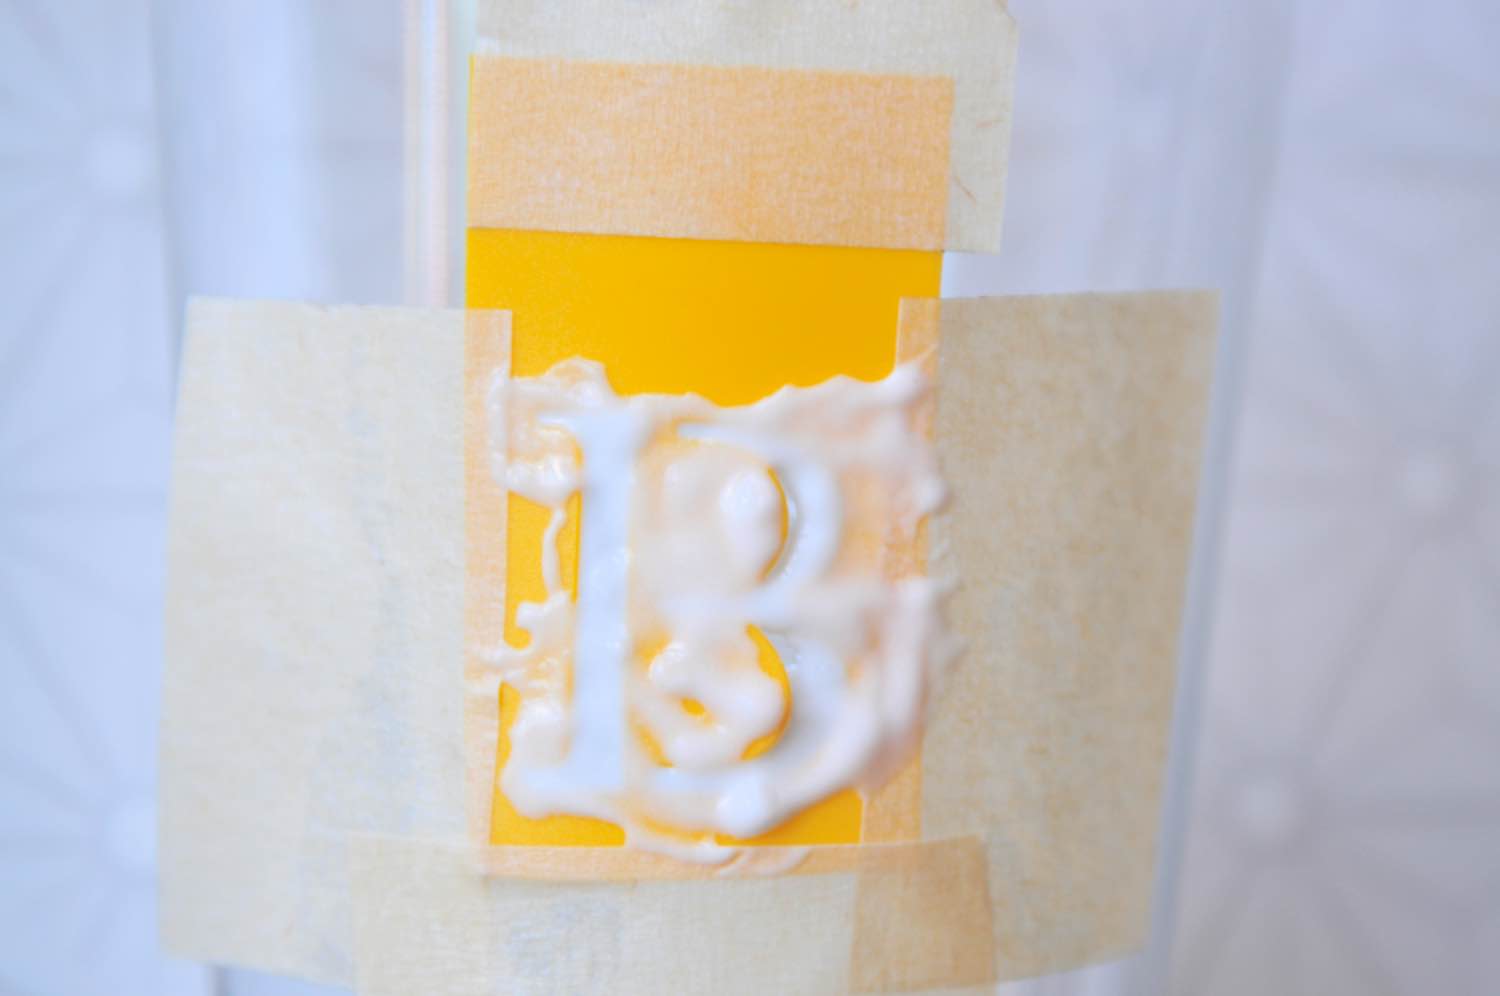
To apply the glass etching cream, you may want to get your gloves ready! Whatever you do, don’t get it on your hands. Glass etching cream will burn your skin. If you get it on you, rinse it off thoroughly and completely with running water and you will be fine!
Scoop around 1/4 teaspoon, a very tiny amount, with your popsicle stick. Spread a thin layer across the openings of your stencil making sure you cover the entire area. Wait 5 minutes and give your glass etching cream a little swirl to make sure there weren’t any hidden air bubbles.
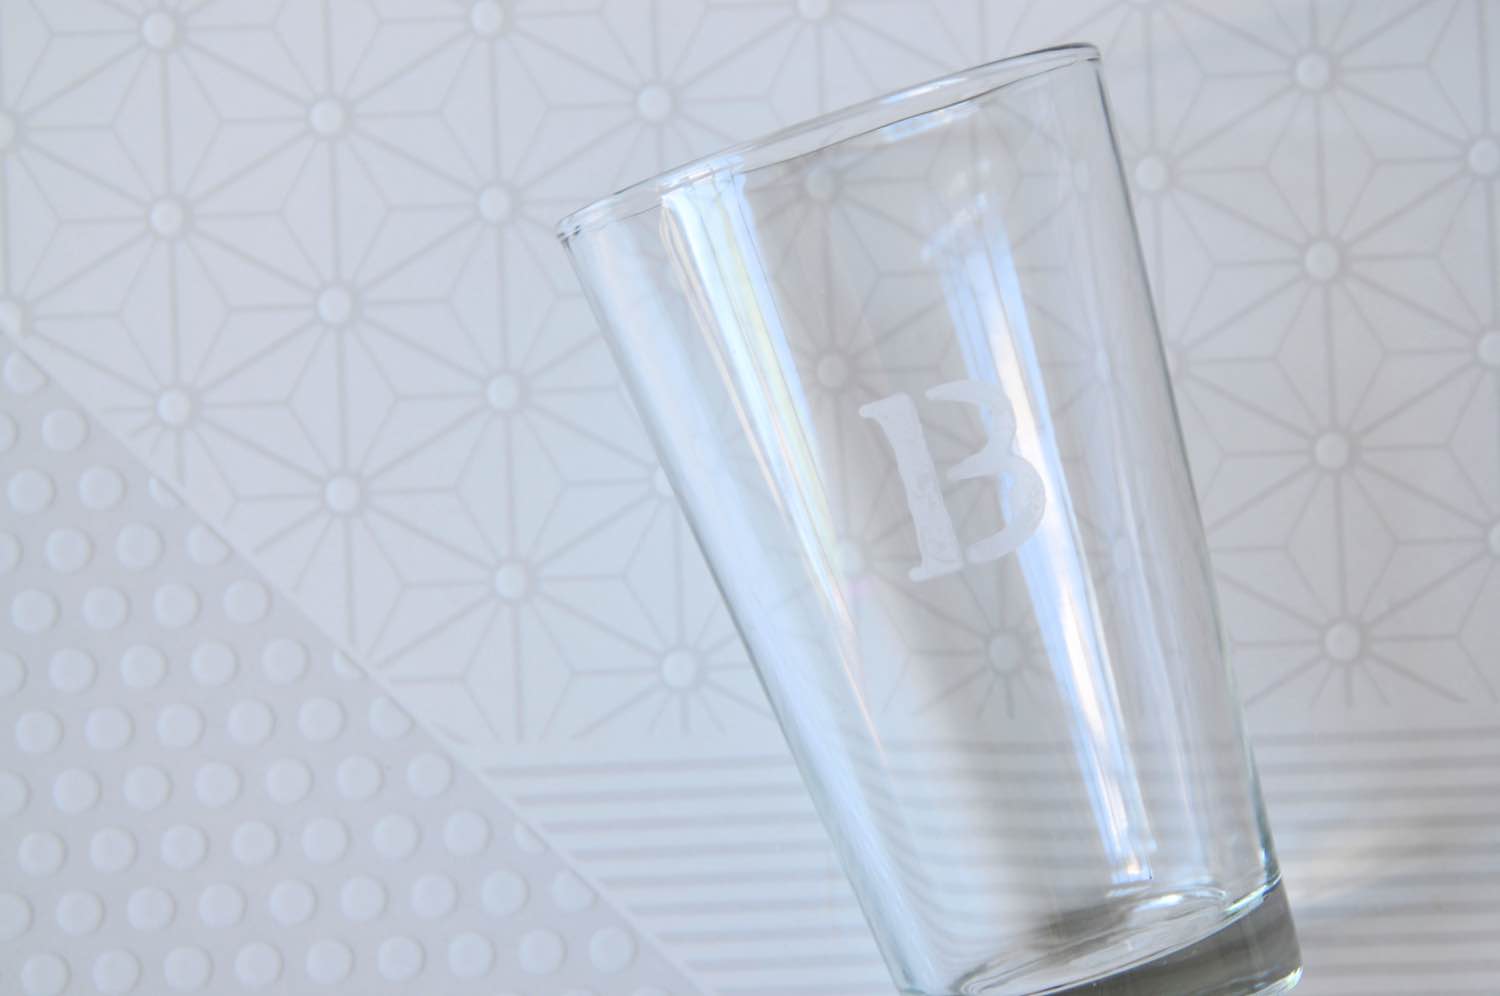
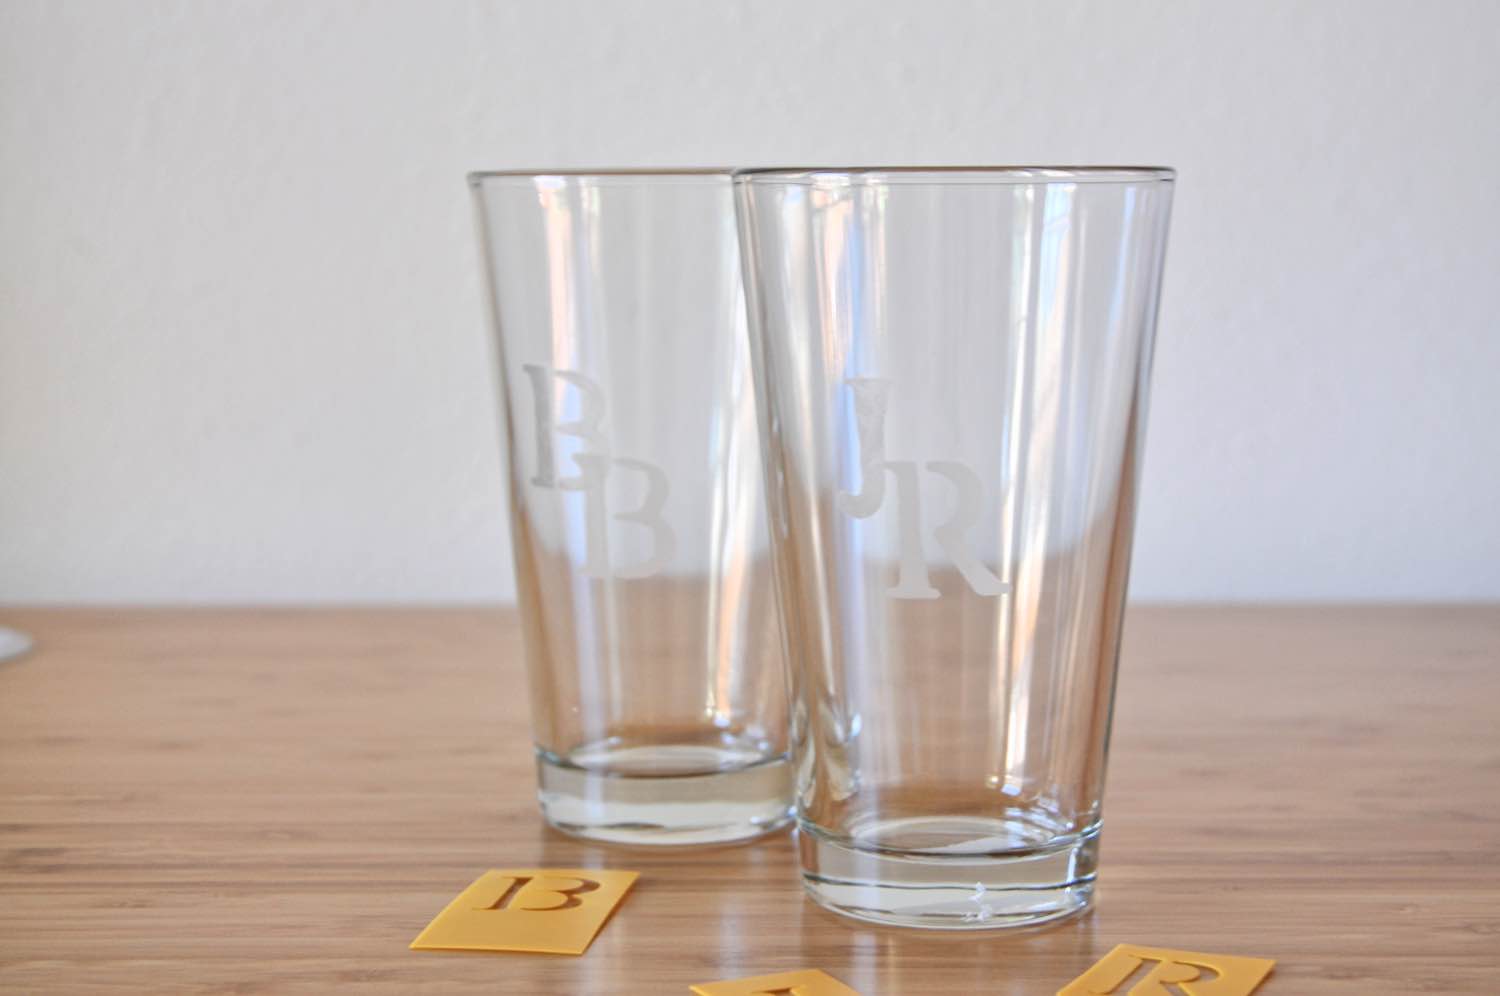
After 10 minutes, rinse the glass etching cream completely under running water and remove the stencil. Viola! You have your first finished initial.
There are 2 reasons we leave the glass etching cream on for 10 minutes instead of 5 like the instructions state: 1. Because if there are any air bubbles, it gives the glass etching cream time to settle and to frost the entire surface. 10 minutes will make a more even etched glass. 2. The strength of the glass etching cream will diminish over time. 10 minutes ensures a perfect result.
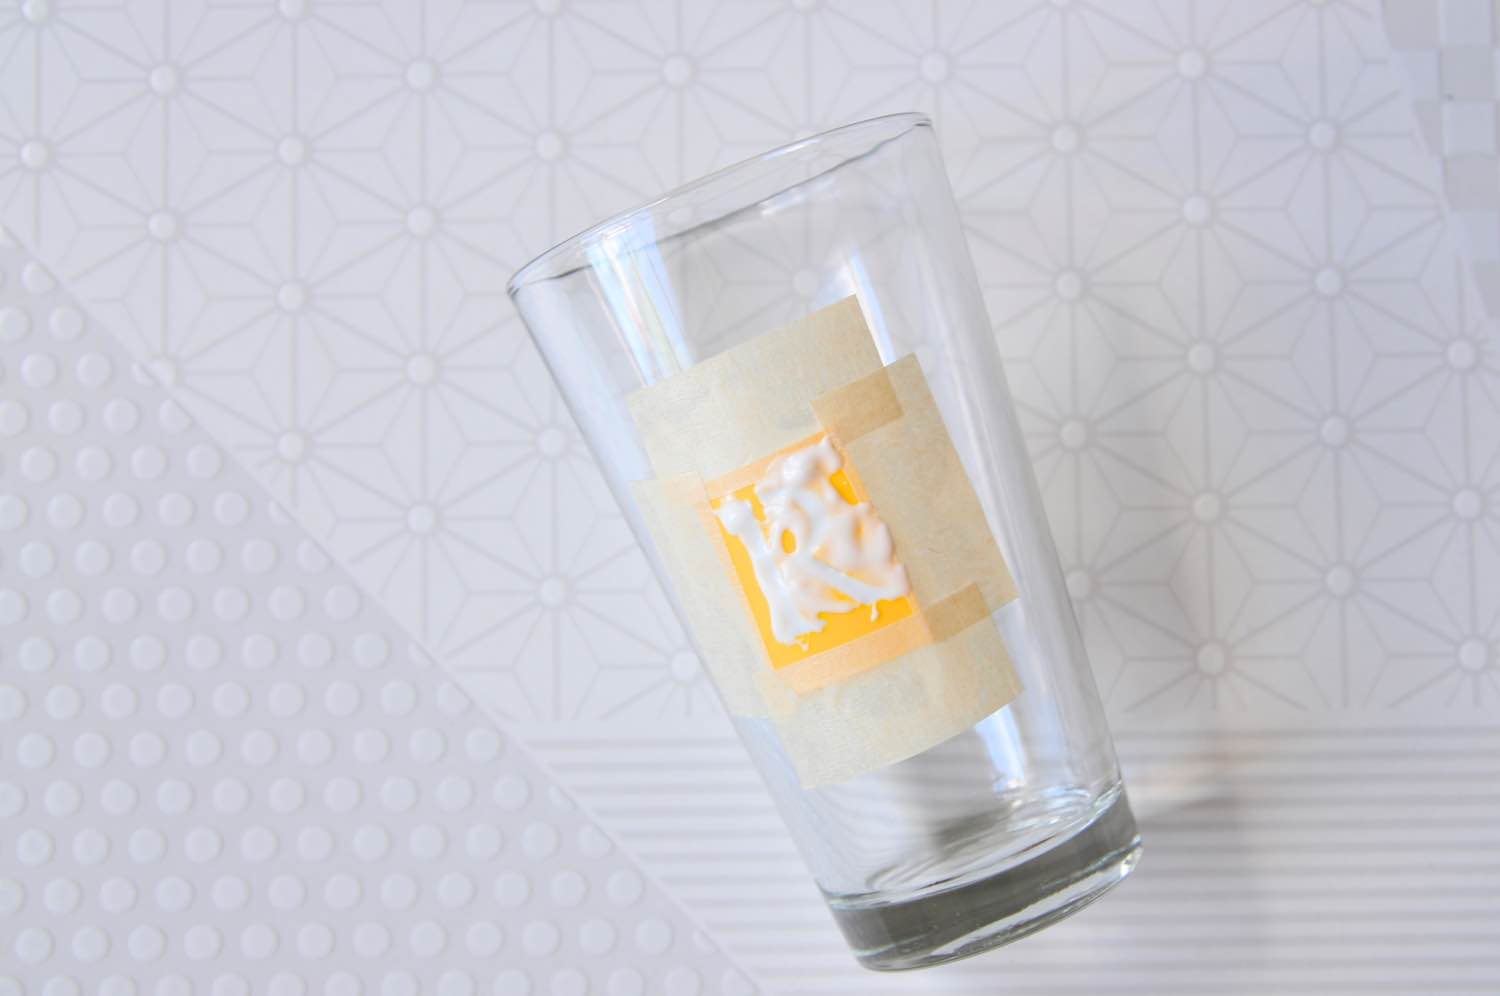
Now, it’s time to apply your second stencil. Again, be sure your stencil is positioned perfectly. Check the angle. Make sure the stencil is taught. And apply a thin layer of glass etching cream.
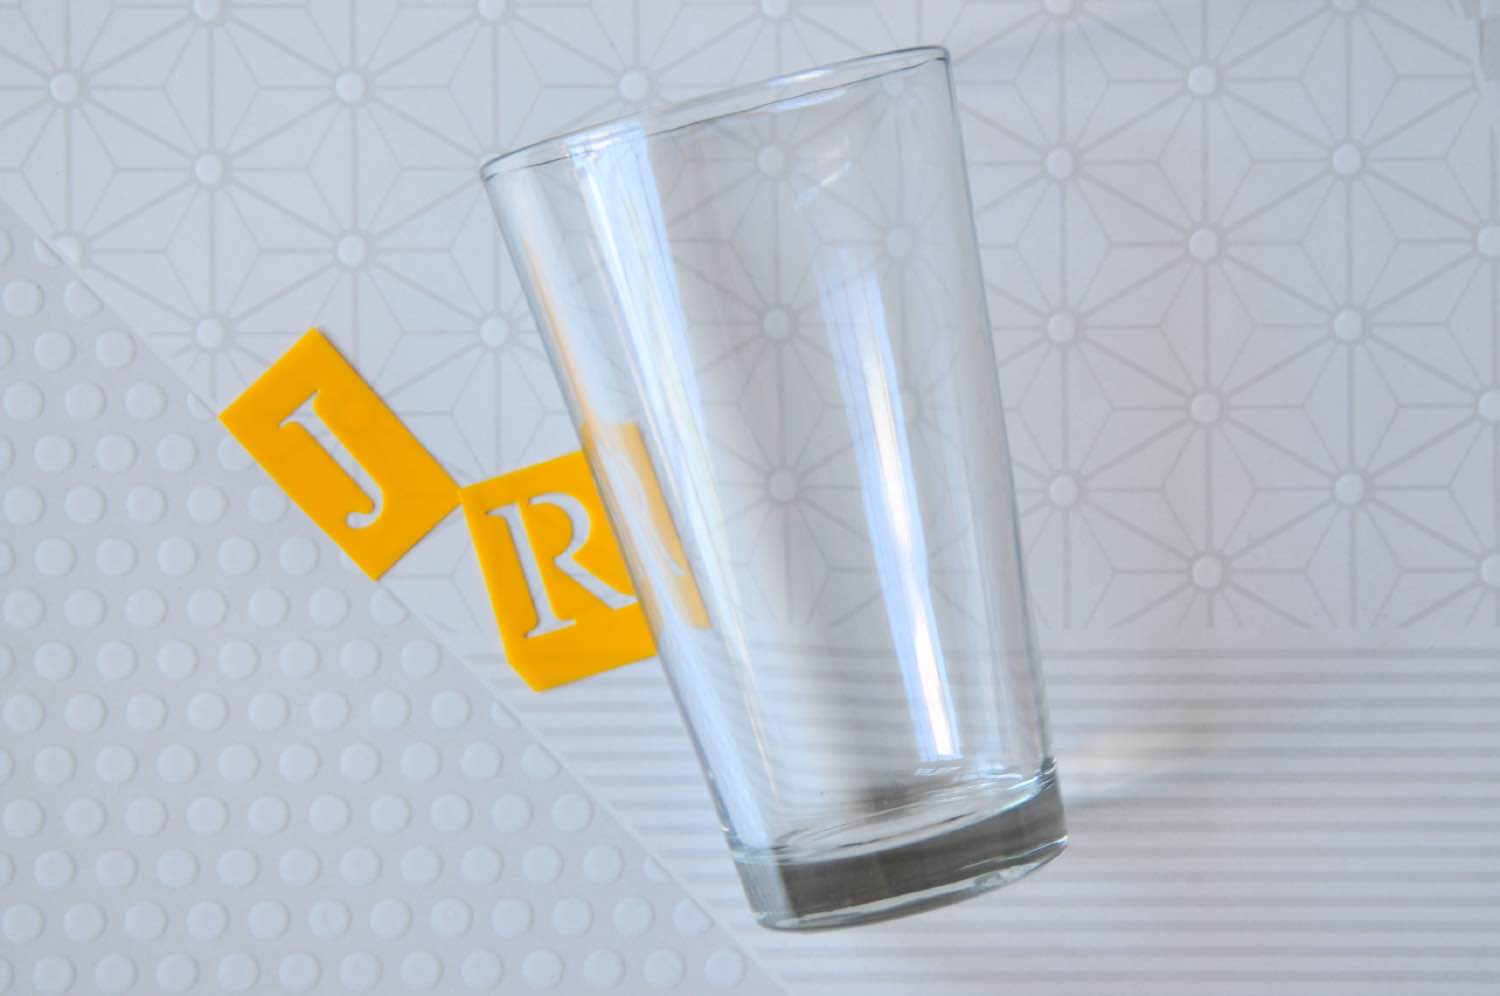
After my first glass, I made a second set, with my boyfriend’s initials. Even when someone has 2 distinct letters for their first and last name, you will still need to etch them one at a time. It’s because the stencil needs a thick border around it to keep that crisp letter edge. So the border of the stencil means you lose a lot of space on the glass and you have limits to how you can arrange your letters if you try to add all your stencils at once. Make sense?
I started with the J, left the cream on for 10 minutes, swirling the cream around just slightly at the 5 minute mark. When your cream is on the glass, always make sure that side is face up. You want to prevent any drips, so use gravity to your advantage!
Another thing you can do to prevent drips is to make sure you are only using a tiny touch of glass etching cream. For both of these glasses and all 4 letters I probably used around 1/4 teaspoon of glass etching cream. That means your jar of glass etching cream can work for dozens of projects large and small!
Once all 4 of your stencils are done, and you have thoroughly and completely washed everything with running water, your glasses are done! Just wash them with soap and water or in the dishwasher before you use them.
Your stencils can be used over and over too! Just be sure to peel any tape and throw it away and wash your stencils as well as you washed the glasses.
The etched glass is permanent gorgeous and easy to care for. It doesn’t require any special instructions. You can put them in the dishwasher like normal and store them with any of your other glasses!
If you love this DIY, make sure you shop the DIY Glass Etching Kit!
And make sure you check out the Craft in Style subscription box, where we send you all the materials you need to make cool crafts and DIY every month!
Let’s Stay Friends!
Insta | Pinterest | Enews | TikTok