DIY
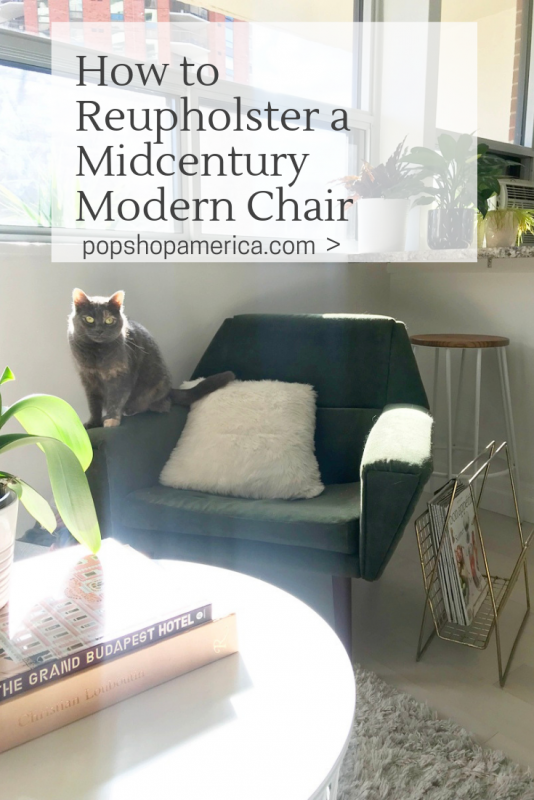
How to Reupholster a Midcentury Modern Chair
Jul
If you know me, but at all, you know that I regularly try to transport large, cumbersome items without a car.
I’ve wheeled nightstands down stairs, precariously taped to a suitcase, slung wicker chairs over my back like a backpack and trudged down the street to the crowded TTC, and have carried huge palm trees back home with my vision completely obscured by fronds.
Trying to get my Midcentury Modern chair home was no exception.
I have always LOVED midcentury modern design and have wanted a piece for as long as I can remember.
So, when I moved into my last apartment, which was only 237 square feet, the only seating I had room for was a chair. But I knew I was willing to spend a little money and invest in a MCM piece, so I started the search.
I actually found one that I loved in a surprisingly short amount of time on Kijiji. I absolutely adore the style of the chair with its olive green wool upholstery, geometric shape, and classic tapered legs. It’s the perfect piece for me and I intend on keeping it for years to come. But, there was one little problem.
I don’t have a car, nor do hardly any of my friends, and I had no idea how I was going to get the damn thing home. I called around to some car rentals, car shares or Uber XL’s but didn’t find any viable options.
So, I did what most would find unthinkable and decided that I was going to roll my large suitcase to Kipling station and I would just tape the chair onto said suitcase and roll it right on home.
When I got to the place I was picking it up from, the guy was not on board with my taping & rolling plan. He said he couldn’t risk the chair getting ruined and didn’t want me to try getting it home like that. I was almost ready to turn around and leave when he offered to drive the chair all the way back downtown for me. When I continued to struggle trying to get it into the front door of my building, he picked it up like it was nothing and proceeded up the 3 flights of stairs and into my apartment and gently placed it down in the corner. SUCH a gem.
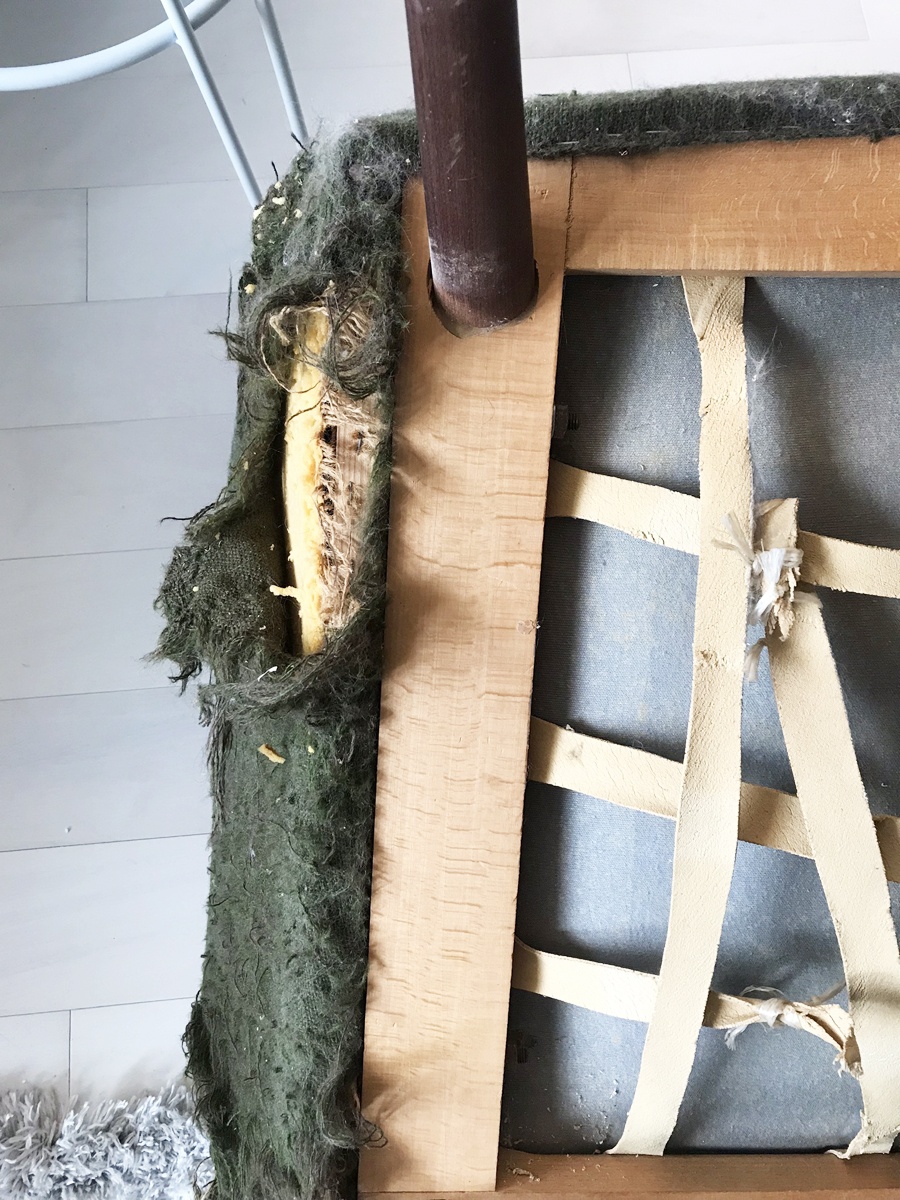
The chair wasn’t in perfect condition – the wool was worn out in some spots and the leather straps on the underside had started to break and were being held together with string. So I knew that the chair would need some work eventually. What I didn’t anticipate was just how quickly my cat would tear the armrests, sides, and back of the chair to literal shreds. I’ll admit that I lived with the chair all scratched up for much longer than I cared to.
It wasn’t until I moved into my current apartment that I actually gathered all the supplies for reupholstering the chair and set down to what I considered a very daunting, very risky task of reupholstering my prized possession.
I knew that I wanted the chair to look fairly similar to the original, so I found a gorgeous green velvet fabric to upholster it in. It’s somewhere between an olive and a forest green and perfectly complements the green in my apartment from my excessive plant collection. I wanted to make sure that I redid the support straps on the bottom of the chair, so I chose nylon straps in a similar colour to the fabric and bought more than I thought I would need so that I could create a strong woven base. I read this article with general reupholstering tips before I started my project and made notes along the way.
If you’re thinking of reupholstering your own Midcentury Modern chair, it may not necessarily be the exact same process as mine, but I’ll walk you through what I did! It is a larger project and is definitely a labor of love. Be prepared to spend hours upon hours removing staples before you get to the slightly more fun task of actually reupholstering anything. I can honestly say that it is entirely worth it in the end though as I absolutely LOVE my chair and the gorgeous, luxe velvet it’s reupholstered in. PLUS, it would have cost me WAY more money to have a professional do it. There are a couple of VERY small errors that I made, but you honestly can hardly tell, so I definitely think that the DIY route is worth it in this case.
Midcentury Modern Chair Reupholstery
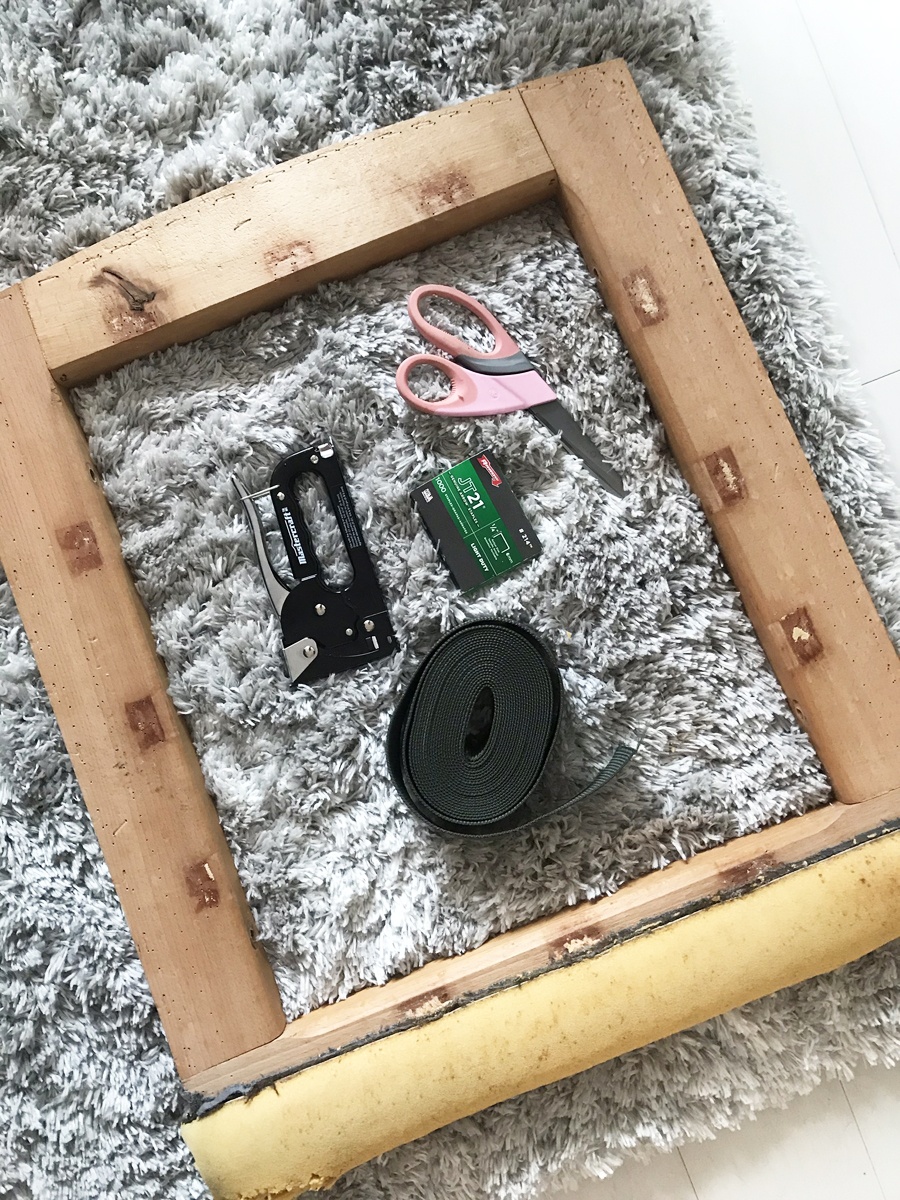
Materials:
– a chair to reupholster
– 4 yards of upholstery fabric *
– 6 yards of nylon straps for the base of the chair
– upholstery thread – make SURE that this is upholstery thread as it’s much thicker than regular sewing thread and will hold your thicker fabrics together much better. Again, the quality is key when investing so much time in a project like this!
– scissors
– needle nose pliers
– a flat-head screwdriver
– straight pins
– post its & a pen
– a staple gun and upholstery grade staples
– a sewing machine
– a glue gun
– a seam ripper
– extra foam (optional depending on how damaged your chair is – you may need to replace)
* When choosing a fabric, you want to make sure that it’s a thick, upholstery grade fabric with a tight weave. If the weave is too loose or the fabric too thin, your fabric will start to rip where you’ve stapled it, or it will be see through. Also, consider how soft the fabric is and how expensive. If you want the chair to be a cozy reading chair, and you plan on spending long hours in it, then I’d suggest going for a velvet fabric or something that doesn’t have any kind of embroidery or texture to it. Also, if this is your first upholstery project, I’d suggest a solid fabric and not one with a pattern. With a pattern, you’ll have to worry about centering the pattern and keeping it straight and I just don’t think you need that stress in your life right now. It also may seem like the fabric is expensive, especially because you’re buying a larger amount, but it will be worth it in the long run. If you’re going to go through all the effort of reupholstering a chair, make sure you pick a fabric that’s going to last. I highly recommend the velvet that I chose as it’s so soft and cozy!
Instructions:
You have to work backward when disassembling your chair and you should label all of the pieces that you take off including the order you took them off in and the top and bottom of each piece. Make as many notes as you think you need and also take photos along the way. My chair was fairly simple to do, but the more complicated the chair, the more any notes will help you later!
Disassembly
- I started by unscrewing the legs of the chair and removing the cushion and set those aside
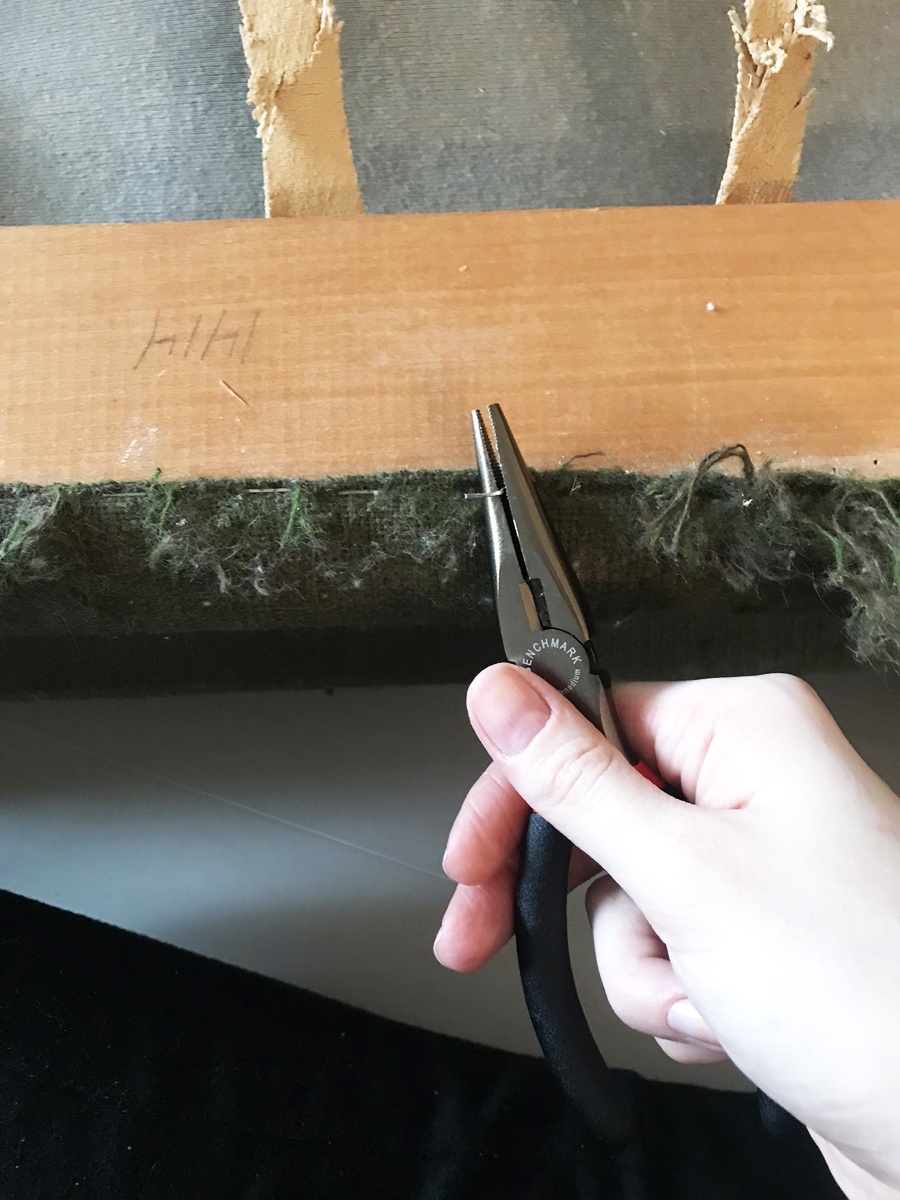
- Next, I took out all the staples on the underside of the chair using my screwdriver to dig under the staple, and the needle nose pliers to actually pull it out. Take care when doing this as the staples could be rusty depending on how old your chair is
- There were screws in the bottom wood frame of the chair holding the sides together, so I took those out as well
- Then, I had to pry the back section off of the chair using my pliers. Try to take care when doing this so that the cardboard and foam that the fabric is tacked to won’t get damaged.
- Once the back section of the chair was exposed, I was able to unscrew the screws there and take the arms completely off
- For the arms, I pried the front triangular section off and then took great pains in removing the hundreds of staples that were holding the fabric on. Then I repeated this on the second arm of the chair.
- Next, I removed all the fabric from the backrest of the chair.
- The last section that I removed fabric from was the base, which had more staples than I could imagine. I also had to really dig and get the staples out of the leather straps that were starting to crumble. There were spots on the bottom of the chair where I had to cut the fabric off because there was no other way for me to remove it.
- To finish off all the fabric removal, I used my seam ripper to take out all the seams of the cushion cover and set the cushion aside.
Pattern Cutting
- Layout your fabric on a flat surface (I used my kitchen island) and lay out your largest piece of fabric that you removed from your chair. For me this was the back of the chair. Since I’m sure you labeled your pattern pieces with top and bottom, you’ll want to imagine that there is a line running from the top to the bottom. You’re going to use that as your grain line. You’ll want to line up the grain line with the selvage of the fabric to make sure that all your fabric is running in the same direction. (This is especially important if your fabric has any kind of texture or pattern).
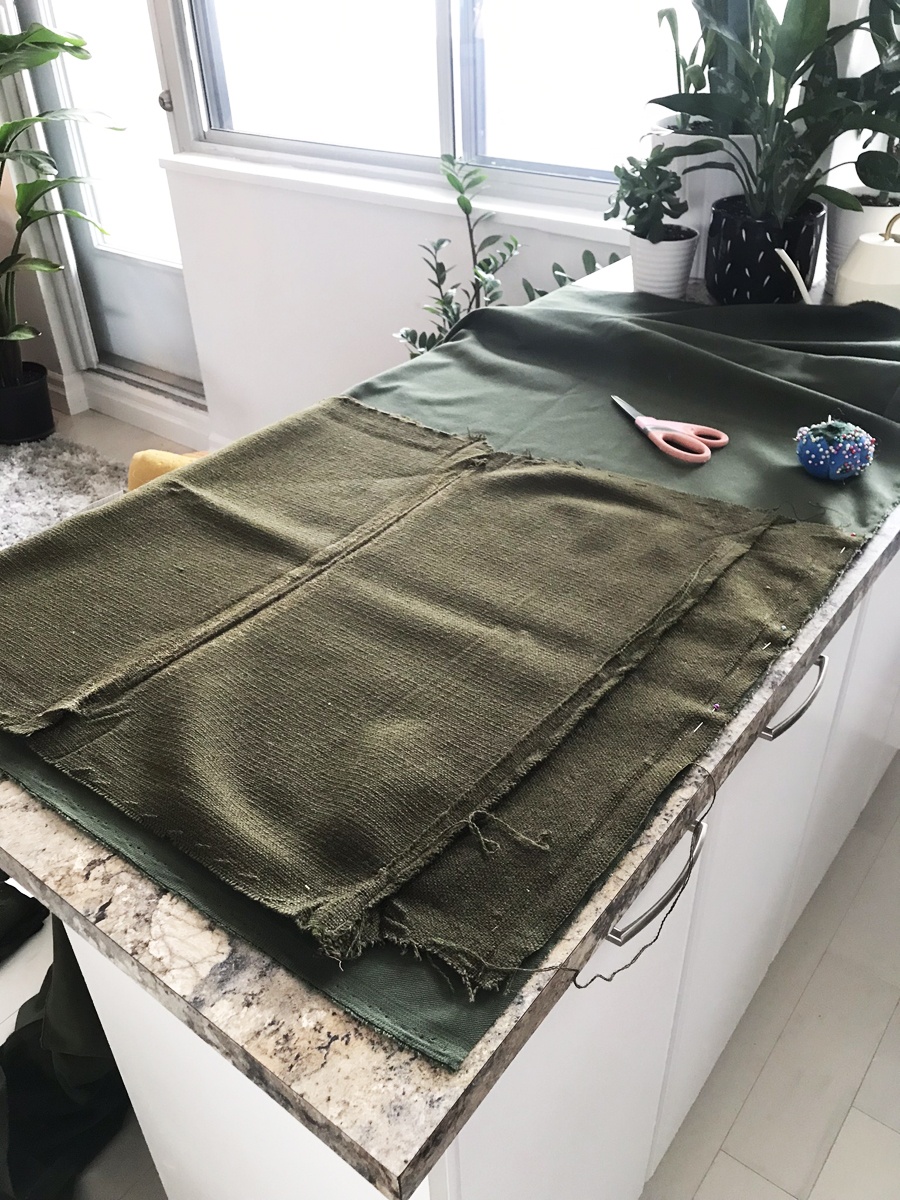
- Pin the piece down and then cut around the outside keeping the two pieces together until you reupholster your chair.
- Repeat this process with all the pattern pieces until they have all been cut out
- If there are any pieces that you need 2 of, fold your fabric over with right sides together and cut out 2 at the same time.
- Set your pattern pieces aside until you’re ready to reupholster. Make sure that they’re labelled!

Chair Strap Assembly
You may or may not have to redo the bottom of your chair, but if you did, here’s how I went about it.
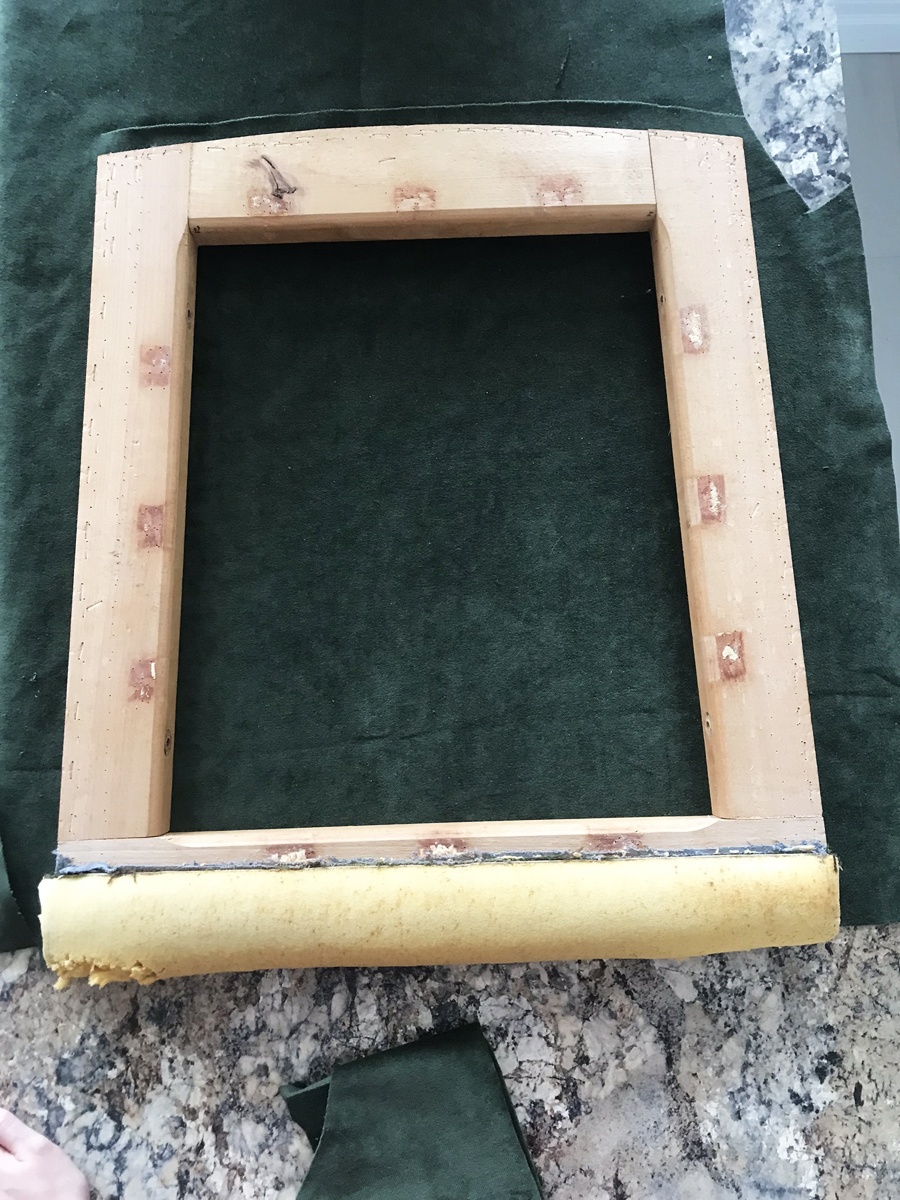
- After the old leather was removed from the base of the chair, I sanded the areas where the leather was just to make sure that everything was smooth.
- Using the nylon straps, I measured how long of a length I would need to get from one side to the other with about a 1″ of overlap on each side so that the staples would have a solid surface area to go into
- Given the length of nylon that I bought, I was able to do 6 straps horizontally and 6 straps vertically. This made for a much firmer base than the chair previously had, so I think it will hold up for longer.
- Once all my straps were cut, I spaced the straps evenly in a horizontal direction and stapled them all down on the left side
- Next, I pulled the straps very taut and stapled down the right side.
- Then, I evenly spaced out the vertical straps and stapled them all down at the top.
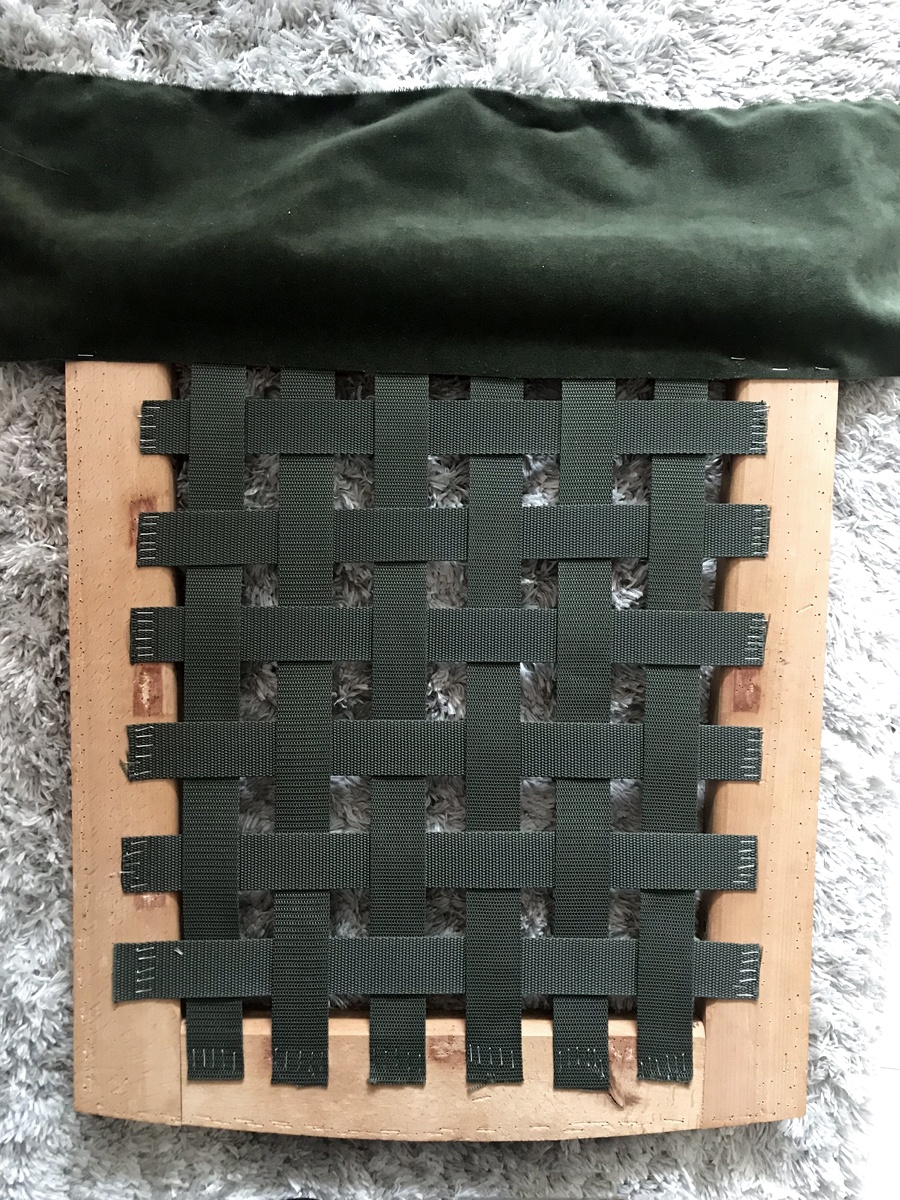
- Now, it’s time to weave the straps. Take the first vertical strap and go under the first horizontal strap, over the second, under the third etc. until you get to the bottom. Then pull the strap taut and staple.
- For the next vertical strap, you’re going to want to start the opposite way, so go over the first horizontal strap, under the second, over the third etc.
- Repeat steps 7 and 8 until all of your straps have been stapled down securely. You’ll have something that looks like this:
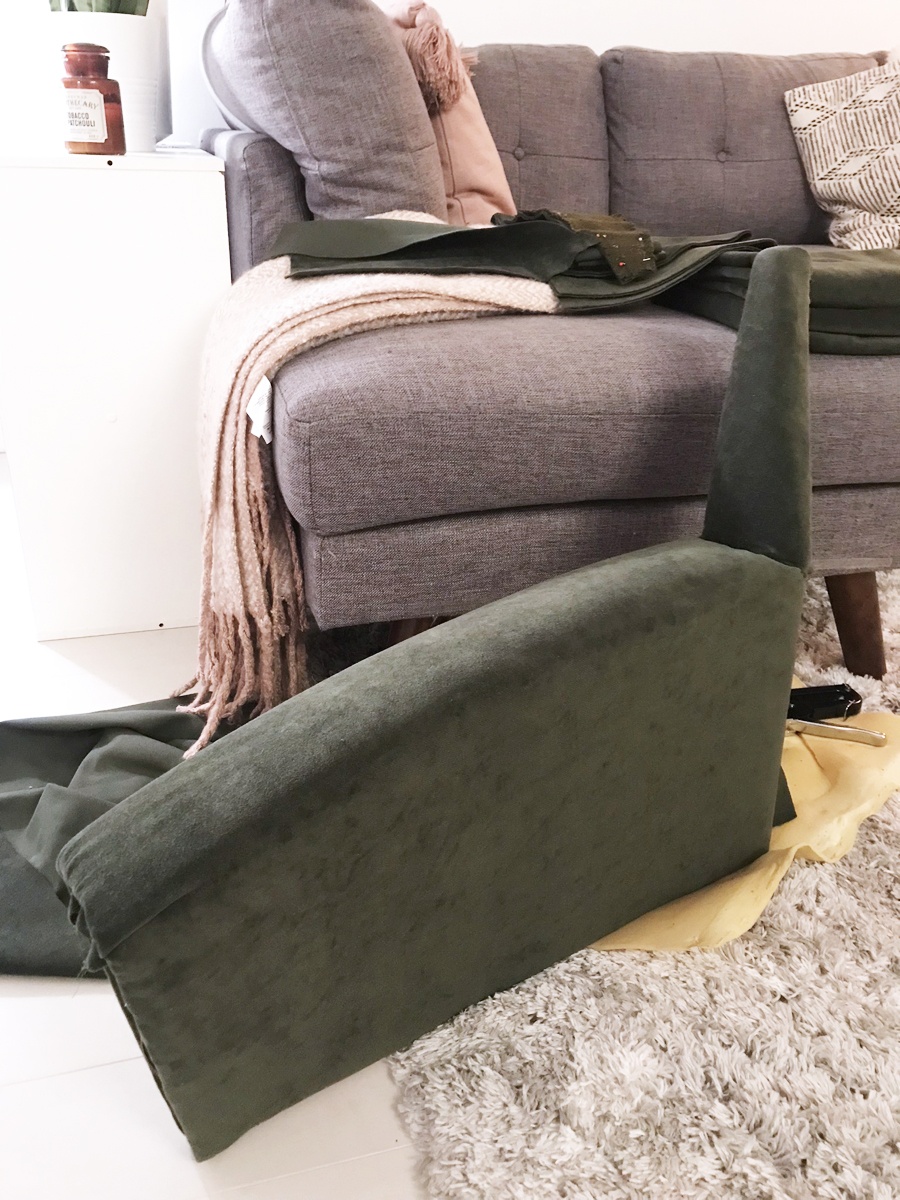
Chair Reupholstery
Make sure that you staple more than you think you need to and always be pulling the fabric taut! Take your time and if something doesn’t look quite right, take it out and try again. Refer back to your notes and just take a break if you need to. It can be a very overwhelming project and sometimes you may have to just step away for a second if you’re getting frustrated. Also, depending on how damaged your chair is you may need the extra foam to repair some areas.
- I started with the bottom of the chair and stapled the fabric around the wood frame.
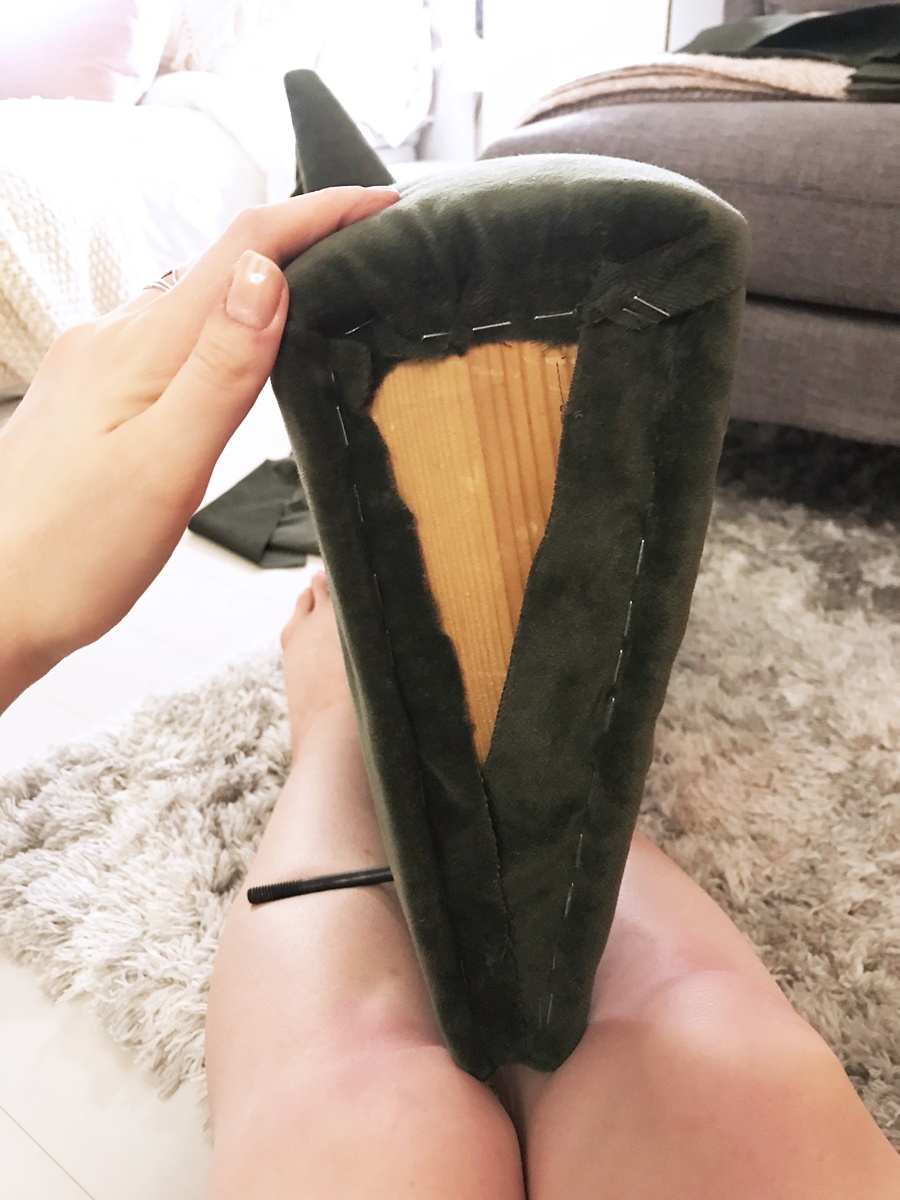
- I then moved onto the arm of each chair finishing with the triangle portions for the front of the arms. I used hot glue to attach the fabric onto the triangle portions, wrapping it around the back and gluing it down. To attach the triangle portions, they were somehow nailed to the frame of the chair, which I found very confusing from an assembly standpoint. The only thing I could really think to do was to hot glue them back onto the chair and hope that they were secure enough. You can’t see the glue at all, they fit in perfectly and they have held up well thus far, so I’m happy with my choice.
- Next, I moved on to the backrest of the chair. There was a small seam in the centre, so I just folded the fabric, tucked it in the seam and stapled it in place.
- At this point, all of my main pieces were reupholstered and I was ready to start reassembling my chair. I reattached the sides to the bottom and the backrest and then screwed the legs back in.
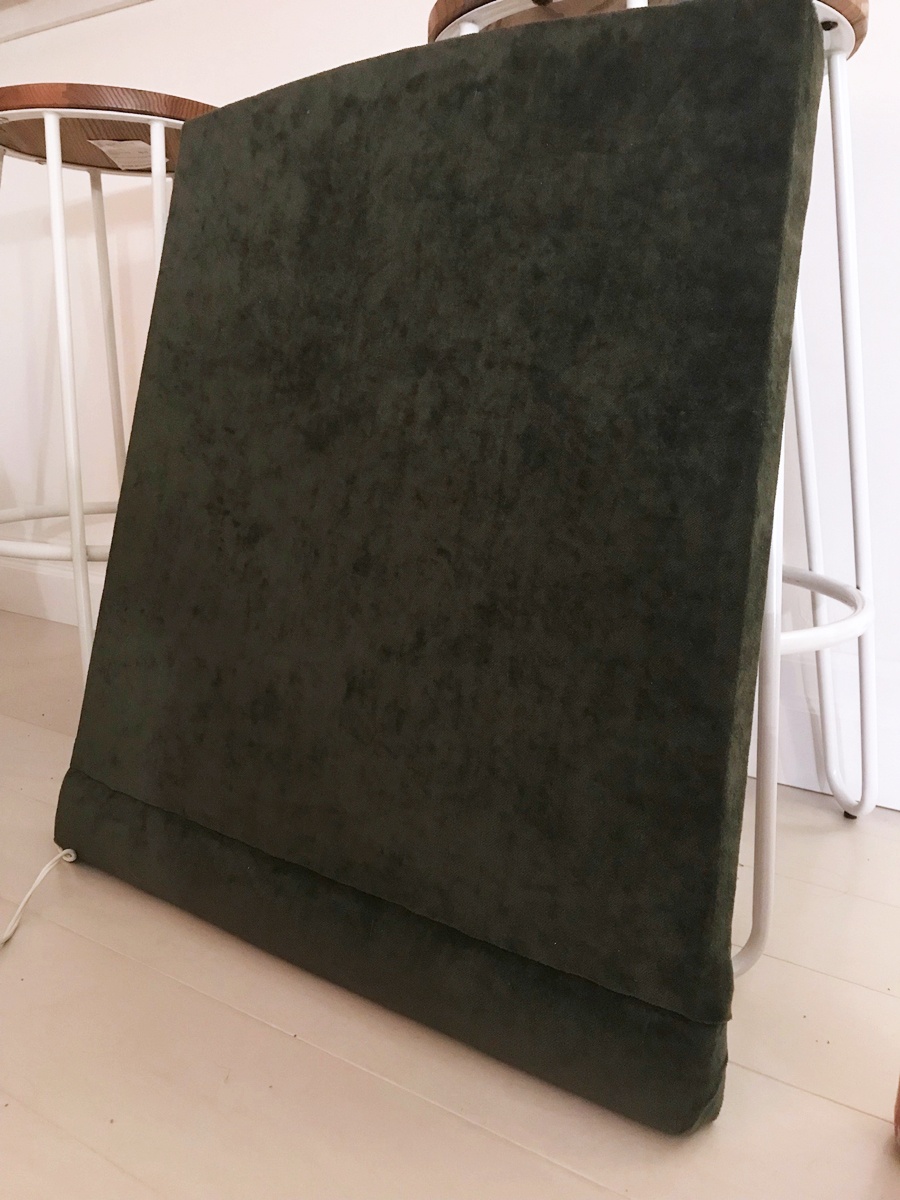
- Now, I just had to reattach the back of the chair which for me, was a piece of cardboard coated in foam and covered in fabric. I had to pry it off when I was taking the chair apart, so like the triangle arm fronts, I was confused as to how I was going to reattach it. In the end, I went with a combo of hot glue and staples. The back of the chair is an oblong hexagon shape, so in order to make it look as finished as possible, I first stapled the fabric to the top of the chair and then inserted the foam coated cardboard. Next, I glued the fabric to the cardboard on 4 sides, leaving the bottom loose and glued that onto the chair. To finish the bottom, I wrapped it around the wood base and stapled it in place. You honestly can’t tell that it’s been glued on and I think stapling it at the top and the bottom helped me to achieve a finished look.
- For the square seat cushion, I sewed the top and bottom to the sides (with the upholstery thread) and left an opening at the back to insert the cushion into. After inserting the cushion, I sewed the seam up with the upholstery thread and added it to the finished chair!
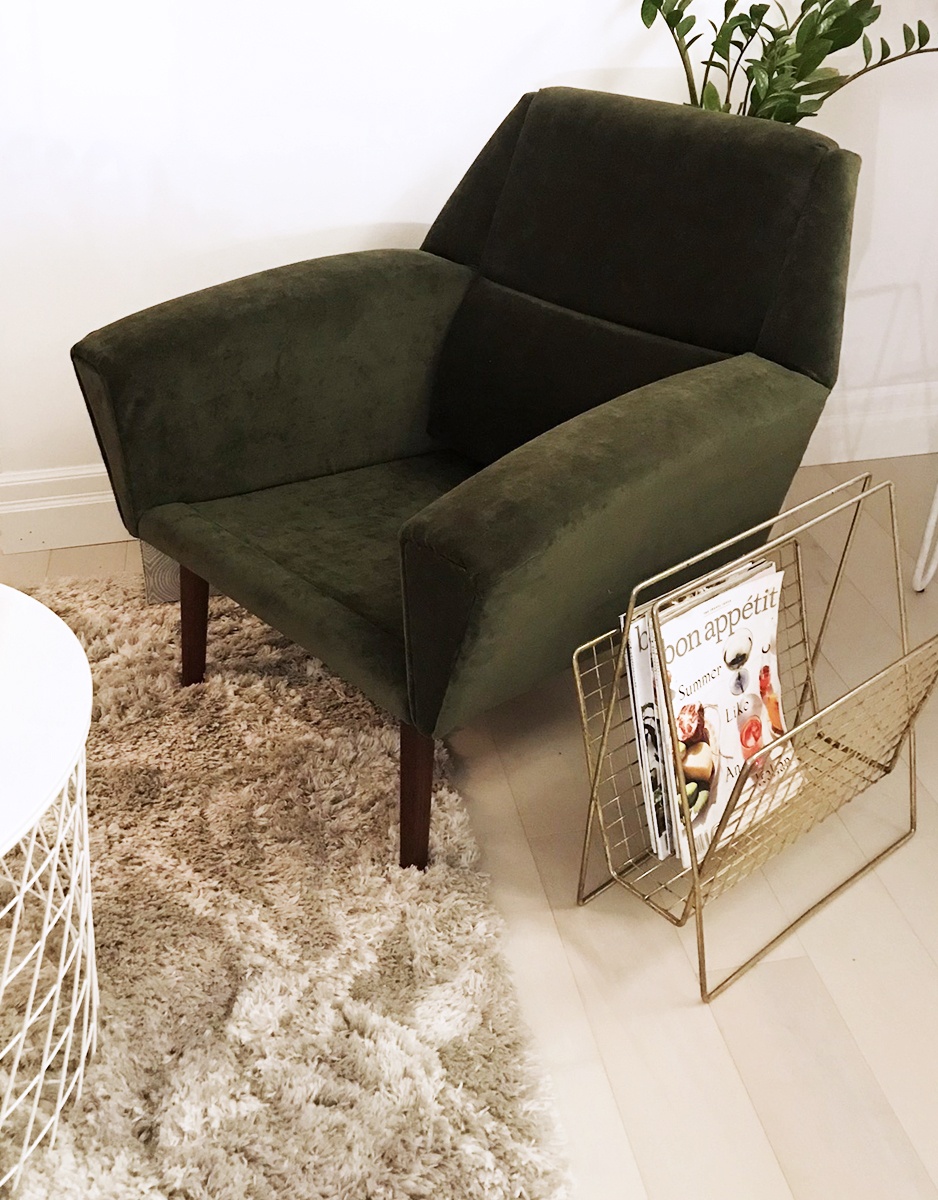
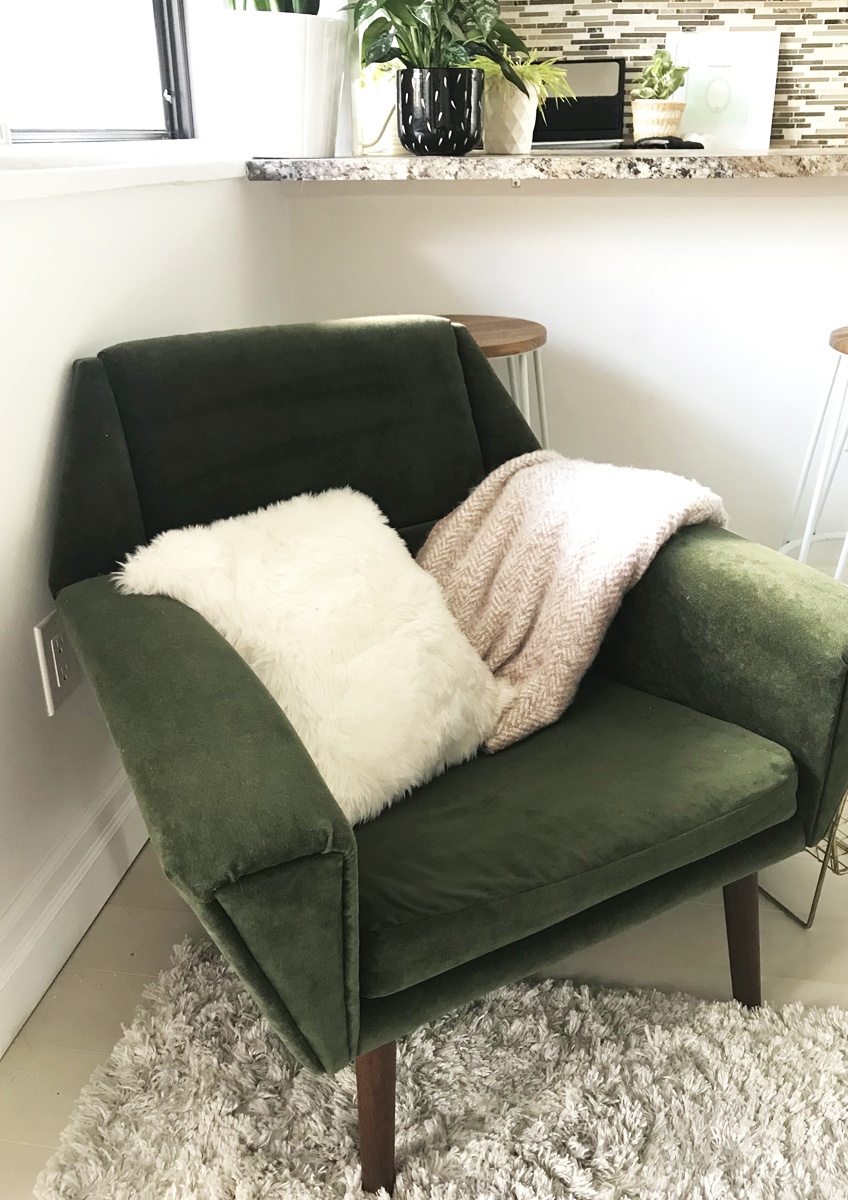
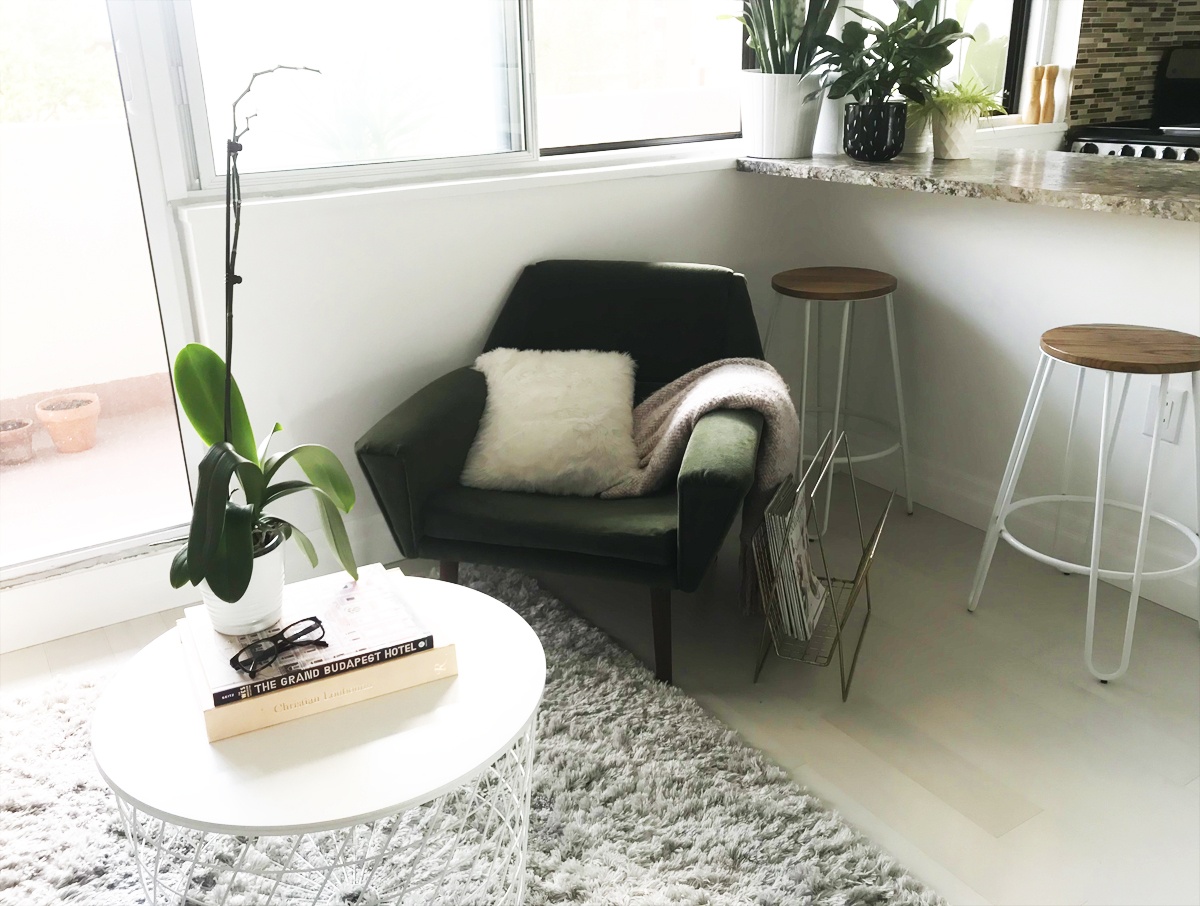
I then finished off the look by adding a patterned pink and white blanket and a white faux fur pillow. Beside the chair sits a vintage mid-century magazine rack filled with a backlog of Bon Appetit magazines that I’m trying to find time to get through. It’s the perfect little reading nook and beautifully rounds out the seating in the living room.
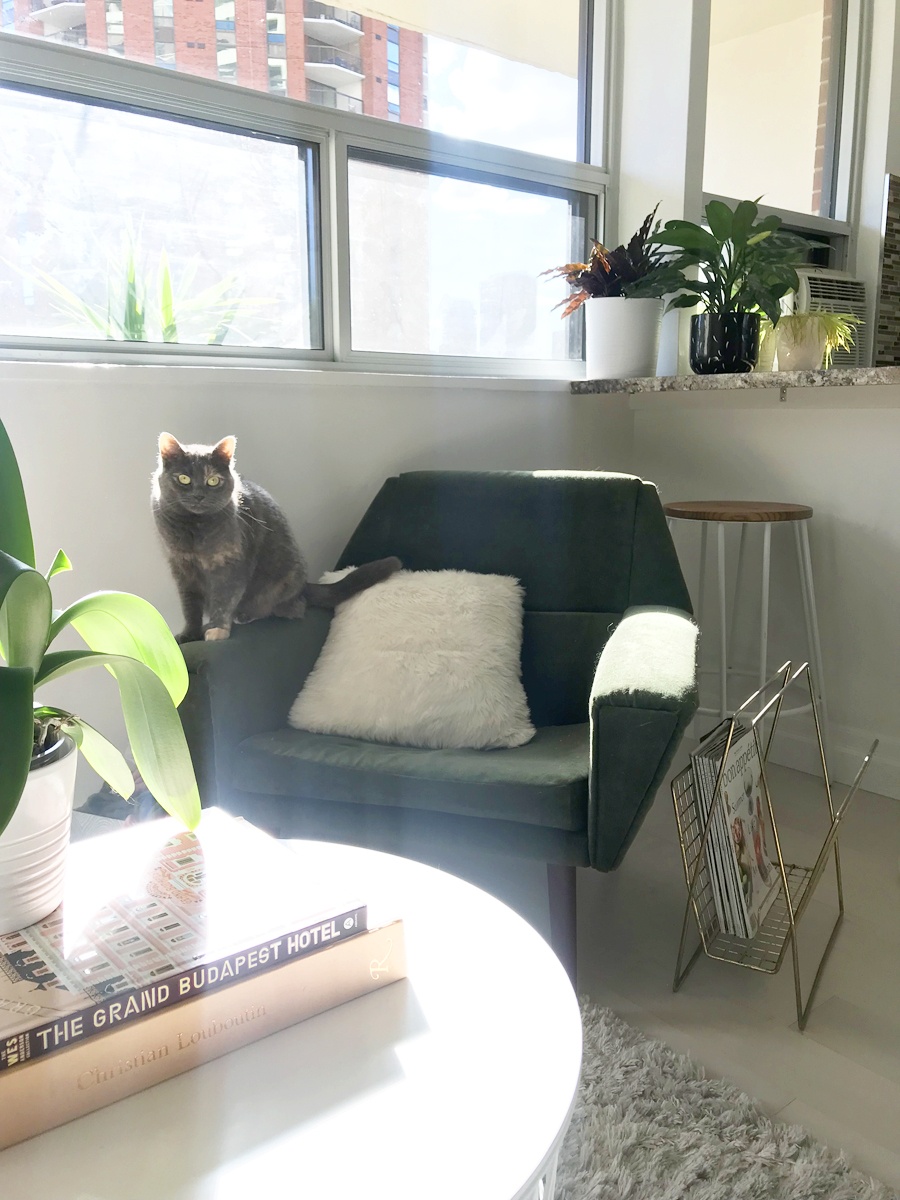

When I stepped back and looked at the chair, I was filled with a huge sense of joy, pride, and accomplishment. This is probably the most ambitious DIY project that I’ve taken on to date and I couldn’t be more thrilled with it. I felt like I was taking a risk when I started this project because I didn’t want to ruin one of my favorite pieces, but I am SO glad I did.
And best of all? Cats apparently don’t like velvet, so she’s never laid a paw on my beautiful chair.
xo, Tess.
Let’s Stay Friends!
Insta | Pinterest | Enews | TikTok