Craft in Style Subscription Instructions, DIY
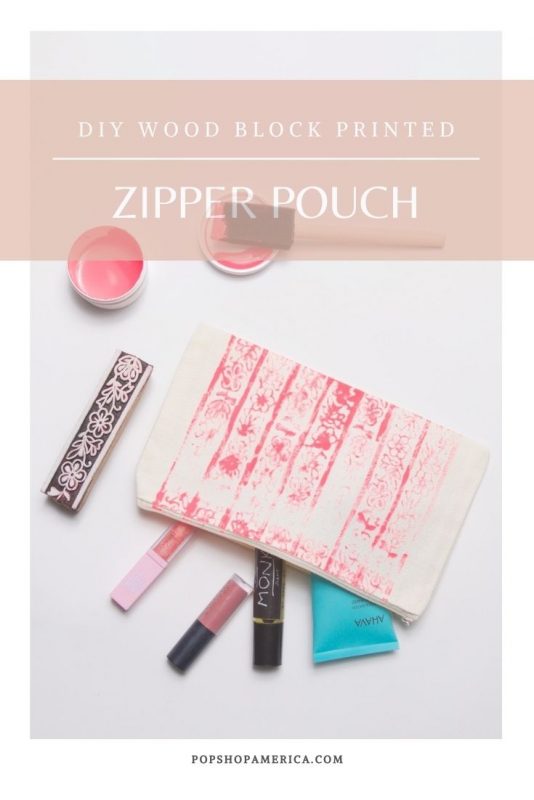
How to Wood Block Print a Patterned Zipper Pouch
Jun
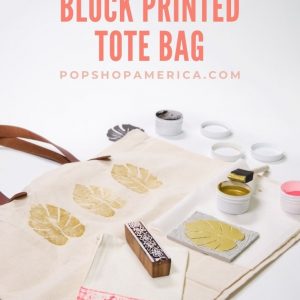
This post is Part 2 of 2 of previous Craft in Style & Let’s Paint Together Subscription Box instructions. Find the Craft in Style Subscription Box & Let’s Paint Together Subscription Box here. Read Part 1: How to Make a Block Printed Tote Baghere.
Looking for a stylish and beginner friendly way to get started with wood block printing? Then this Patterned Zipper Pouch is a must! It’s a great way to learn the basics of wood block printing. And instead of just using the wood block, we’re going to make a pattern with it.
You can use any kind of wood block, and you can use any color too. So let’s make it!
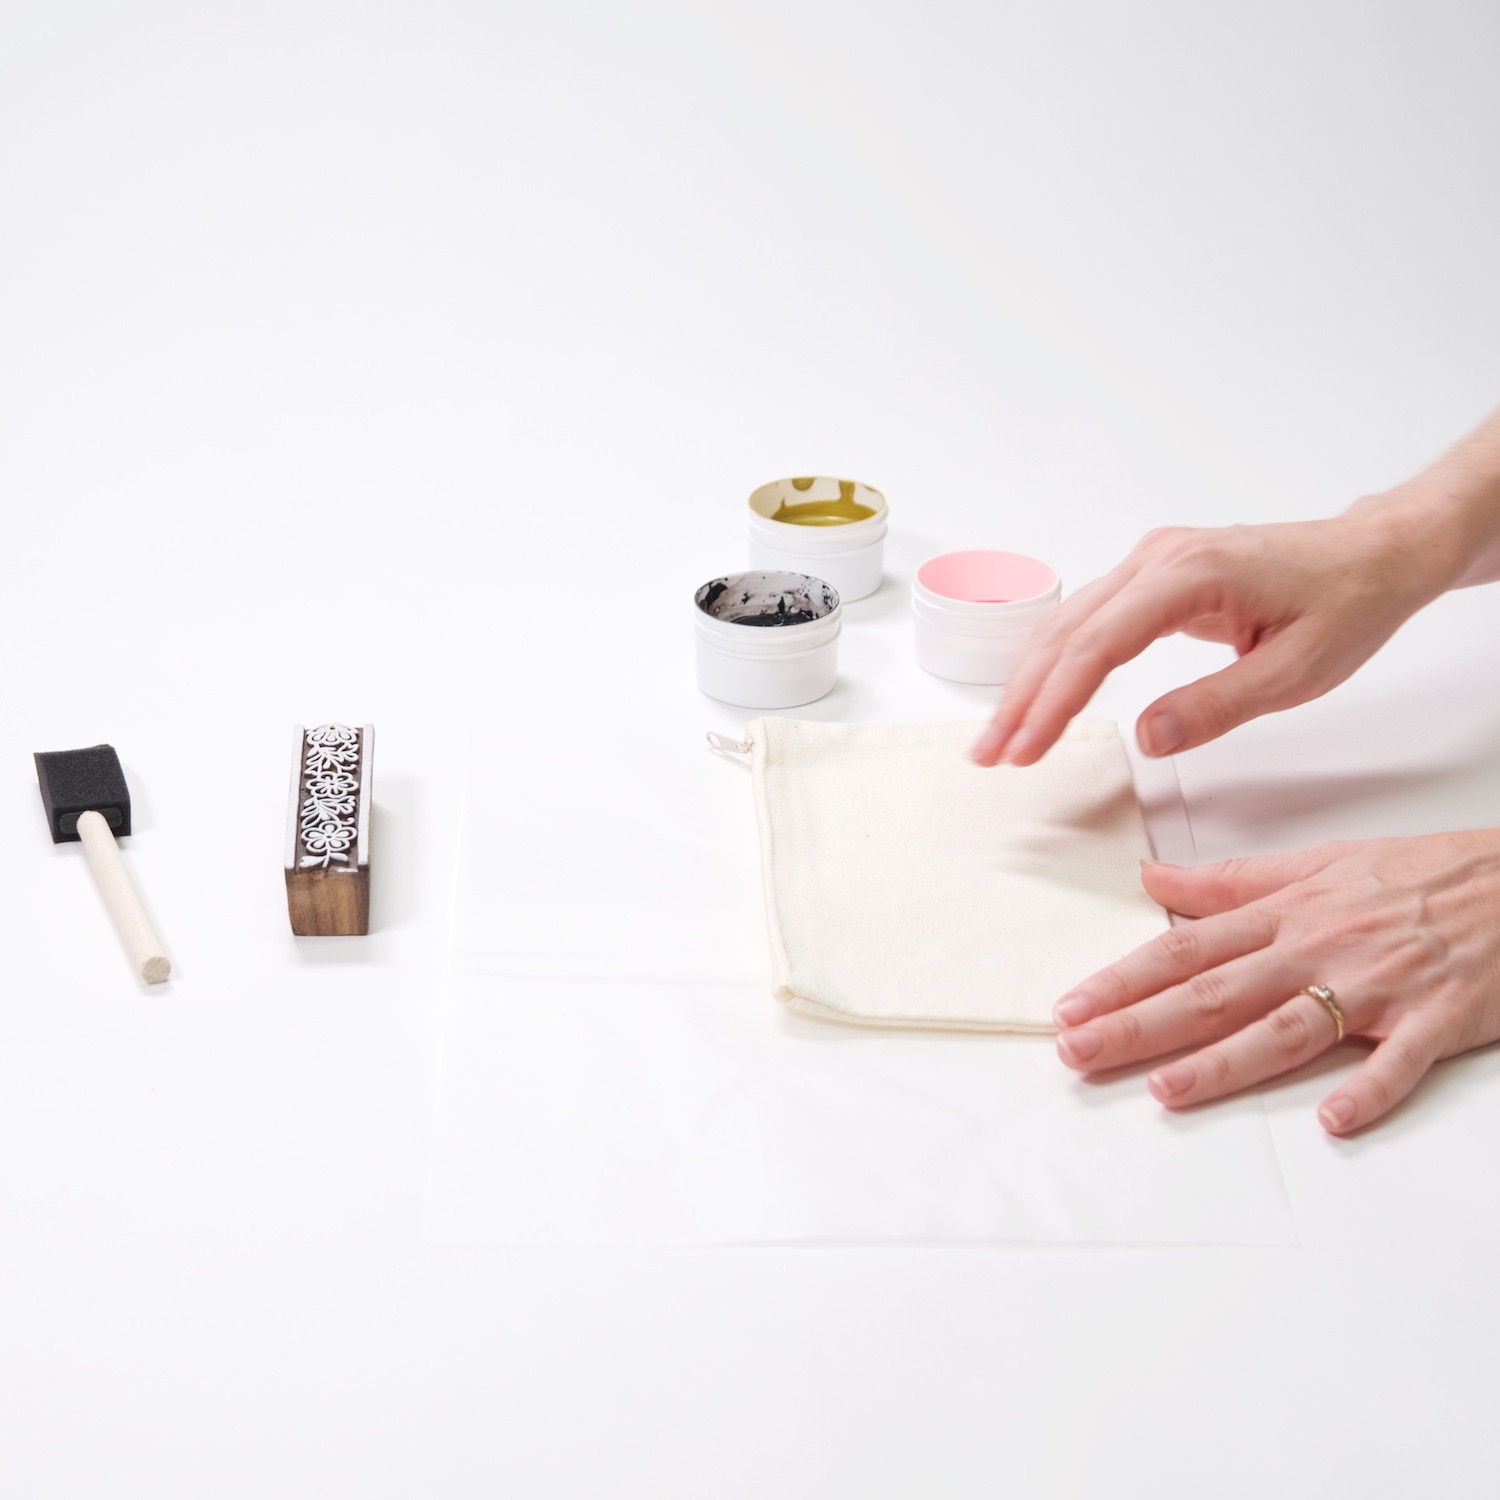
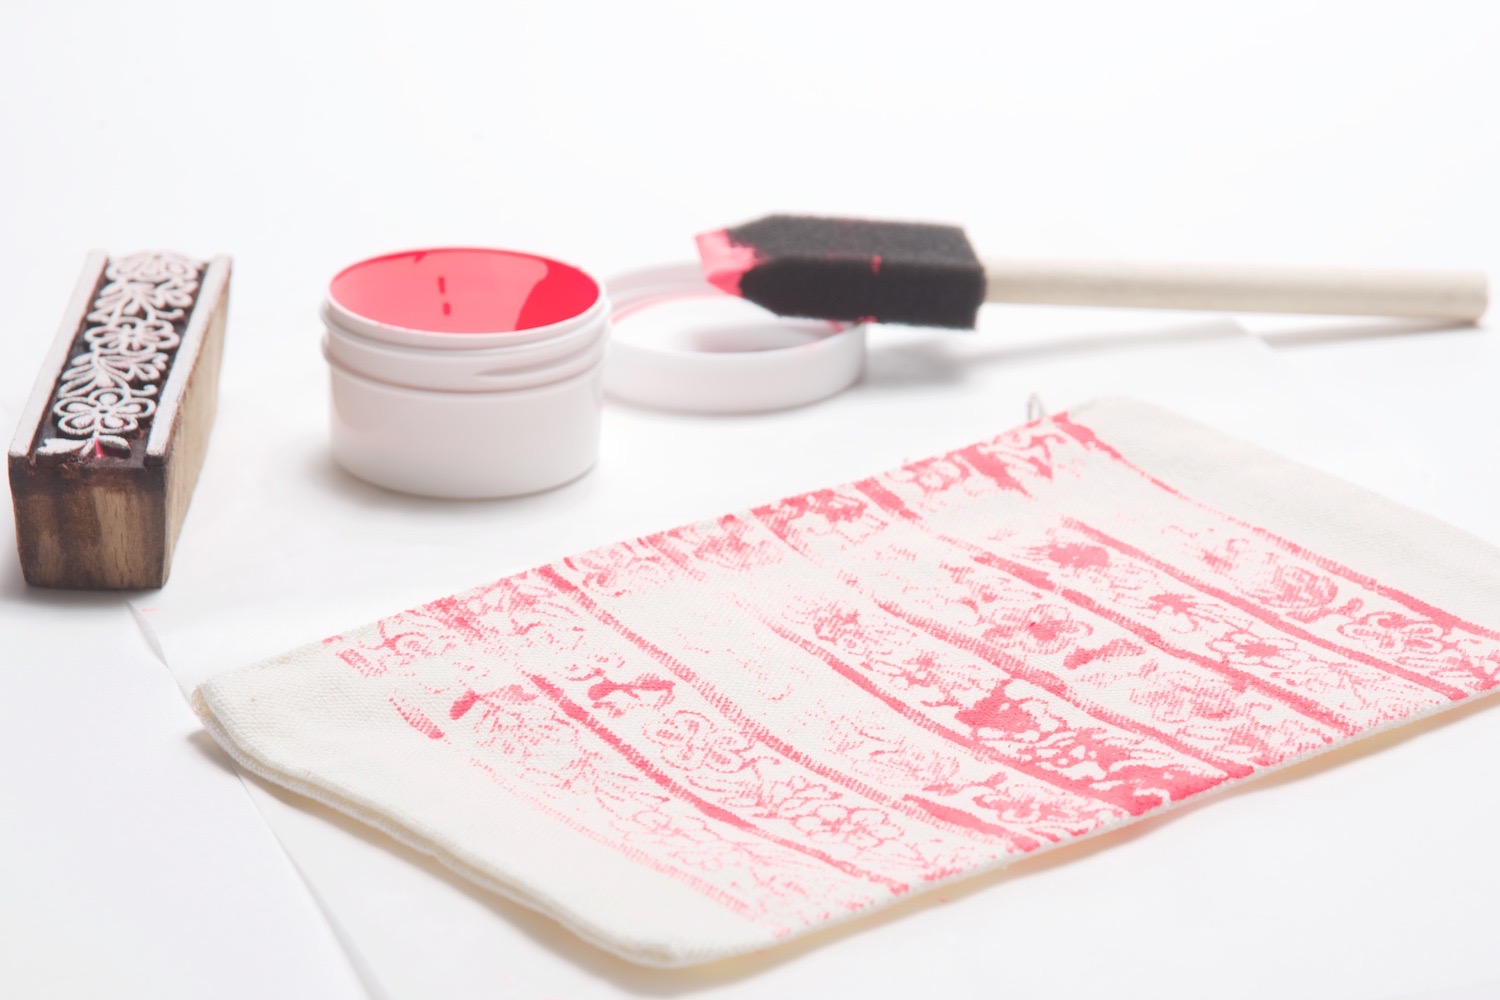
Supplies to Make a Wood Block Printed Patterned Zipper Pouch
Block Printing Tote & Zipper Pouch Craft Kit
-or-
Canvas Zipper Pouch
Fabric Printing Ink
Foam Brush (or better yet an ink roller)
Plus, you will need a way to heat set the ink. There are 2 methods you can use: an iron or a dryer. We’ll show you how to do both when we reach that step.
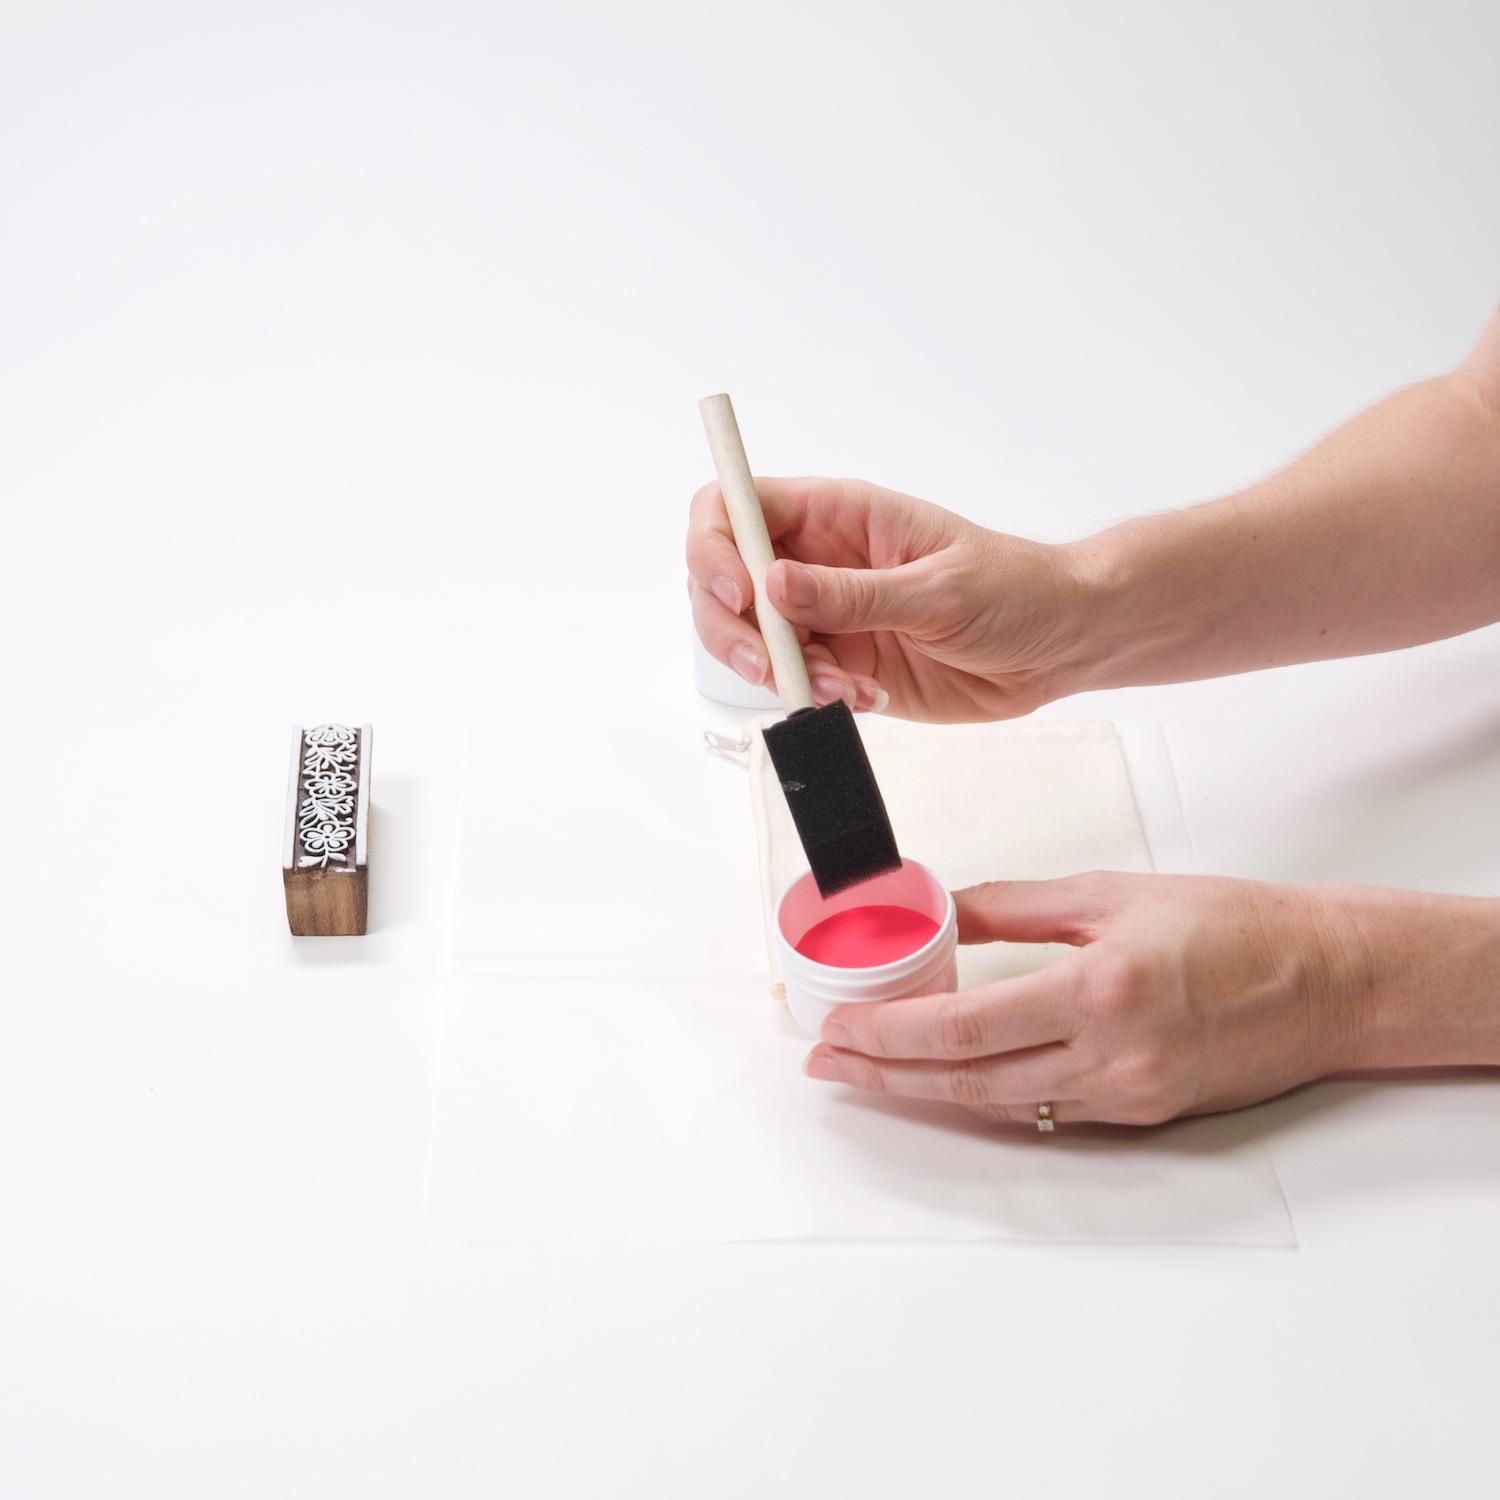
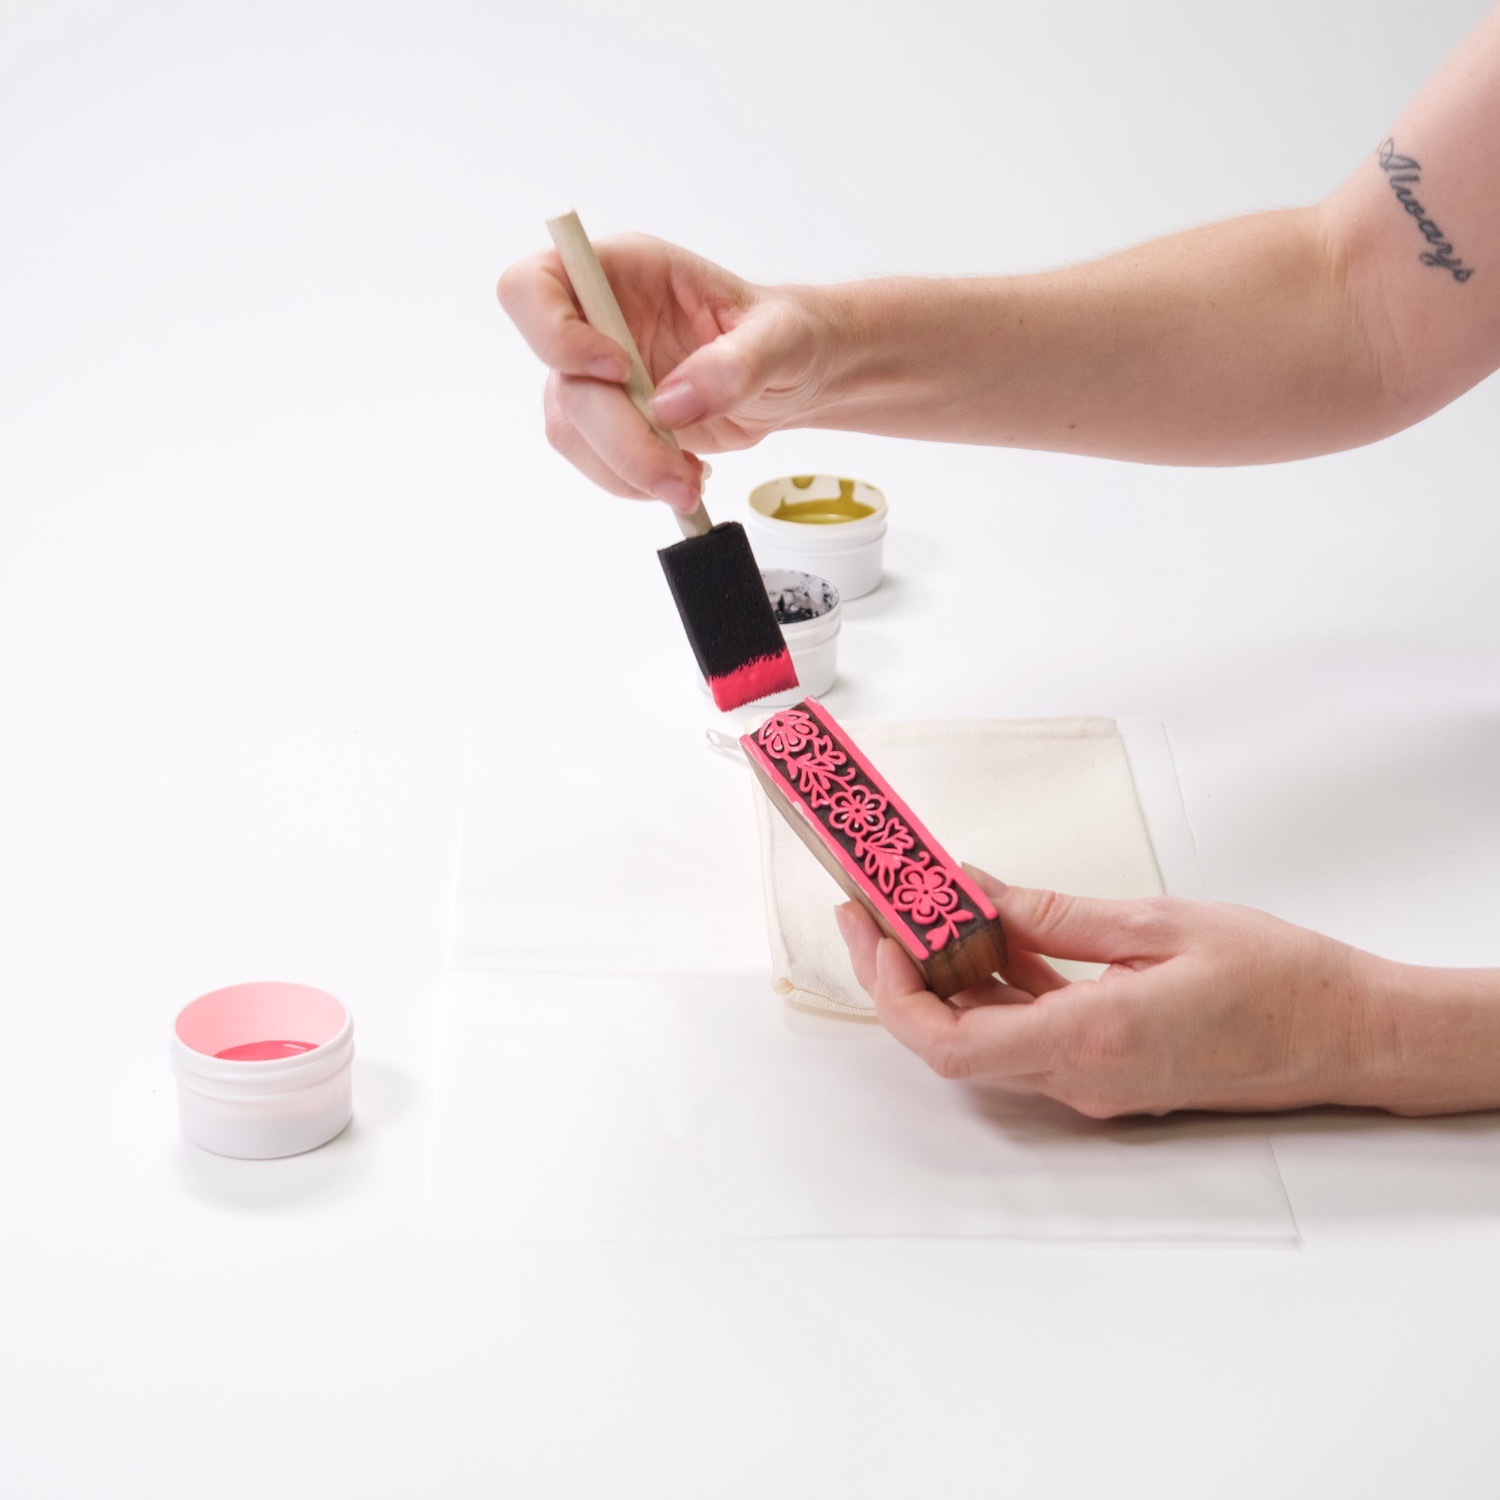
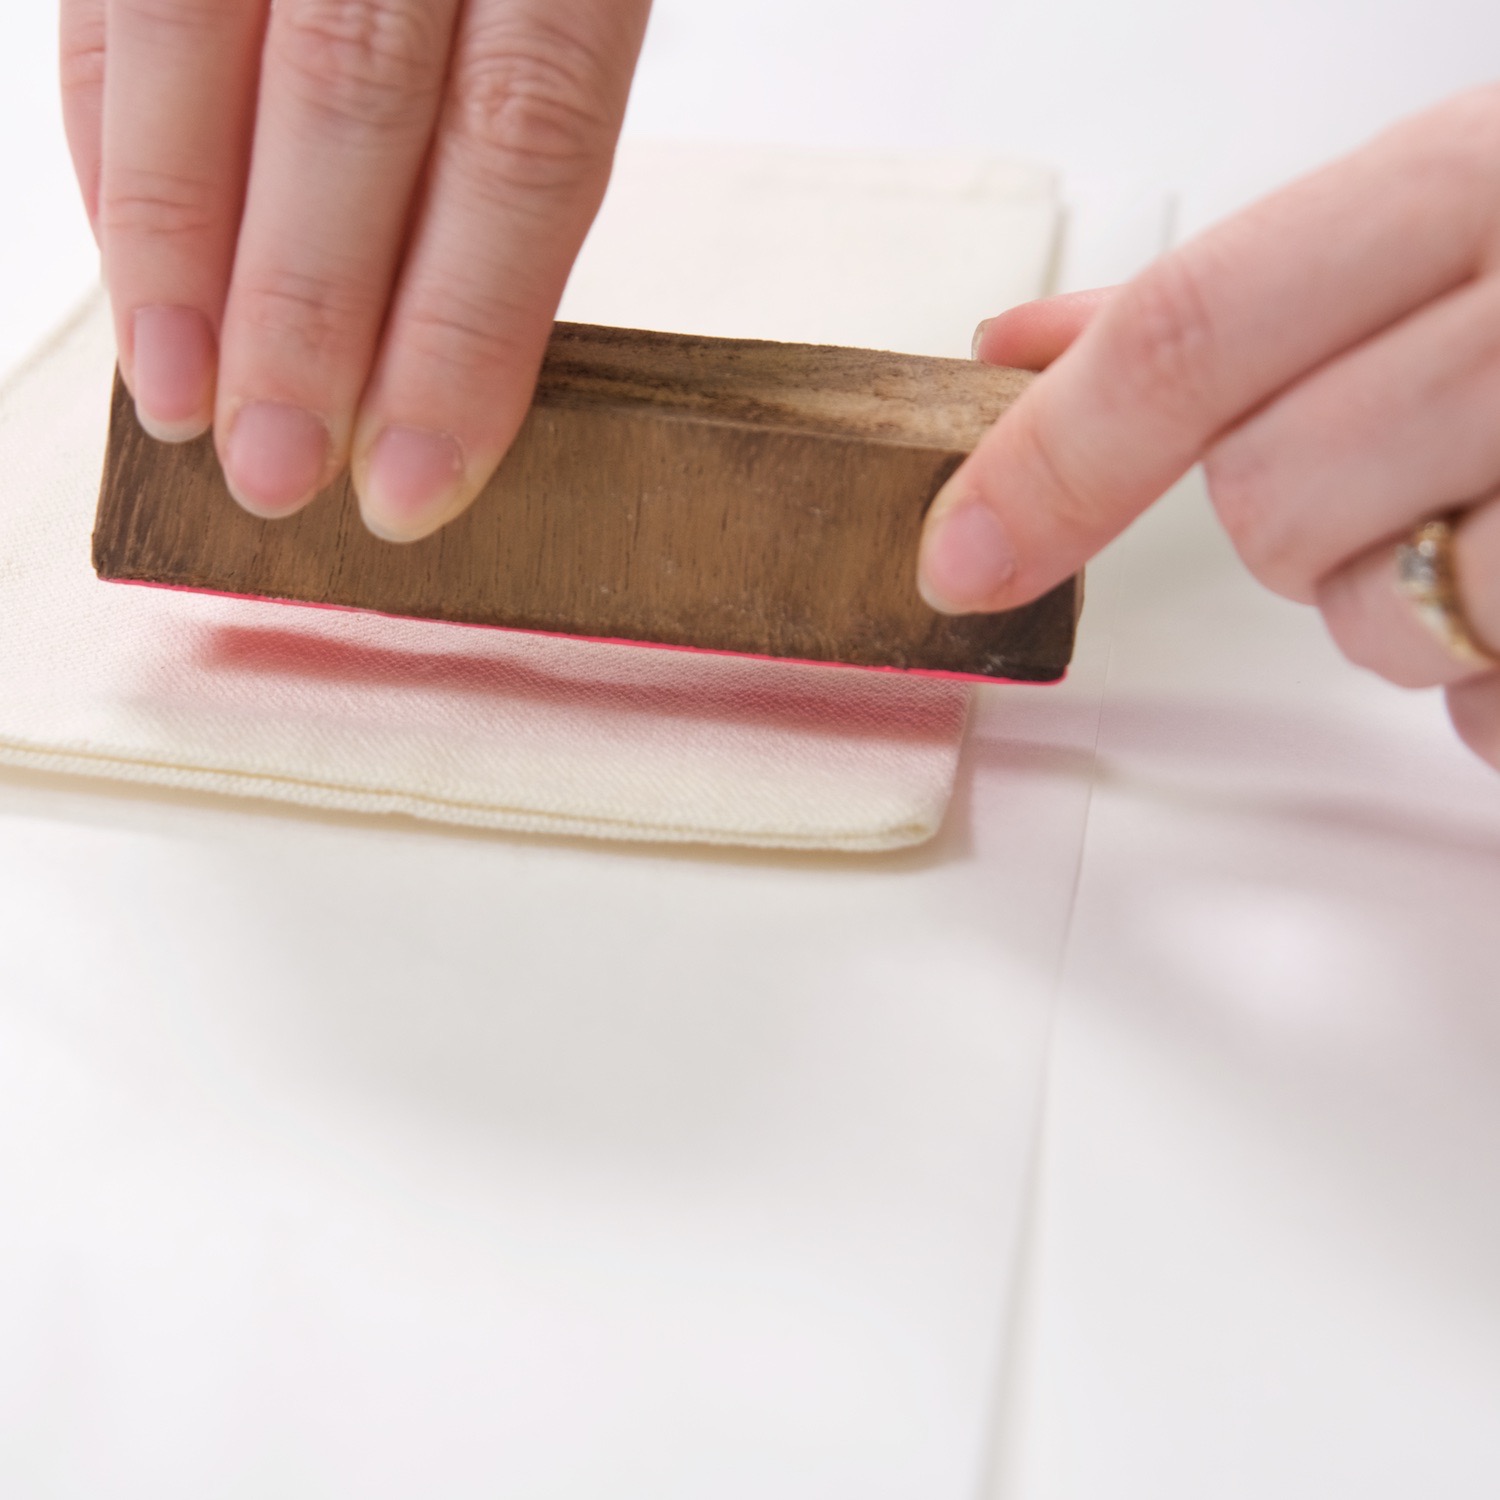
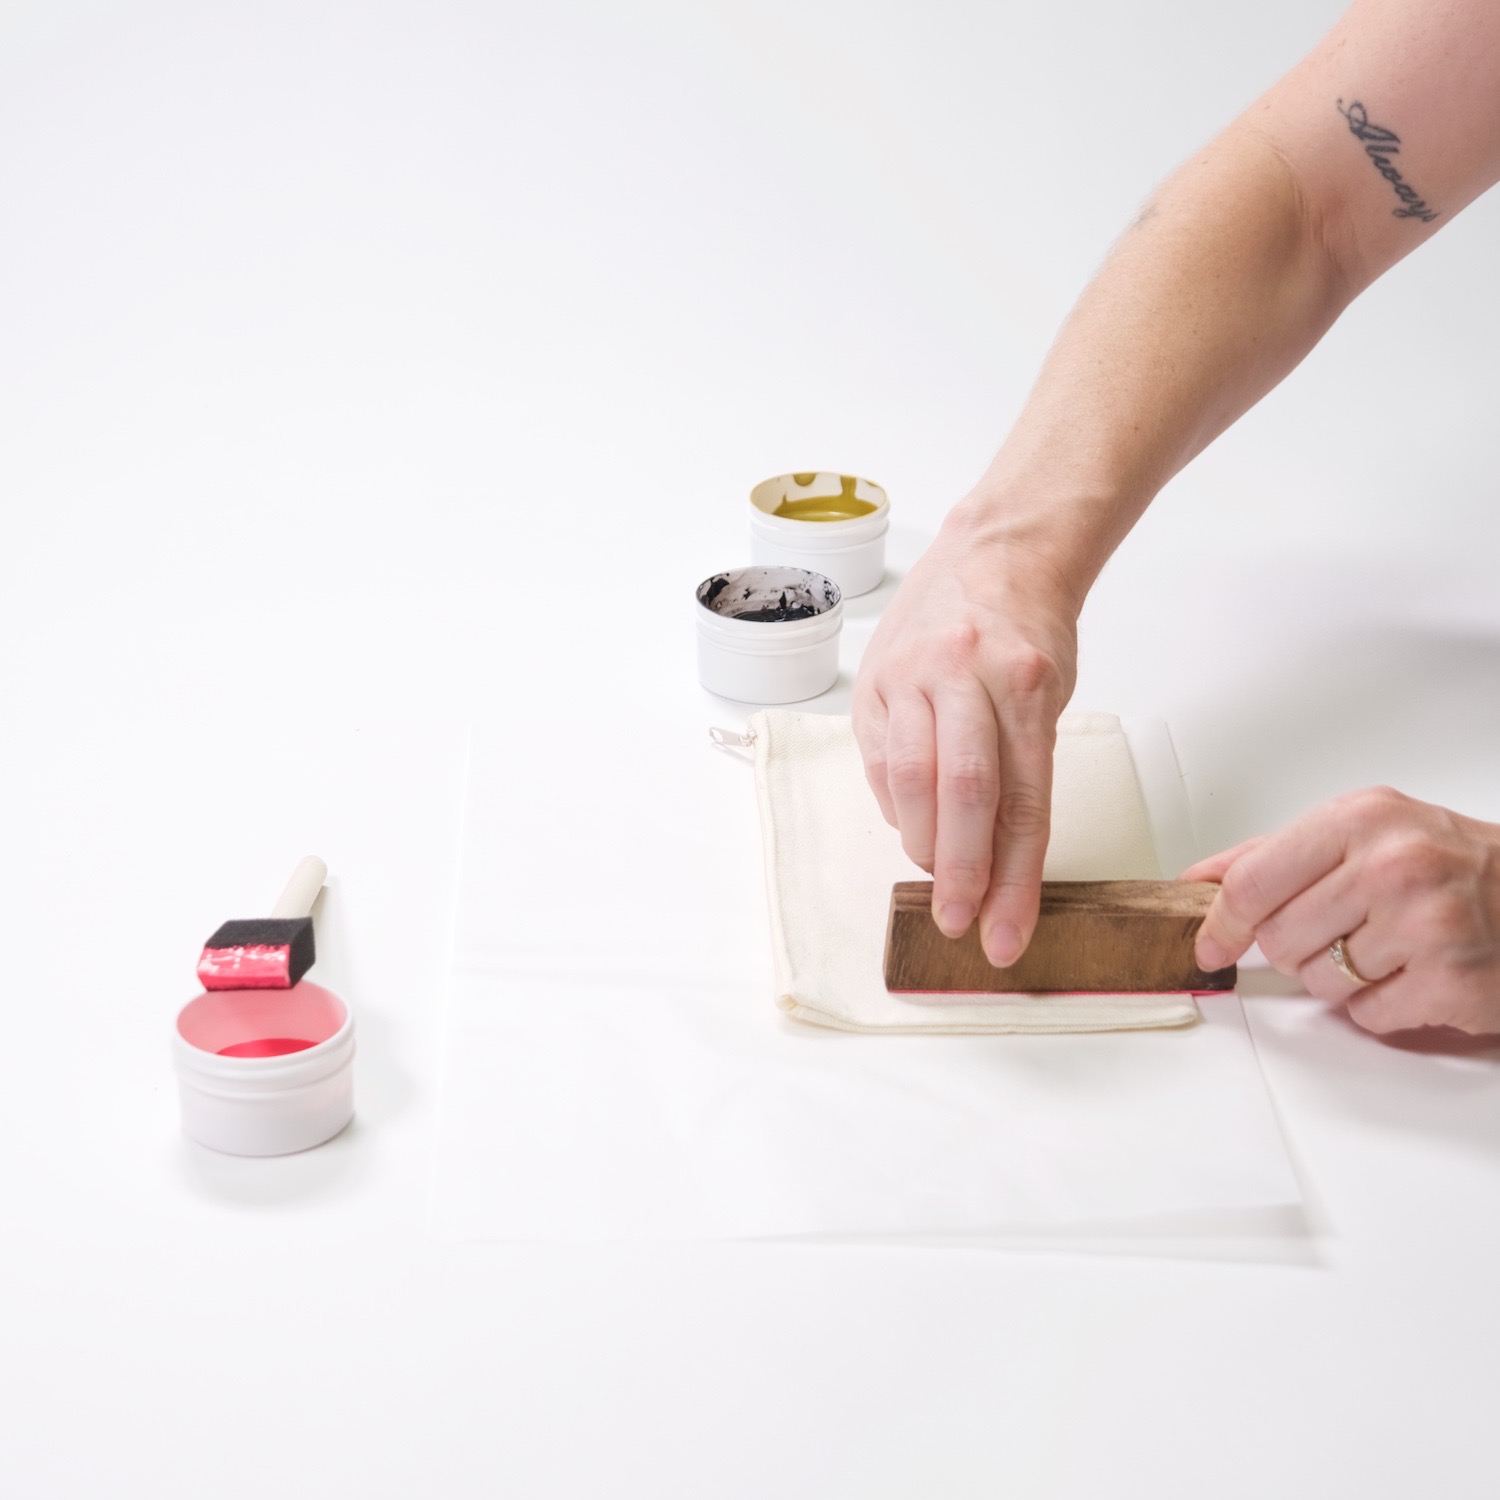
How to Ink a Wood Block
Although rollers are really nice, they are limited in their use. A roller is only used for inking blocks, and thus, is one of those tools that will end up in your craft studio taking up space but never getting used!
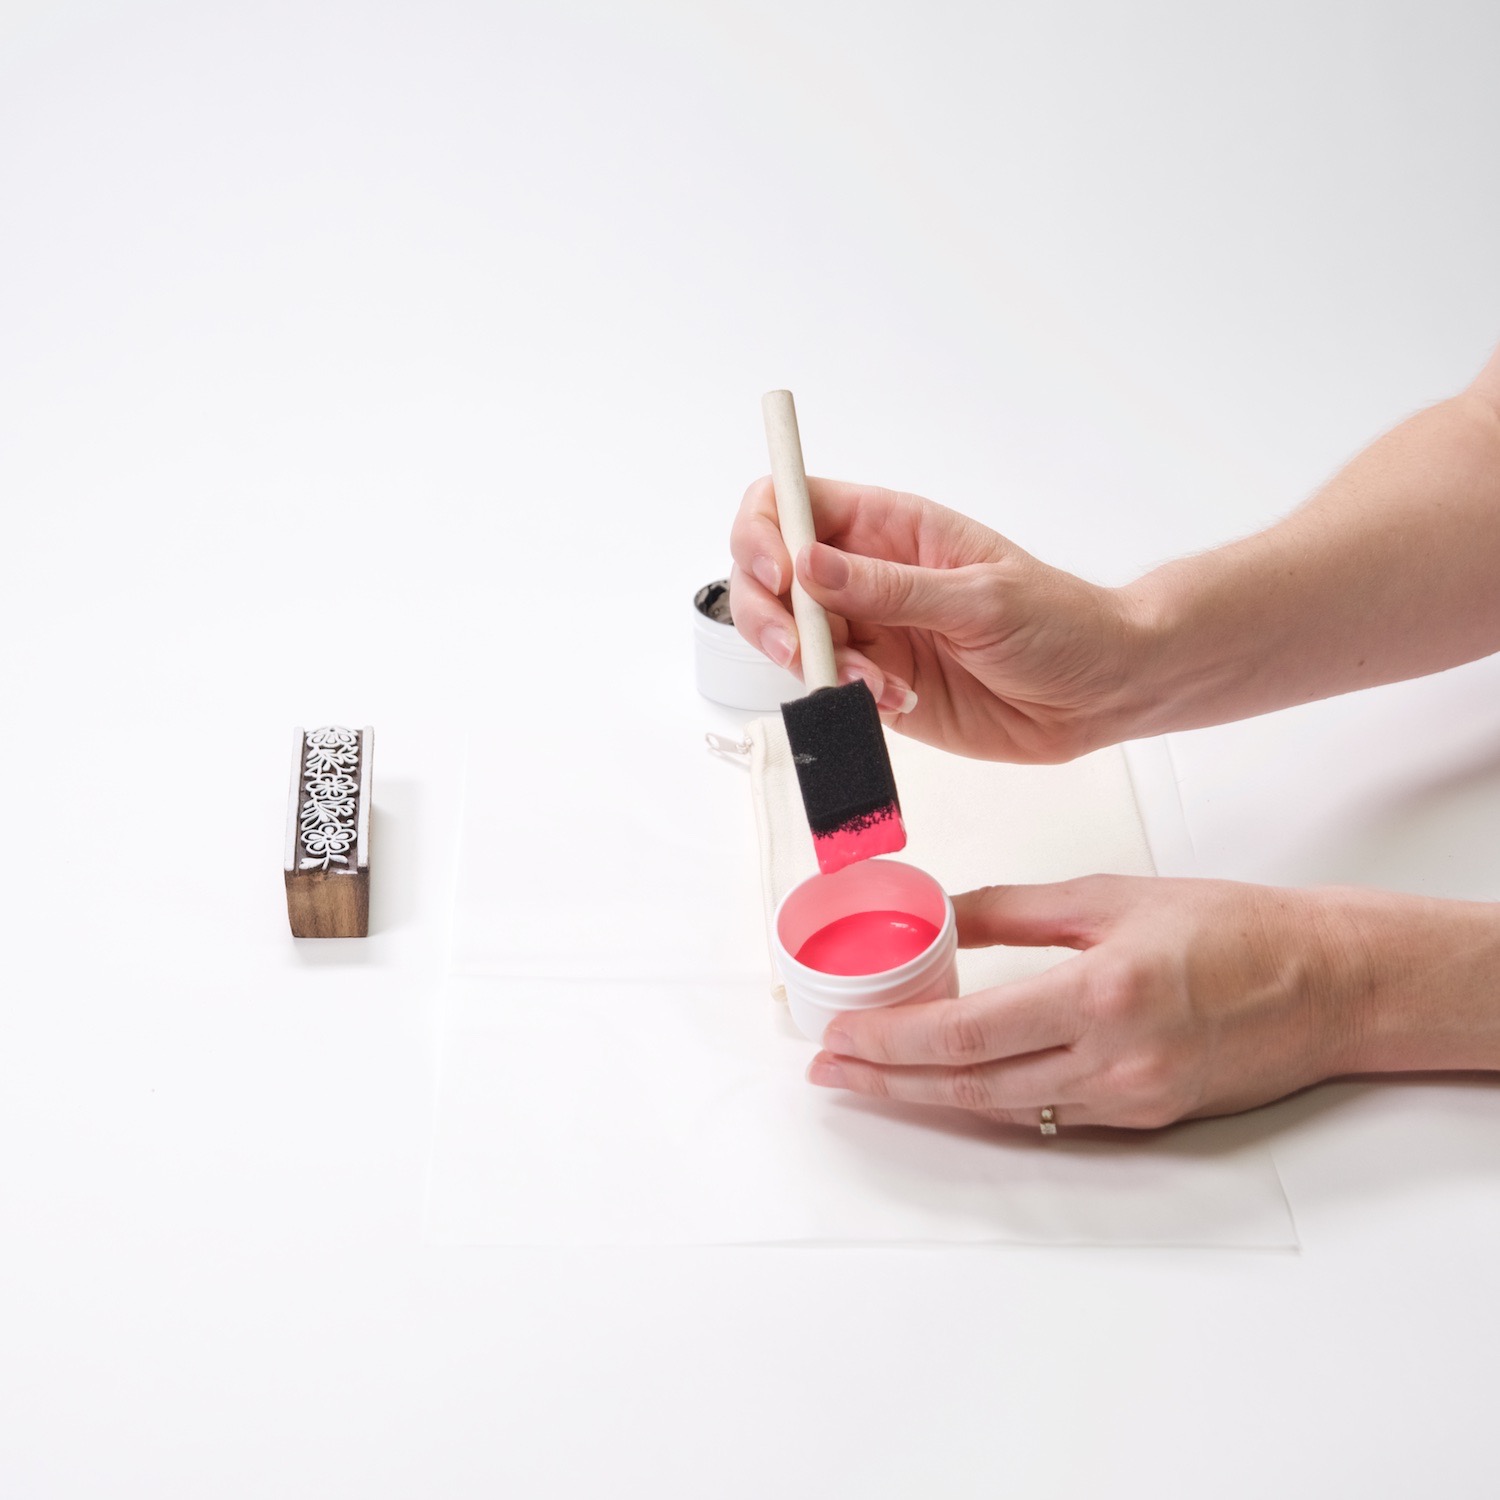
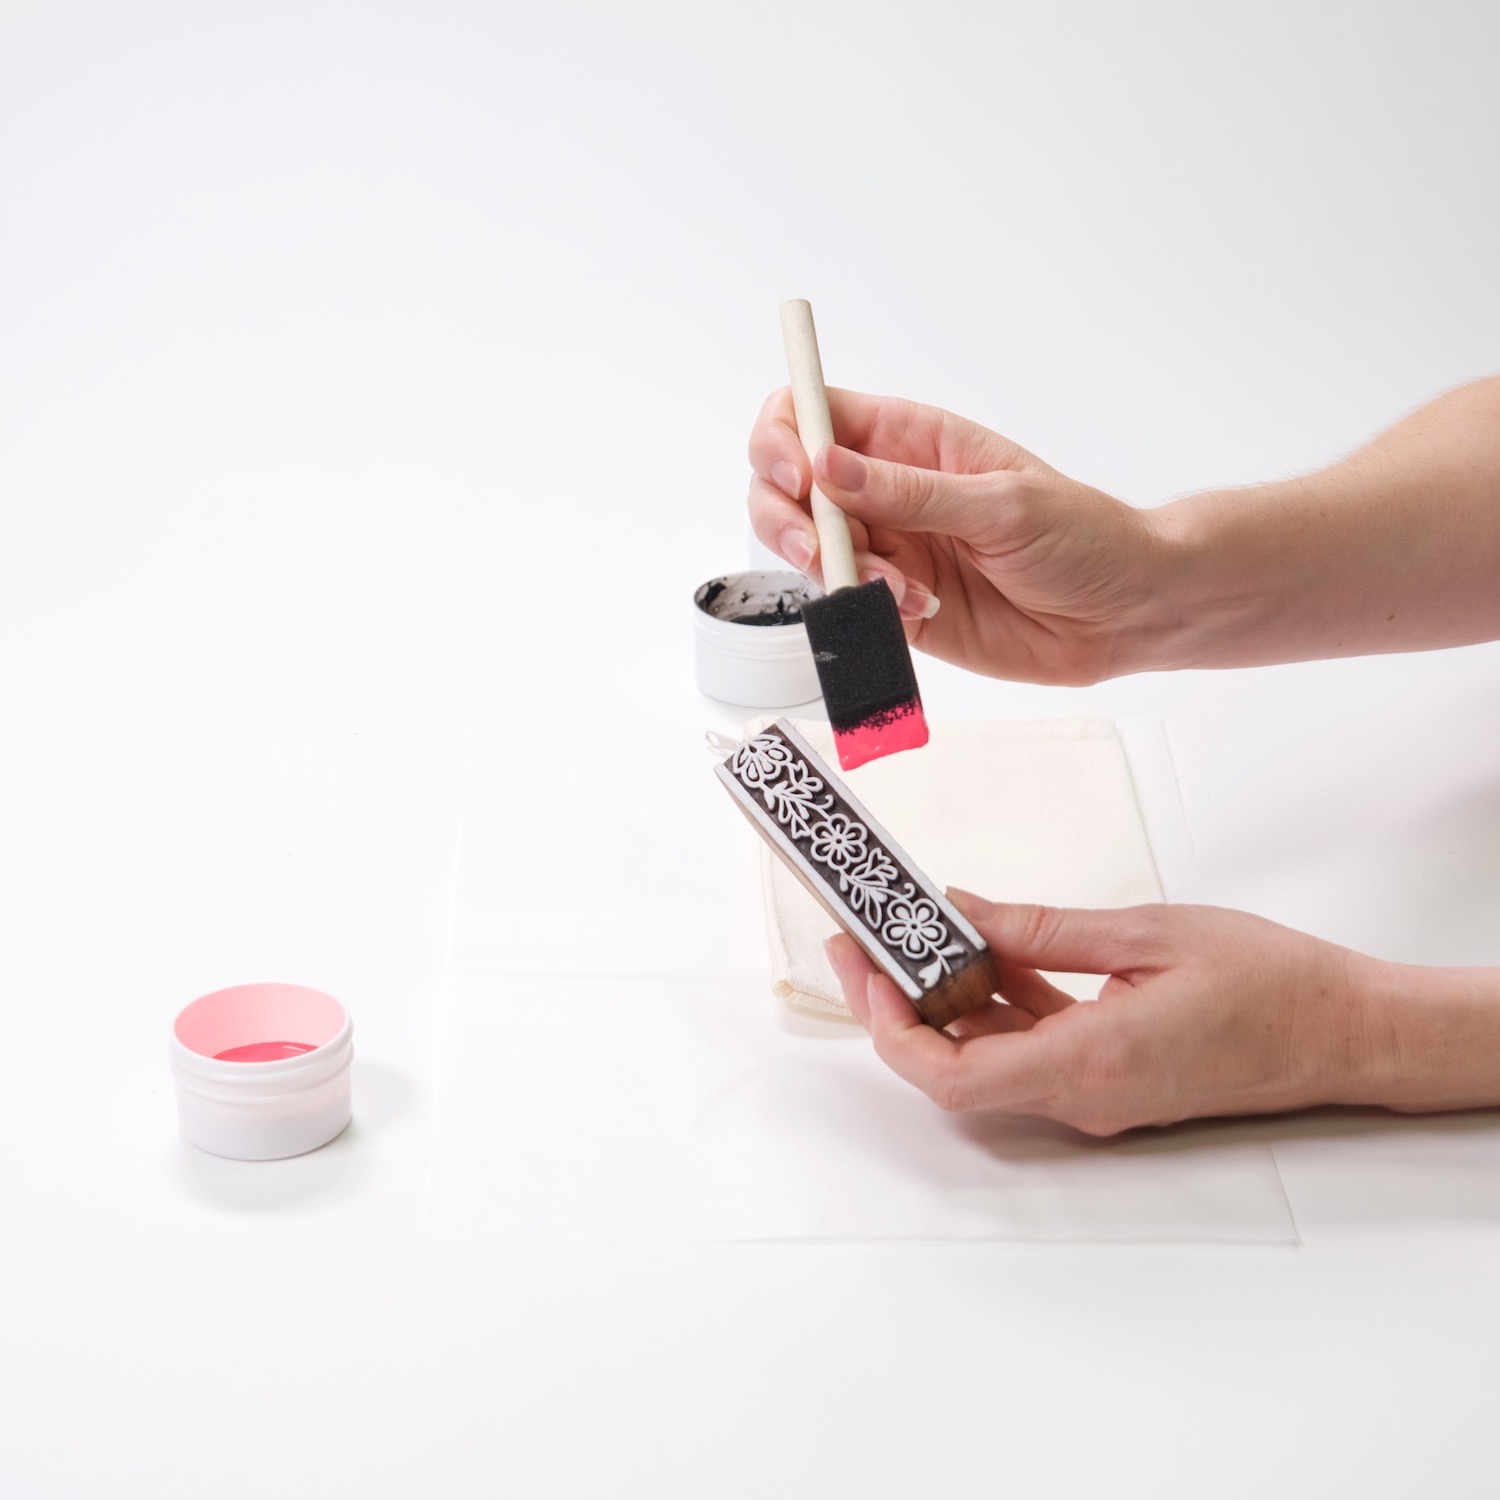
That’s why I use a foam brush to gently spread the ink across the wood block. Be careful to only use a thin layer of ink at a time, and try to not brush any ink in the crevices of the wood block.
If you print the block with ink in the crevices, your image won’t be as clear. The edges of the images won’t be as crisp and it can look muddled – but that’s not a terrible thing. Wood block printing is quirky, handmade and isn’t always perfect.
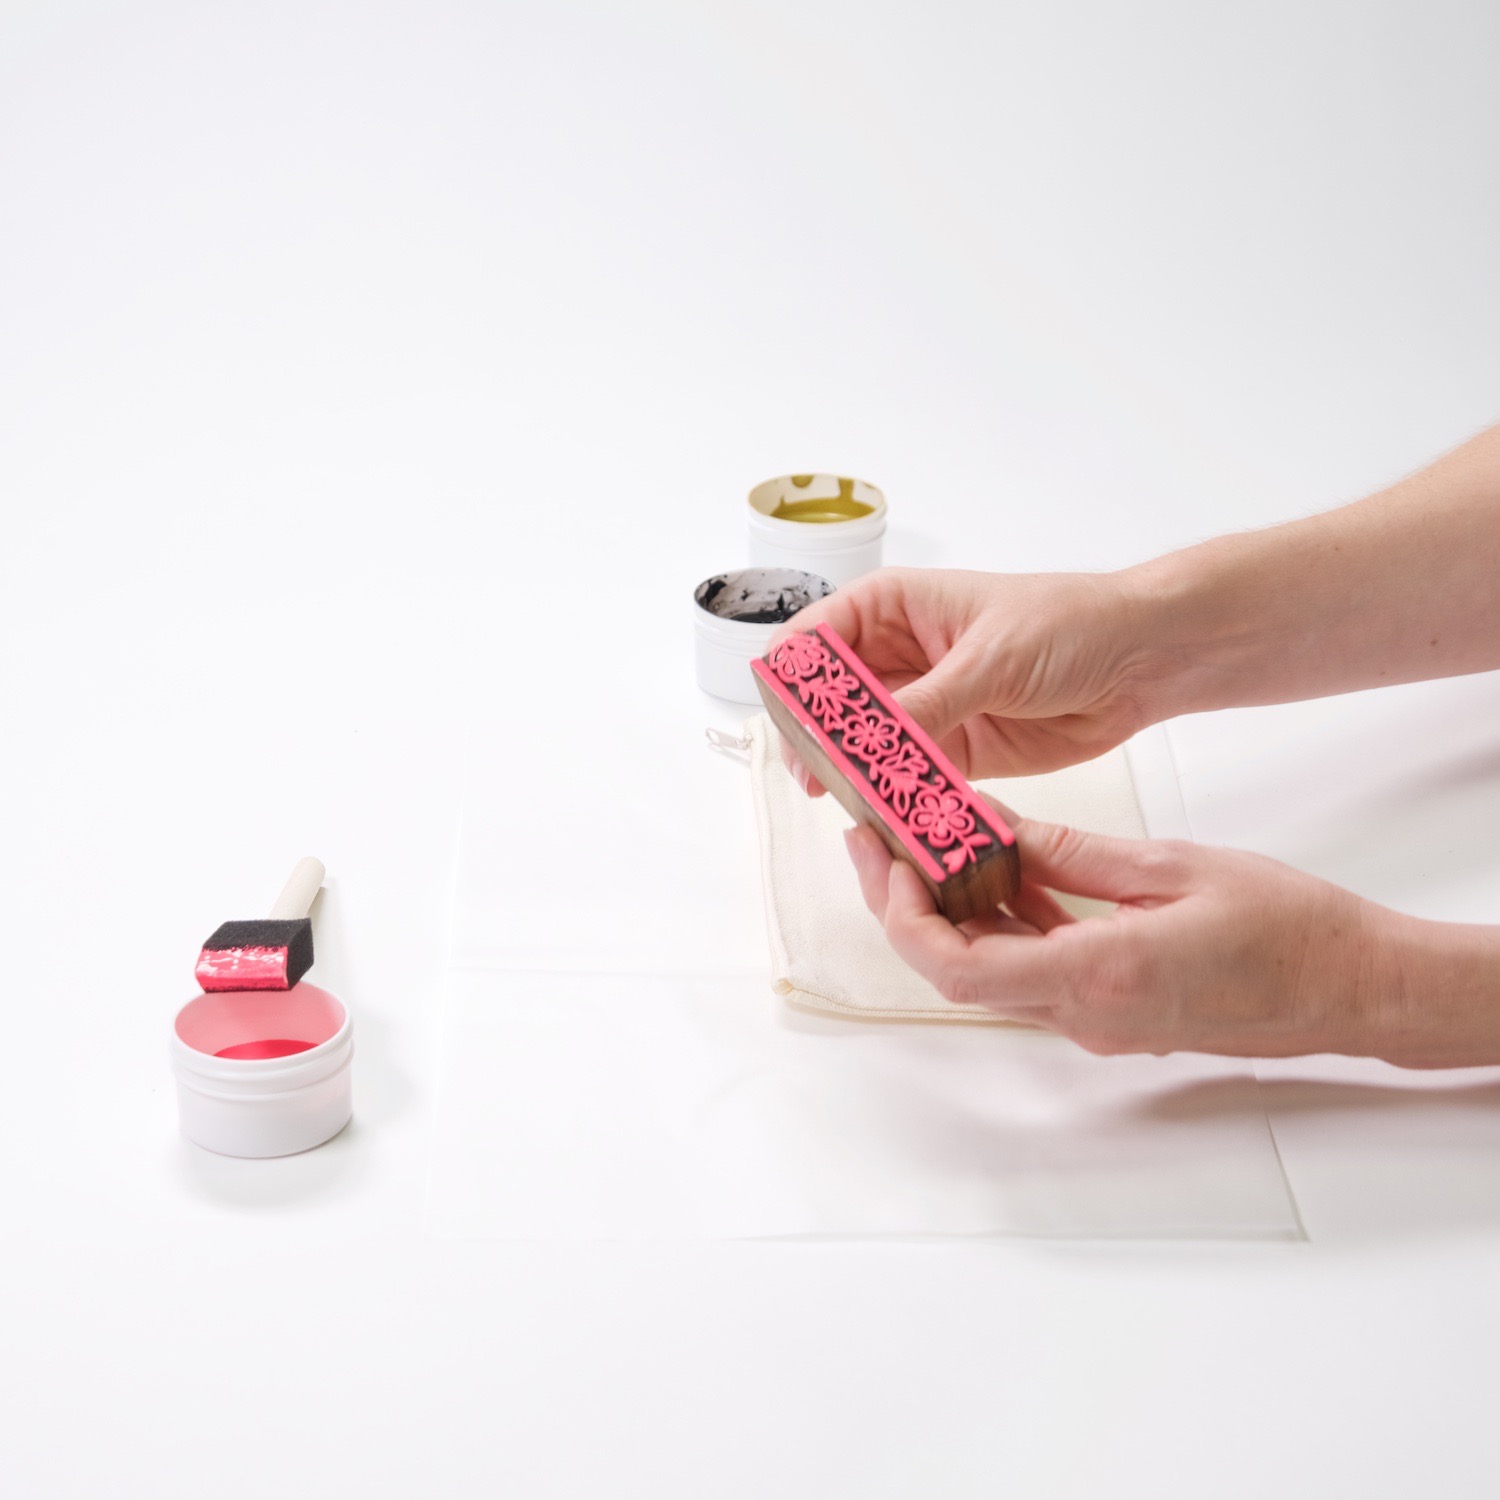
If you do get fabric printing ink in your wood block, you can use a small q-tip, a folded paper towel or even your fingernails to scrape it out.
It’s also important to make sure the layer of fabric printing ink in the wood block is a thin even coat. When you have too much ink on the wood block, it will turn your shapes into smudgy messy looking shapes.
Again, it’s okay if it happens. But it’s better to prevent it before it does. Just like you applied the fabric printing ink with the foam brush, you can use the foam brush to scrape off excess before you print.
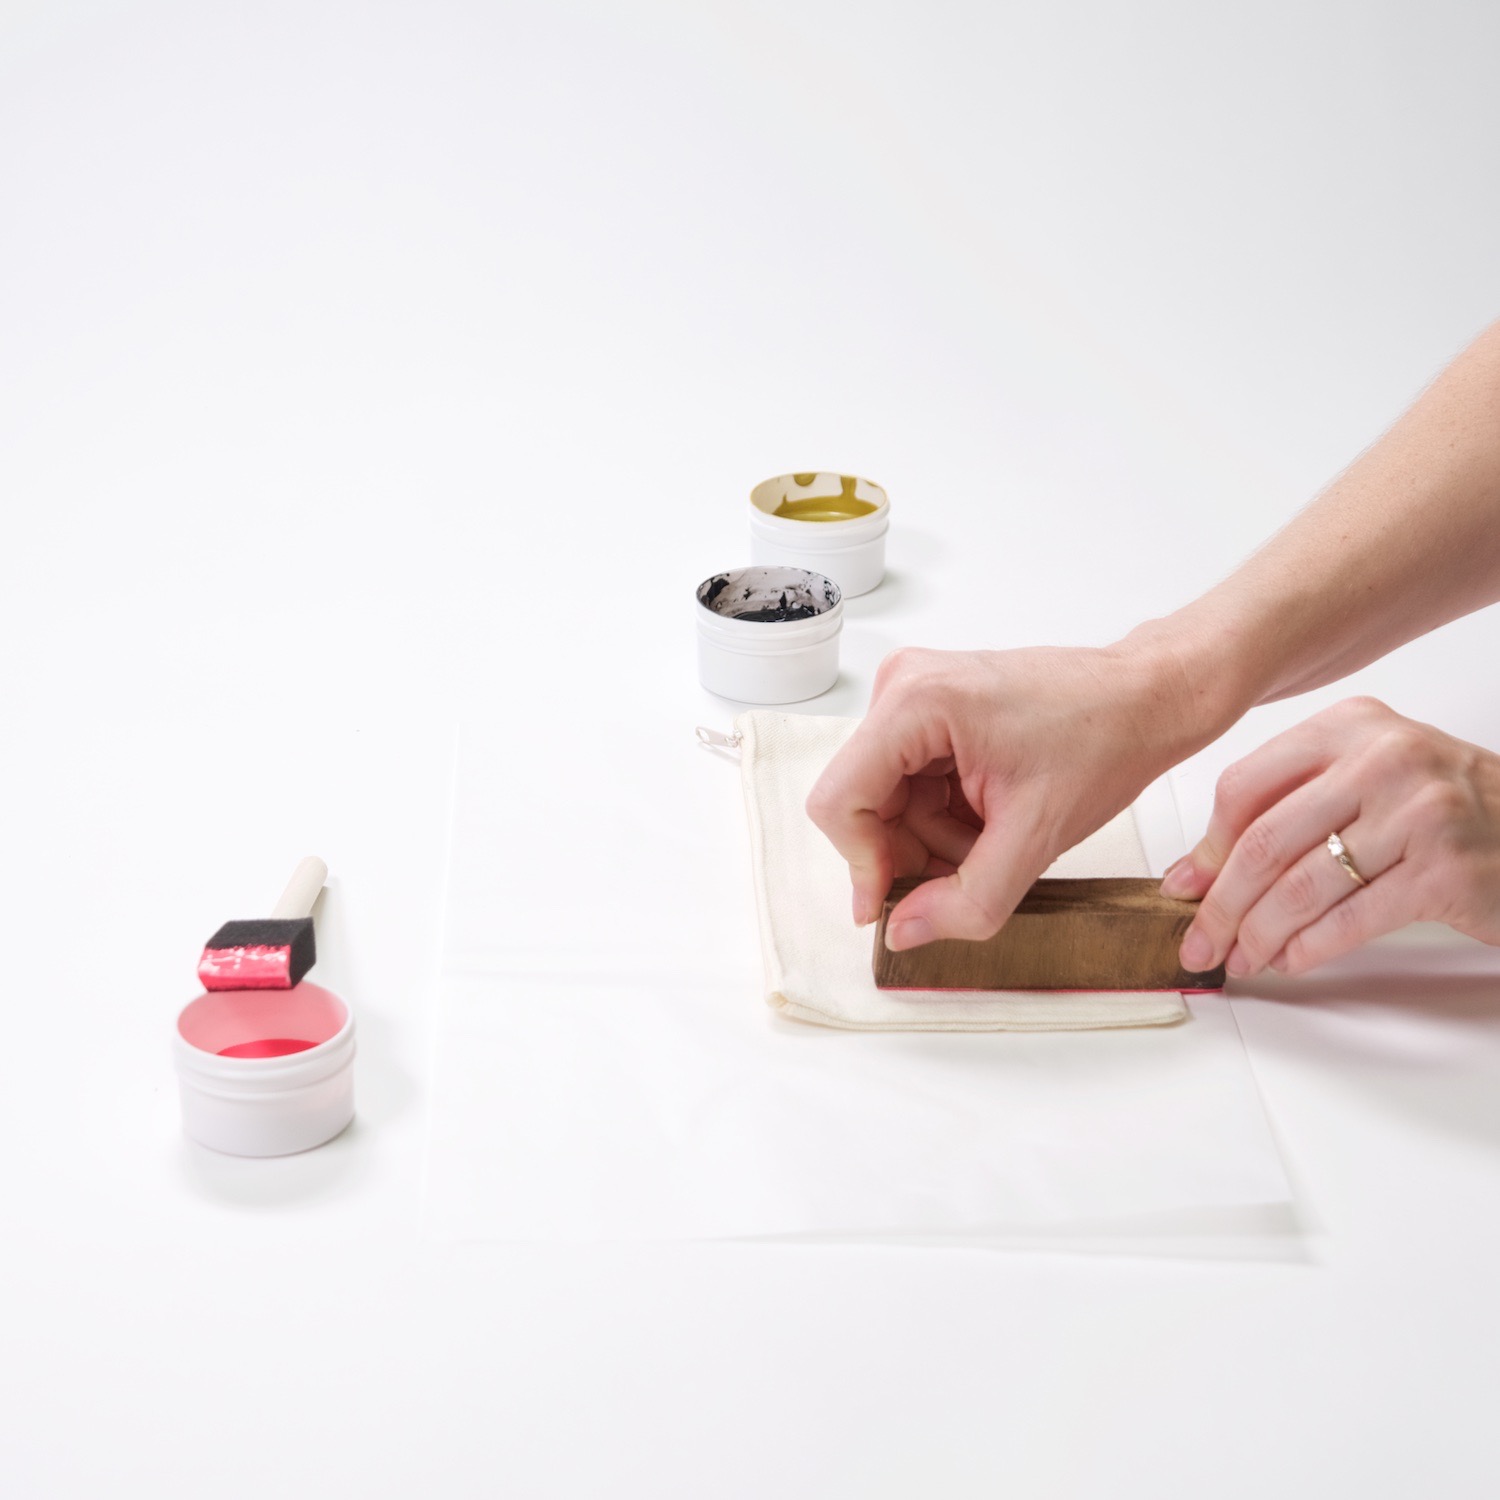
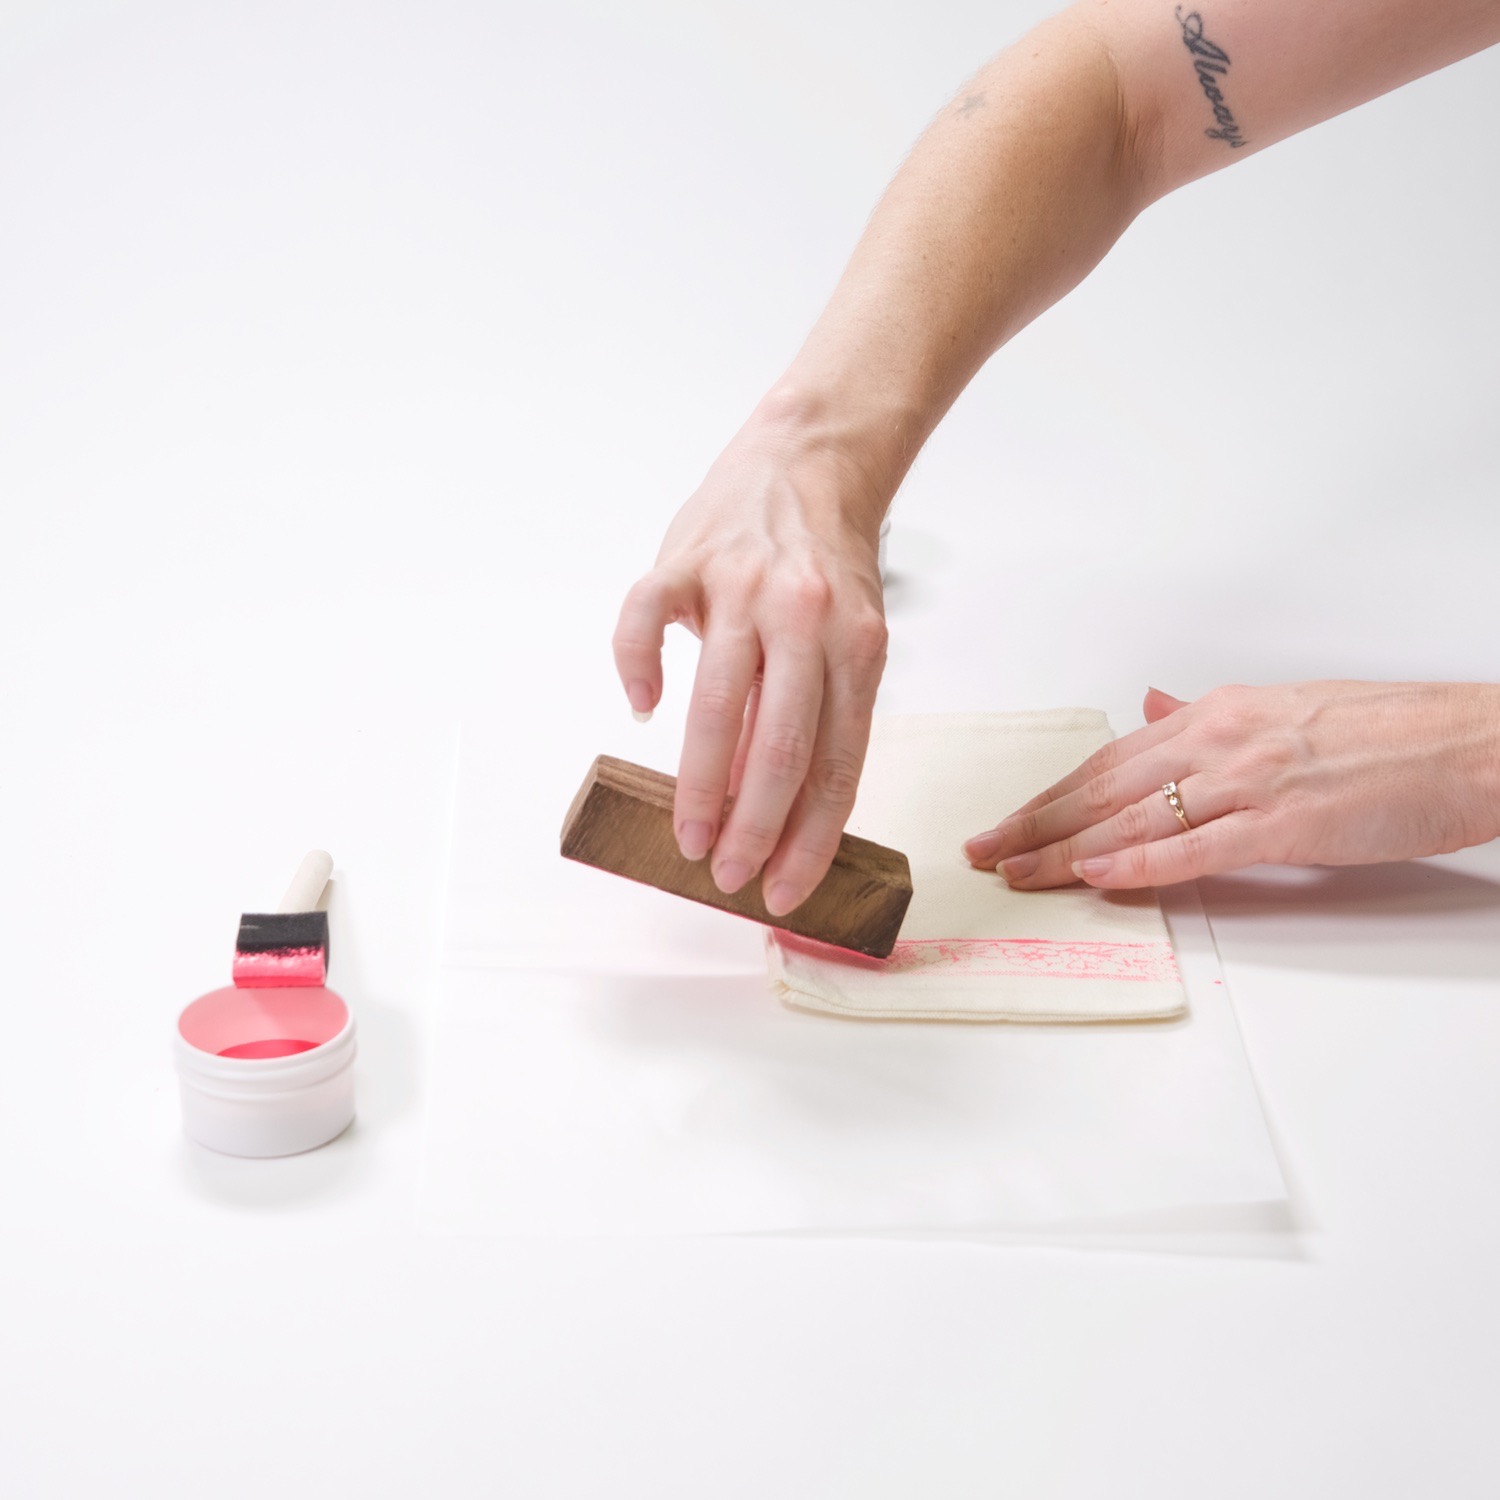
How to Print with a Wood Block
Once your wood block is prepped with fabric ink, you will want to print quickly before the fabric ink begins to dry. Printing with wood blocks is a lot like stamping. You have to line up the wood block perfectly because wood block printing is unforgiving.
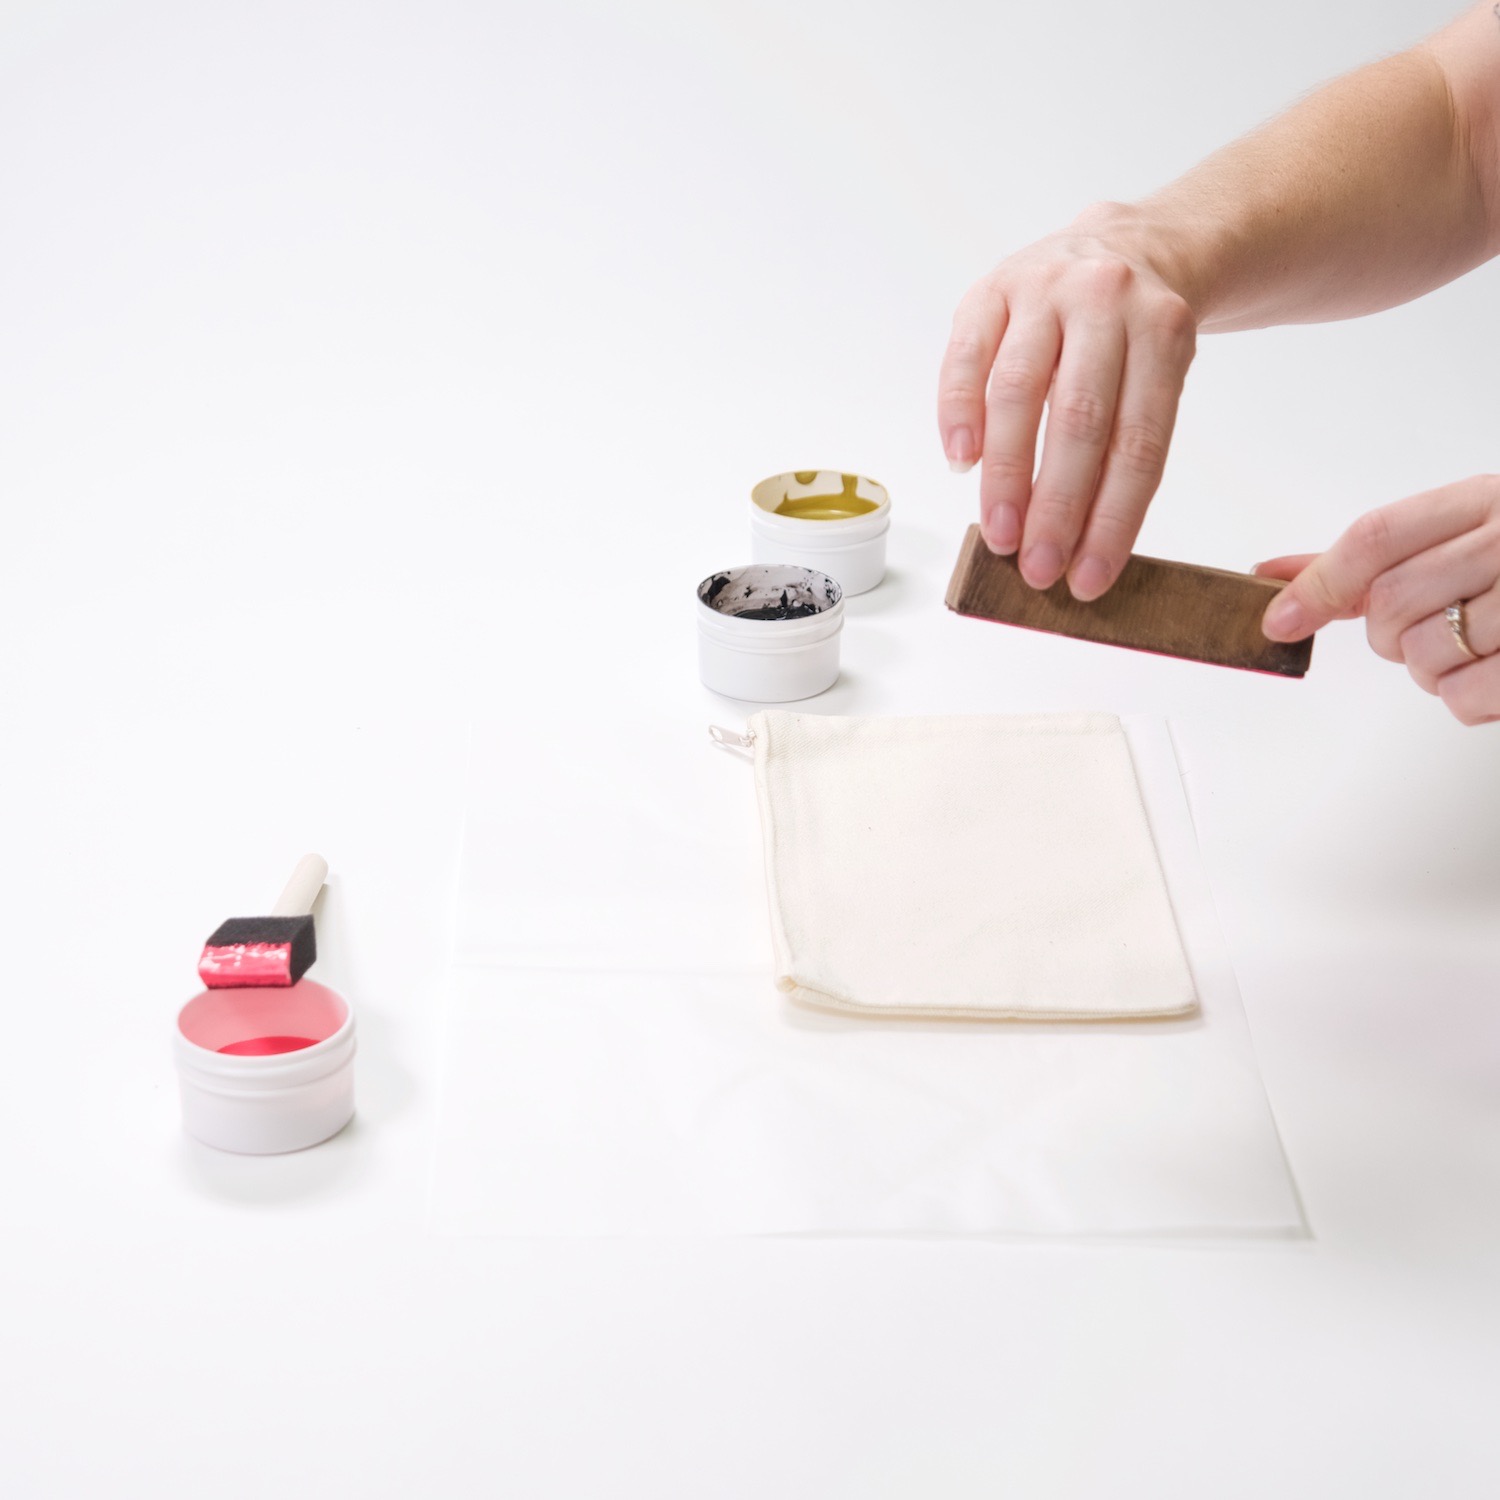
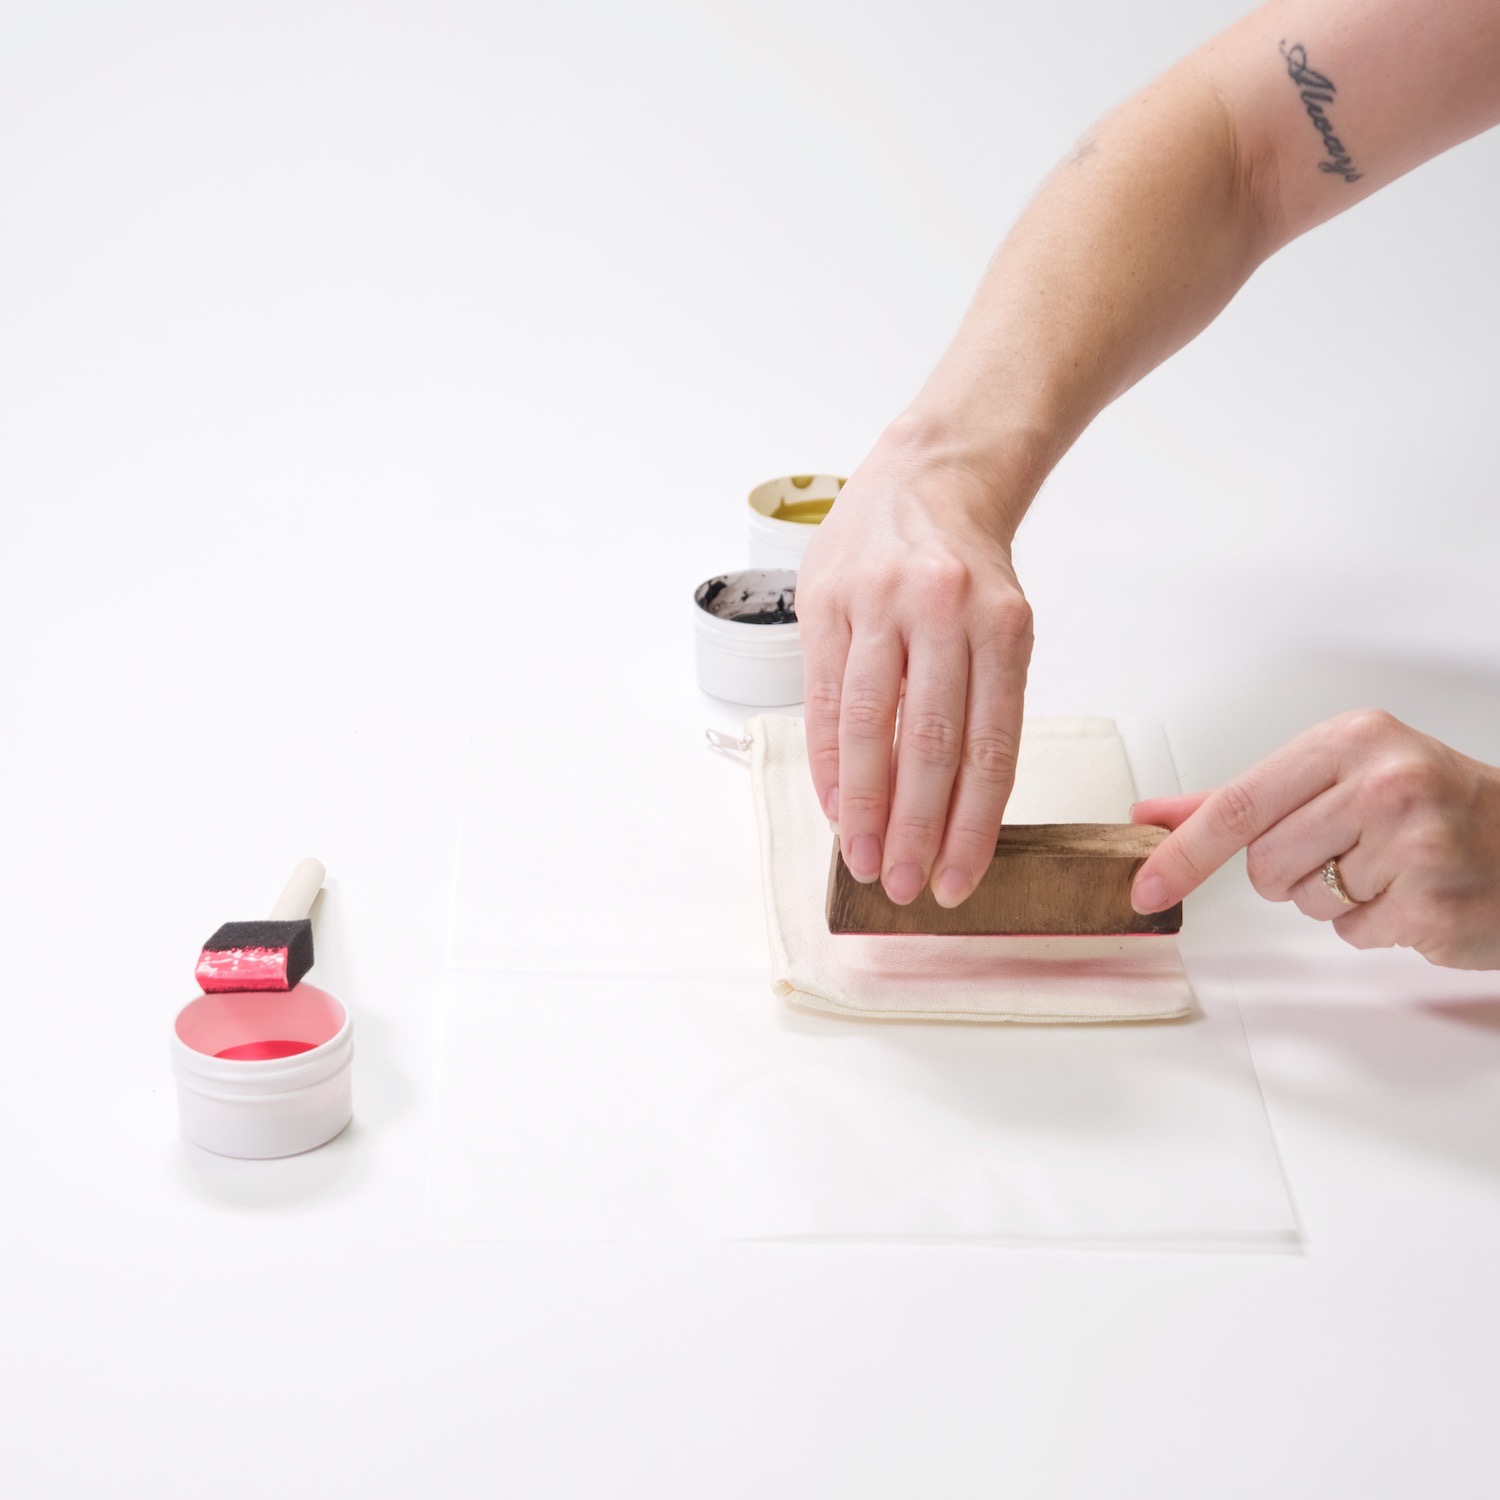
Be sure that you are working on a perfectly flat surface so you can get a smooth print. Always use an up and down motion. Don’t drag the wood blocks while you are pressing them into the fabric or removing them from the fabric or your pattern will smudge.
When you print, press across the entire block so you transfer the full pattern.
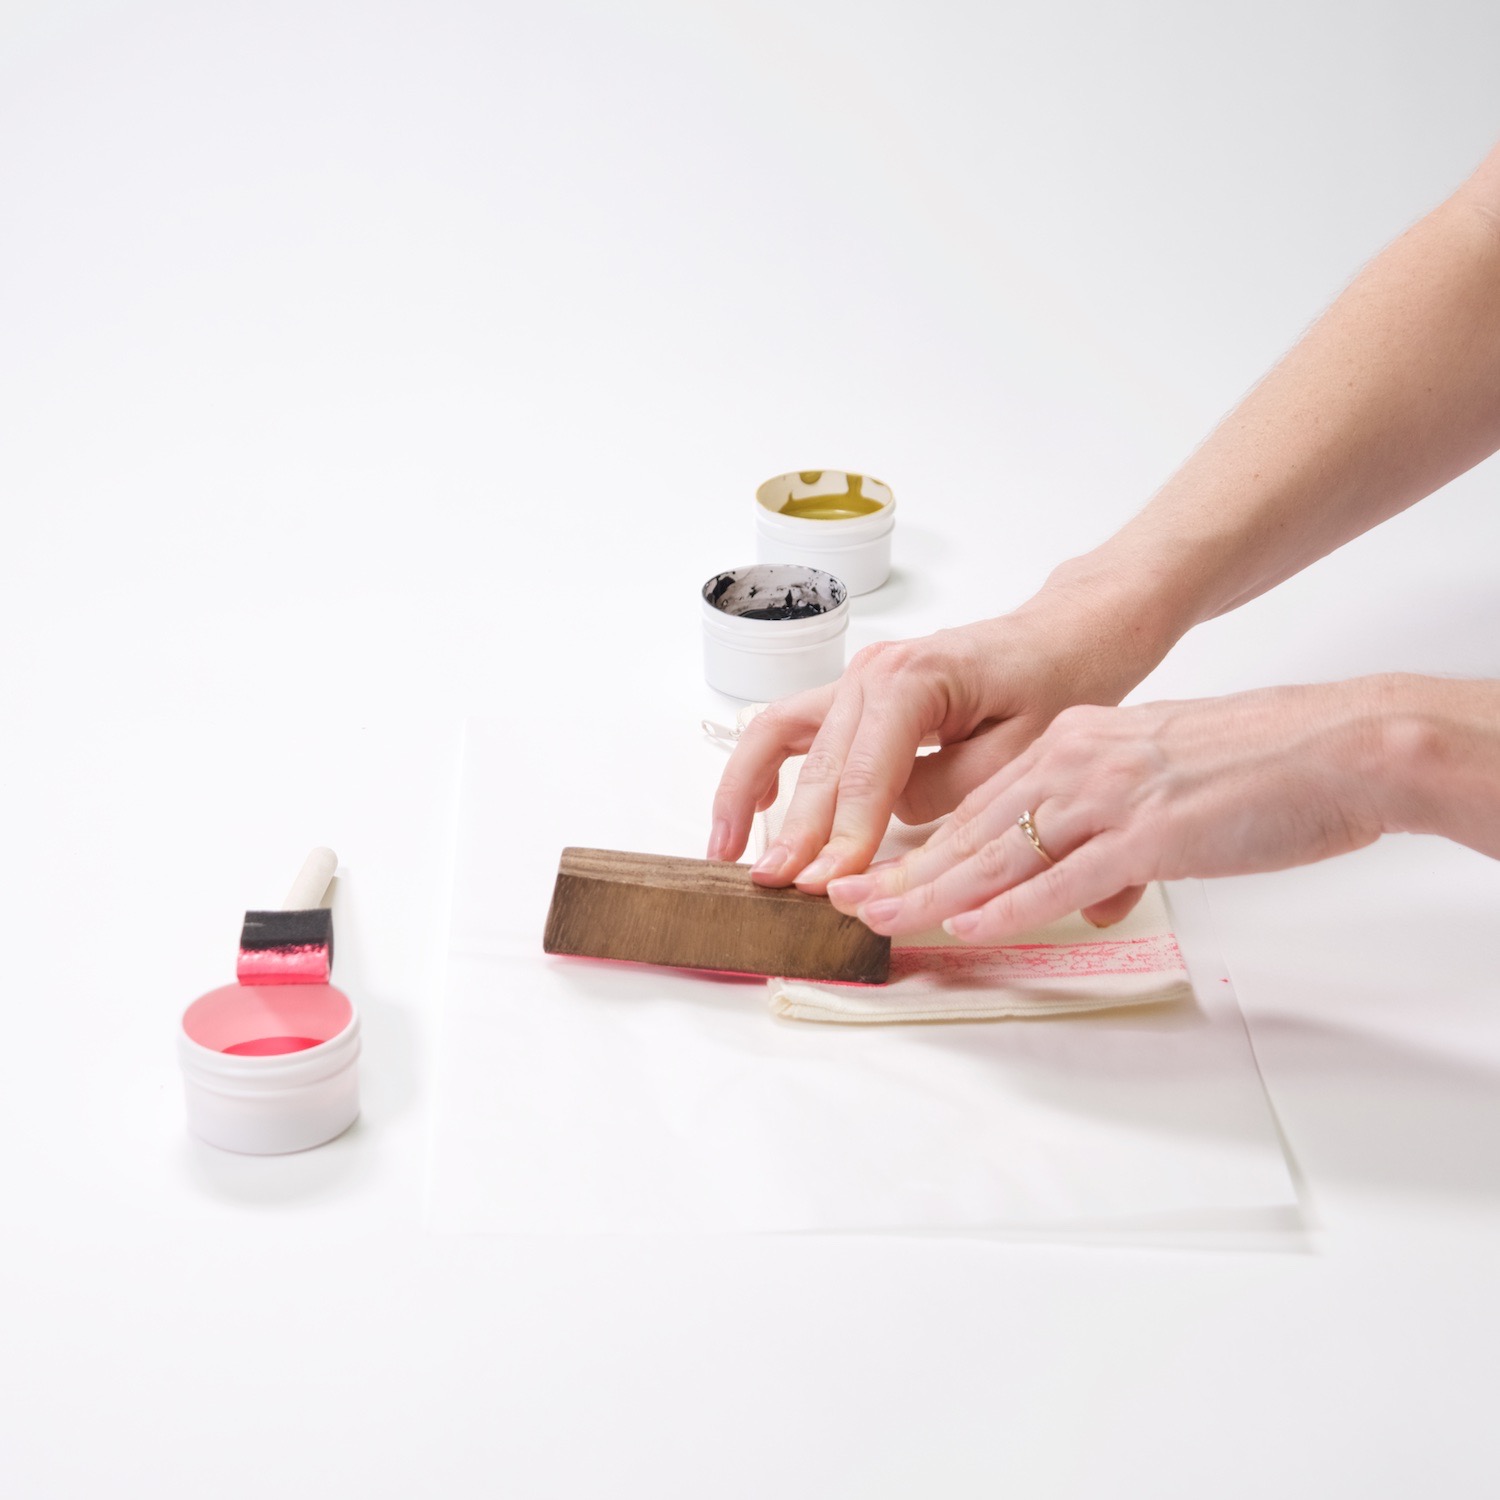
After each print, add more fabric printing ink. Each time you ink the block, be sure that it’s a thin, even coat and that paint is not filling the crevices.
After a few uses, you can also wash and dry your wood block to make sure that each print is crisp and clean.
How to Make a Pattern with a Wood Block
You can find wood blocks in a million different shapes and sizes, so the pattern you make can vary. For example, with a small block, you could polka dot style the block across the pouch. Here are some great ideas for patterns and placements.
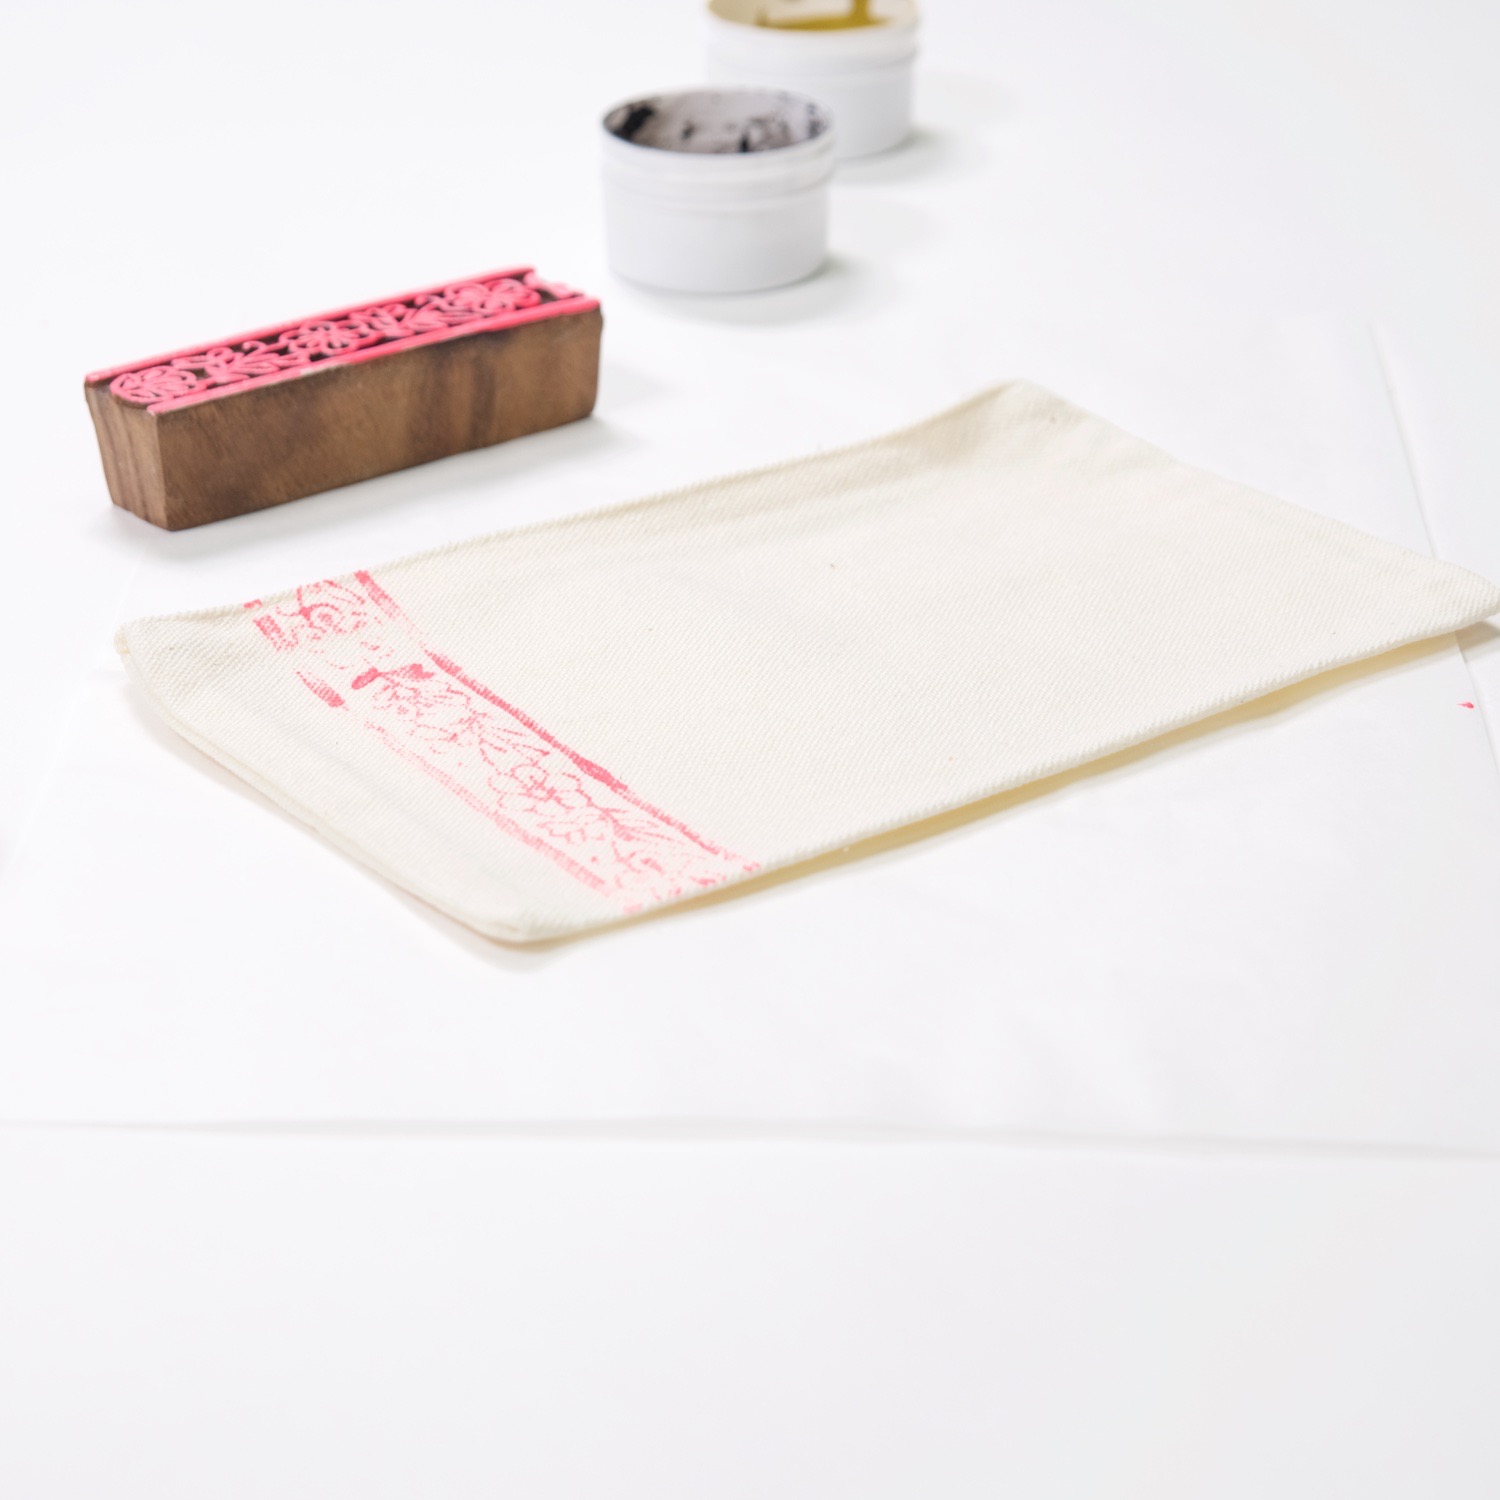
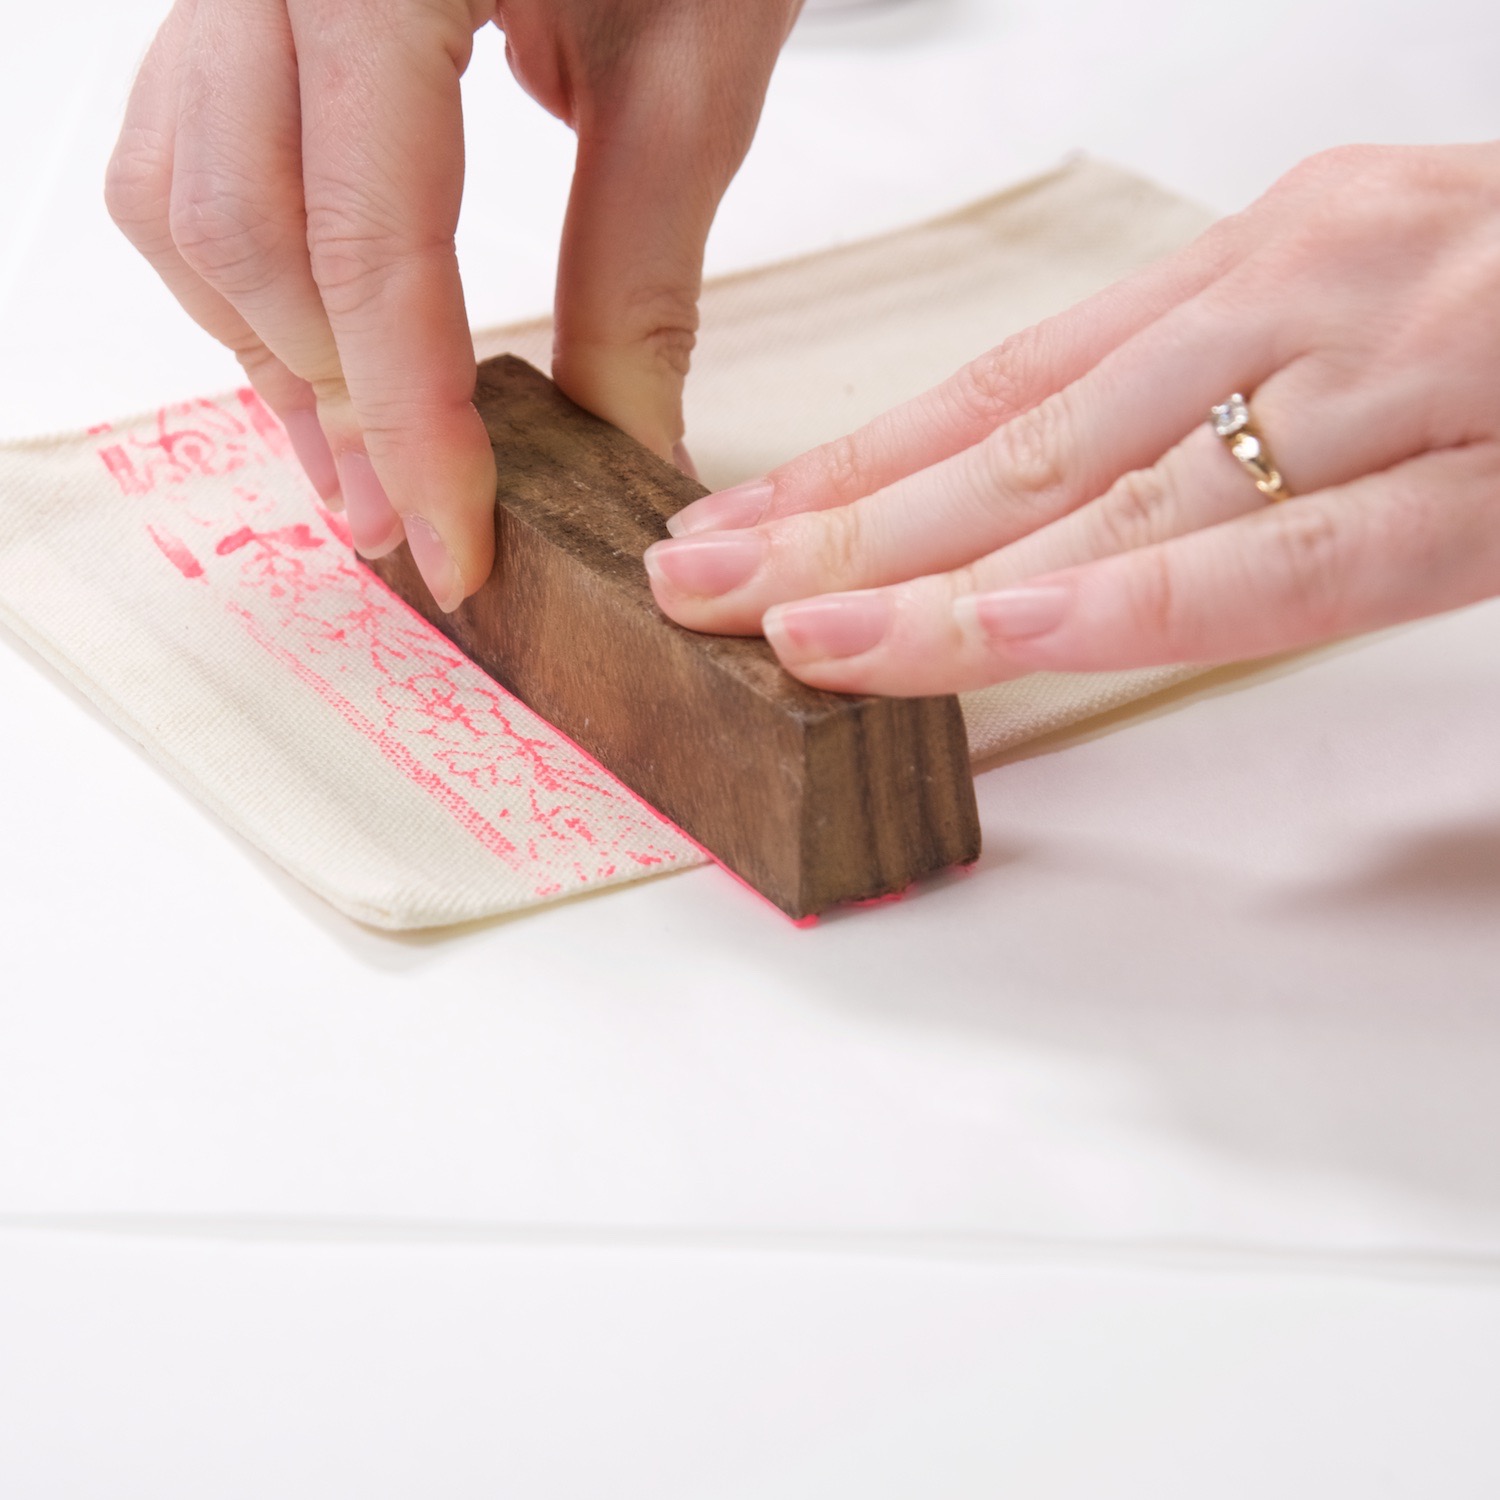
A striped block like this one is a little more complicated because it needs to be lined up perfectly.
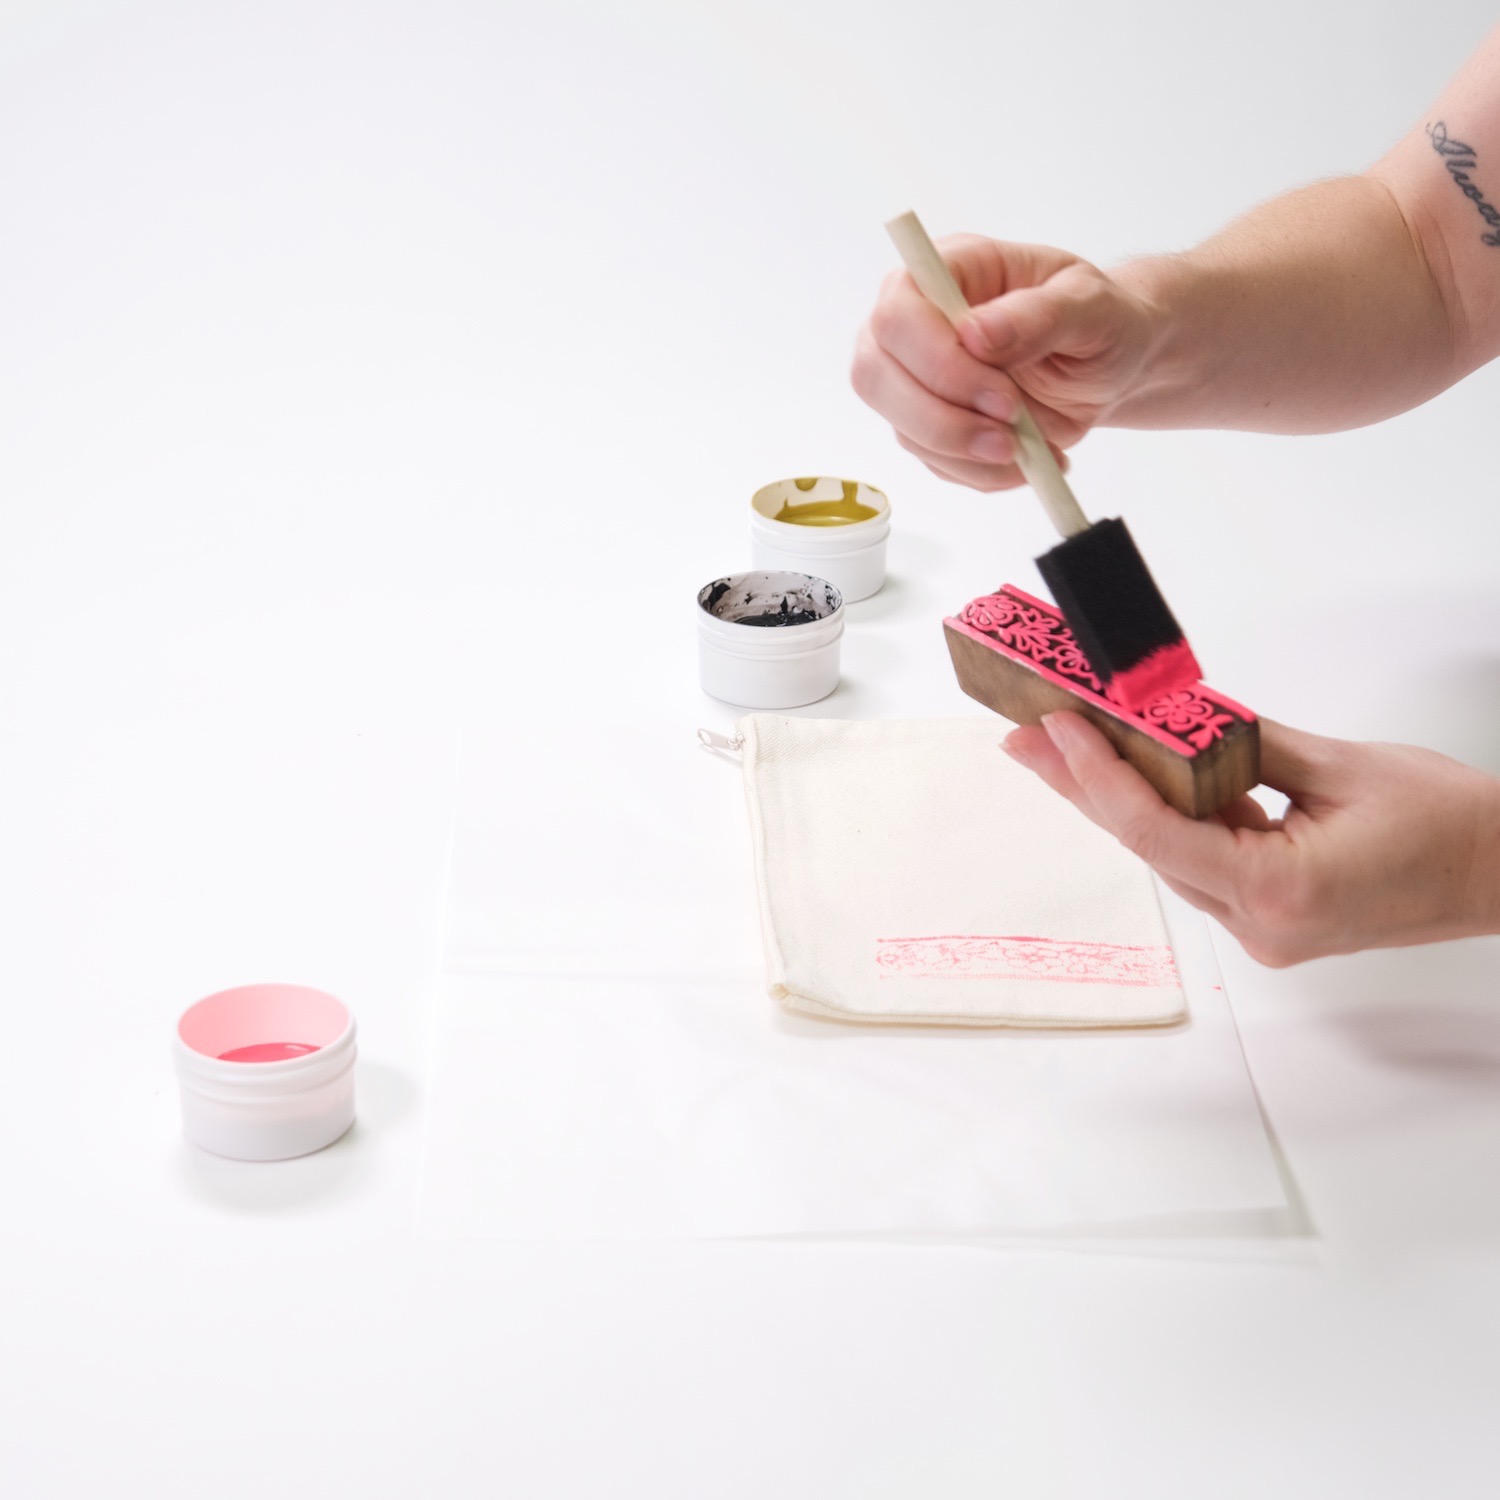
First, my zipper pouch was too tall for the stamp to cover it. So I continued the stripe up and down along the height of the zipper pouch. Then I continued the stripe across the front of the pouch width-wise.
To continue my print, first I coated my wood block in ink. Then I carefully lined up the edges to start the 2nd print exactly where the first print stopped.
Because the zipper is bulky compared to the rest of the pouch, it left a small blank spot. To prevent that, make sure your zipper pouch is perfectly flat before printing. The easiest way is place a piece of cardboard on the inside. But of course, having a quirky print is okay too!
With each print, press across the entire wood block evenly. Because it took me 2 prints to make 1 stripe that reaches both the top and bottom of the pouch, I made sure that the edge of the 1st print wasn’t landing in the same spot. If you position your wood block in the same place up and down, you could end up making an additional stripe of ink across the bag.
Instead vary the position up and down so the edge of the block doesn’t create a stripe with the edge.
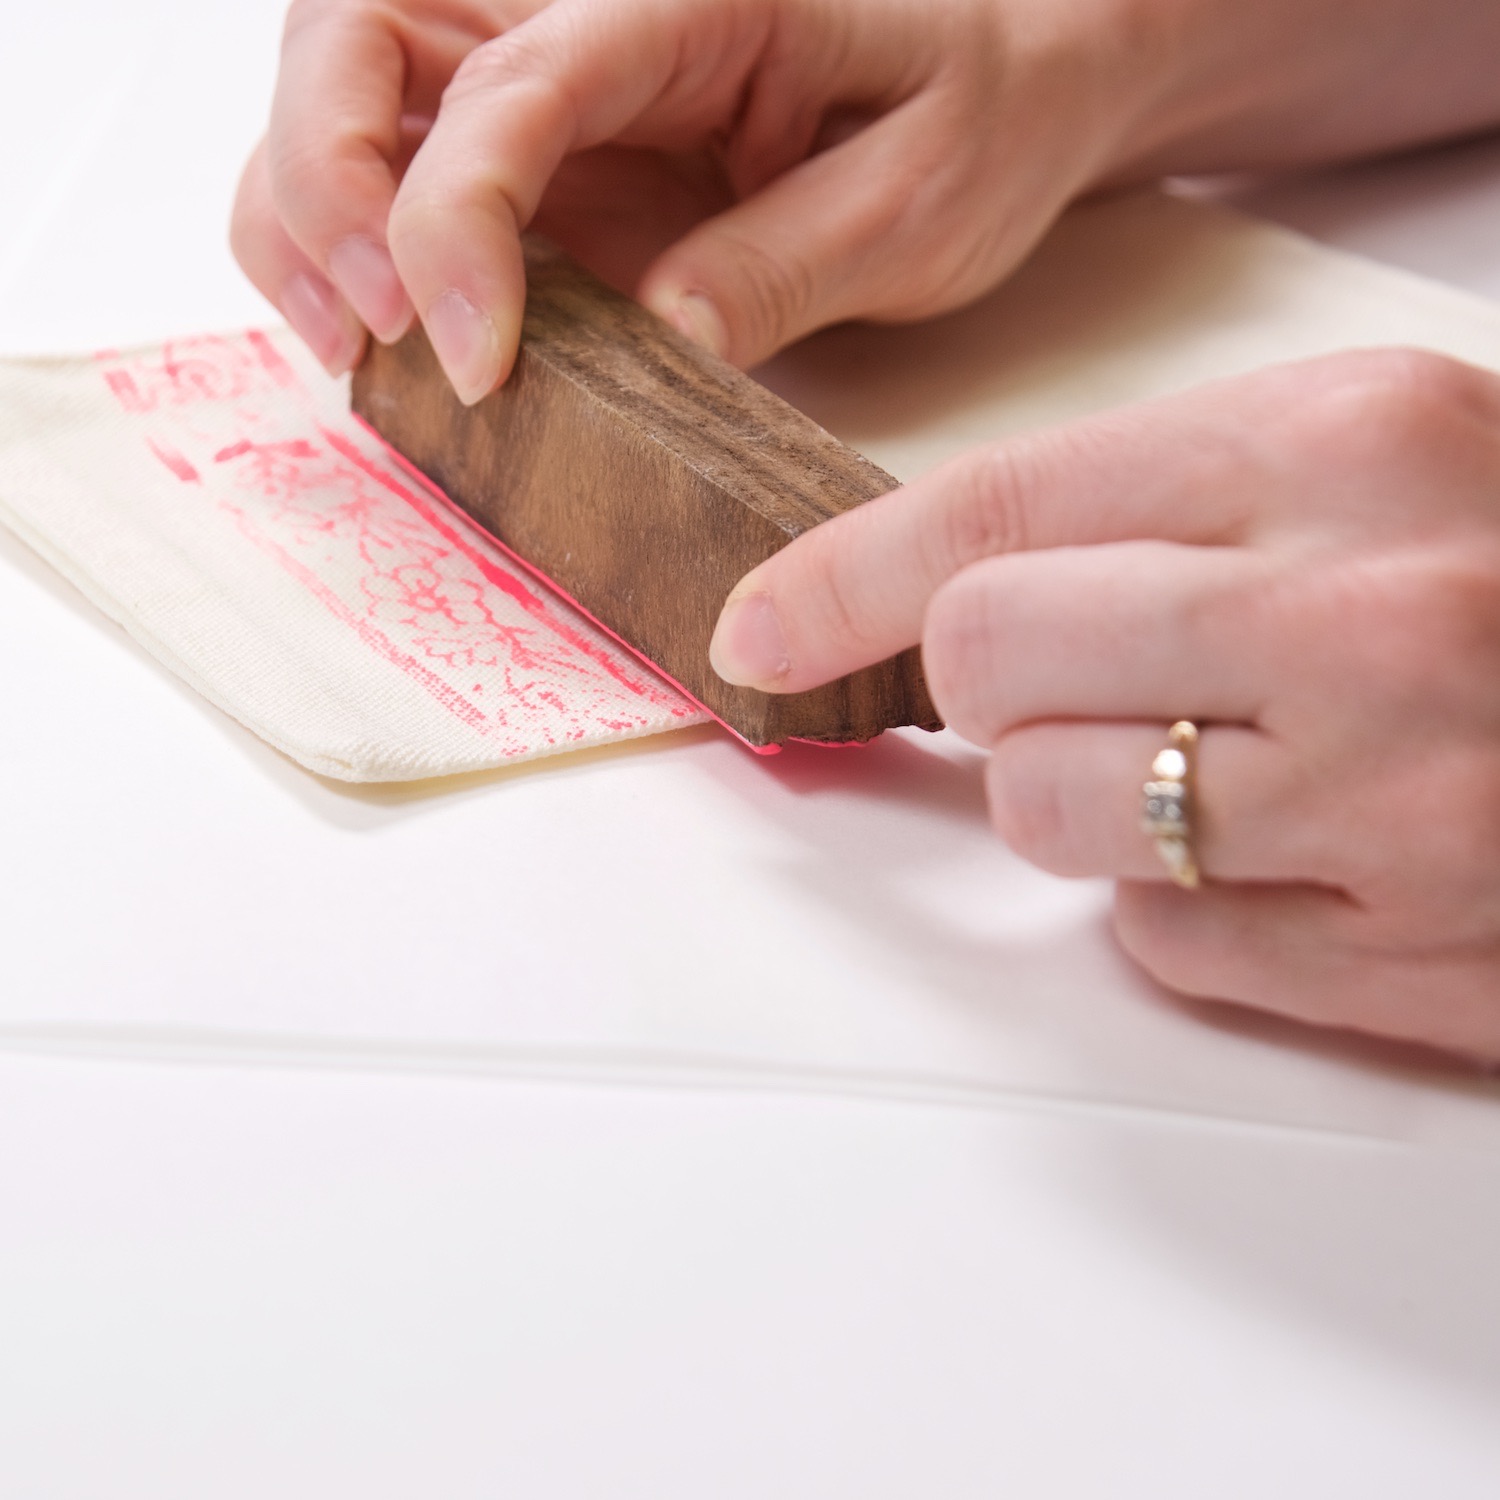
Once my 1st strip of the pattern was finished, it was time to create the 2nd strip. Because my wood block has a striped edge, I decided to overlap them. For them to line up perfectly, I made sure all the corners of the wood block matched all four corners of the zipper pouch.
Then just keep printing! This is the fun part.
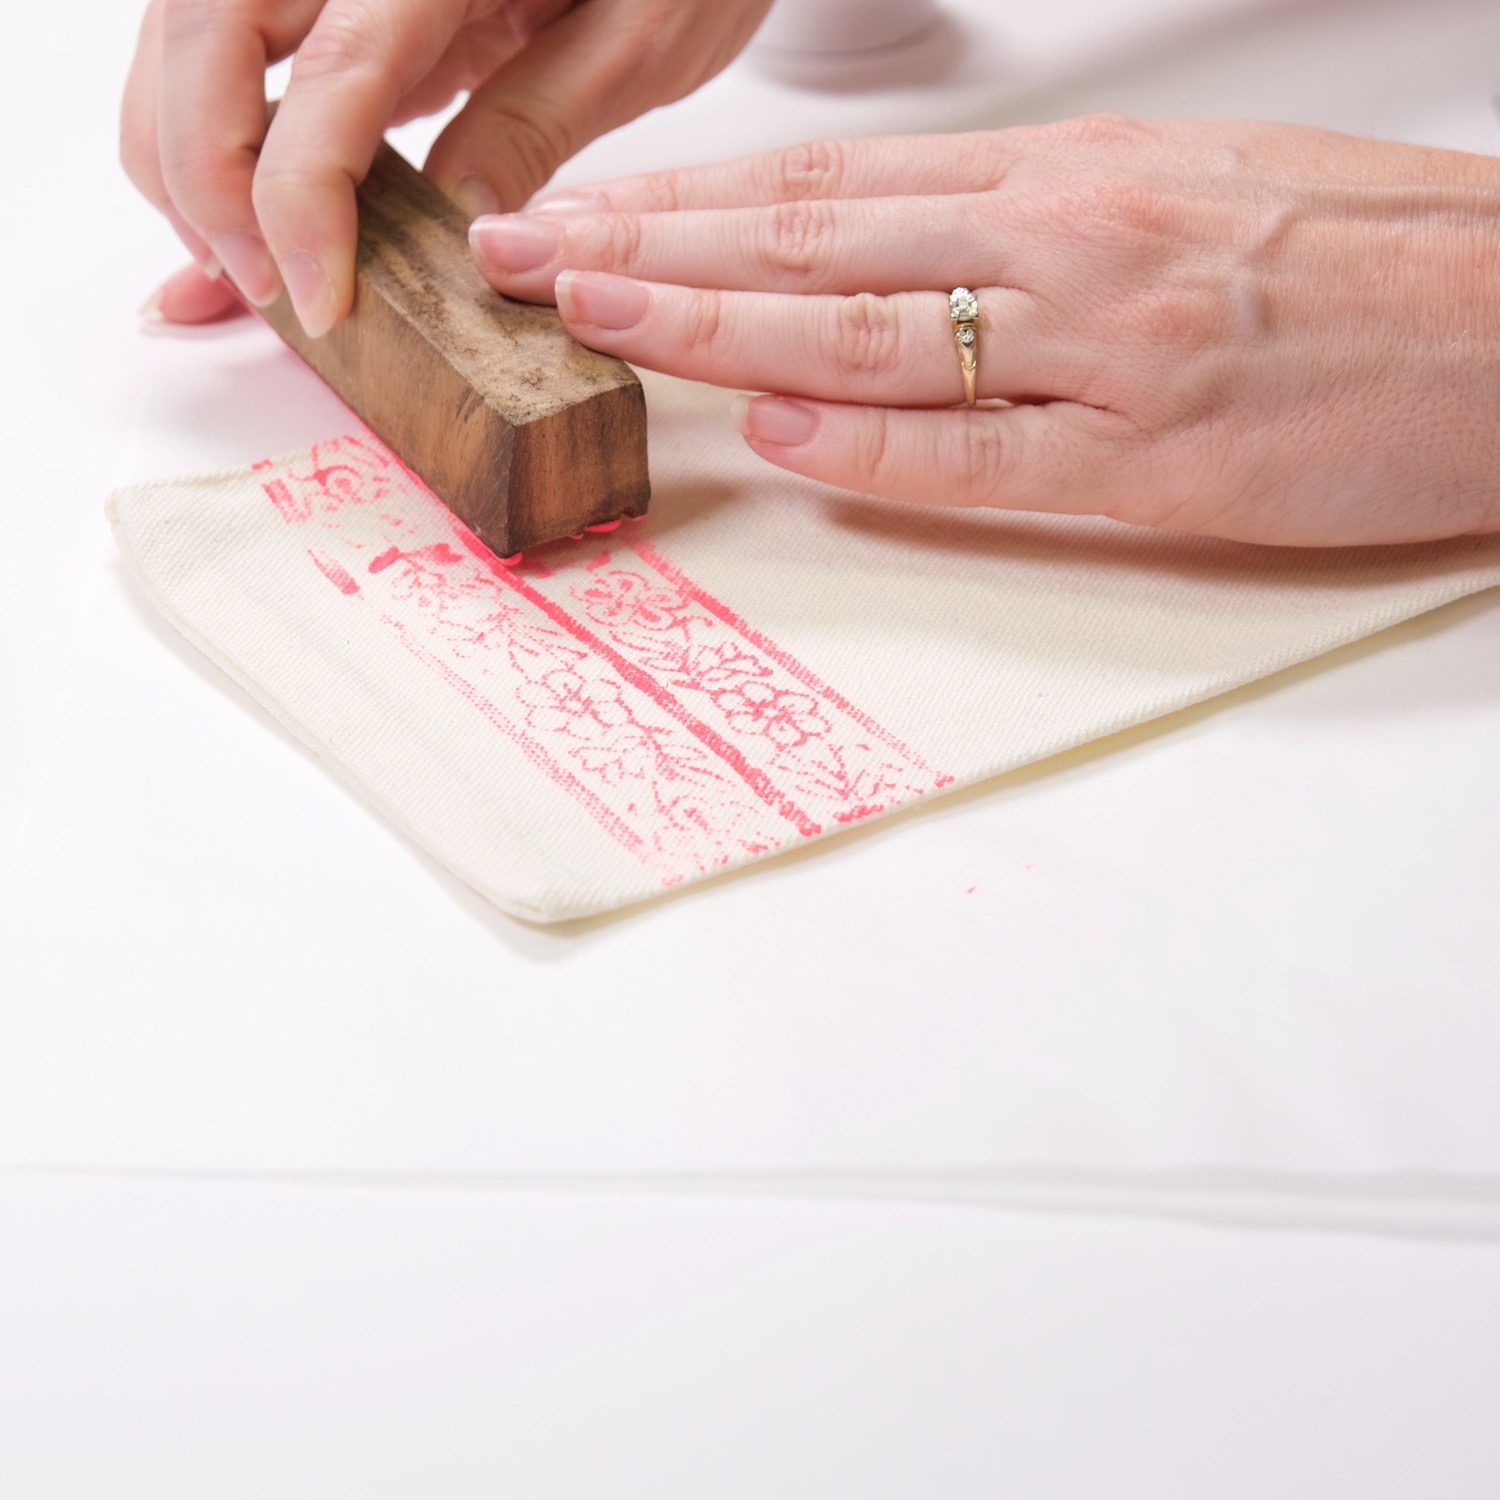
Continue to build your stripes across the coin purse and wash your wood block when needed. There’s only one more step before your block printed zipper pouch is done and that’s heat setting the ink after it’s fully printed!
How to Heat Set Your Ink
Once you are finished making your print, let the ink dry completely. It’s fast but I like to give ink an hour or two in case there are any patches of ink that are thick. There are 2 ways to heat set the ink.
How to Heat Set Ink with an Iron: My preferred method is using an iron because it’s safer for your zipper. Place a piece of paper or thin cloth on the zipper pouch – fabric ink side up. With your iron on medium to high, run your iron across the printed area for 3-5 minutes. Move the iron the entire time to prevent burns.
How to Heat Set Ink in a Dryer: To use a dryer to heat set ink, place your item in the dryer on regular or medium heat for 30 minutes. This method takes longer, but is super easy!
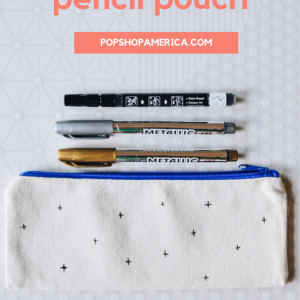
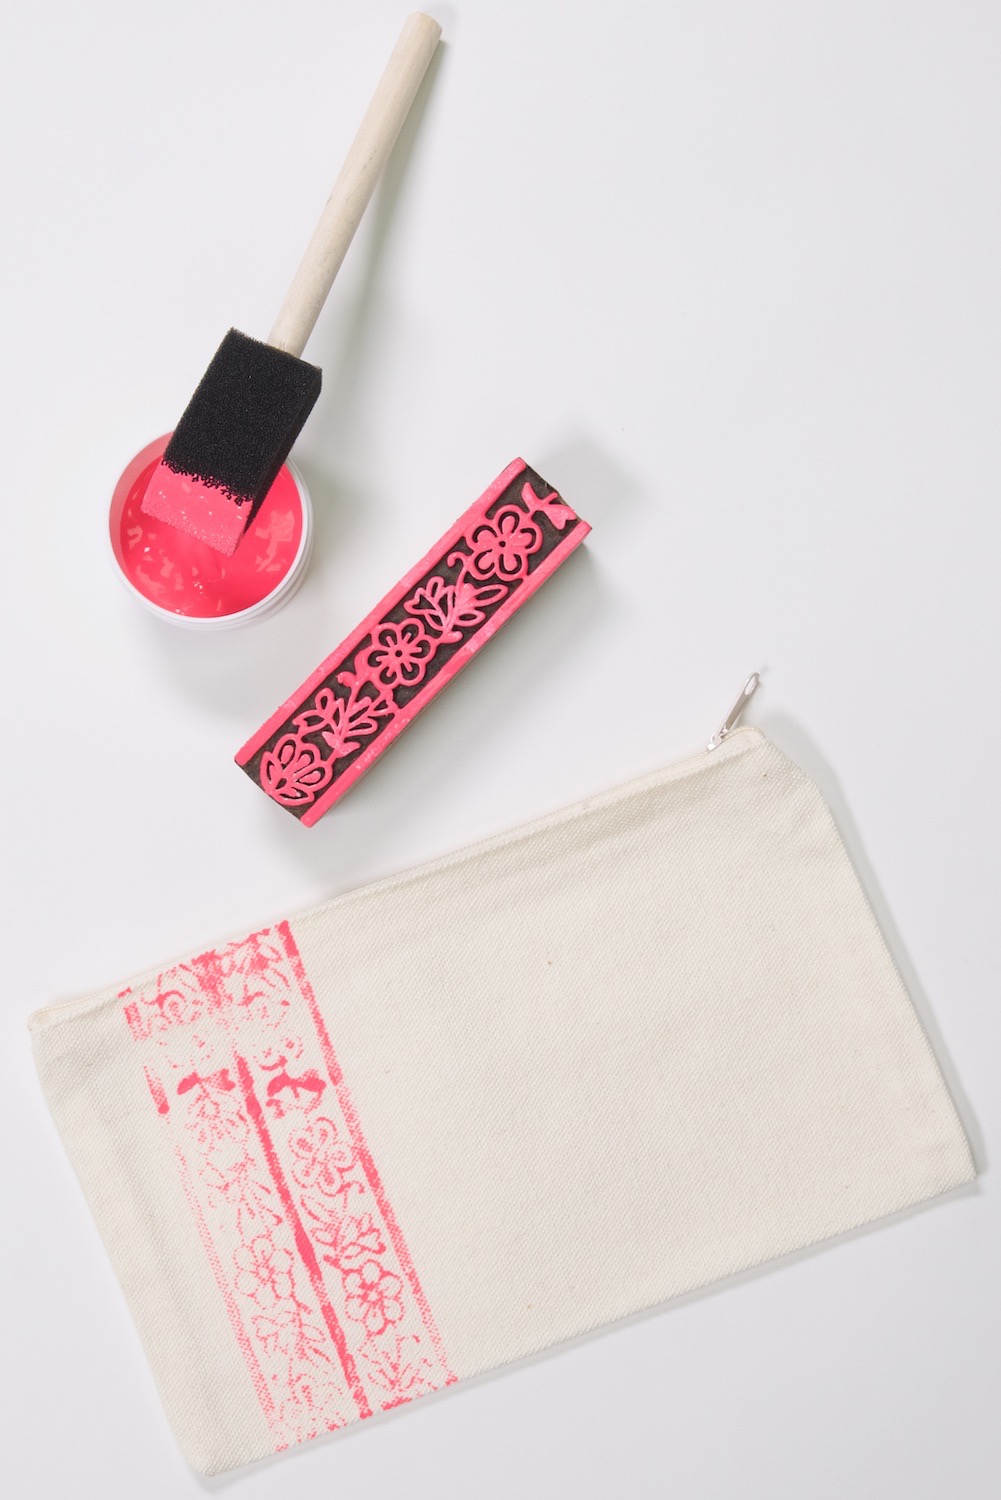
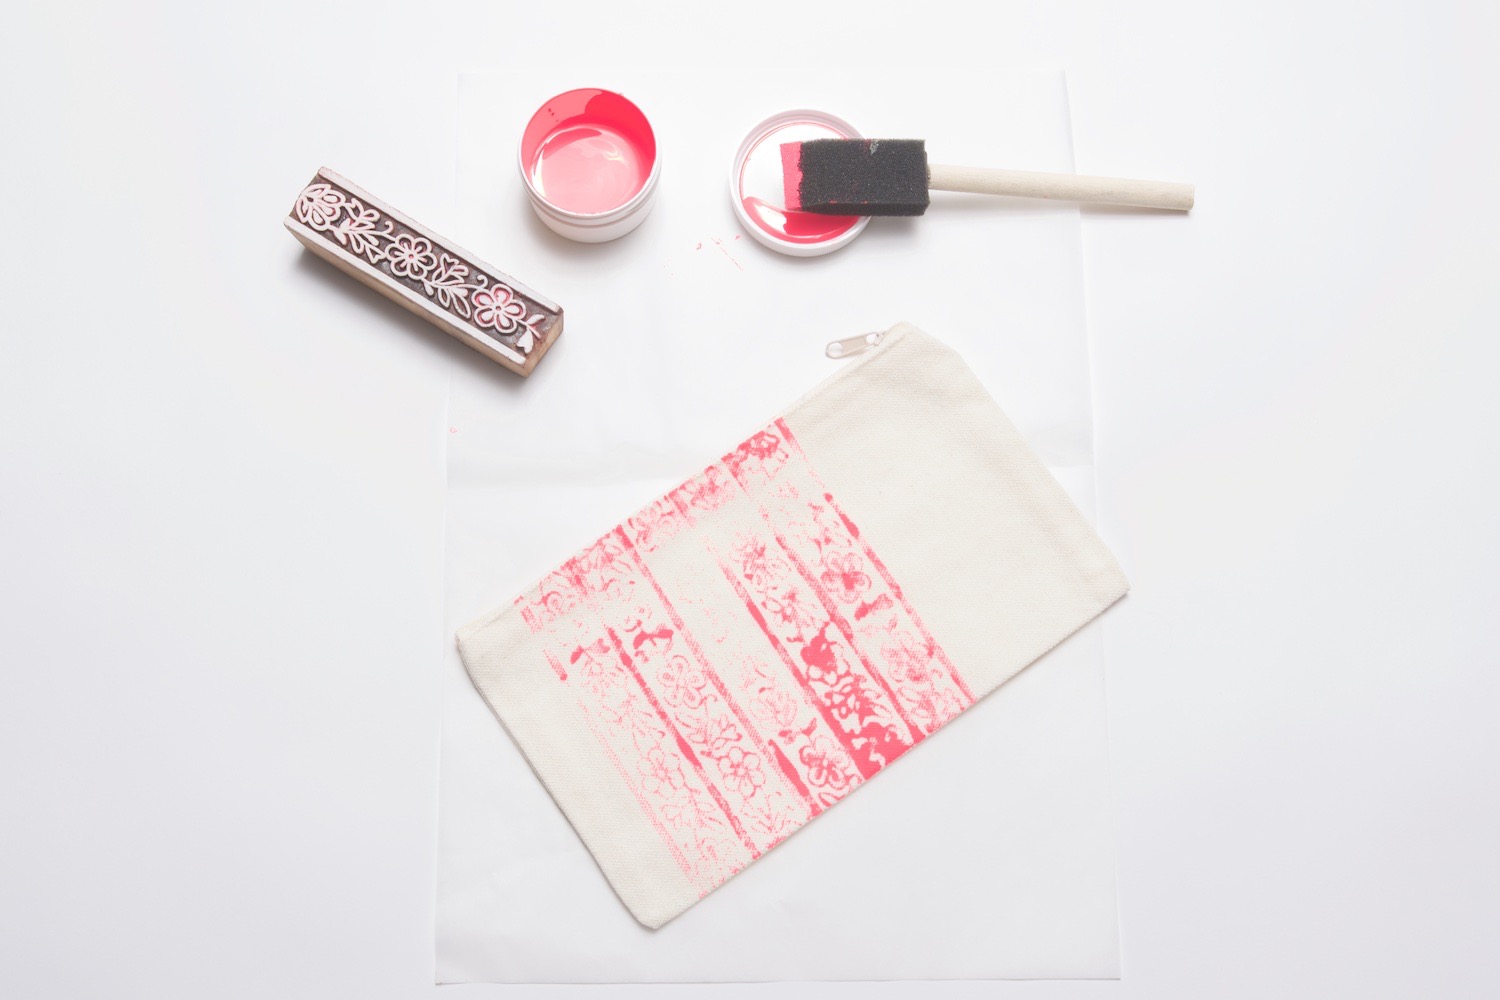
And viola! A wood block printed patterned pouch! You could use this as a make up bag, as a coin purse or a pencil pouch too. Need even more inspiration for a canvas zipper pouch? Check out this tutorial!

Ready to have some fun with block printing? Then you must shop the Block Printing Tote & Zipper Pouch Craft Supply Kit here!
Let’s Stay Friends!
Insta | Pinterest | Enews | TikTok