Food
Pink Valentine Hot Chocolate Bombs Recipe

Feb
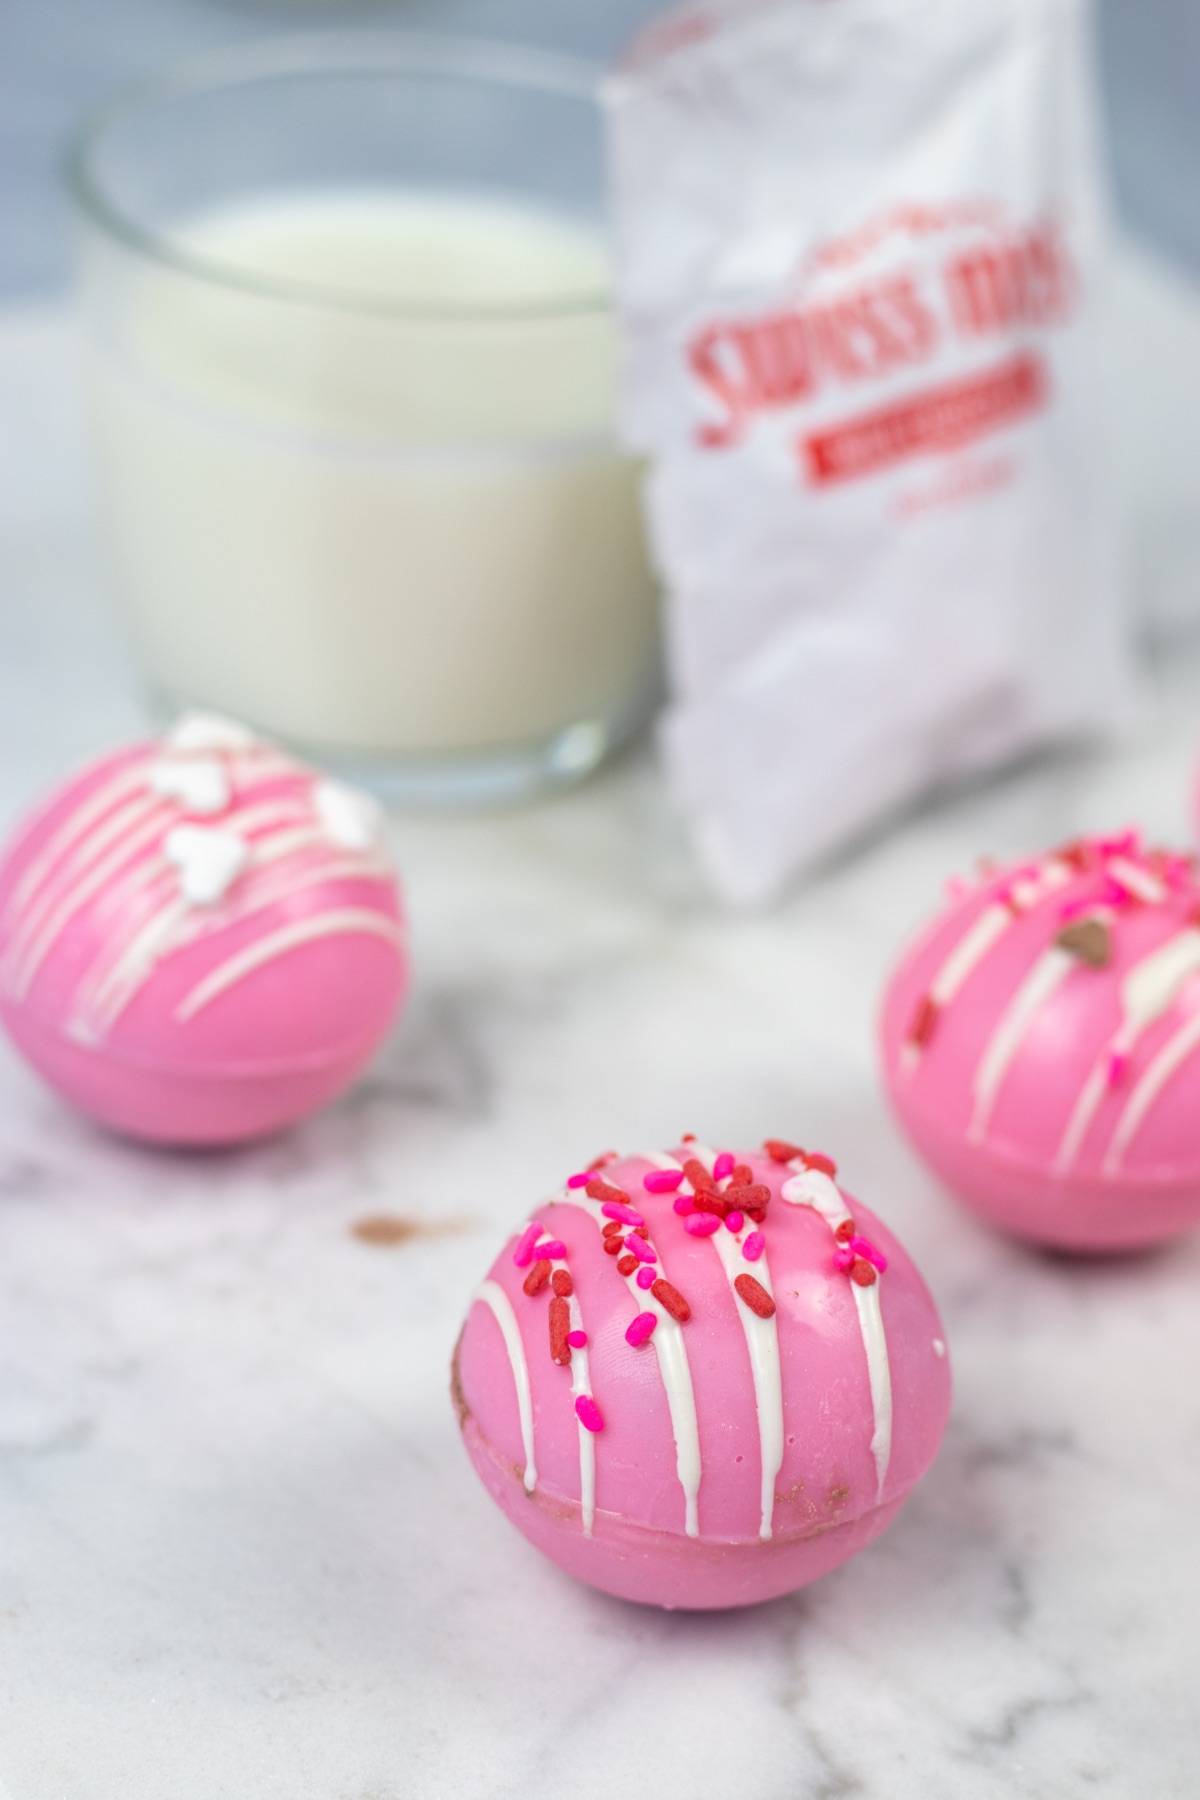
Looking for a cute dessert for Valentine’s Day? These Pink Valentine Hot Chocolate Bombs are easy to make and so much fun. Plus they make great gifts too!
Best of all, they are the most adorable shade of pink! You could also make these in white or just a regular chocolate too. But it’s the pink color that makes them perfect for the season.
So let’s make them.

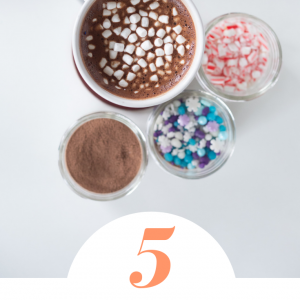
Ingredients to Make Pink Valentine Hot Chocolate Bombs:
Pink Melting Chocolate
White Melting Chocolate
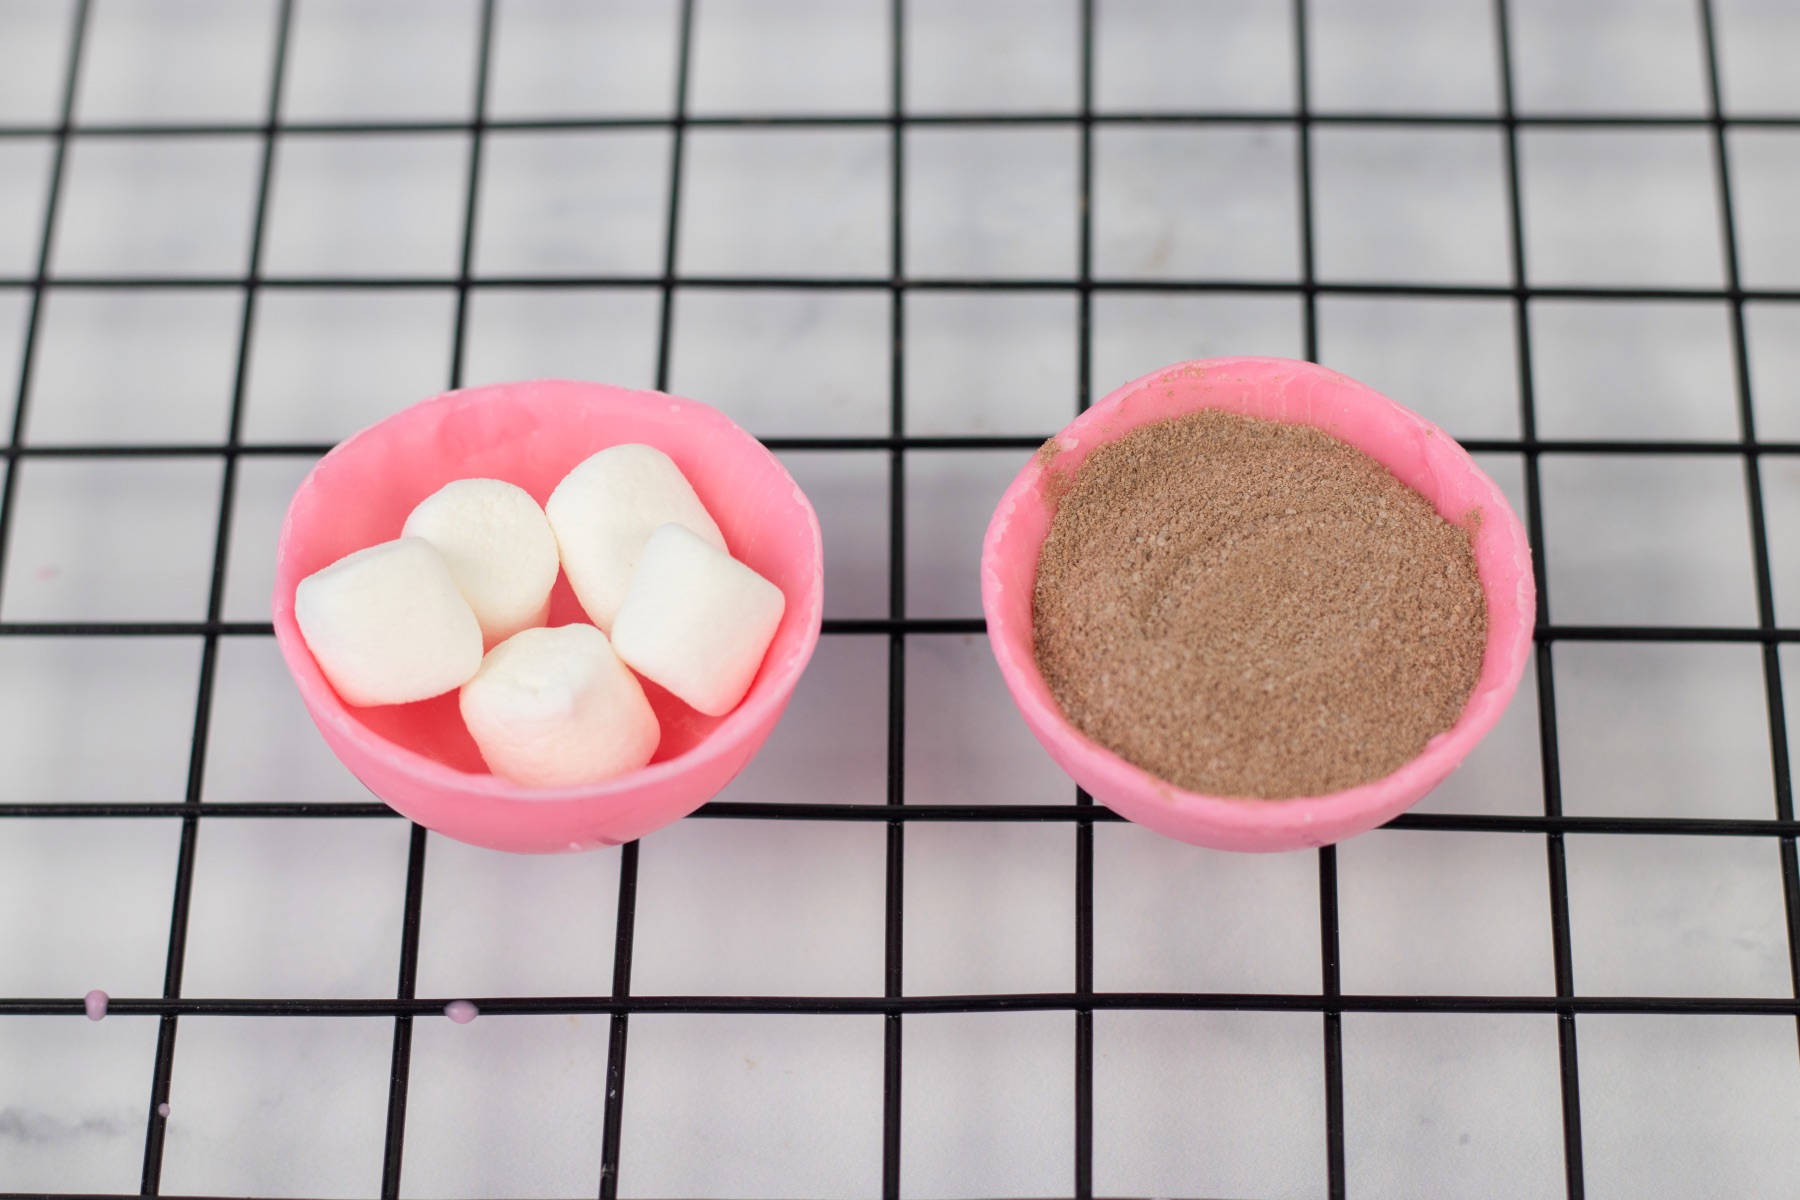
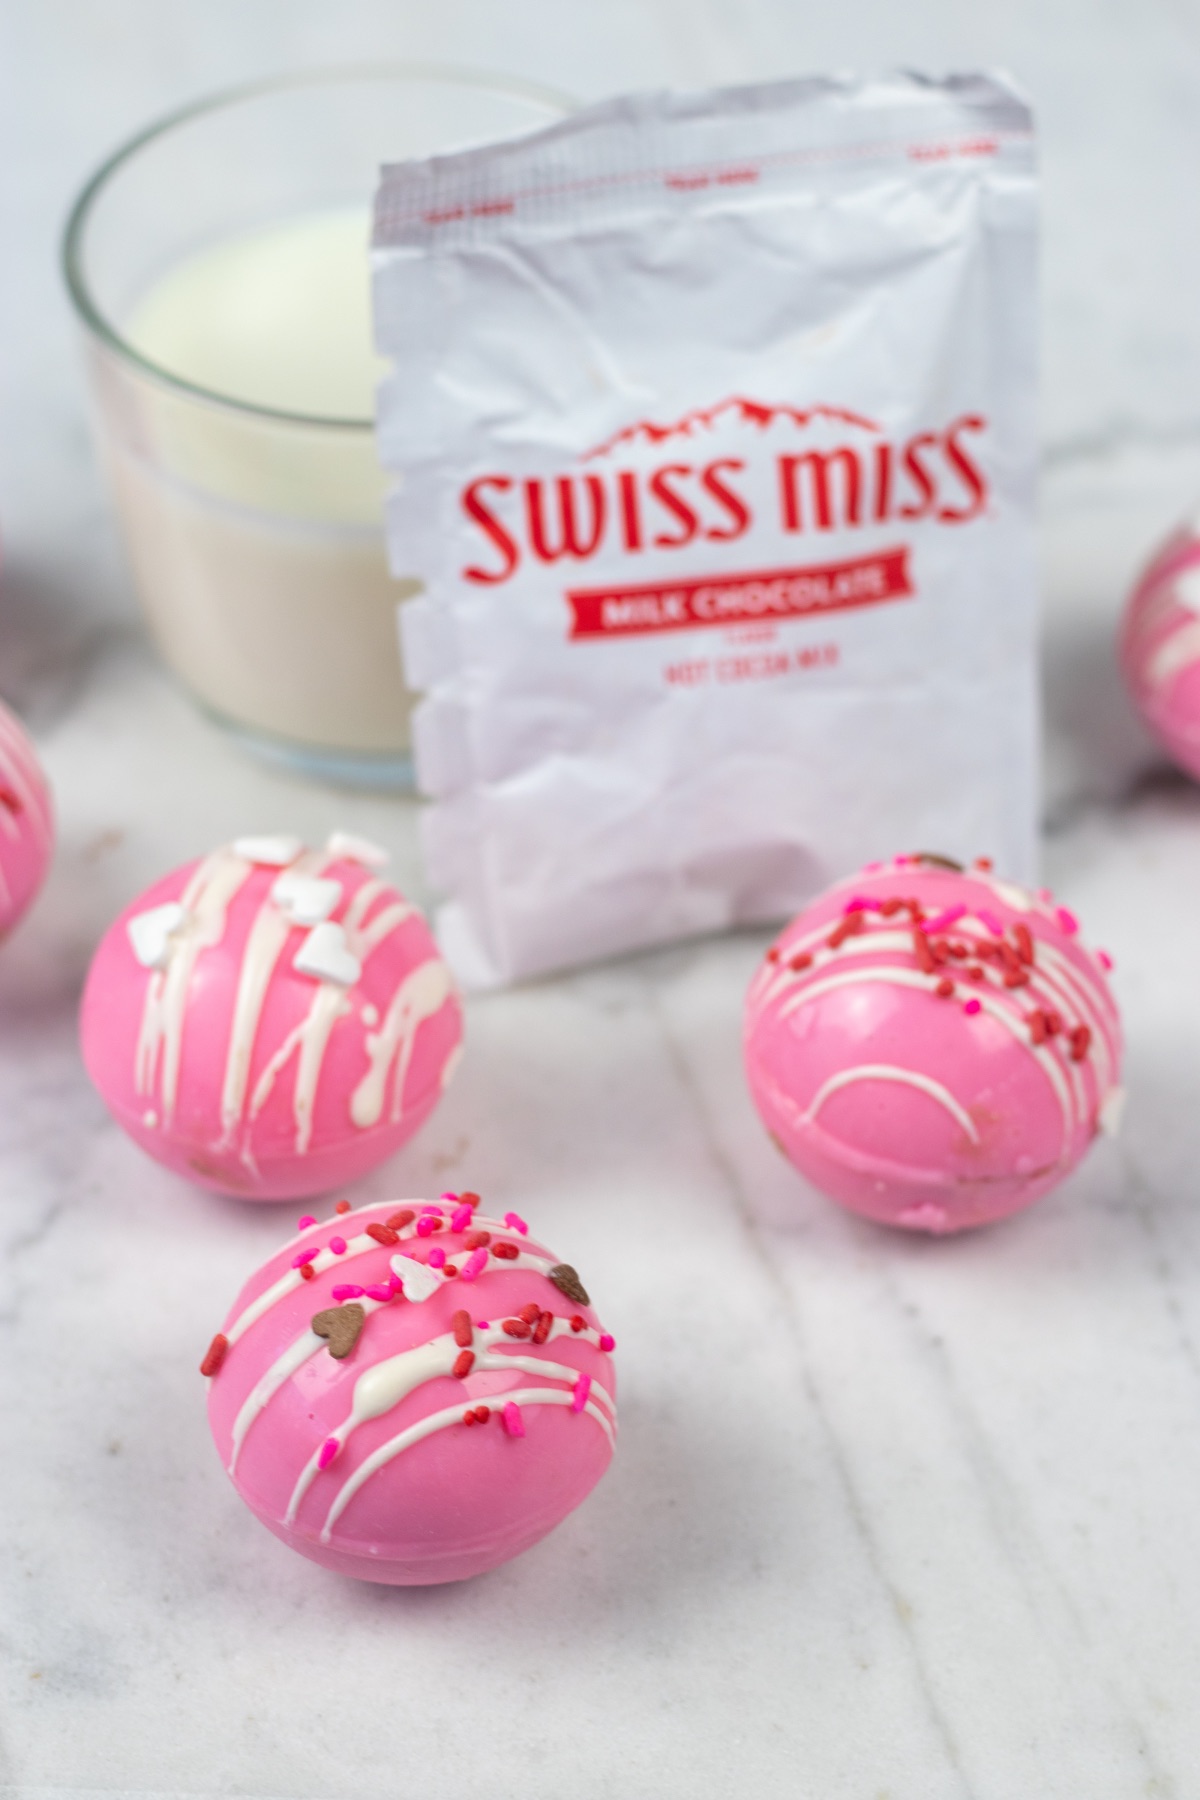
Hot Chocolate Mix (Ghirardelli if you want fancy; Swiss Miss if you want to keep it simple)
Mini Marshmallows
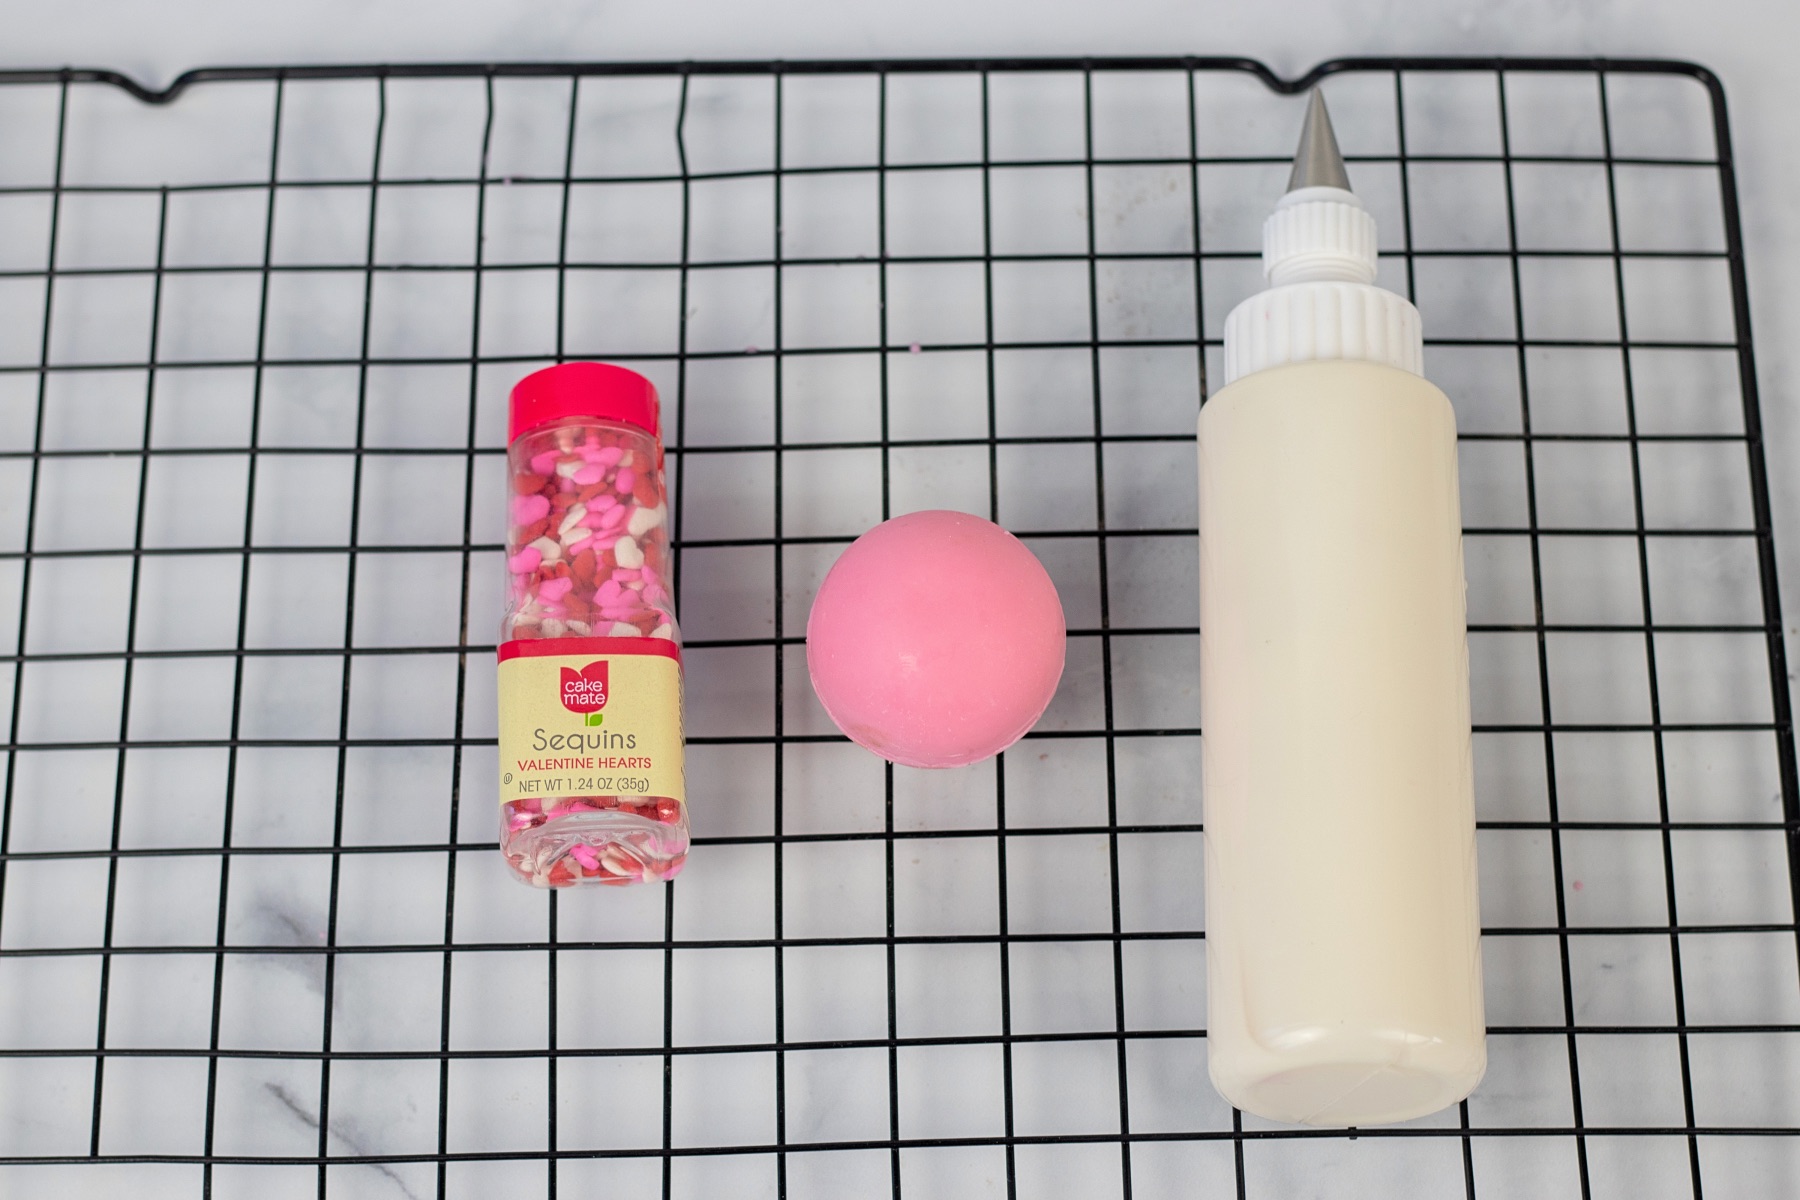
Sprinkles, Pearls, Hearts & All Your Favorites
Tools to Make Pink Valentine Hot Chocolate Bombs:
Semi-Sphere Silicone Mold
Basting Brush
Squeeze Bottle/Piping Bag with a Small Piping Tip for Drizzling Chocolate
It’s a lot of supplies, but trust me they are so easy to make!
What Type of Chocolate to Use
This recipe could go two ways. You could use higher end ingredients or just keep it simple. If you want something higher end, I recommend Ghirardelli White Chocolate. When you melt the chocolate, add a small amount of pink food color until you get your desired pink.
Or if you want to repeat after me, try Wilton Pink Melting Chocolate. You many need a little bit of white too, depending on the exact shade of pink you are looking for. Plus you will need white chocolate to decorate the bombs later.

How to Temper Chocolate
To temper white chocolate, use the same method as regular chocolate. You can use microwave or a double boiler – whatever you prefer. You can get the full detailed tutorial on How to Temper White Chocolate here.
What I did was heat about 2/3 of the total amount of chocolate I planned to use in the microwave for 30 seconds. When you take the chocolate out, stir it thoroughly and completely to evenly distribute the heat. If necessary, put the chocolate back in the microwave for additional sets of 30 seconds. But it should only take 1-2 cycles of heat. You only need the chocolate to be melted, but not hot. Whatever you do, don’t overheat the chocolate!
Once all the chocolate is melted, add a few pieces of dry chocolate to the liquid mix and stir the pieces until they are melted. Continue to add additional pieces until the dry pieces stop melting into the liquid chocolate. Now your chocolate is “seeded” and ready to use.
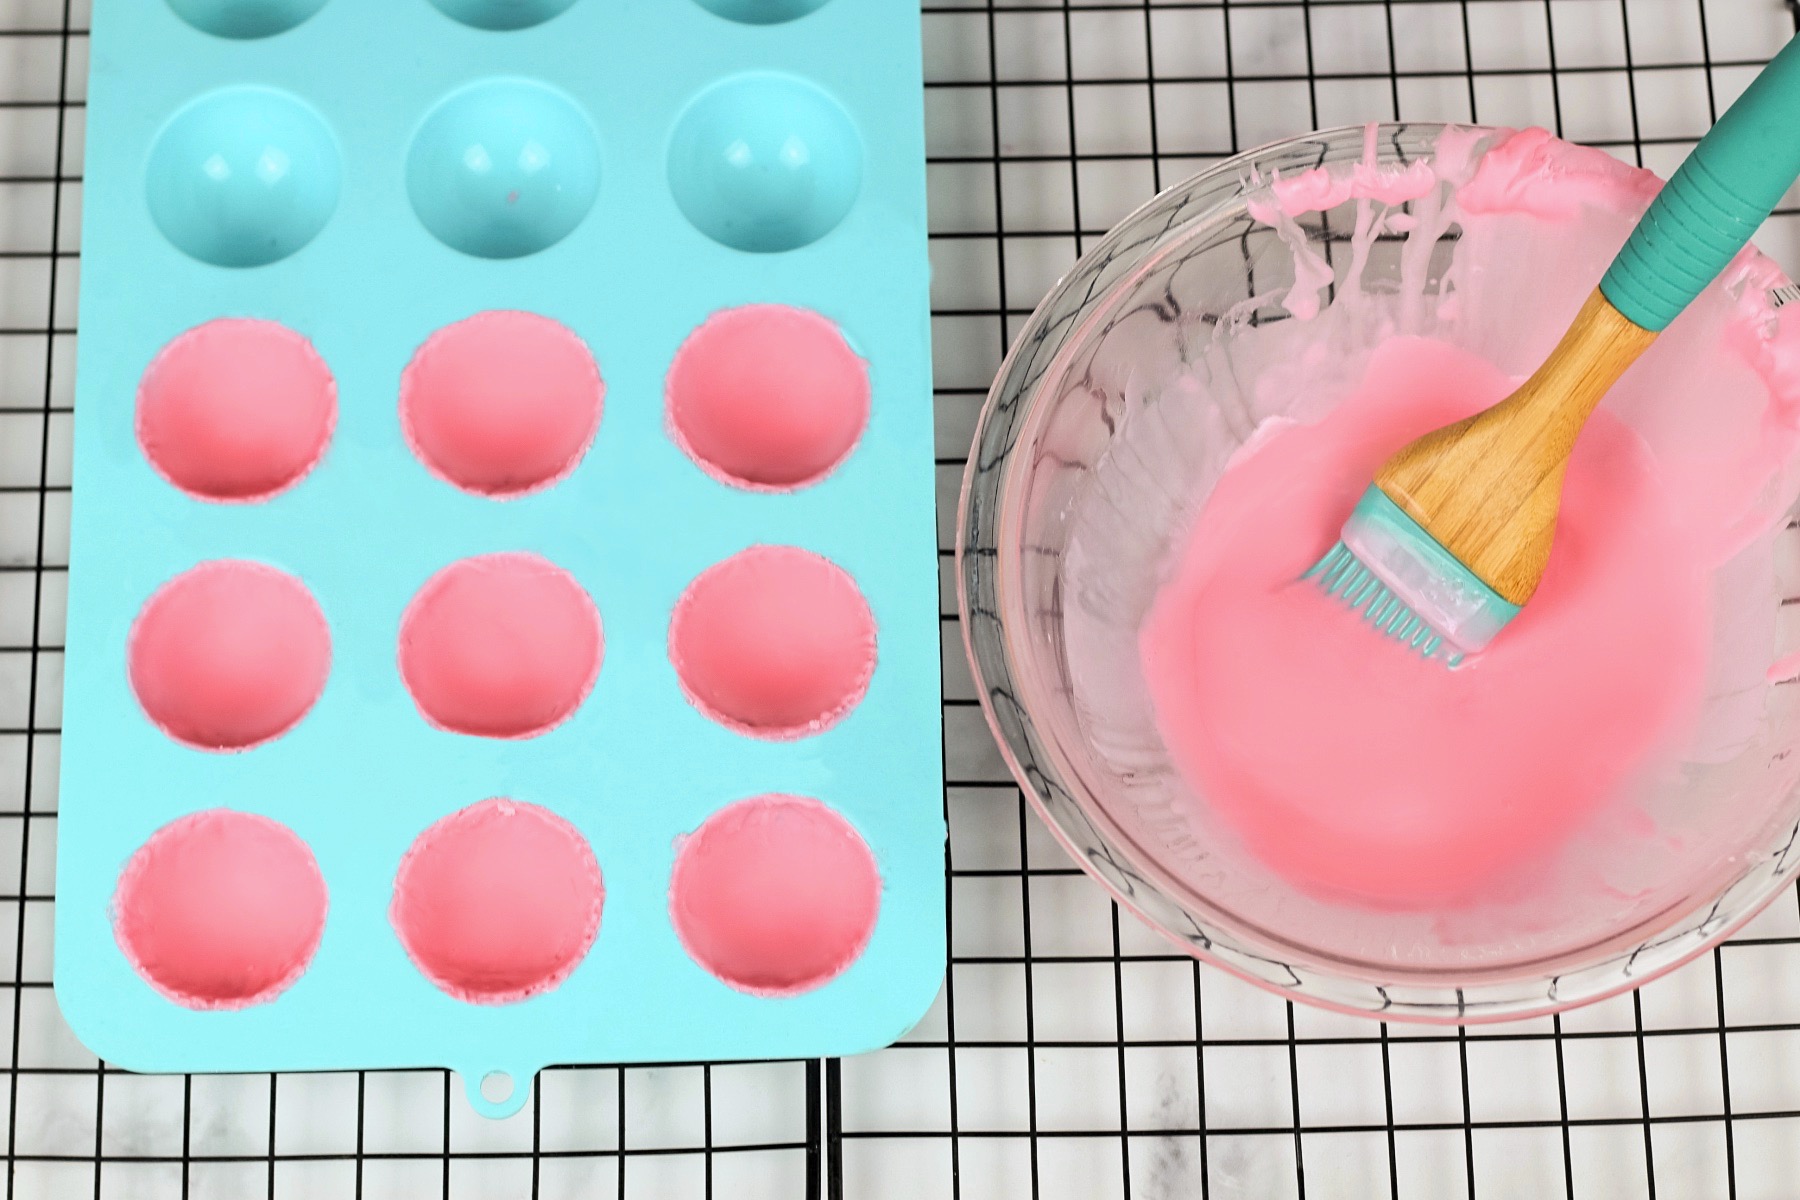
Brush Chocolate into the Mold
Once your chocolate is ready to use, brush a layer of chocolate into the semi-sphere mold. Make sure that you cover the entire mold as evenly as you can.
And be sure to densely cover the top edges of the mold. This is where the 2 pieces will fit together, so you will want these pieces to be thick. Let the chocolate in the mold rest for a few minutes and add a second coat.
To add additional layers of chocolate, you may need to melt your chocolate again. And in between each coat, you may need to wait up to 10 minutes. You will want your chocolate to be somewhat hardened so that you are adding chocolate in layers, and not just moving it around. Add a total of 3 coats to your mold which will make the finished chocolate bomb a little more sturdy than 1 or 2 coats.
Removing Hot Chocolate Bomb Shells from the Mold
Once your chocolate is completely set, remove it from the mold. This is where you will want to be the most careful. So first of all, make sure your chocolate is completely hardened. This will take 10-20 minutes in the fridge or several hours on the counter. Then apply gently pressure evenly across the entire mold to avoid breaking it.
Fill the Pink Valentine Hot Chocolate Bombs
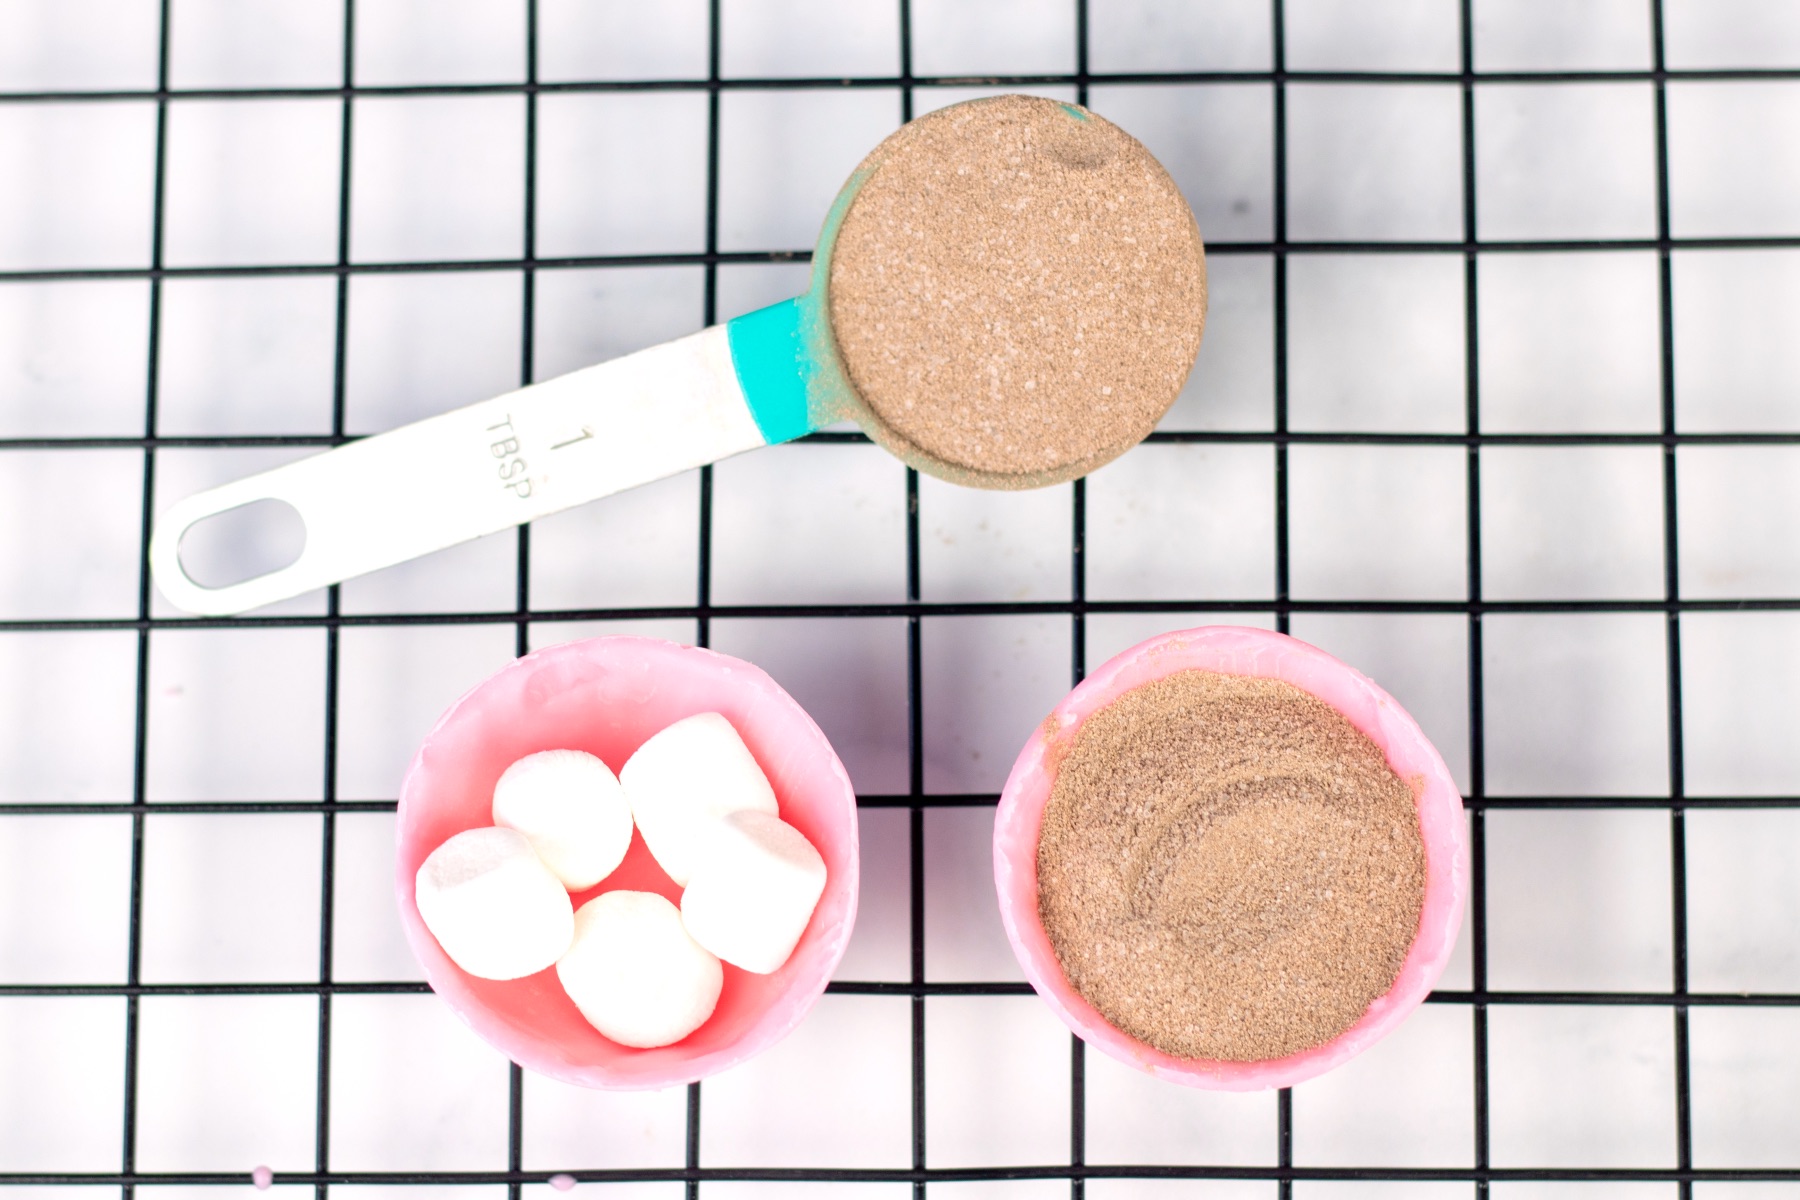
Use 1 semi-sphere or 1/2 of your bomb to fill with 2 tablespoons of hot chocolate mix and a few mini marshmallows. Again, if you want to go fancy, use Ghirardelli. It’s the best! But if you want to keep it simple, just use Swiss Miss. You could also get creative with hot chocolate recipes. Add a piece of caramel, mini chocolate chips, cacao nibs, or whatever you like!
How to Put the Chocolate Shells Together
This is one of those moments where it would be so nice to have a crème brûlée torch. If you have one, use it! But the next best thing is to place a ceramic plate on the stovetop and slow and low warm that plate.
Once your plate is warm, but not hot to the touch, place the top half of the chocolate bomb shell open side face down onto the plate. The other half of the chocolate bomb shell, the half that is stuffed, stays off the plate but closeby.
Once the bomb shell that’s on the plate begins to melt and has enough liquid chocolate to hold the 2 bomb shells together, place them together and hold them in place for a few seconds. Use your hands or the back of a spoon to smooth out the edges and make it look prim and proper.
Drizzle the Top with White Chocolate
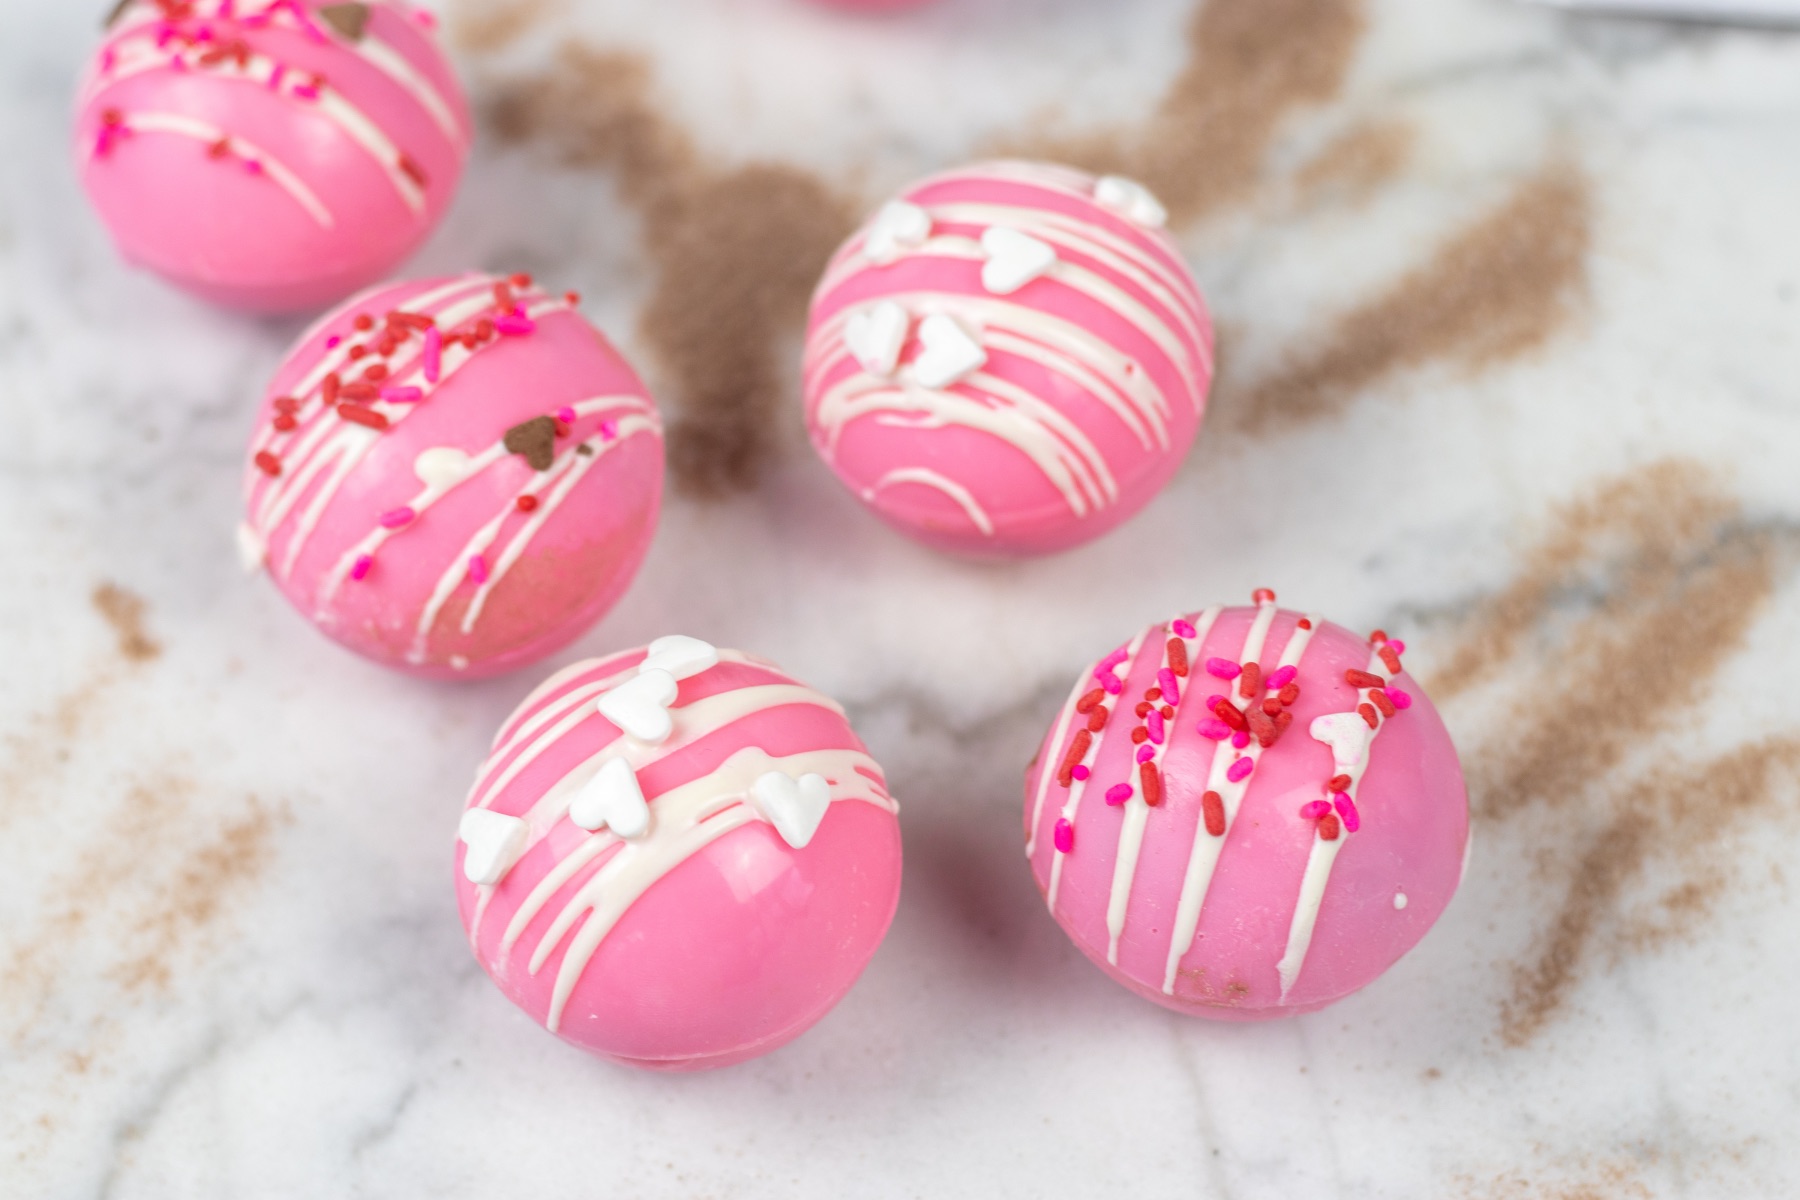
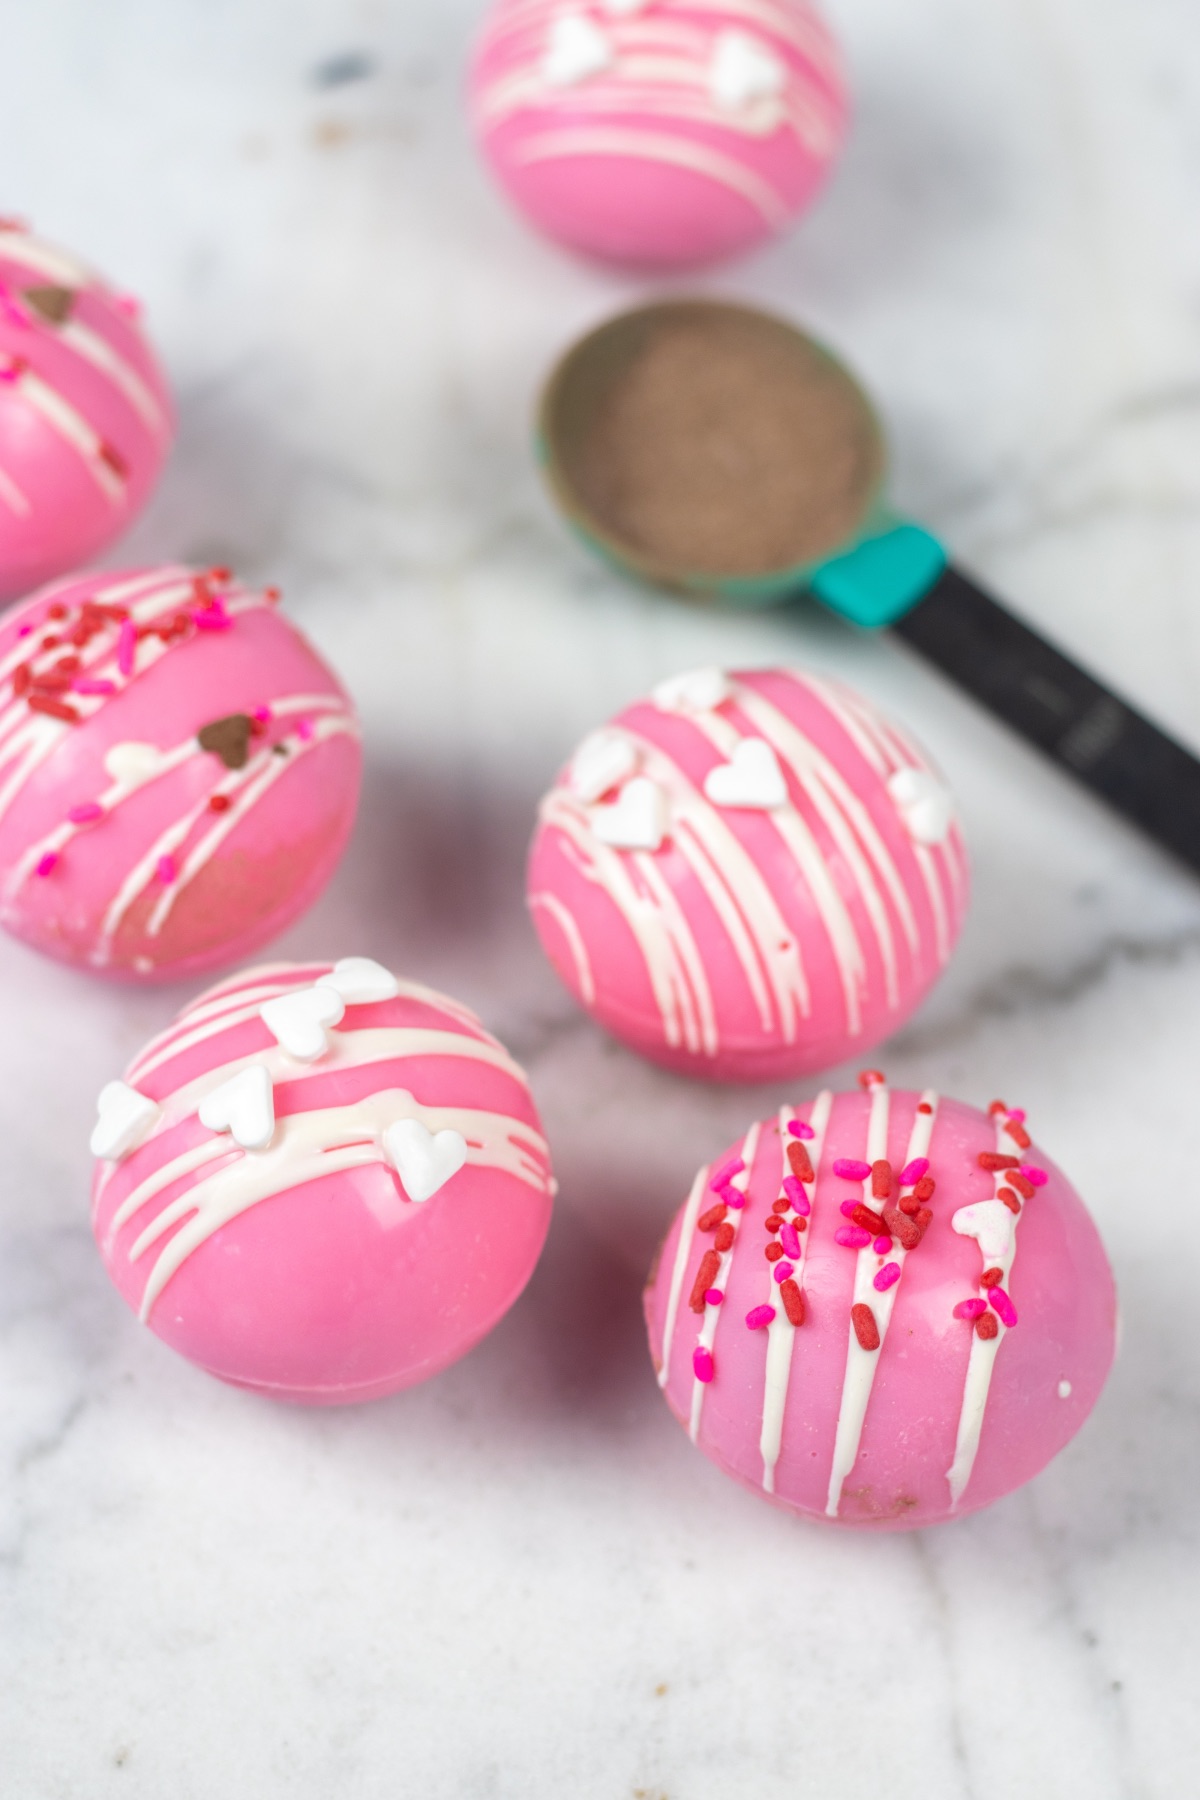
Now for the fun part – decorating the Pink Valentine Hot Chocolate Bombs! You can get creative here, but I drizzled mine with white chocolate and added Valentine-perfect red, pink, and white sprinkles. And this is where that white chocolate will come in handy.
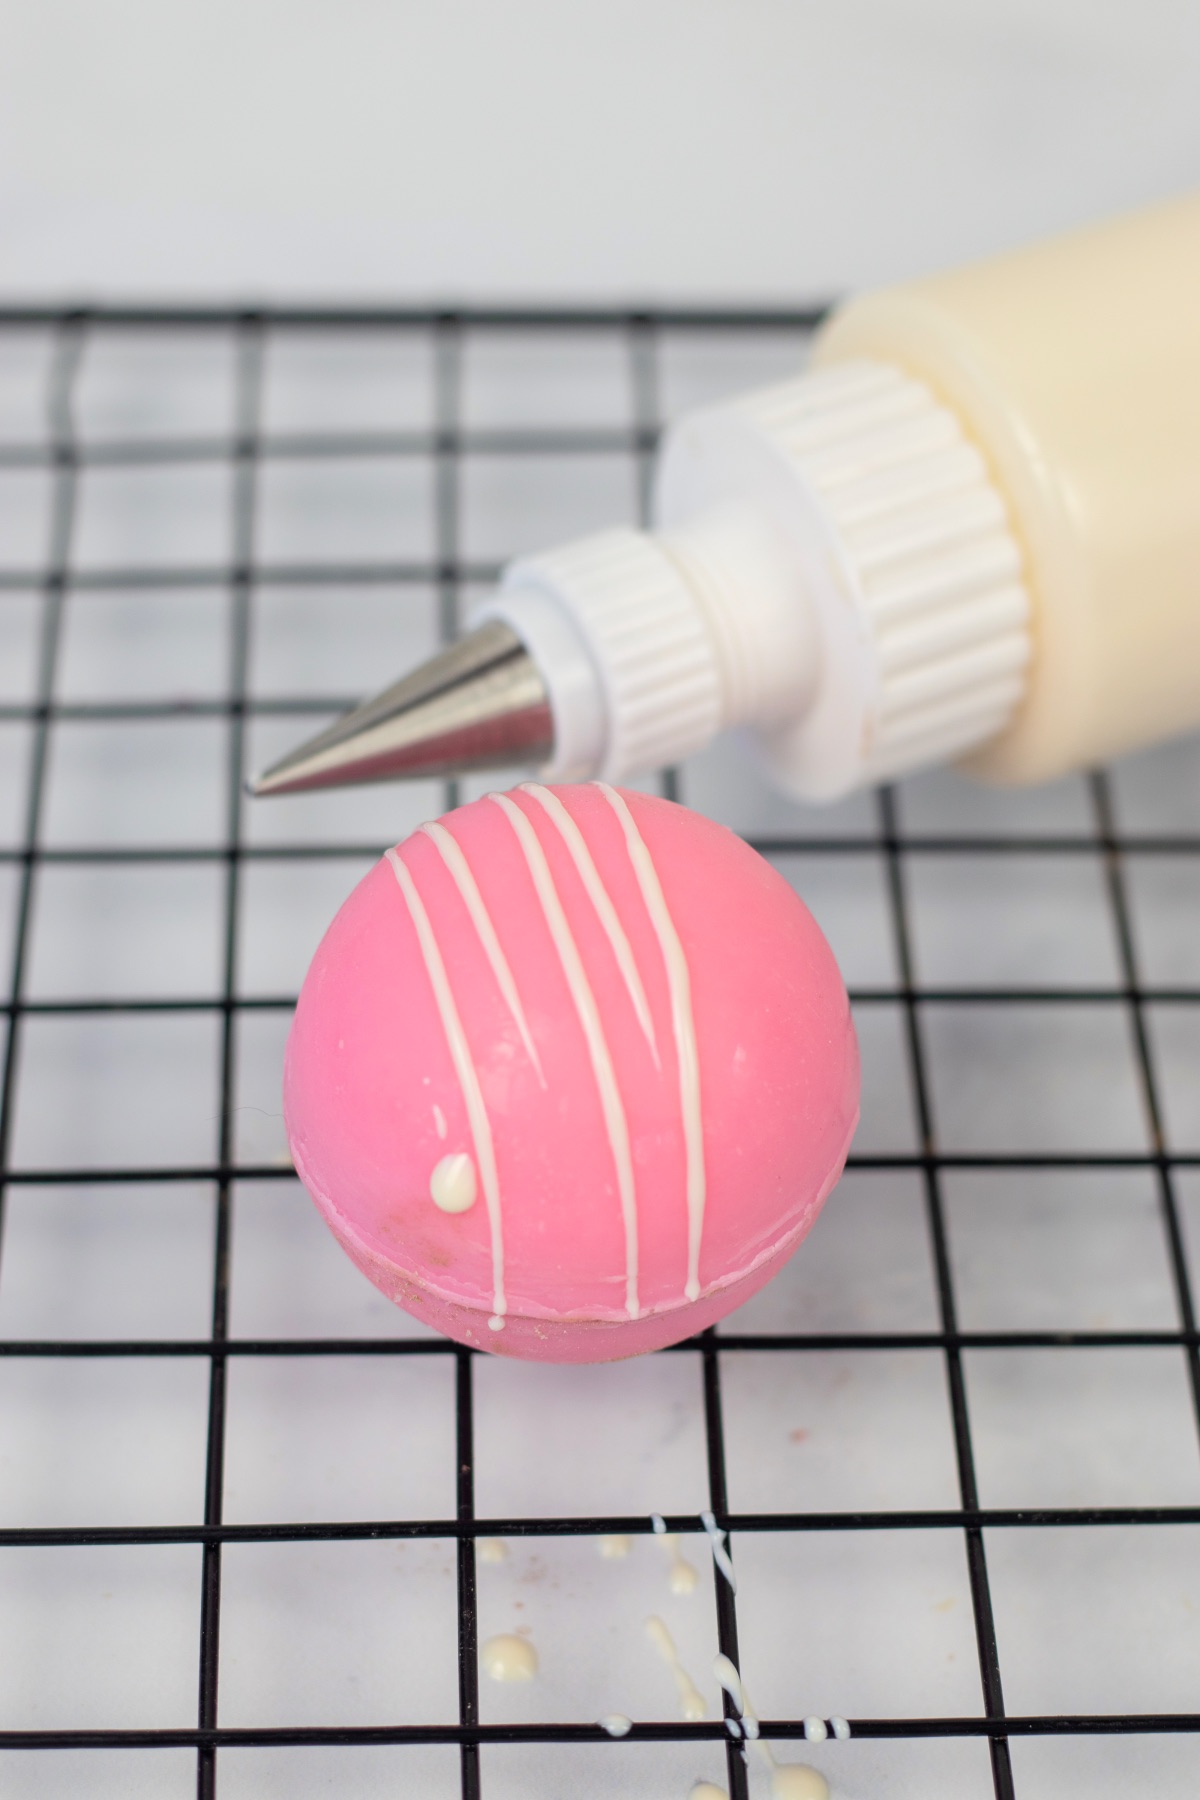
Melt more white chocolate using the same method as before. But this time, place your melted chocolate in a piping bag or squeeze bottle with any small round tip. When in doubt, test your tip to make sure it’s a size you like, before drizzling the chocolate across your bombs.
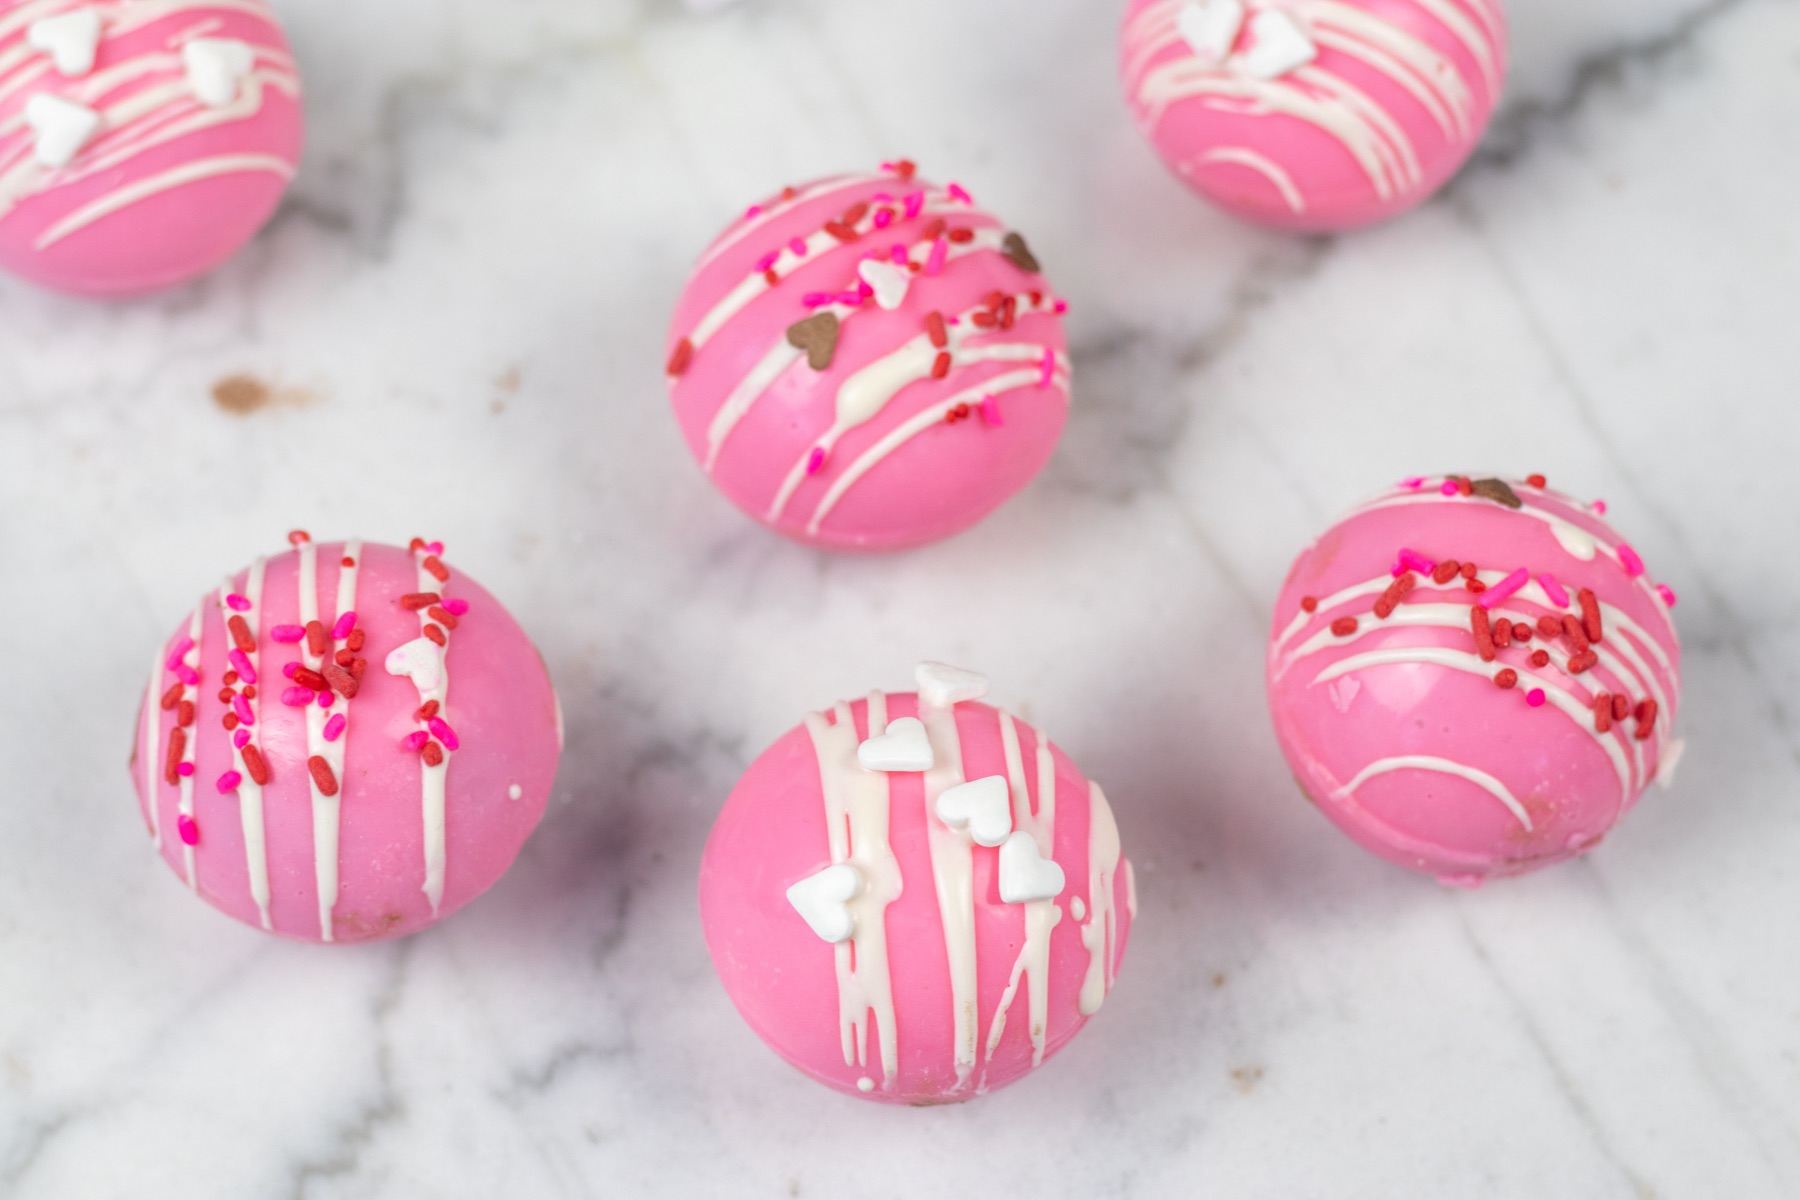
Then drizzle away! I used just a simple back and forth motion across the top of the bombs – nothing fancy. While the chocolate drizzle is still liquid, add your sprinkles using the drizzle to hold them in place.
You don’t need a lot of sprinkles, just a few will help you create a fun sculptural style. Once the drizzle is completely set and dry gently shake the bombs to remove any excess sprinkles.
And viola – simple, fun, and totally gift-worthy Valentine Hot Chocolate Bombs! Yes, it was a lot of equipment and supplies, but wasn’t that so easy?! Best of all, the would fit so perfectly in a little chocolate box to give as a gift for a co-worker, favorite kiddo, or a special gal pal.
Store your Pink Valentine Hot Chocolate Bombs in the fridge for up to 2-4 weeks until you are ready to use them.
How to Use Your Pink Valentine Hot Chocolate Bombs
Let the great water vs. milk debate begin! Actually, is it even a debate? I would highly recommend adding your bomb to 8 ounces of your favorite milk or non-dairy milk alternative. Get the milk ready before you add the bomb the way you would for any hot chocolate – on the stovetop on low or in the microwave for around 1 minute.
Then place your bomb in the warm milk. Stir it around until the hot chocolate bomb melts which should only take a few seconds. Enjoy!

Pink Valentine Hot Chocolate Bombs Recipe
Ingredients
- Pink Melting Chocolate
- White Melting Chocolate
- Hot Chocolate Mix Ghirardelli if you want fancy; Swiss Miss if you want to keep it simple
- Mini Marshmallows
- Sprinkles Pearls, Hearts & All Your Favorites
Tools to Make Pink Valentine Hot Chocolate Bombs:
Instructions
- Place 2/3 of your pink melting chocolate in a microwaveable bowl. Microwave for 30 second intervals, and then stir thoroughly and completely. Repeat this procedure until the chocolate is completely melted and smooth. Do not overheat. Add dry chocolate to your liquid chocolate a few pieces at a time and stir it until it's melted. Continue to add dry chocolate until no more will melt.
- Use a basting brush to coat the inside of the sphere. Try to cover the entire sphere thoroughly and evenly. Don't miss the edges because that's where the bombs will hold together. Let the chocolate inside the mold set and add a second and third layer. You may need to reheat your chocolate to add all 3 layers. Once all your layers have been added, let your bomb shells set on the counter for a few hours or set in the fridge for around 20 minutes.
- Once your bomb shells are completely set, gently and carefully remove them from the molds. Use even pressure along all sides of the mold.
- Add 2 tablespoons of hot chocolate mix and 4-5 mini marshmallows to one of the spheres. Set aside.
- Place a ceramic heat safe plate on the stove on the lowest setting for approximately 2-3 minutes. It will be warm to touch but not hot.
- Place an empty bomb shell face down onto the plate and swirl it around to soften the edge, and start to liquify the chocolate. Do not leave the bomb there too long! Now press the two spheres together gently. Smooth the edges as needed and afterward, set the bombs aside to finish setting.
- In a fresh bowl or container, melt a small amount of white chocolate, following the same method as above. Add the melted chocolate to a piping bag or squeeze bottle and drizzle on top of the chocolate bomb. Before the chocolate sets, add your sprinkles. Once the white chocolate is set, shake the bomb to remove any excess sprinkles.
- To use your Pink Valentine Hot Chocolate Bombs, warm 8 ounces of your favorite milk or non-dairy alternative on the stovetop or in the microwave. Place your chocolate bomb in the milk and stir it thoroughly until melted. It should just take a few seconds.
- Store your Pink Valentine Hot Chocolate Bombs in the fridge for up to 4 weeks.
Let’s Stay Friends!
Insta | Pinterest | Enews | TikTok