Craft in Style Subscription Instructions, DIY
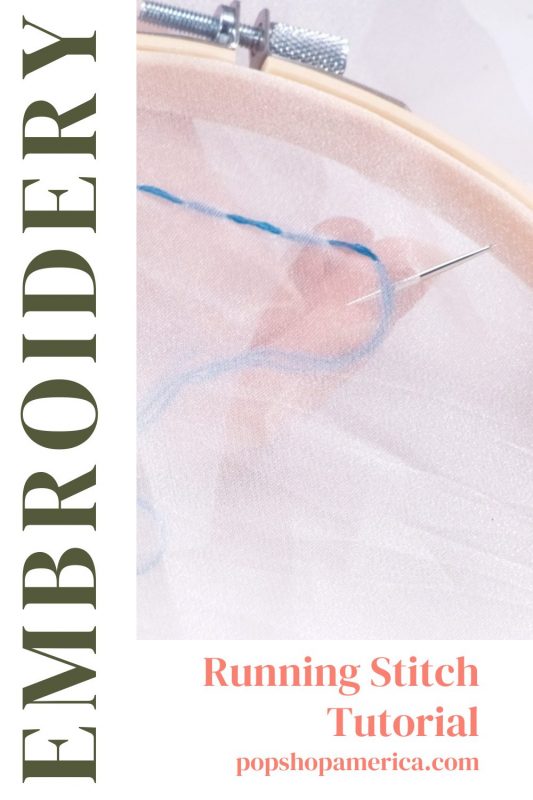
Running Stitch: An Easy Embroidery Stitch Tutorial
Feb
This is Part 2 of 7 of the Craft in Style Subscription Box Instructions for February 2021. Find the Craft in Style Subscription Box here. Read Part 1: A Beginner’s Guide to Embroidery here.Read Part 3-6: Back Stitch | Stem Stitch | Chain Stitch | French Knot Tutorials here. Read Part 7: How to Make Floating Nature Embroidery Hoops here.
Learning embroidery stitches is the foundation to learning embroidery! There are so many different stitches to learn and a Running Stitch, also known as a straight stitch, is one of the best for anyone who’s new to embroidery.
If you are just getting started, take a moment to review our Beginner’s Guide to Embroidery here. This will take you through all the supplies you will need in addition to the right fabrics, stitches, tips, and more.
Learning stitches is easiest by watching videos, because you will want to see the motion and movement in the hands while the stitch is being created.
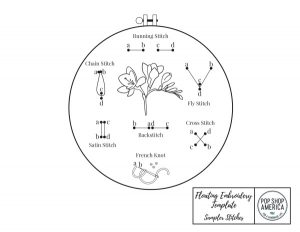
You can also use this Embroidery Stitch Pattern Downloadable Guide too. Just download it here. Print it on regular copy paper. Use a fabric pen to transfer the pattern to the fabric of your choice. Then copy the patterns shown on the guide.
Each has a unique pattern and motion of the hands.
How to Prep Your Embroidery Floss
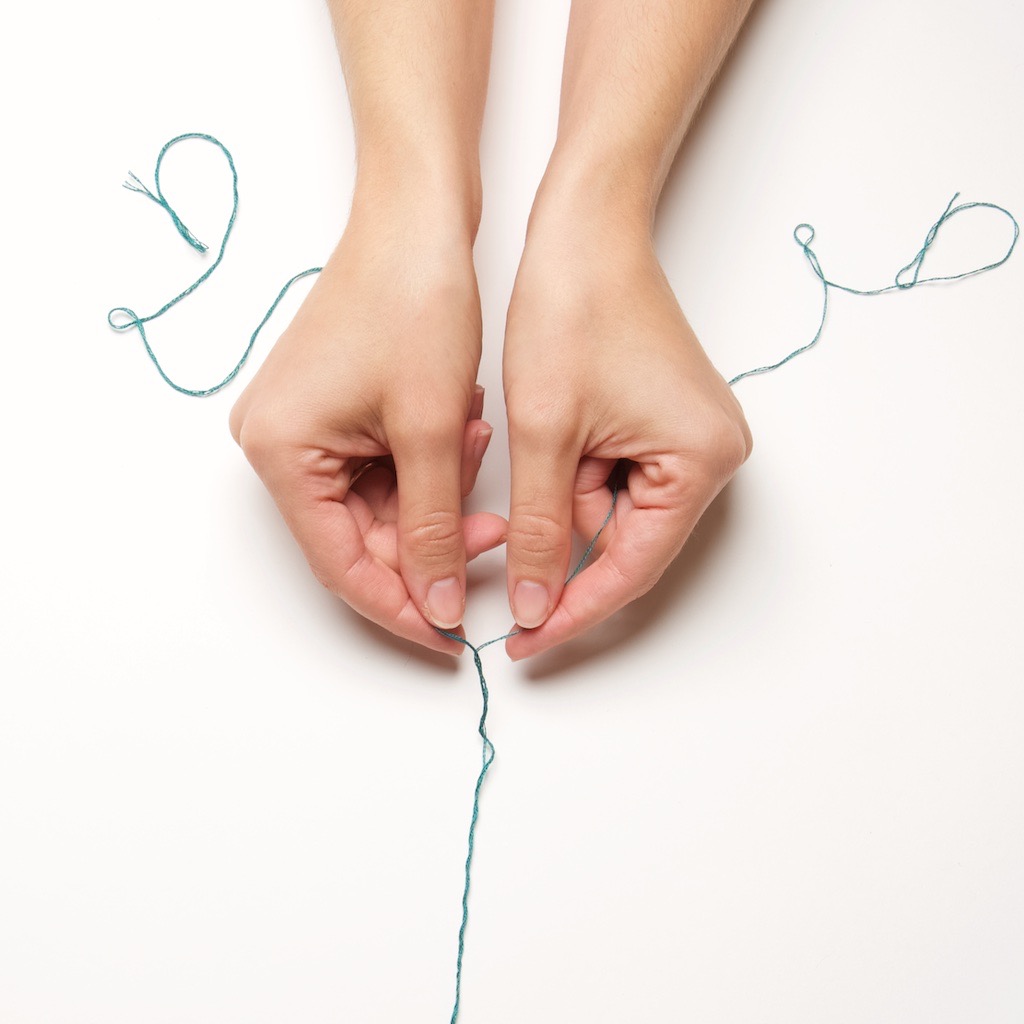
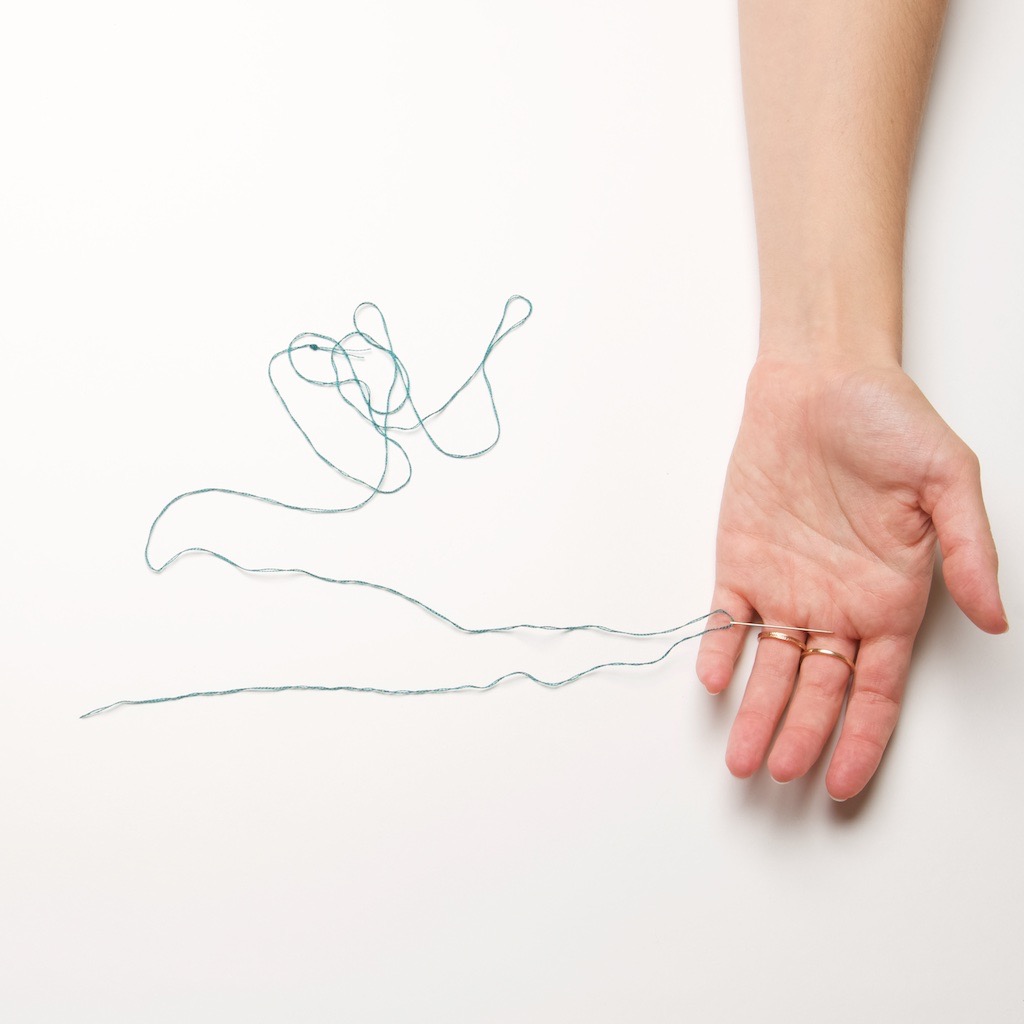
You don’t have to use embroidery floss just as it comes. Embroidery floss is a cluster of individual threads that can be separated. This is perfect for making smaller lines.
With fabrics that are more delicate, like the organza we use in this Floating Embroidery Hoop Art Tutorial, you may also want to I most commonly separate them into 2 halves.
How to Create a Running Stitch
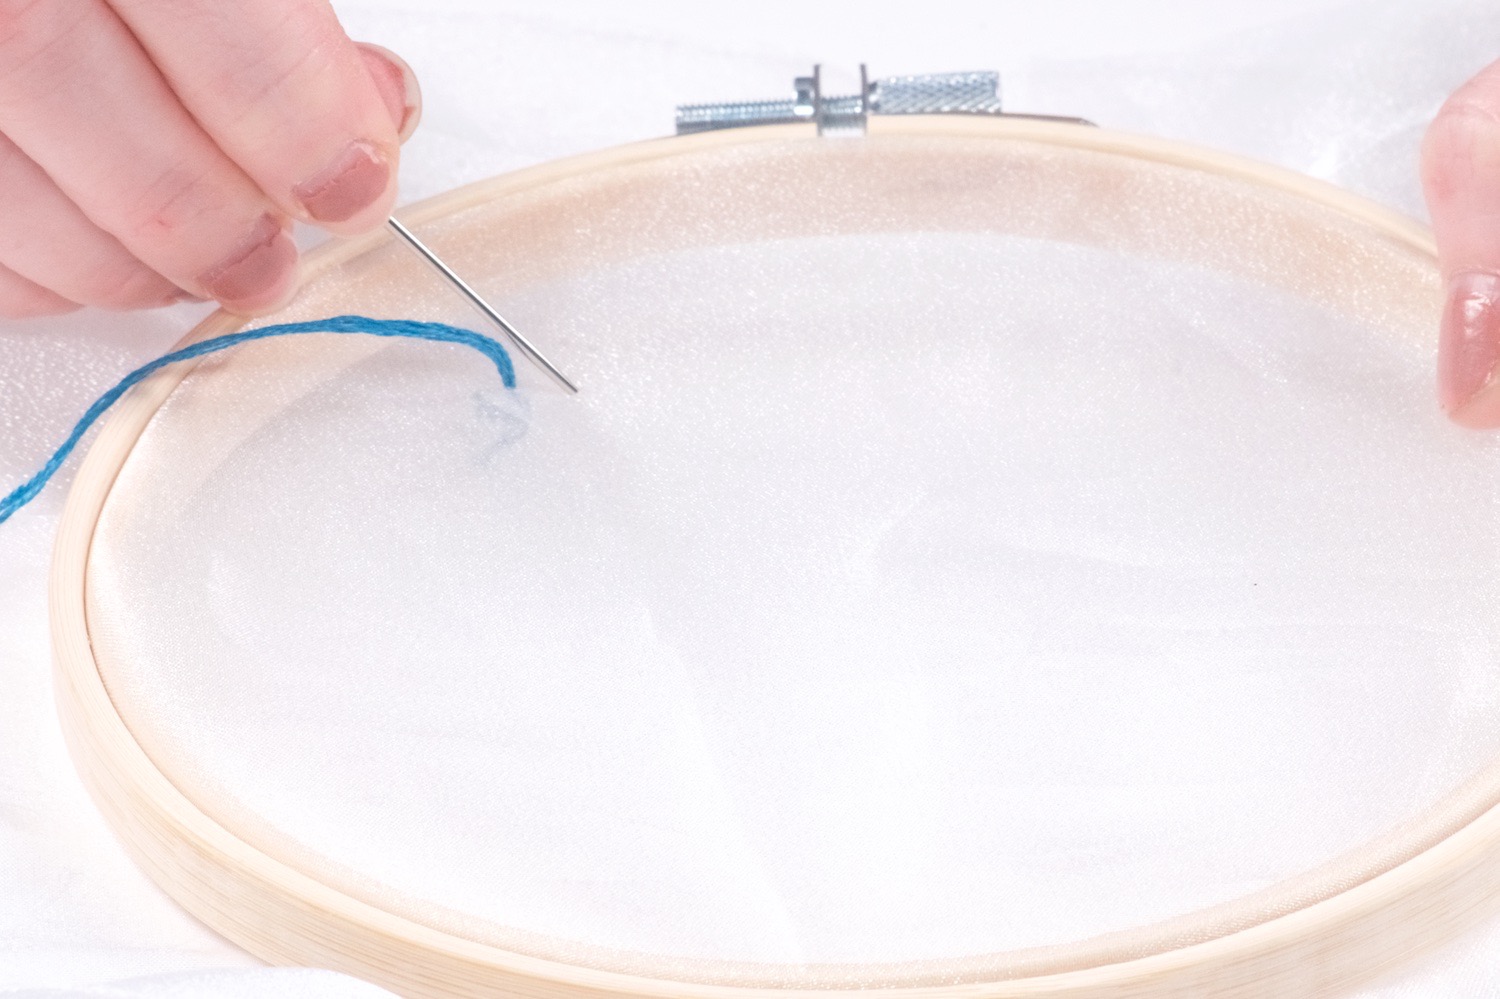
To create a running stitch start by bringing your needle through the fabric from the back to the front. That way the end of the embroidery floss is in the back. Knot the end before you continue.
Now a running stitch is just a back and forth stitch. It follows this pattern:
up from back to front
then down front to back
back and forth
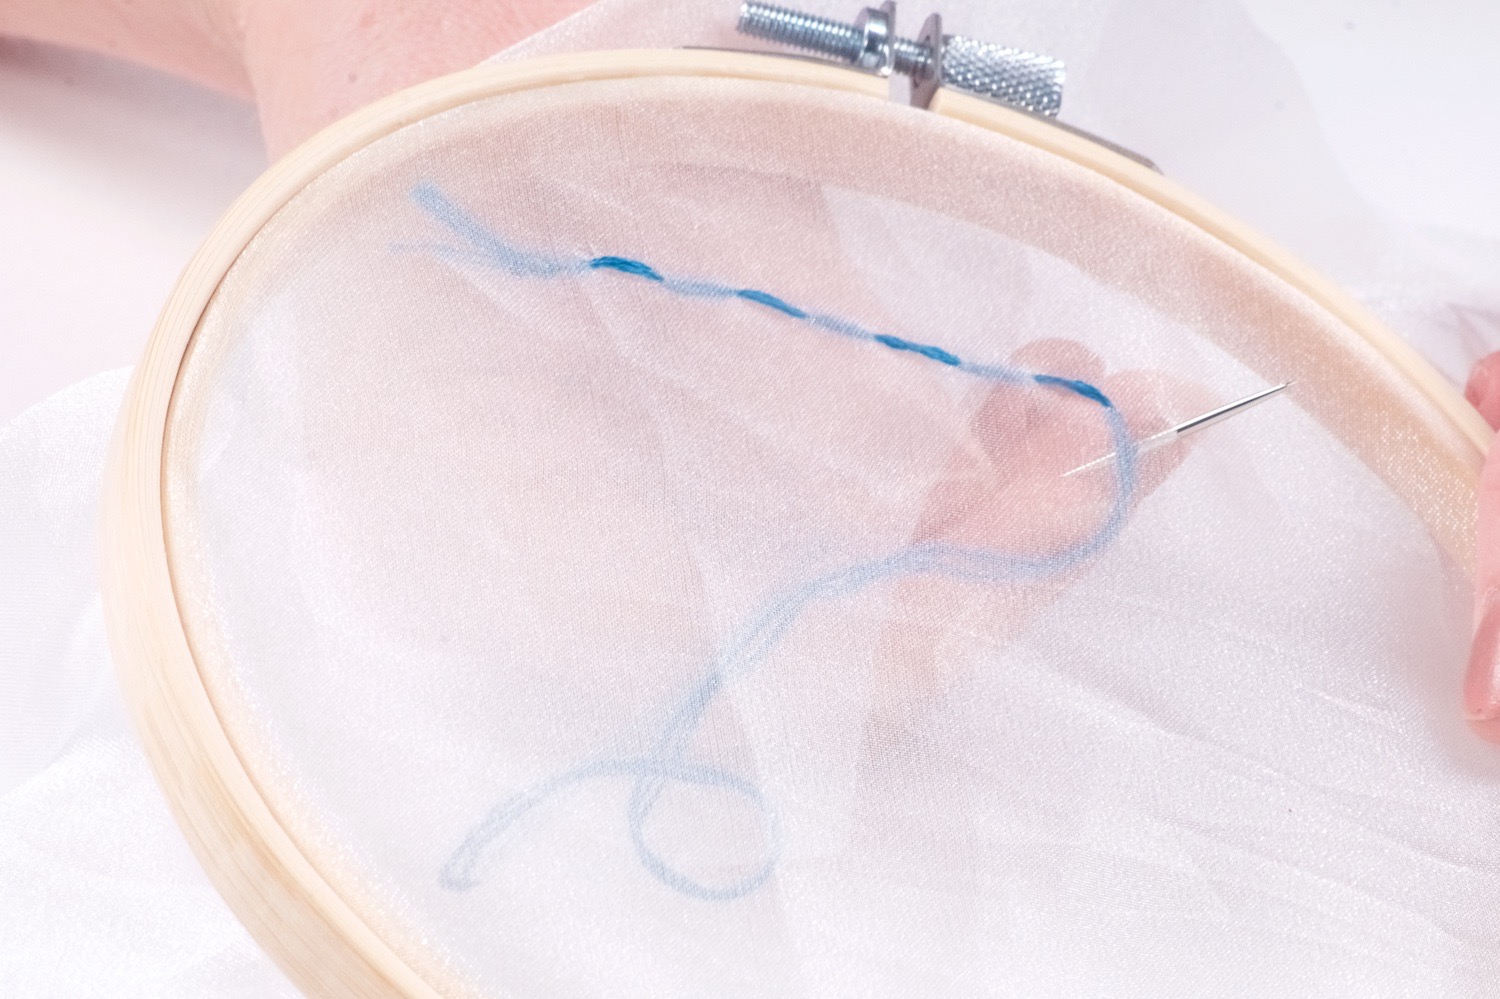
So part of the thread shows as a line on the front of the fabric. Part of the line continues and shows through the back. Each time you pierce the fabric with your needle, pull the embroidery thread taught to keep the stitch looking pristine.
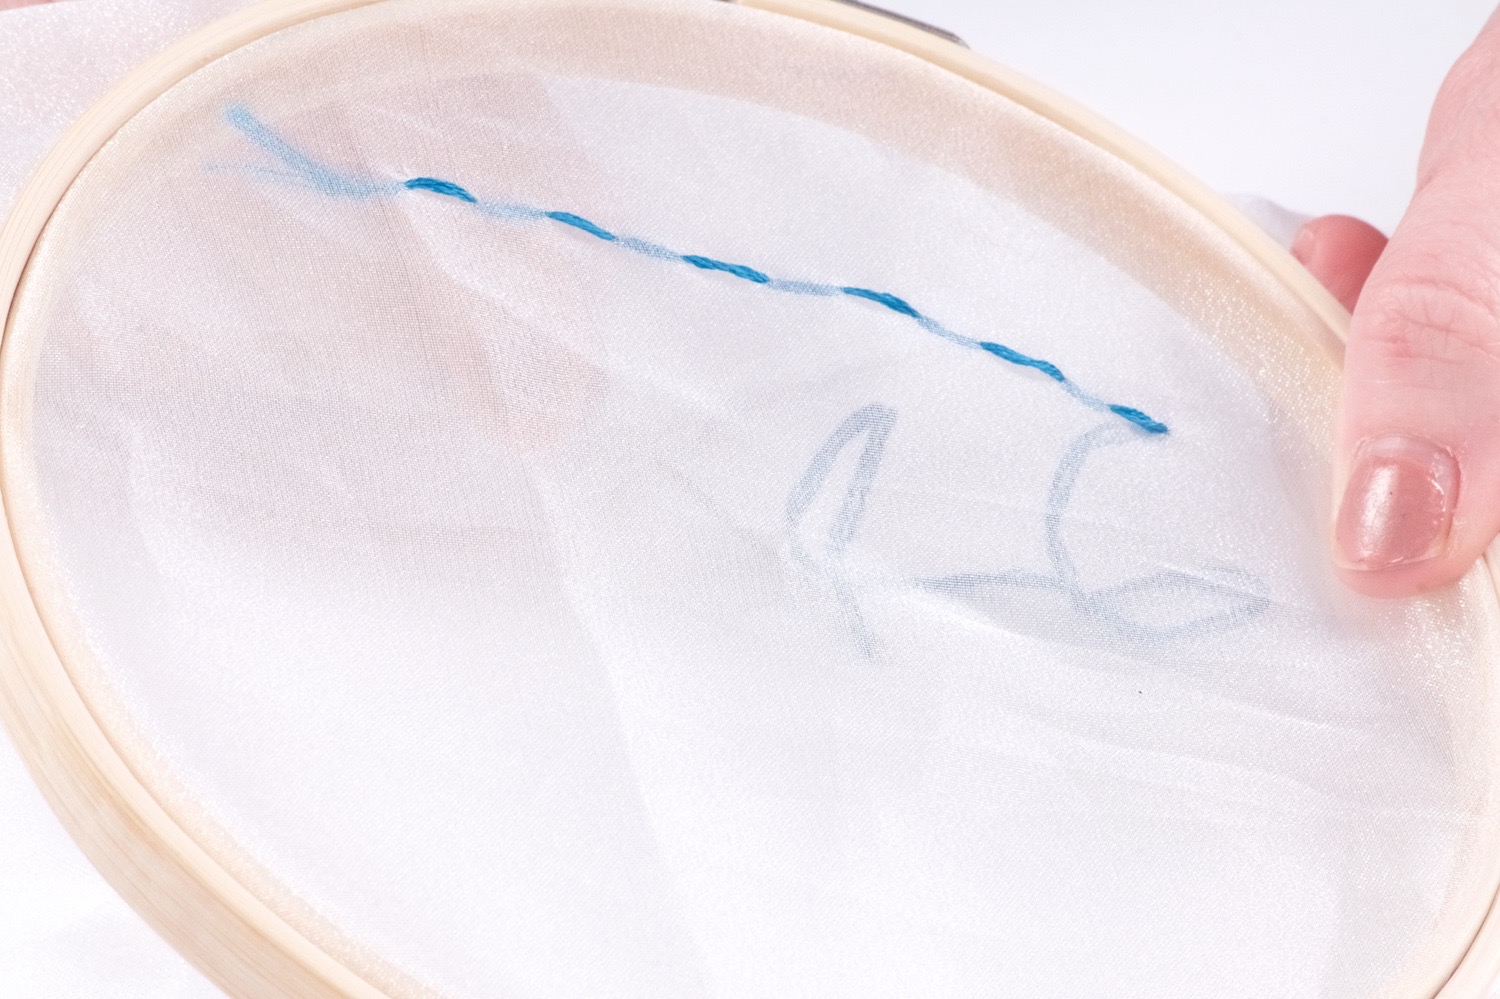
The trick to making a beautiful running stitch is make the length of the stitch equal and perfectly even between the stitches that show on the front and the stitches that show on the back of the fabric. With any stitch, the straighter your line, the better it will look.
Even a curved line can still follow that line evenly to look more professional.
How to Finish a Running Stitch
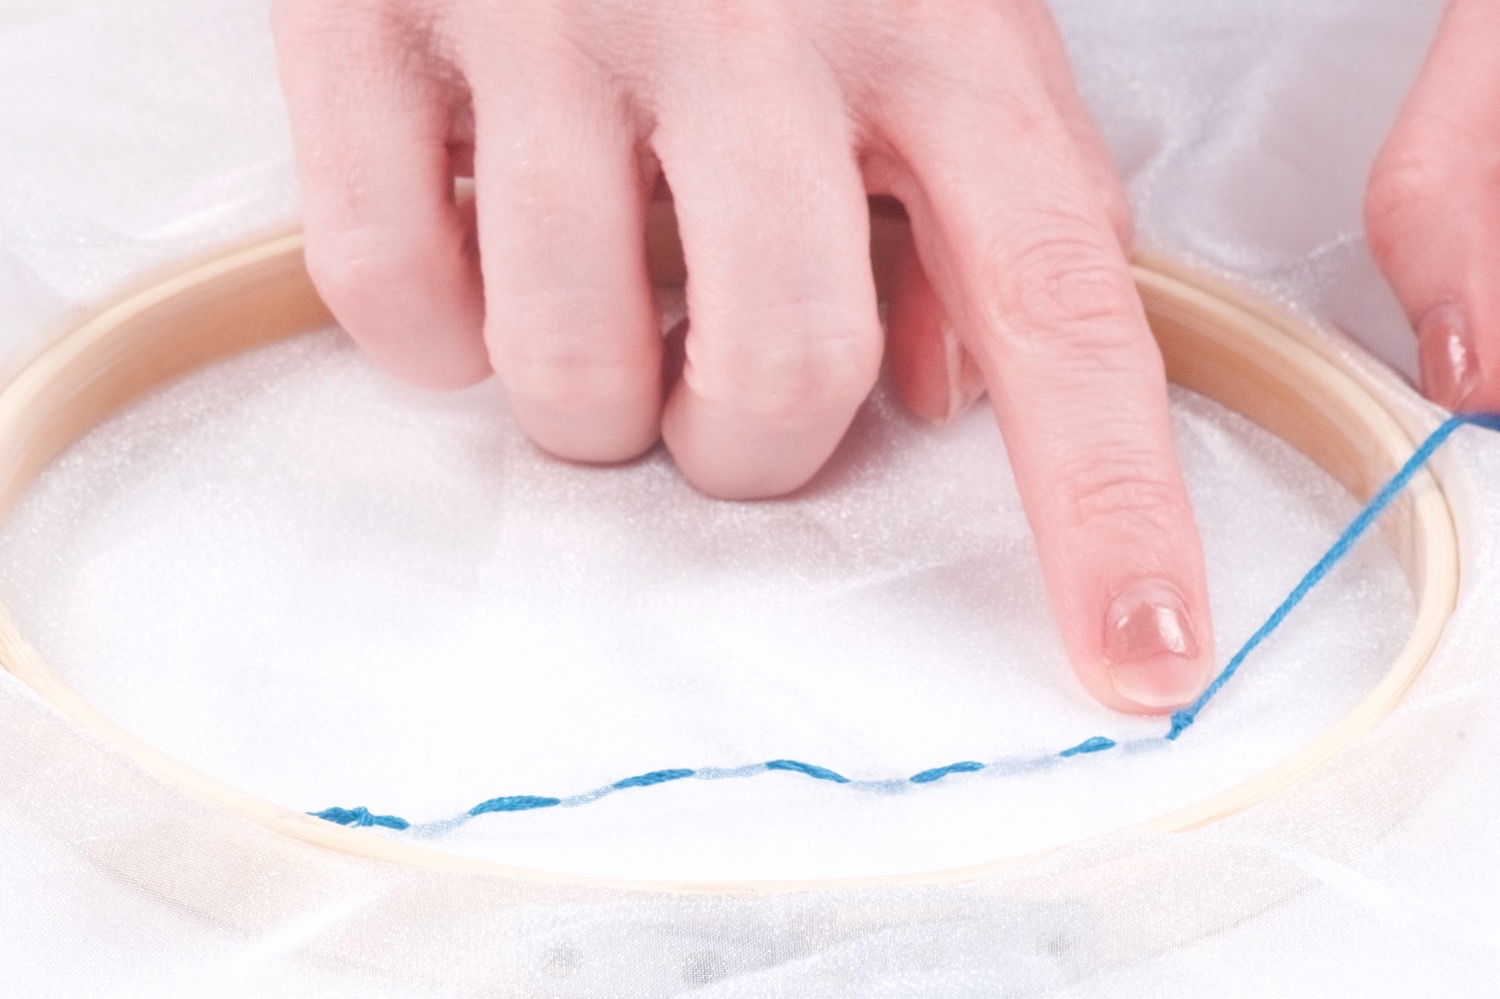
To finish a running stitch, punch your needle through the fabric so the needle is on the backside of the fabric. And tie a knot. Double knots work best when your second knot is right on top of the first. Then trim the thread nice and short.
When to Use a Running Stitch
Running stitches are used in tailoring to sew basic seams, hems and gathers. For example, it can be used to hem pants. It’s commonly seen in quilting to hold the fabric layers together. You will even see it in leather work.
Ready to learn more stitches? Try these >> Back Stitch | Stem Stitch | Chain Stitch & French Knot Tutorials!
Let’s Stay Friends!
Insta | Pinterest | Enews | TikTok