
Craft in Style Subscription Instructions, DIY
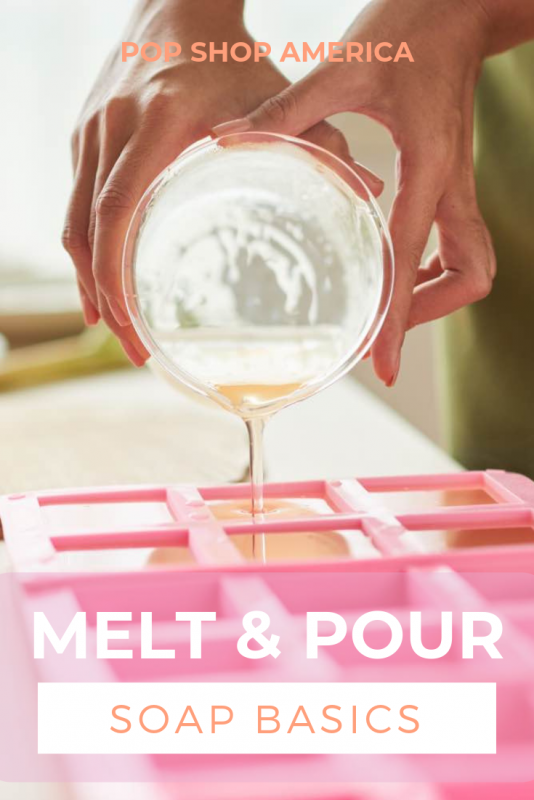
Soap Making Basics: How to Work with Melt & Pour Soap
Sep
This is the 3rd blog for the September 2019 Craft in Style Craft Supply Subscription Box. You can buy this Soap Making Kit as an independent kit now! You can find Part 1: The Basics of Essential Oil Blending here and Part 2: No Sew Vegan Leather Travel Pouch here.
Melt and pour soaps are such a wonderful way to learn all the basics of soap making. Before you even consider making soap from scratch this is the best way to start.
Making soaps from scratch can be dangerous. You need goggles and gloves, you are working with chemicals that are somewhat dangerous like lye. But with melt and pour soap, you can test your recipes, add gorgeous ingredients, add your own scents and moisturizers and more!
These supplies and ingredients were included in the September Craft in Style Box. That’s our box full of craft supplies that delivers monthly!
Luckily, you can also buy this Soap Making Kit as a standalone kit, too! You can also buy all of the supplies separately, on your own as well.
Supplies for Melt & Pour Soap Making
Soap Making Kit
-or-
A Soap Base (Choose from Goat’s Milk, Olive Oil, or Glycerin)
A Soap Mold
Add Ins (Dried Orange Slices, Coffee, Oats, Essential Oils, Moisturizers)
Optional: A Mister of Rubbing Alcohol
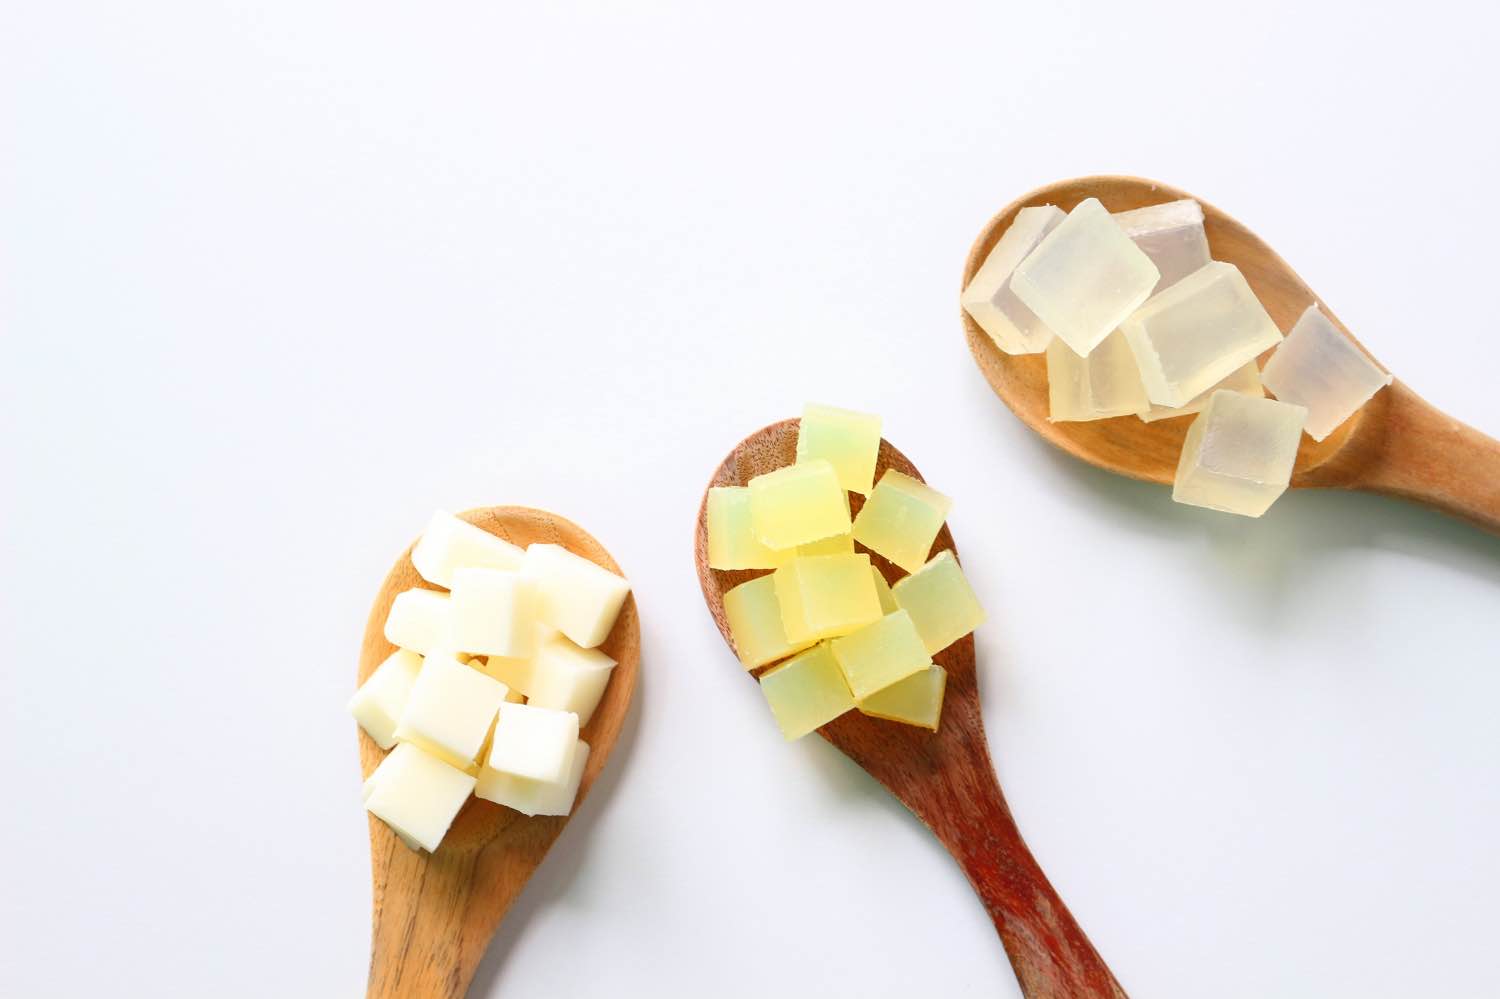
With melt and pour soaps there are a few different types to choose from. Our box includes Goat’s Milk Soap Base and Clear Glycerin Soap Base. In the photo above they are on the far left and far right.
But you could also choose an Olive Oil Soap base. That’s the image in the center.
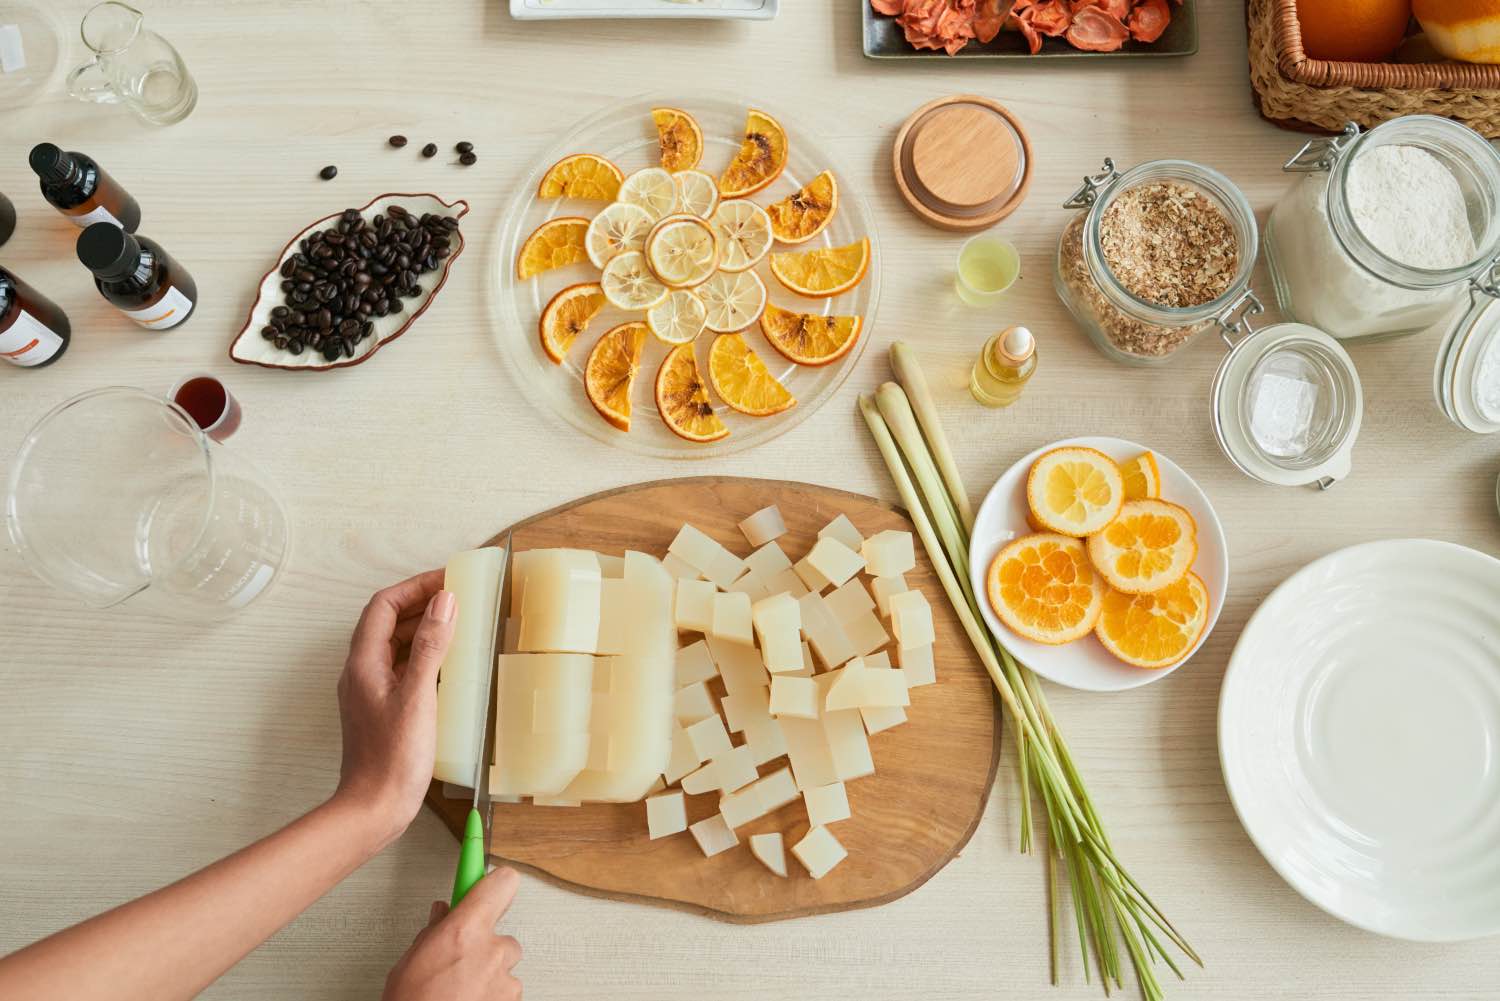
Before you start gather any of the additional supplies you want to add in to your soap. In the September box we included rose buds, sea salt, dried lavender, dried rosemary, oats, essential oils and orange peel.
Dried orange slices, coffee (either slightly ground or whole bean both work), soap colorants, and moisturizers like coconut oil are all great additions too. Before you add anything to this soap carefully read the mixing instructions below.
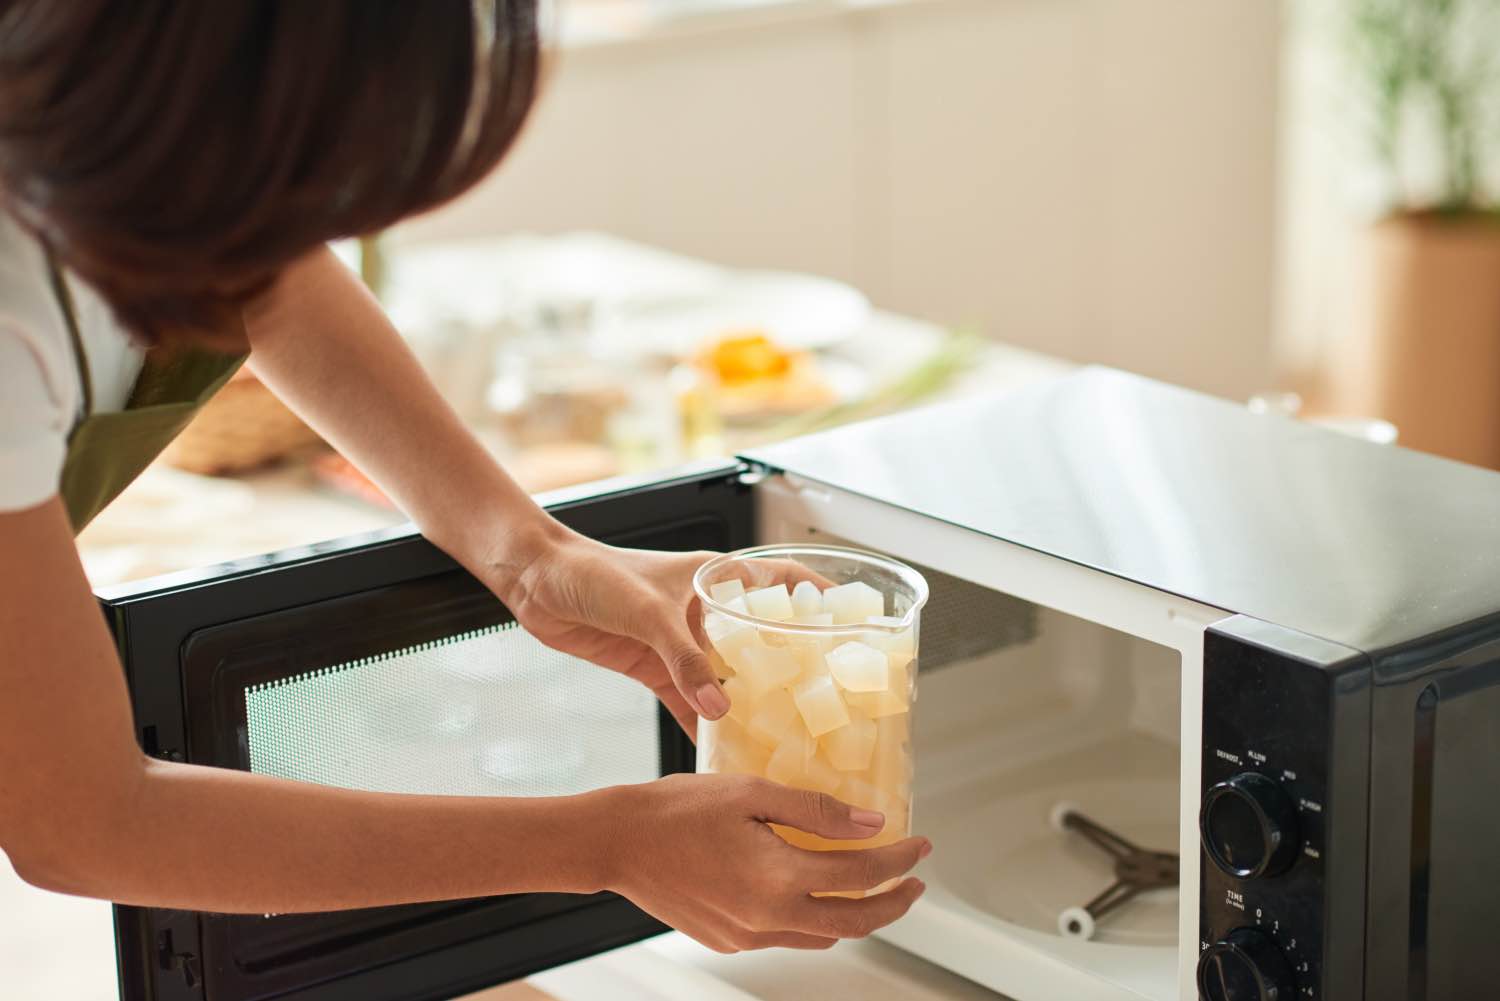
For most people starting with melt and pour soap, their soap base will come in a big block. If so, it should be cut into small squares (around 1 inch) and placed in a heat safe bowl – like a glass microwave safe bowl.
Now you can melt your soap base in a crock pot, in the microwave, or in a double broiler. The important part is – only heat your soap base on low! Soap can burn easily. If you are using the microwave, heat the soap base in 30 second instruments and stir. Repeat on 30 increments until the soap is melted.
Once your soap base is liquid, set it to the side and get your molds and ingredients ready.
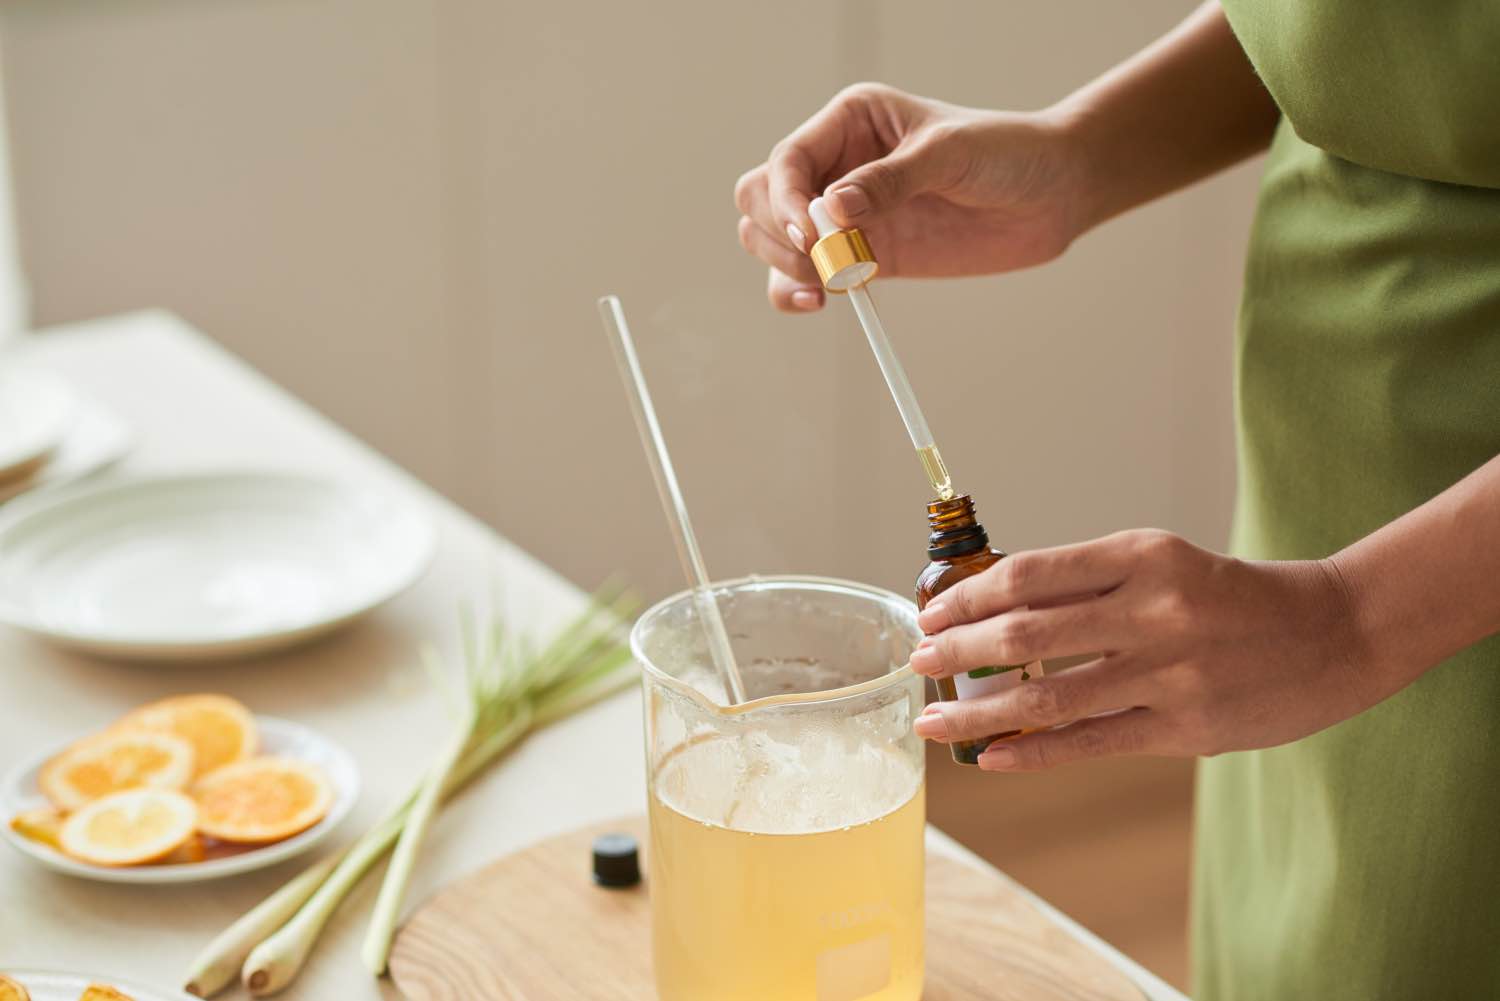
Still in your bowl, mix your add ins into your soap base. Any oils or moisturizers that are added should be less than 3% of the total volume. A small soap mold like what was included in Craft in Style Box is around 8 oz. So just a few drops should be plenty! Don’t use more than 50 drops or you may have issues with the soap setting. In a large mold, like these photos, you could use up to 100 drops.
Don’t use more, as these ingredients can prevent the soap from solidifying into a firm and smooth finished block. If you are using dry ingredients, the same measurements hold true. For a small mold, use around 1/2 teaspoon of oats, coffee, or flower buds. If you are adding colorant, just continue to add and stir until you reach your desired color. You don’t not have to measure as carefully.
If you are adding large items, like orange slices, add those directly into the mold before adding your soap base.
Regardless of what you are mixing in, be sure that you stir it fully, evenly, and slowly so that your soap bars look gorgeous and have evenly mixed ingredients.
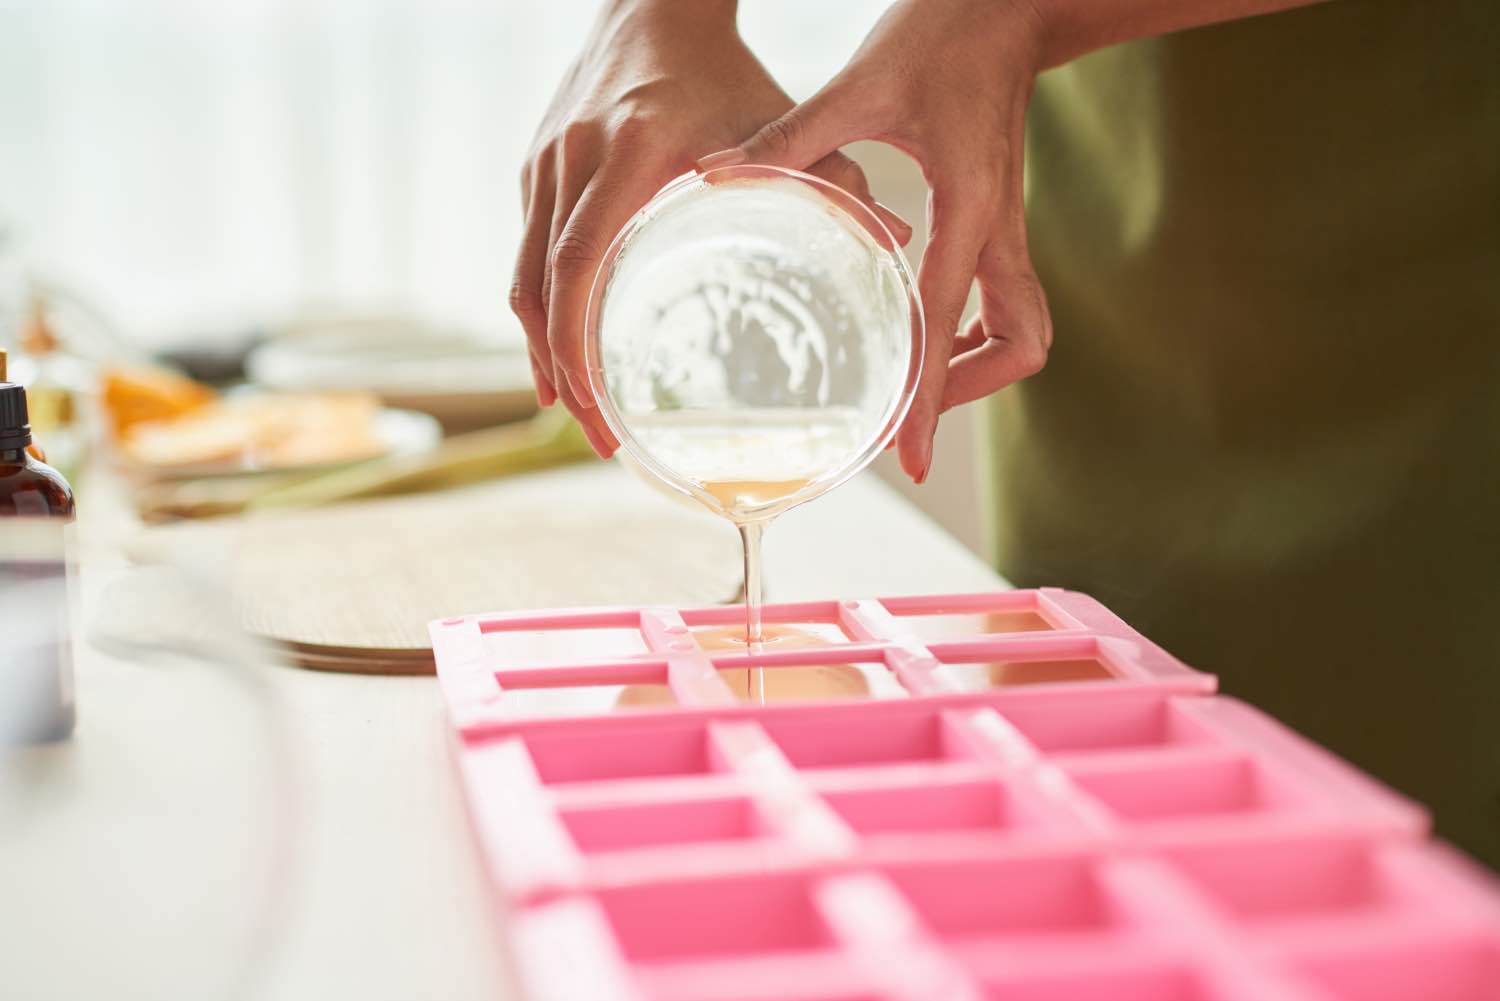
Now, carefully pour your soap into your molds. If you don’t have a pour spout like I do, try a measuring cup or a ladle to prevent spillage. Pro Tip: If you have any bubbles on the surface of your soap bars, spritz them with a tiny mist of rubbing alcohol to remove the bubbles and give your soap clean edges.
Once your soaps are in the molds, do not move them and do not touch them. Moving them can create ripples and patterns or even move the ingredients inside.
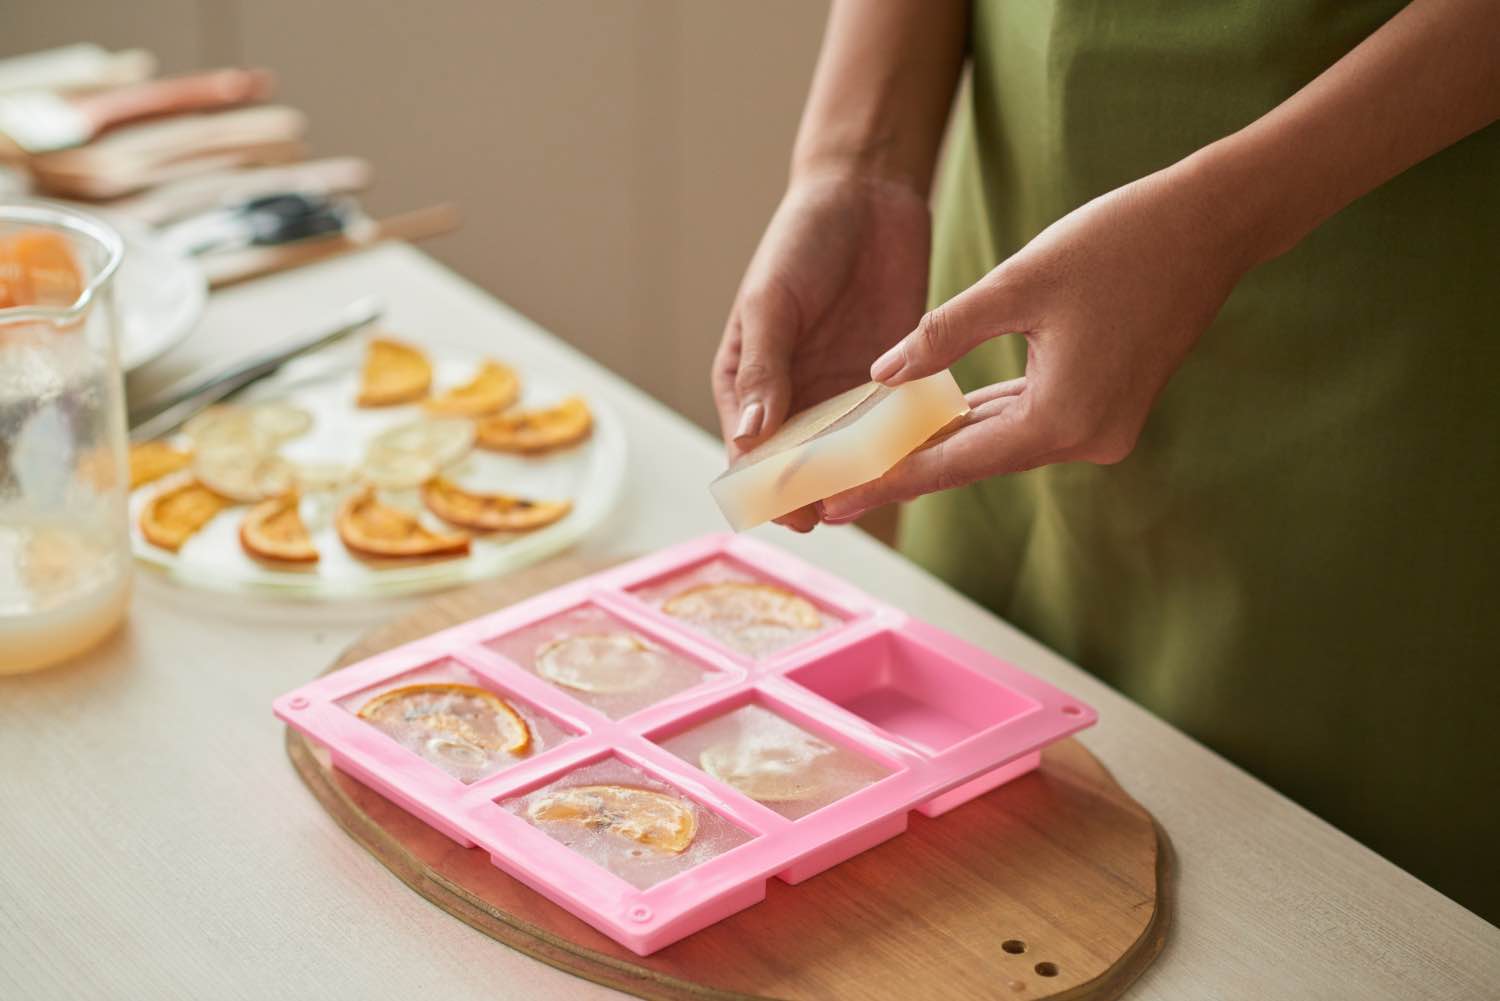
Last, allow your soap bars to rest and solidify in the mold for at least 1 hour. Many people prefer overnight, just to be sure. If you have trouble getting the soap bars out, and pressing on the edges is not working, try slapping the mold upside down across a flat surface. Or you can gently use a knife along the edges.
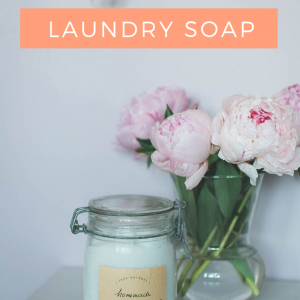
Once your soap bars are out of the mold, they are ready to use immediately! You can package them in a million cute ways to gift them to a friend or set them in a guest room. The possibilities are endless and it’s always lovely to have extra soap lying around.
What ingredients did you put in your soap? Tell us your special recipes in the comments!
And if you are ready to make your own soap with our Soap Making Kit, be sure to shop the box here.
Let’s Stay Friends!
Insta | Pinterest | Enews | TikTok

My soap has a oily feeling when they r dry. And when u wash like ur hands it feels like ur hands r like sticky but dry. Can u help me with what is wrong. I melted the soap to 150f put mica power mixed with a little rubbing alcohol and than my fragrance oil. Than pour into molds let sit. Thank you so.much for ur time.
Hi Kristi,
Those are great questions. My guesses are:
1. You may have overheated your soap. Melt and pour soap burns at a very low temperature. So I recommend using a microwave at 15 second to 30 second intervals and stir thoroughly. Keep heating until melted but don’t overheat. The melt temperature is about 115°F. The burn temperature is about 145°F.
2. Not all melt and pour brands are created equal. Read the reviews and try making soap again to see if the soap itself is the issue.
3. Don’t add rubbing alcohol. It doesn’t blend well with soap. Instead pour the mica directly into the liquid soap and stir or into the fragrance oil and stir. Then blend together.
I hope those things help! Let us know?
Is there something I can add to make melt and pour soaps harder. They are too soft
That’s a great question. Long term, I would recommend switching over to making cold press soaps which will dry and set a lot harder. But melt and pour will always be a bit soft.