DIY
St. Patrick’s Day DIY Shamrock Garland

Mar
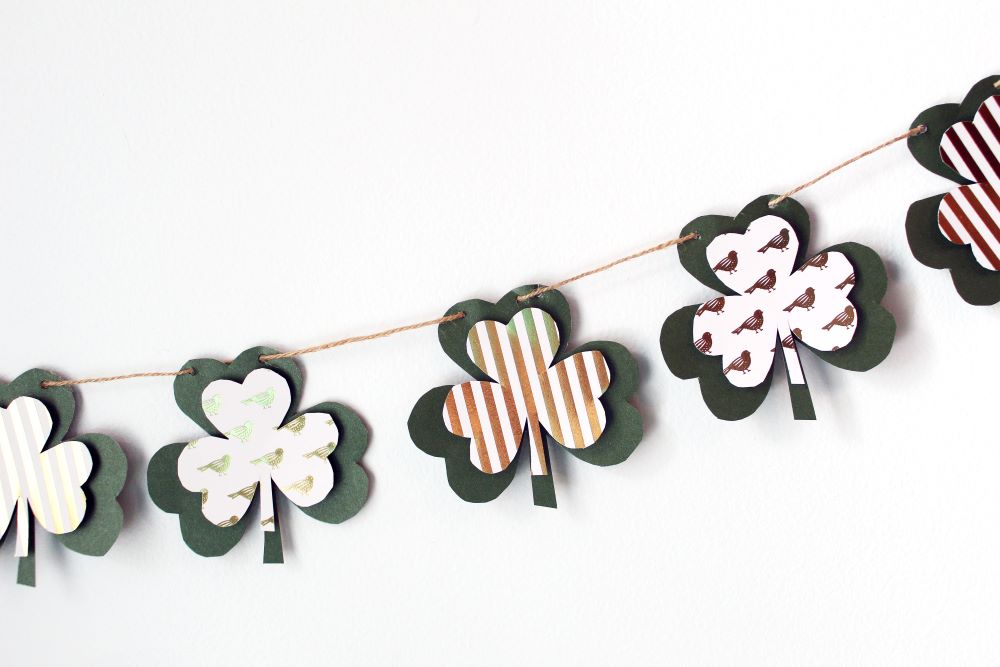
This adorable DIY Shamrock garland is perfect if you decorate for St. Patrick’s Day, or if you just like cute green things! It’s super simple, and I made it without using any sort of cutting machine (although you certainly could use a Cricut or Silhouette; I just wanted to make sure this was something anyone could do without any special supplies).
I only put up one or two St. Patrick’s Day themed decorations every year, but this one is fun and it feels springy too, so it tides me over until I get my spring and Easter decor up. Plus my toddler is just learning about St. Patrick’s Day and the fun of leprechauns, so he likes seeing the shamrocks hanging on our fireplace.
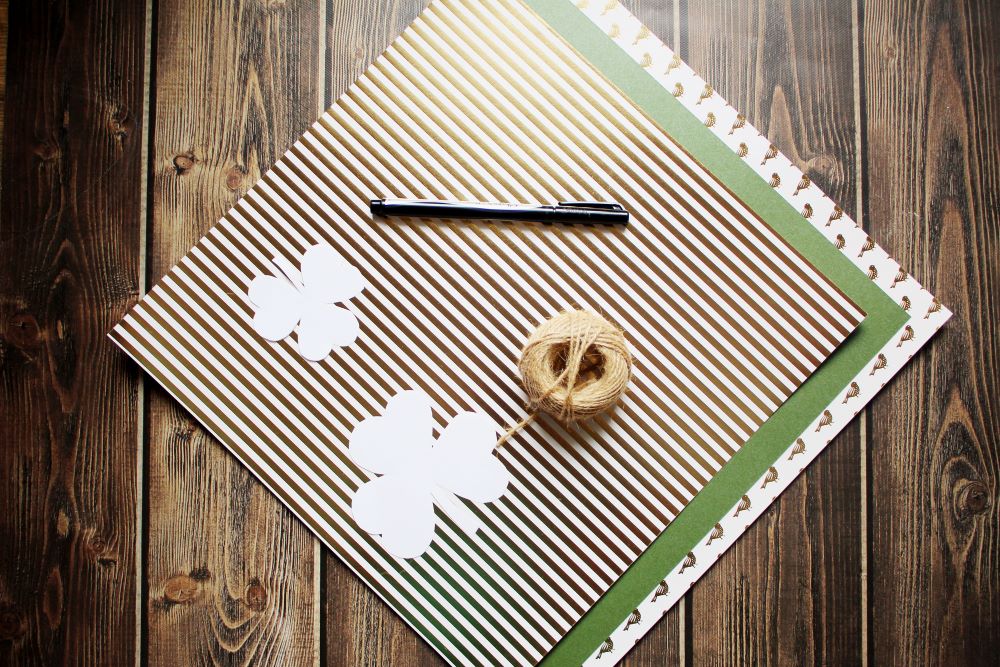
To make this DIY Shamrock Garland, you’ll need:
- green cardstock – you can use the same color or different variations
- an accent color or pattern of cardstock – I used two different white/gold patterned cardstocks
- twine
- paper to trace a template on
- scissors
- pen
- 3D adhesive squares
- any accents you want on your garland
Let’s Make the DIY Shamrock Garland
To start with, you’ll need to make 2 easy templates: a larger shamrock and a smaller one to go in front of it.
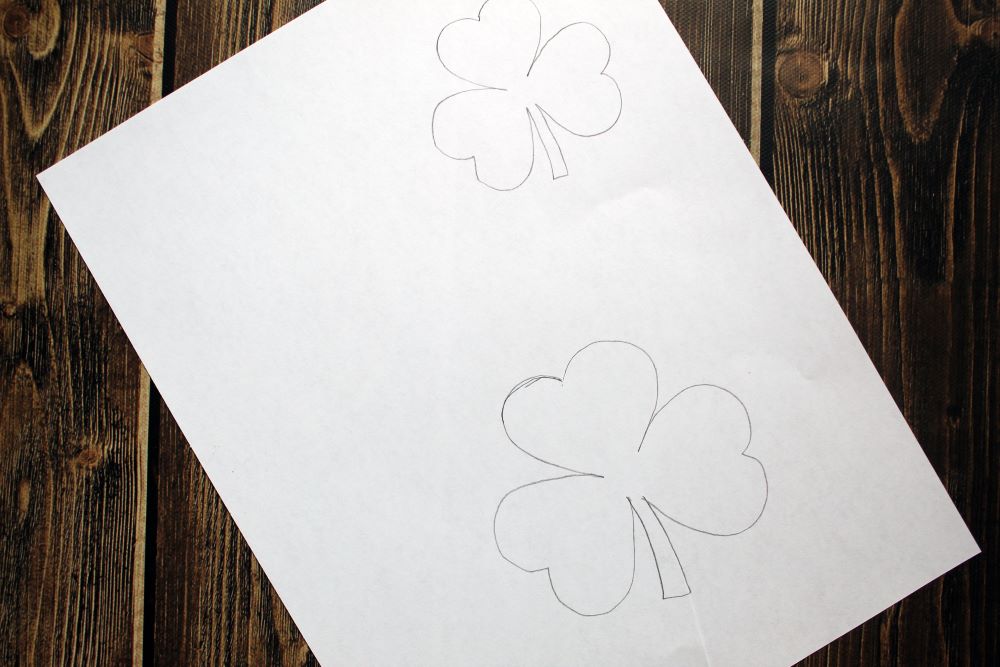
To do this, you can use the Pop Shop America shamrock template. You can just make it two different sizes in Word or Paint and then print and cut it out. Alternatively, before I remembered that we had one on the blog, I pulled up a clip art shamrock and held a piece of paper over the computer and very carefully traced it with a pencil. Then I shrunk the shamrock about a half inch on each side and traced it again to have my second, smaller shamrock.
Once you have your shamrock templates, it’s time to trace them! Trace your big one onto the plain green cardstock 10 times (or more if you want a longer garland).
Trace the smaller shamrock onto the patterned paper or cardstock 10 times total (or an equivalent number to your large shamrocks). I had 2 different paper designs, so I traced 5 of each.
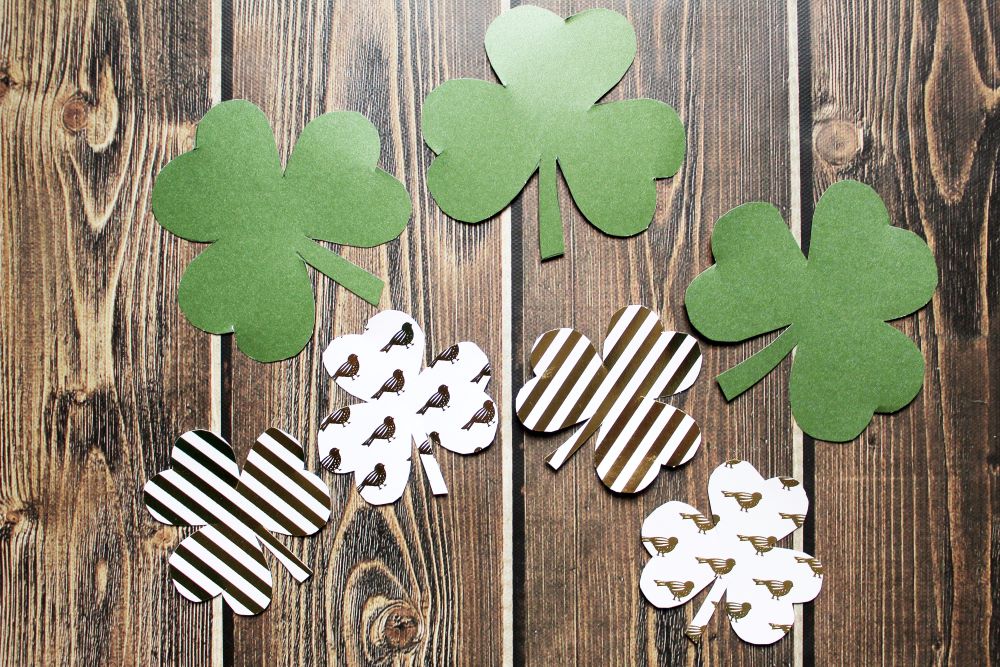
Cut out all of the small and big shamrocks. I used scissors, and it gave me a choppier edge than I really wanted, because the cardstock was thick. If I could have found my exacto knife, I would have used that. Use whichever you’ve got and whatever you prefer to cut them out.
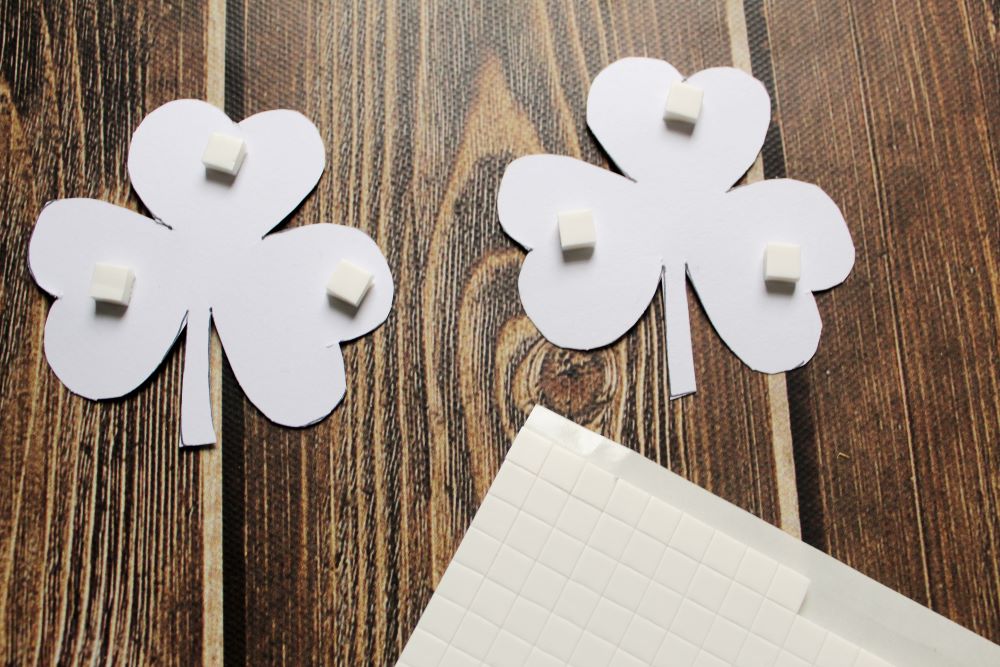
After you cut them out, use the 3D adhesive squares to attach the small shamrocks to the large ones. I used three per shamrock and that was plenty!
Then, take a pencil and poke two holes at the top of each of the large shamrocks about between 1/2-1 inch apart. Time to thread the twine! If you have a large craft needle, tie the end of the twine to it and use it to help you thread it through the shamrocks. Otherwise, just work the twine through with your fingers (lick the end of it to help get a better point!).
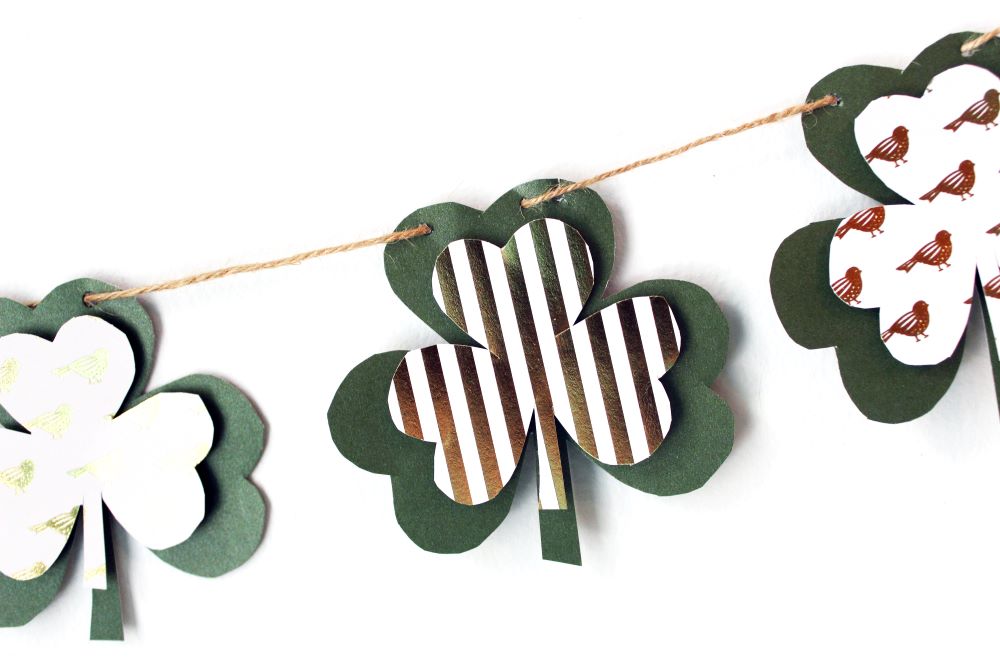
To thread the twine through the shamrocks, you want to thread it from the top down on the right side and then from the bottom up on the left side. Carefully slide the shamrock farther onto the twine and repeat with the remaining shamrocks.
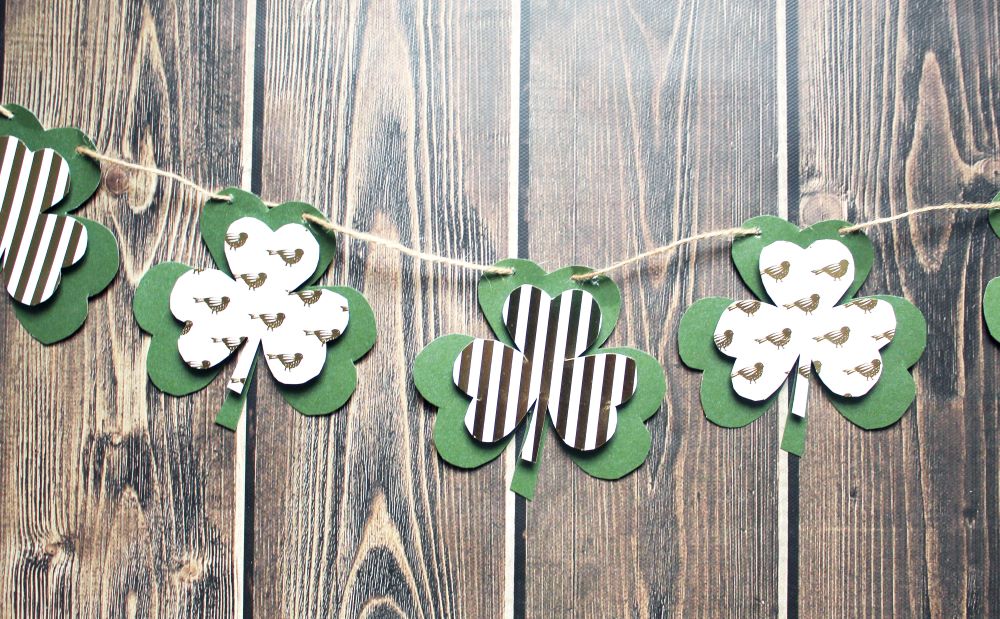
And that’s it! Your DIY Shamrock Garland is done! Cut the twine and hang this cute garland anywhere you’d like – on the wall, on the fireplace, on the media center. Anywhere will look cute!
Adding a bit of bling-zing to your shamrock
Whenever I try to make things fancy, I always think of my son’s book, The Not Very Merry Pout-Pout Fish, and how the fish wanted everything to have a bit of ‘bling-zing!’ Haha.
Here are a few ideas to add to your DIY Shamrock Garland:
- thread green craft pom poms in between each shamrock.
- thread clips onto the twine in between each shamrock. Then you can use it as a photo banner and hang photos from the clips!
- After you’ve adjusted all of the shamrocks where you want them to be – I’d hang it up first – use a hot glue gun to glue plastic gold coins on the twine in between each of the shamrocks. At the end of the garland, hang little plastic pots/cauldrons that you find at the craft store! Such a cute little accent!
Let’s Be Friends!
Insta | Pinterest | Enews | TikTok