Craft in Style Subscription Instructions, DIY
DIY Pressed Flower Paper Lamp

Mar
Let there be light! ✨Looking for a DIY light source with the prettiest finish? Then you have to make this Pressed Flower Paper Lamp. It’s simple, delicate, and totally pretty!
It’s all a part of the Craft in Style Subscription Box (this is for March 2019). First we started with making our own Simple Circuit. Then we made a simple version of this DIY Paper Lamp. I recommend checking it out first. It’s a great way to get started.
Next we’ll make a mason jar light, copper tape & pressed flower candles, and last copper tape and pressed flower matchbooks. It’s all a part of this month’s Craft in Style Box which you can shop here. So let’s get started making this DIY Pressed Flower Paper Lamp!
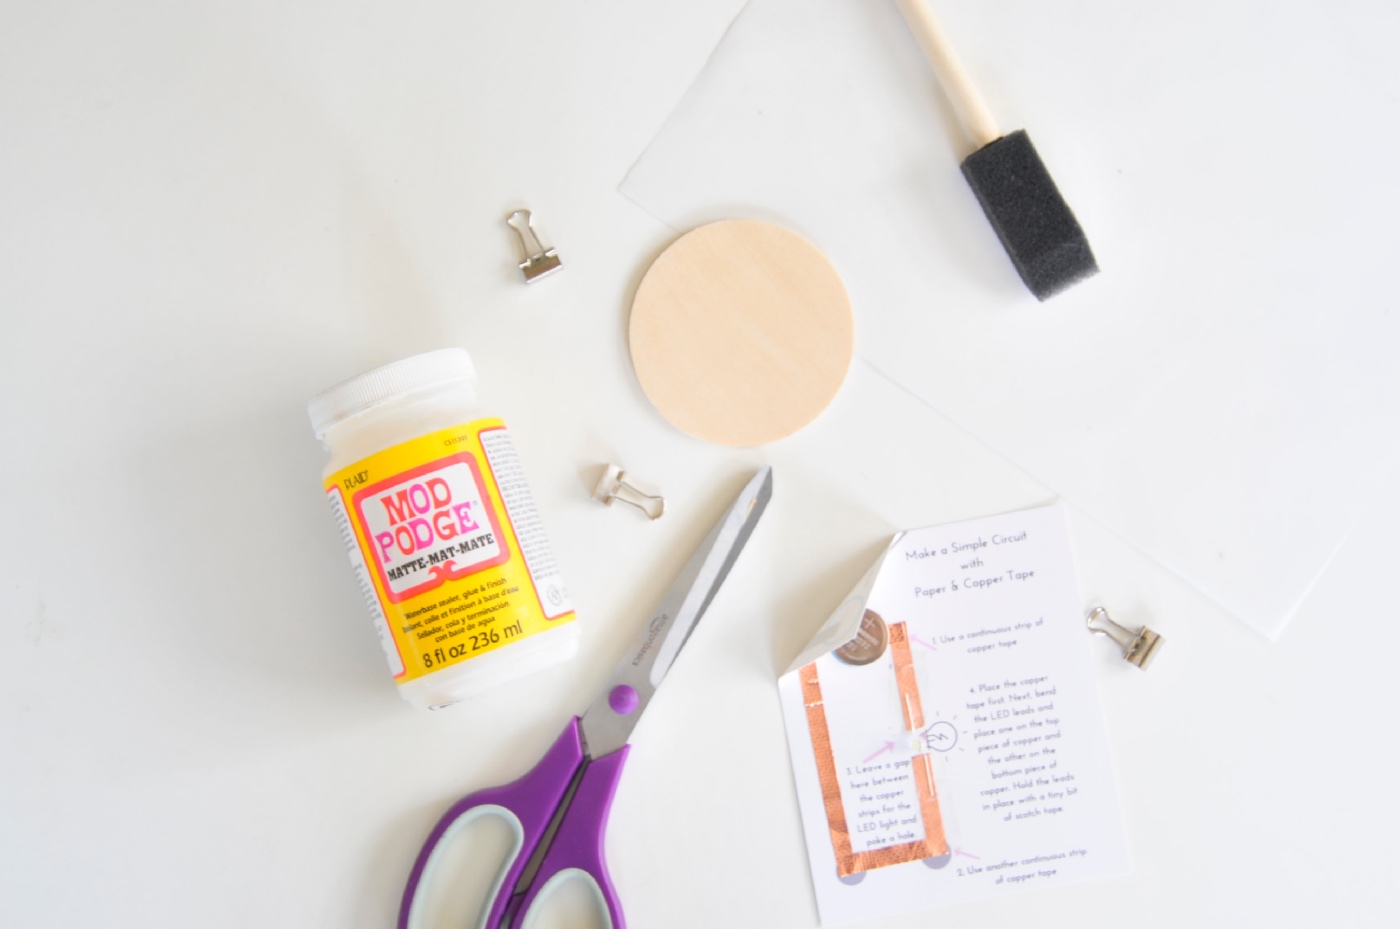
Supplies to Make a DIY Pressed Flower Paper Lamp
March 2019 Craft in Style Subscription Box
-or-
A 10.5 inch x 8 inch piece of Vellum Architectural Paper
A Tiny Drop of Mod Podge (or Rubber Cement works great too)
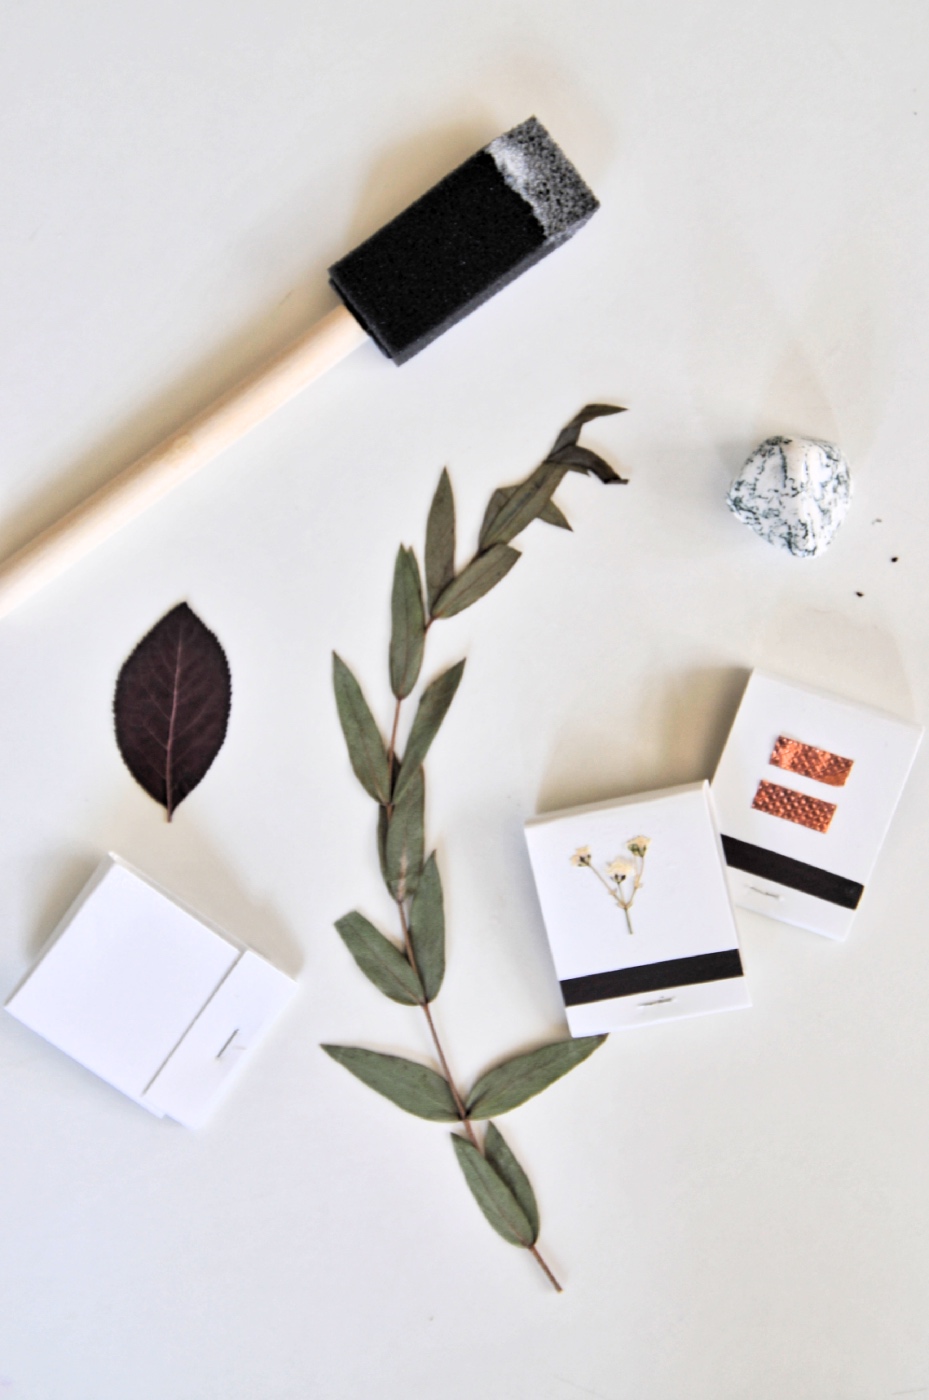
A Foam Brush
A 3 Inch Wood Round
A 3 Inch Rustic Wood Round (not shown)
2 Binder Clips
An Array of Pressed Flowers and Leaves
And a Light Source (A Simple Circuit, Tea Light Candles, or A Small String Light)
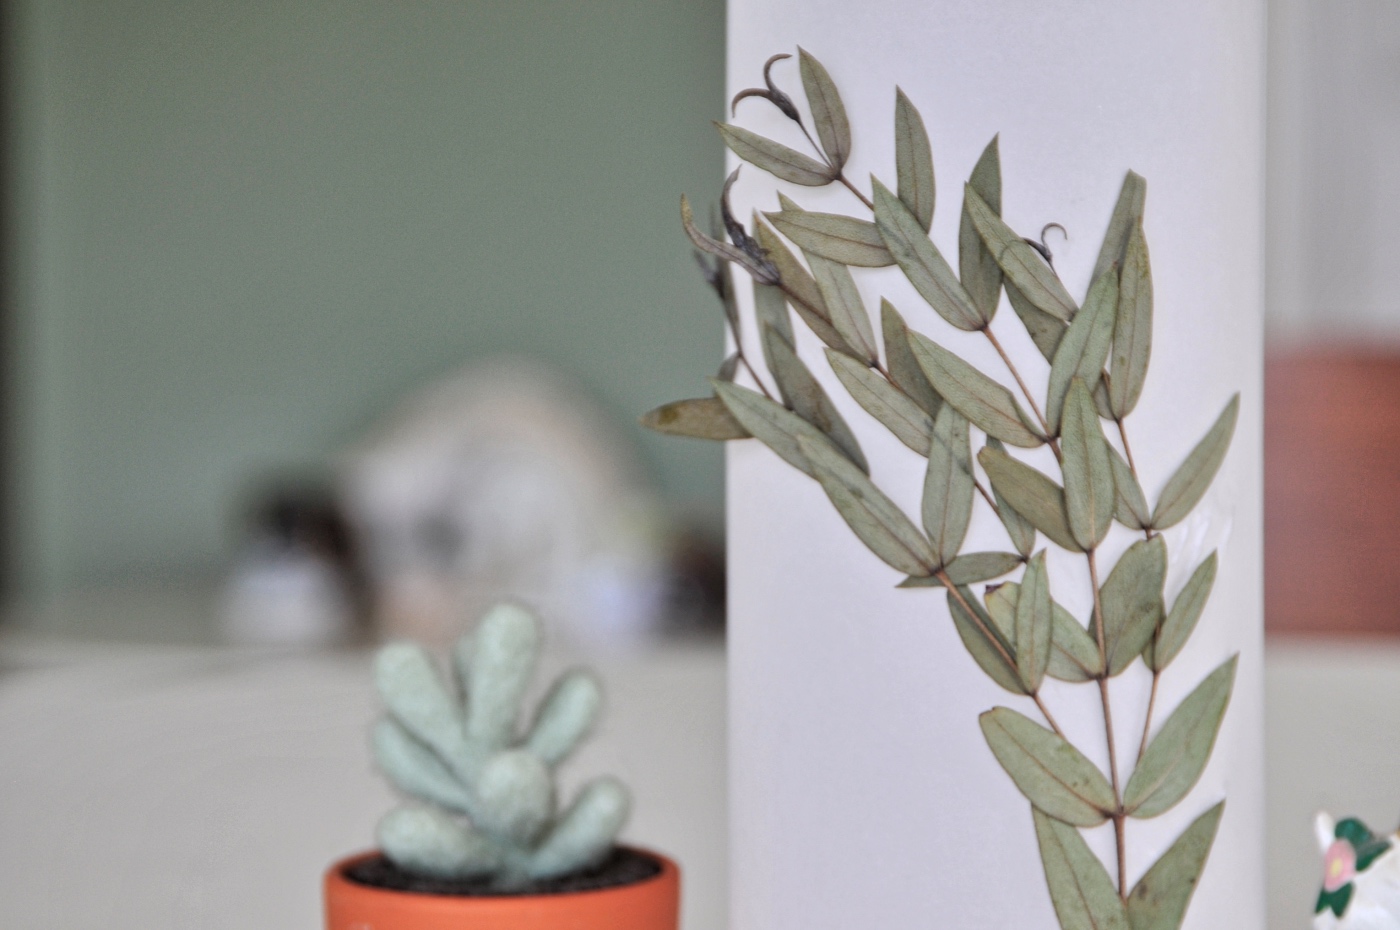
This tutorial follows the same steps as the DIY Paper Lamp with one big twist! Gorgeous pressed flowers. This makes a Paper Lamp a bit elevated and is a fun use of nature. To start, you will want to arrange your flowers.
To arrange them, remember, that you are working flat surface with the flowers. But to create the lamp, the vellum will transform into a cylinder that stands. Play around with how the vellum will be made into a circle first, to help you understand where you want your flowers to go.
To understand how to vellum will attach together, fold the long side together and let it overlap by a 1/2 inch or so. This is how you will attach the vellum together with mod podge in a moment.
The reason this is helpful is to see that the circle is not too wide – so if you use any large flowers, consider the way they will curve. Once you know where you want the flowers, attach them with a bit of mod podge. Just use a drop and once you create the vellum cylinder, you may want to add a bit more.
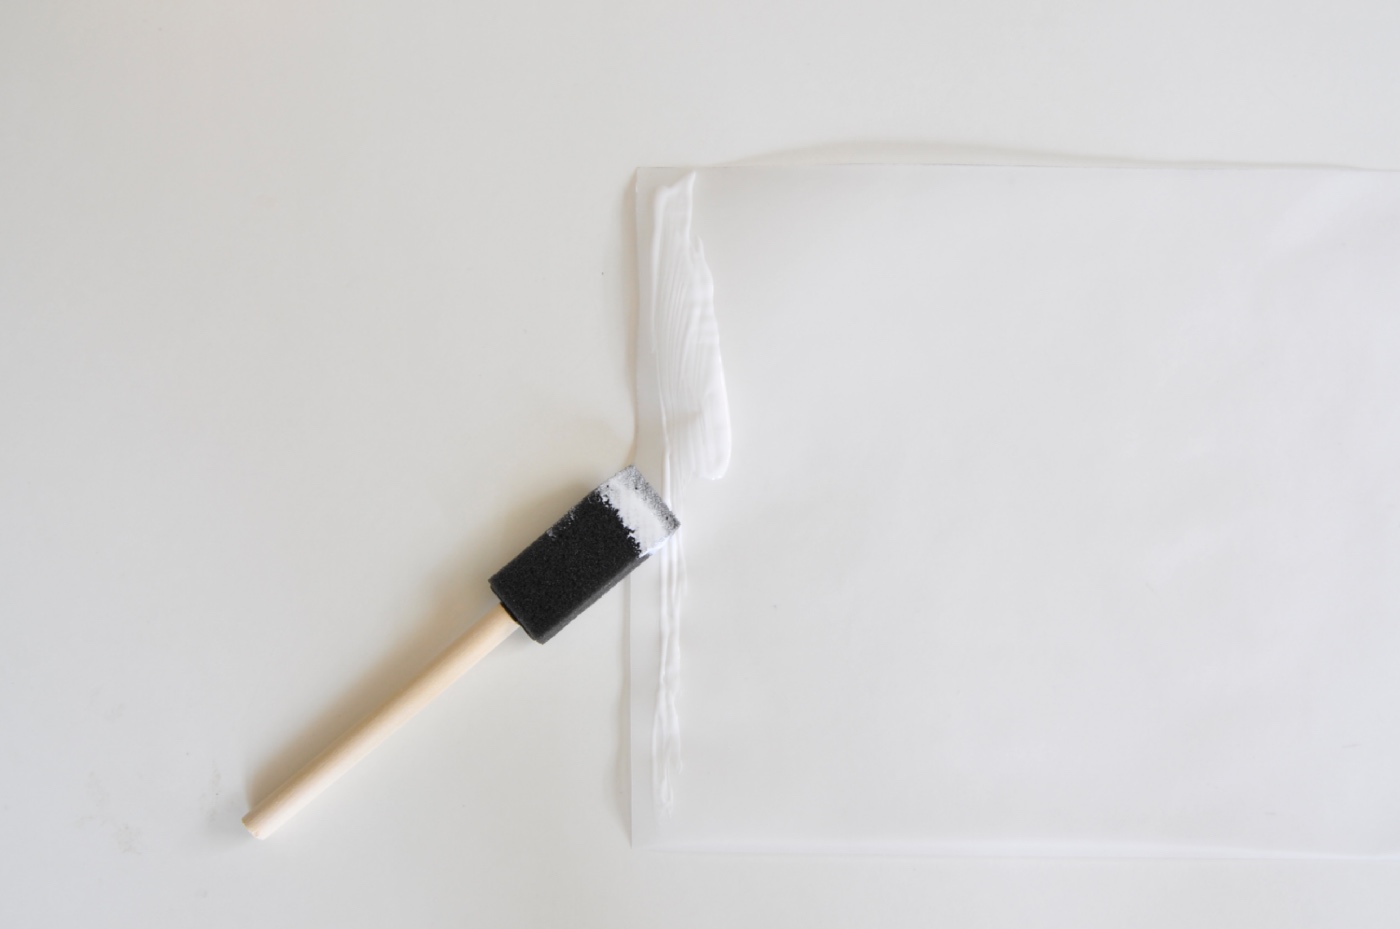
Once you have your flowers in place, create a cylinder with the vellum. You are going to fold the longer sides together which will made the wooden disc fit perfectly in the center. Just use a tiny drop of mod podge along the edge. Use one drop on each end and one in the center. The amount I used in the image above is way more than what you need. Once you have your drops of glue in place, and the edges together, make sure your edges match really perfectly.
On the glued portion, follow the line from one edge to the other. Be sure that the entire stretch lines up perfectly. This will ensure that you lamp looks professional.
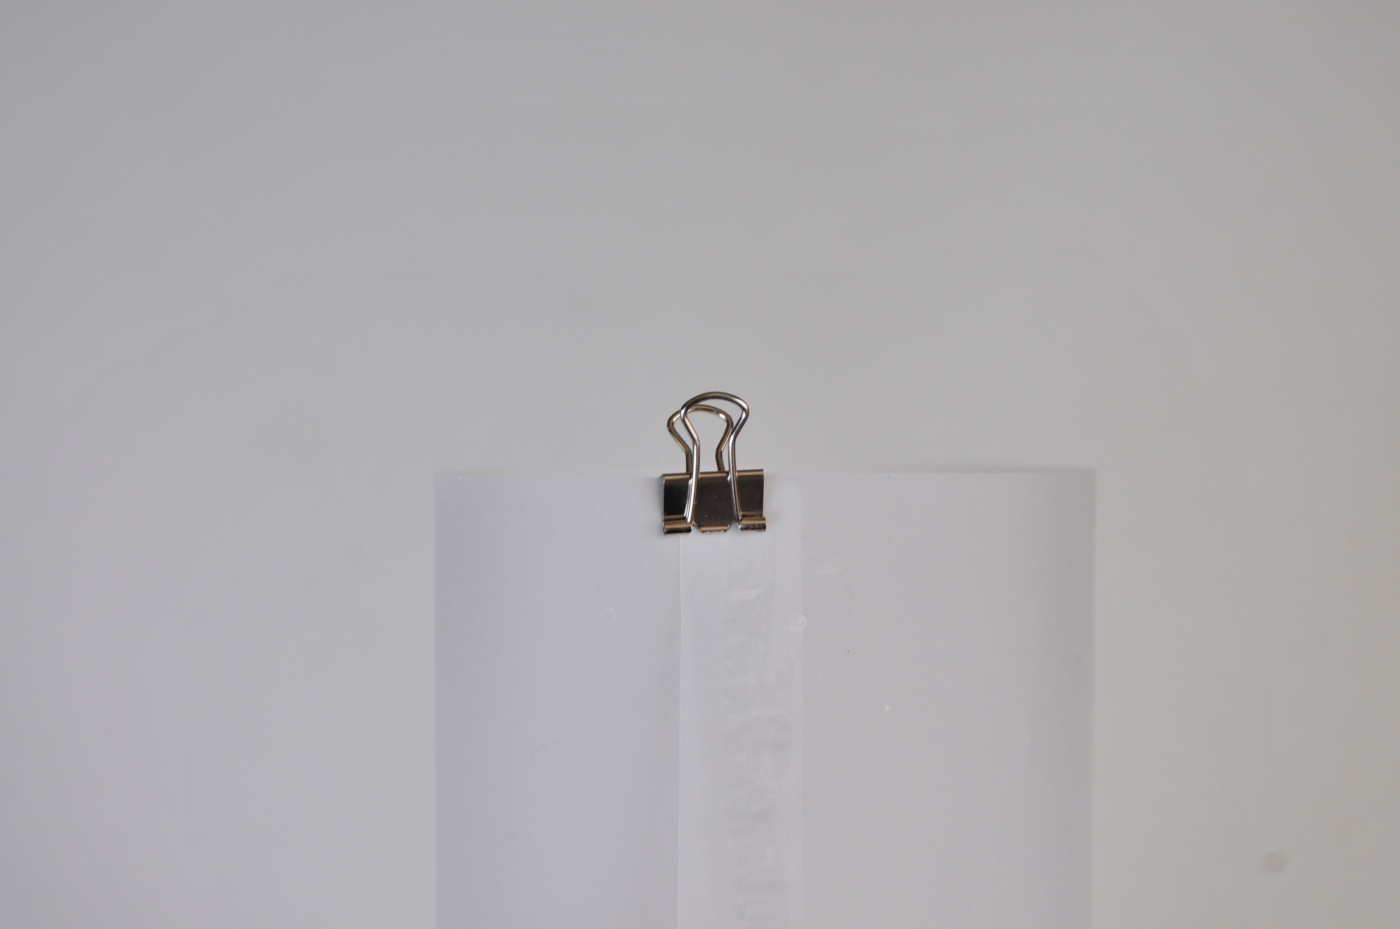
To hold your edges in place, use the binder clips on each edge. Mod podge dries quickly so this step will just take a moment.
As an alternative, you can actually use just about any glue. Rubber cement of course is perfect for this! And E6000 is always a winner. Mod podge is nice because it’s really light weight, spreadable and works for not only attaching the vellum but attaching the flowers to the vellum too!
Once your glue is dry into a cylinder, attach your 3 inch wood round to the bottom edge. Just use another tiny bit of mod podge around the edge of the smooth and thinner round circle. And place it inside the vellum. Allow it to dry.
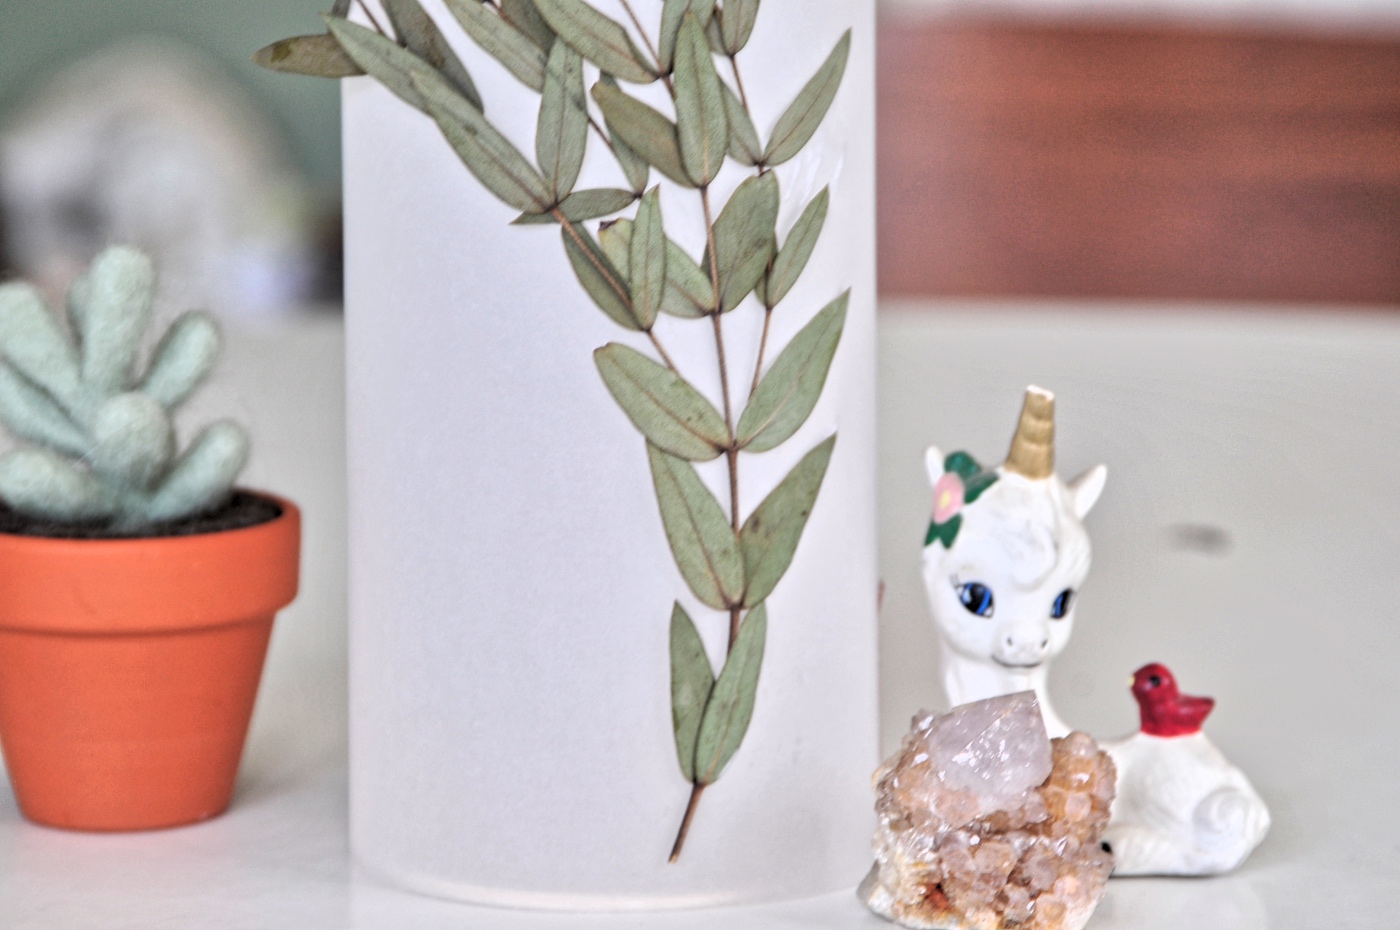
Now you may have noticed that your flowers need a touch up! That’s totally normal. There may be little edges that are still lifting off the vellum. Just use a bit of mod podge and work slowly across your lamp to glue the rest of the flowers in place.
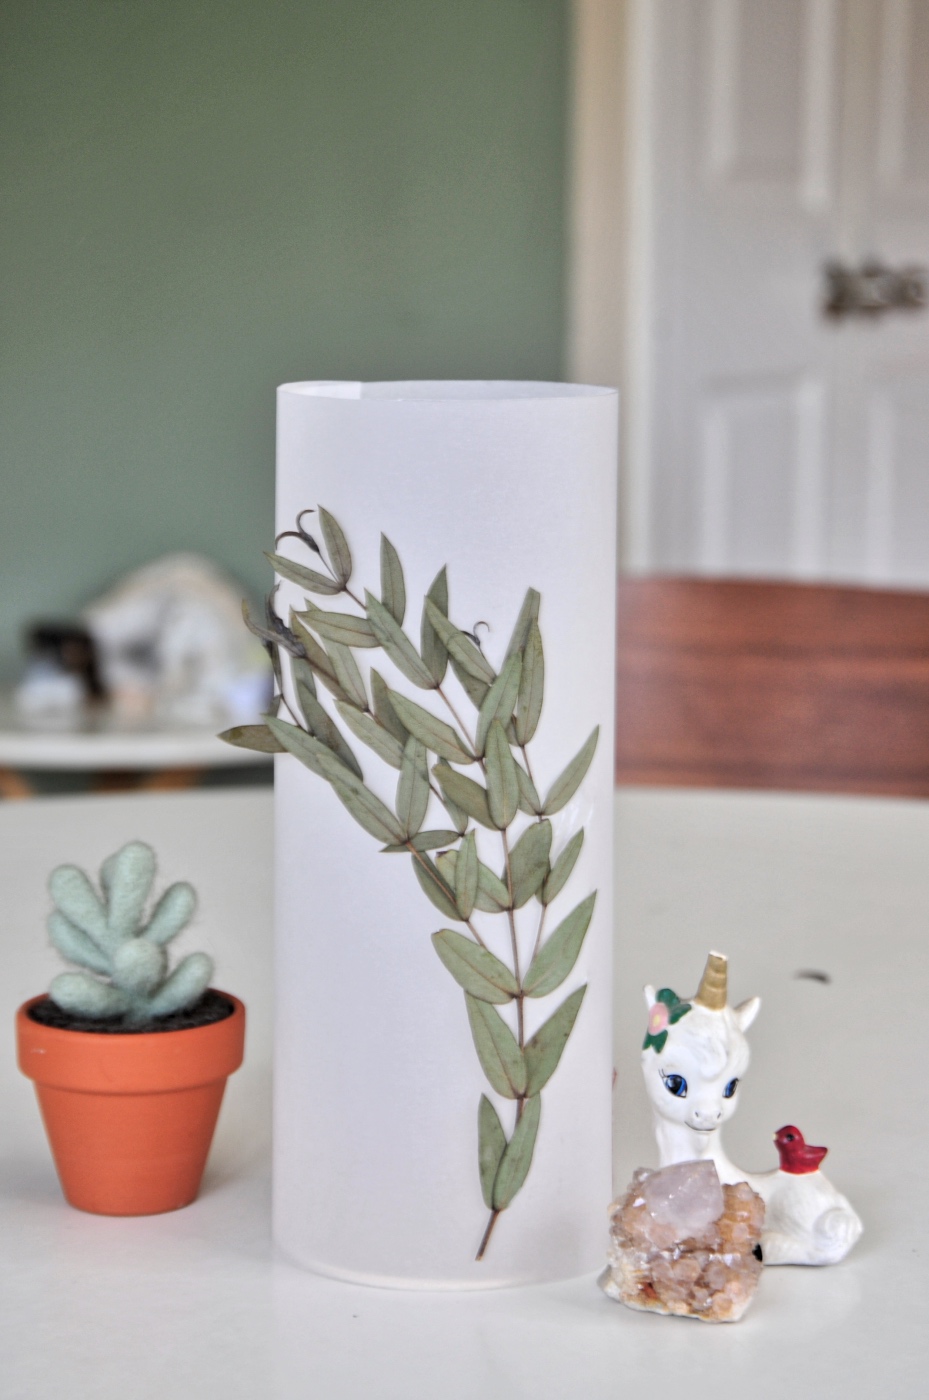
Once your flowers are in place, you can drop your light source in! A candle would be so gorgeous. And of course, if you haven’t made this fun paper circuit yet, you have to try this! You could also add a garden string light.
If you are making this from the Craft in Style Subscription Box, you could also let your lamp sit on top of your cute rustic wood round. That’s the other 3 inch wood round that has a natural edge.
That would be so pretty! And place your lamp anywhere you like. It could be on a shelf, a mantle, or in your bedroom. It brings nature in and gives it a bit of light.
Let’s Stay Friends!
Insta | Pinterest | Enews | TikTok