Craft in Style Subscription Instructions, DIY
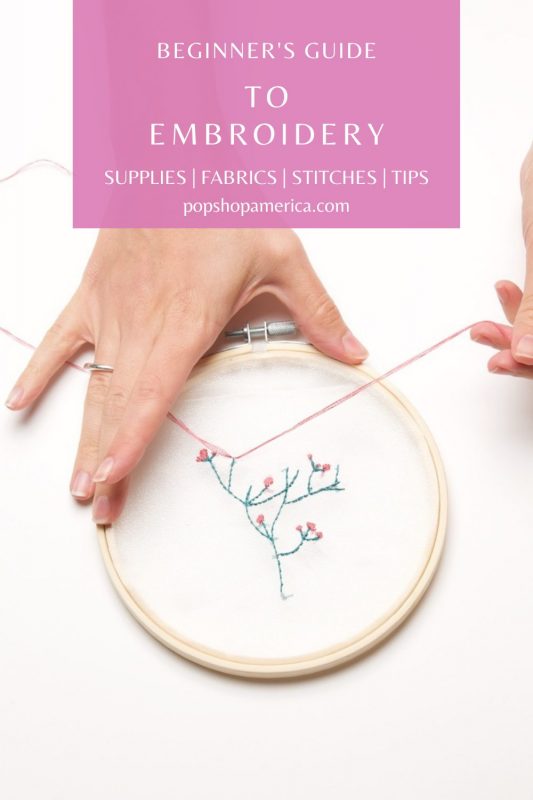
Beginner’s Guide to Embroidery (An Easy How to Guide)
Feb
This is Part 1 of 7 of the Craft in Style Subscription Box Instructions for February 2021. Find the Craft in Style Subscription Box here. Read Part 2-6: Running Stitch | Back Stitch | Stem Stitch | Chain Stitch | French Knot Tutorials here. Read Part 7: How to Make Floating Nature Embroidery Hoops here.
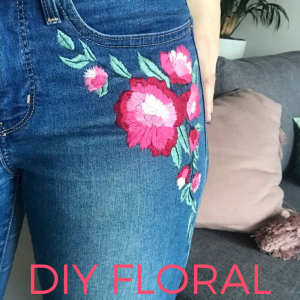
Embroidery is one of those craft skills that just keeps on giving. You can make hoop art – a straight forward approach to embroidery. But you can also make so many other items like denim and other clothing, pillows and housewares, and personalized items like kerchiefs. So once you learn the skills, you can keep making and making!
The trick is that it’s a lot of unique steps. So take it one step at a time and start small!
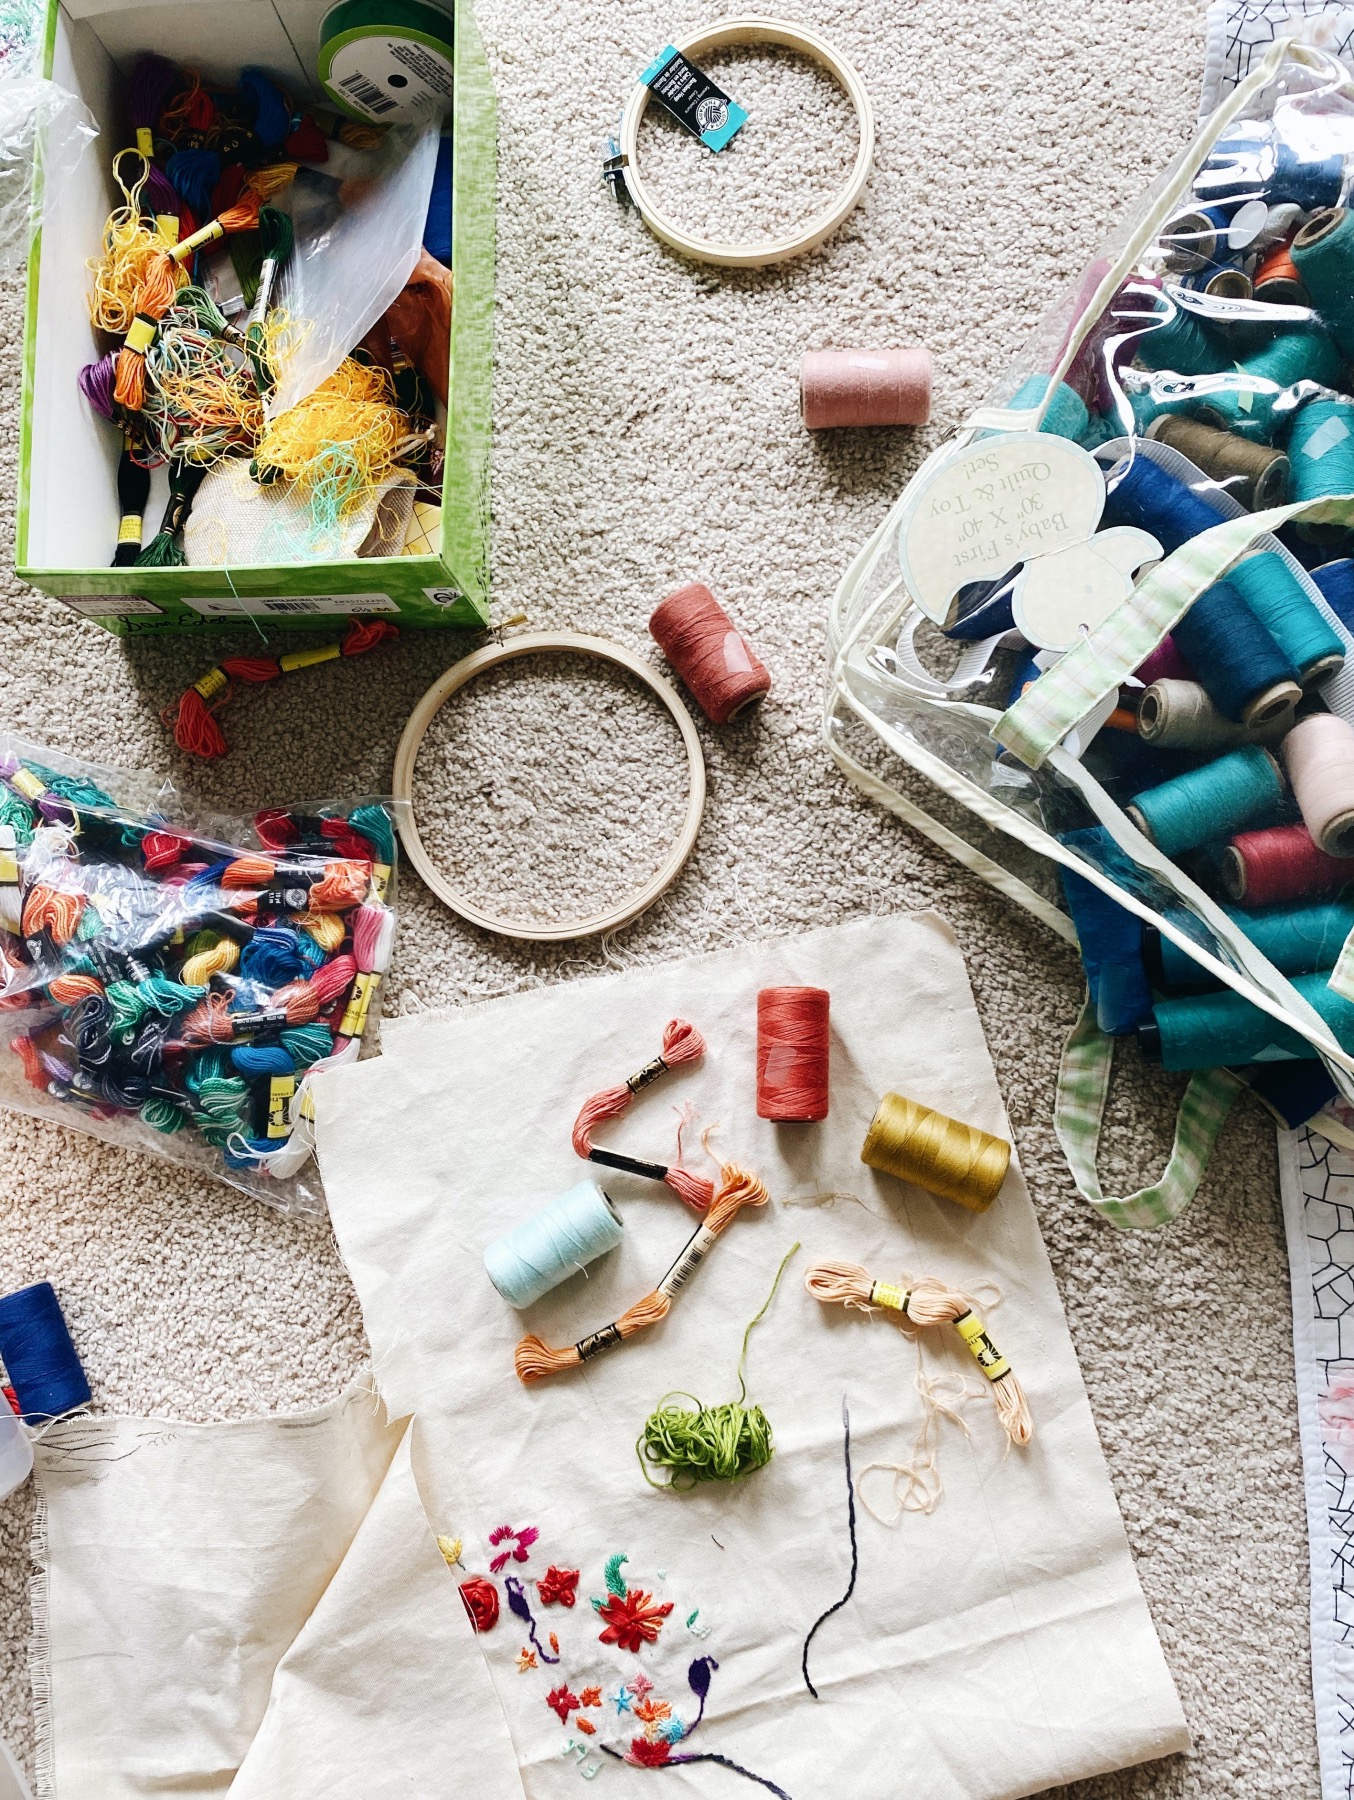
What Embroidery Supplies You Need
The supplies you will want when getting started are fairly simple: several different size needles, fabric, embroidery hoops, embroidery floss, templates or pre-printed designs, and a transfer pen like a fabric pen.
What does your Embroidery Hoop do anyway? Your embroidery hoop keeps your fabric taught, flat, and even making it easier to embroider and helping all your lines and designs stay straight and look professional. They also make a great way to display art!
What Fabrics to Use for Embroidery
For this project Floating Nature Embroidery we’re going to embroider on organza, a gorgeous lightweight fabric that’s almost invisible. It’s a unique material to use – and totally stunning.
The most common types of fabric are:
Cotton
Muslin
Linen
Denim
Wool
Canvas
Your best bet are natural materials with a tight weave. Poly and synthetic blends don’t work quite as well but can be used. Additionally, if you fabric is too thin, you can get a backing to reinforce your fabric to handle the needle and thread.
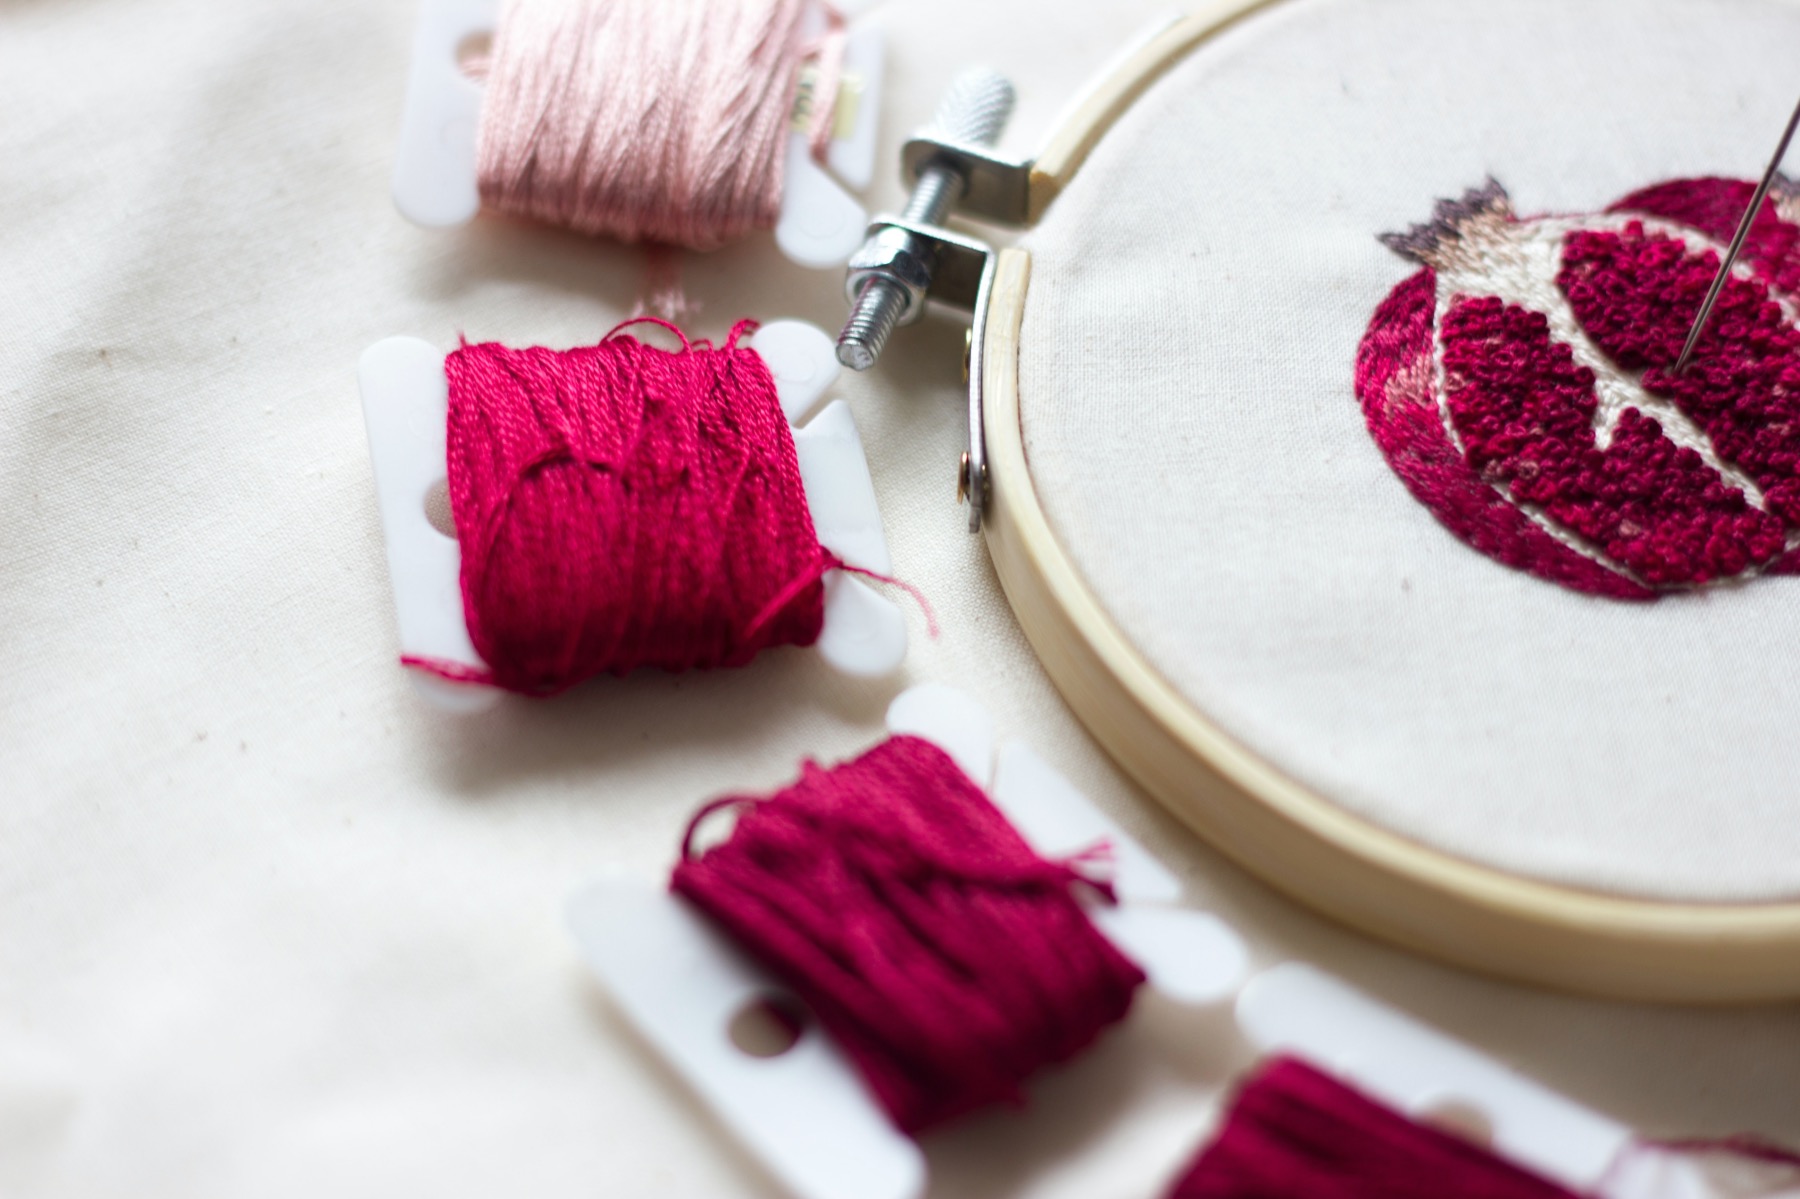
How to Prep Your Embroidery Floss
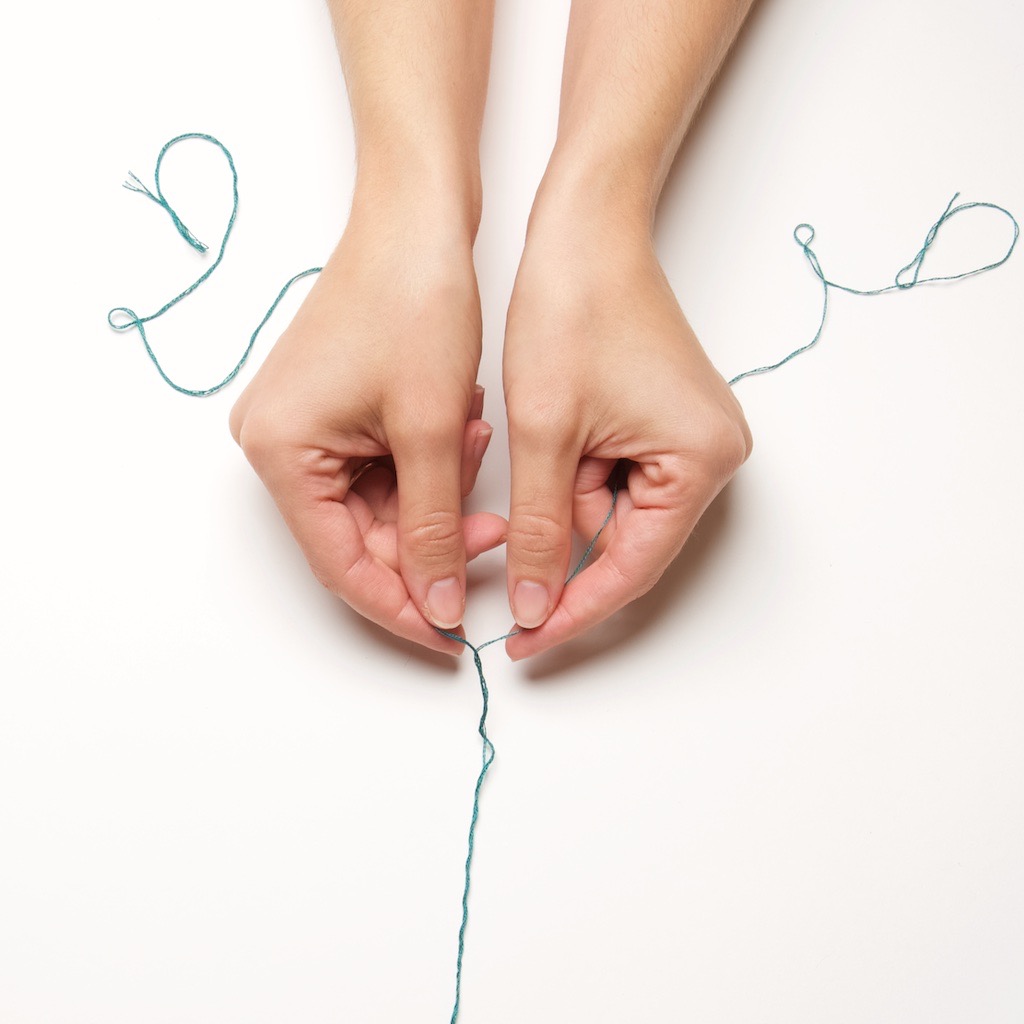
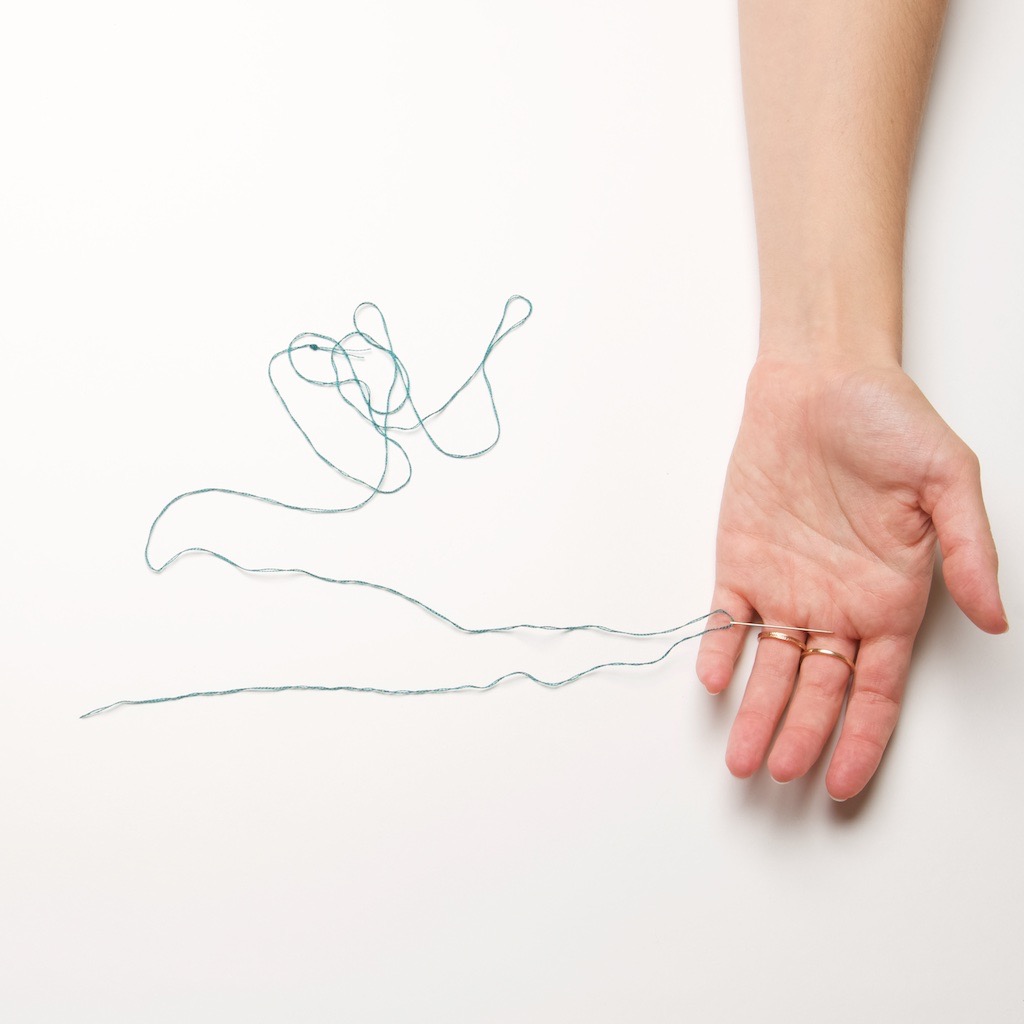
You don’t have to use embroidery floss just as it comes. Embroidery floss is a cluster of individual threads that can be separated. This is perfect for making smaller lines.
With fabrics that are more delicate, like the organza we use in this Floating Embroidery Hoop Art Tutorial, you may also want to I most commonly separate them into 2 halves.
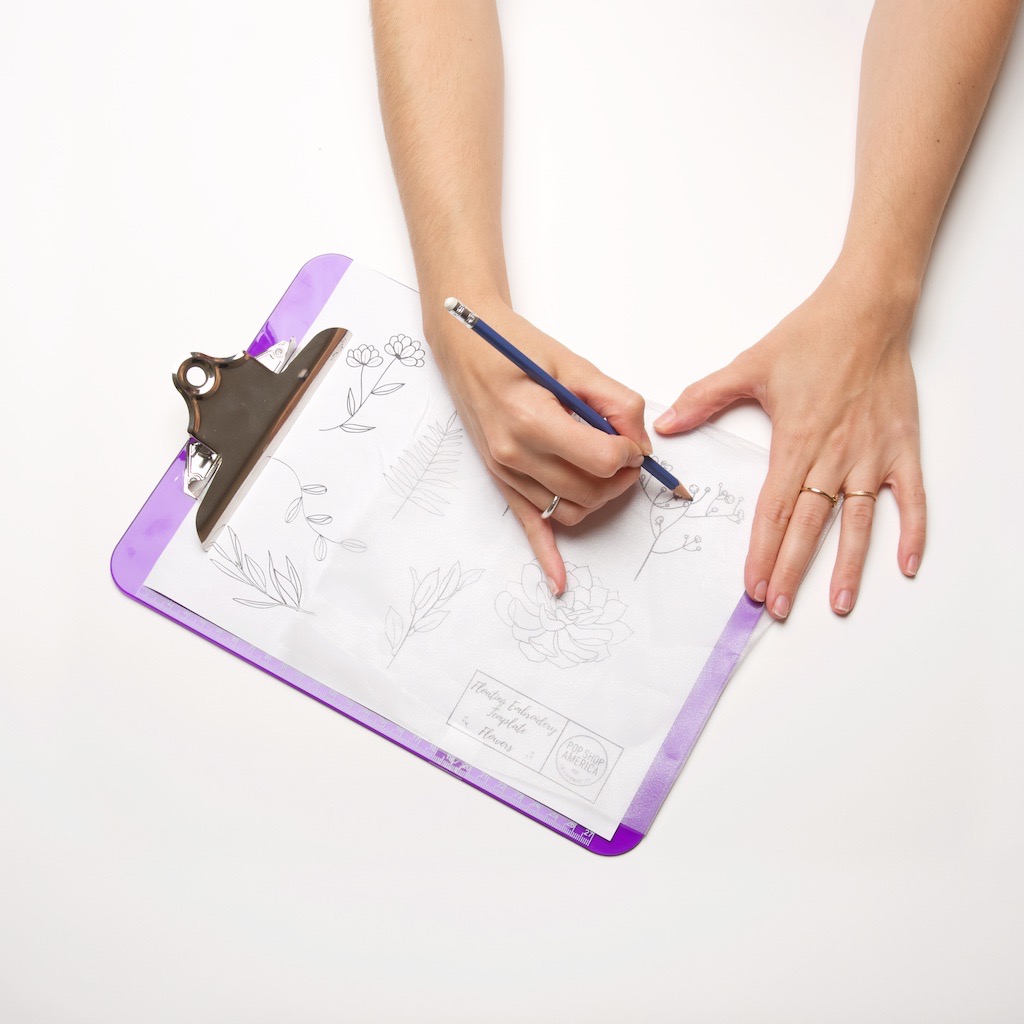
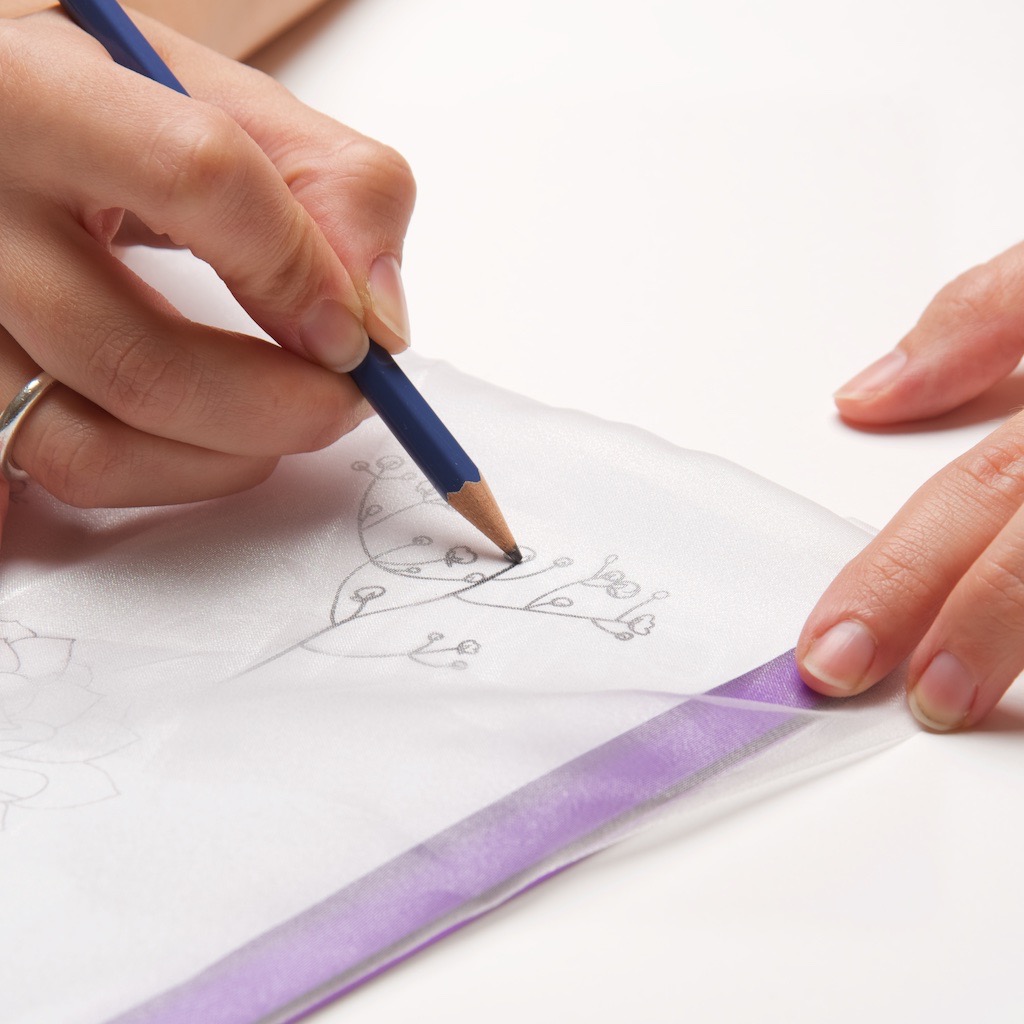
How to Transfer an Embroidery Pattern
Transferring an embroidery pattern, any pattern, is easier than you think! All you need is a fabric pen, a thin washable marker (like Crayola) or even a pencil.
Print out any embroidery pattern on regular copy paper. You can use your printer settings to resize your embroidery pattern smaller, and use a larger printer or your copy shop if you need one that’s really huge. Just make sure it’s the size you need to fit your embroidery hoop.
Next, place the pattern underneath your fabric and trace it on the fabric. Use your hands to hold the fabric firm and steady, so your lines will be even. Use that tracing as your guide to place your stitches on the fabric.
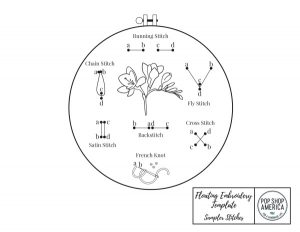
Learn the Basic Embroidery Stitches
There are oh so many different stitches to learn. And learning at least a few stitches is the main building block of embroidery. Take it slowly and continue to review stitches periodically. Stitches are a skill and the more you practice, the better you will get.
Different stitches will make sections of your embroidery unique. You can create borders, textures, and even create the illusion of flower petals.
When it comes to creating stitches, video will always be the best way to learn. That’s because seeing the motion and the movement of the hands is the easiest way to understand how to create the different stitches. Here are some of our favorites: Running Stitch | Back Stitch | Stem Stitch | Chain Stitch | French Knot Tutorials. Other stitches that are helpful to learn are:
Couching Stitch
Whipped Backstitch
Outline Stitch
Whipped Outline Stitch
Split Stitch
And remember, just take one stitch at a time, and use this beginner’s guide, by downloading it here. Then transfer the Beginner’s Stitch Guide to a piece of fabric, place it inside a embroidery hoop and use it as a guide to learn the stitches listed above. Keep practicing until it feels comfortable and you remember the pattern easily.
Putting it All Together
Ready to get started? Let’s recap!
First, gather your supplies. The supplies are fairly simple, all you need is: fabric to stitch on, and embroidery hoop, several size embroidery needles and embroidery floss.
Next you will need a pattern. Print it on copy paper and use a fabric pen to transfer the pattern to the fabric.
Next learn your stitches from the list above and start stitching! Don’t miss the rest of these Beginners Guide to Learning Embroidery in the links here:
And find even more Embroidery Tutorials in the links below! Happy crafting.
Let’s Stay Friends!
Insta | Pinterest | Enews | TikTok