Craft in Style Subscription Instructions, DIY
Deathly Hallows Glass Etched Pint Glasses Tutorial

Oct
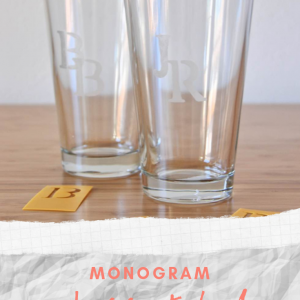
This is the 2nd of 4 DIY’s from the Craft in Style Subscription Box October 2019. You can find Part 1: Glass Etched Monogram Pint Glasses here. The Part 3: How to Cut a Stencil here and Part 4: Glass Etching Inspiration here.
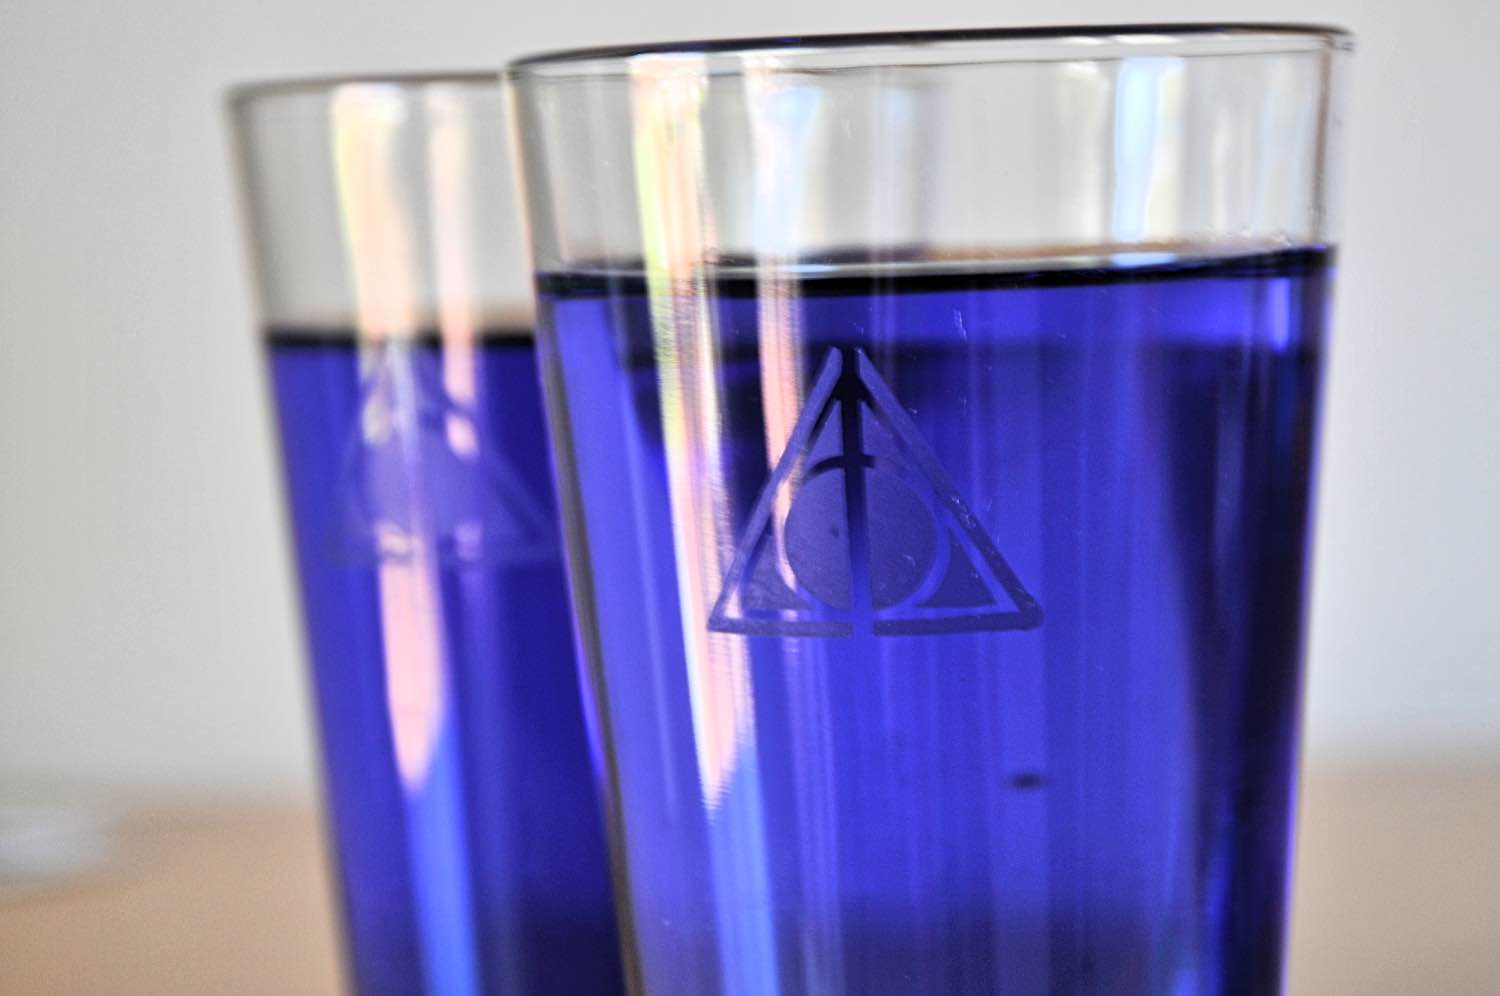
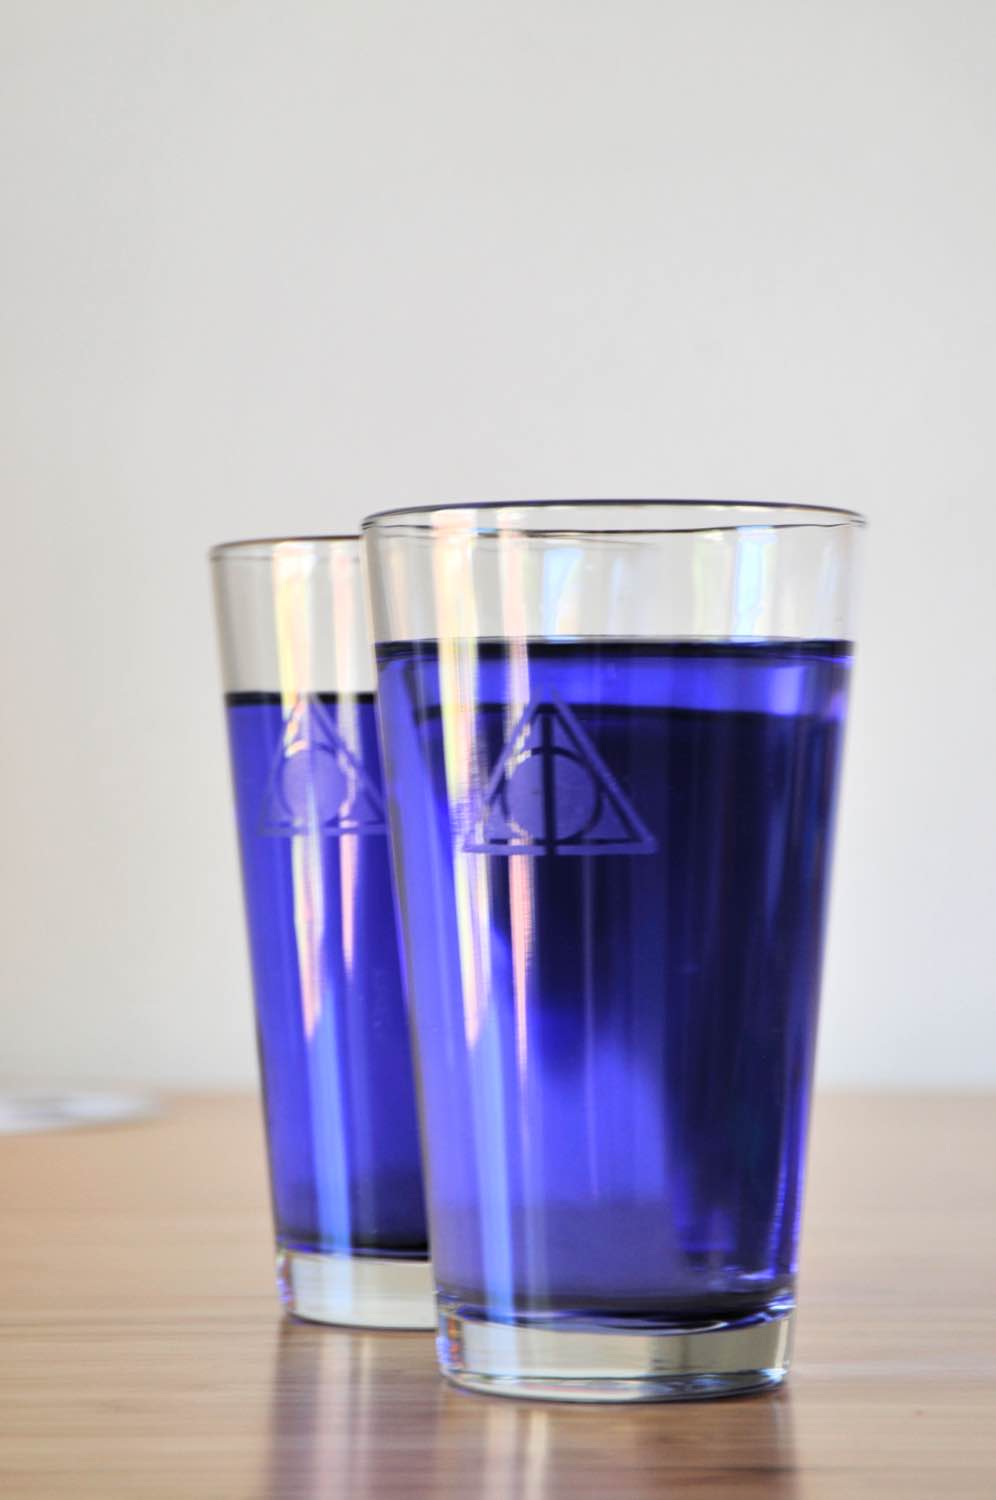
Ravenclaws unite! If you know me, then you may know that I’m a total Potterhead. I love the books, I love the Harry Potter universe and I’m not afraid to show it. That’s why I made these Deathly Hallows Pint Glass Etched Pint Glasses.
If you are not a Harry Potter fan, don’t worry. You can use any kind of art stencil you like to make your own. You could use flower stencils, hot air balloons, leaves, or scrolls. This is a DIY that you can tailor to your own personality. It’s just like the Monogram Glass Etched Pint Glasses with just a simple twist.
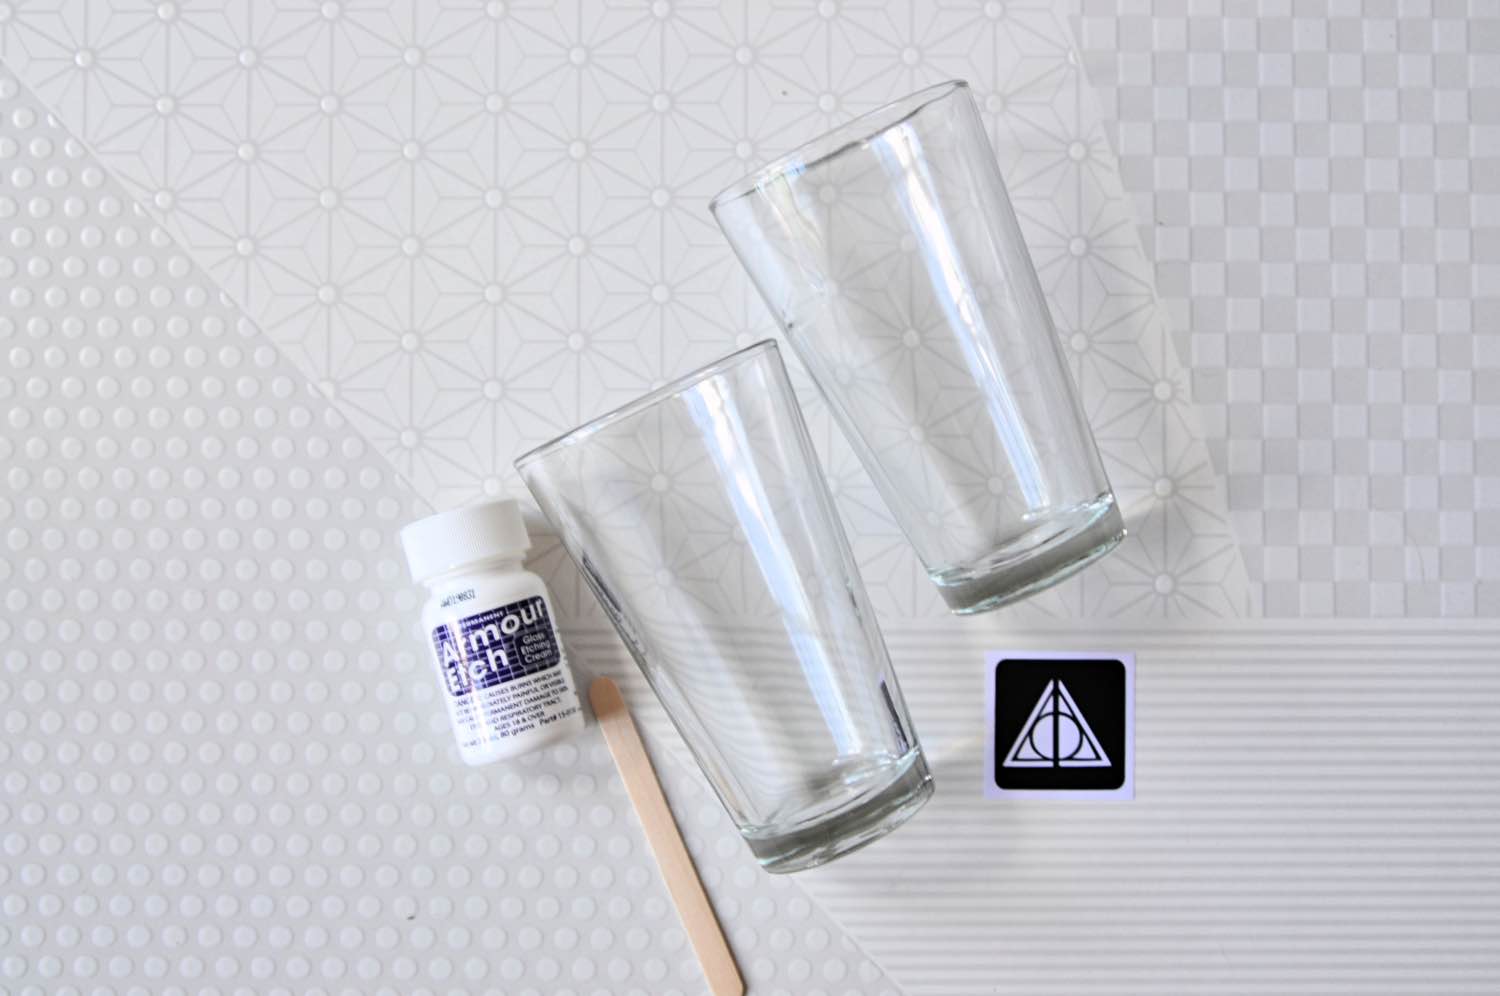
Supplies to Make Deathly Hallows Glass Etched Pint Glasses:
October 2019 Craft in Style Subscription Box
-or-
2 Pint Glasses
Armour Etch Glass Etching Cream
Art Sticker Stencils
Gloves
Popsicle Sticks
You will also need:
Running Water
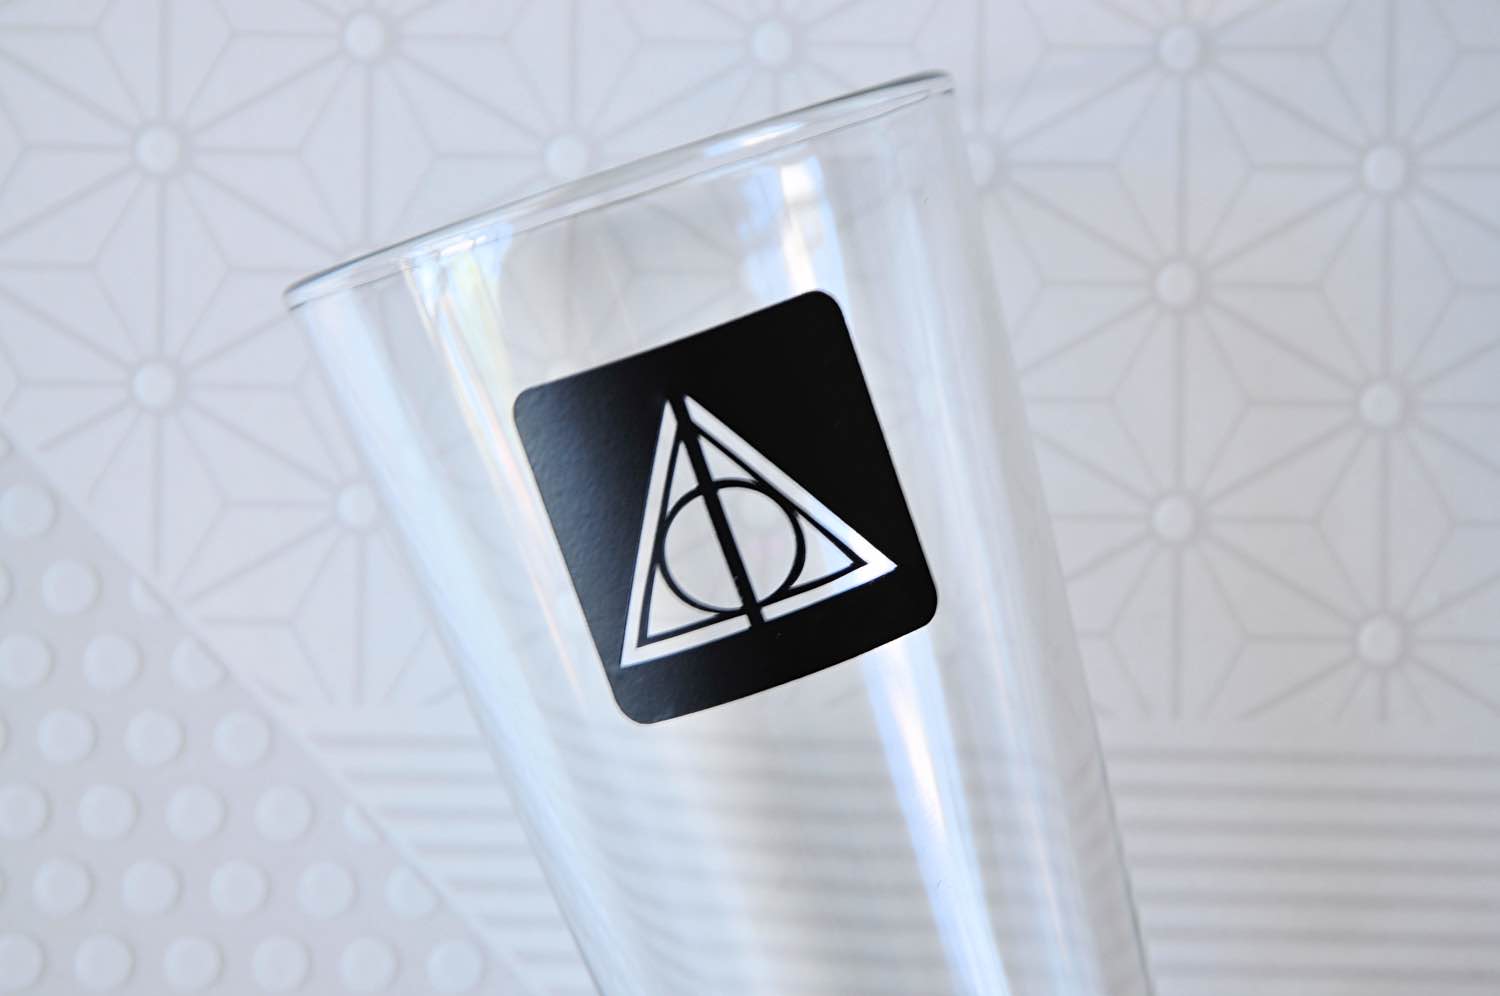
Sticker stencils are the perfect way to stencil a glass etching! You can get perfectly smooth even edges without any hard work. The trick is laying down a sticker stencil from the center. Be sure that it’s perfectly straight, angled and lined up exactly where you want the finished glass etching can be.
Then from the center begin to smooth the stencil outward on both sides. Smoothing from the center out will help you prevent bubbles under the stencils. If your stencil isn’t lined up quite right, or you see air bubbles, lift your stencil and start again. It’s important for your edges to lay flat against the surface of the glass if you want easy crisp edges.
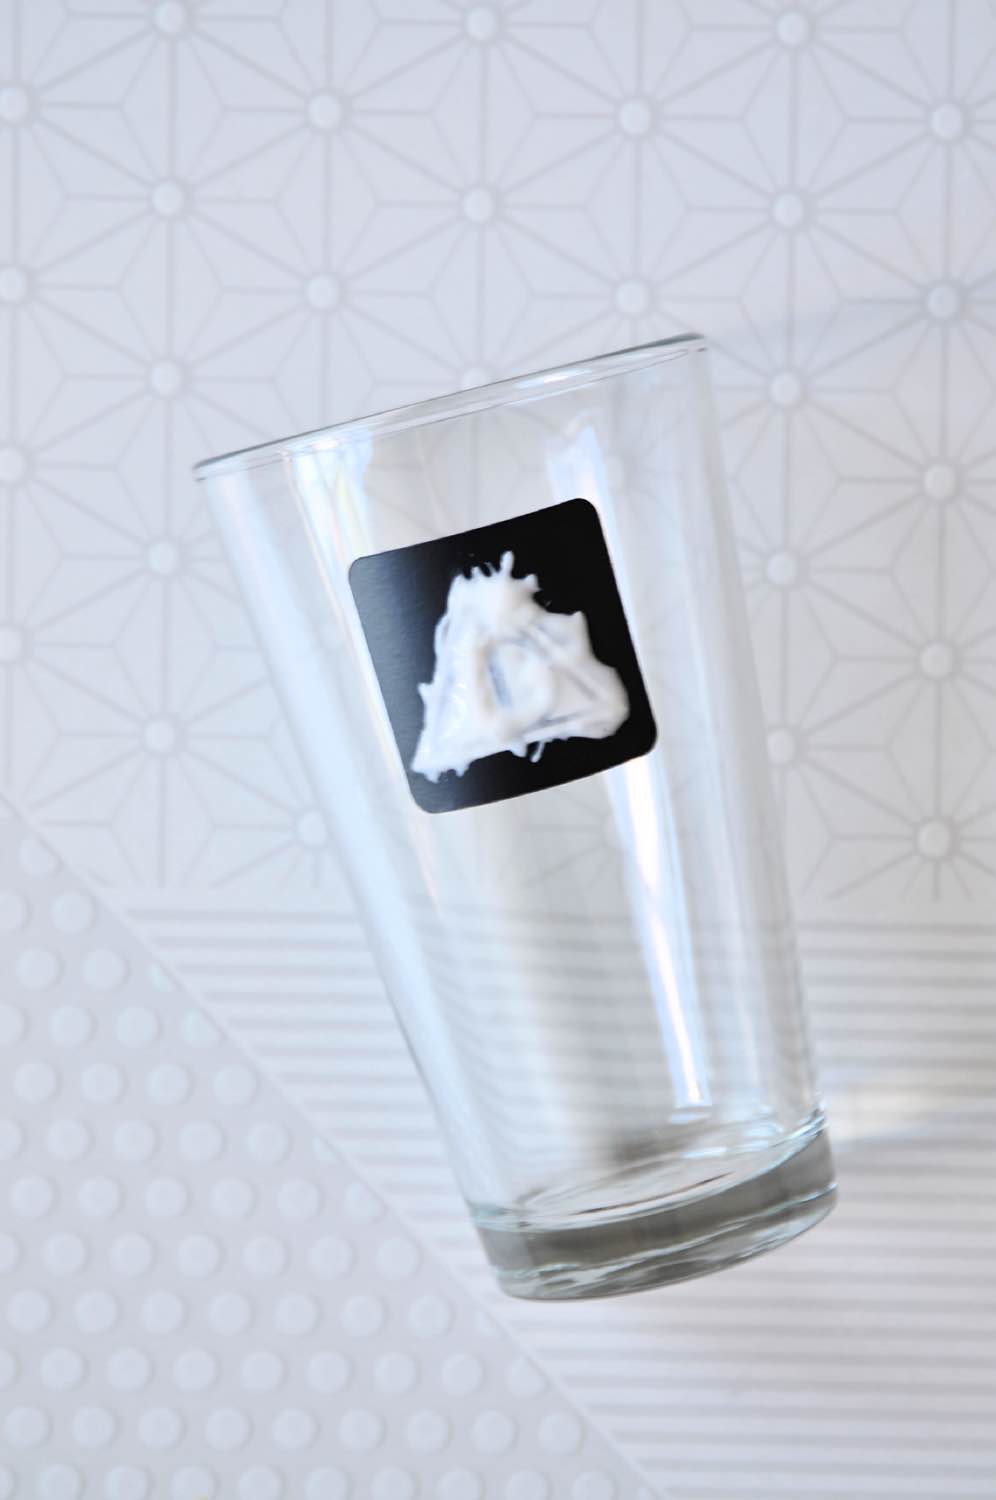
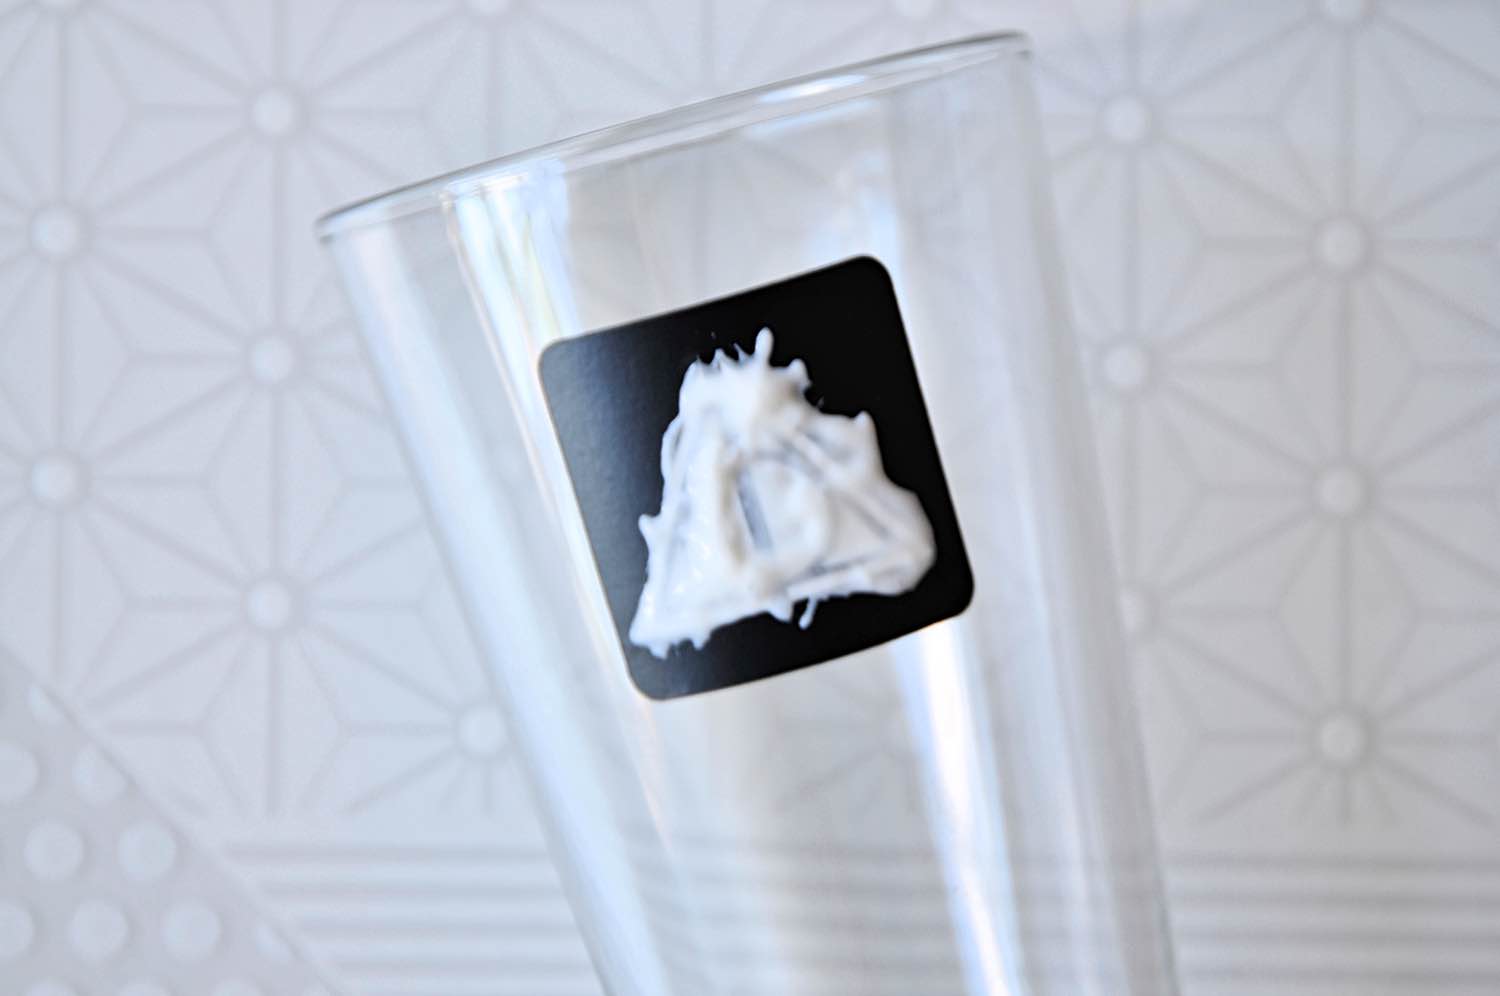
Now get your gloves ready! Use your popsicle stick to scoop and add around 1/4 teaspoon of glass etching cream inside of the stencil. It should only be a thin layer of cream and no more – only enough to cover the surface of your glass.
Then set the glass etching liquid face up (in this case, place the pint glass on its side.) This will prevent the cream from dripping. After 5 minutes, use your popsicle stick to swirl the glass etching cream across the surface. We don’t want any air bubbles under the stencil and we don’t want any air bubbles in the glass etching cream either! Once the cream has been on the surface for 10 minutes, completely and thoroughly rinse the cream under running water.
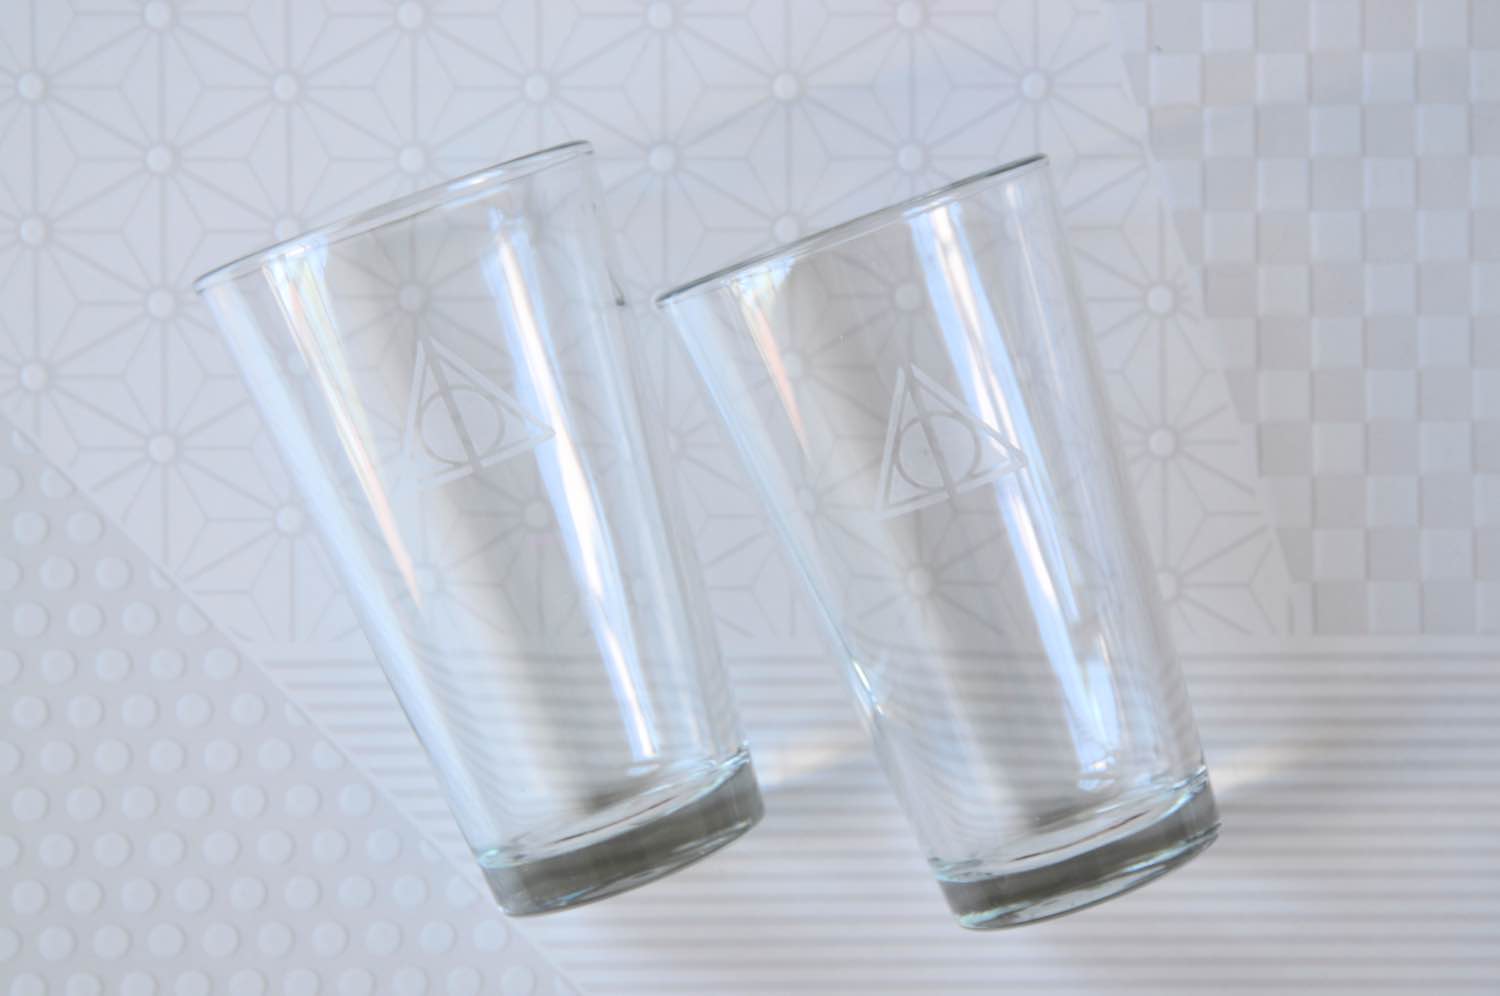
Your stencil can be used and reused so be sure that you rinse the stencil thoroughly, allow to dry, and then store it with your craft supplies. To use your pint glasses, just wash them like any other dish – by hand or in a dishwasher before use. Your glass etched stencil art is permanent and doesn’t require any additional care instructions.
About Glass Etching Cream
Glass etching cream is an acid that will make the surface of your glass frosty. Don’t get it on your hands since it will burn! If you do get in on your hands, wash it off immediately under running water. This DIY is best for adults and not kids.
I leave the cream on the surface of any glass for 10 minutes not 5. Instructions for glass etching always say 5 minutes, but after you open a bottle of glass etching cream it will begin to lose potency. So leaving it on for 10 minutes will prevent any areas from ending up spotty rather than frosted.
Sticker Stencils vs. Regular Stencils
If you have a curved surface sticker stencils are always going to be your best option. If you have a flat surface regular stencils are just fine.
If you want to use a regular stencil on a curved surface here are some great hacks you can try. First of all, make sure the stencil is taught when it’s attached. Attach the stencil all the way around with thick pieces of tape – don’t only attach the stencil on 1 or 2 sides. Then only apply the glass etching cream at a 90° angle – from above. Don’t tilt your hand to apply the cream. Tilting your hand will actually push more etching cream around the edges and even underneath the stencil. Last, only apply enough to cover the surface – don’t apply any extra! Extra cream will start to push underneath the stencil as well.
Easy and stylish right?! So are you going to make these Deathly Hallows Glass Etched Pint Glasses or are you going to use a different art stencil to make a different shape? Tell us in the comments! And if you love this DIY be sure to shop the Craft in Style Subscription Box while you can!
Let’s Stay Friends!
Insta | Pinterest | Enews | TikTok