DIY
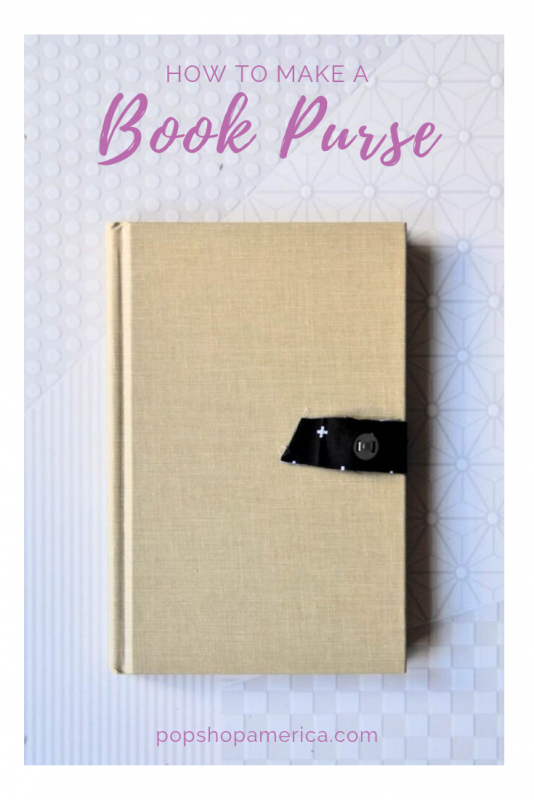
DIY Book Clutch Purse
Oct
Do you love to read? If so, this is the perfect DIY! You may have seen the series of Kate Spade Book Clutches featuring Emma, The Great Gatsby & Pride and Prejudice. They were all gorgeous. And even Natalie Portman carried one at the red carpet premiere of Black Swan. Swoon!
I first saw the handmade version on Etsy. But wow, $1,000 for the Kate Spade version and $100 for the handmade! Sounds like a craft I need to try, so I can make sense of this hefty price tag.
Turns out those prices are pretty fair. It’s not that making a Book Purse is hard, it’s just that there are a number of steps. And if you want one that’s professional and pristine, you will need a gorgeous hardback book, some purse hardware which can get pricey, and a sewing machine and some sewing experience too.
I made a no sew version of this book clutch. But if you want to upgrade yours, I recommend sewing some of the fabric. I’ll explain both below. So let’s get started!
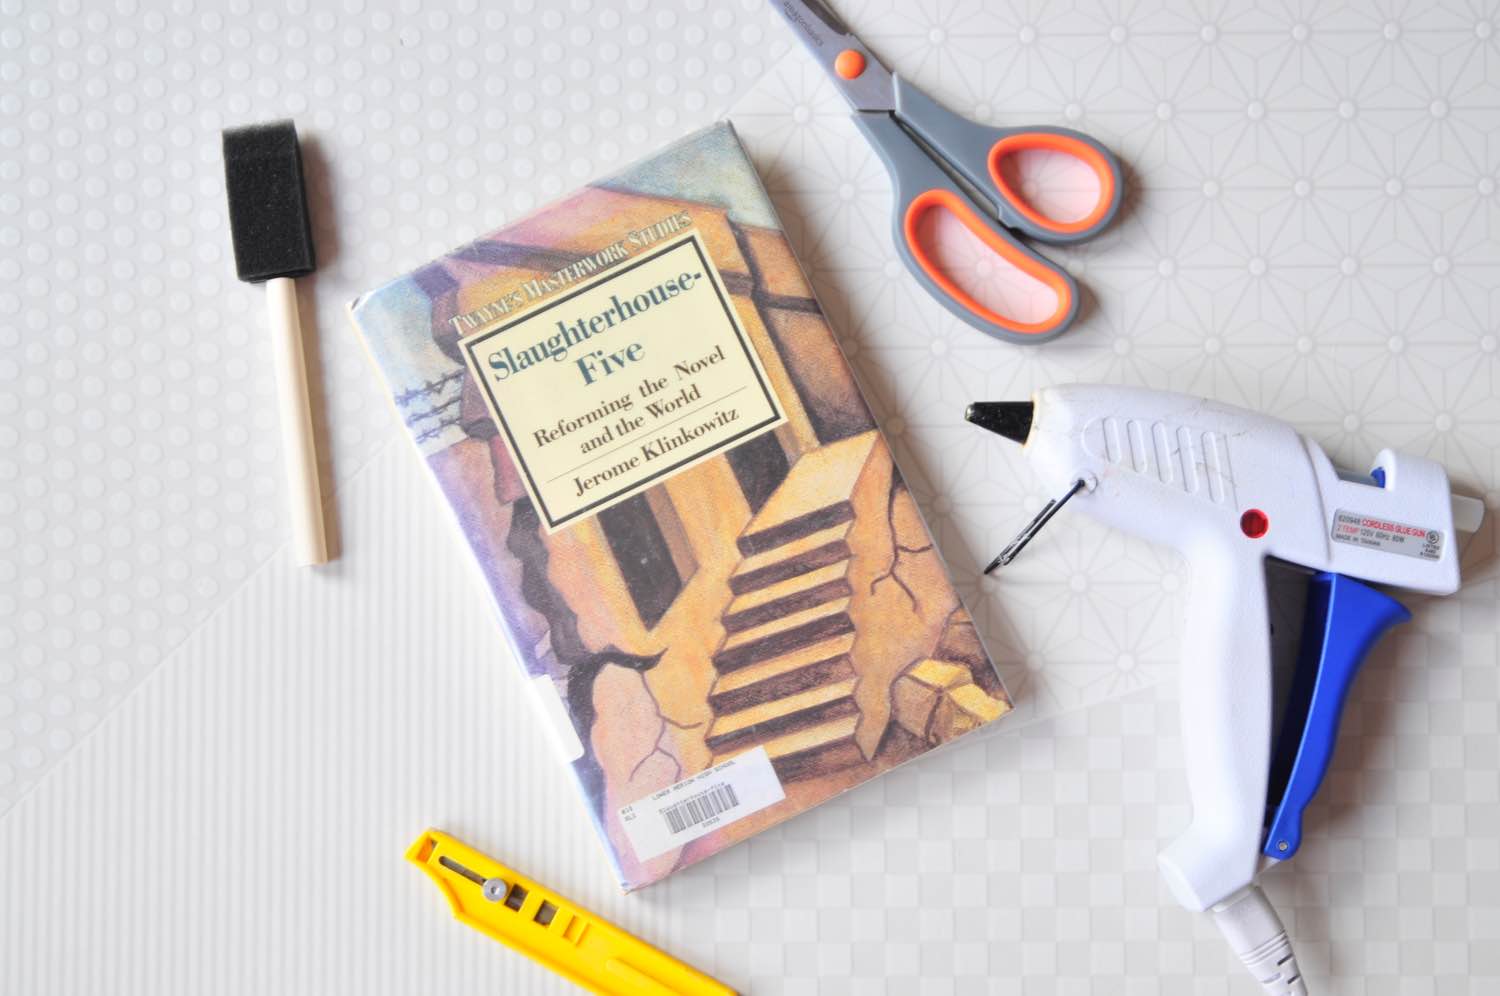
Supplies to Make a DIY Book Clutch Purse
A Clutch Sized Book (no more than 1 1/2 inches thick – no more than 9-10 inches tall)
Box Cutter
Fabric for the Inside Lining
Scissors
Hot Glue & Hot Glue Gun
Pencil or Chalk for Marking the Fabric
A Purse Clasp or Closure of Your Choice
Optional: A Sewing Machine & Thread to Match Your Fabric
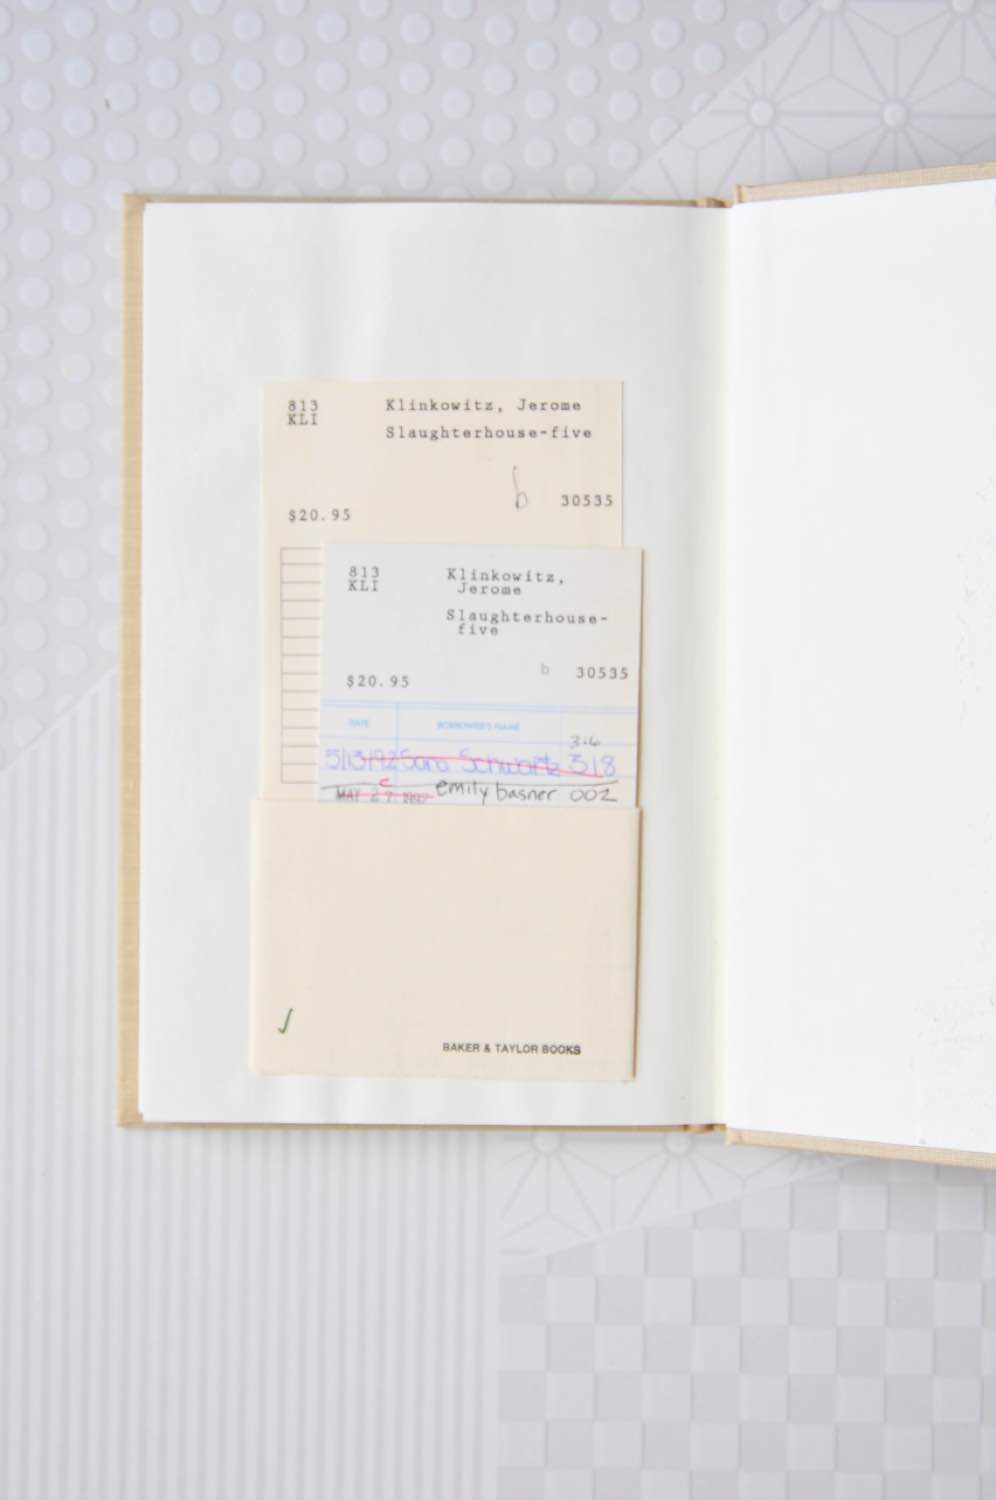
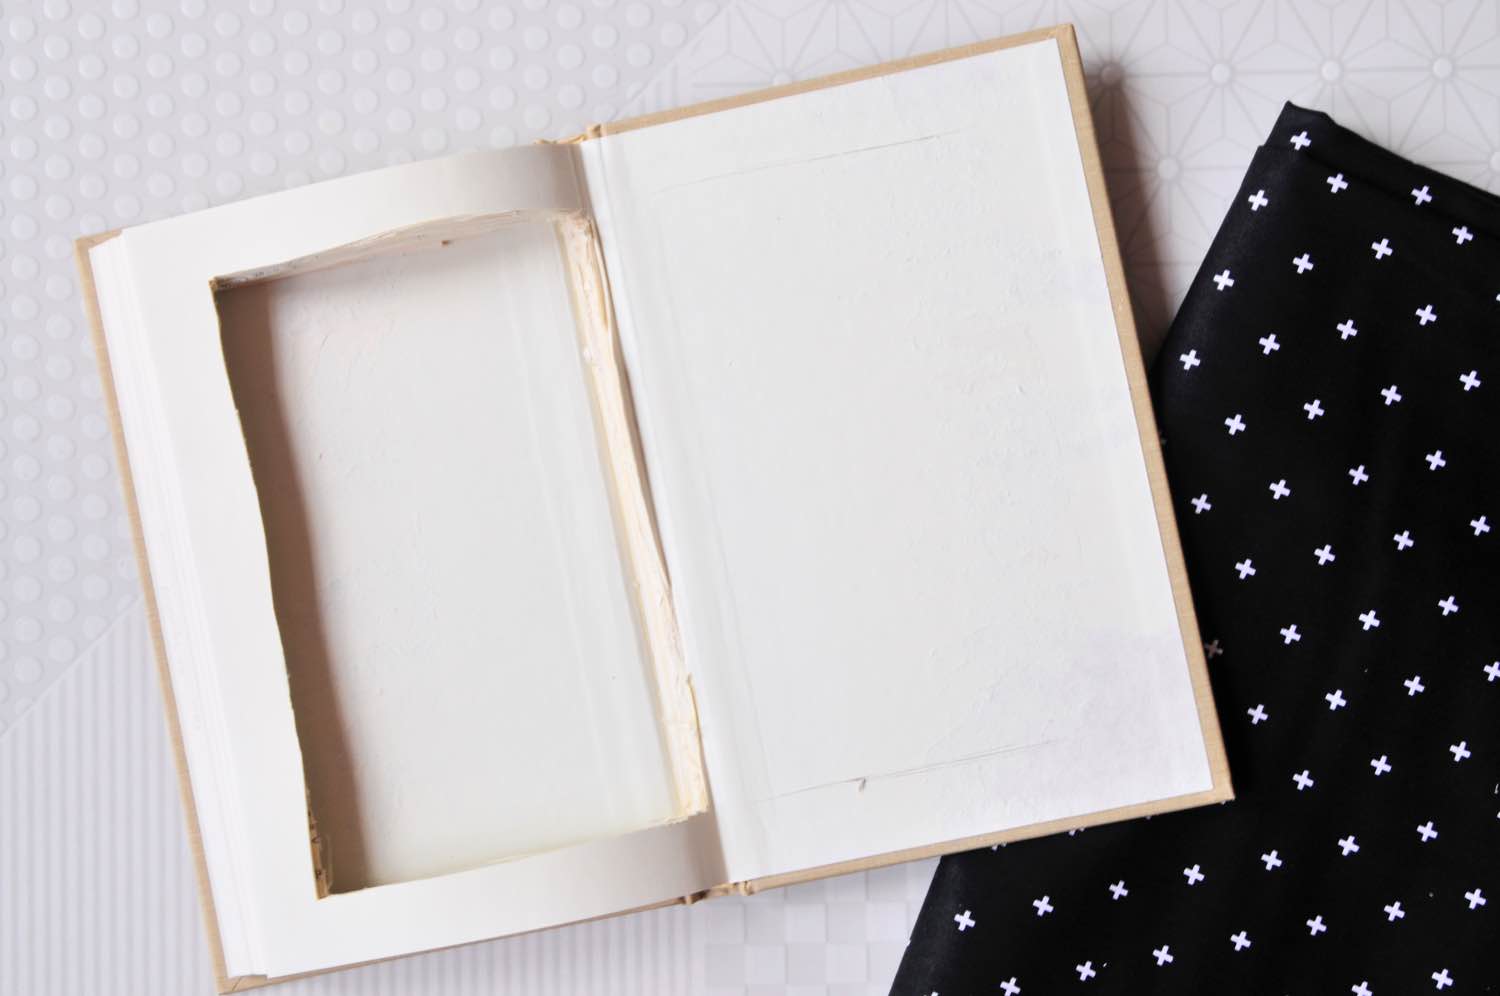
Step 1: Remove the Pages Leaving a 1/2 Border around the 3 Exterior Edges
First things first, start by removing the book jacket. Then remove the pages inside the book. You will need to leave a 1/2 inch perimeter around the 3 exterior sides of the book and cut along the spine of the book.
You need the exterior portions of pages to give the purse strength. And the book page edges will make your purse will function like a purse – a solid exterior with a hollow interior that can hold all your stuff.
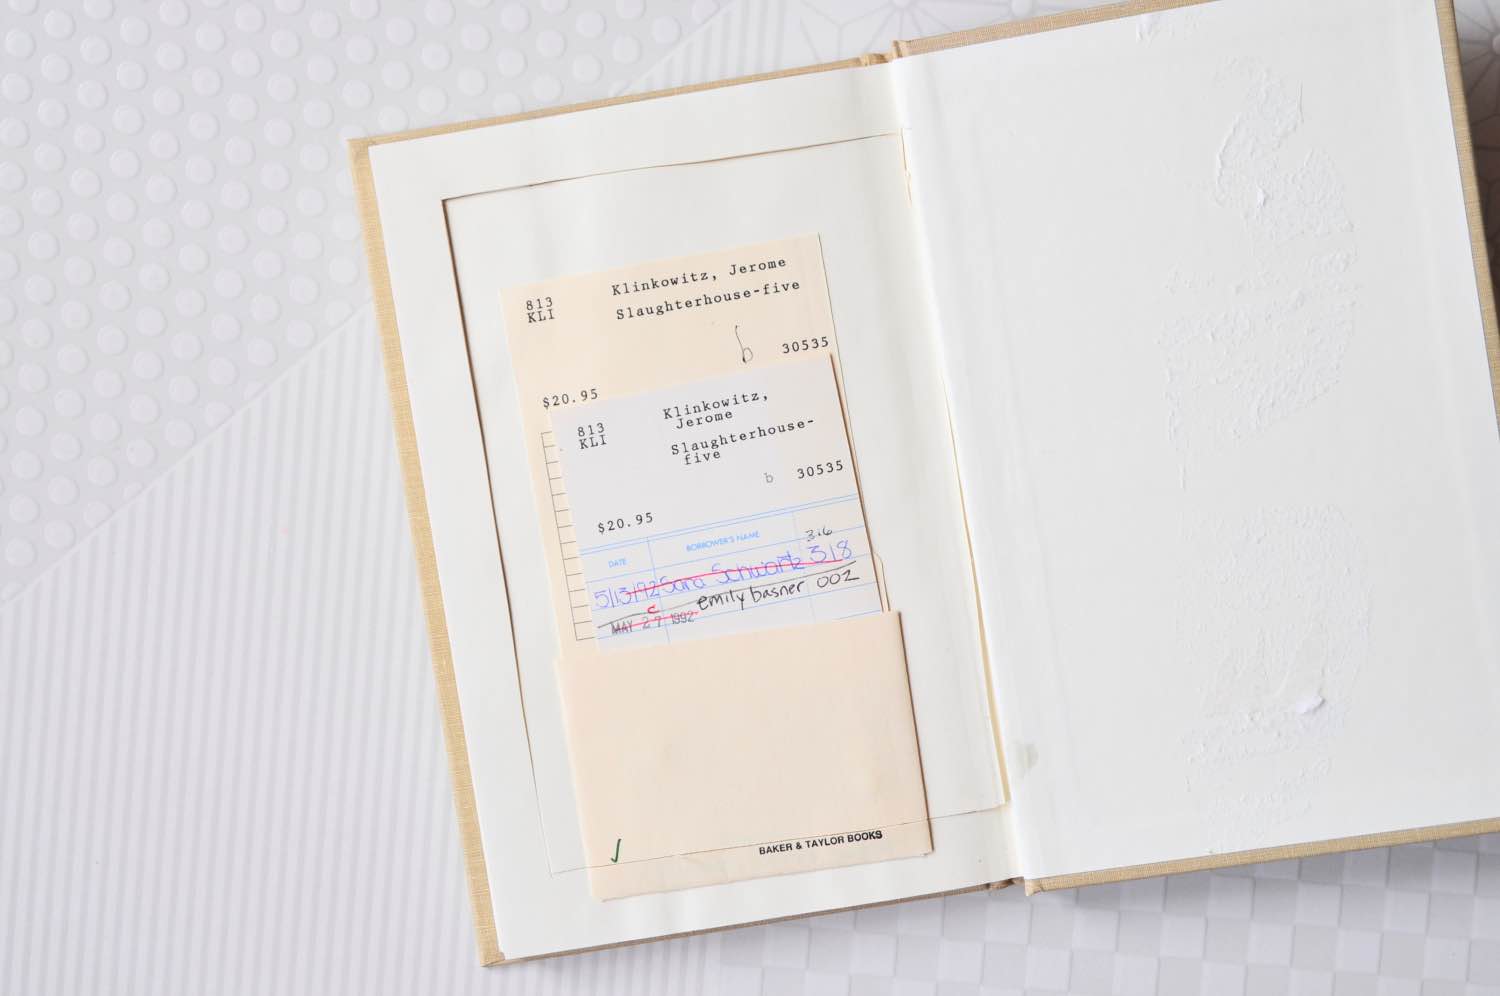
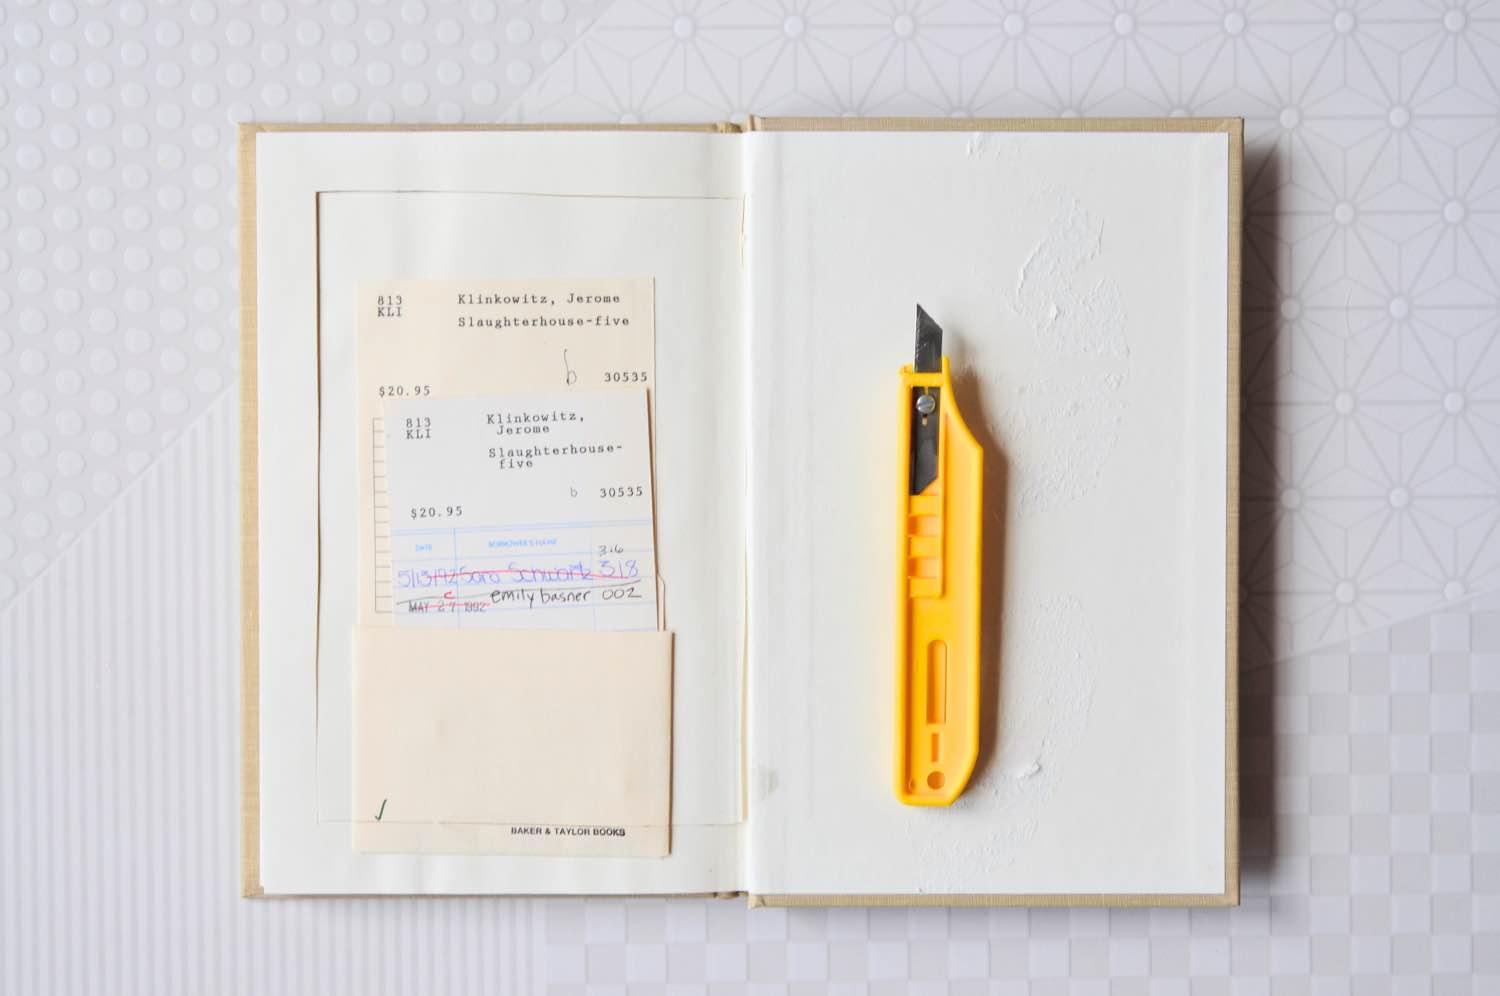
To cut the book pages, use a box cutter. Your cuts do not need to be perfect or even. The perimeter does not need to be exactly 1/2 inch – just approximately. You will likely be able to cut through a few pages at a time, then remove those pages and continue to cut.
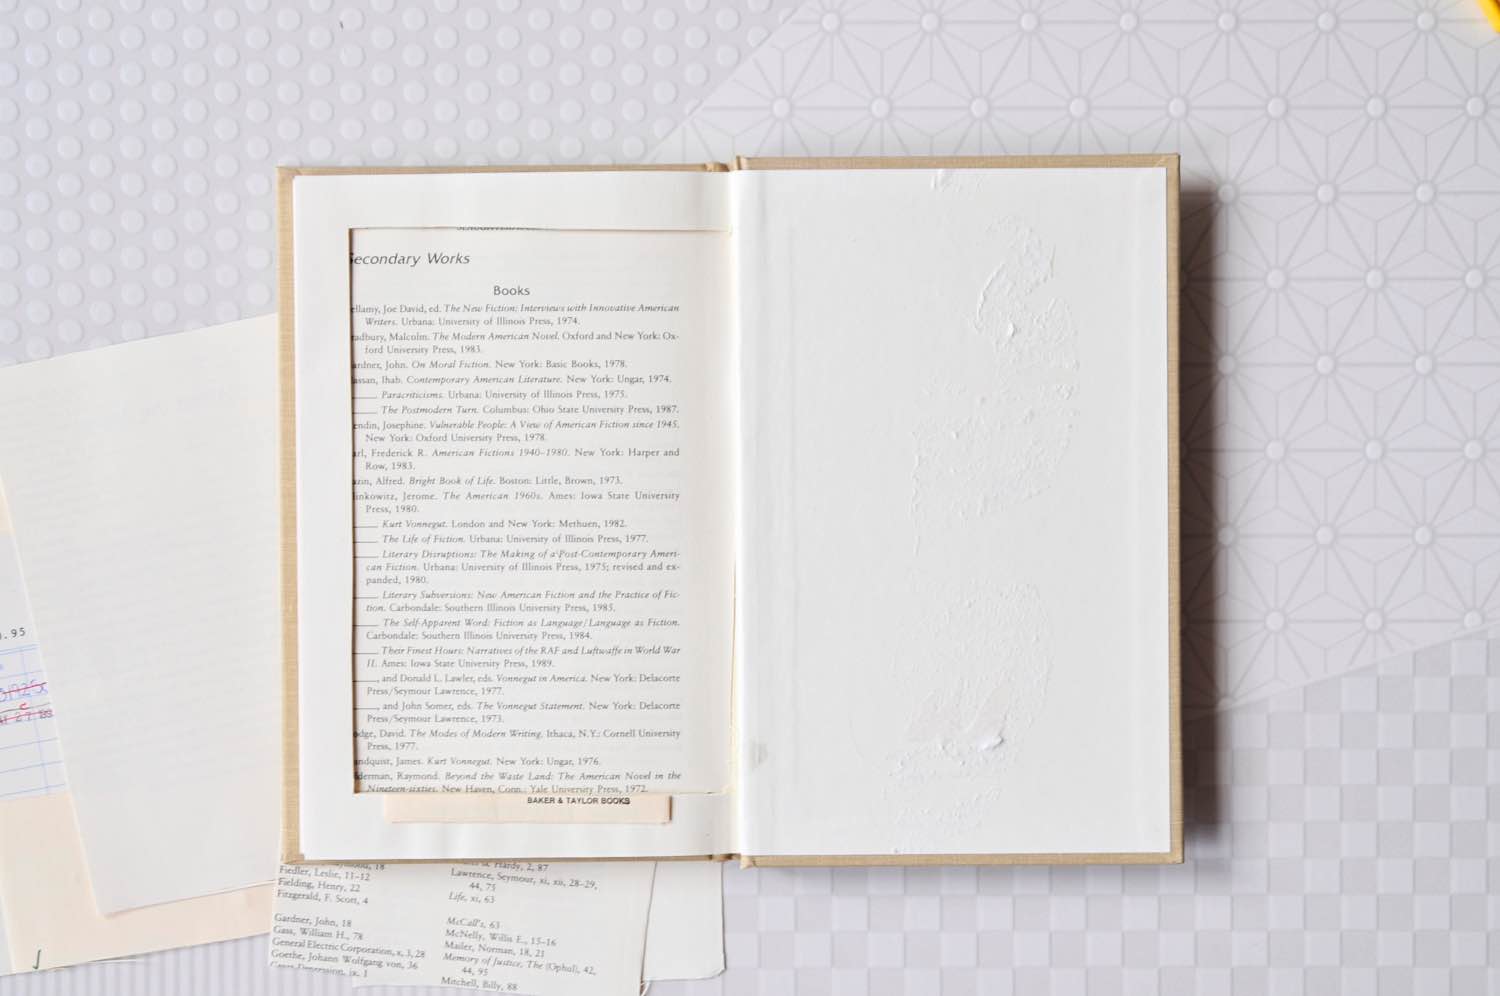
This step is the most lengthy and tedious in creating a book clutch, so be prepared to take around 30 minutes for this step. Continue to cut through the pages a few at a time until you have cut through all of your pages from cover to cover.

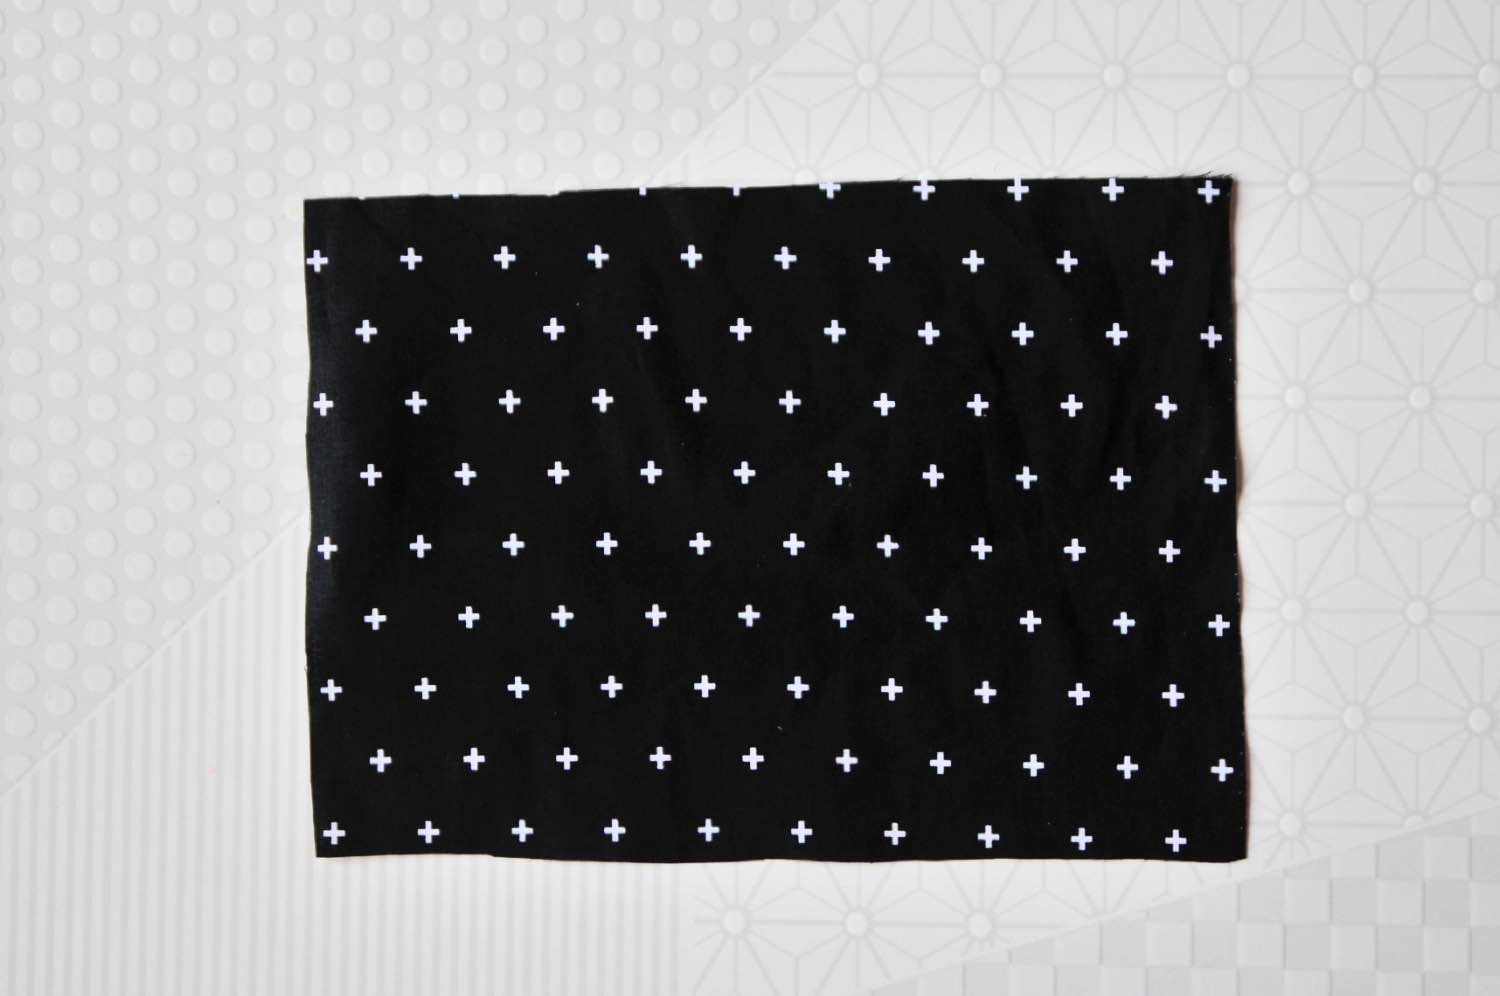
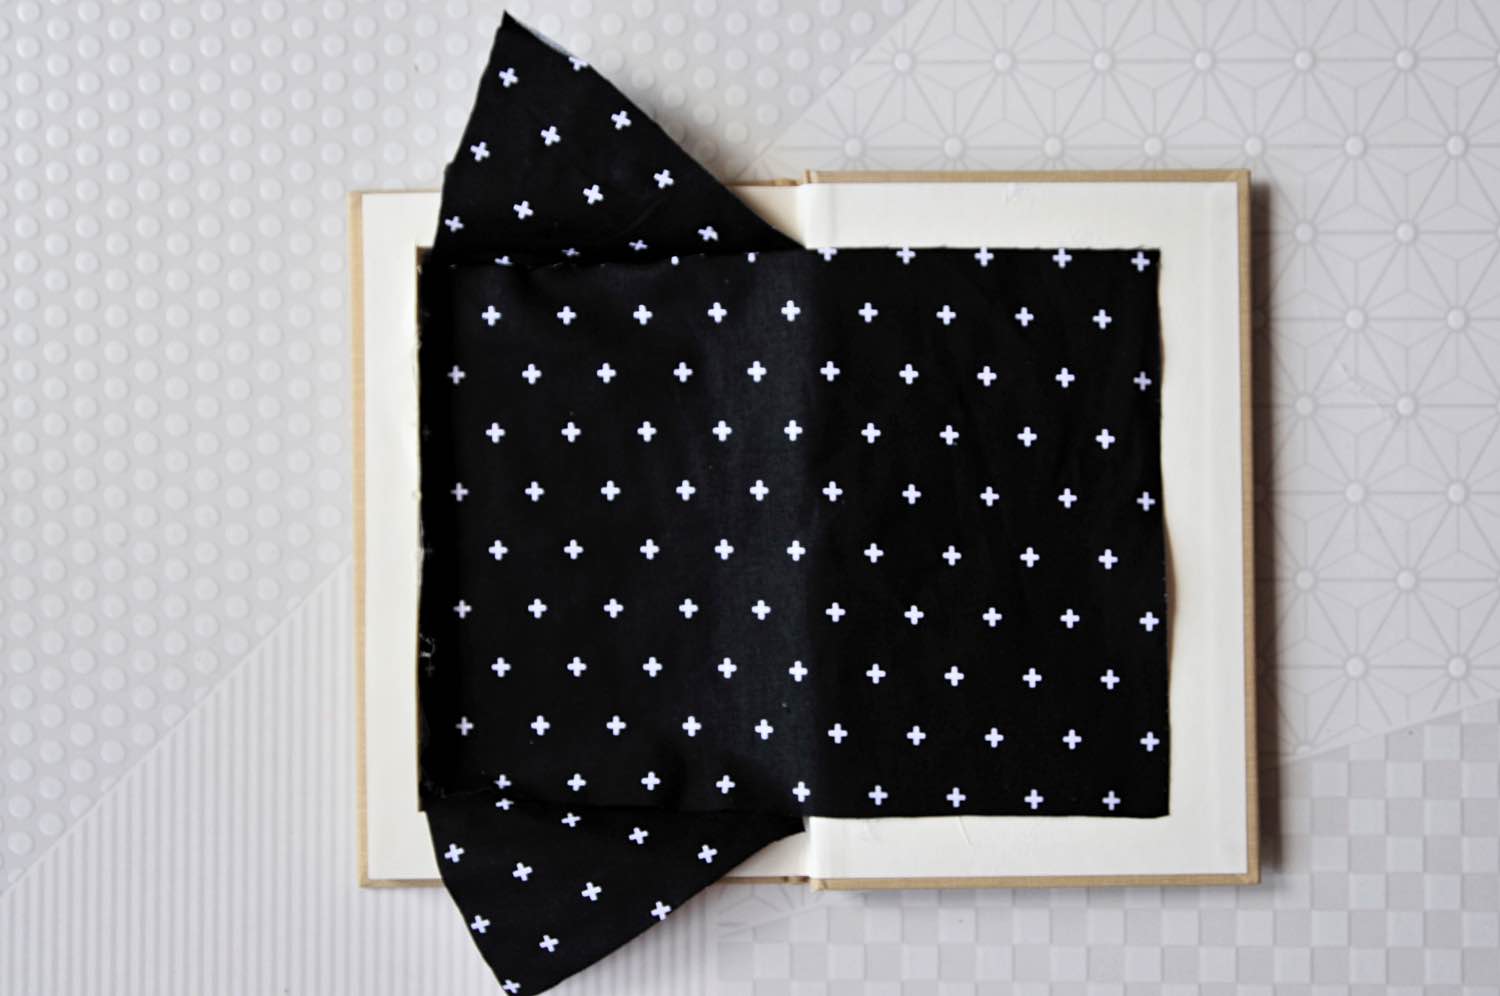
Step 2: Measure & Cut the Fabric Lining
Once your book pages have been cut through, it’s time to measure the fabric for the interior lining of the purse. You will need 5 pieces total. A rectangle for the interior of the book. 4 Triangles for the sides of the clutch so you can open and close it.
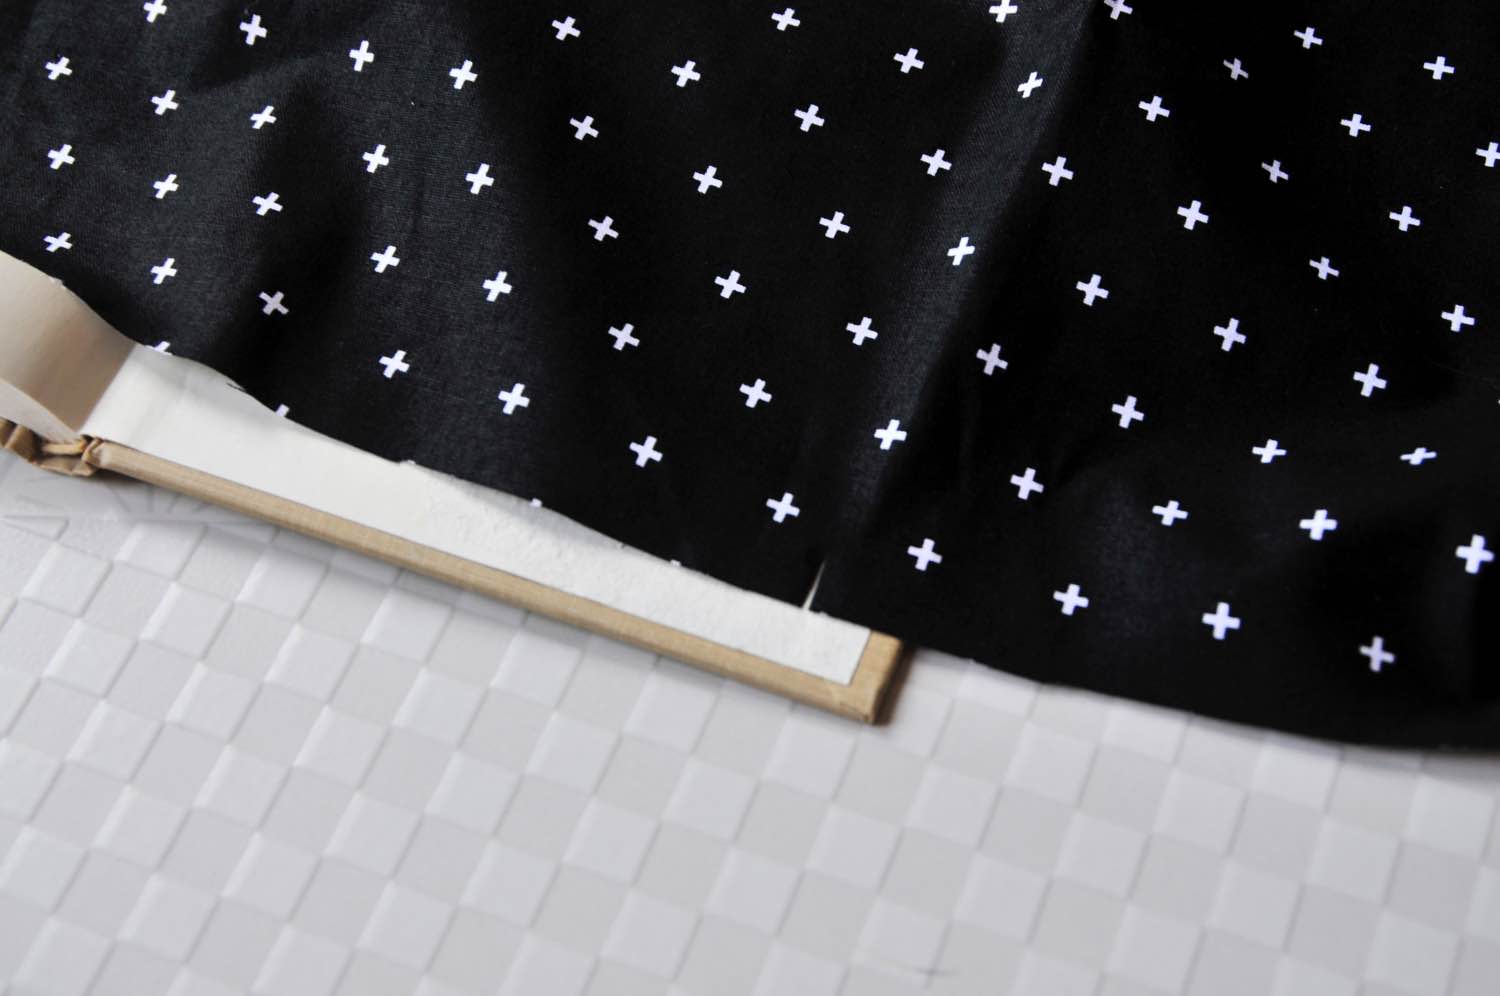
To cut the rectangular interior, measure up and down from the interior of the cut book pages. And across measure from edge to edge of the book. From top to bottom, you will want that to be very even, but across should be cut a bit long.

Make a tiny snip to measure the edges of the rectangle you will cut. Then pull the book out and cut your rectangle on a flat surface.
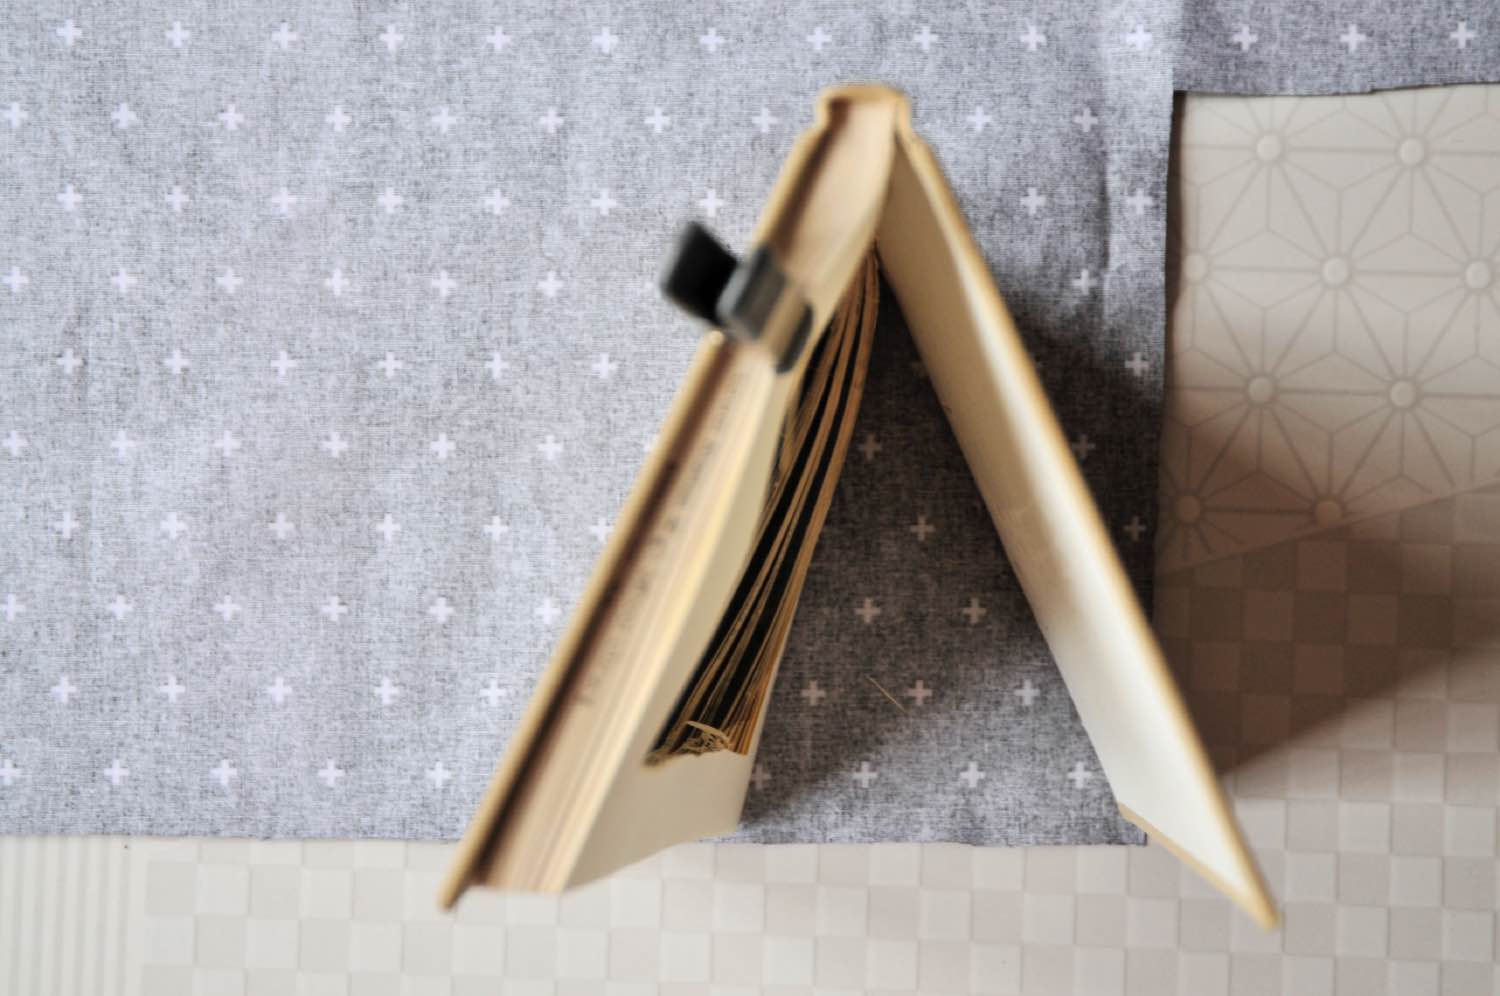
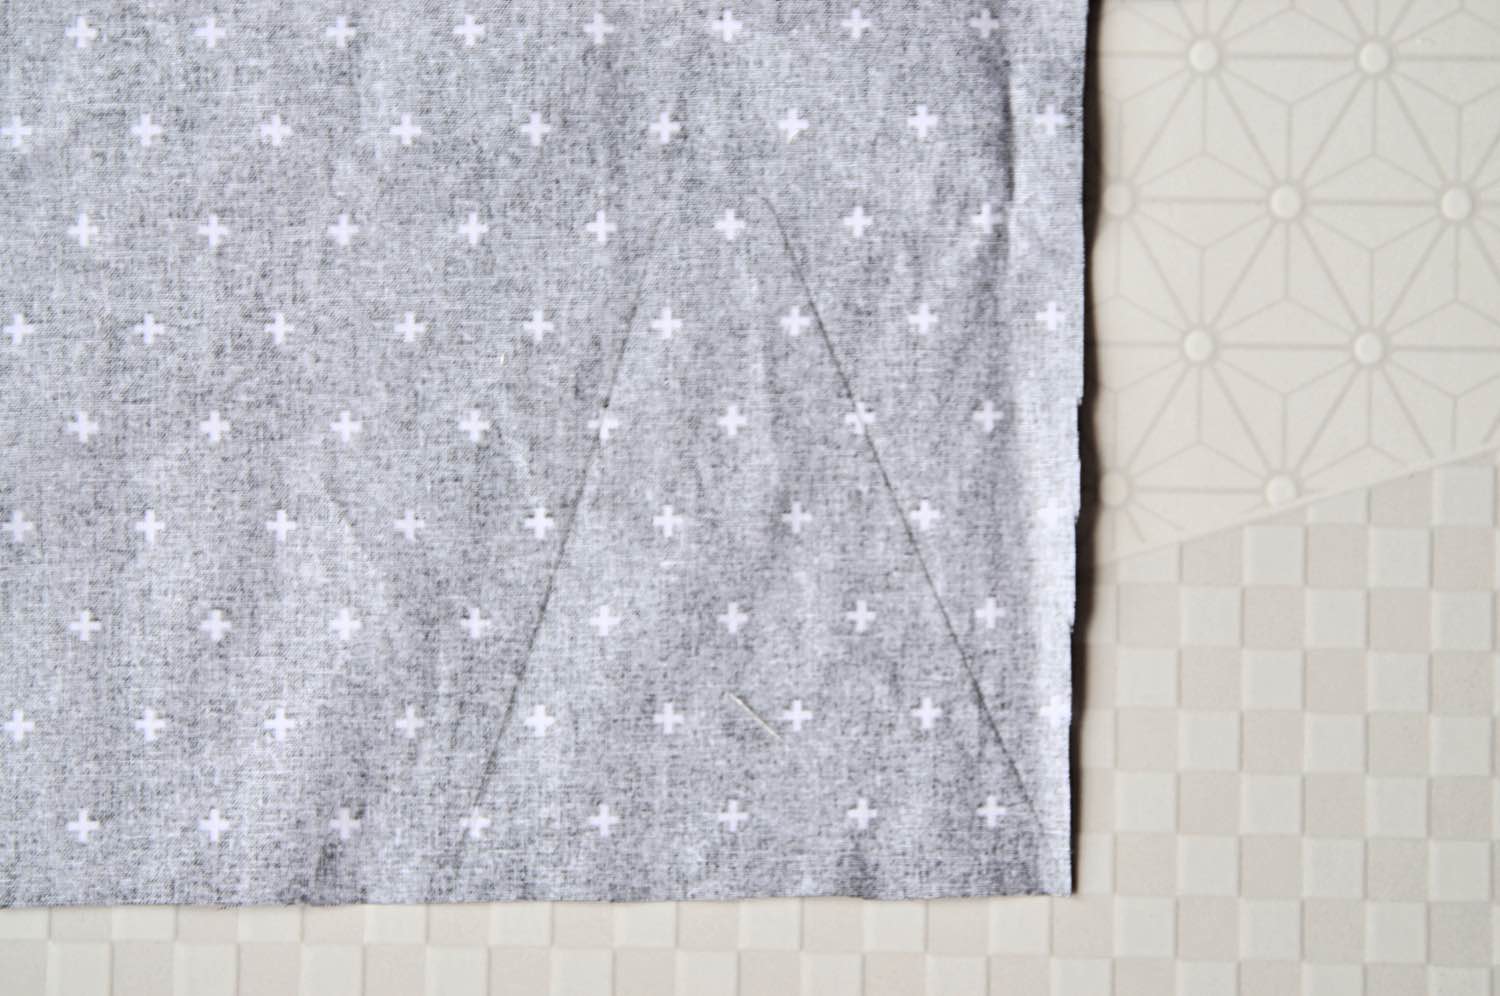
To cut your triangles, stand your book up, and open it as much as you will want your purse to open. This should be less than a 45° angle. Trace around the outside of the book. This will create a triangle with a flat top.
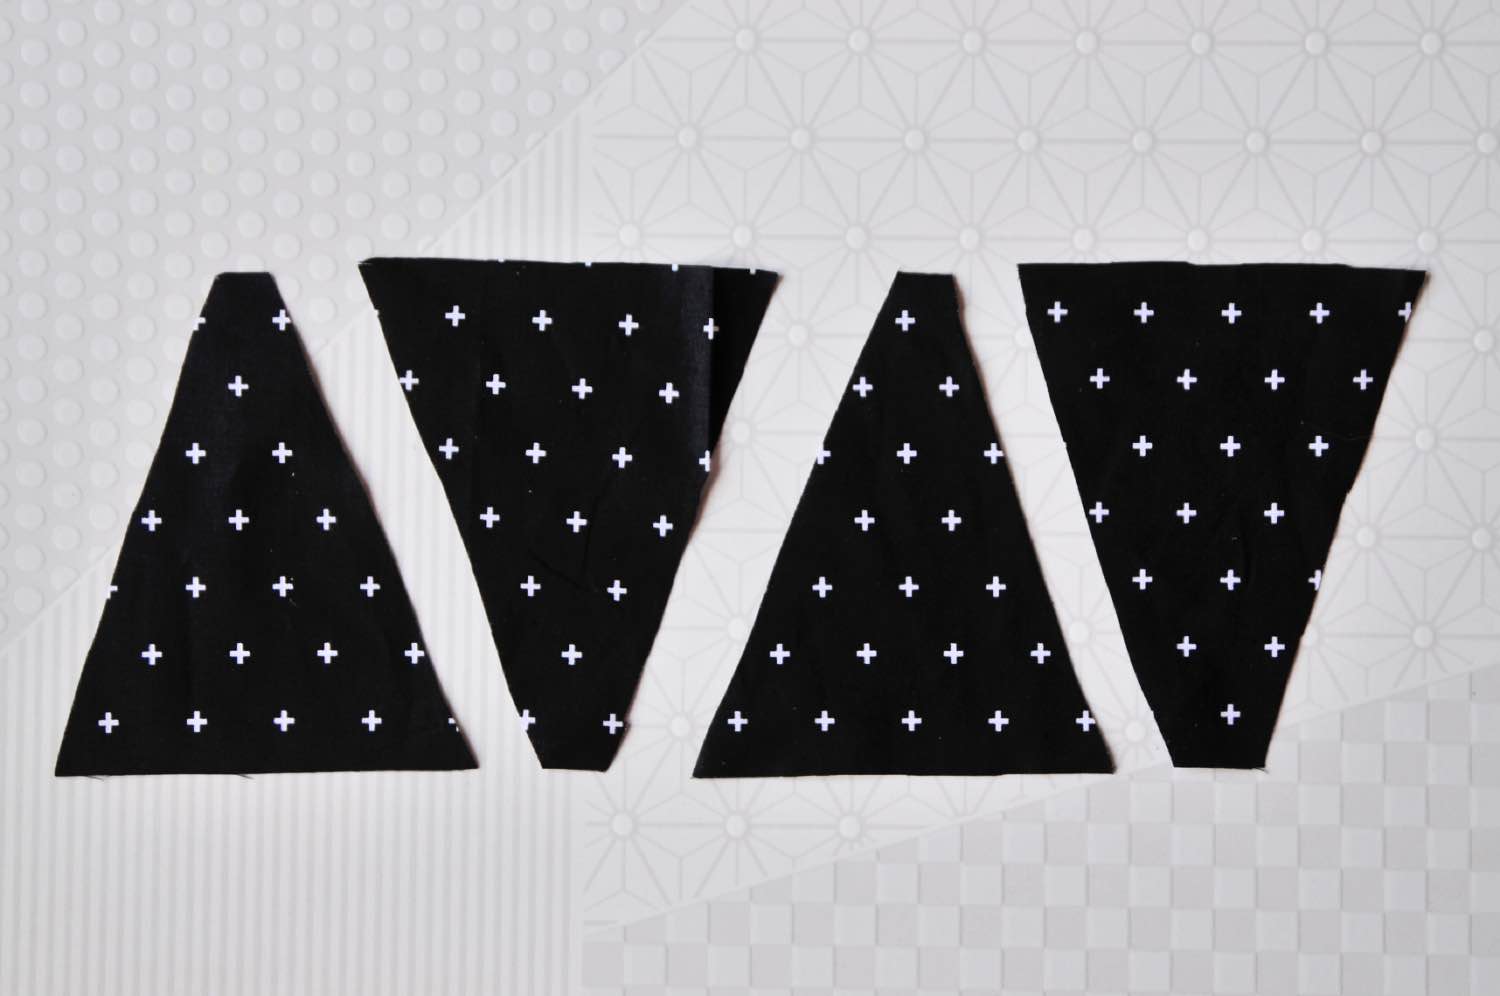
Once you have your first triangle cut, you can use that triangle as a template for your other 3. Now you should have 5 pieces of fabric total: 1 rectangle and 4 triangles with flat tops.
Line up your triangles so that the fabric pattern faces out. If you are using a sewing machine, you will want to hem these edges. For no sew, simply attach them with a tiny bit of hot glue. Trim the edges to make the triangles perfectly even.
Repeat that step with the other 2 triangles. Now you should have 3 pieces of fabric total: 1 rectangle and 2 triangles that have the fabric showing on both sides.
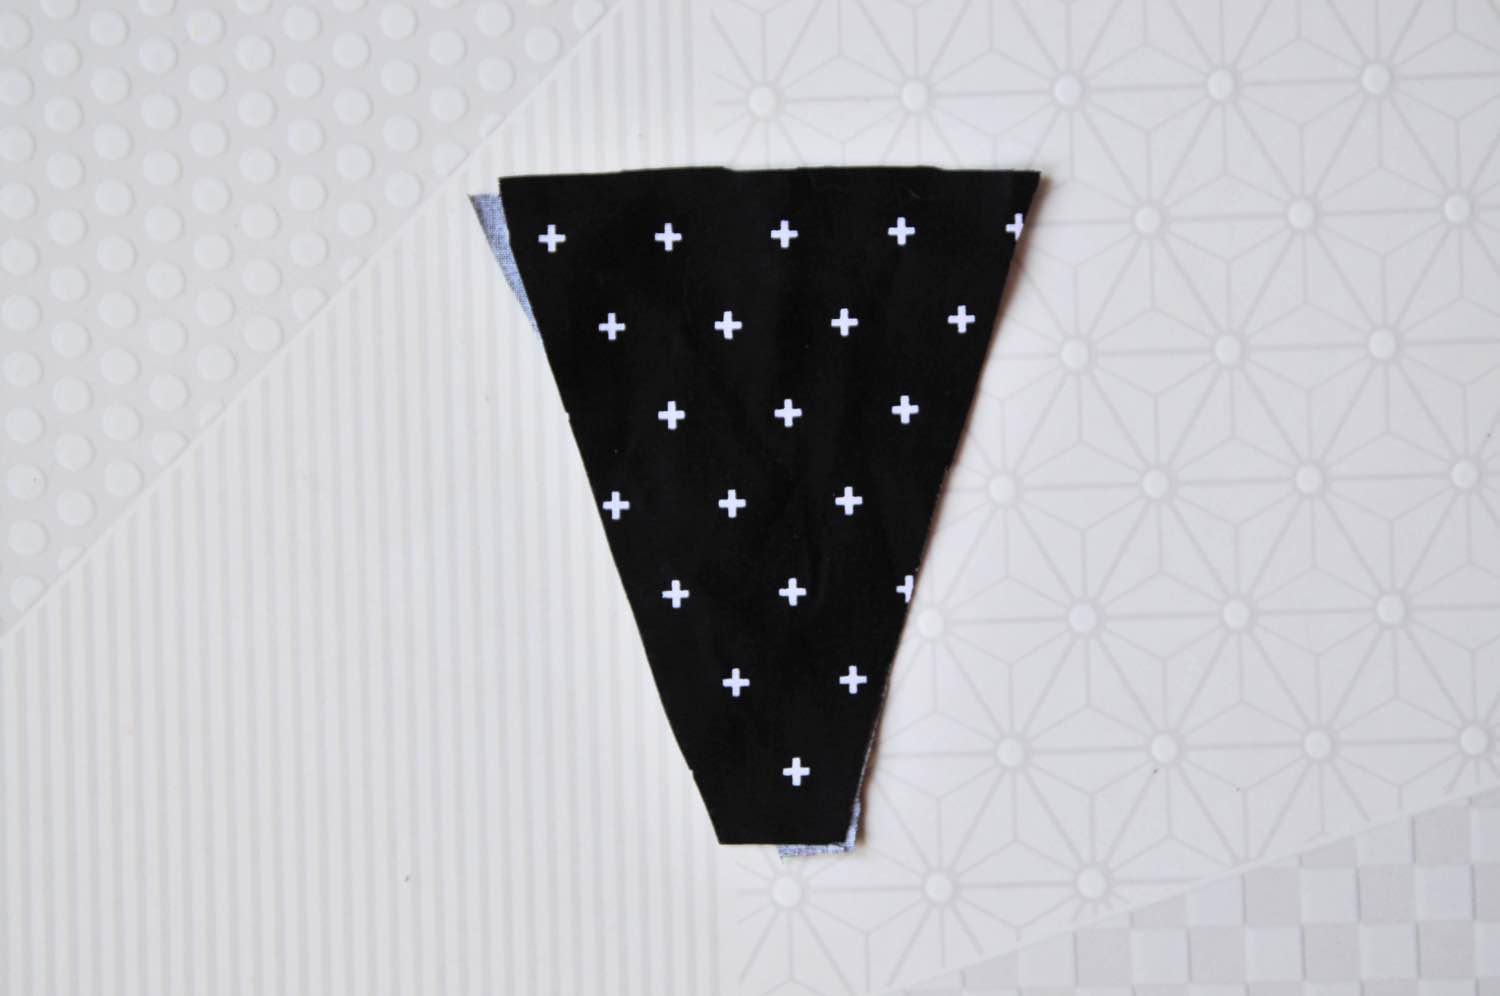
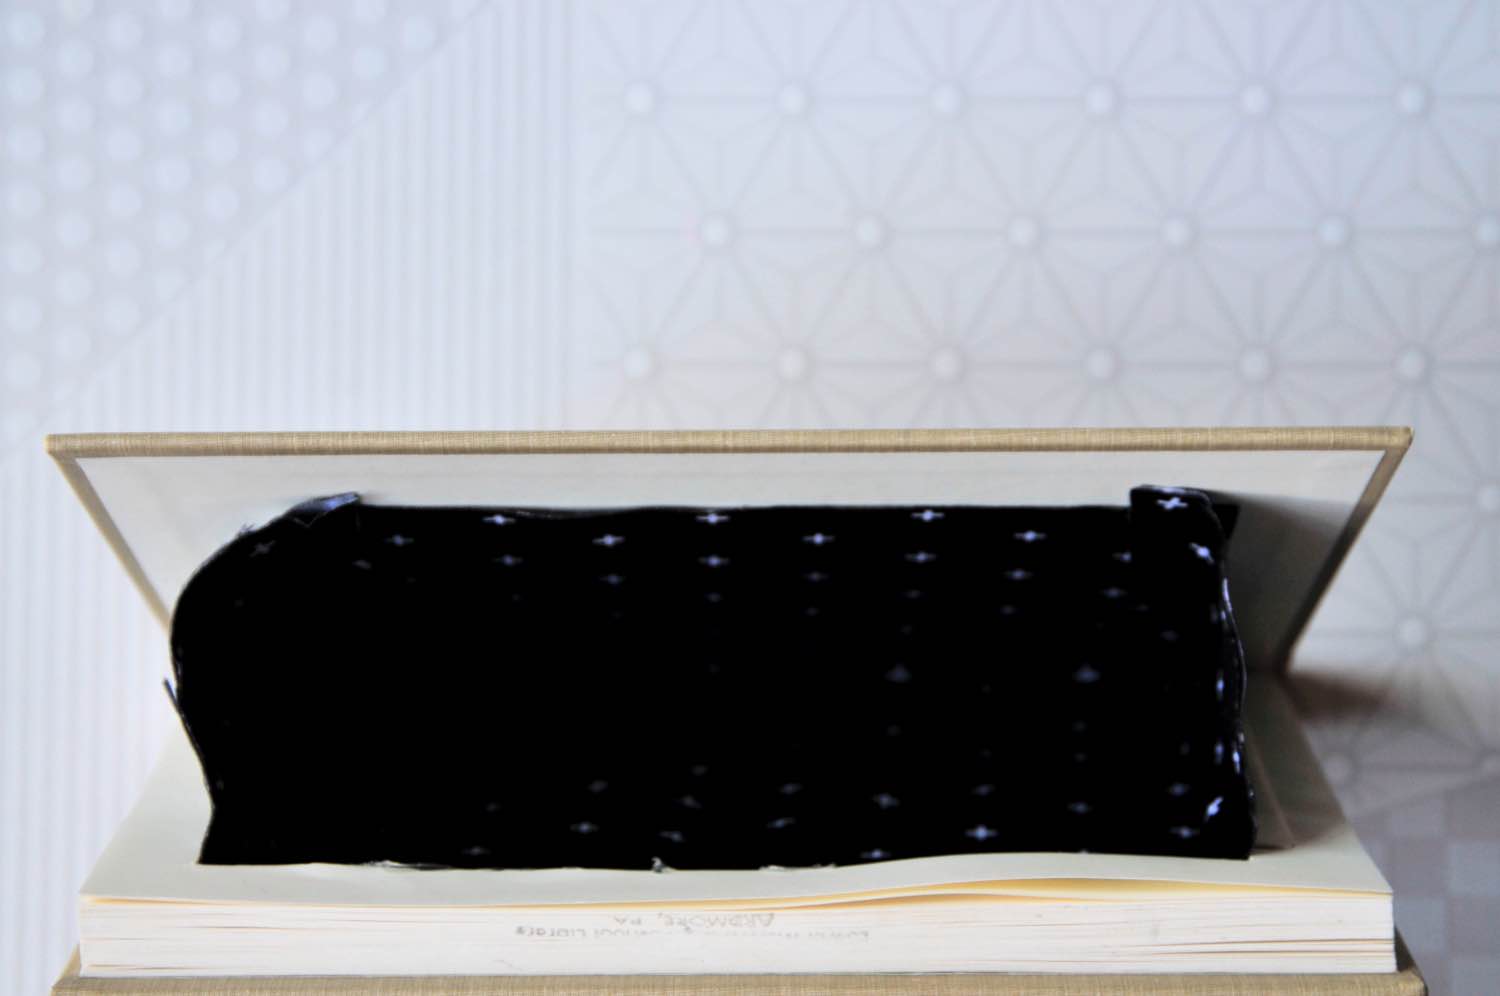
Step 3: Attach the Fabric Lining
Before you attach the fabric lining, flip all the pages to one side.
Then, create a zig zag of hot glue along the interior top edge only. Press and hold the pages in place until the hot glue dries. Then add a thin stripe of glue along 1 long edge of the triangle. Press the long edge with glue to the interior top of the book. Hold in place for a few seconds.

And attach the other triangle. Remember, the short end goes towards the spine of the book. The longer edge of the triangle faces the outside.
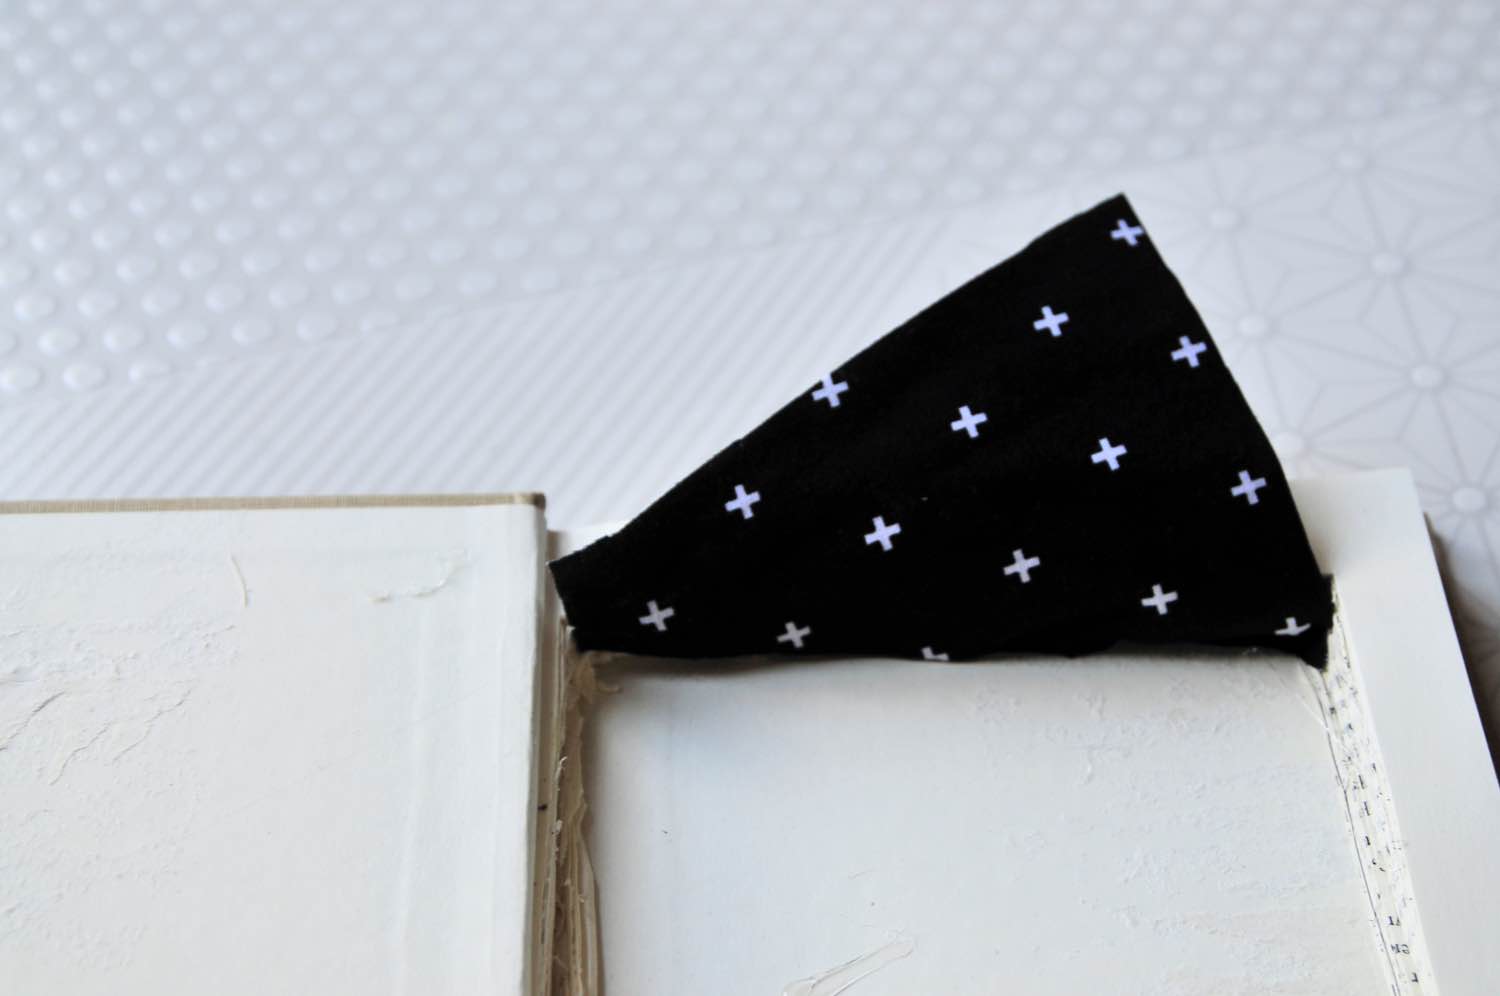
Now again, if you want a professional clutch, hem the edges of your triangle. If you want to make it no sew, you can go ahead and attach your triangle to the book.
Make sure that the entire surface is sticking to the book.
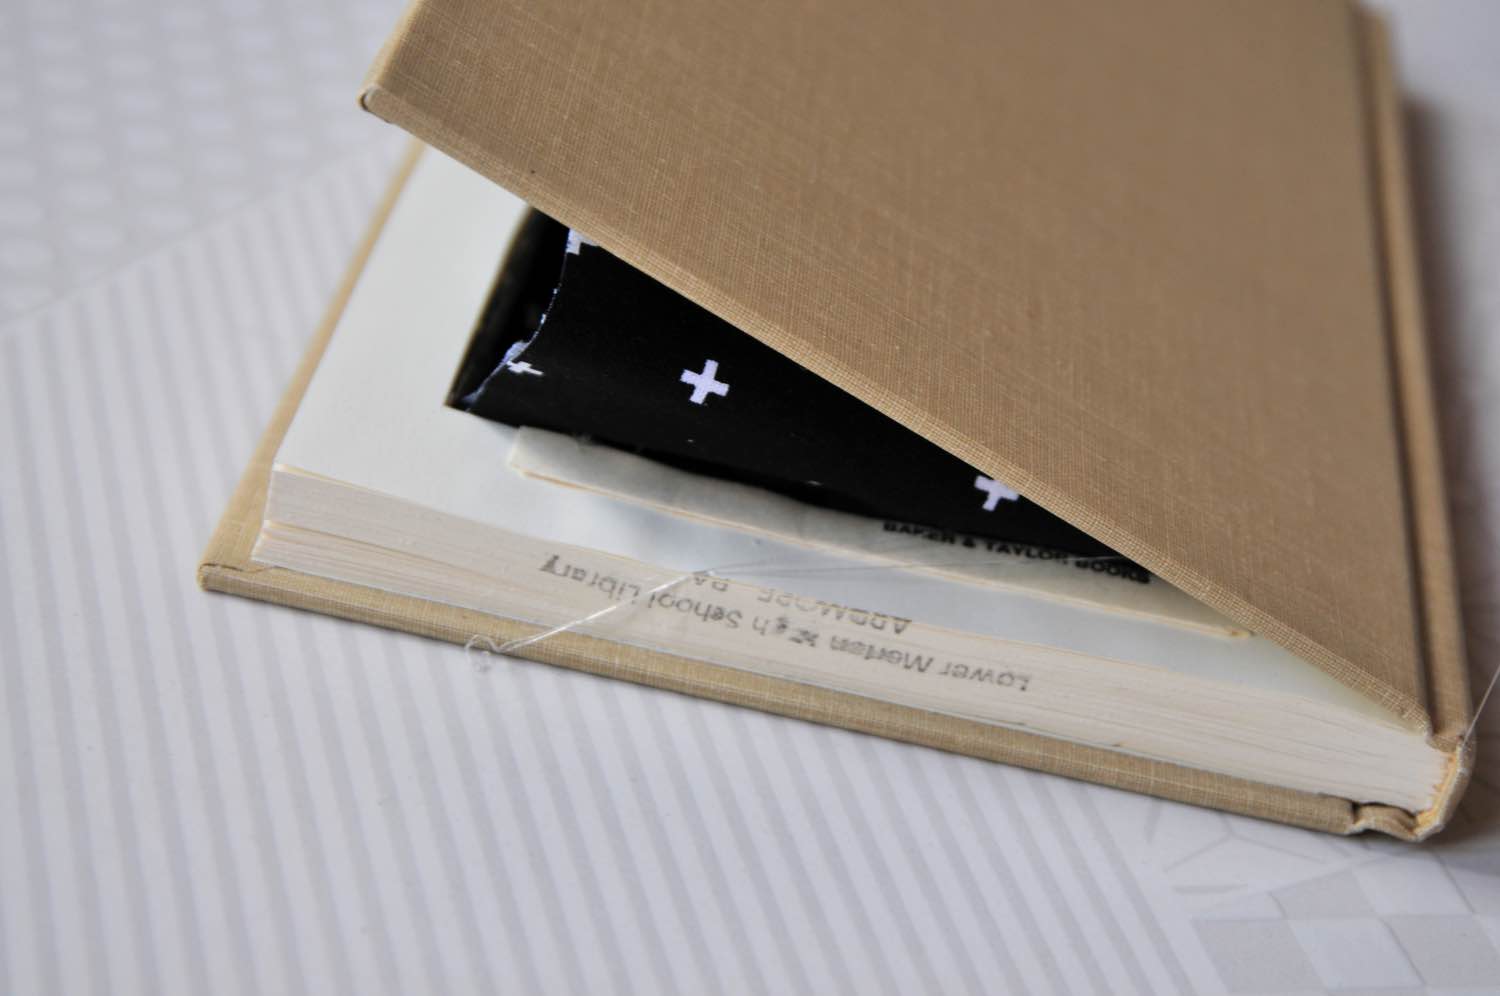
Last, add another thin stipe of glue to the opposite side of the triangle. Press the hot glue to the side of the book it faces. Hold in place for just a few moments.
Now you could call your book clutch done. But I would recommend adding a purse closure.
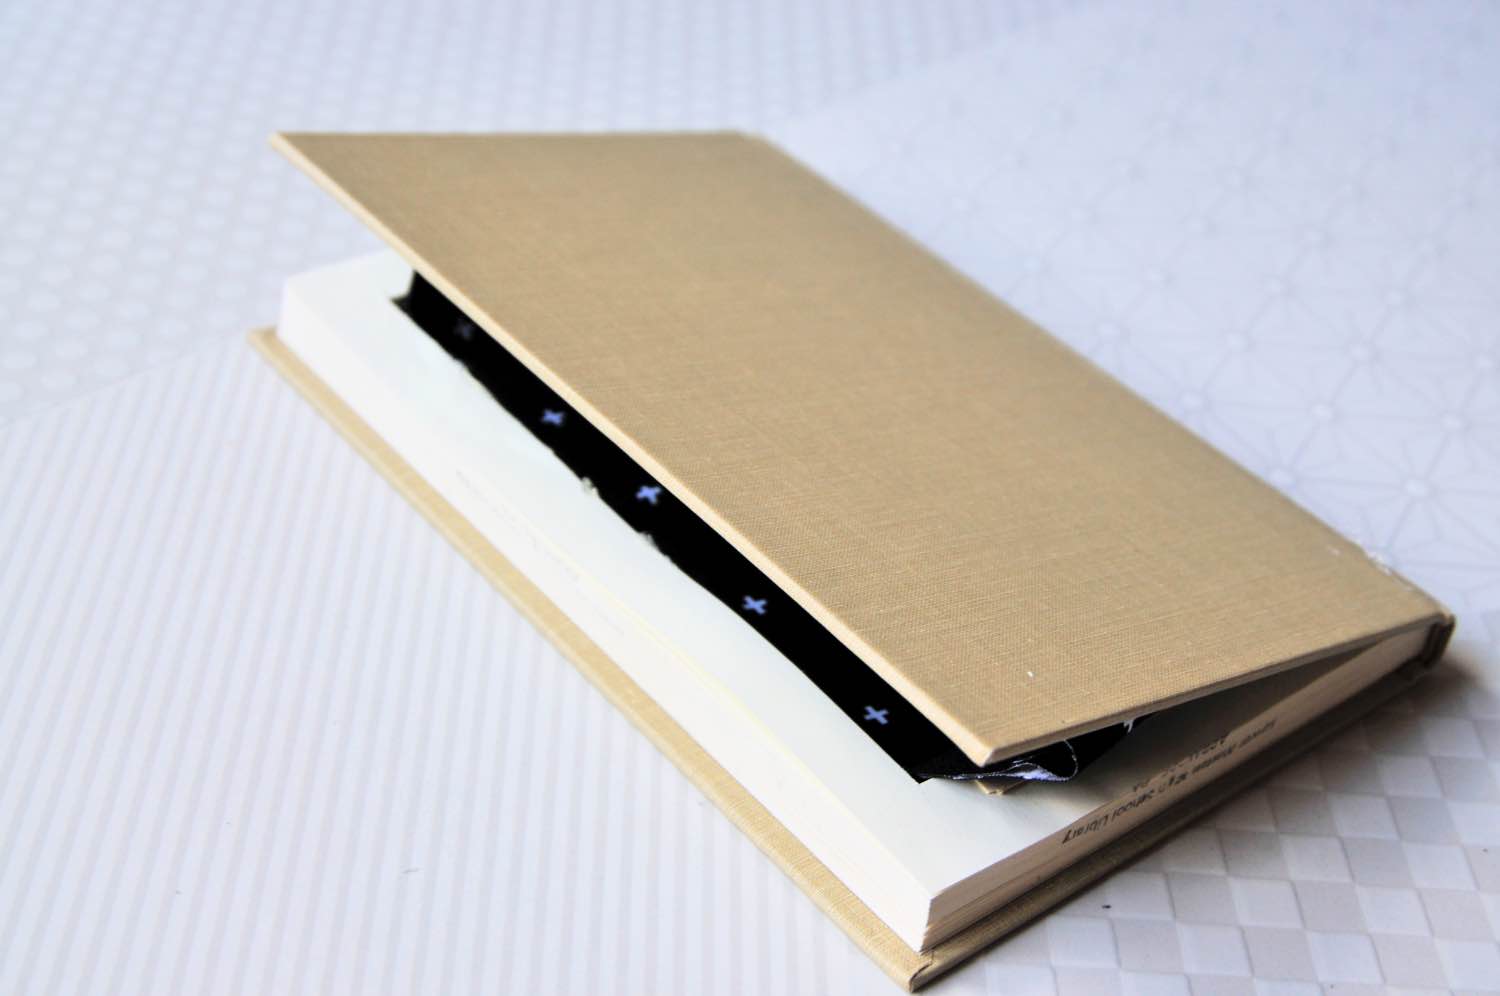
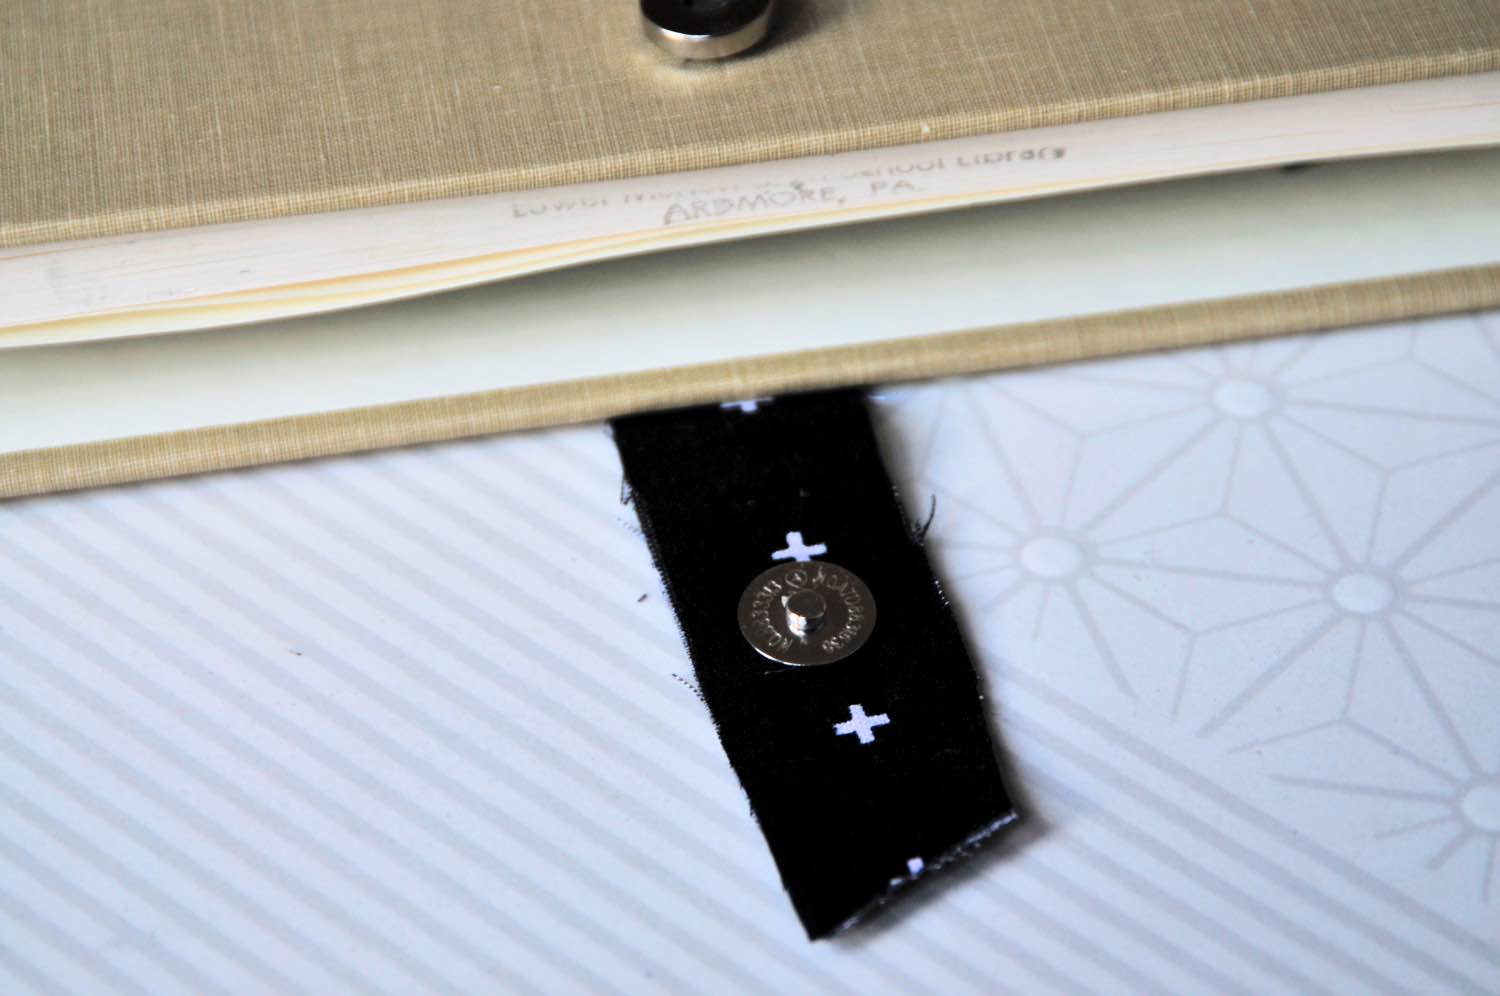
Step 4: Attach a Purse Closure
I used the same magnetic closure that I used for this No Sew Vegan Leather Travel Pouch here. You can see how it attaches and folds into place more in depth there.
For my book clutch, I used a trimming from my double sided triangle that become one of the sides of the purse and attached it with hot glue to the back of the book.
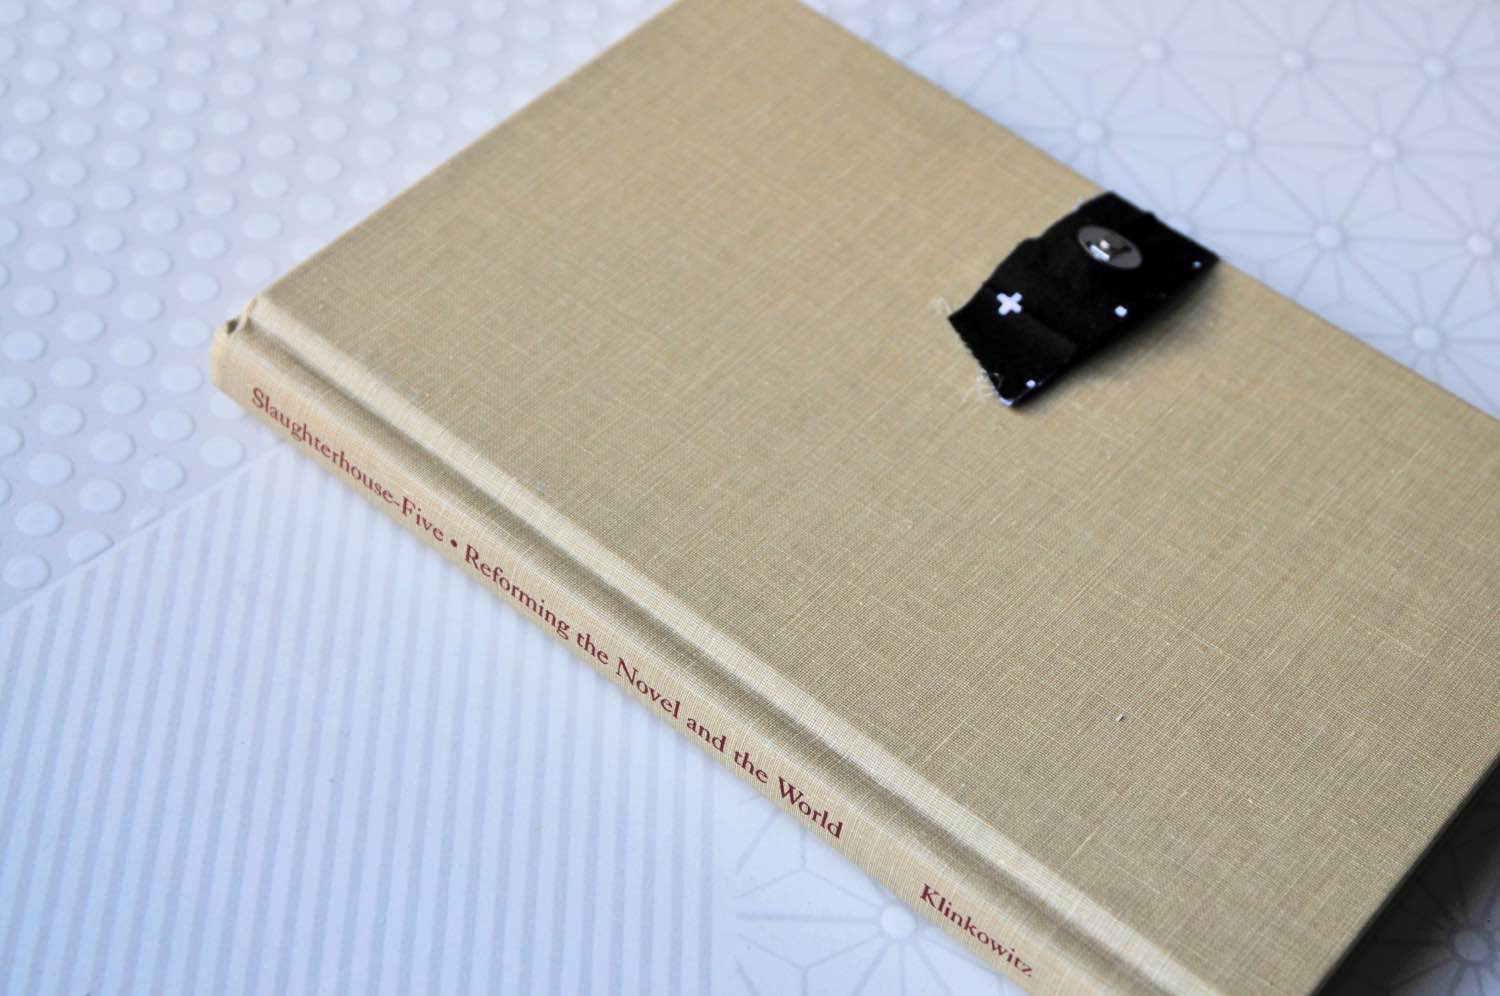
Then I added one side of the magnetic clasp to the fabric and the other side of the clasp to the front of the book. This clasp has little prongs that poke through the fabric and attach into place. But you can use a different kind of clasp.
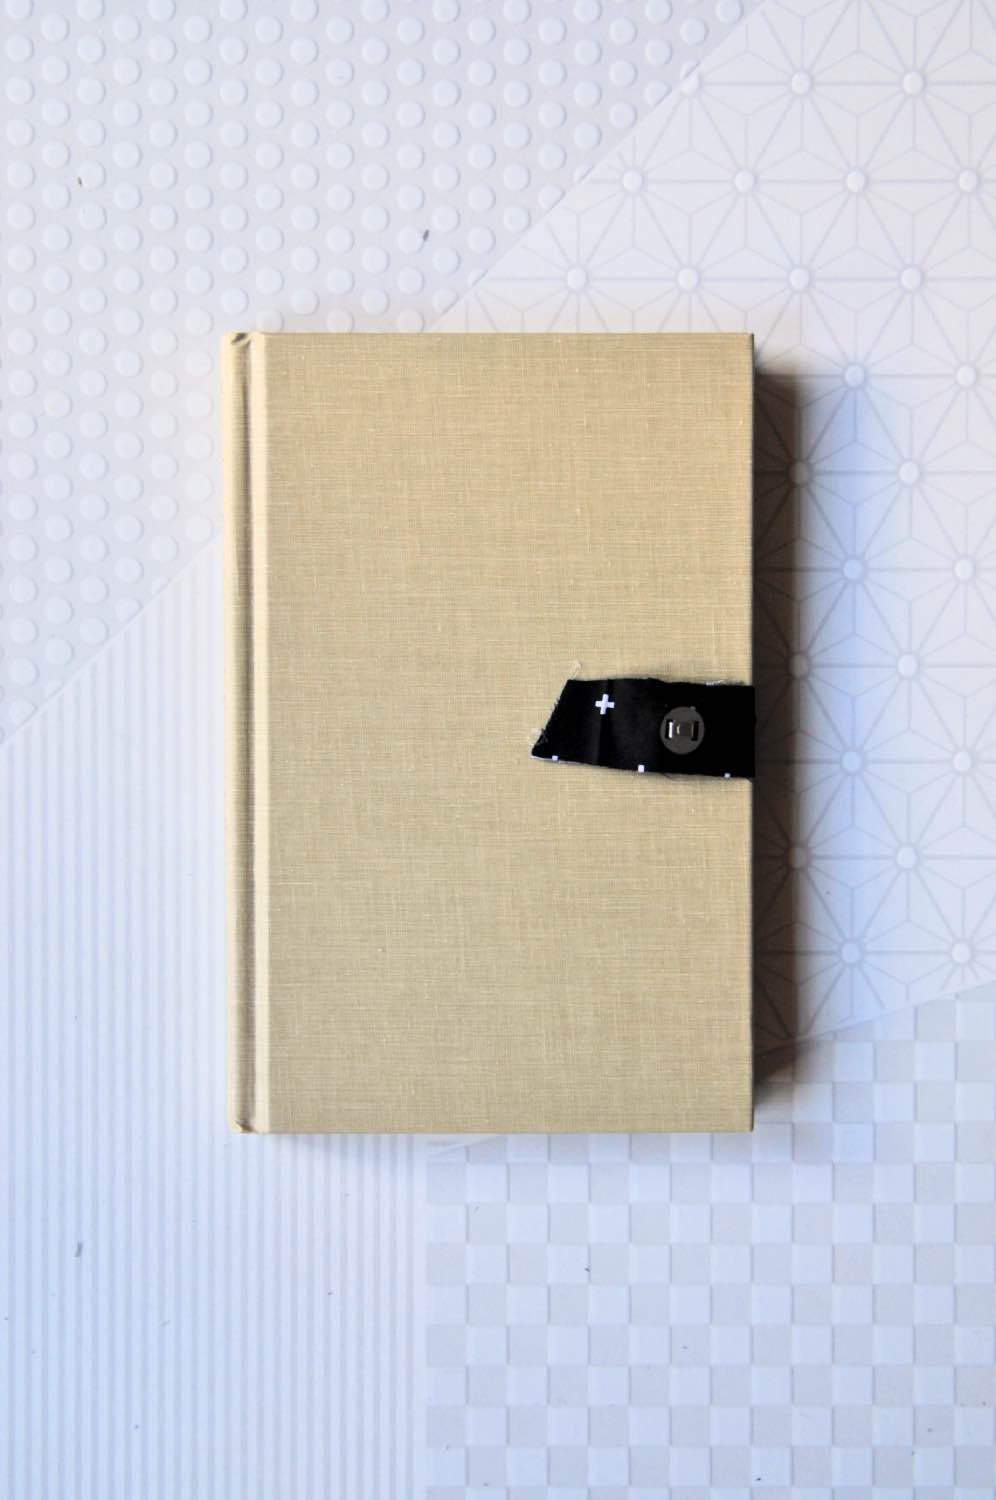
If you want to add wooden purse handles, you may need a drill and to drill holes in the book. But it would be a lovely option! And viola! You have your very own DIY Book Clutch Purse. So where are you going to where it?! Tell us in the comments!
Let’s Stay Friends!
Insta | Pinterest | Enews | TikTok