
DIY
DIY Gilded Seashell Candles

Dec
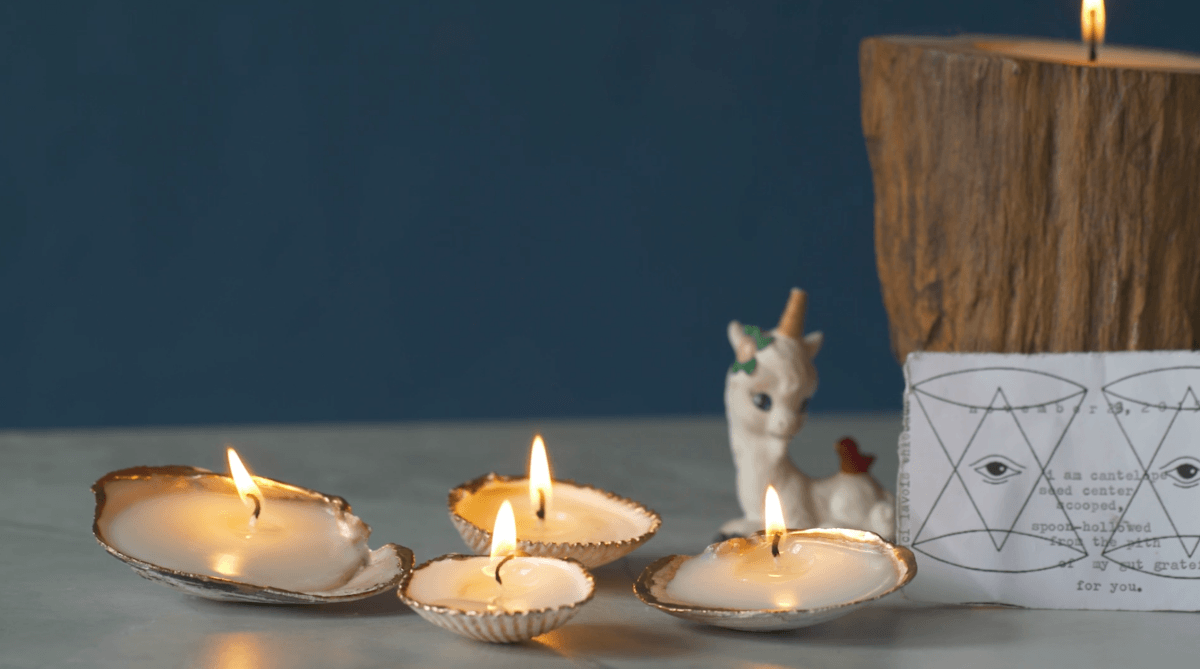
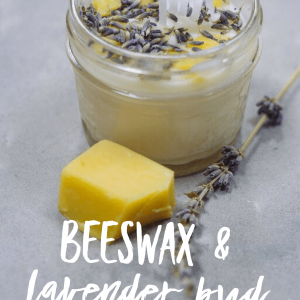
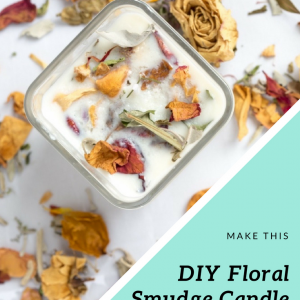
These candles are so pretty they must be put on display! These DIY Gilded Seashell Candles are glammed up with just a bit of it’s gold luster (you could use silver or copper instead) and smell so refreshing! I might even think they are prettier than these Floral Smudge Candles here.
They are so darling that they would also make a great gift. The best part is, you won’t believe how easy they are to make.
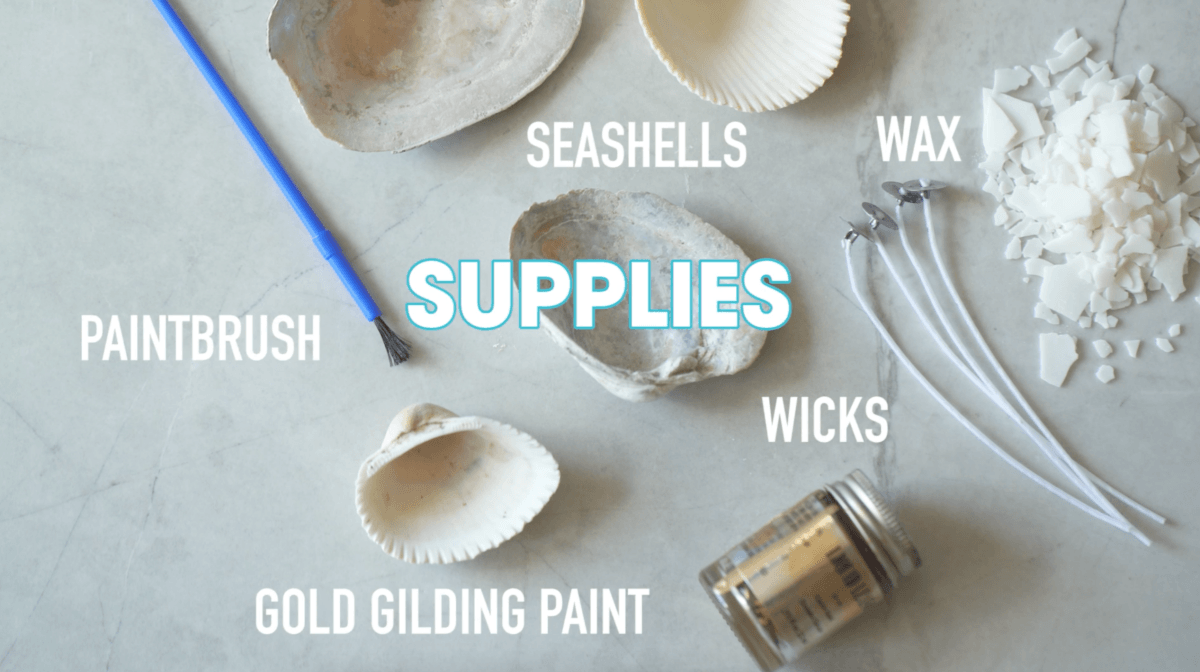
Supplies:
Get All the Supplies in this Gilded Seashell Candle DIY Kit here.
-or-
Large, Wide & Flat Seashells
Soy Wax
Cotton Wicks
Scissors
A Hot Plate or Stovetop
A Vessel for your Candle Wax ✨we’ll discuss in depth below✨
Liquid Gilding
A Disposable Paint Brush
Optional: Essential Oils (here are some of my favorite recipes)
A Toothpick or Popsicle Stick for Stirring the Essential Oils

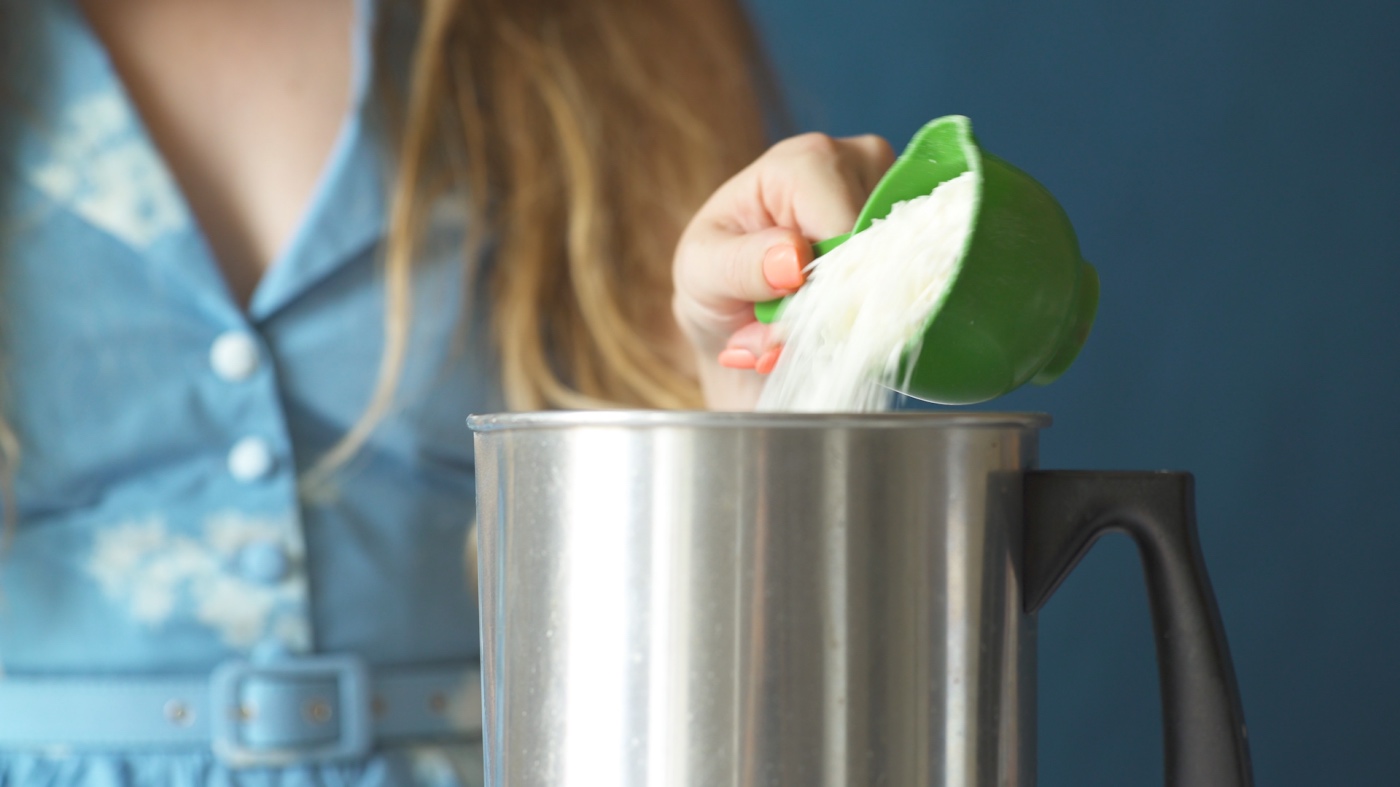
To get started, you will first need to melt your wax. You don’t have to use a wax pitcher like the one I used. If you don’t have one, you could double boil your wax instead. You can use a mason jar – as long as it’s a high quality brand or you could use a clean aluminum can. Here’s a blog post that shows how to use an aluminum can to double boil the wax.
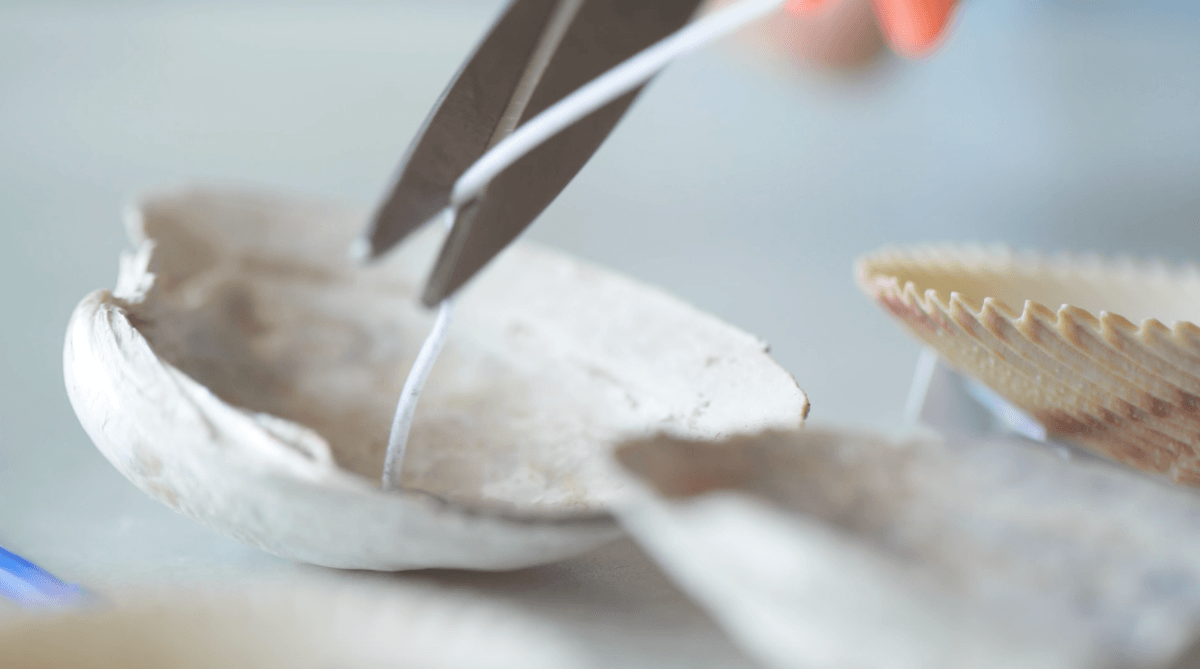
Next, trim your wicks to about 1/2 inch to 1 inch higher than the top of the seashell. You can always trim it more, before you burn the candle. But for now you will want to keep it just a bit long.
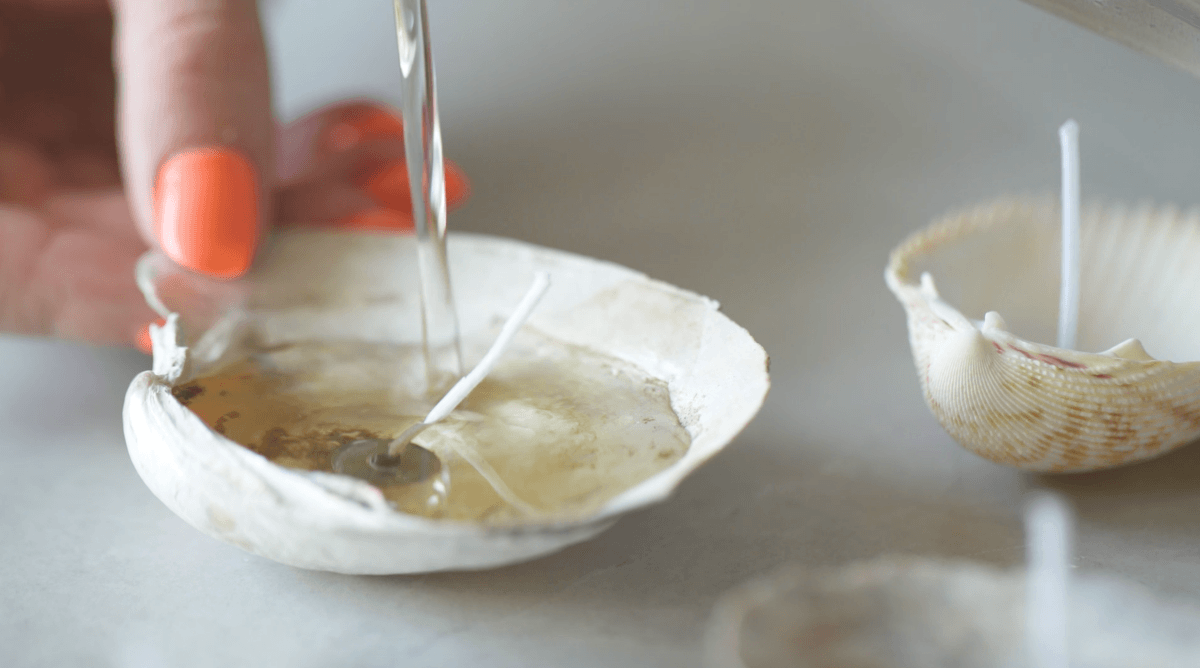
For the next step, I would actually recommend changing the order from what I did. I would first fill the seashell with wax and then set the wick in the center. Because the wicks are so tiny, they will move a lot as you pour the wax.
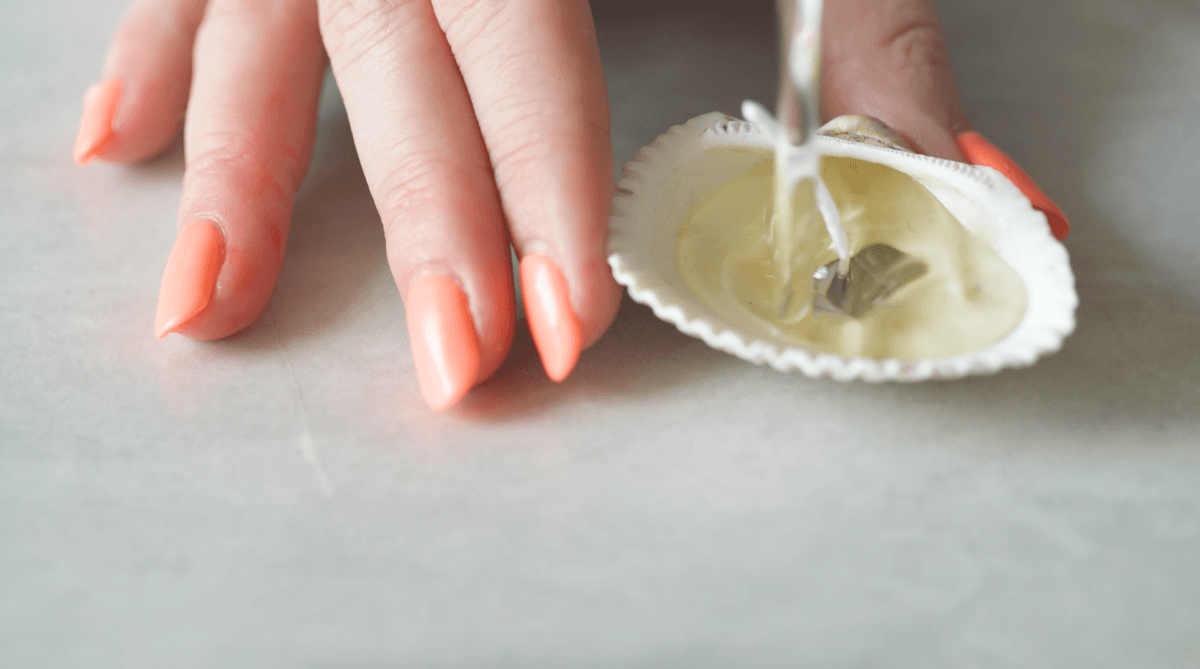
You can kind of get a sense of how much the wicks move here. But pouring the wax first and then adding the wick second will solve this issue!
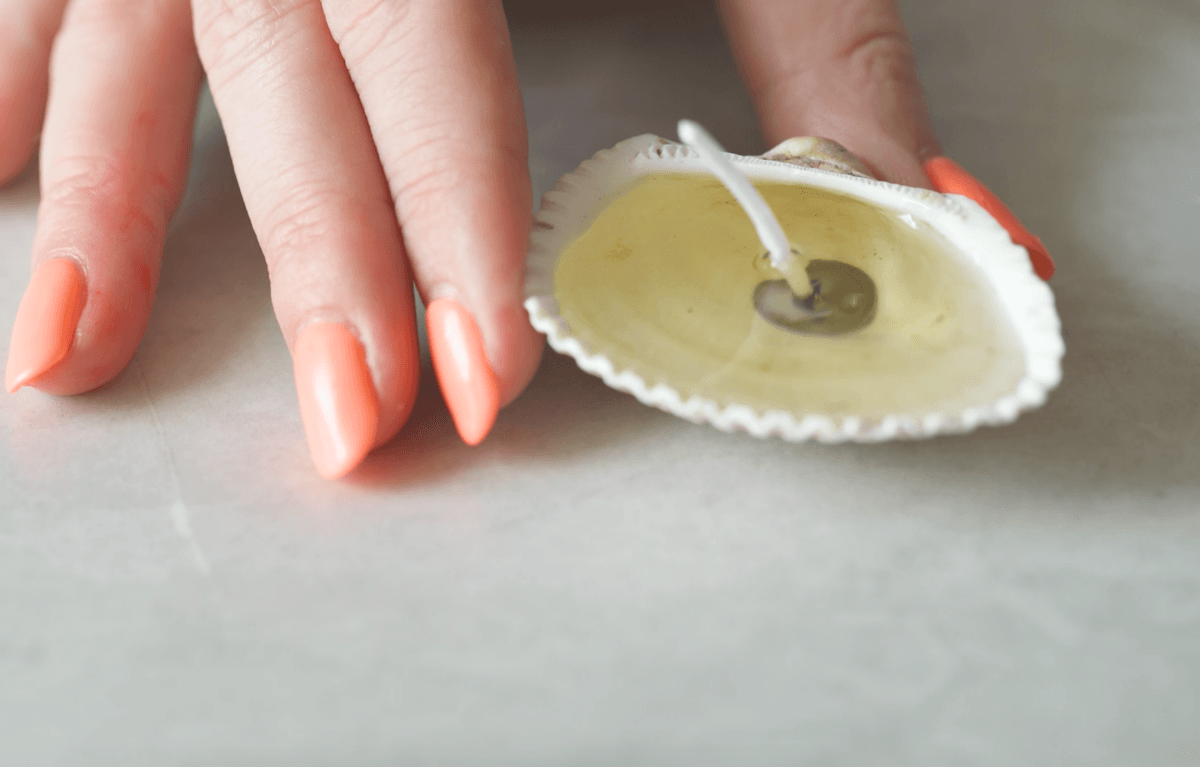
Once your wax starts to cool and harden, it will become opaque from the bottom of the seashell to the top. Once your wax starts to turn from transparent to translucent, it’s time to add the essential oils. Of course, essential oils are not a must!
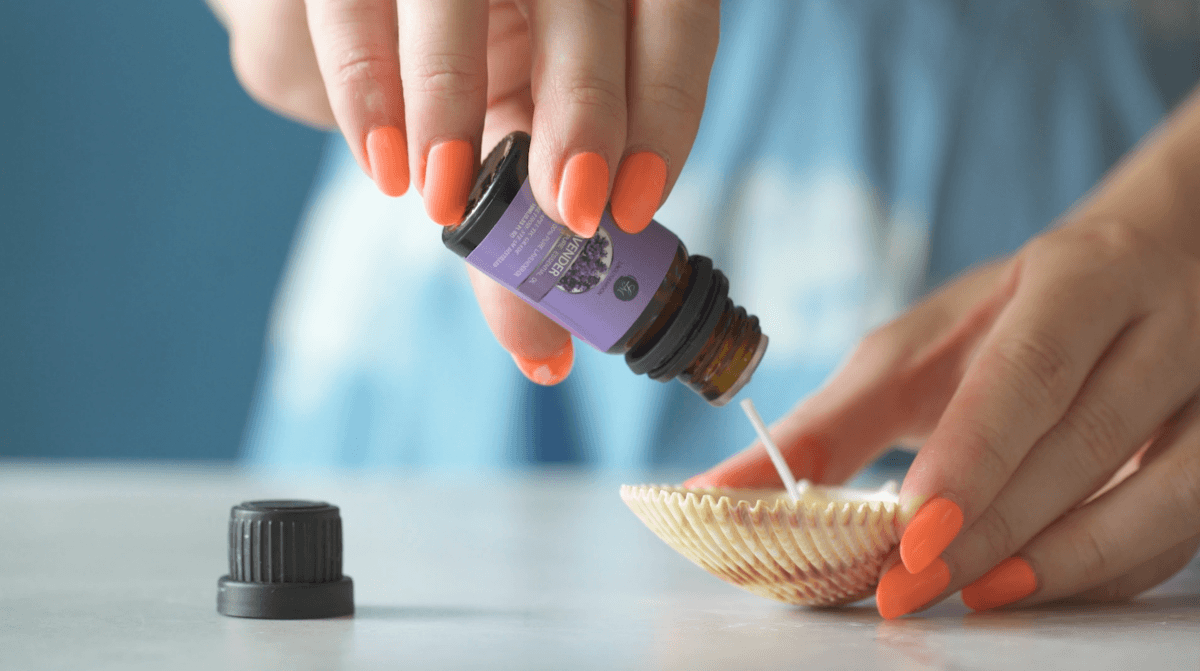
Depending on the brand, you will want to add 5 – 20 drops total of your essential oils. You can mix and match or just use one. Here are some of my favorite Essential Oil Recipe Blends but I just used a simple lavender for these candles! After all, lavender is my favorite. Be sure to mix your essential oils thoroughly in the wax. Use a toothpick or something else to stir for at least a minute being careful to not spill the wax.
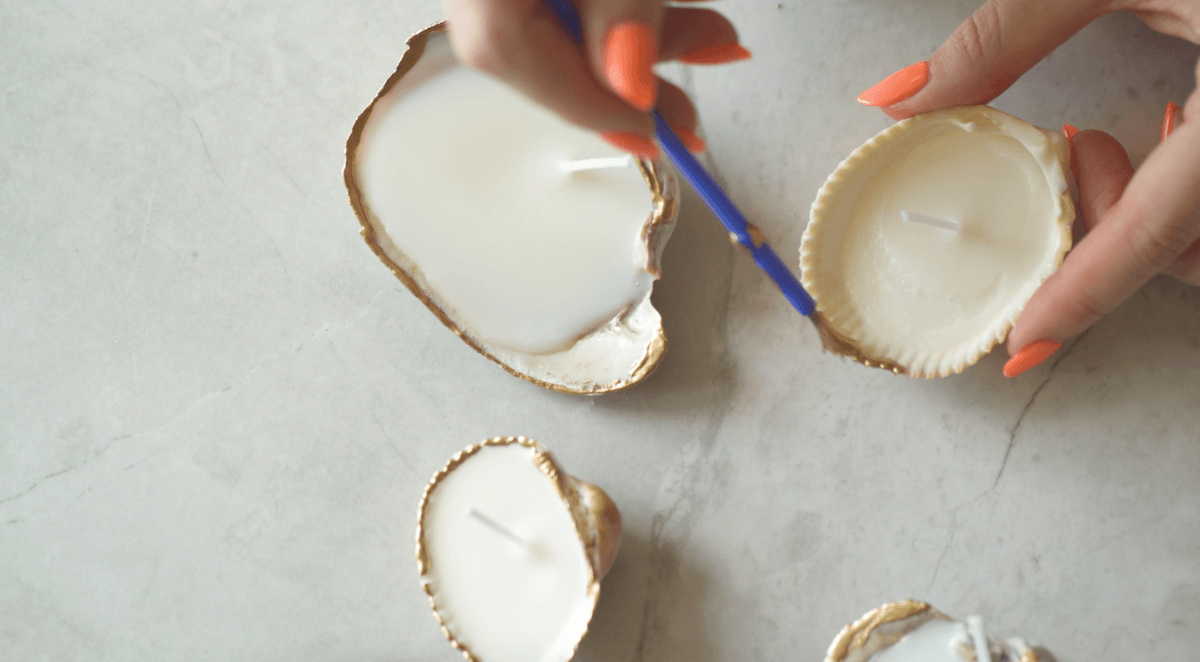
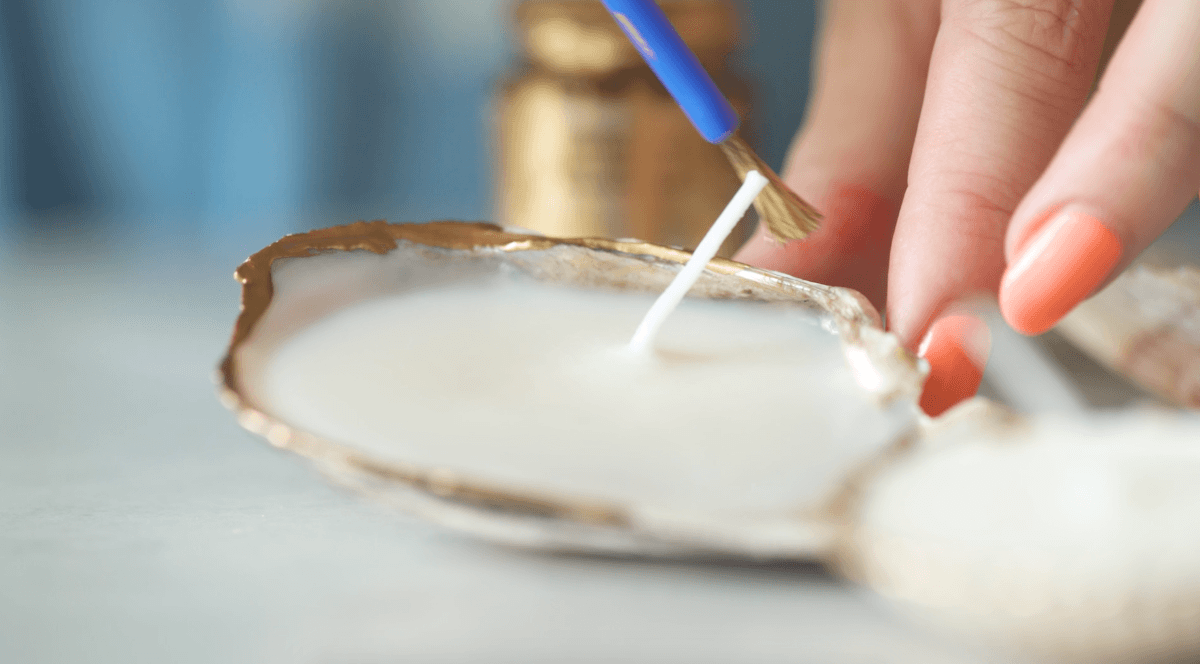
Now it’s time to dress up these Seashell Candle with a bit of metallic luster. I chose gold but liquid gilding also comes in silver, copper, and other metallic colors. It’s important to use a disposable brush, because the liquid gilding will absolutely destroy any paint brush.

Liquid gilding is a bit fumey, so be sure that you are in a well ventilated area. It’s also helpful to keep the lid on the gilding while you work. A jar of liquid gilding will last a long time, so if you want to use the gilding again, there’s something important to know.
When liquid gilding gets on the thread of the jar, it is nearly impossible to reopen it, so be sure that you wipe the edges completely before you close the jar.
As far as how to paint the seashells, I just lined the edge of the shells in gilding. Nothing more. And your painting technique doesn’t need to be perfect! Liquid gilding is so beautiful that it will help you by making everything look super professional.
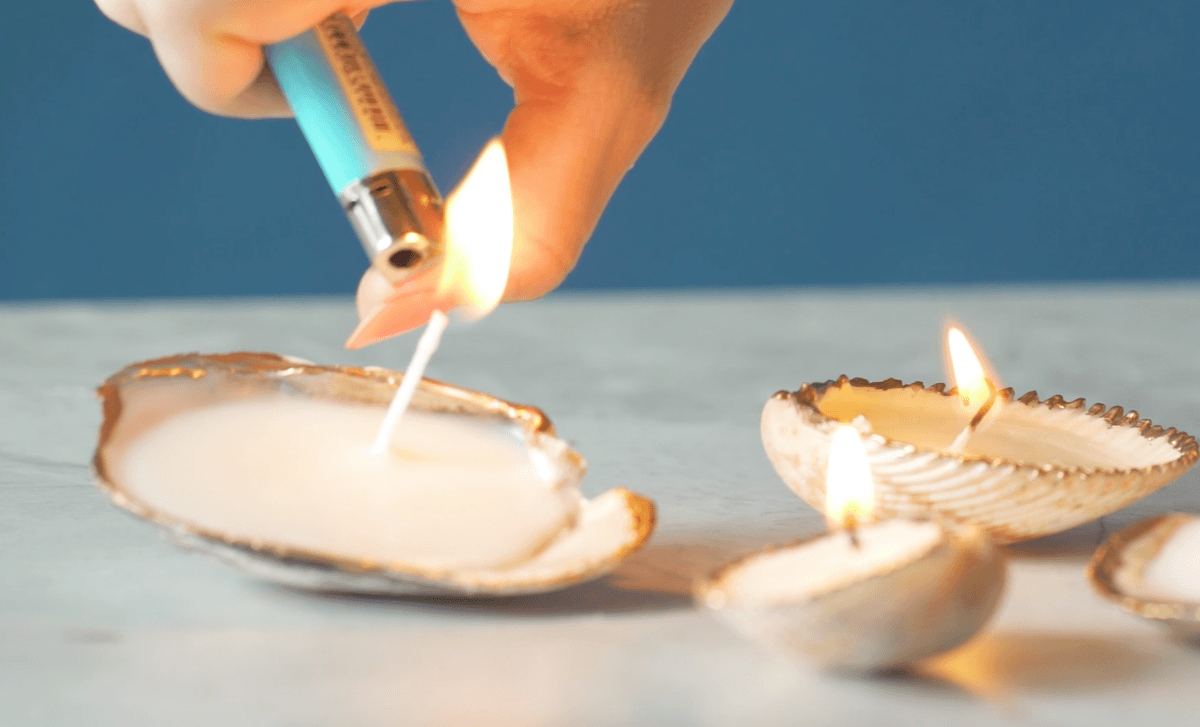
Your gilding just takes around 30 minutes to dry. Once the gilding is dry, your DIY Gilded Seashell Candles are finished! And viola, you now have a gorgeously nautical decoration.
One thing to note is that fragrances in candles settle over several weeks. So if you want to maximize the fragrance, be sure to wait 2 weeks to burn them.
Looking for other things to make with seashells? Make these Tiny Seashell Terrariums here. Or make these Mermaid Perfect Hair Barrettes here.
And if you love the look of gilding try making these Gilded Animal Place Cards that I just love!
Let’s Stay Friends!
Insta | Pinterest | Enews | TikTok

Aww this is wonderful my cousin did a similar concept with coconuts.
http://sheismelrose.net/
That’s an awesome idea!
These are simply beautiful!
Is the gilded paint flammable? Is there any danger of catching the paint on fire?
It’s a great point. Liquid gilding can be flammable. These candles should not be left unattended. It’s best to just paint the edges and not paint the entire seashell.