DIY
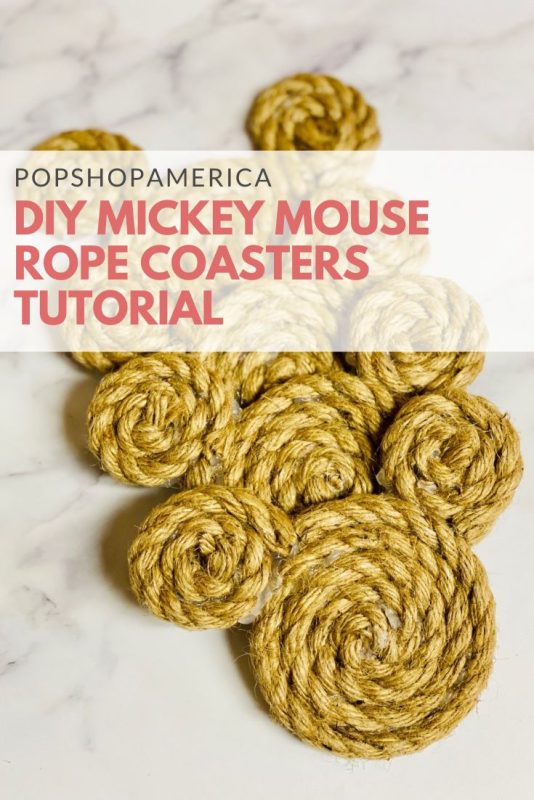
DIY Mickey Mouse Rope Coasters
Mar
Looking for a little touch of Disney in your home? These DIY Mickey Mouse Rope Coasters are so cute! They would be perfect to make for a Disney themed party and they would be perfect to give as a gift. You could pair them with this Minnie Mouse Wreath for a modern farmhouse Disney style.
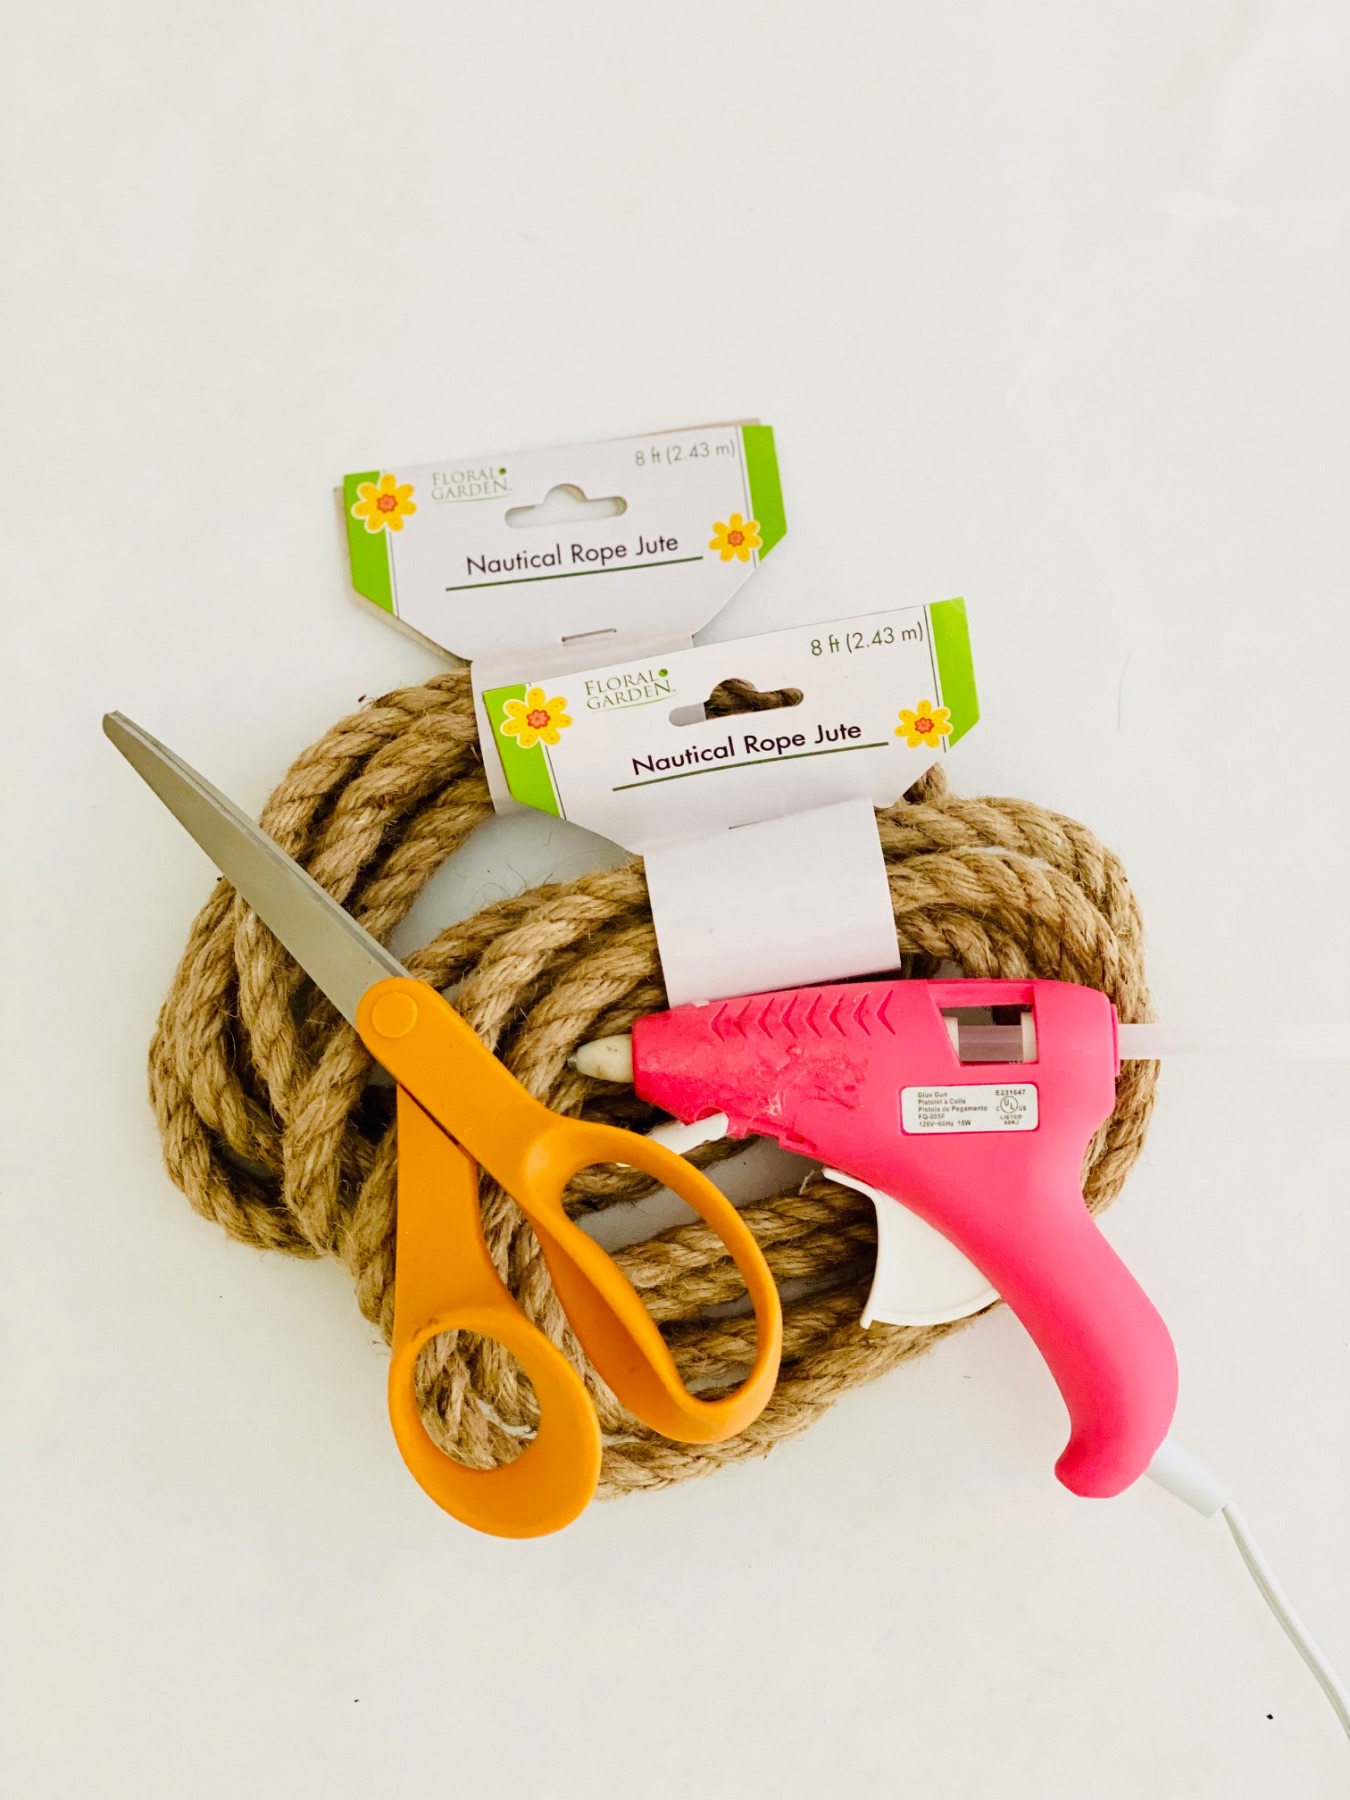
What I love about this craft is that you only need two supplies and you can even get those supplies from Dollar Tree. So let’s make it!
Supplies to Make DIY Mickey Mouse Rope Coasters
Jute Rope
Hot Glue Gun
Glue Sticks
And that’s all! You can get the Jute Rope at many different places. They carry it at most Hobby Lobbys. You can get it at Dollar Tree. You may be able to find it at your local outdoors, camping and supply store. And of course, you can always get it on Amazon!
How to Pick Your Jute Rope
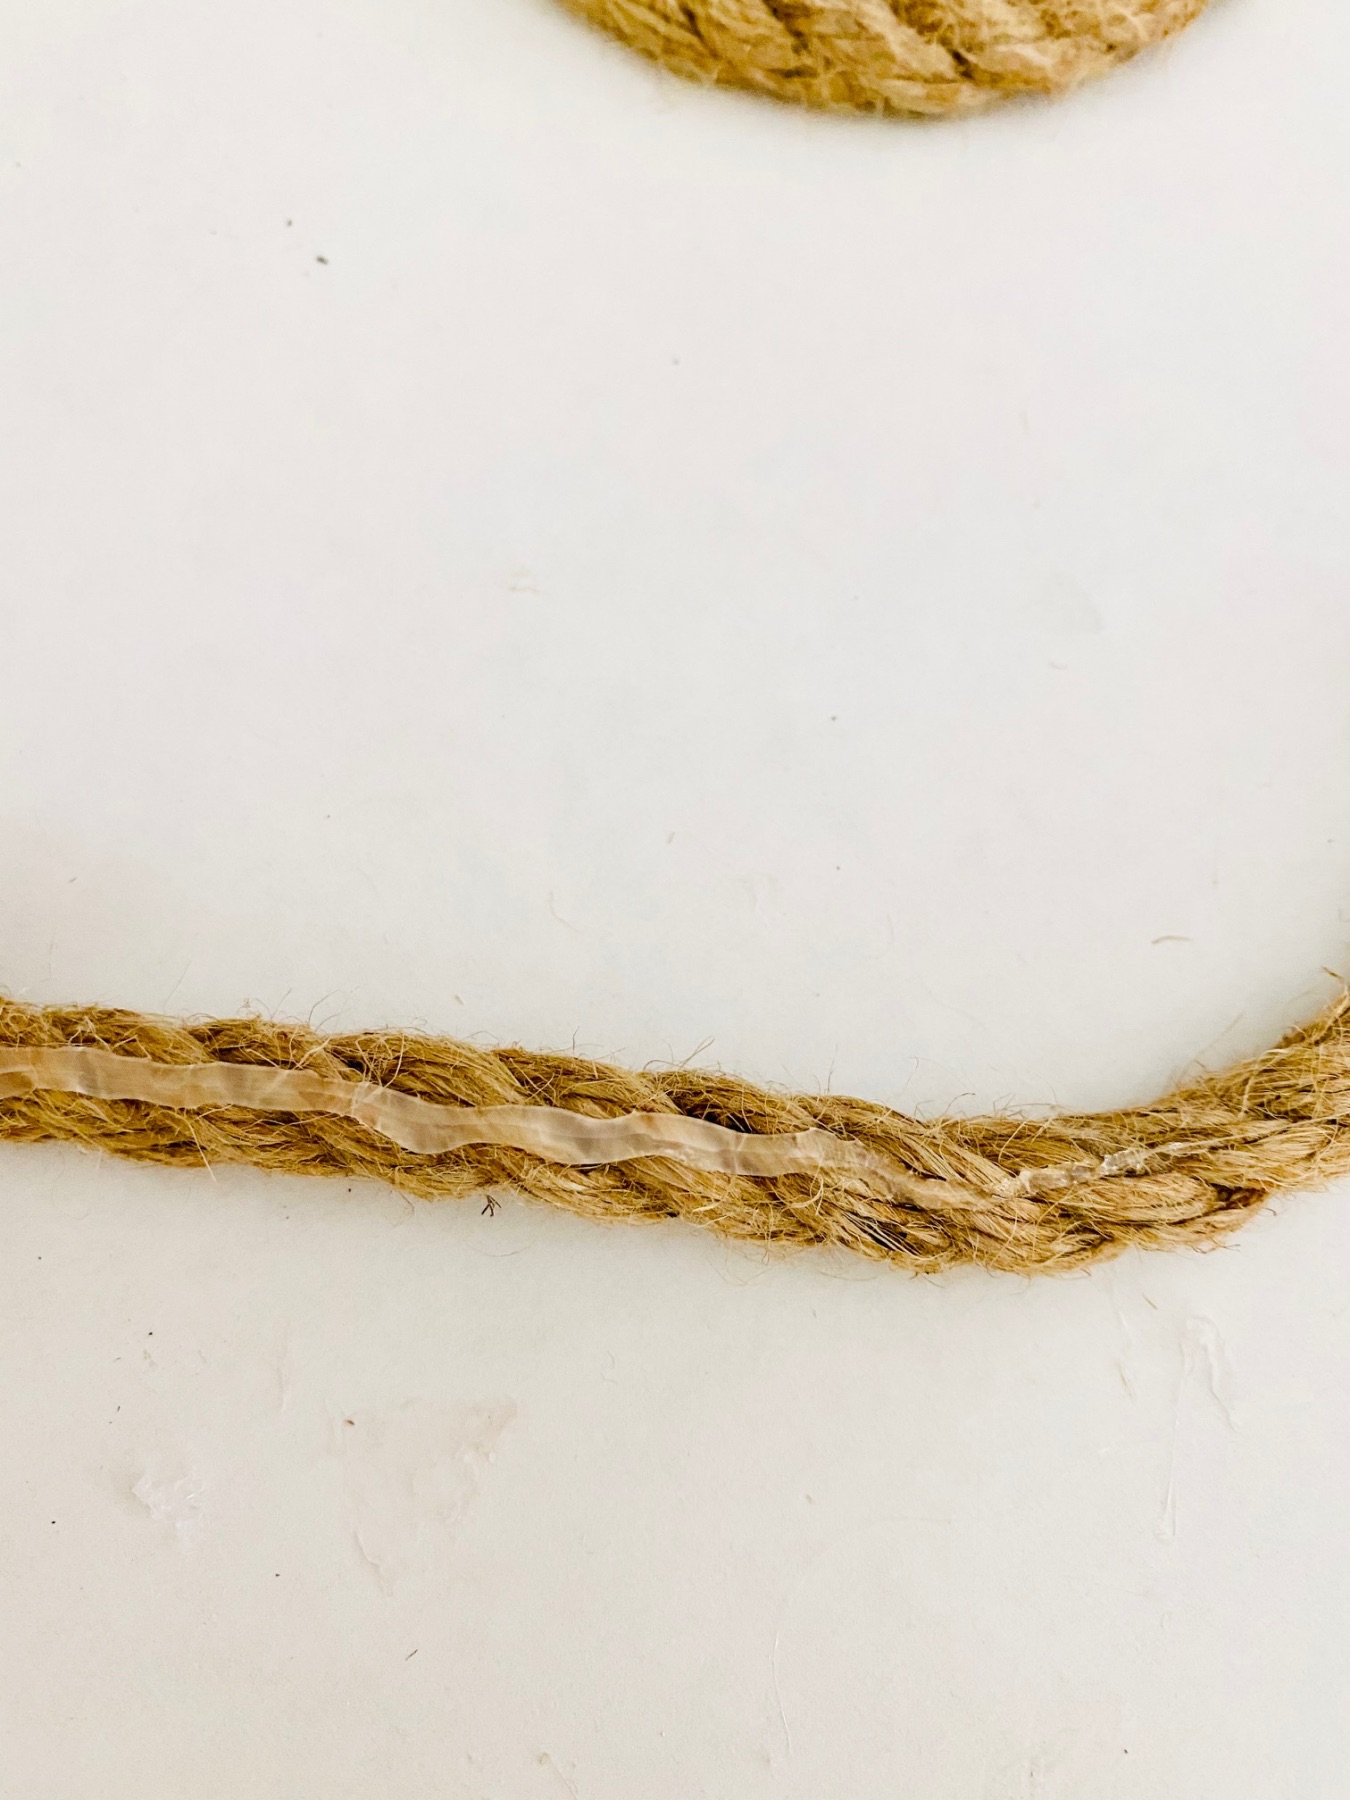
You may see jute rope available in different sizes. What you need to consider is how thick the rope is and how that thickness will give your coaster height. Use any size of jute that you like, the thicker the jute the taller your coaster will be.
I used rope that’s in between 1/3 inch and 1/2 inch in width.
How to Determine How Much Rope You Need
If you want to make a set of 2 or 4 coasters, you will want all of your coasters to be the same size. That means you will need to make each coaster with the same length of jute rope.
But the trick is, if your jute is a different size that mine, you will need to use a different length of rope. If you want your coasters to be bigger or smaller, you will also need to use a different length of rope.
So the easiest way is to mock up your coaster by winding the jute rope around without glueing it until you know the approximate length of rope you need. Then cut the lengths a little longer than that, so you will have some extra rope to work with.
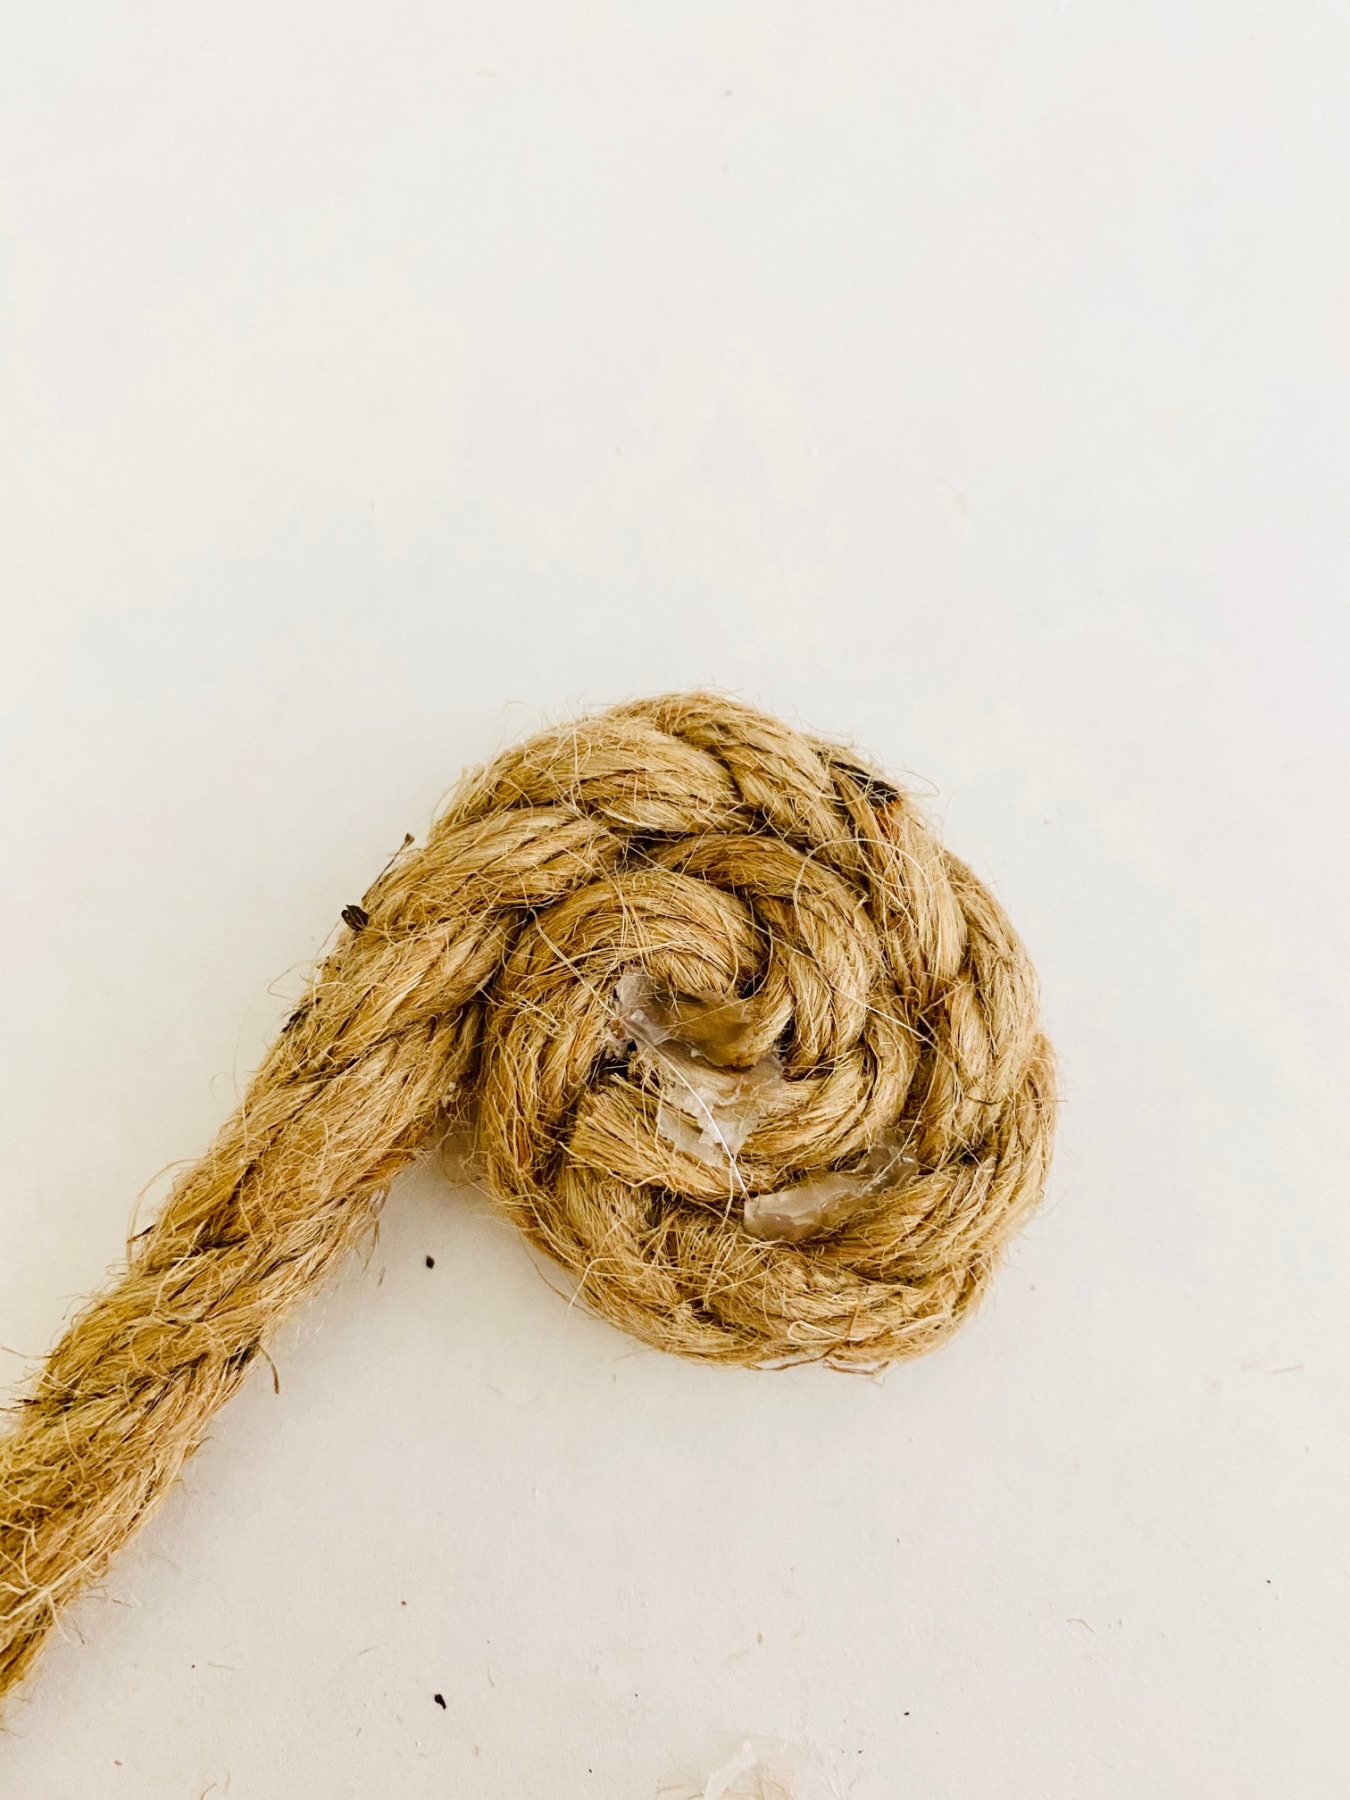
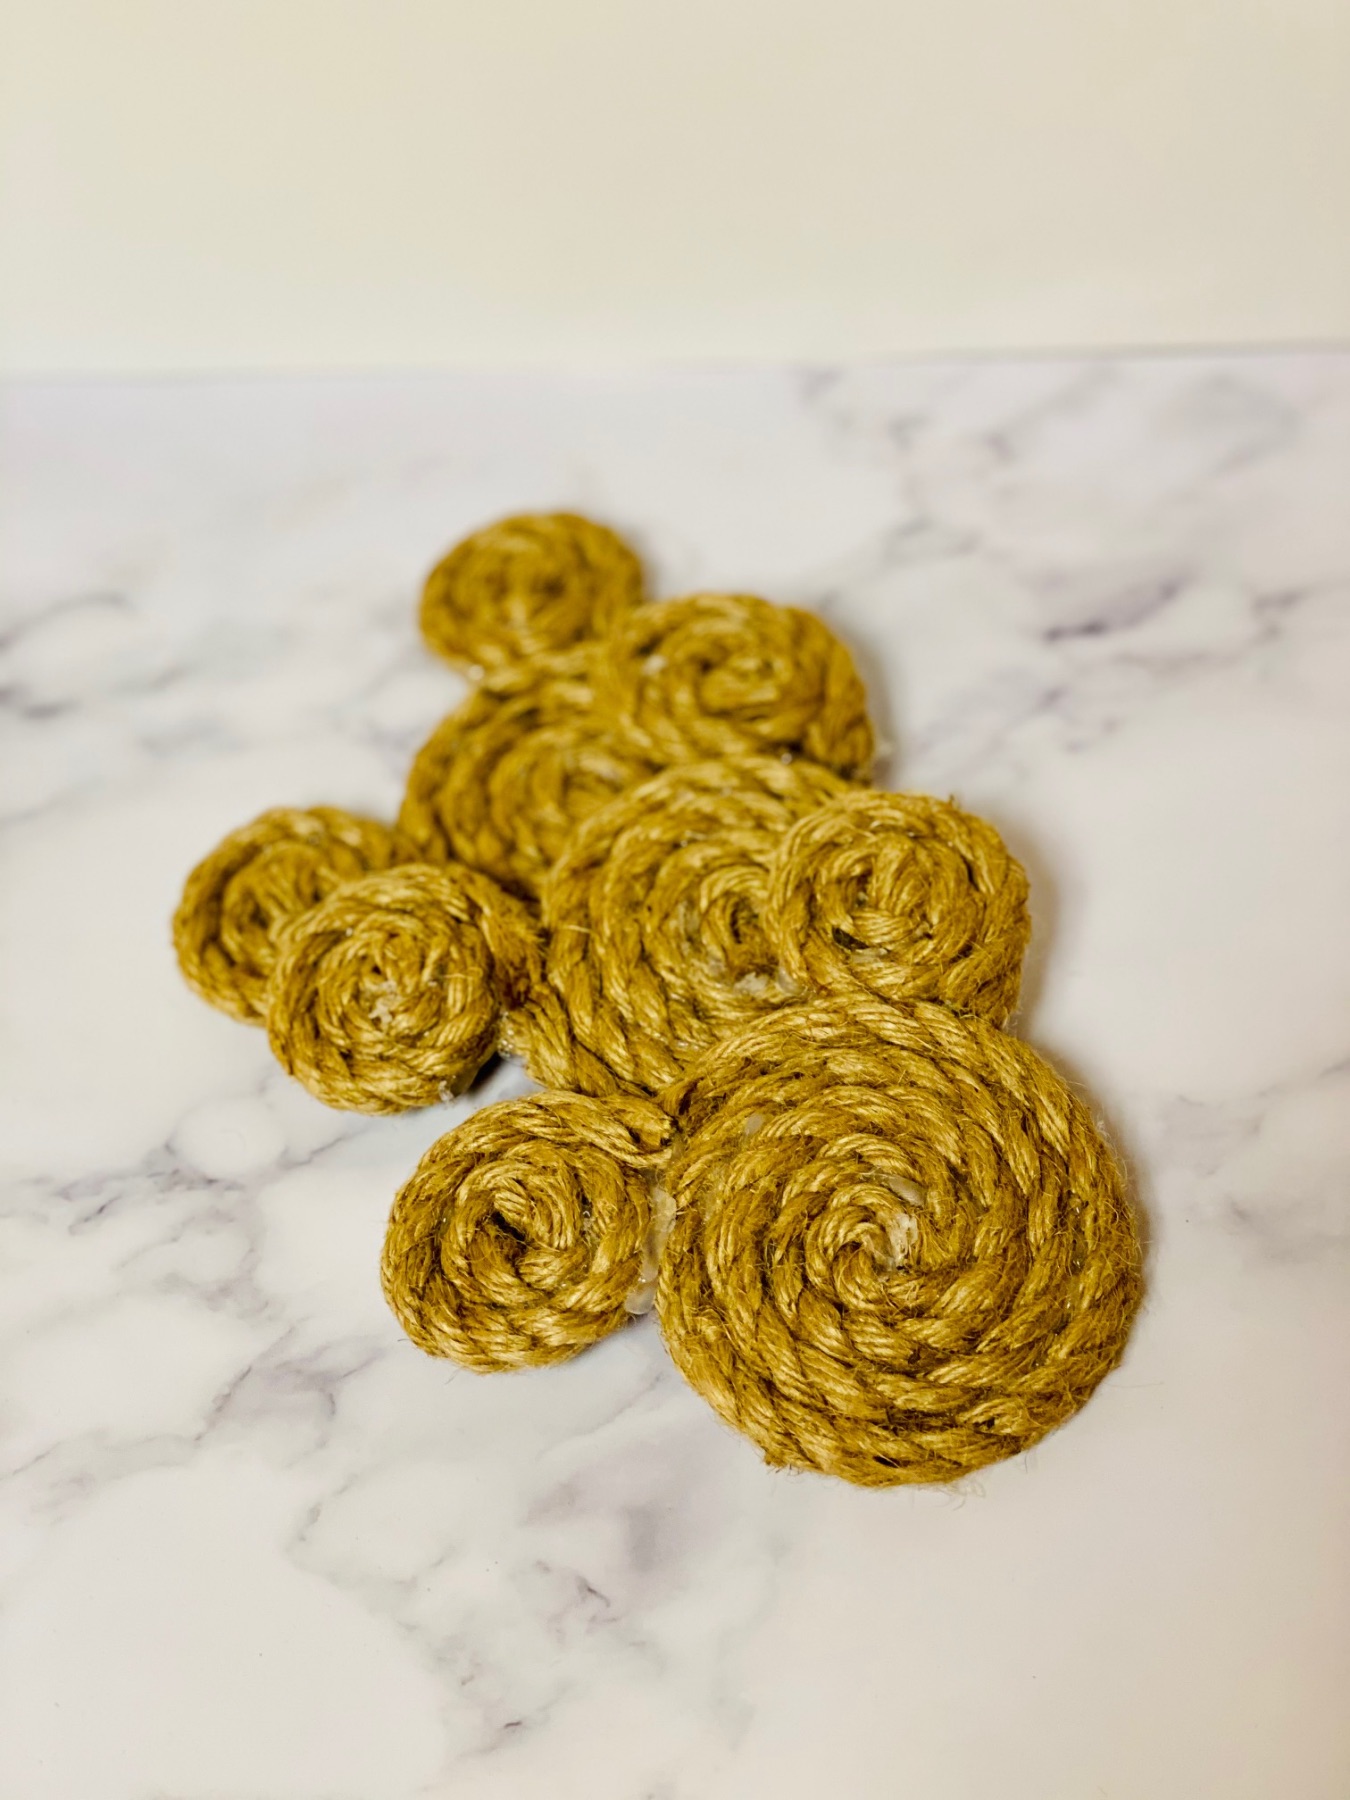
Wind & Glue the Jute Rope
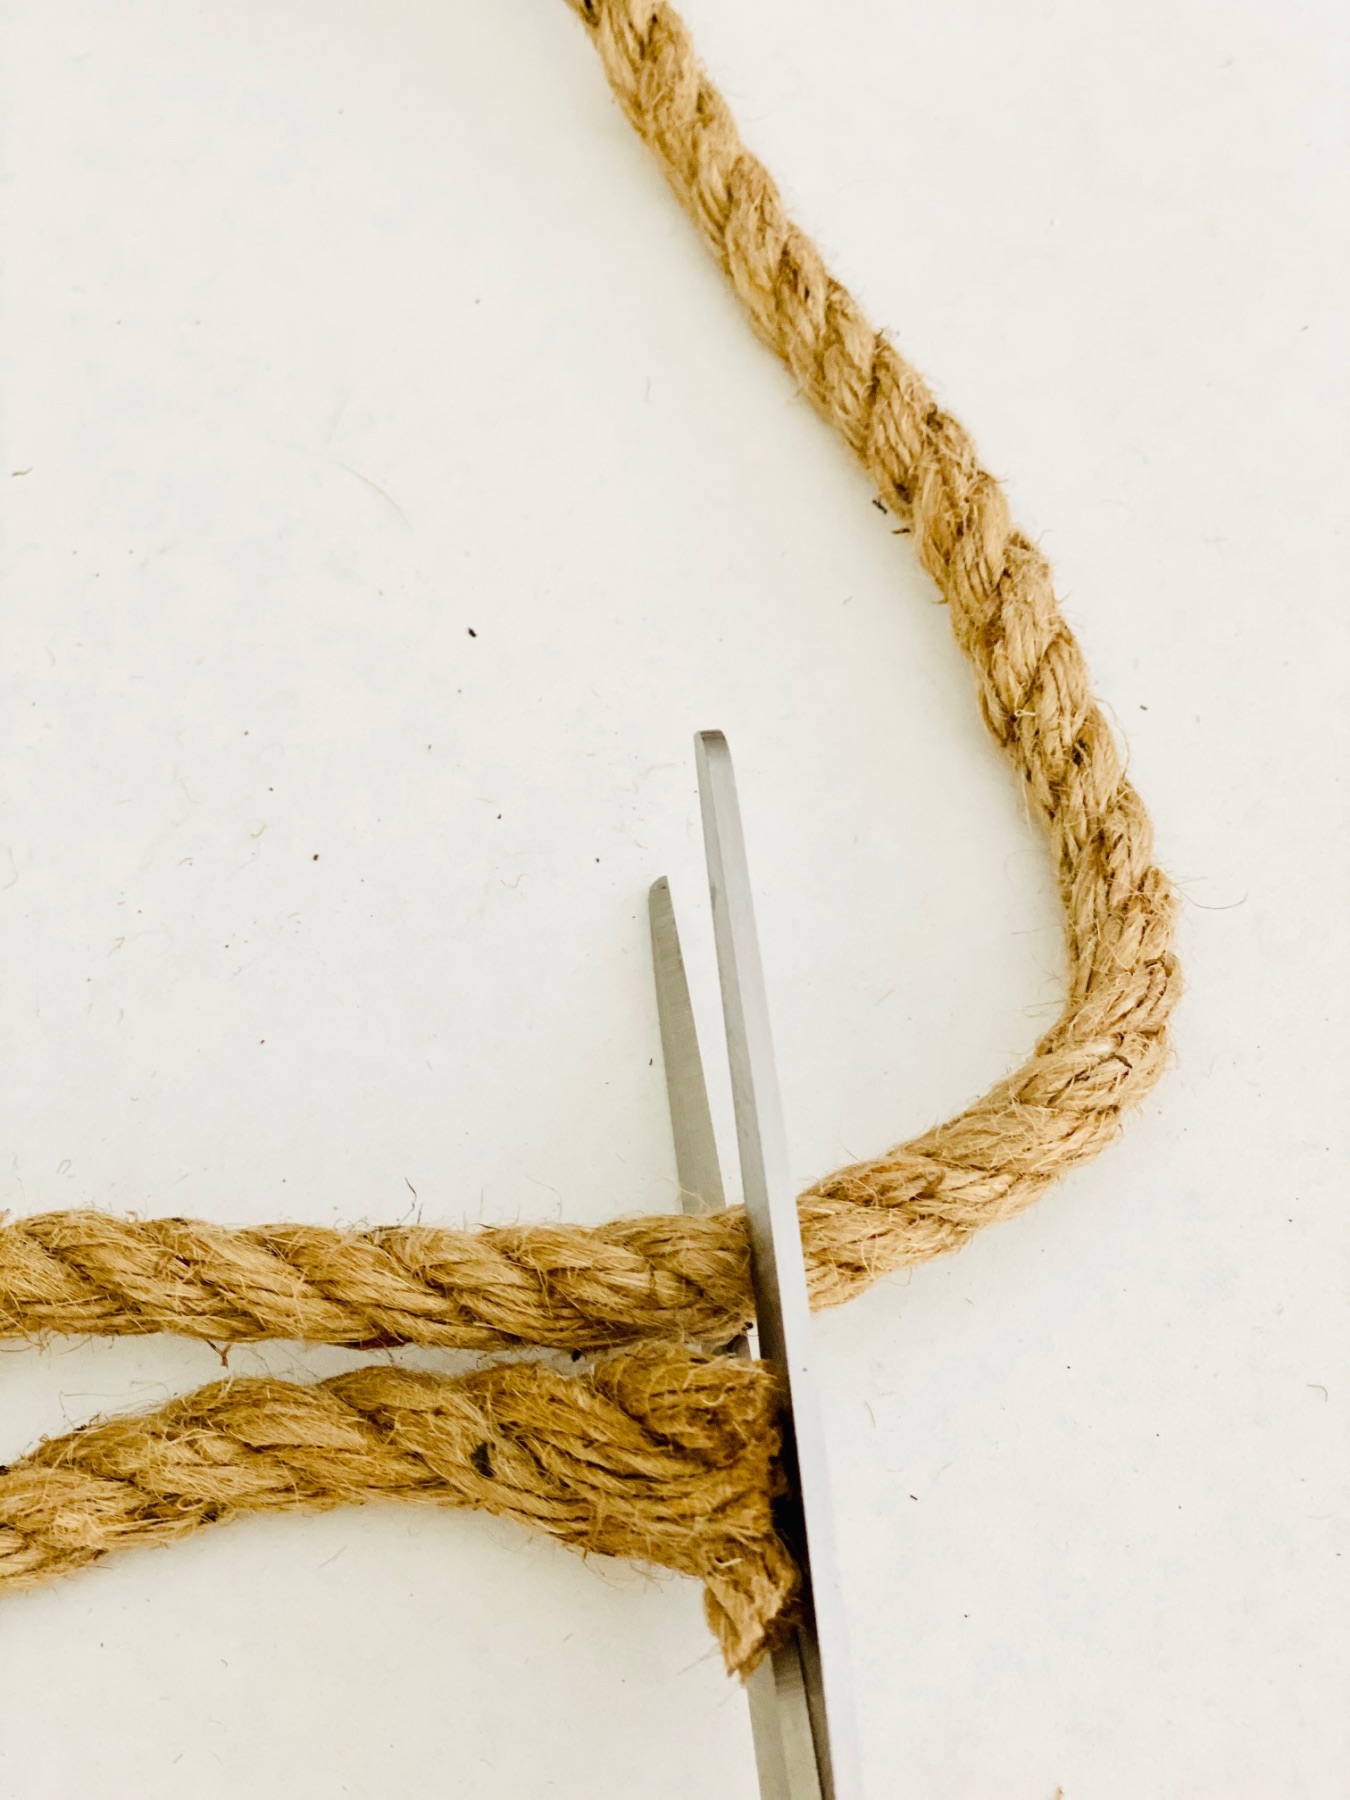
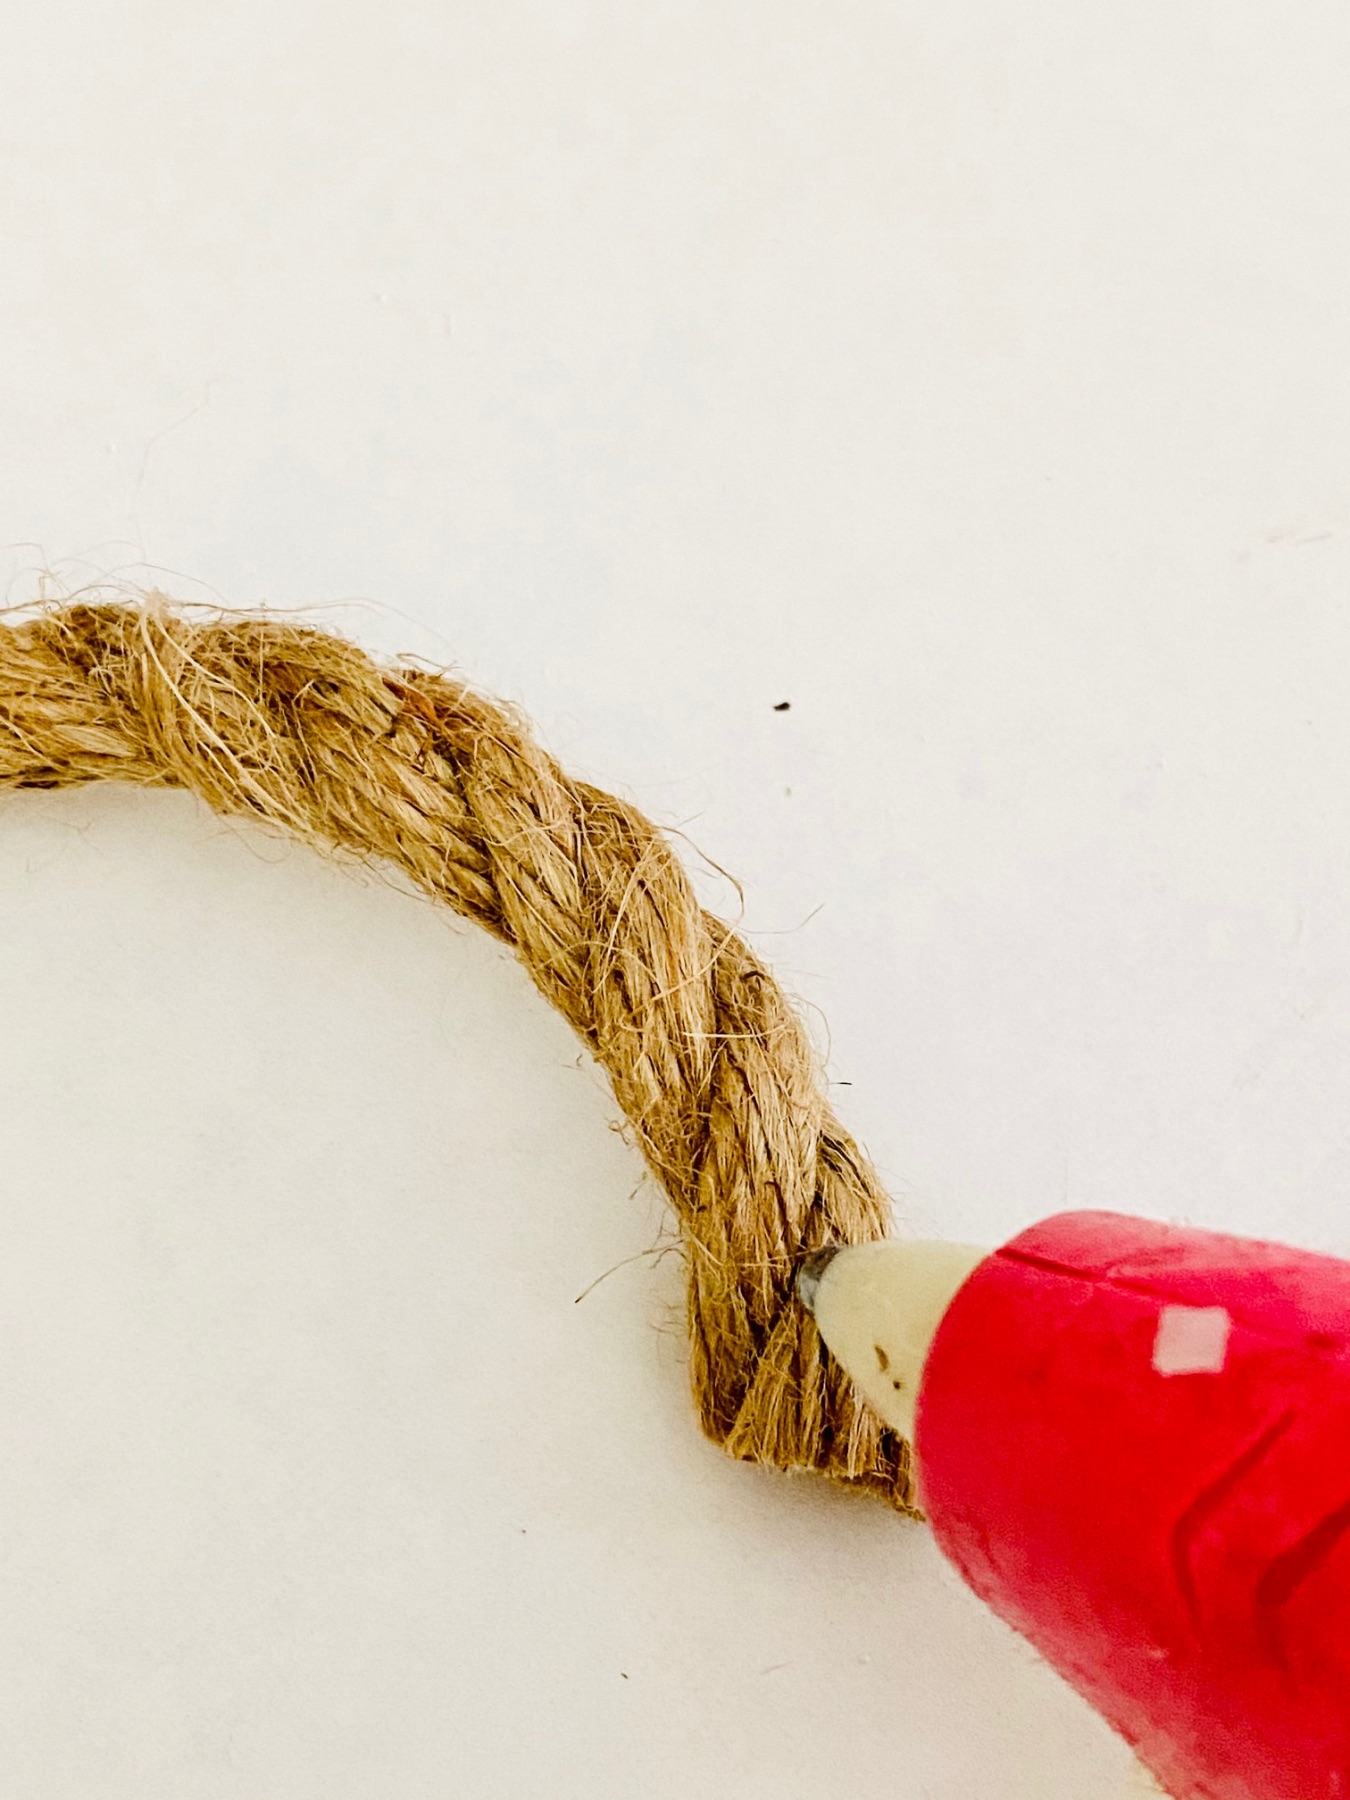
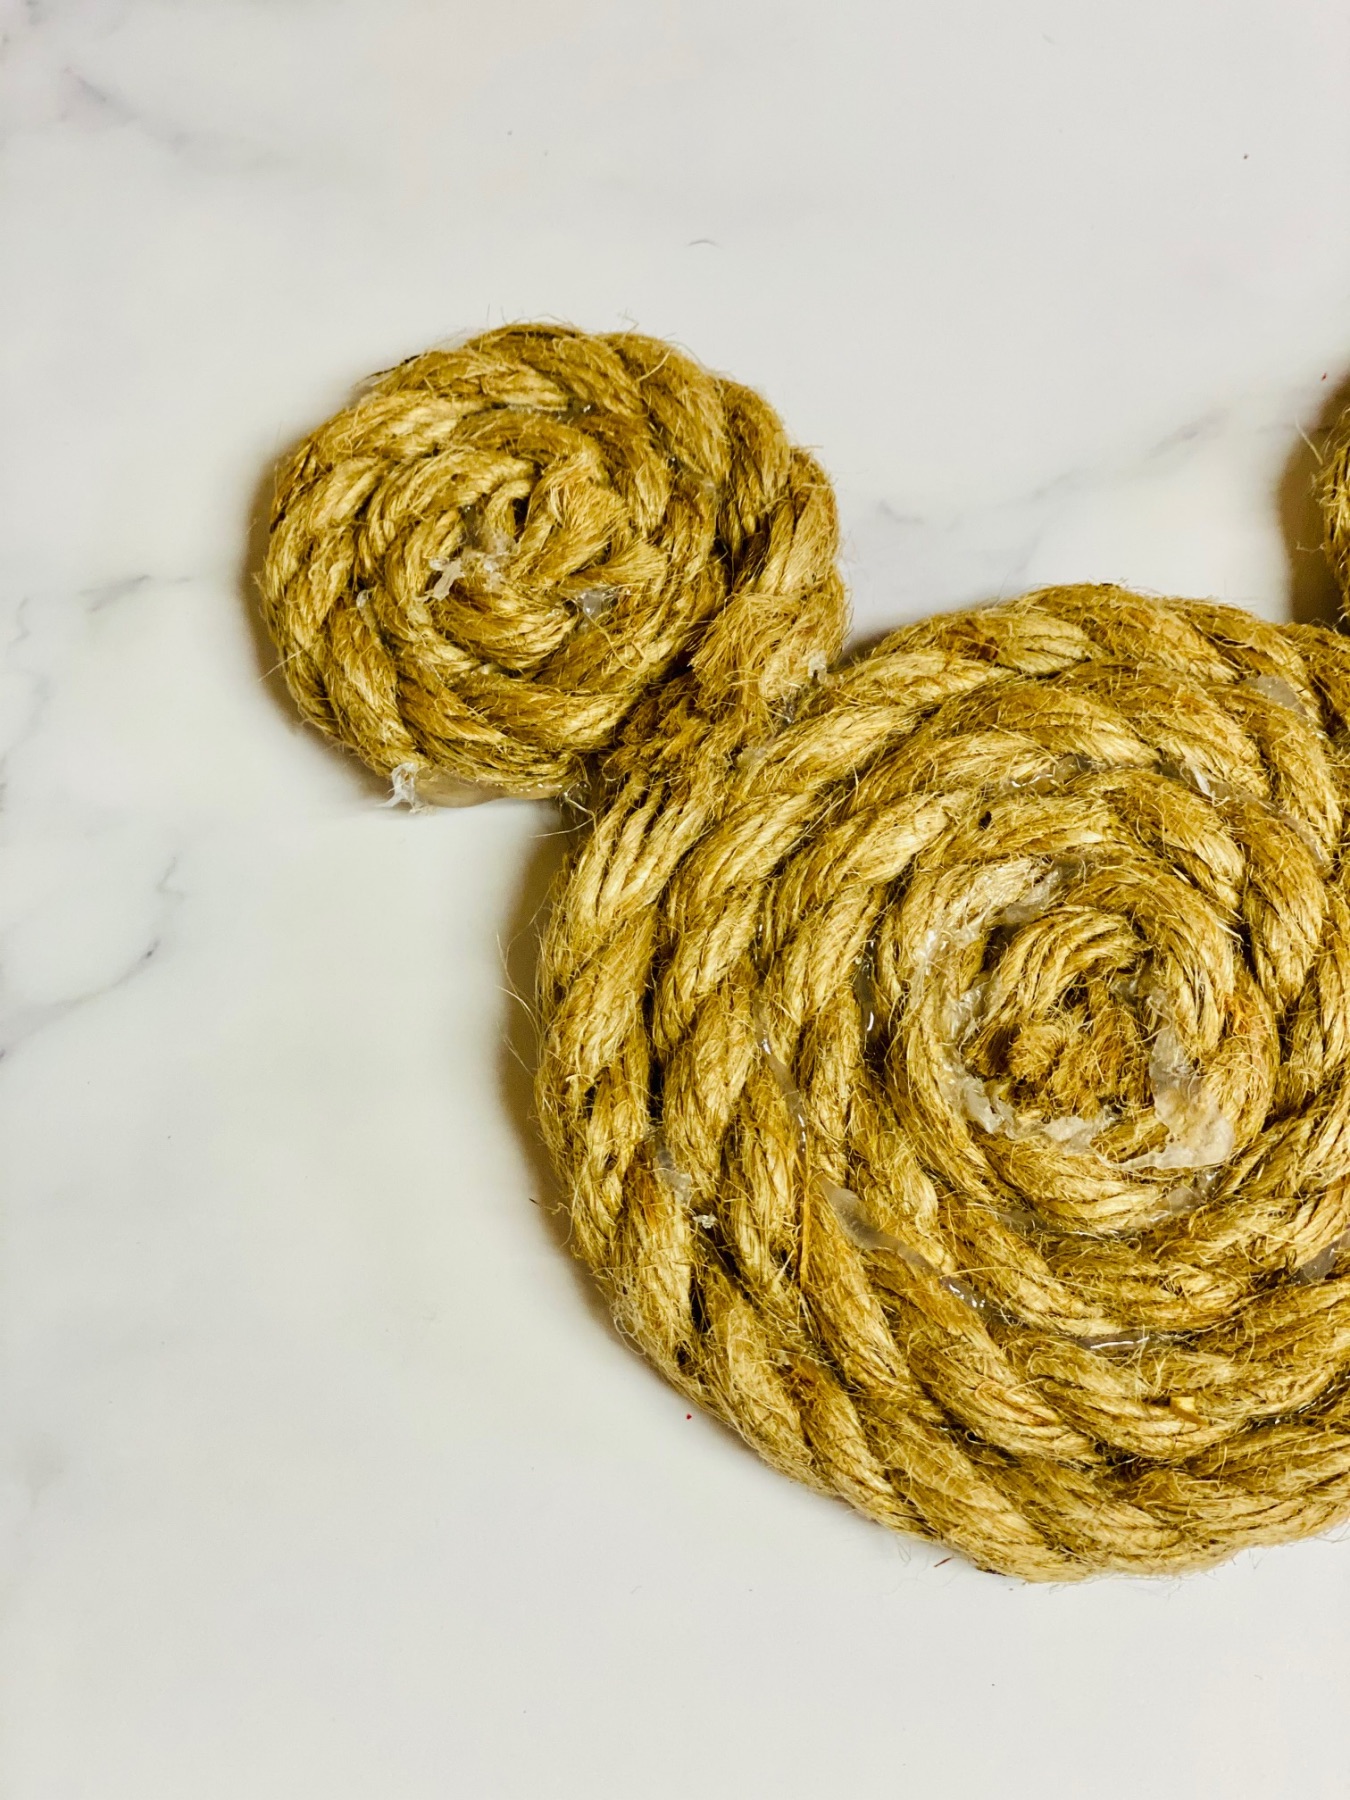
To get started making the coaster, work from the center. Use a dab of hot glue and press the rope into itself. The center is the hardest part, and it’s especially hard if the rope is frayed. Try cutting away any frayed edges before moving forward.
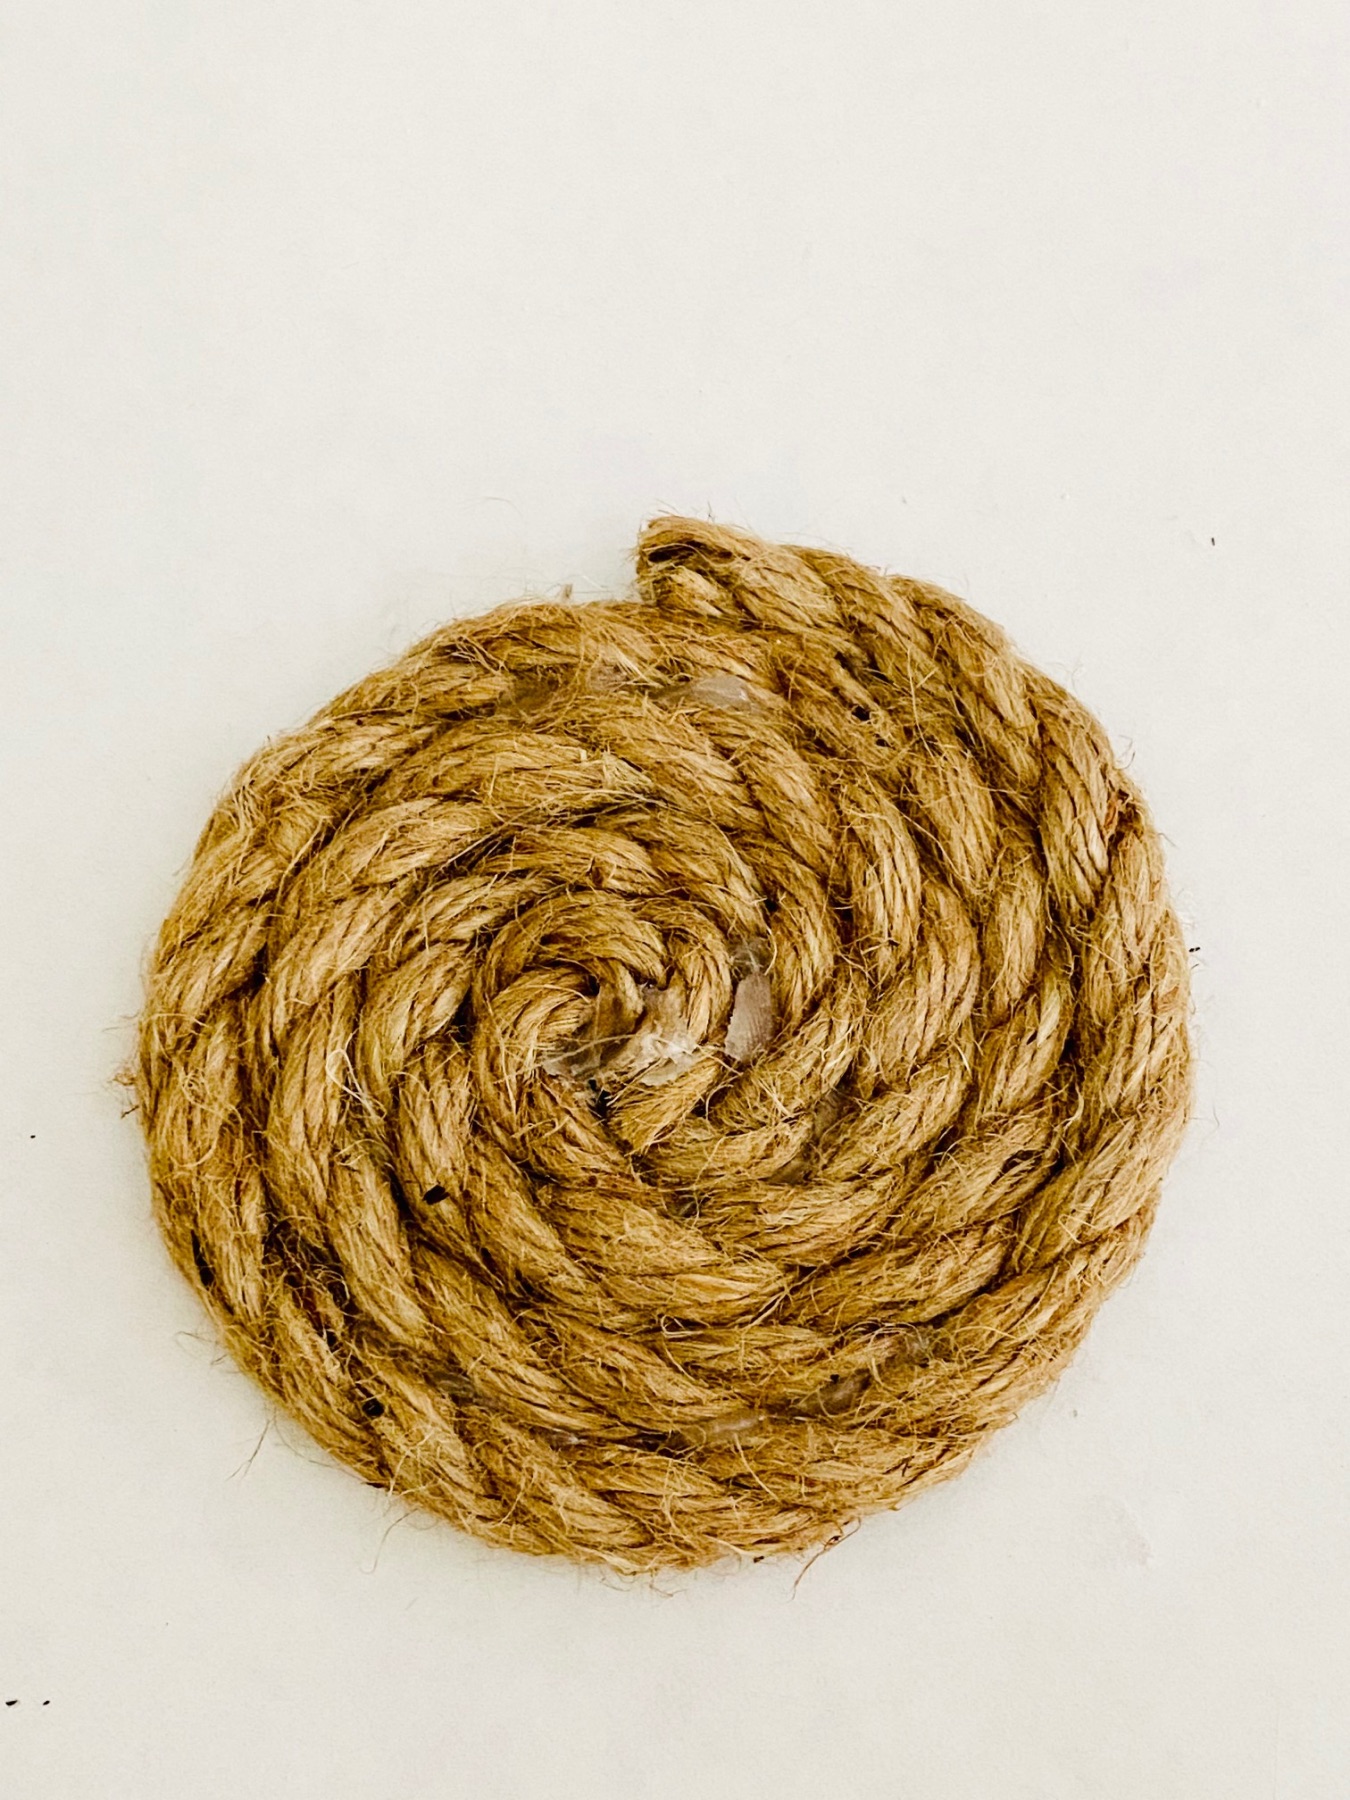
Continue to glue the rope, along the sides, in 1-2 inch sections making a coil. After you add the glue and attach the rope, you will need to hold it in place for about 15 seconds before you can start a new section.
How to Avoid Seeing the Glue
Usually hot glue is easy to pull away after it’s set. But with rope, it sticks! So you will have to use your hot glue carefully to avoid it being seen as much as possible.
It will be hard with the first coaster and then get easier as you move on.
Start by mocking up each 1 inch section first before you glue it. Rope winds and twirls as you attach it and this will help you follow the bends and folds of the rope.
Then use small stripes of glue in 1 inch sections along the middle. Avoid the outer edges.
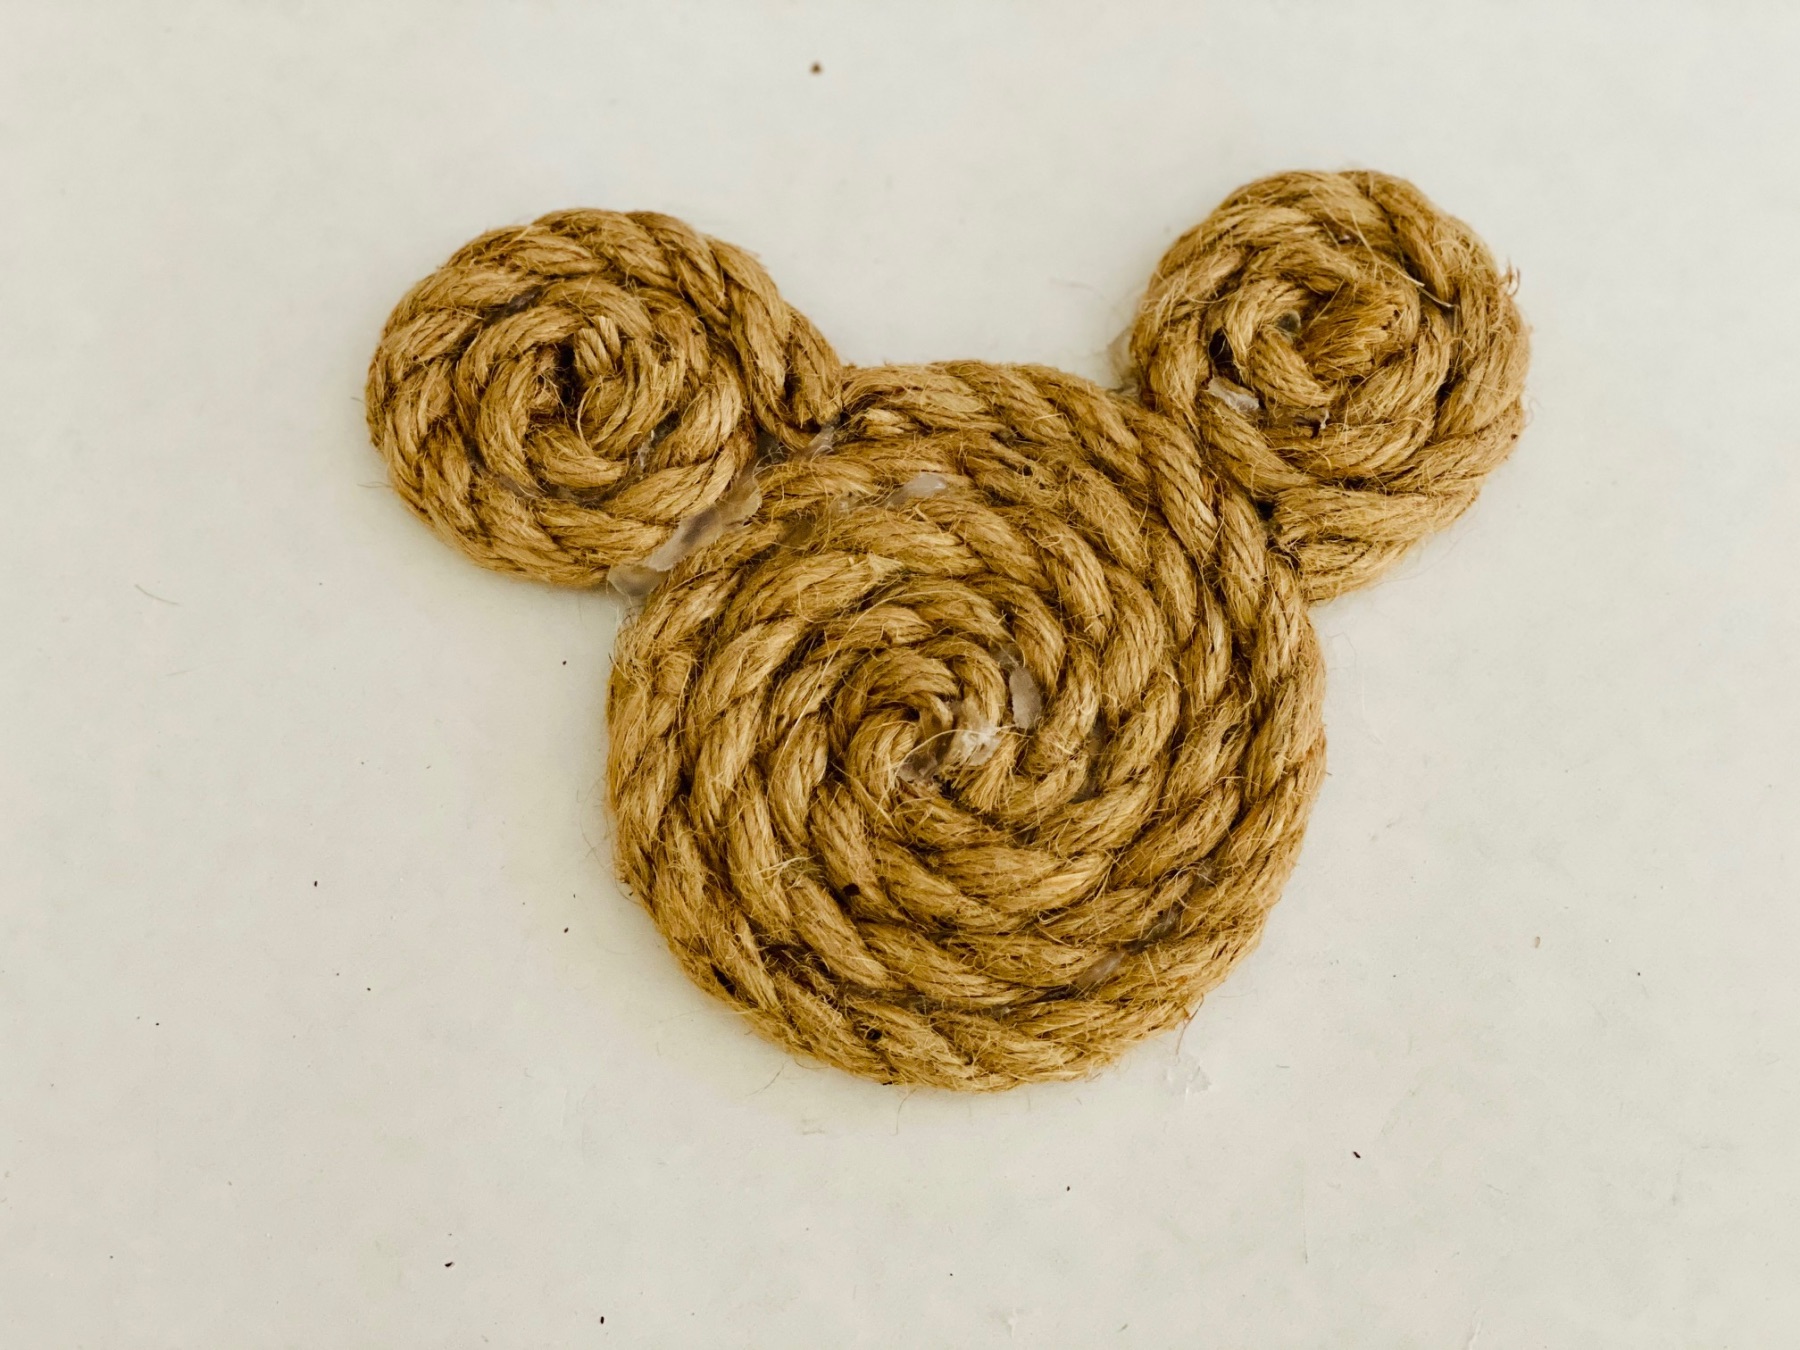
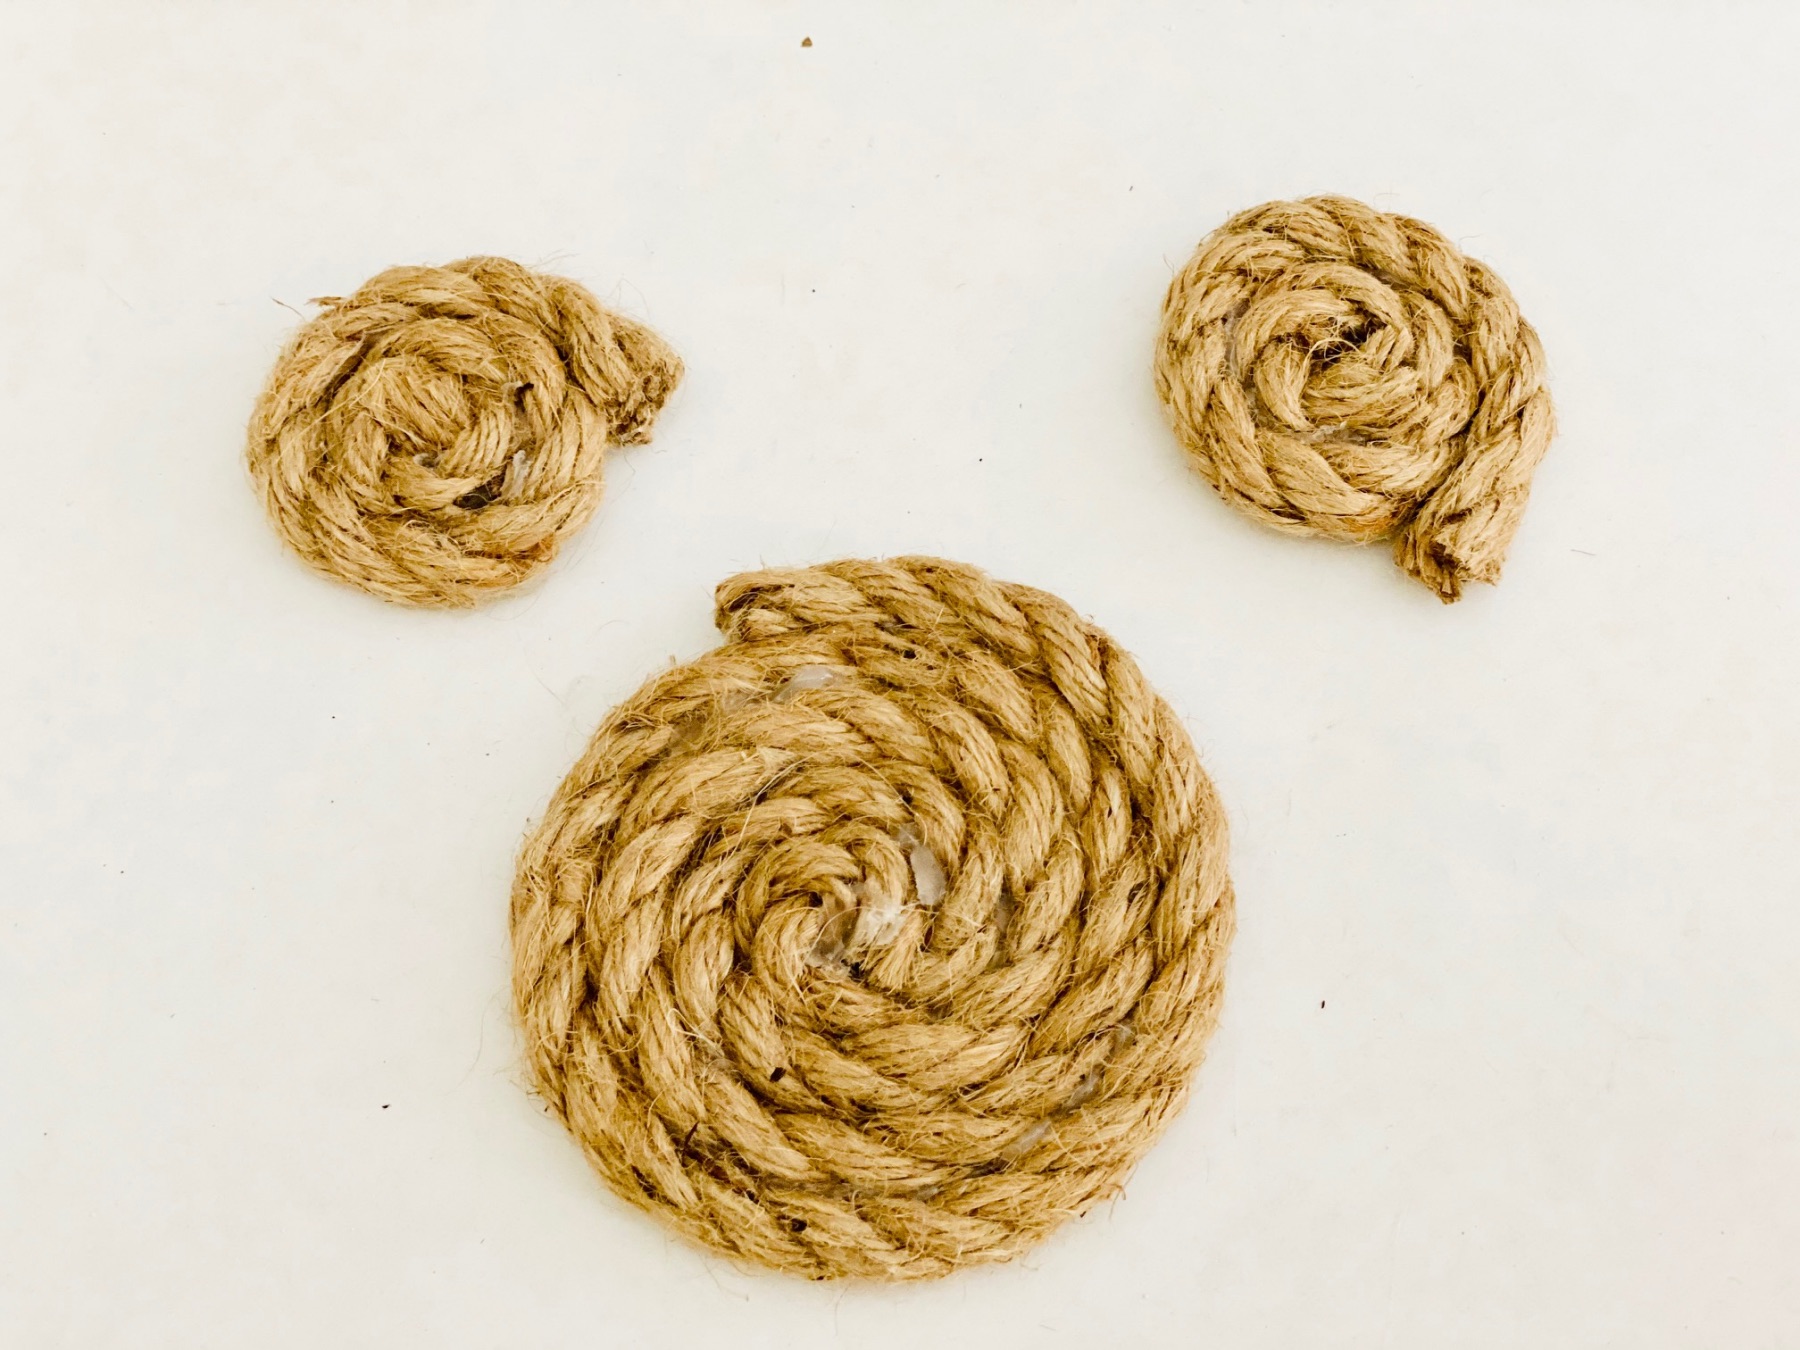
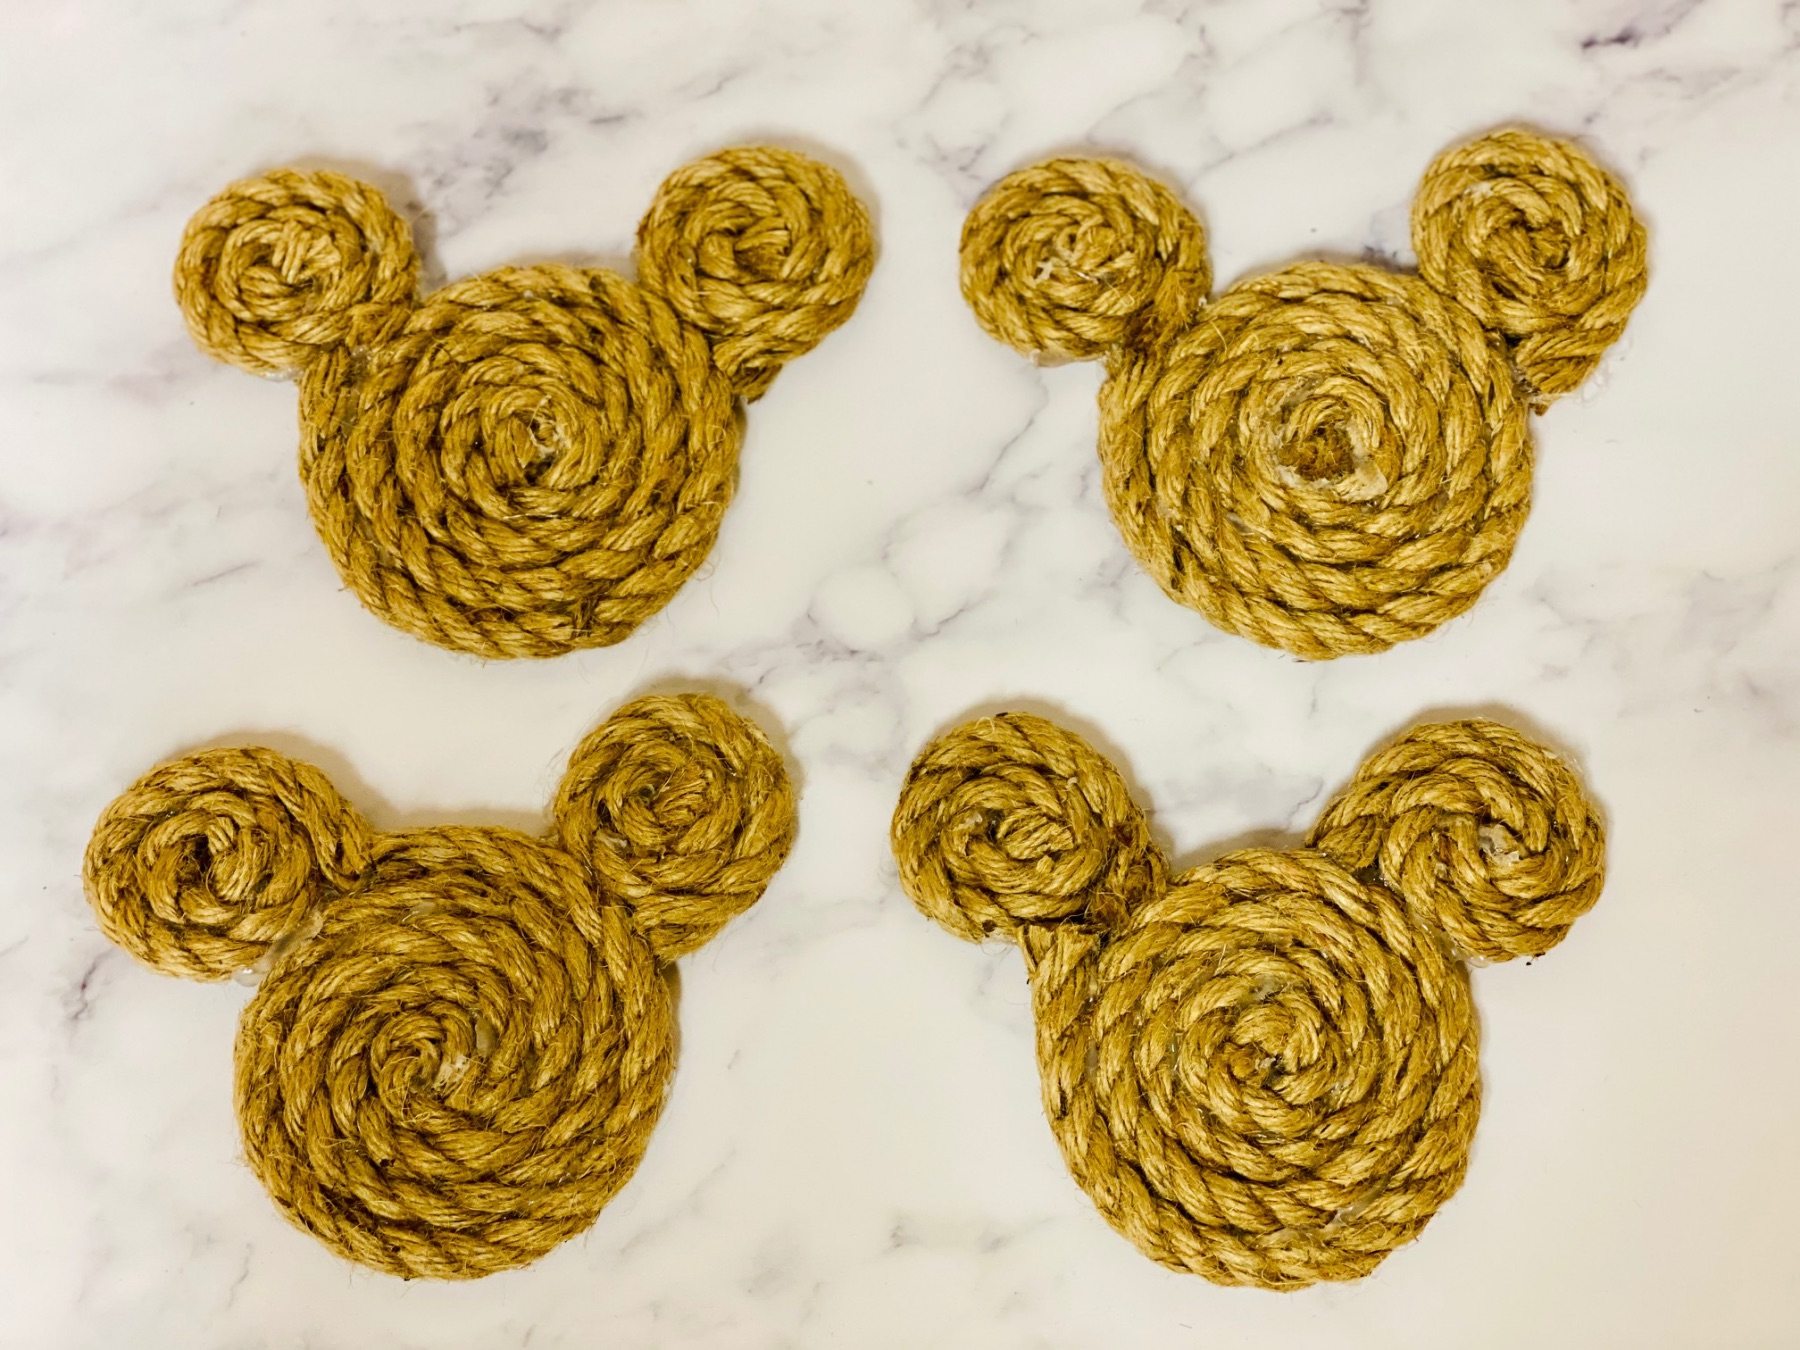
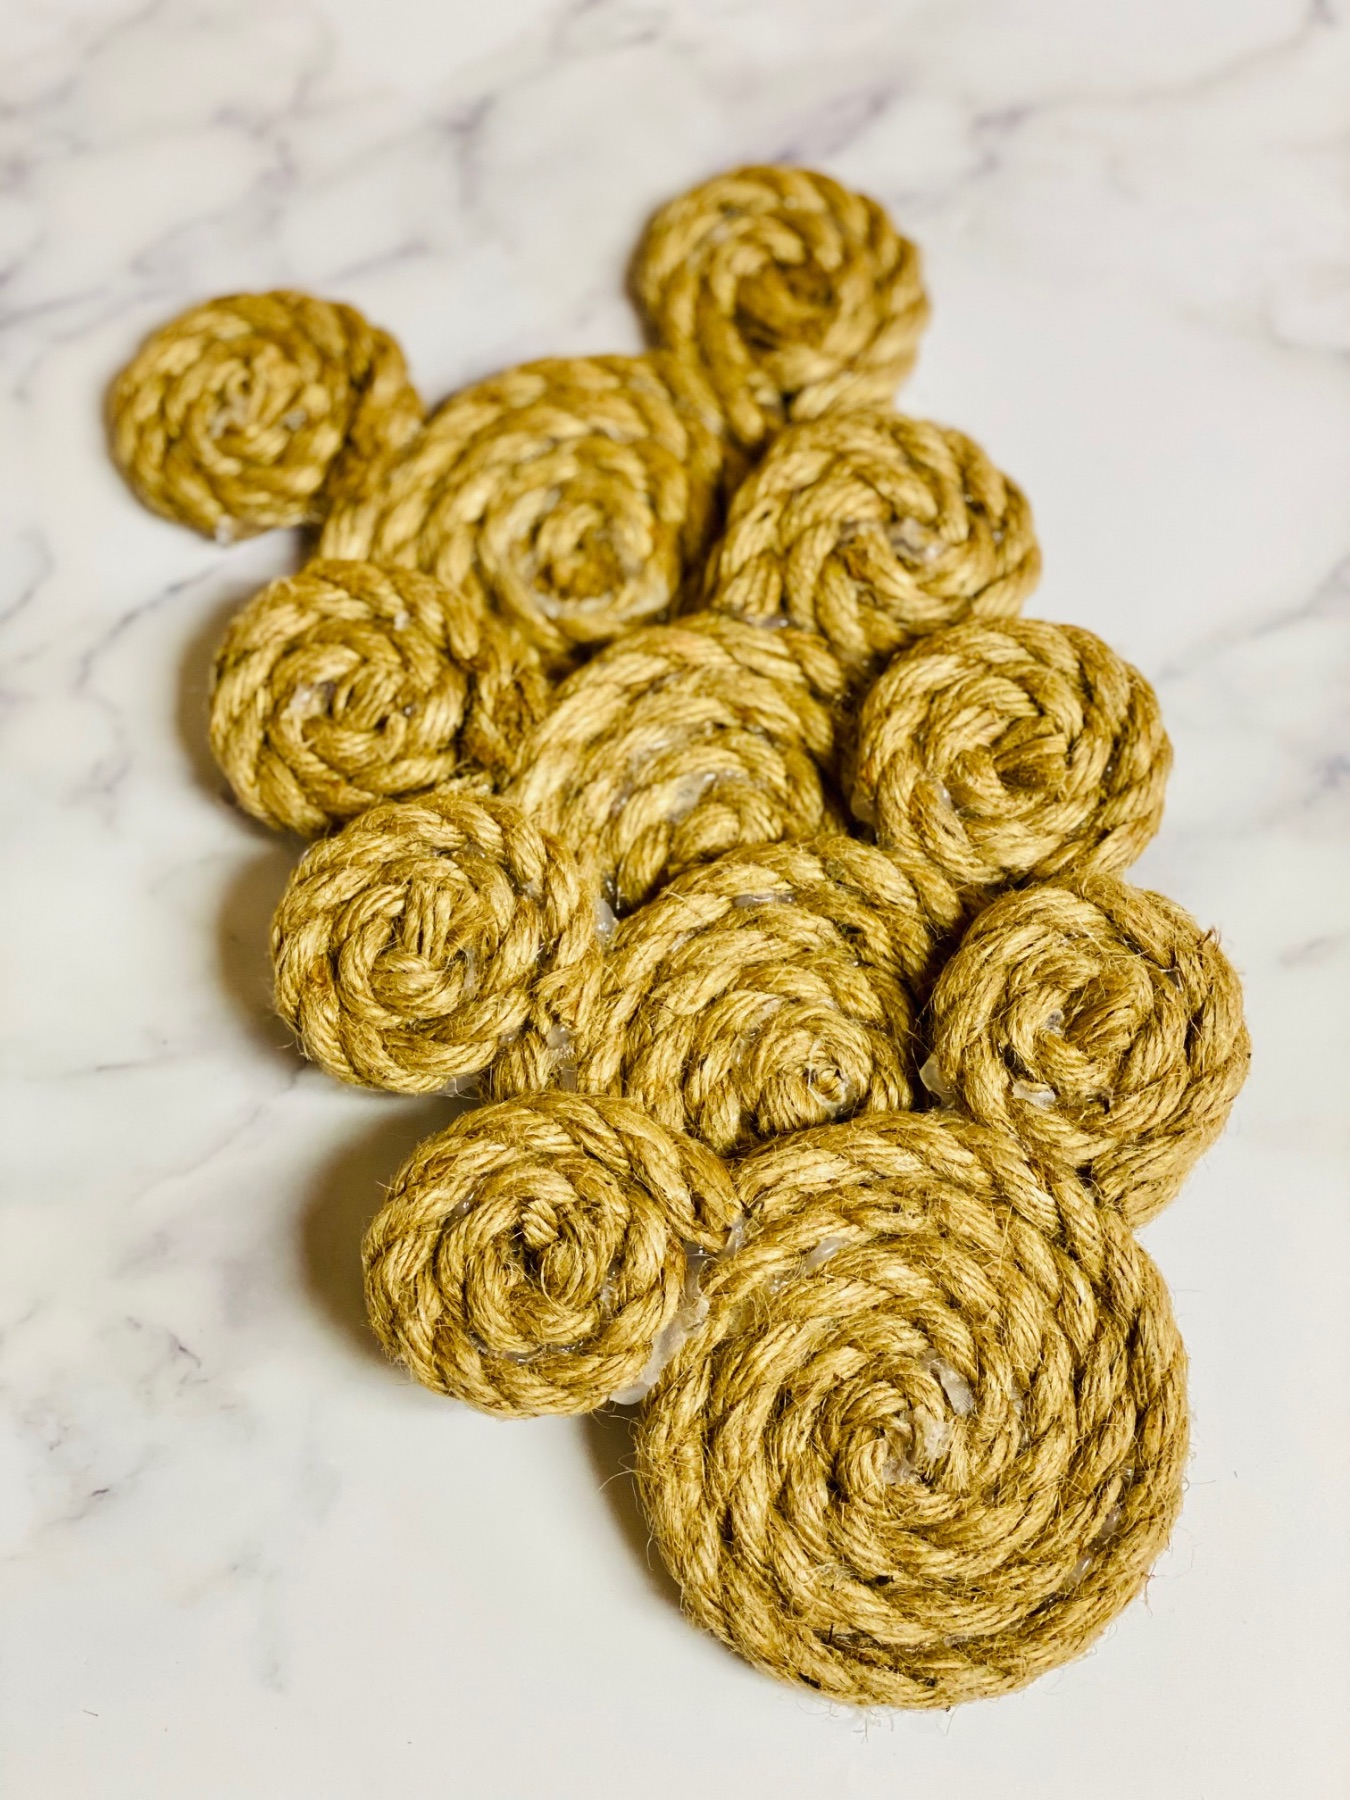
Make the Mouse Ears
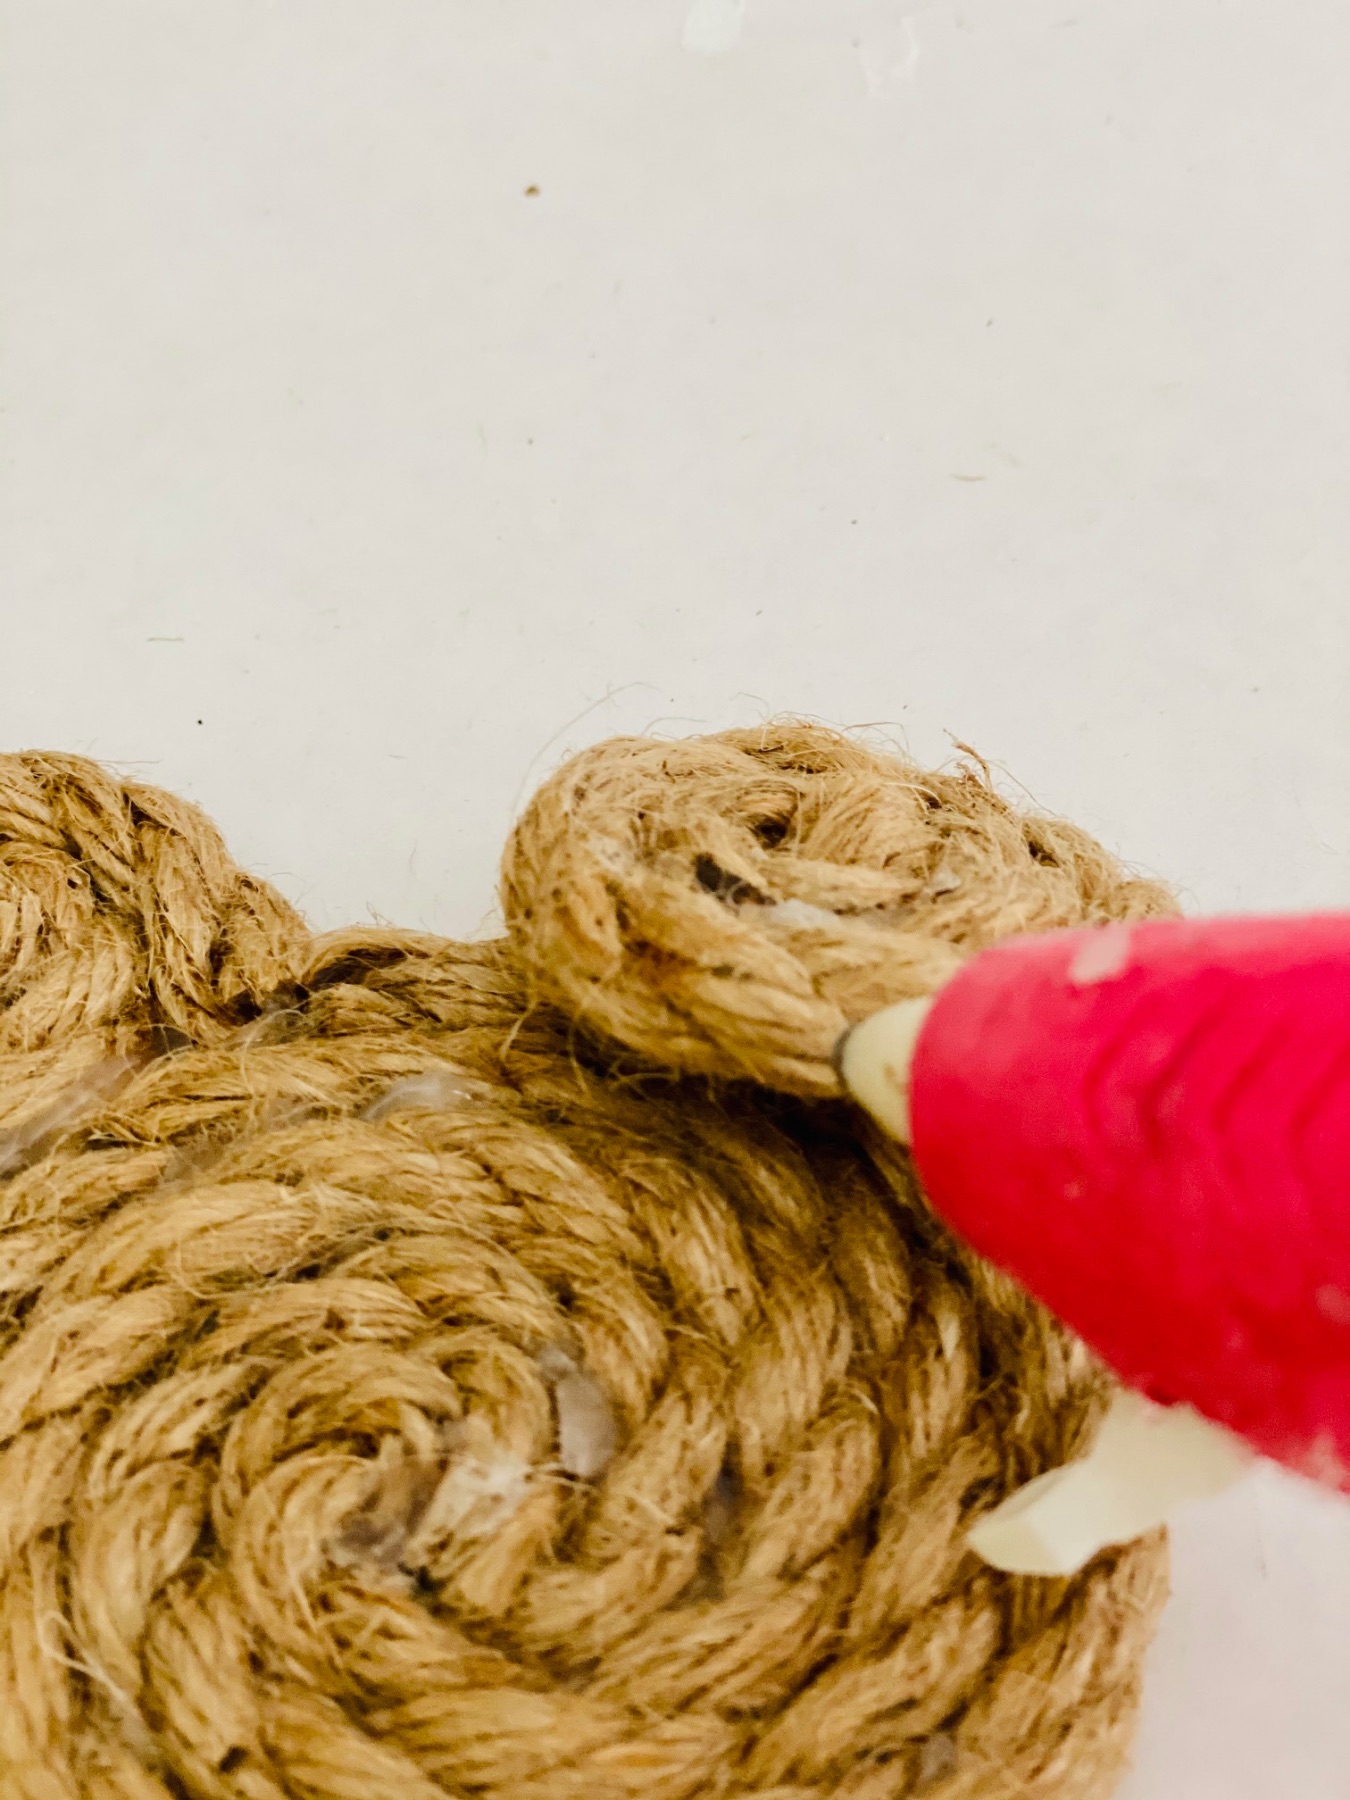
Once you are finished making the center of your DIY Mickey Mouse Rope Coasters, it’s time to make the mouse ears! Use the same technique of coiling the rope and glueing it in 1 inch sections. These ears will be a lot smaller than the body, but you will want to be careful that they look proportional to the body. And be careful that all the ears are the same size.
Attach the Mouse Ears
Attach the mouse ears where the body of the coaster’s rope ends. This will help disguise that outside line. You will also want the ends of ears to attach along the body of the coaster.
Make sure the circles are evenly spaced to look like mouse ears and attach them with a small stripe of glue.
Let the Coasters Set
Once all your pieces are glued, give your coaster a few hours to fully set. Then give each piece a gentle tug to make sure it will hold in place and doesn’t need to be glued again.
And viola! Your DIY Mickey Mouse Rope Coasters are finished!
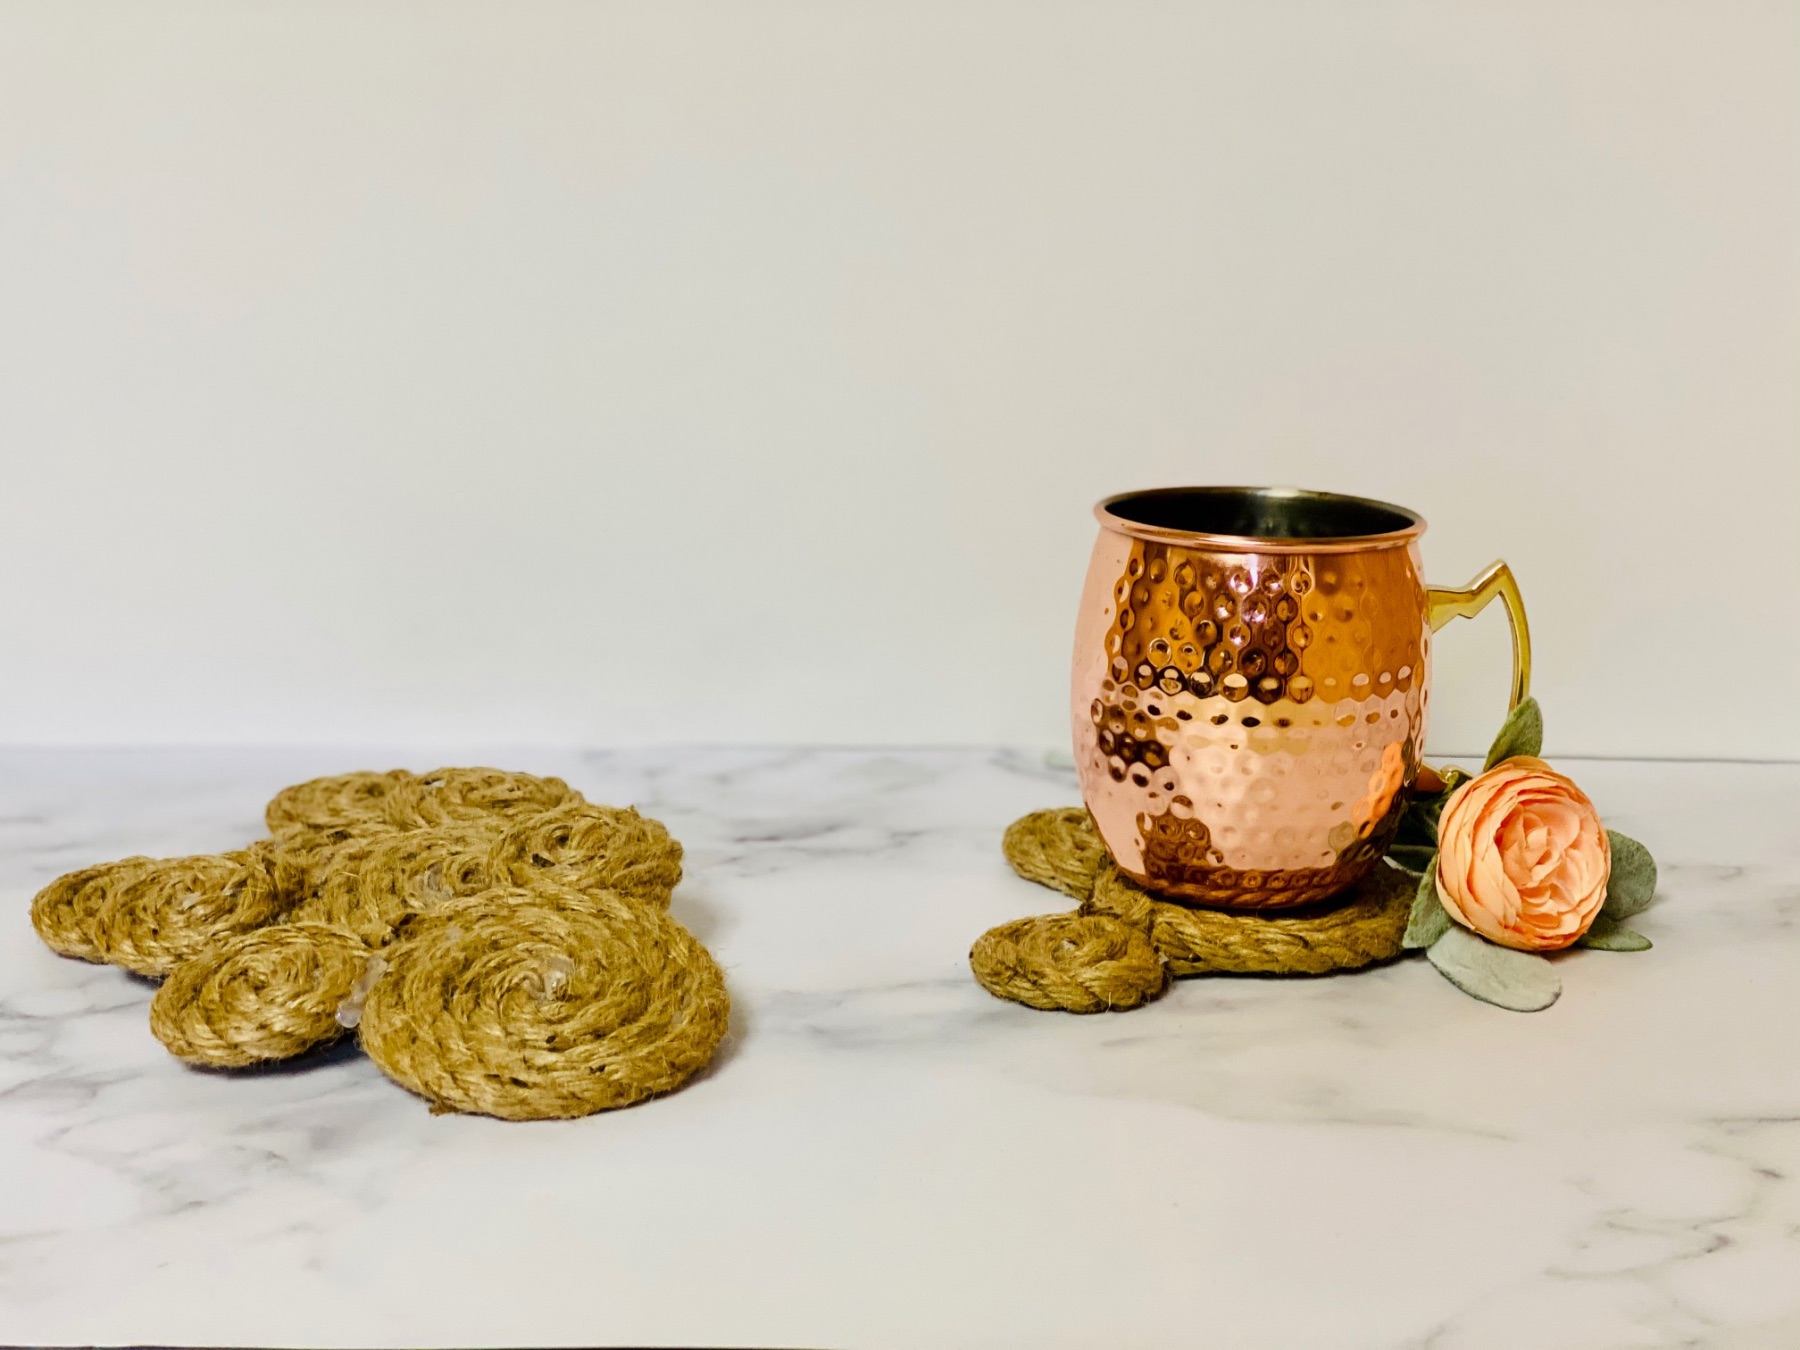
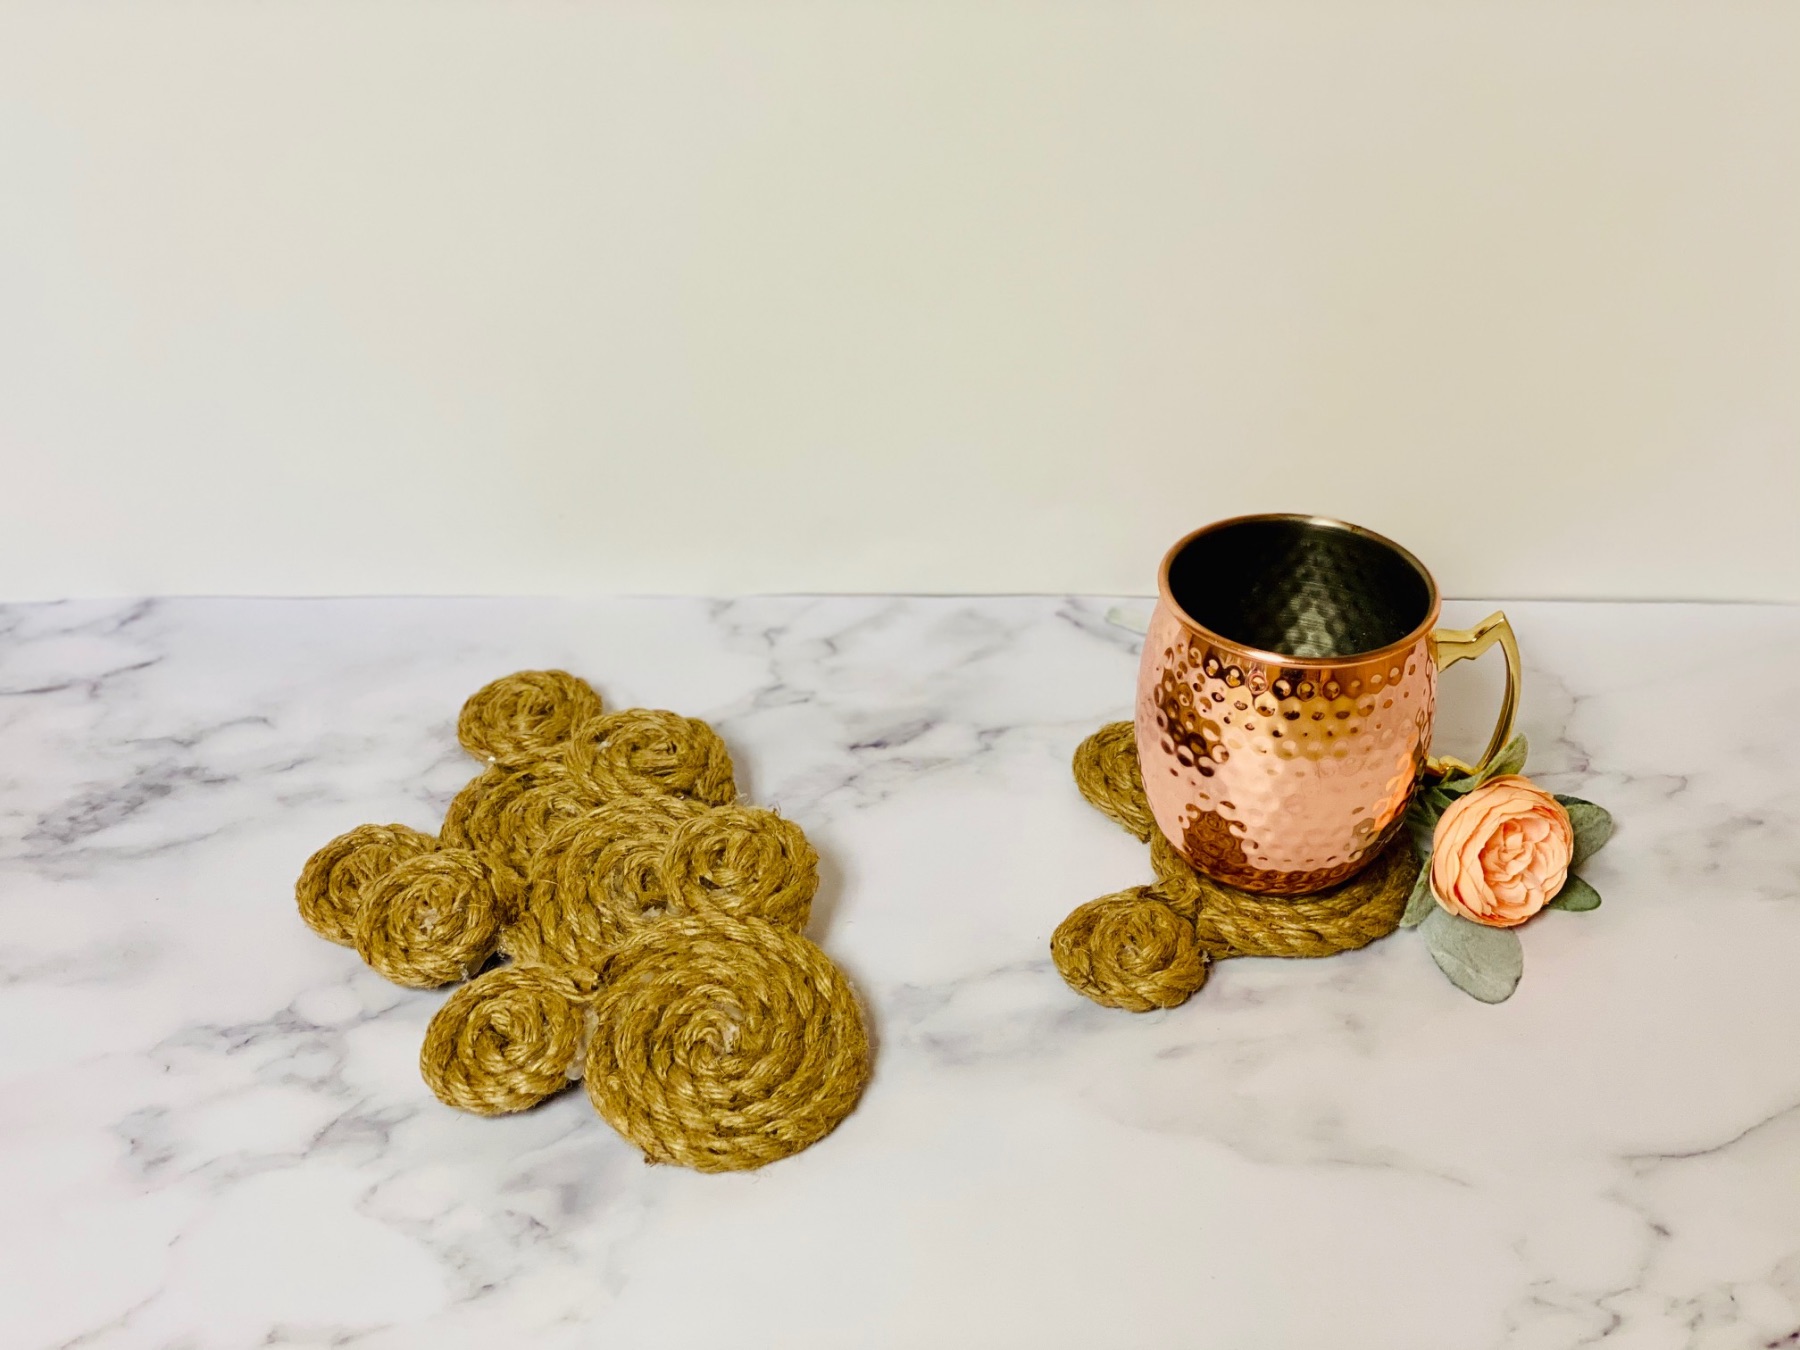
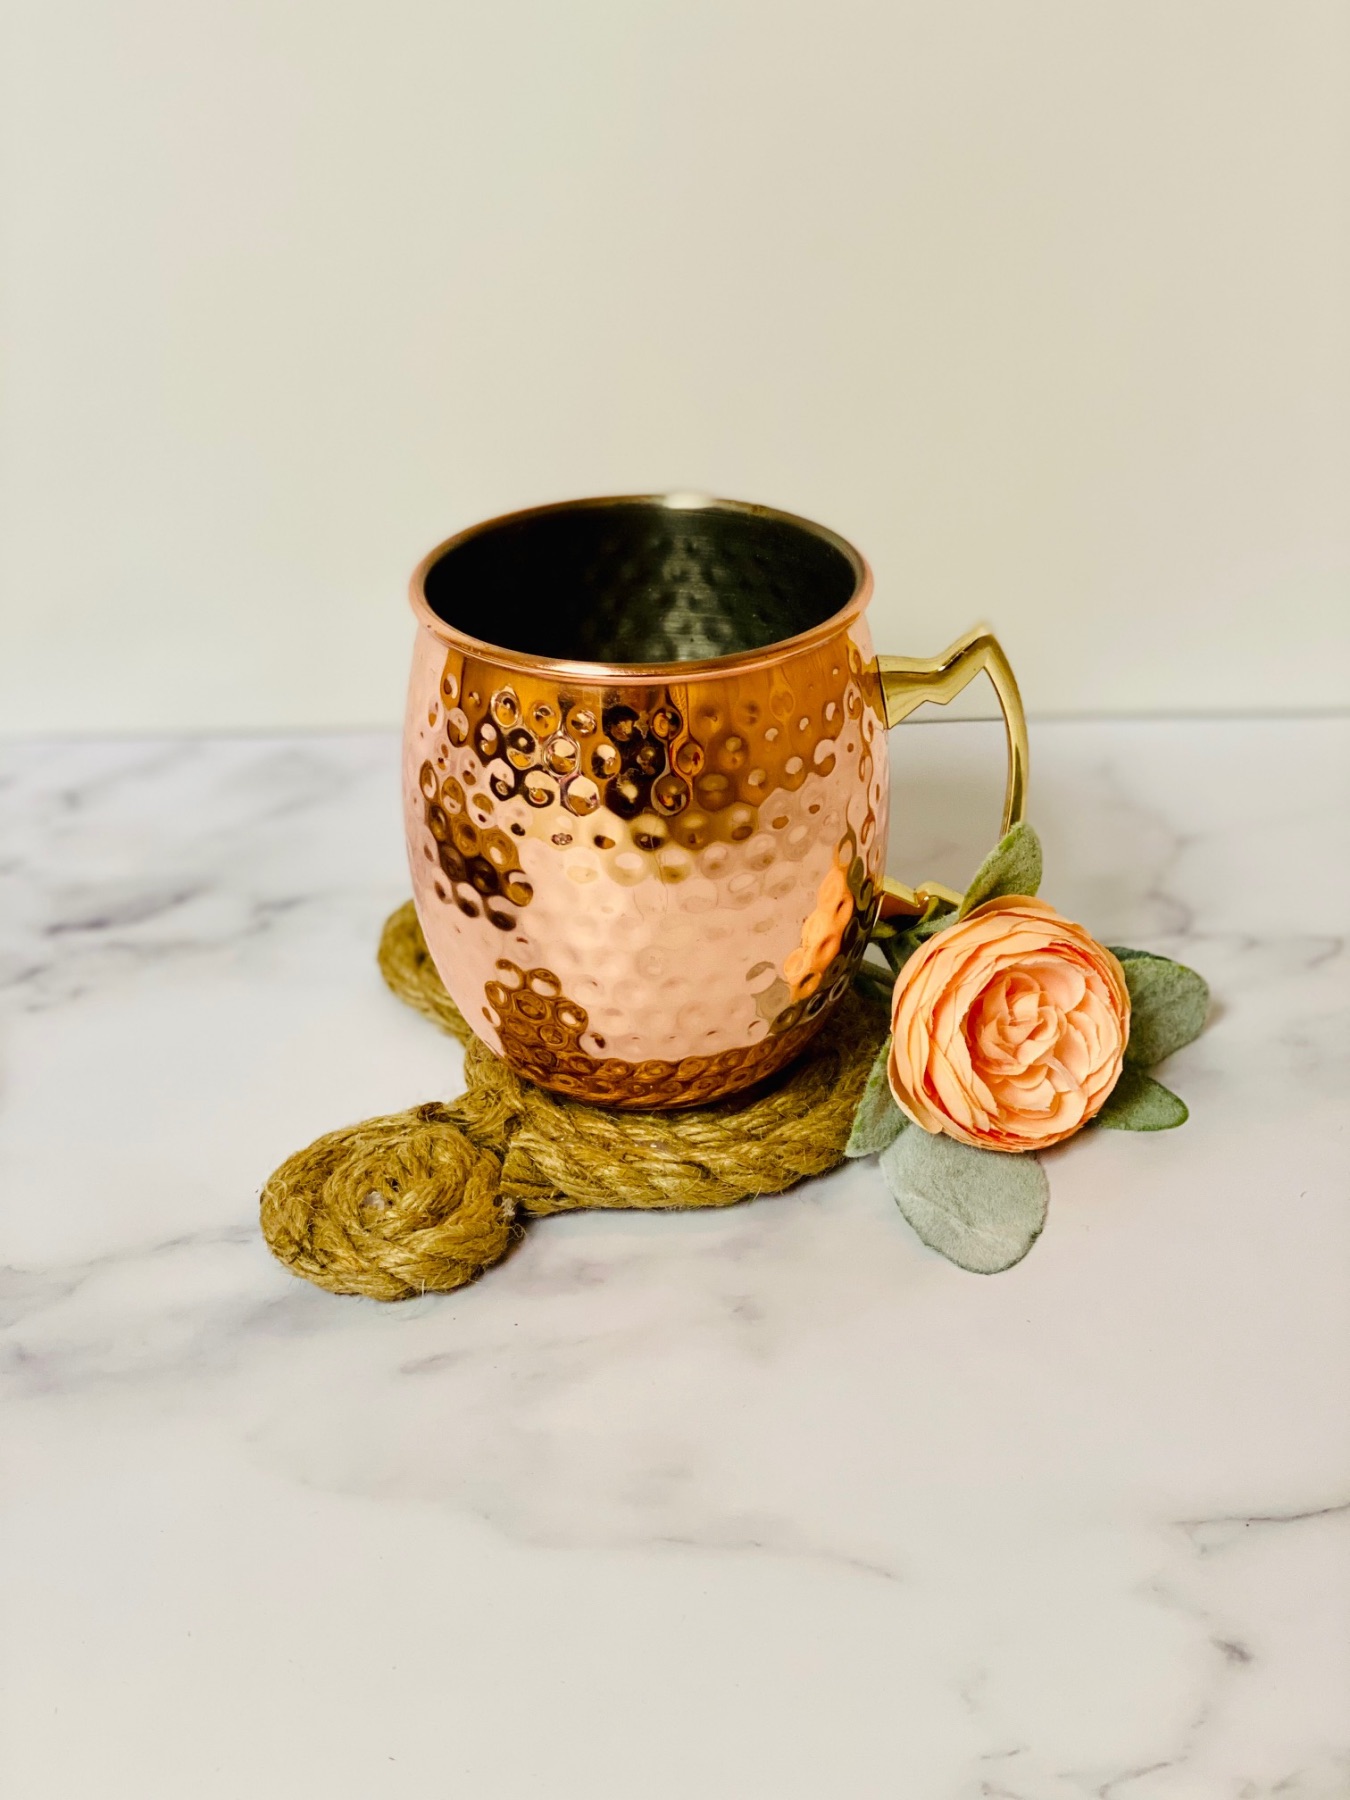
How to Use Your DIY Mickey Mouse Rope Coasters
These coasters make a totally adorable accent. And they are the perfect coasters for leaving out, since they make such a statement. You can use them for drinks, wine glasses, or use them as a trivet under a dish you are serving.
When You Can’t Use Your DIY Mickey Mouse Rope Coasters
There are lots of different ways you can use your DIY Mickey Mouse Rope Coasters, but you can’t use them with anything hot.
Don’t place them underneath a pot that’s been on the stove. I wouldn’t even recommend placing them underneath a hot cup of coffee.
One quirk about these DIY Mickey Mouse Rope Coasters is because they are hot glued, they cannot handle high heat. Hot glue never can. So cold beverages and plates are best!
Love the way these DIY Mickey Mouse Rope Coasters turned out? Tell us in the comments! And happy crafting.
Let’s Stay Friends!
Insta | Pinterest | Enews | TikTok