DIY
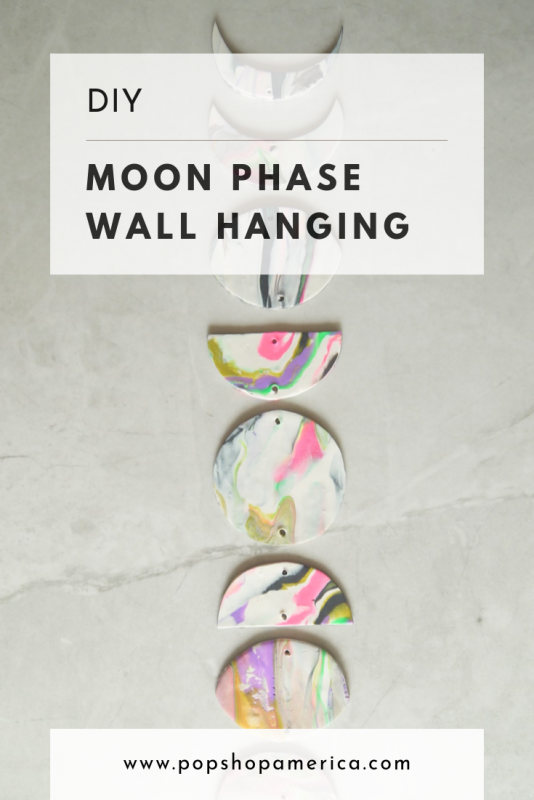
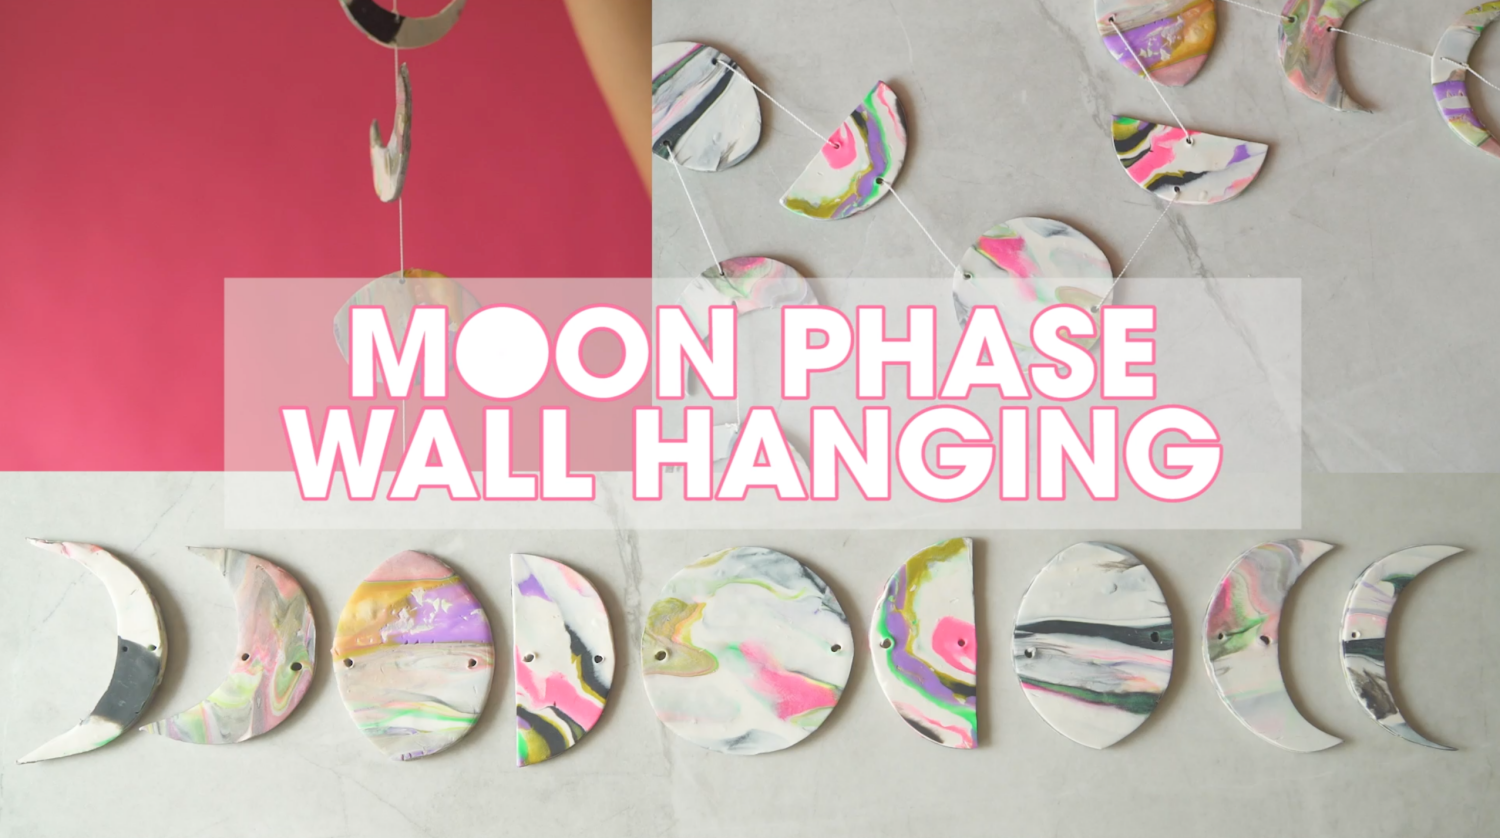
DIY Moon Phase Wall Hanging
Sep
Here in Texas, it’s just as hot as it was in July. But it’s September which means it’s fall! This diy is perfect for the season and especially stylish for Halloween. It’s a lovely wall hanging for any time of year and you know I love moon phase everything!


This DIY Moon Phase Wall hanging is made with marbled clay like this and such a stylish piece of decor for your wall. So let’s get to making it!
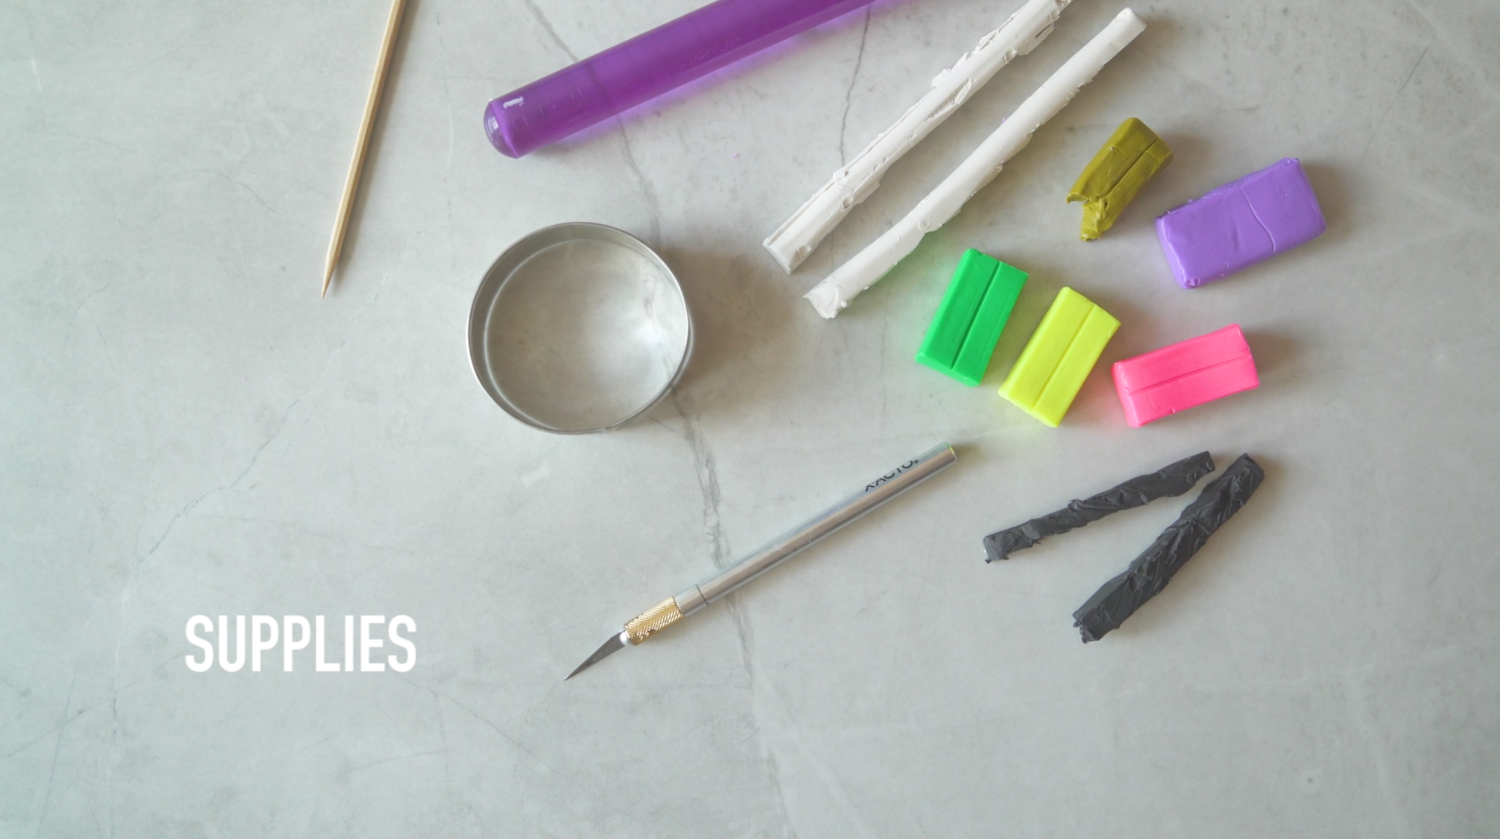
Supplies:
White Oven Bake Clay
2-5 Additional Colors of Oven Bake Clay
A Circle Cookie Cutter
X-Acto Knife
Bamboo Skewer (or anything to poke a small hole in the clay)
A Clay Roller (or circular glass, vase)
A Long String of Nylon Thread or Fishing Line
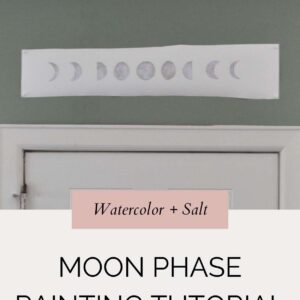
Moon Phase Wall Hanging Template
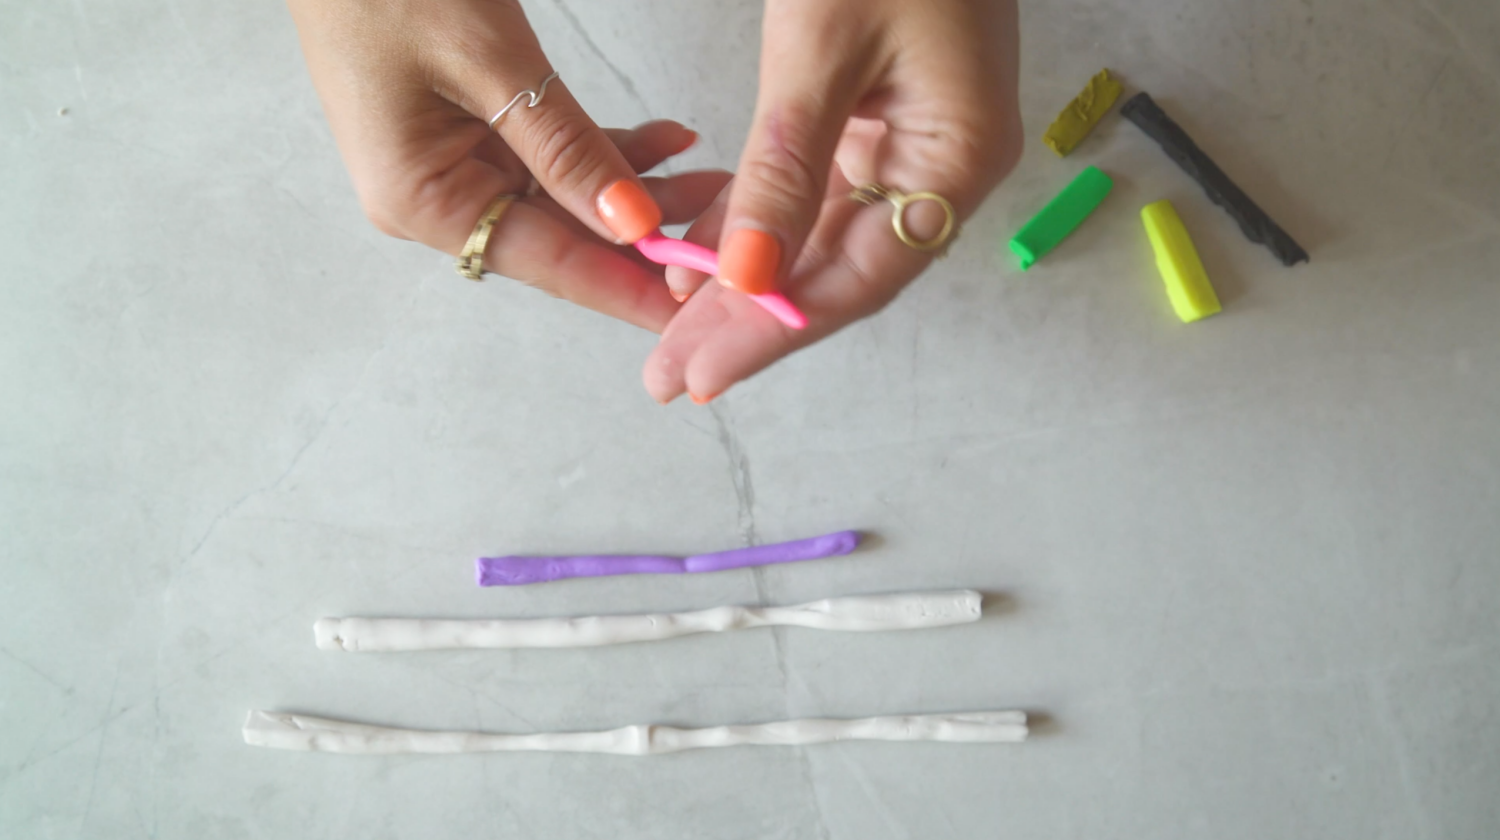
First, start by making snakes of clay. To make them, use both hands to roll them across a smooth table surface back and forth. Be sure to use a clean non-stick surface like granate, tile, or even a wood cutting board.
Your snakes don’t have to be a perfect length or width but you do want them to be fairly even with each other. I made mine around 6 to 8 inches long and less than 1/4 inch wide.

At least 2-3 of your snakes should be made in white clay and the rest can be any colors that you love! You will need at least 5 total (3 white clay, 2 colored clay) or you could add more colors. You need to include plenty of white to act as a neutral palette and make your colors pop! Otherwise, your colors will be much more muted and monochrome.
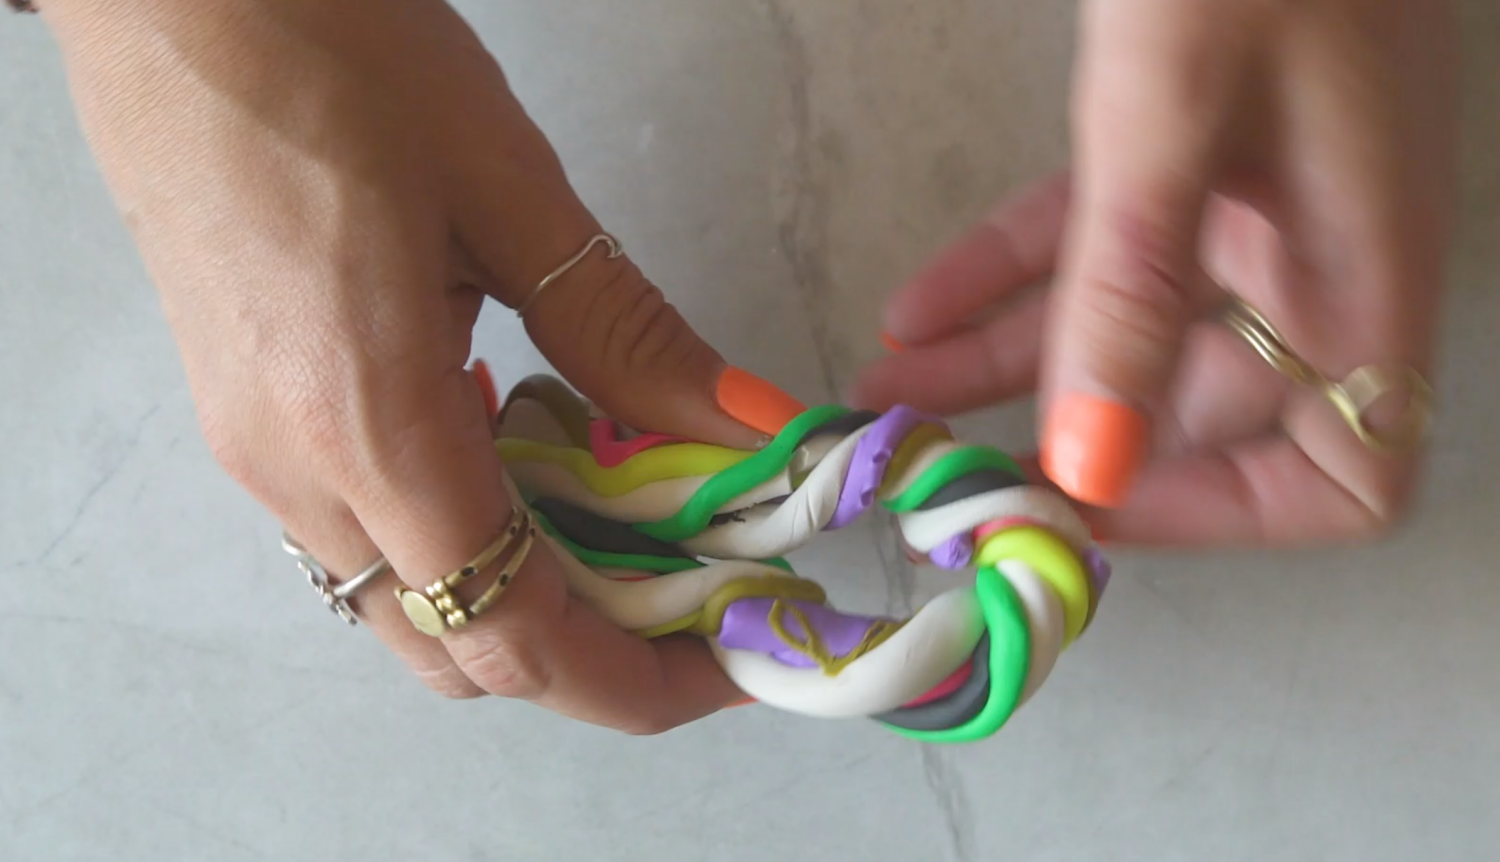
Once you have all your snakes of clay made, line them up, alternating between white and color. Now merge them together like they are all one snake. Twist your clay together into a spiral.
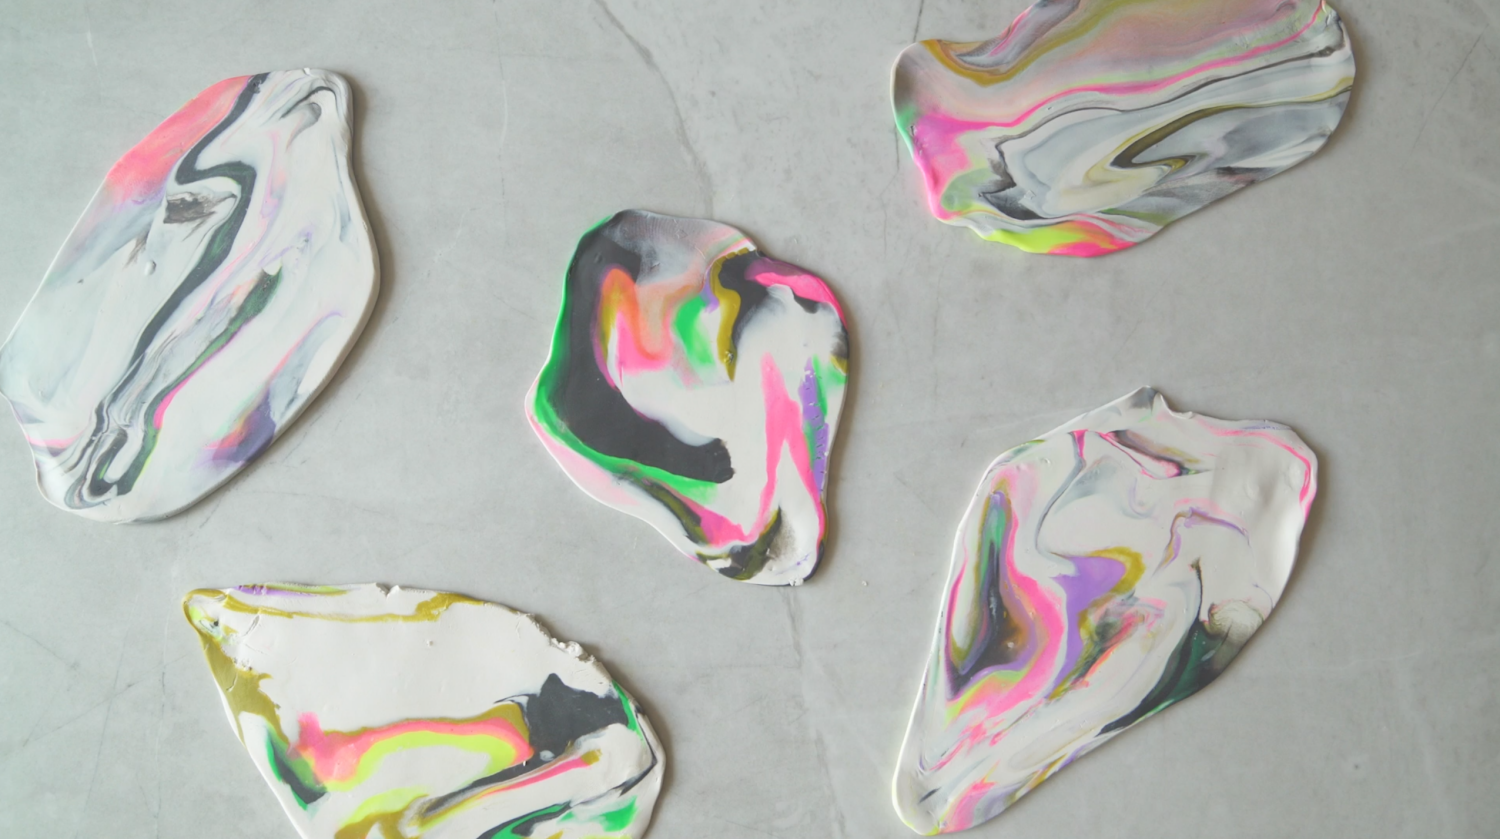
Now fold your twisted spiral in half and roll into a ball.
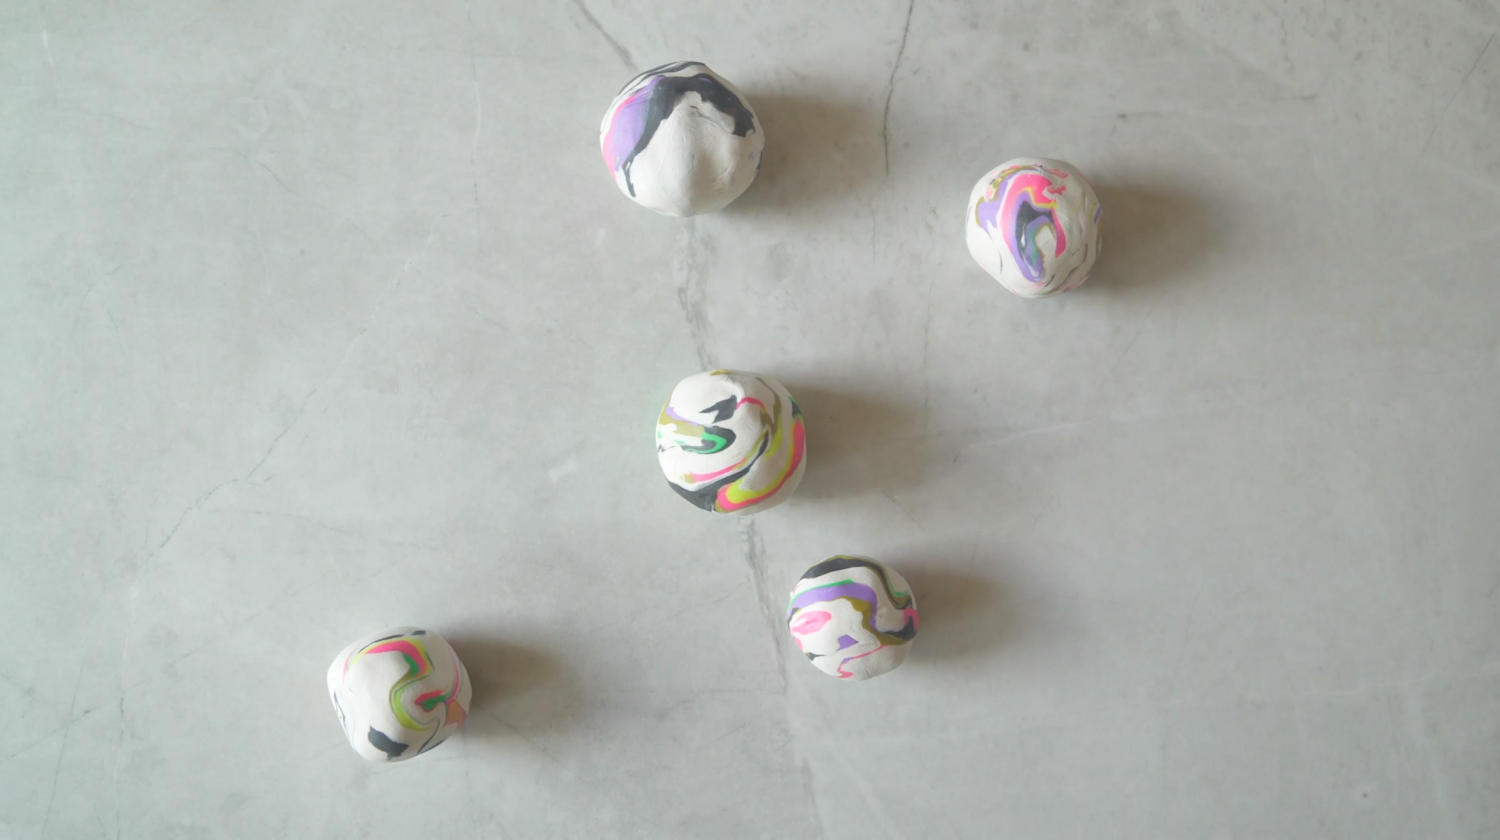
You will actually need 5 balls of clay if you are going to make a traditional moon phase wall hanging that has 9 pieces. You can make 5 balls of clay now, or continue to use them same piece and roll it out several times. The only quirk is that the more your roll your clay into a ball, reform it, and roll it back out again, the more muddy the colors will become.
So for example, when you first roll your ball the colors may be a bit blocky. If so, roll the ball out, reform the ball and roll it out again.
Over time, as you reform the ball of clay and roll it back out, your colors will become unclear. Eventually the whole thing will just end up brown! If they colors become too blended and blurred, start over from the beginning with new snakes of white clay and colored clay.
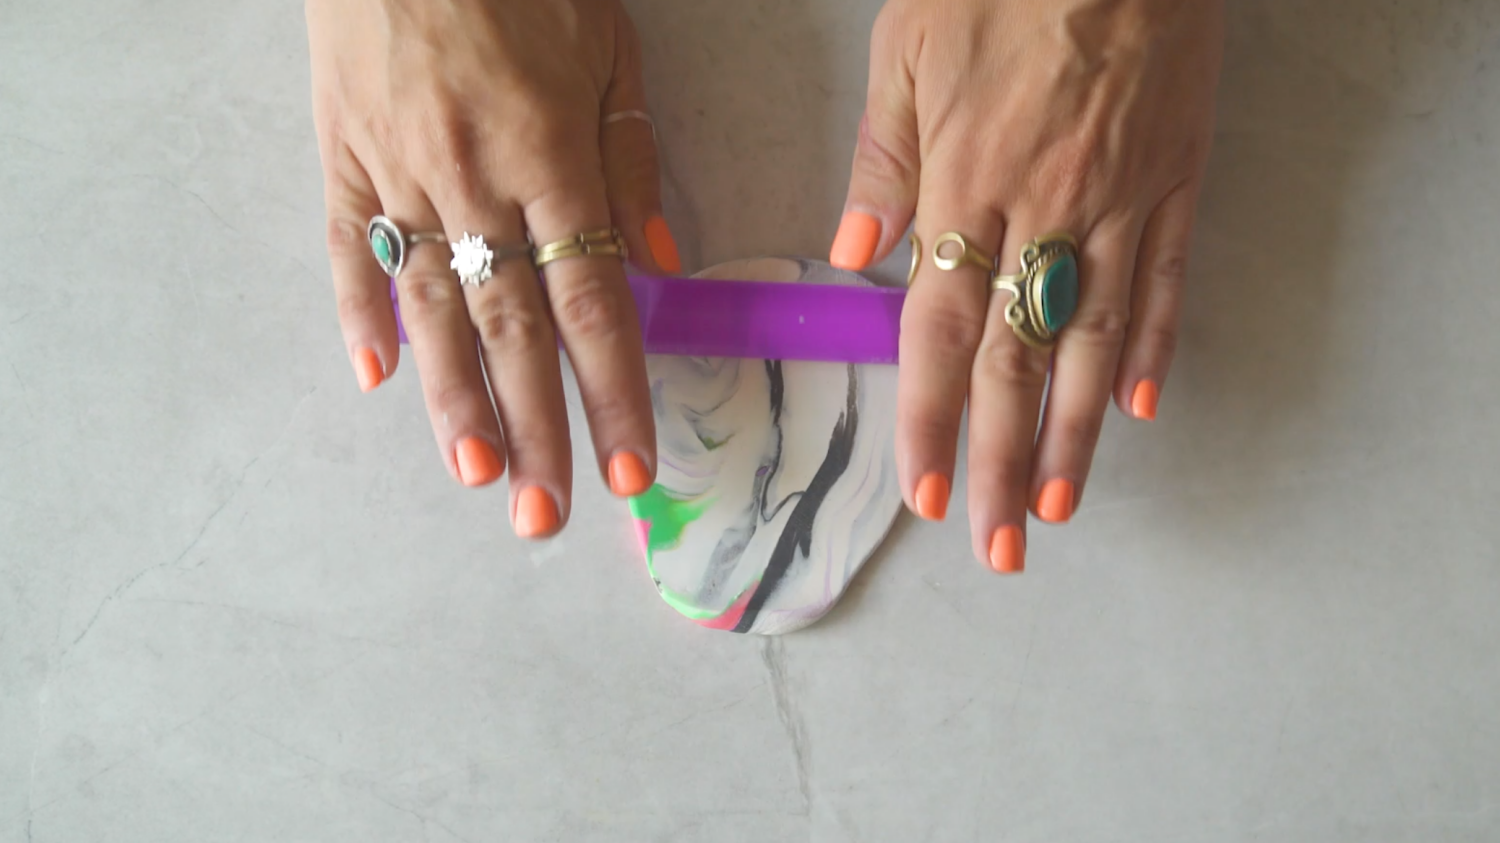
You want your clay to be around 1/4 inch thick and even in thickness throughout the entire piece of clay. If the clay is uneven in thickness, it will bake unevenly.
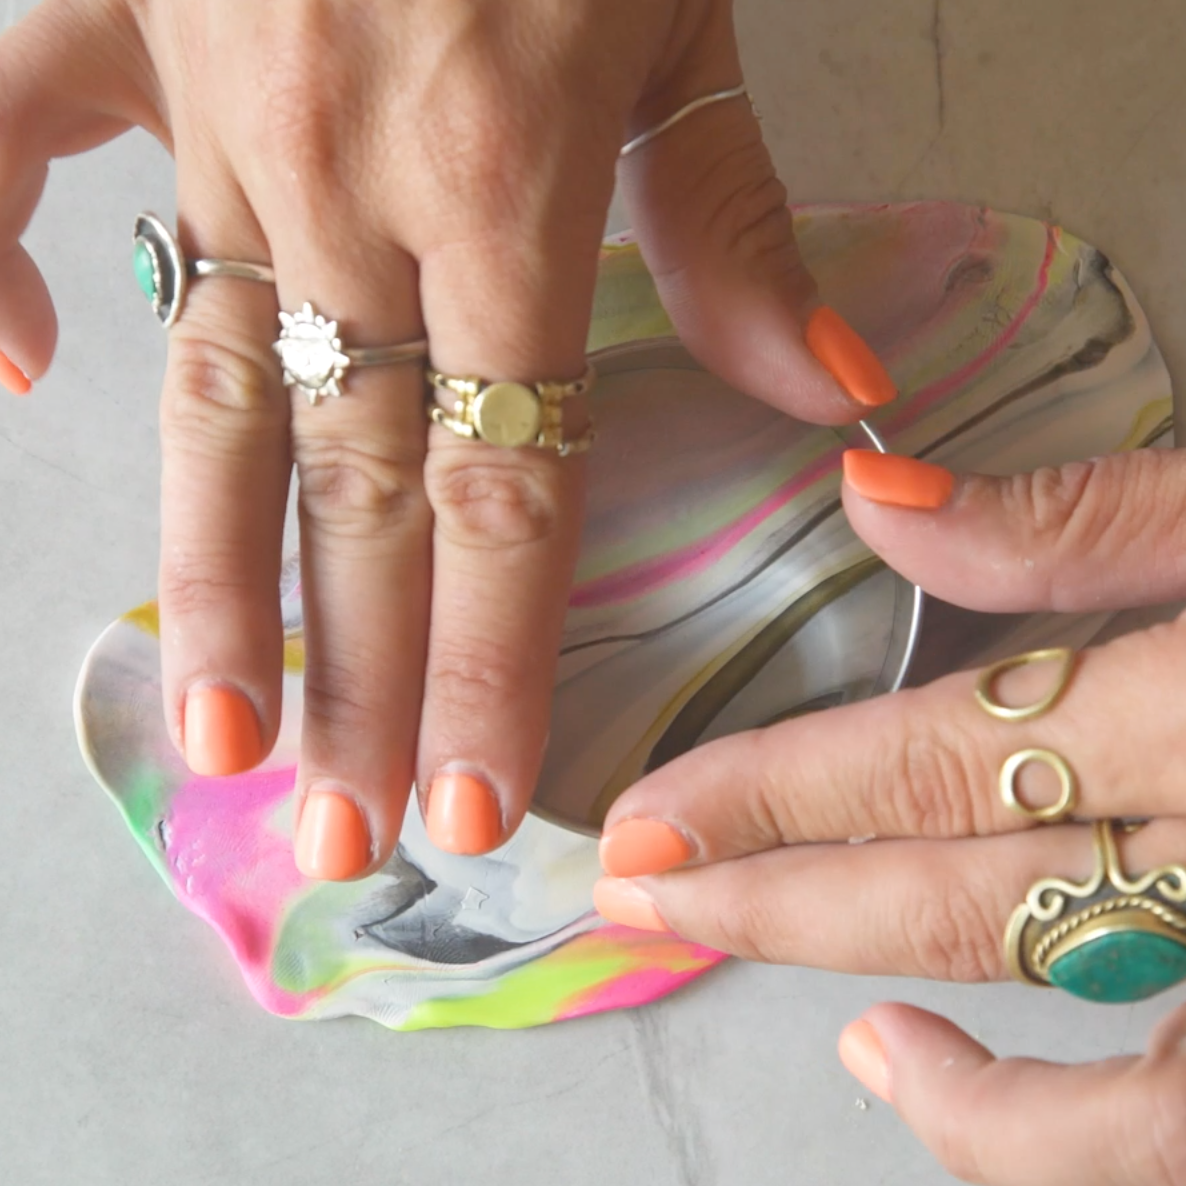
Now for the fun part! It’s time to use your cookie cutter to punch your moon shapes. You can find a template of the moon shapes here.
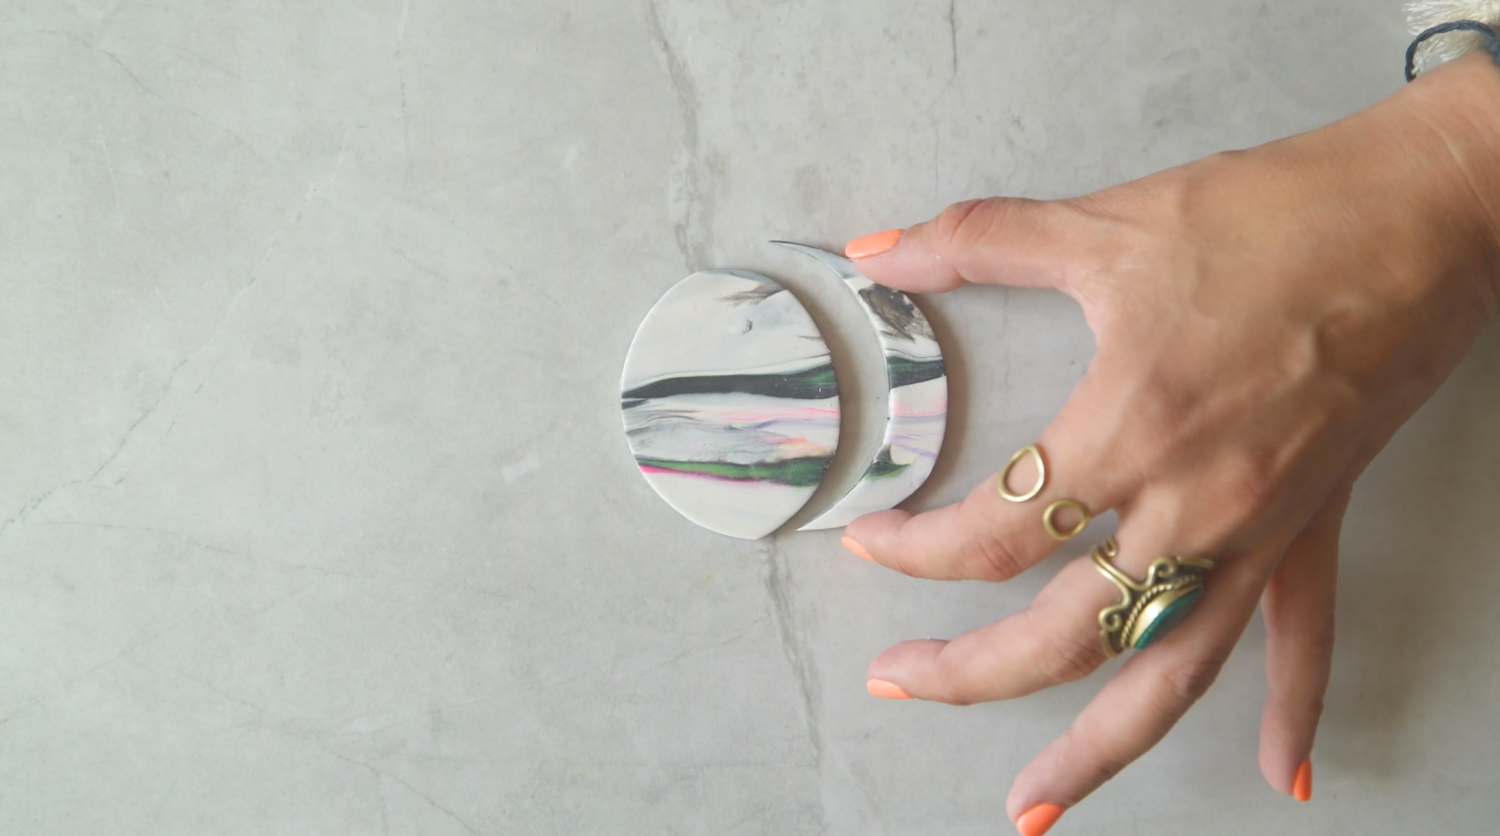
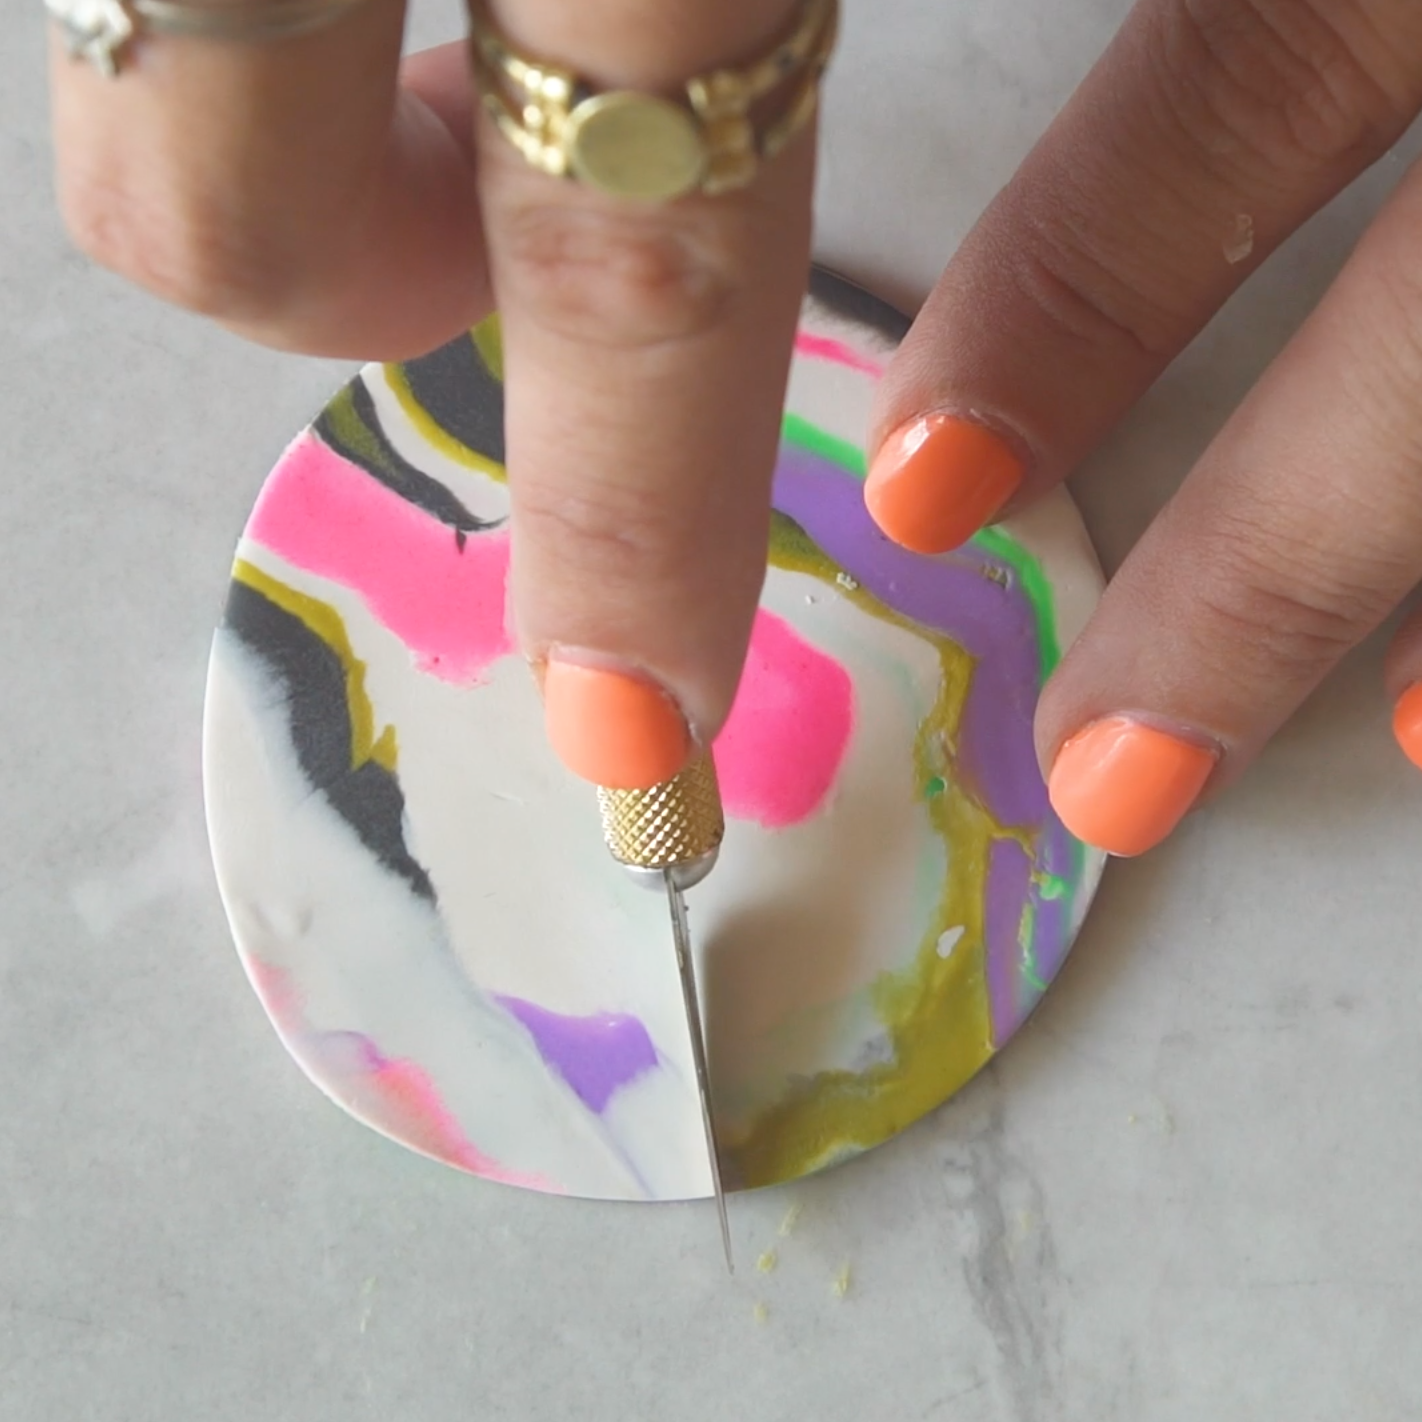
Be gentle with the clay once you punch the shapes. While it’s still wet it’s easy to bend the clay and alter the moon shape you just punched. If you can, pick the clay up from the bottom and use your fingers to smooth any uneven edges.
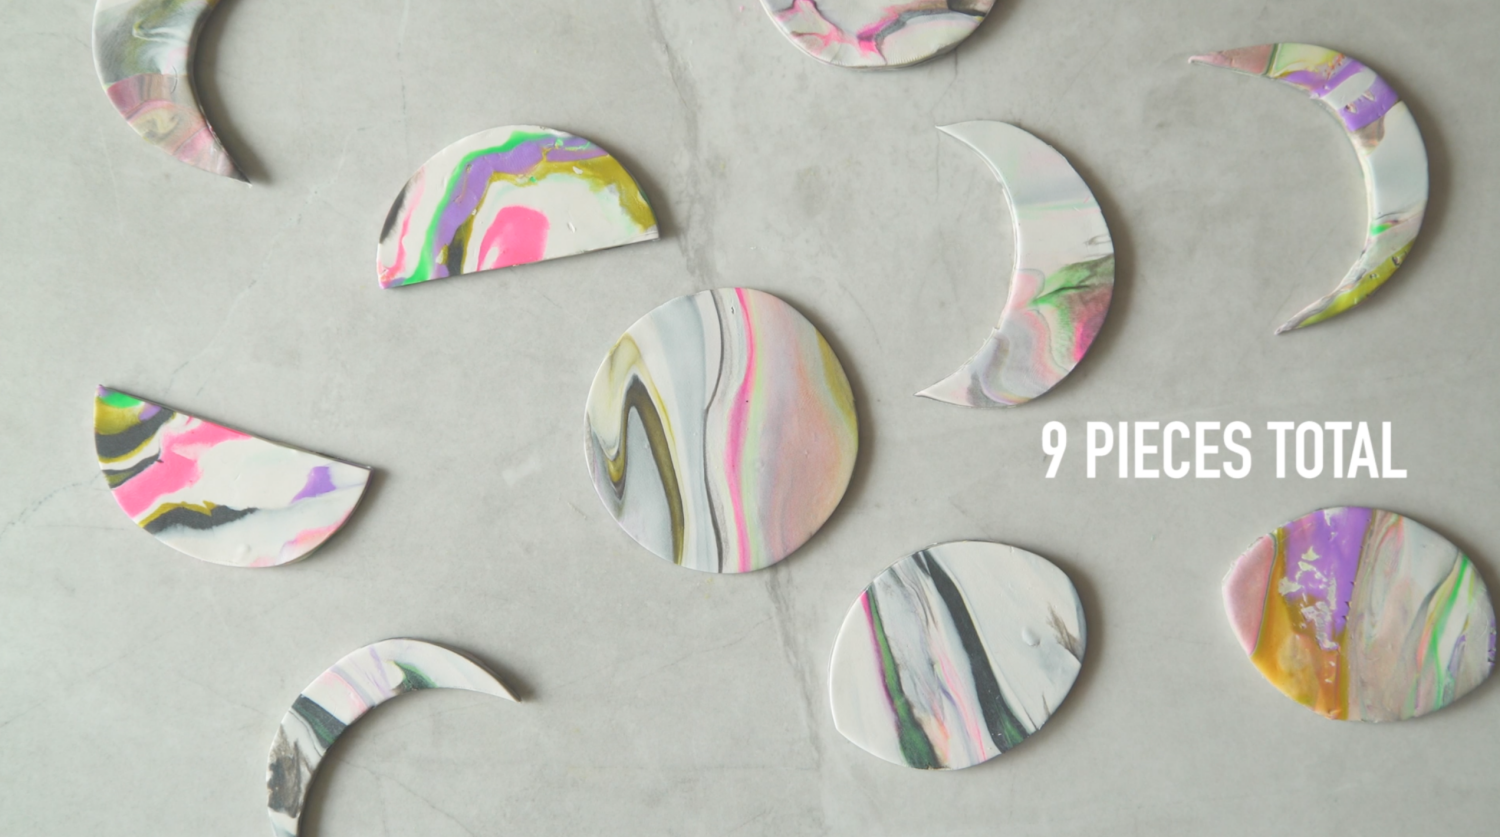
You will want 9 pieces total but you only need 5 pieces of clay to make it. 4 of the clay balls, once flattened will be punched into 9 shapes. What’s important is the order of your moons from waxing to waning. Again, just be sure to follow the Moon Phase Wall Hanging Template here.
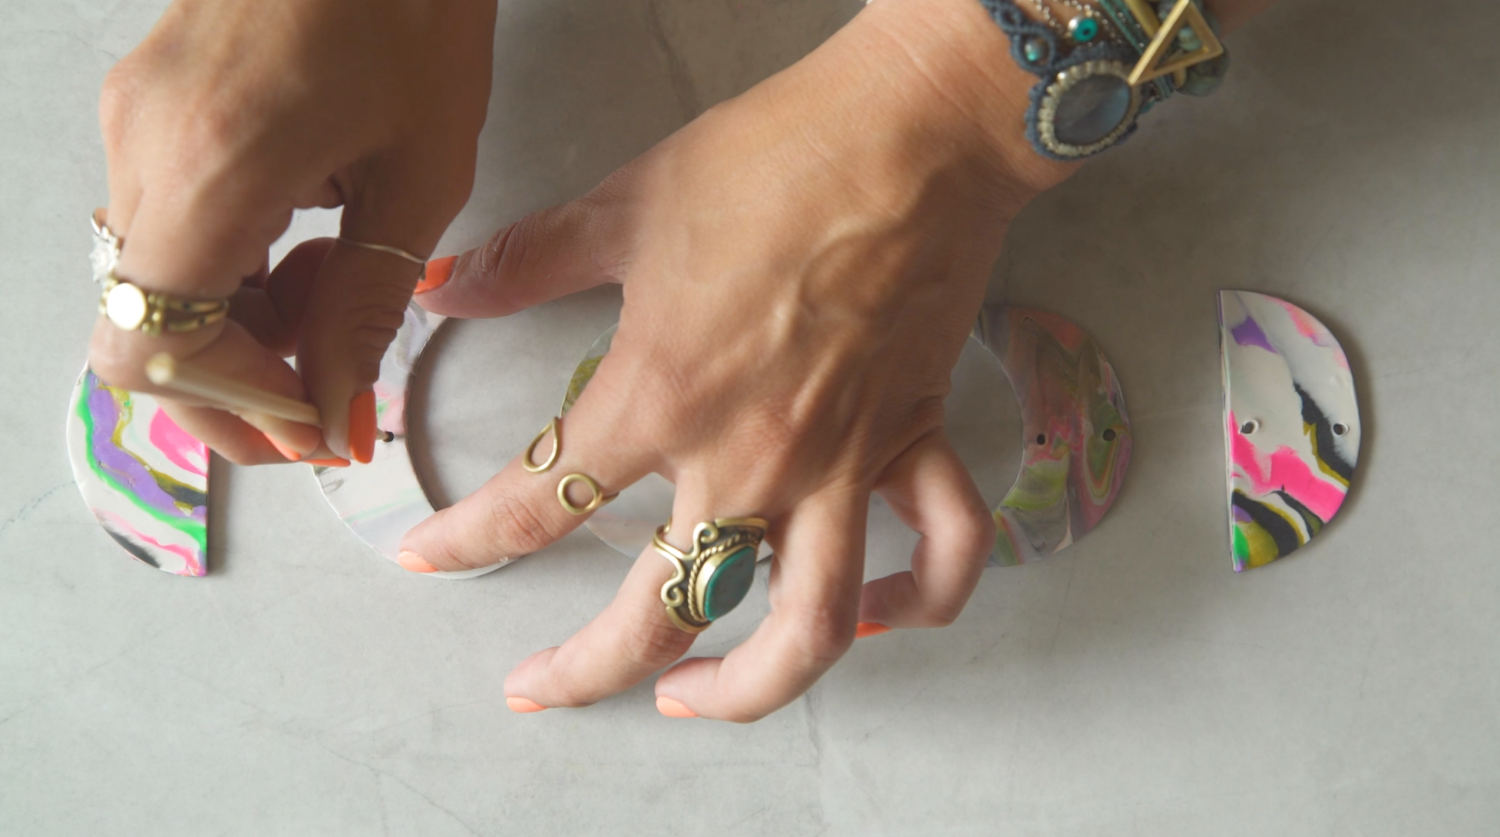
Now, line up your moons and poke the holes that we’ll use to string the wall hanging. I used a bamboo skewer but you could use any small device that’s perfect for poking. A metal cocktail stirrer would work or a toothpick would be perfect. Make sure the hole is smooth and clear. The hole needs to be completely inside of the clay and not touching the edge. And last the holes need to be even with each other so that the wall hanging can hang straight up and down.
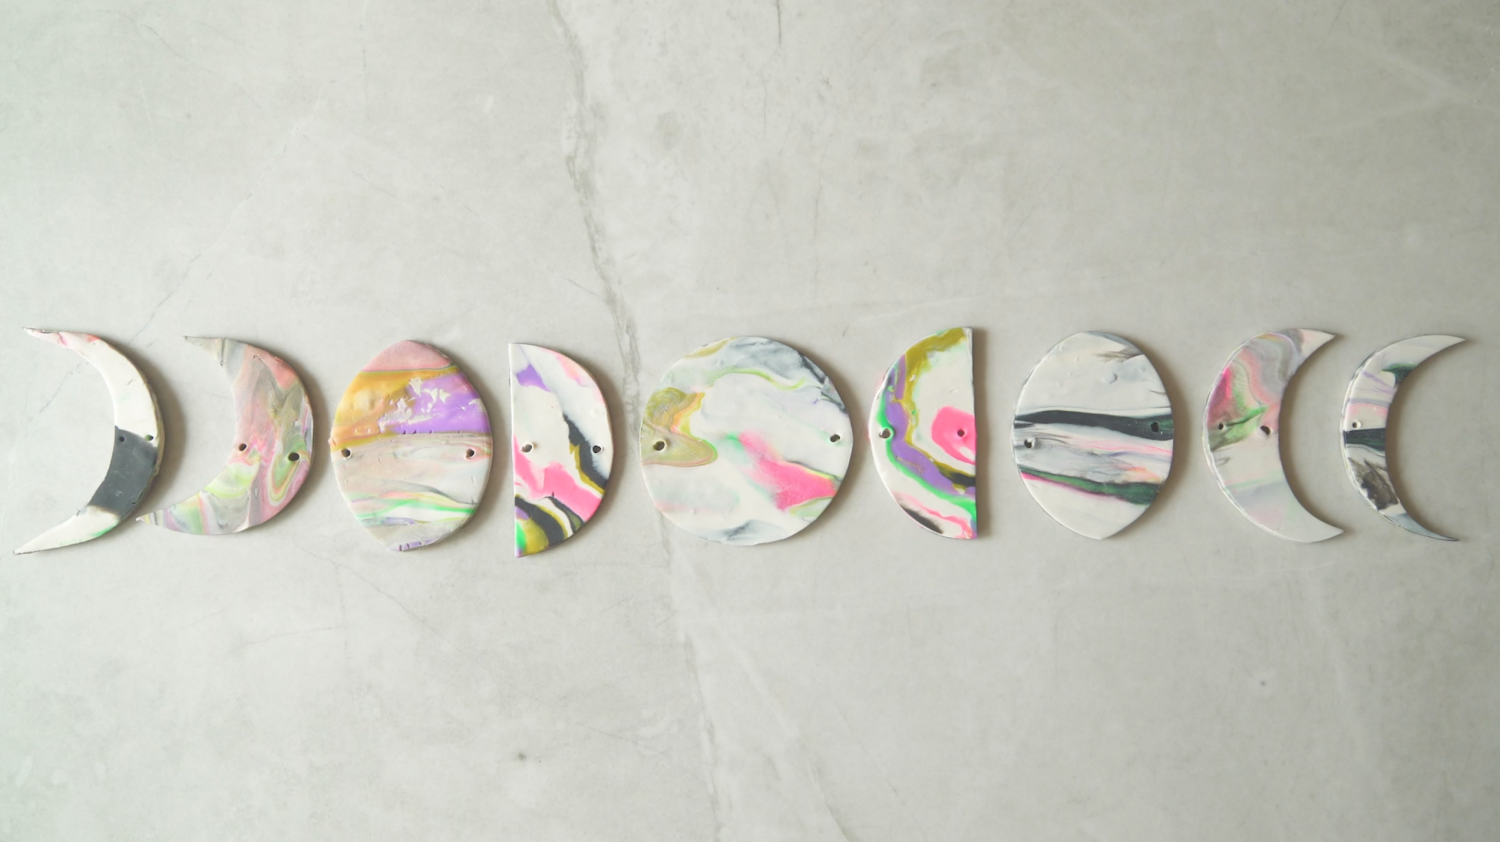
It will look just like this. Now it’s time to bake the clay. Oven bake clay can burn. So I always cook it at 275°F for 15 minutes. That’s a lower temperature than any oven bake clay packaging instructions – but I’ve burnt clay many times at the regularly listed instructions! Then I gently touch the surface to see if it’s still tacky. If it’s tacky it needs a bit more time. If it feels dry to the touch, the clay is done.
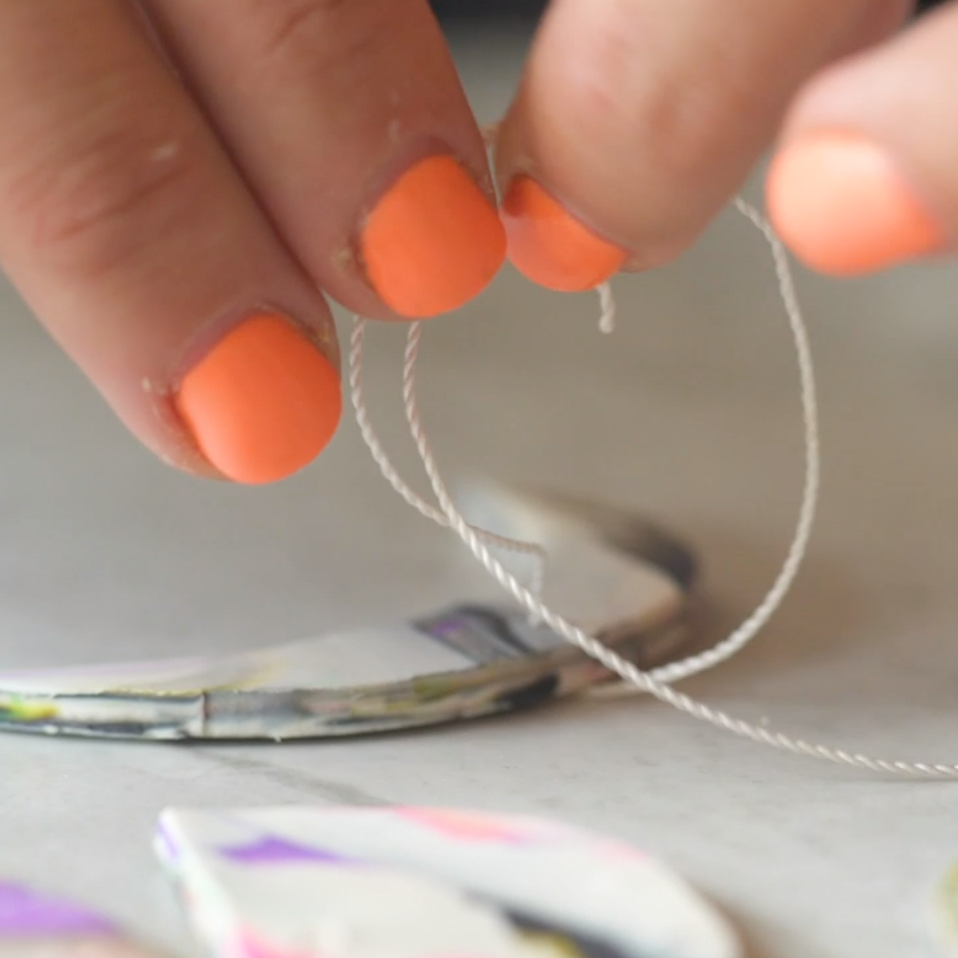
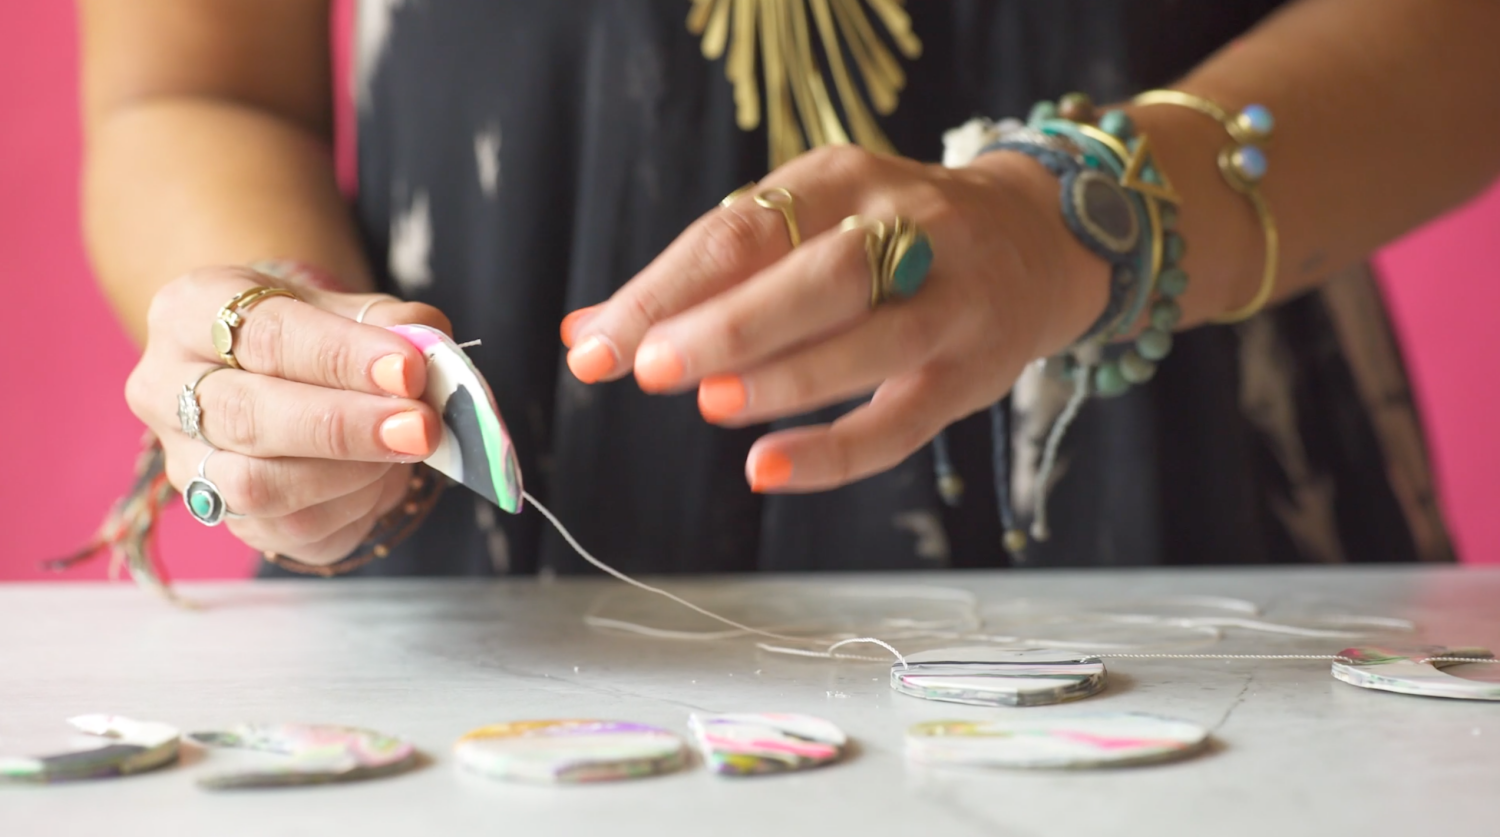
The last step is to thread the moons. Start with either side, the waxing or waning moons and tie one end of the thread in a simple knot. Then weave the thread in and out, leaving spaces in between the moons.
White nylon thread will be nearly invisible against a white wall. But if you want something truly invisible to hang the Moon Phase, clear fishing line is perfect. It’s hard to gauge how much thread you will need, since that depends on how much space you leave in between your moons. So cut your thread extra long and then just trim it shorter at the end.
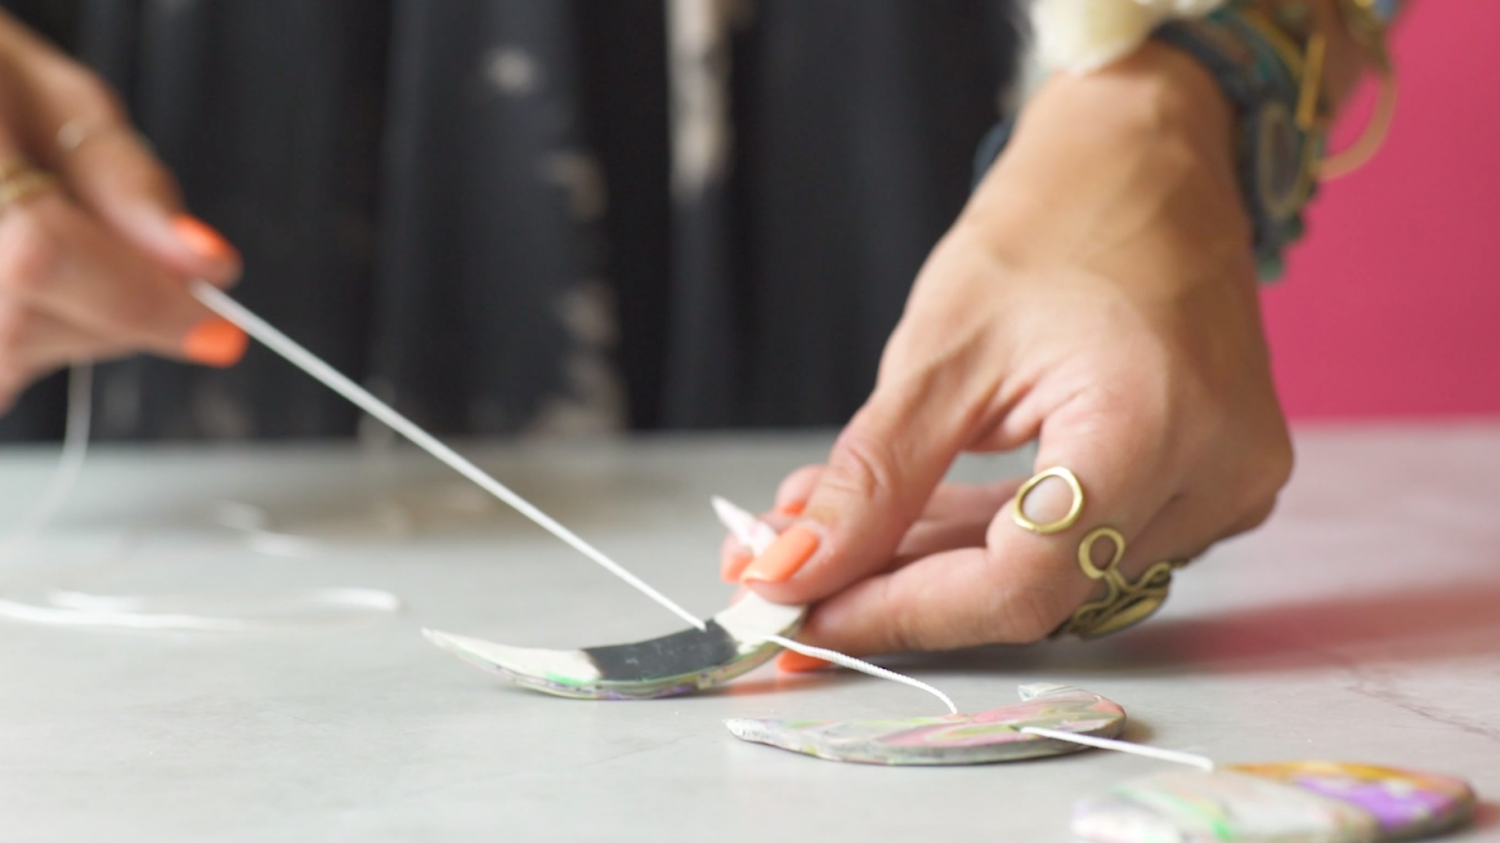
Try to space the moons evenly from each other. And viola! You have a finished DIY Moon Phase Wall Hanging!
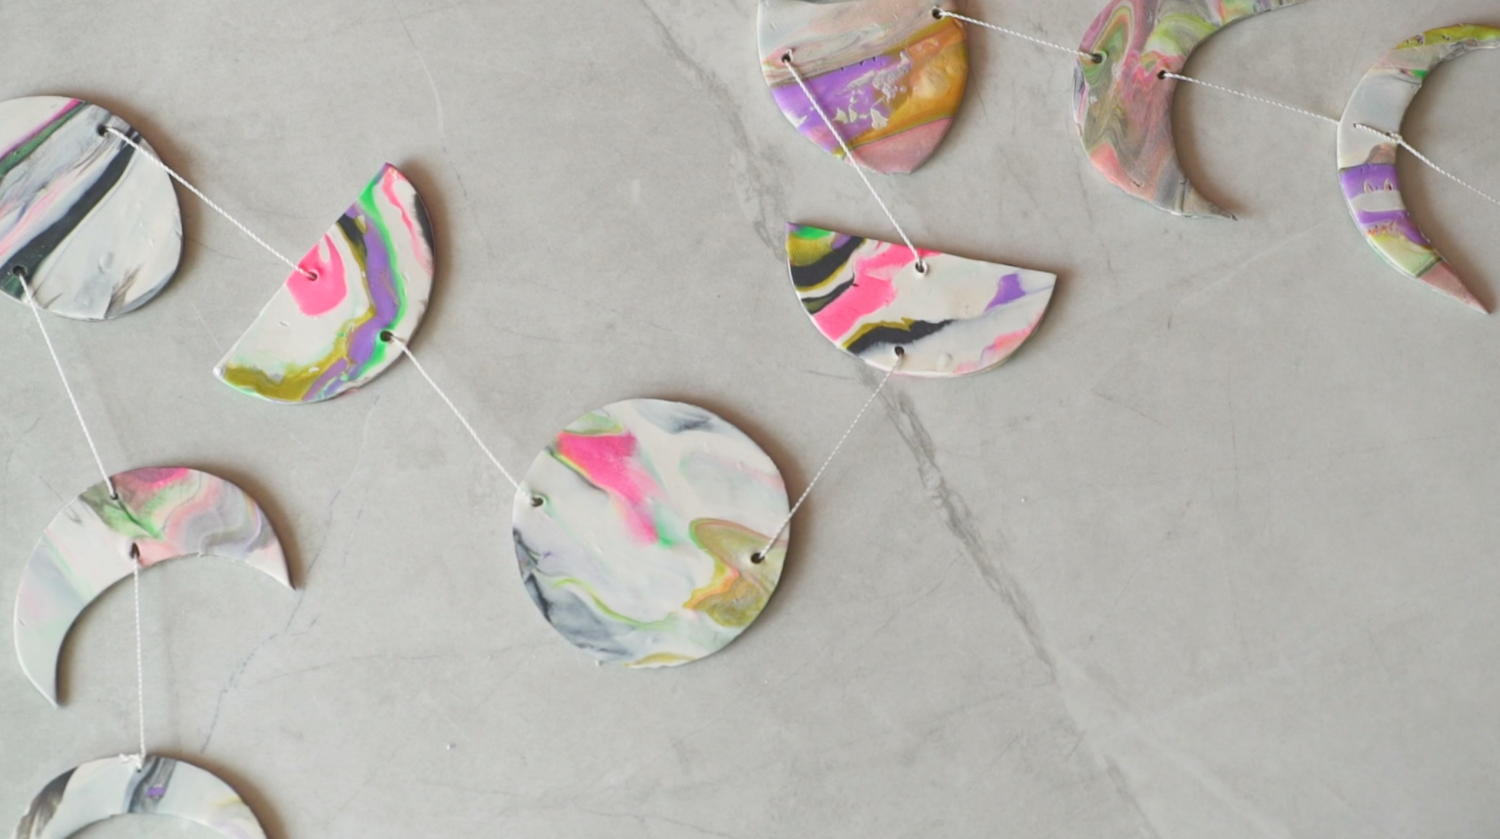
It’s perfectly modern and would be so perfect for a teenager or perfect for a party! What’s great is that oven bake clay is very inexpensive, making this quite an affordable craft. So what colors are you going to use in your Moon Phase Wall Hanging? Tell us in the comments!
Let’s Stay Friends!
Insta | Pinterest | Enews | TikTok