DIY
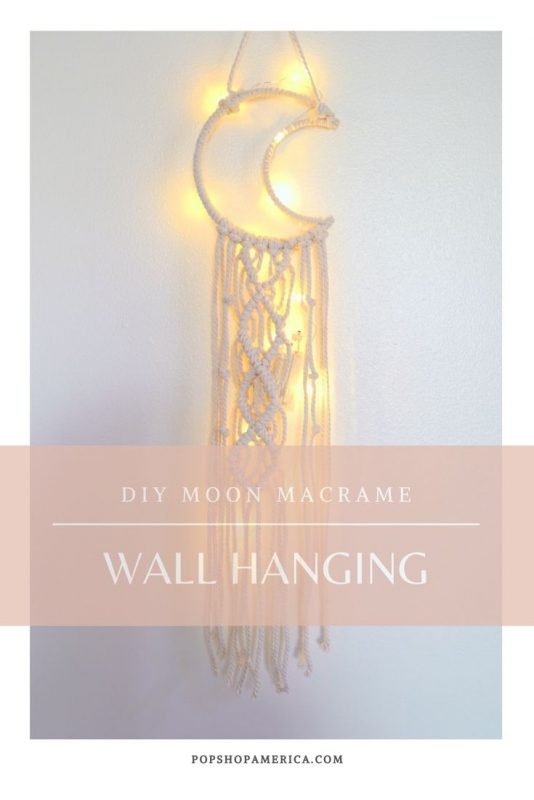
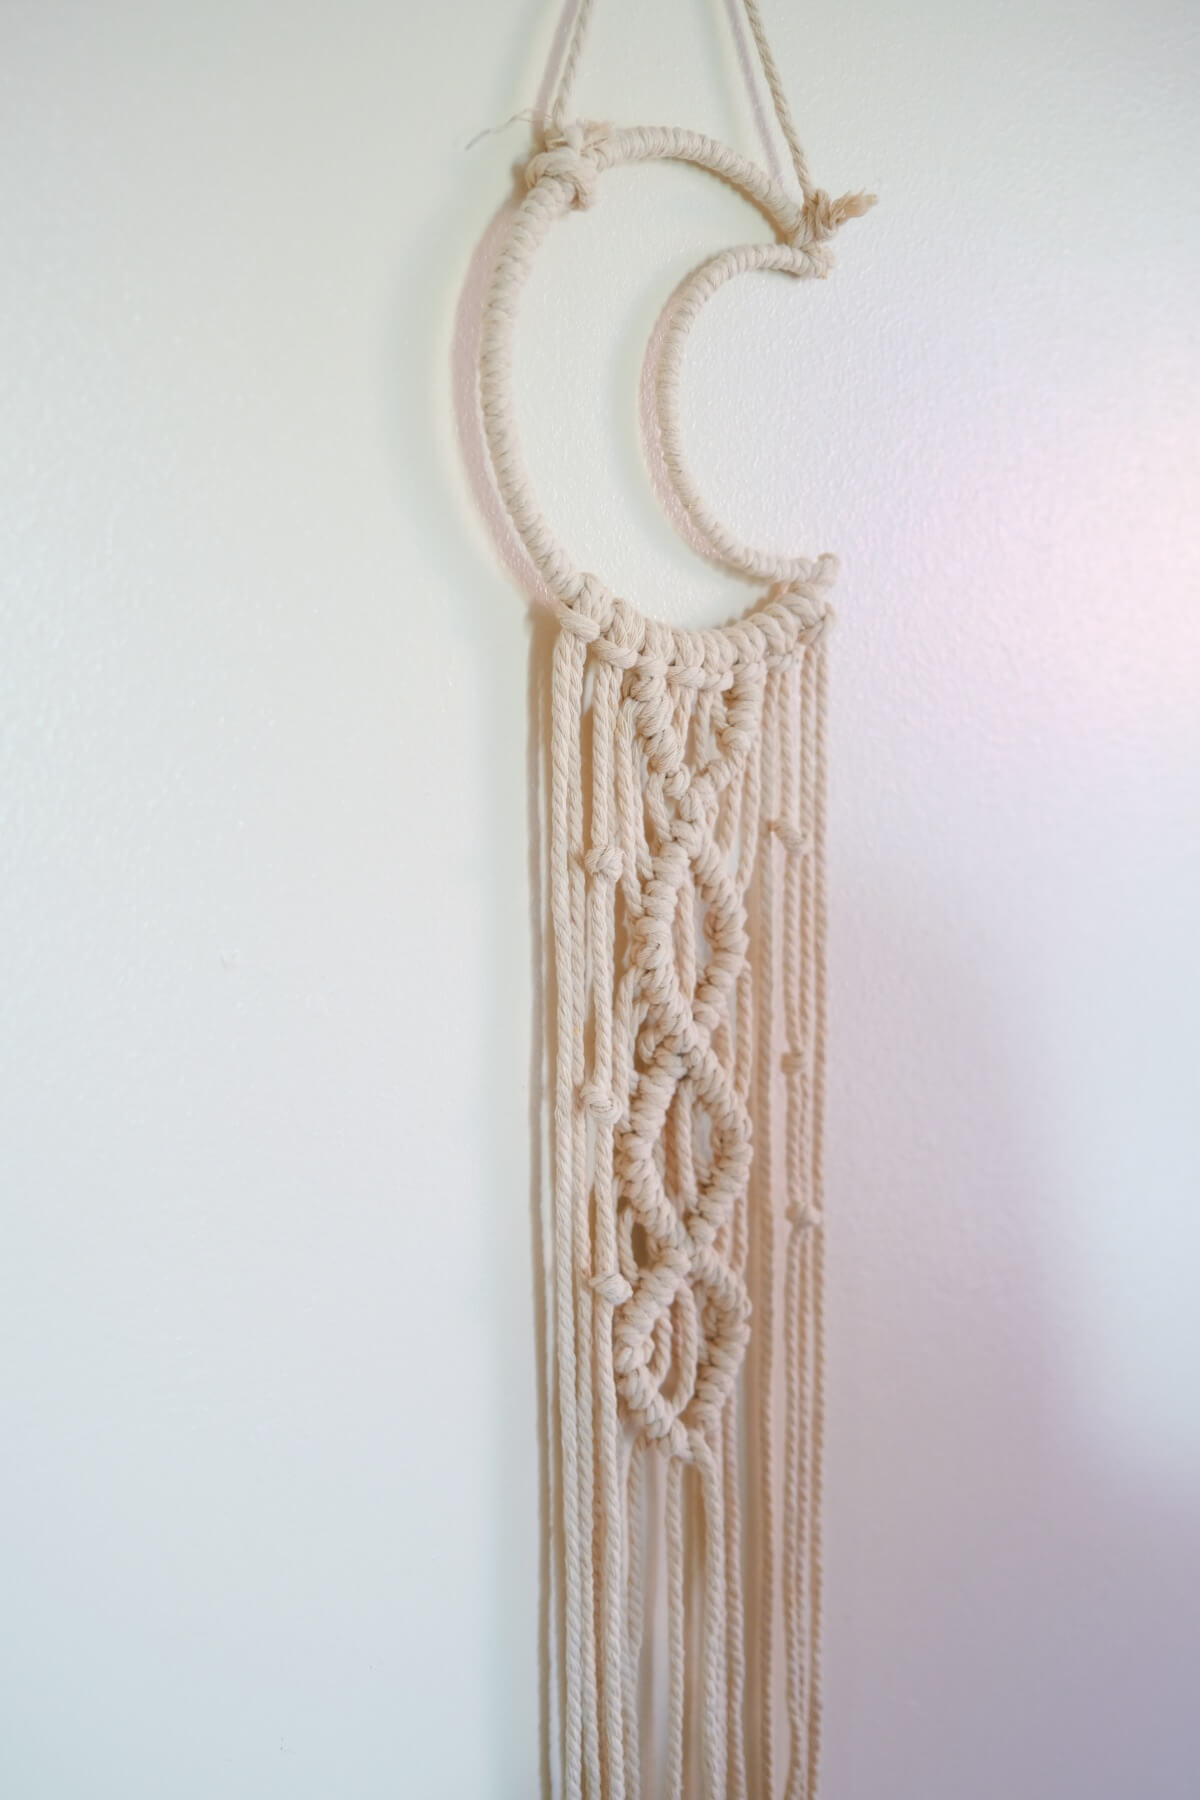
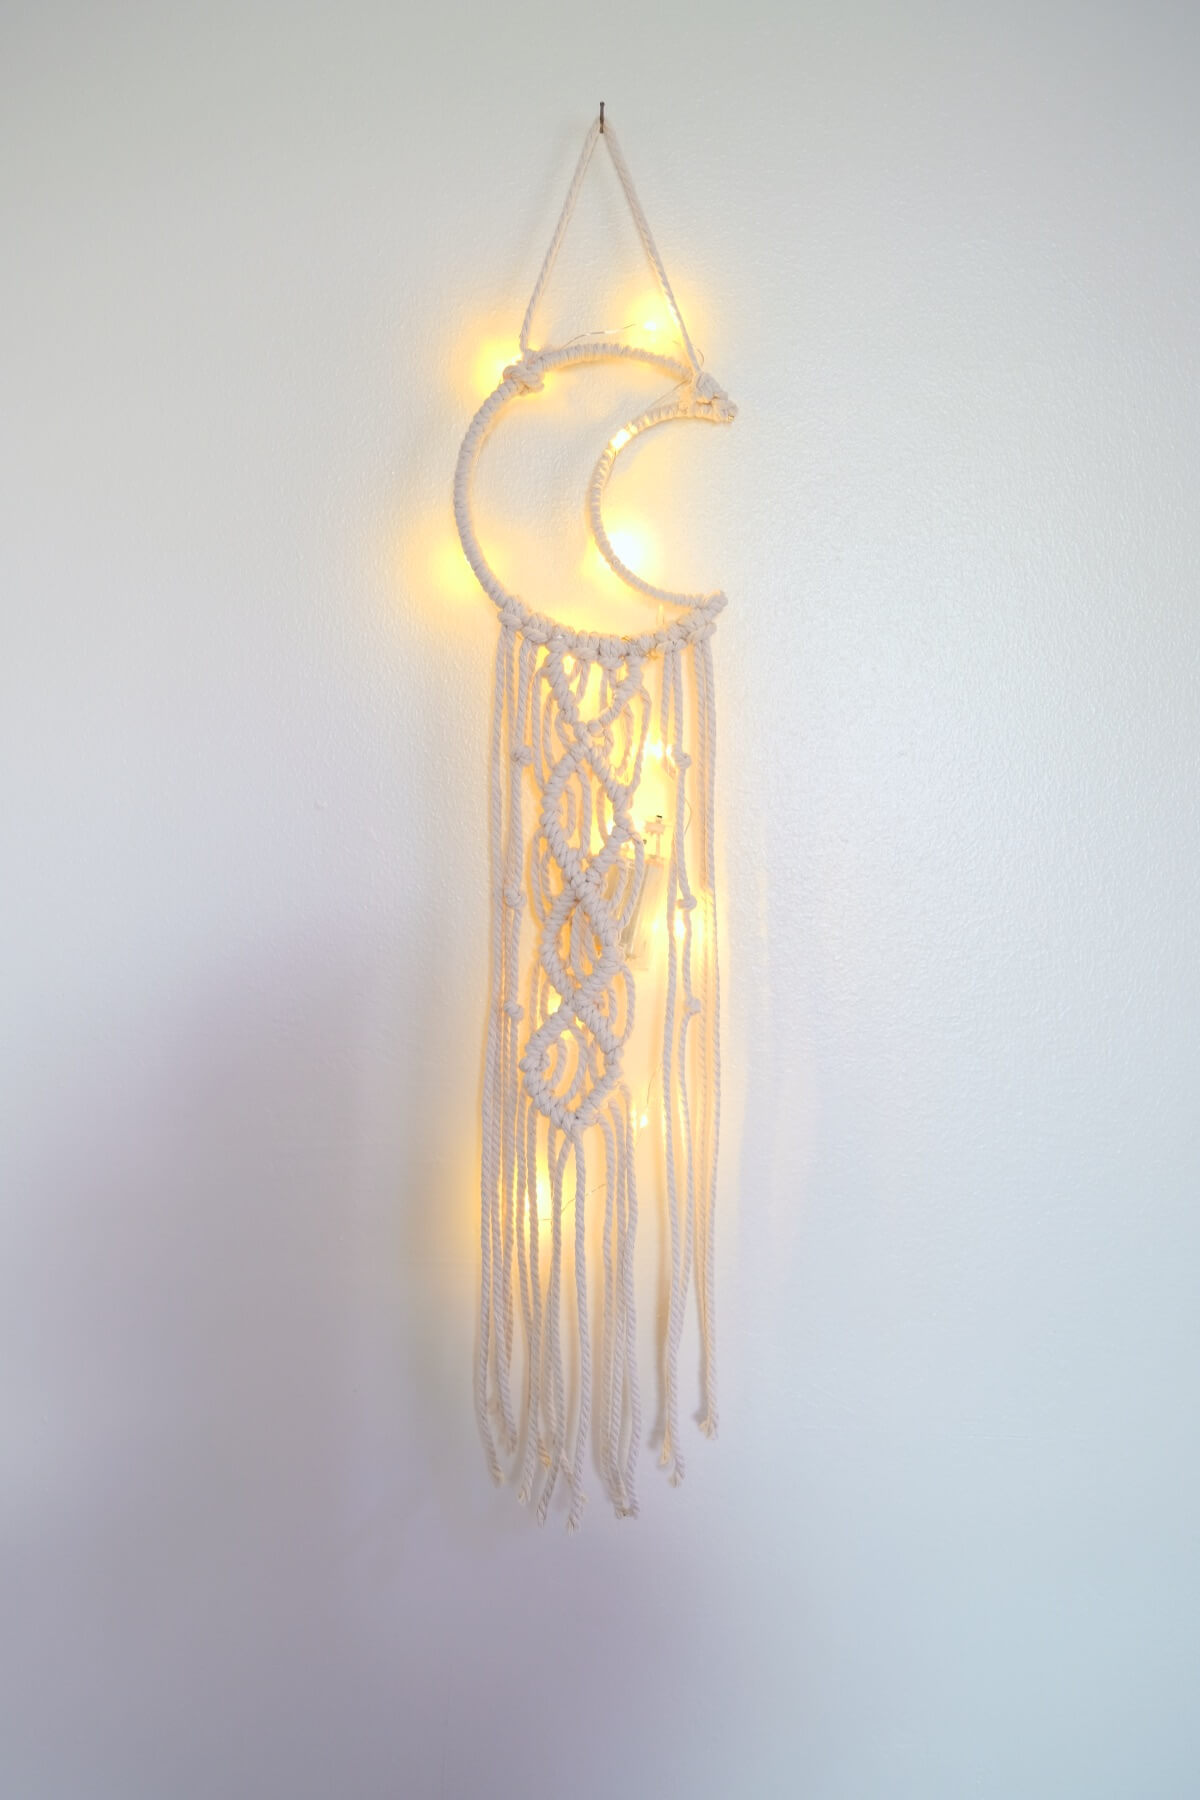
DIY Moon Shaped Macrame Wall Hanging with Lights
Sep
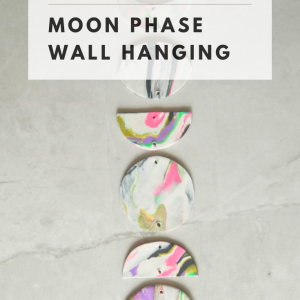
This blog is Part 2 of 2 of the August Craft in Style Subscription Box Tutorials. You can find more about this box and other Craft in Style Boxes here. Find Part 1: How to Make a Macrame Wind Chime here.
Would you believe me if I told you that macrame is easier than you think? I wouldn’t believe me either. But it is!
The trick to learning Macrame is:
1. It does take a little bit of patience. With some crafts, making a wrong step feels like no big deal, but with other crafts like this making one wrong step can feel frustrating.
2. It’s easier to learn macrame through videos and much harder to learn macrame from written instructions. That’s why we made this Macrame Wind Chime Video Tutorial here. And have tons of videos linked in this Moon Shaped Macrame Wall Hanging Tutorial here.
So what do you say? Are you ready to make this gorgeous Moon Shaped Macrame Wall Hanging with Lights? It’s the perfect hangable light for any space that doesn’t have access to electric – my favorite spot is to put this outside in a garden.
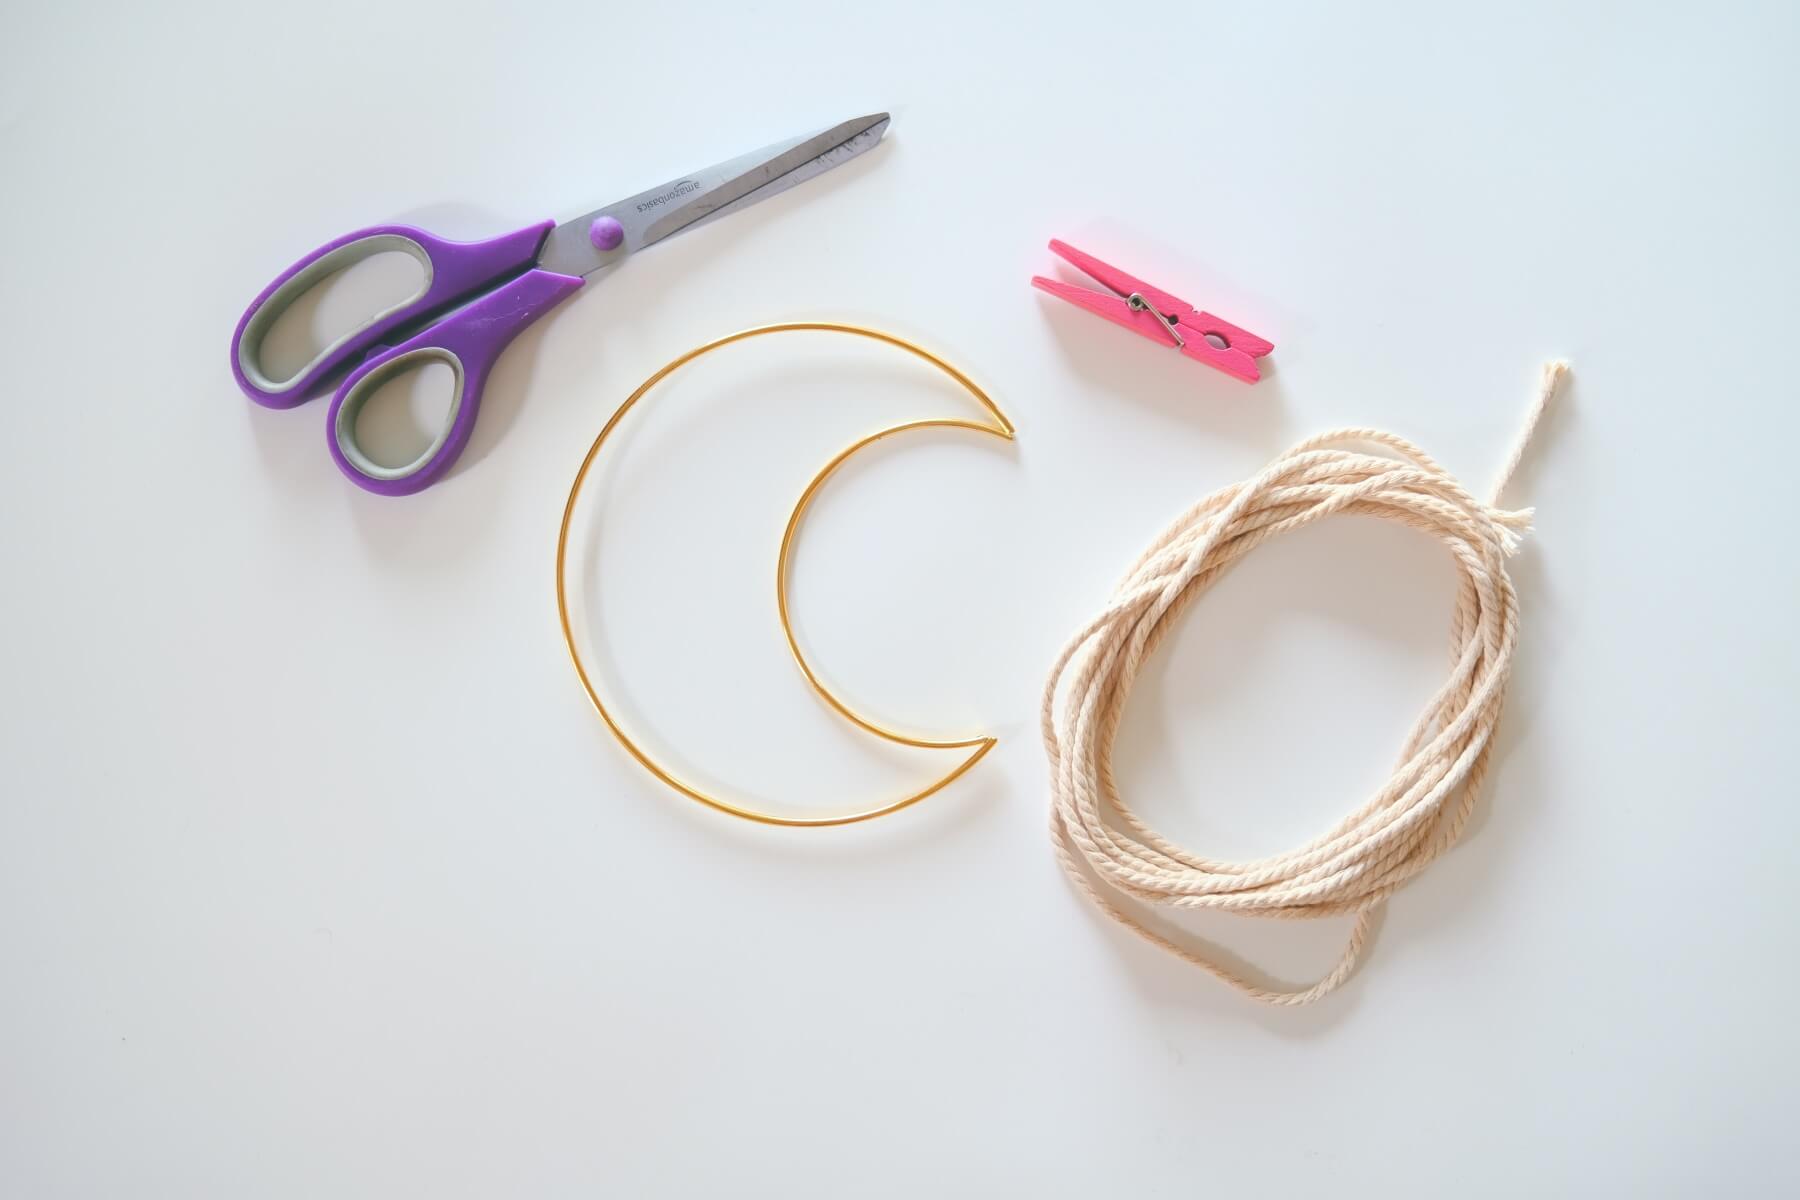
Supplies to Make a Moon Shaped Macrame Wall Hanging with Lights:
August 2021 Craft in Style Subscription Box
-or-
9x 10 foot sections of 3mm Macrame Cord
A Moon Shaped Macrame/Dreamcatcher Base
Thin Twine
A Small String Light with Batteries
Scissors
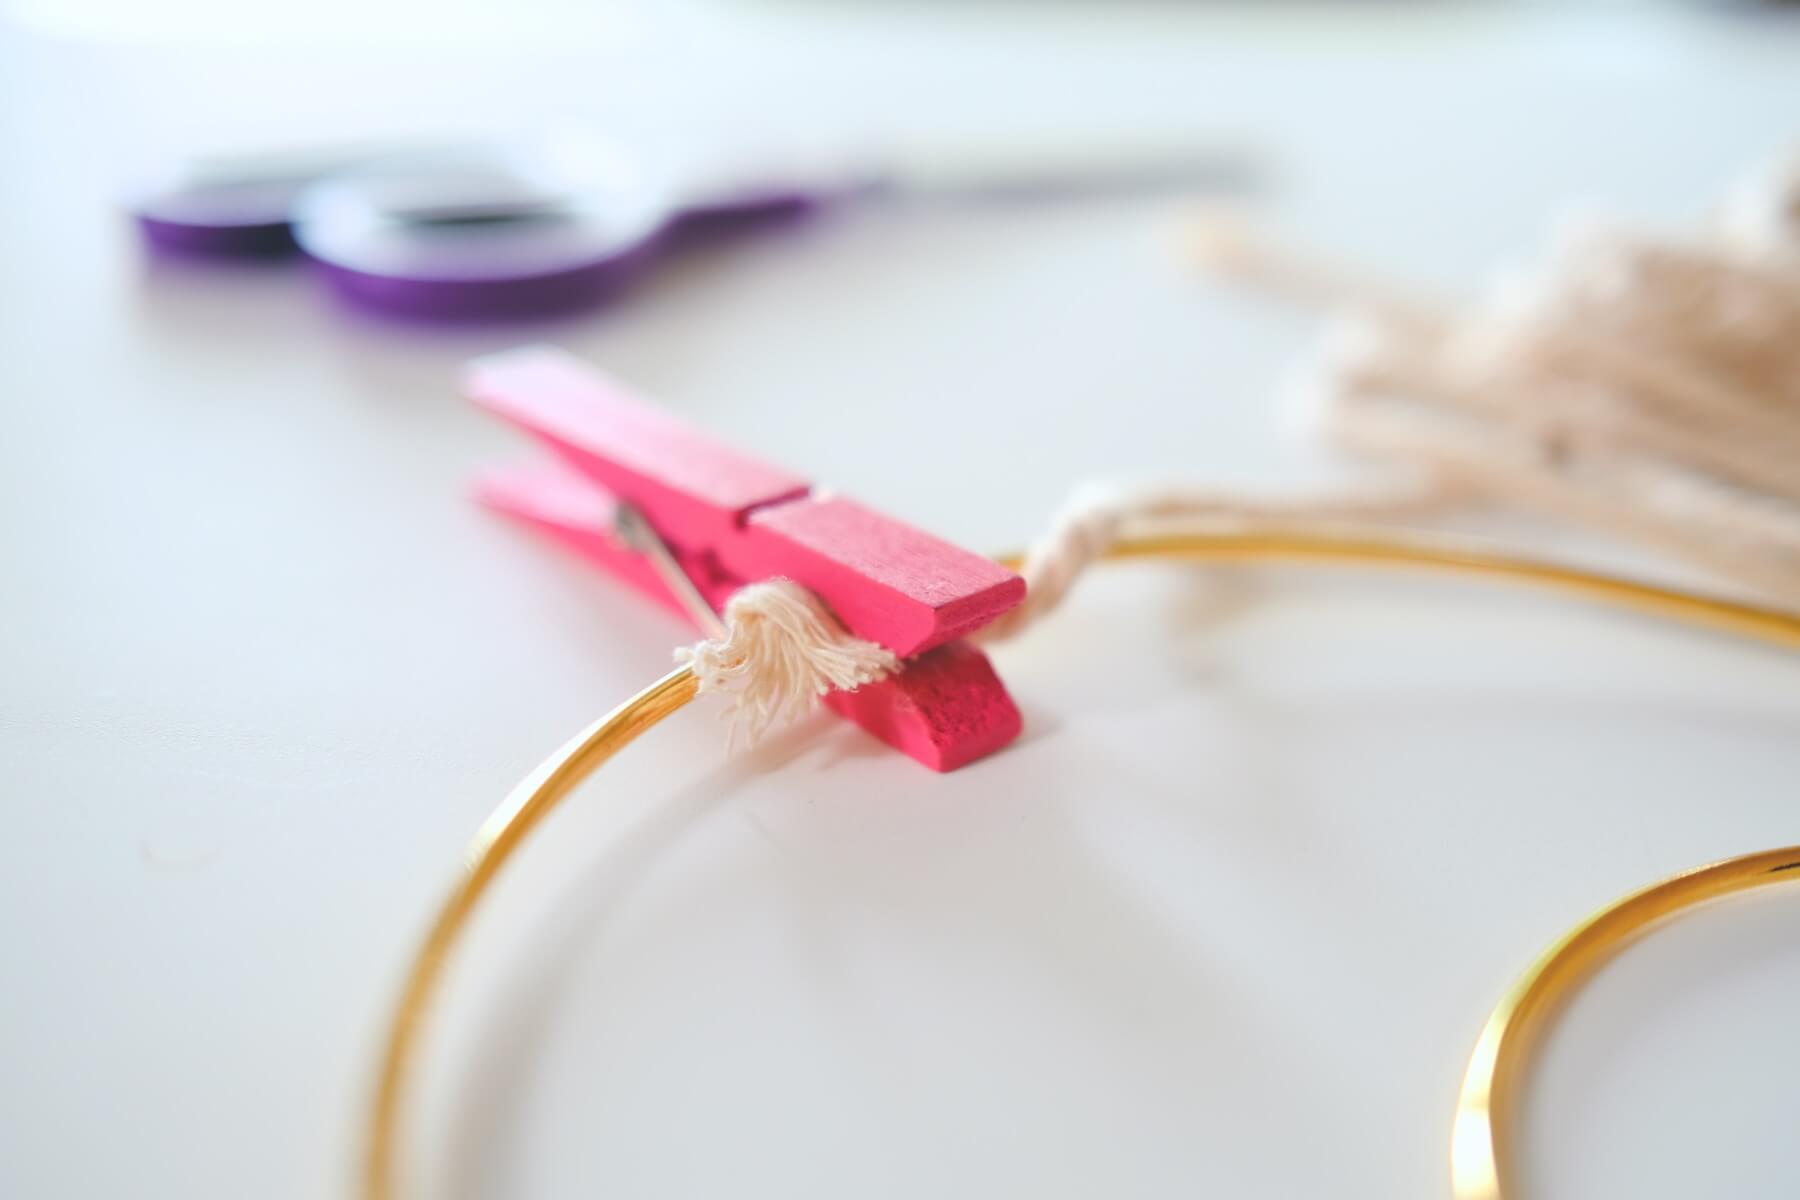
Note: A few clothespins are also a great supply addition but they are not necessary. You can use them while winding your macrame cord around the base – the 1st step in the process of making this project. They can help hold your place if you want to take breaks while winding the macrame cord around the moon shaped base.
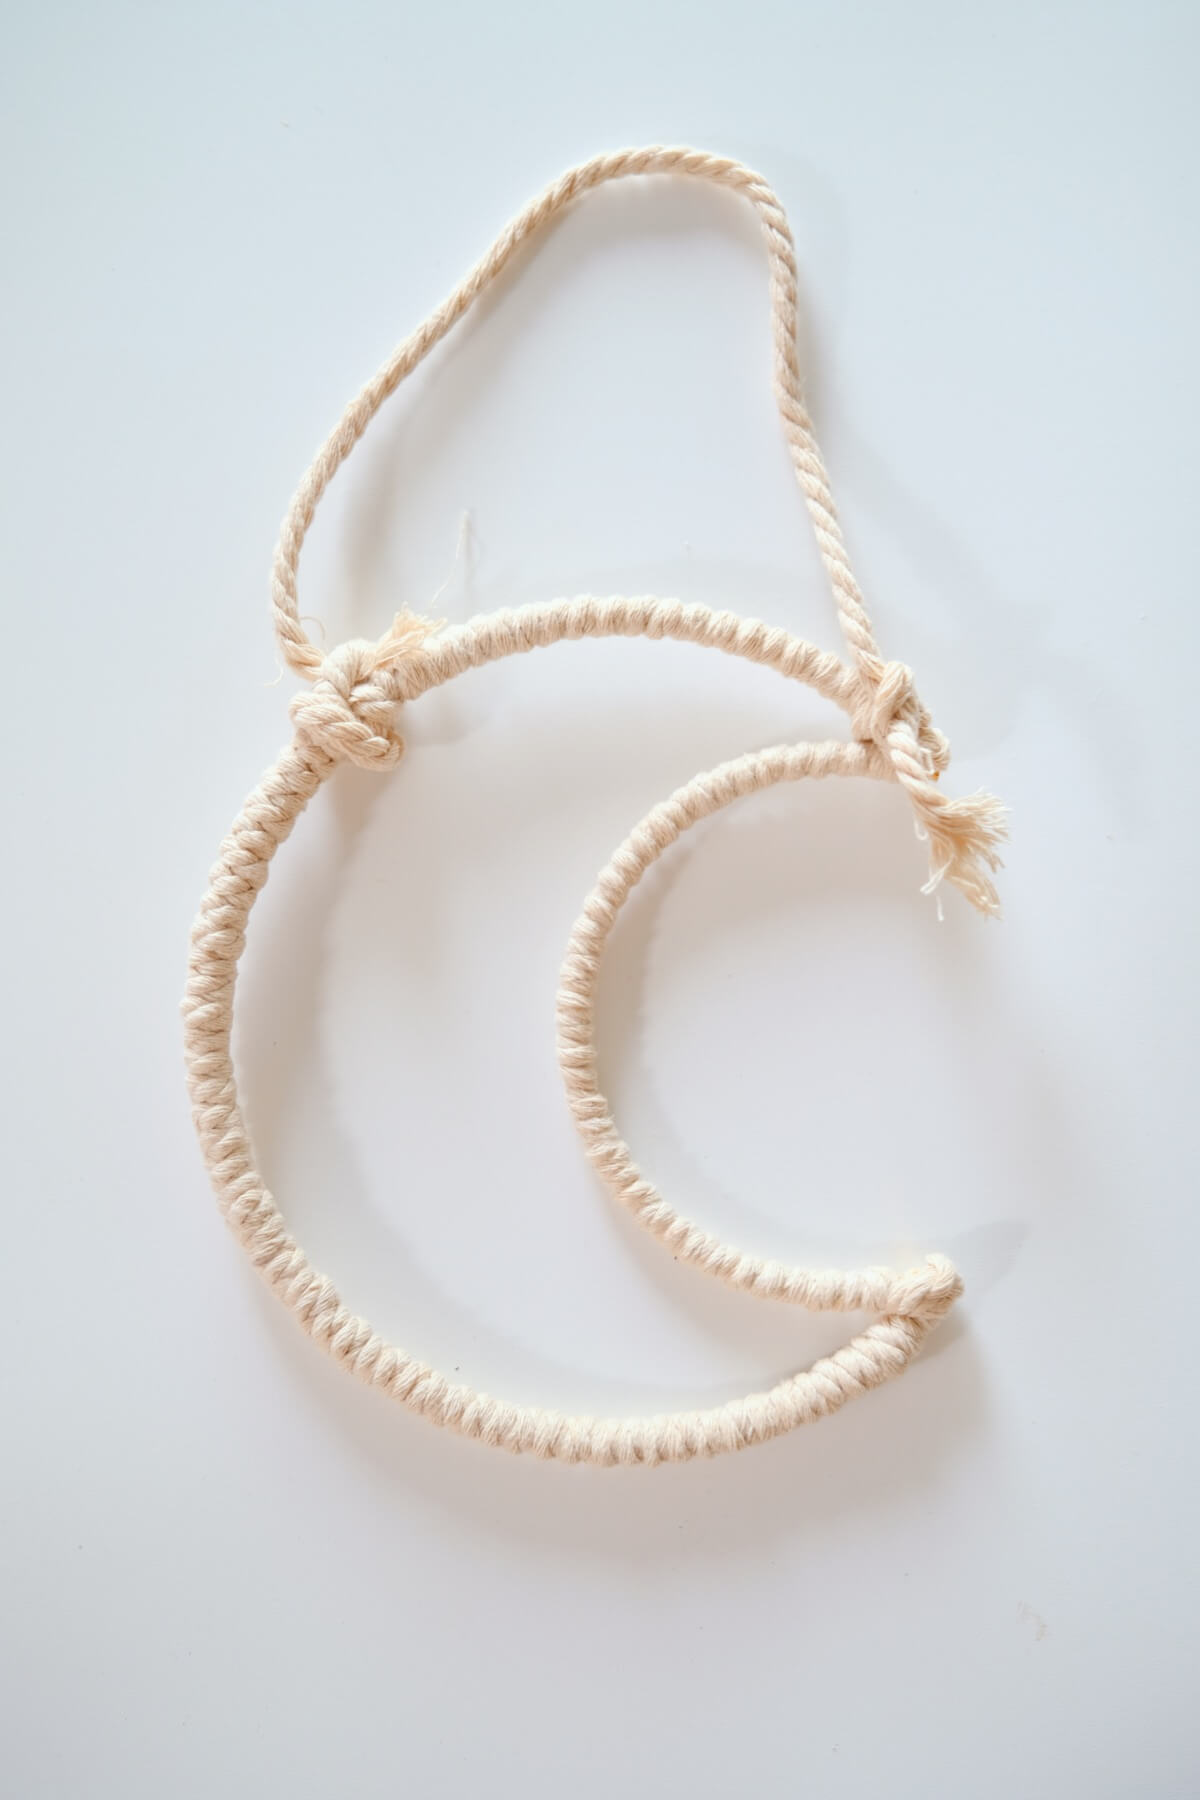
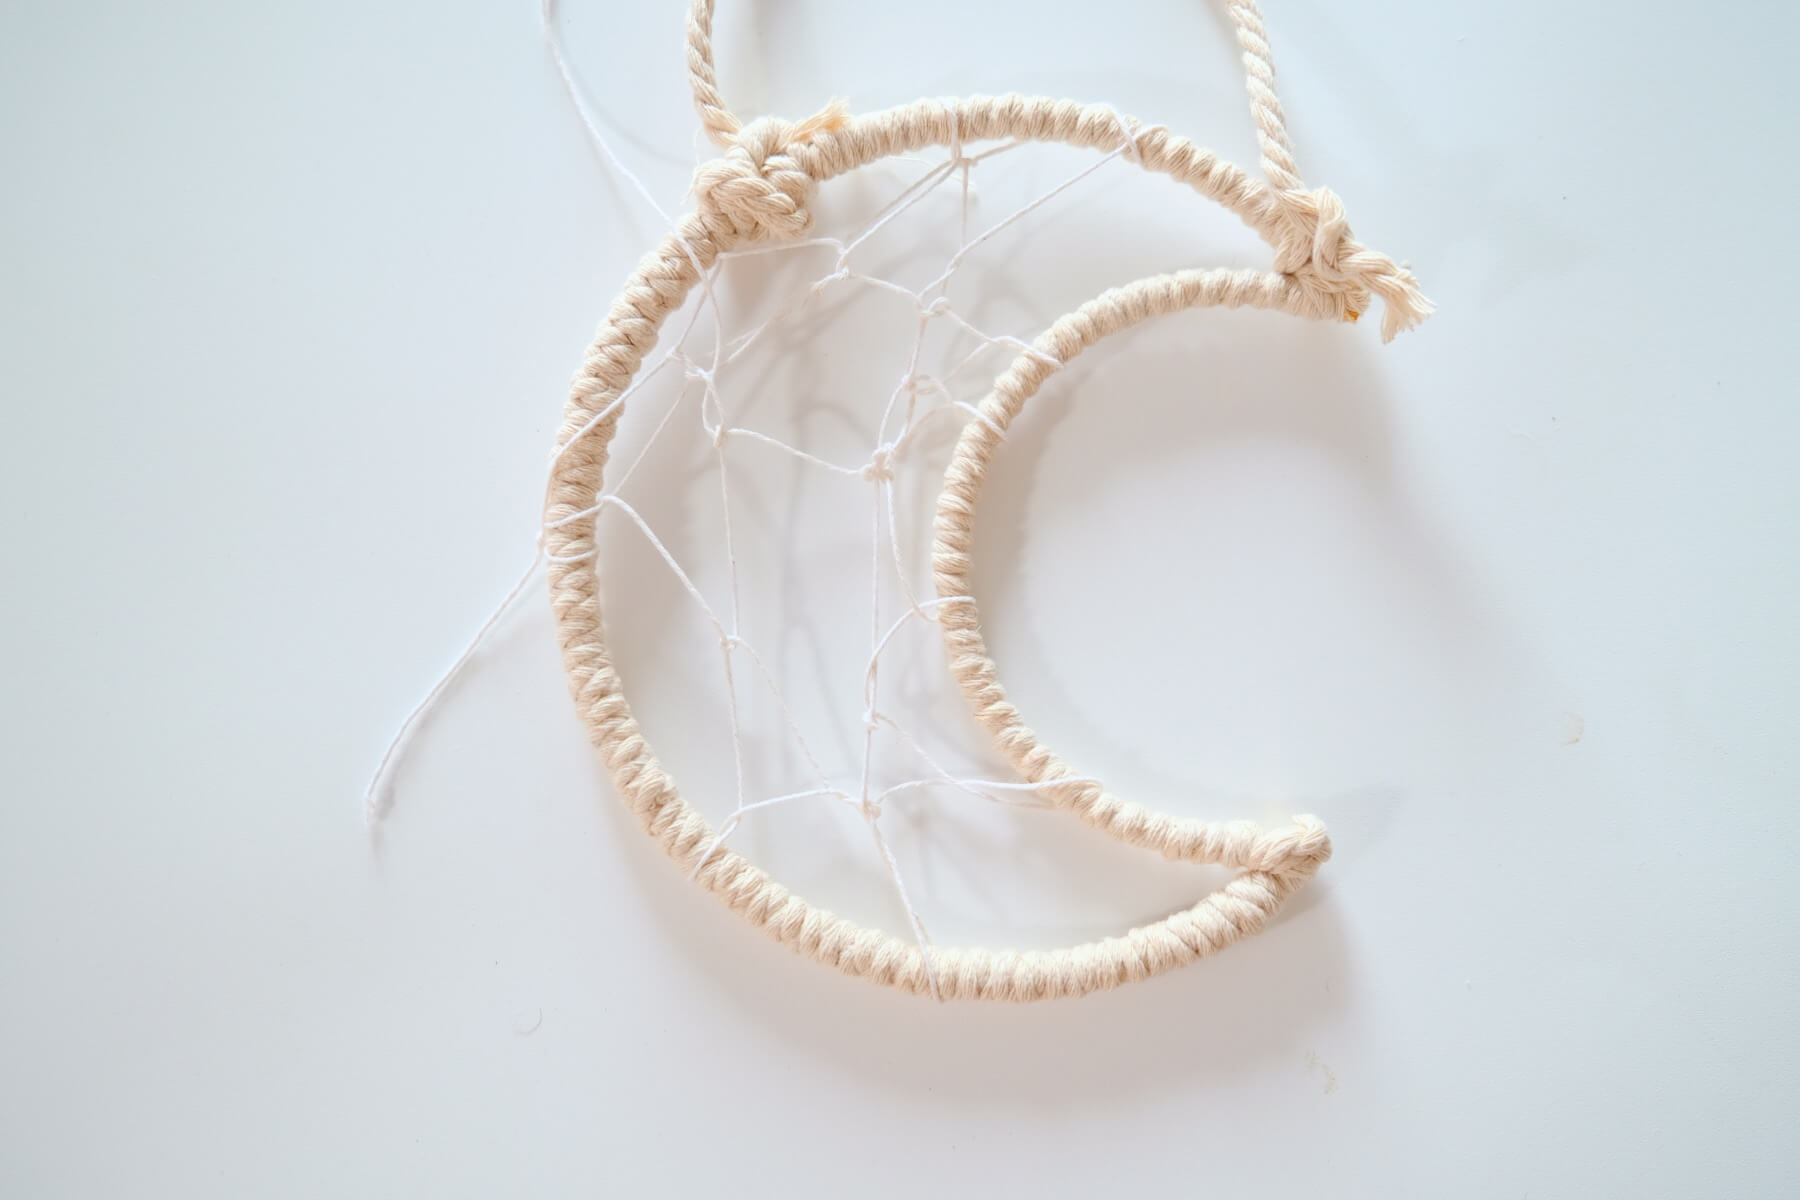
Step 1: Wind the Macrame Cord Around the Moon Base
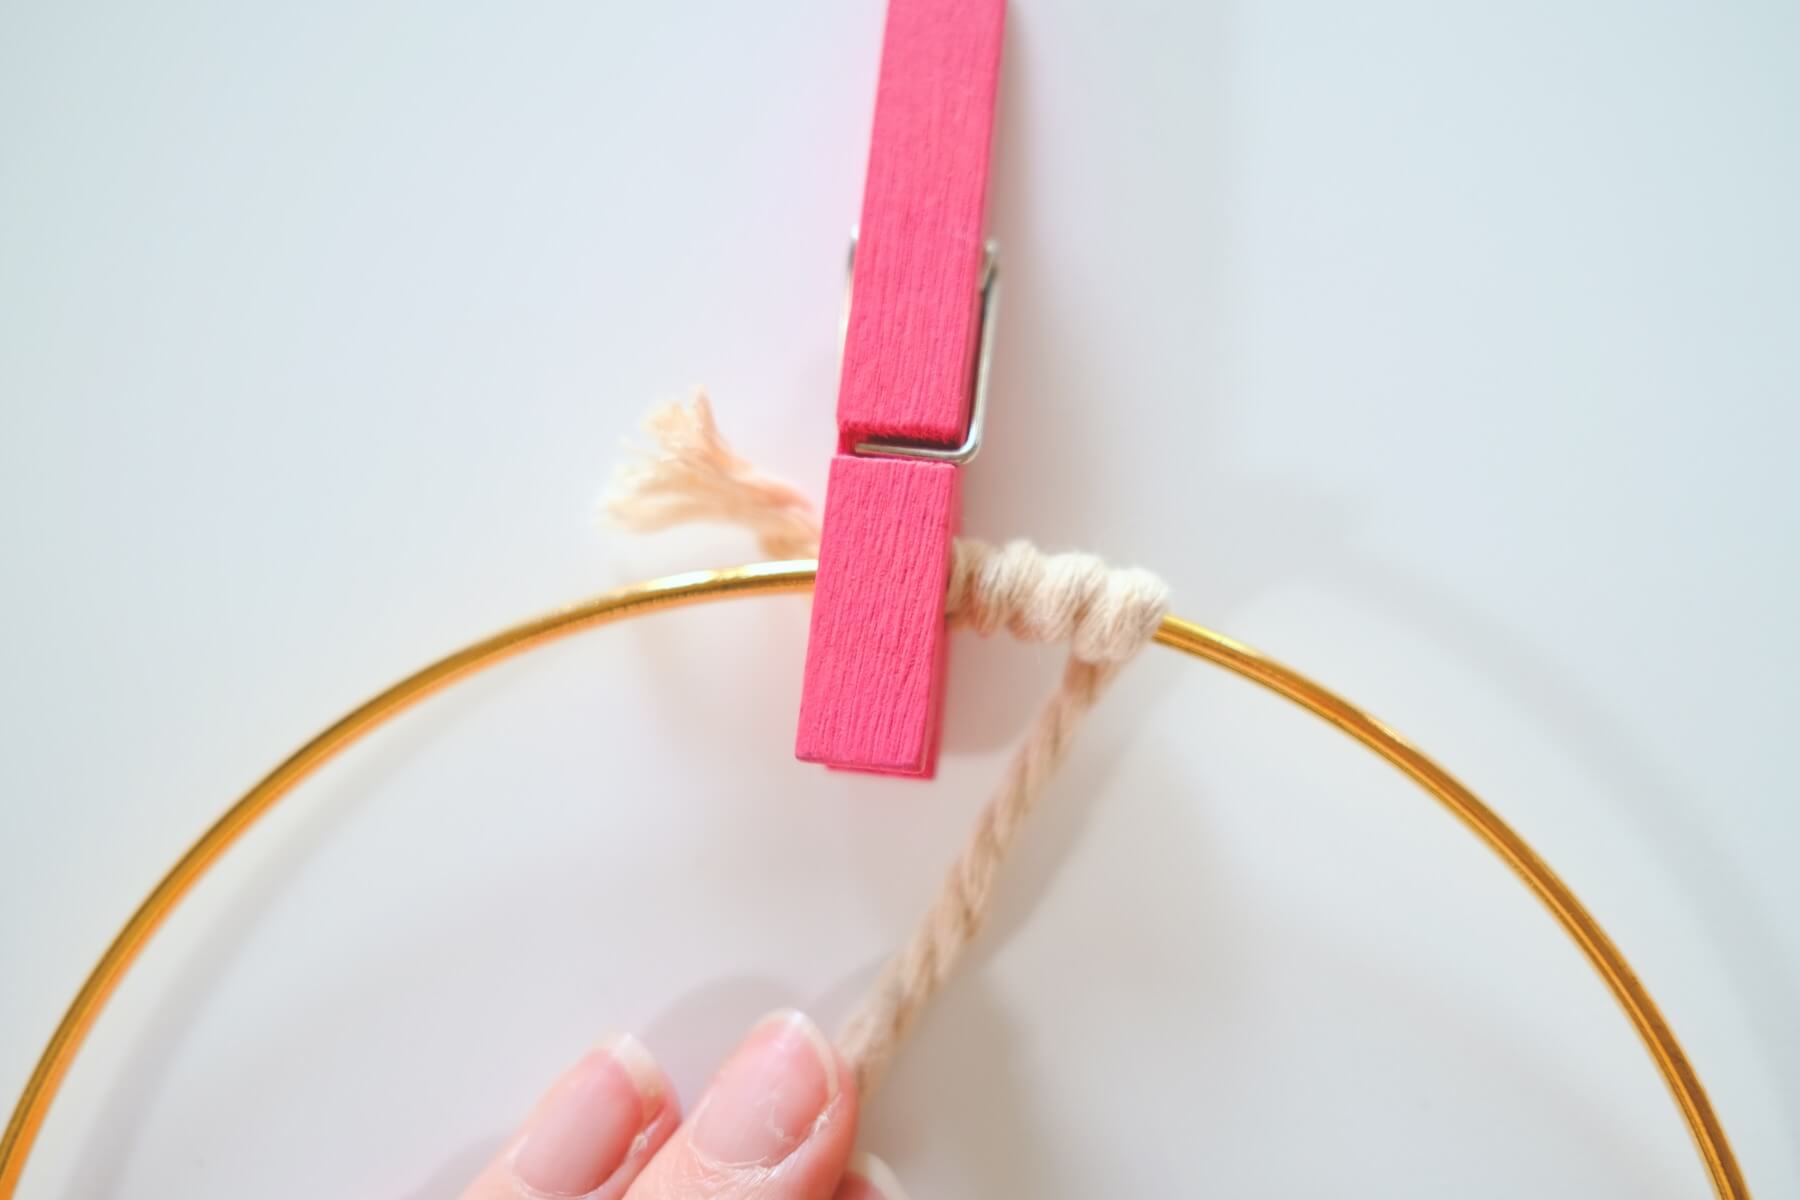
The first step is easy, but takes soooooo long! So get cozy, grab a drink, and get after it! You can start on any section of the moon, but I would recommend NOT starting along the crescent edge.
To start with your first end of cord, tie a simple knot around the moon shaped base that you can untie later. Or use a clothespin to hold the end in place. And just keep winding and winding it around.

When you reach the edges of the moon, it gets a little tricky. Just do your best to cover all of the moon shaped base with macrame cord.
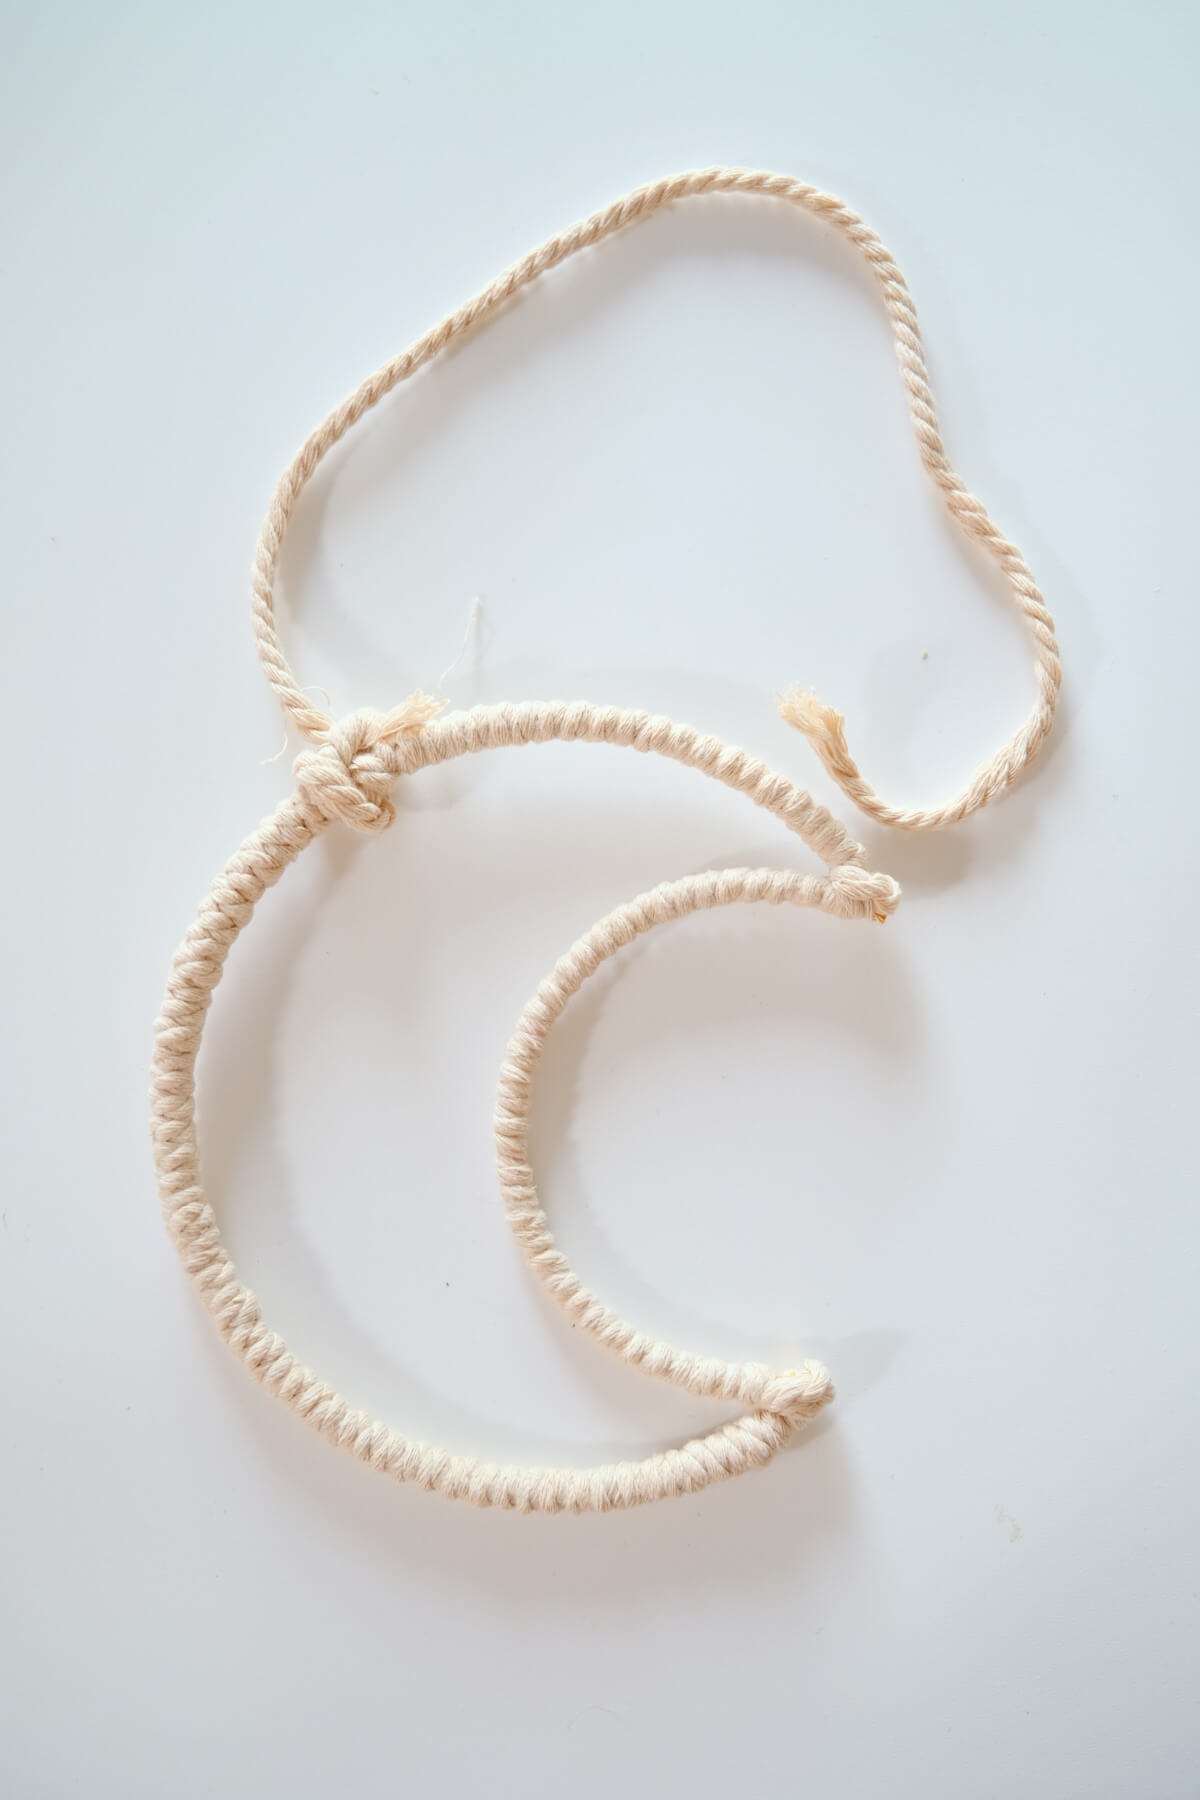
Once you reach the beginning, where you started winding the cord, tie the 2 ends together so that the knot faces the back of the moon base. It doesn’t matter which direction you want the moon to face, so pick your favorite and then make the knot on the backside.
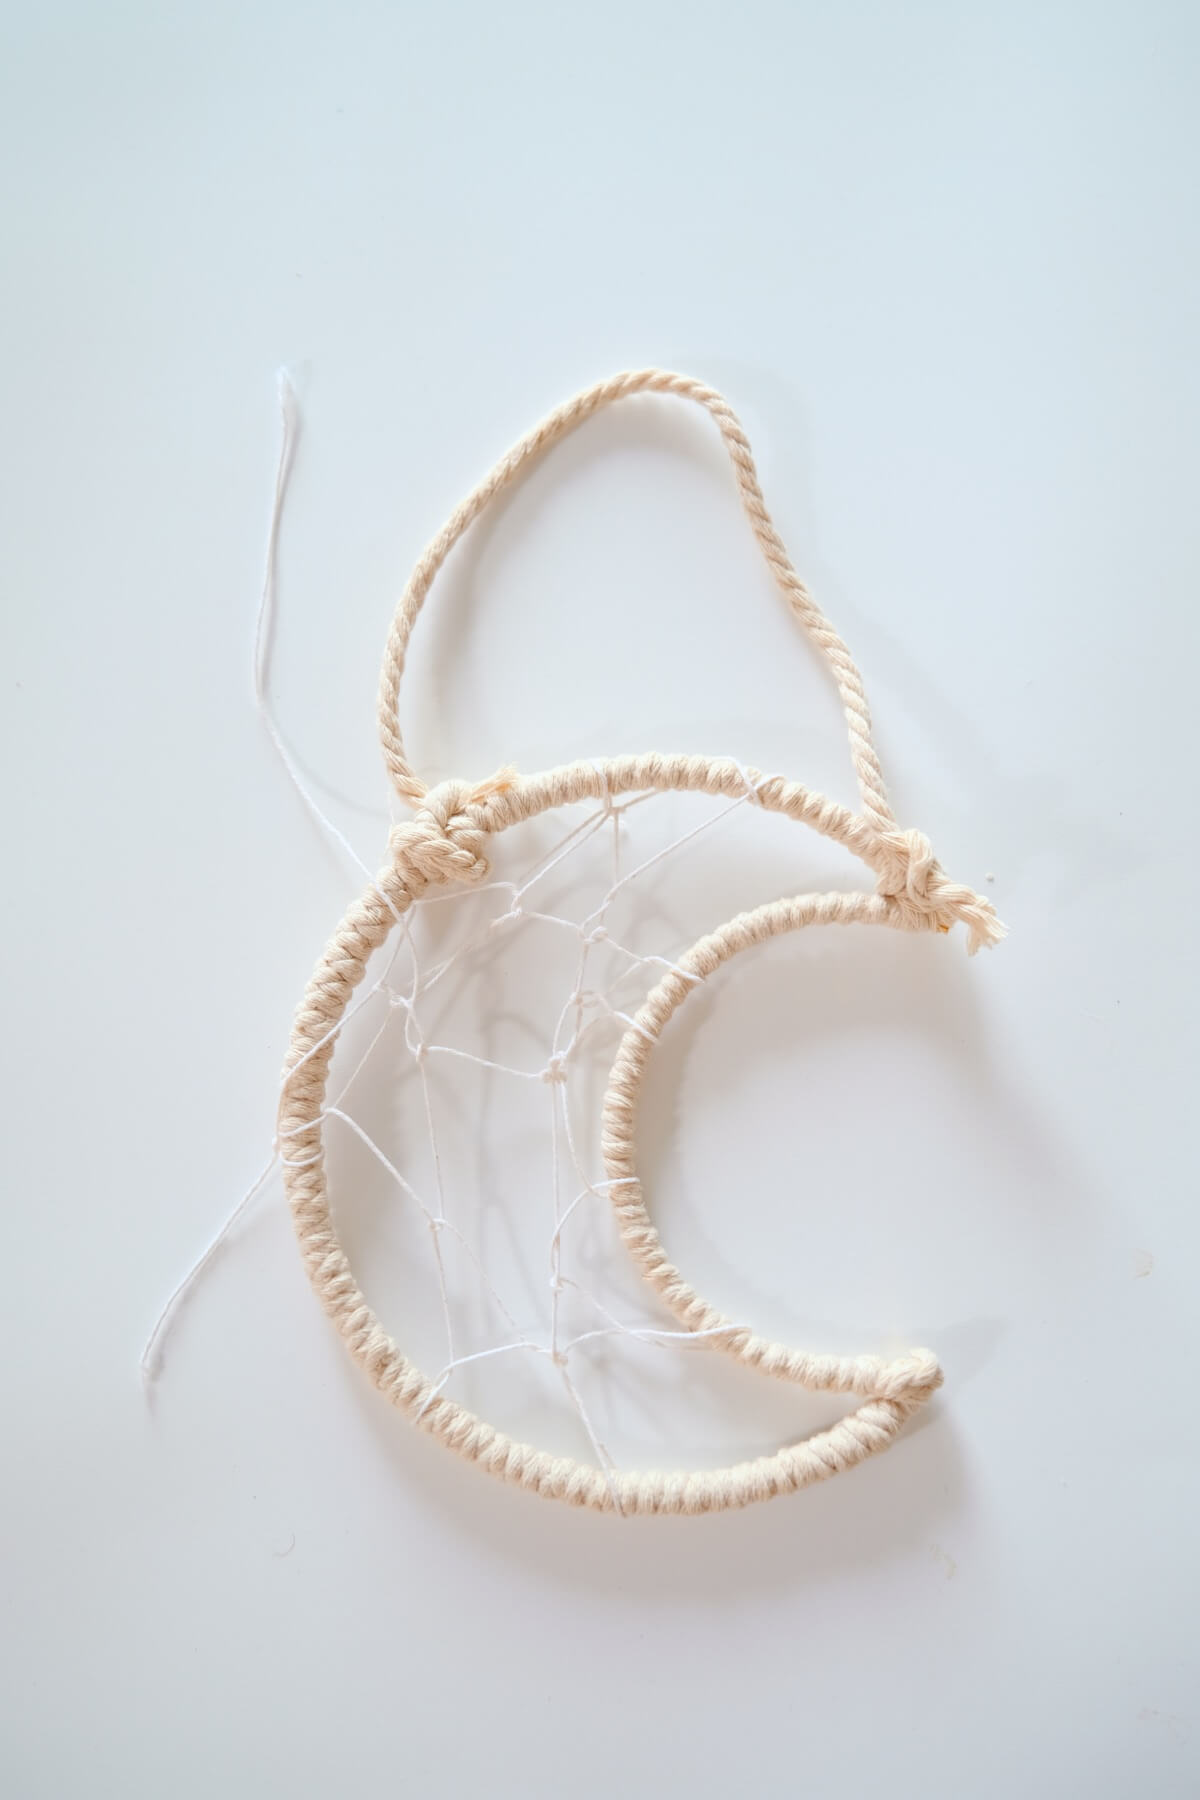
Step 2: Make a Short Hanger
Next, cut a short length of macrame cord, around 12 inches for your macrame hanger. Use just a simple knot to tie your hanger to the wrapped moon base. Again, try to keep the knots on the backside of the moon – just to make your moon wall hanging look cute and professional.
The quirk with tying the hanger in place is the balance of the hanger. Make sure it’s tied in place so that the moon is angled the way you want. This may take a little bit of adjustment, but it’s well worth it.
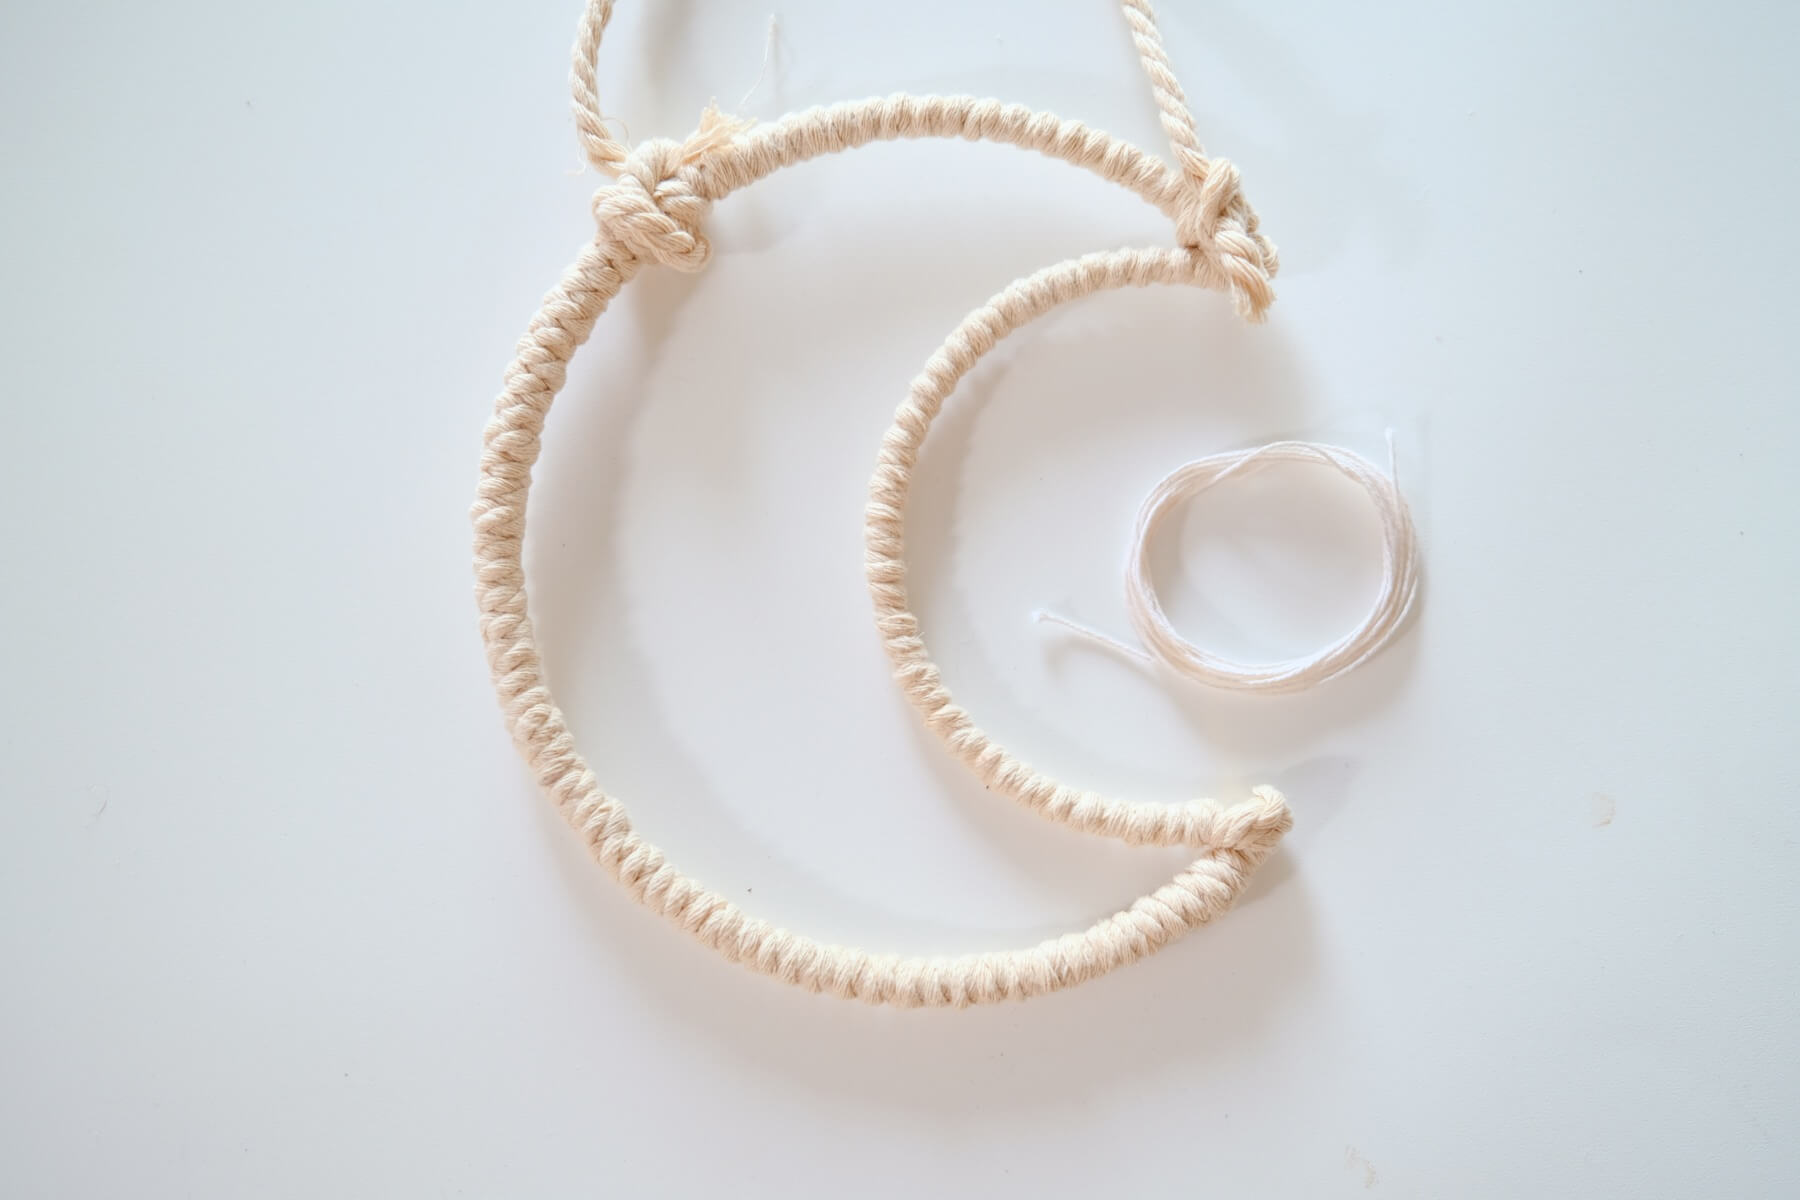
Step 3: Wind Twine through the Moon’s Interior
Now, it’s time for a fun aesthetic choice: do you want your moon wall hanging to look more like macrame or do you want it to look more like a dreamcatcher? It’s a fine line, and either one is a beautiful choice. And I’ll show you both ways! All you need to do is choose whether you want to wind twine through the moon’s interior.
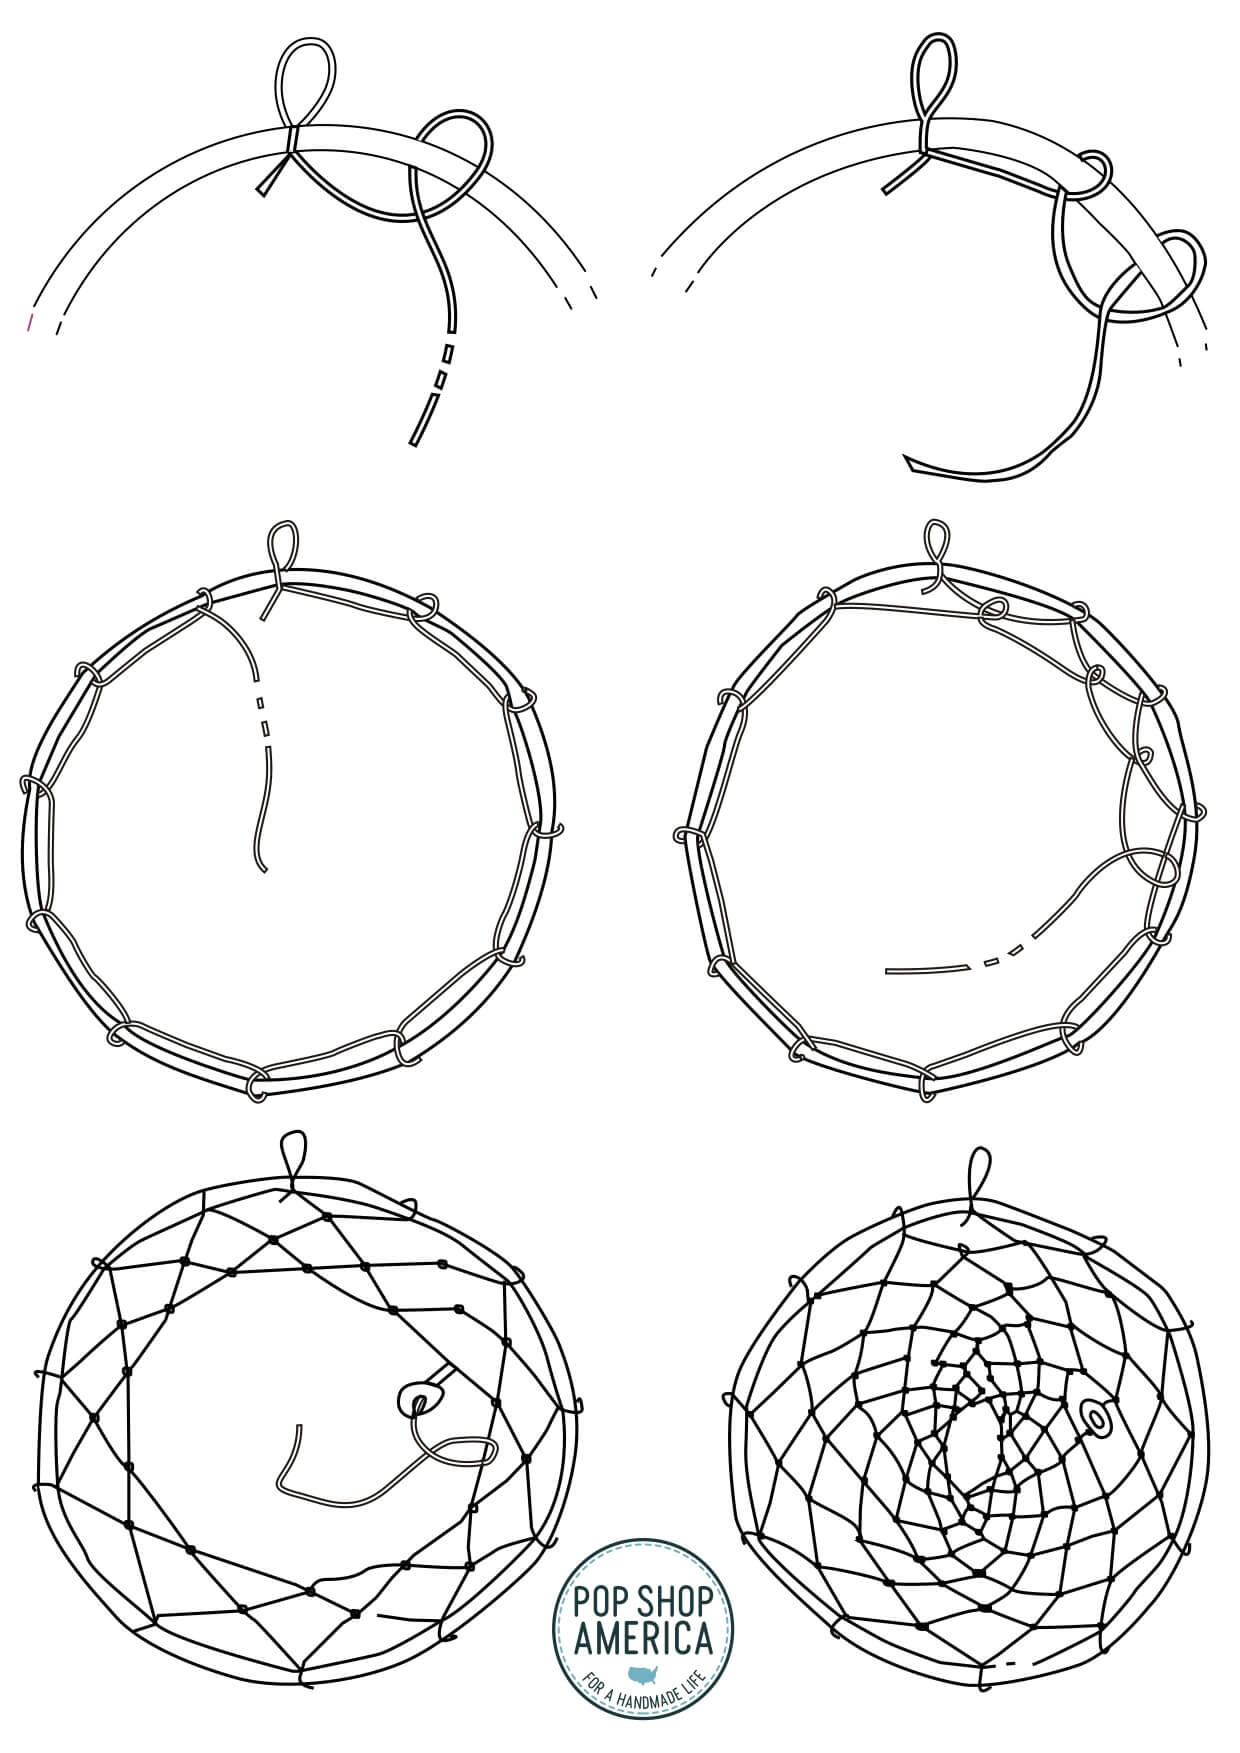
The pattern is something that you can improve over time. Just start along any edge of the moon and follow the pattern above.
You will work your way from the outer edges of the moon base to the interior where you are just looping the twine around other pieces of twine. Be sure that each time you make a circle, or end up back at your starting point, that you pull the twine slightly taught – so it’s not too loose.

If you truly want your Moon Shaped Macrame Wall Hanging to look and feel like a dreamcatcher, I would also recommend adding 1 small bead to this section. In the lore of dreamcatchers, the bead represents a spider.
Most cultures believe that when a single bead is used in a dreamcatcher, it represents the spider that spun the web. It represents dreams captured during the night that have transformed into sacred charms.
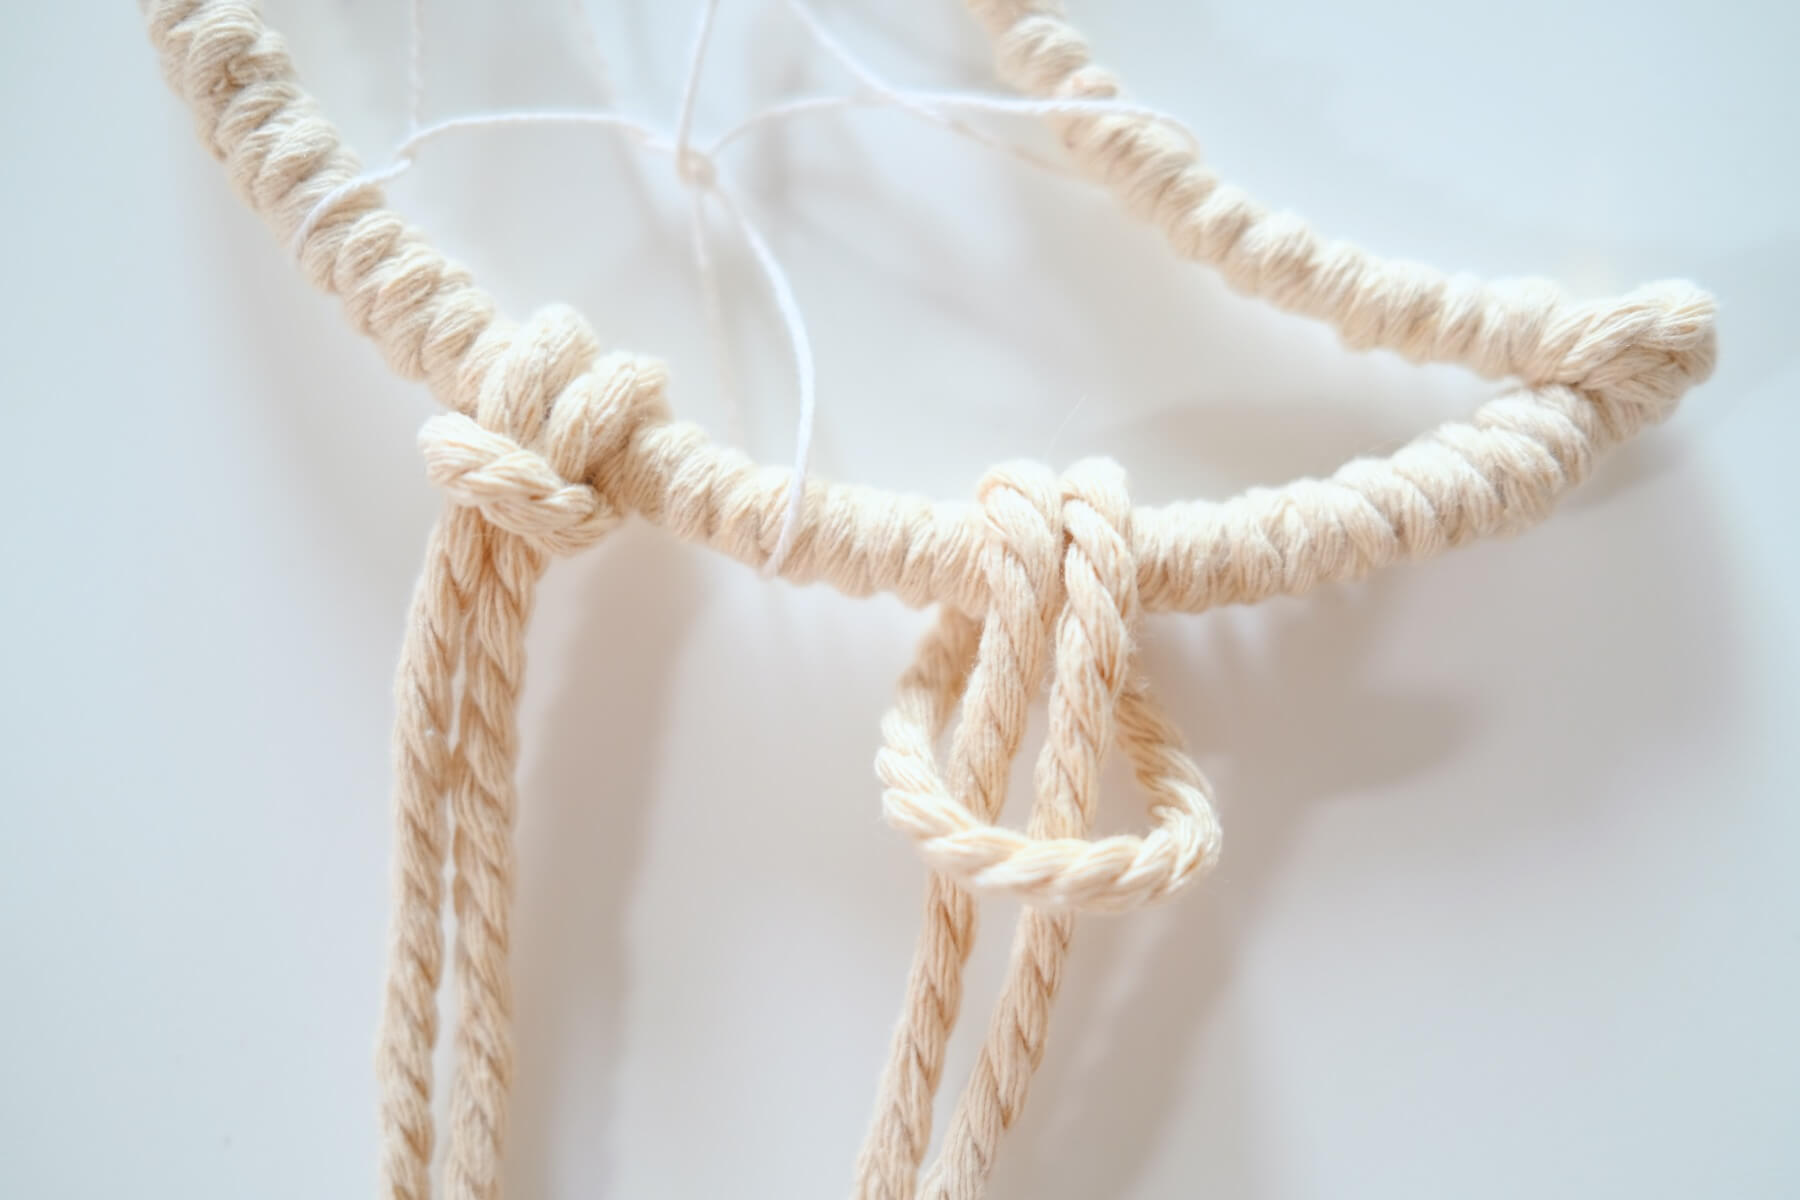
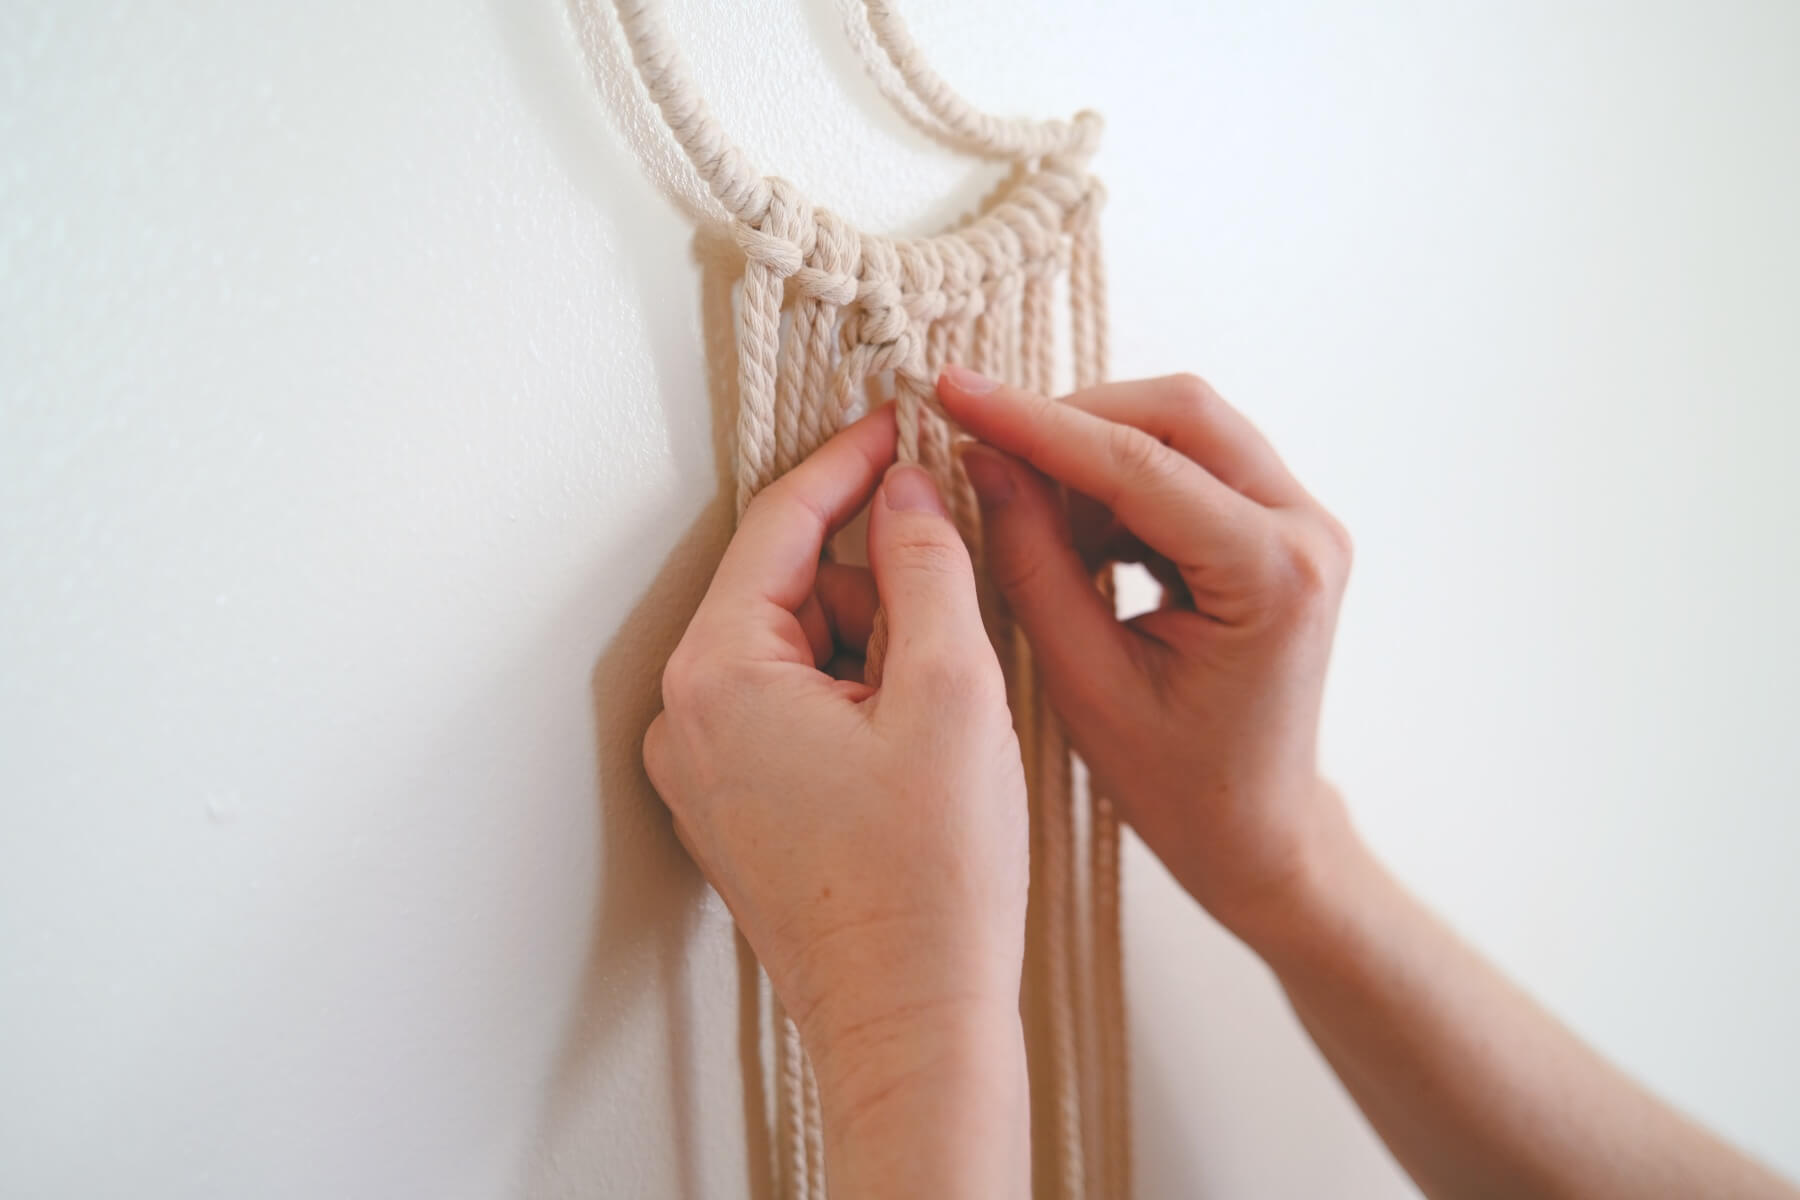
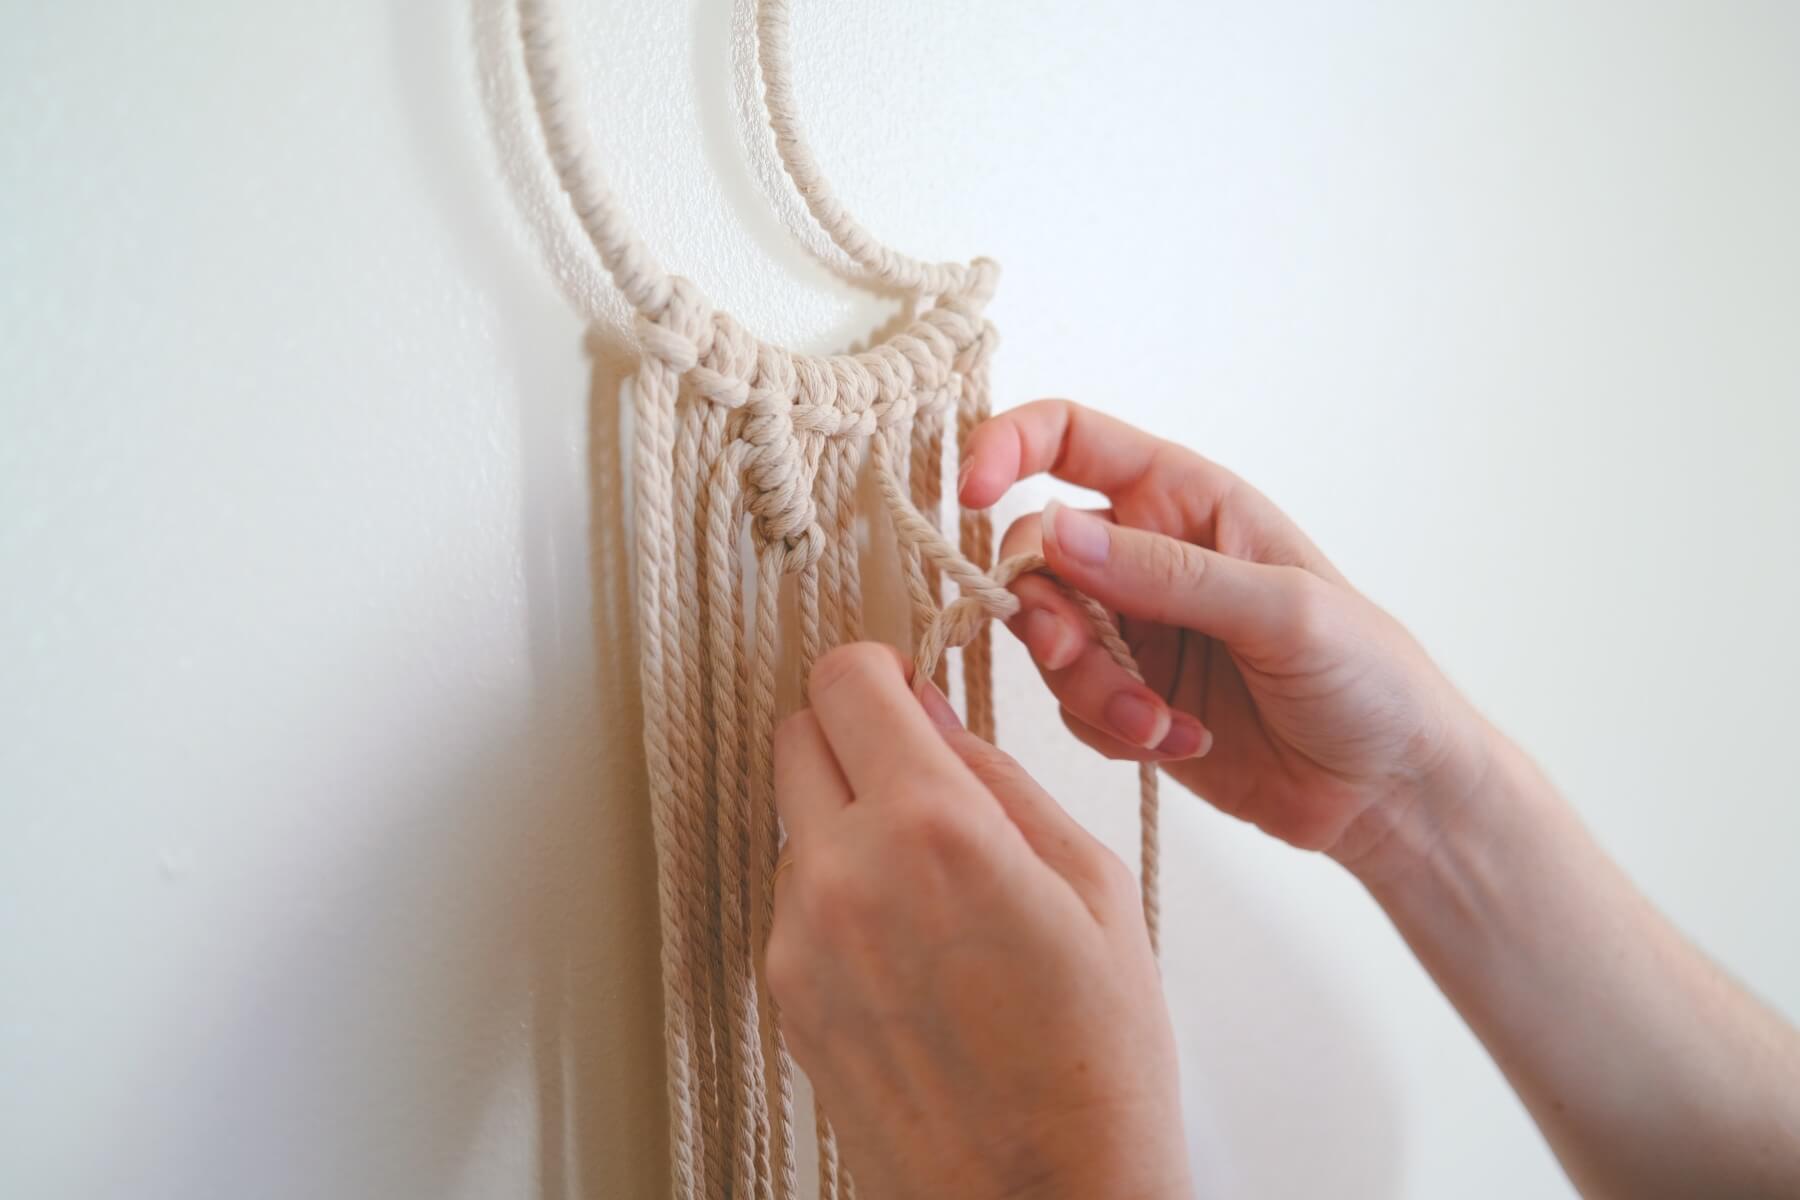
Step 4: Make 8 Lark’s Head Knots that Hang Down from the Bottom of the Moon
Now that the moon is wrapped and hanger is created, it’s time to work downward through our macrame. And the next step is to add cord that stretches down. Anytime you are working with macrame, you will be tying your macrame to the top in the center of each cord so that it doubles the number of cords but is half the length.
So one cord, will tie through the center and become 2 cords. But these cords will be half the length.
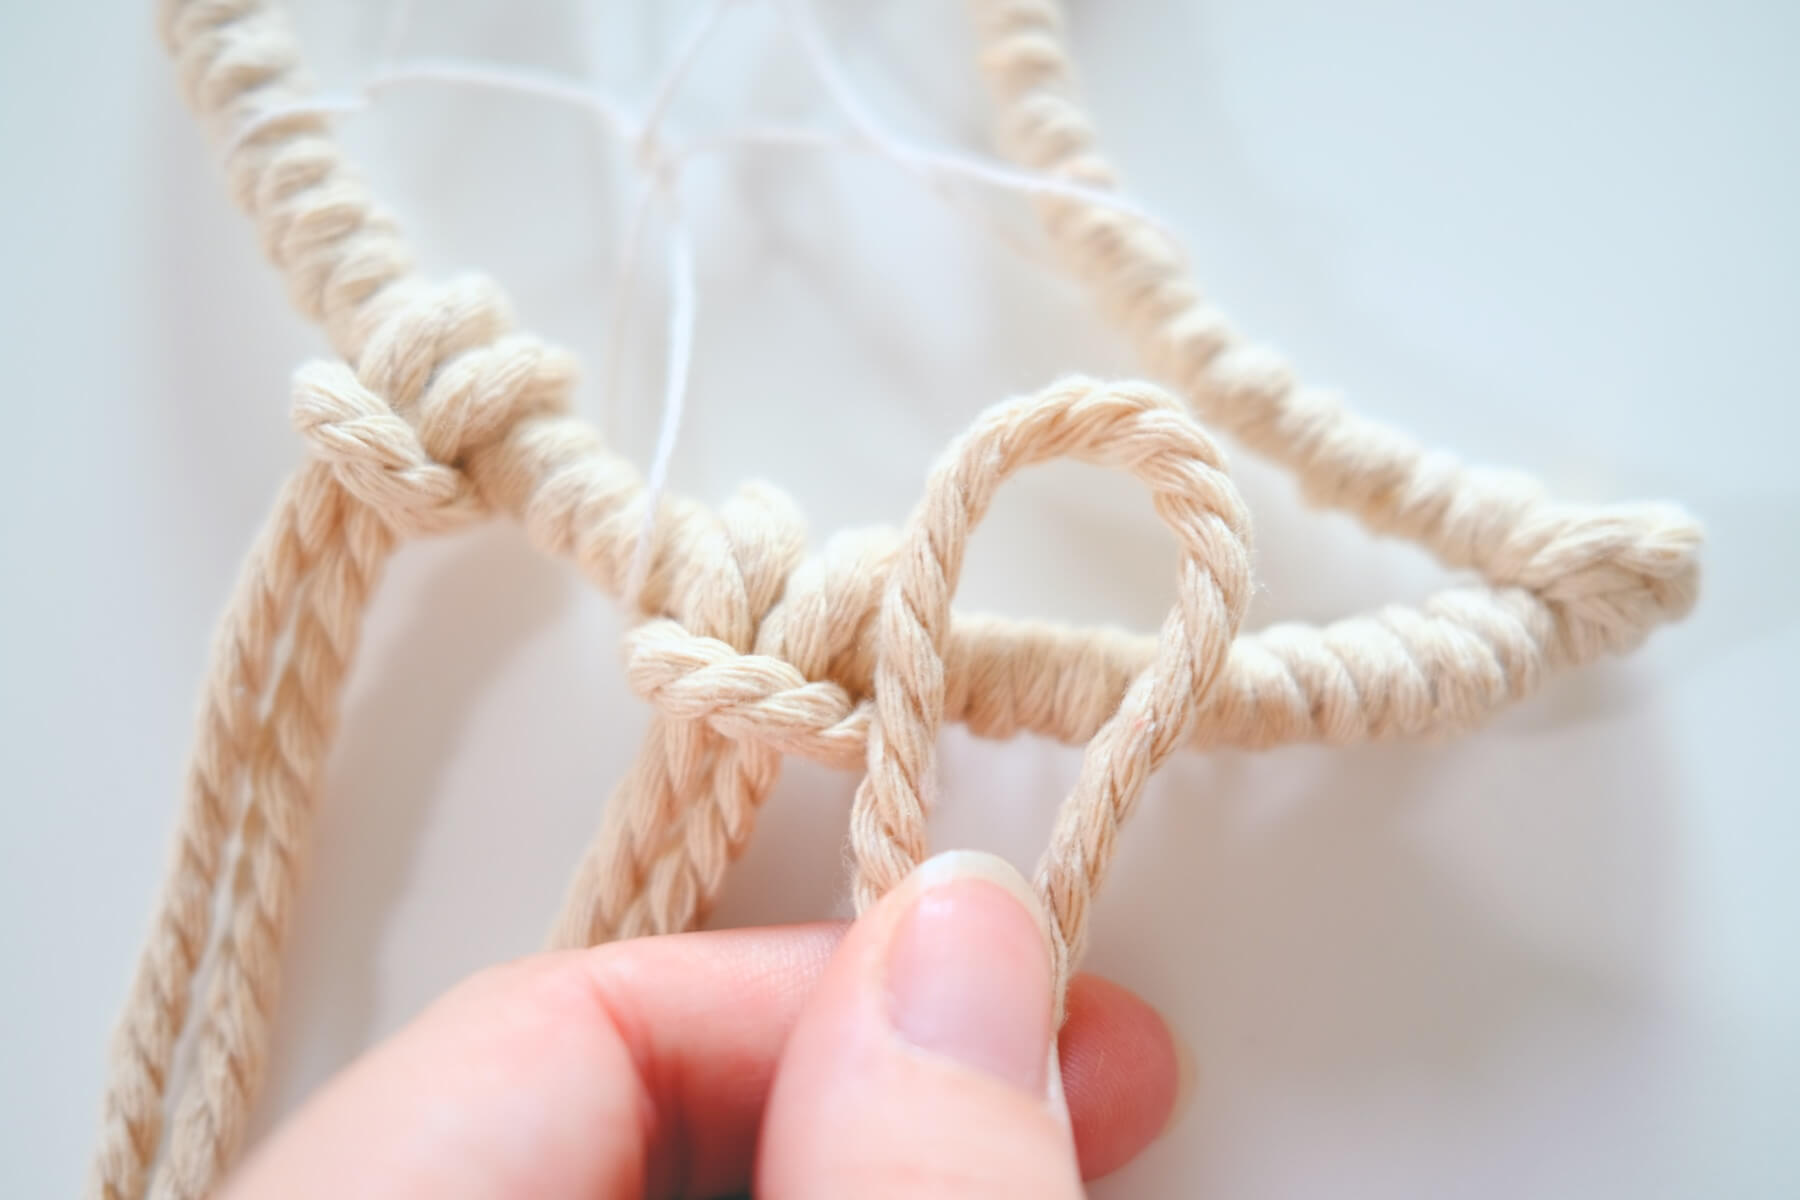
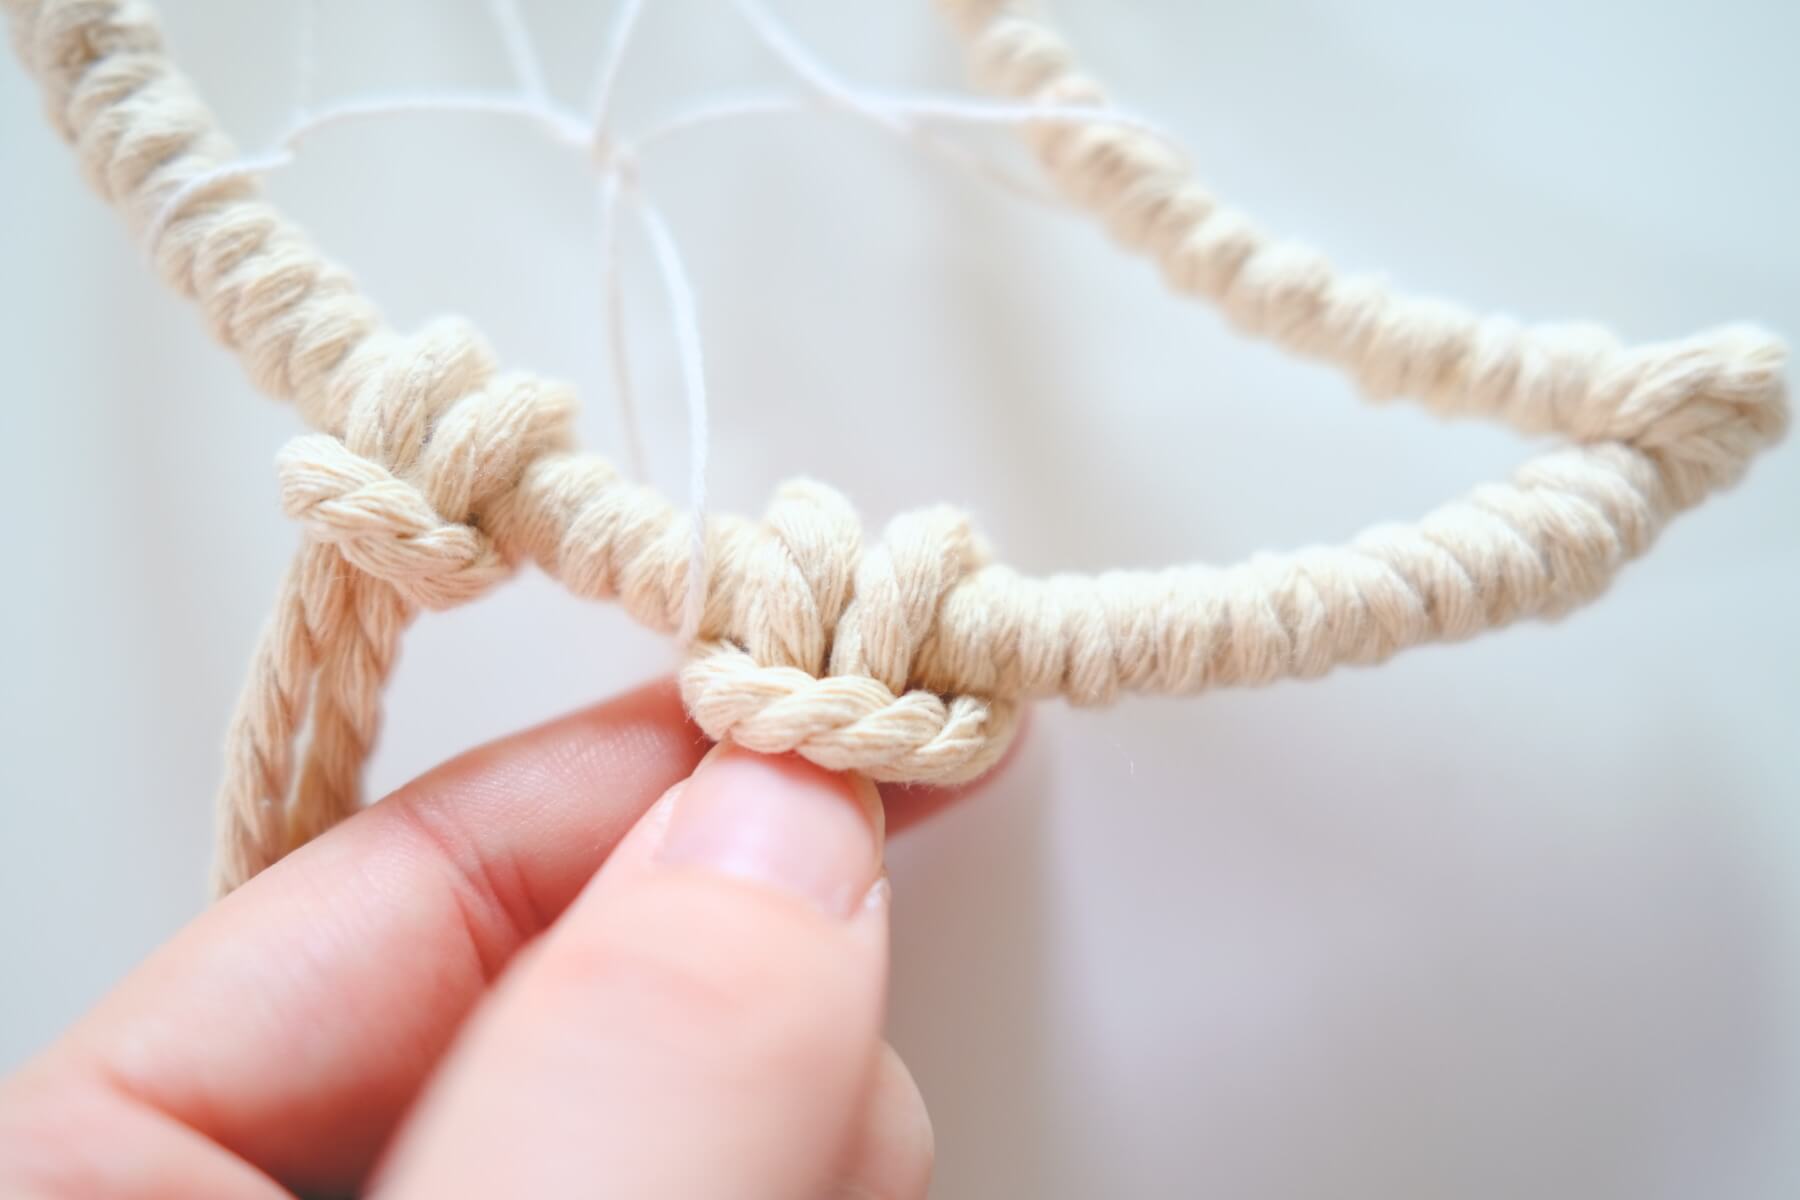
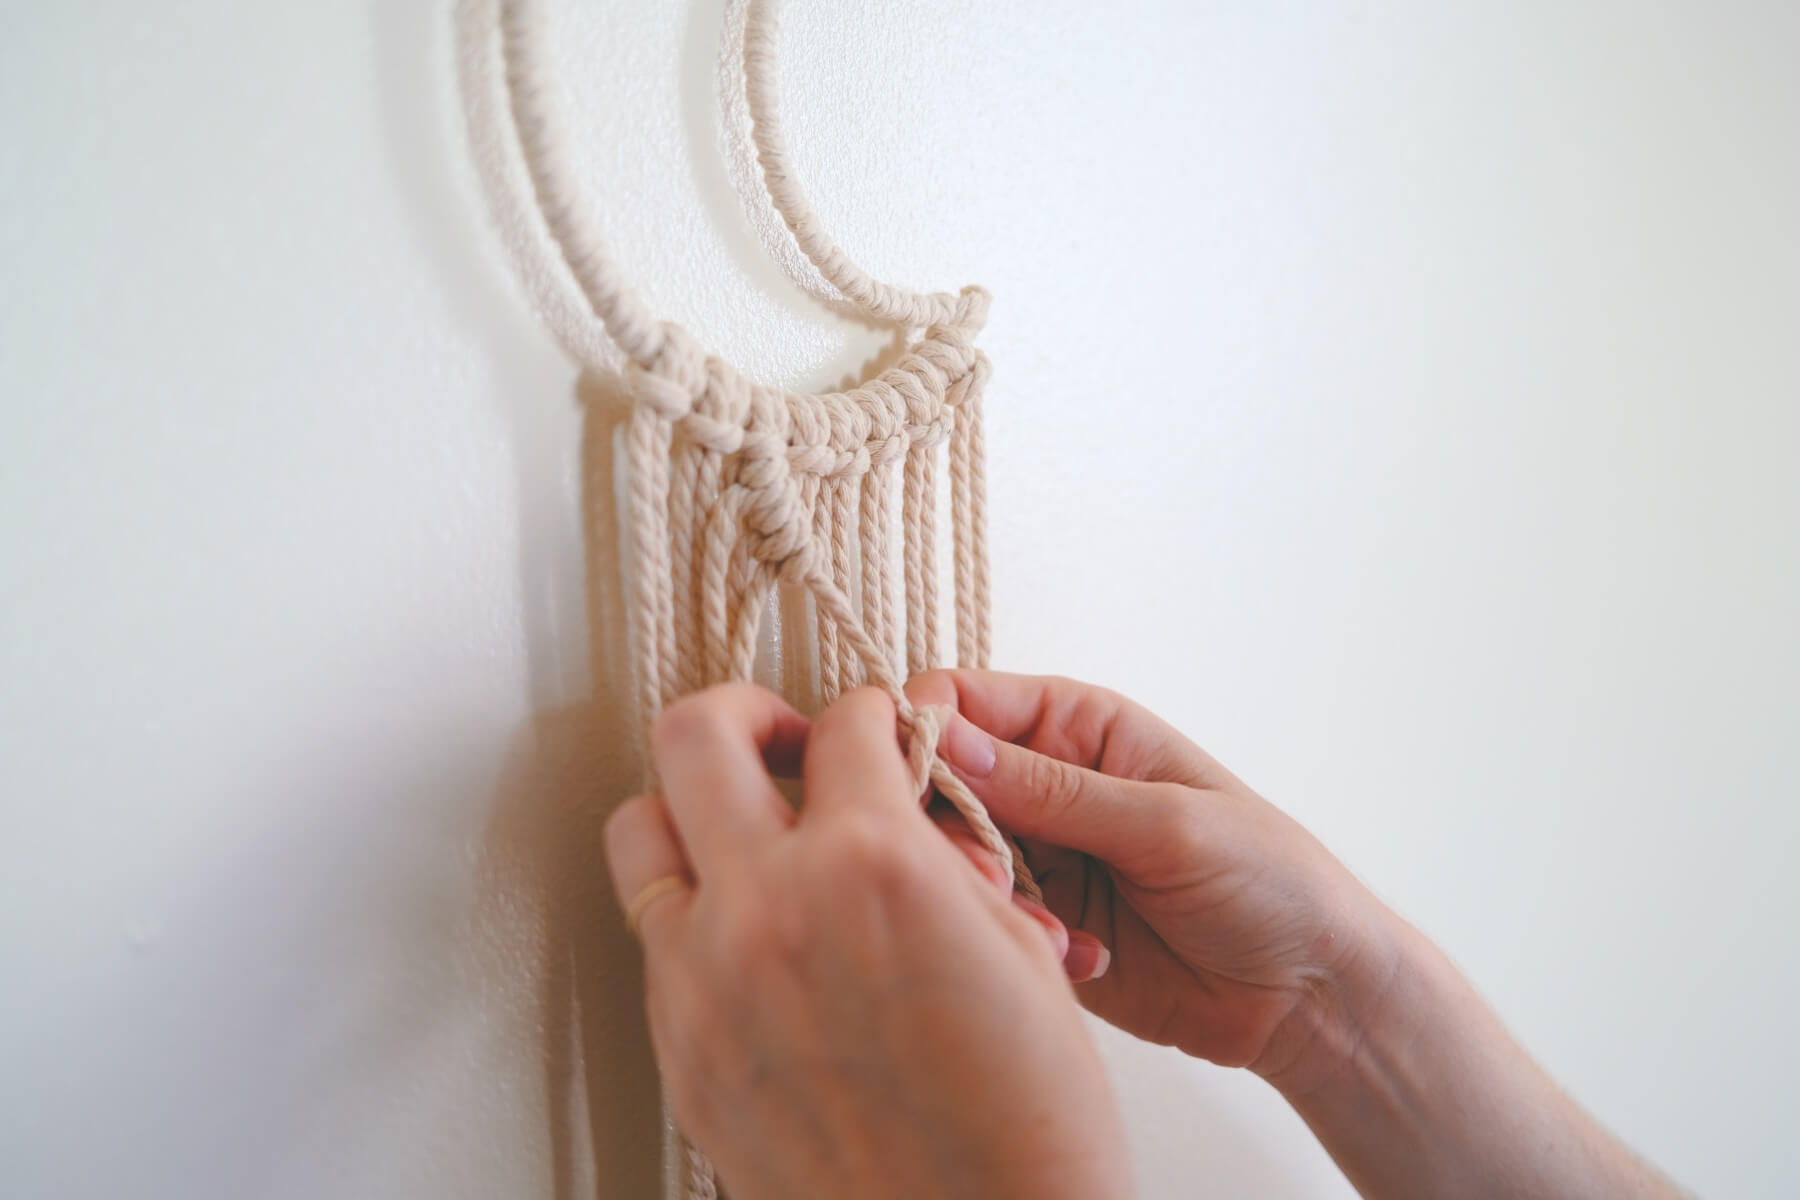
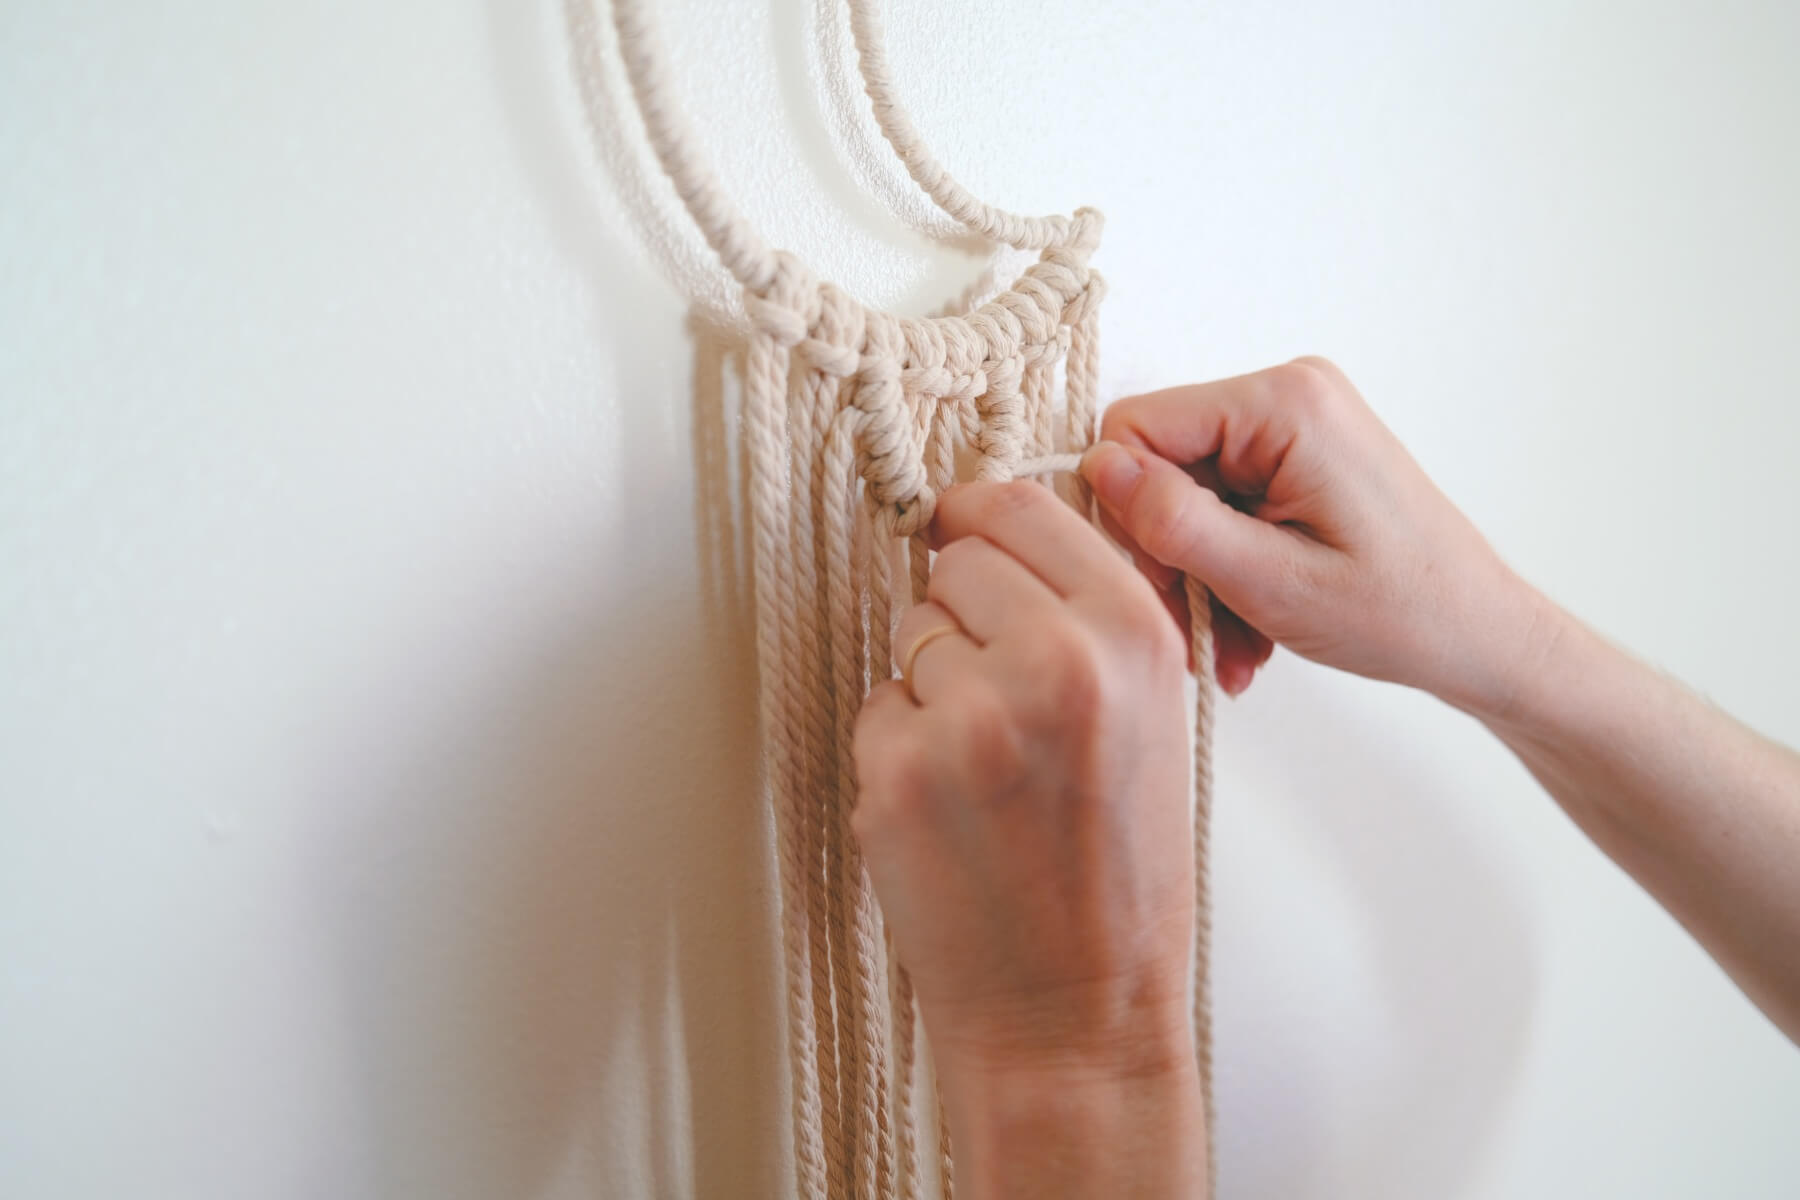
To make a Lark’s Head Knot: place your 2 end pieces together so that you can find your center point. Then loop the center point around the moon shaped base and pull it taught.
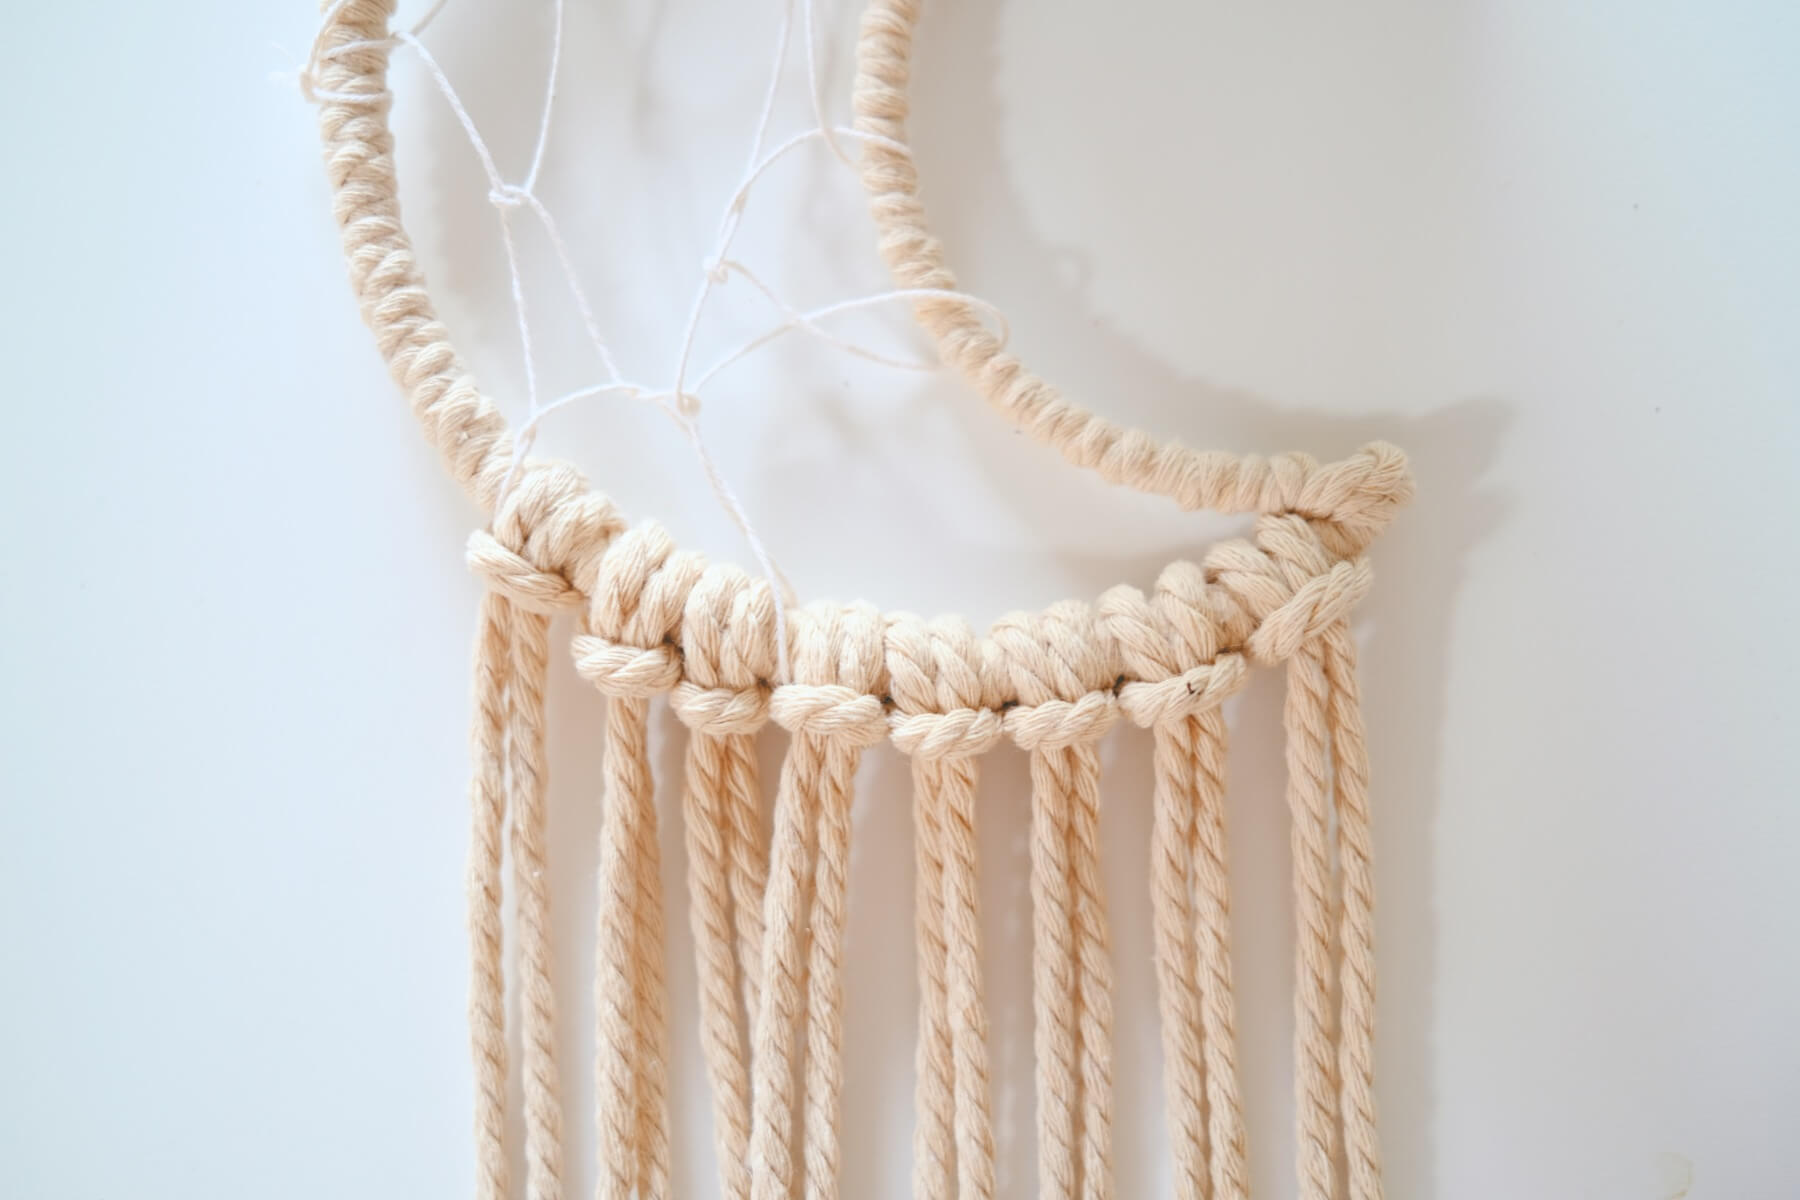
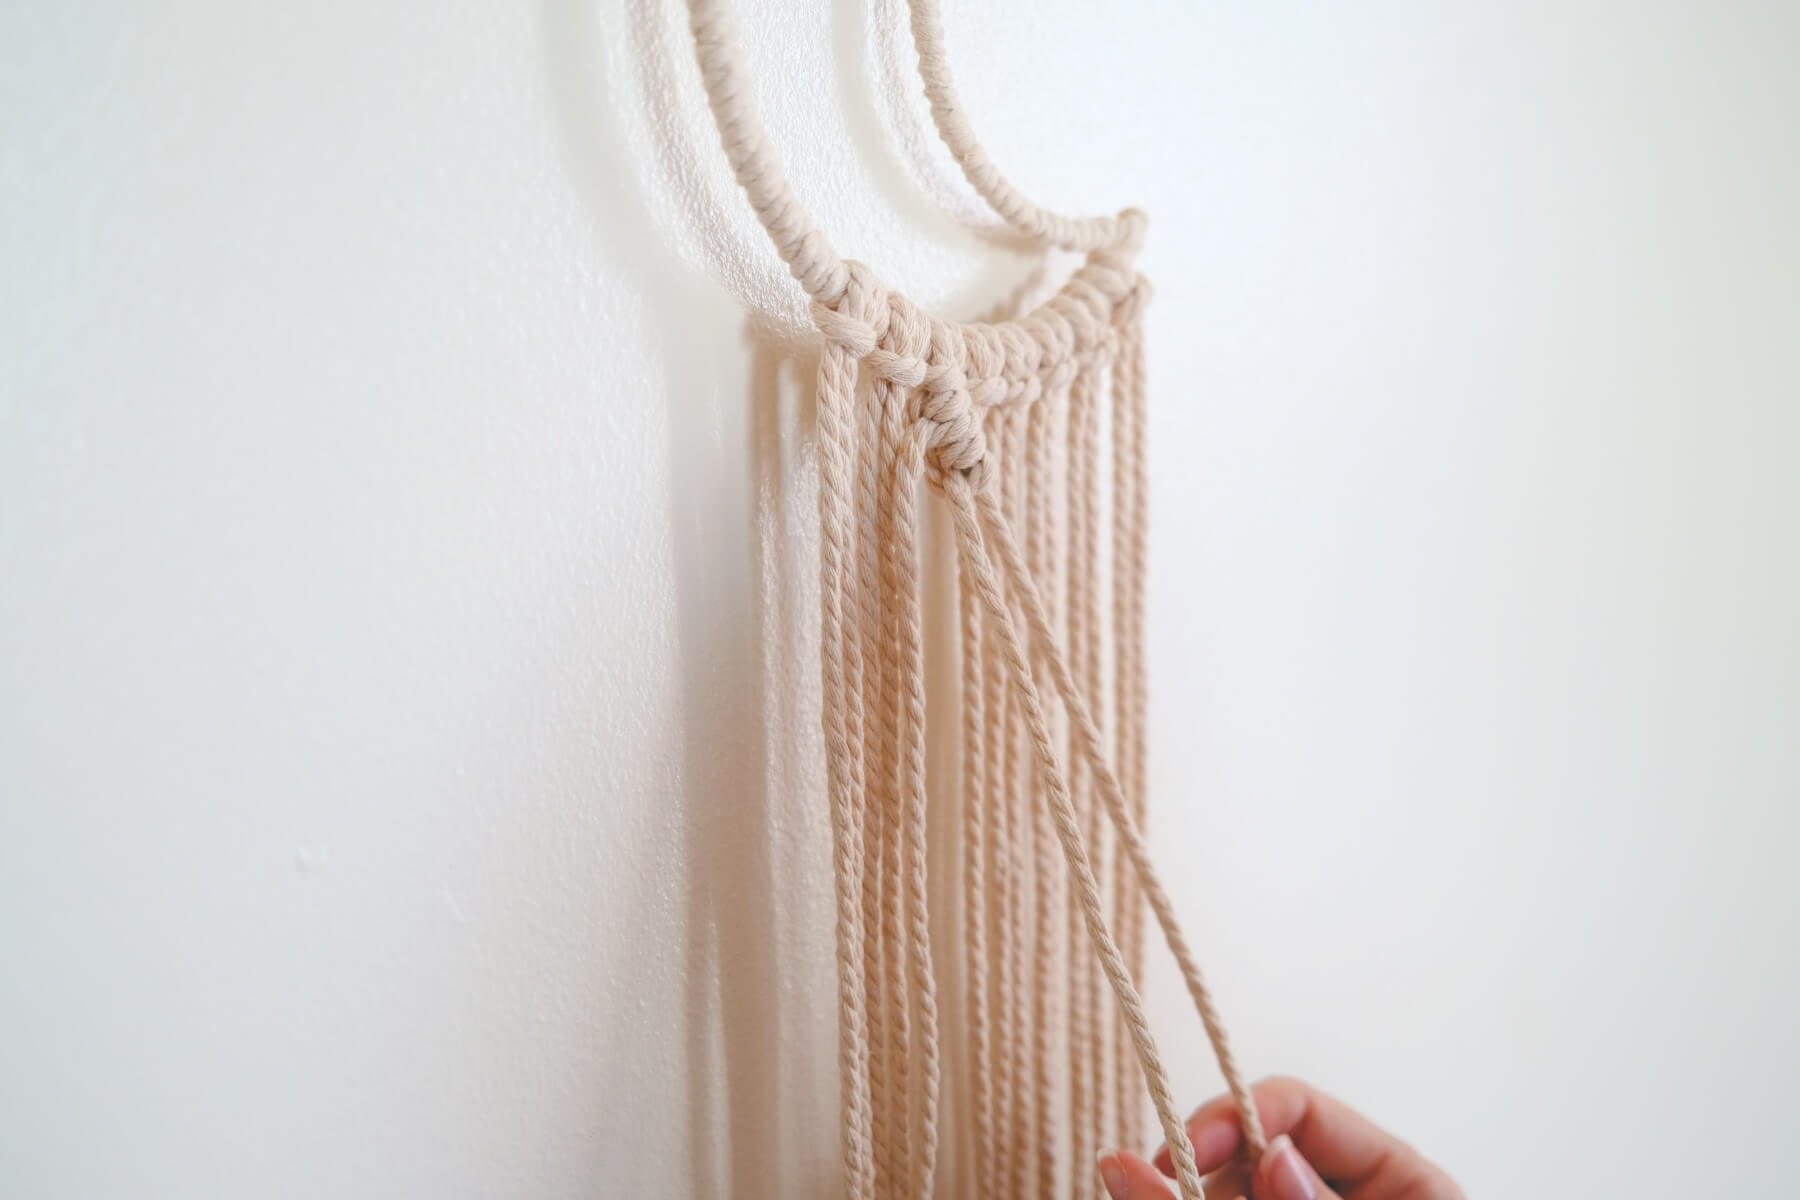
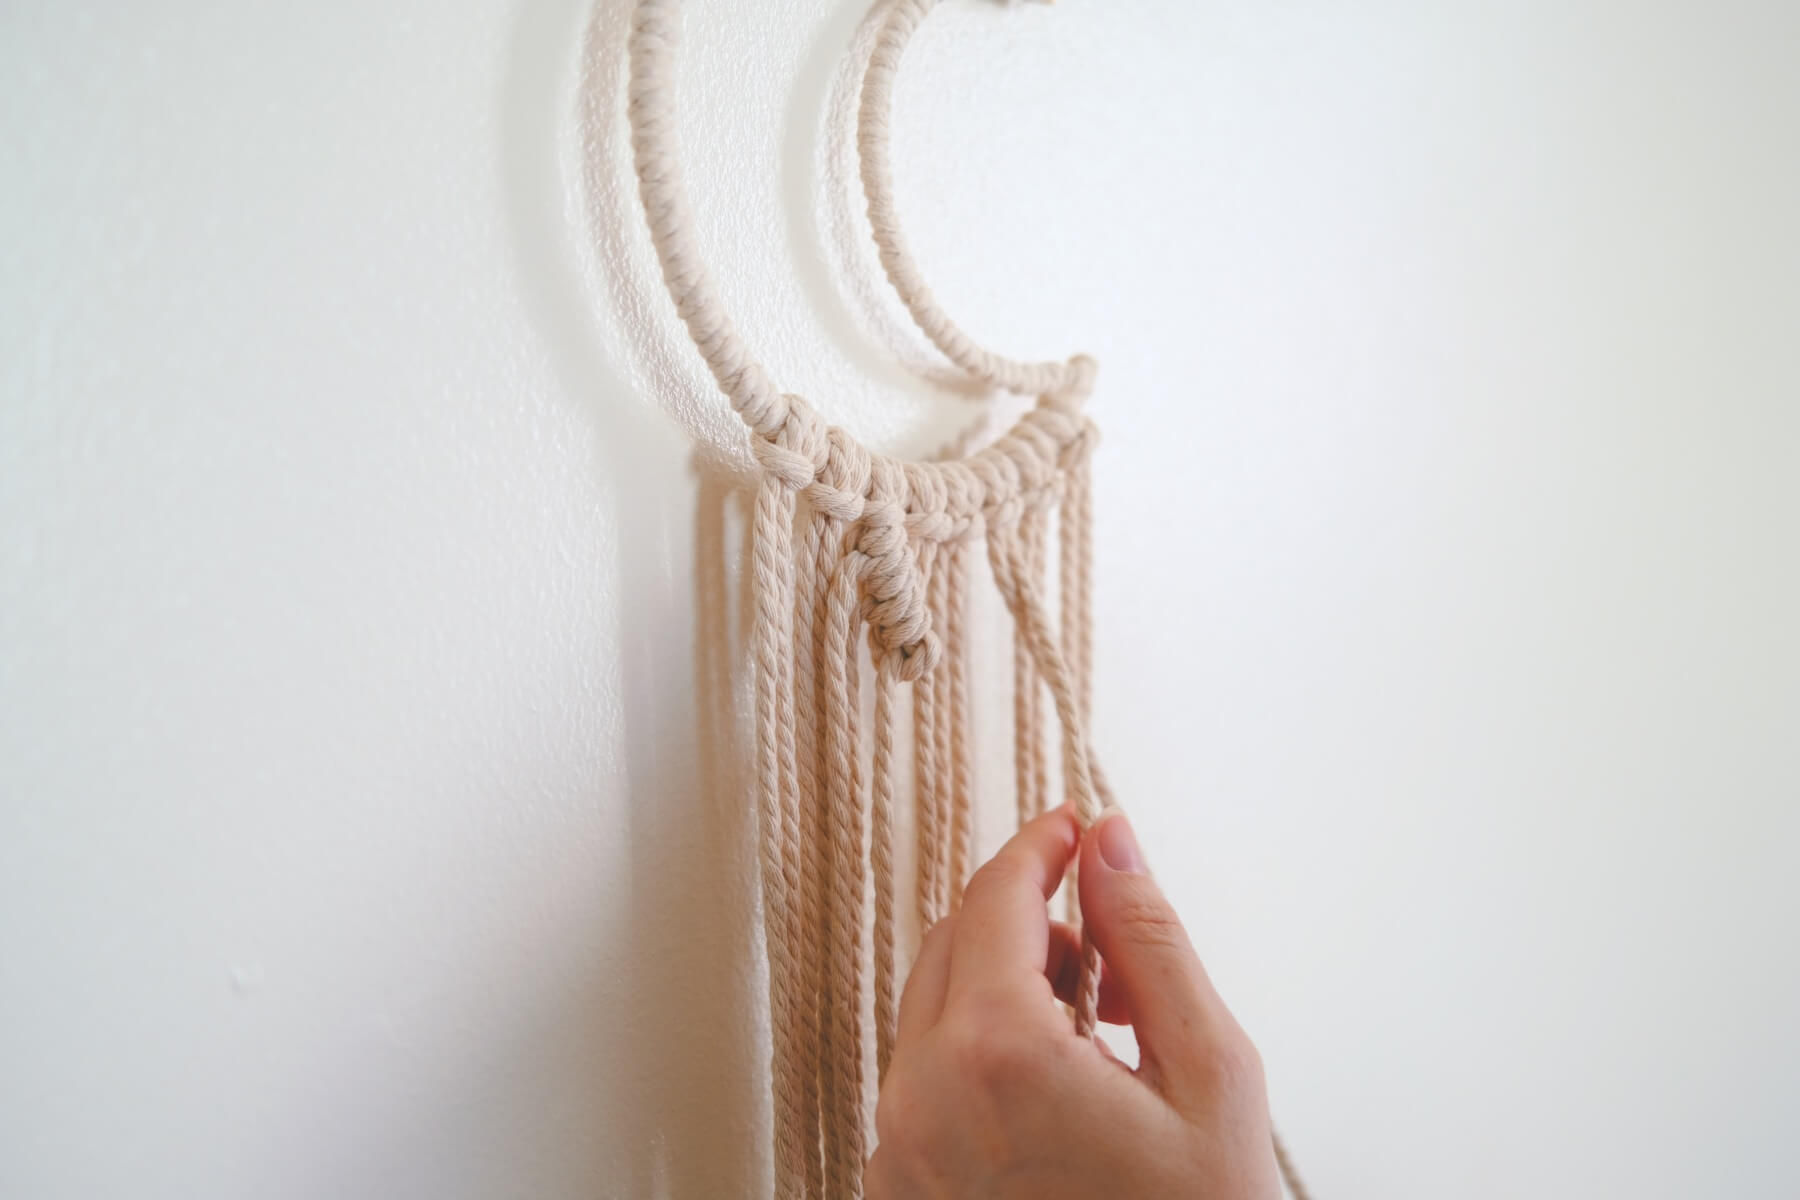
As you create these knots, you will need to move them closer together and pull them so they are very snug against the surface of the macrame base. When you move them closer together, be sure that each cord hangs down evenly. If they cords overlap and tangle, straighten them so that the cords hang down without overlapping.
You will also want to be sure that these cords hang down from the flattest bottom part of the moon shaped base. And not along the sides or anywhere that is too angled.
If you need to readjust your hanger, to make this happen, do it now before you move forward with this project.
A lark’s head knot is the most simple of all the macrame knots and the 1st one I would recommend learning. I love this video on Youtube, if you are just getting started with knot making, but I’ll show you some other videos below that are even better for the types of knots we are making in this macrame piece.

Step 5: Hang Your Macrame
Macrame projects are a little different than other craft projects. It’s easiest to work on them while they are hanging – and nearly impossible to work on at a craft table.
You can use your window, a nail in a wall, or a clothes hanger by slipping the macrame hanging over the center of the hanger.
Even a large and heavy soda bottle will work – just slip the macrame hanger over the lid so that the macrame piece hangs down.

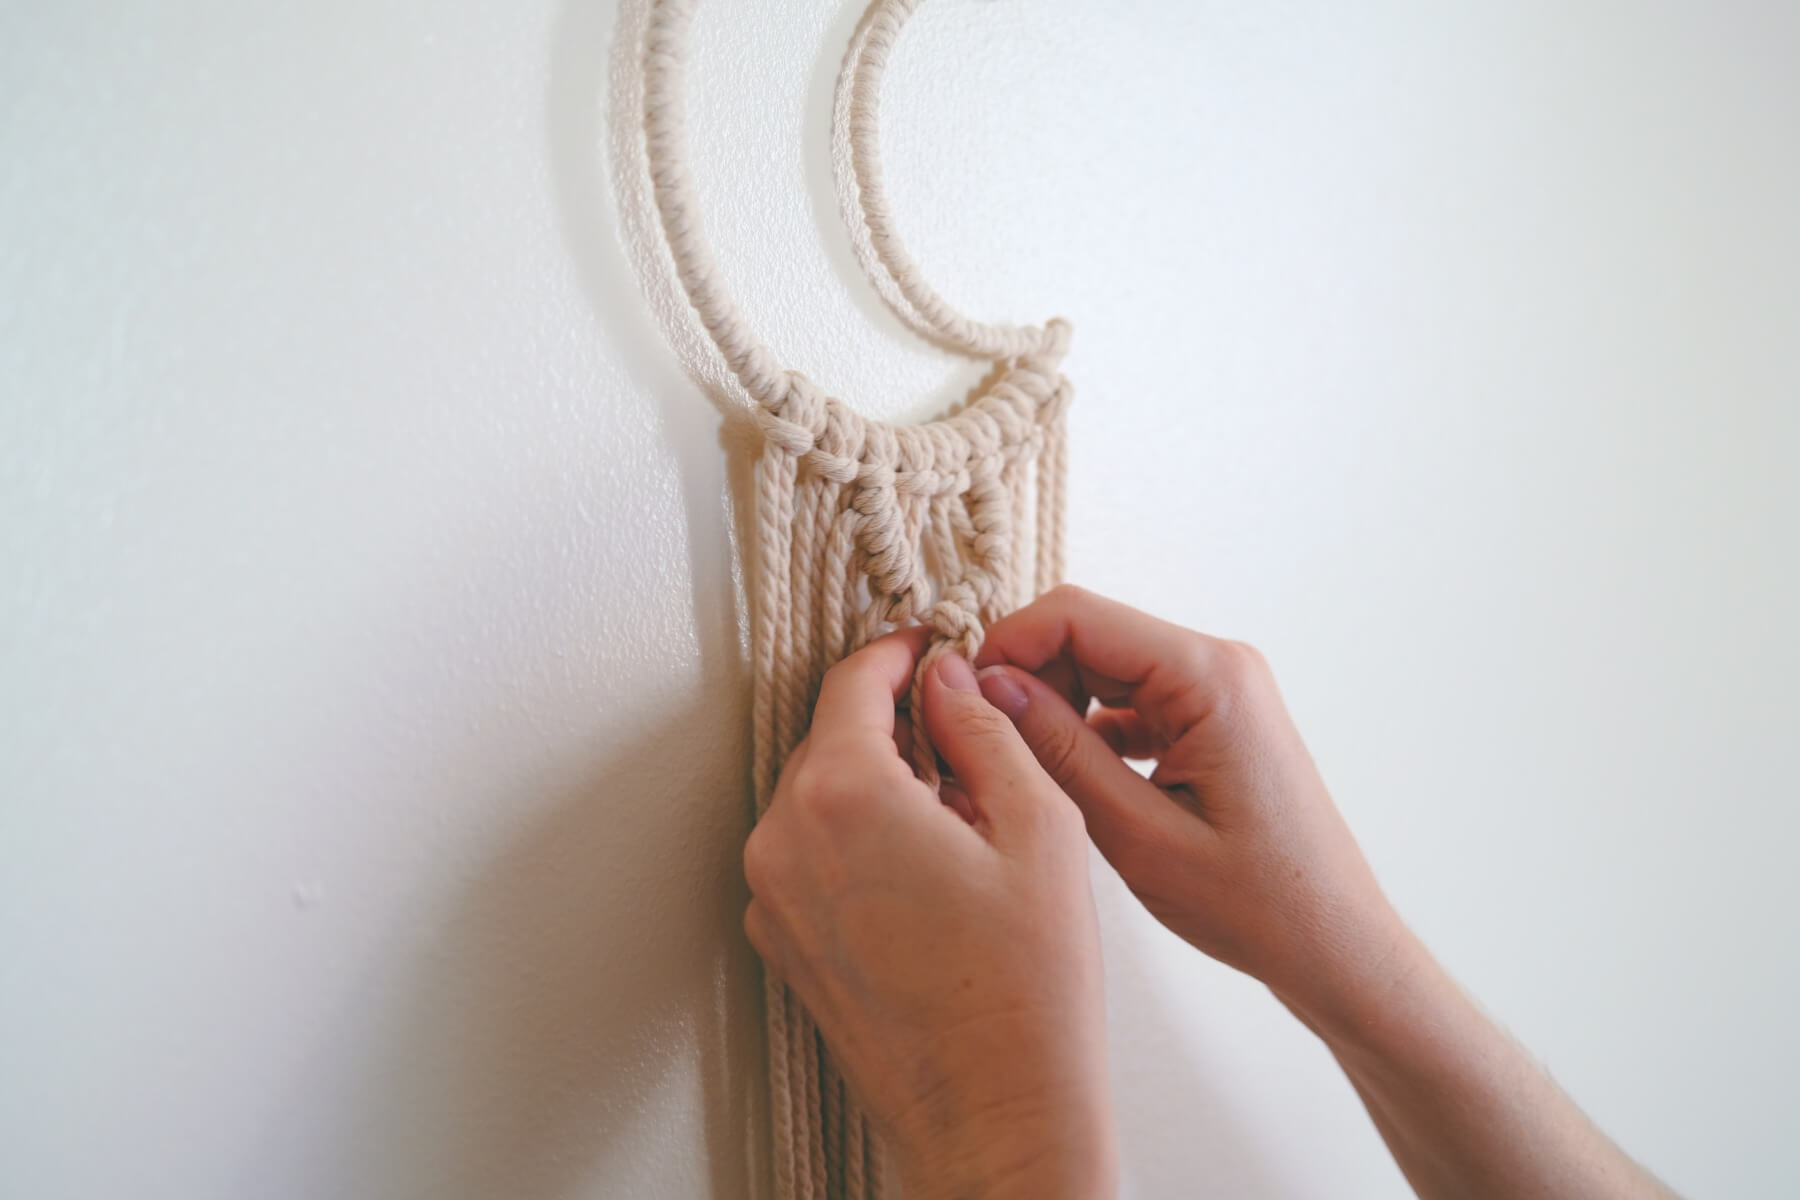
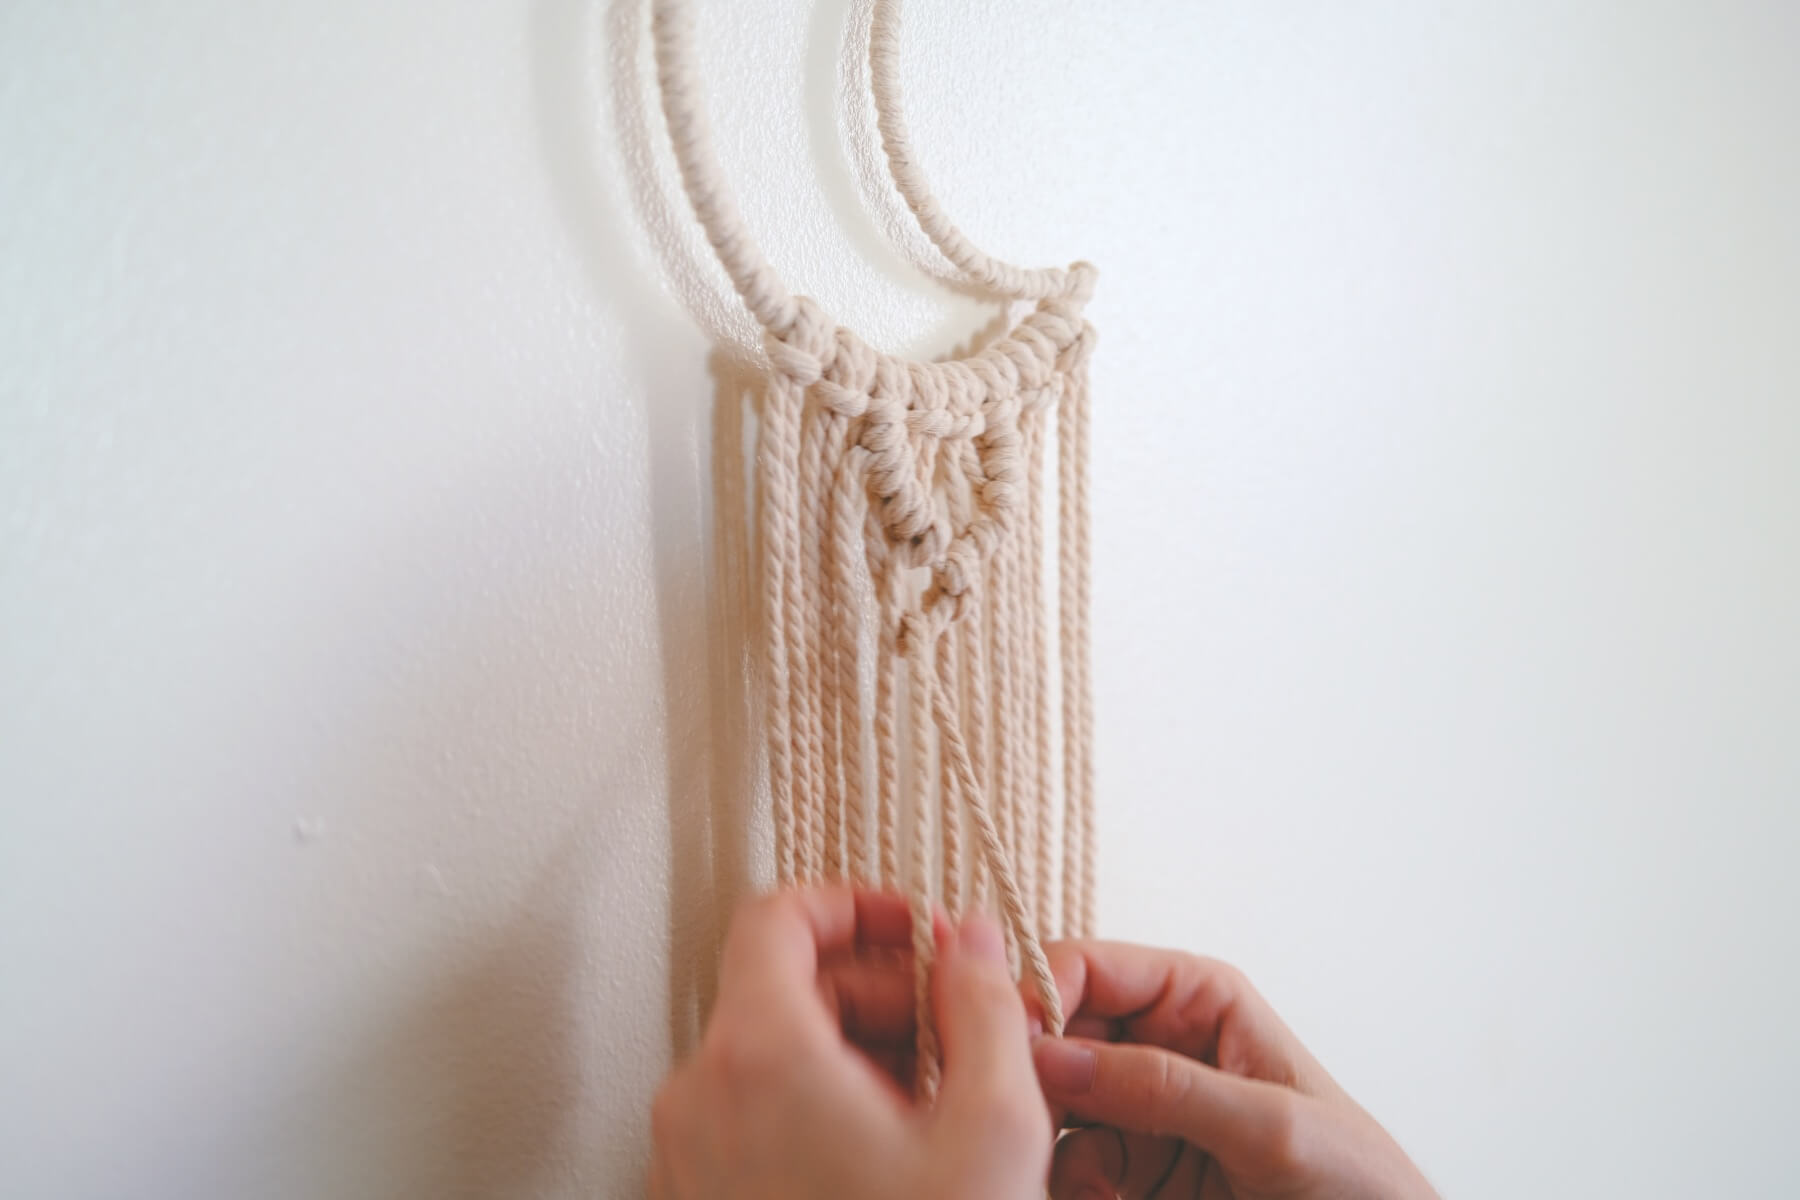
Step 6: Make Diagonal Double Half Hitch Knots through the Center
Now, hold the phone. I know that was so many words! But don’t worry about a thing. First of all, it’s much simpler than it sounds. Second of all, macrame is wildly forgiving. Anything you do can be undone. So if you make a mistake, just undo the knot and try again.


This is my favorite video for learning a diagonal double half hitch knot. But I’ll show you a few more along the way – because with learning macrame a video is worth a thousand words! Doesn’t the video make it so much easier?
Here’s what you need to know about my diagonal double half hitch knot. I only made my diagonal double half hitch through the center of the macrame. I used 8 cords total – so find your center point. Count 4 to the left and 4 to the right and that’s where I started and stopped my knots.

Macrame Terminology: Leader & Working Cords
With this knot, you will hear macrame terminology tossed around. In particular, the terms “leader cord” and “working cord.”
In the double half hitch knot, your outer most cords on both the right and the left will become the center of the knots. These cords move from the outer edges to the center and back out again. These are the leaders because they lead the way.
Your “working cords” will be the cords that tie around the leader. So every cord you use in the double half hitch knot will be a working cord, except for the leader.
To start mine, again I only used the center 8 cords total. So the cord 4th from the center on the right and the left are both leader cords. And the 6 inside those are the working cords.
I started on the left edge of the cord, again this on the left, 4th from the center. Follow the pattern of knots to the center, then start on the right, 4th from the center and work towards the center.
Now, again this is called a DOUBLE Half Hitch Knot. It’s called that because the leader cord will be tied around the working cord 2 times before moving on to the next cord.
So with 3 working cords on each side, you will be making 6 knots on each side, and 12 knots total.

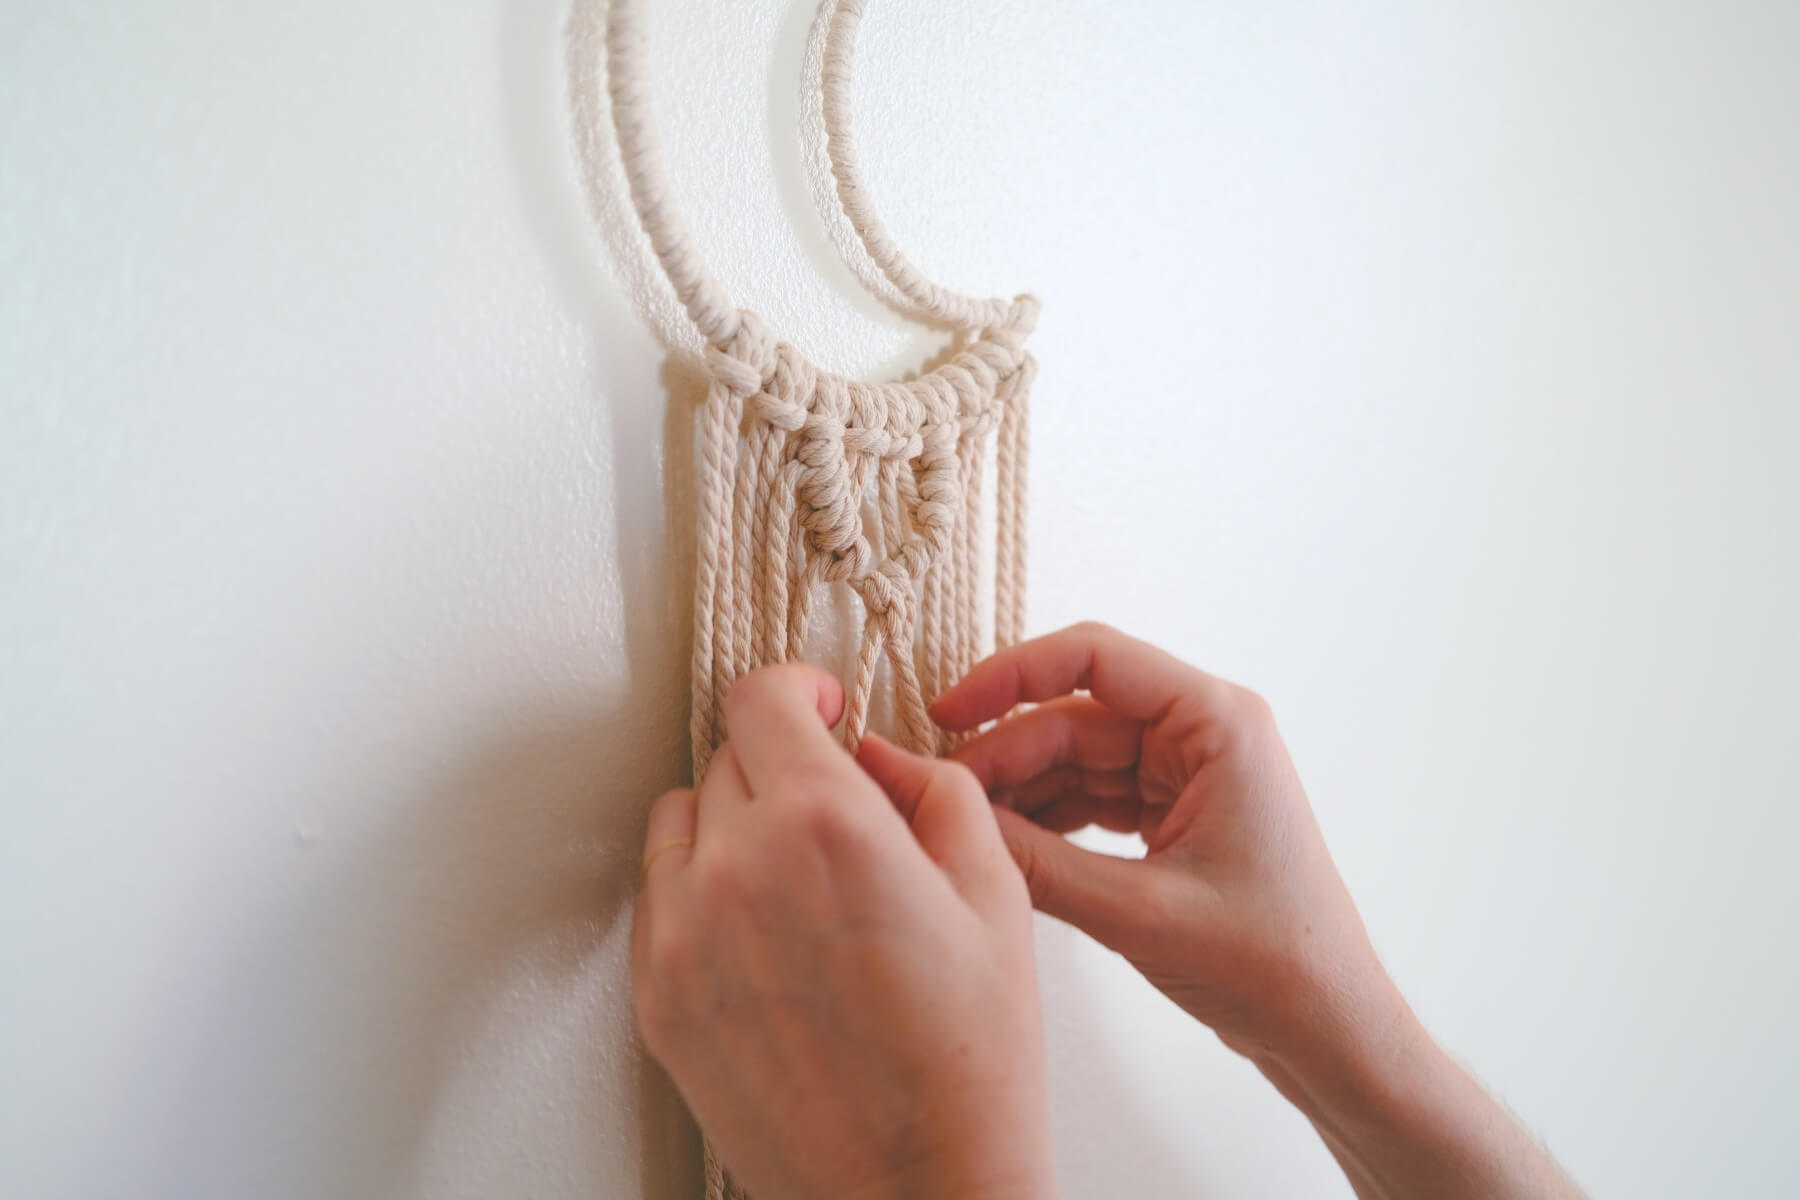
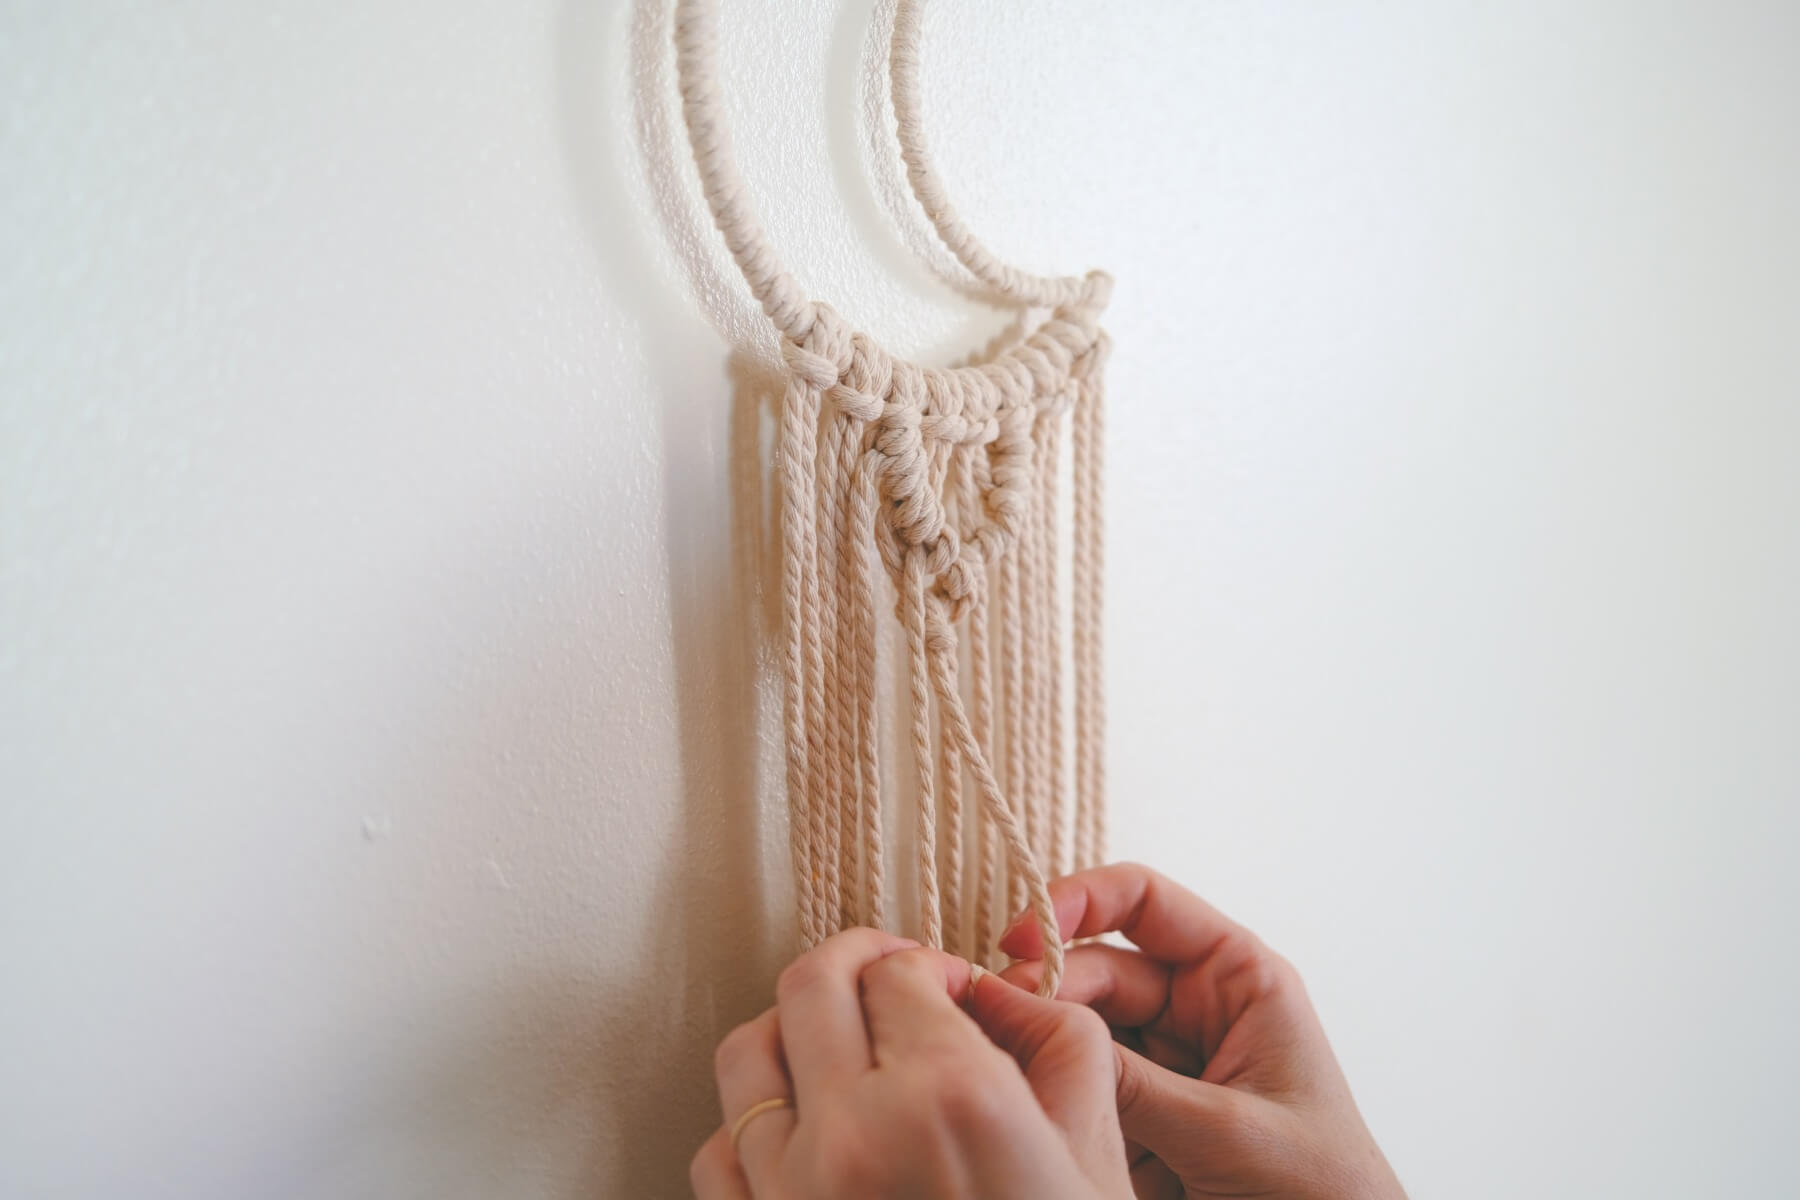
Continue to follow this pattern in and out forming diamond shapes. You may notice that some of my diamond shapes are a little different. Some of them are a little more angled and other diamonds are quite wide.
Having these differences will not affect the macrame piece overall, so don’t worry about it too much! It happens when some of your knots are looser and some are tighter – a very normal thing that happens when you are just getting started with macrame, as you become an expert – these details will improve.
Each time you reach the center point where your 2 diagonal half hitch knots combine, you have the choice of whether you want the left or right side to appear in the front. I alternated mine – because I thought it would be cute.
If this part confuses you don’t worry, just skip this part and do what feels natural and looks good to continue your diamond shapes.
Tip: What to Do if You Make a Mistake
You may notice as you continue to work that you have 2 sections and that you continue to work them in 2 directions.
Thus, every time your section reaches the center, take a pause to make sure you understand your next steps. It’s really easy to get confused and make a mistake or if you zone out for a minute and think – “wait how many knots did I make?!?” when you come back to.
If you think you made a mistake, just untie the knot and try again. It’s a part of the process. And I had to do it myself A LOT. Mostly it was just from talking and getting distracted.
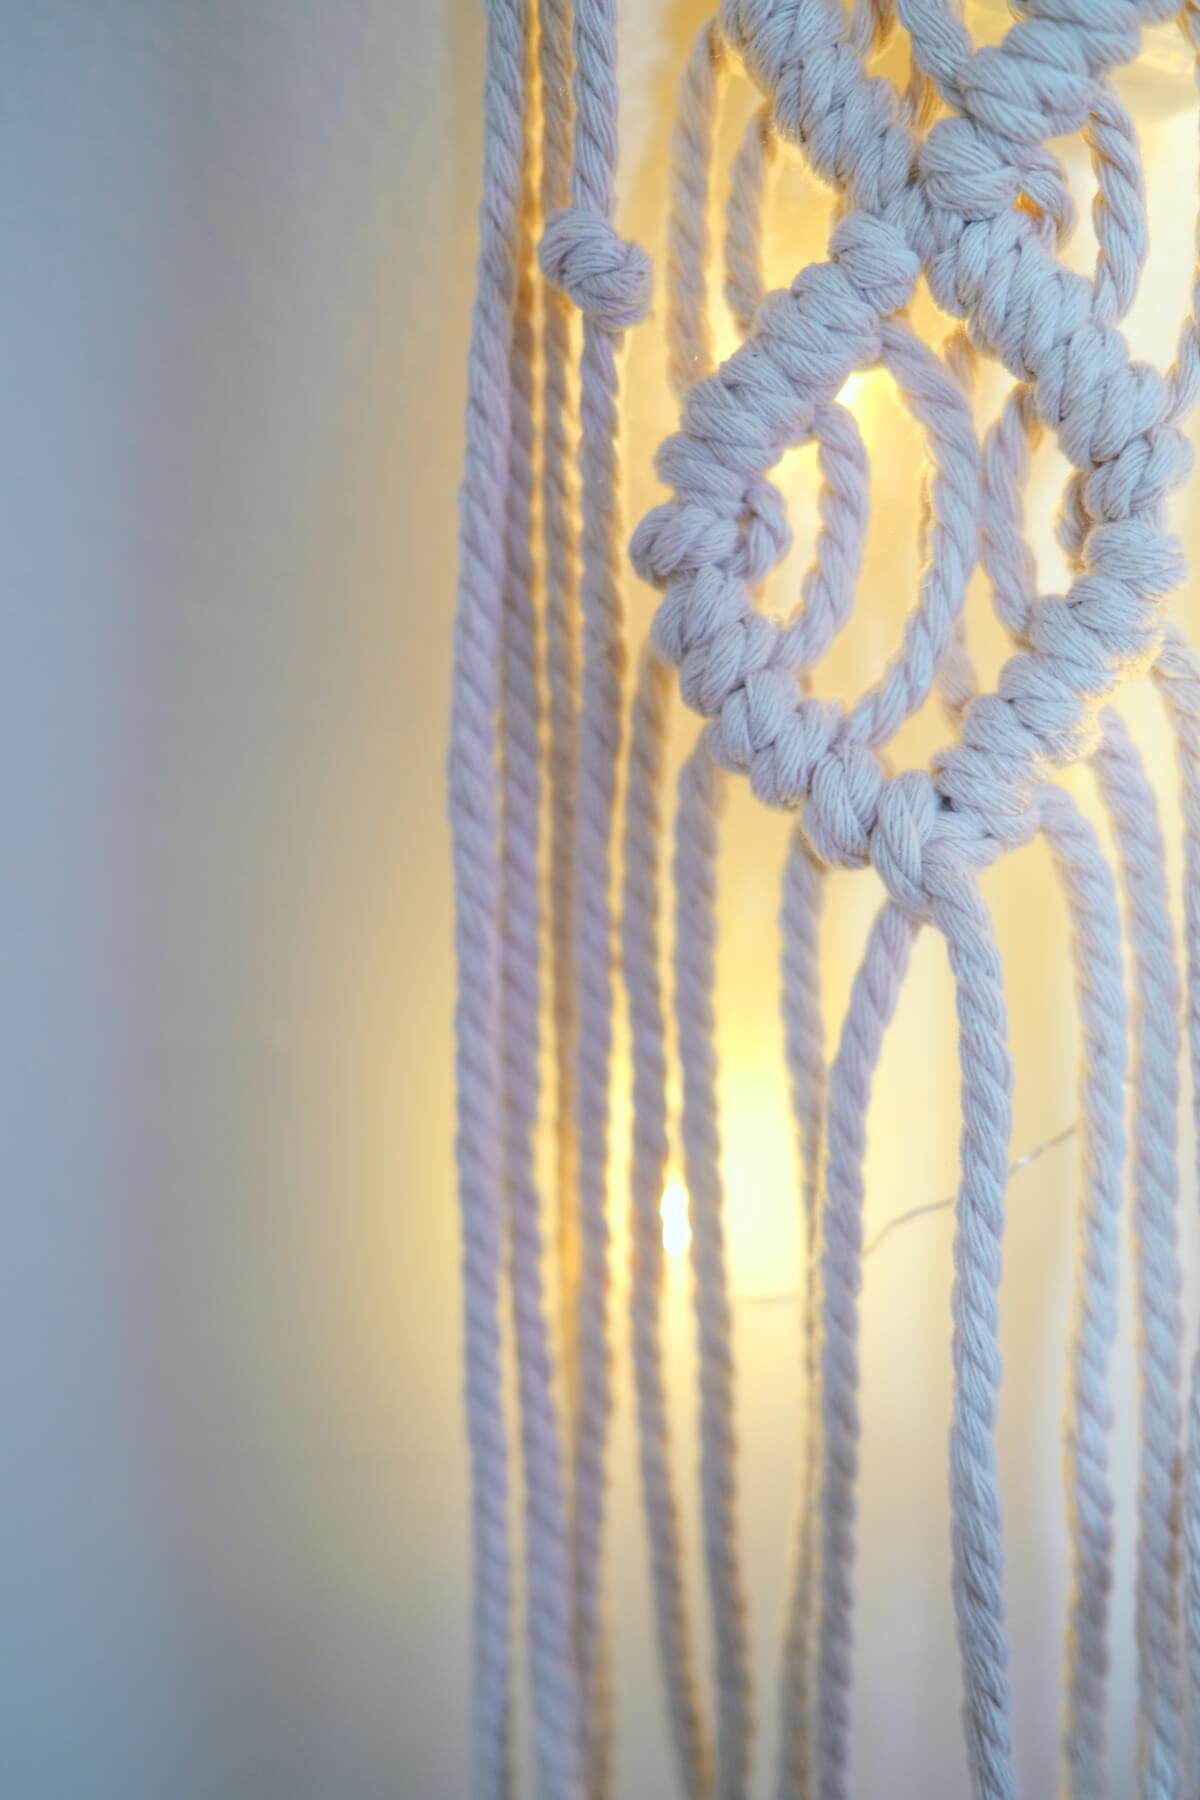
Step 7: Finish Your Diamond
Again, I made about 3 diamonds total. Once you like the way it looks and you feel like it’s done, finish it with one joined knot in the center.
You don’t need to make 3 diamonds like I did – this is a creative process so anything goes!
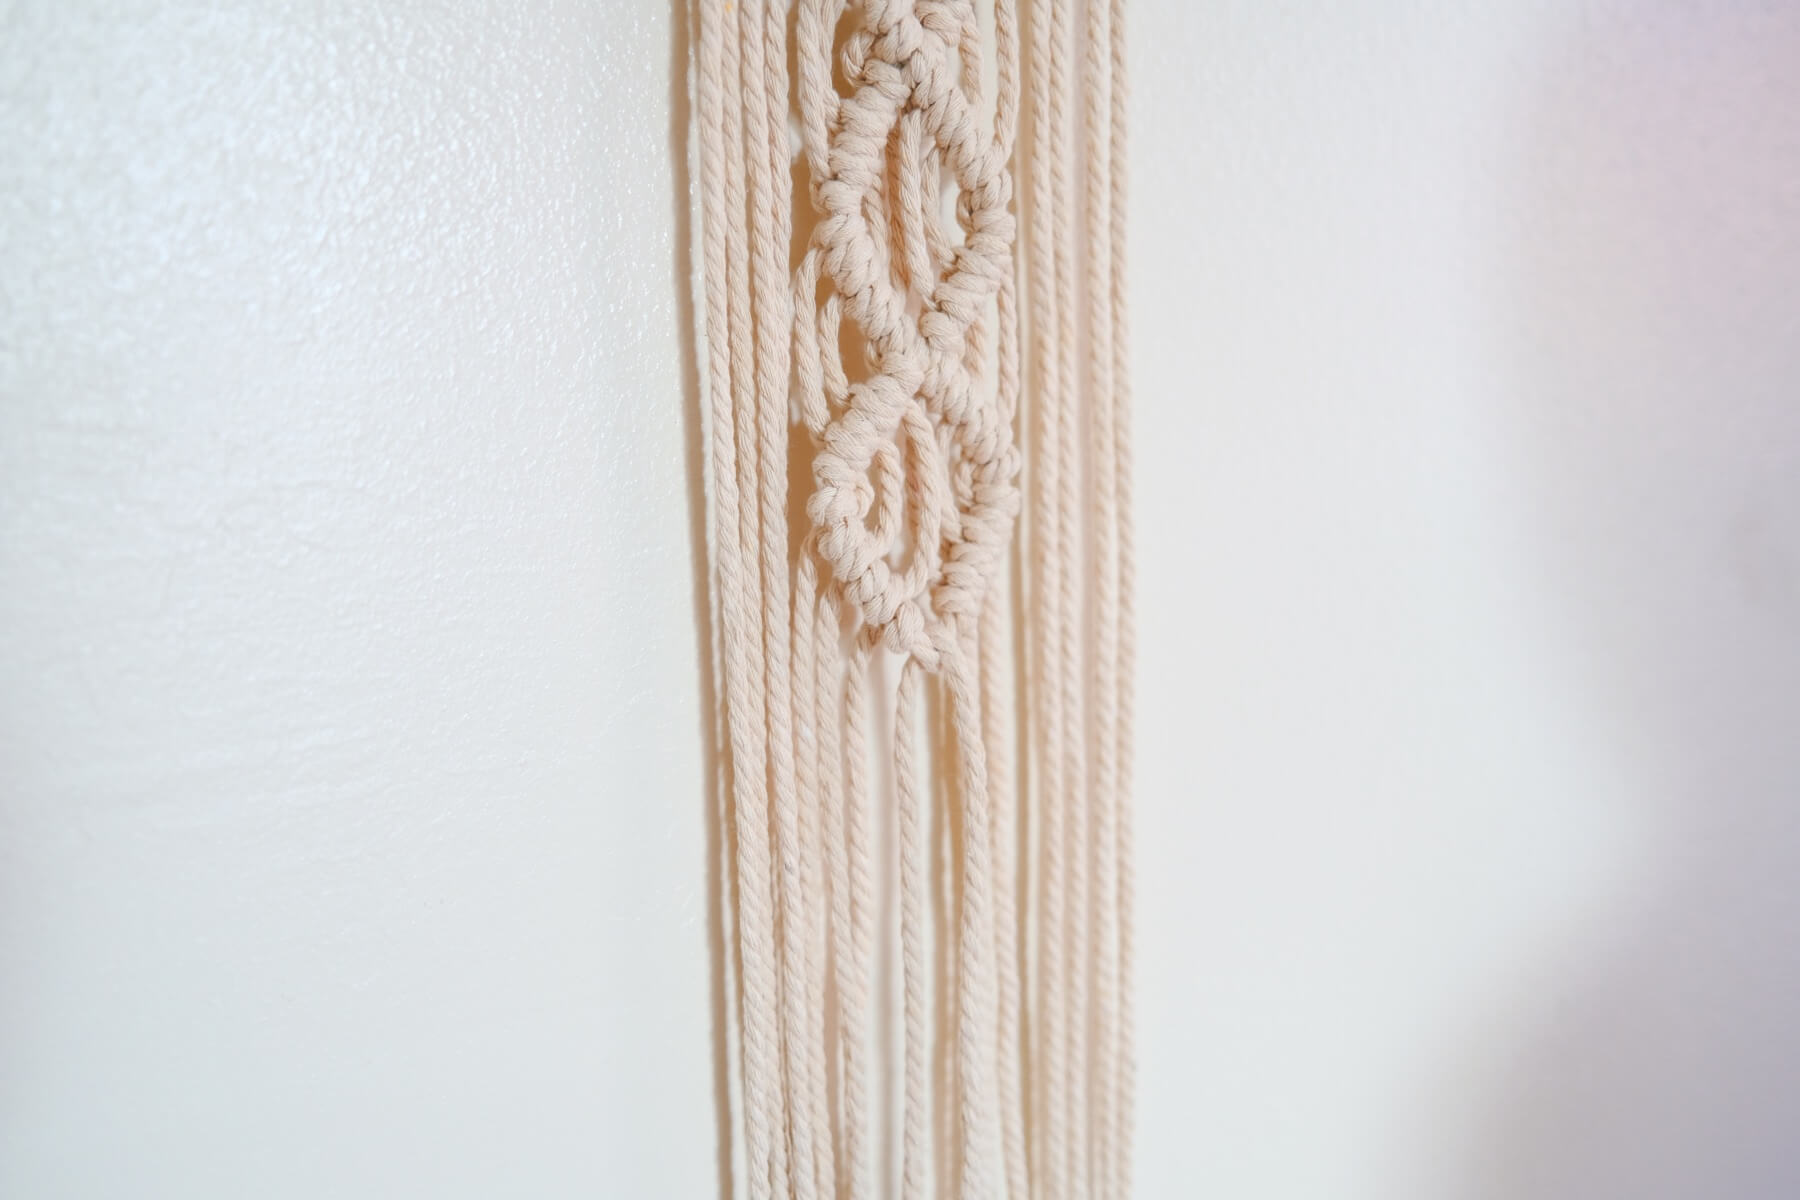
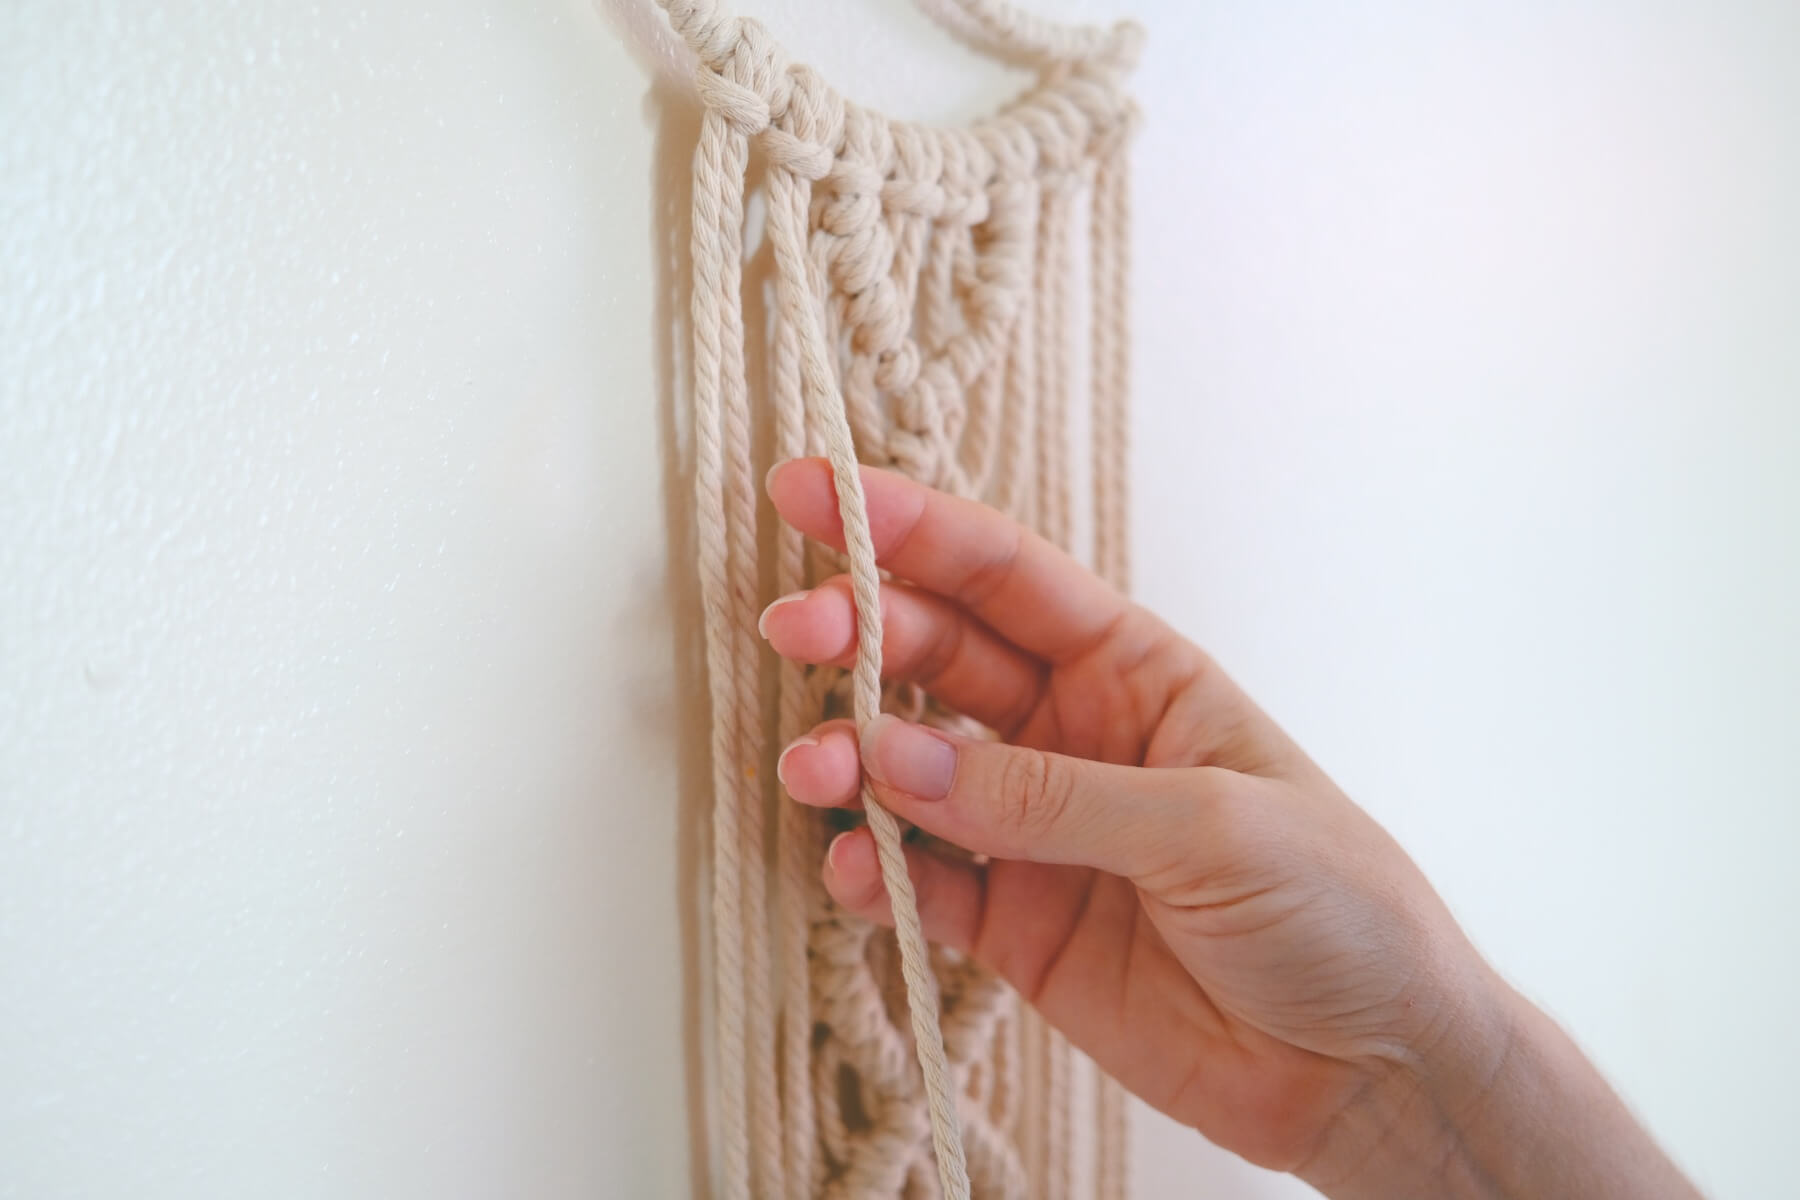
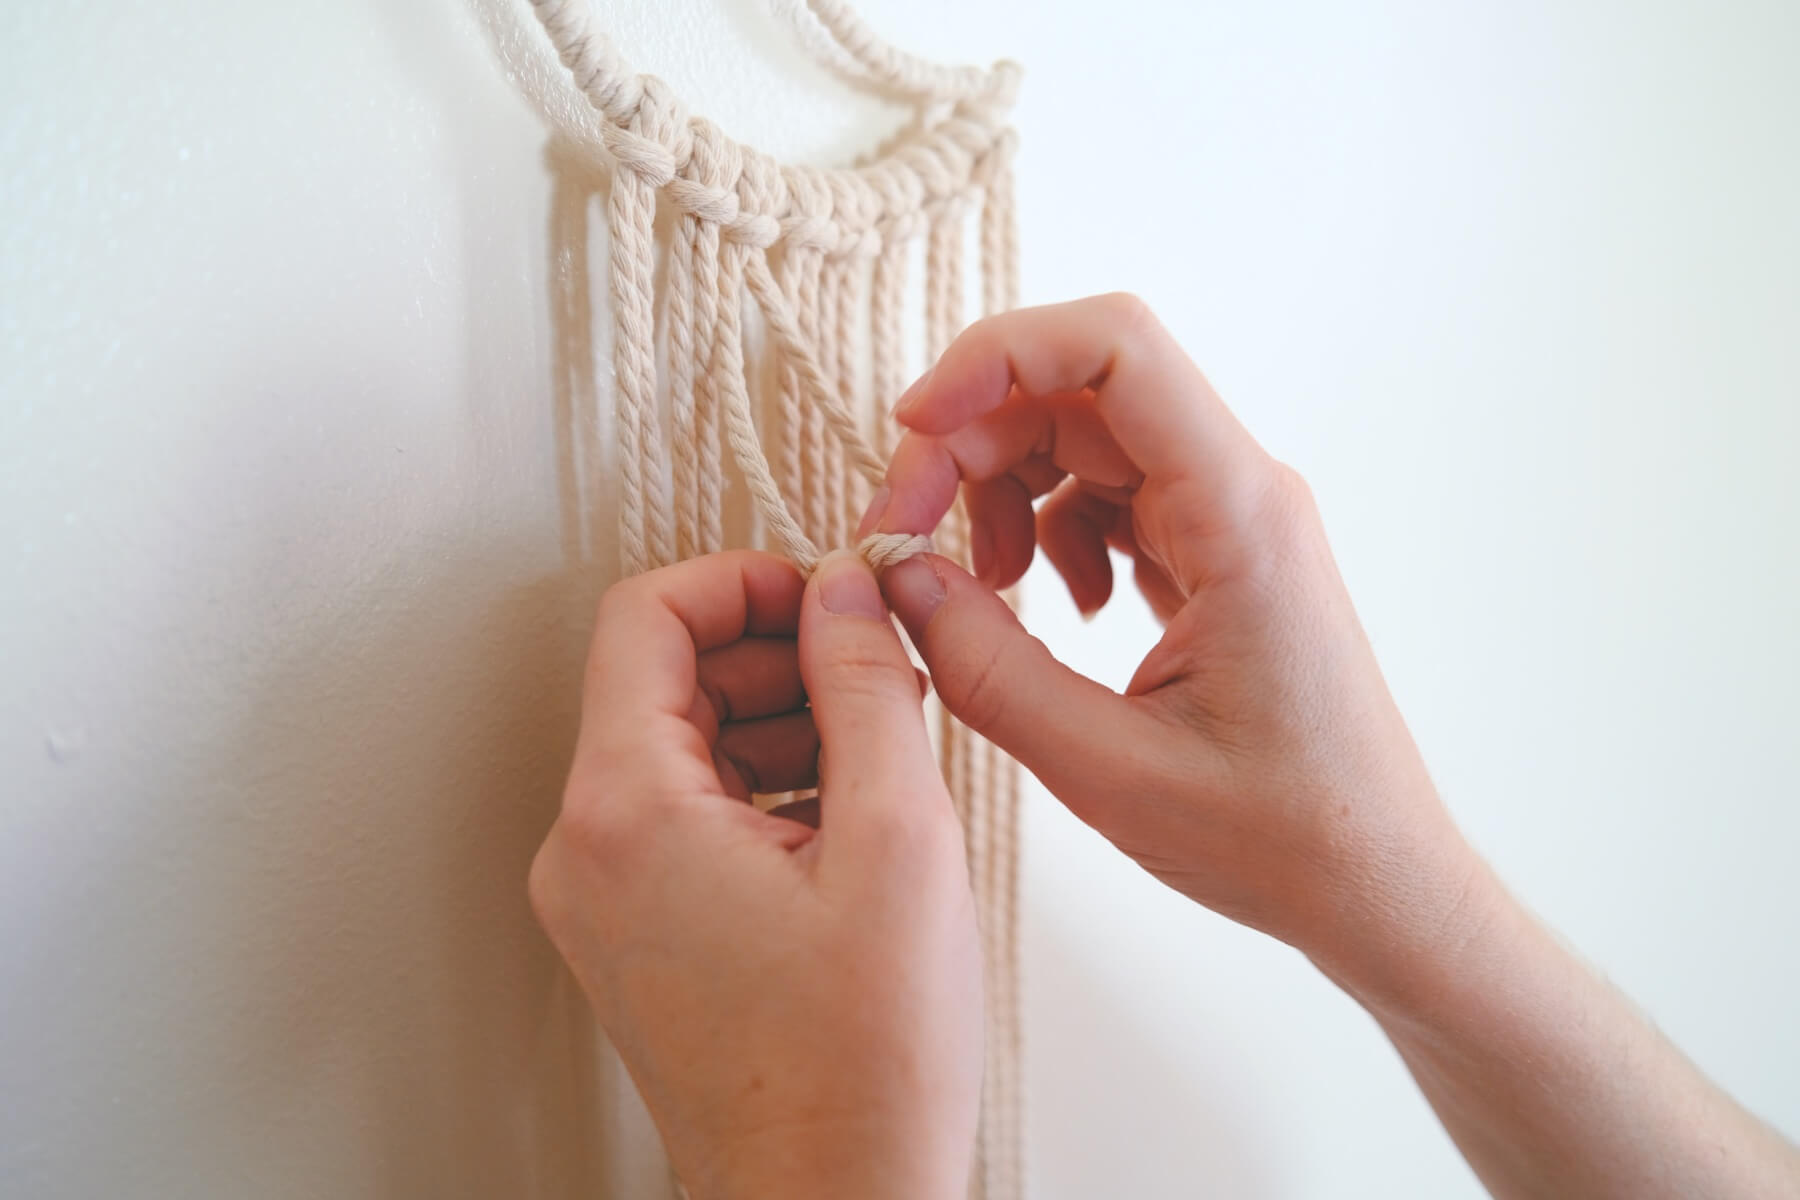
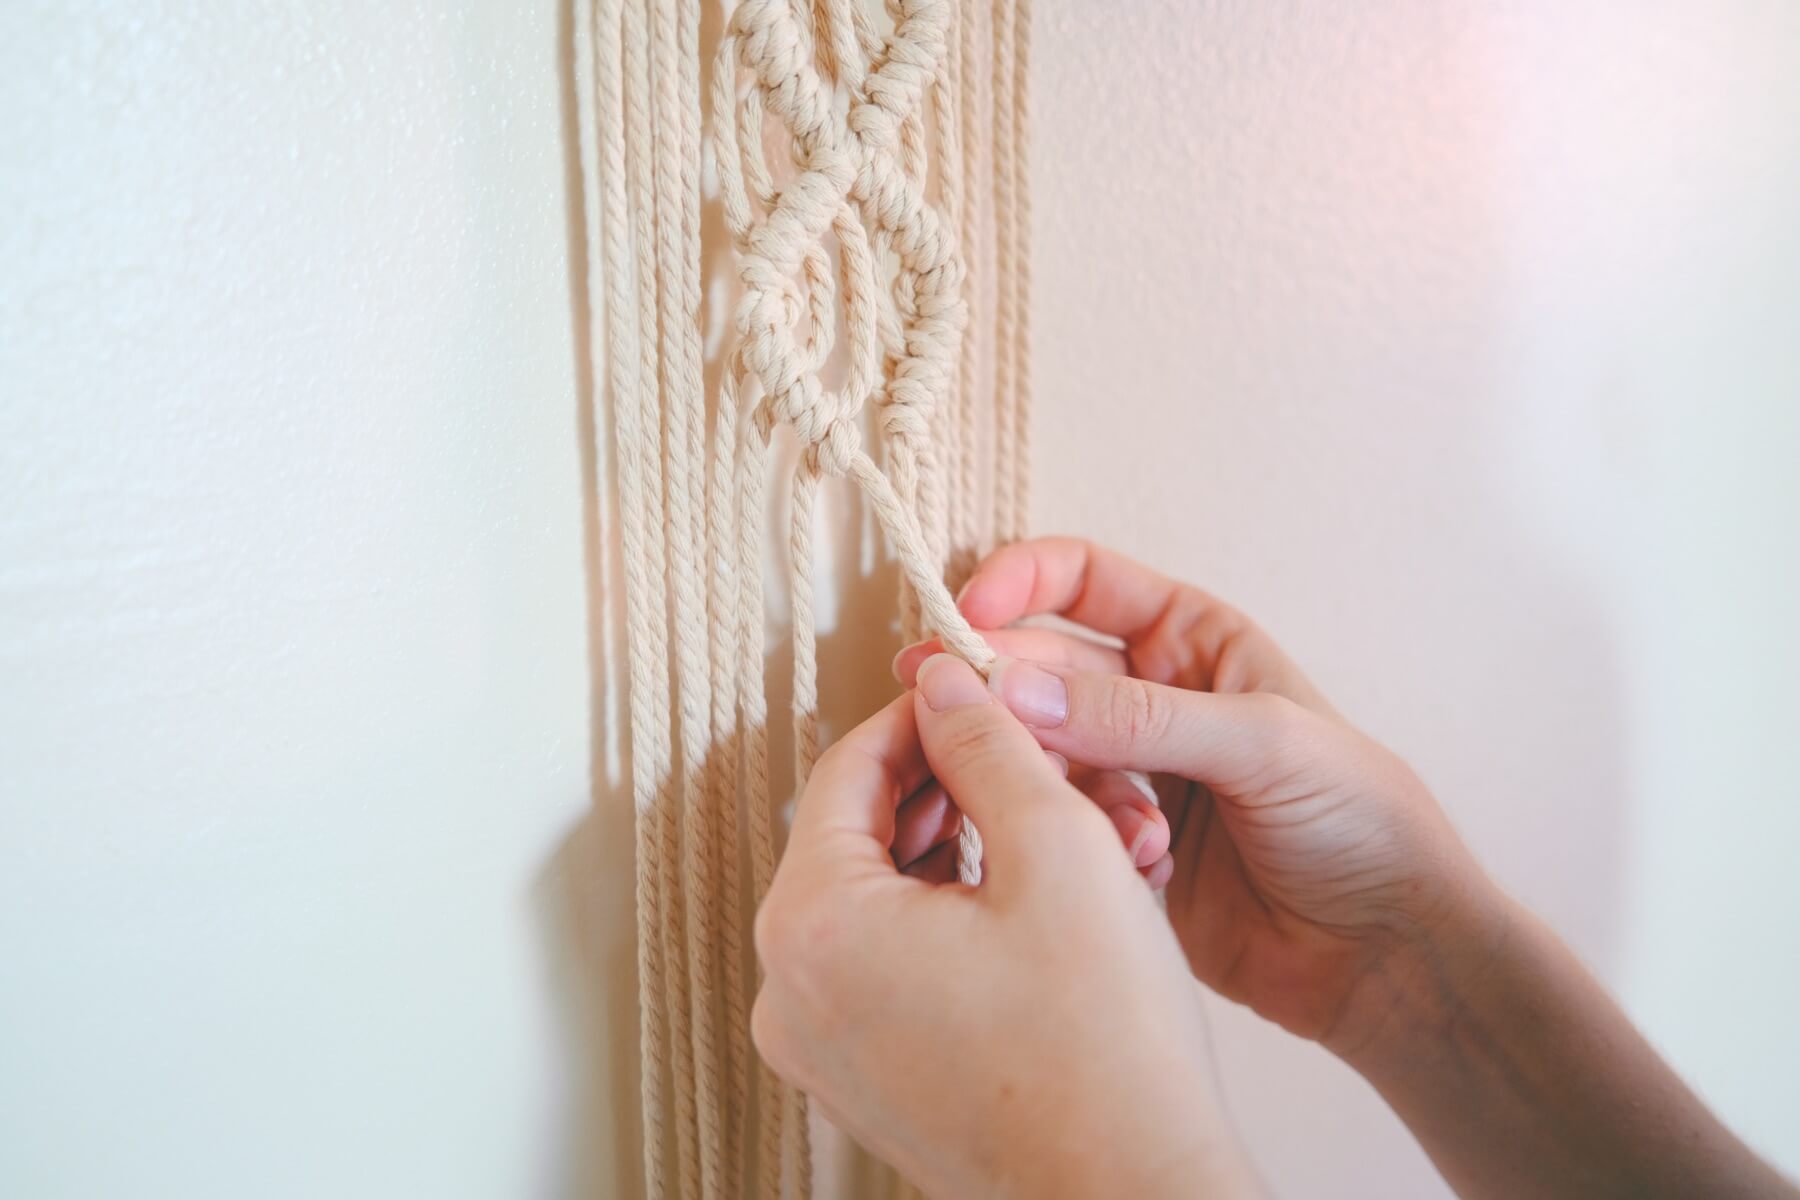
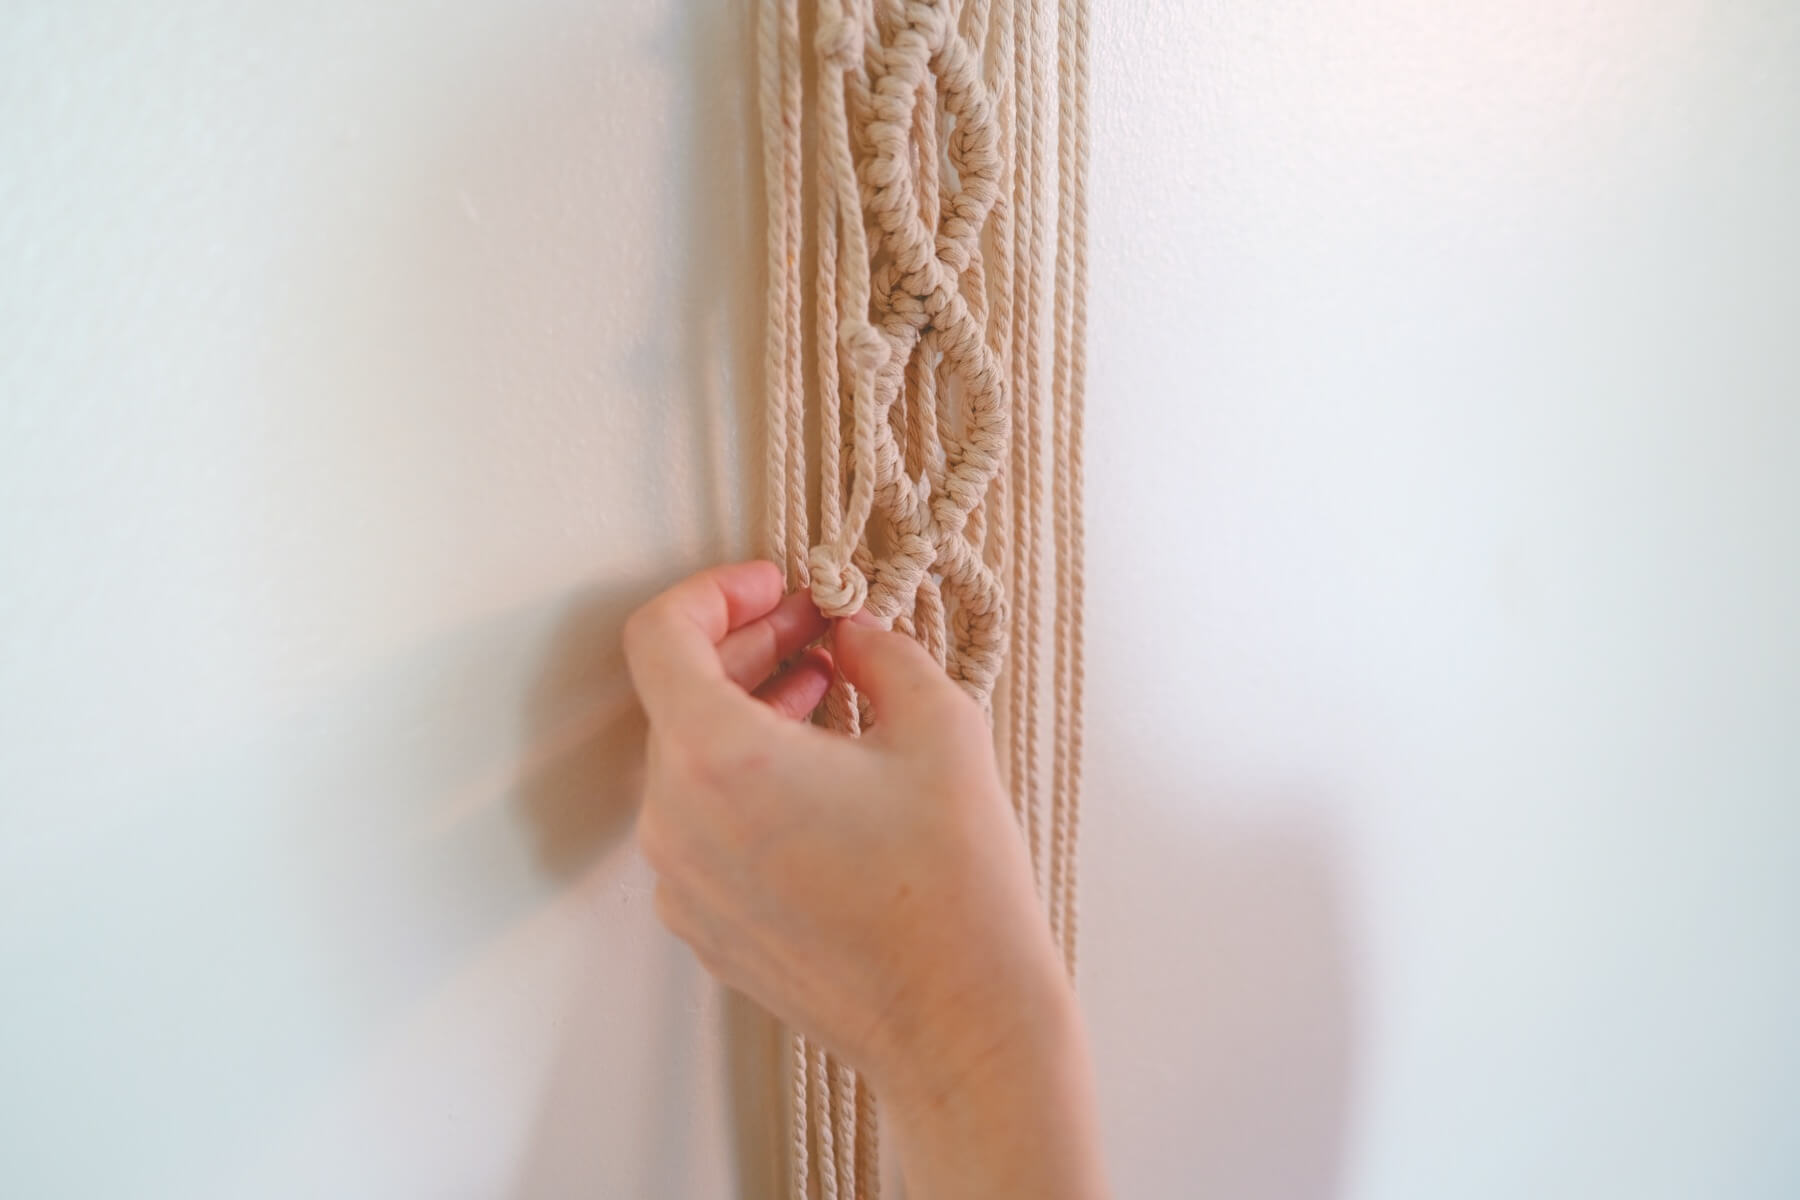
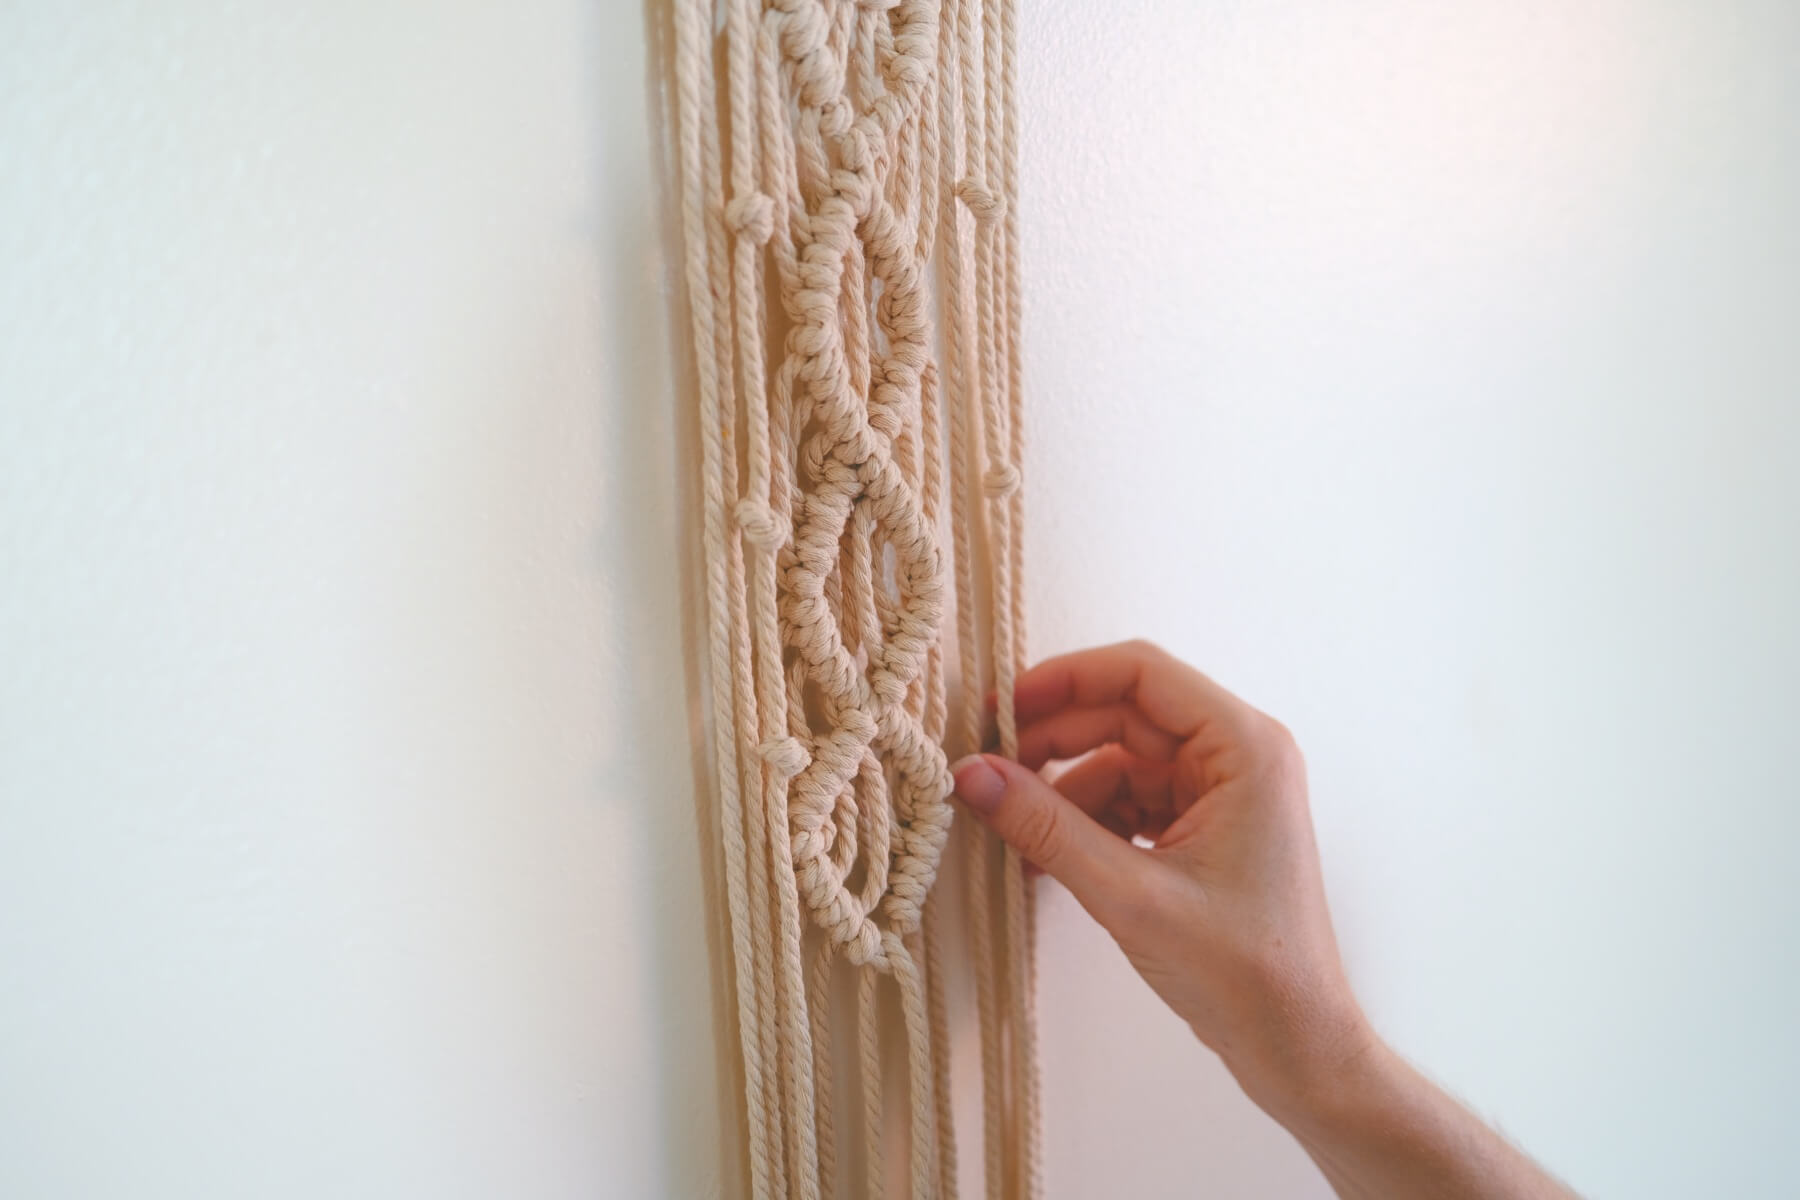
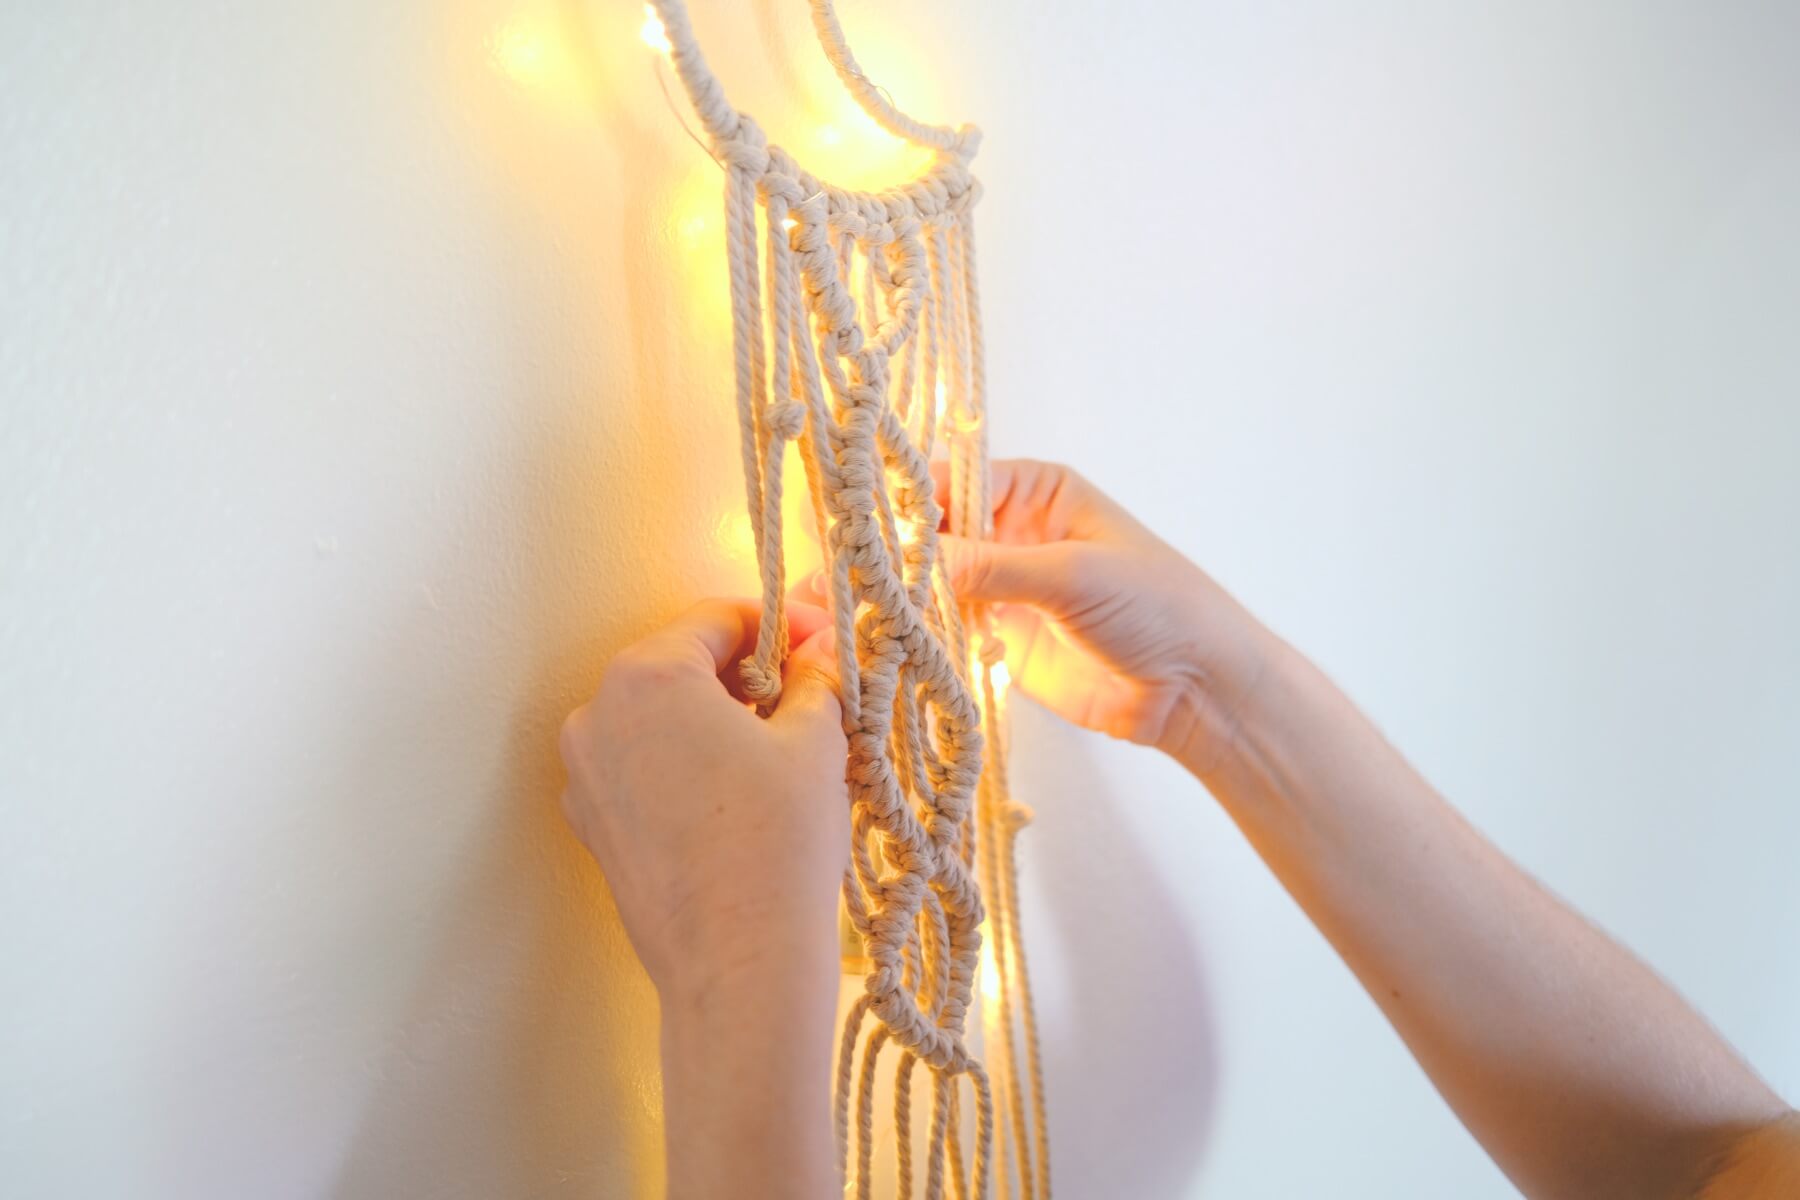
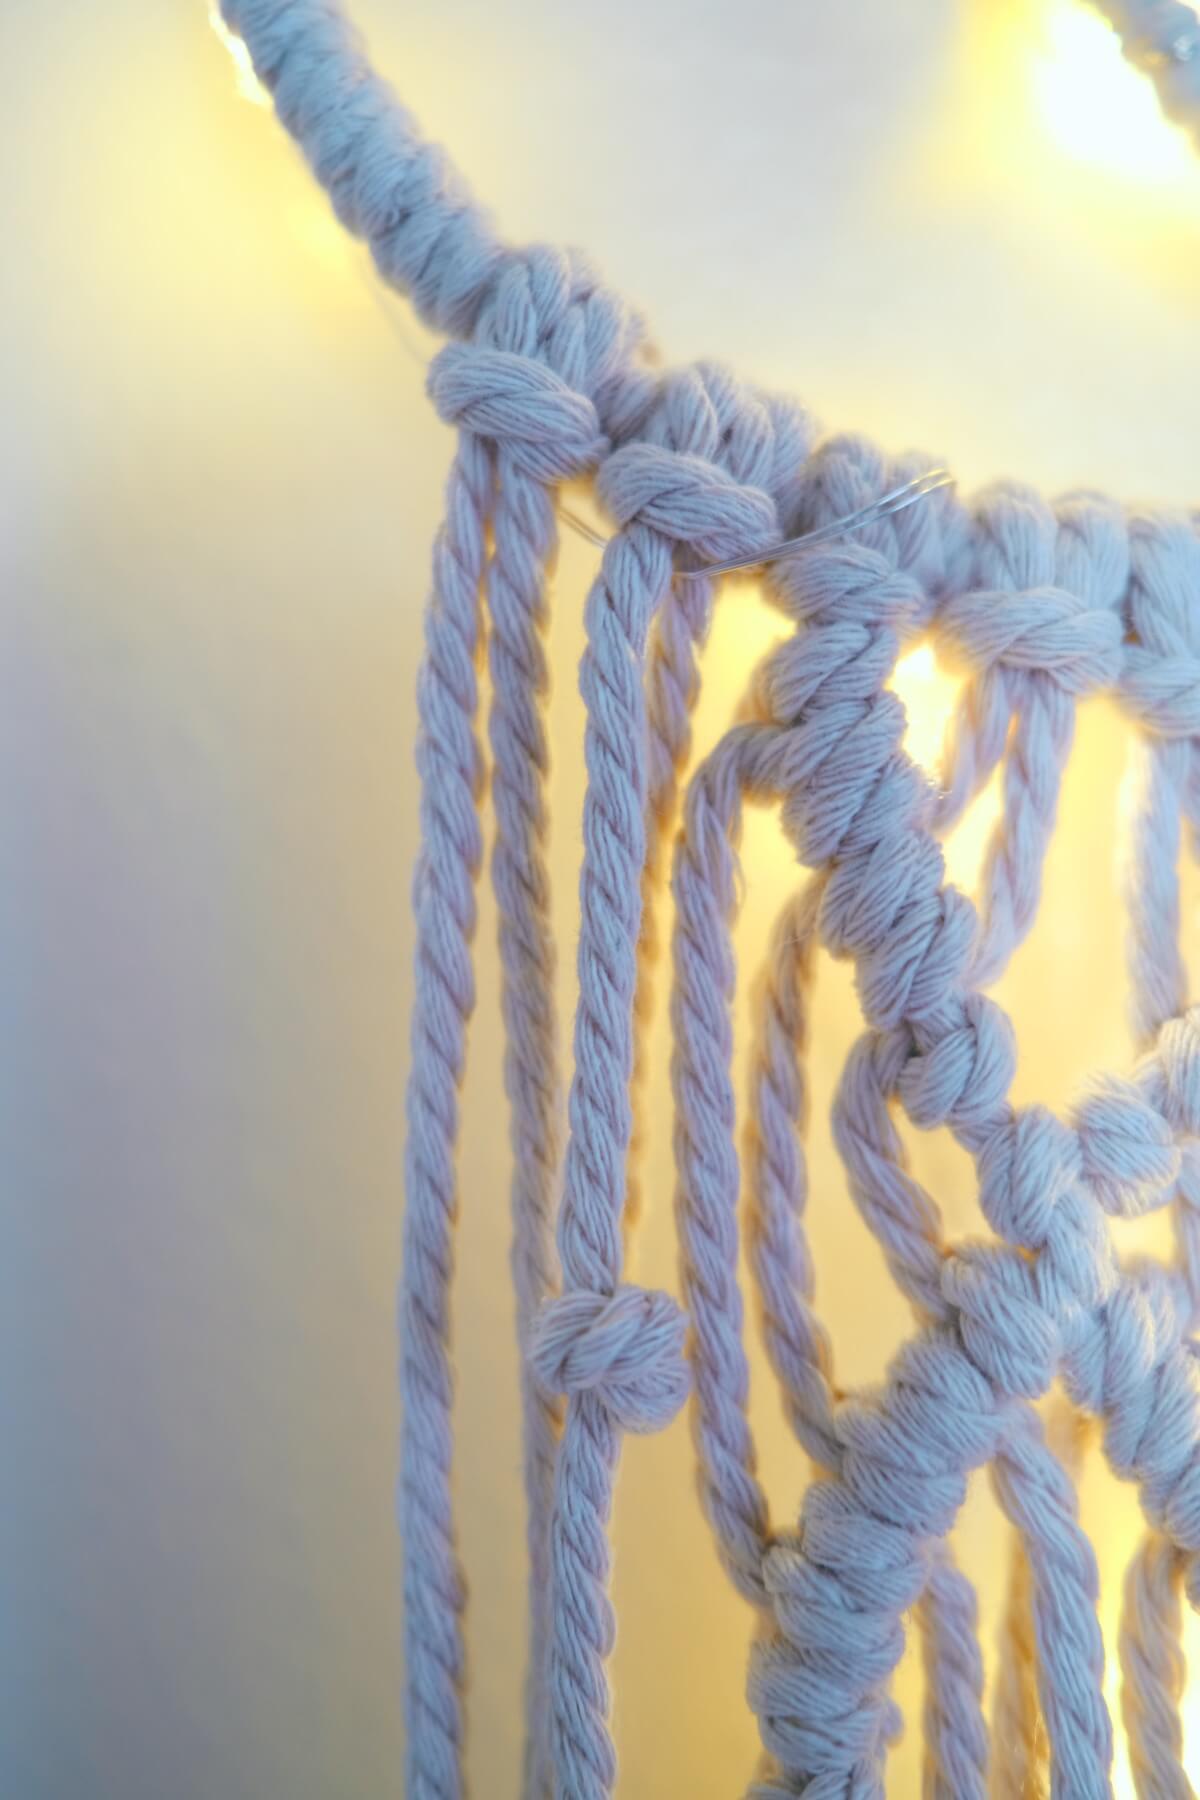
Step 8: Make Simple Knots Along the Sides
The last step in knotting the macrame is to make a few more simple knots along the sides. For these knots I took the cord that is 3rd from the outer edges.
So there is 1 cord in between the one I chose and the cords I used for the double half hitch knots.

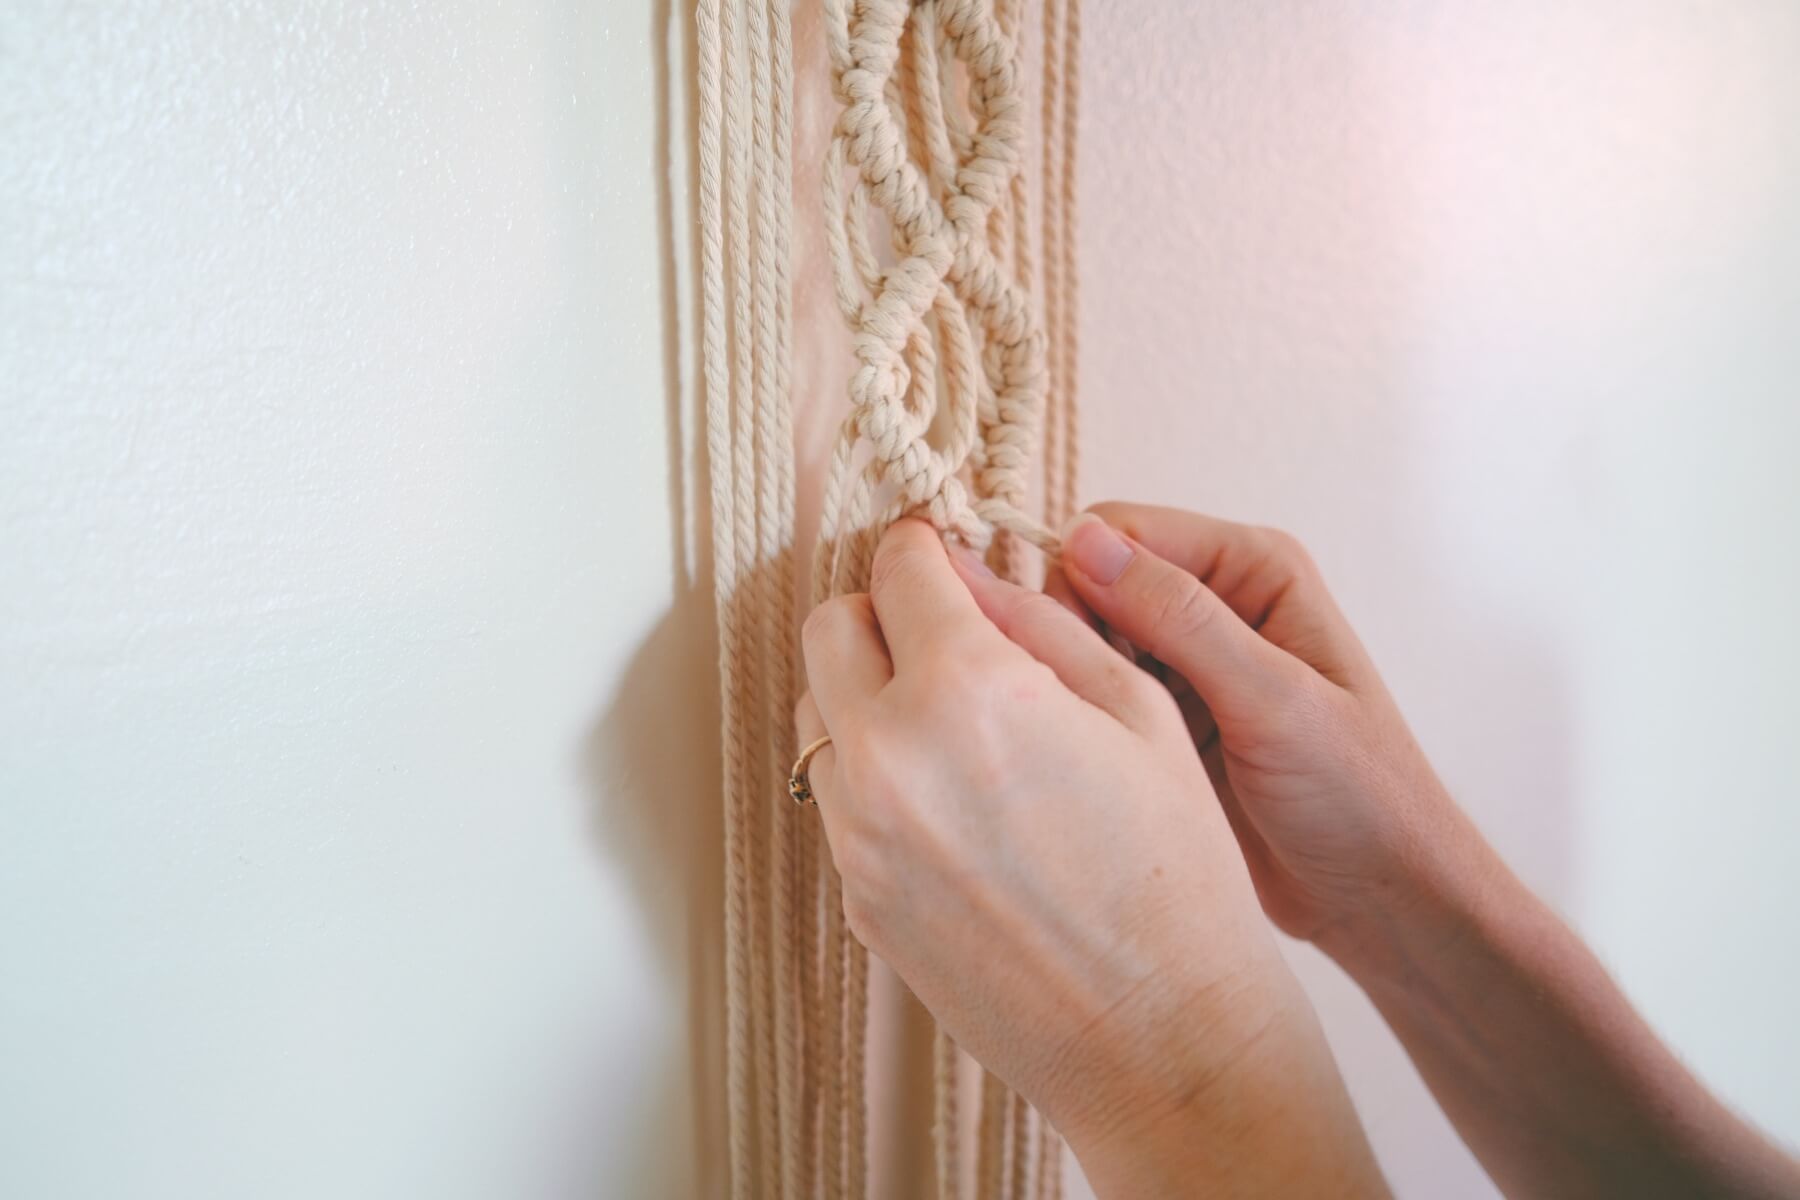
To make these knots, use a simple balloon knot by looping the cord around itself. Keep it loose so that you can move the knot higher and lower and place the knot just where you want it.
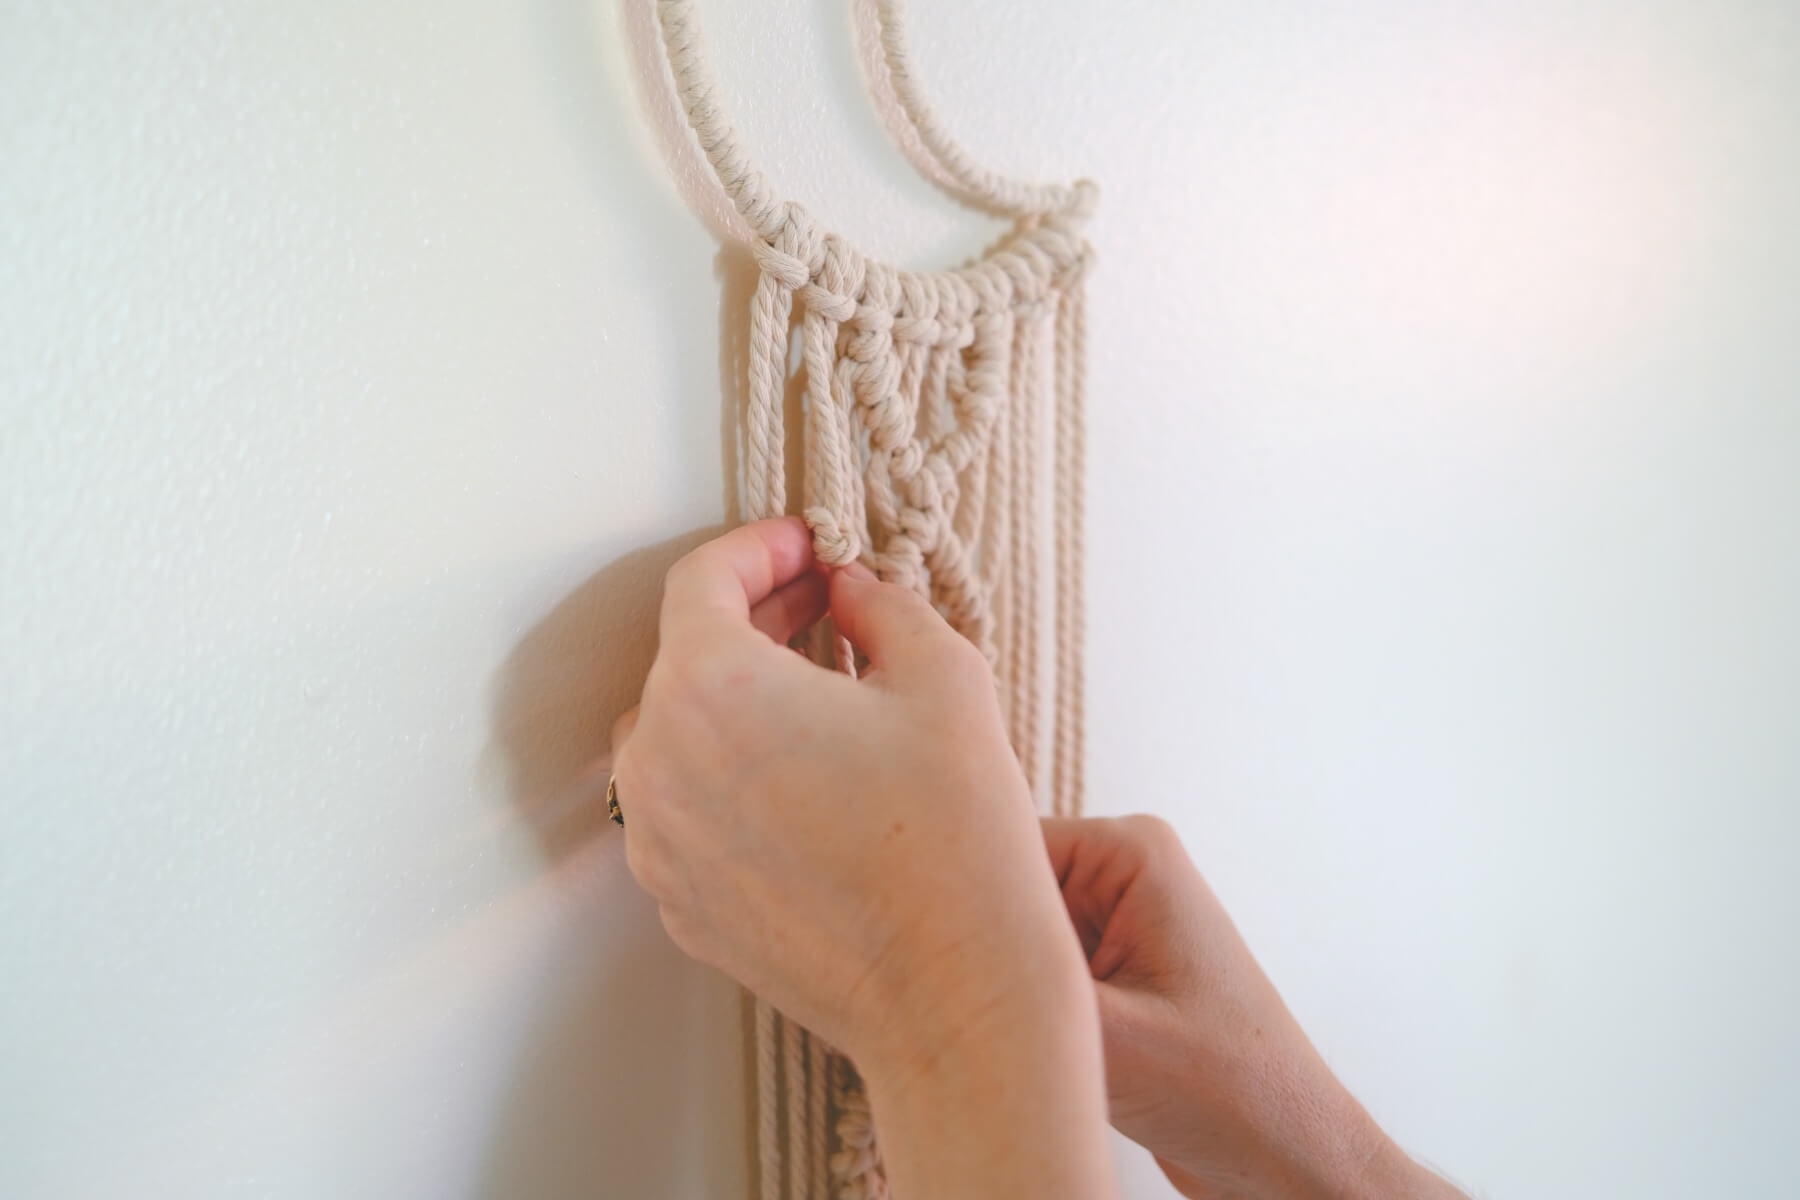
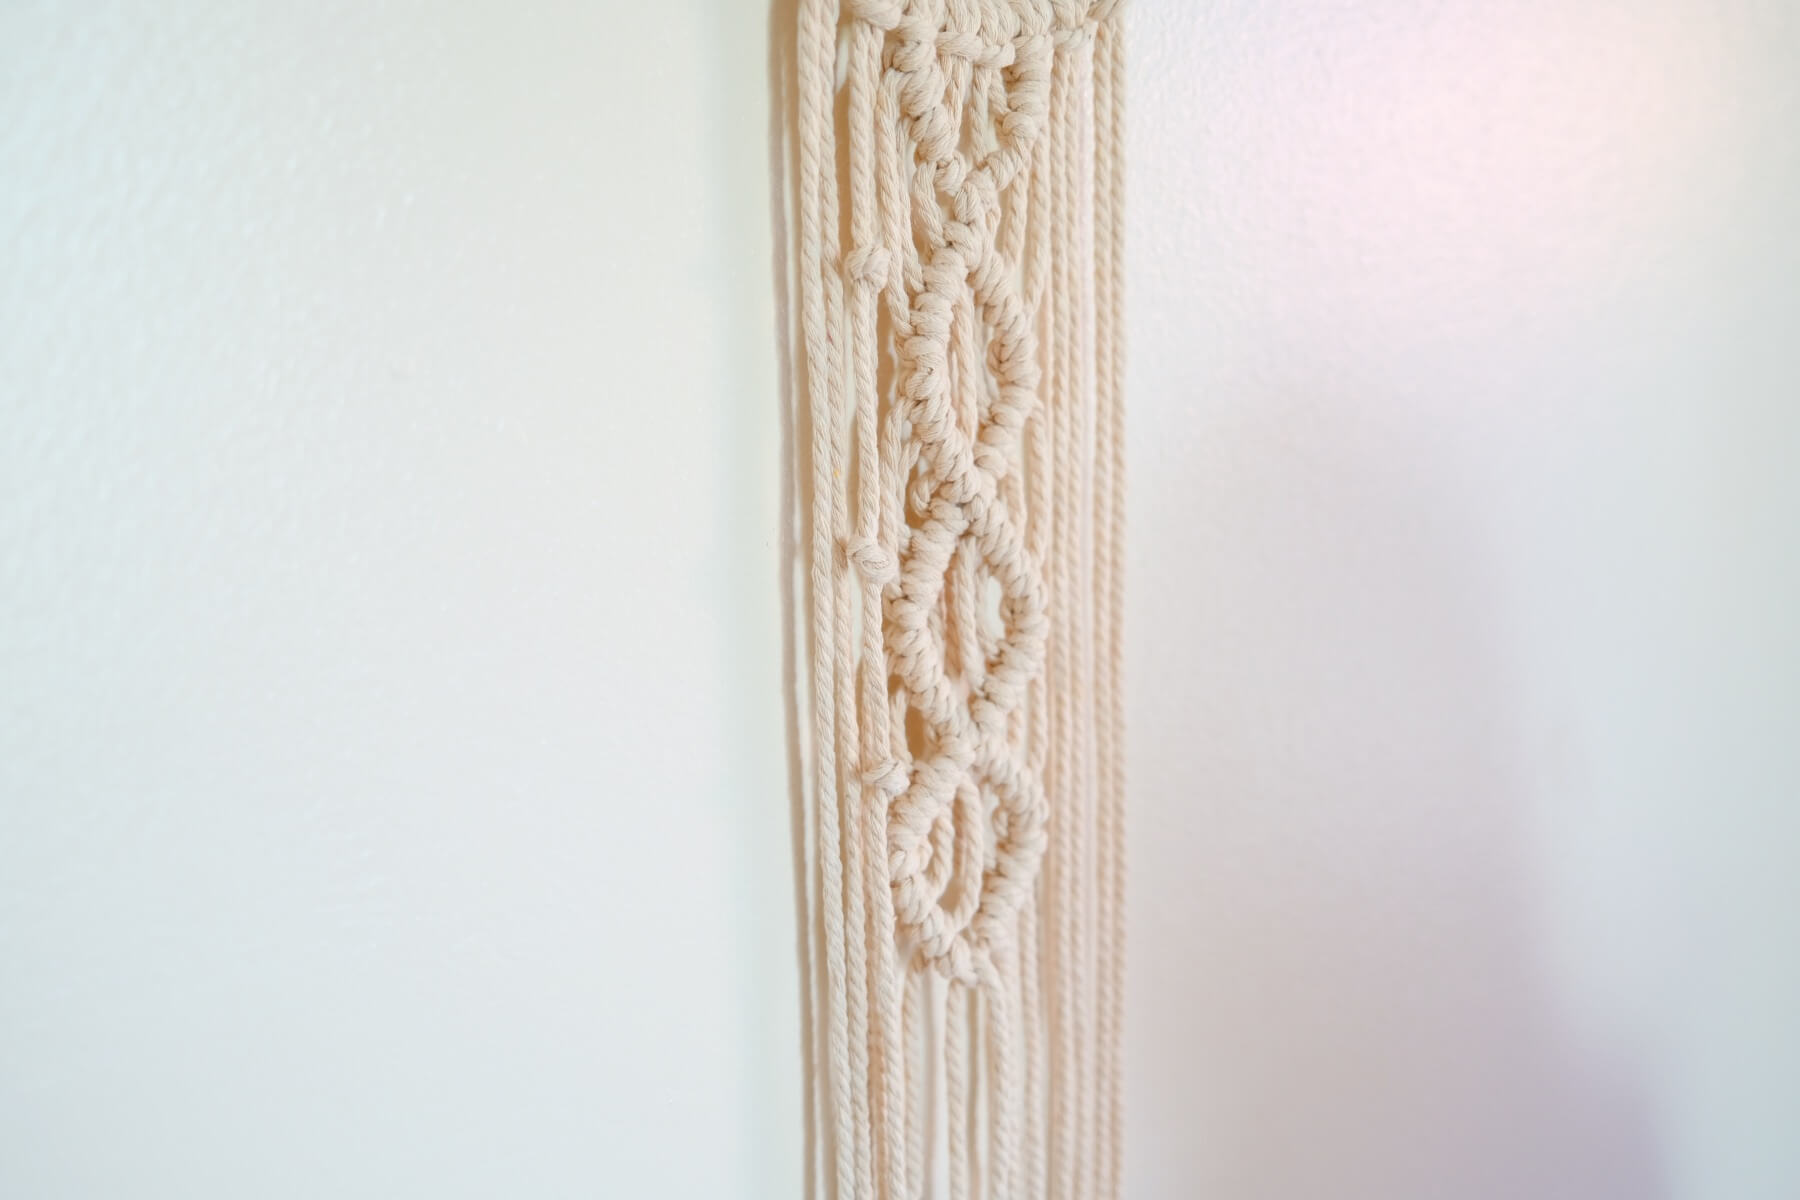
I made 3 knots total on each side. Although they don’t need to be perfectly placed from top to bottom on the cord, you will want both sides to match each other.
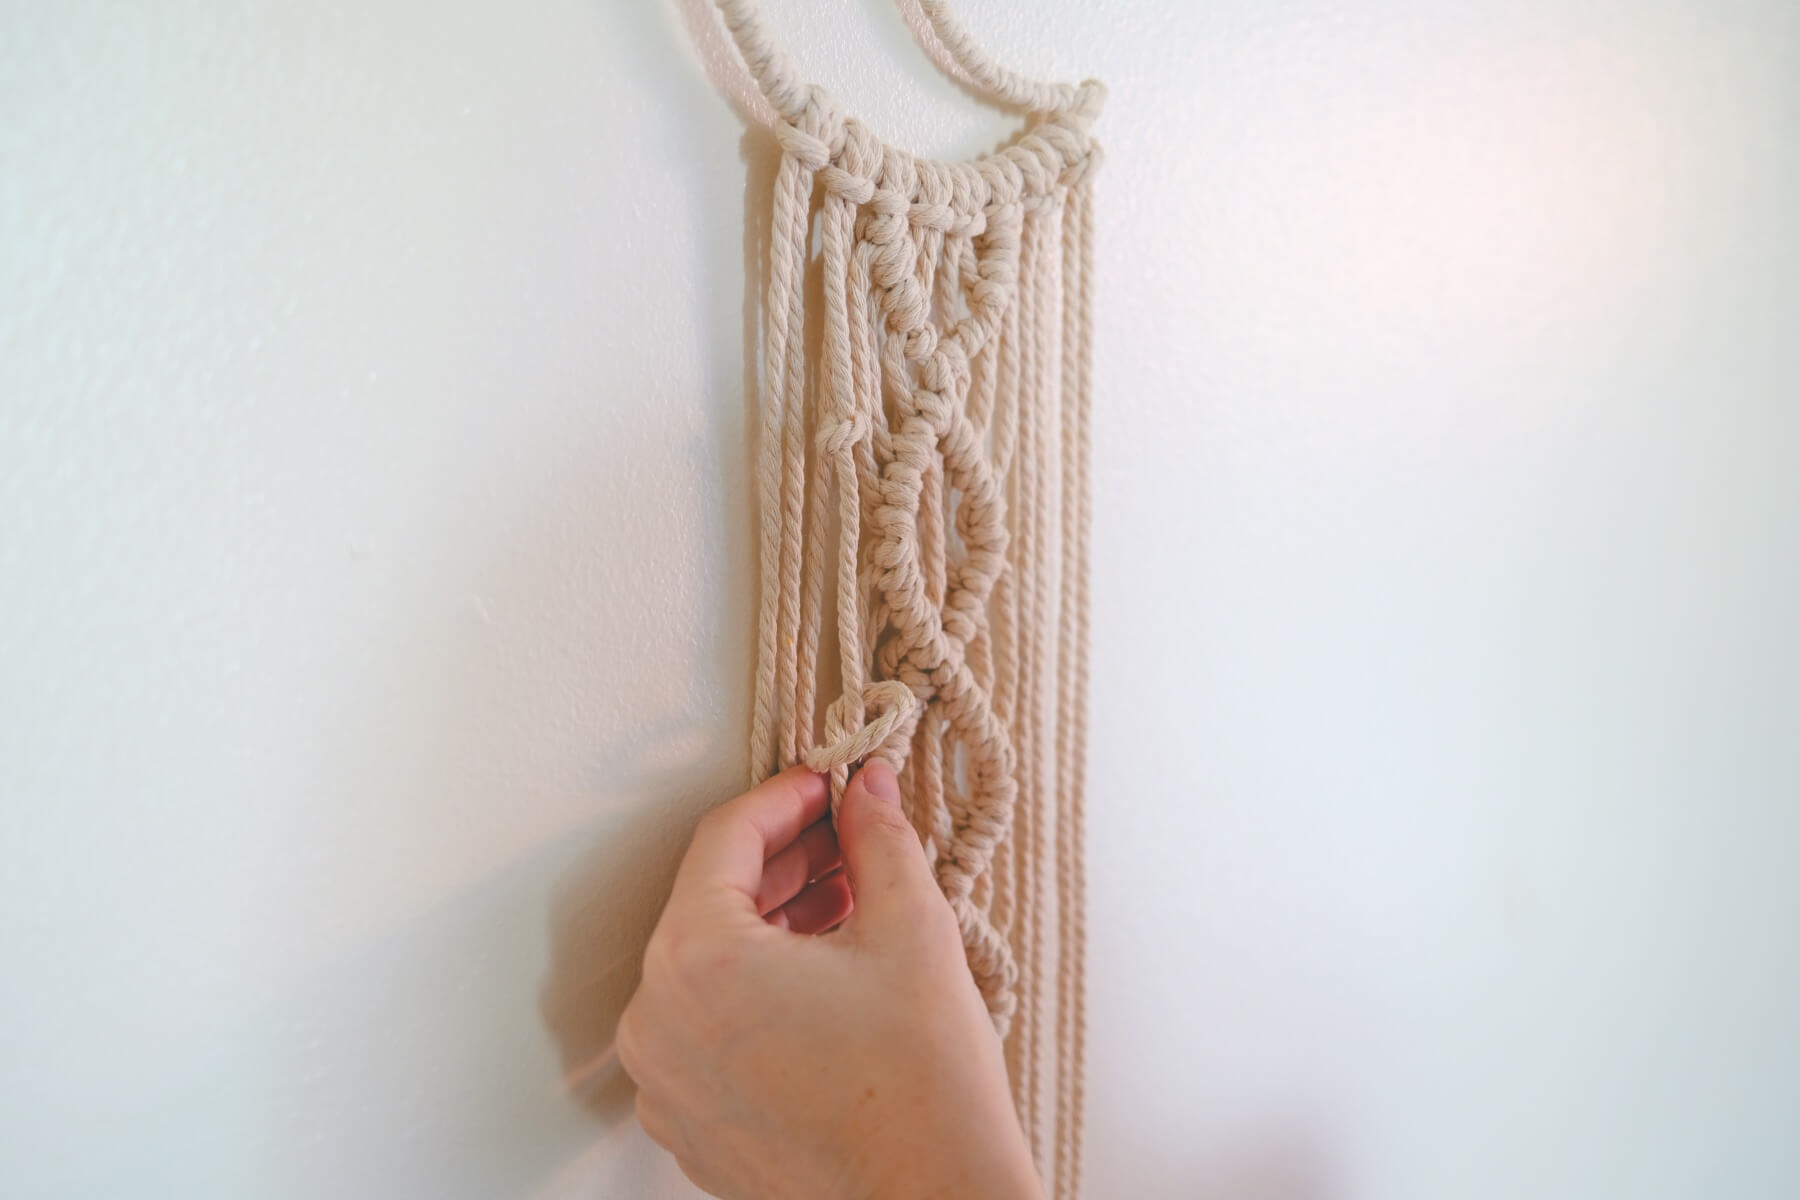
To place the knots, I made 3 knots that were each placed about 1/3 from the top and 1/3 from the bottom of the diamond shape. Then use your last knot as your center point between the 2 other knots.
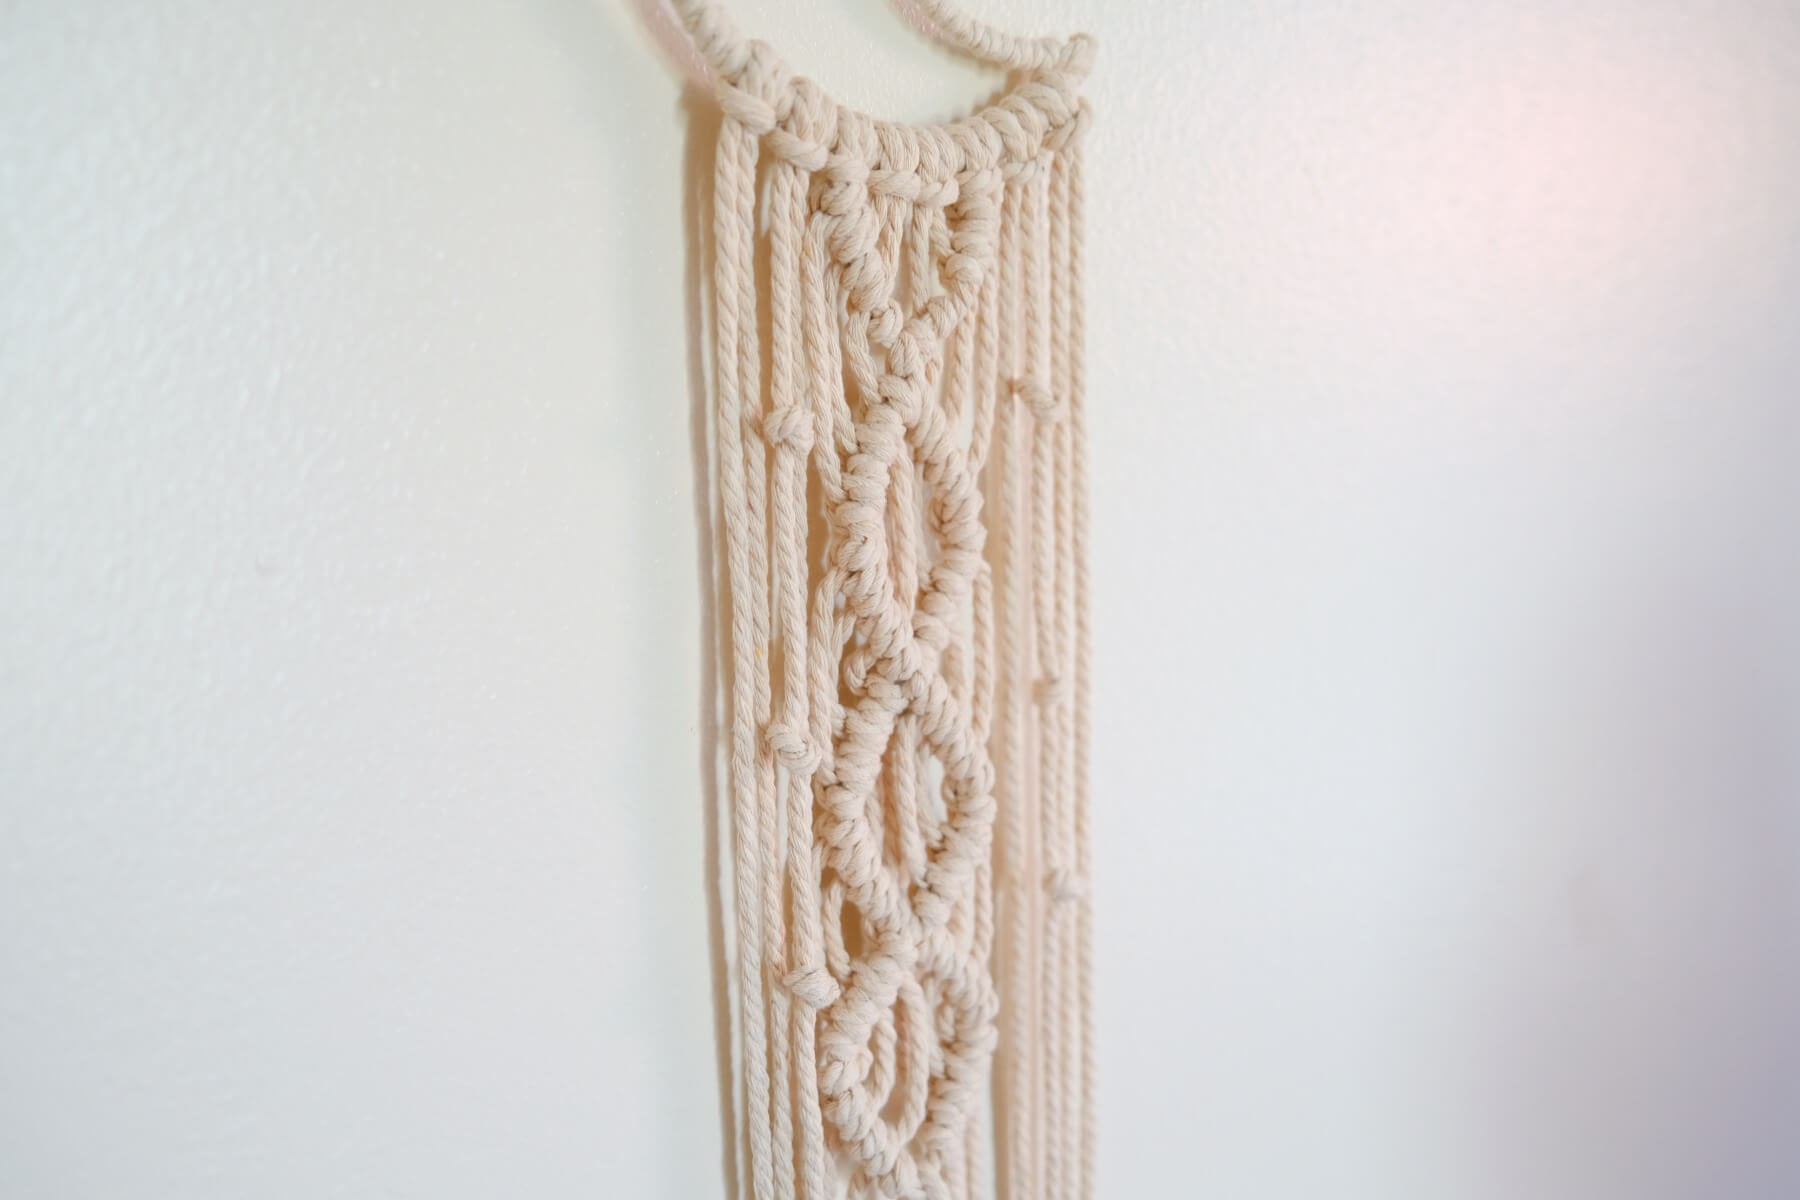
Now, we’re completely finished with the knot making. Not so bad, right?!? It gets easier the more you practice, and with practice your knots will become more even, gorgeous, and fun to make!
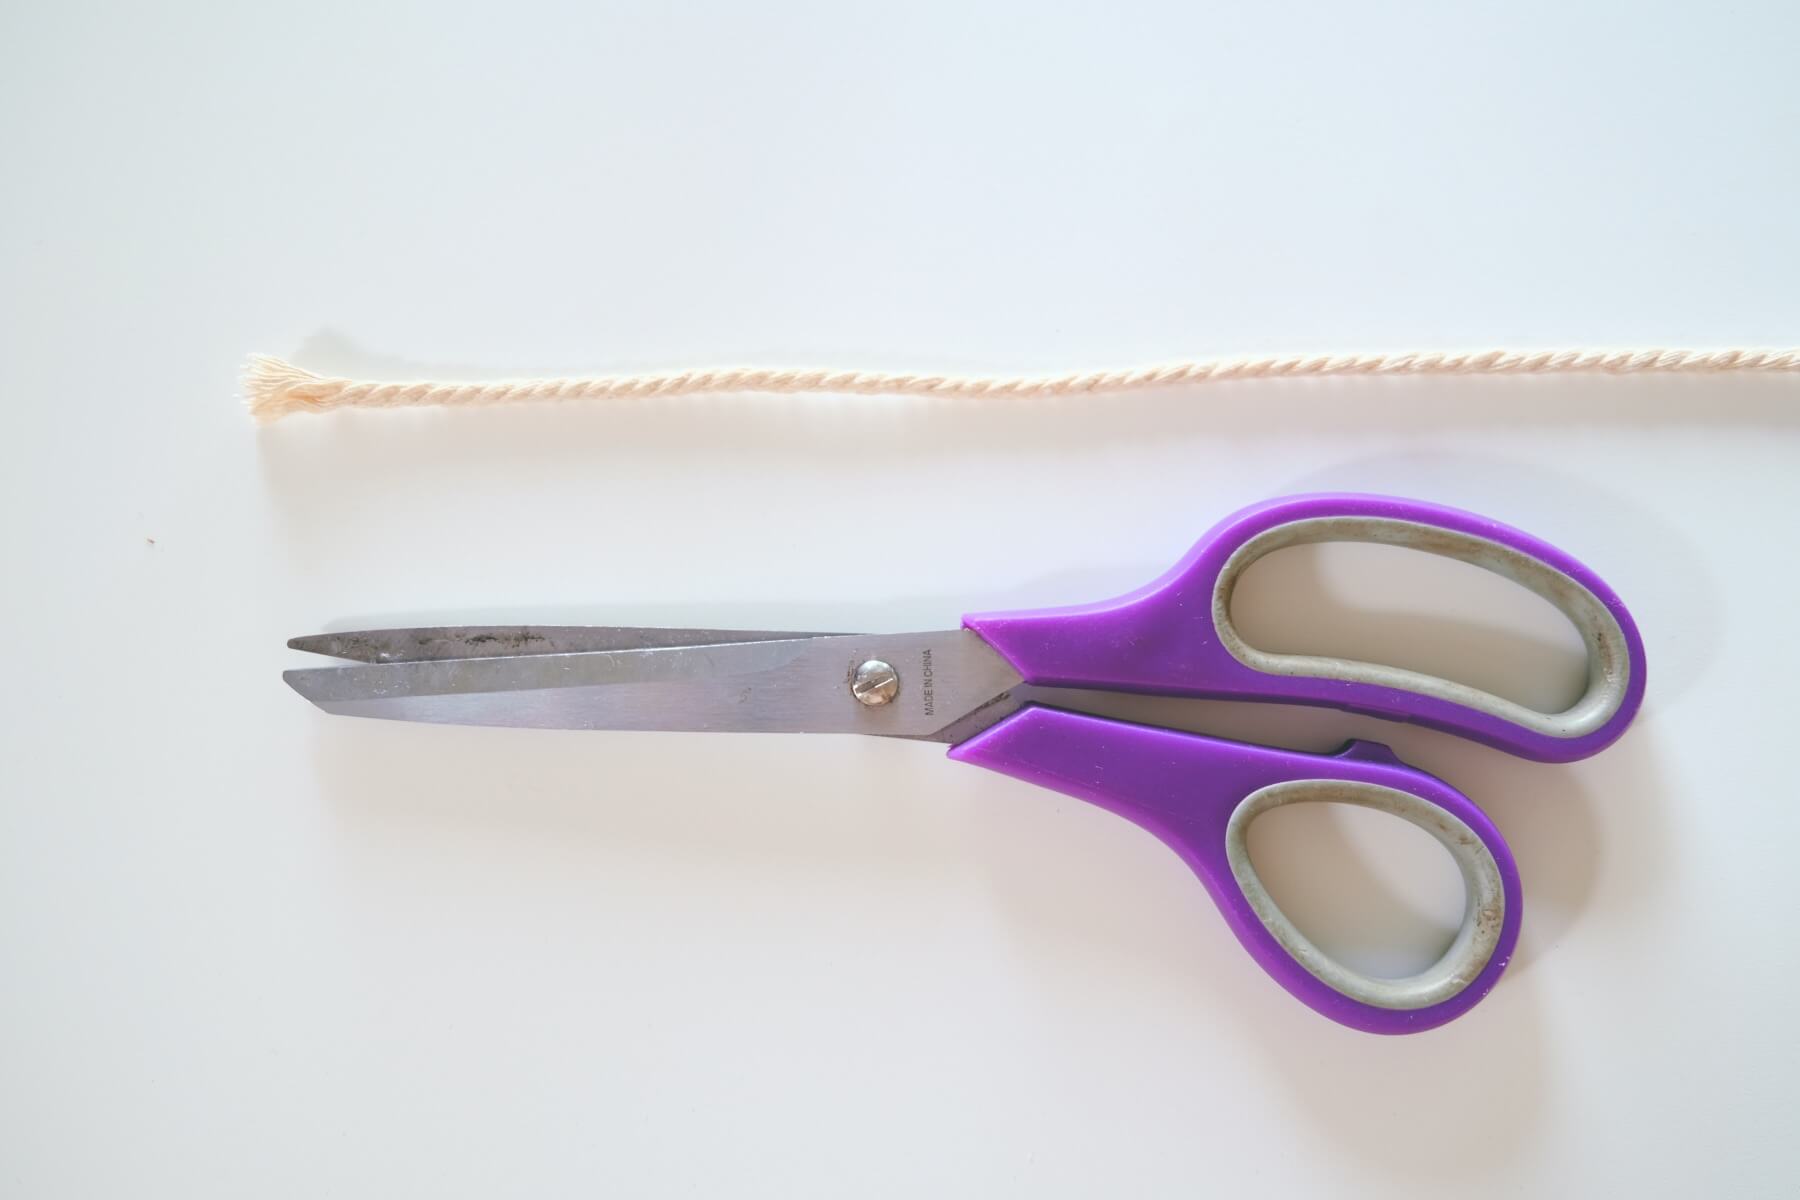
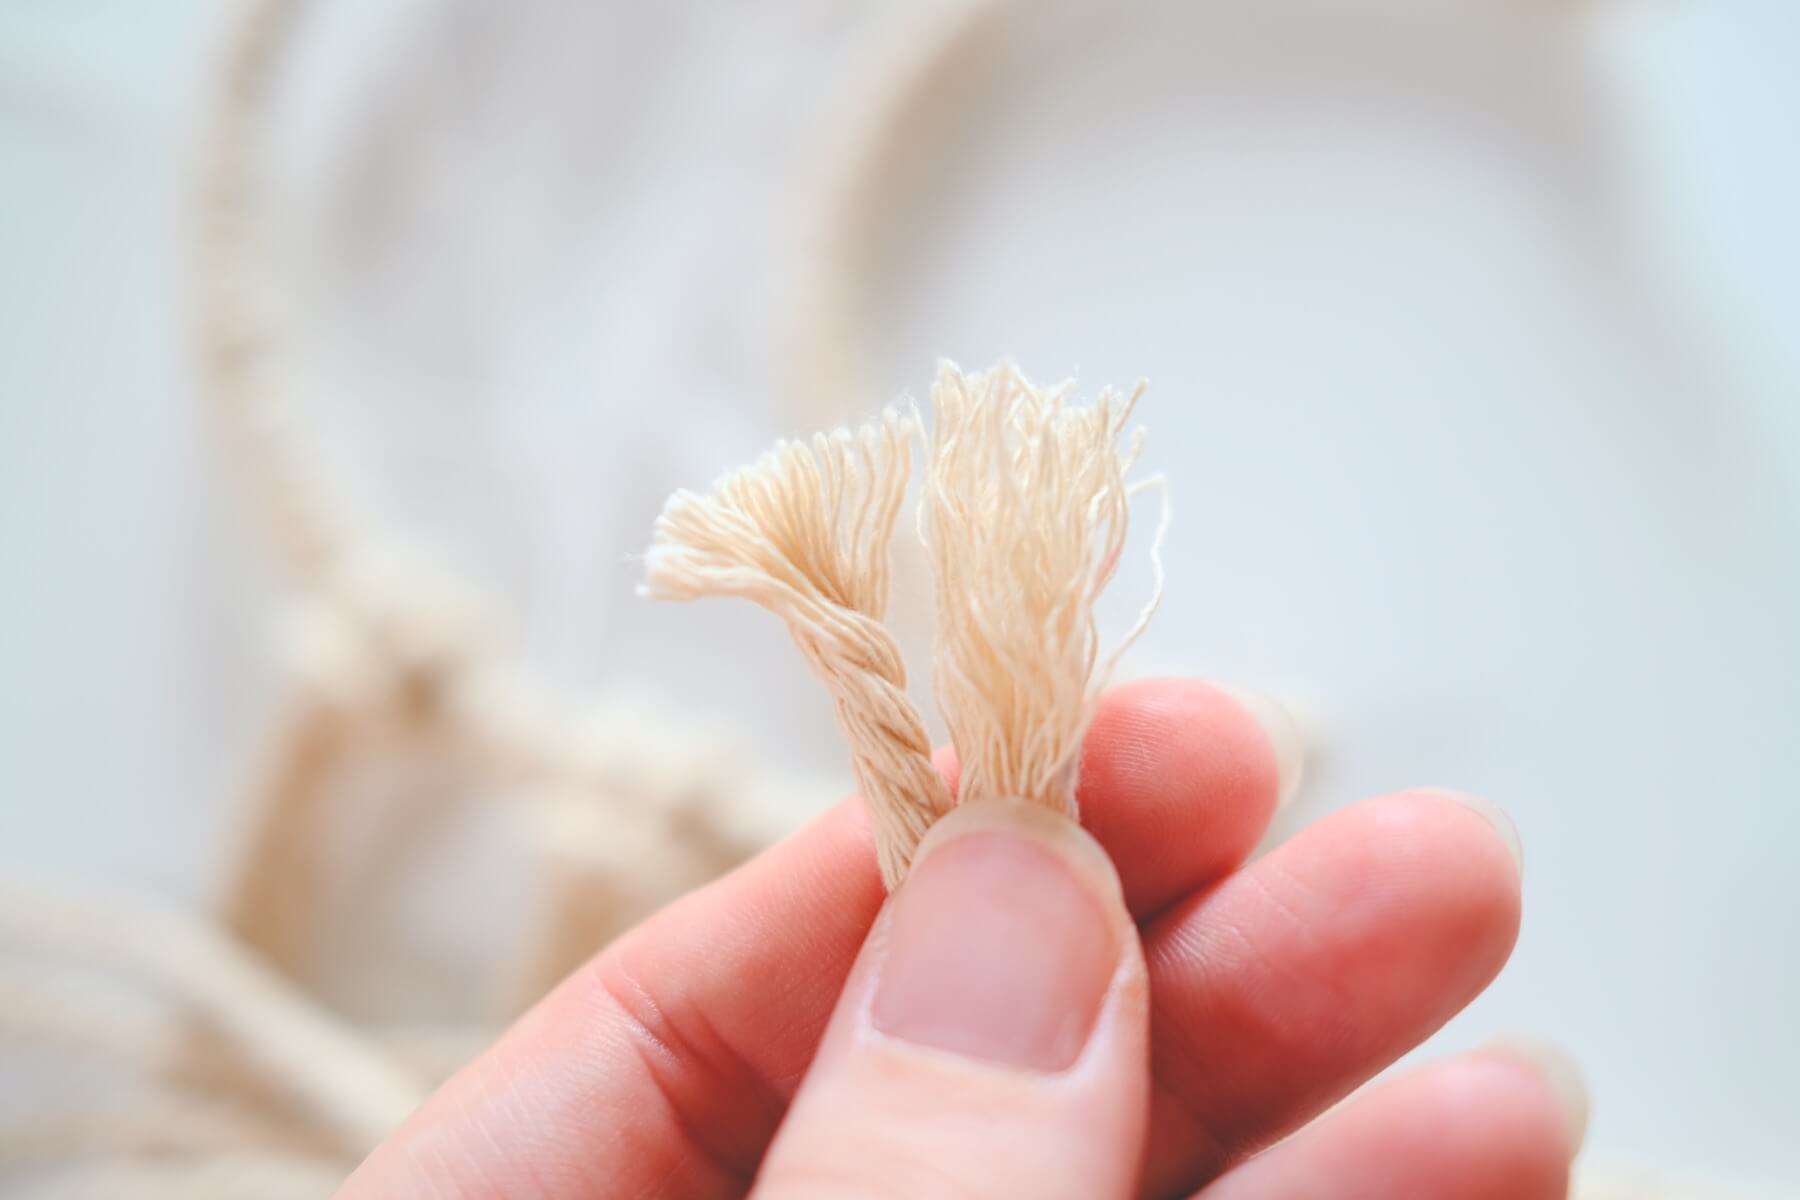
The last step before being completely done with the macrame portion is just to trim the ends so get your scissors ready!
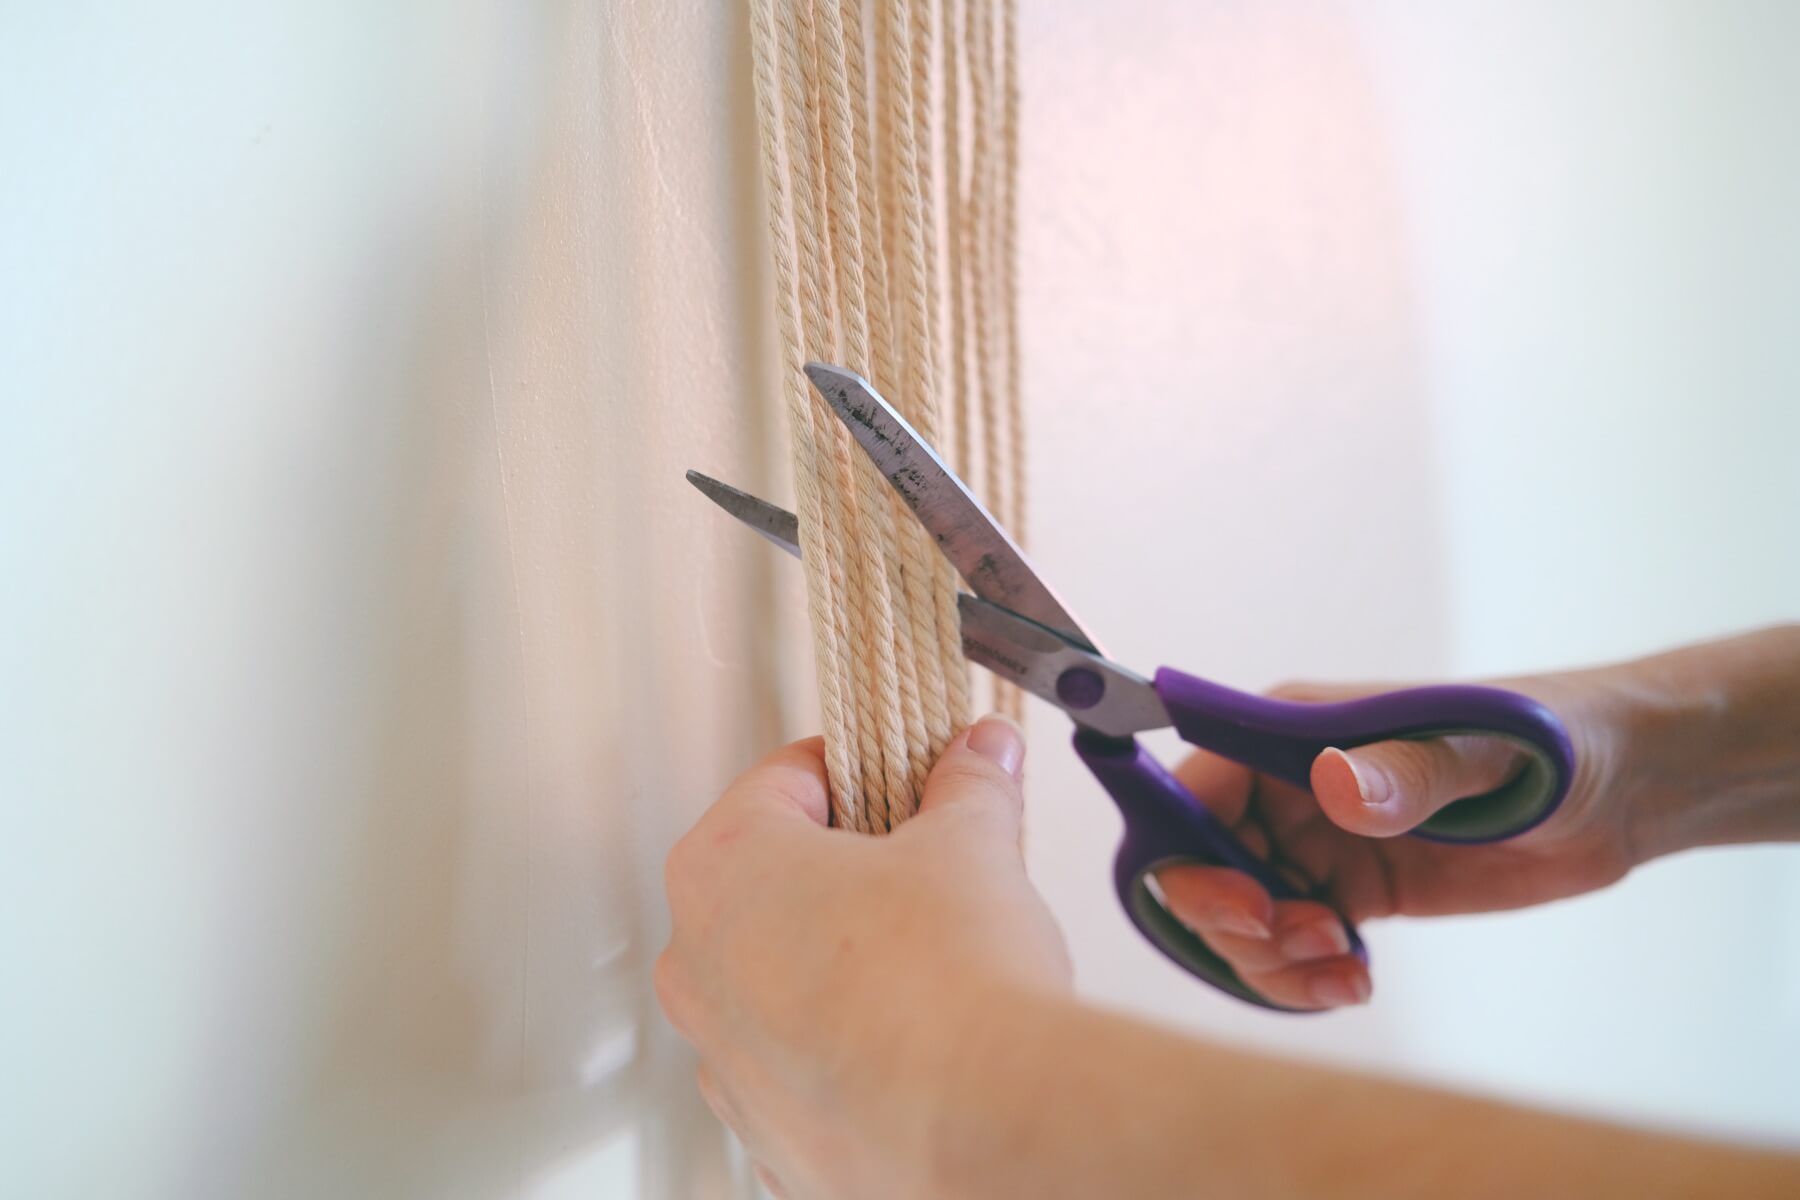
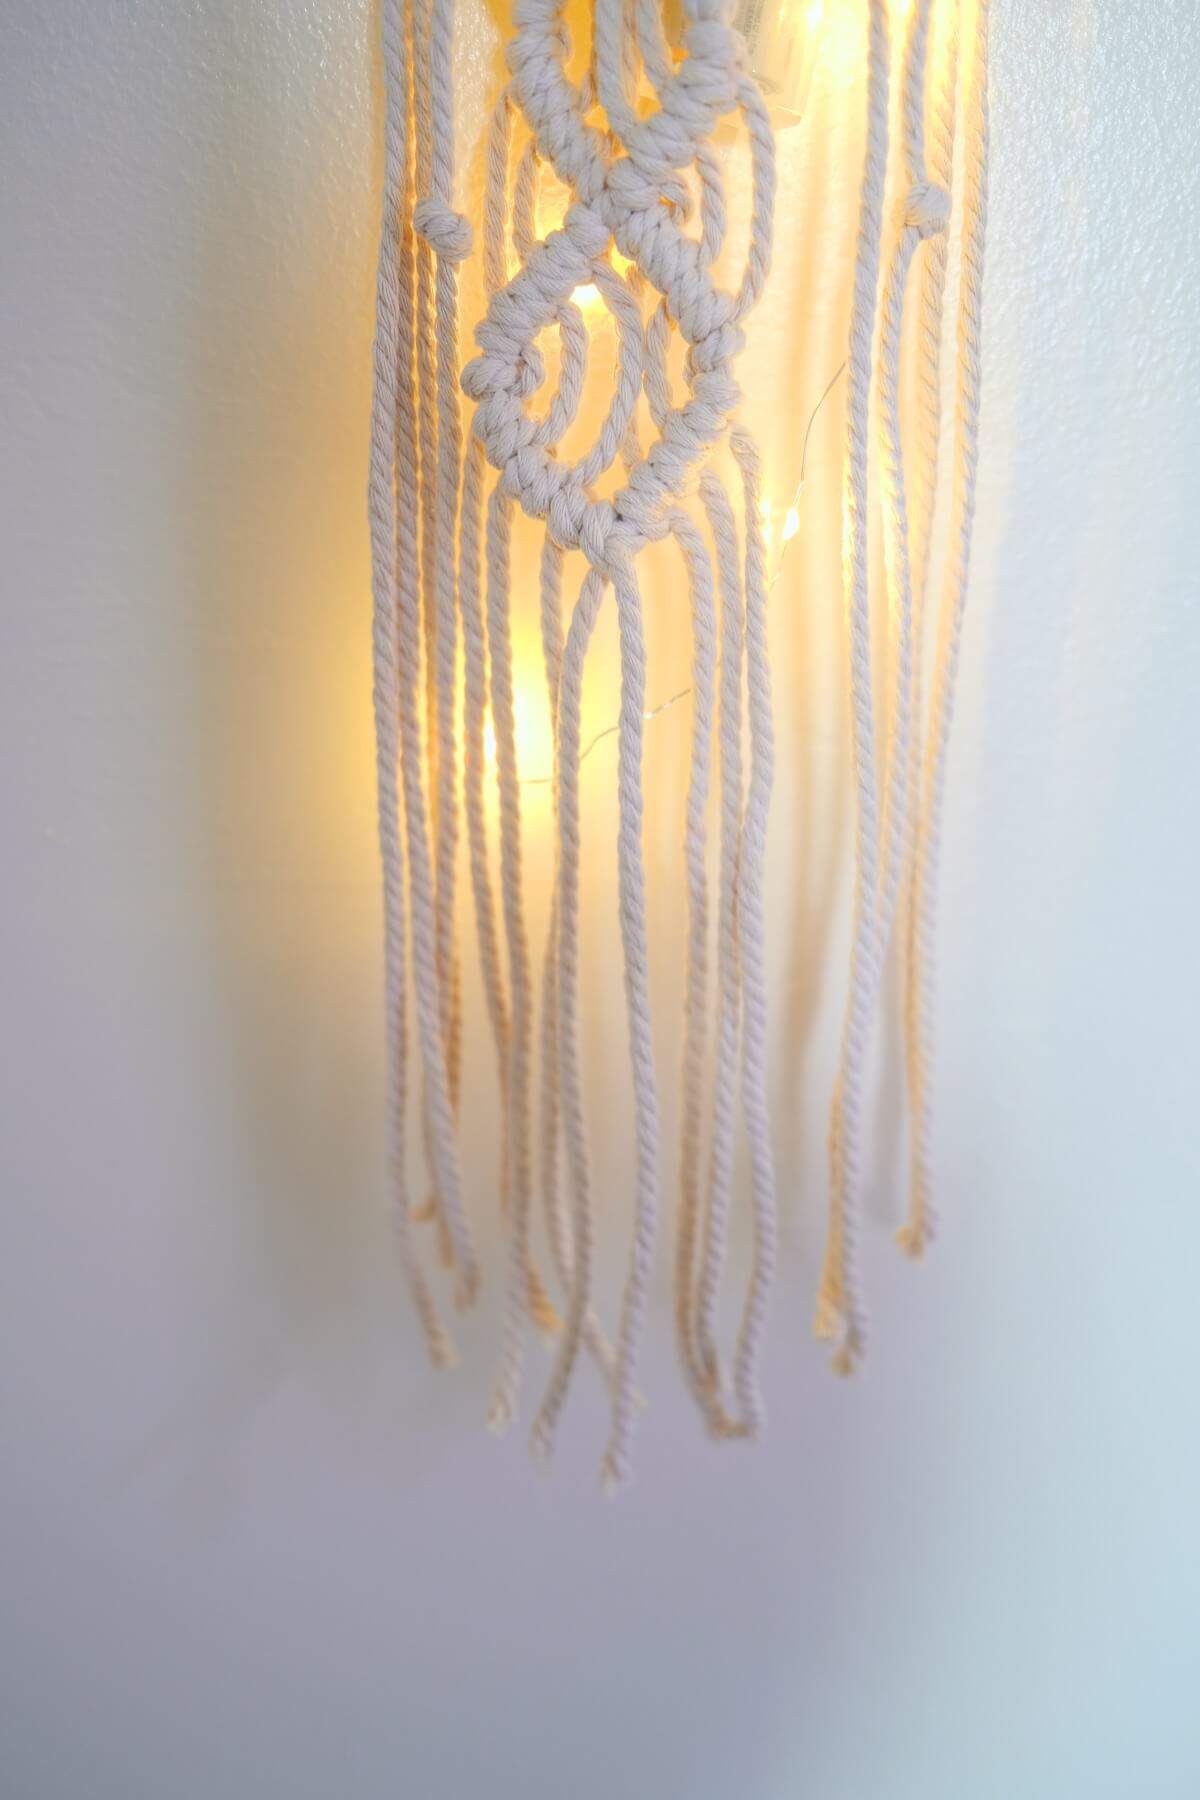
Step 9: Trim the Ends of Your Cord
For this step, you will want sharp, heavy-duty scissors so you can get smooth and even cuts. I chose to trim mine fairly straight across. But I made the edges just slightly shorter than the interior.
You could get creative here by trimming your cords along an angle or making a a v shape. There are lots of different shapes explored in the Macrame Tutorial here.
You can also keep your ends super long or make them short so that the diamond shapes are at the very bottom. You can choose based on what looks good to you!
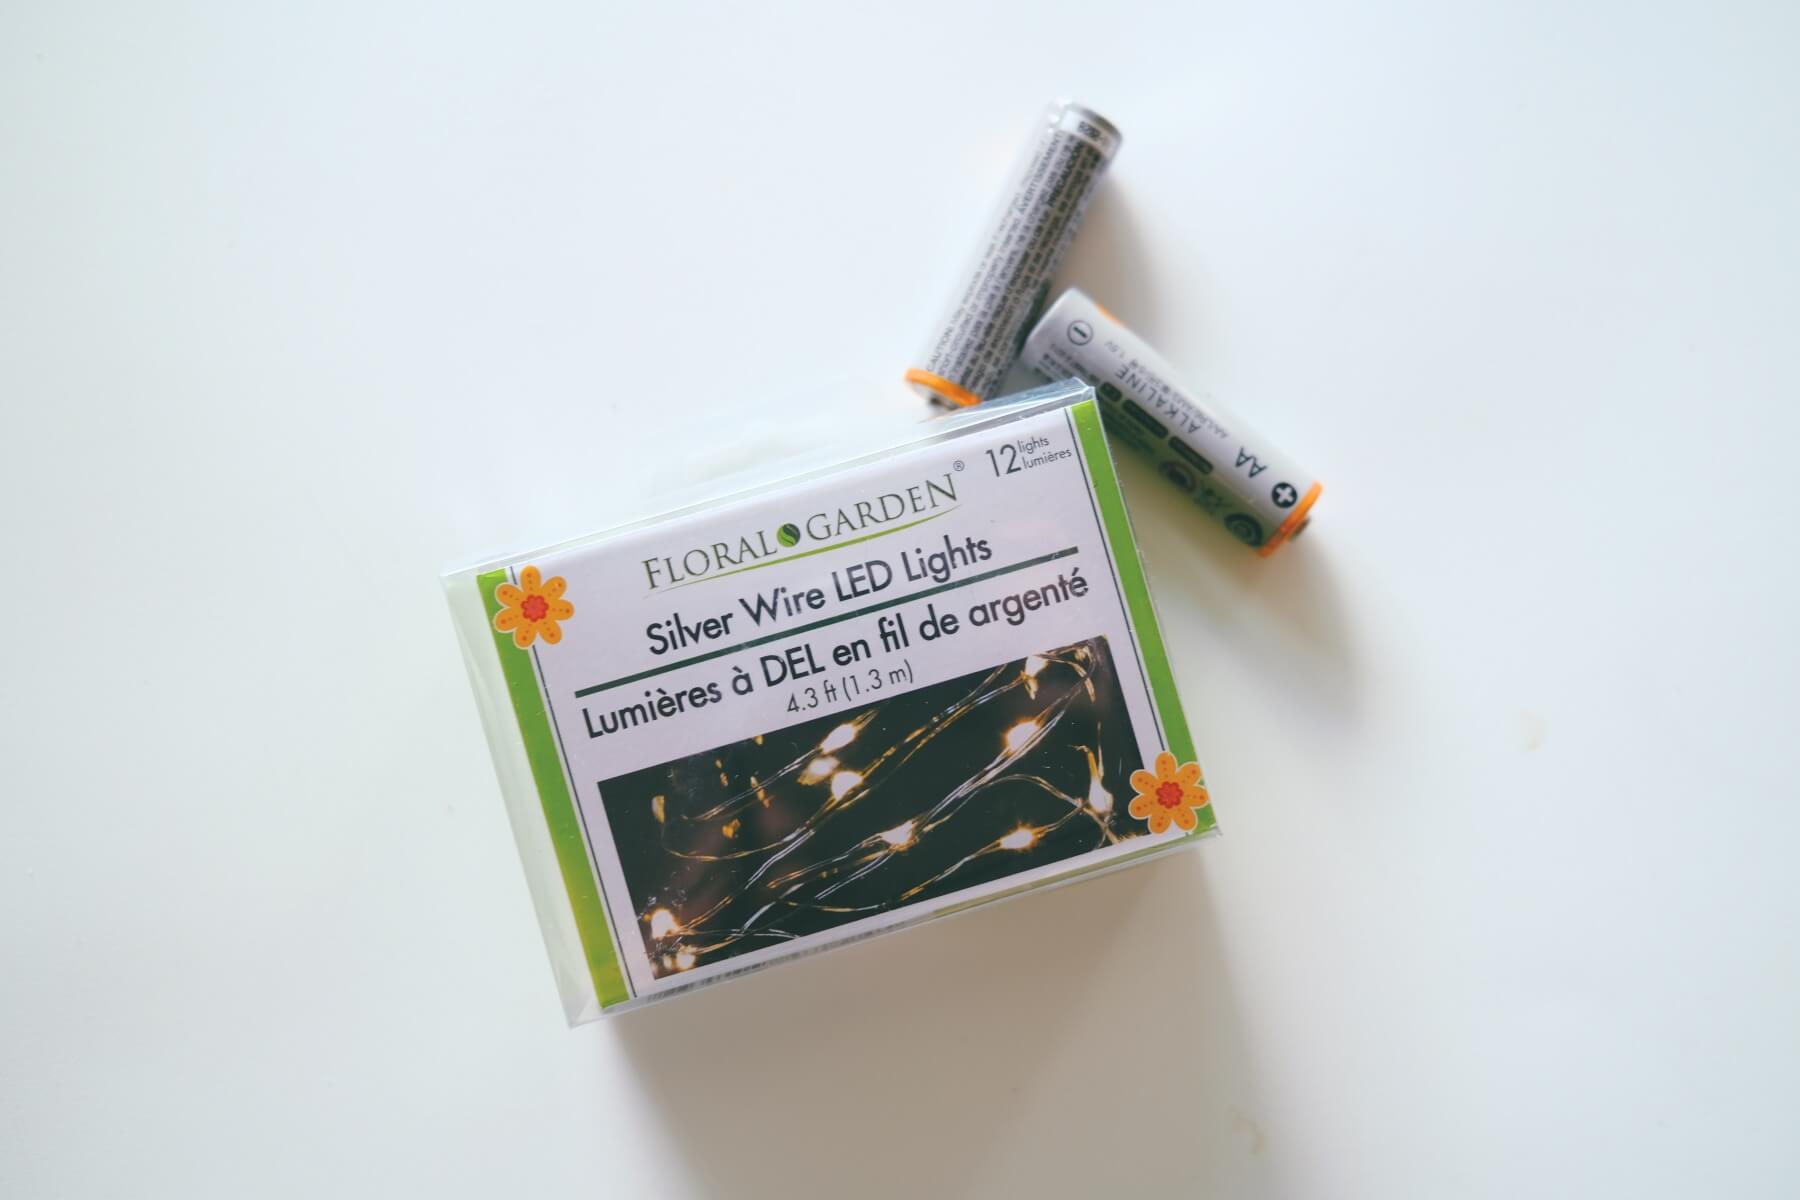
Step 10: Prep Your String Lights
The string lights included in this kit, may need batteries added or may have a little plastic piece covering the battery that will need to be pulled out for the batteries to work.

Even if you are sourcing your own materials, you will want to check your batteries and likely replace them before adding your string light to the macrame.
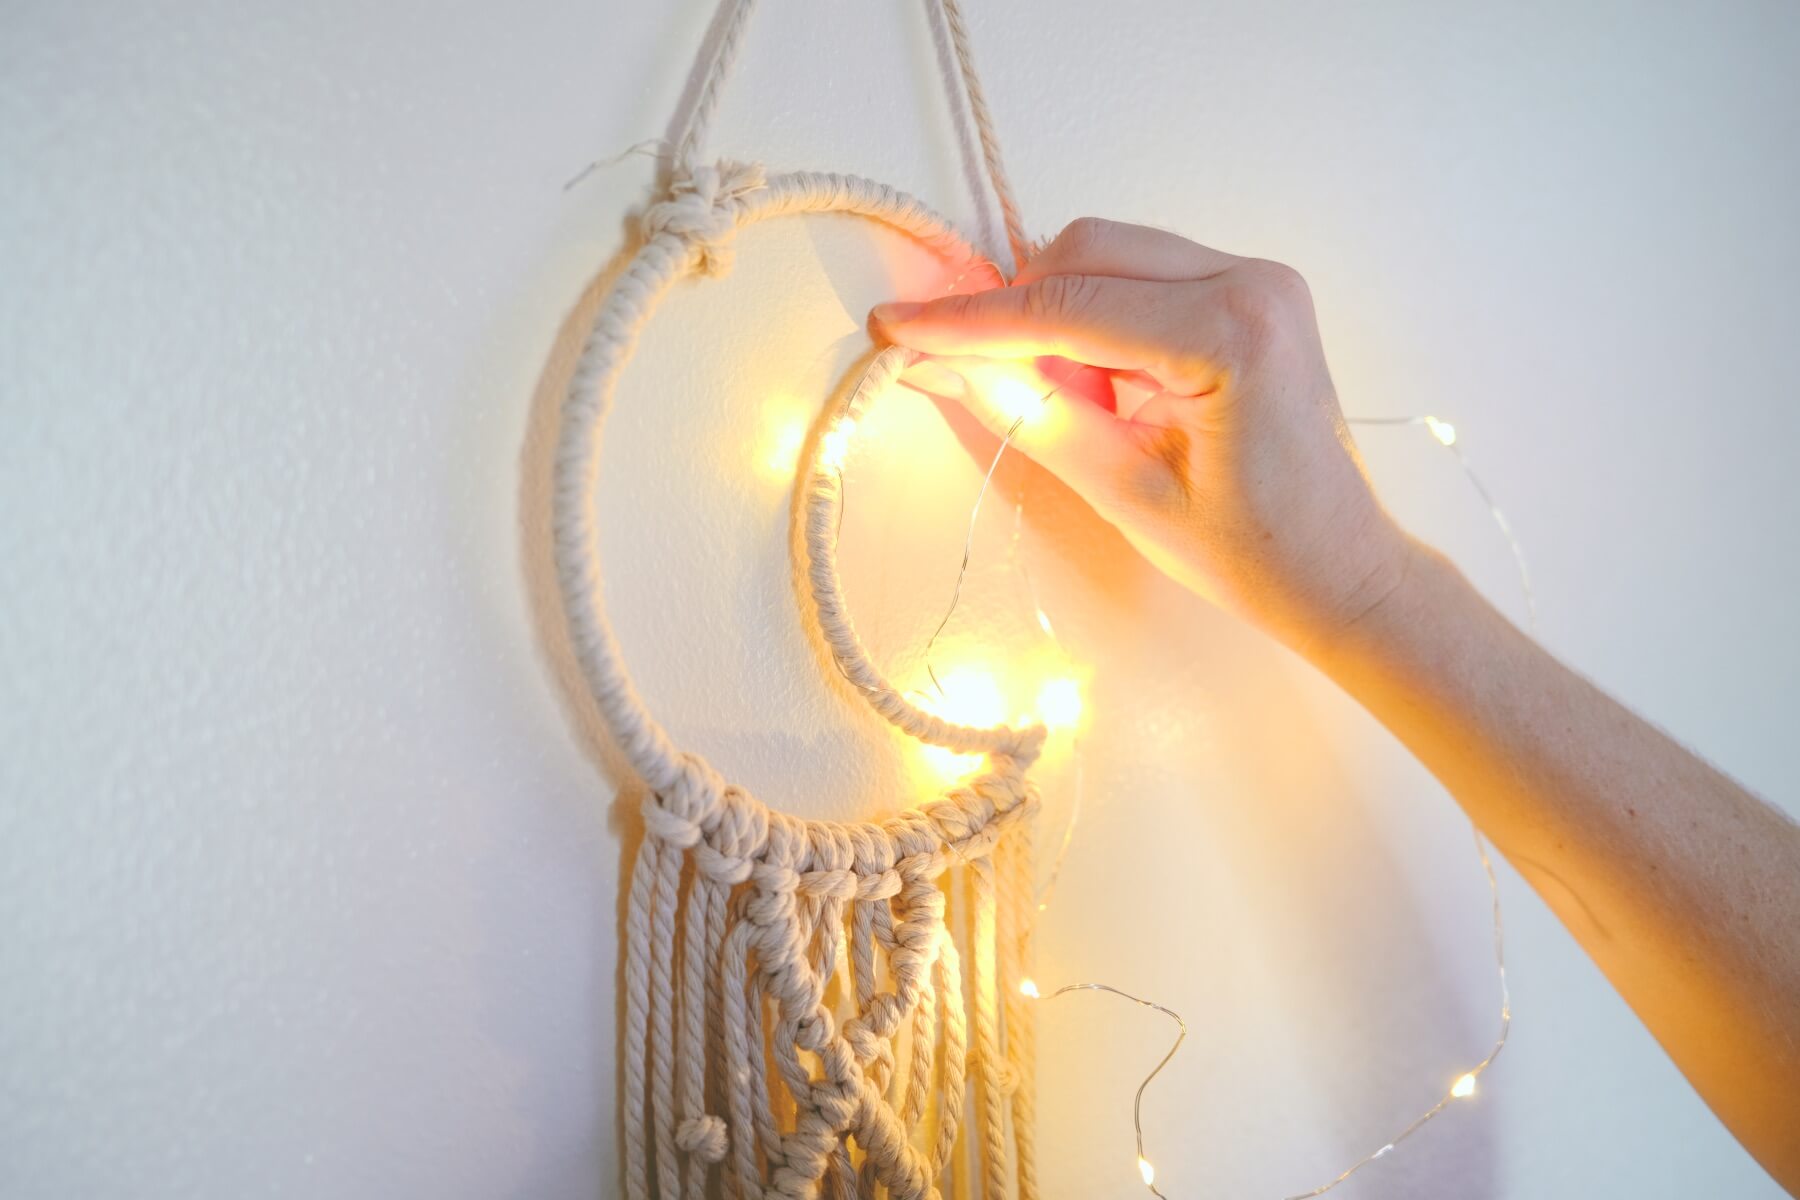
Once you know that your batteries are fresh, turn the lights on so you can place the lights on your macrame easier.
Wind the string lights through the macrame, starting on one side of the bottom on the moon base.
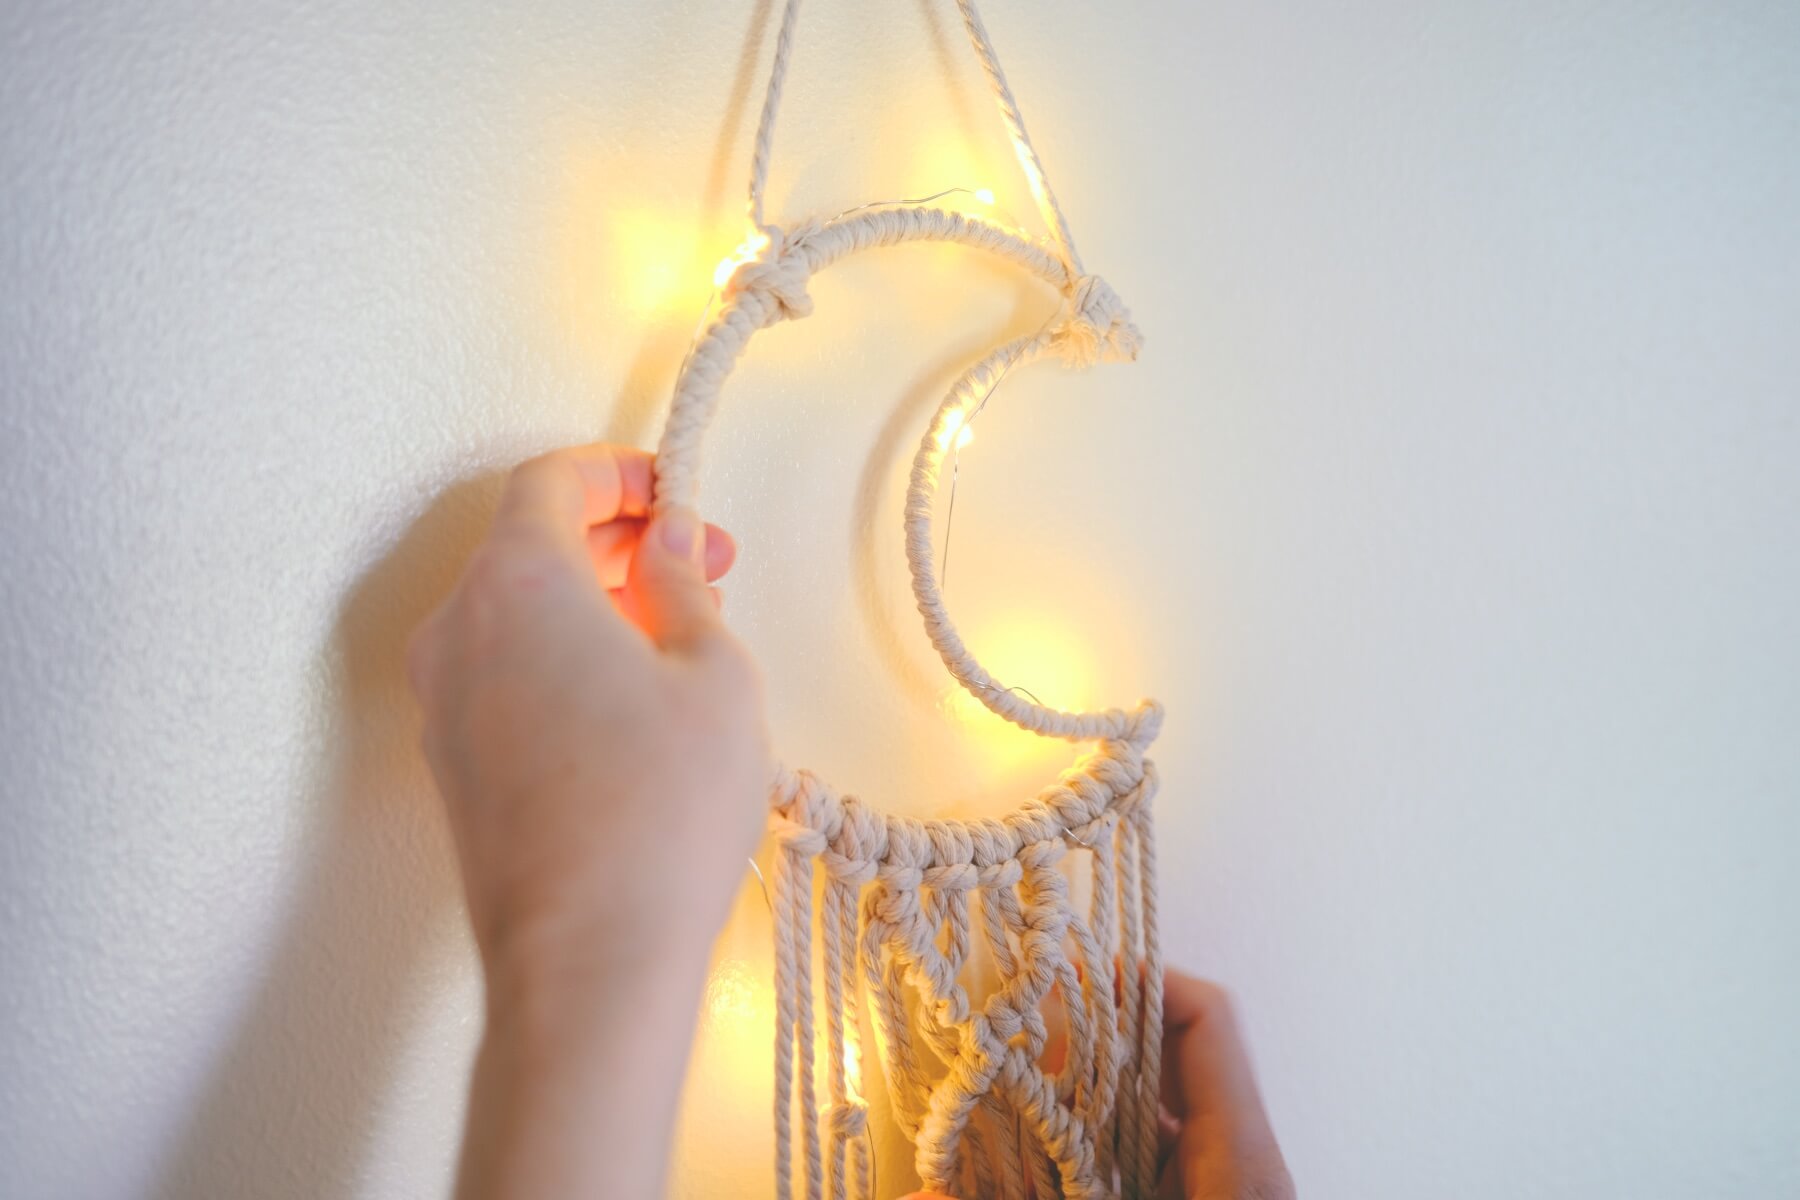
Follow the moon shaped macrame base up and around so that the end of the string lights with the battery pack can hang in the center of the macrame cord that hangs down.
This is the best way to make sure your battery pack stays hidden and discreet. Now you can continue to adjust your lights, so they are placed where you like them.
Just make sure that most of the lights are on the back side of the moon shaped macrame wall hanging so that they are less bright and more subdued.
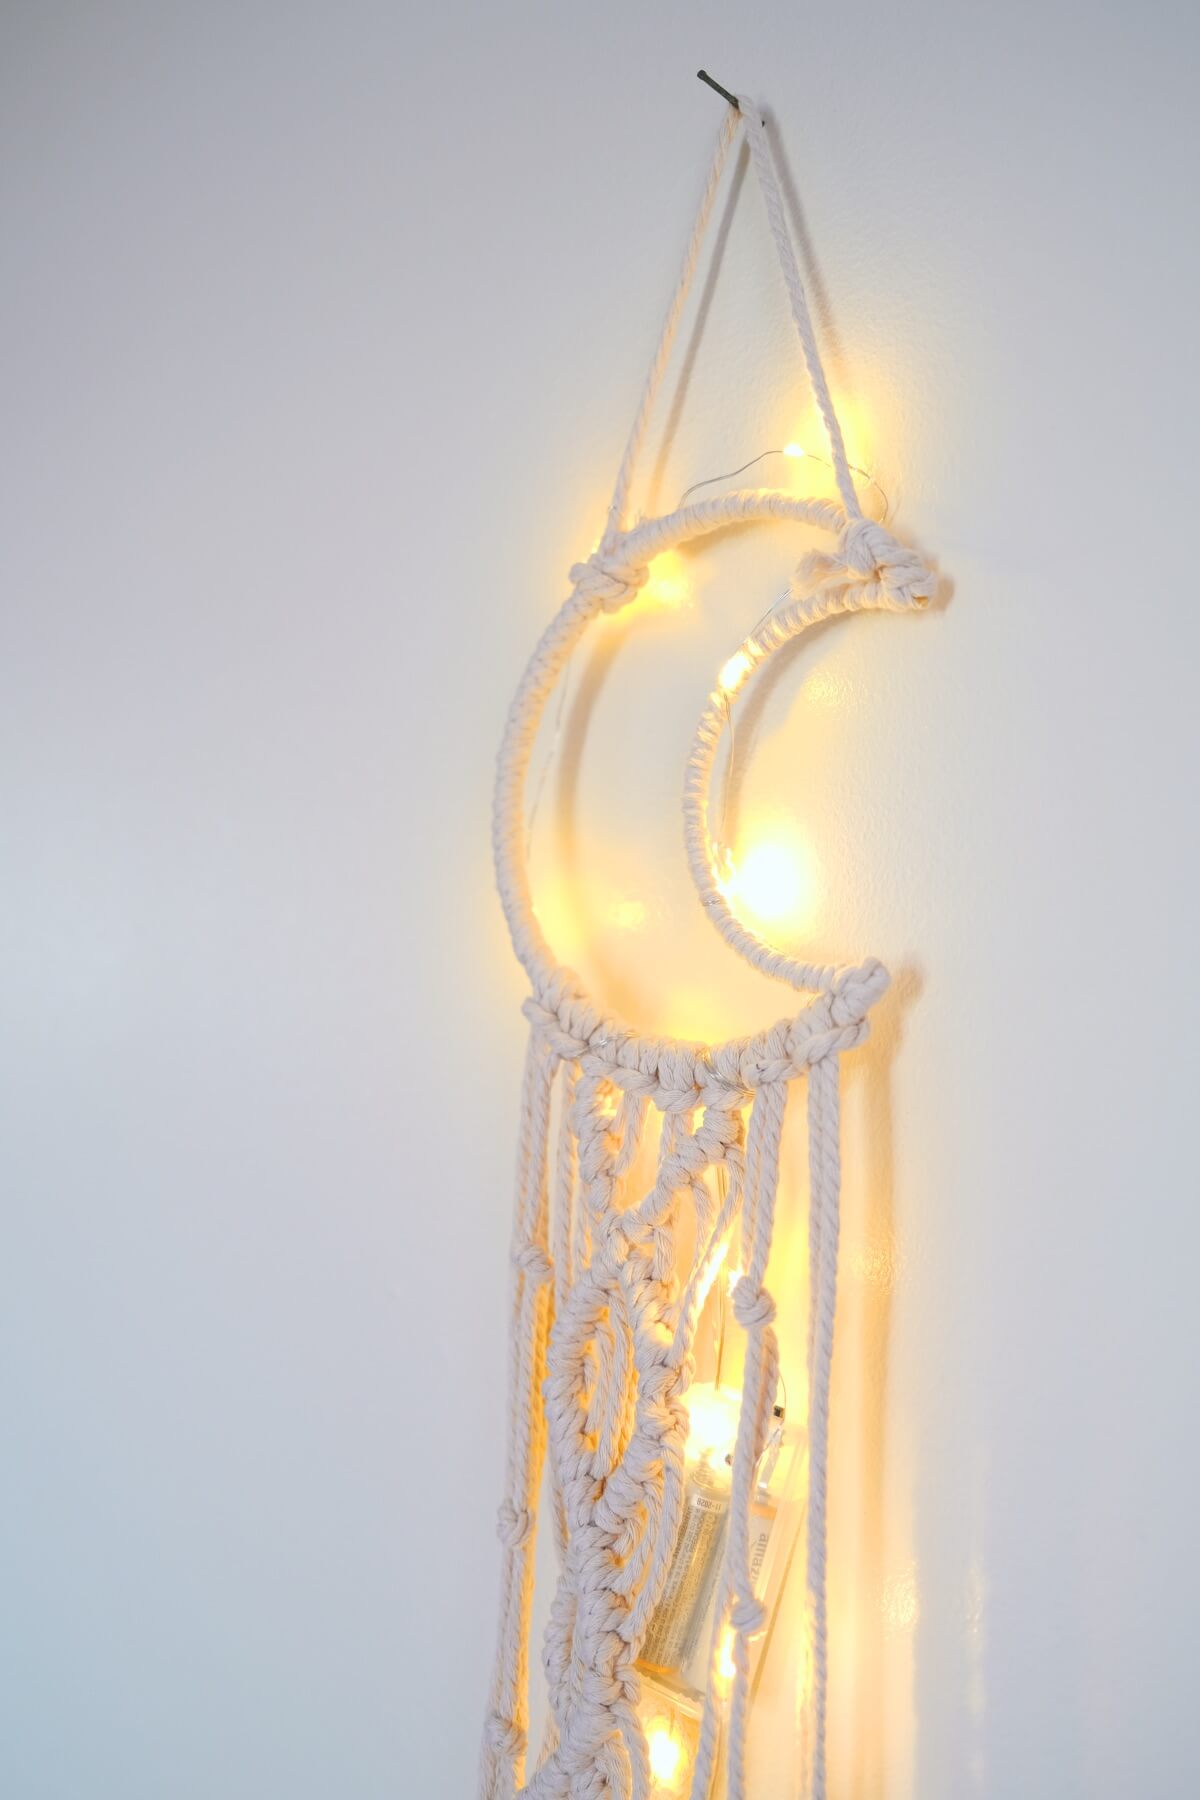
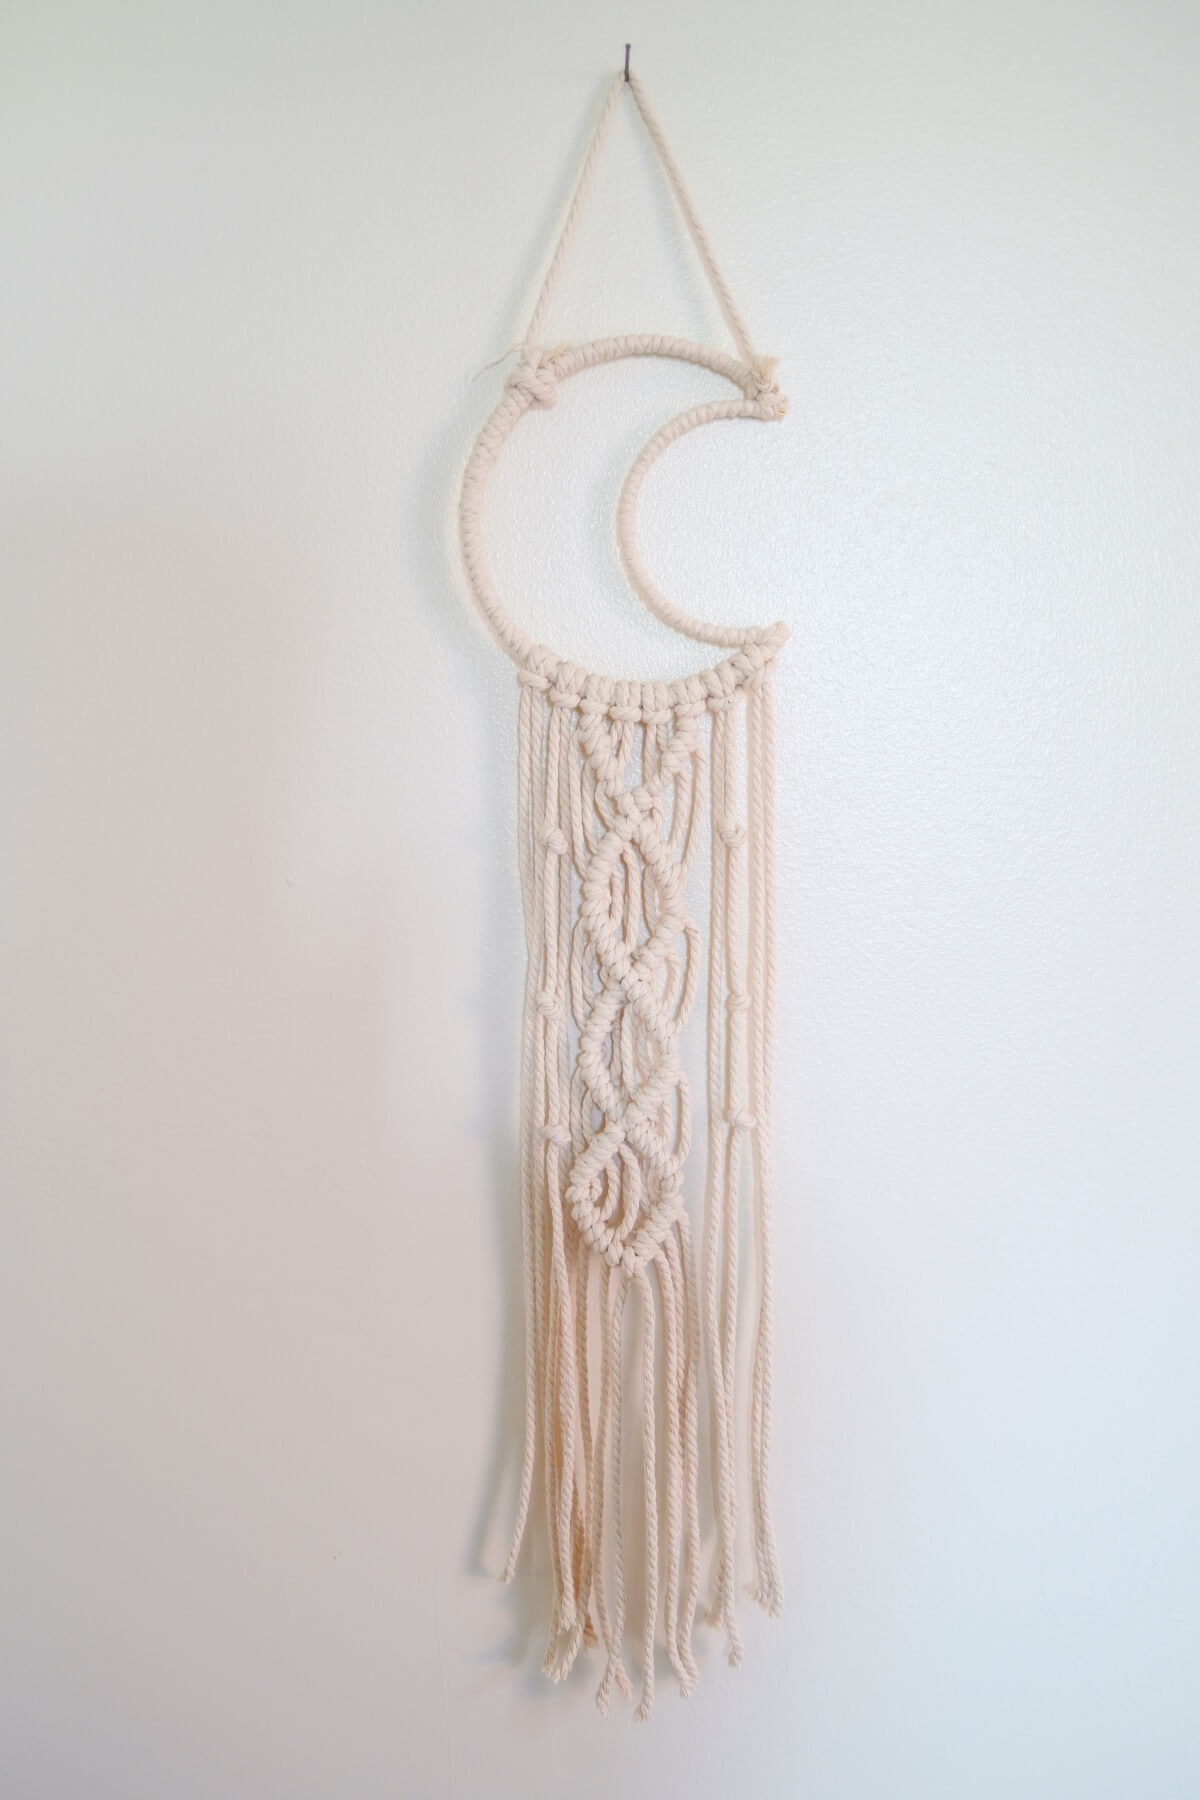
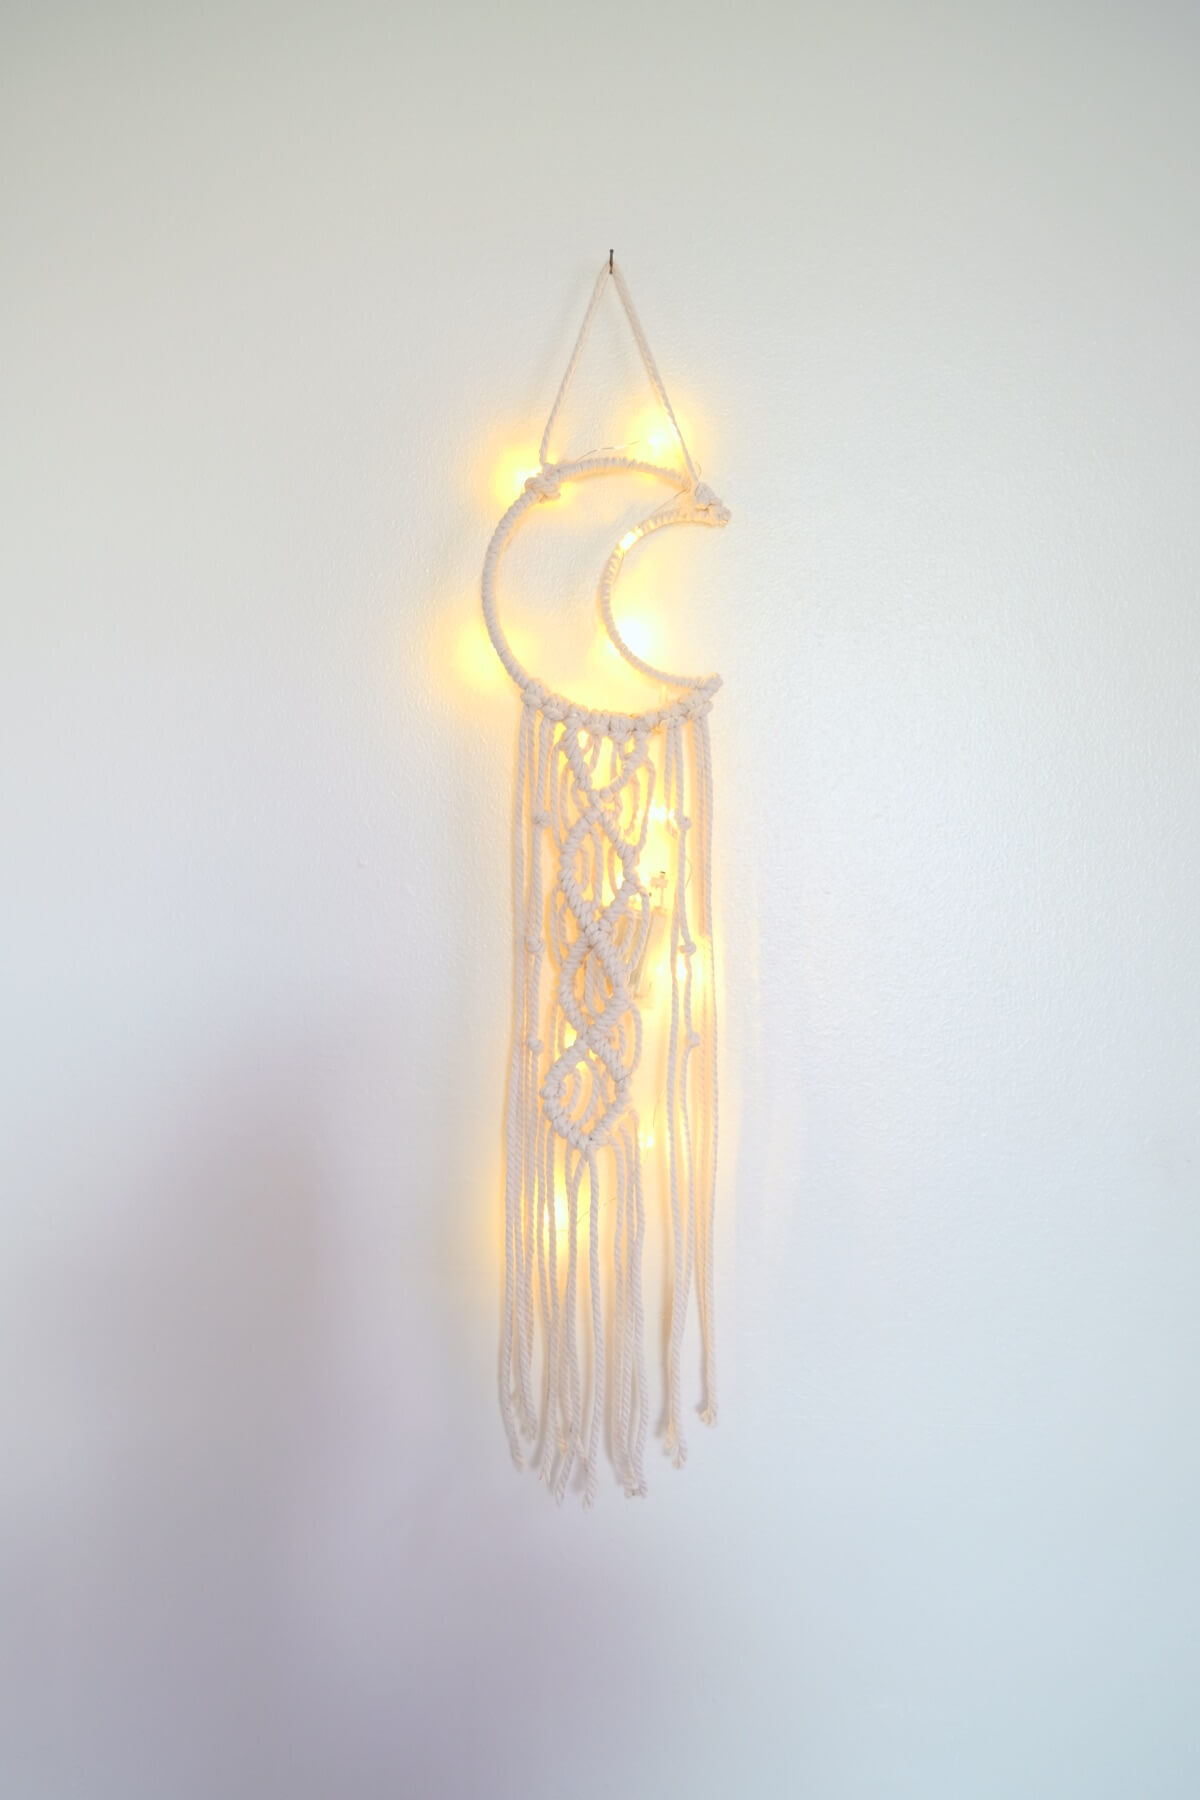
Once your light is held in place and all your string lights are placed where you want them viola! You have now finished your DIY Moon Shaped Macrame Wall Hanging with Lights! Now it’s all about where you place your macrame wall hanging.
Because of your clever little string lights, this macrame piece is perfect for anywhere with low light or anywhere that you need extra light but can’t run a power cord.
My favorite spot is on your patio, so that you can add a gorgeous touch of light when you are outside. But this macrame piece also makes a gorgeous night light for your bedroom or would be so fun in a closet or laundry room as well.
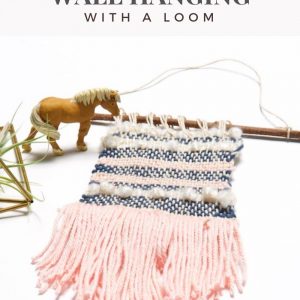
If you are ready to take on even more macrame projects, you have to try this Macrame Wind Chime and this beginner friendly Succulent & Leaves Macrame Wreath.
And if you want to get all the supplies to make this project for yourself, don’t miss the August 2021 Craft in Style Subscription Box! That’s our monthly box full of unique craft supplies each month with new projects every time.
Let’s Stay Friends!
Insta | Pinterest | Enews | TikTok