DIY
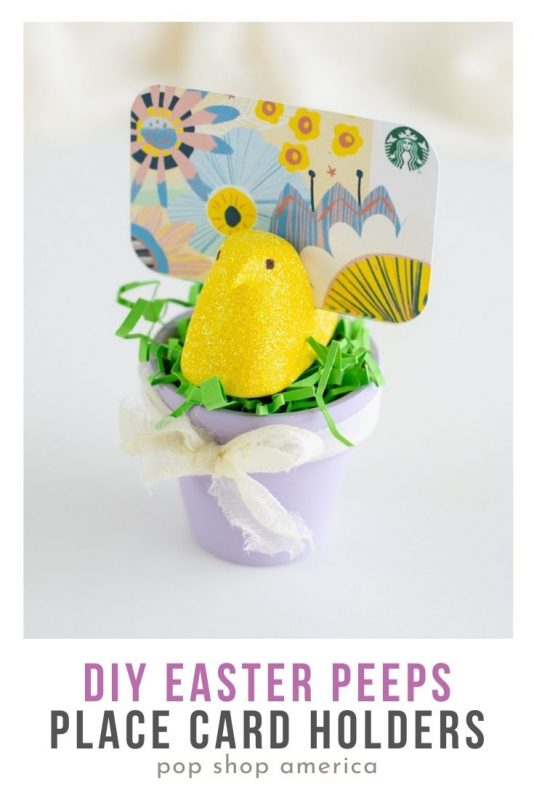
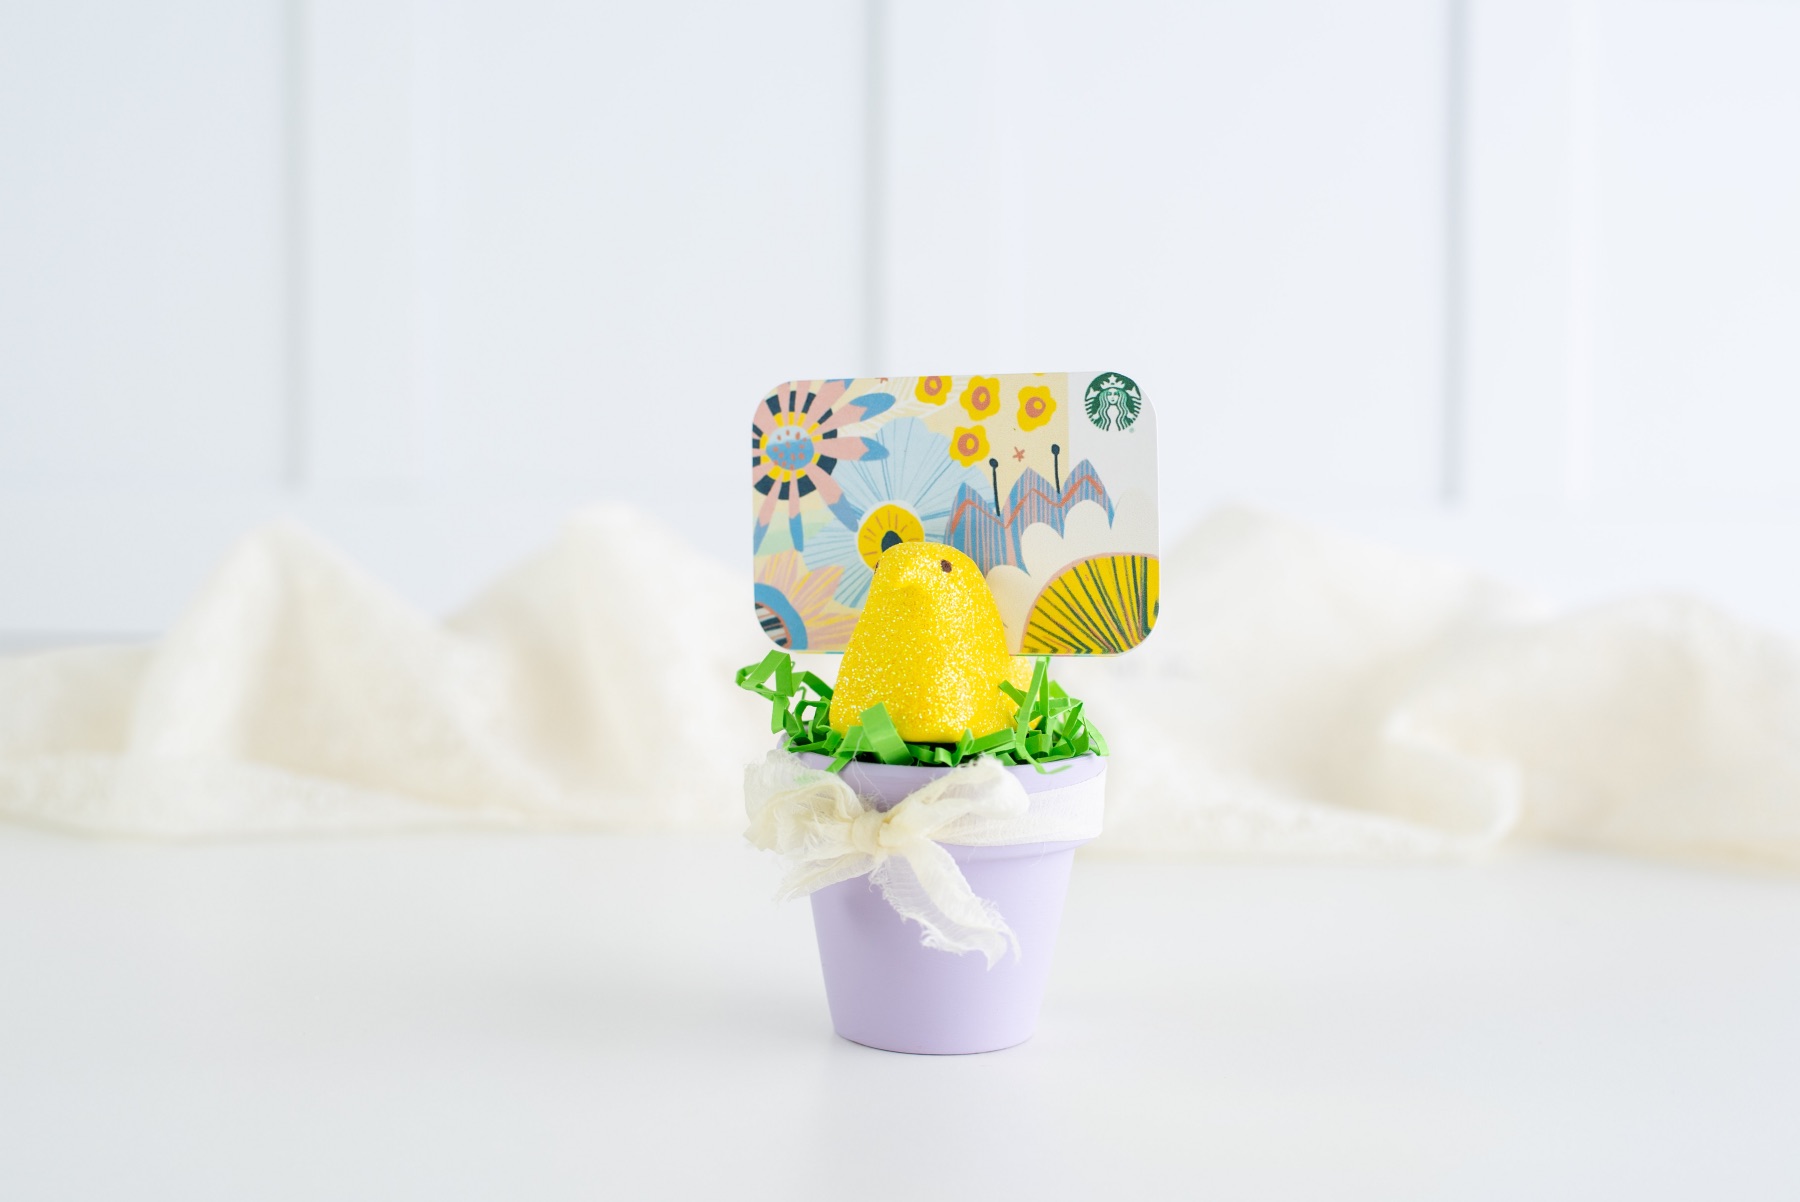
DIY Peeps Easter Place Card Holders
Apr
Need a Peep of color at your Easter meal?!
These Peeps Easter Place Card Holders are such a bright and cheerful way to set your Easter table! They are easy to make and they are a kid friendly craft if you want to get your family involved in your Easter Brunch or Easter Dinner plans.
So let’s make these DIY Peeps Easter Place Card Holders!
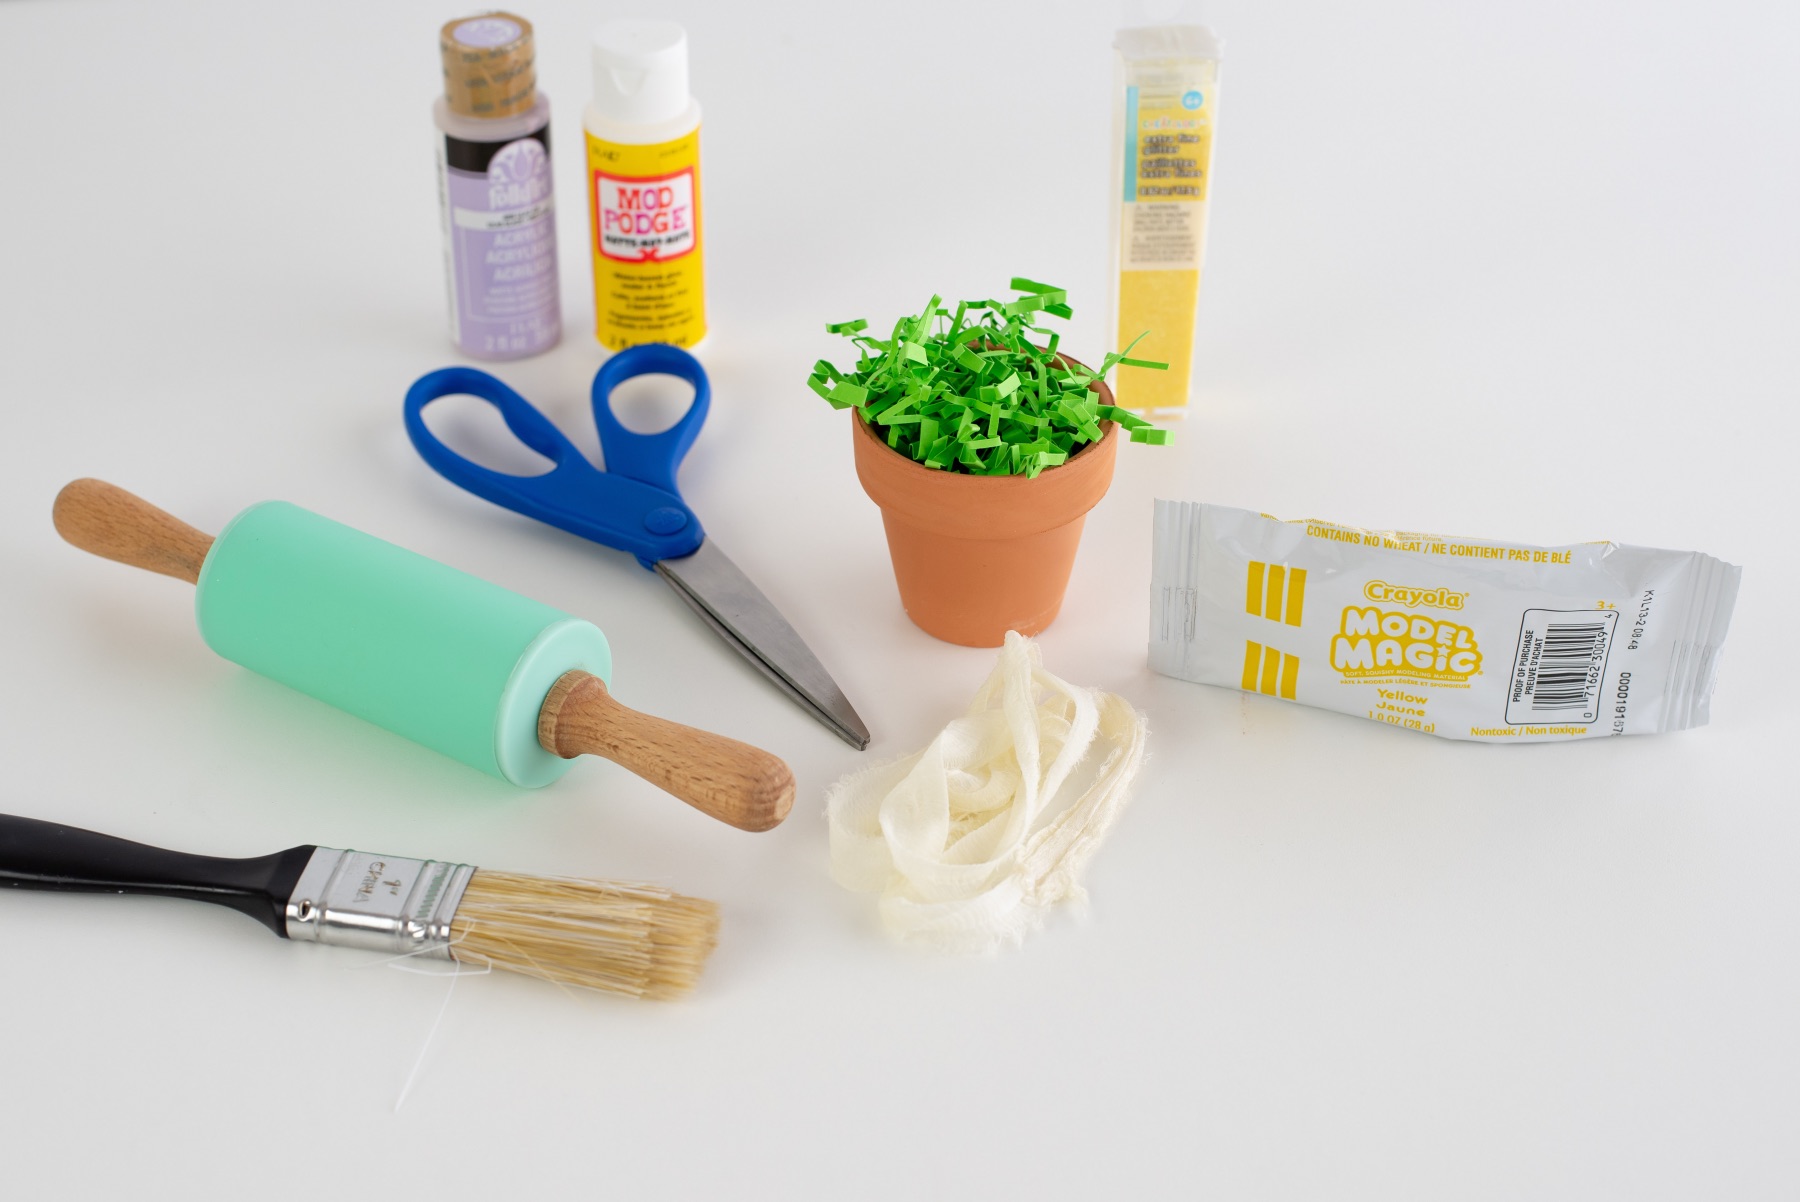
Supplies to make DIY Peeps Easter Place Card Holders:
To Make the Terra Cotta Pot:
A Small Terra Cotta Pot
Lavender Craft Paint (or another pastel color)
Paint Brush
Handful of Green Crinkle Paper
A Small Length of Natural Colored Ribbon
To Make the Peep Candy:
Yellow Air Dry Clay (I used Crayola Model Magic Clay – you could also use a different color)
Mod Podge
Yellow Glitter (or the correct corresponding color)
Clay Roller
X-Acto Knife/Box Cutter
Black or Brown Paint
Small Paint Brush
These supplies are for making 1 place card holder. I imagine that you would want to make a set of 4… a set of 6… maybe even 12! If so, most of your supplies will stretch easily across the entire project.
You will only need extra: terra cotta pots, green crinkle paper, ribbon, clay, and glitter.
You can also choose to make all of your Peeps the same color – or you could make them in array of pink, blue, green, lavender and yellow – all the colors of Peeps candy!
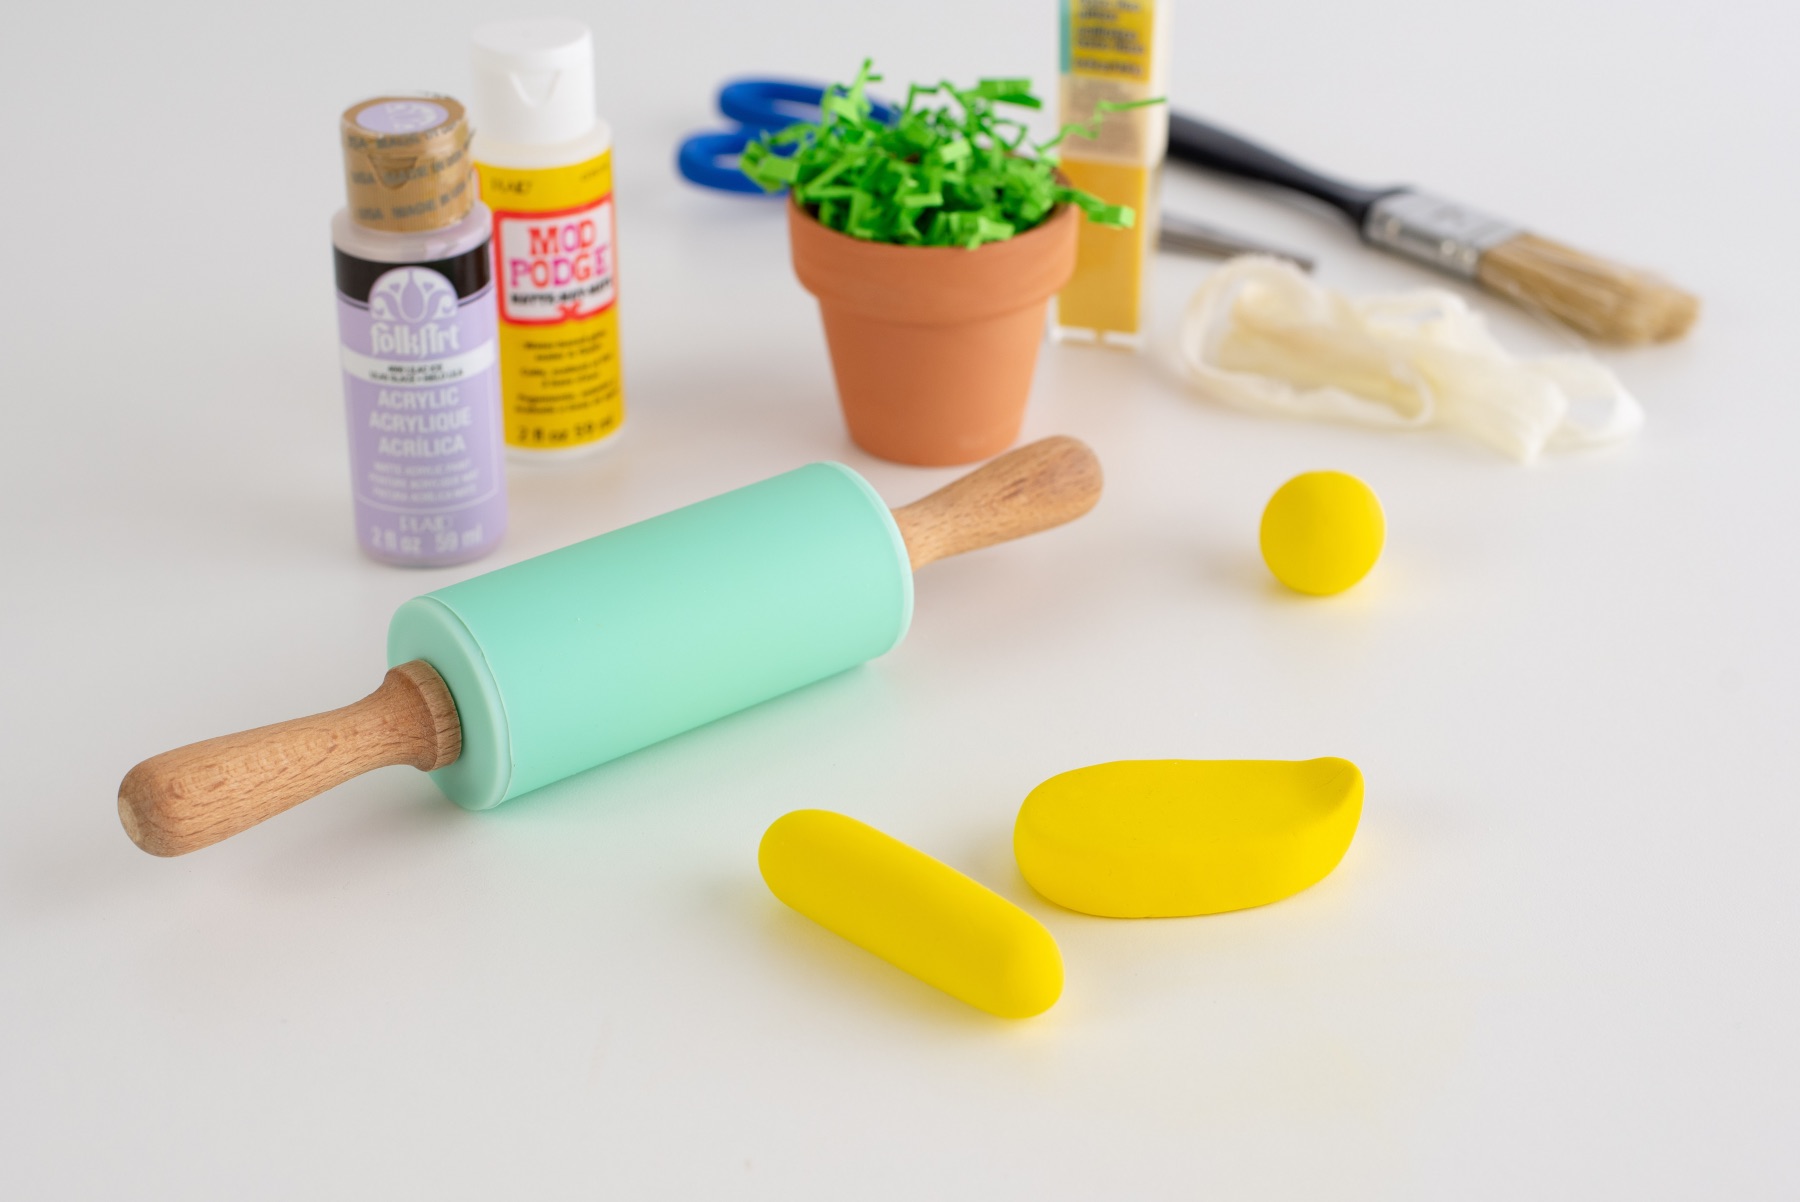
Start by Shaping the Peep
If you are working with a package of Crayola Model Magic, start by pulling a small piece off that’s around the size of a quarter. Then split the remainder of the clay in half.
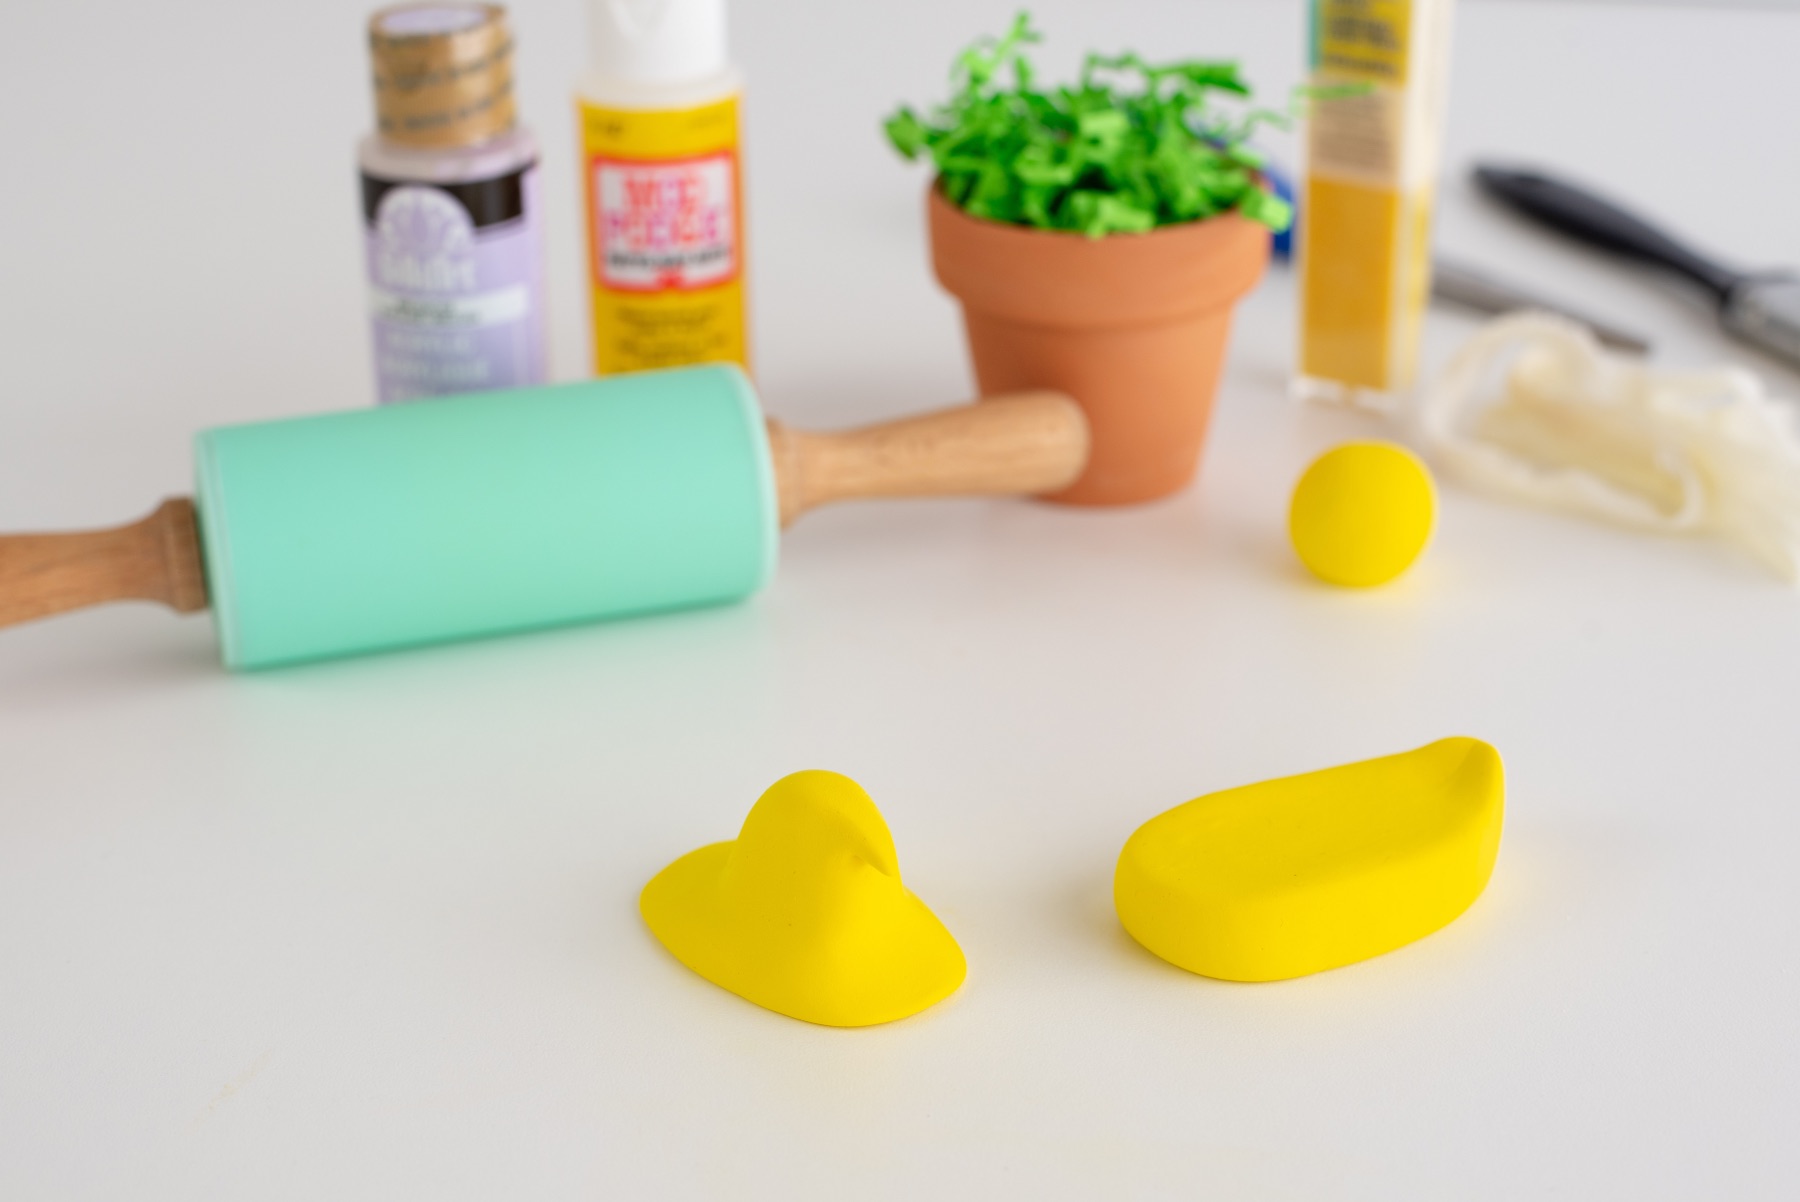
To make the base, use 1/2 of the clay, roll out the clay using the rolling pin. You will want this piece to be around 1/2 inch thick.
Begin to shape the clay into an oval. Pinch the back to form a mound for the Peep’s small tail. Keep the clay as smooth as you can while you shape the clay.
With your 2nd 1/2 of the clay, shape the neck and head of the Peep by rolling it into a short rope-like shape. Stand it up, and smooth the clay downward using fingers to create a Hershey kiss like shape. Keep the bottom the same width as the base (your 1st piece). Create a short neck and pinch in the front to create a beak.
Last, attach the 2 pieces together and smooth out the seams.
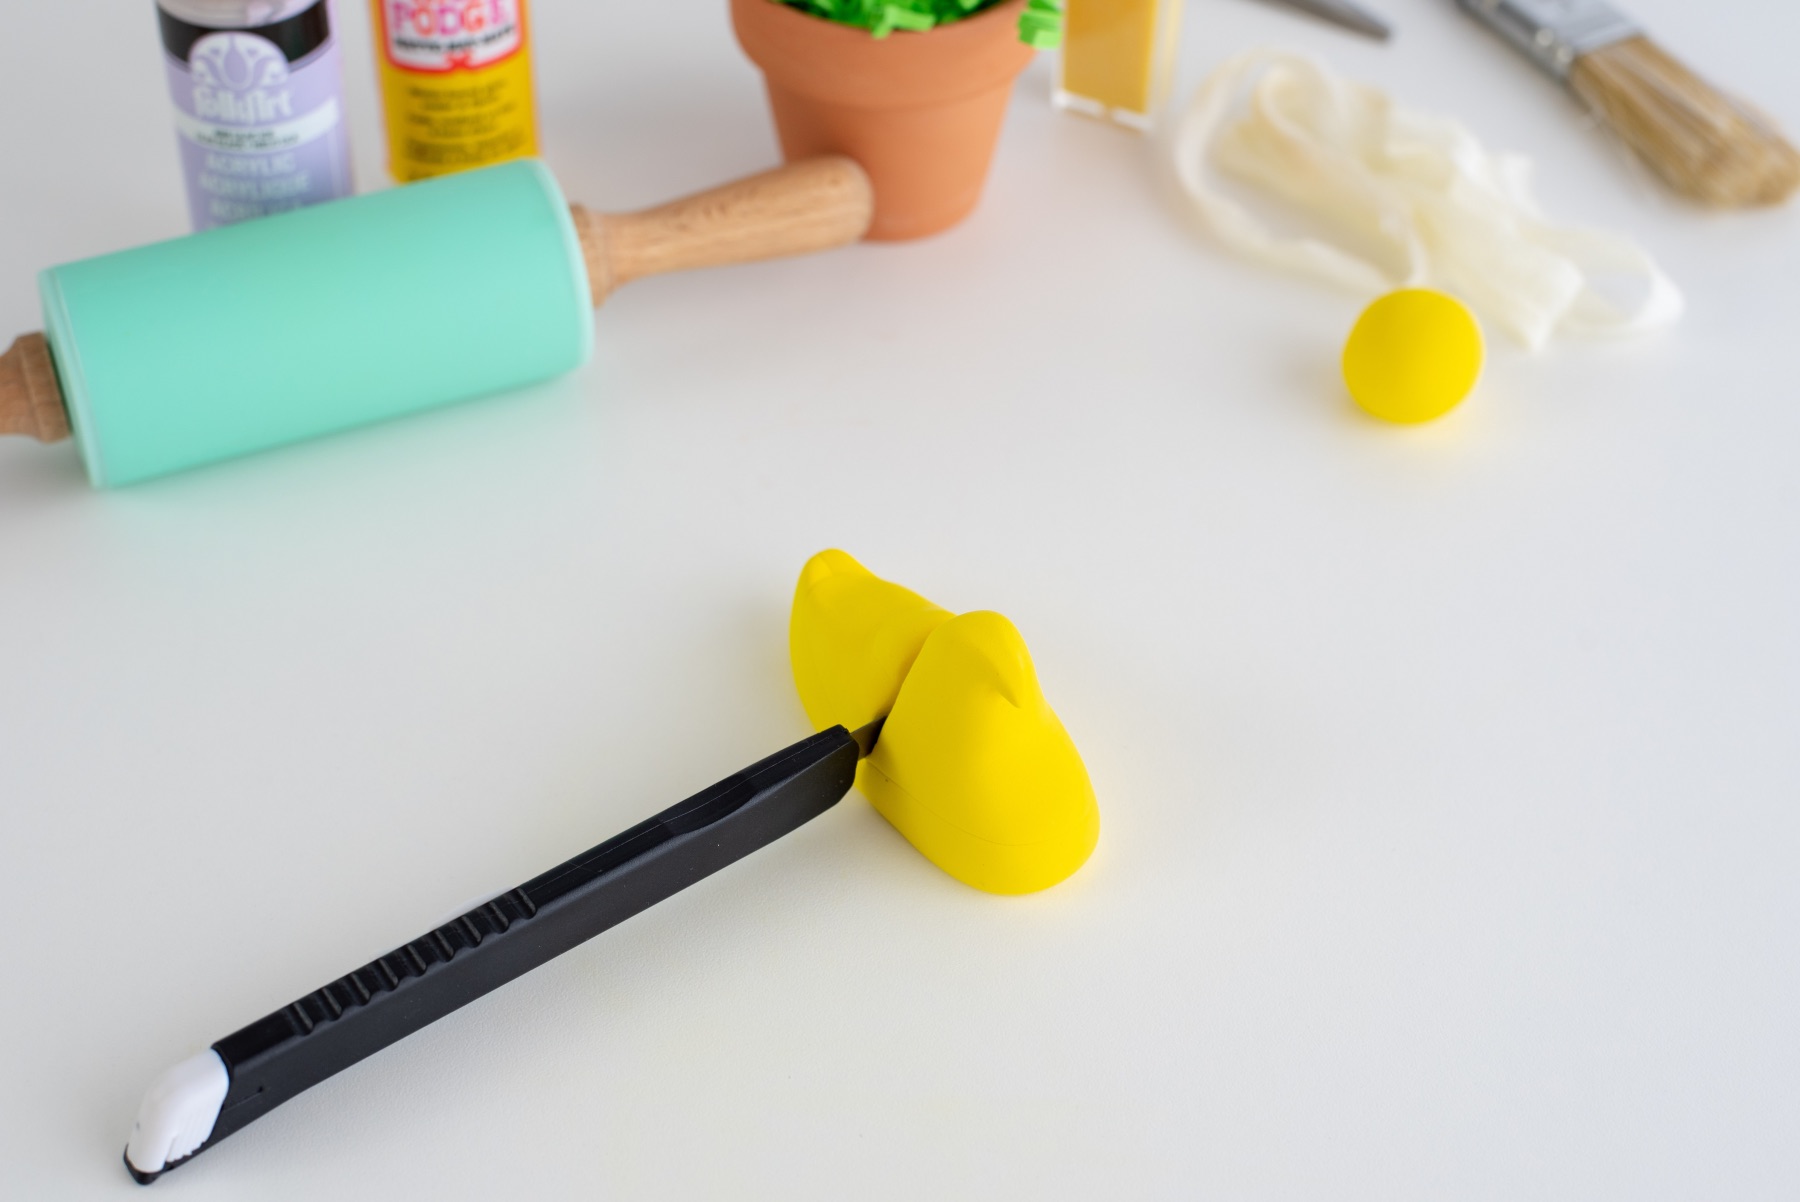
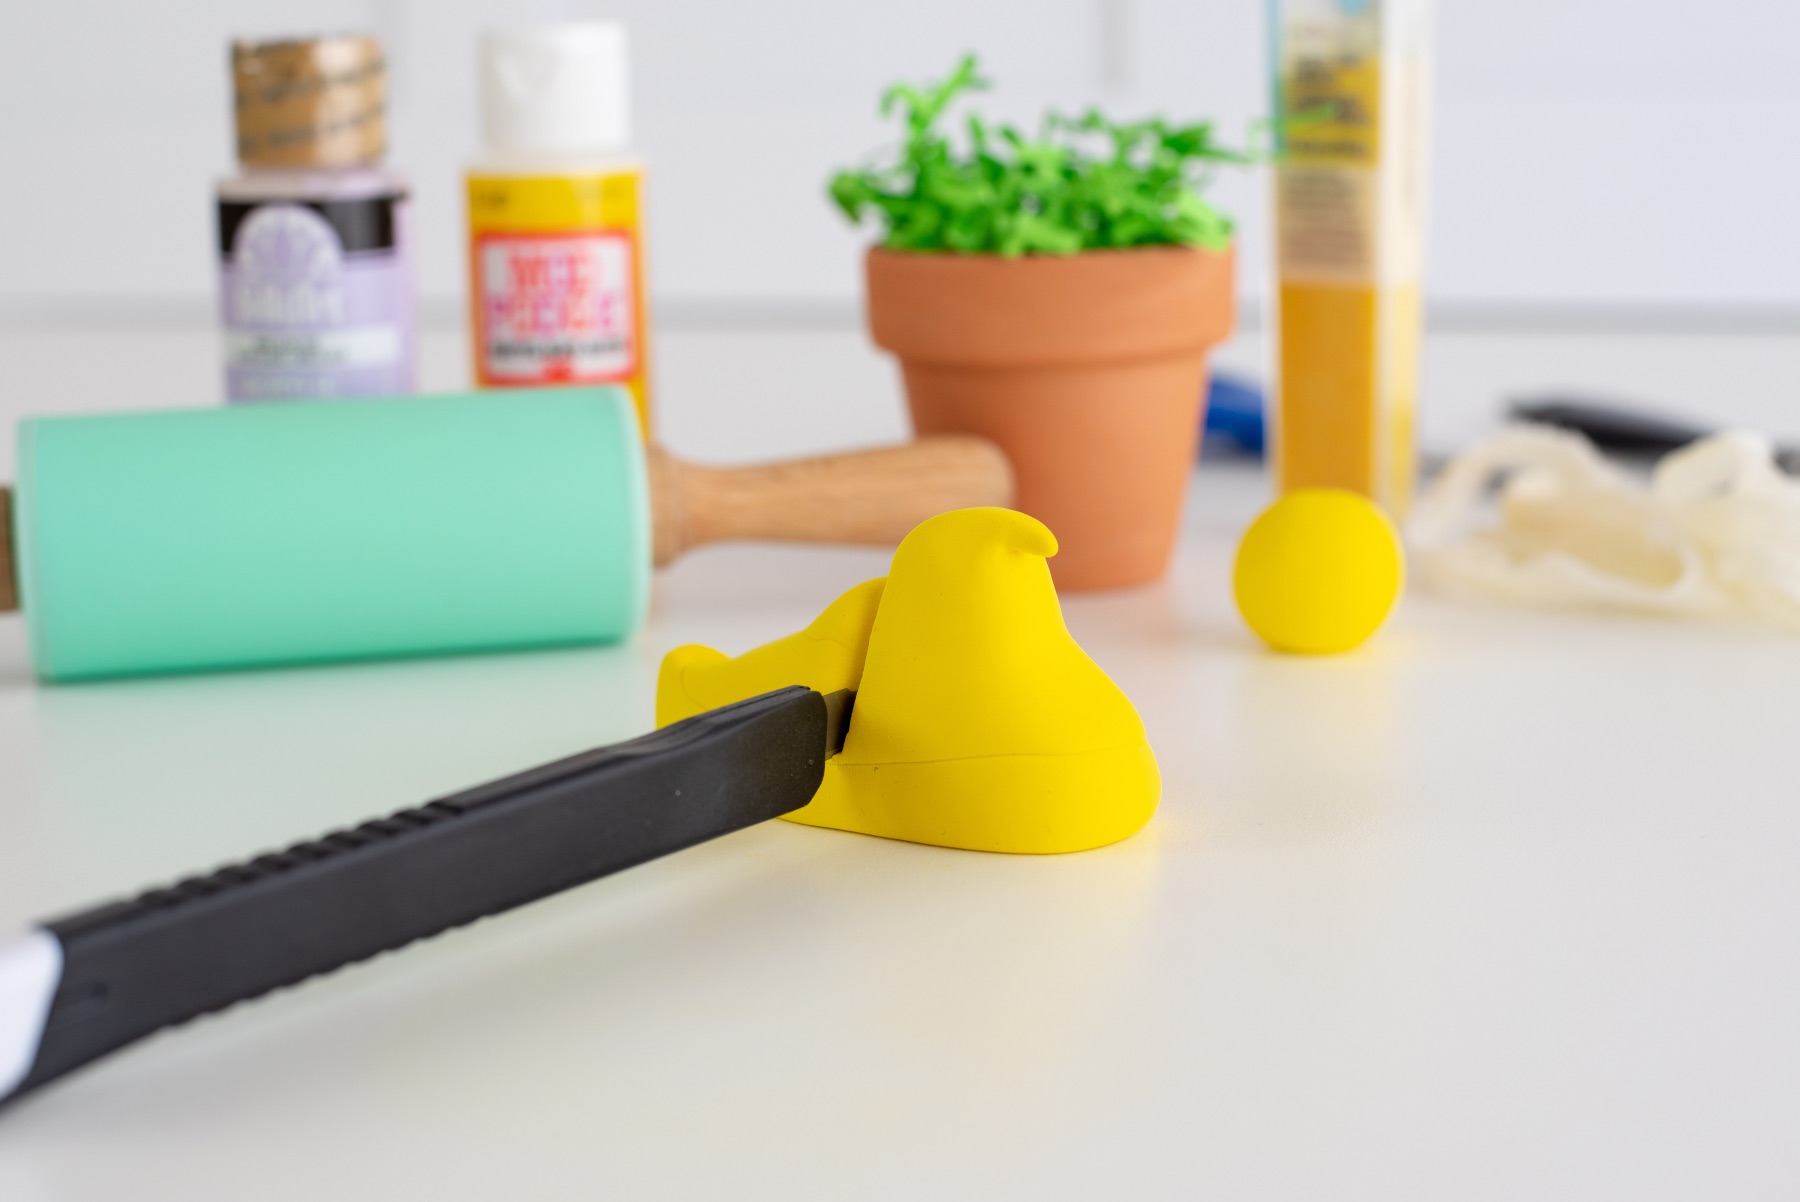
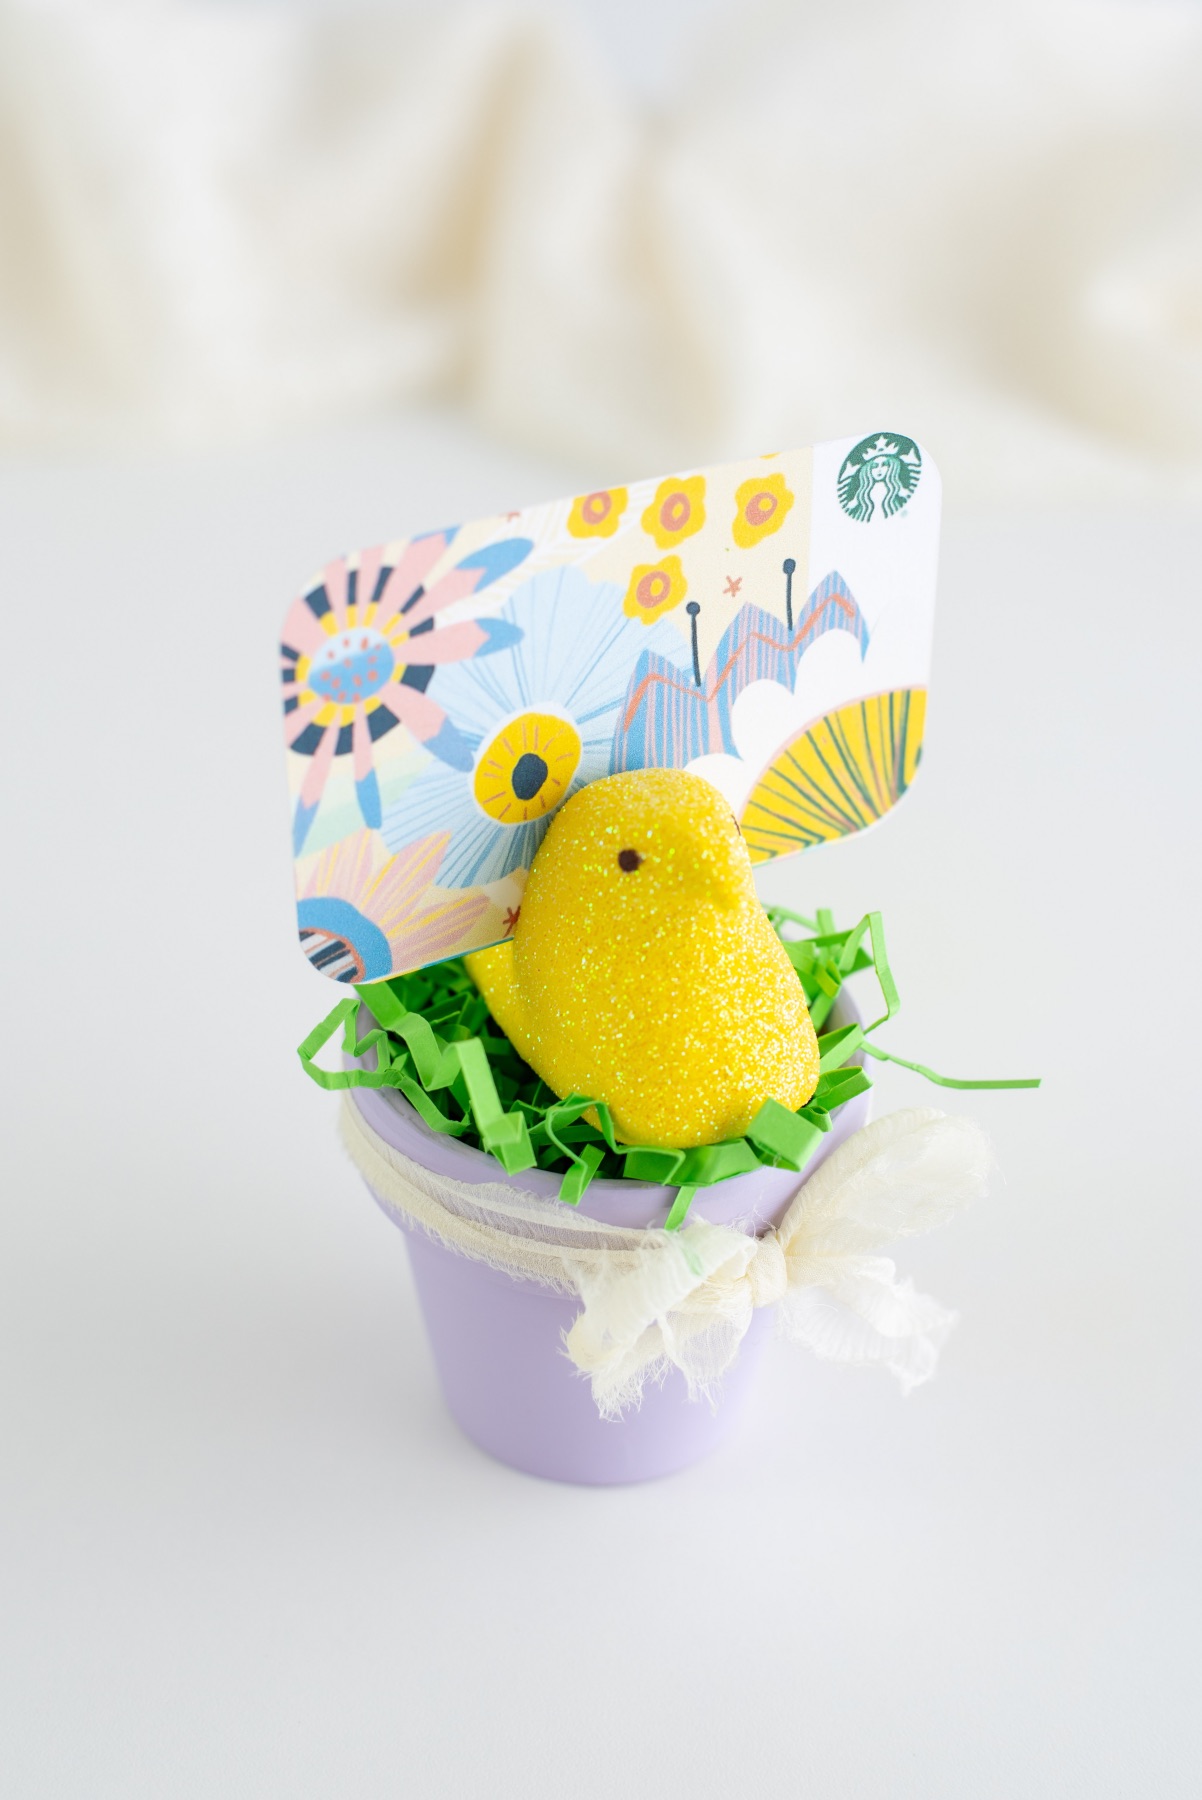
Make a Cut to Hold the Place Card
Once your clay Peep is shaped, make an even slice across the back and behind the head with your X-acto knife.
This is where the place card will fit into the Peep. Before you move forward, test your place card holder by setting the card inside and making sure it holds in place correctly. You may need to carve the channel deeper or even angle your cut to make everything fit.
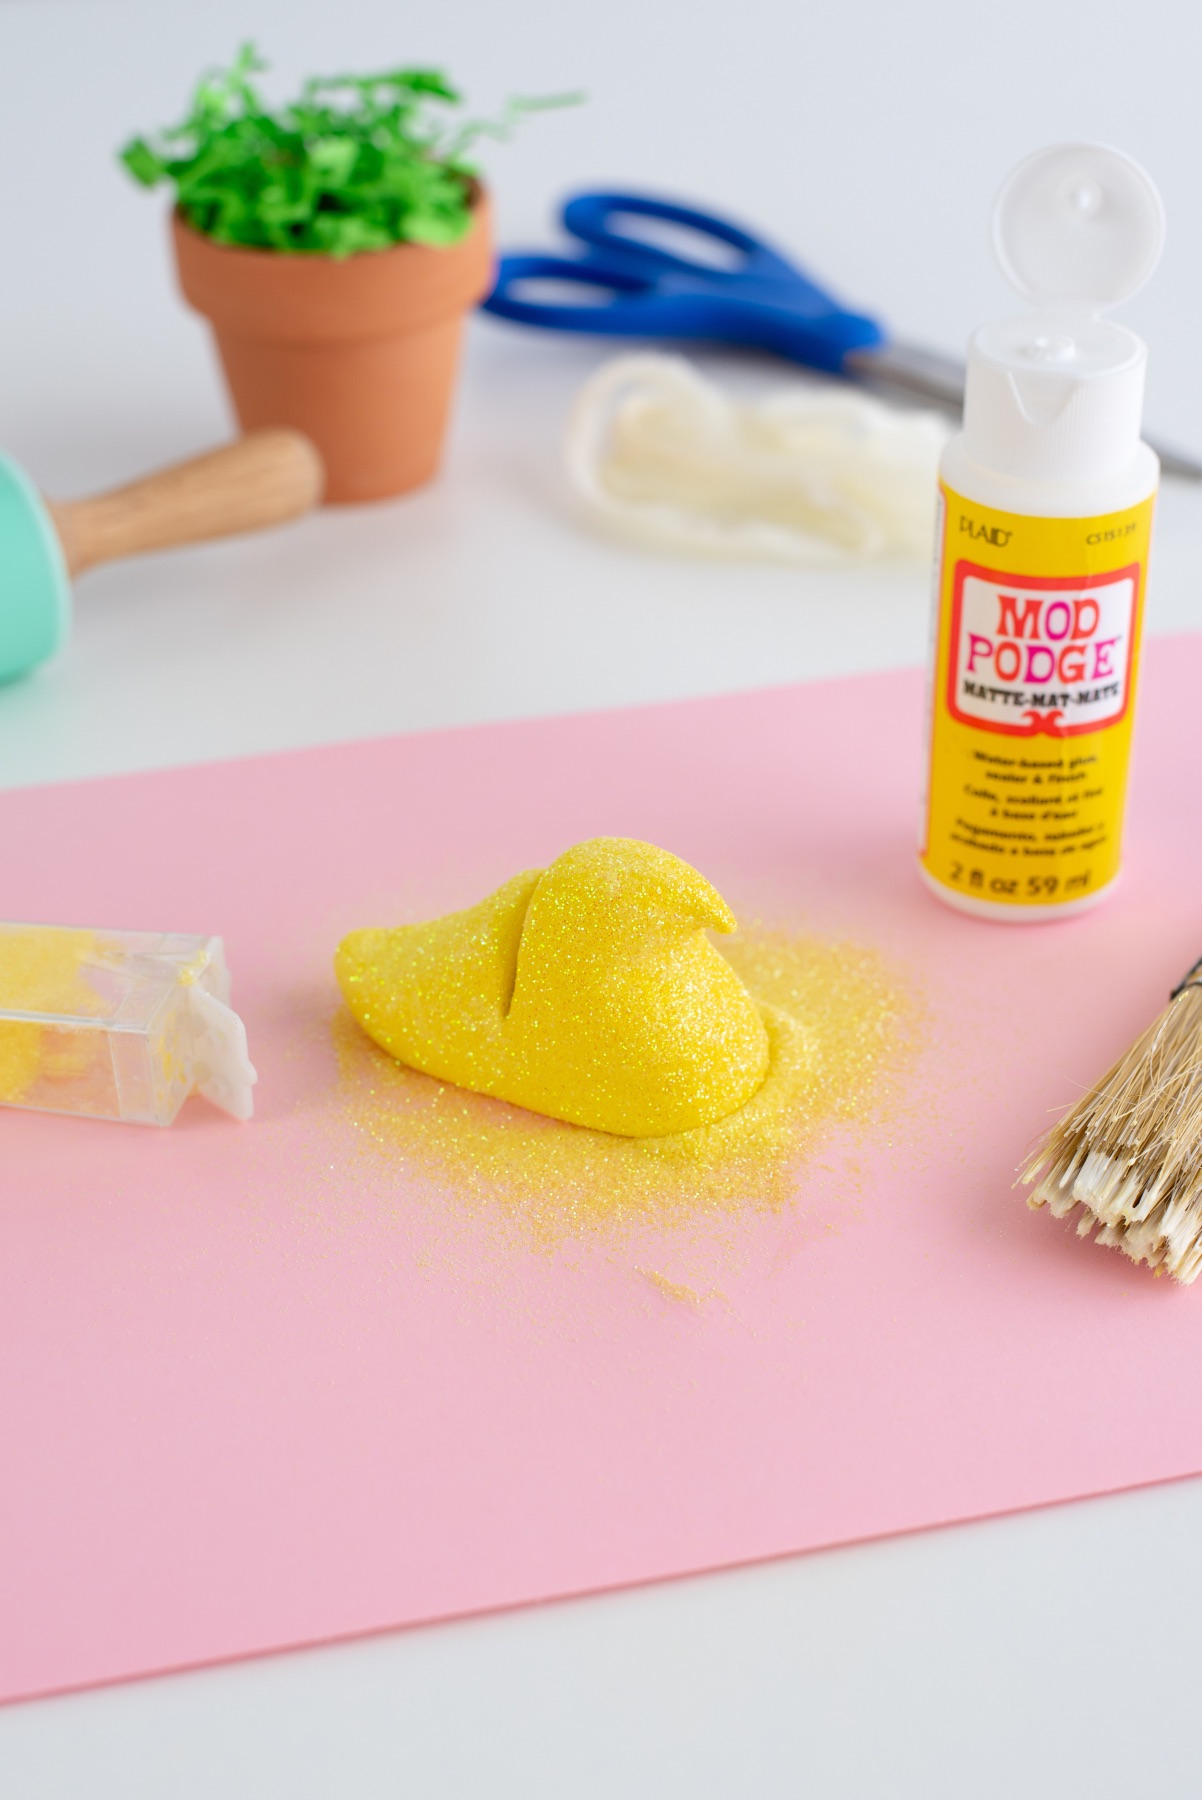
Coat the Peep in Glitter
Brush the Peep with a thin layer of Mod Podge. While it’s still wet, gently coat in glitter on all it’s visible sides. As you may know, glitter gets EVERYWHERE. So protect your space with a piece of scrap paper. Then pour the excess glitter back in the container and throw the remainder away. Anything you can do to minimize a glittery mess is really helpful.
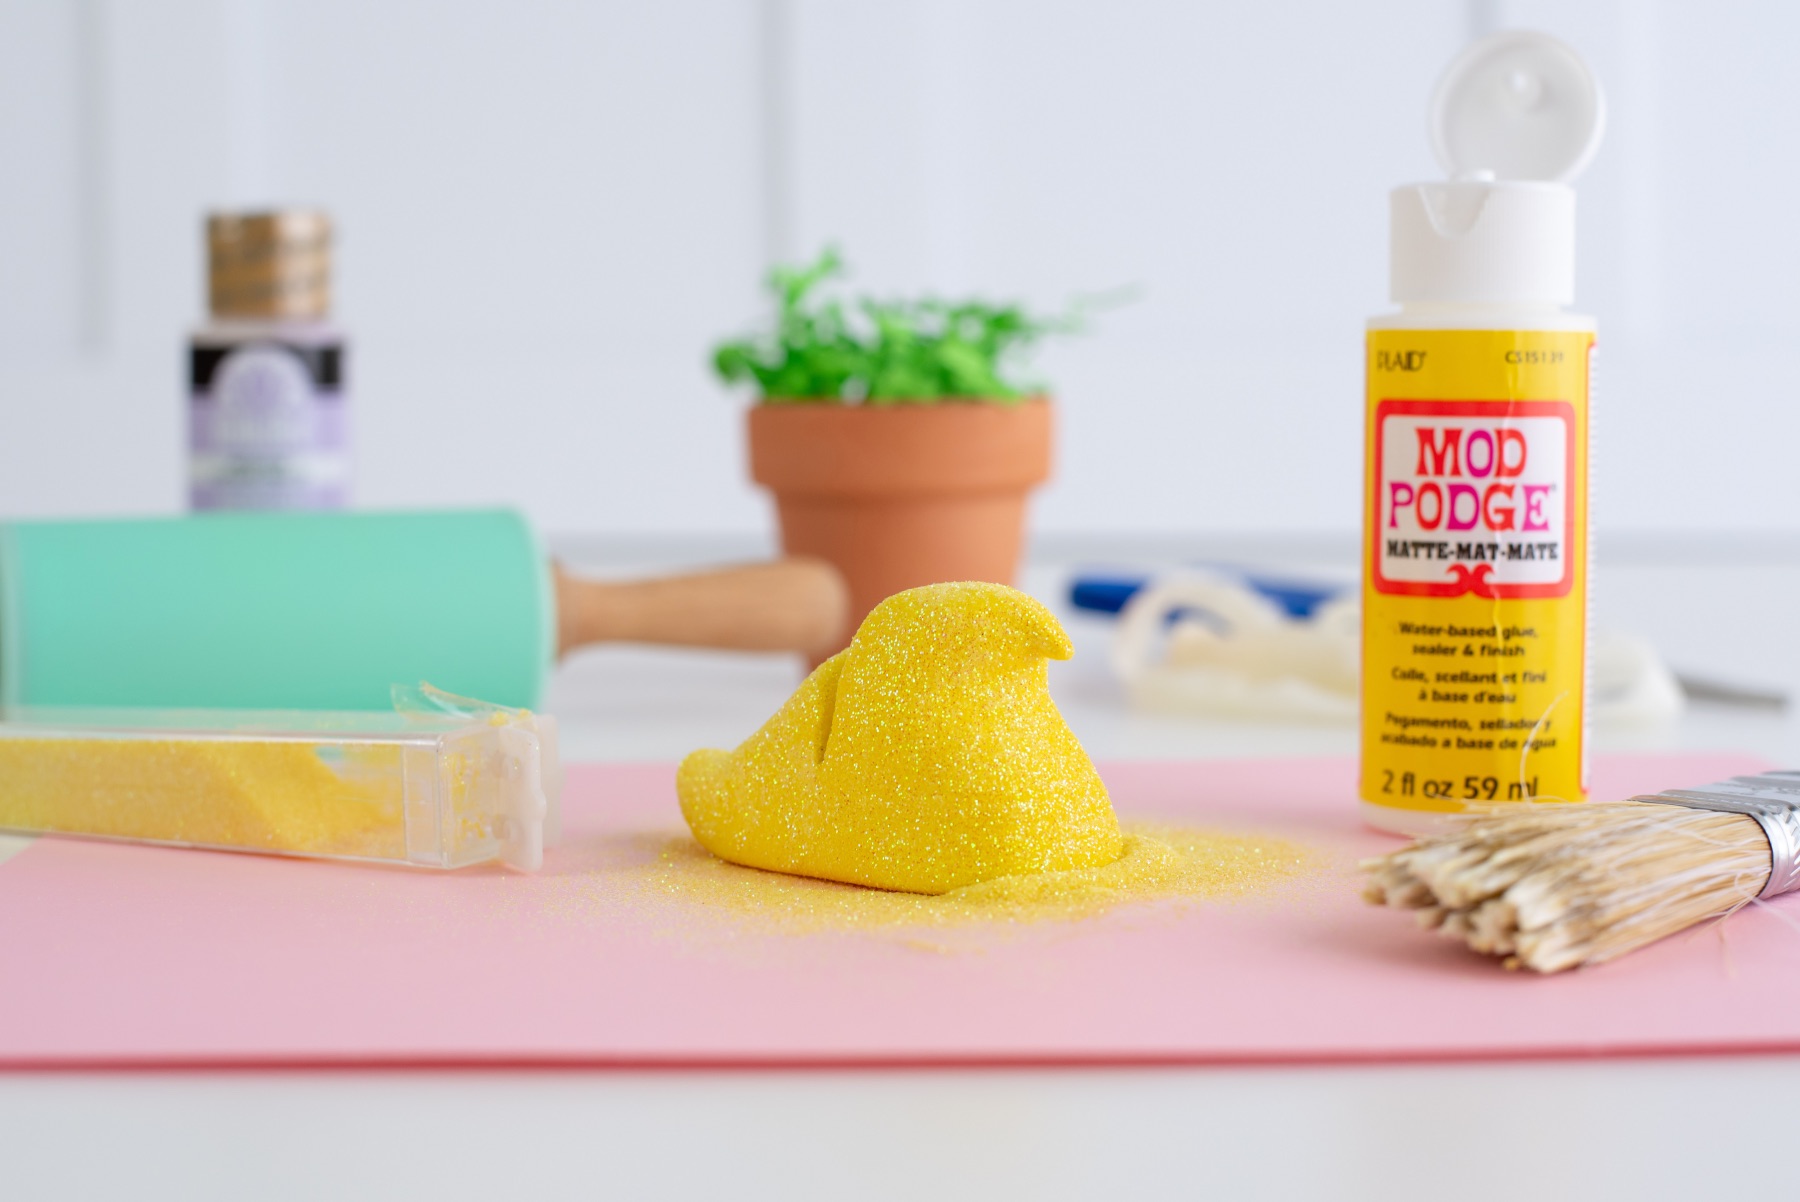
For my yellow Peep, I chose yellow glitter. But you could use clear iridescent. Or if you are making a pink, blue, green, or lavender Peep you could use a matching color.
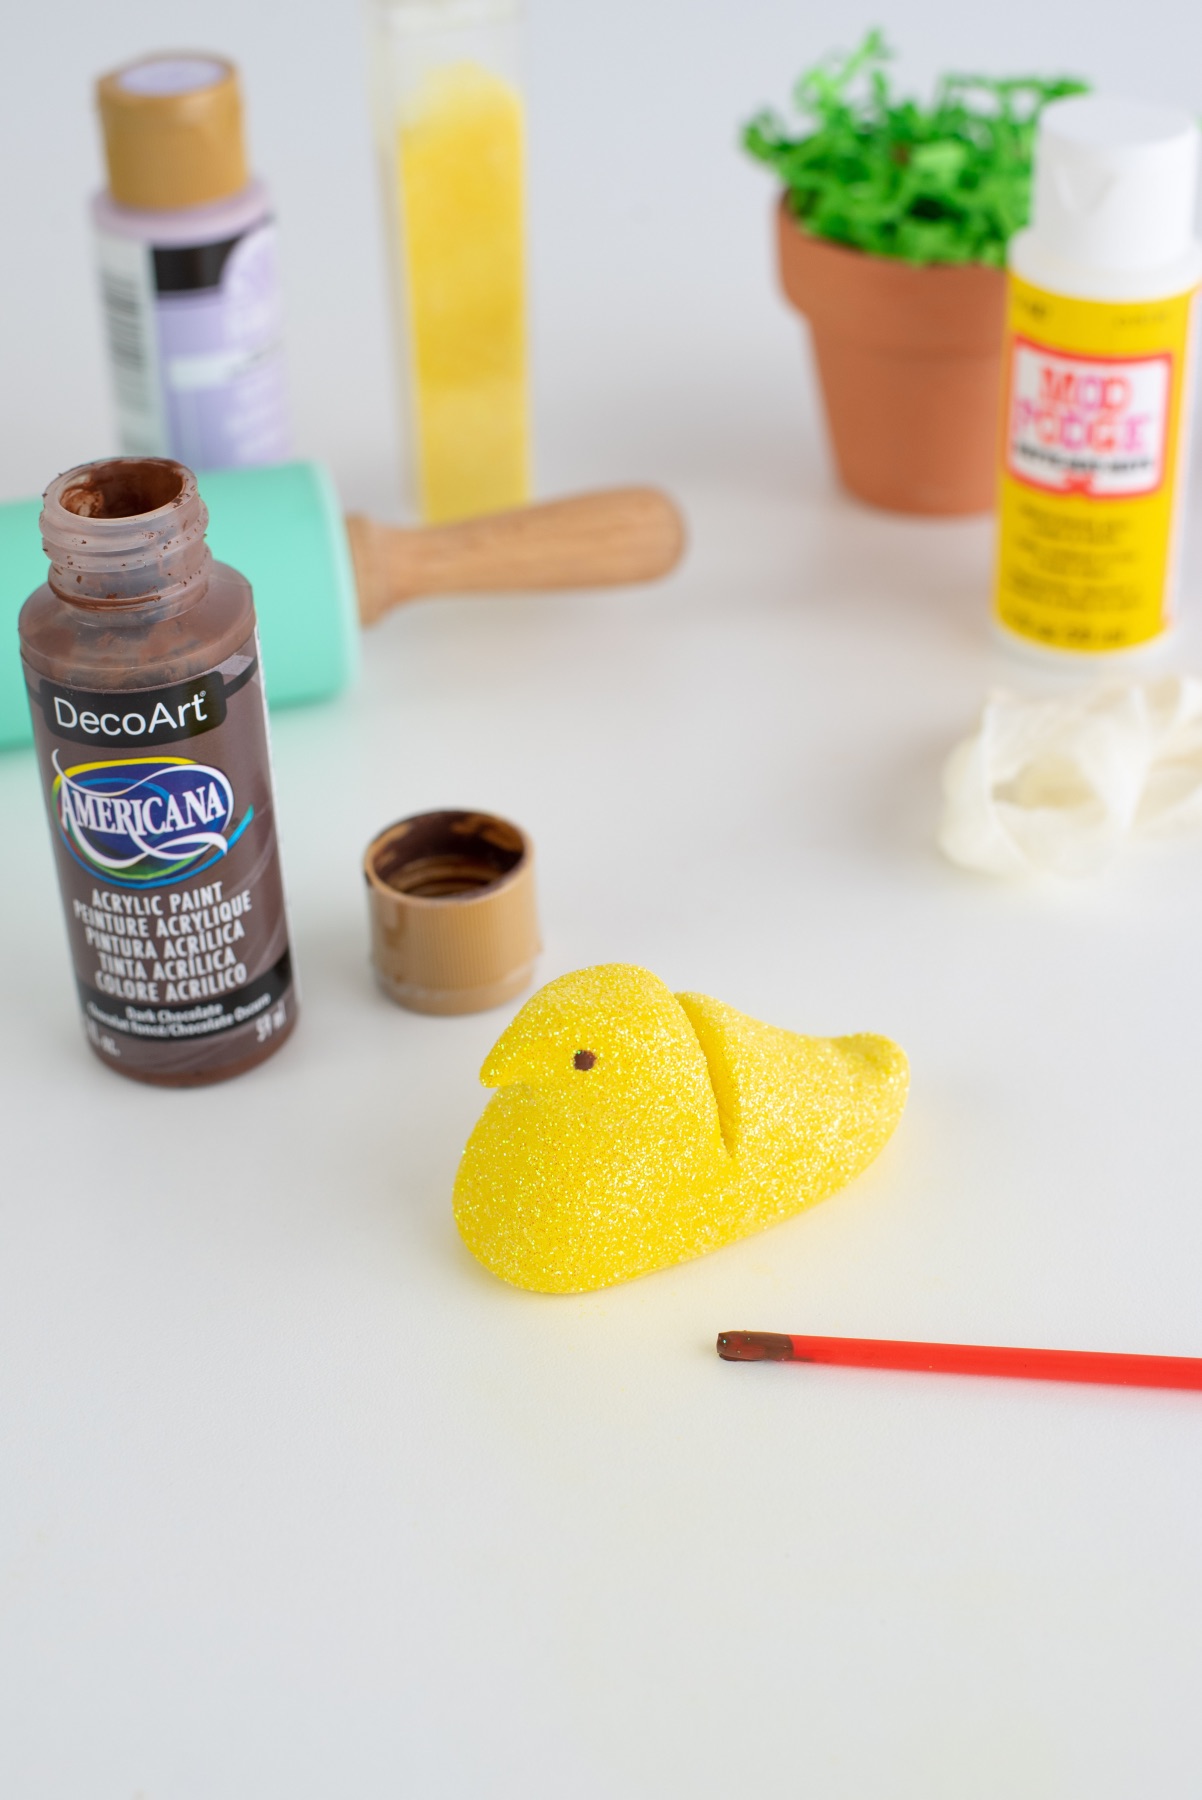
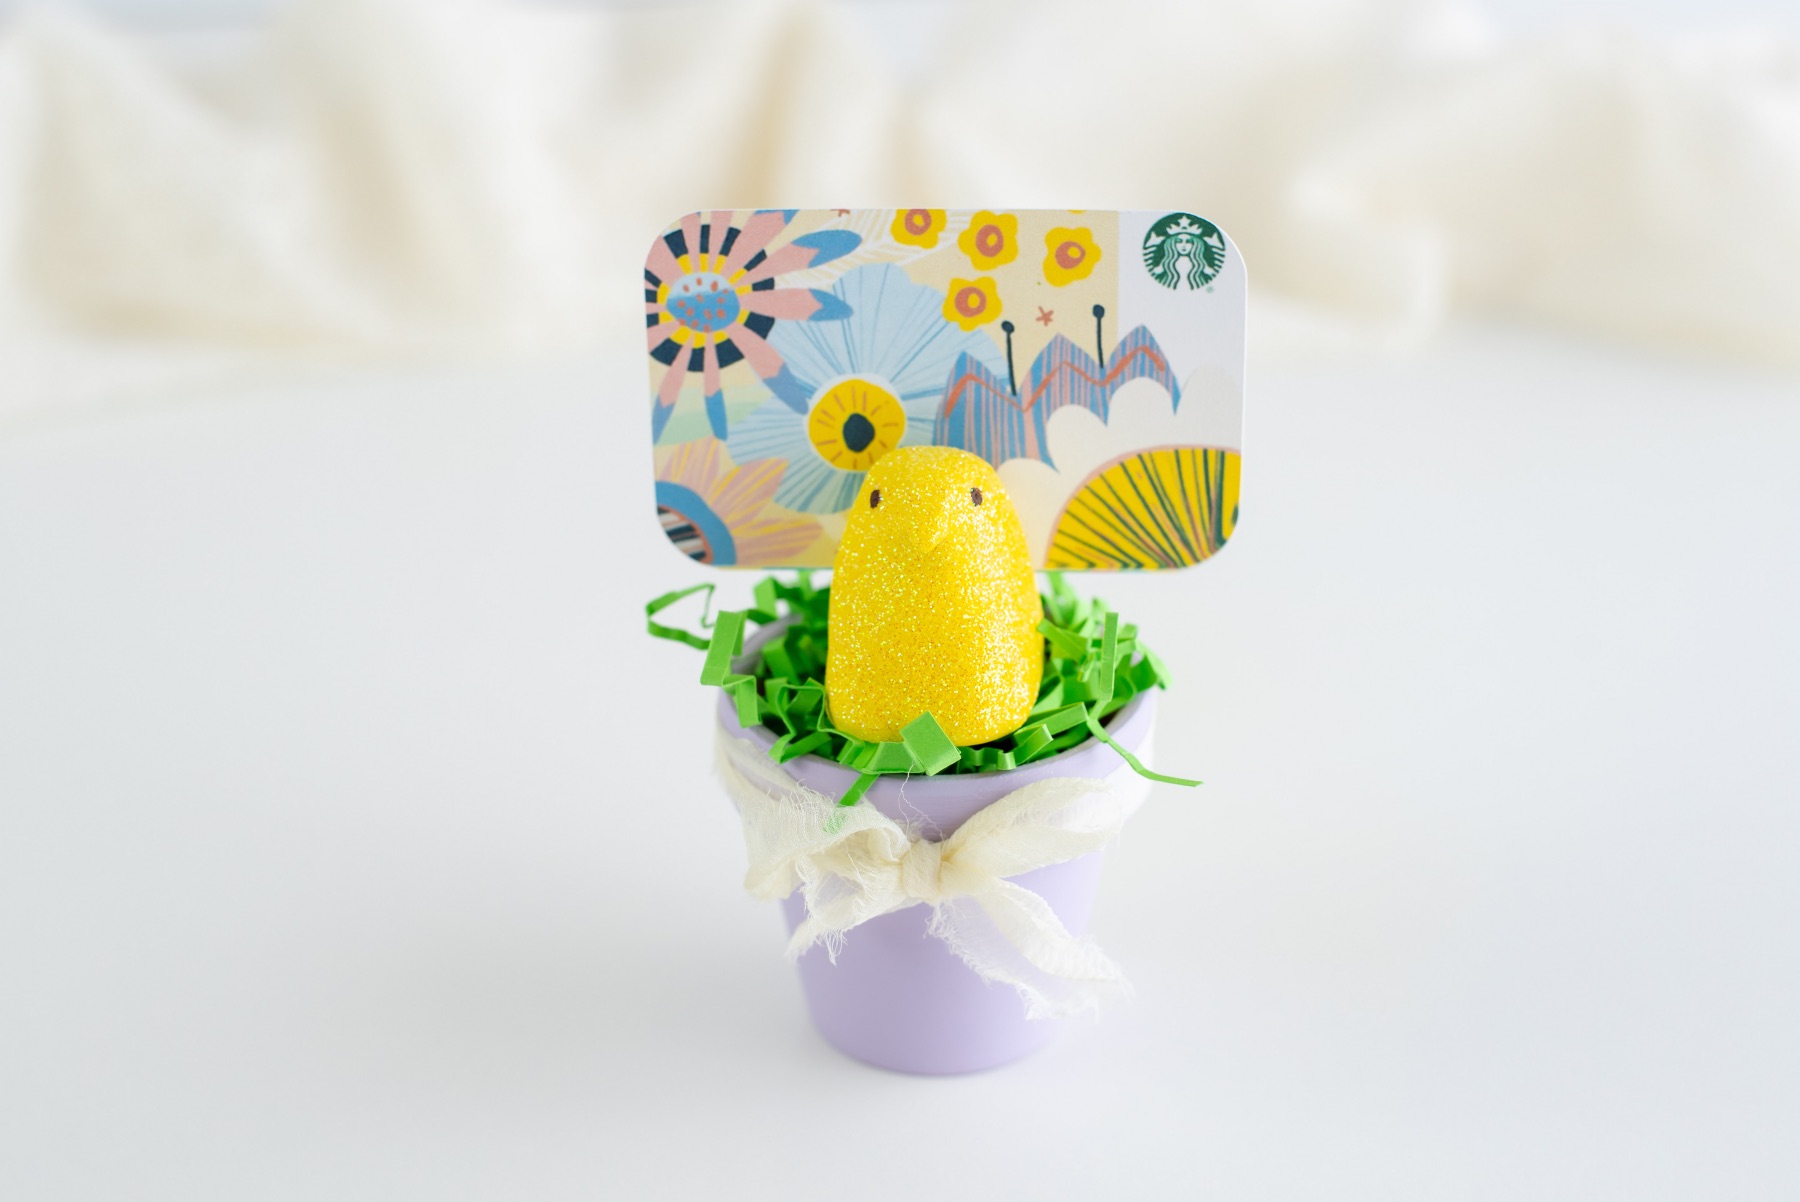
Make Dots for the Eyes
To make the eyes, use the back end of a flat paint brush or a wooden skewer works well too. Just dip the tip of the brush handle (or skewer in paint) and gently tap it to the surface of the clay Peep.
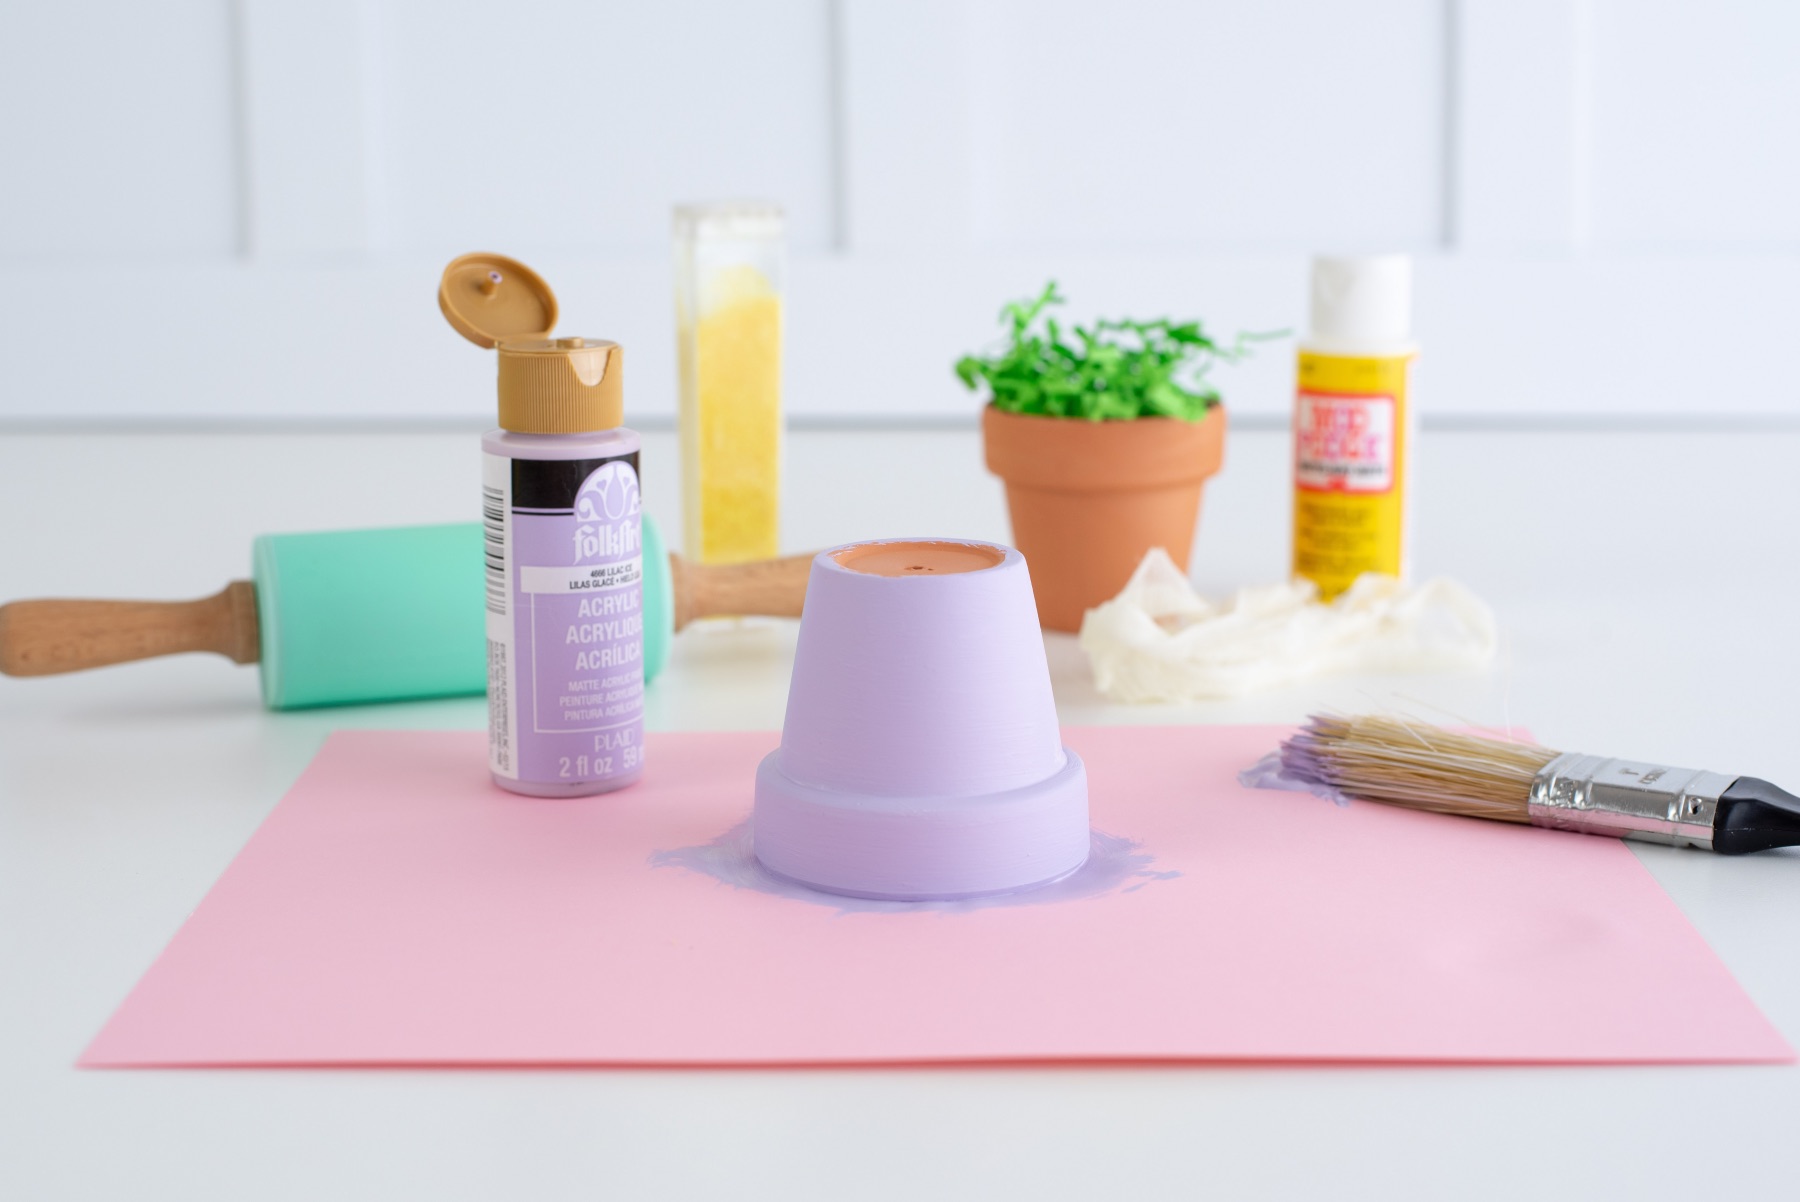
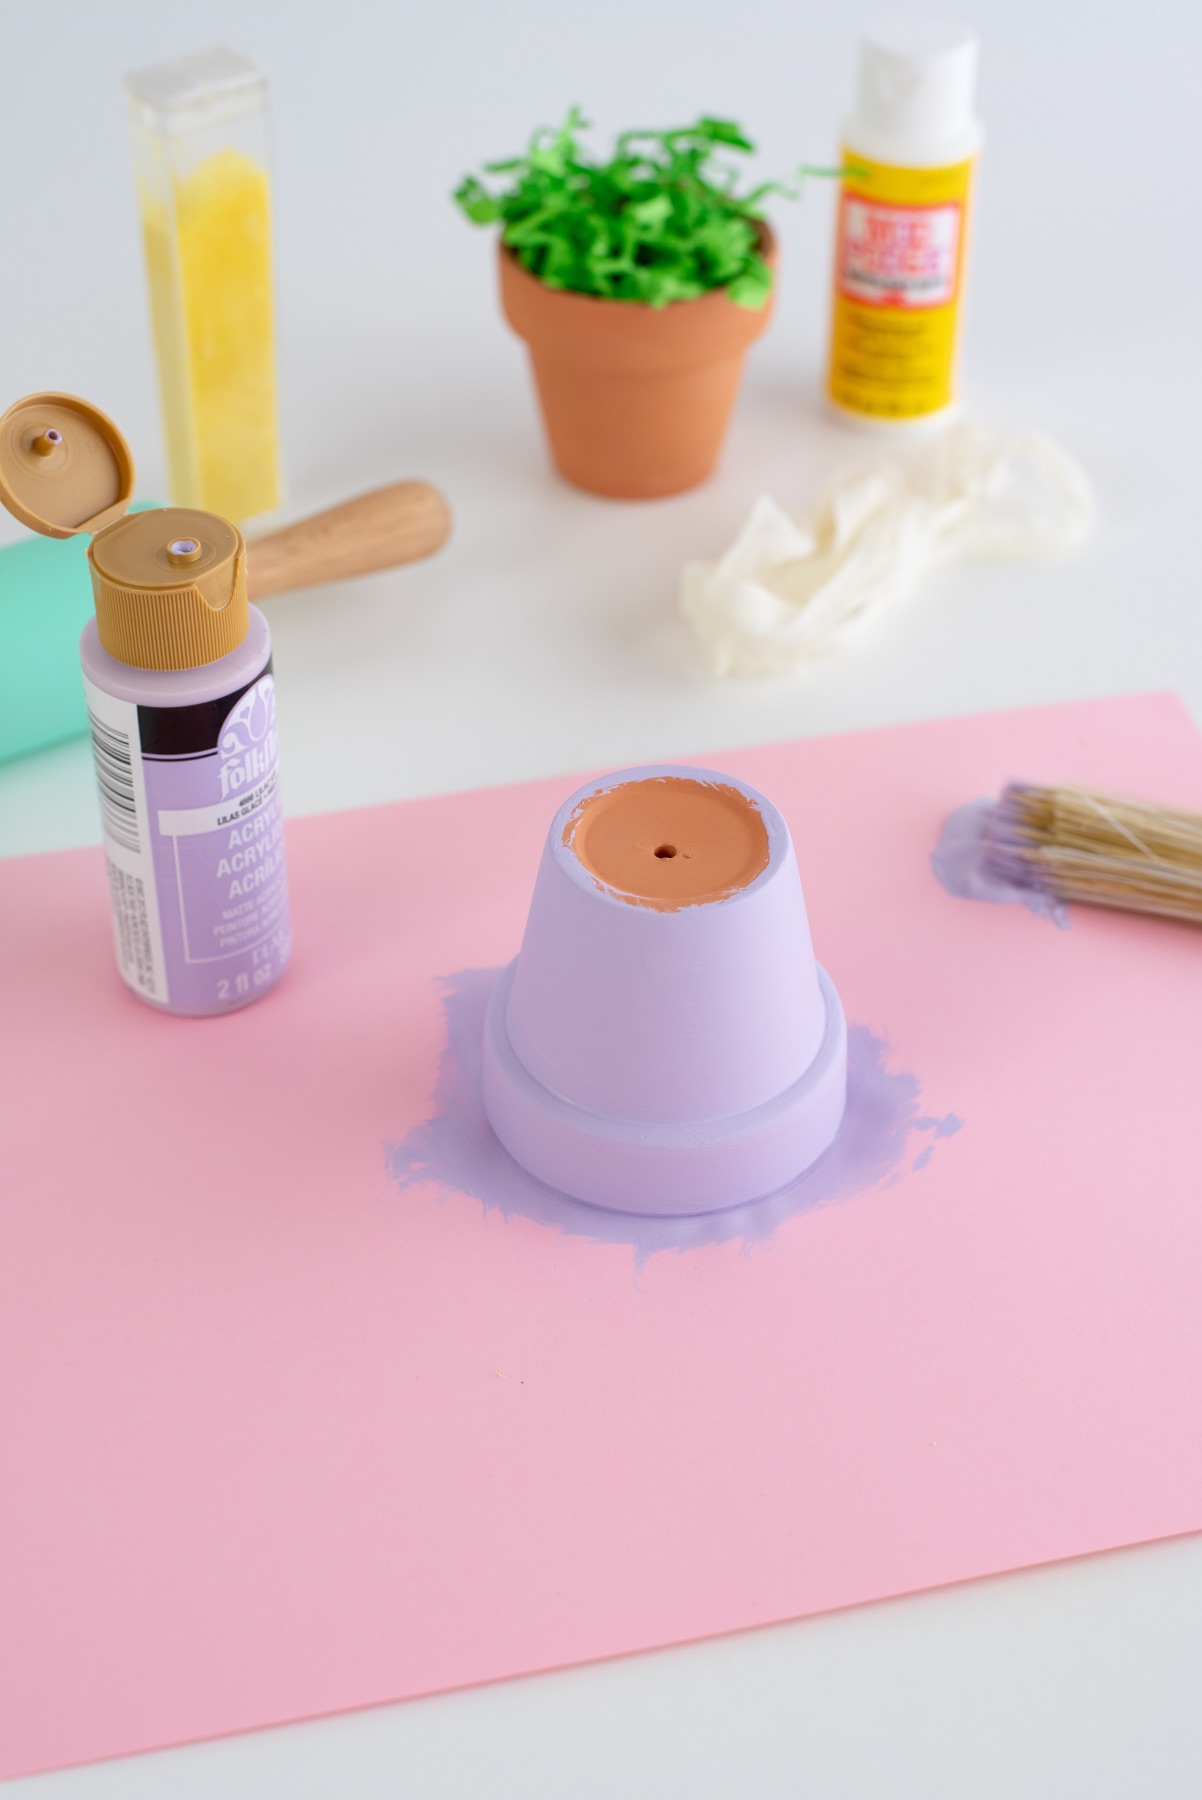
Paint the Terra Cotta Pot
To paint the pot, use a thin layer of paint to cover all the visible surfaces. I painted mine in sections because you will want to paint around the top and interior of the pot. And you will want to paint the bottom edge of the pot too.
It’s best to do one side at a time and then let it dry completely before moving on.
Depending on what paint you use, you may need more than 1 coat. I used 2 coats myself.
Acrylic paint dries very quickly – with a thin coat like this, it should only take around 10 minutes or maybe a touch longer to dry before flipping it over and painting a new side.
Add Finishing Touches to the Terra Cotta Pot
Once the paint is dry, add a few finishing touches to finish your place card holders. First, tie a ribbon around the pot with a simple bow.
Next, fill the pot with a small amount of green crinkle paper to simulate grass.
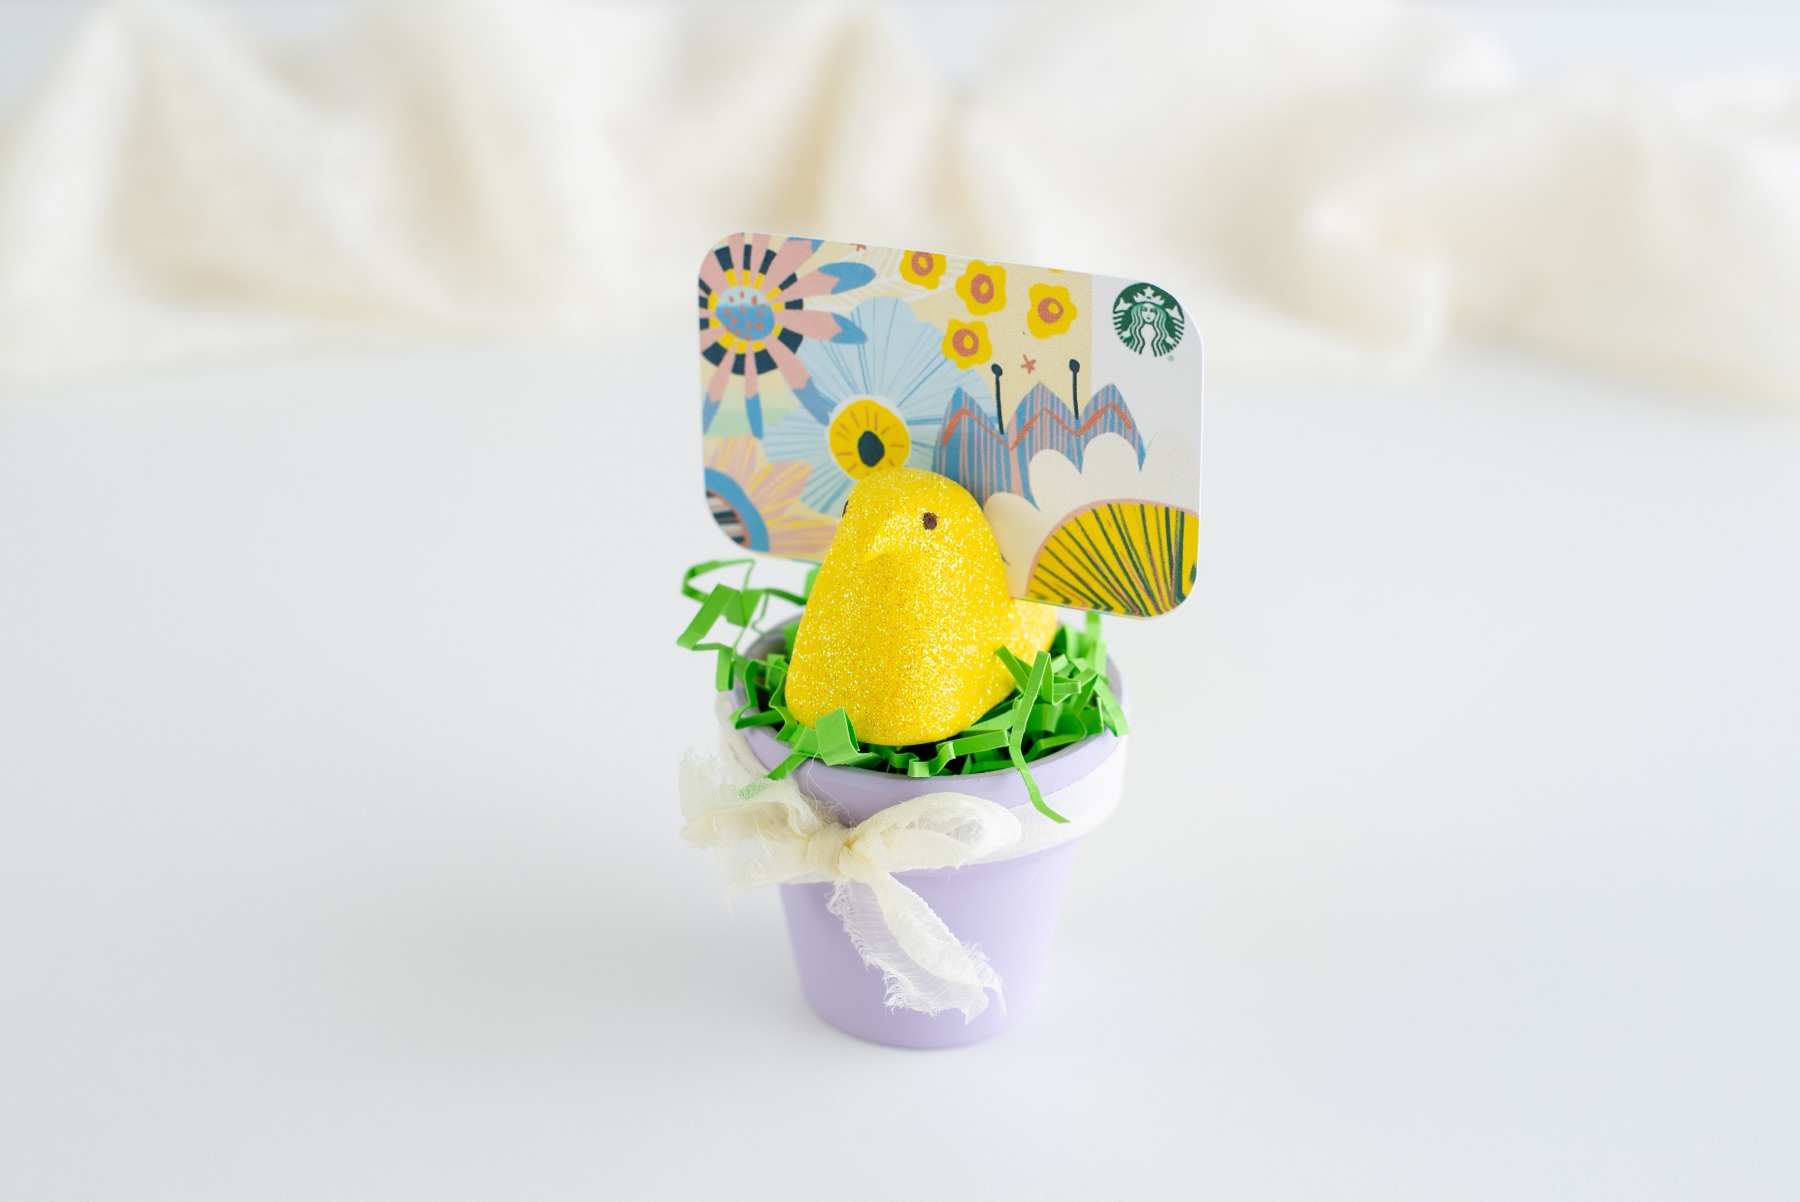
And viola! These DIY Peeps Easter Place Card Holders are finished and oh so cute! These will look perfect on your Easter table and will be a fun way to show off your Easter recipes.
All the pieces of this project can be saved for future years. Or you could add the Peeps to Easter Baskets and give them out as gifts once you are done using them.
So what are you going to serve for your Easter meal? Tell us in the comments and show us how you used these these DIY Peeps Easter Place Card Holders!

Let’s Stay Friends!
Insta | Pinterest | Enews | TikTok