Apr
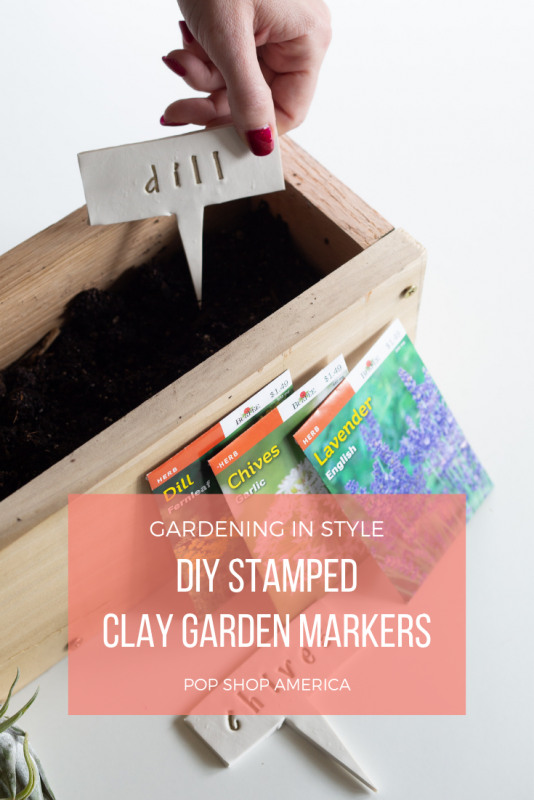
As they say, April showers bring May flowers. And we are getting ready for spring! You know I love plants and I love a good gardening DIY. And this is such a fun use of oven bake clay. This was part of the April 2019 Craft in Style Subscription Box that you can snag now as a standalone Herb Garden Starter Kit here.
And it pairs perfectly with the DIY Cedar Wood Planter Box that is also included in the kit. You can learn how to make the planter box here.
So let’s get to crafting!
Supplies to Make DIY Stamped Clay Garden Markers
Herb Garden Starter Kit
-or-
Oven Bake Clay aka Polymer Clay in White (or any color you like)
A Flat Surface
Alphabet Rubber Stamps
Any kind of Kitchen Knife or X-Acto Knife
& A Rolling Pin, Clay Roller, or a Pint Glass (basically anything cylinder shaped)
Other Items You will Need:
An Oven or Toaster Oven
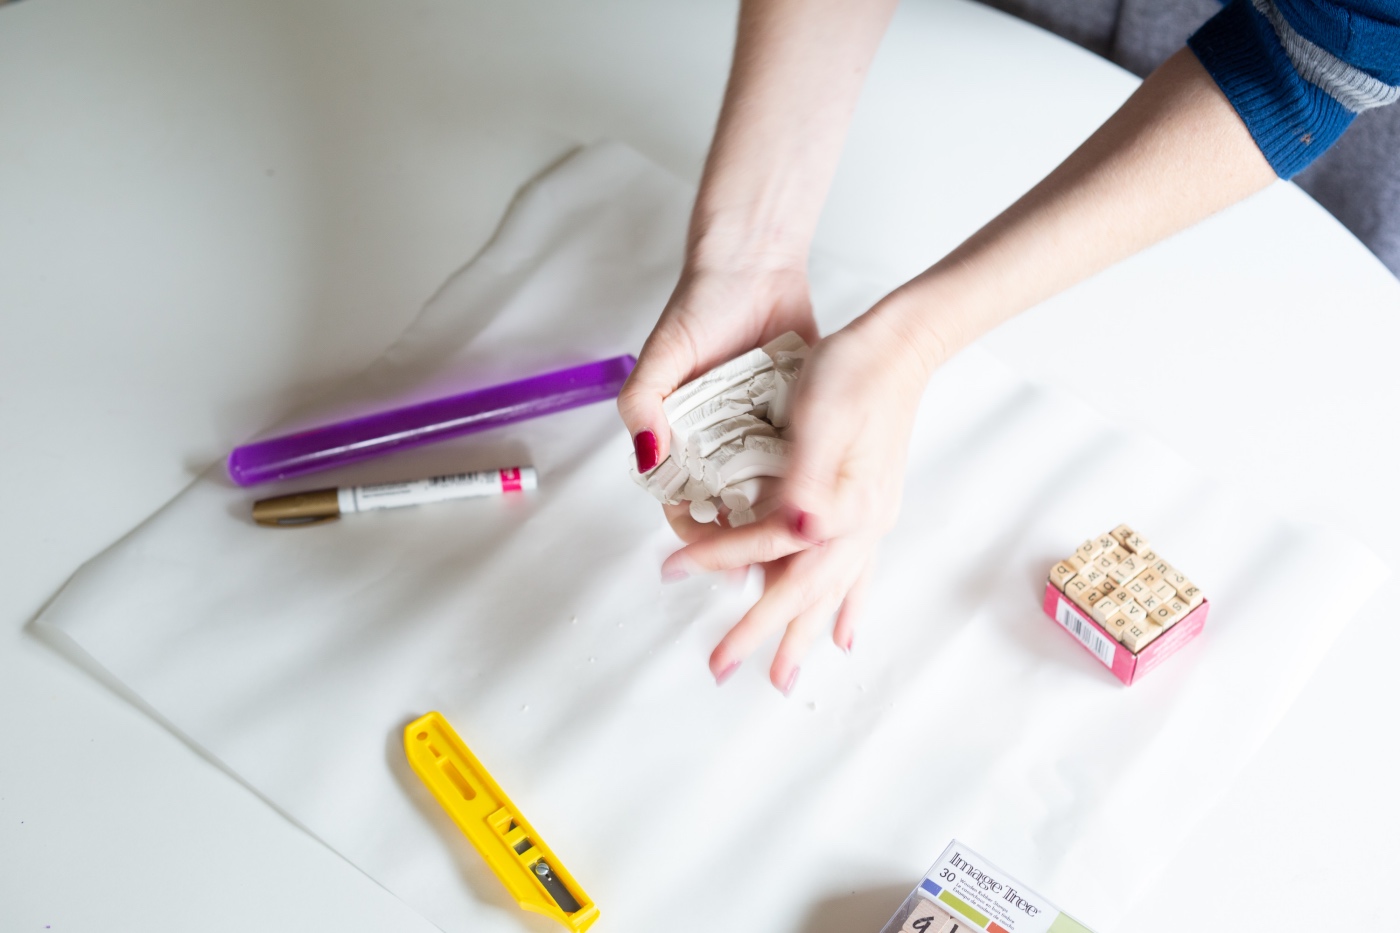
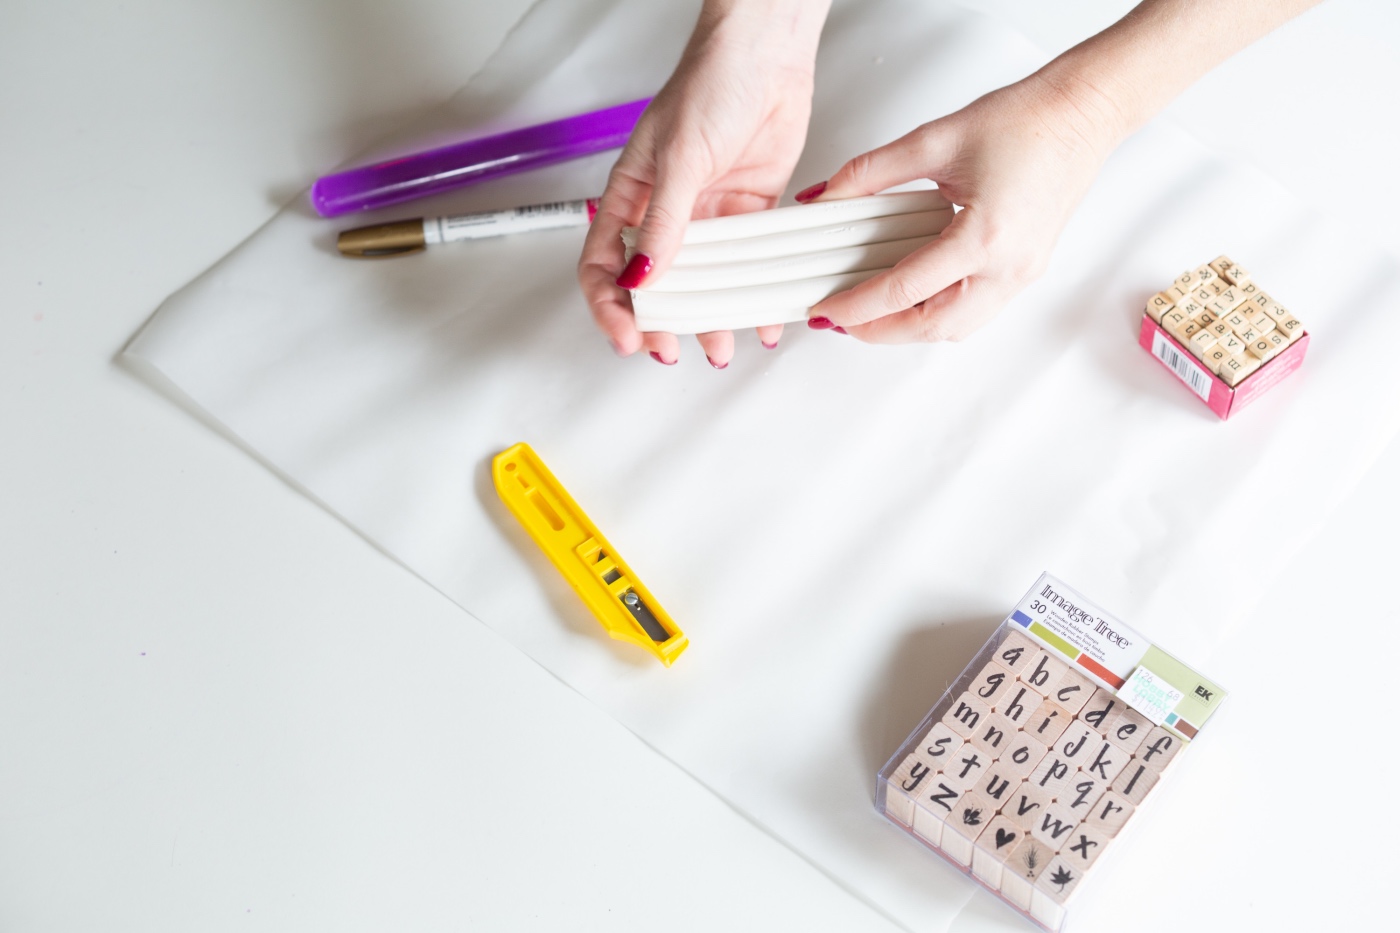
First, start by working the clay into a ball in your hands. The more that the clay warms in your hands and the more you work the clay, the softer it will get. Once it’s in a nice ball shape set it on a flat surface where it won’t stick.
I used a tiny bit of parchment which is a great surface, but you could also use a wood cutting board or granite counter. There are lots of non-stick options! Now, use your roller to begin stretching and flattening the clay.
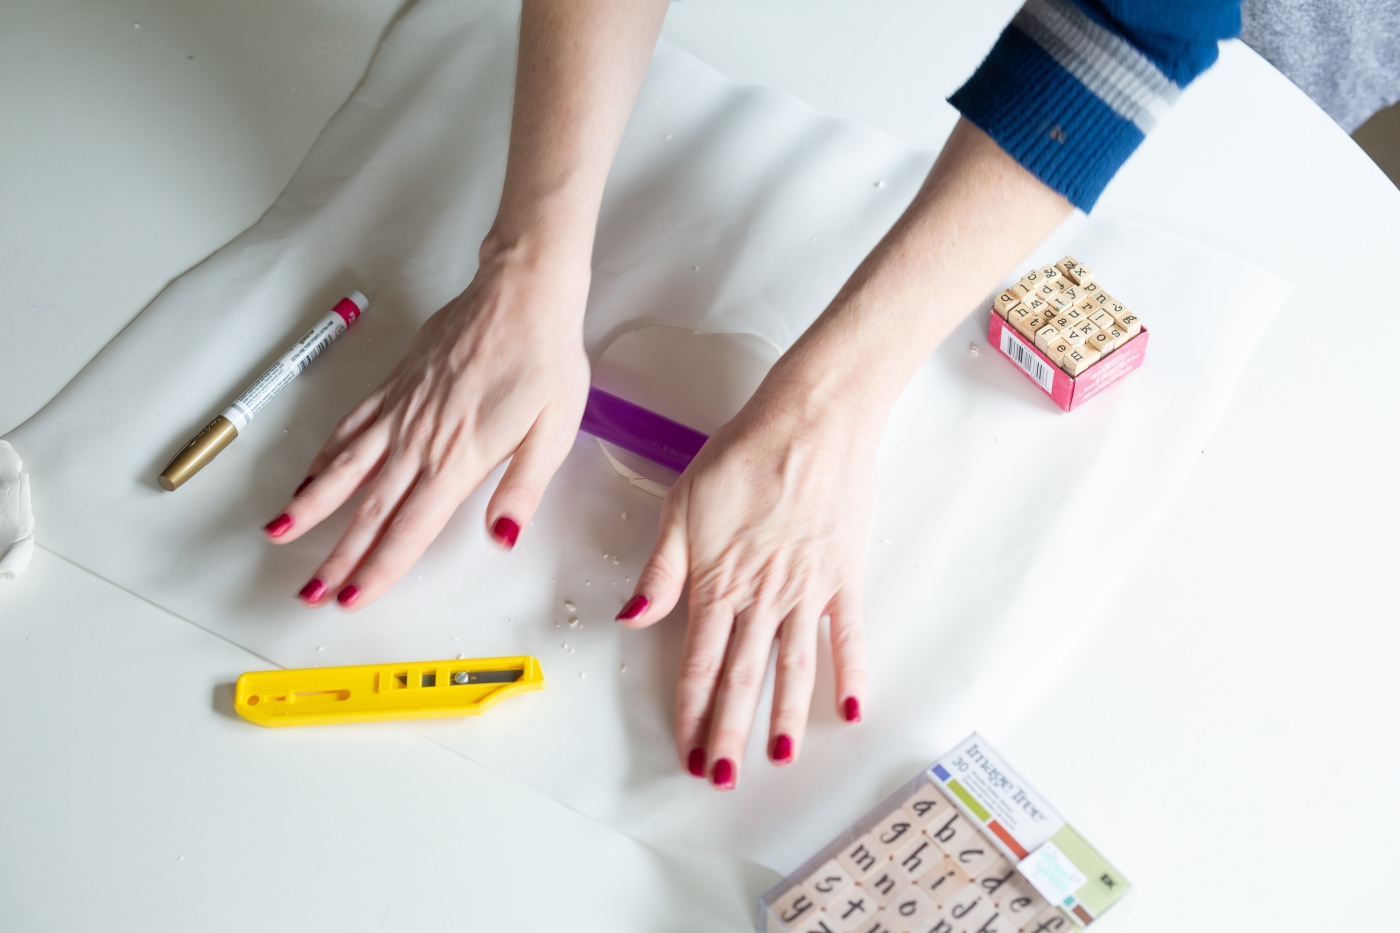
You can use a kitchen rolling pin or even a pint glass! Actually anything in a cylinder shape will work perfectly. You don’t need a clay roller like what I used. Pro tip: Clay rollers are literally the biggest waste of money ever!
Roll the clay and keep it an even thickness until your clay is about 1/8 inch to 1/4 inch thick.
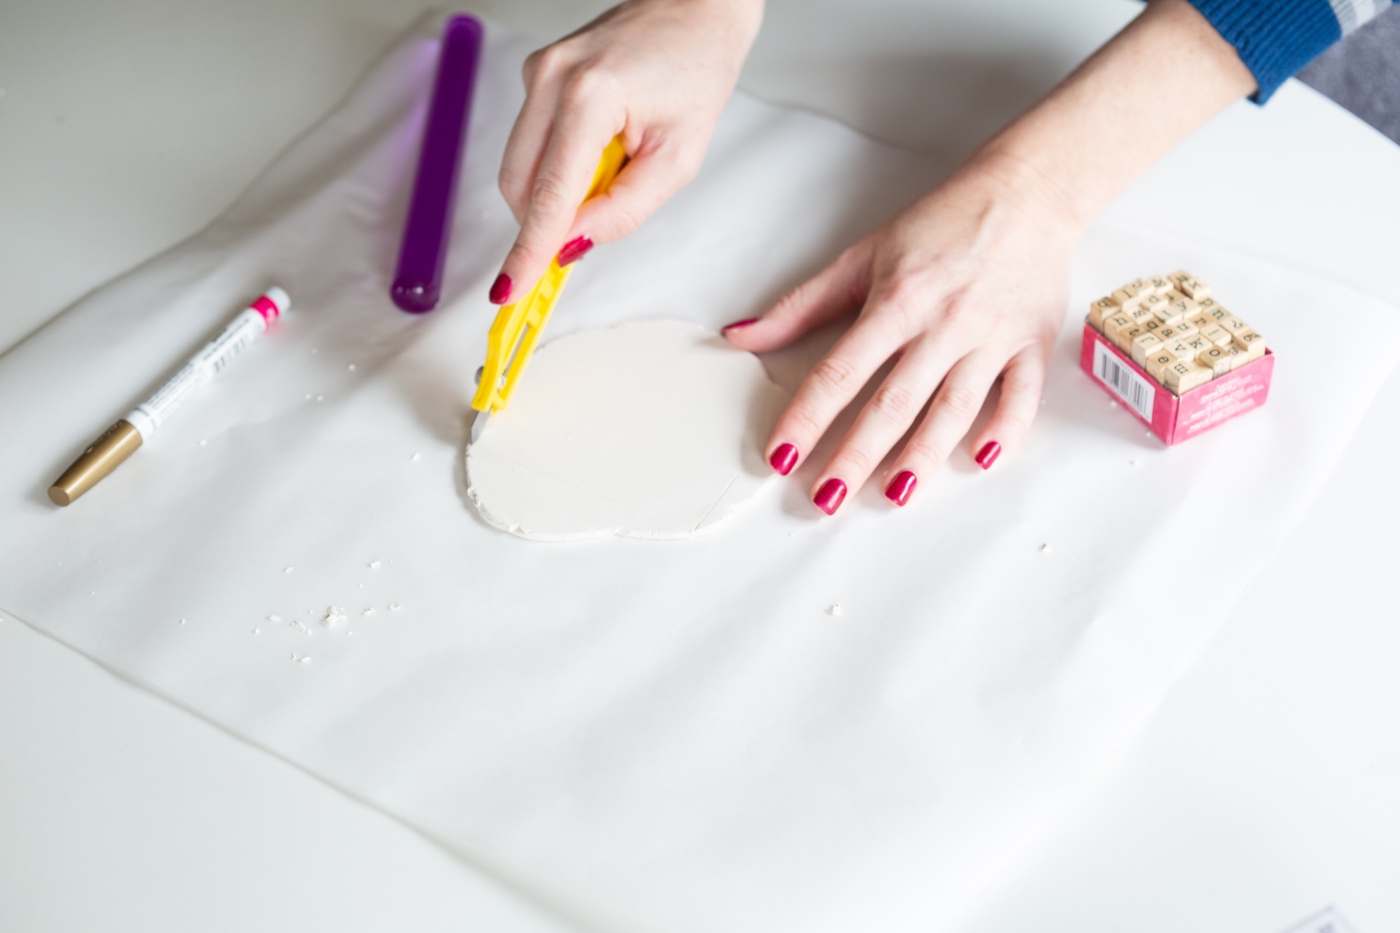
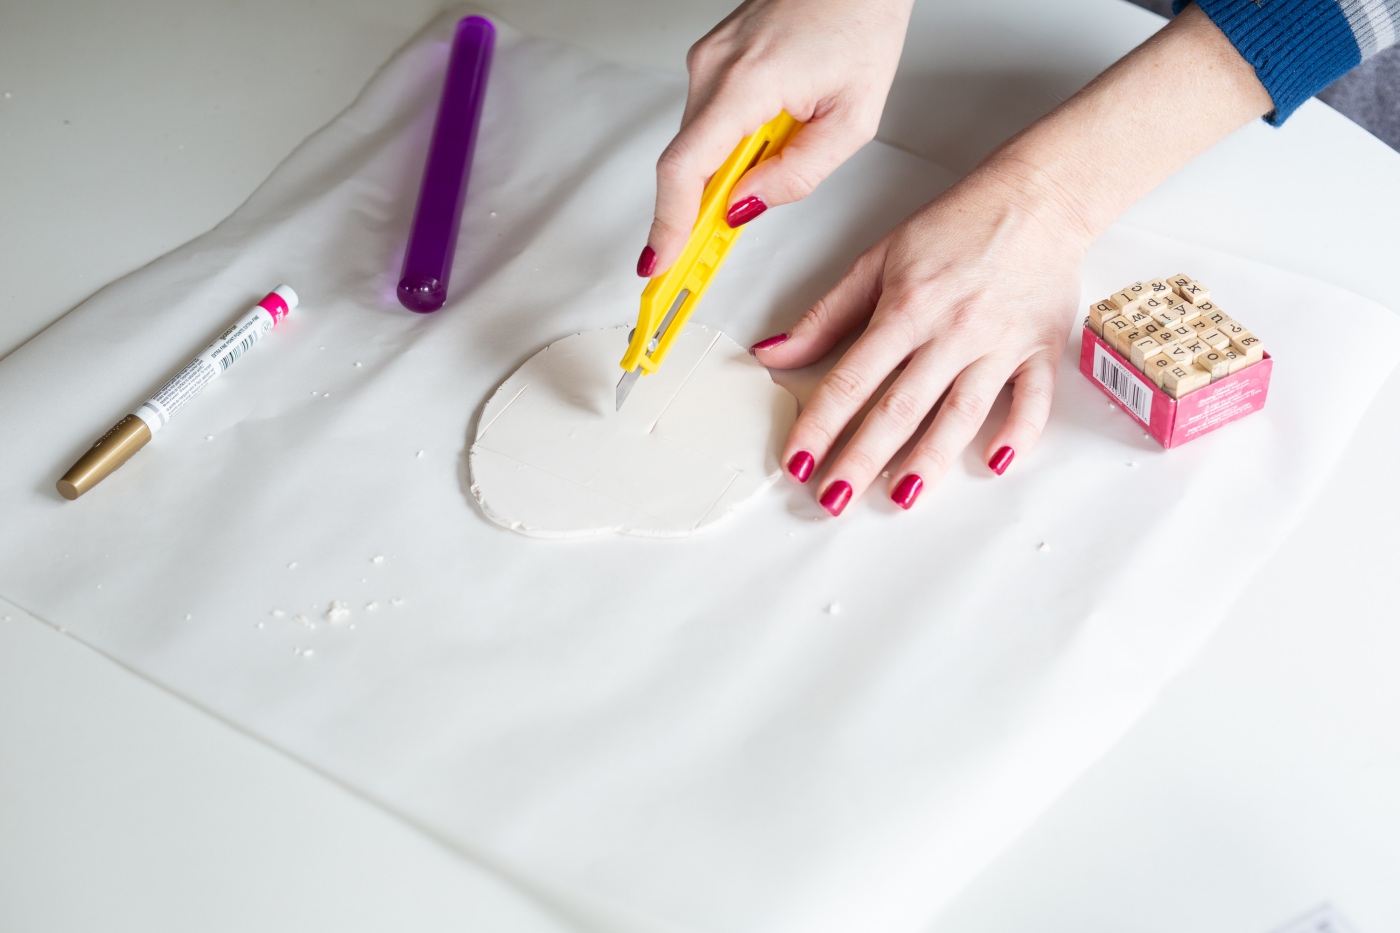
Now cut your shape into the clay. Whatever shape you choose, you will want it to have one long pointy end that can poke into the soil. I created a simple thought bubble shape but you can get really creative with this! Or go really simple, like these.
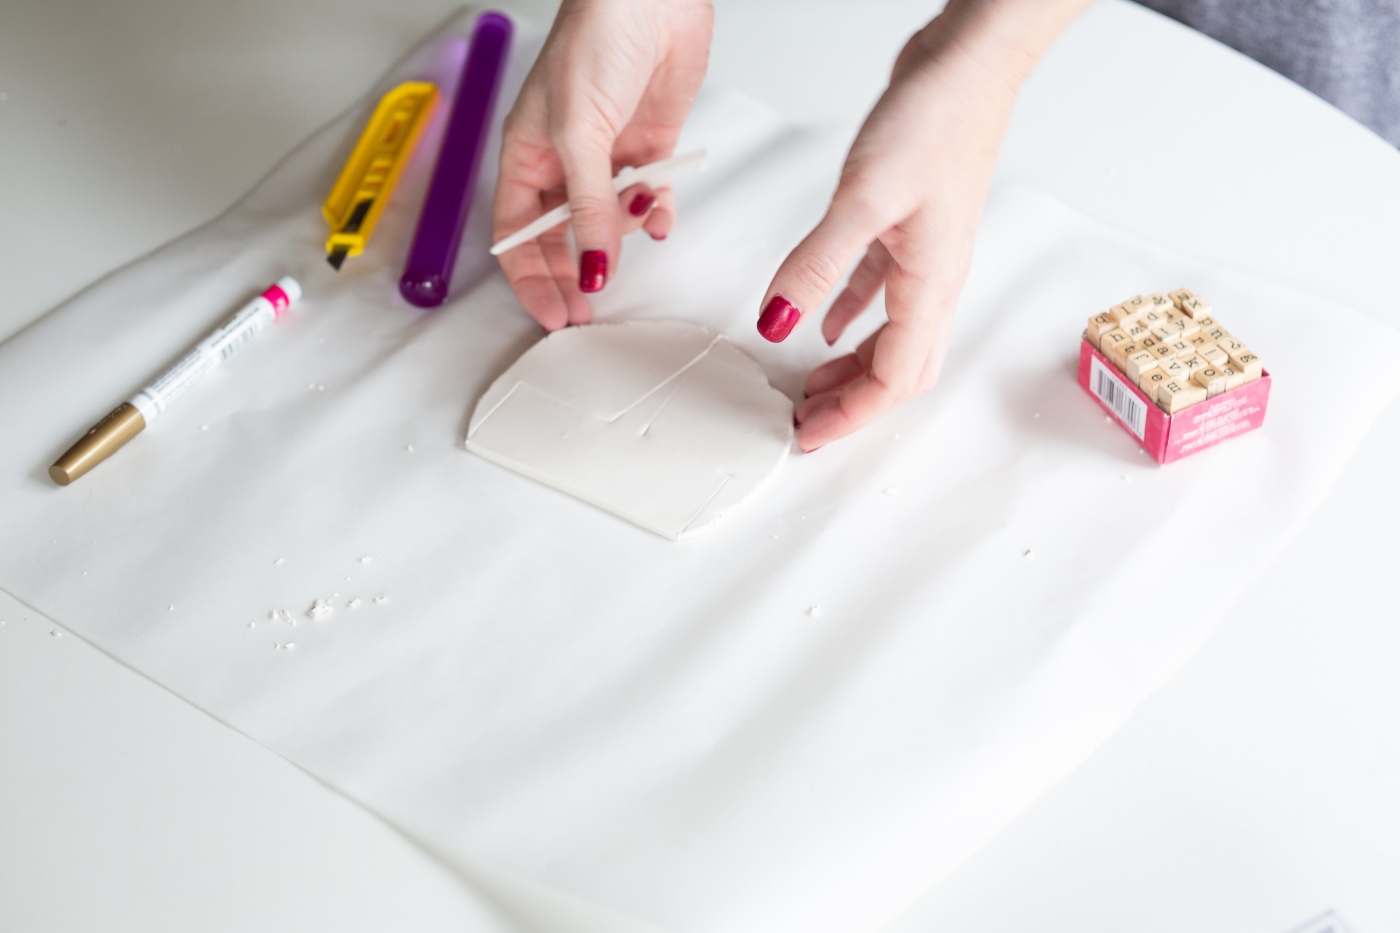
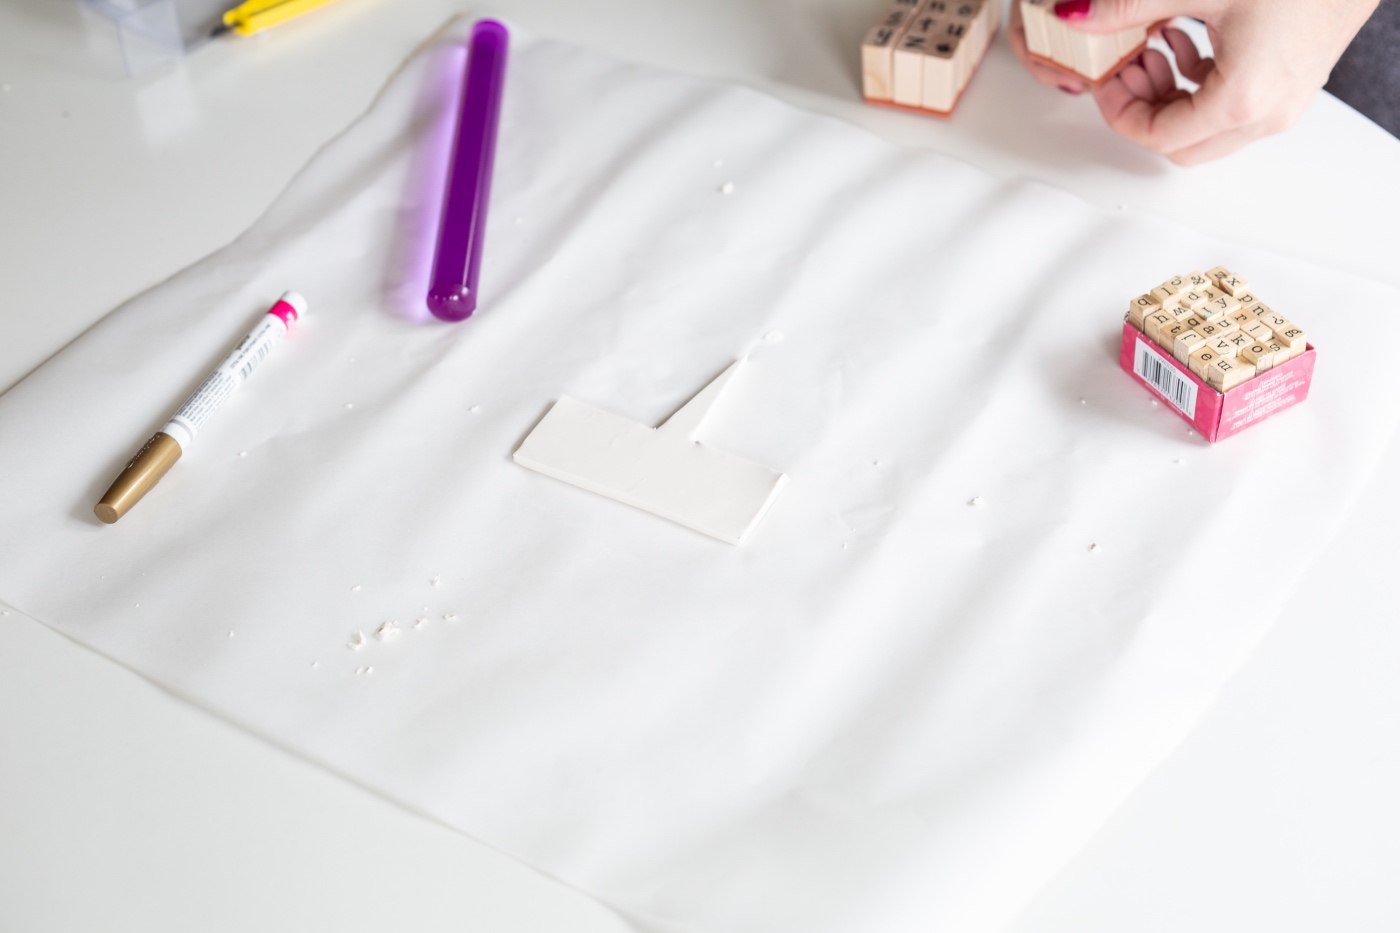
I cut my shape free hand with an x-acto knife. If you don’t have one, a steak knife is perfect for this! You could even use a disposable plastic knife. The sharper the knife the smoother your clay edges will be. If your edges are rough, just use your finger to smooth out the clay.
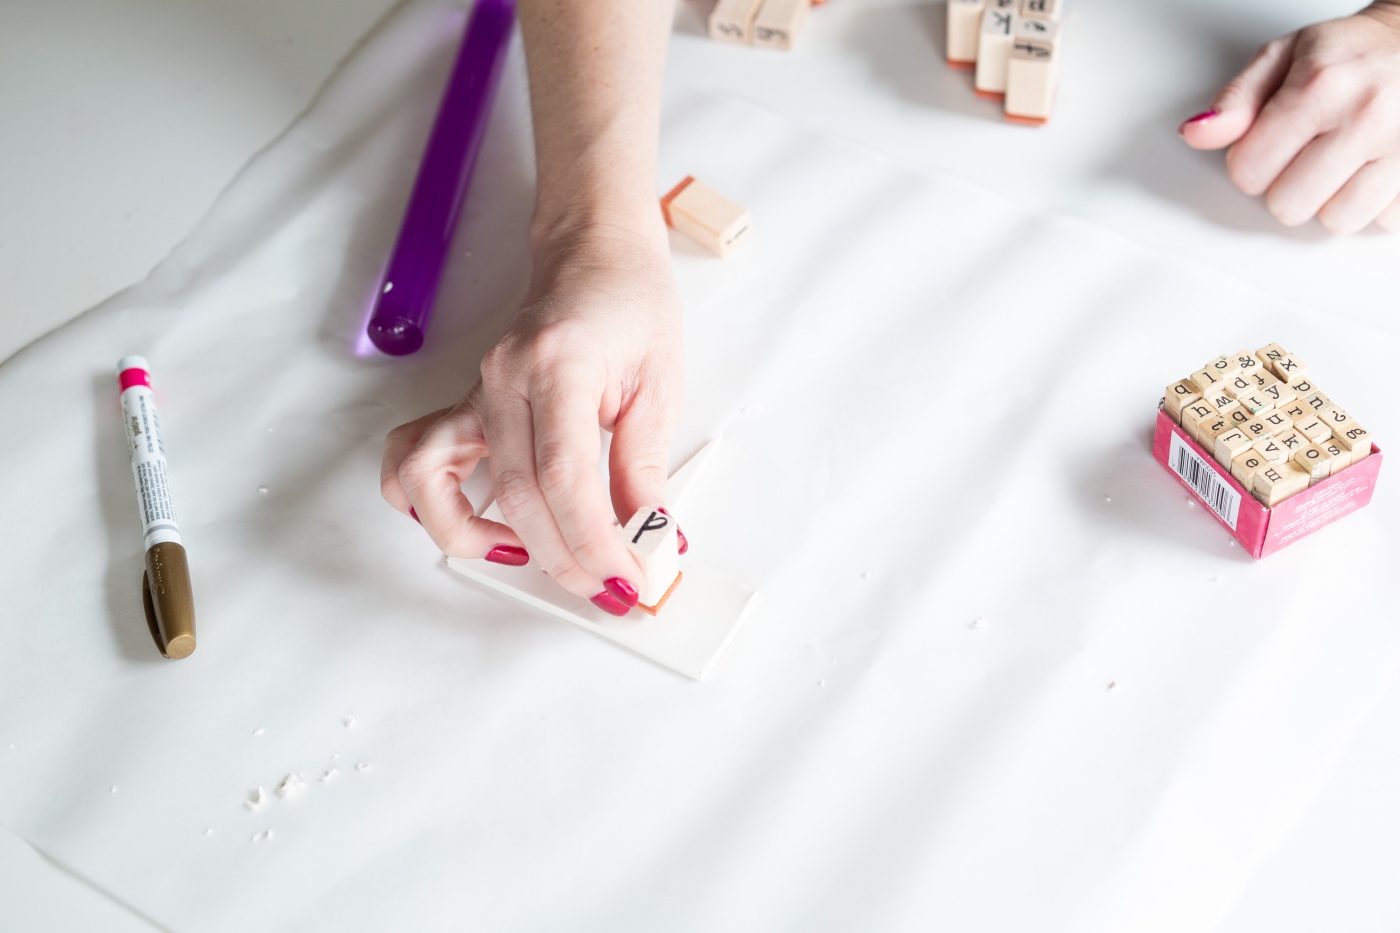
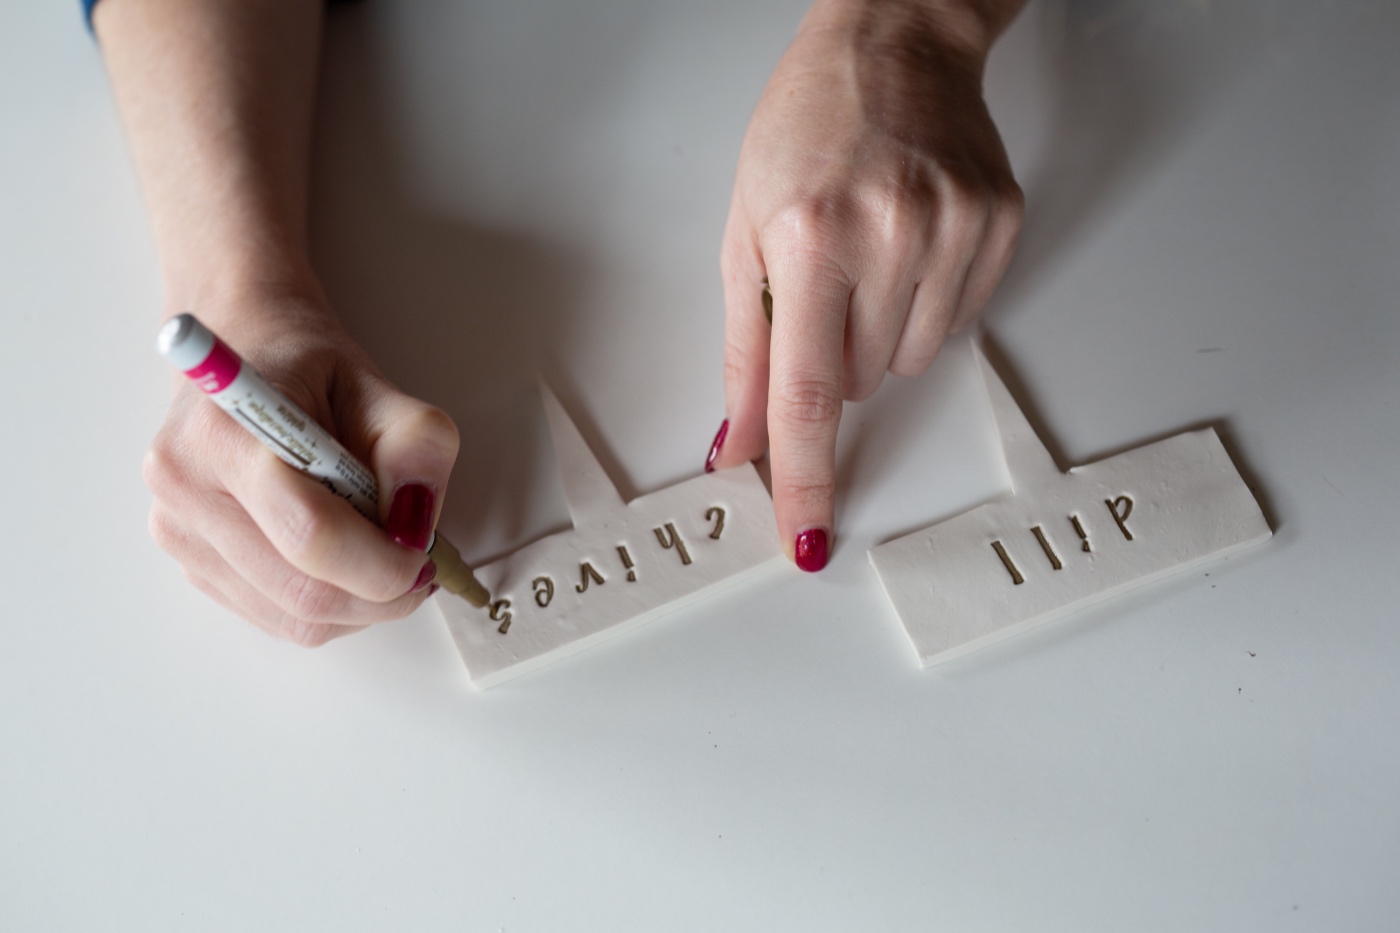
Now let’s get to stamping! You can use any rubber stamps to indent the clay. We chose to write out the herb names with the stamps, but you could stamp gardening affirmations or anything you like. To stamp the clay, you will want to be careful of the following things.
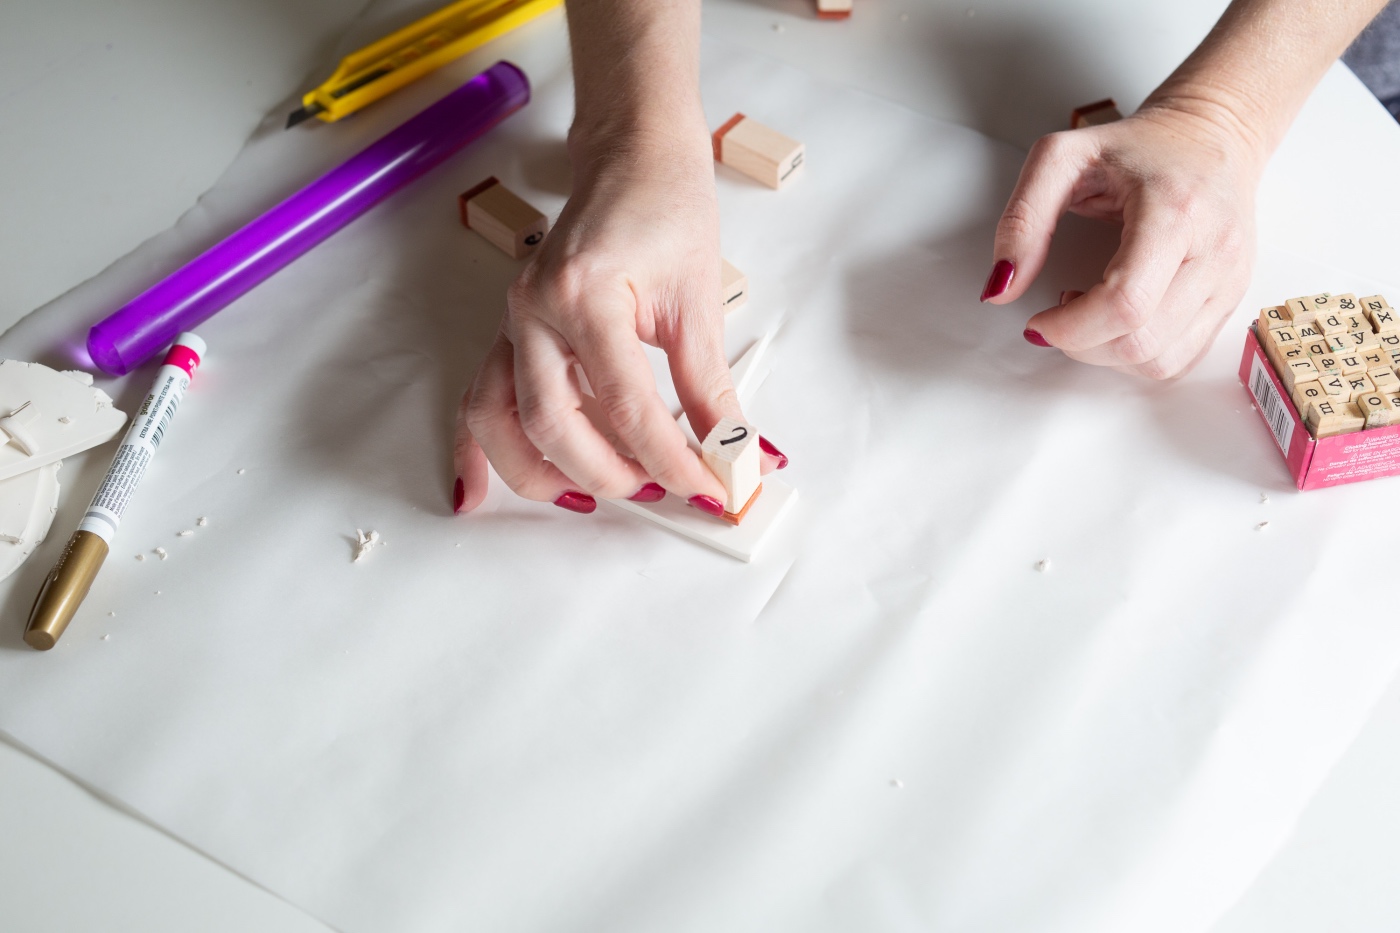
First, be careful to press the stamps gently. If you press to hard, the outer edges of the stamps will be imprinted. If they are, you could always try to smooth them out with your fingers. Or start from scratch, rolling your clay out again and recutting it.
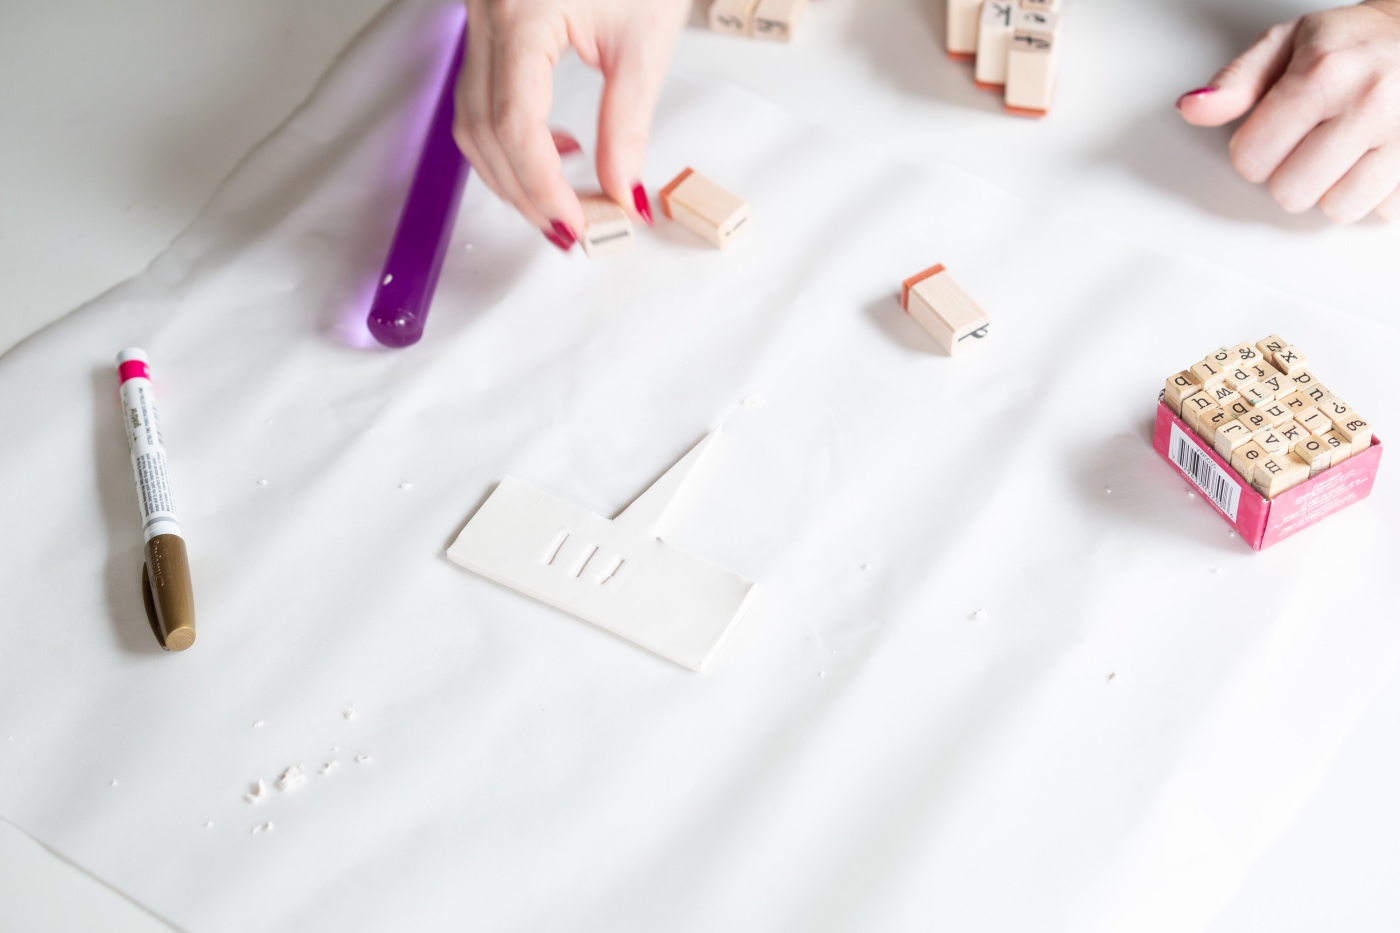
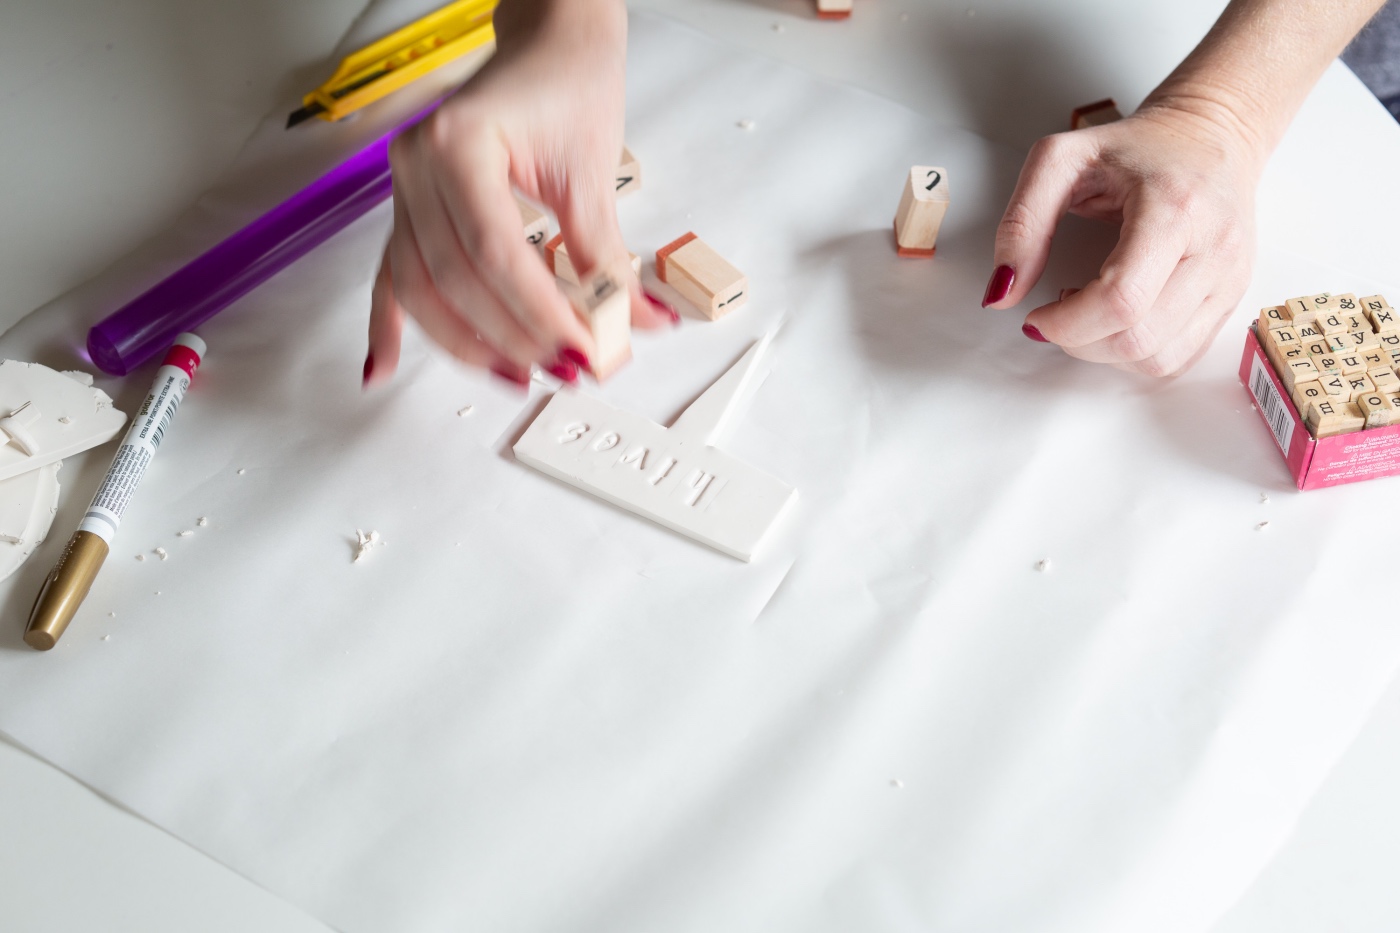
Second, be careful to space the letters evenly! Space them evenly up and down so that the words form a straight line. And also, space the letters evenly from each other. It may be hard at first, but you will get it with a bit of practice.
And clay is the best material, because if you don’t like your results, you can start again! Once you are happy with what you have created, give one last pass along the edges and the surface of the clay to smooth it out.
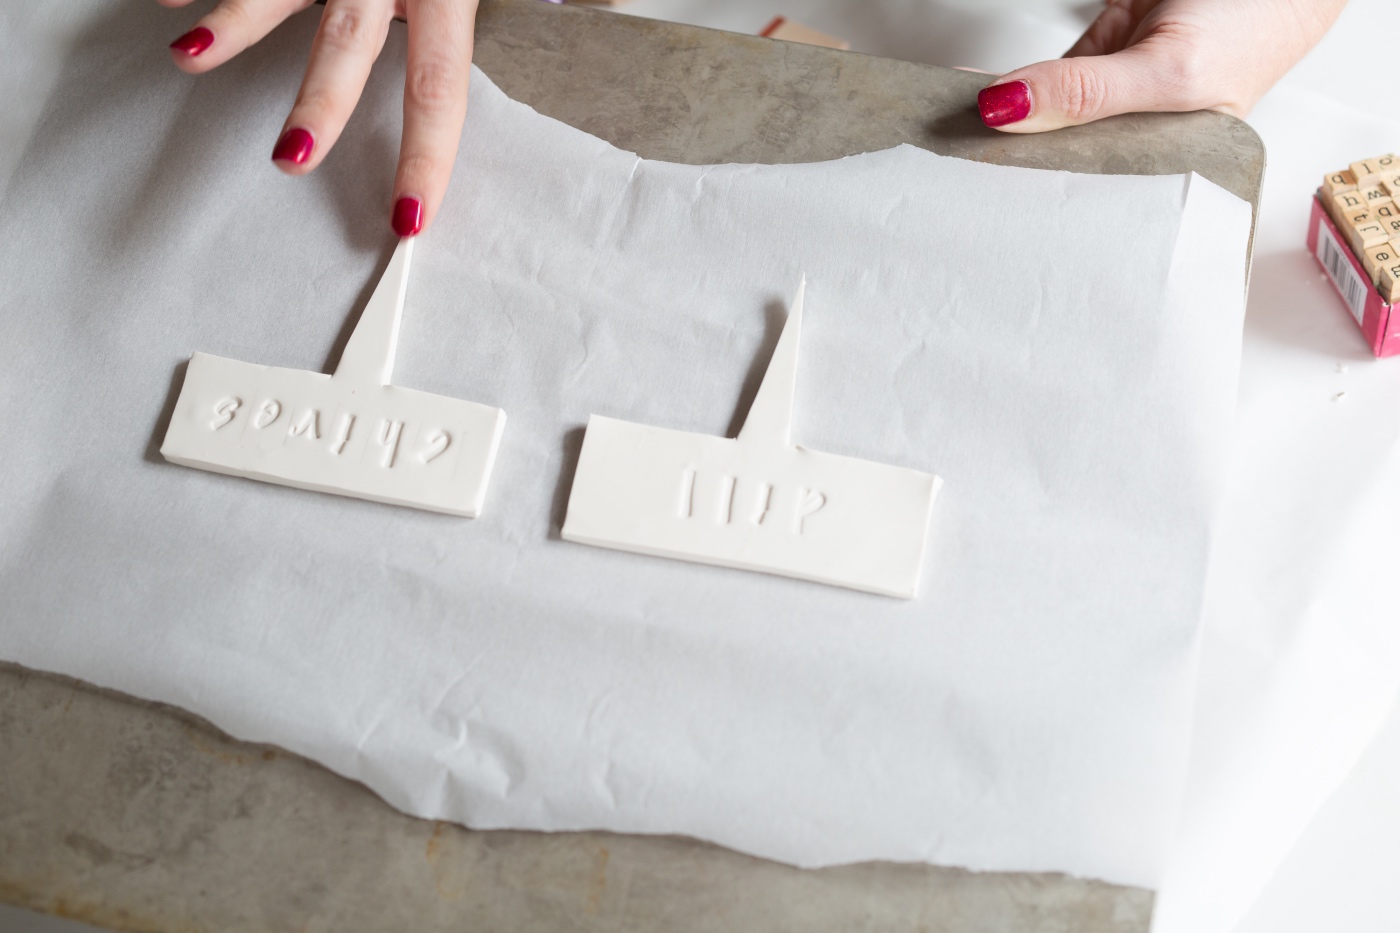
Baking it in the oven will stiffen it into the precise position it’s in before you bake it. So getting it just how you want needs to happen before the oven.
Now, it’s time to bake the clay! Traditionally, this clay should be baked 15 minutes at 275ºF. I often start with the oven at 250°F and check it after 8-10 minutes. I recommend checking the clay early, because it can be overbaked and burnt!
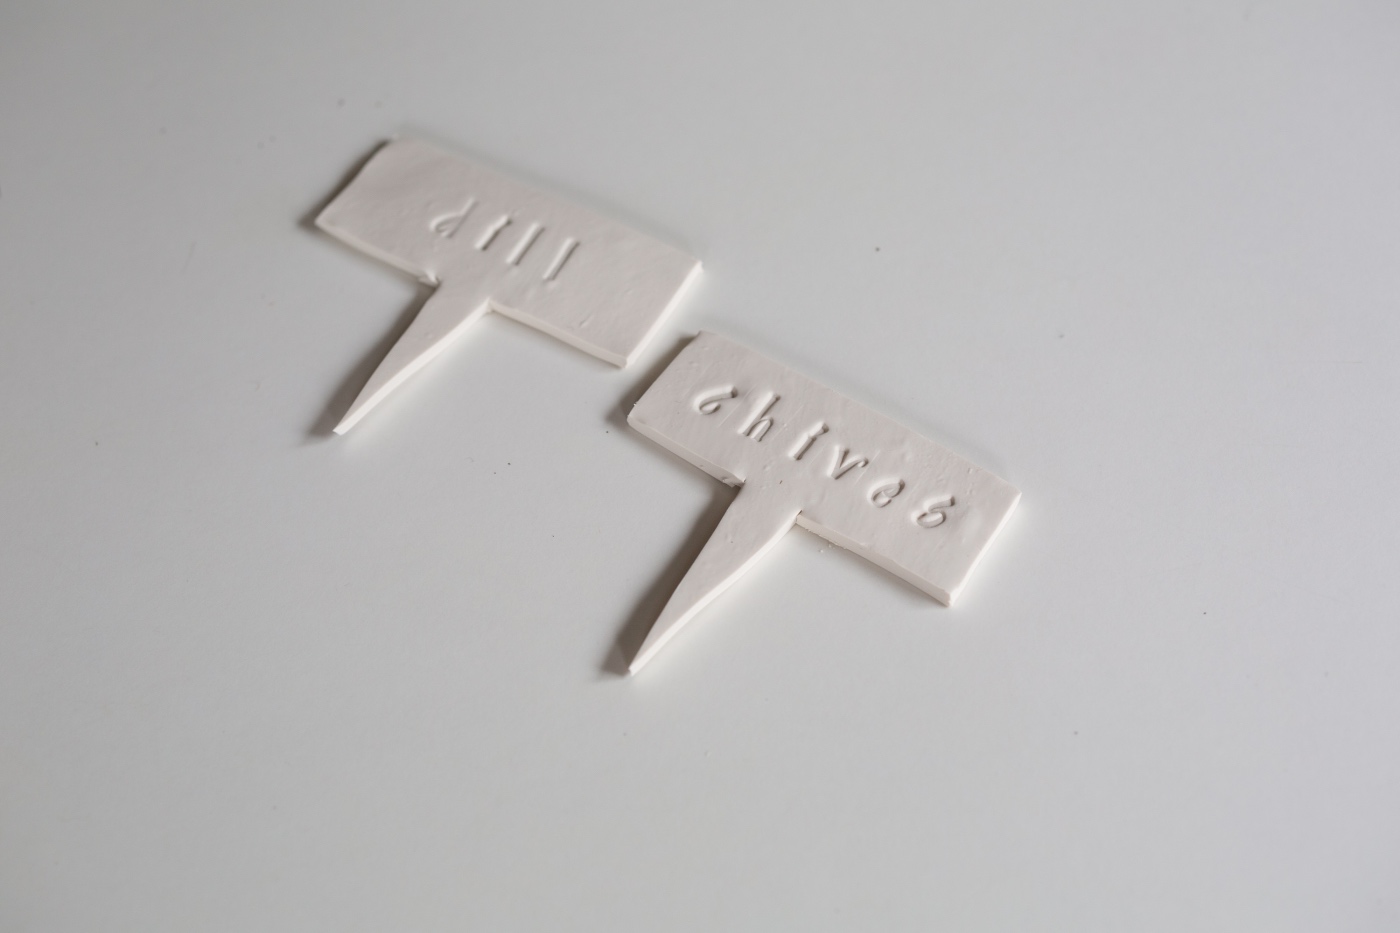
Just for fun, I chose to use a gold sharpie to stencil in the lettering. You don’t need to but if you want to, you could use any sharpie, permanent marker, or liquid gilding. You could even use a bit of glue and glitter! The options are endless.
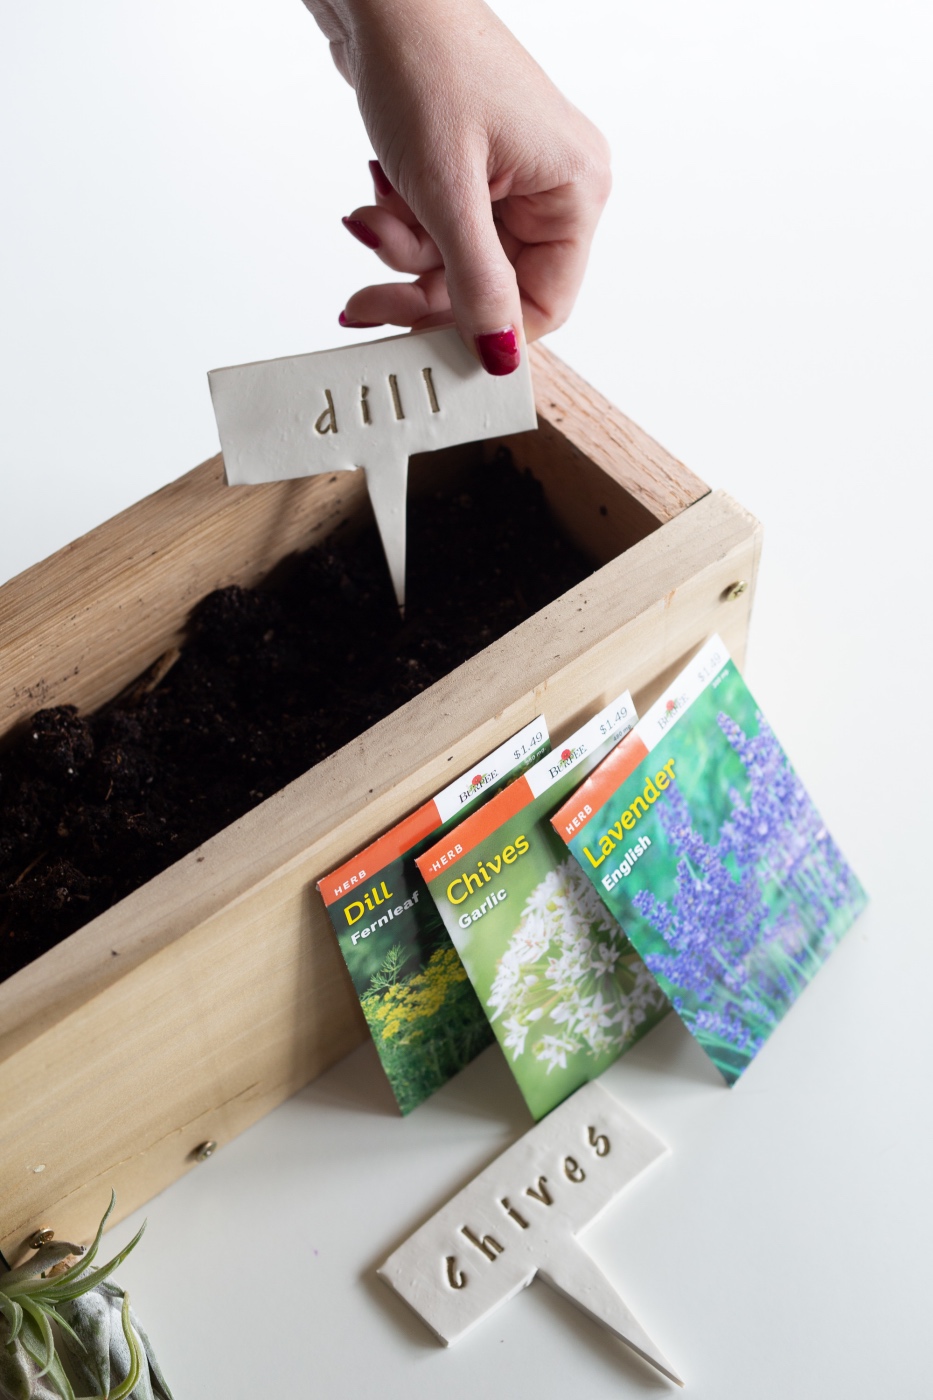
And viola! DIY Stamped Clay Garden Markers. We used them for fresh herbs but these would be lovely in a flower garden or to identify succulents! Show us how yours turned out in the comments. And if you want to make them for yourself, be sure to get the best craft supplies in the monthly subscription box – Craft in Style by Pop Shop America!
Let’s Stay Friends!
Insta | Pinterest | Enews | TikTok