DIY
DIY TV Stand Midcentury Makeover Tutorial (Before & After)

Sep
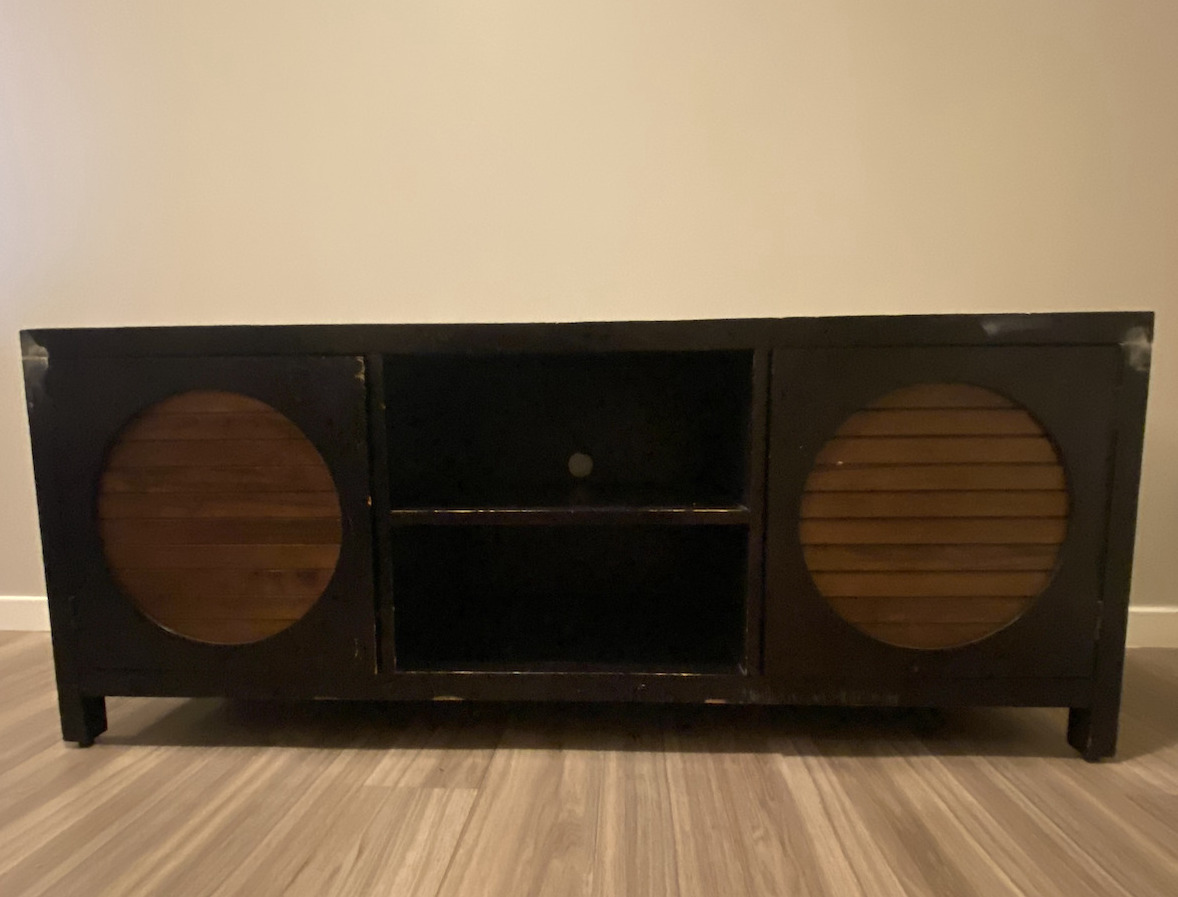
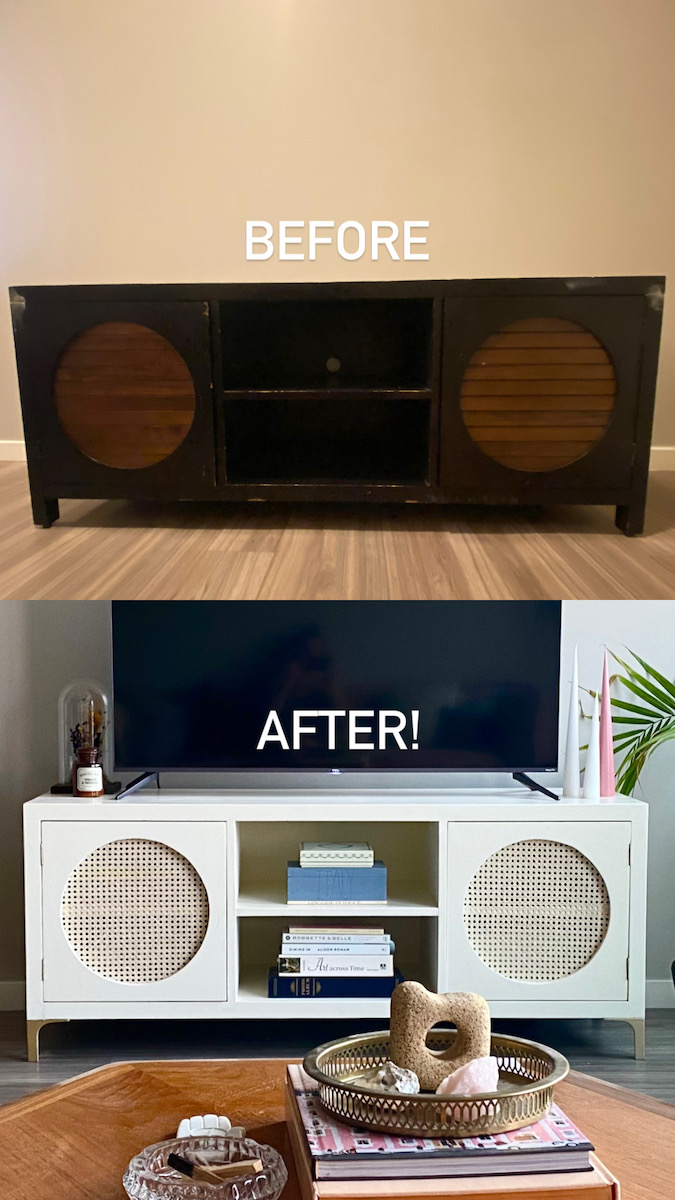
I’m going to go out on a limb here and say that this DIY TV Stand Makeover is the biggest transformation of any DIY project I’ve done.
I still can’t believe how horrible the before was compared with how great the after looks!
For this project, I really tried to push myself to learn new techniques and use new materials. I learnt how to properly refinish furniture and spent more money on sand paper and tack cloth than I’d care to admit. I also learnt what tack cloth is and why it’s absolutely essential when you’re refinishing/painting furniture.
Come along on this transformative journey with me and see how I took this dark, dated media console and turned it into a bright boho piece perfect in my mid century inspired apartment.
The Inspiration
Like most home design enthusiasts, I’m seeing cane webbing popping up everywhere! I love the laid back look it has and really wanted something with canning for my home.
After moving to Calgary, I had to buy a few more pieces of furniture and I was hell bent on at least one of them having caning.
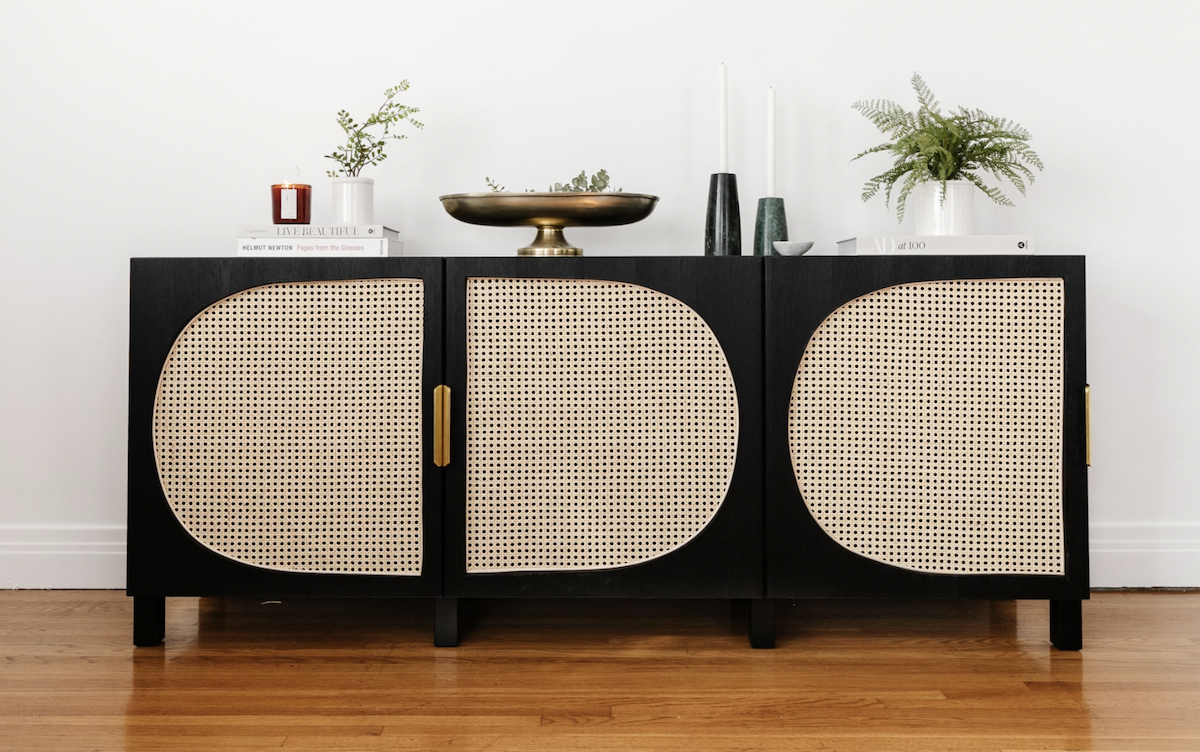
I searched Pinterest for ages trying to find inspiration and settled on using caning in a tv stand. In my search I found an amazing tutorial for a black sideboard that uses canned webbing. As soon as I saw it I got a gut feeling that I had to do something along these lines.
For my space, I wanted something that was a bit brighter. I’ve been loving more creamy colours lately, so I decided to go with a warm cream colour from Benjamin Moore called Lily of the Valley.
The biggest challenge of this project was finding the media console I wanted to use. I had nearly pulled the trigger on an Ikea Besta unit when I found this simple, but similar black media console on Facebook Marketplace for FOURTY DOLLARS!! The Ikea set up was going to cost me $200 and I still would have had to cut the doors. To say I’m thrilled with only spending $40 is an understatement.
Even if you don’t have a tv stand to refinish, use this post as inspiration! You could use caning on a nightstand, a sideboard, a dresser or a side table!
DIY TV Stand Midcentury Makeover
Supplies
- 2 door media console
- wood filler (optional, but probably necessary if your furniture is old)
- sand paper in coarse, medium and fine grit
- primer (I use Bullseye 1-2-3)
- paint in a matte finish (I recommend using a durable paint made for furniture like Benjamin Moore Advance Interior Paint)
- tack cloth – and lots of it!
- painter’s tape
- Minwax polycrylic water based protective finish in a matte finish
- 2 paintbrushes (1 for paint & primer, 1 for the polycrylic coat)
- a paint tray for the primer & paint
- 3′ of 1/4″ cane webbing
- 2 packs of Ikea Nannarp legs in white
- staples & staple gun
- a drop cloth
- a ruler
- a pen
- spray paint (optional)
- a jigsaw
- a power drill
Prep
- I started by removing the doors, shelves and any hardware that was in the media console. I set it all aside because I planned on putting it back on after I was done.
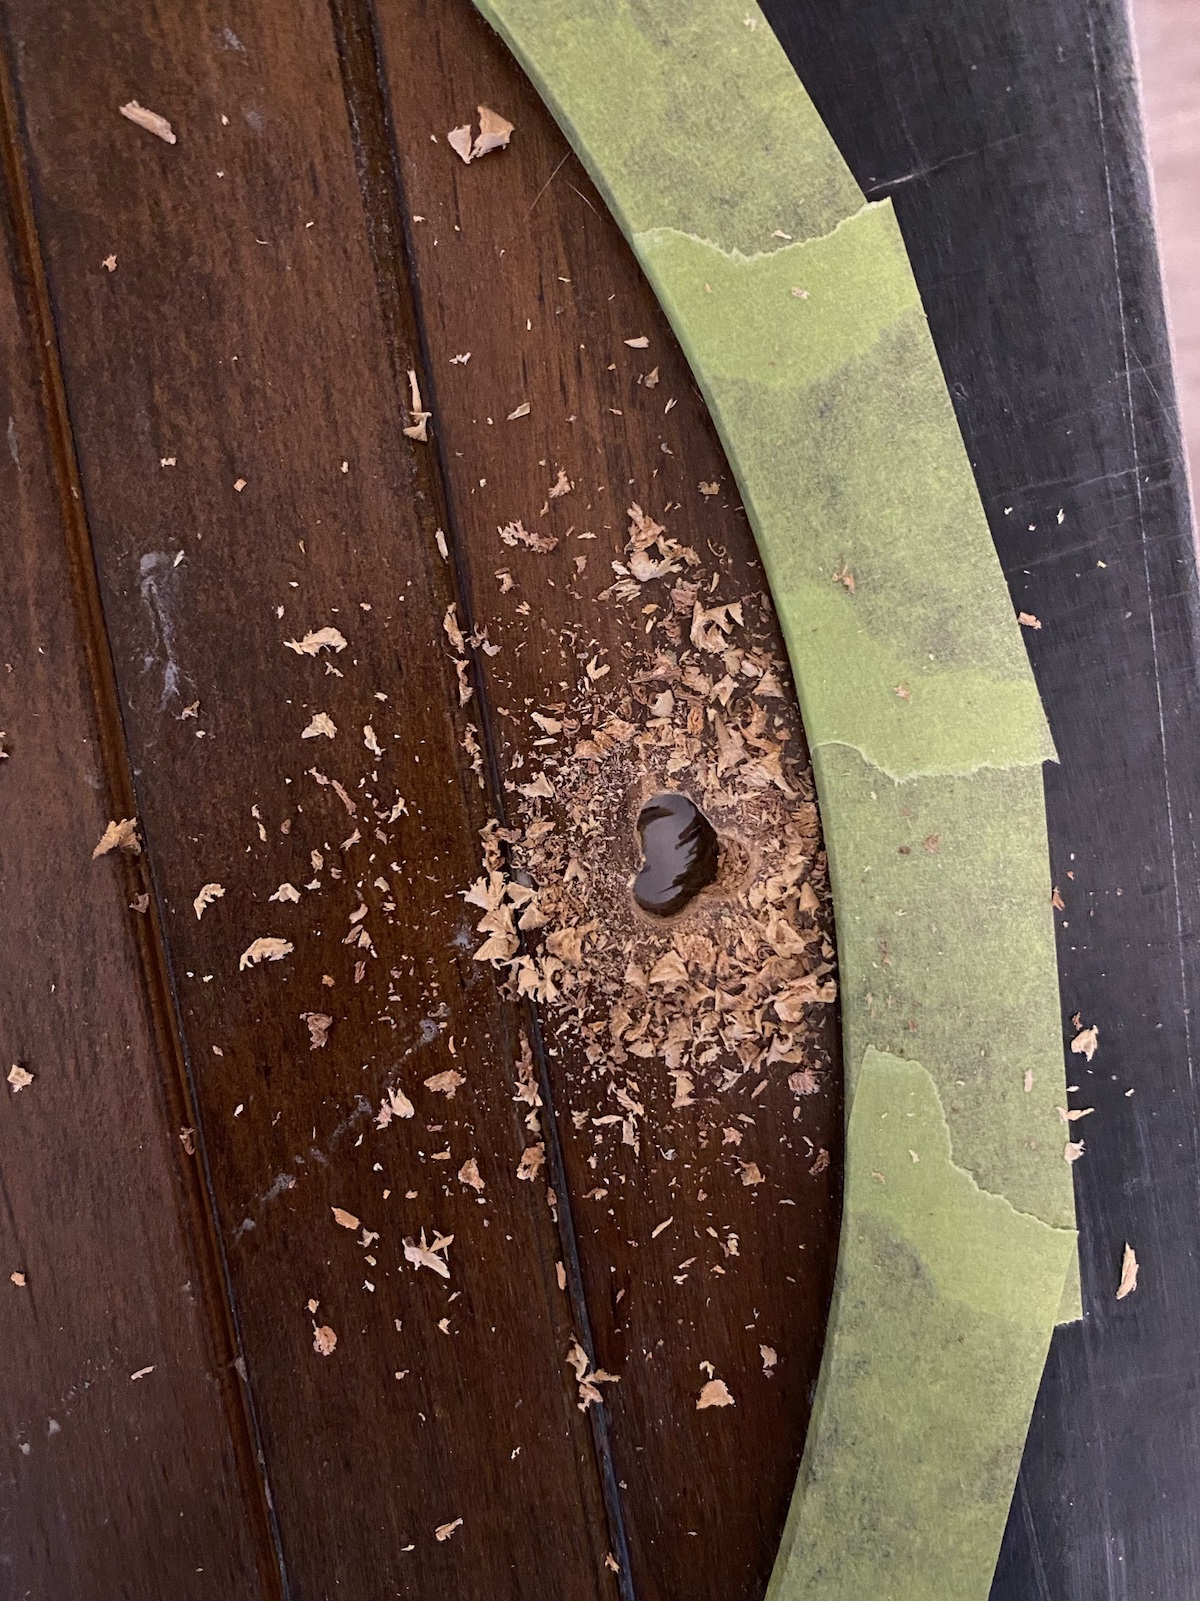
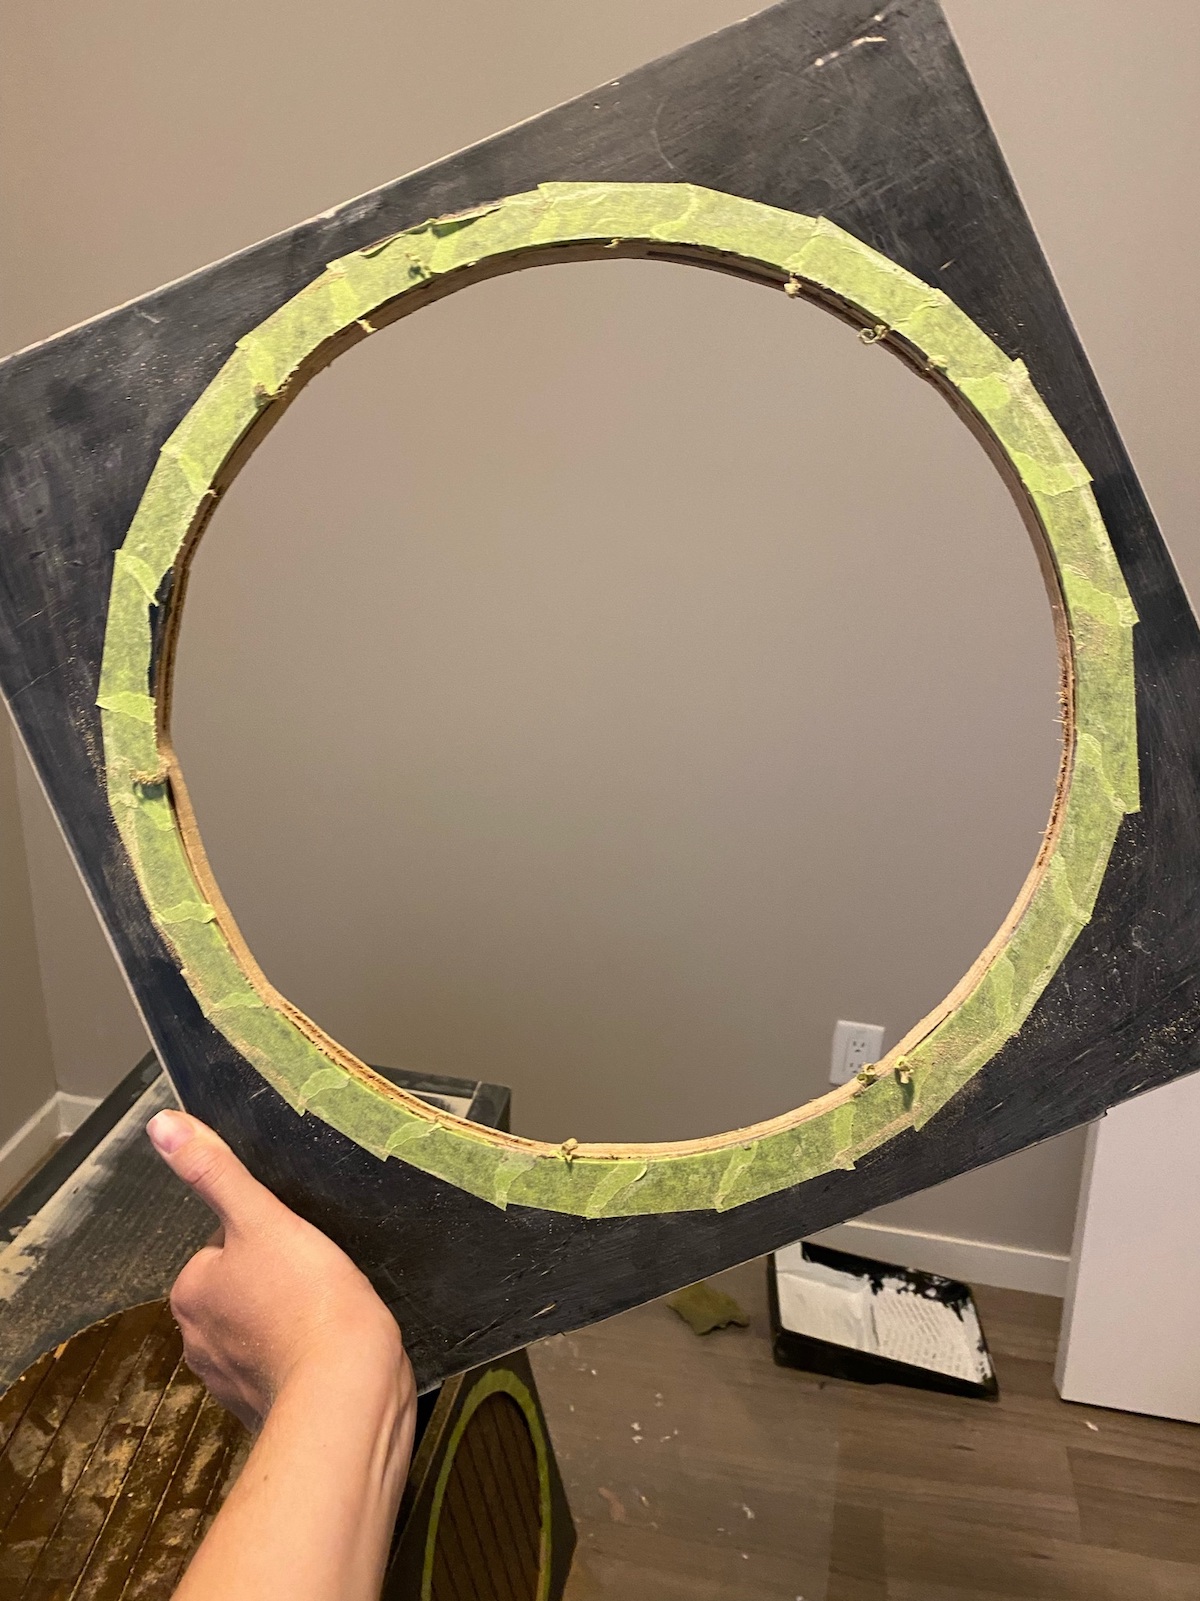
- For the doors I taped off the edge of the circle to try to protect it. I then used my drill to drill a hole in the wood panelling so I could get the jigsaw in. From there I slowly cut out the wood of the circle until I had a hole in the door!
- I then placed the media console on a drop cloth to protect the floor. My tv stand is older, so I filled any holes, scratches and nicks with wood filler. When the wood filler dried, I sanded it with medium and then fine sand paper. There were some areas where I had to add a second round of wood filler just to make sure it was smooth. I was also trying to fill in a groove in the top of the tv stand and smooth out the uneven finish. At the end, I wiped down the media console with tack cloth to remove any debris.
- Once that was done, I gave the entire media console a sand with the medium sandpaper (this helps the primer to stick). After sanding I wiped the whole thing down with tack cloth. Trust me the tack cloth is super important!
Paint & Prime
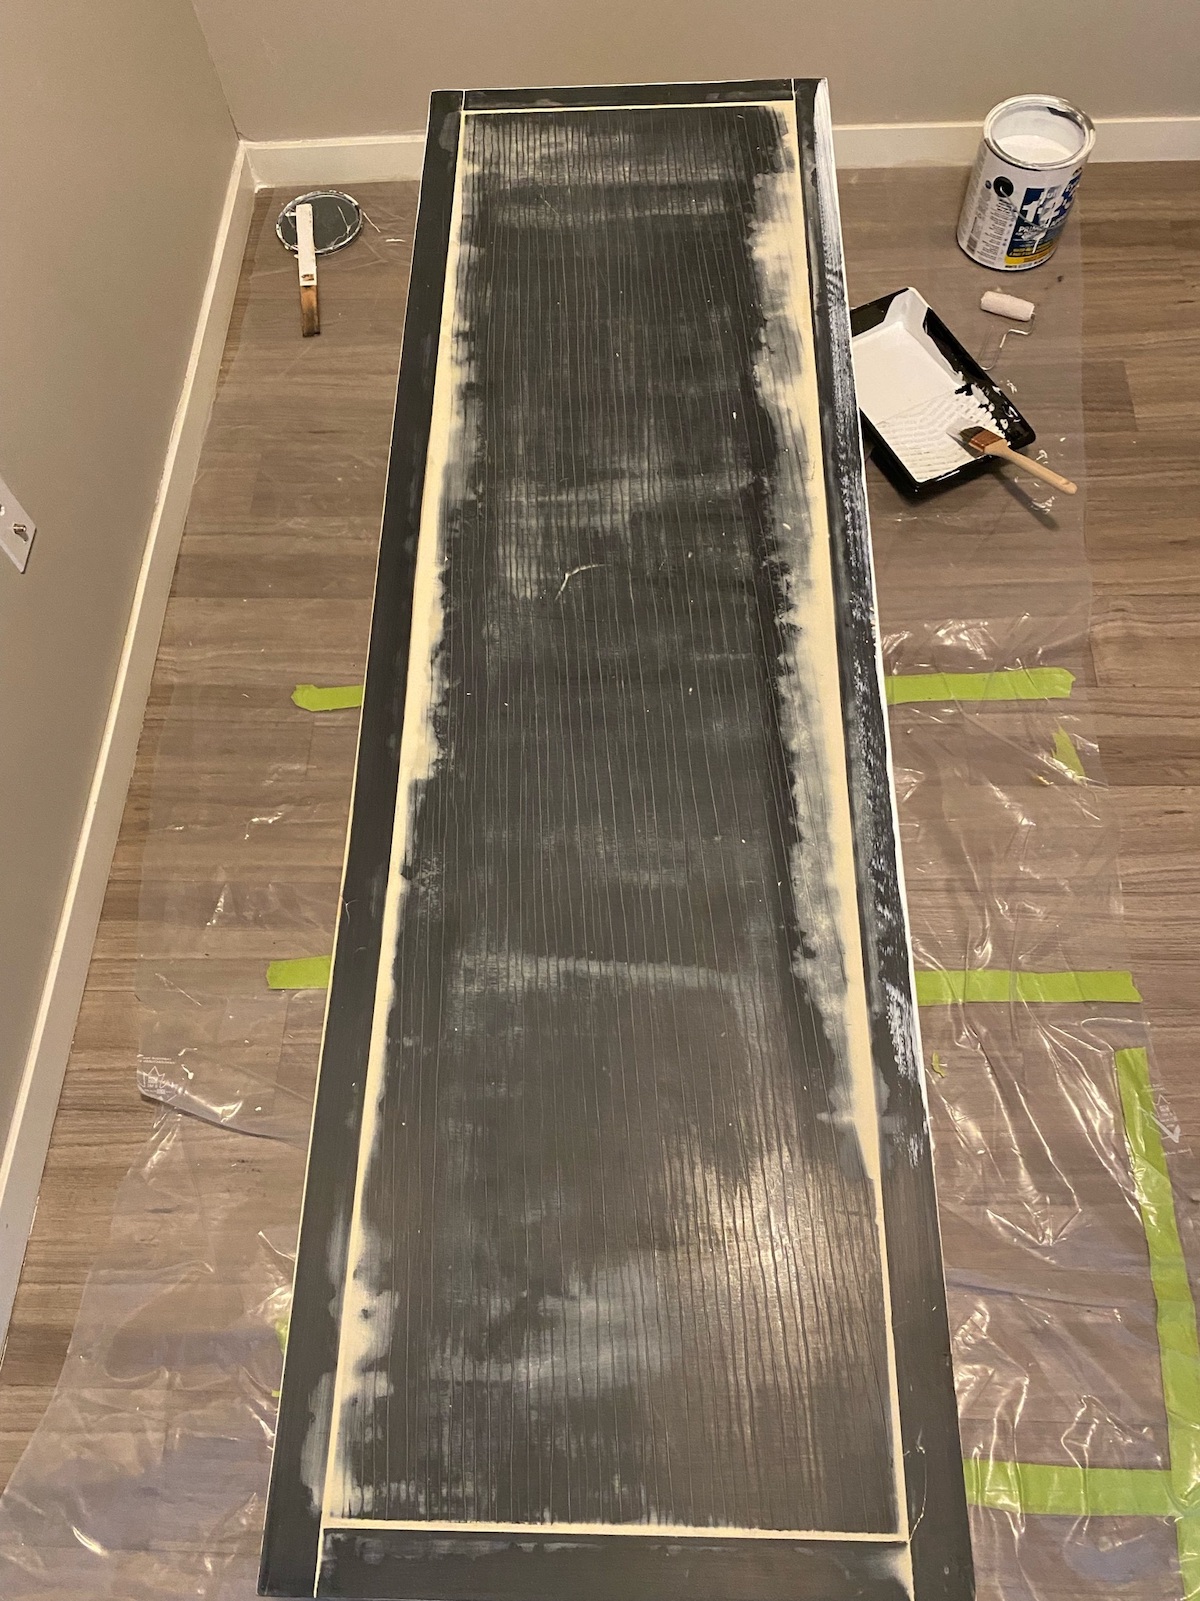
- Next I did 5 – yes 5 – coats of primer on the tv stand. My piece was black to begin with and I wanted it to be a pale cream colour, so I had to make sure that the black didn’t show through at all. I did a light sand with fine sand paper and a wipe with the tack cloth in between every coat of primer.
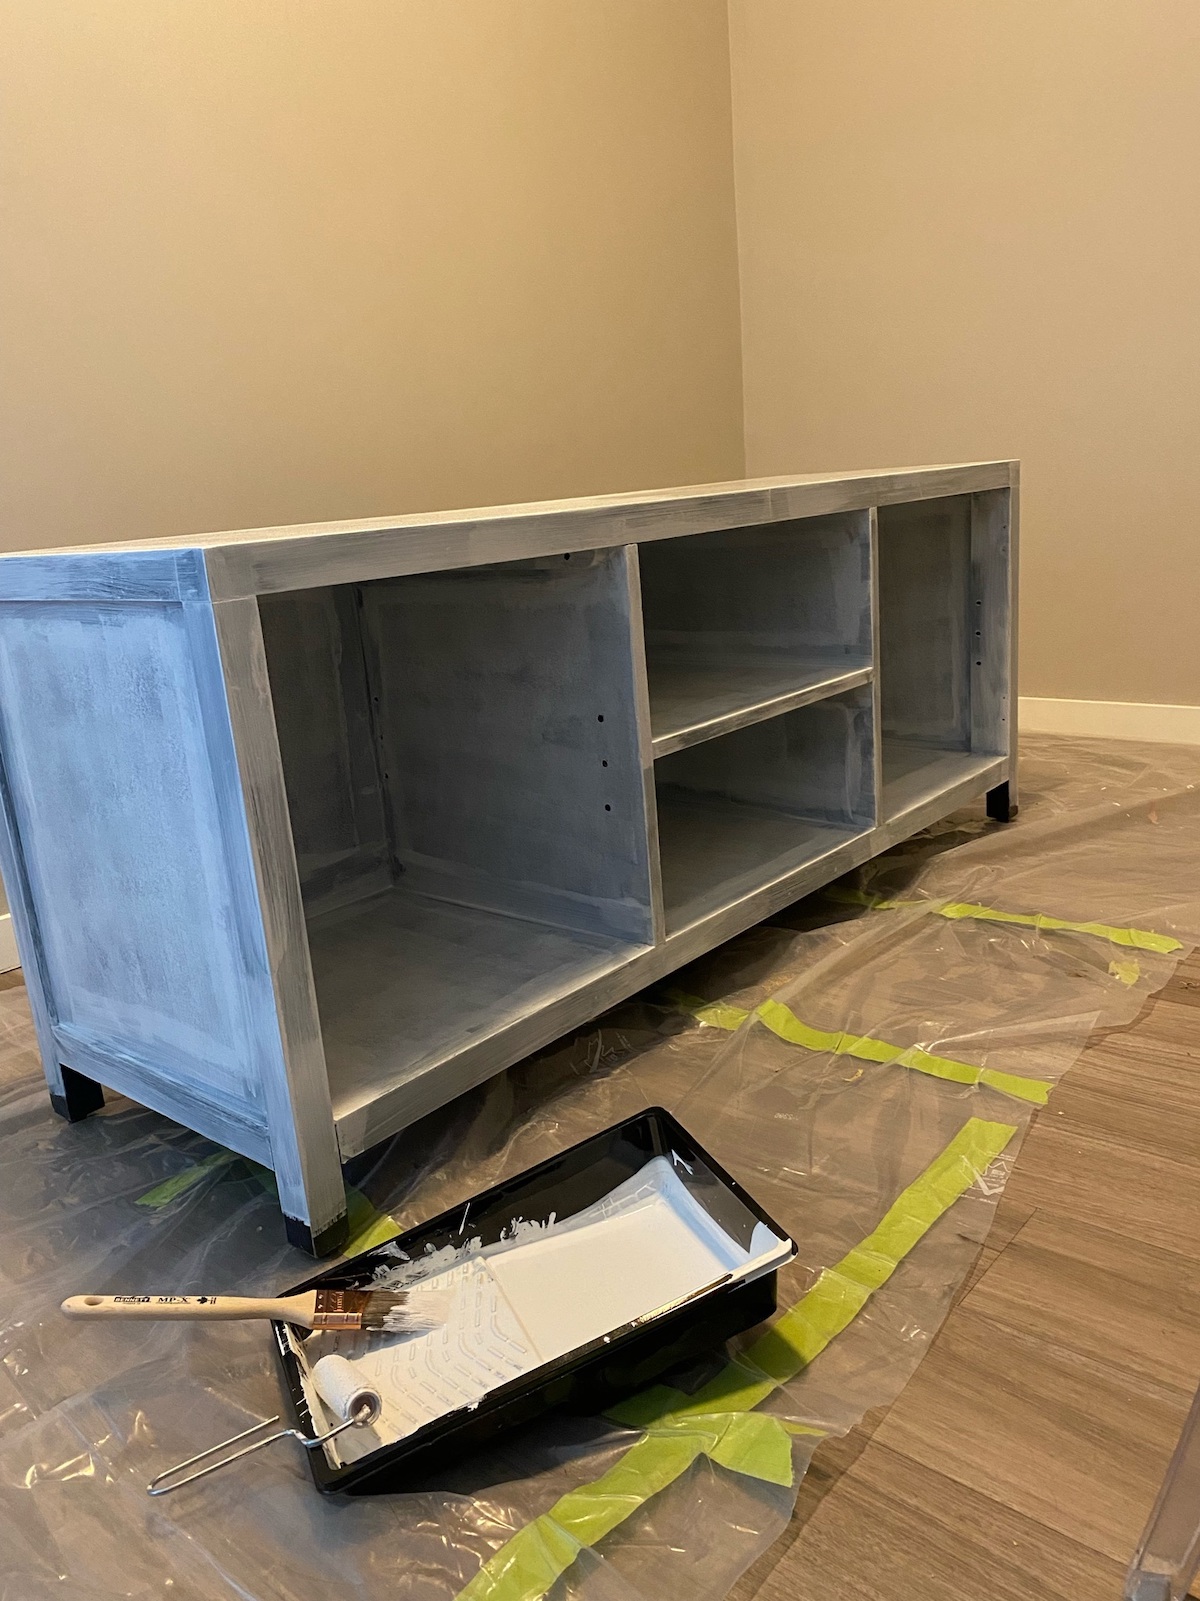
1 coat of primer done - After the media console was primed, I used my jigsaw to cut the legs off. I used a pen and a ruler to make sure I was cutting them off as straight as possible. The cut wasn’t perfectly straight on two of the legs, so I just used coarse sand paper to sand it down until it was level.
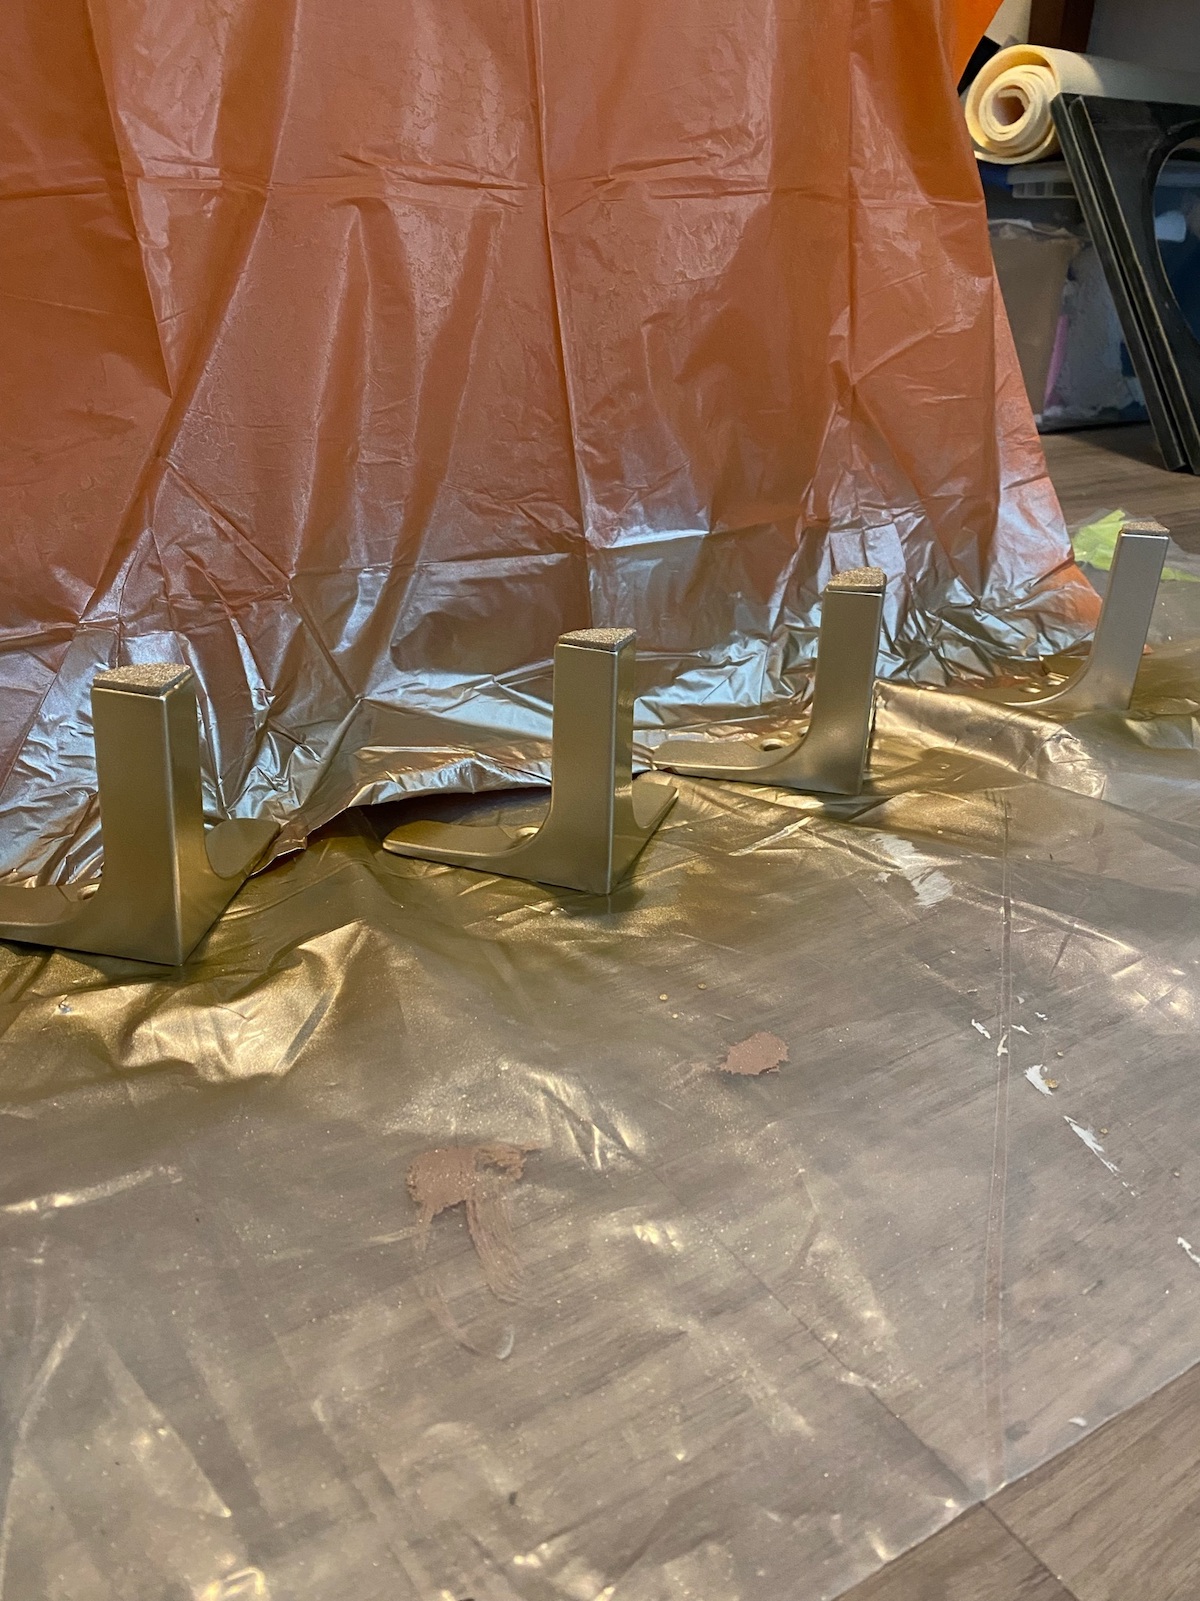
- Next I spray painted the Ikea Nannarp legs and the hinges with gold spray paint and allowed them to dry. I didn’t bother spray painting the other hardware because you wouldn’t see it when the tv stand was closed.
- Once dry, I attached the legs to the media console. At this point I could really see my vision starting to come together!
- Now, it was finally time for the fun part – paint! I did 3 coats of Benjamin Moore Advance paint which is great for furniture because it’s a lot more durable than typical wall paint. In between each coat I sanded the media console and wiped it down with tack cloth!
- Once the paint was dry I did 3 coats of Minwax Polycrylic. Sanding and using tack cloth in between each coat of course. This finish helps to seal the piece and ensures it won’t get ruined. You have to wait 3 hours in between each coat to make sure it’s fully dry!

Attaching the Canned Webbing
- To attach the canned webbing I made sure to soak it for about 15 minutes first in warm water. You need to soak it to make the webbing more pliable. It also shrinks a bit when it dried which means you’ll have a nice taught finish. But, make sure not to soak it too long or it can go grey.
- After 15 minutes, I dried the caning off and cut a piece about 1.5″ bigger than my circle.
- I took a second to centre the cane in the circle and make sure that the lines were running straight.

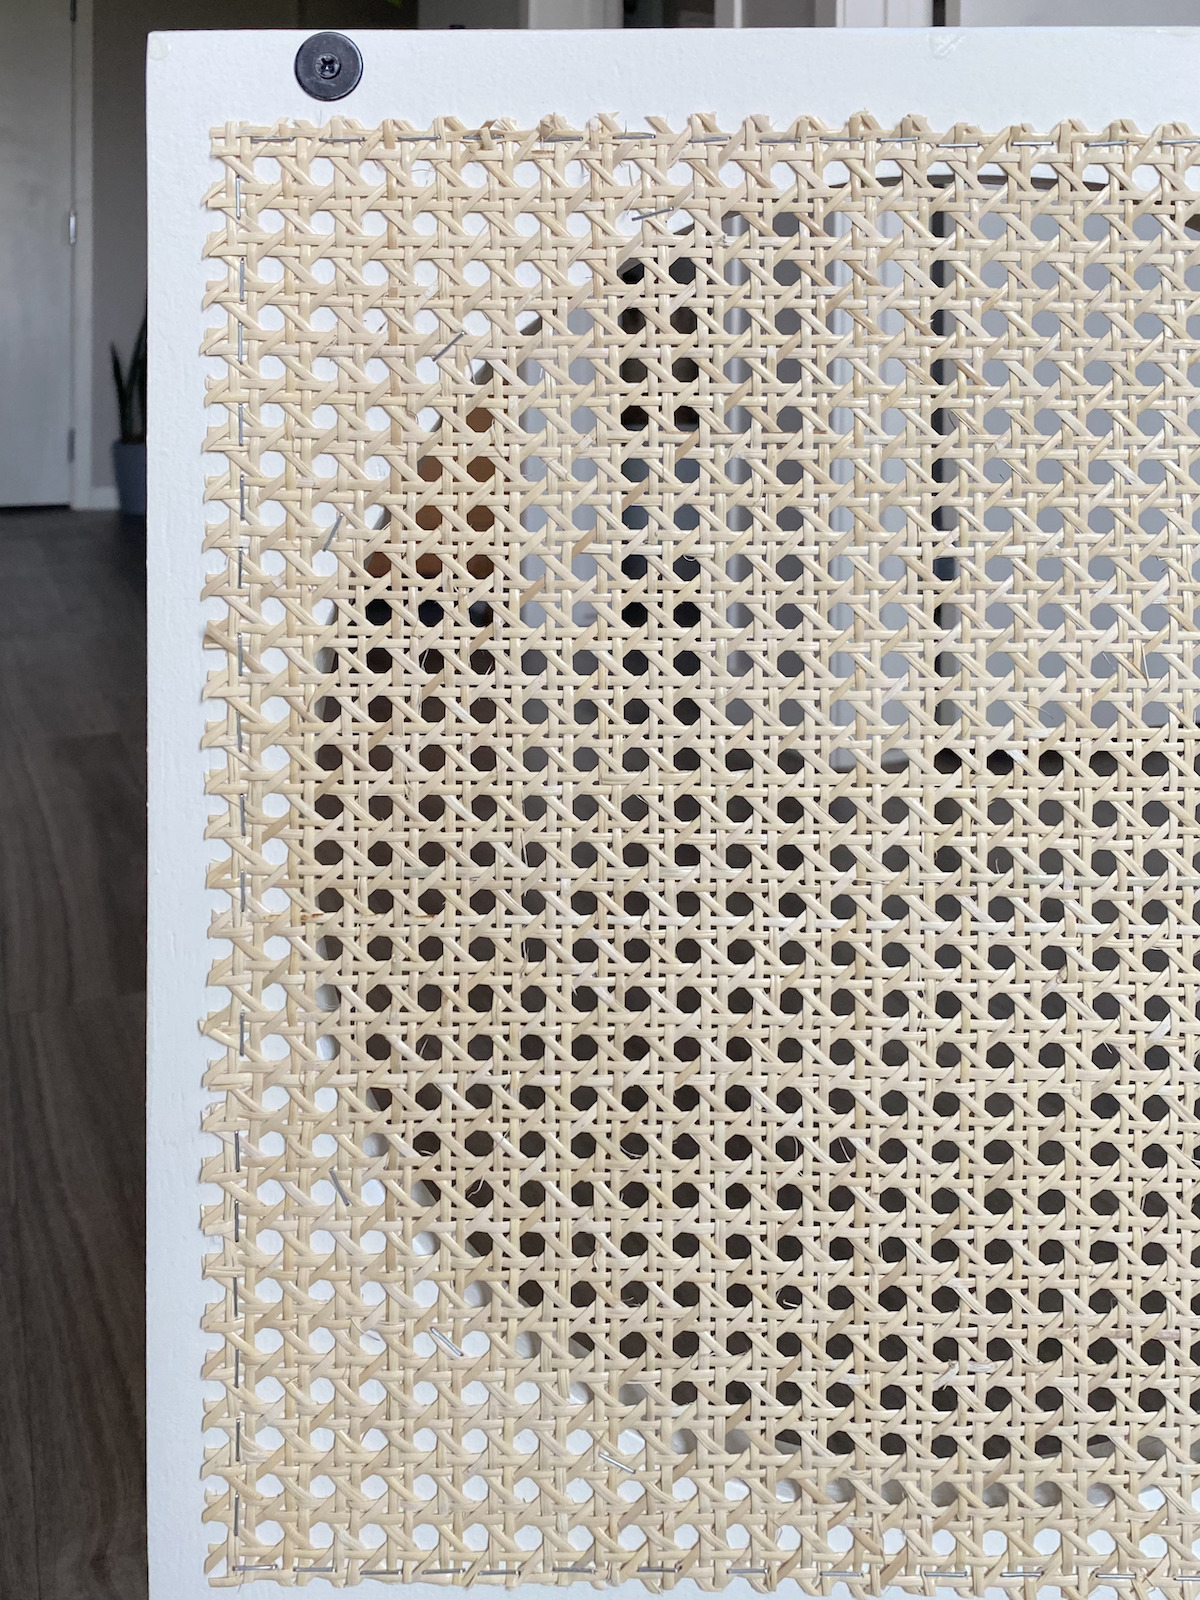
- I actually applied my cane backwards because I liked the colour of the unfinished side better. The finished side looked a bit yellow so even though the unfinished side doesn’t look as shiny up close I knew this was the right call for my space. Plus, you can’t even tell from far away!
- Next, I stapled down the webbing with one staple on each side to hold it in place and then proceeded to staple the rest of the cane down around the entire perimeter. I left my cane as a square and then added about 12 staples around the circle just to make sure it didn’t gape at all around there. After a few hours the cane was dry and was super nice and taught!
Assembly & Styling
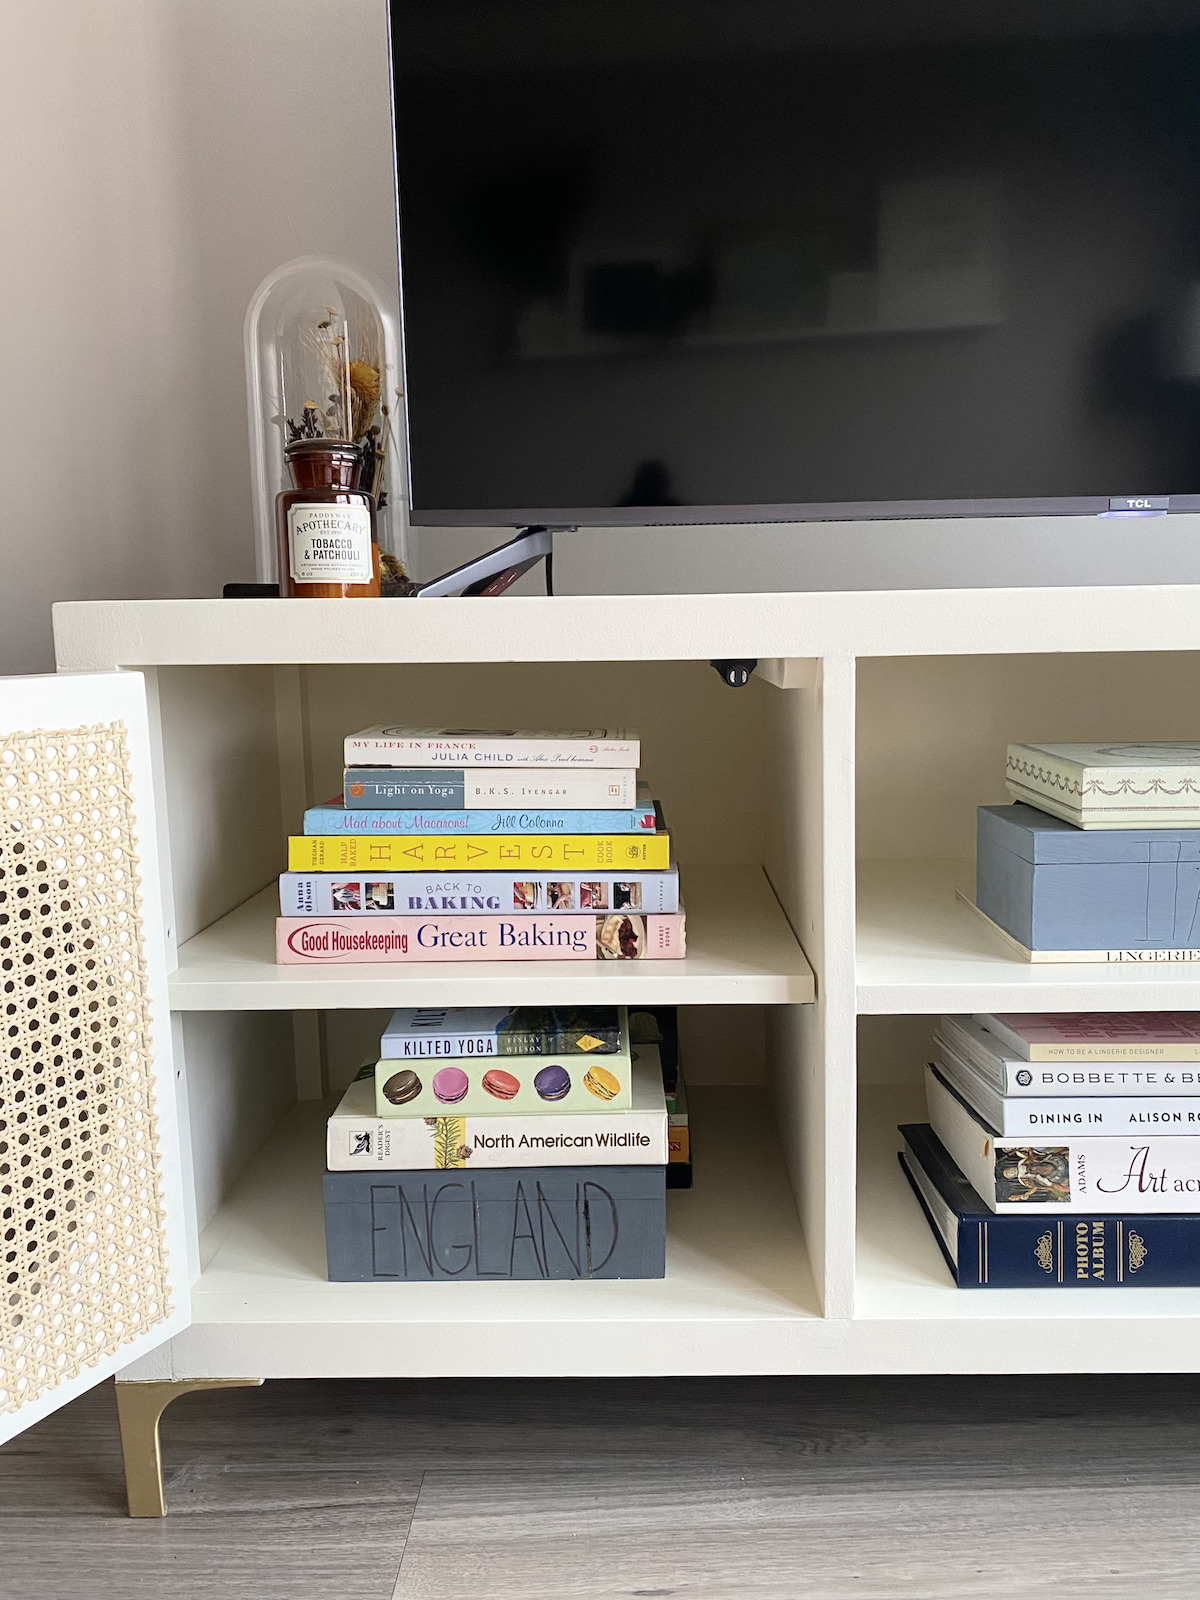
To put the media console back together I used the original screws to reattach the hinges to the doors and then to the media console itself. The shelves went back in and the magnetic hinge for the doors went back on.

The things that I don’t want on display went in the cabinets with the doors and some of my nicer items are in the middle shelf for display. I finished the media console off with some gorgeous conical tapers, a vintage glass cloche with a dried floral arrangement and my favourite tobacco and patchouli candle. If you wanted to finish a media console in your space with candles, I highly recommend making these DIY Geometric candles!
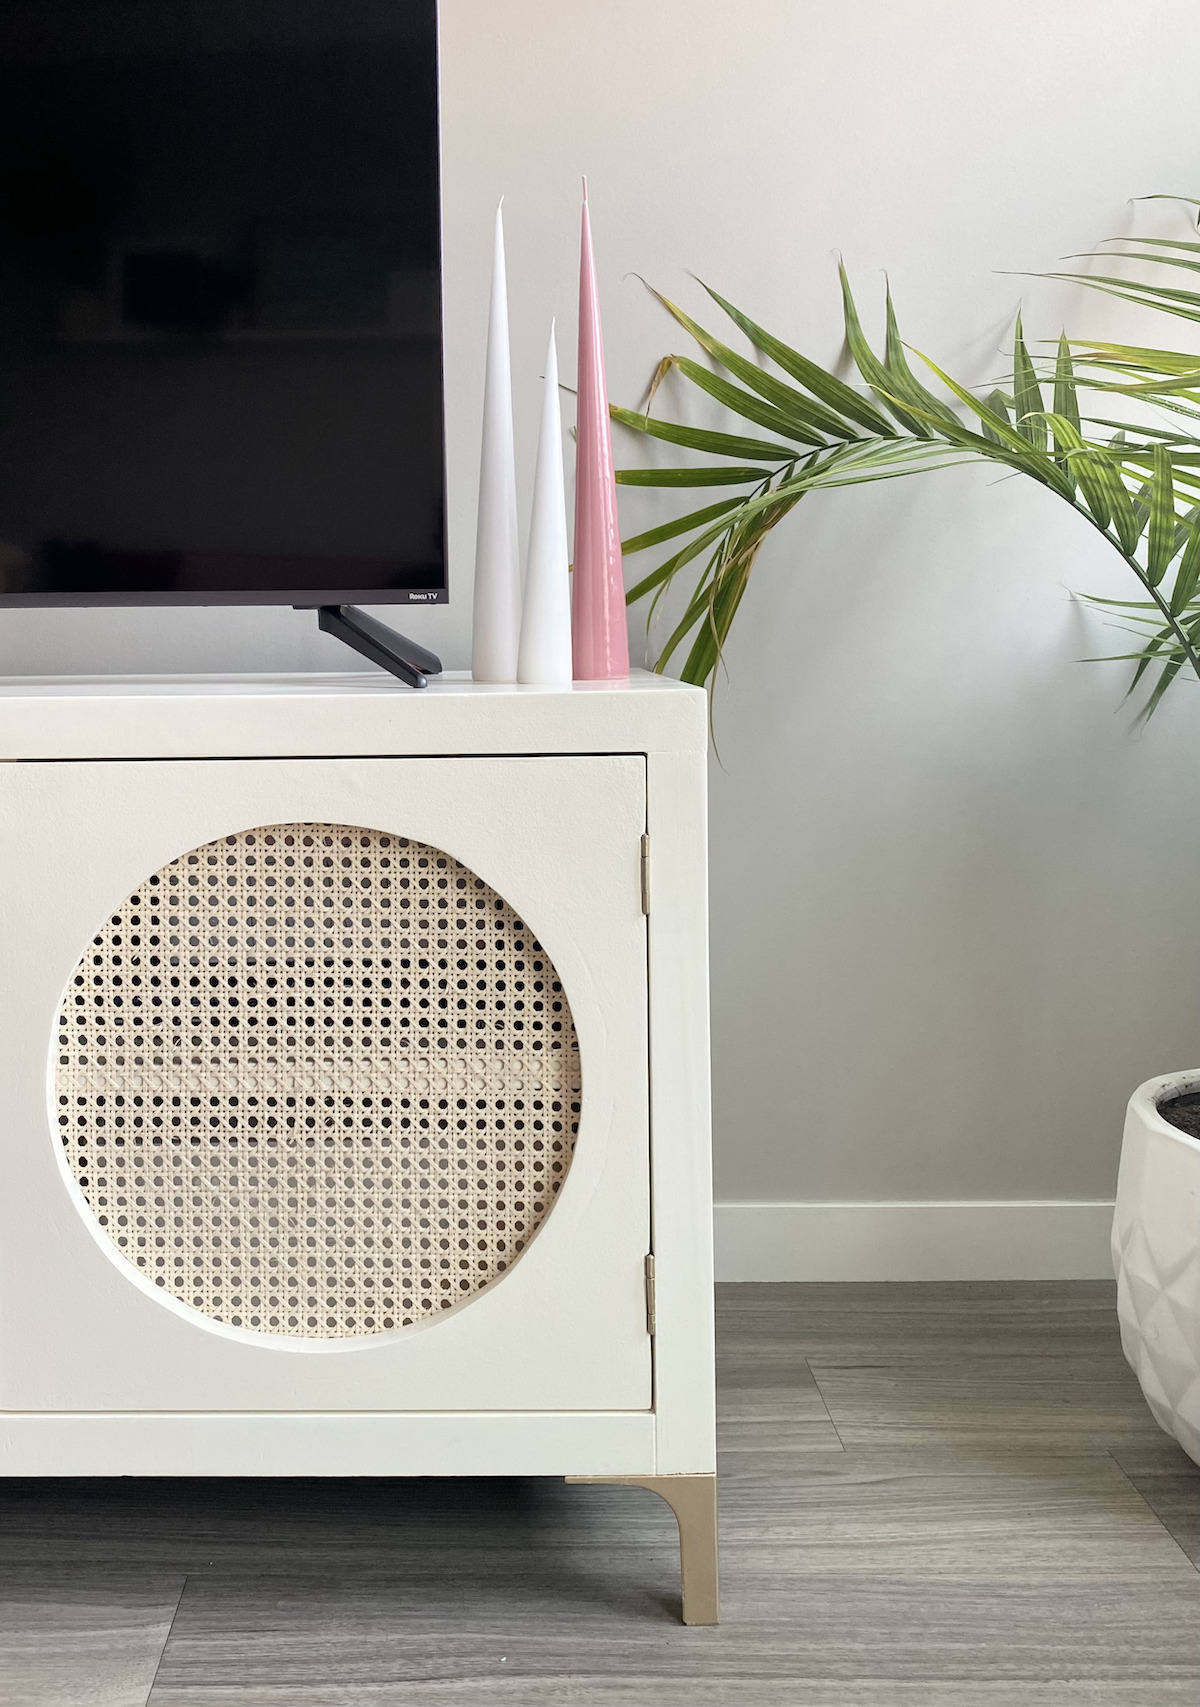
The way my living room is laid out means that the media console can’t be centred on the wall that it’s on. To remedy this, I just filled the space with a big palm tree. It’s the perfect solution and adds a much needed pop of green!
It took quite a few weekends of work to finish this bad boy but I’m so happy that I stuck it out and that it turned out exactly as I planned! 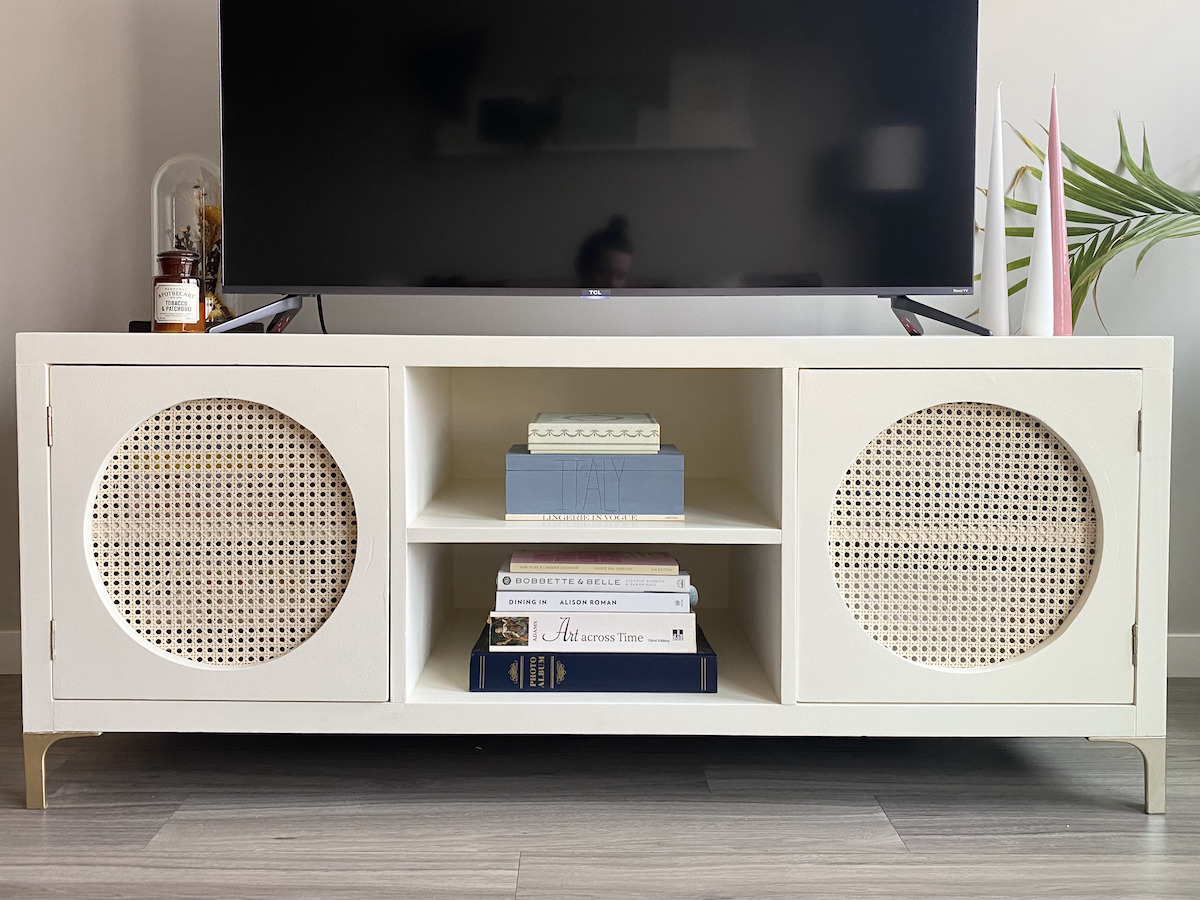
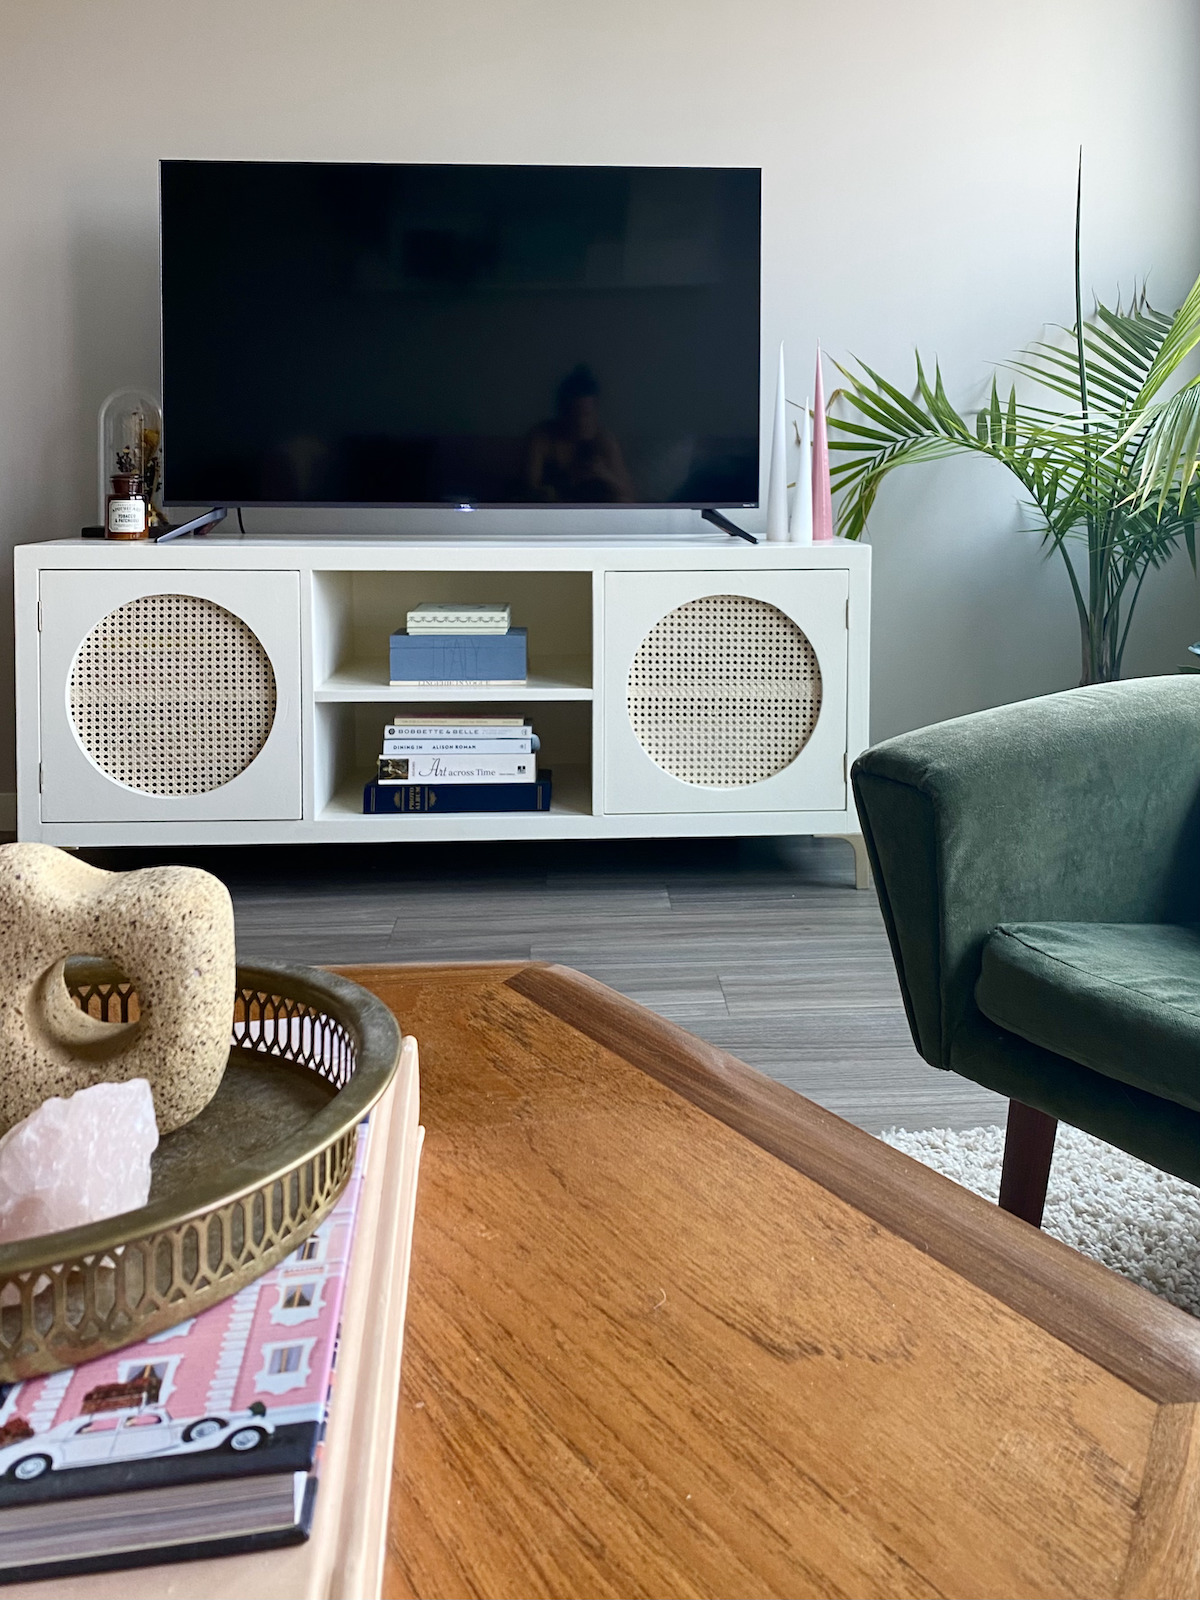
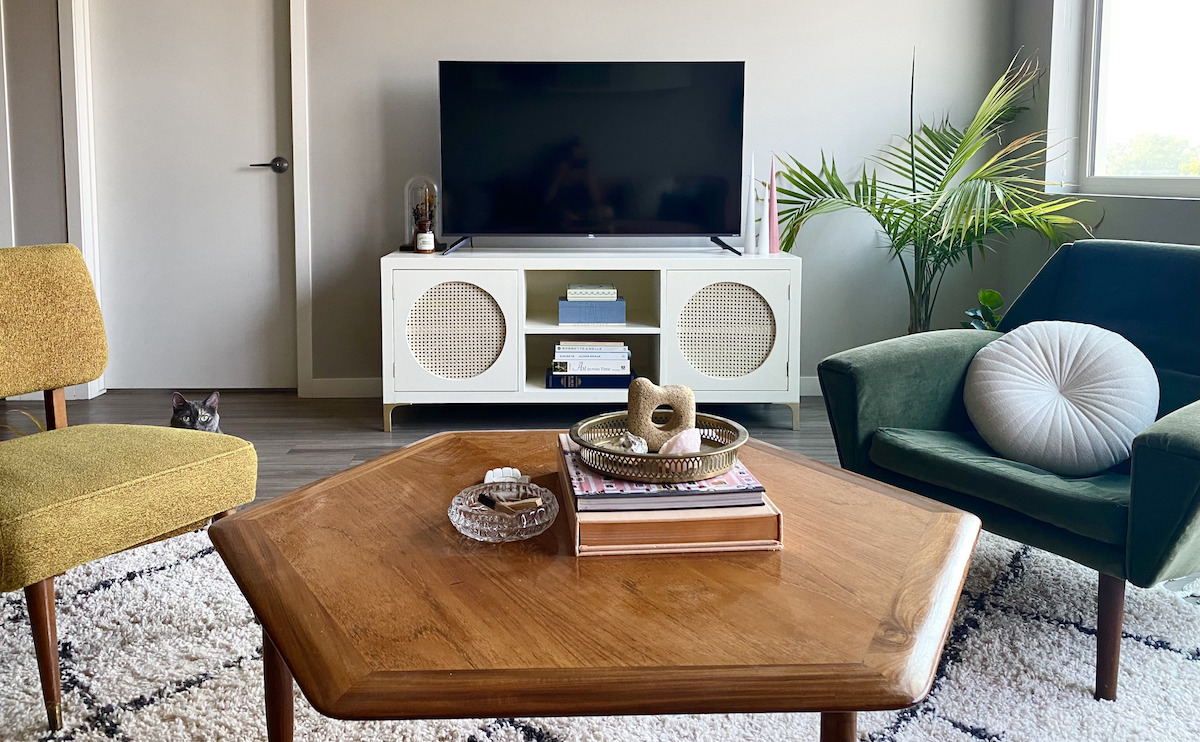
I love the feel that this media console has now! It’s hard to describe the style exactly but I think it’s a little bit boho and a little bit modern. Either way, it’s the perfect compliment to my space and I love that I finally have something with caning in my home!
XOXO, Tess
Let’s Stay Friends!
Insta | Pinterest | Enews | TikTok