Craft in Style Subscription Instructions, DIY
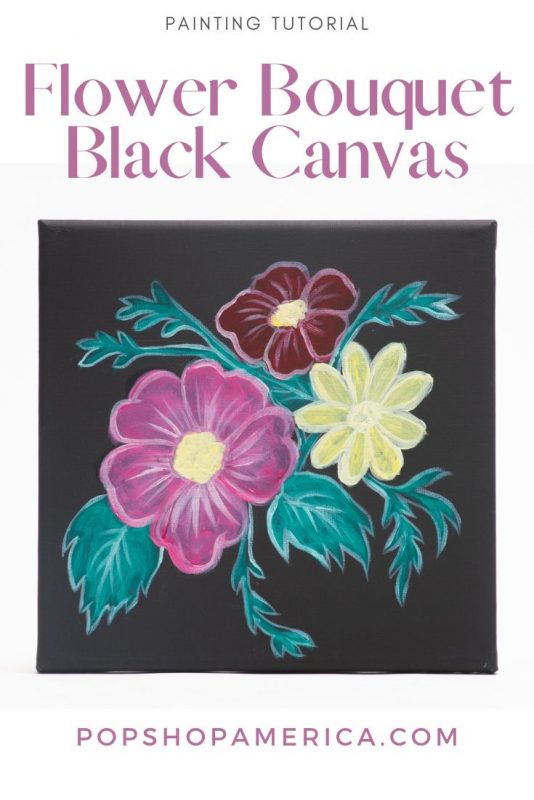
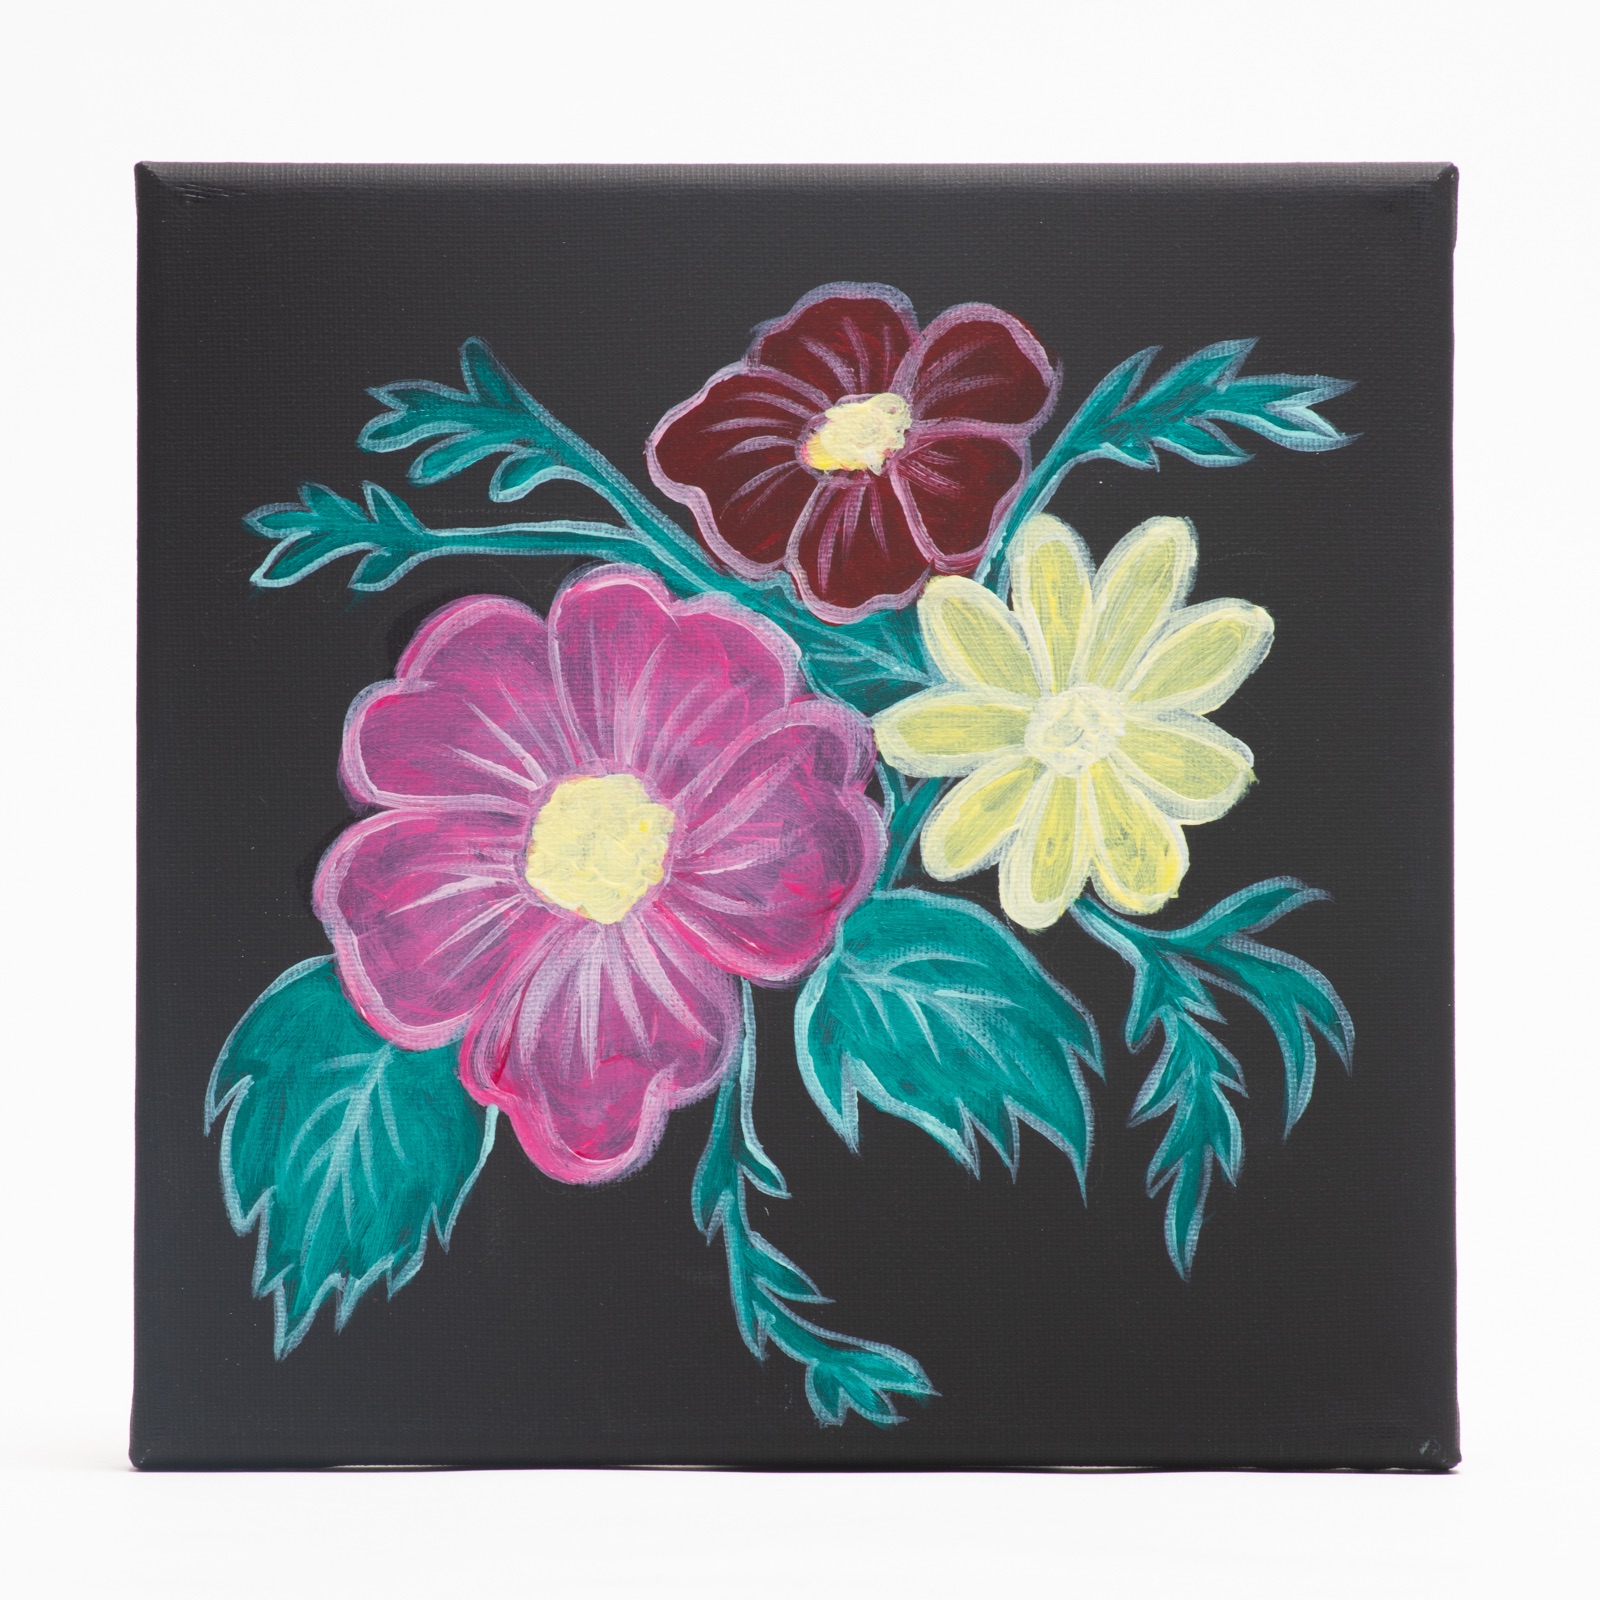
Flower Bouquet on Black Canvas Painting Tutorial
Jan
This blog is the Part 3 of 4 Tutorials for the January Craft in Style Subscription Box. You can find the additional 3 tutorials for January, previous box tutorials, more about this box, and other Craft in Style Boxes here.

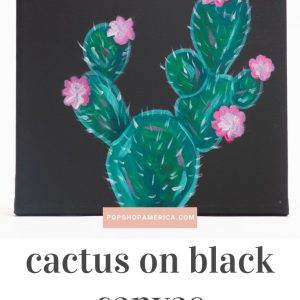
This painting isn’t just a regular flower painting – it’s so unique and fun because it’s on a black canvas. You can also add fairy lights to the back so this painting can light up. So let’s make it!
Supplies to Make a Cactus on Black Canvas Painting
January 2023 Craft in Style Subscription Box
or
2 x 8 inch Square Black Canvas
An Array of Acrylic Paint (I used White, Magenta, Crimson, Lemon Yellow, Viridian, Pool Blue, and Black)
Painter’s Palette
Water + Paper Towels
Optional: Box Cutter
Fairy Lights
The fairy lights are optional but make it so unique. The right fairy lights should be a short string. Most come in 6 feet lengths and shorter will be fine. Longer won’t easily work. The fairy lights should be battery operated. Fairy lights with mini batteries are perfect. I’ve seen some that take 2 Double A batteries which can be heavy for a project like this.
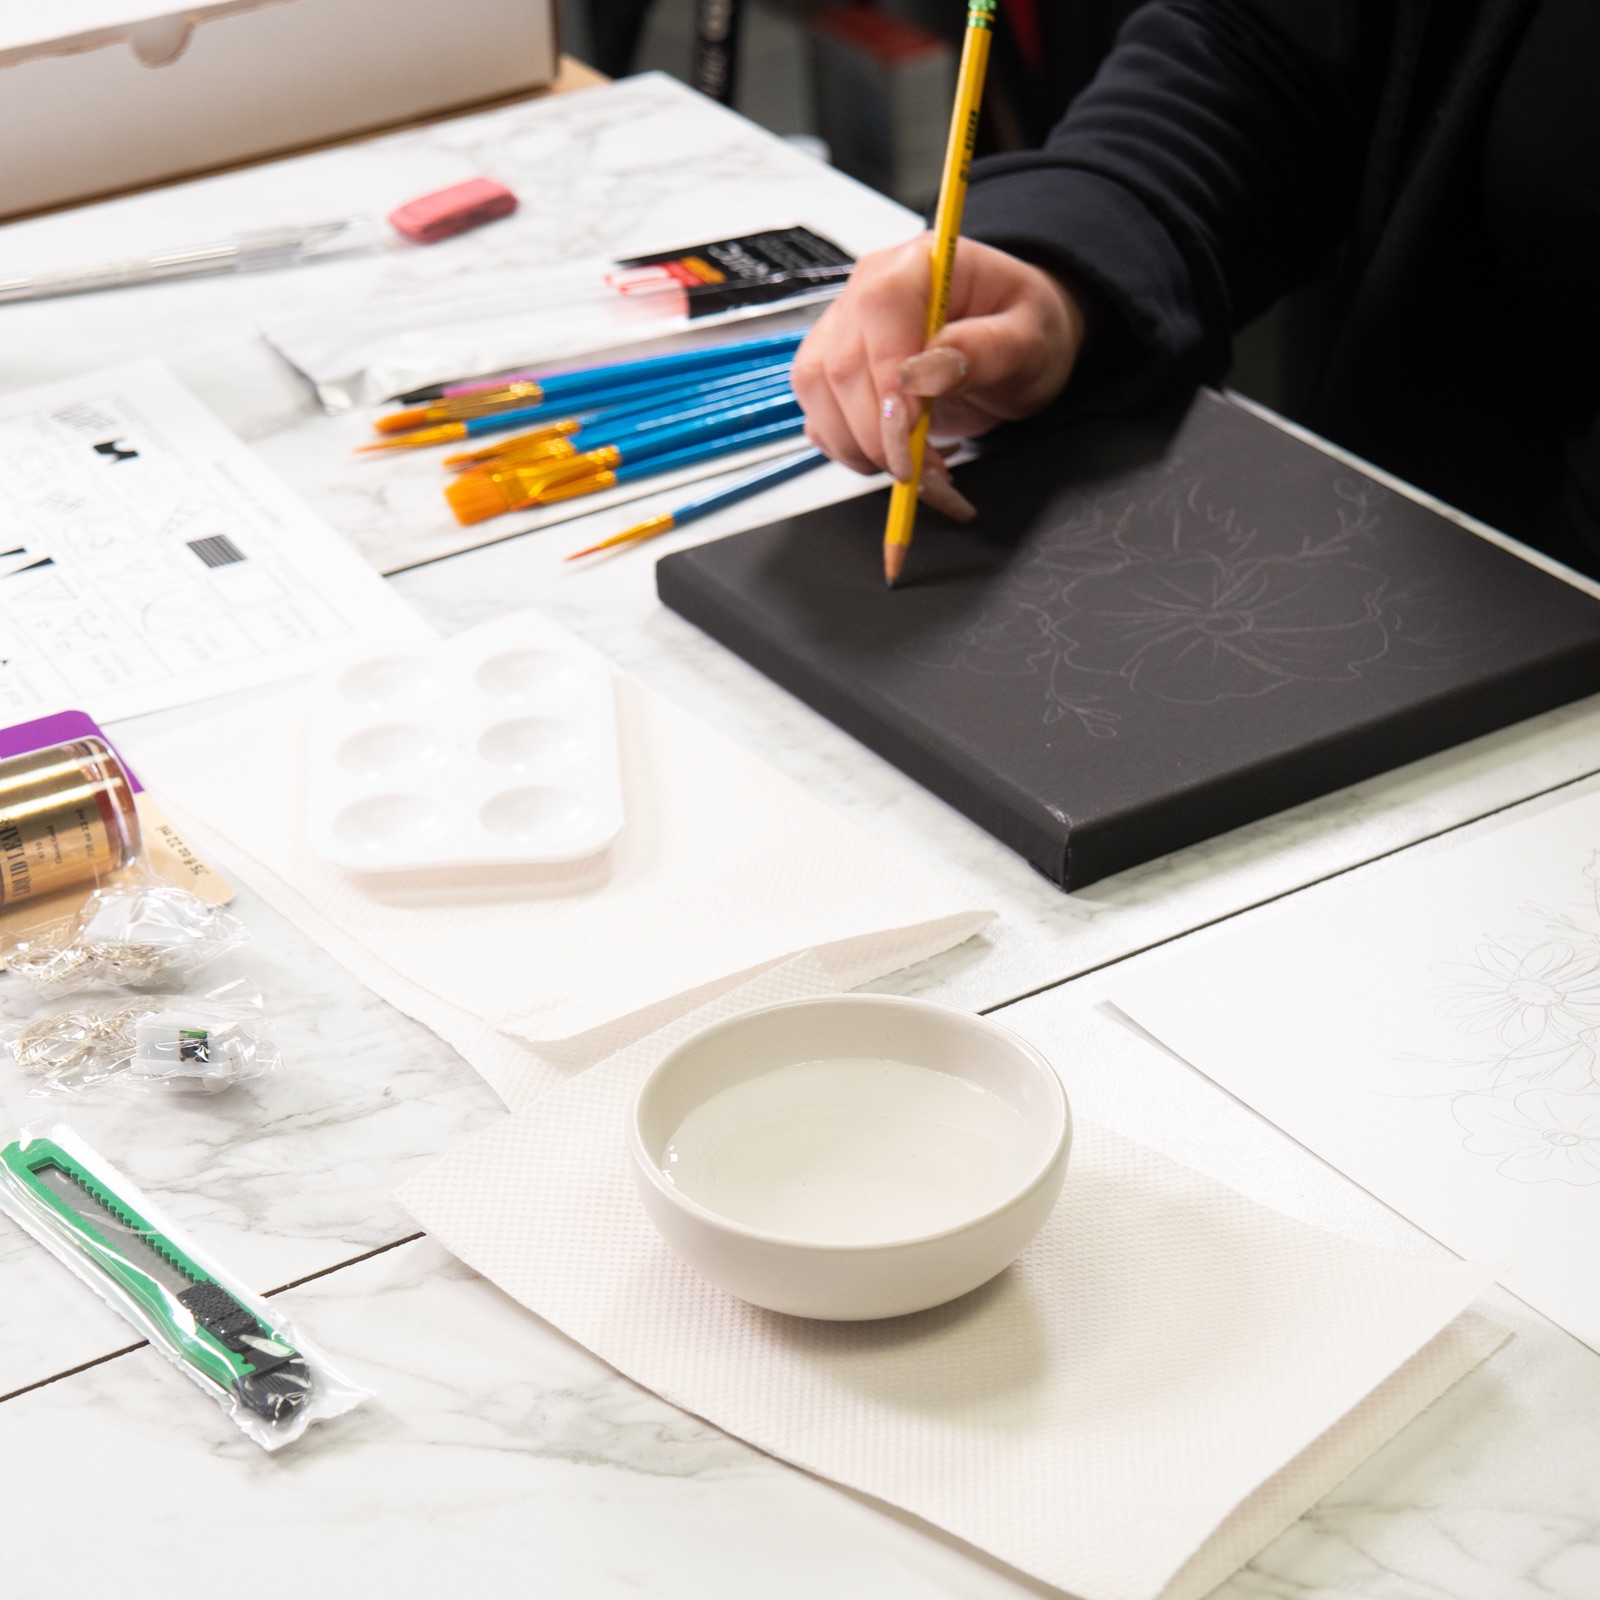
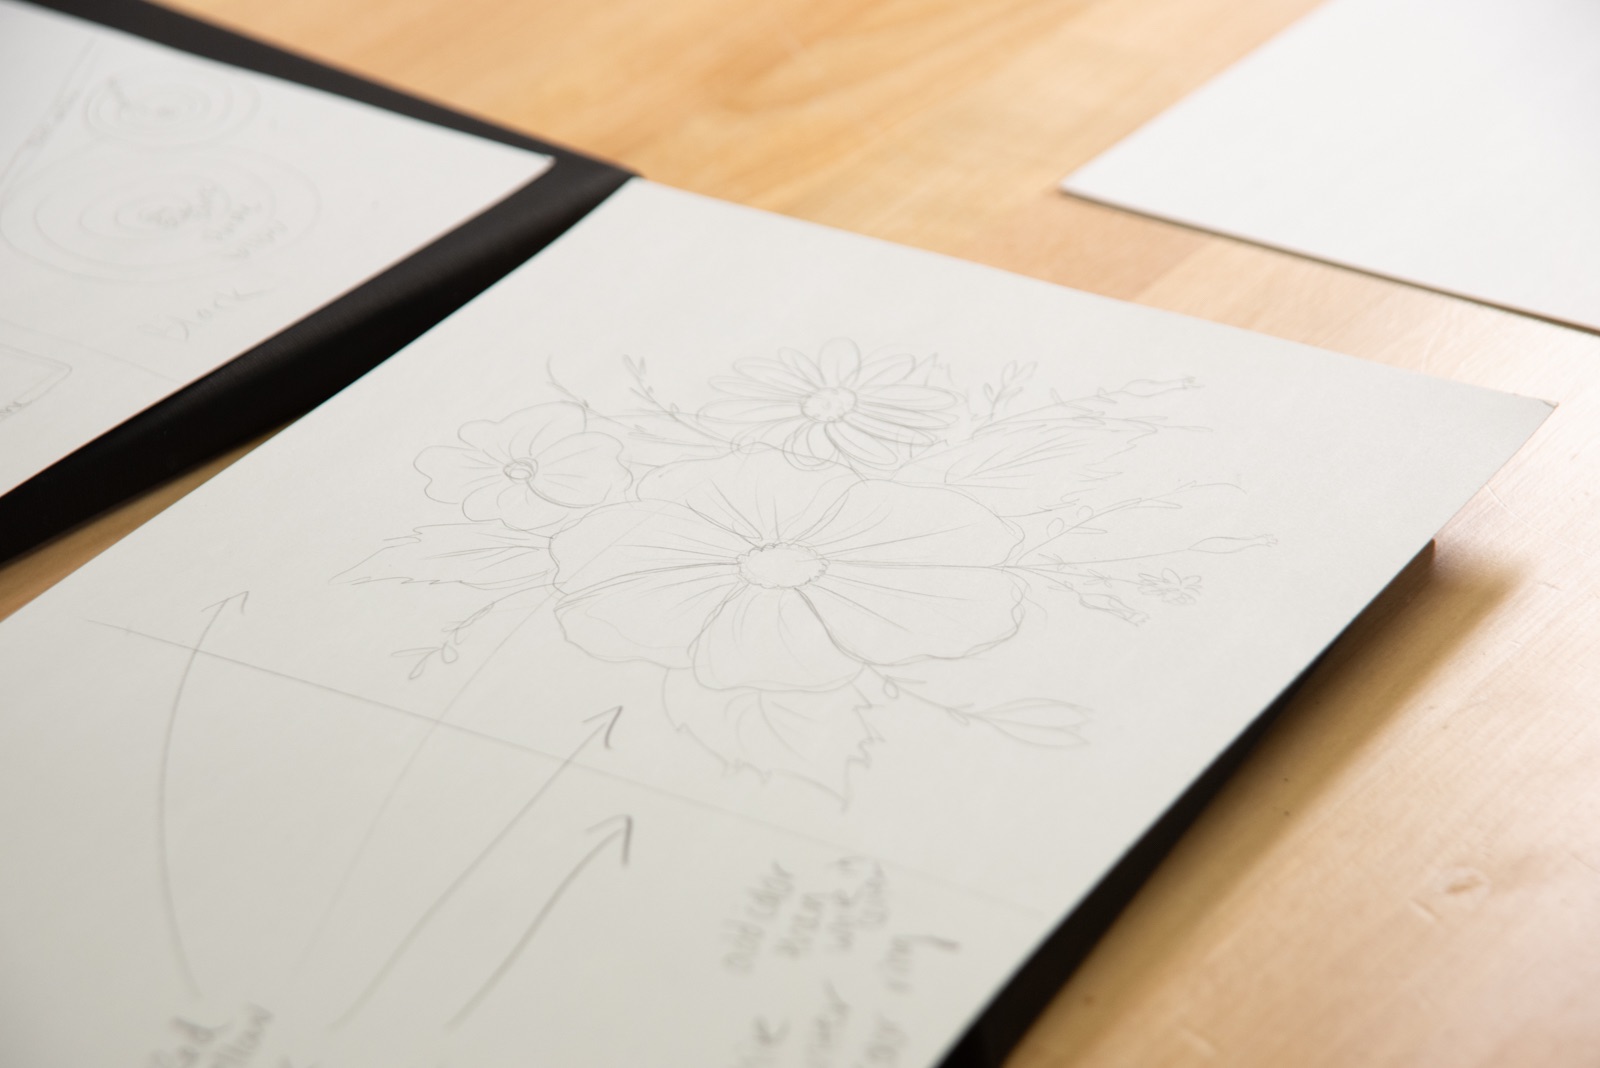
Sketch the Flowers on Paper & Then Your Canvas
To start any painting, it can be helpful to start with a sketch on paper. Then sketch the image on canvas. It’s a great way to test out your shapes and help things look how you want them to.
For your sketches, try this video when learning how to draw a Cosmos Flower.
And try this video to draw your daisy flower.
Be sure that any sketch fills the paper and will fill the canvas. Don’t leave too make black space around the flowers.
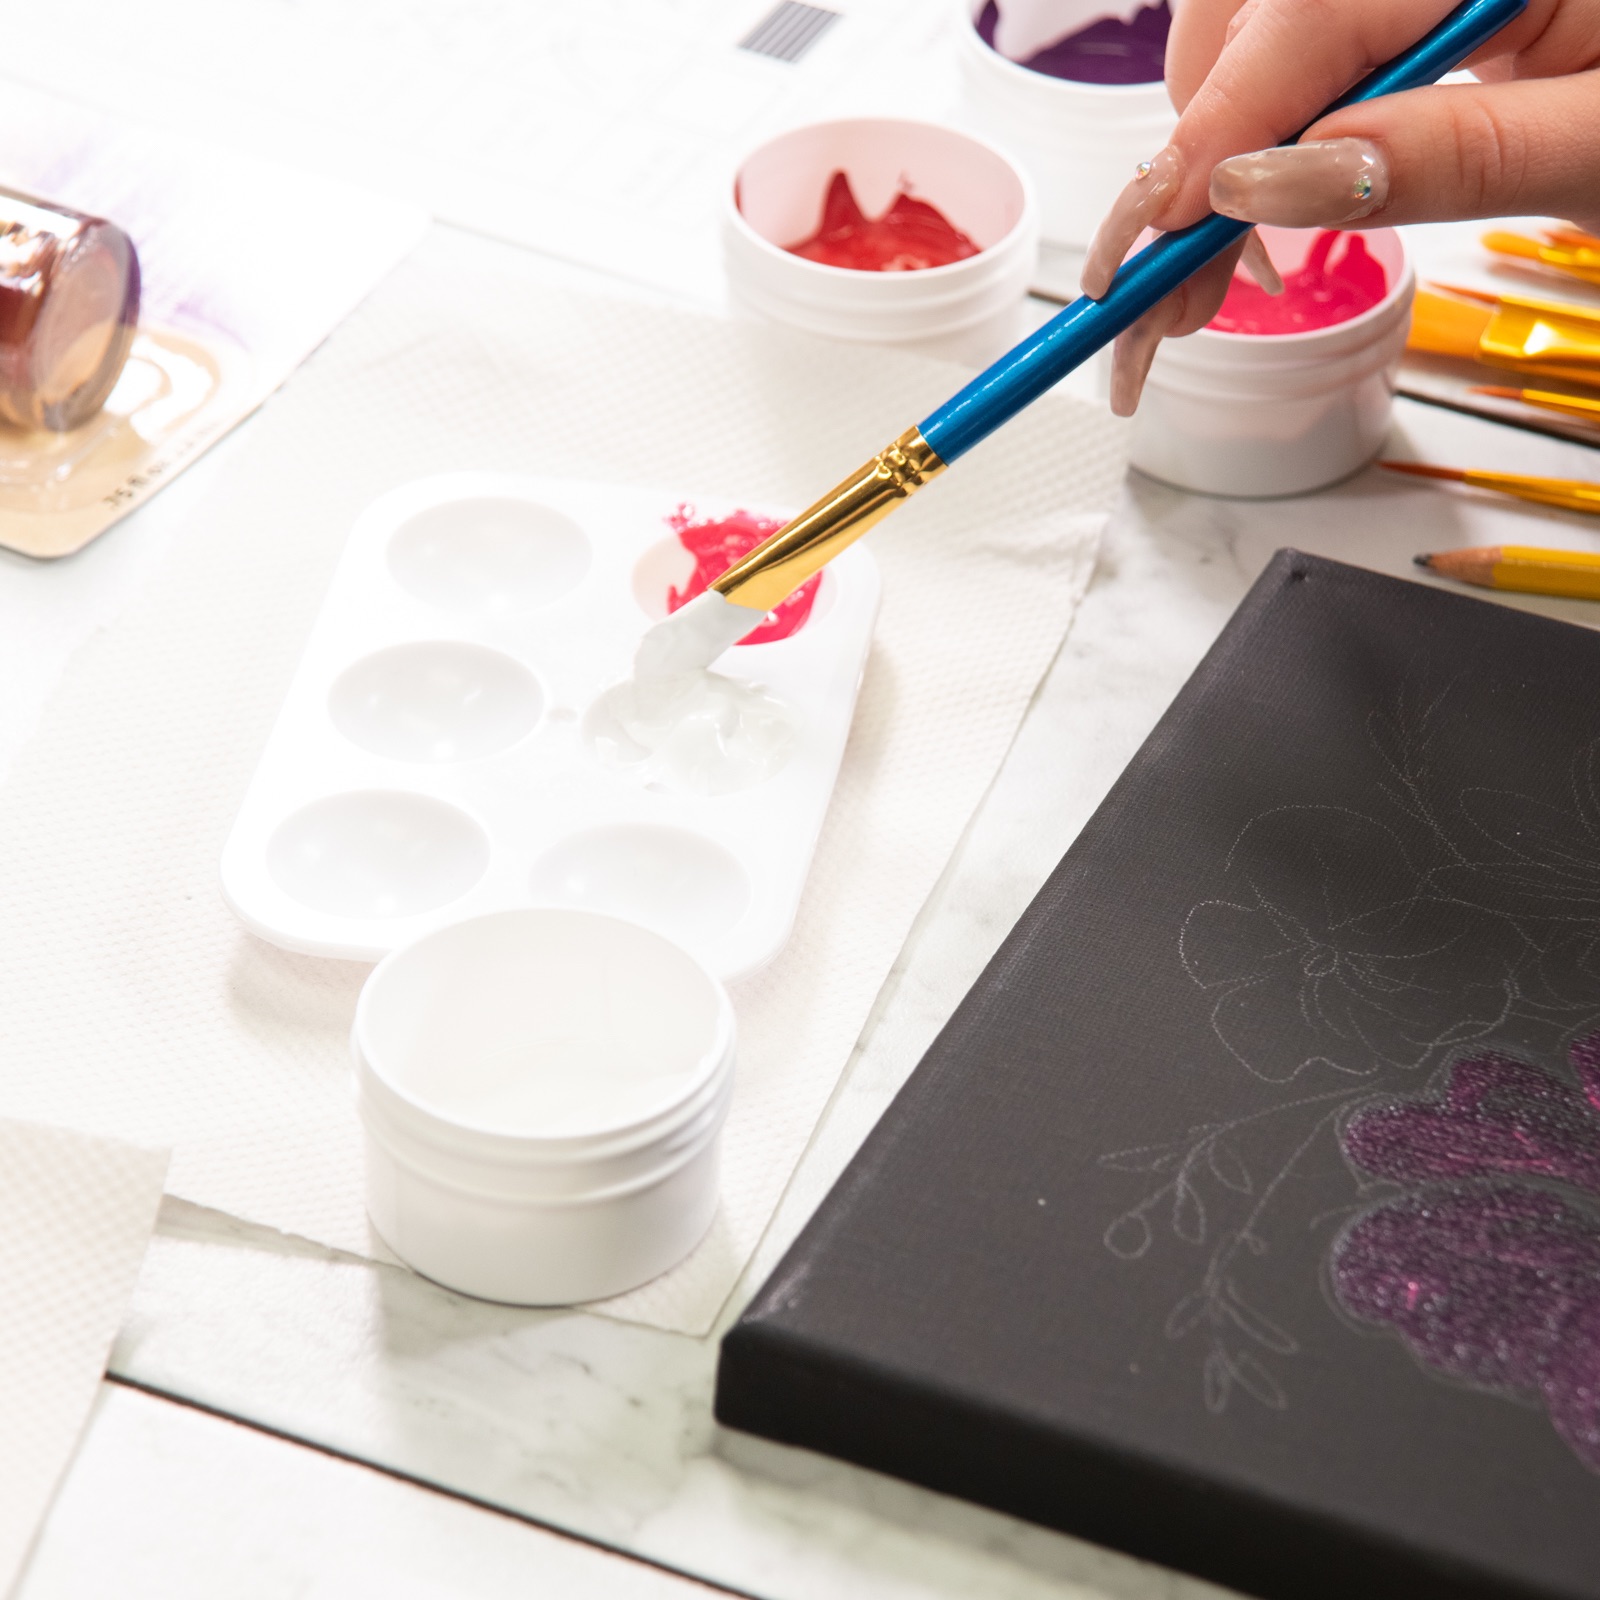
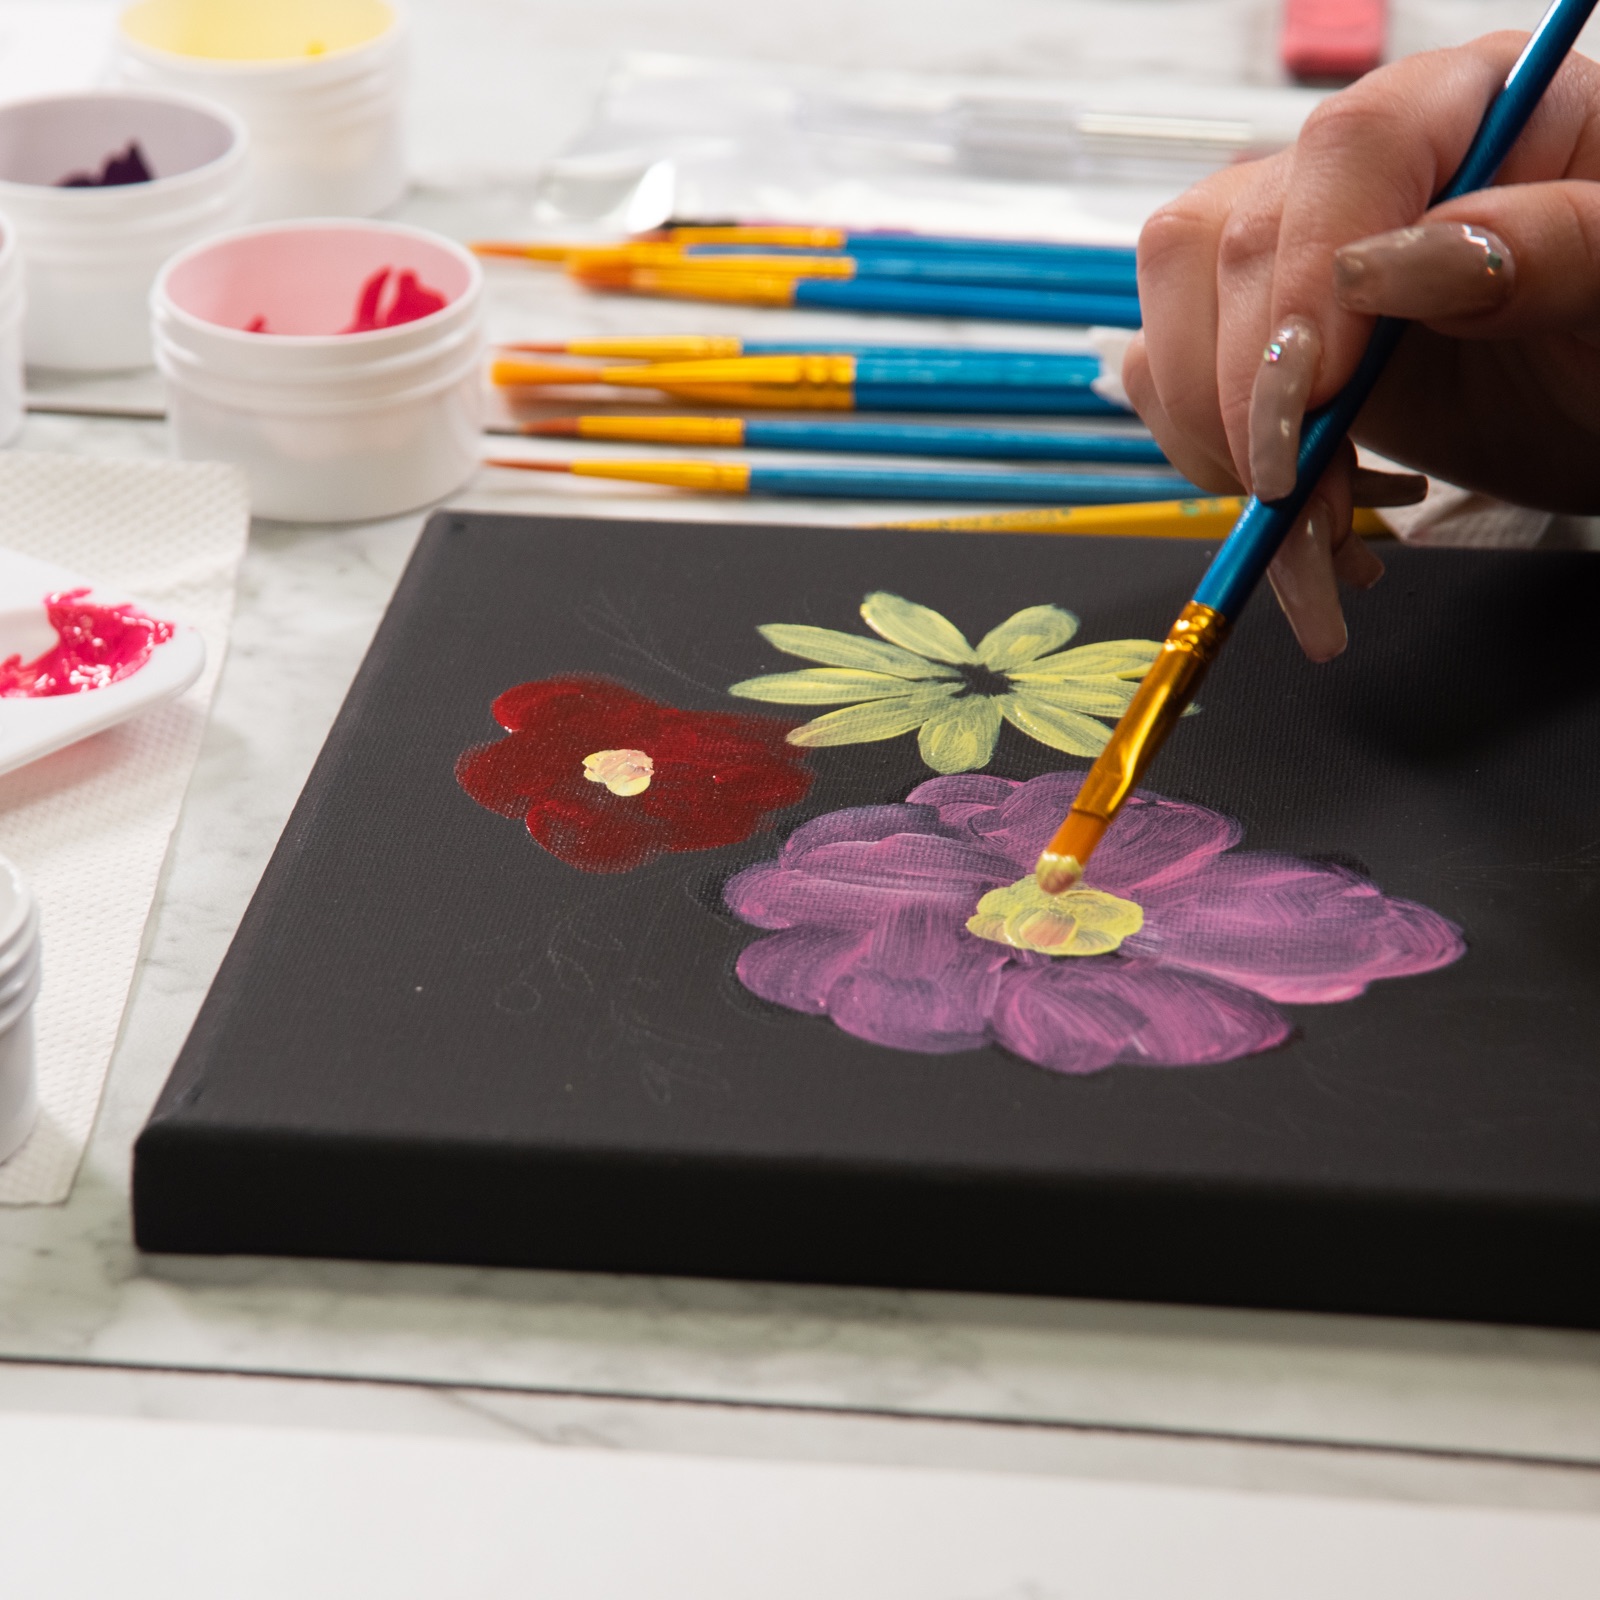
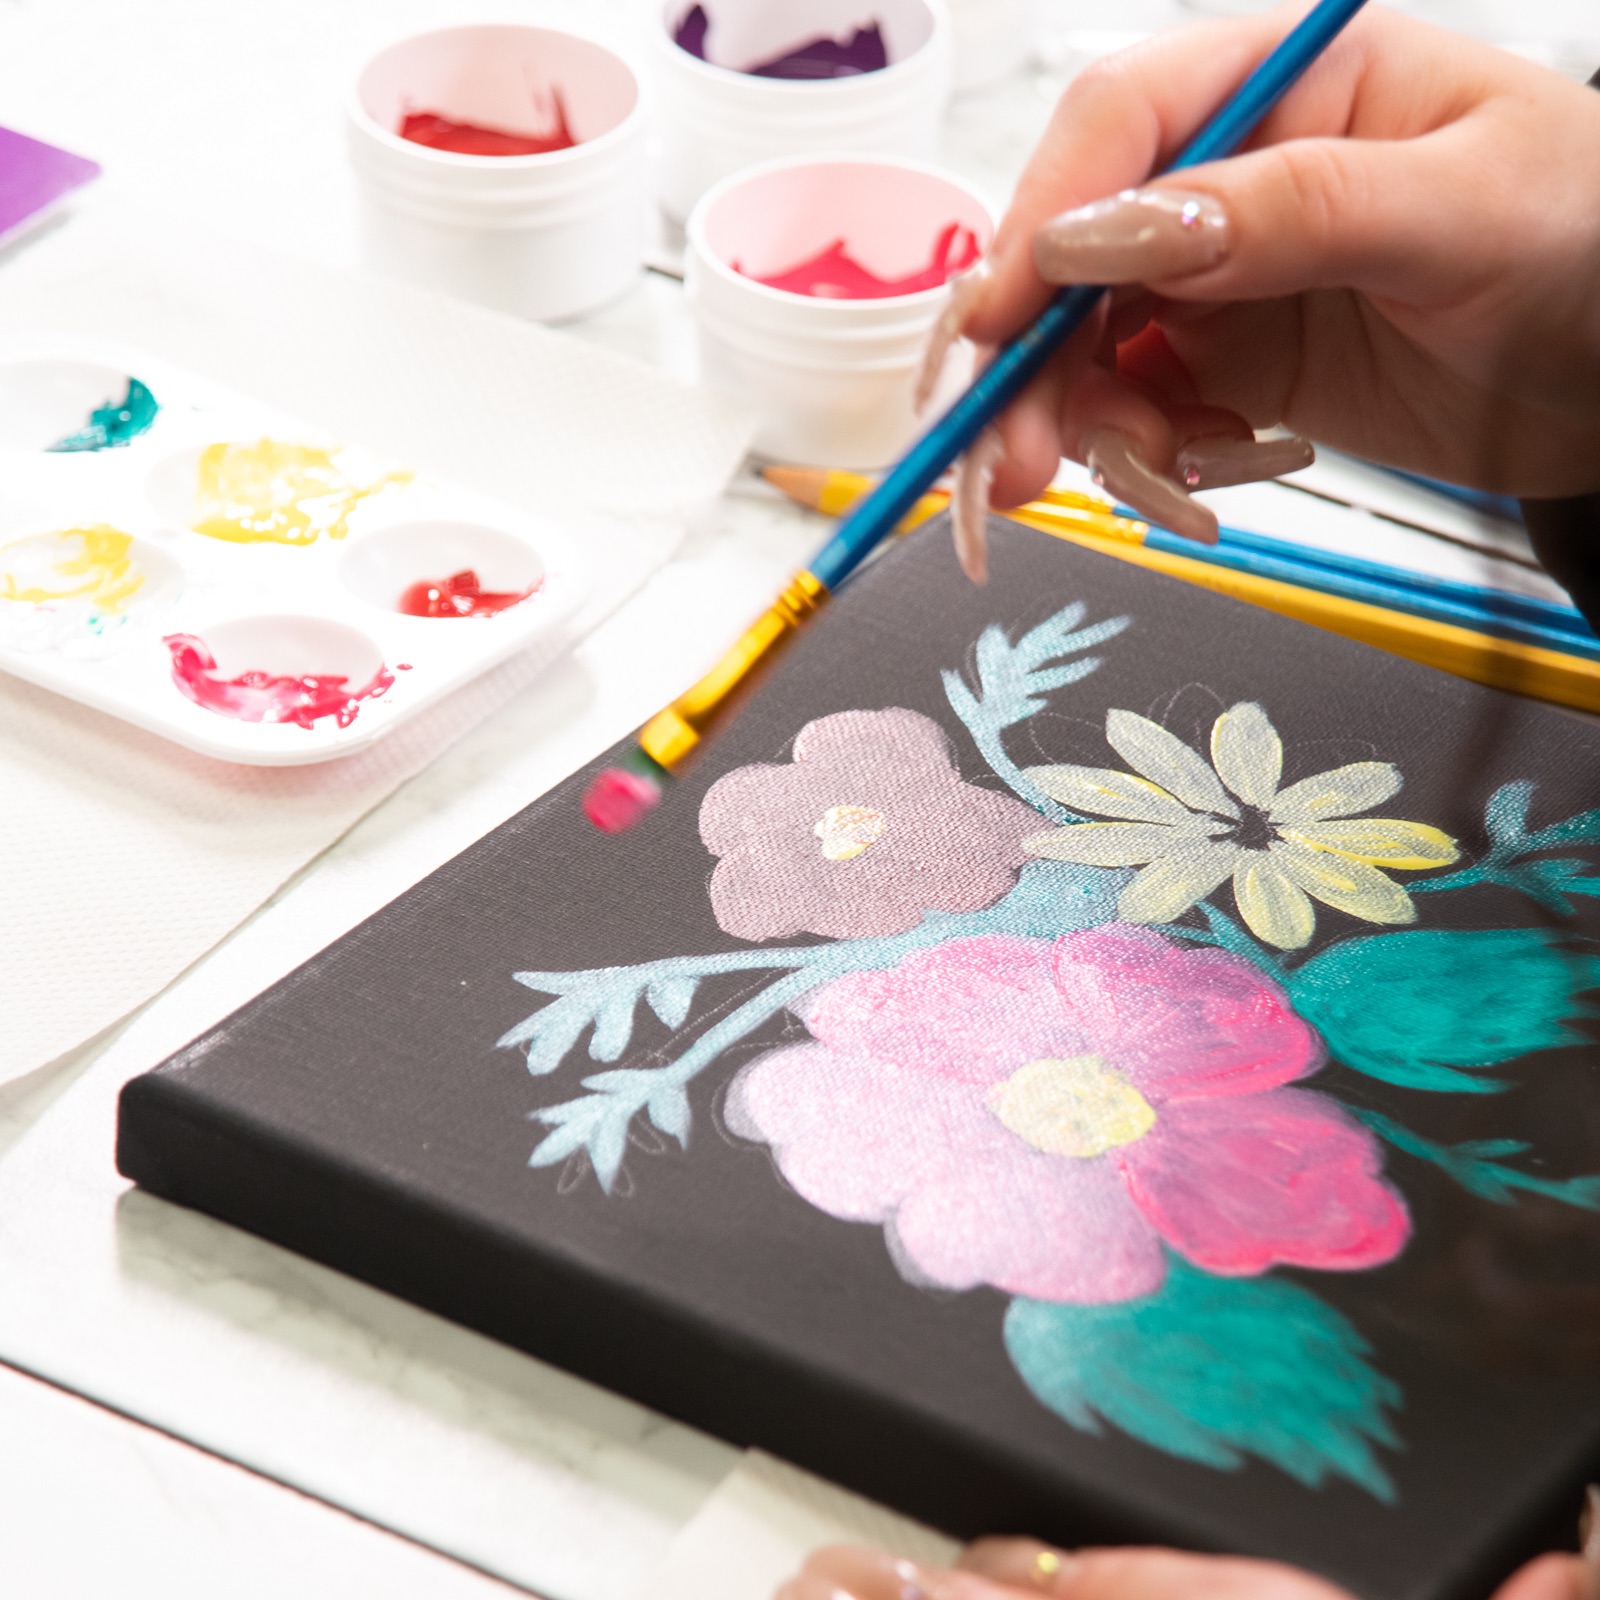
Start with an Underpainting
Your first layers are going to look messy and won’t look like flowers much at all. Use curvy motions to paint each petal as a separate piece.
Painting the petals in separate strokes will help them look like distinct objects.
Why and How We Use Underpaintings
This first layer in painting is often called an underpainting. It’s often more monochromatic than top layers of paint and usually has little to no detail.
Additionally underpaintings help to liven the color and help the painter get depth and range in paint tones. These first layers of paint will still partially show through to the top and this visibility can give vibrancy to the paint colors.
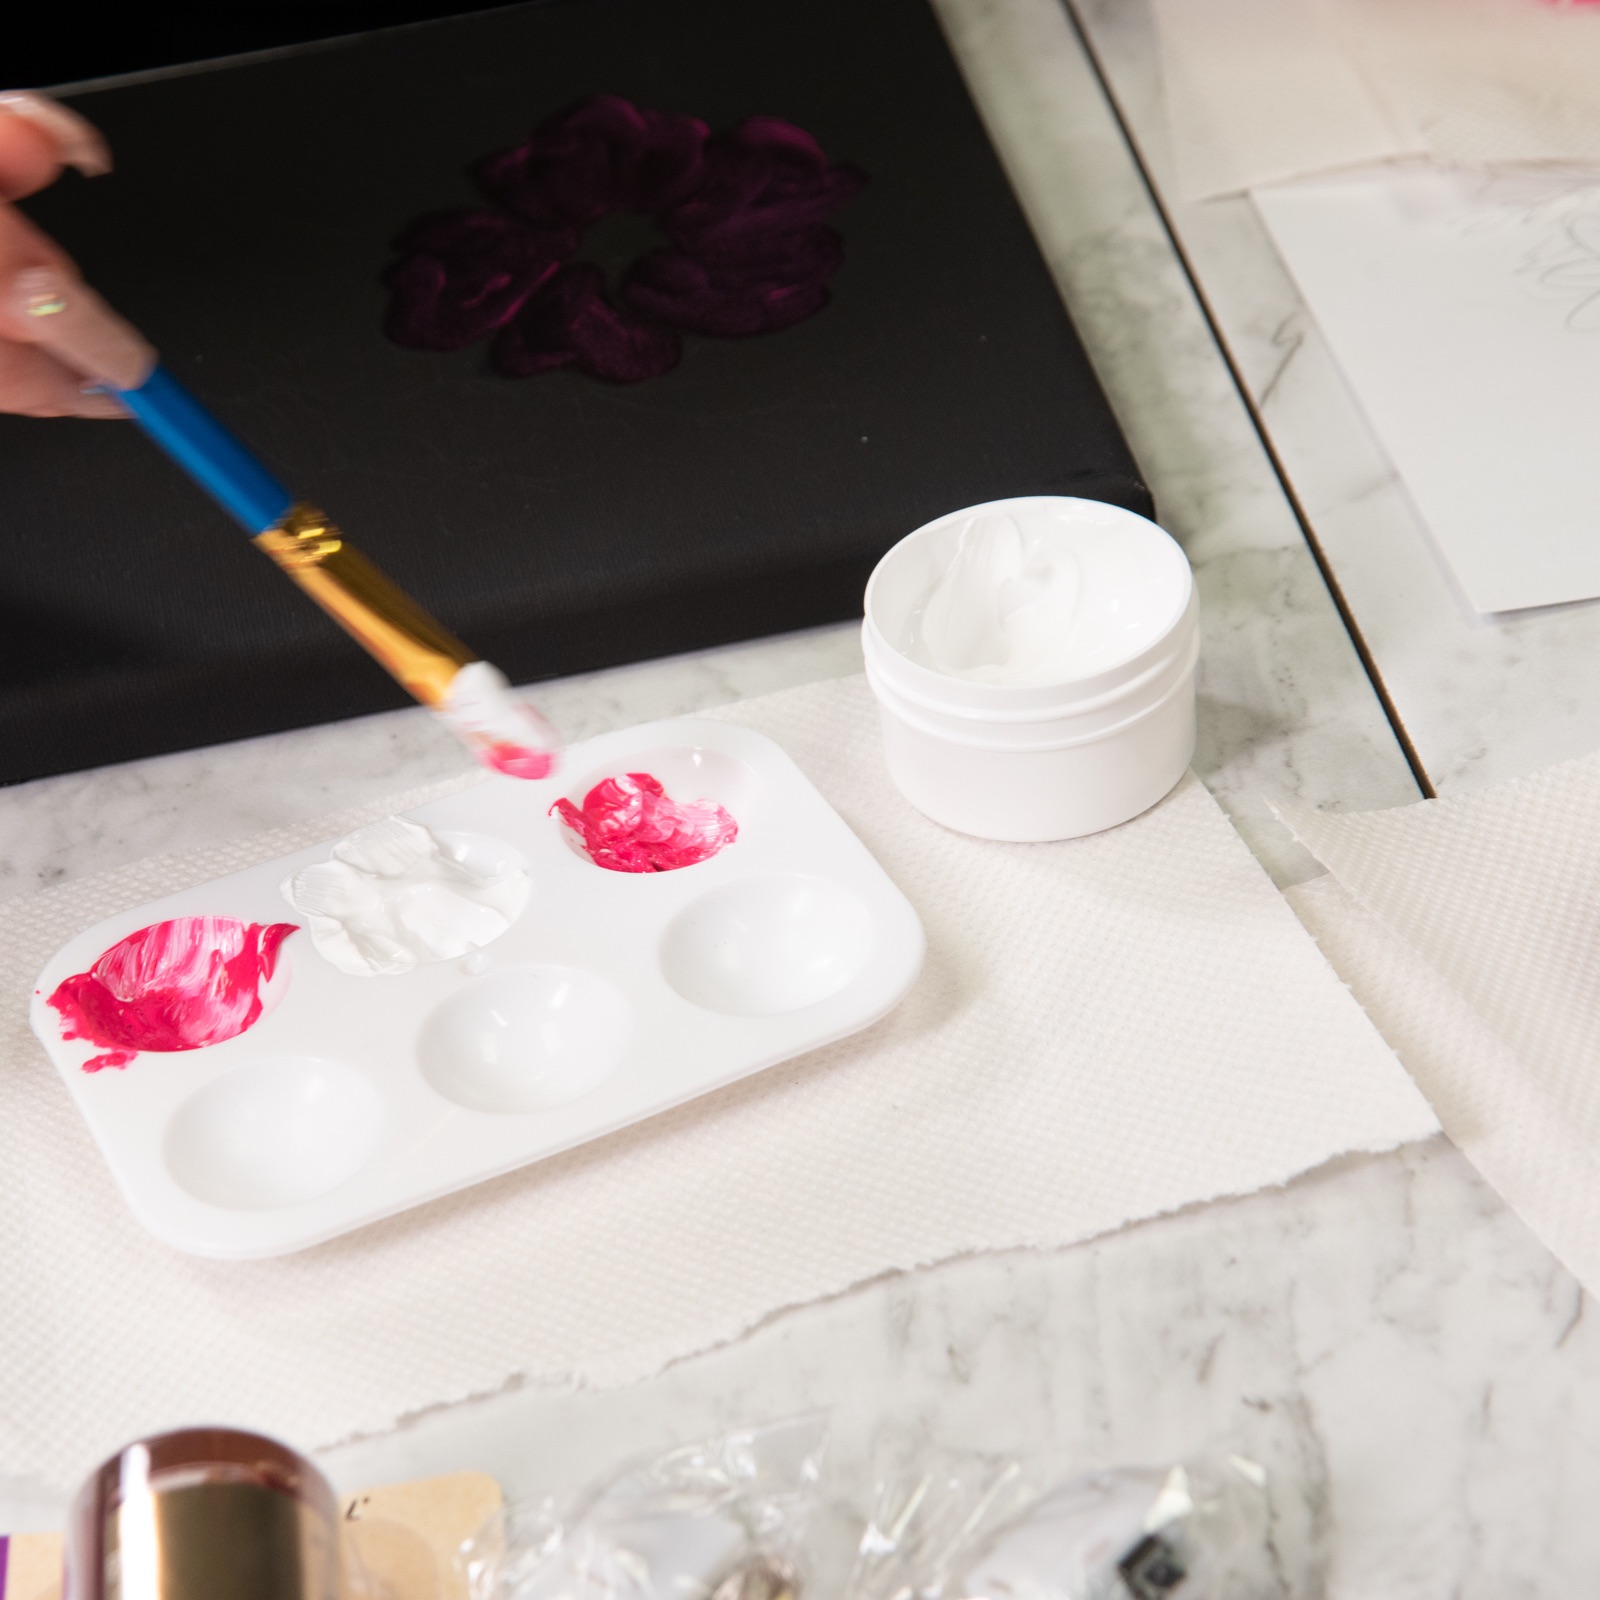
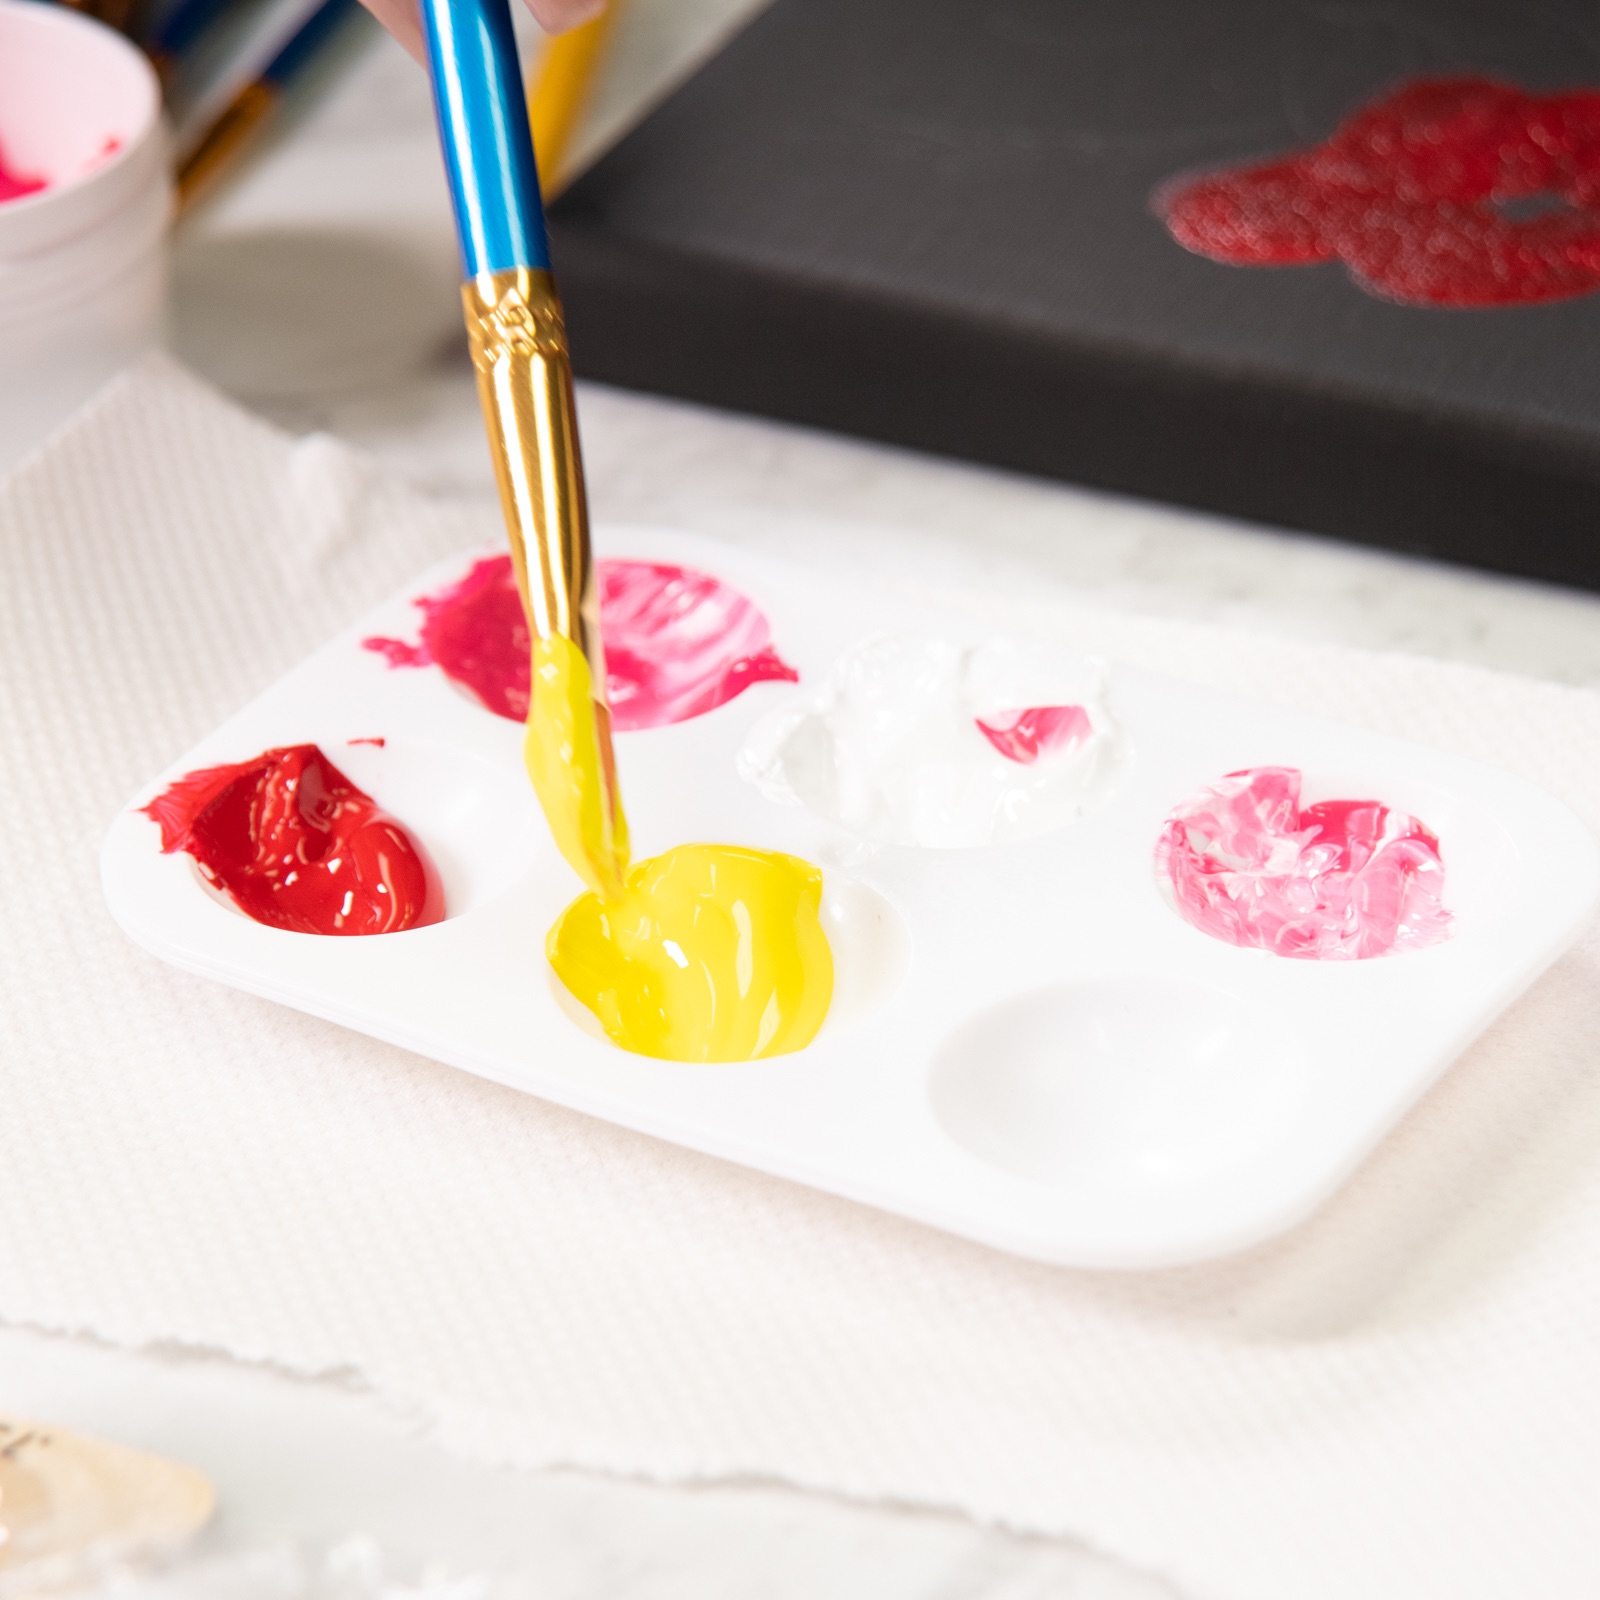
How to Blend Colors
You never need to use your paints straight out of a bottle or tube. Paints are meant to be mixed! Mix your pinks, reds and white in unique blends to make 2 of your flowers – the Cosmos. Mix yellow with a touch of white and perhaps even a touch of pink to make your 3rd flower – the Daisy.
Some of your paint might be more translucent than others. So mixing colors is a great way to make them more opaque.
You can also use white to lighten any color or the tiniest hint of black to darken any color.
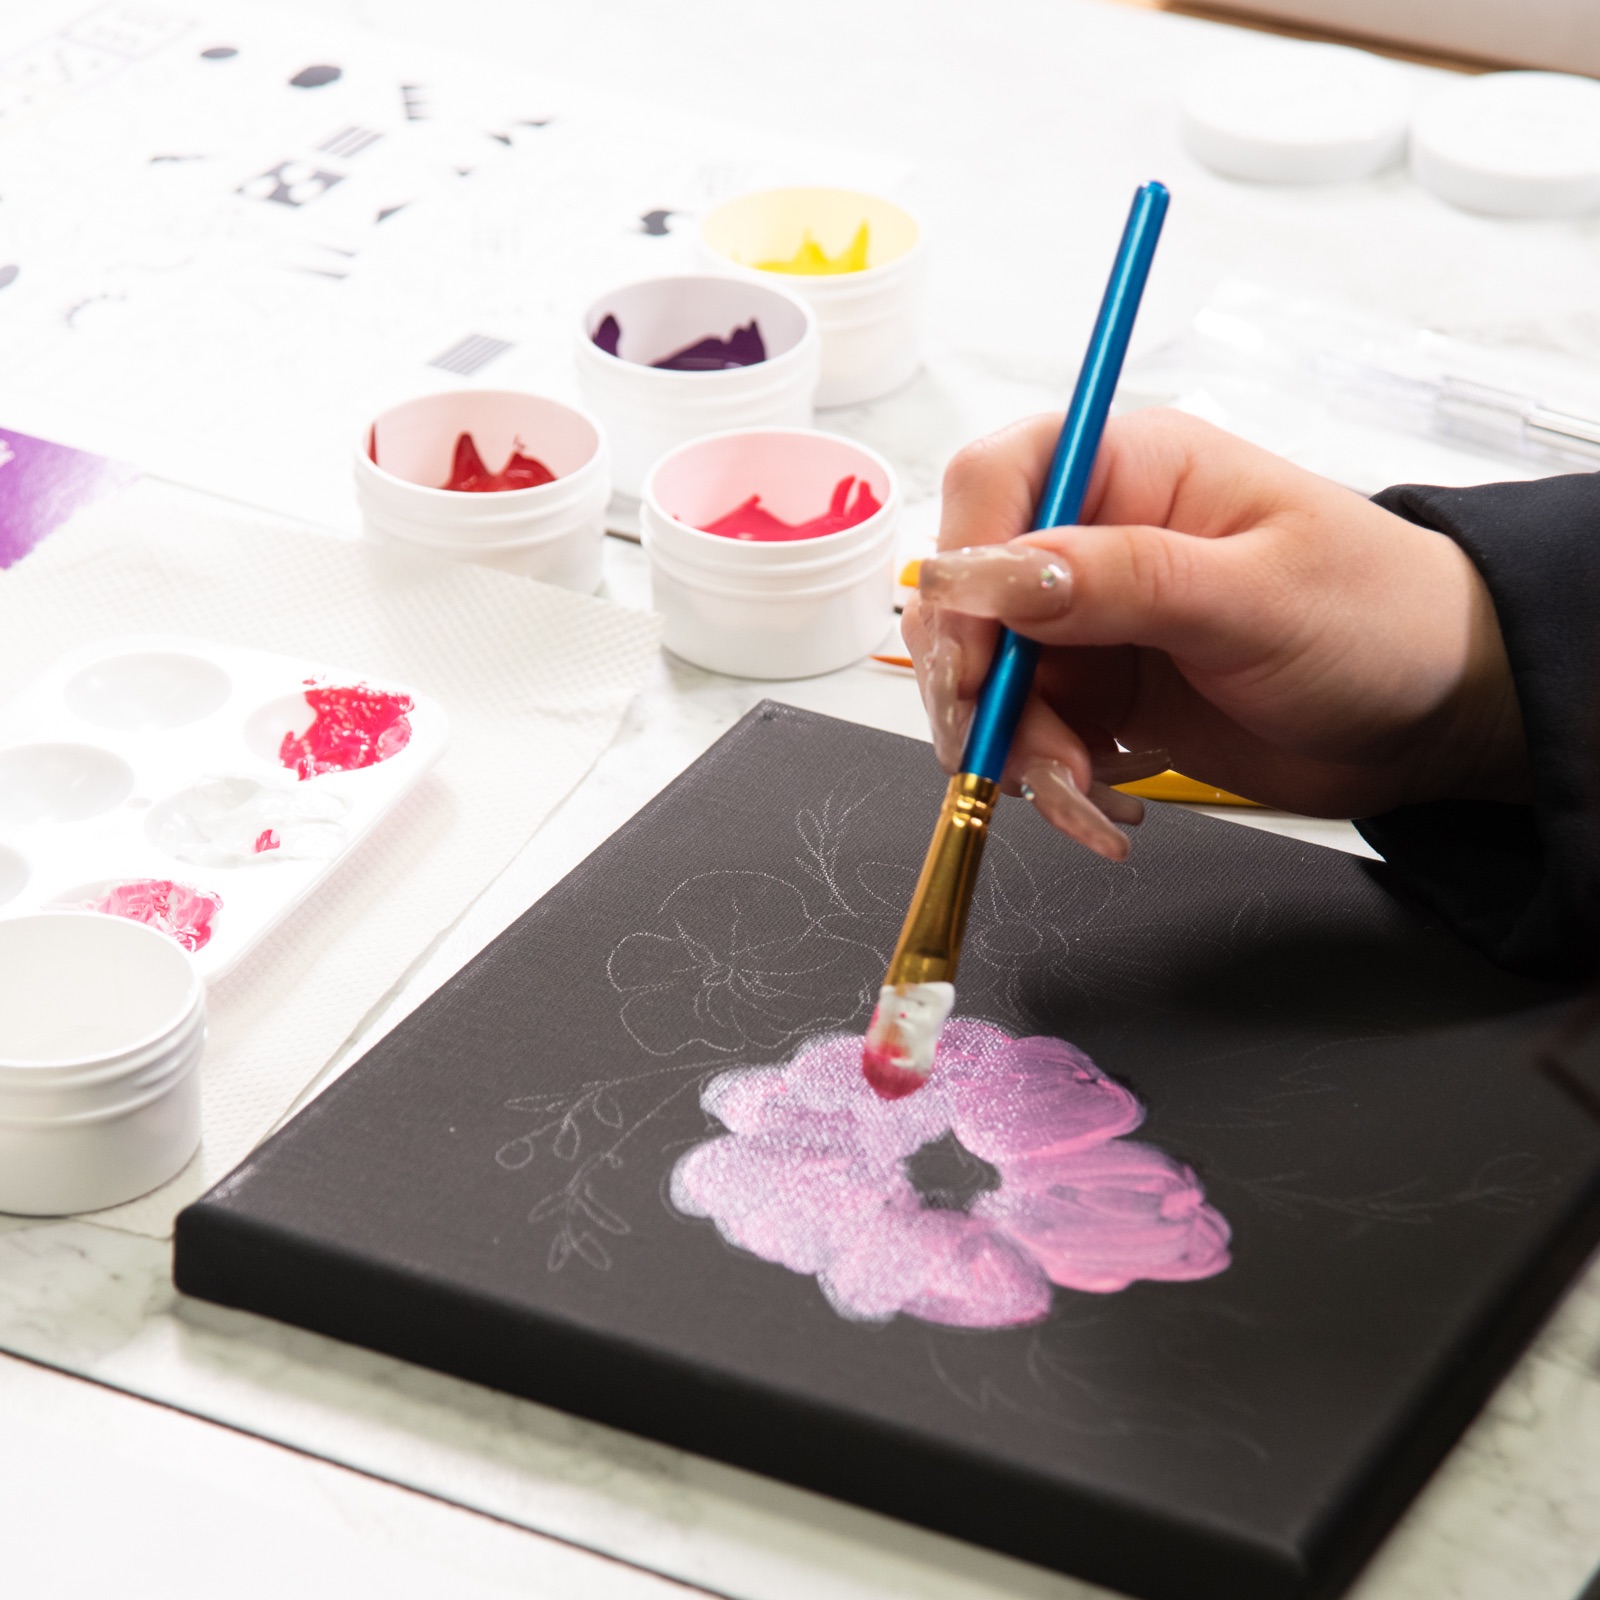
Your First Layer Doesn’t Need to Be Perfect
These first layers or the underpainting will likely look more like blobs than flowers! And that’s okay.
As you work from underpainting to detail you will also want to work from larger brushes to smaller brushes so you can capture more detail. And you will want to continue to blend similar but different colors to create vibrancy in your flowers.
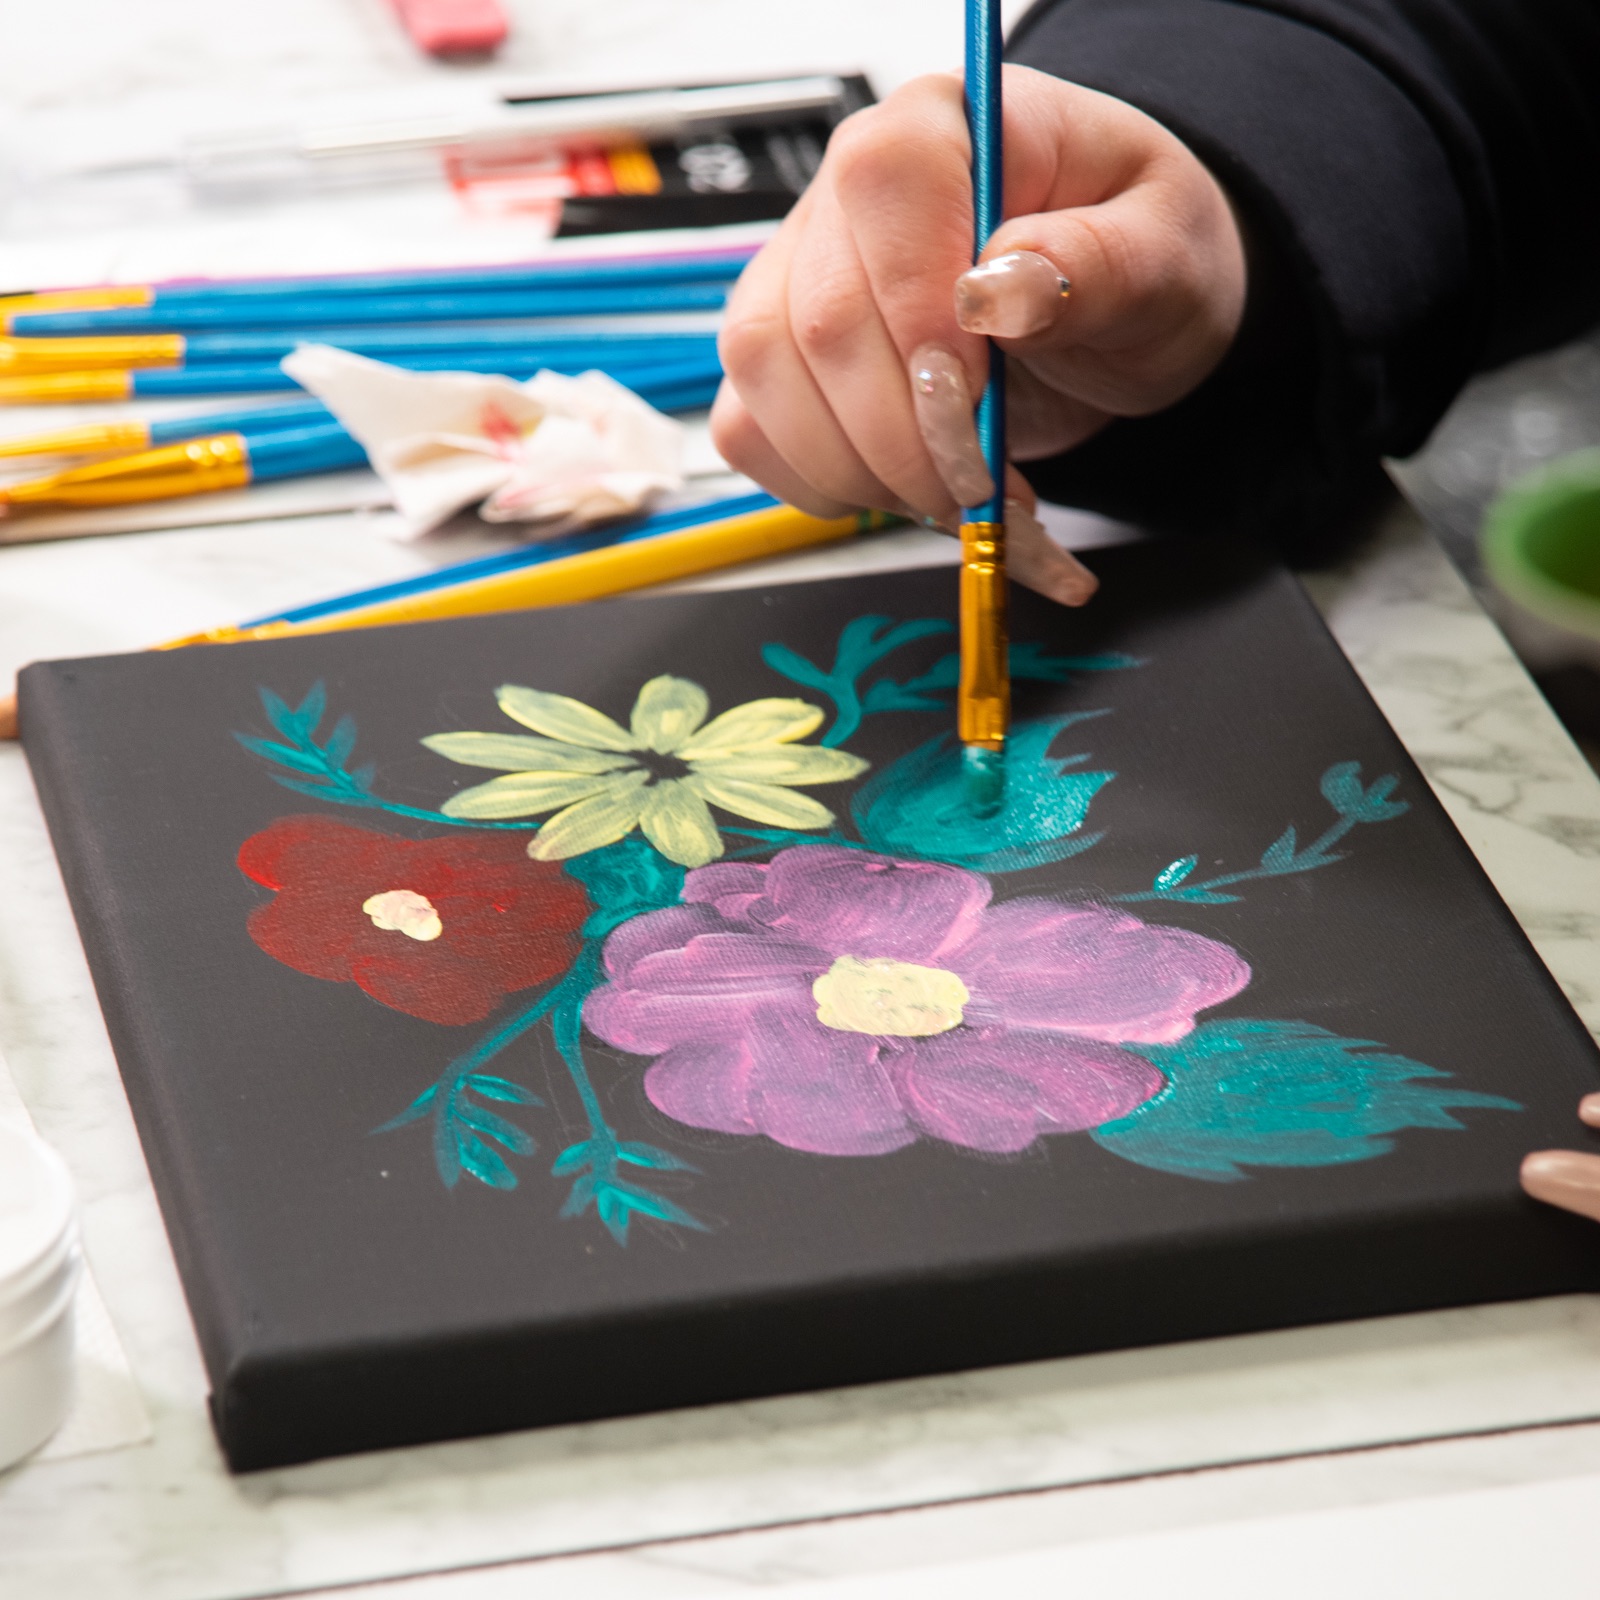
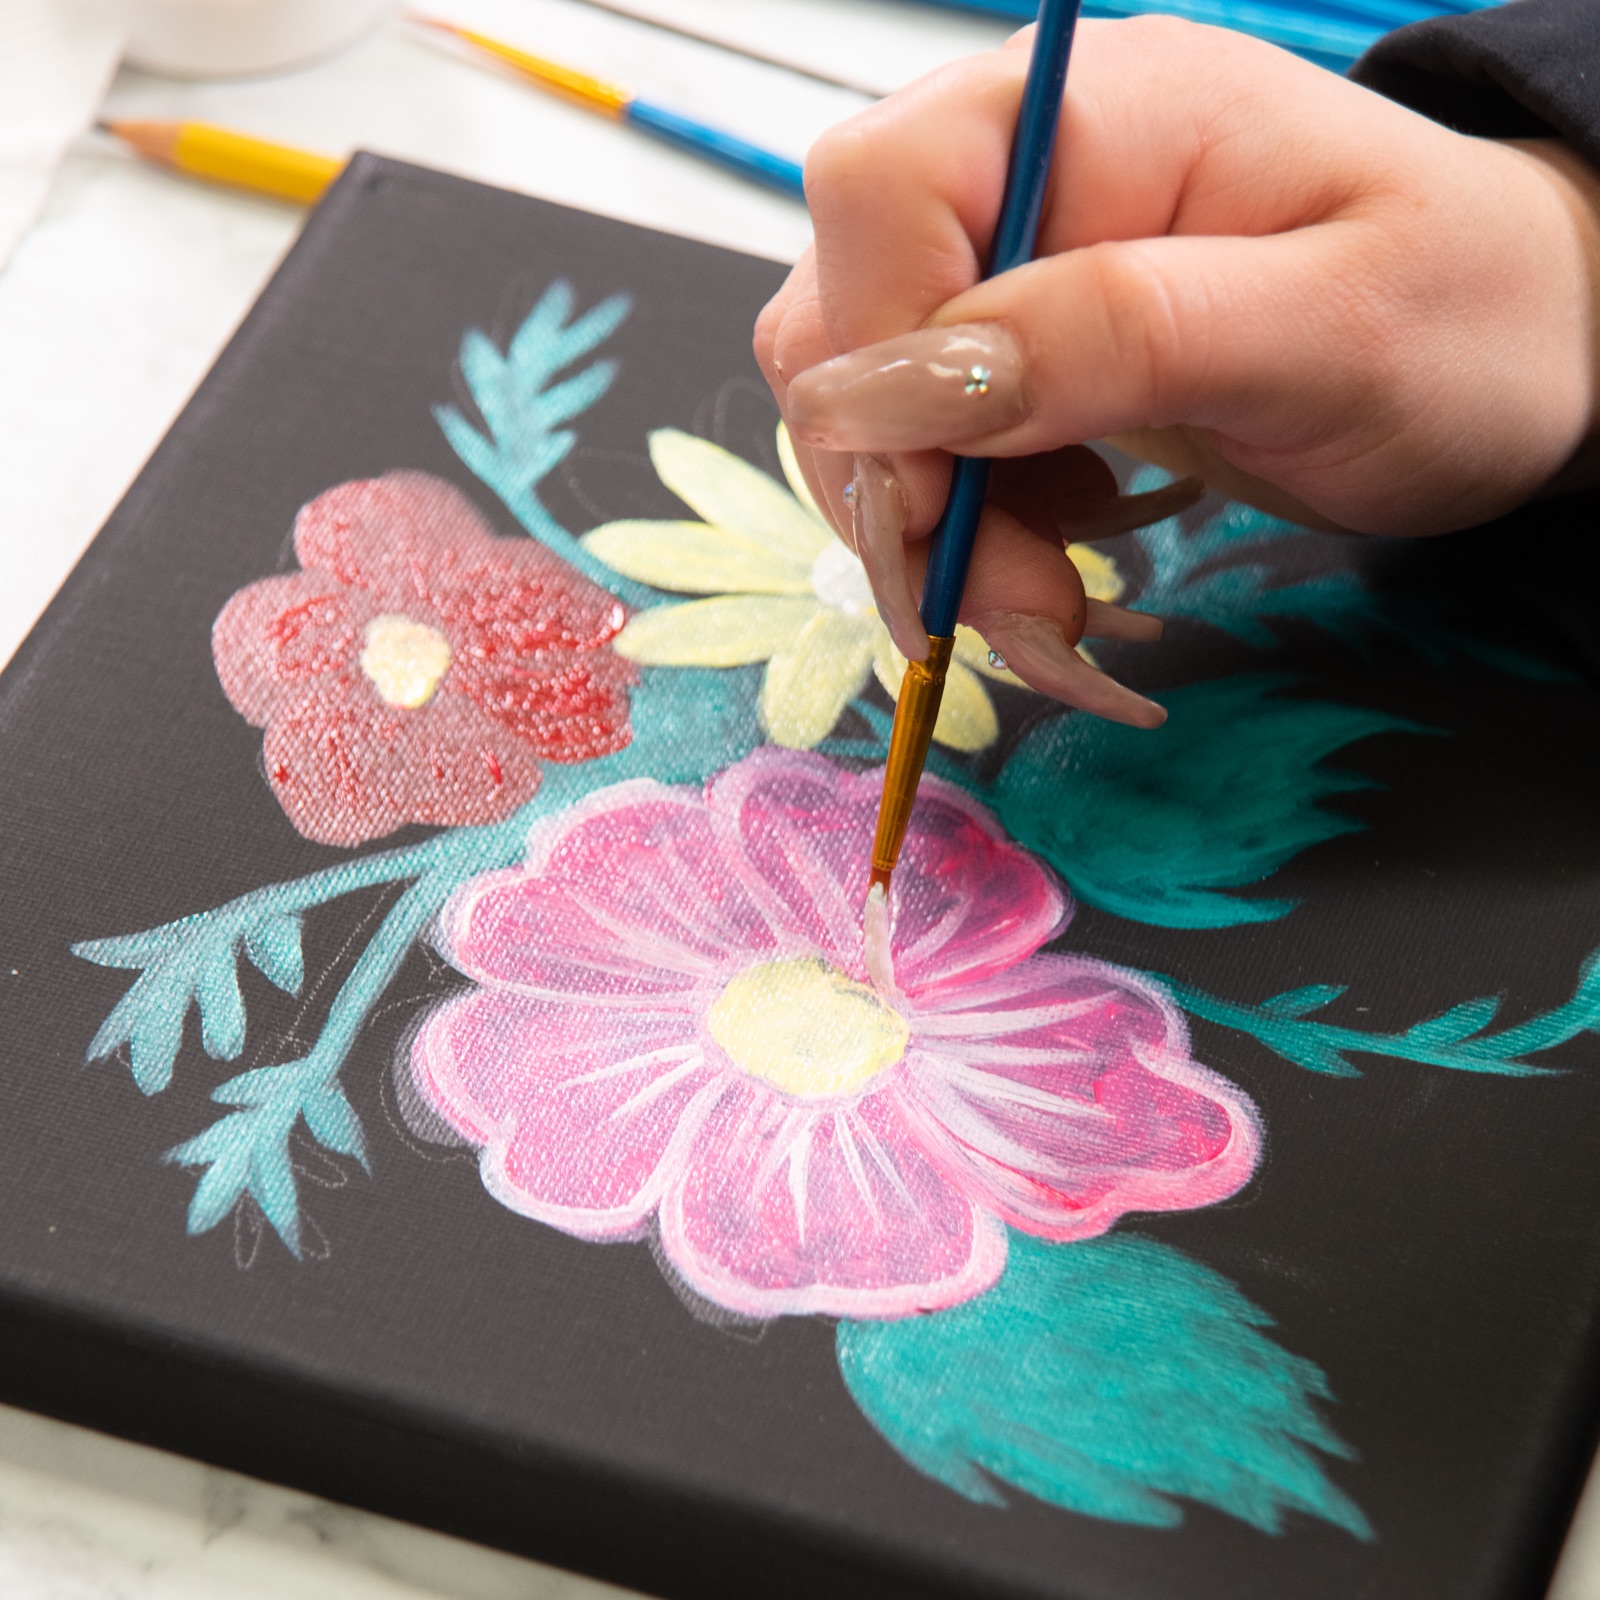
Continue to Build Layers
Continue changing to smaller and smaller brushes as you build the layers of your flowers. But continue your process of painting each flower petal individually. Even in these upper layers it will help each petal to feel distinct and help it to look more like a flower.
After you paint a section of flowers, paint your pistil next. Make your layers back and forth painting a round of petals than the pistil. This will give you a bit of time for the paint to dry.
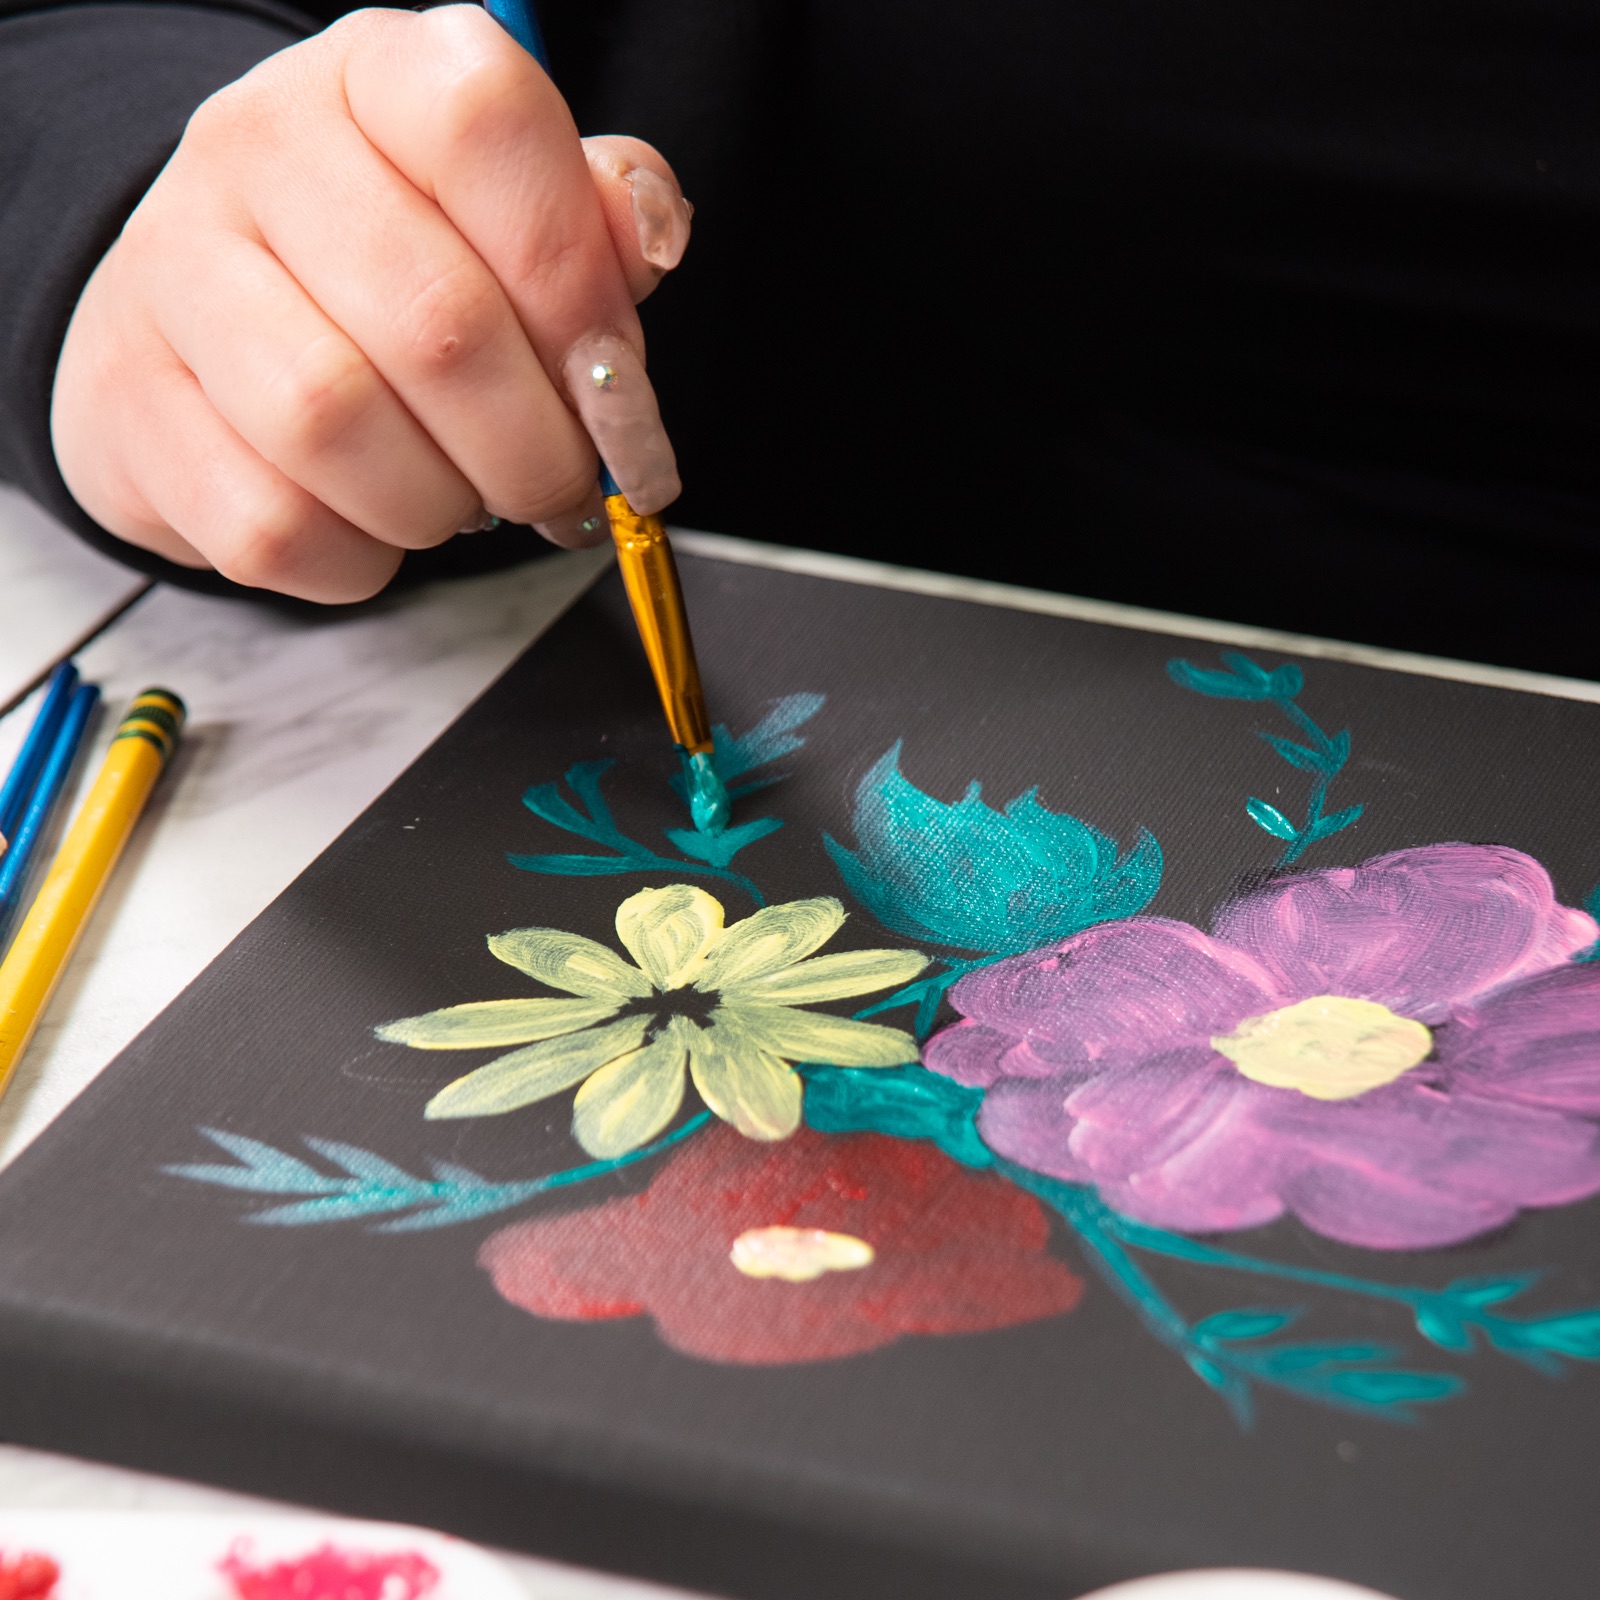
Repeat the Process to Make the Leaves
When you are ready to move on to the flowers, you will want to repeat the same steps as you did when creating the flowers.
First you will start with larger leaf areas, larger brushes, and mixing your green with a touch of white or black.
Underpainting + Layering
Just like the flowers, your leaves will need at least a few coats of paint before they look good. So continue to blend green with a touch of white or black to make a dynamic blend of shades of green.
Many of the leaves are large and round. Then make some leaves that are viny. For these smaller leaves, you will want to use smaller brushes.
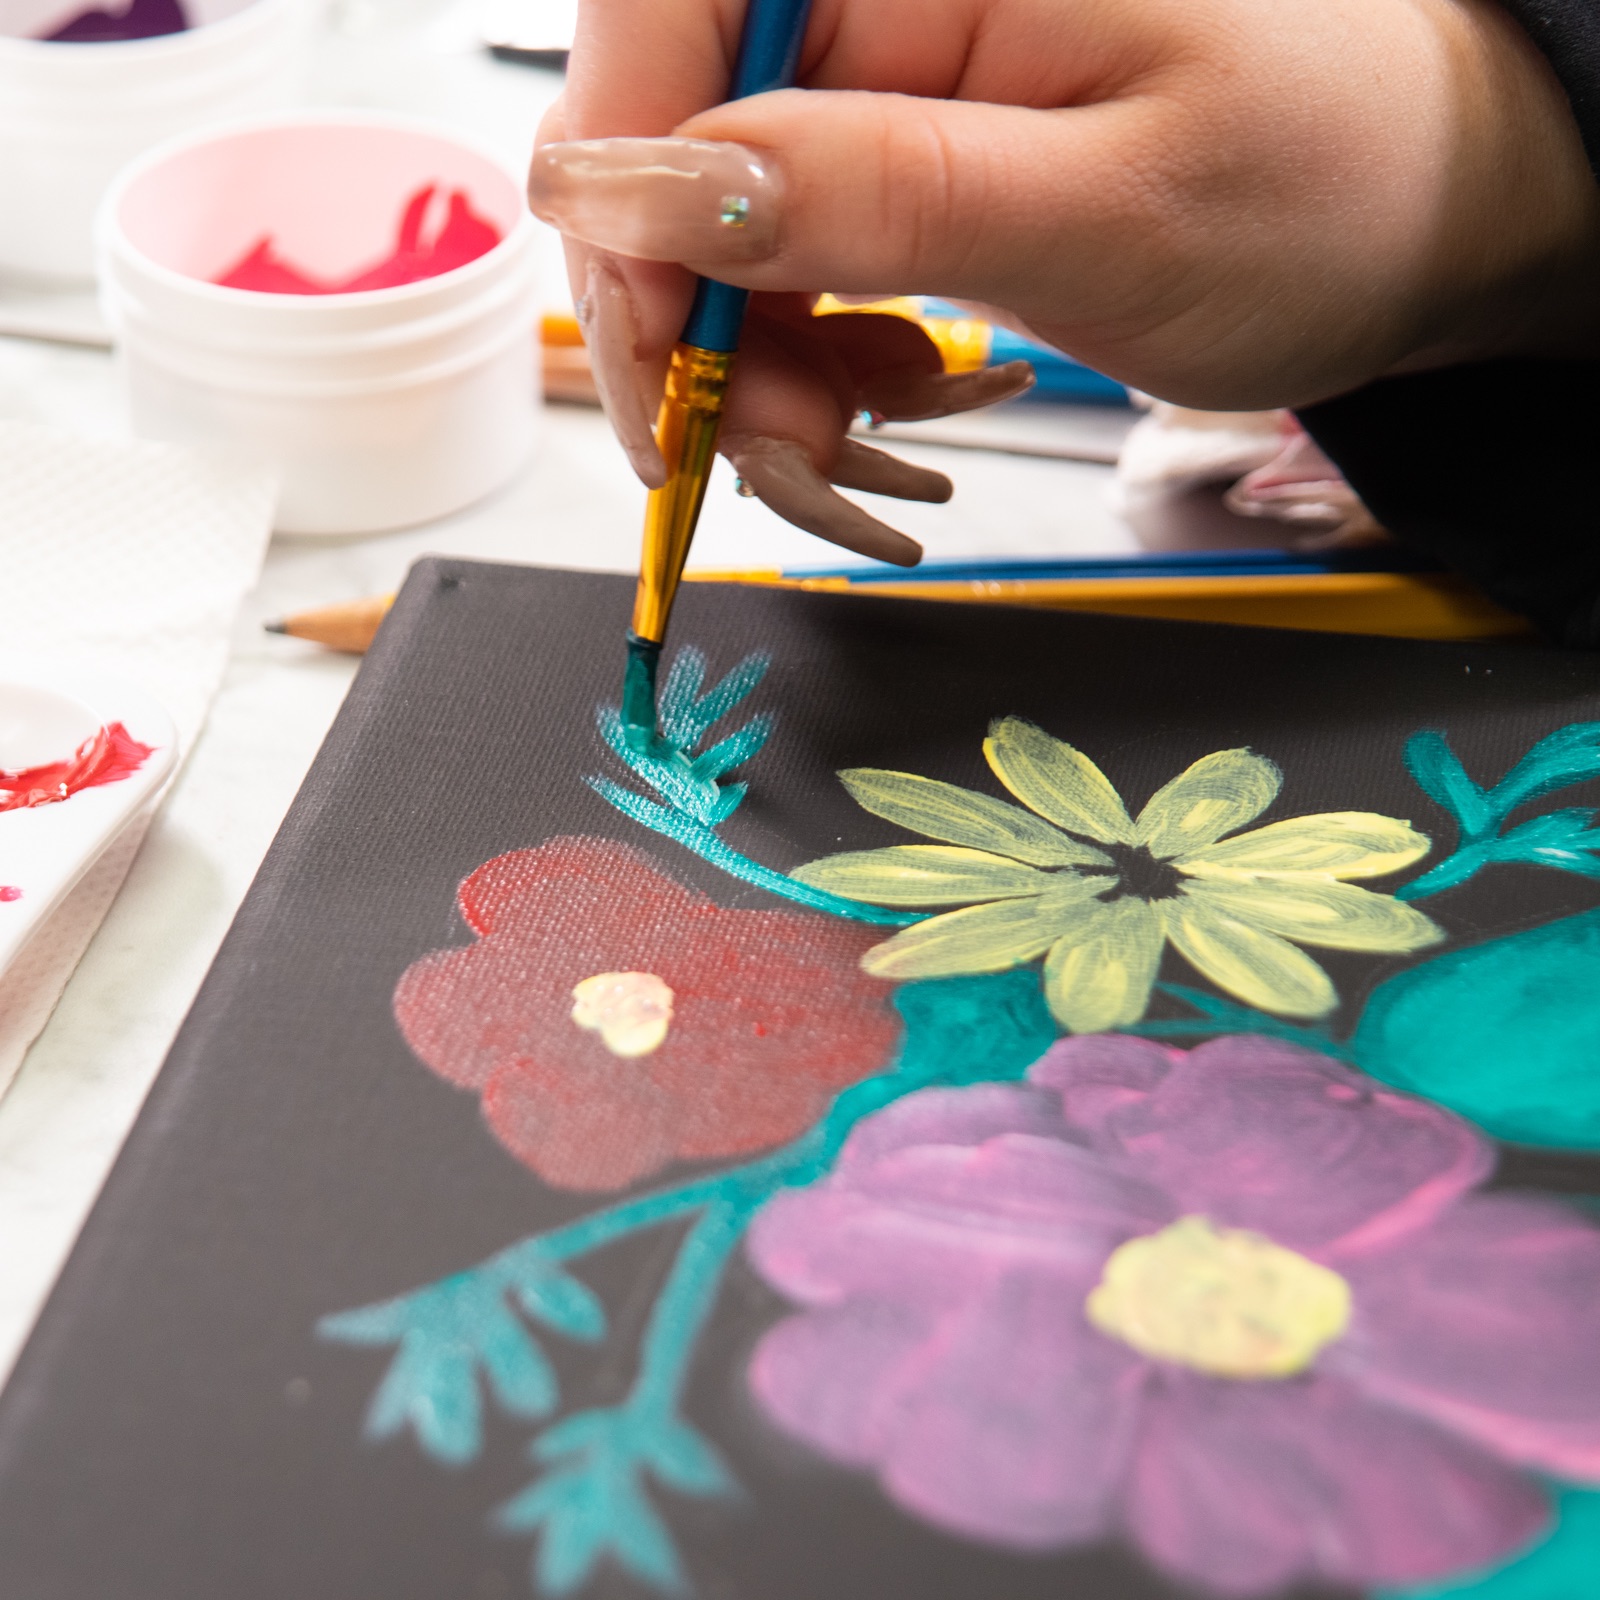
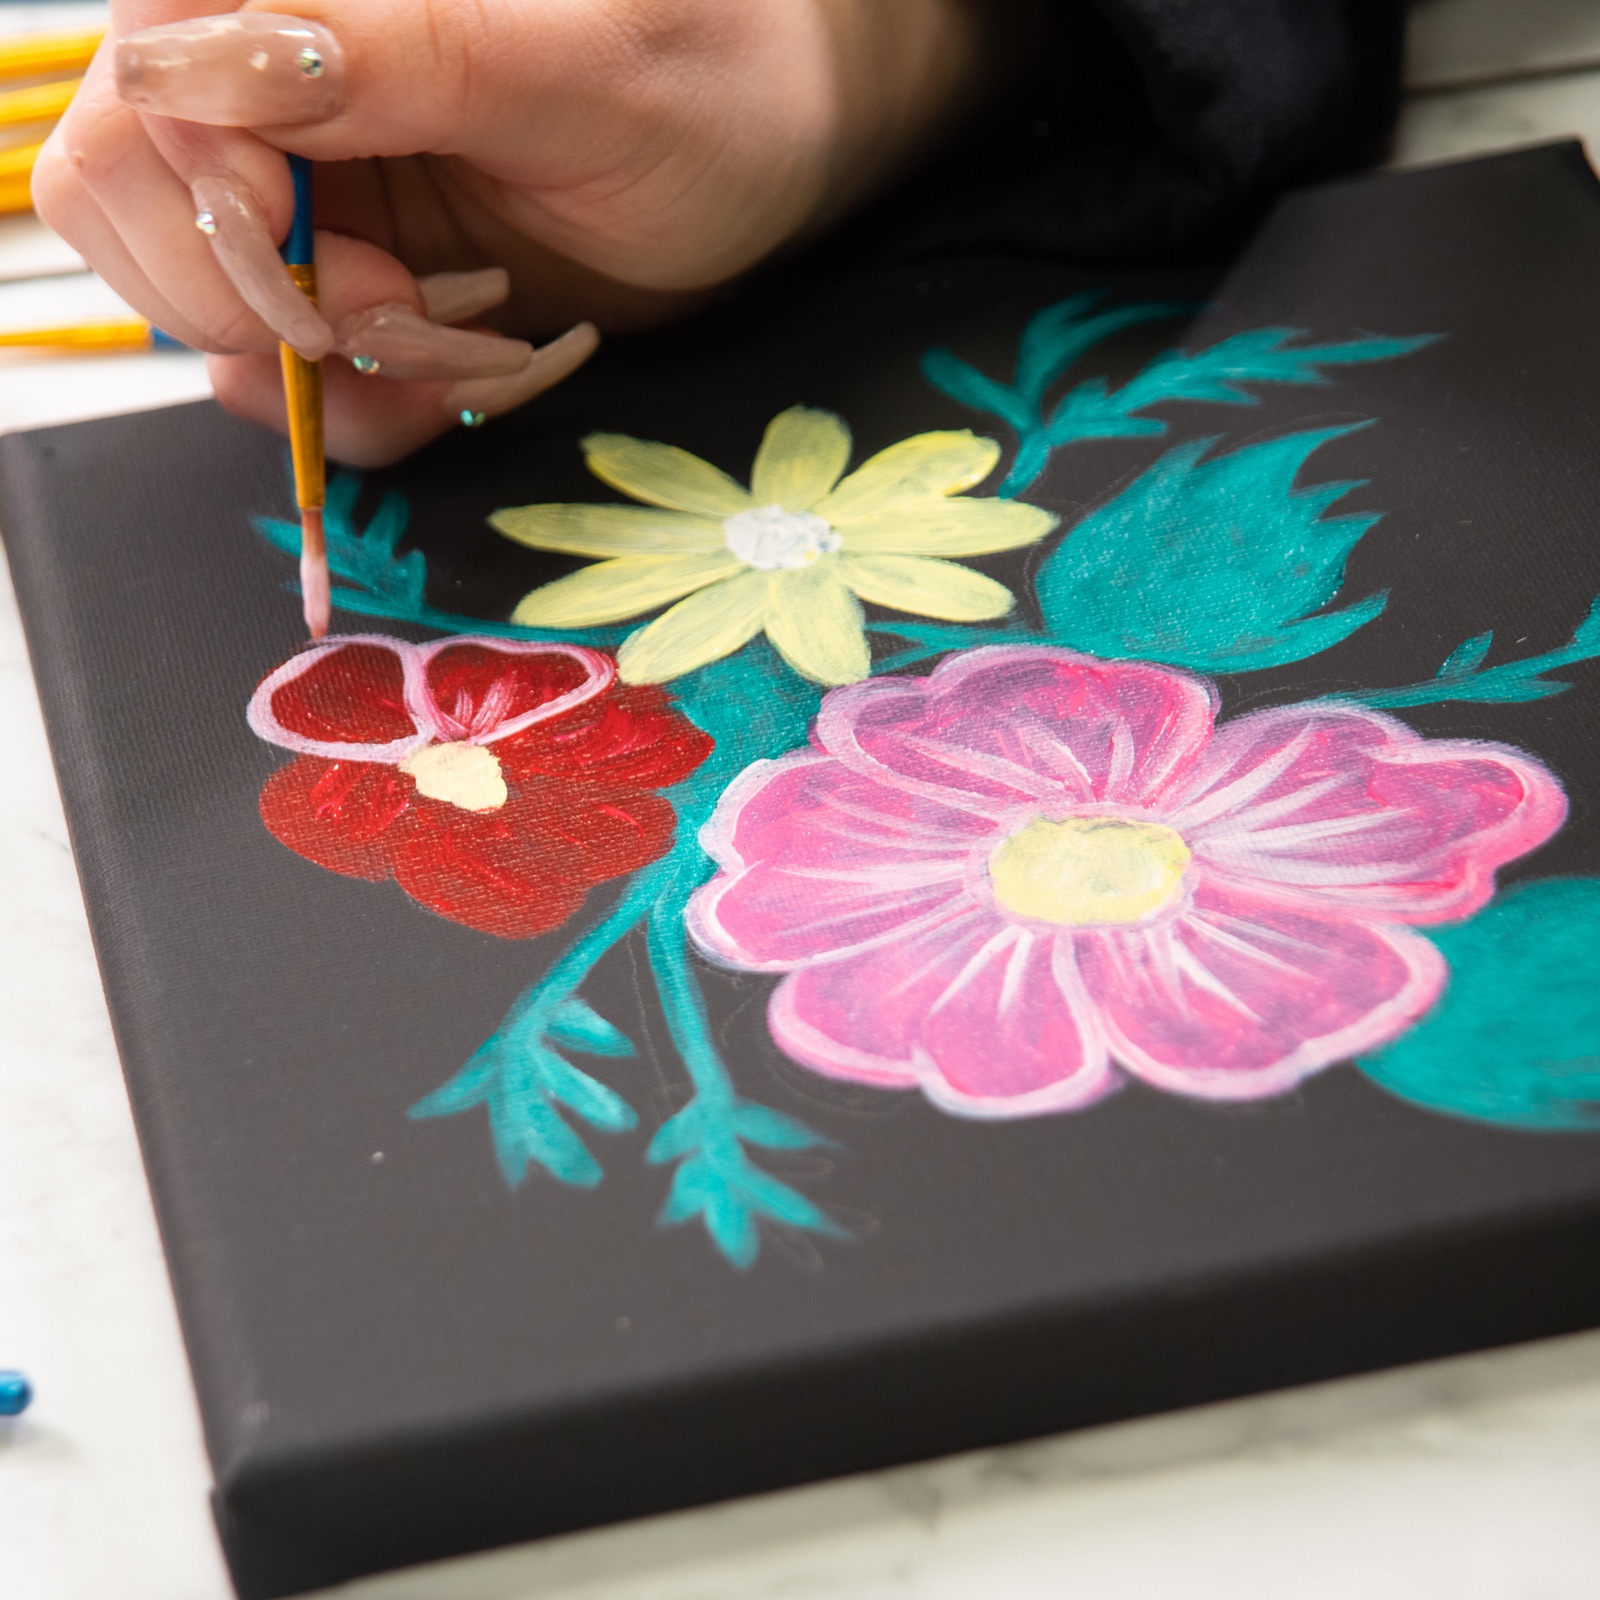
Fine Lining + Outlines
With the leaves, use one of your smallest brushes with a little extra white to create the vascular lines inside of the leaves and to outline them as well.
You can also add a hint of blue for your fine lining and outlining.
Use Smaller Brushes to Add Detail if Your Top Layers
Now use your smallest brush on your flowers to add detail. Show where the flower would fold with short, sketchy lines. You can even use a slightly lighter color than the flower petals to outline each flower petal.
What Colors to Use in Your Top Layers
Notice how I recommend adding a bit more white to your outlines in both the flowers and leaves? It’s a great way to define the shape and it helps to look like it’s in the foreground.
The outlines of your flower petals do not need to be perfect but can be wispy, and sketchy.
How Long Does it Take Acrylic Paint to Dry?
Acrylic paint dries so fast! So your painting will be ready for the fairy lights in around 20 minutes. Test it with your finger before flipping it over to add the fairy lights.
But because it takes 20 minutes to dry, you may need to take breaks as you are painting your flowers and leaves. It just depends on how fast you work.
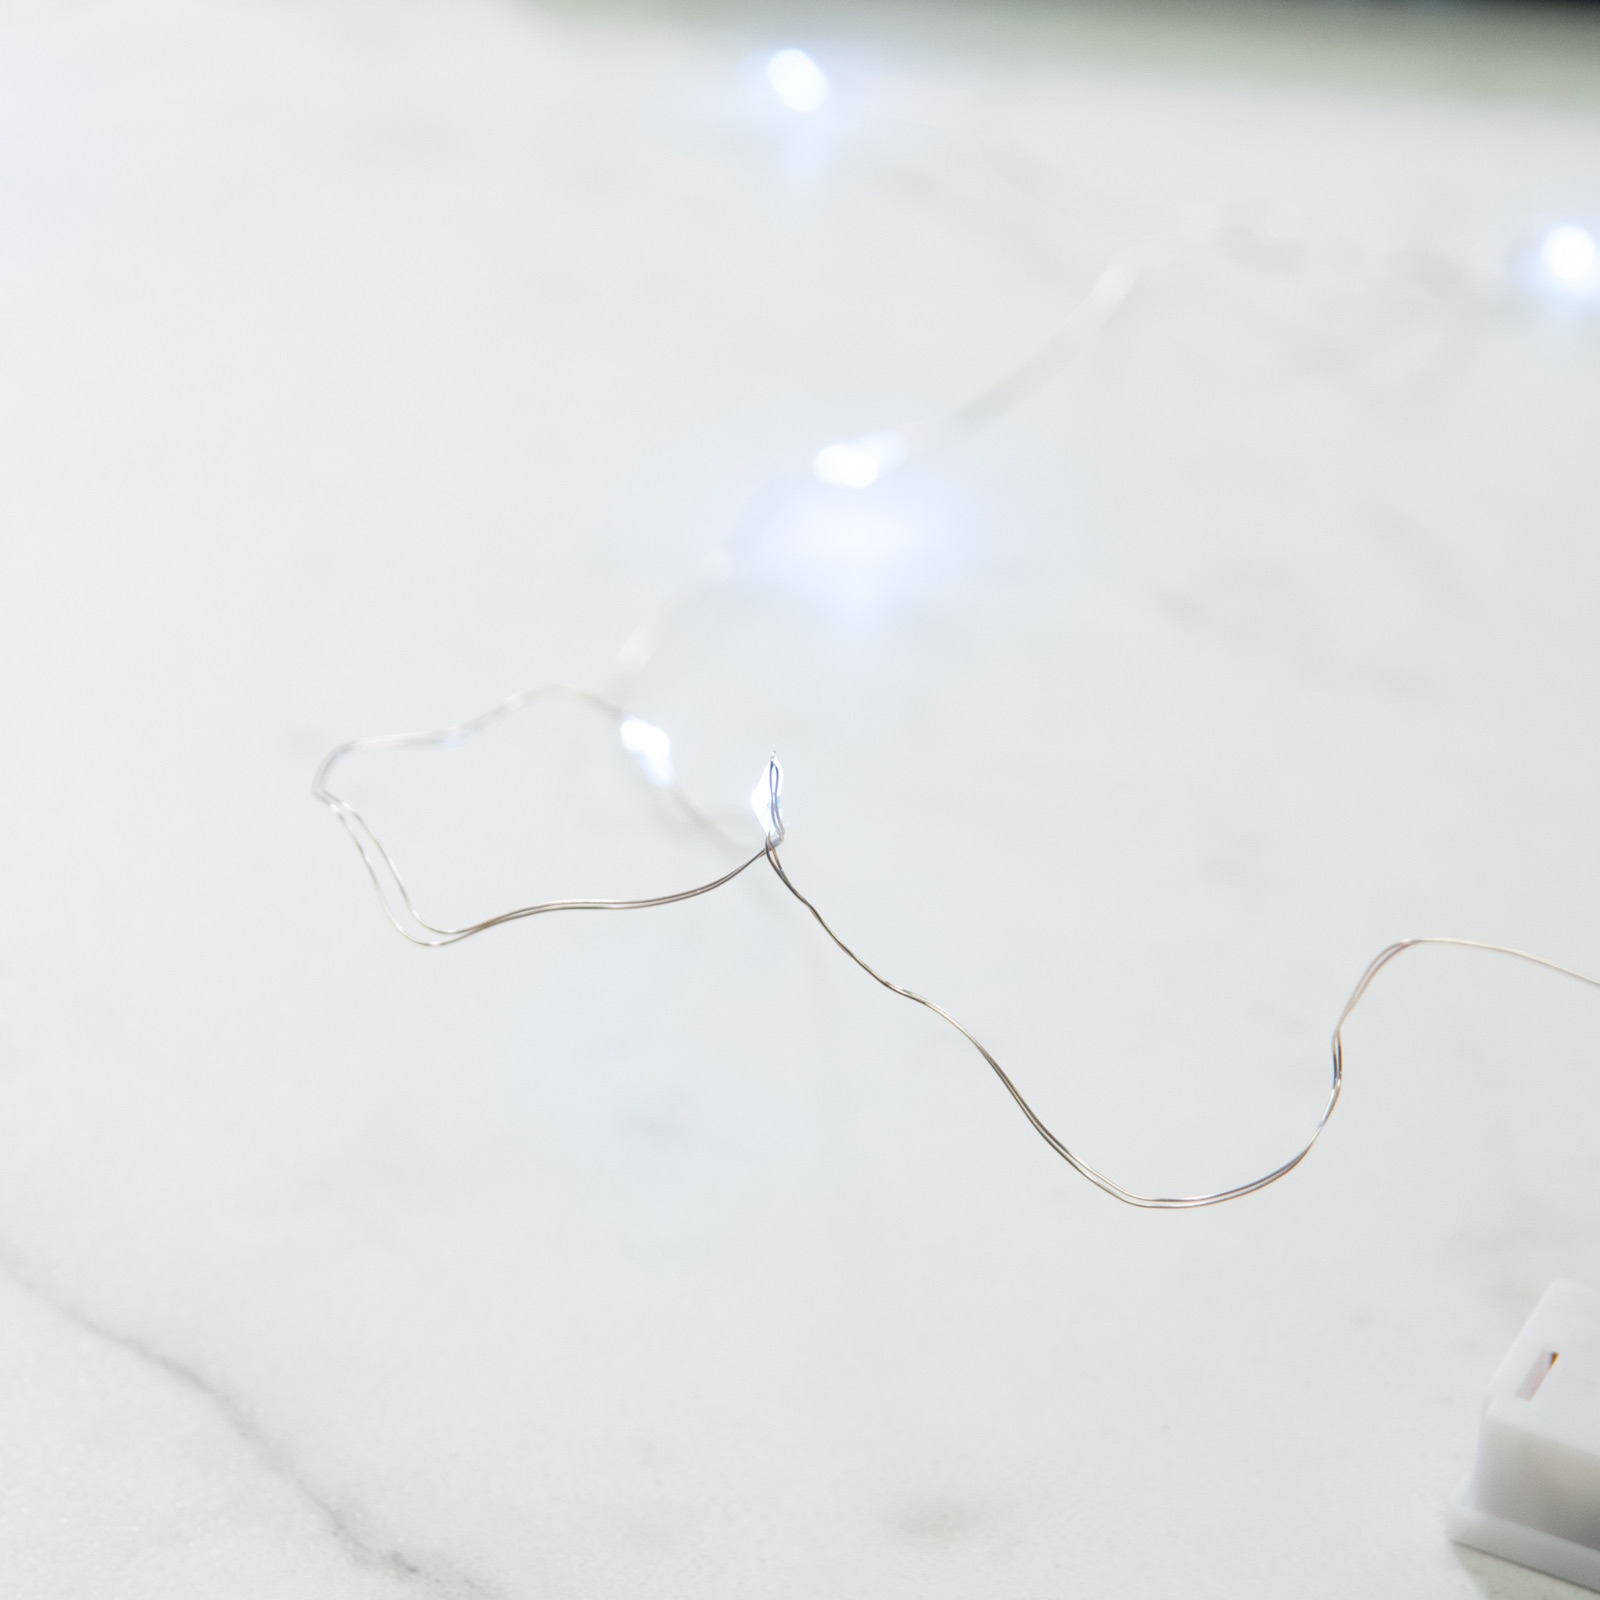
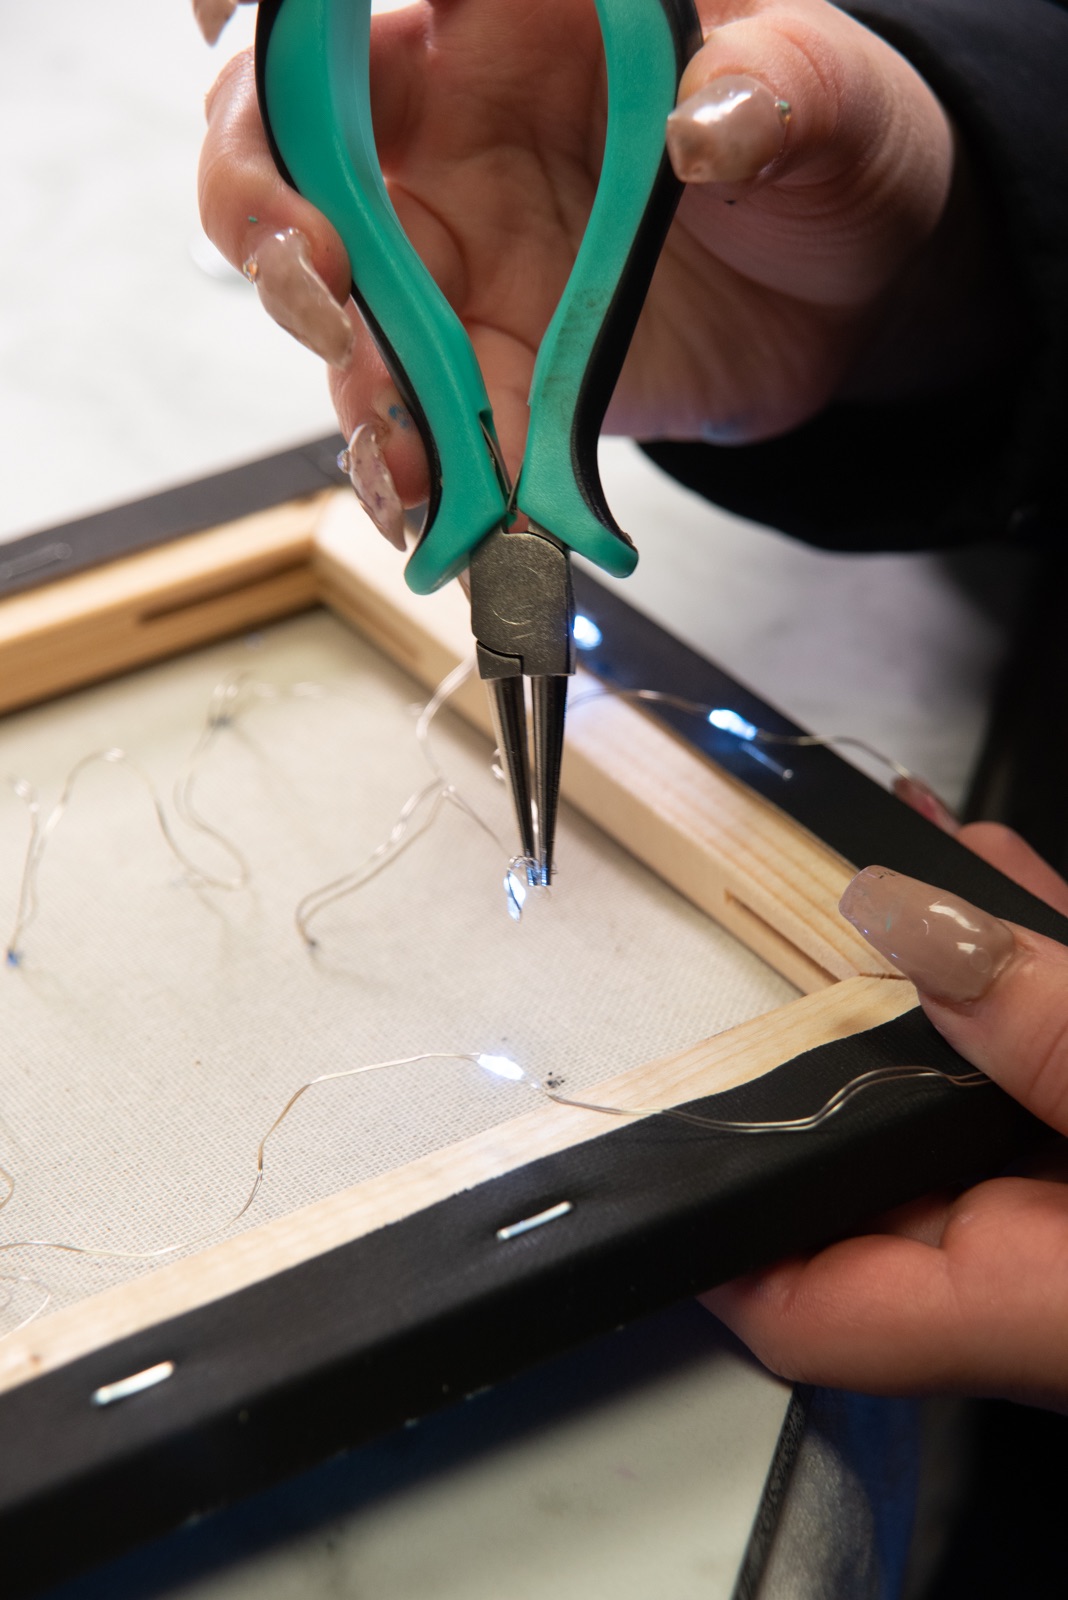
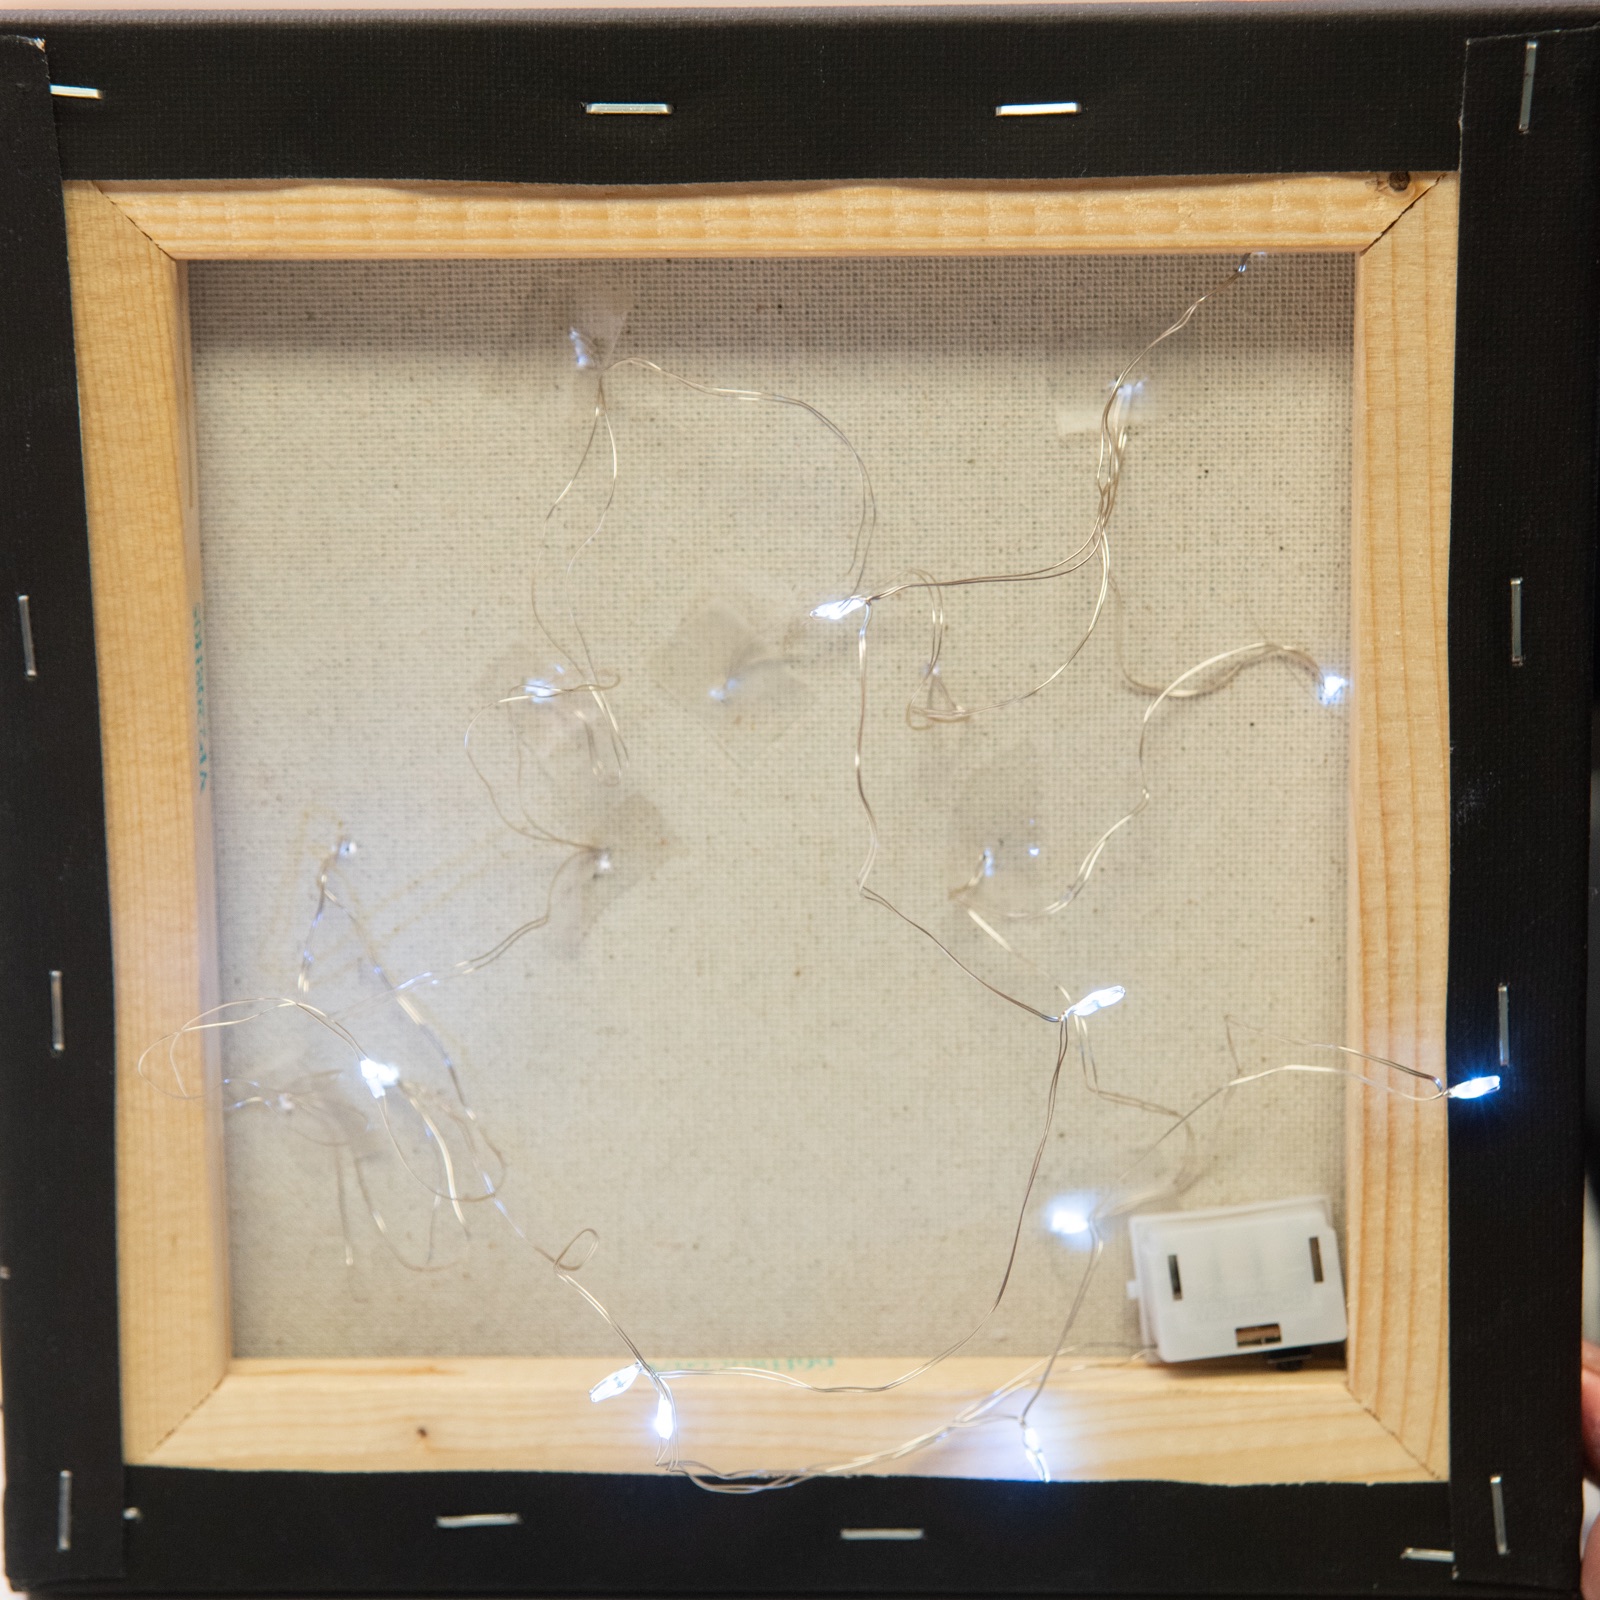
How to Add Fairy Lights to the Back
When and if you are ready to add the fairy lights, follow the in depth tutorial here.
The basics are – first, find your whitest parts or highlights to the flowers and leaves. Or decide if you just want your lights to act as an abstract background.
Whatever you decide, use a box cutter to make small holes where you want the light to shine through. Then place your fairy lights on the back of your painting and press the lights into place so they will shine through the front of the painting.
Where to Hang Your Painting
If you add the lights, your painting may be especially ideal in your bedroom as a night light. In your teen’s bedroom as a cool piece of wall decor. You can add this painting in a dark hallway or a room like a closet or laundry room where you don’t have enough light.
I don’t recommend hanging this painting outdoors because of the fairy lights or in a bathroom where the fairy lights could get weight.
With a canvas like this, you can use 2 nails to hang it, or even Command Strips like this. It’s lightweight which makes it a lot easier to work with than other paintings!
Let’s Stay Friends!
Insta | Pinterest | Enews | TikTok