DIY
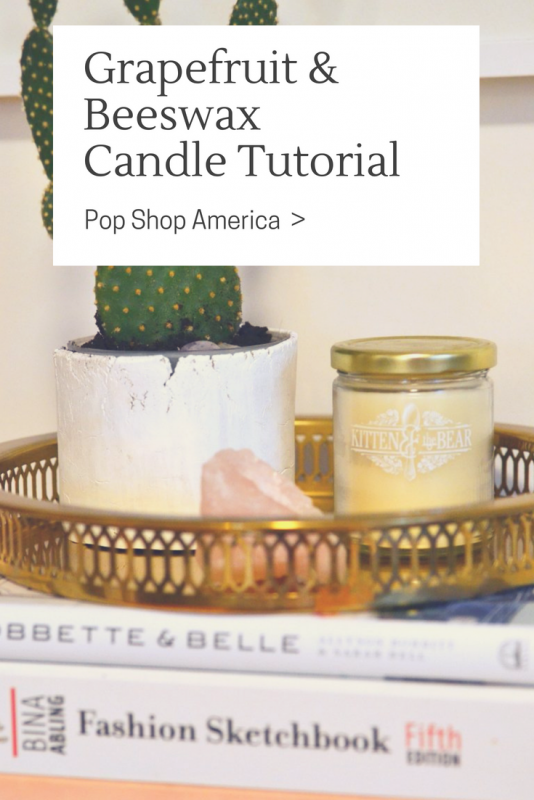
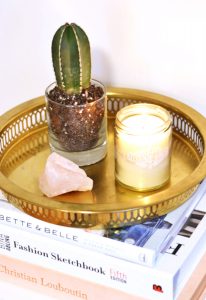
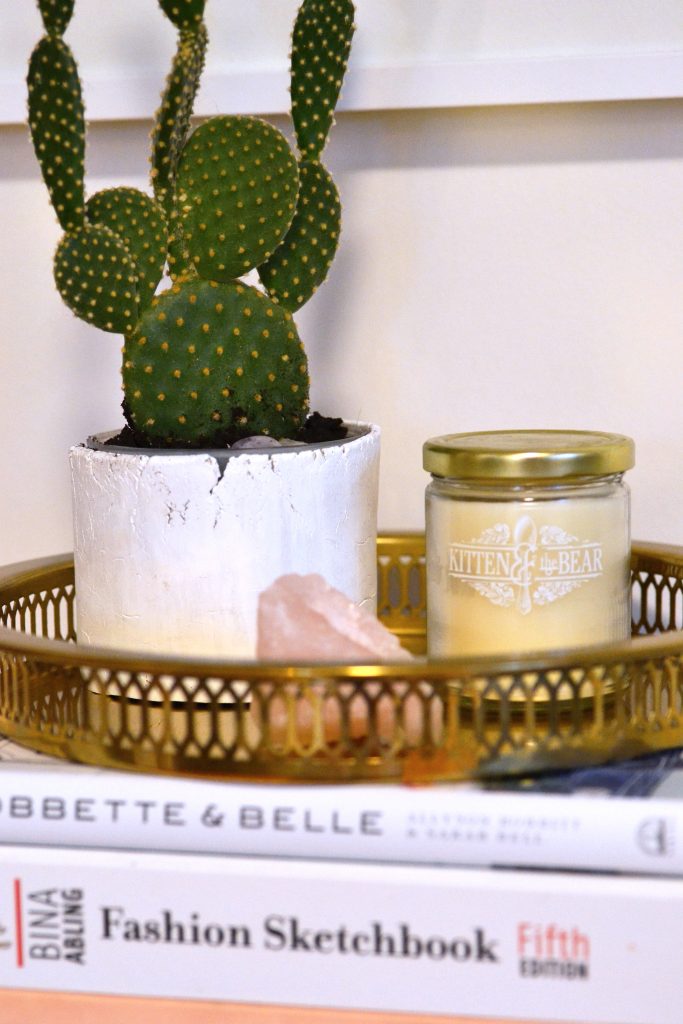
Handmade Grapefruit Beeswax Candles
Jun
I’ve always been someone who loves burning candles. Fresh floral scents for spring? Yes please! Spicy comforting aromas in the fall? You bet. Anything that smells like baked goods? Yes. Always yes.
So when my mom told me that burning candles is toxic and isn’t very good for the air, I was more than a little upset. It makes the apartment smell so good and creates such a nice ambiance! I didn’t want to have to give that up.
Luckily, I found a natural solution! Burning 100% pure beeswax actually helps to purify the air! I was thrilled that I could have my candles and clean air too!
Always the DIY aficionado, I bought my supplies and set out to make some Handmade Grapefruit Beeswax candles for my apartment!
I was a bit of a candle making prodigy as a kid (jk, I made a huge mess and ugly candles) so I had almost all of the supplies already (true). What I did buy was these white beeswax pastilles. I had everything else I needed, so I set out to make myself some candles! Here’s how I did it:
Handmade Grapefruit Beeswax Candles
Materials
– 100% Pure Beeswax Pastilles in white or yellow- you’ll need about 12 oz
– a hot glue gun + glue sticks
– braided wick (good for candles with a 2-3″ diameter
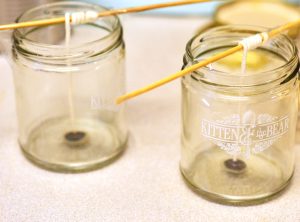
– 2 jam jars – or similar jar of your choice that’s about 8 oz
– 2 metal wick holders *
– 6 tablespoons coconut oil
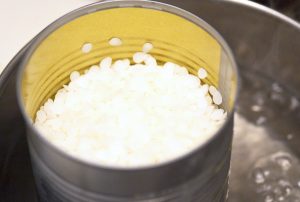
– a large 28oz can
– a pot that comfortably fits your can
– 3 wooden skewers
– tape
– scissors
– newspaper
– a digital scale
– essential oils (optional)
* you know, those metal things that you see on the bottom of candles? Well you can buy them, but I just reused old ones from tea lights. Just use the scissors to kind of open the part that the wick goes through and then push the wick up through the bottom and re-clamp them with your scissors.
Assembly
- Fill your pot half way with water and set it over medium heat until it reaches a low boil
- Weigh out your beeswax pastilles and add them to the can
- Place the can in the boiling water and stir occasionally with a wooden skewer. Place the skewer on the newspaper when you’re not stirring your wax.
- While you’re waiting for your wax to melt, prepare the jars
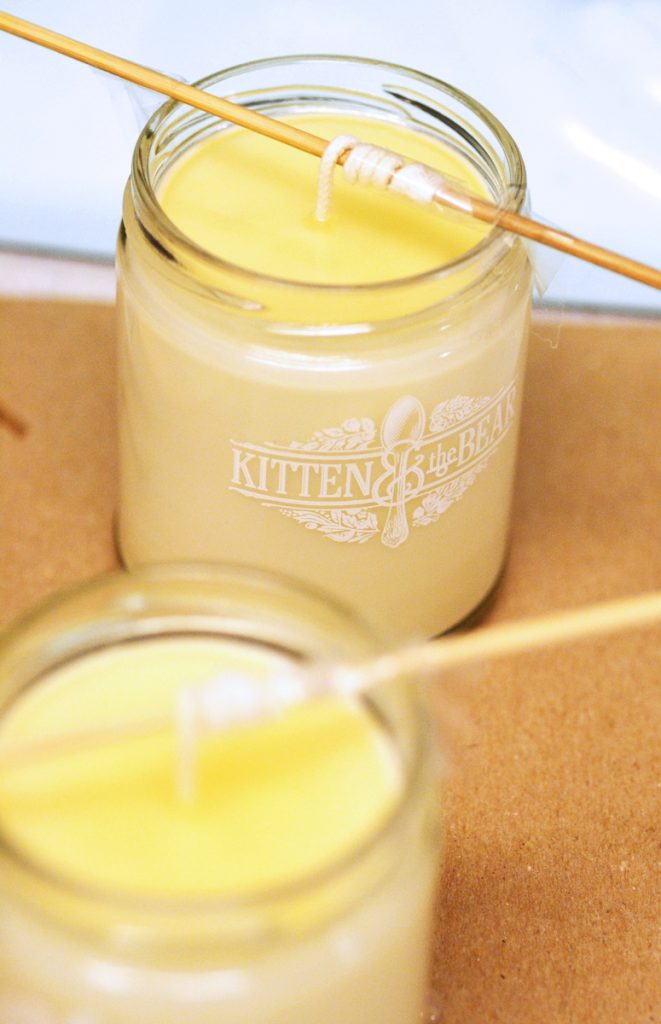
- Heat up your glue gun. When it’s hot, put a dab of glue on the bottom of the metal wick holder (make sure your wick is in there first) and then glue it to the bottom of your jar in the centre.
- Wait a few minutes for it to set and then tape the end of the wick to one of your wooden skewers.
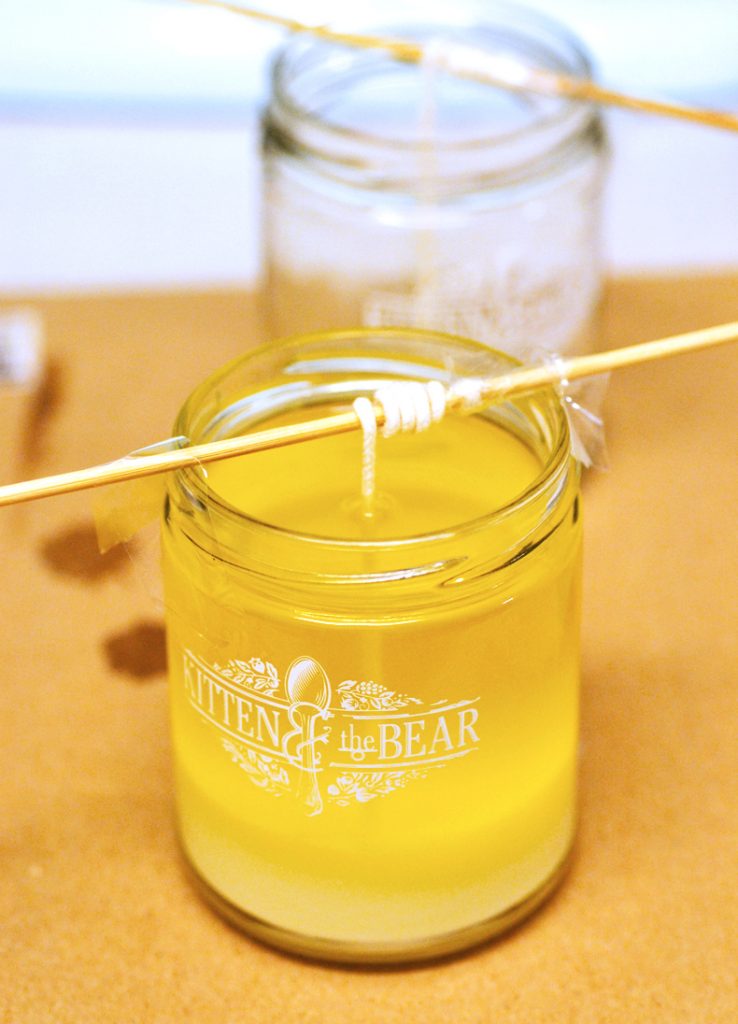
- Wrap the wick around the stick until it’s sitting on top of the jar and the wick is taught. I like to tape my skewer in place to make sure that the wick stays in the centre of the jar when my candle is poured.
- Your wax is probably melted by now, so it’s time to add the coconut oil and any essential oils. I found that you need quite a lot of the essential oils if you want them to smell like anything, so I would start with about 30-45 drops.
- Give that all a stir and then take an oven mitt and pour the wax evenly between your jars. I like to leave about an ounce of wax in the can so that I can top up the candles if they start to tunnel. Mine didn’t actually tunnel when I made these (yay!) but it does happen sometimes. Tunnelling happens when the wax starts to cool and harden, so to fix it, just re-warm the remaining wax that was in the can, or melt a tiny bit more. When melted, just pour over top of the candle and the tunnel should be able to be fixed.
- Once your wax has been evenly poured, allow your candles to cool at room temperature overnight. Allowing them to cool slowly also helps to prevent tunnelling.
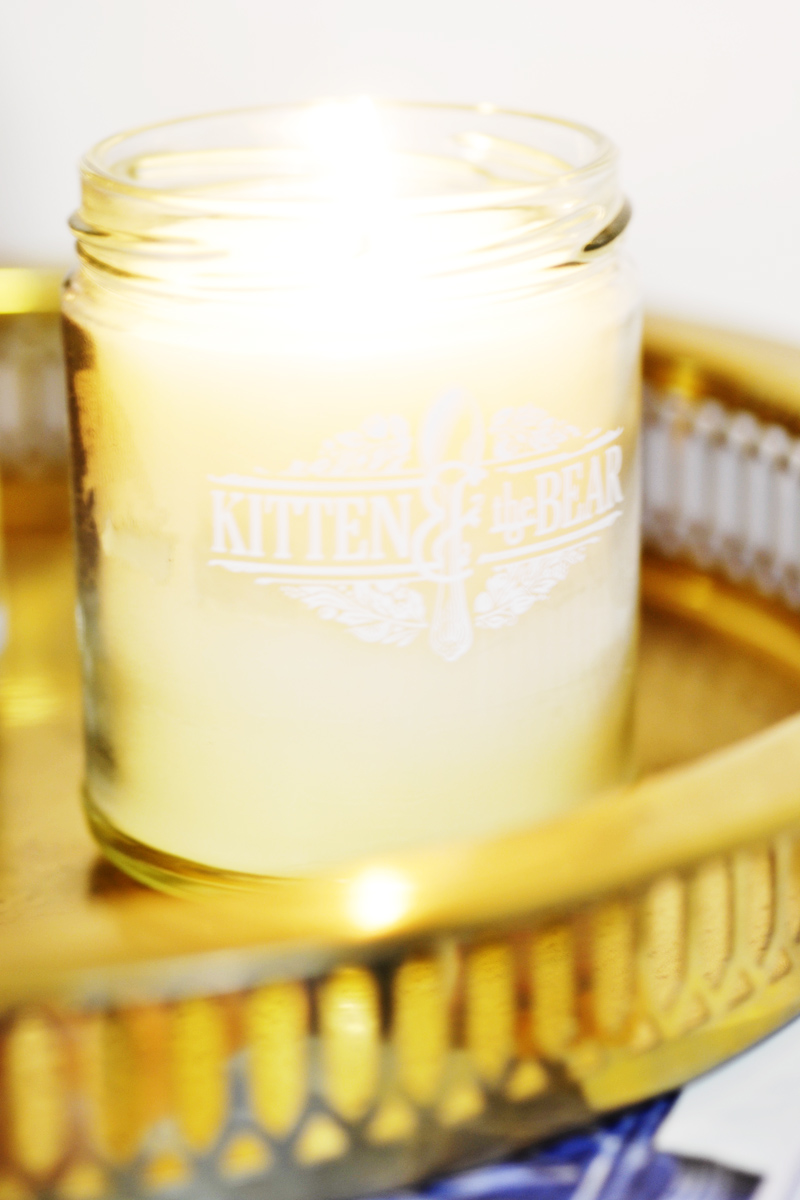
- When your candles are cool, trim the wick to 1/4″ and burn away! Enjoy the slightly sweet scent of honey waft through your home 🙂
Note: Whenever you burn your candles, try to burn them for long enough so that the wax at the top is all liquid. This helps them to burn evenly!
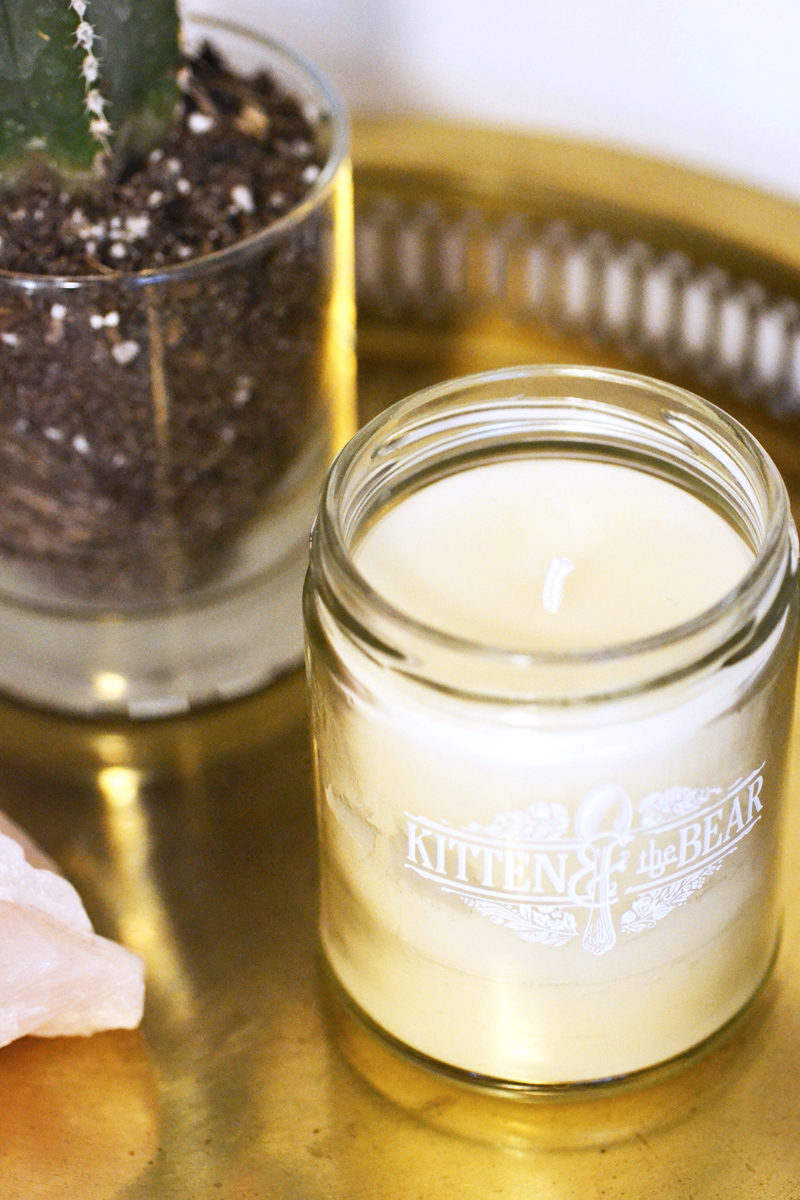
And that’s all there is to it! It’s so easy to make your own candles at home. I love how much better it is for you than buying them from a store! Subtly scented clean air is always a win!
There are a ton of different scents that you can play with to suit your taste. You could even try colouring the candles if you wanted. That may inhibit the benefits of the candles slightly as they’re no longer pure beeswax and coconut oil, but a little shouldn’t hurt. It’s super easy to do this too! They sell wax colouring at craft stores, but you can actually use crayons to colour your wax as well.
Would you try making your own candles at home with beeswax? Let me know!
xo, tess.
Follow Me at
Angean Blog | Facebook | Twitter | Instagram | Pinterest