Craft in Style Subscription Instructions, DIY
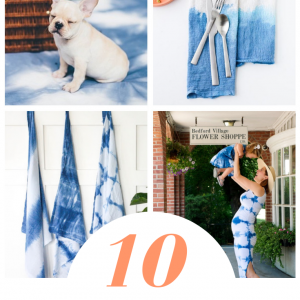
How to Make a Dip Dyed Blanket
Nov
This blog is Part 1 of 2 of the November 2020 Craft in Style Subscription Box Instructions. Part 2: How to Make a Tassel Blanket can be found here. Craft in Style Subscription Box can be found here.
Burrrr…. when it gets a little chilly, all I want to do is get cozy. Here’s a diy that’s perfect for those cold nights. It’s the perfect way to style up your home. Best of all, it’s fun as an adult, but kid friendly too!
So let’s make it!
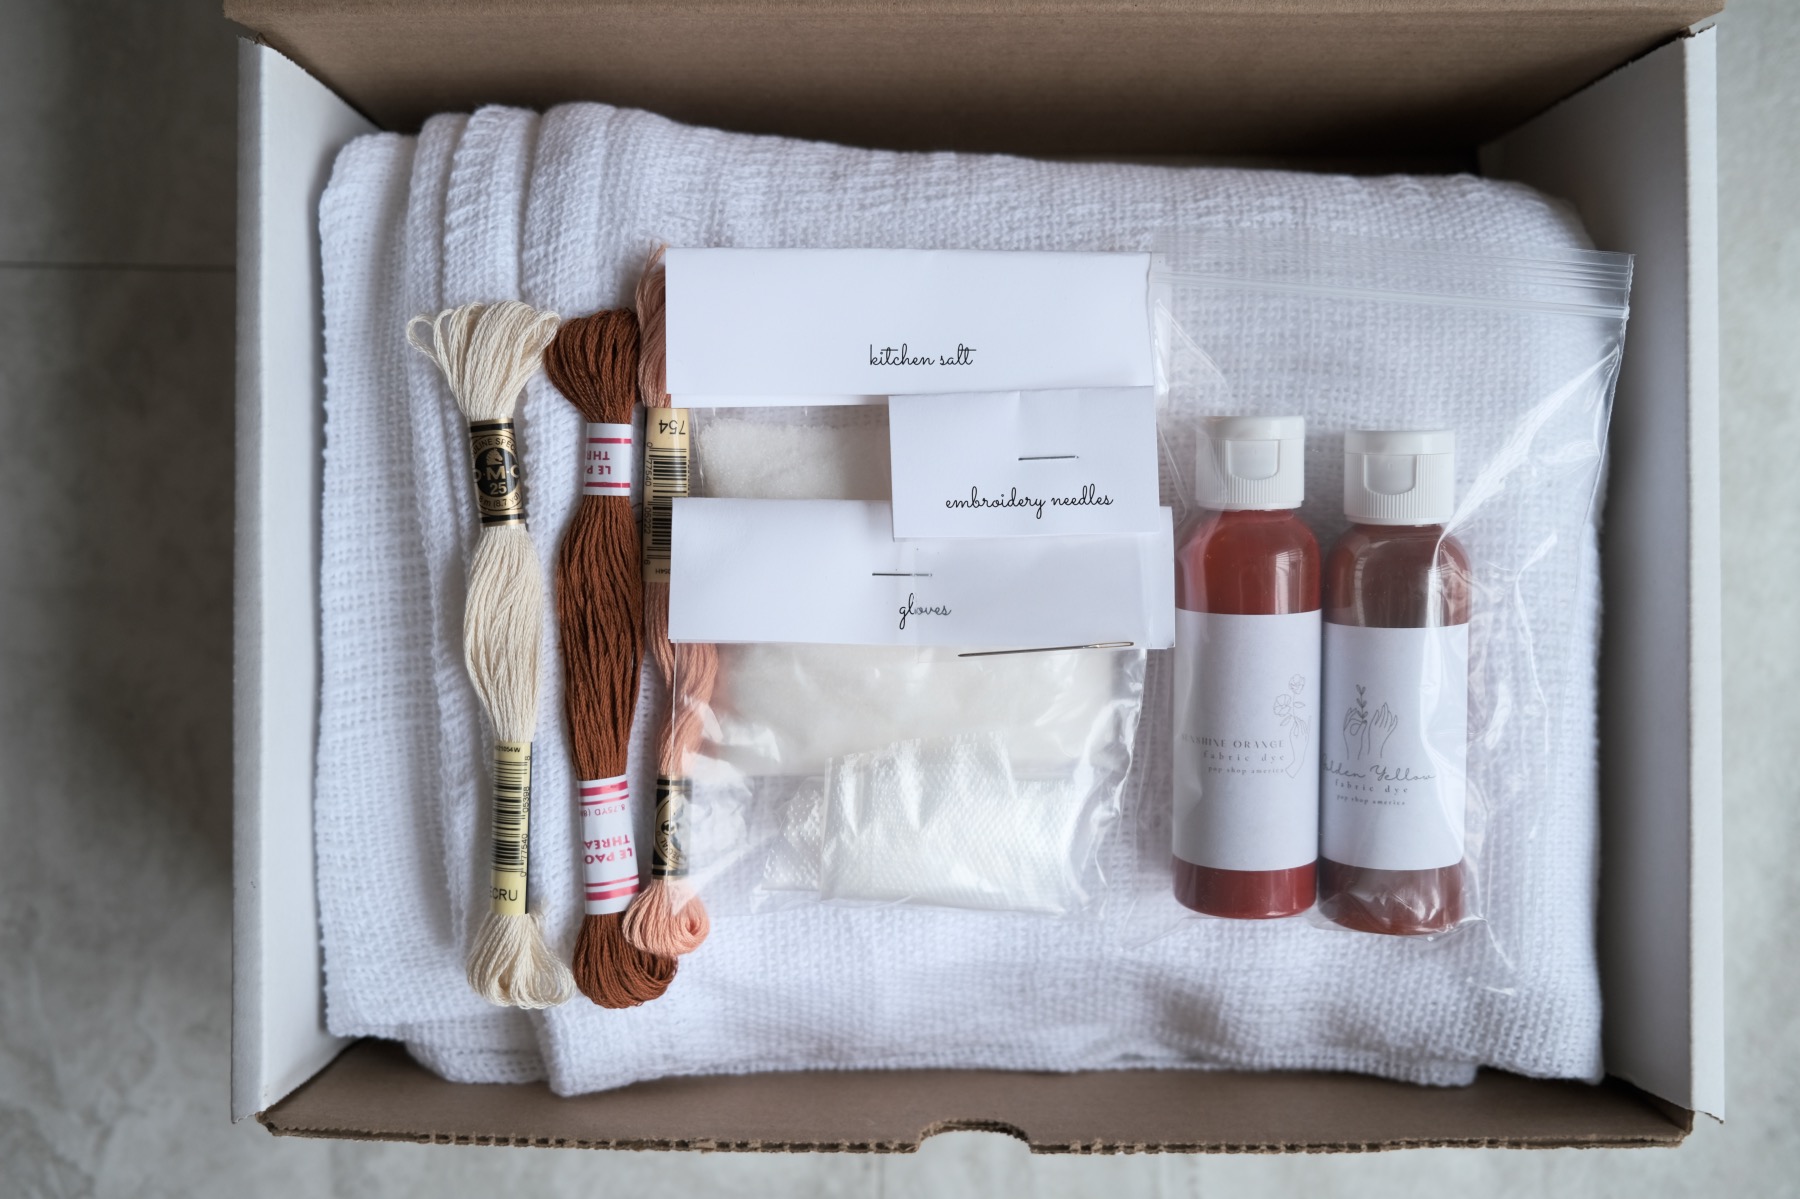
Supplies to make a Dip Dyed Blanket:
November 2020 Craft in Style Subscription Box
-or-
1 White Cotton Blanket
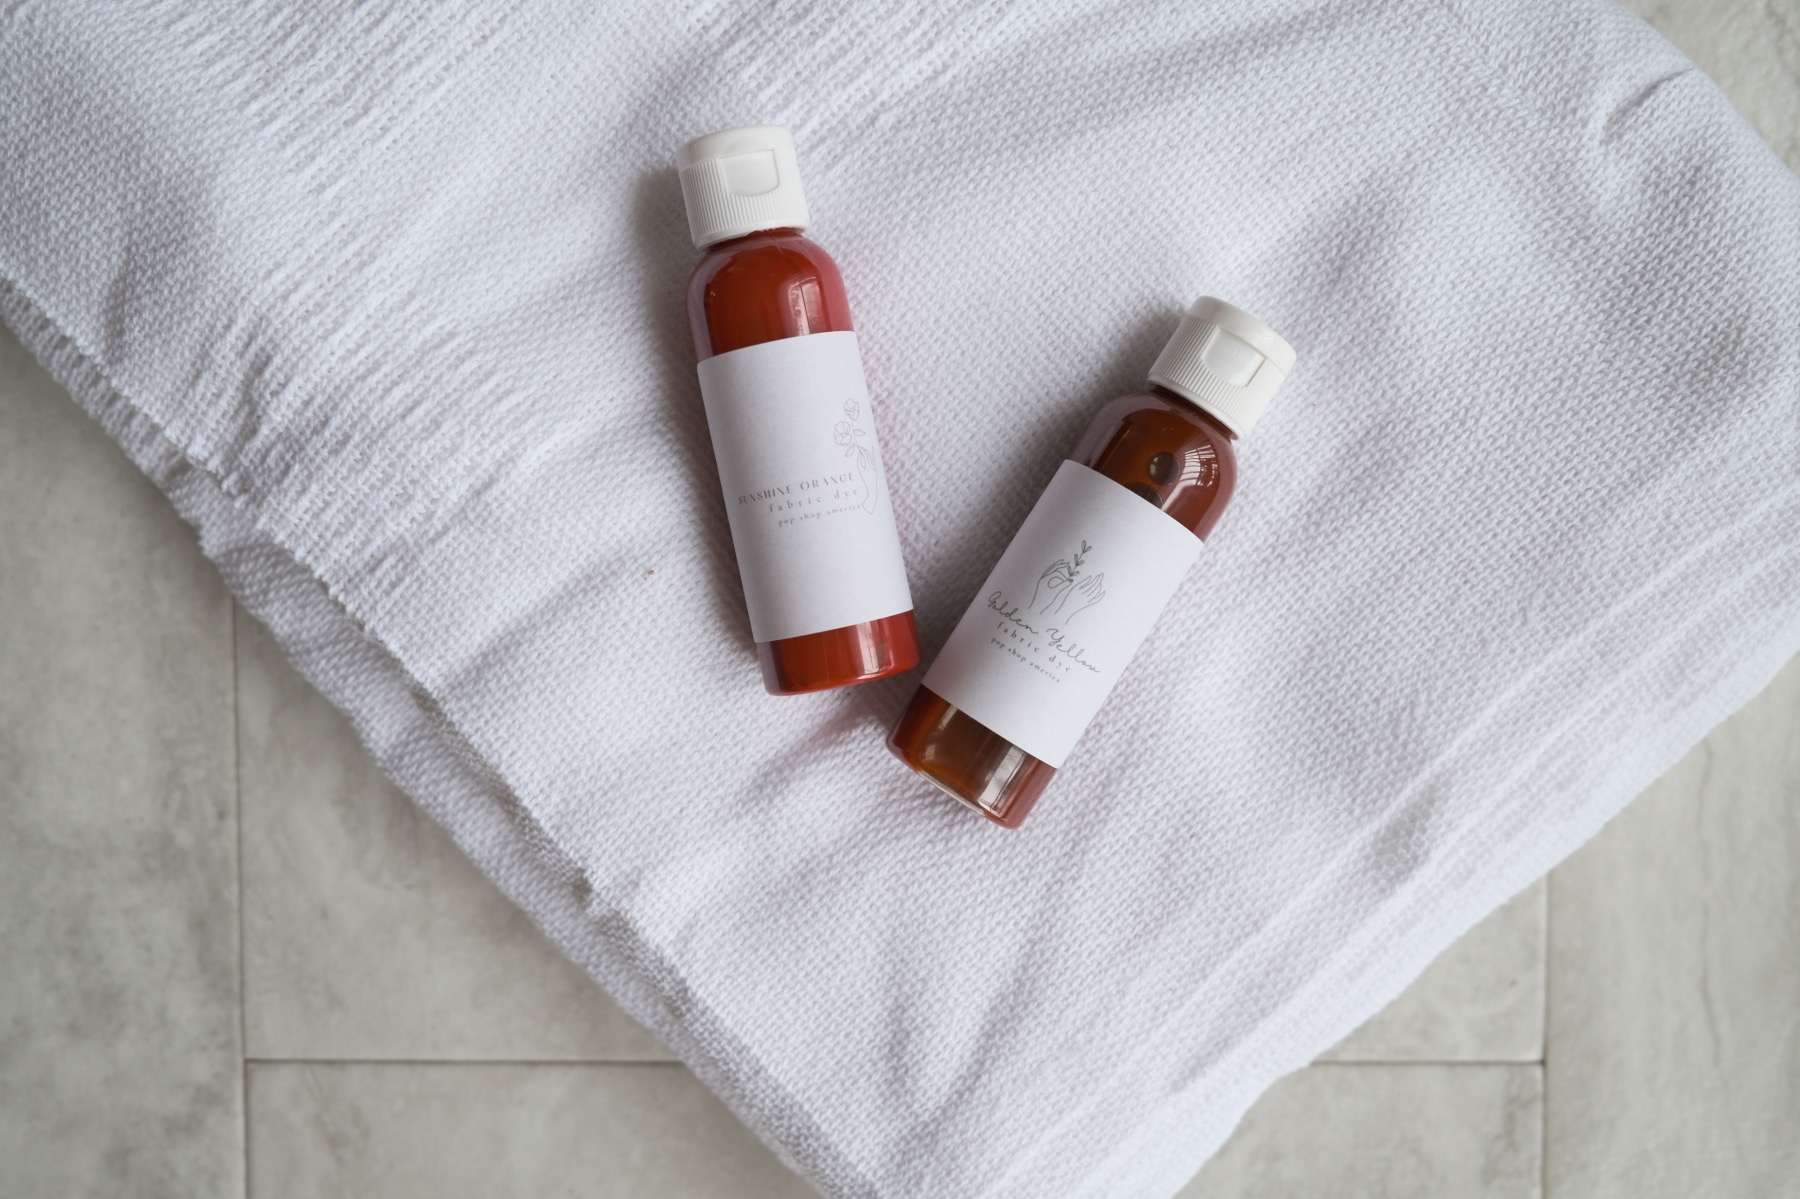
2 Colors of Liquid Rit Dye (2 ounces each, I choose orange and yellow for fall)
1 Pair of Gloves
A Few Drops of Dish Soap
1/4 cup or more of salt
1 Gallon of Very Hot Water for Each Color (2 Gallons Total)
Plus a Gallon Sized Plasticware Container, a Bucket, or Stainless Steel Sink
+Note, I am a crazy person and didn’t use gloves, so be sure to follow what I say not what I’ve done! LOL. Trust me, use the gloves.
You can use any size blanket you like. It could be a baby blanket or something small. But whatever you choose, make sure it’s a high quality all cotton blanket. Your colors will come out more vibrant and beautiful. And a cheap blanket will still look like a cheap blanket even after it’s dyed.
It’s recommended that you wash and dry your blanket before you begin. But I didn’t, and it did not affect the outcome at all!

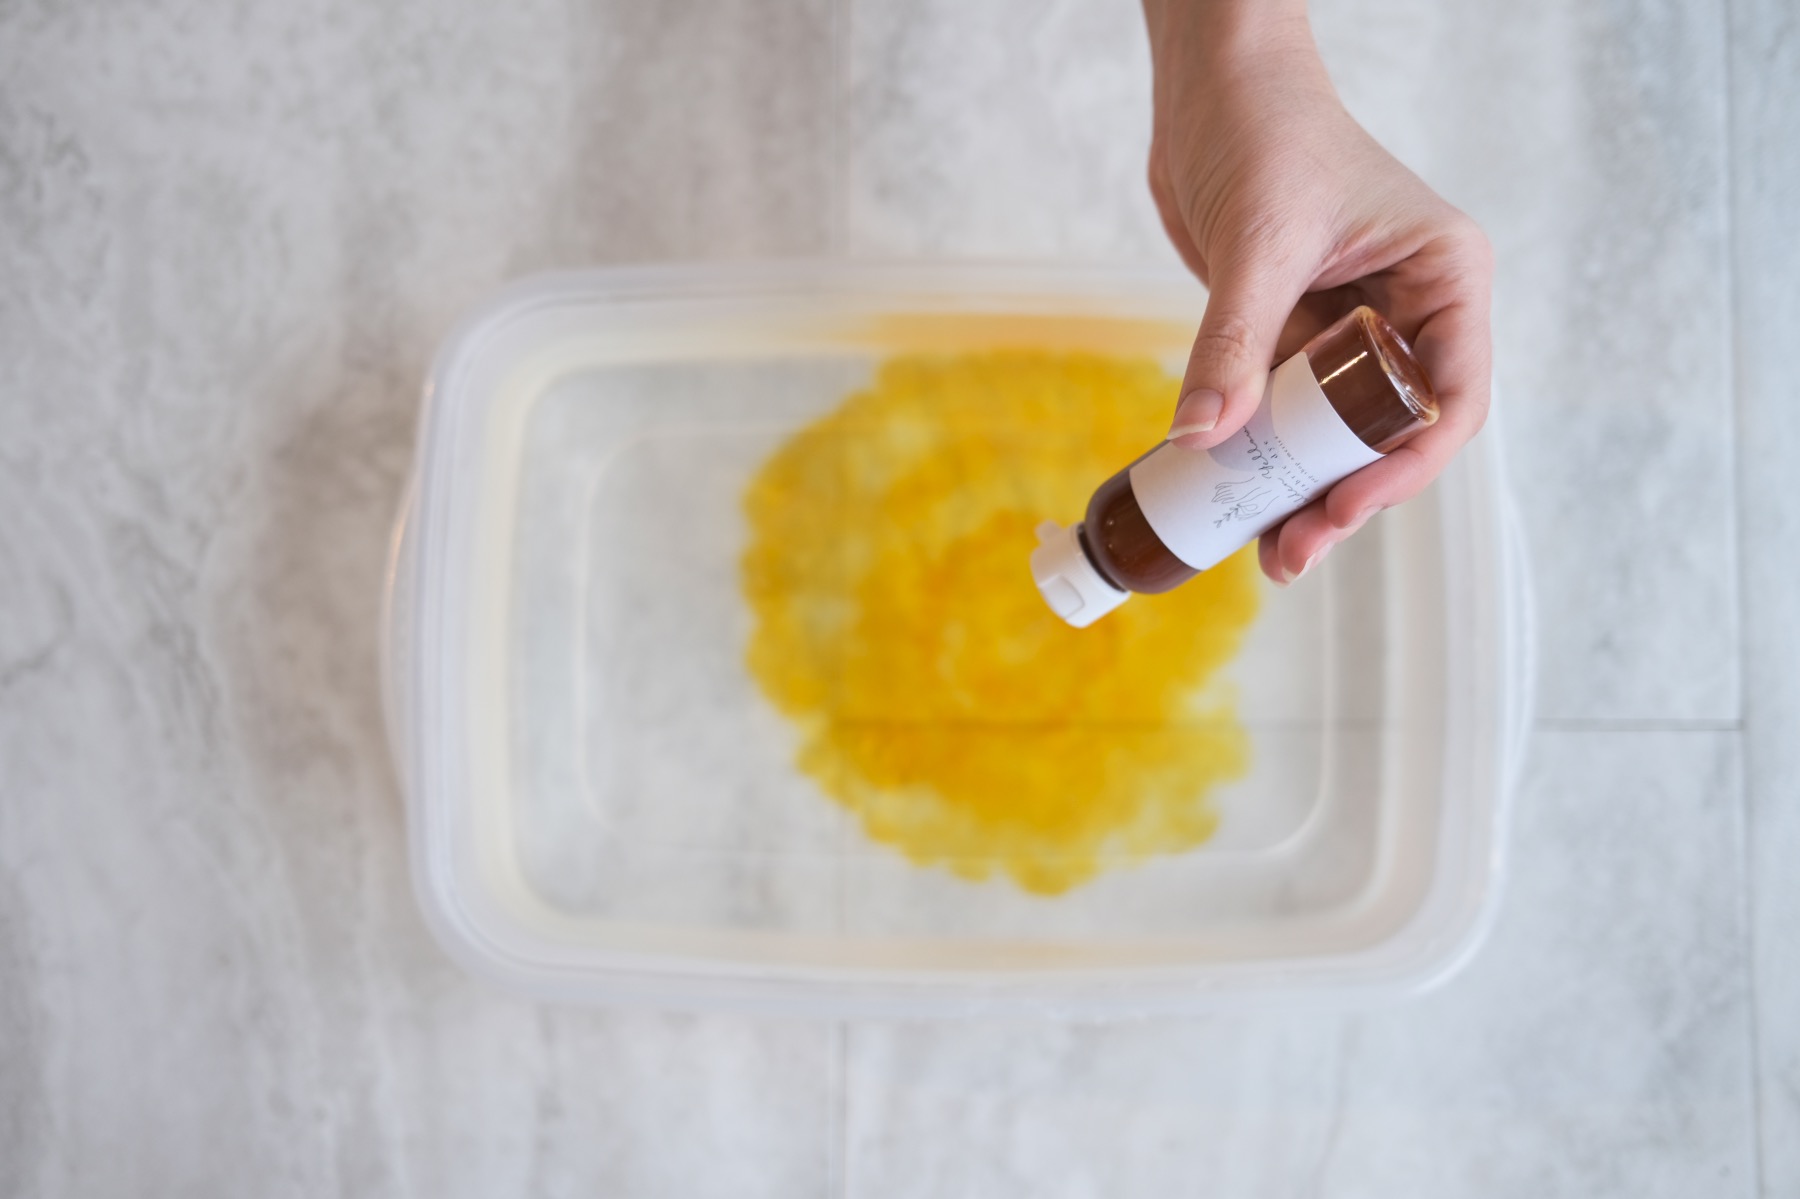
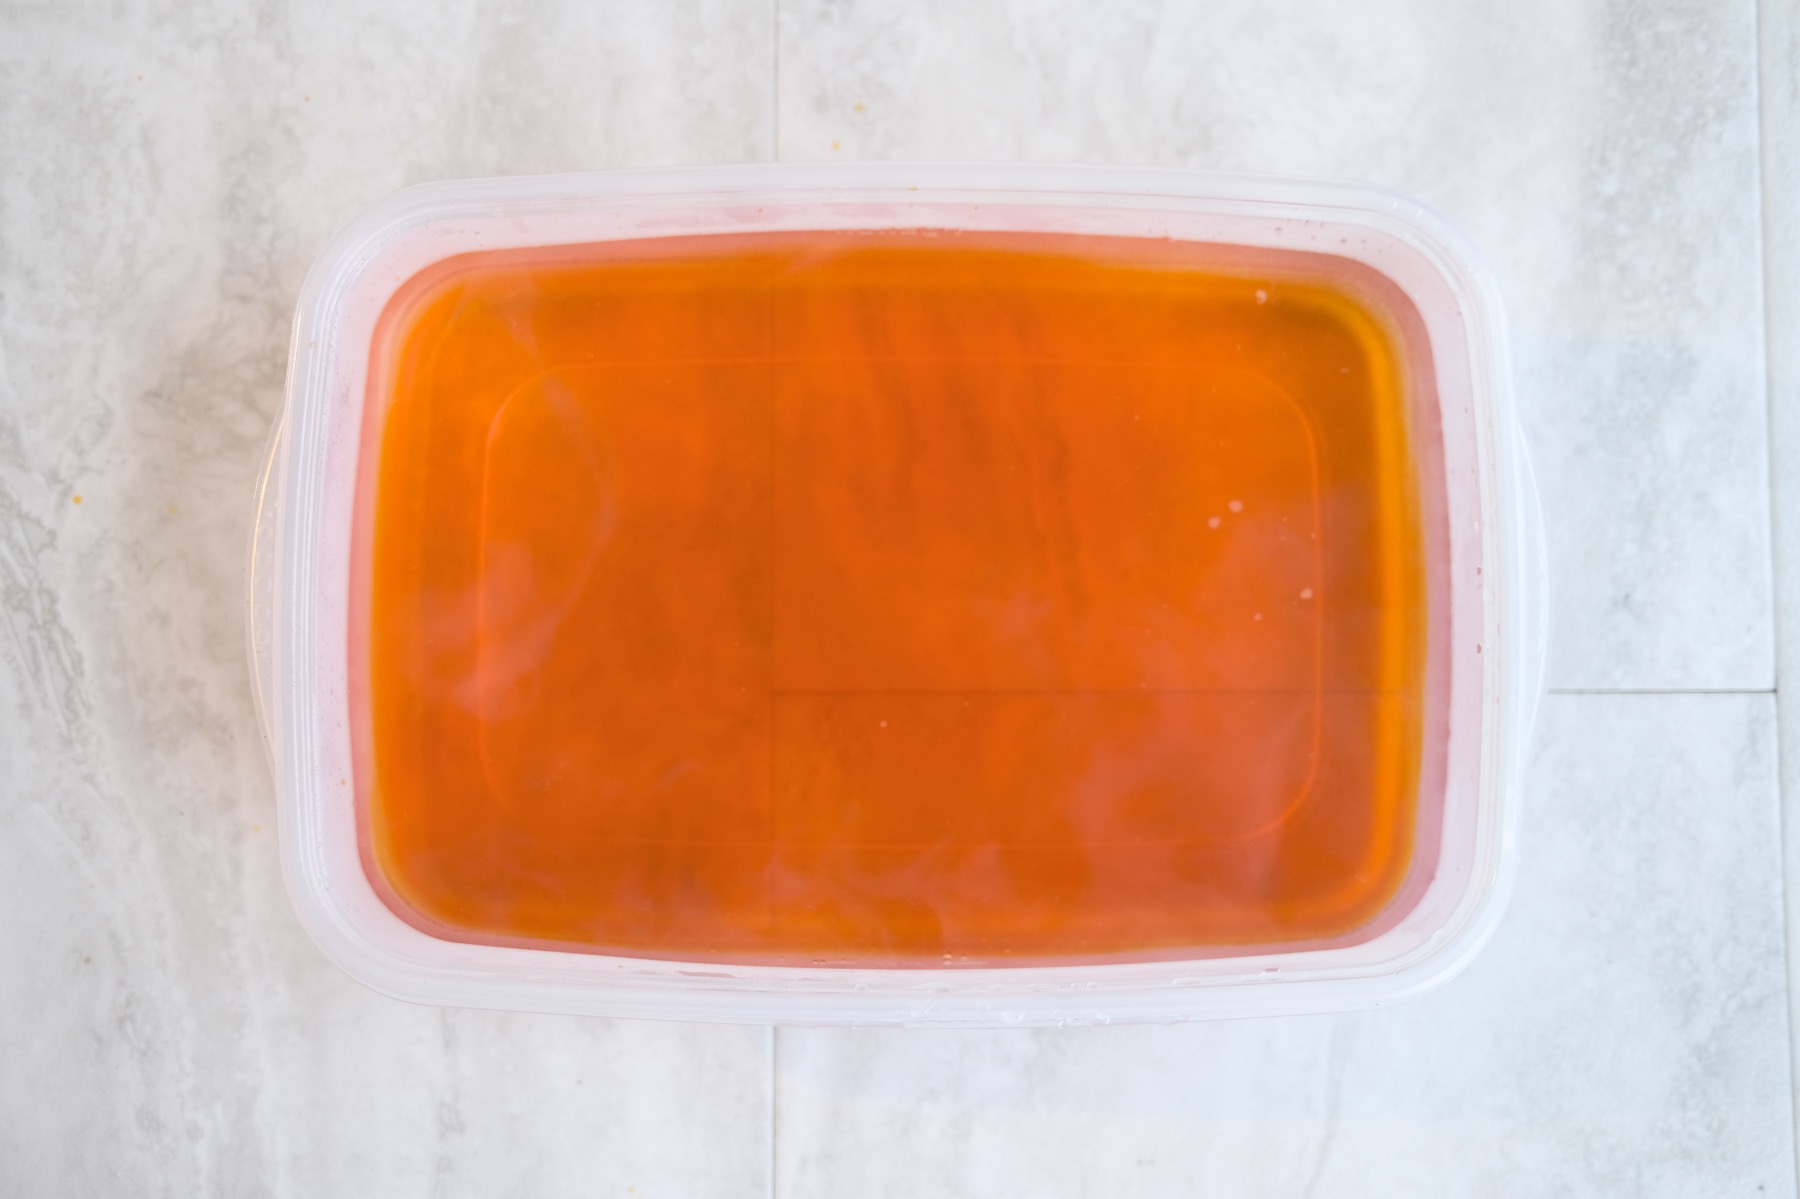
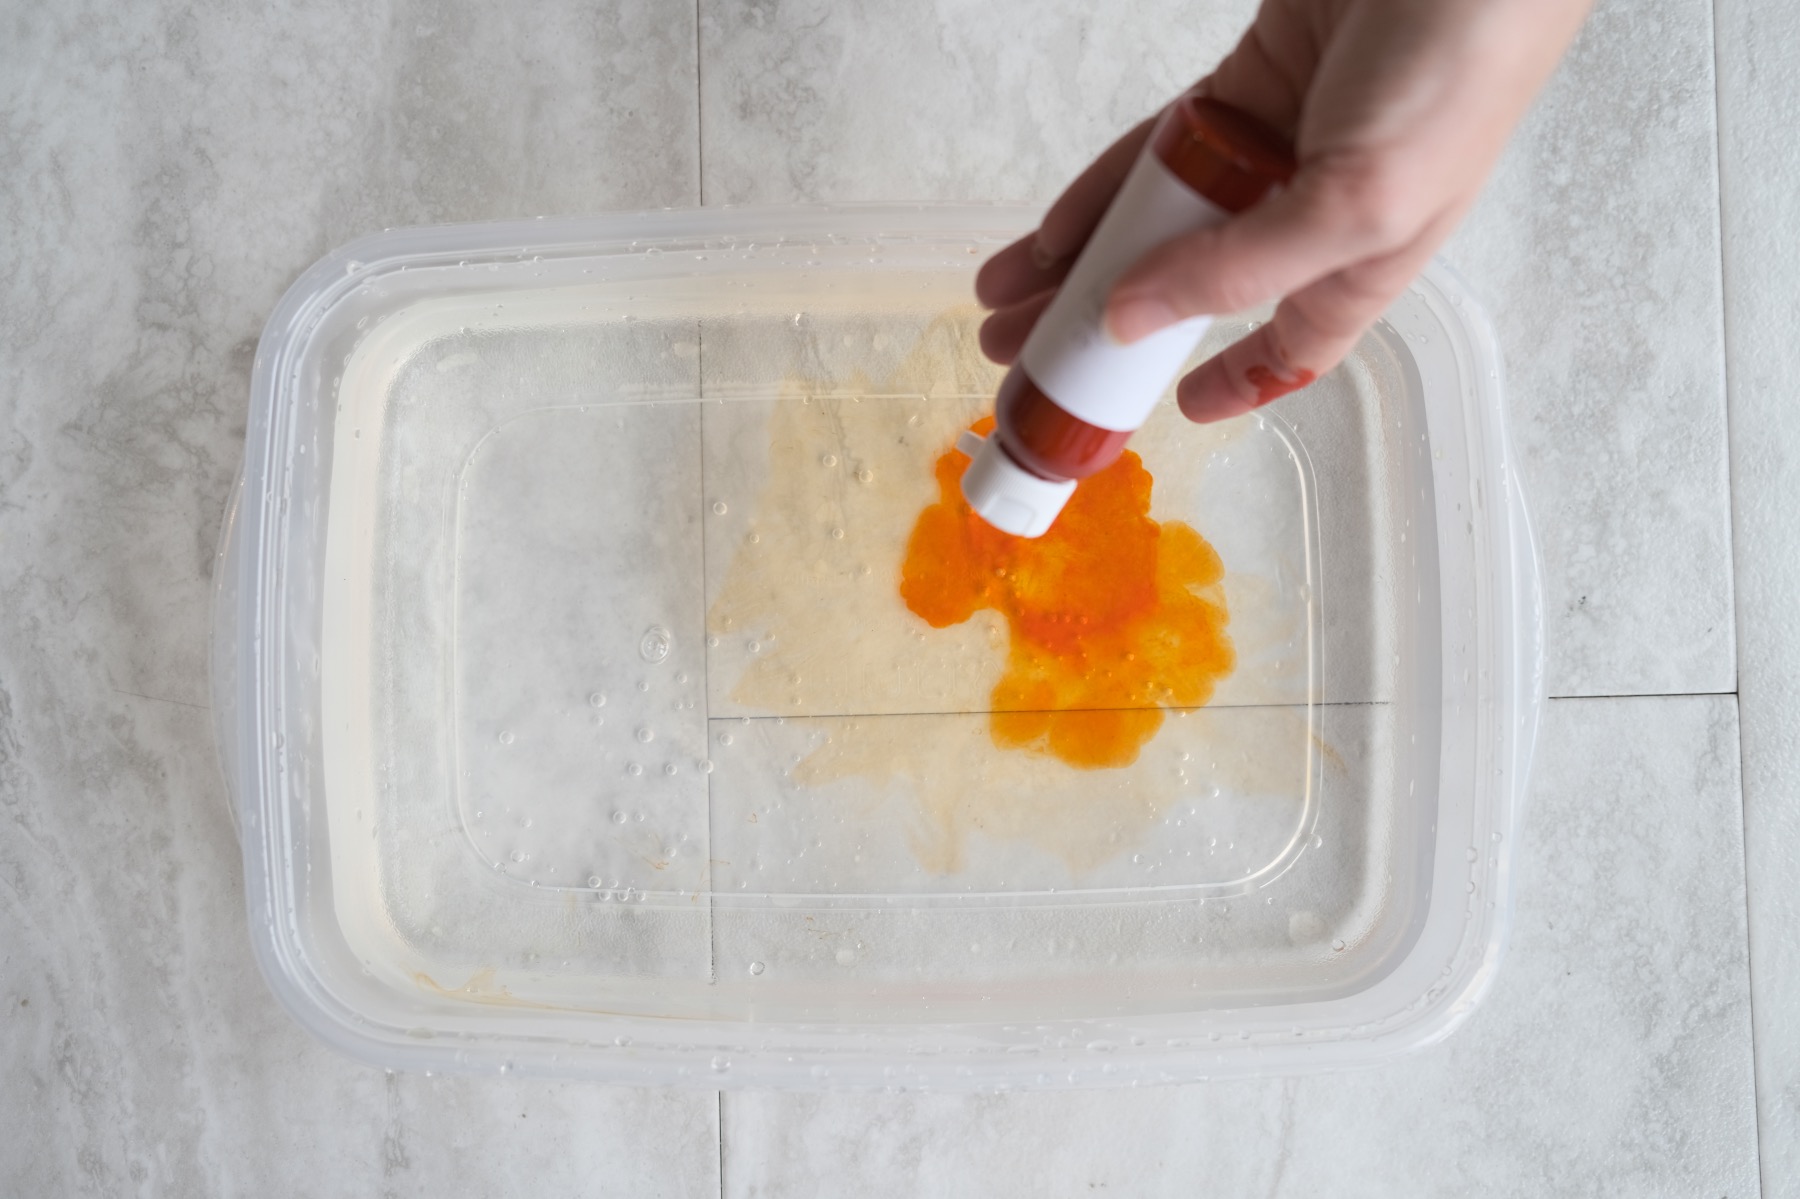
To get started, pick 1 color of Rit Dye, 2 ounces of dye and add it to 1 gallon of steaming hot water. I heated up some water in a kettle and brought it to a simmer. The rest of the water I used came straight from the sink. As long as it’s hot, it’s perfect. You certainly don’t need to overthink this step.
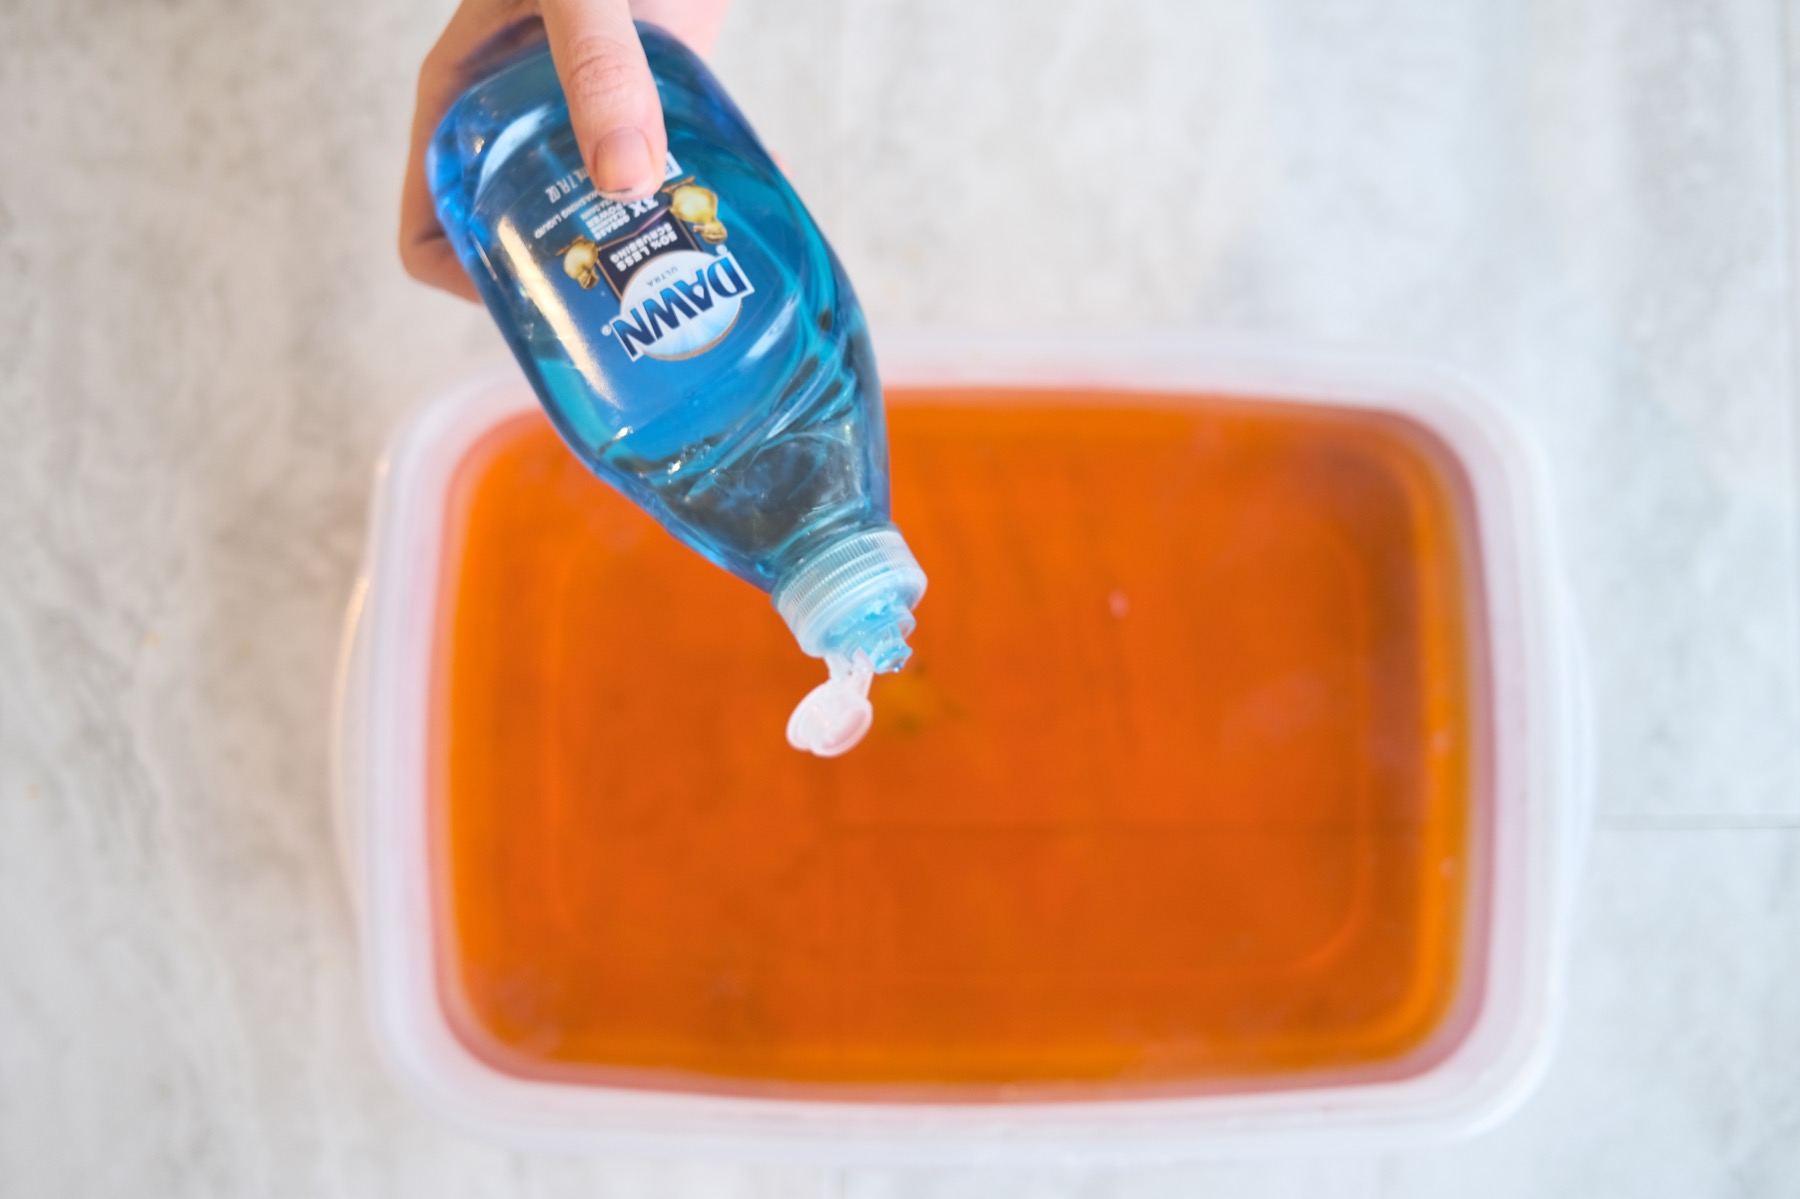
Once your dye bath is blended, add just a few drops of liquid dish soap and a small amount of salt.
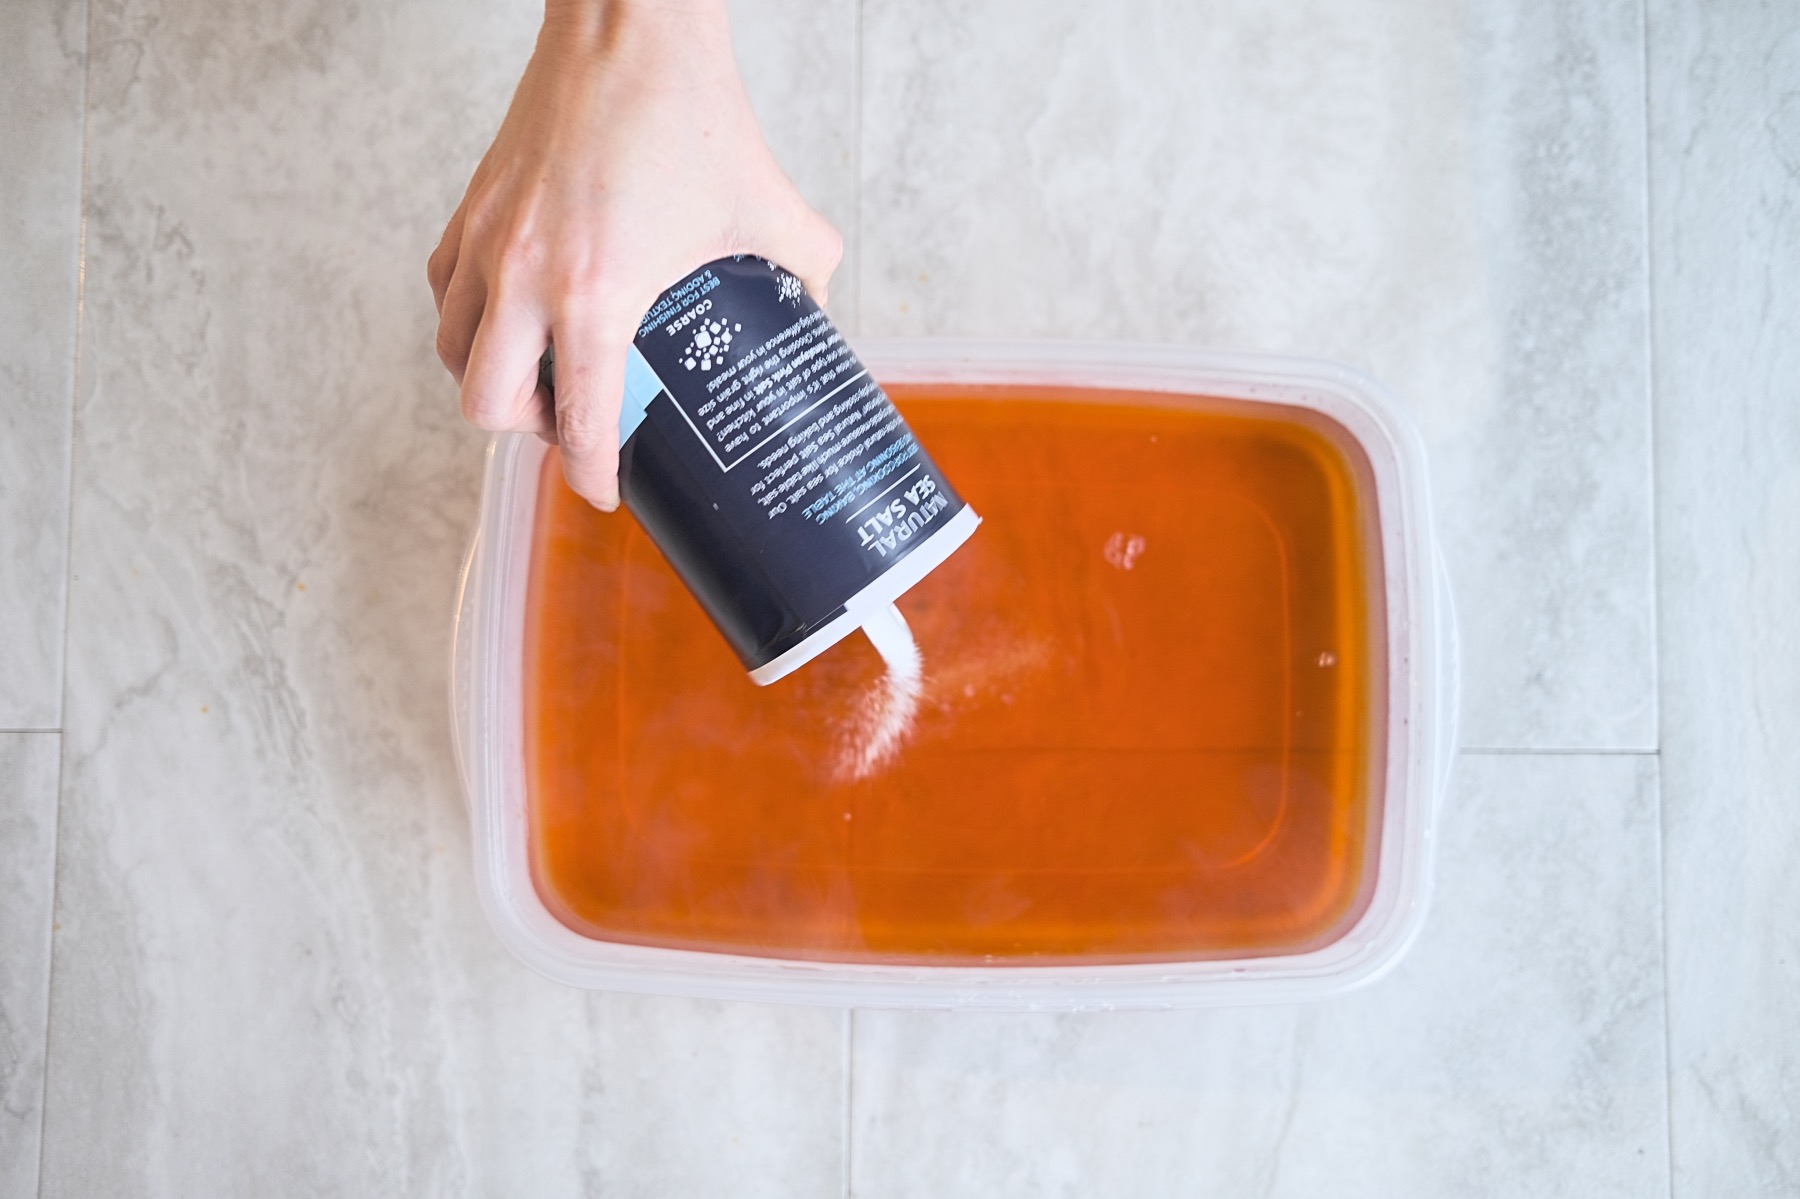
Adding Salt to a Dye Bath
This part of the process is often described in a confusing way on Rit bottle instructions and other tutorials on fabric dyeing. So here is everything you need to know.
1. You do not need to add salt to a dye bath. Your dye will still work without it.
2. If you follow the Rit Bottle instructions, it will call for closer to 1/2 cup of kitchen salt. But in reality you don’t need that much.
3. Standard kitchen salt is perfect. Sea salt, kosher salt or other fancy salts are not necessary.
4. When you add the salt to the dye bath, watch and wait to see a chemical reaction. The dye will begin to gently move and almost bubble. That’s when you know it’s working.
5. The salt will help the dye adhere to the fabric. Thus it can help the colors to be more vibrant and it can help them to be more permanent.
The last thing you need to prep before you begin to dip dye the blanket is how to pattern your blanket. It’s a lot like indigo dye where you can use clothespins, rubber bands, wood boards, string and more to block out areas of color.
I chose something even more simple. I folded the blanket into a small rectangle. This is the basic shape to create stripes. Crumpling the blanket will give it more abstract patterns. And if you want to consider a totally different pattern, these are some great ones to help you get started.
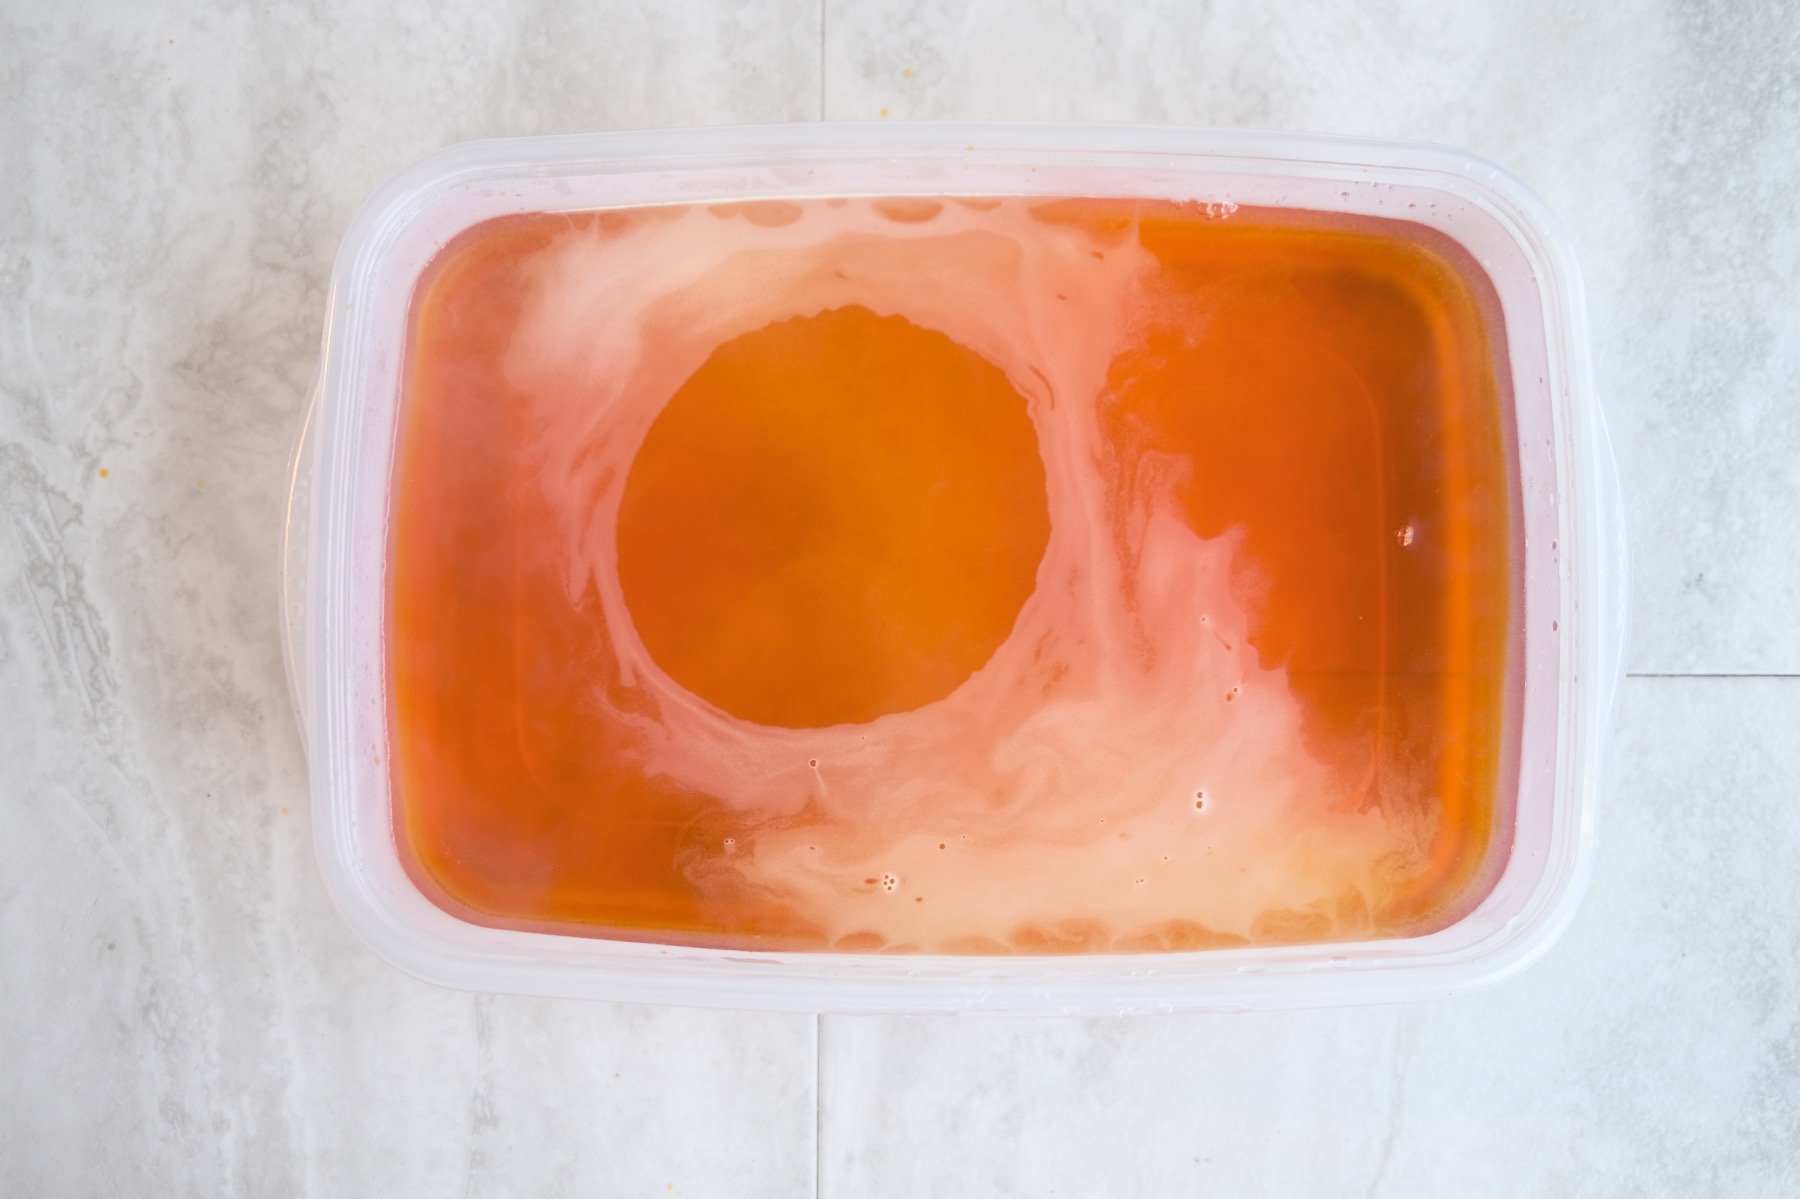

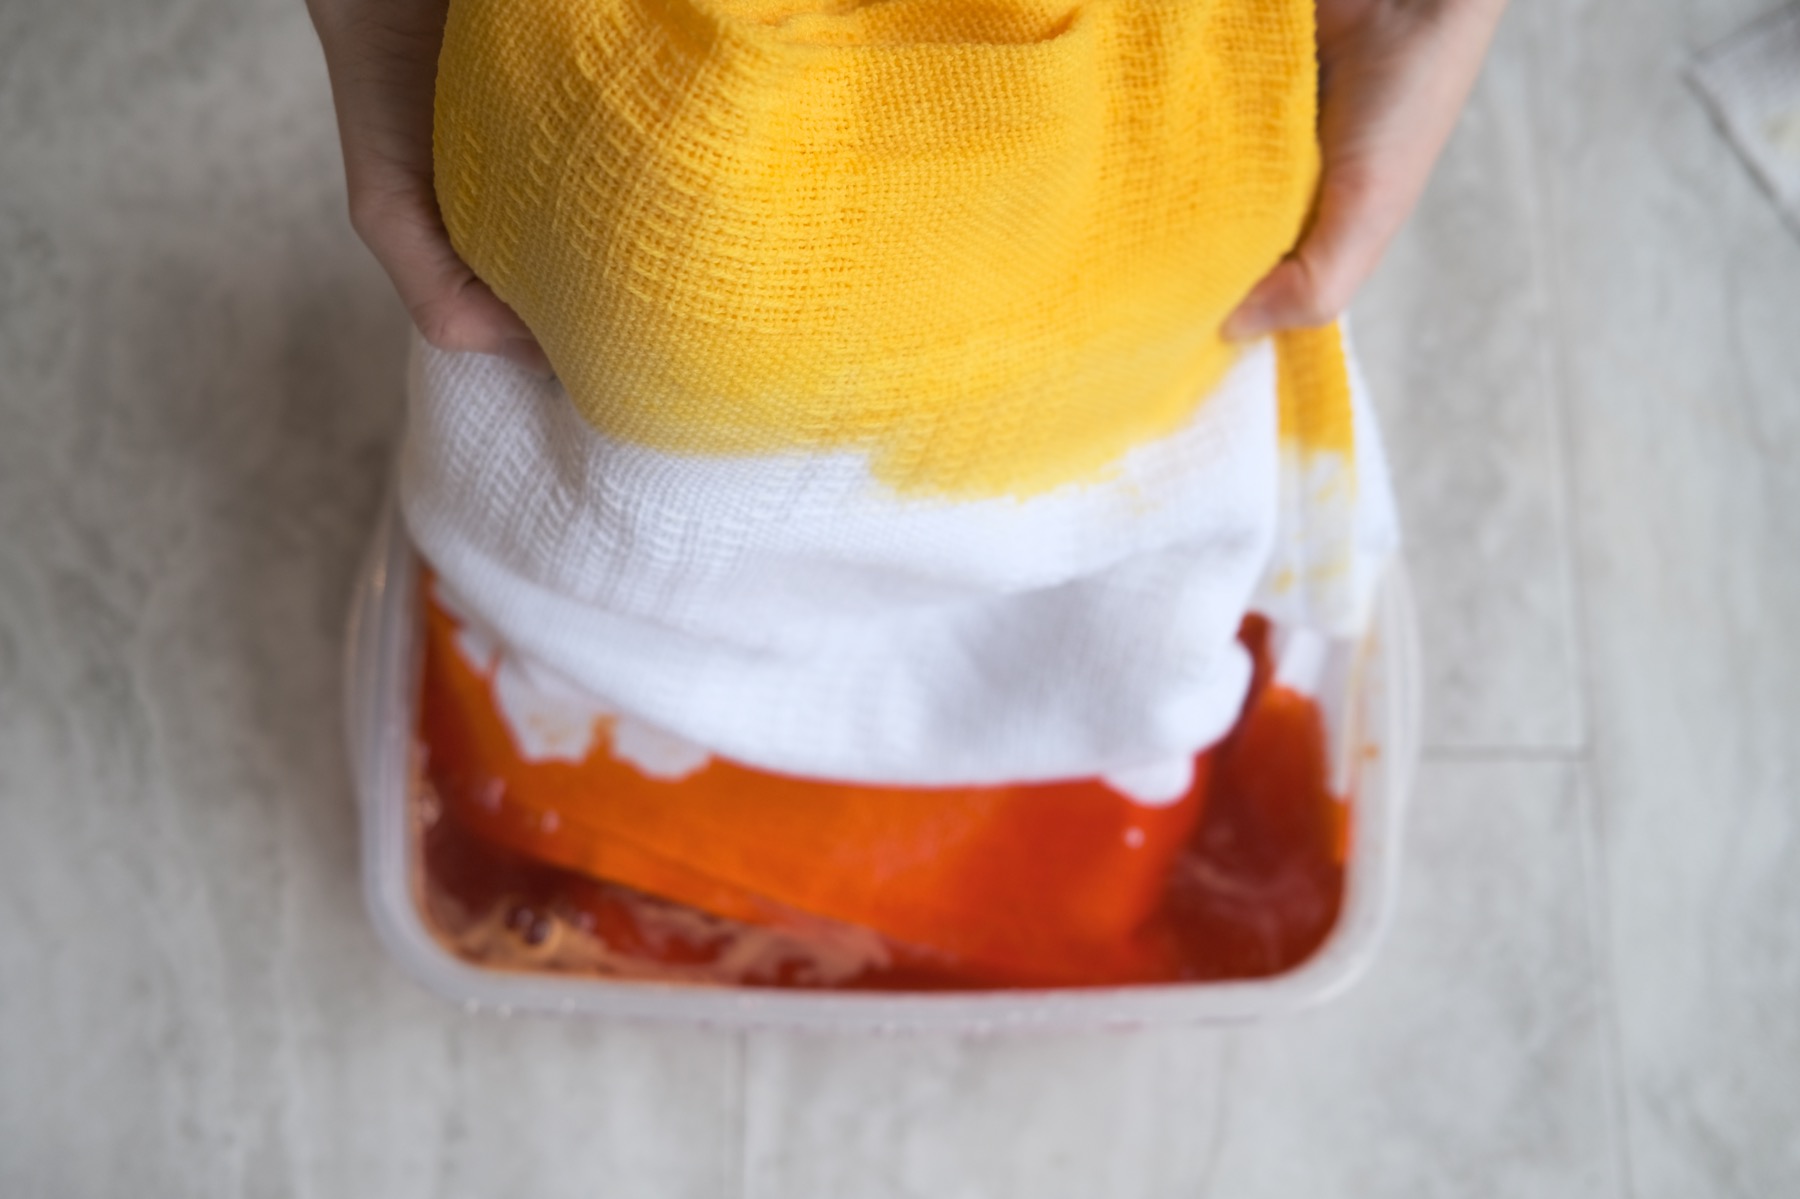
Once you add the salt, the dye bath will look like it does below. Now get your gloves on get ready and make sure your dye bath is in a place where you are okay to drip. A kitchen sink, bath tub or even outdoors are all perfect places to dip dye your blanket.
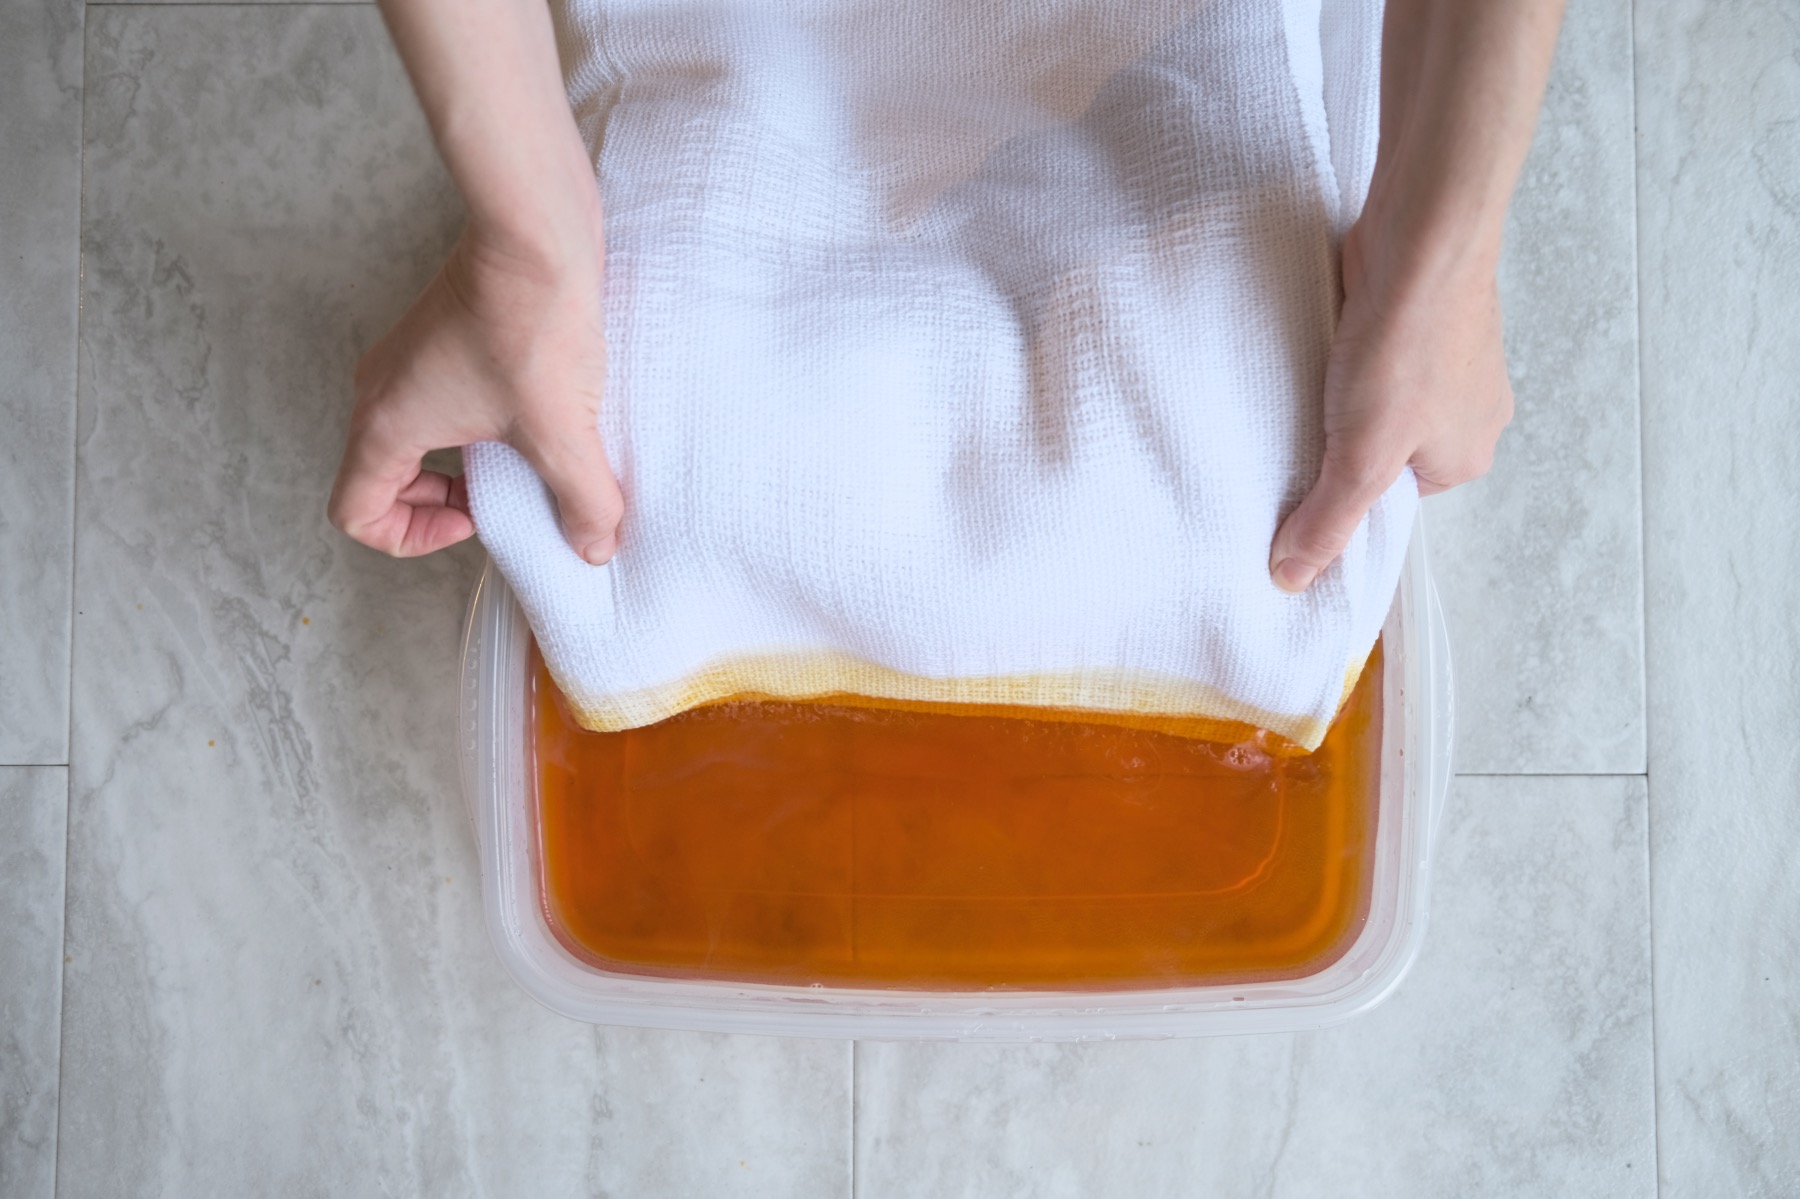
Now dip just one portion of your blanket in the dye bath for around 1-2 minutes. Then pull it out of the dye bath. If you want areas to be darker and lighter but still in the same color you can continue to dip. Try dipping smaller and smaller areas to create an ombre.
Once you have finished dipping your 1st color, place your blanket in a spot where it can safely drip and get your 2nd dye bath ready.
Repeat the process of creating the dye bath with your 2nd color. 1st get 1 gallon of steaming hot water ready in a stainless steel sink, bucket, or plasticware container. Then pour in 2 ounces of Rit dye. Then add a few drops of liquid dish soap and a small amount of kitchen salt.
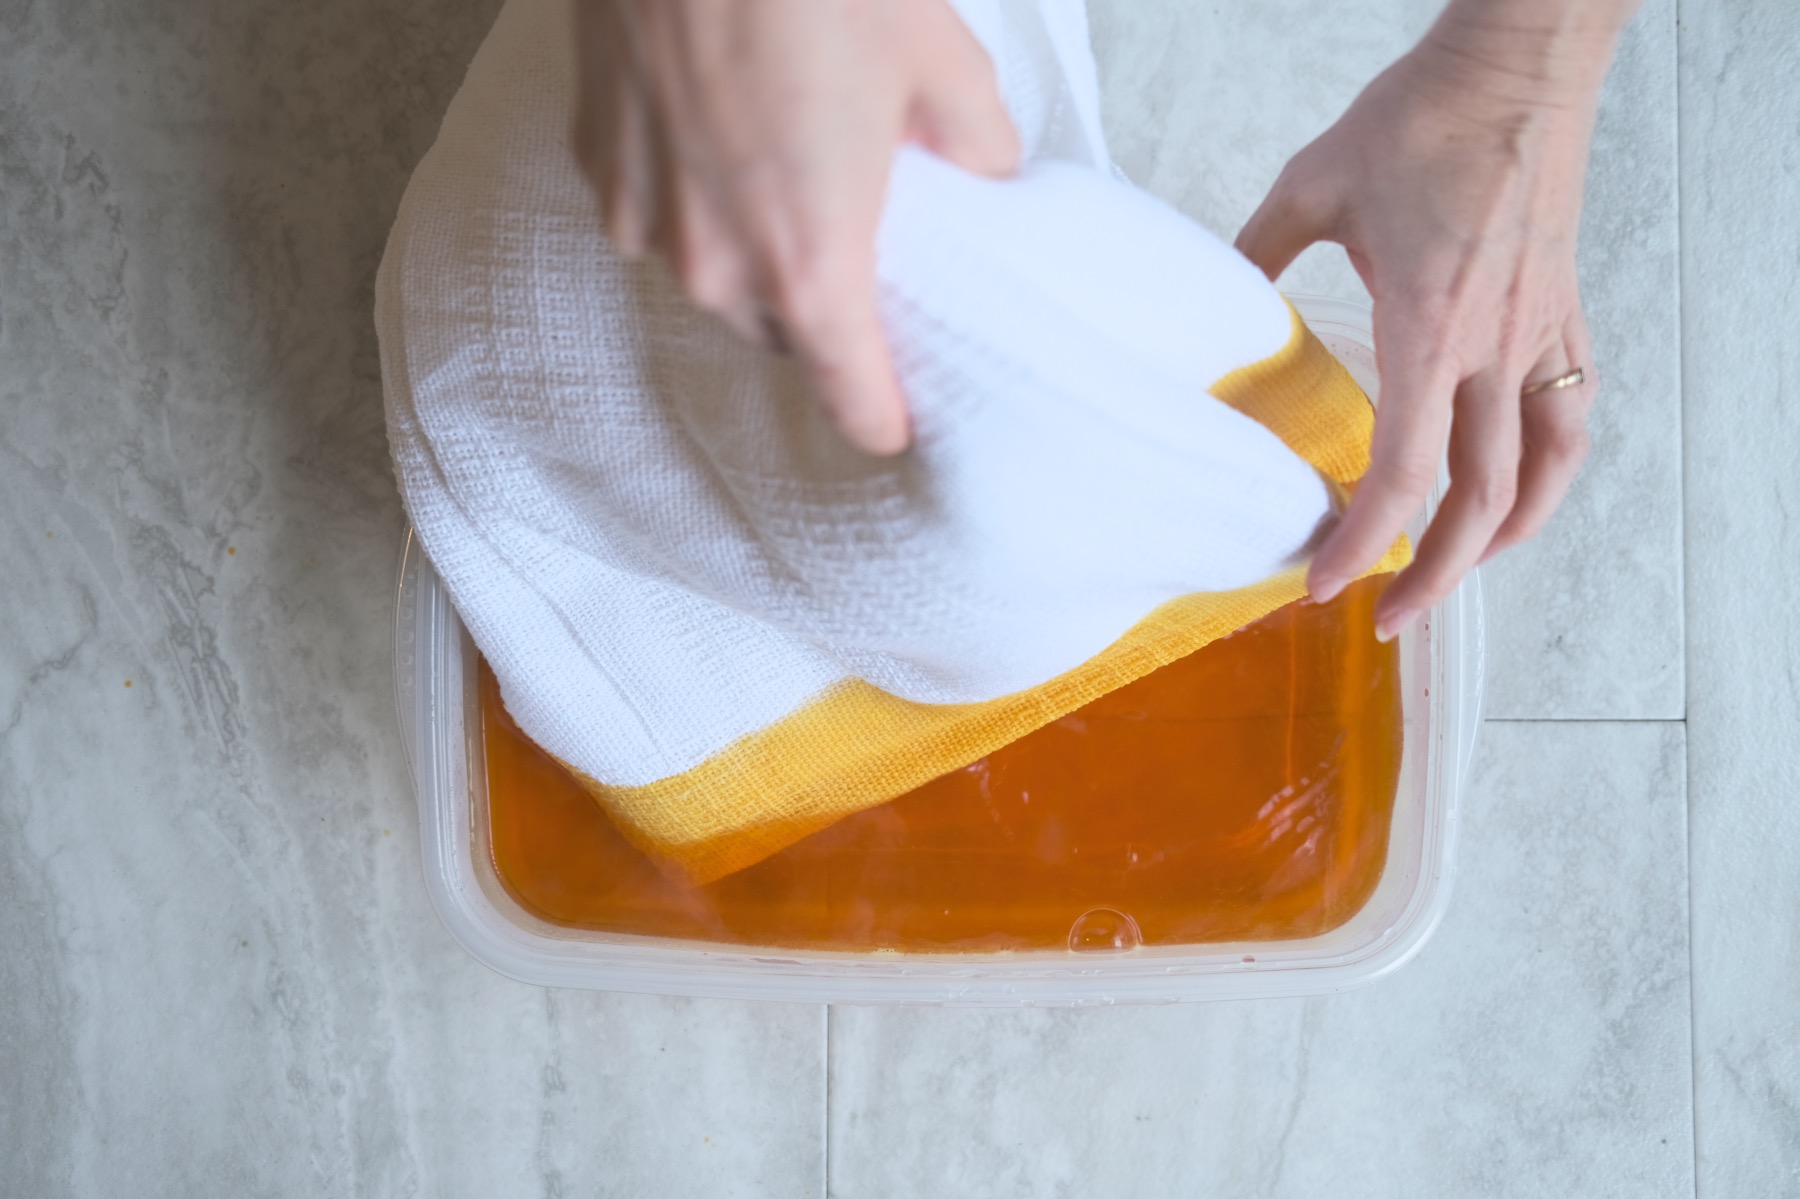
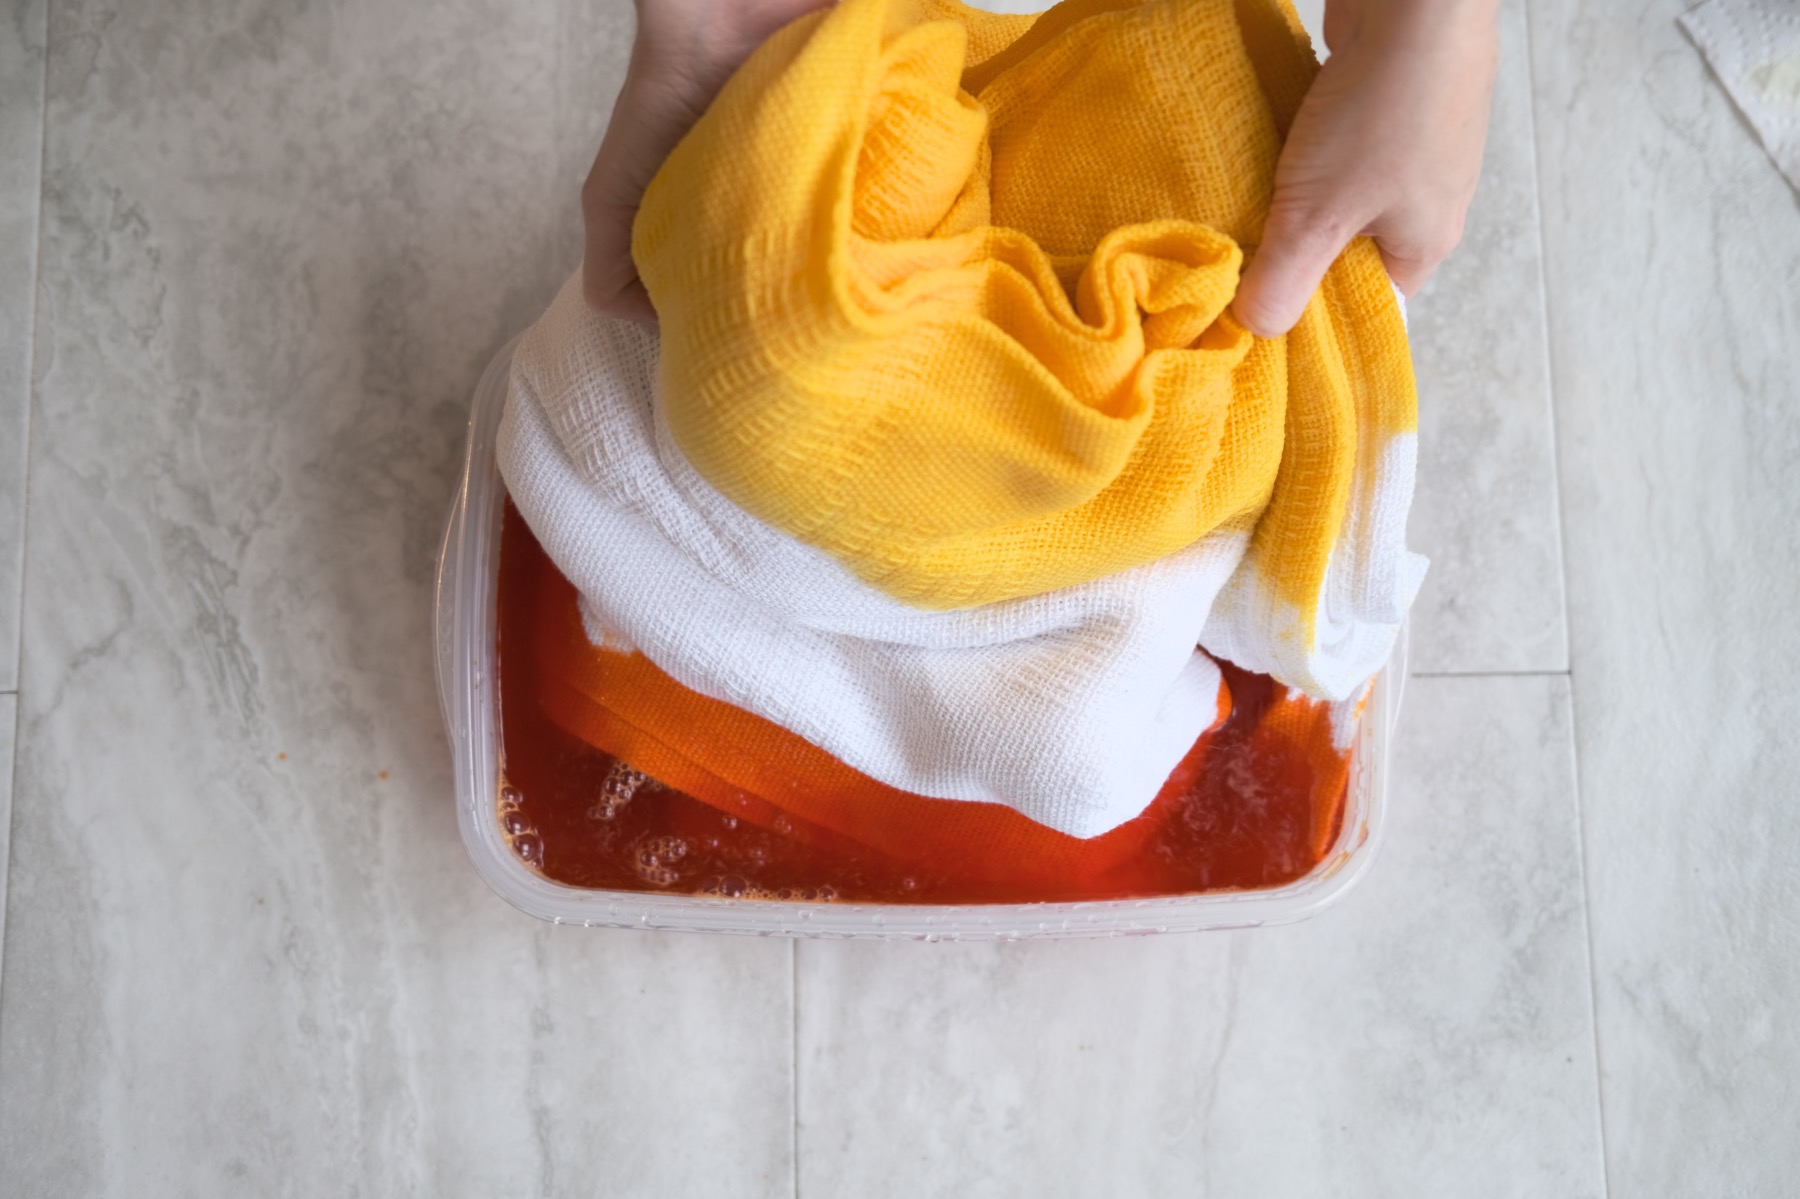
Now dip!
Be sure to dip a completely different area of the blanket. Of course you can overlap colors but don’t completely overlap them. Use the same process of dipping the blanket in the dye for around 1-2 minutes and then more as necessary.
You can also leave plenty of white portions untouched with dye in your blanket. +More on this later.
Once you have both colors dipped, immediately place your blanket in a sink or a place where you can rinse the dye thoroughly and completely.
During your rinsing, the water can just be look warm, cool, or even cold if you hands can handle it! But it doesn’t need to be hot.
Of all the steps in the process, this step takes the longest because you need to keep rinsing until the water runs clear.
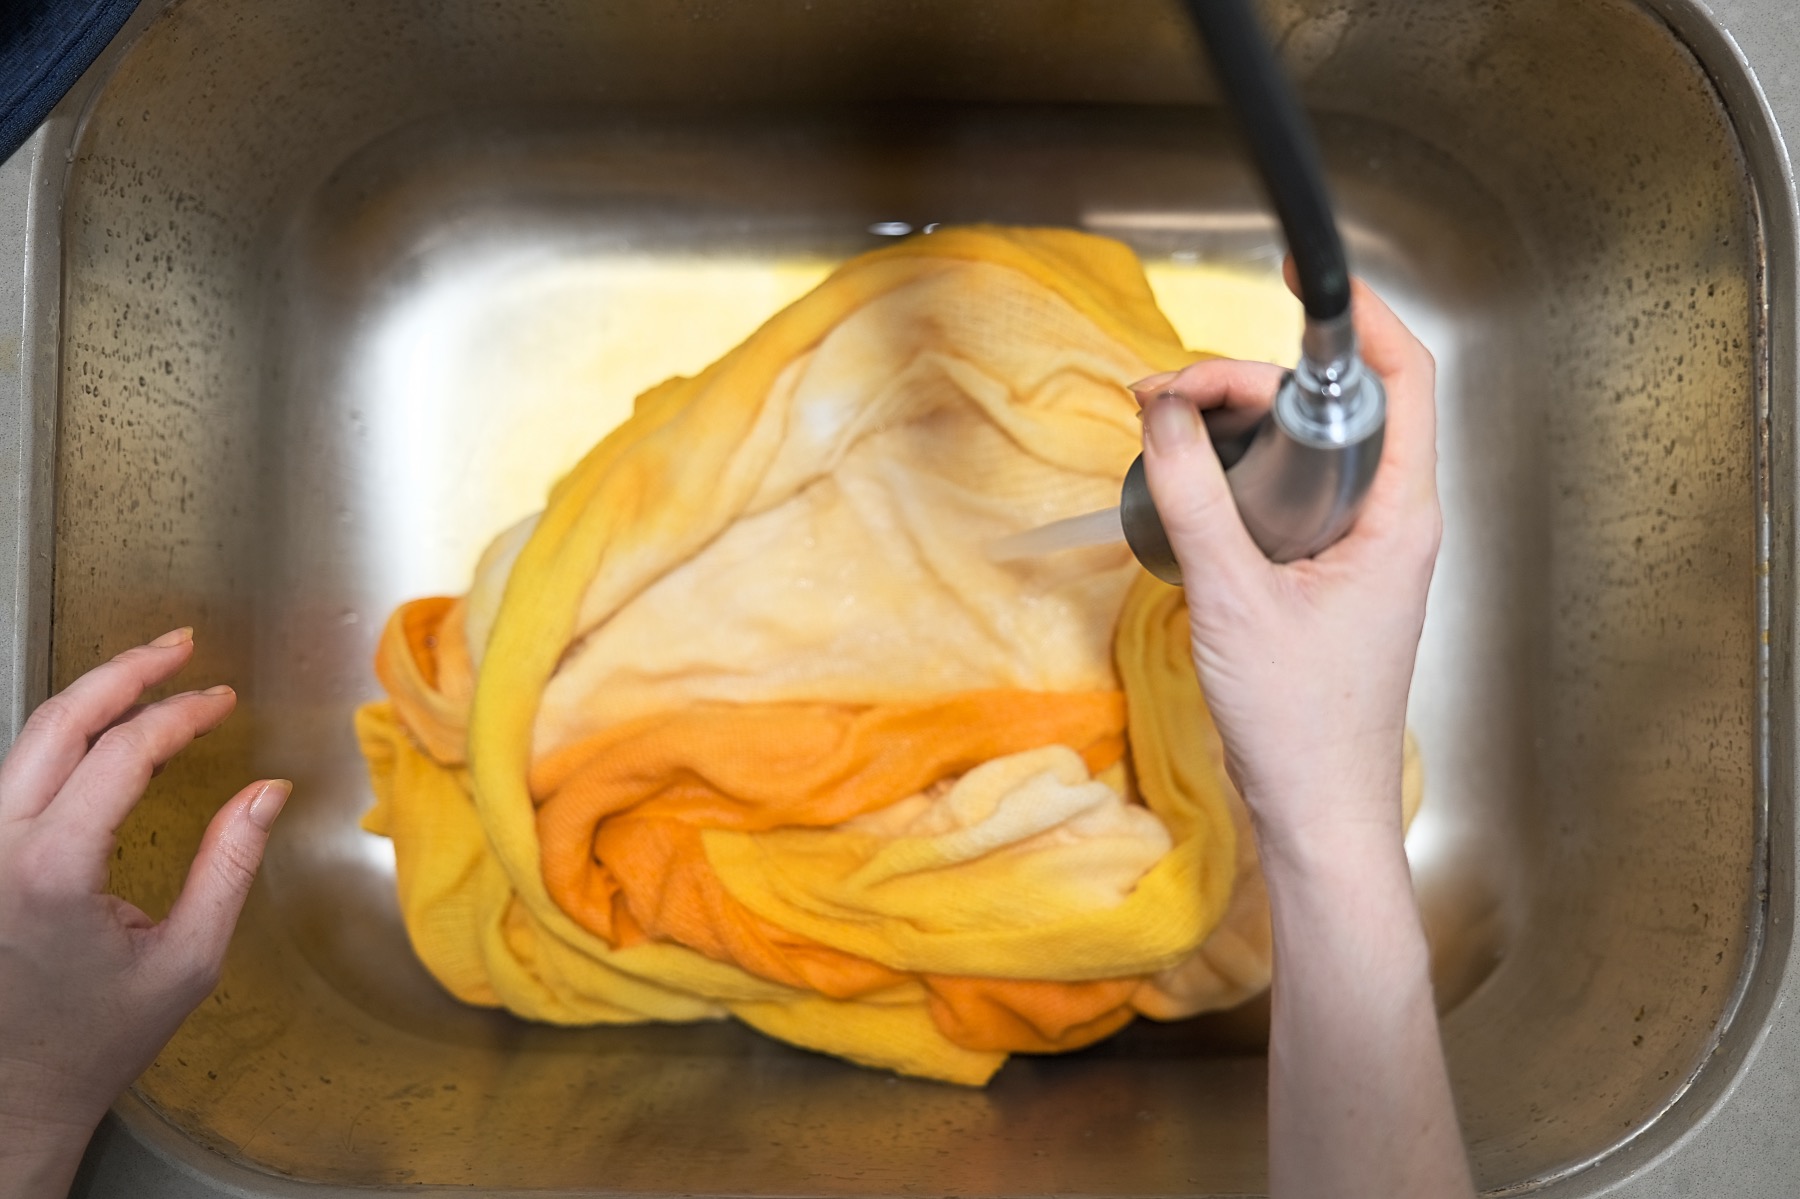
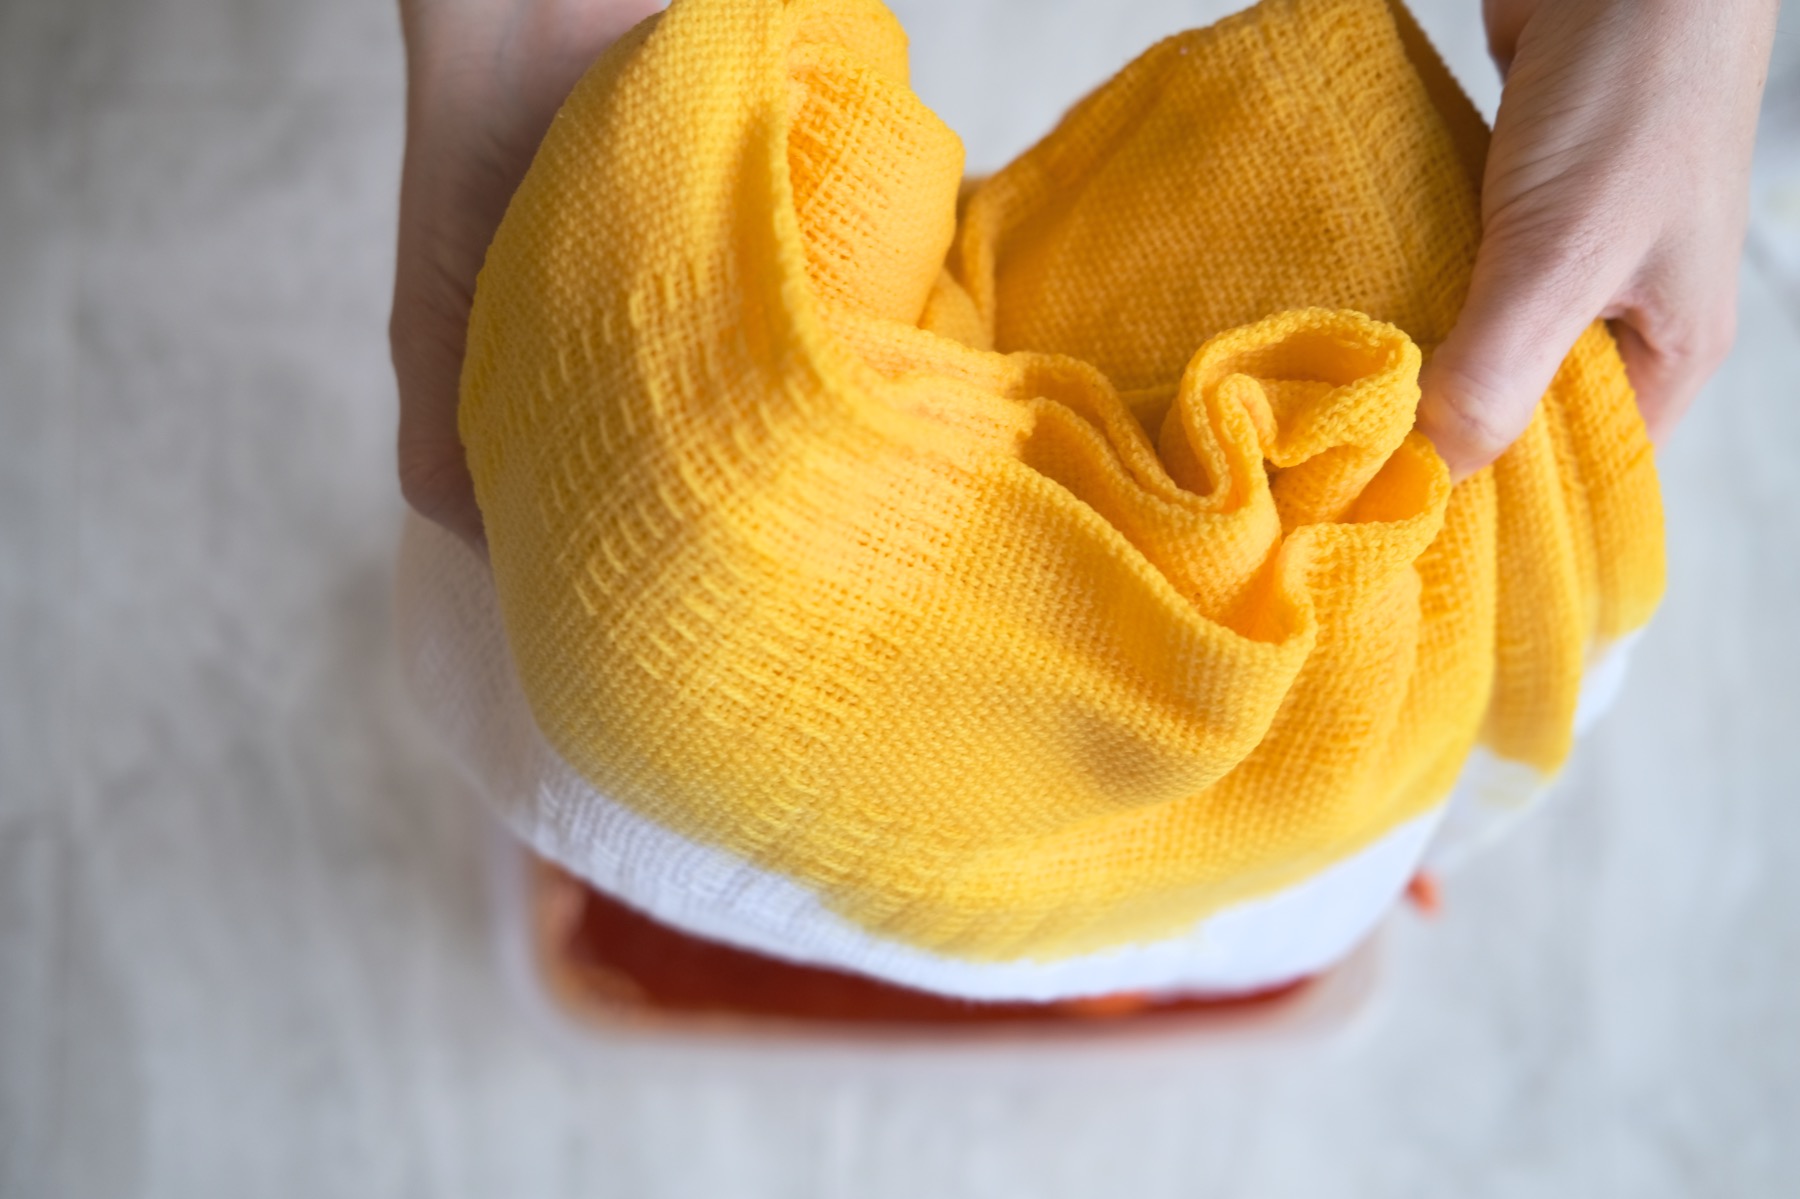
To get your water to run clear, I recommend squeezing the blanket repeatedly while pouring running water over it. Squeezing it will help remove the excess dye and will help speed up the process.
Once your water runs clear, place the blanket on a normal wash cycle on cold.
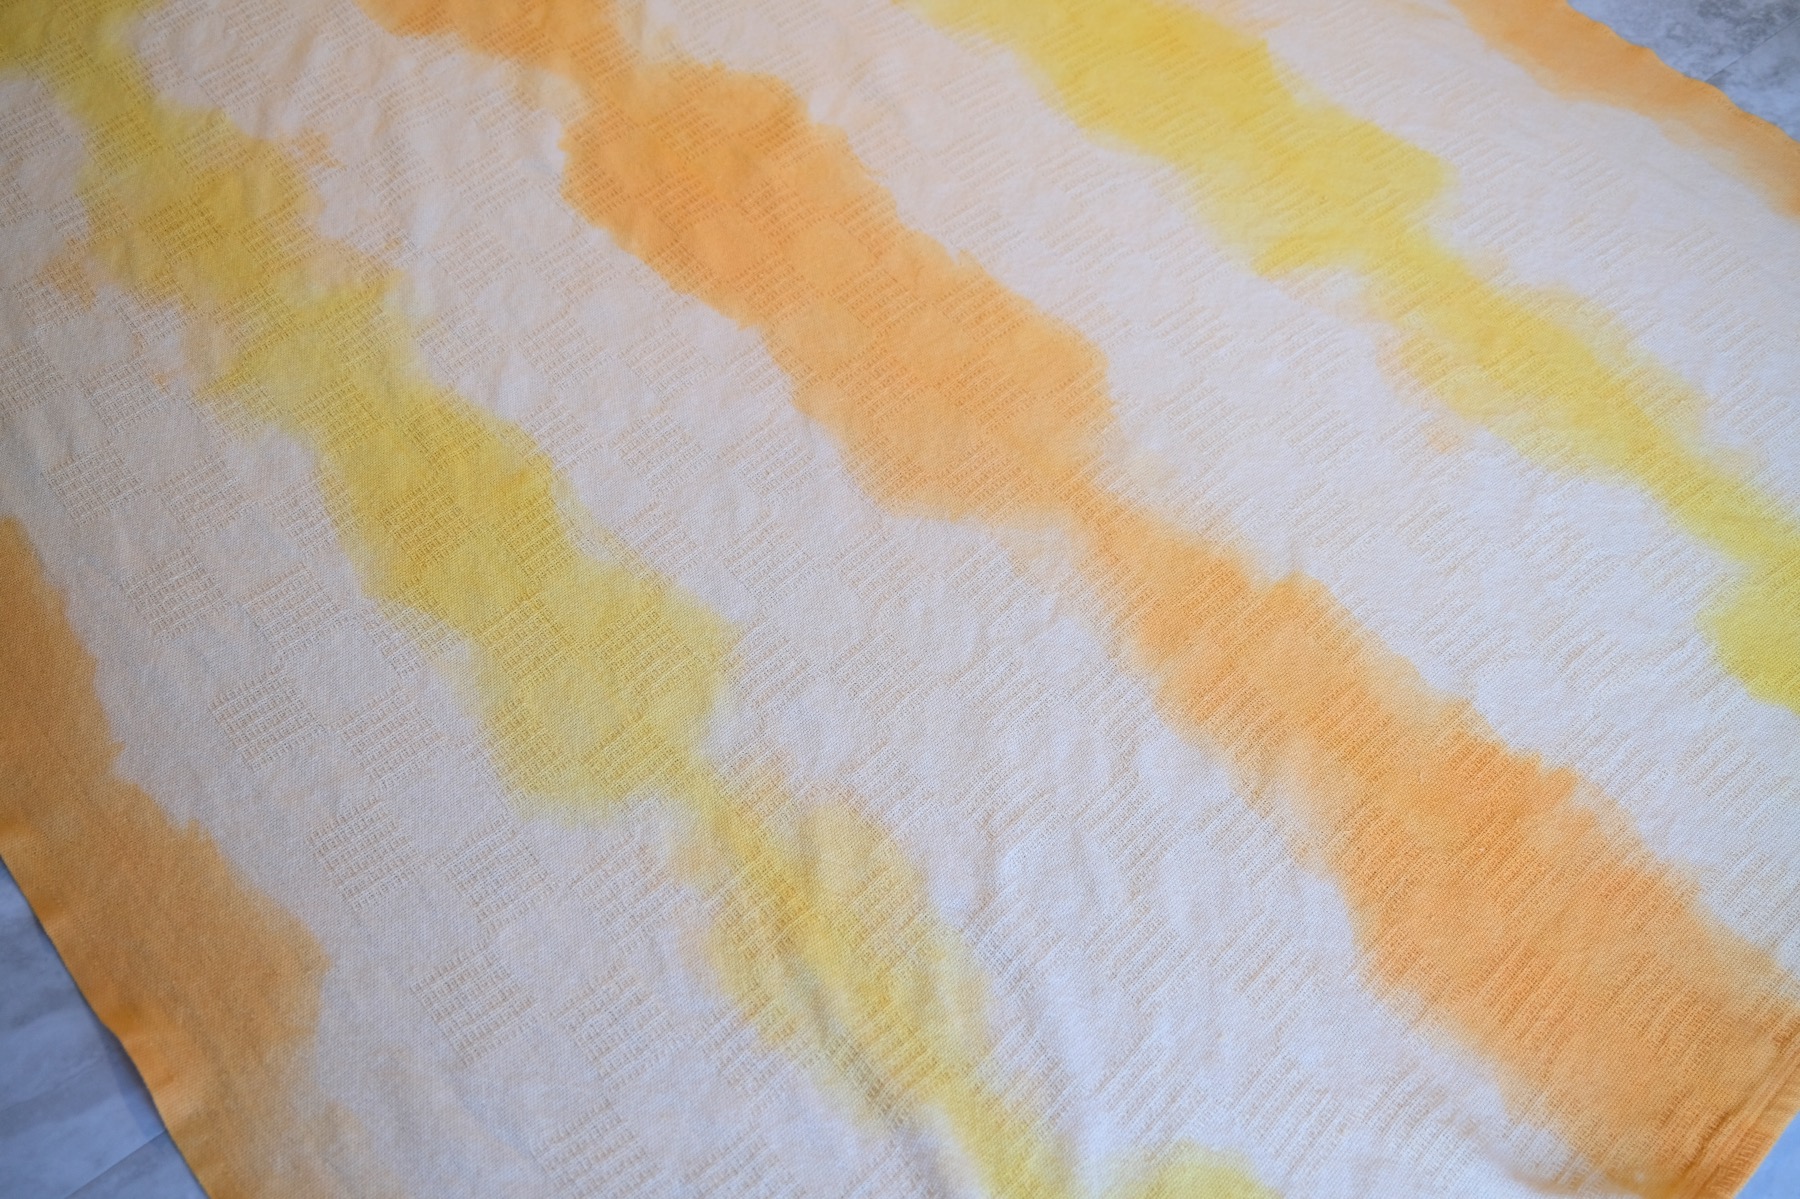
As you rinse your blanket, you may notice that the dye colors blend together. Most of the white portions will fill in with just a touch of color. It’s all a part of the process and will help the color become smooth, tapered and finished once your blanket is dry.
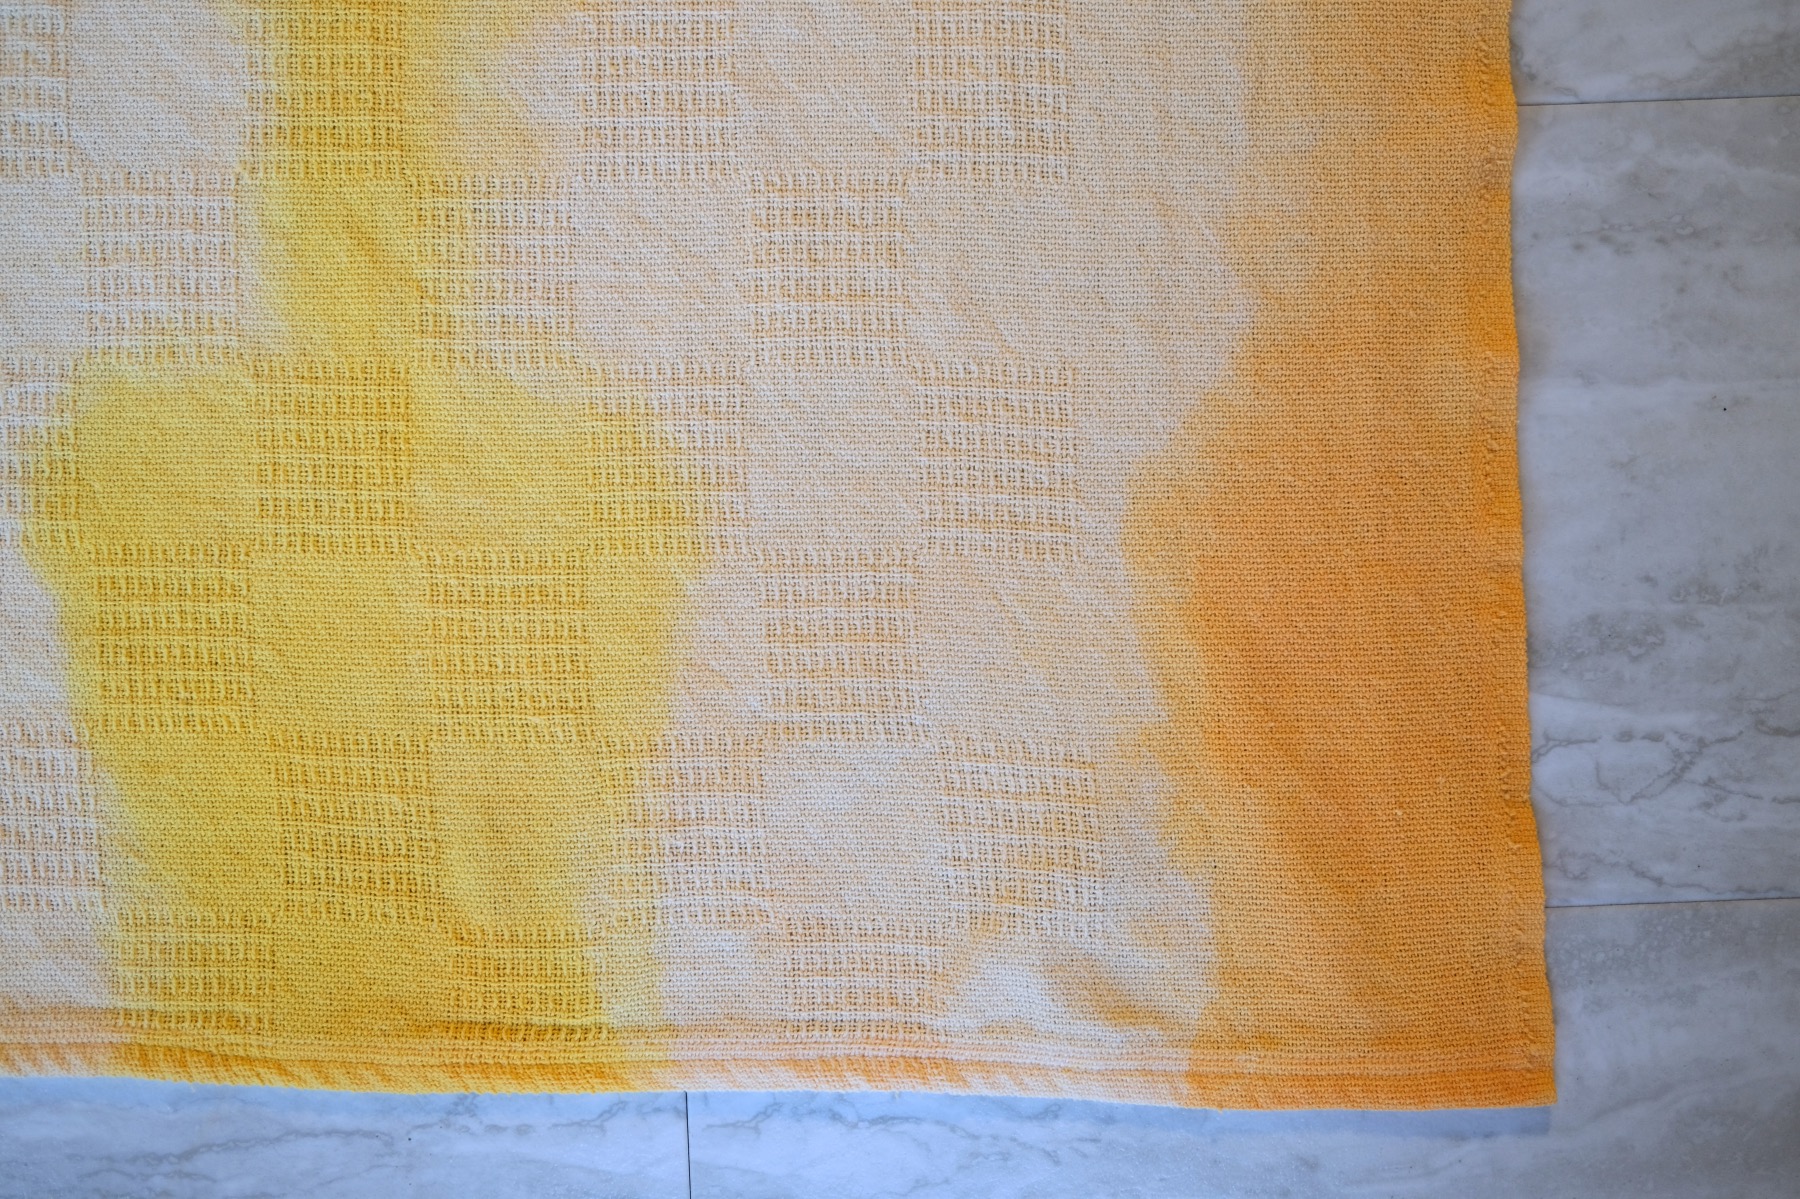
Then dry it on in a dyer on normal heat. Viola! Your very own gorgeous dip dyed blanket!
Now mine has some cool stripes, but remember you can create your dip dyed blanket using all kinds of different patterns. Just be sure to pattern the blanket before you dye it.

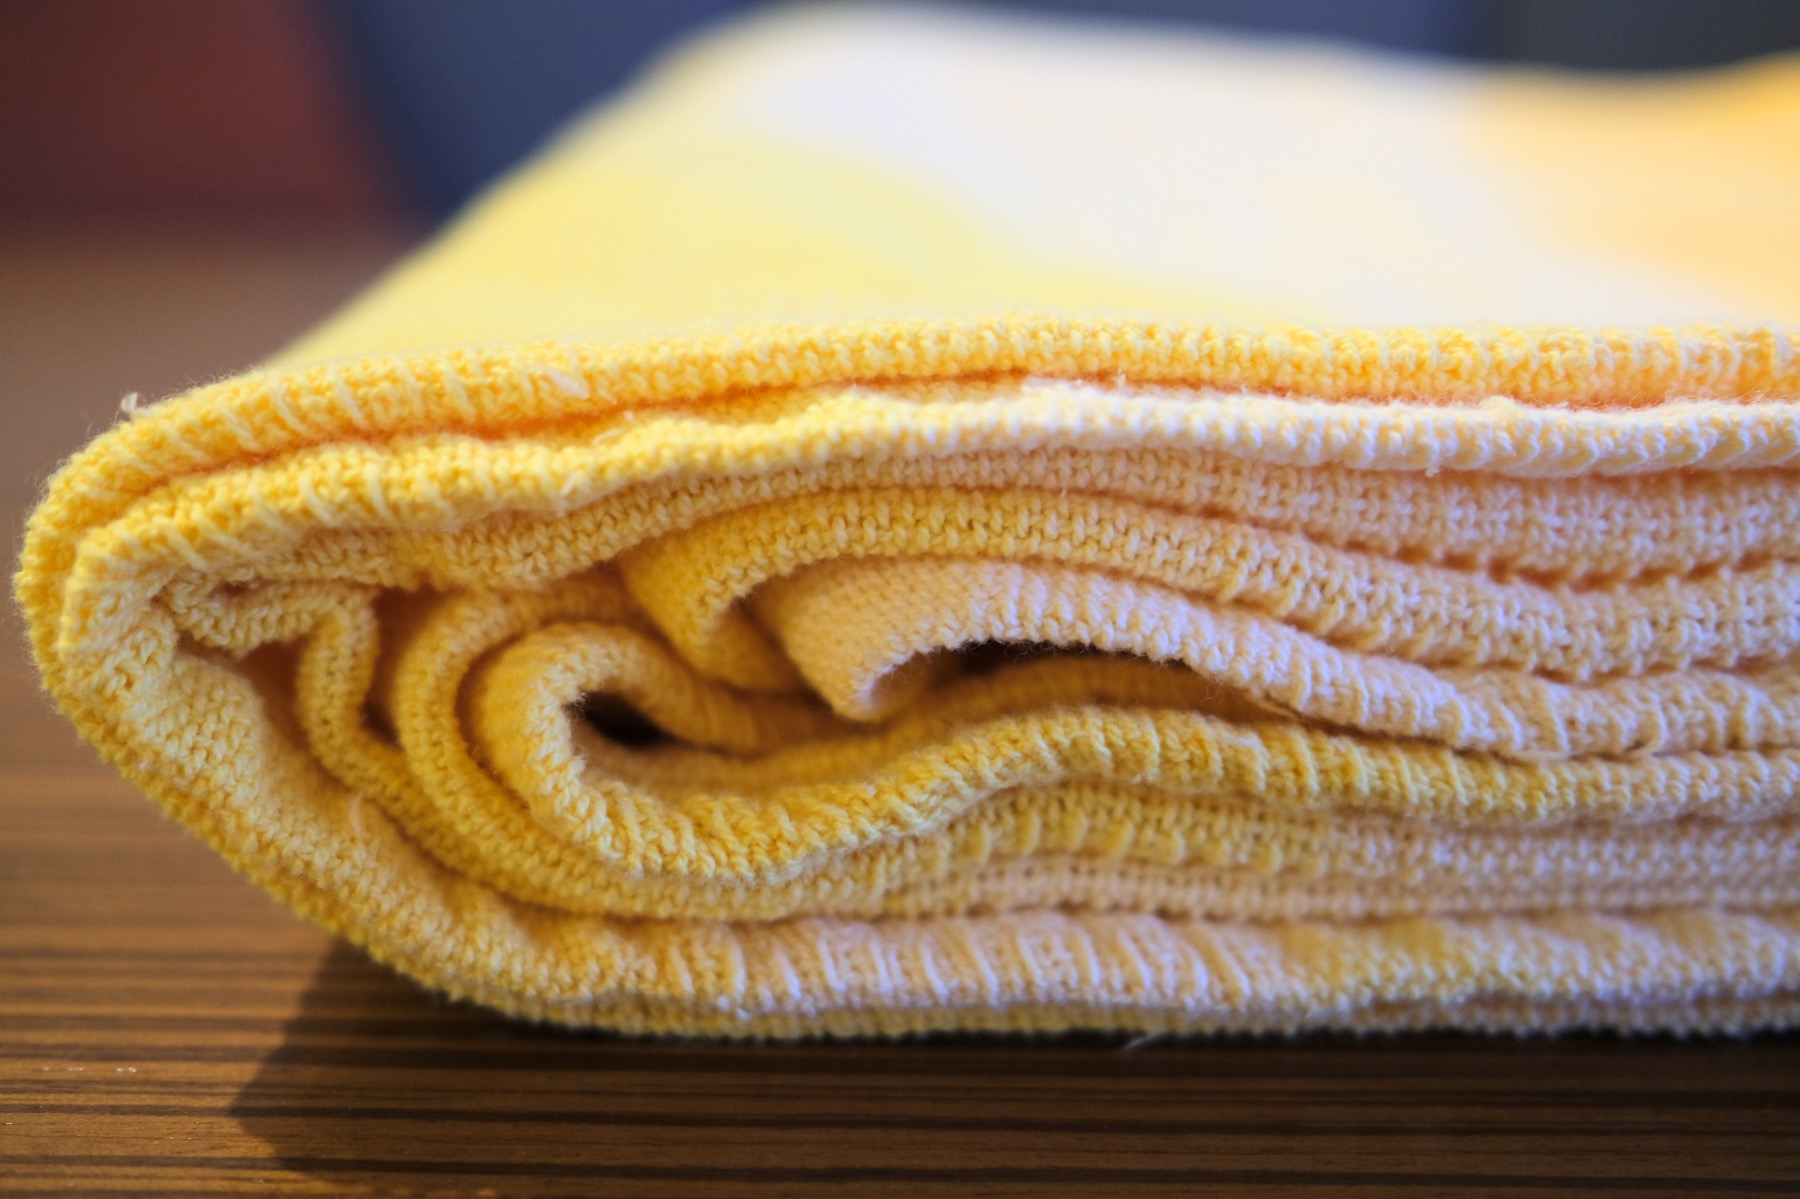
Once your Dip Dyed Blanket is out of the dryer, the dye is permanent and can be used anywhere. It’s perfect on the couch as a throw for when you watch movies. It’s also great in a guest bedroom when you have company.
You could even use it at a picnic in the park or take it to the beach…of course we will have to wait until the weather is warmer!

The color is completely permanent and is safe to be put in the washer and dryer again and again. So how are you going to use your Dip Dyed Blanket? Tell us in the comments!
And if you can’t wait to make your own Dip Dyed Blanket, be sure to shop the November 2020 Craft in Style Subscription Box so you can make your own gorgeous fabric dyed blanket! Happy crafting.
Let’s Stay Friends!
Insta | Pinterest | Enews | TikTok