Craft in Style Subscription Instructions, DIY
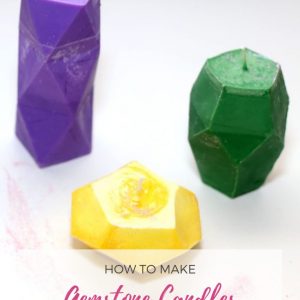
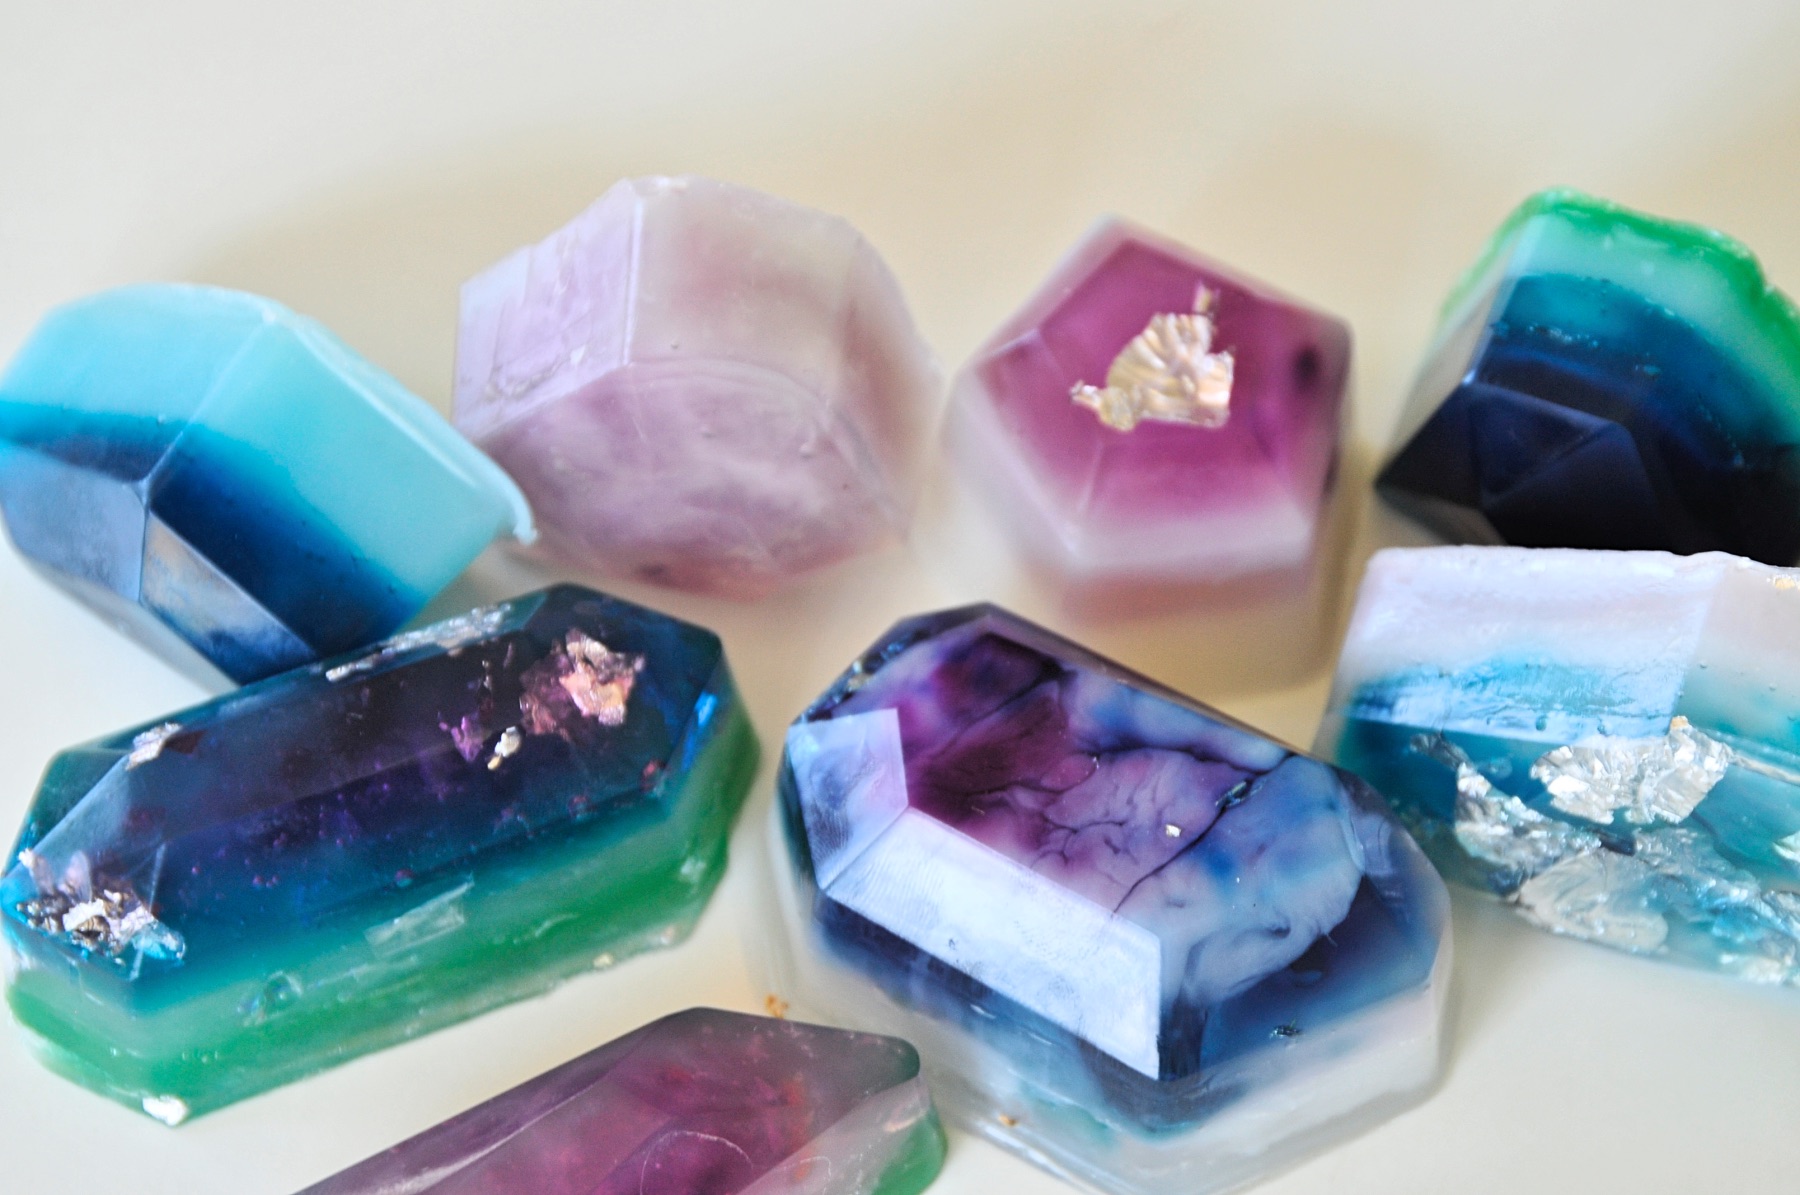
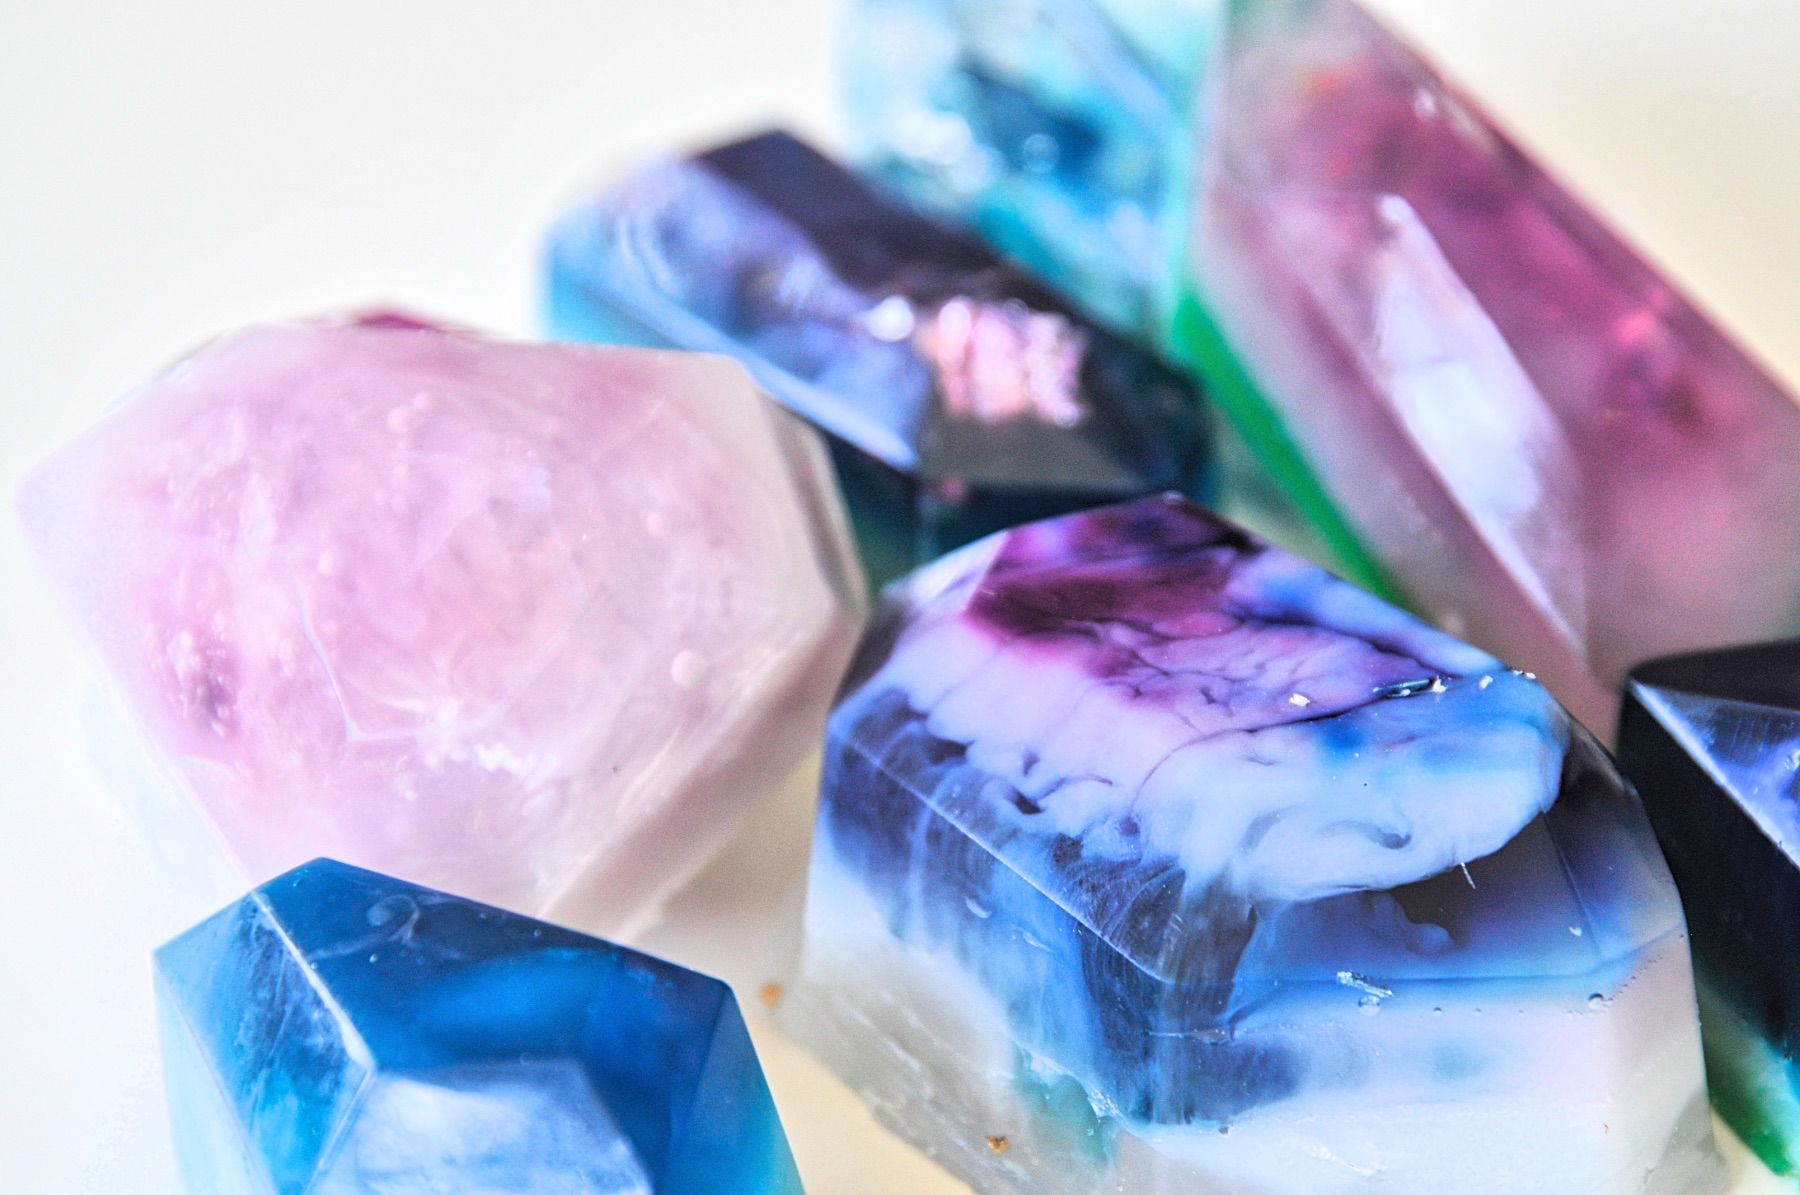
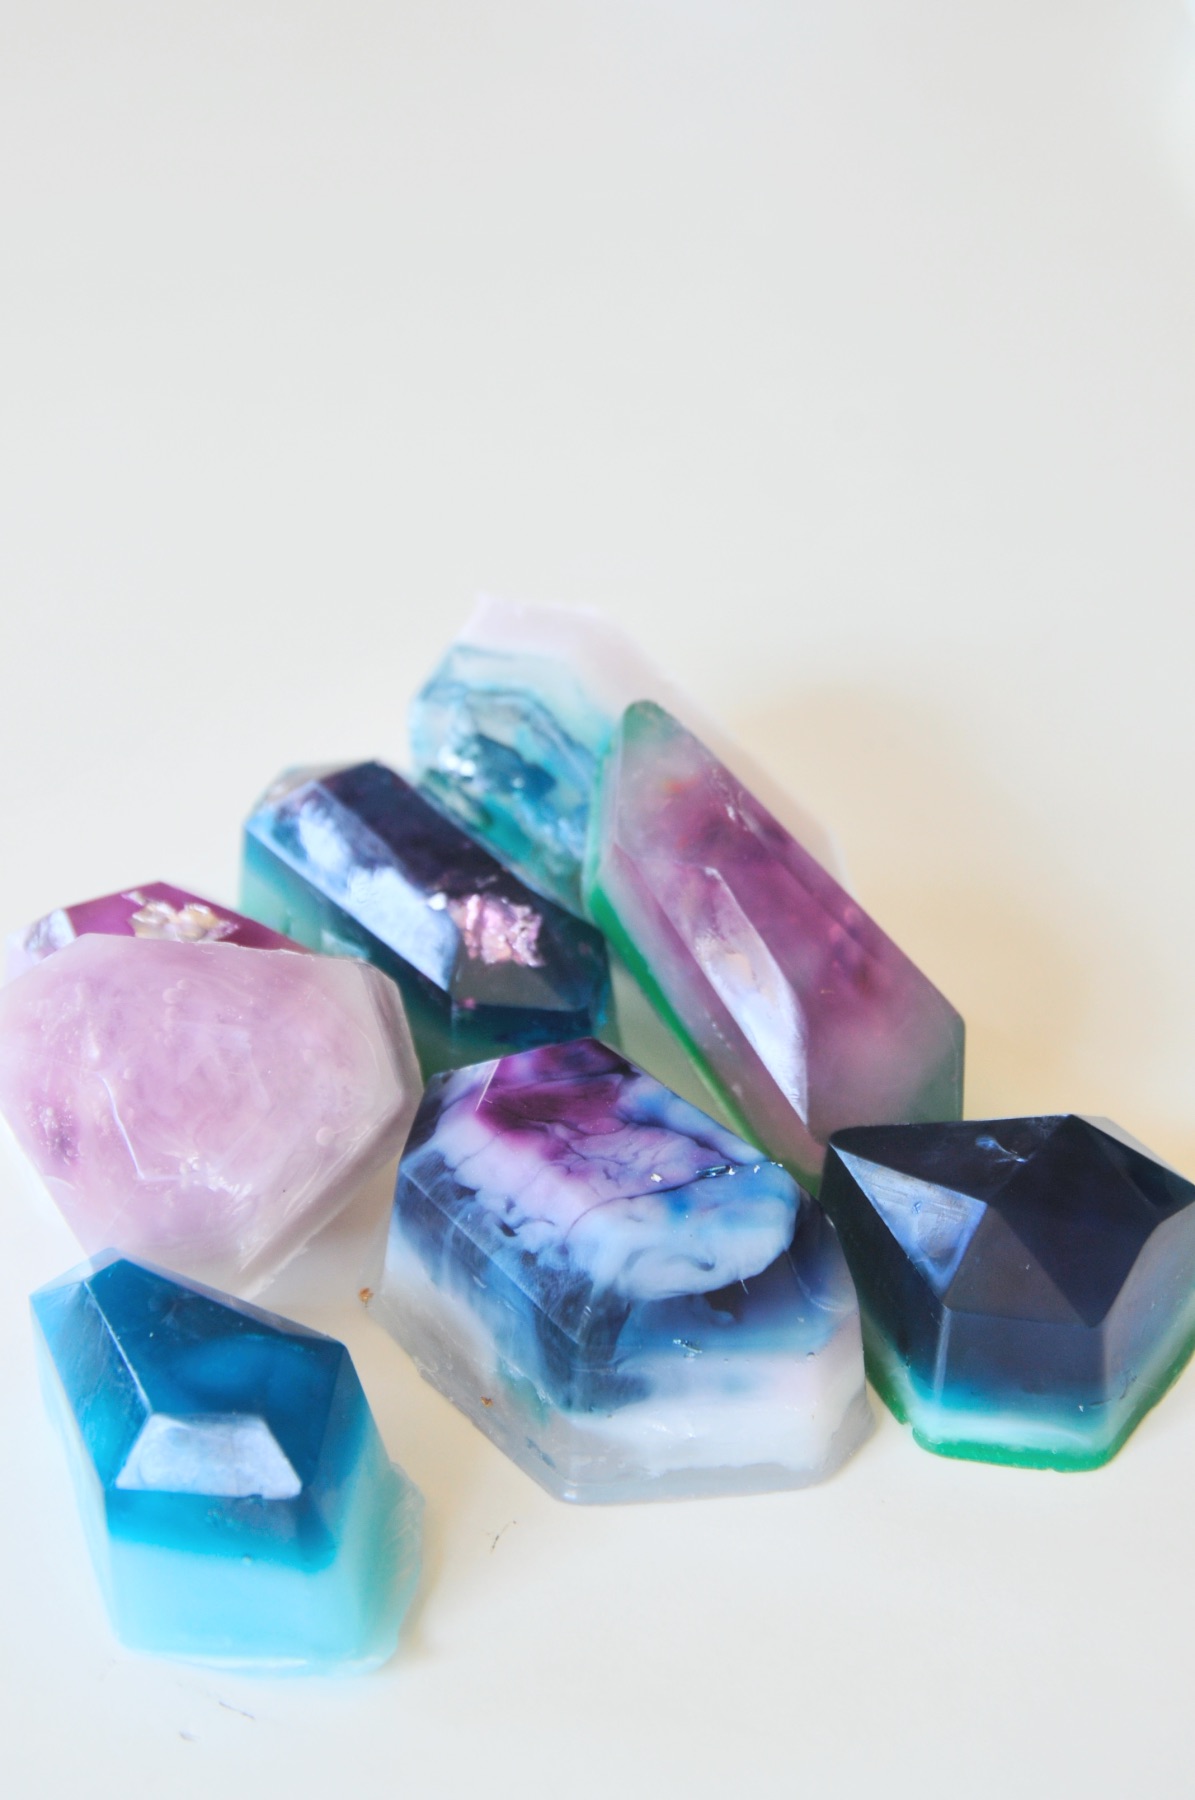
How to Make DIY Gemstone Soap

Mar
This blog is the tutorial for the February Craft in Style Subscription Box. You can find more about this box and other Craft in Style Boxes here.
Melt and pour soap is the best way to start any soap making journey. With melt and pour soap, you can try blending gorgeous essential oils to make scent combinations. You can add ingredients like oats and lavender. You can try out using soap colorants. And you can made shapes like these gemstones!
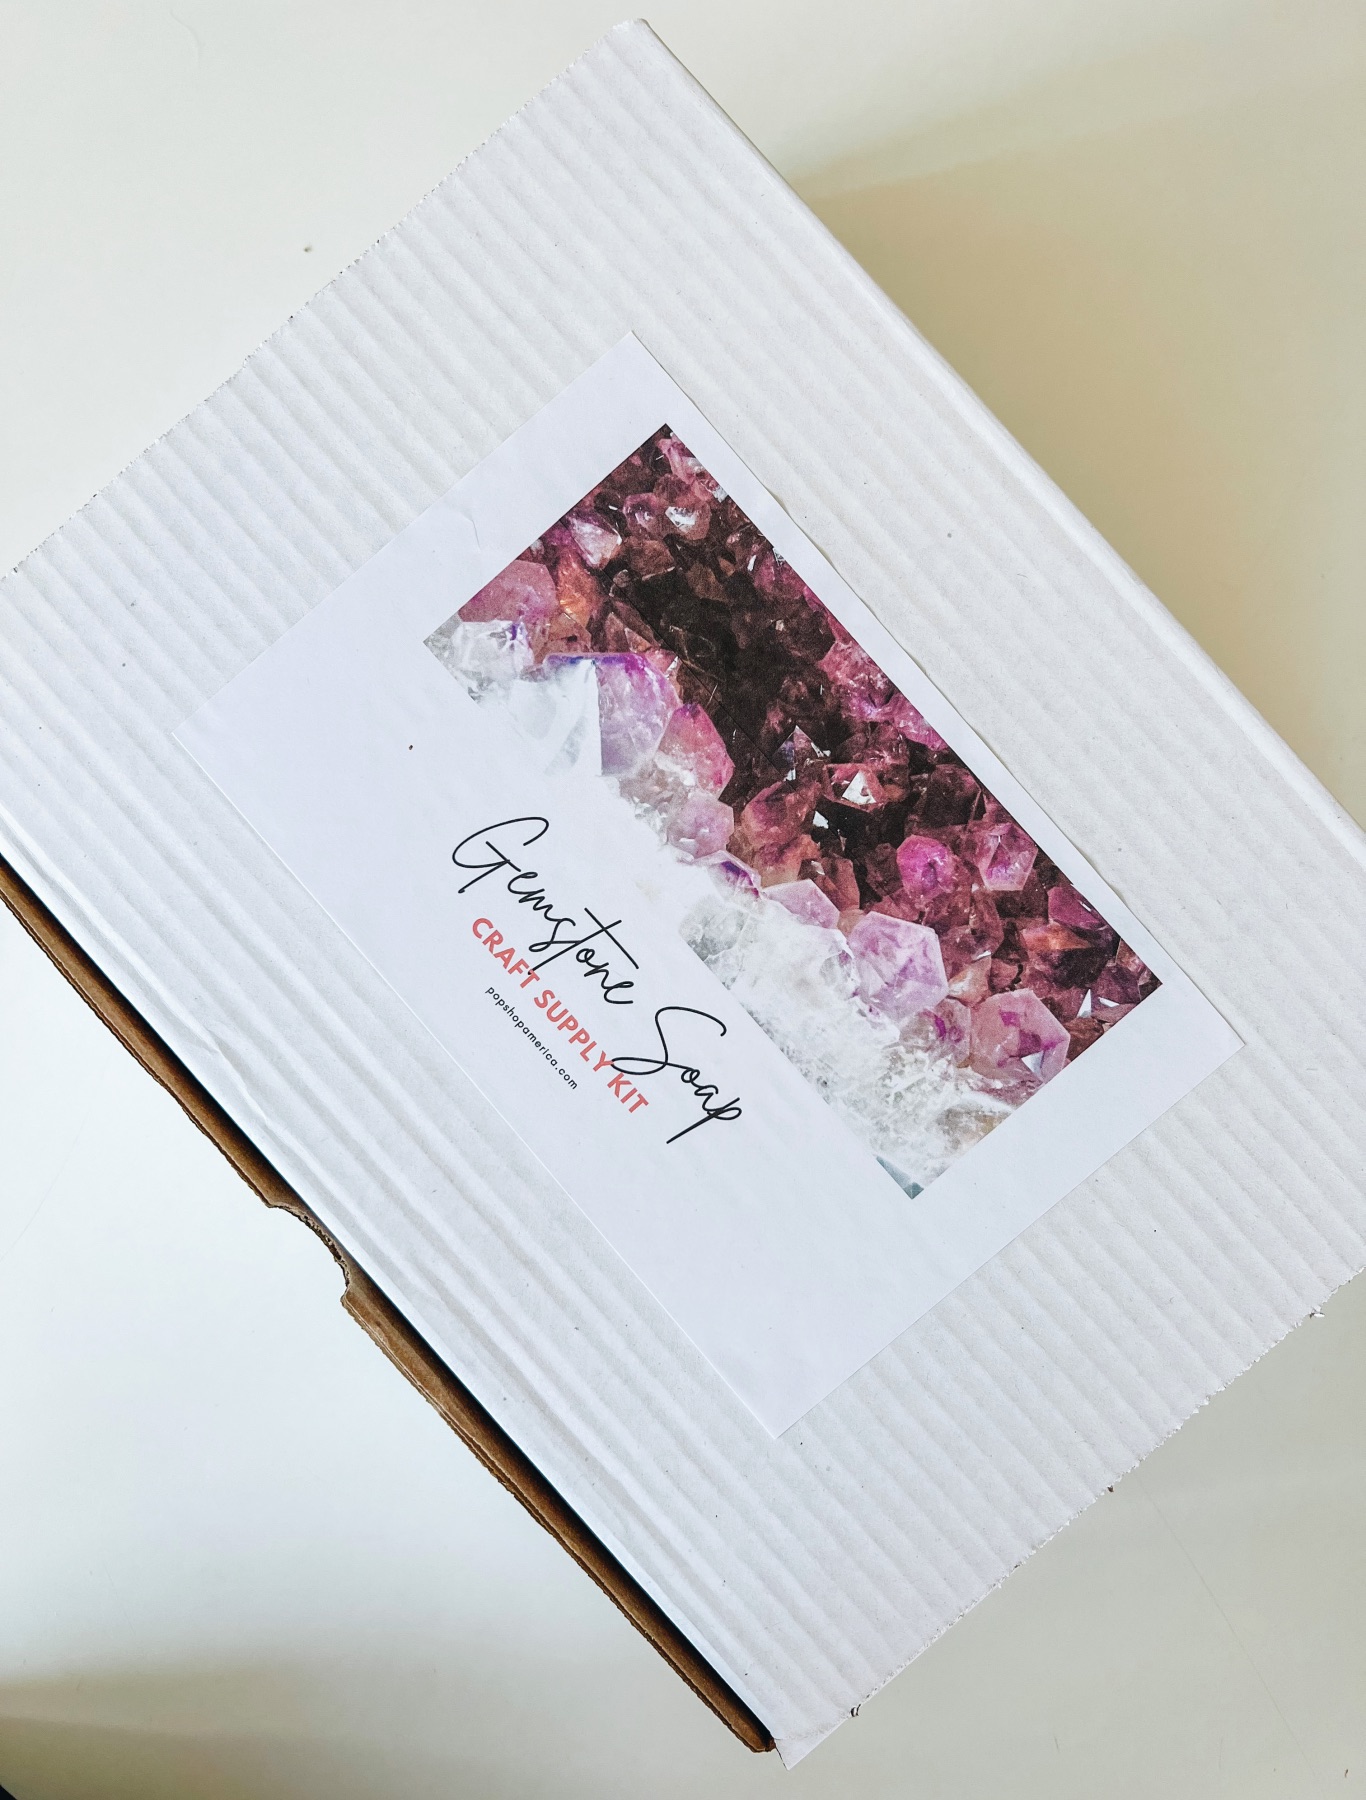
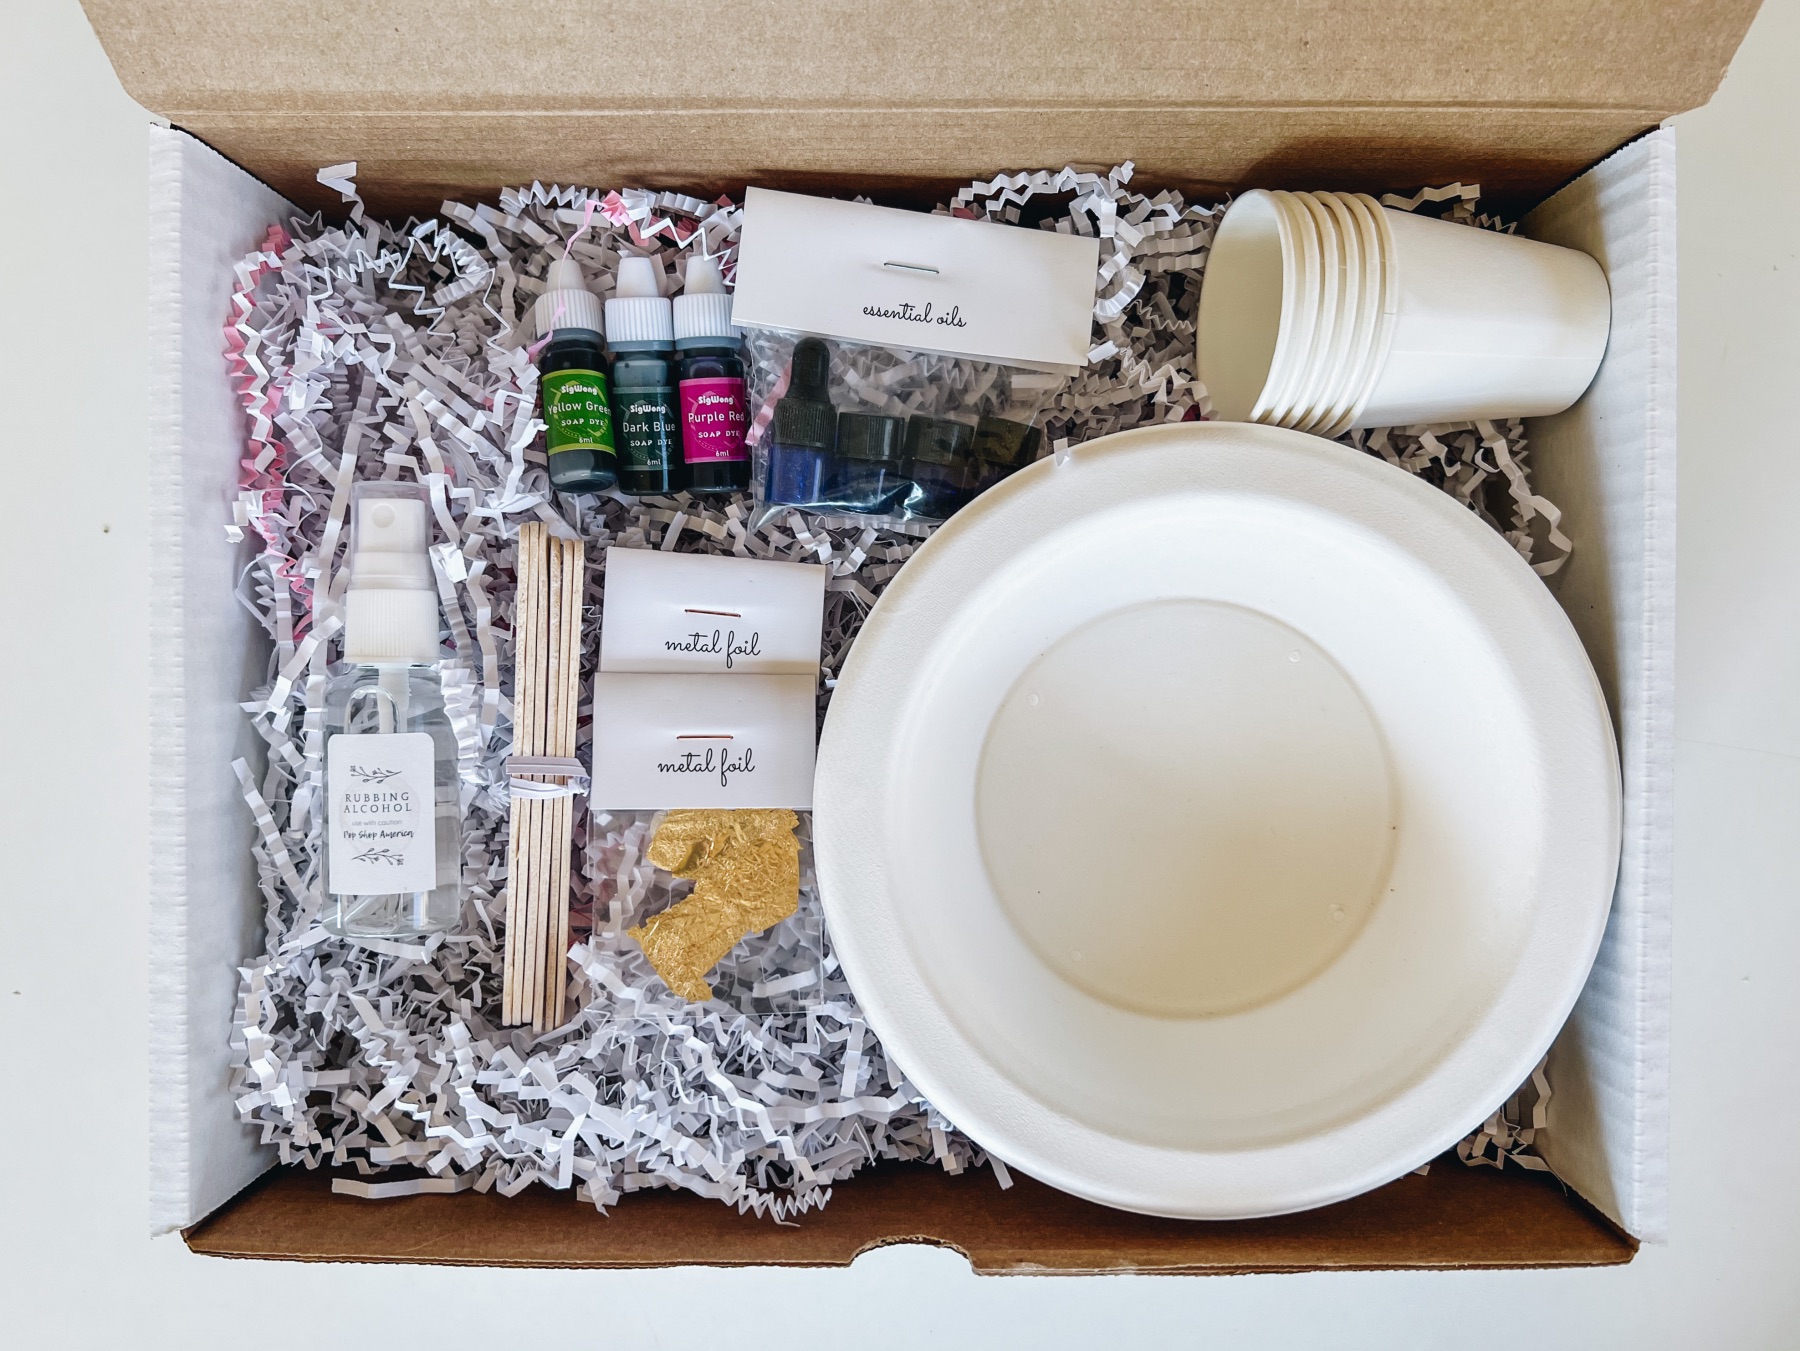
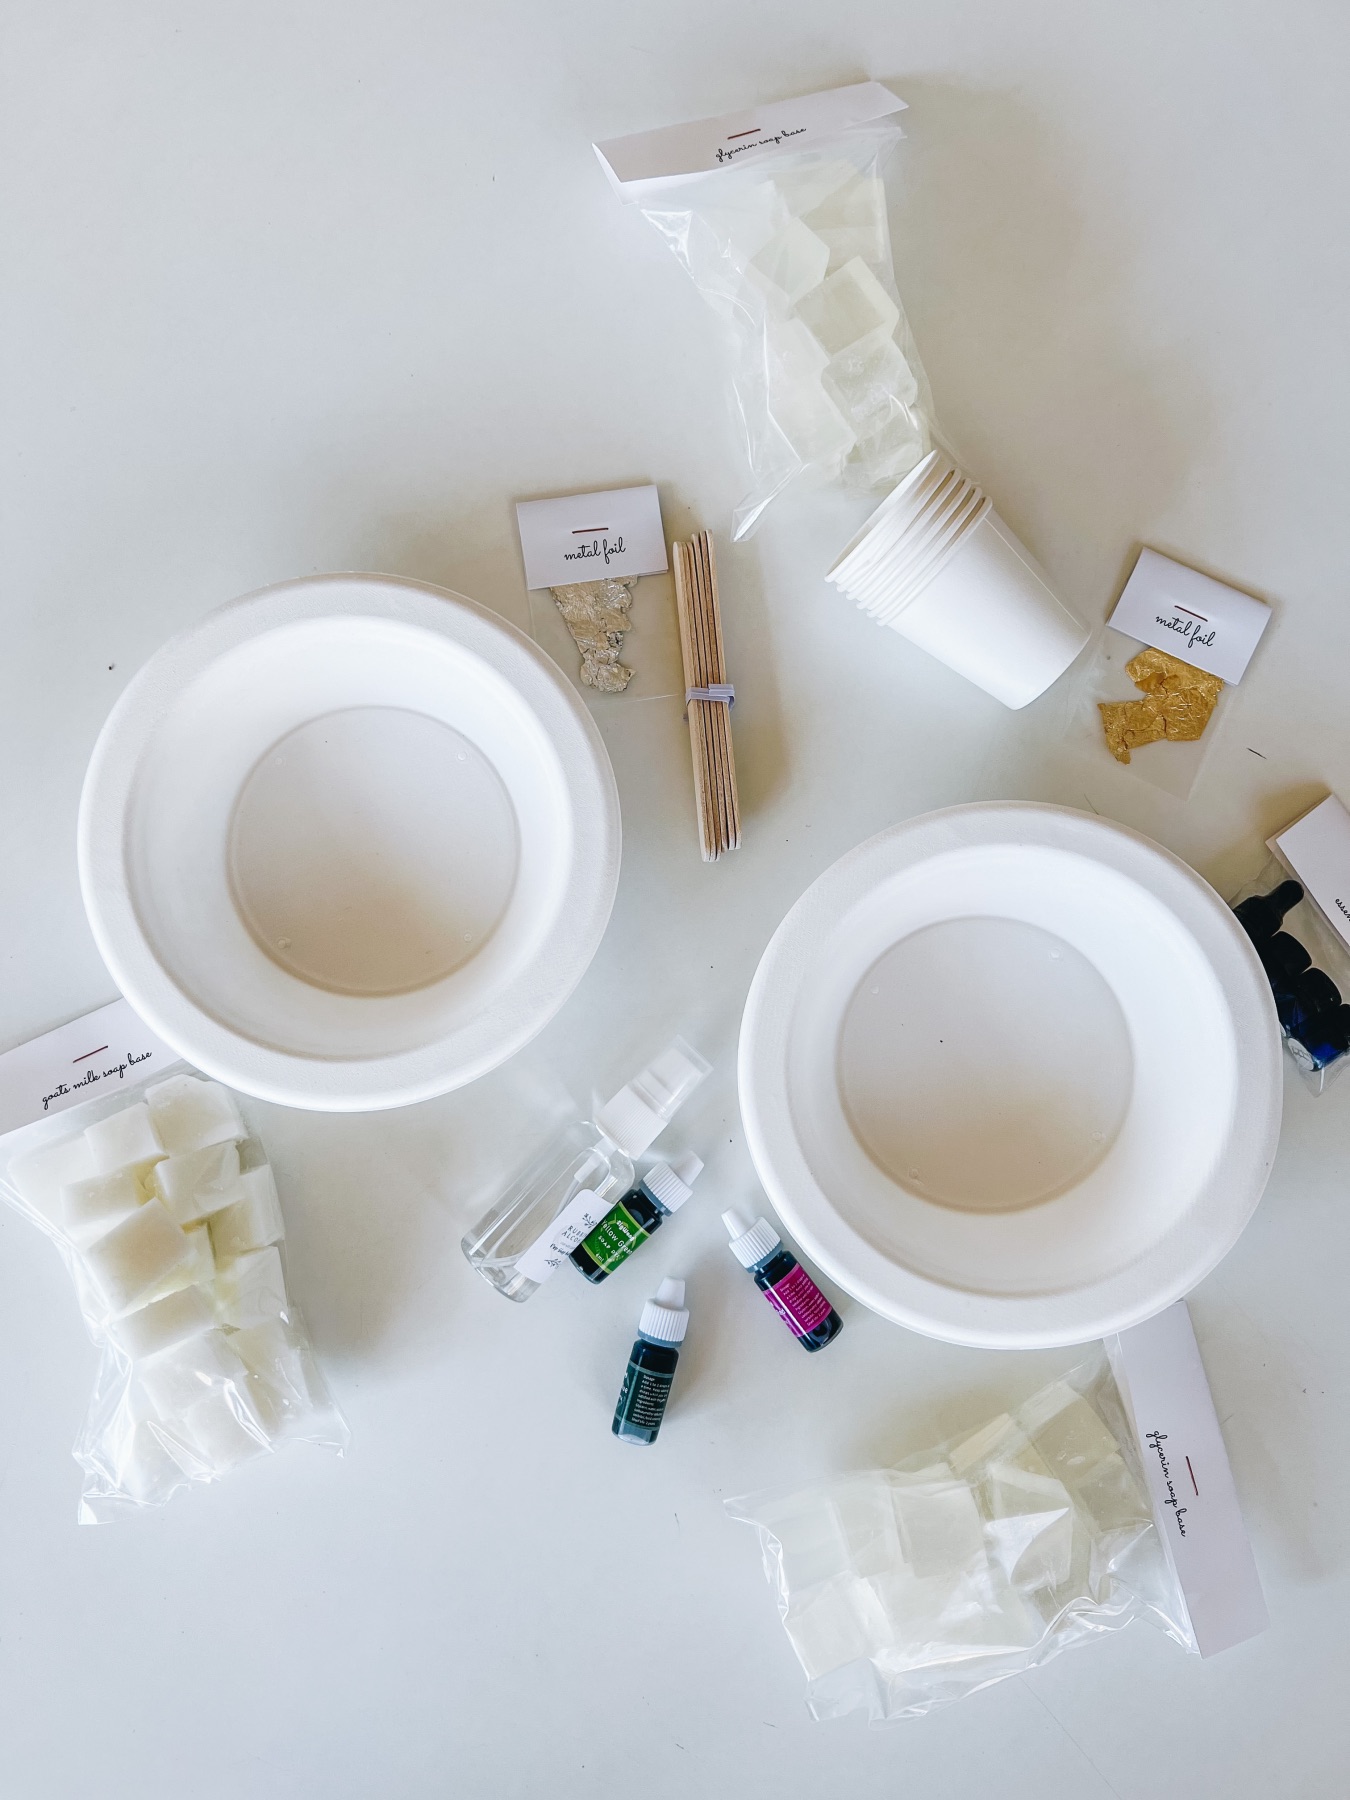
Supplies to Make DIY Gemstone Soap
The February 2022 Craft in Style Subscription Box
-or-
Clear Melt & Pour Soap Base (I chose glycerin)
White Melt & Pour Soap Base (I chose goat’s milk)
3+ Soap Colorants
Essential Oils
Popsicle Sticks
Small Cups or Small Bowls
Gemstone Soap Mold
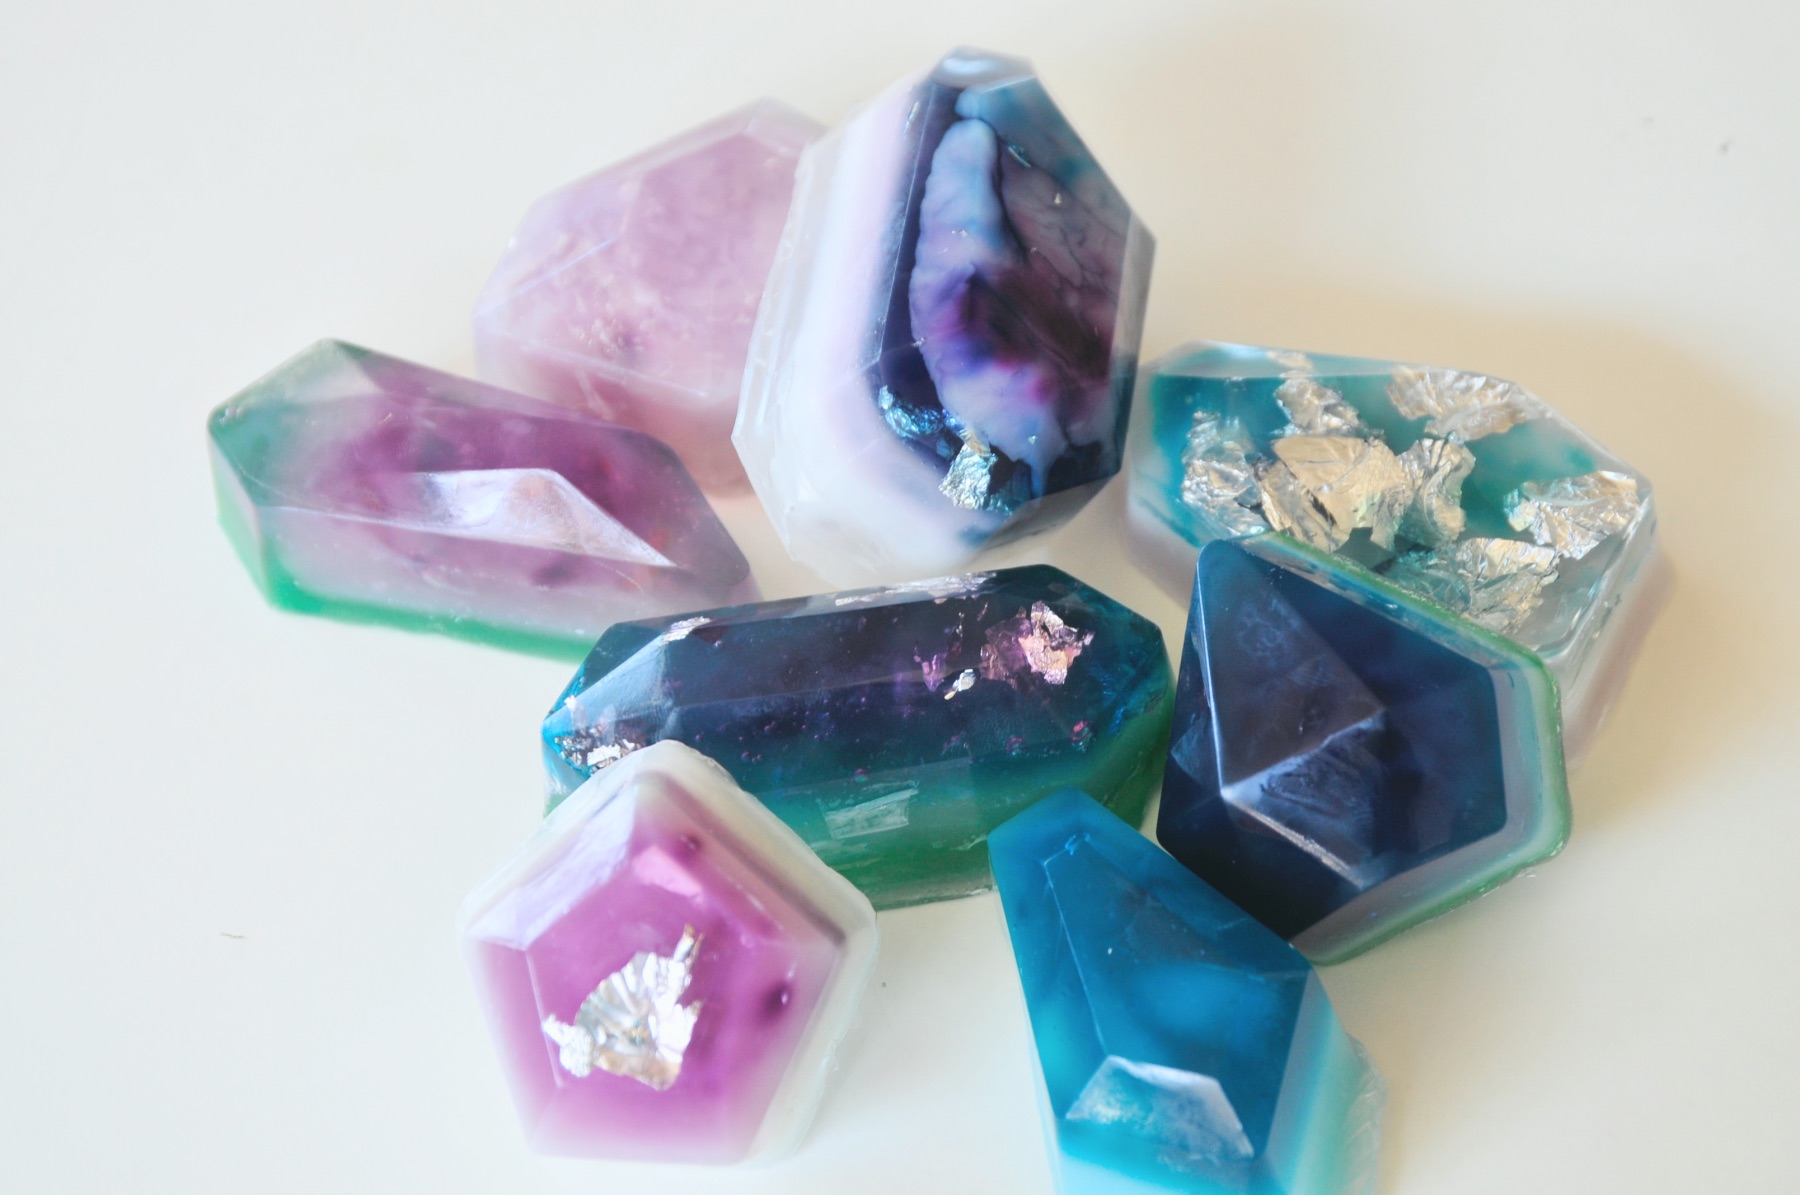
Optional: Gold & Silver Foil
Tools You Need:
A Microwave
A microwave works much better than any other heat source because melt and pour soap base burns easily. A crock pot, even on warm can burn soap. And a stovetop can get too hot too! So if you need an alternative, just be careful to keep the heat as low as possible. And remove it from the heat as soon as it’s liquid.
Start by Prepping Your Soap Mold
Anytime you use your soap mold, make sure it’s completely clean and dry. Wash it thoroughly between each use. Don’t use it if there’s even tiny flecks of water in the soap mold.
And right before you pour melt and pour soap base into the mold, spritz it with a touch of rubbing alcohol. You can also place tiny flecks of gold or silver foil inside the molds too. All of these steps will make it easier for you to remove the soap from the mold once it’s set. Since gemstones, have so many sides or facets, it can be challenging to remove them from the molds without a little bit of care. I’ll explain that in depth later!
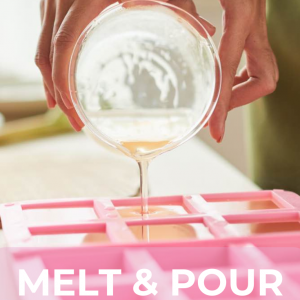
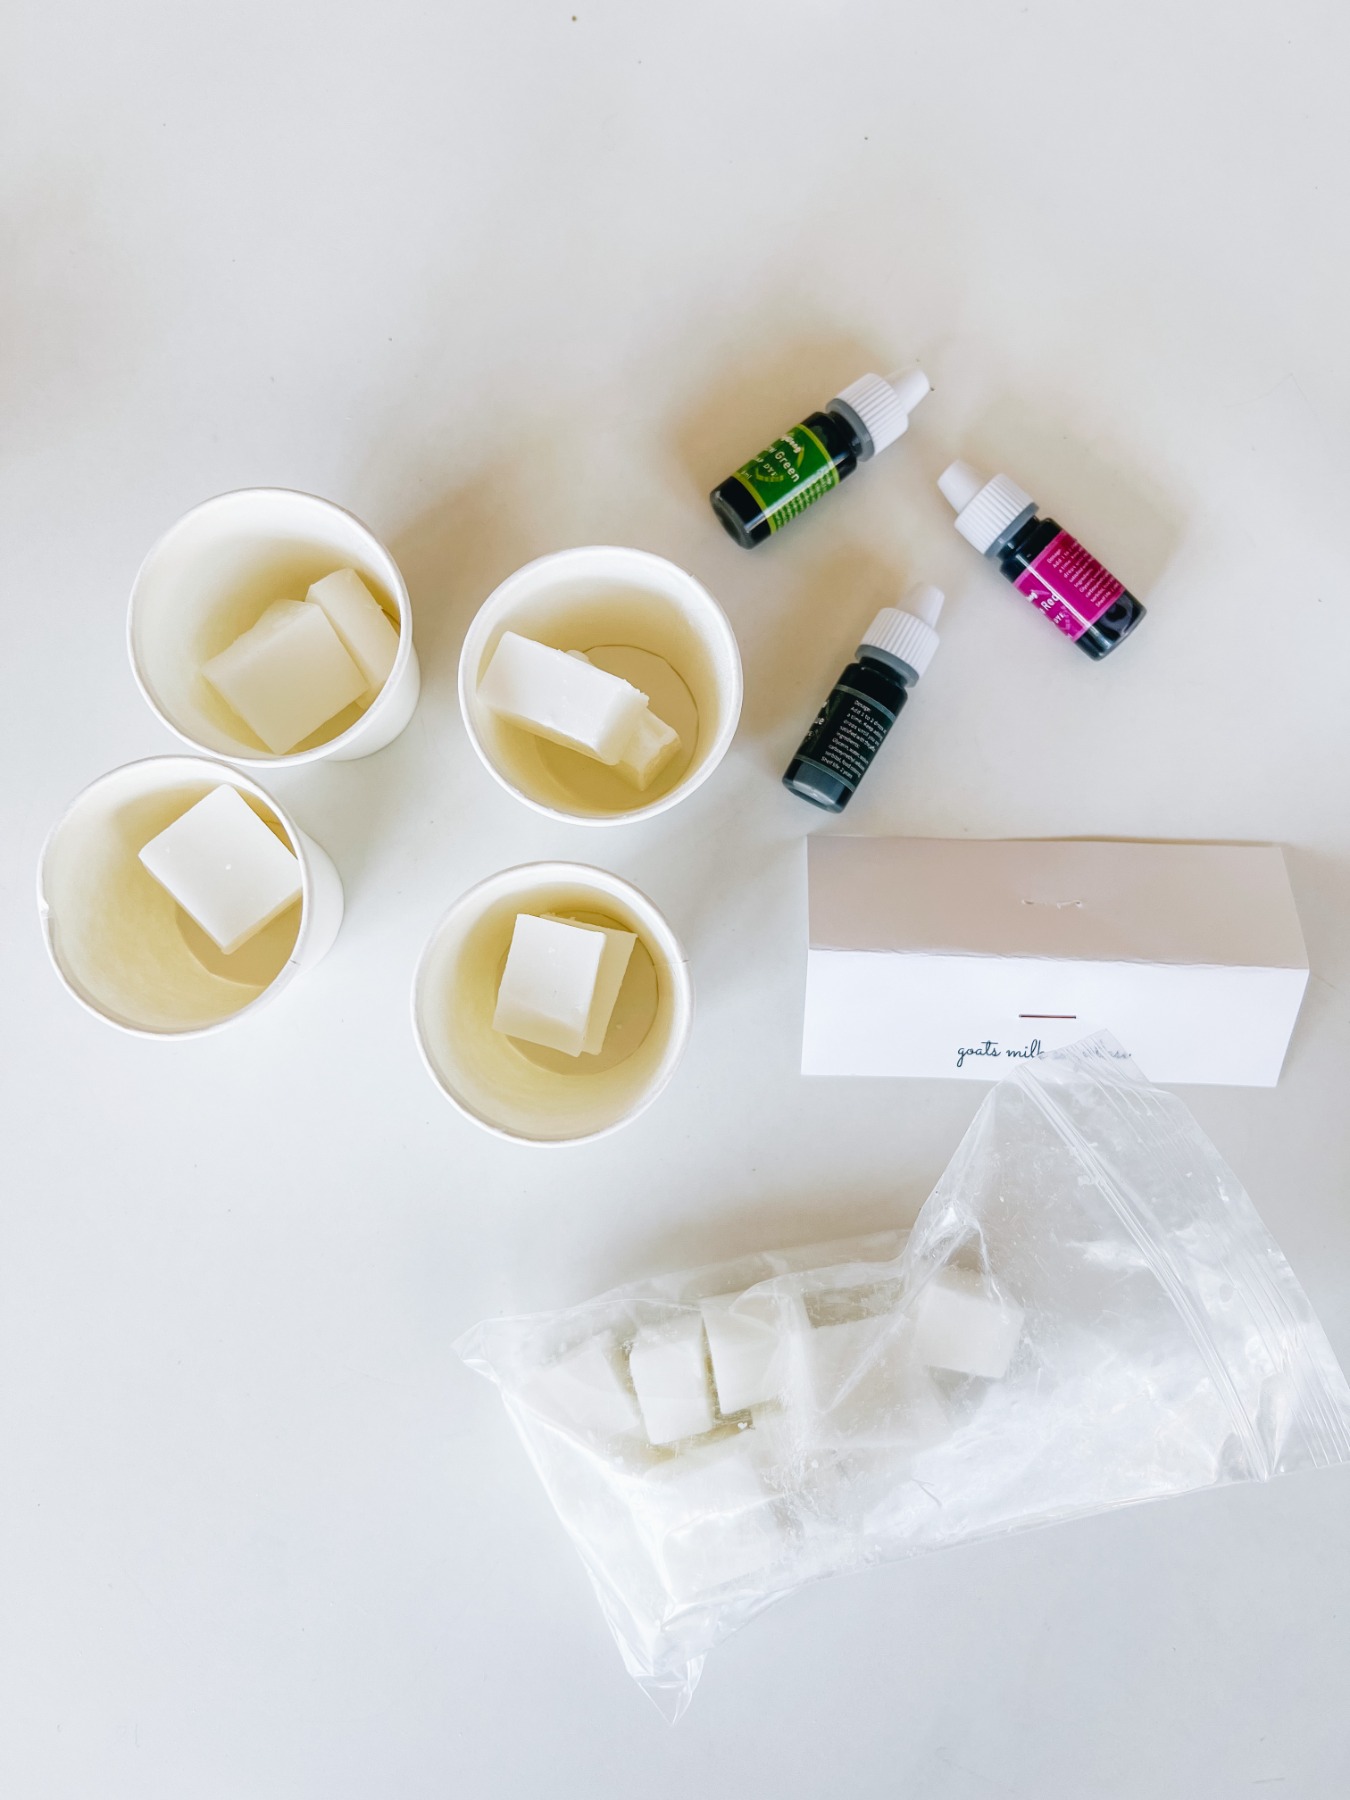
Melt Your Soap Base
To make gemstone soaps, it’s all about layering! You will want to create multiple layers of similar colors. So start by filling each cup with just a few cubes of soap. All together, I used less than 1 ounce of soap per cup. You can use clear soap, white soap, or mix the 2 together. It’s best to make each soap cup slightly different.
Then place the cups in the microwave. I have a pretty powerful microwave so I just heated them for 10 seconds and stirred. Then placed them back in the microwave for another 10 seconds and stirred. By then, the soap base was completely melted. But not overheated.
Remember, do not burn your soap! Whatever you do. Soap burns easily, so you want to heat it as minimally as possible.
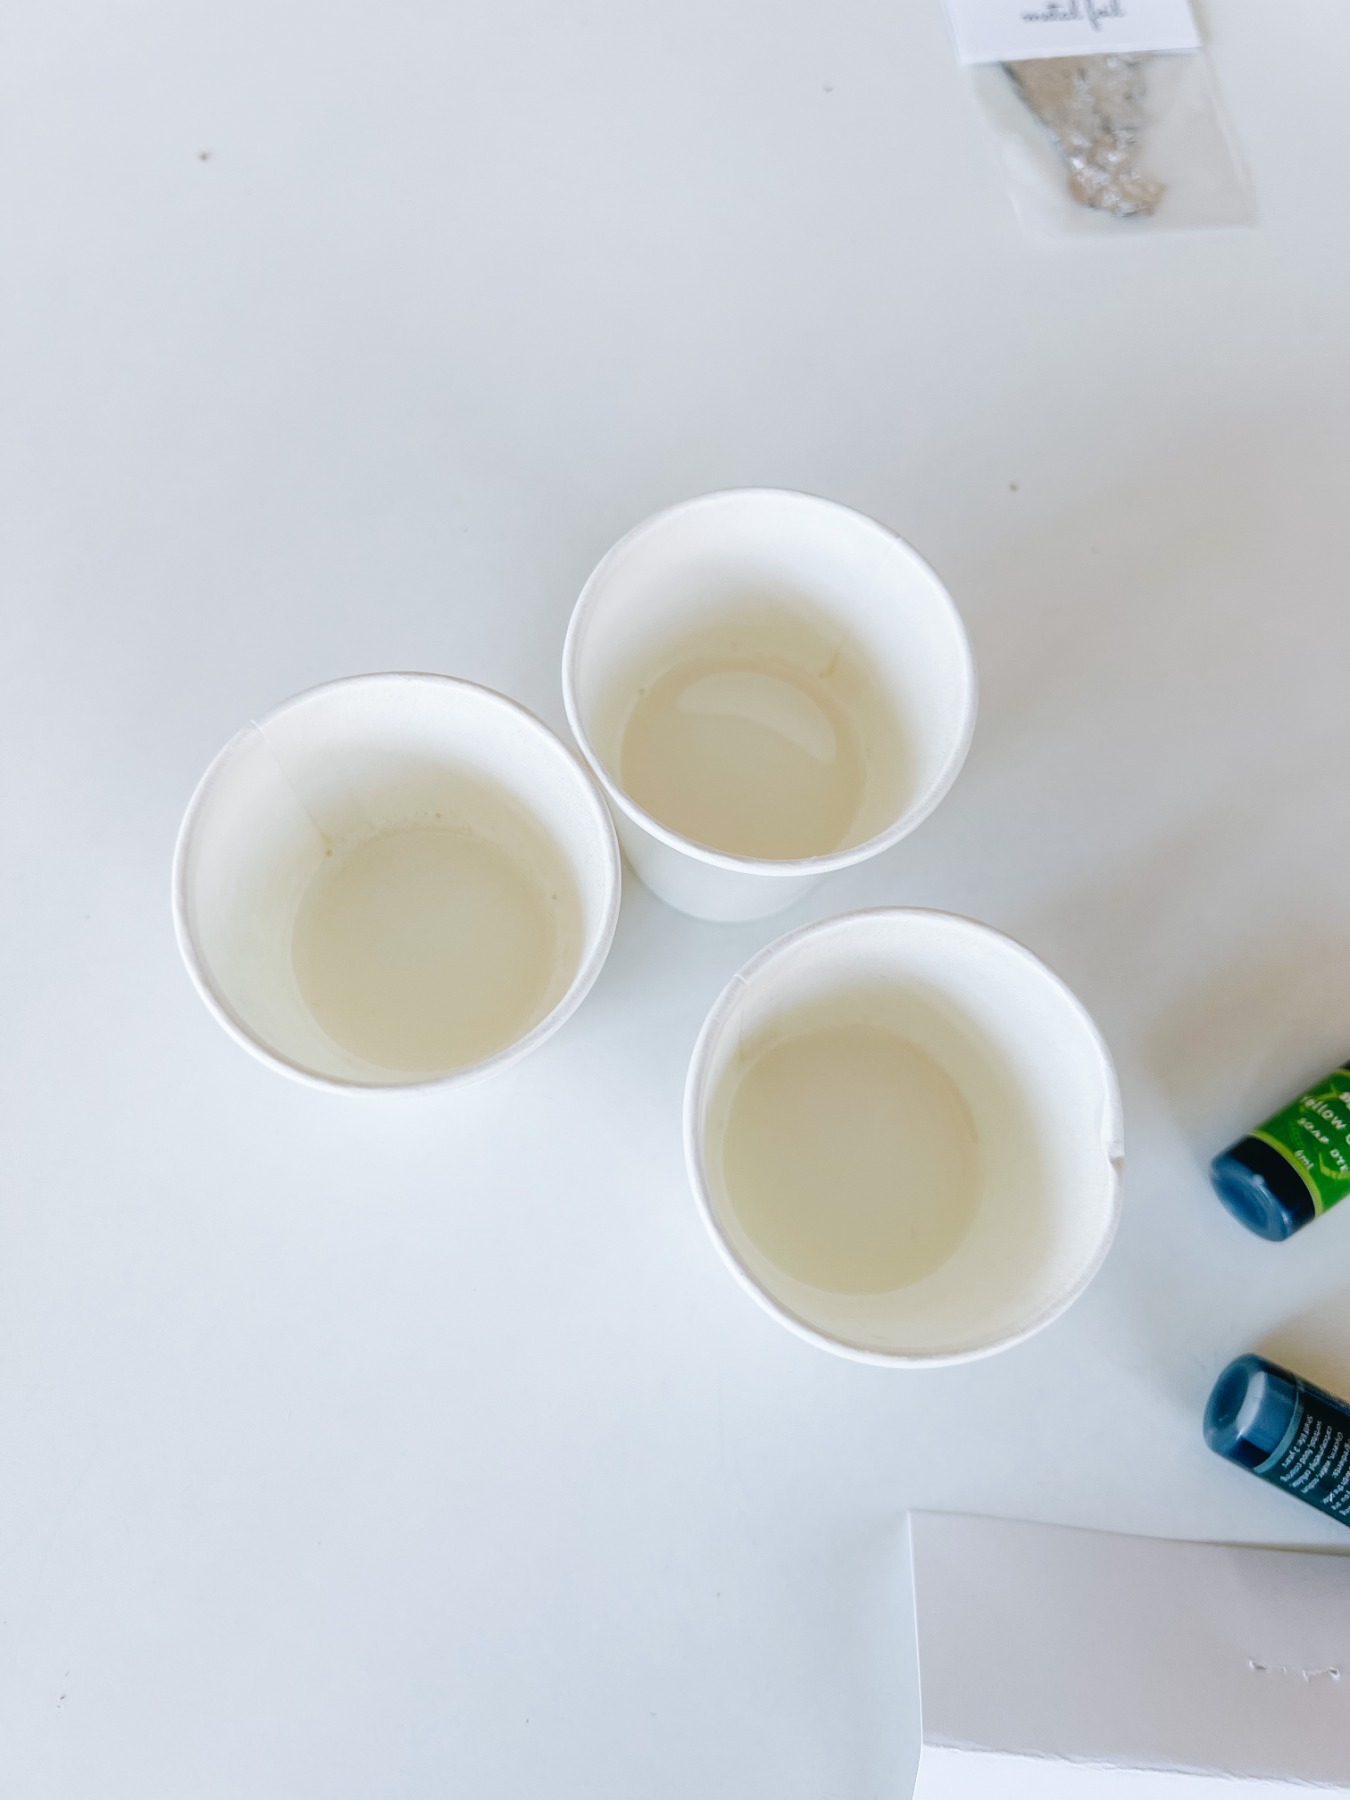
Add Your Soap Colorants
Once your soap is liquid, add your colorant and your scents. But add the colorants first!
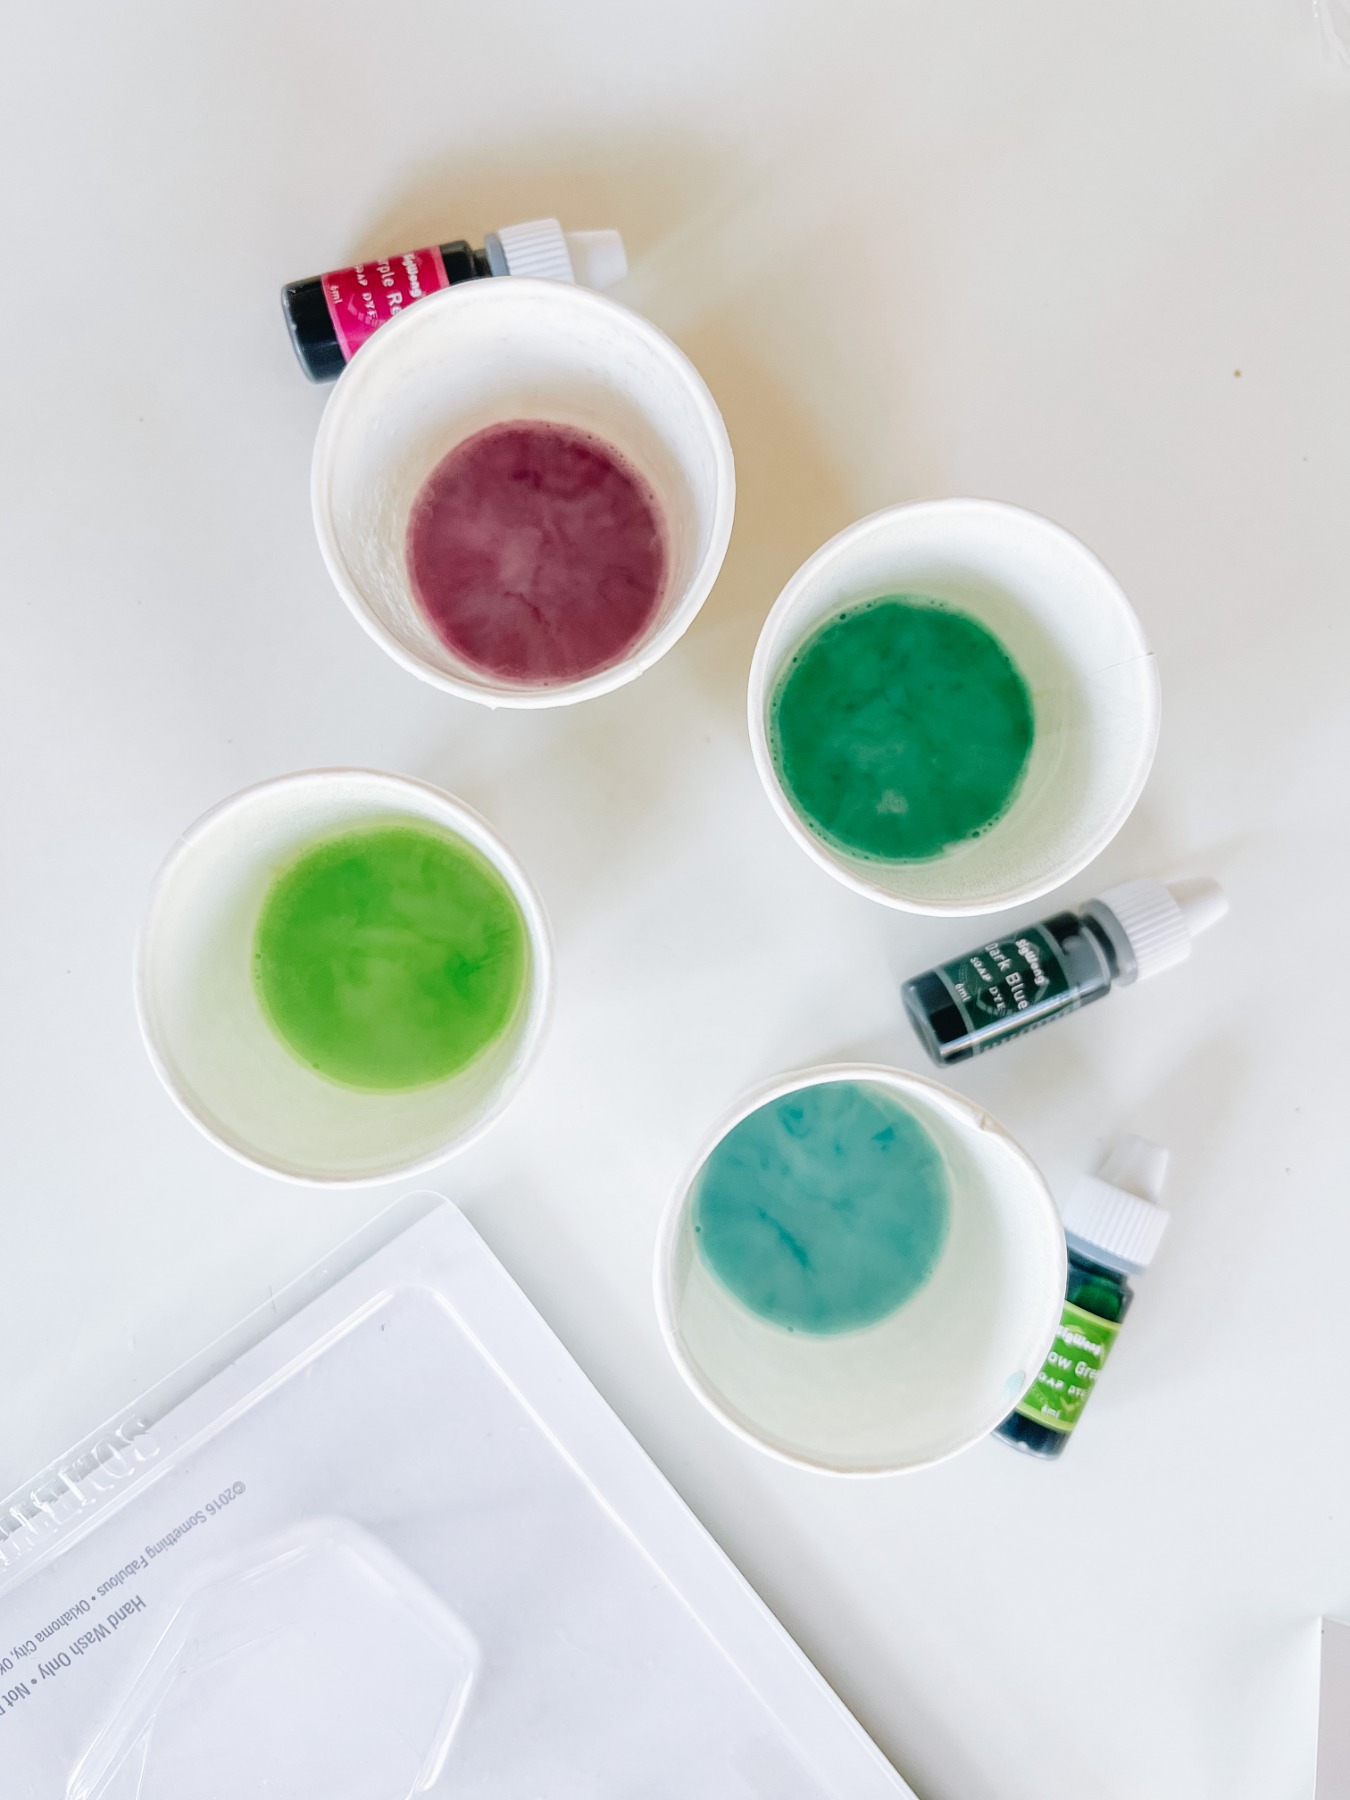
I used 1 drop of colorant in each cup. But remember, you will want to make an array of similar colors, so choose 1 drop for some cups, 2 drops for others, and blend your colors together at times. Or leave some of your cups void of any color so they are just clear and white.
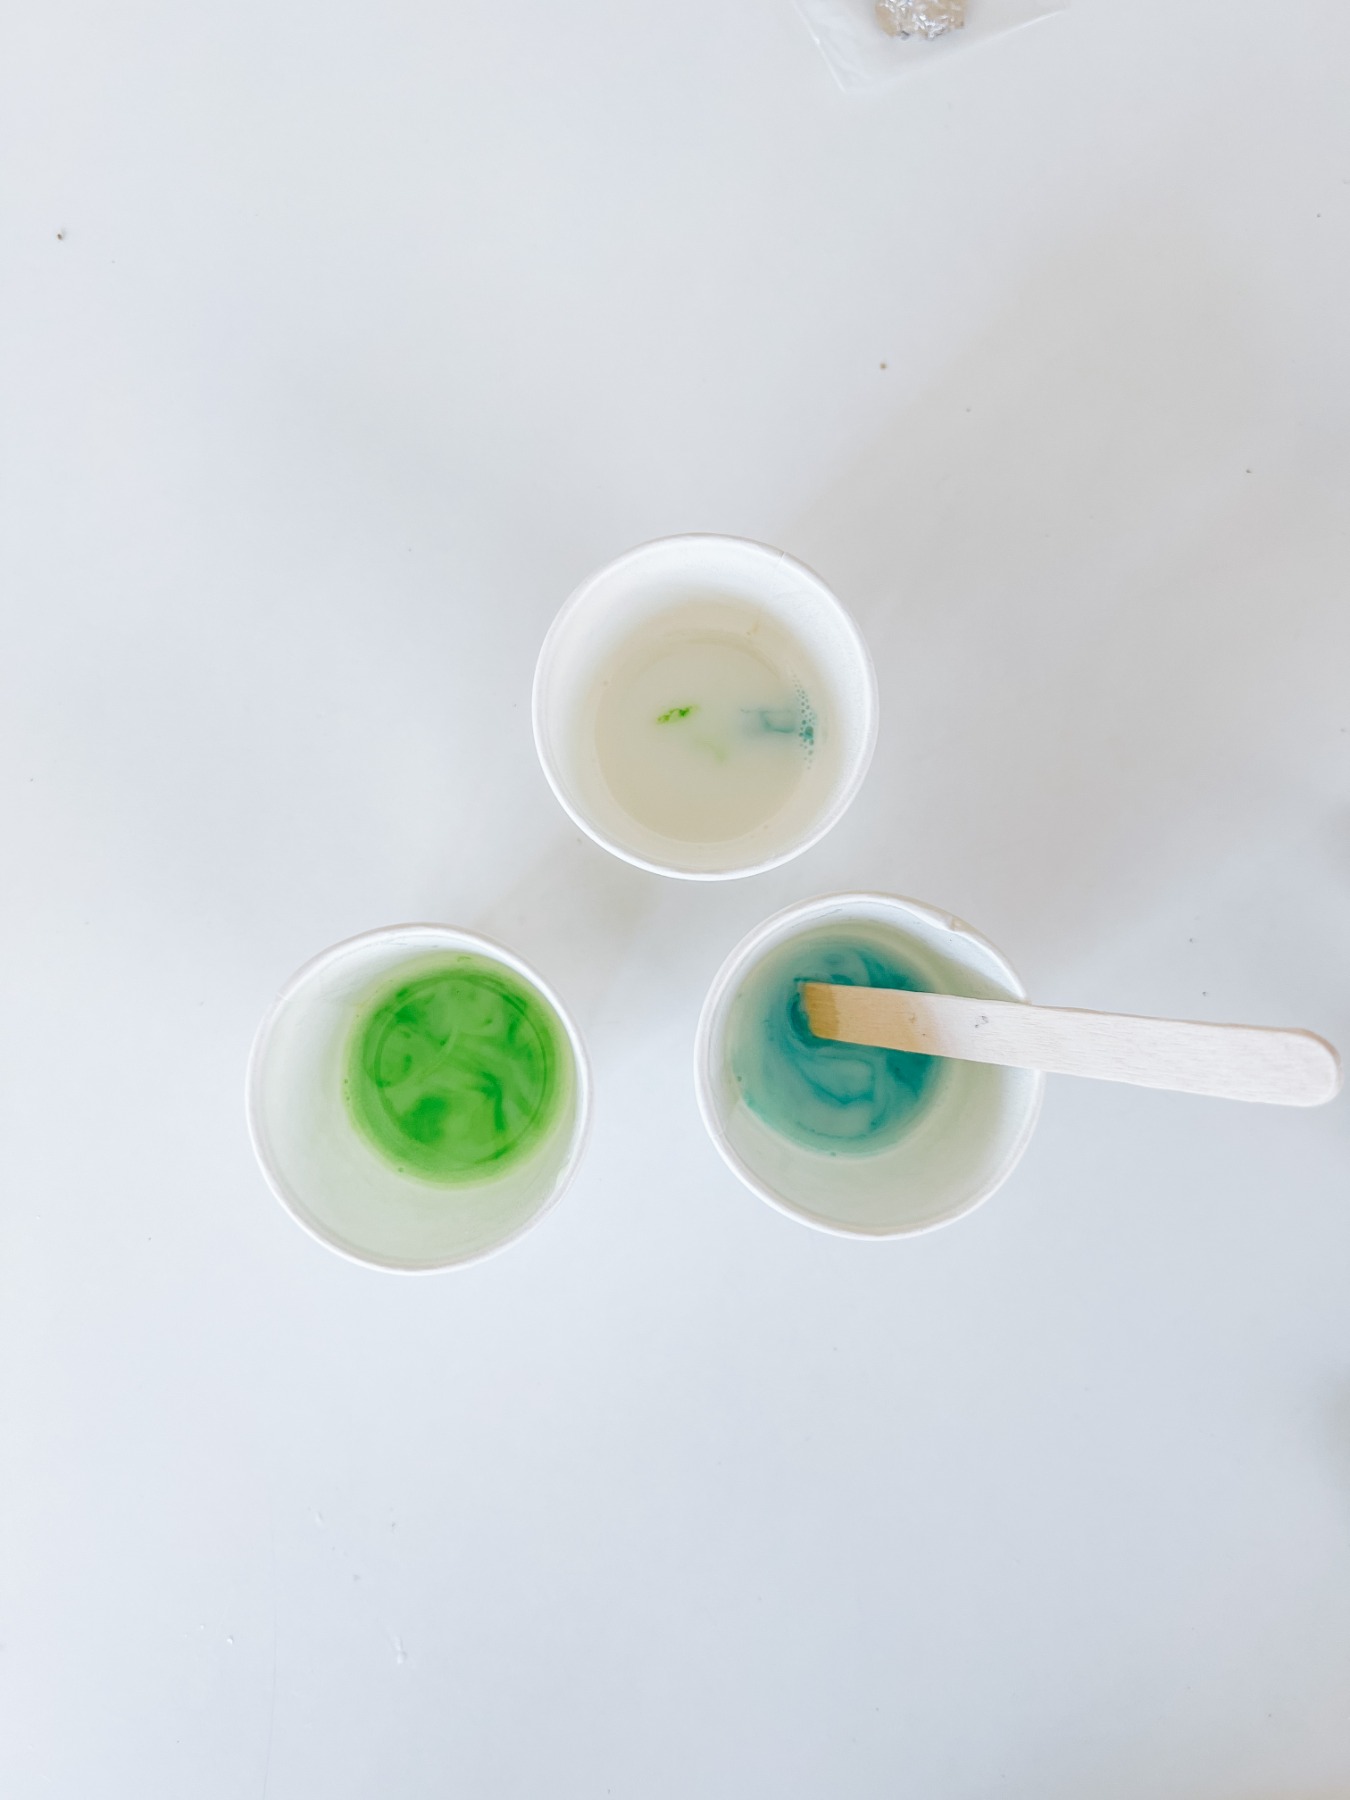
Stir the colorant into the melted soap. But you don’t need it to be perfectly mixed and even. If you just barely mix it, you will get striations of color – just like real gemstones!
For each color of soap, use a fresh popsicle stick to stir it. That way the colors won’t bleed together.
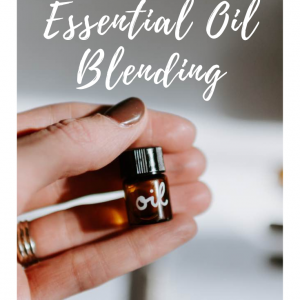
Add Your Essential Oils
Once your colorant is in the soap base, then add your essential oils. You should always add these last because much like soap base, essential oils can burn off easily. You want the scents to be released when you use the soap, but not when you are making the soap.
Thus, you will want to add the scents last.

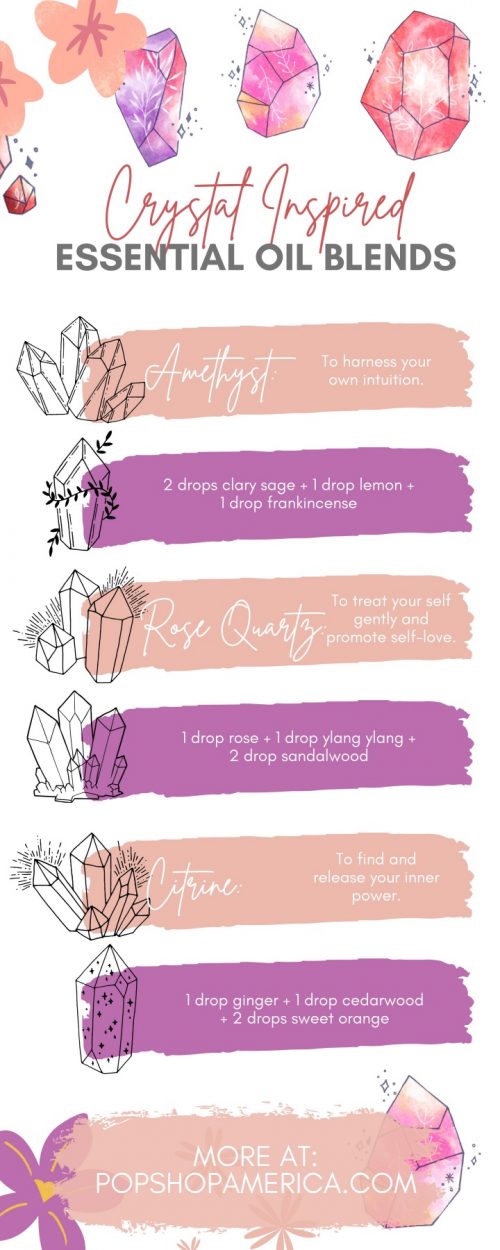
Of course, you can choose your own essential oils using any blending recipe you love. But here are a few that are gemstone perfect!
Add just 1-2 drops of essential oils per layer. You can even skip some layers if you like. Candle wax has a pretty high load for essential oils – meaning you can add a lot without it affecting the wax. But soap can handle having too many oils added. It will affect it’s ability to set and the texture.
So add minimal essential oils.
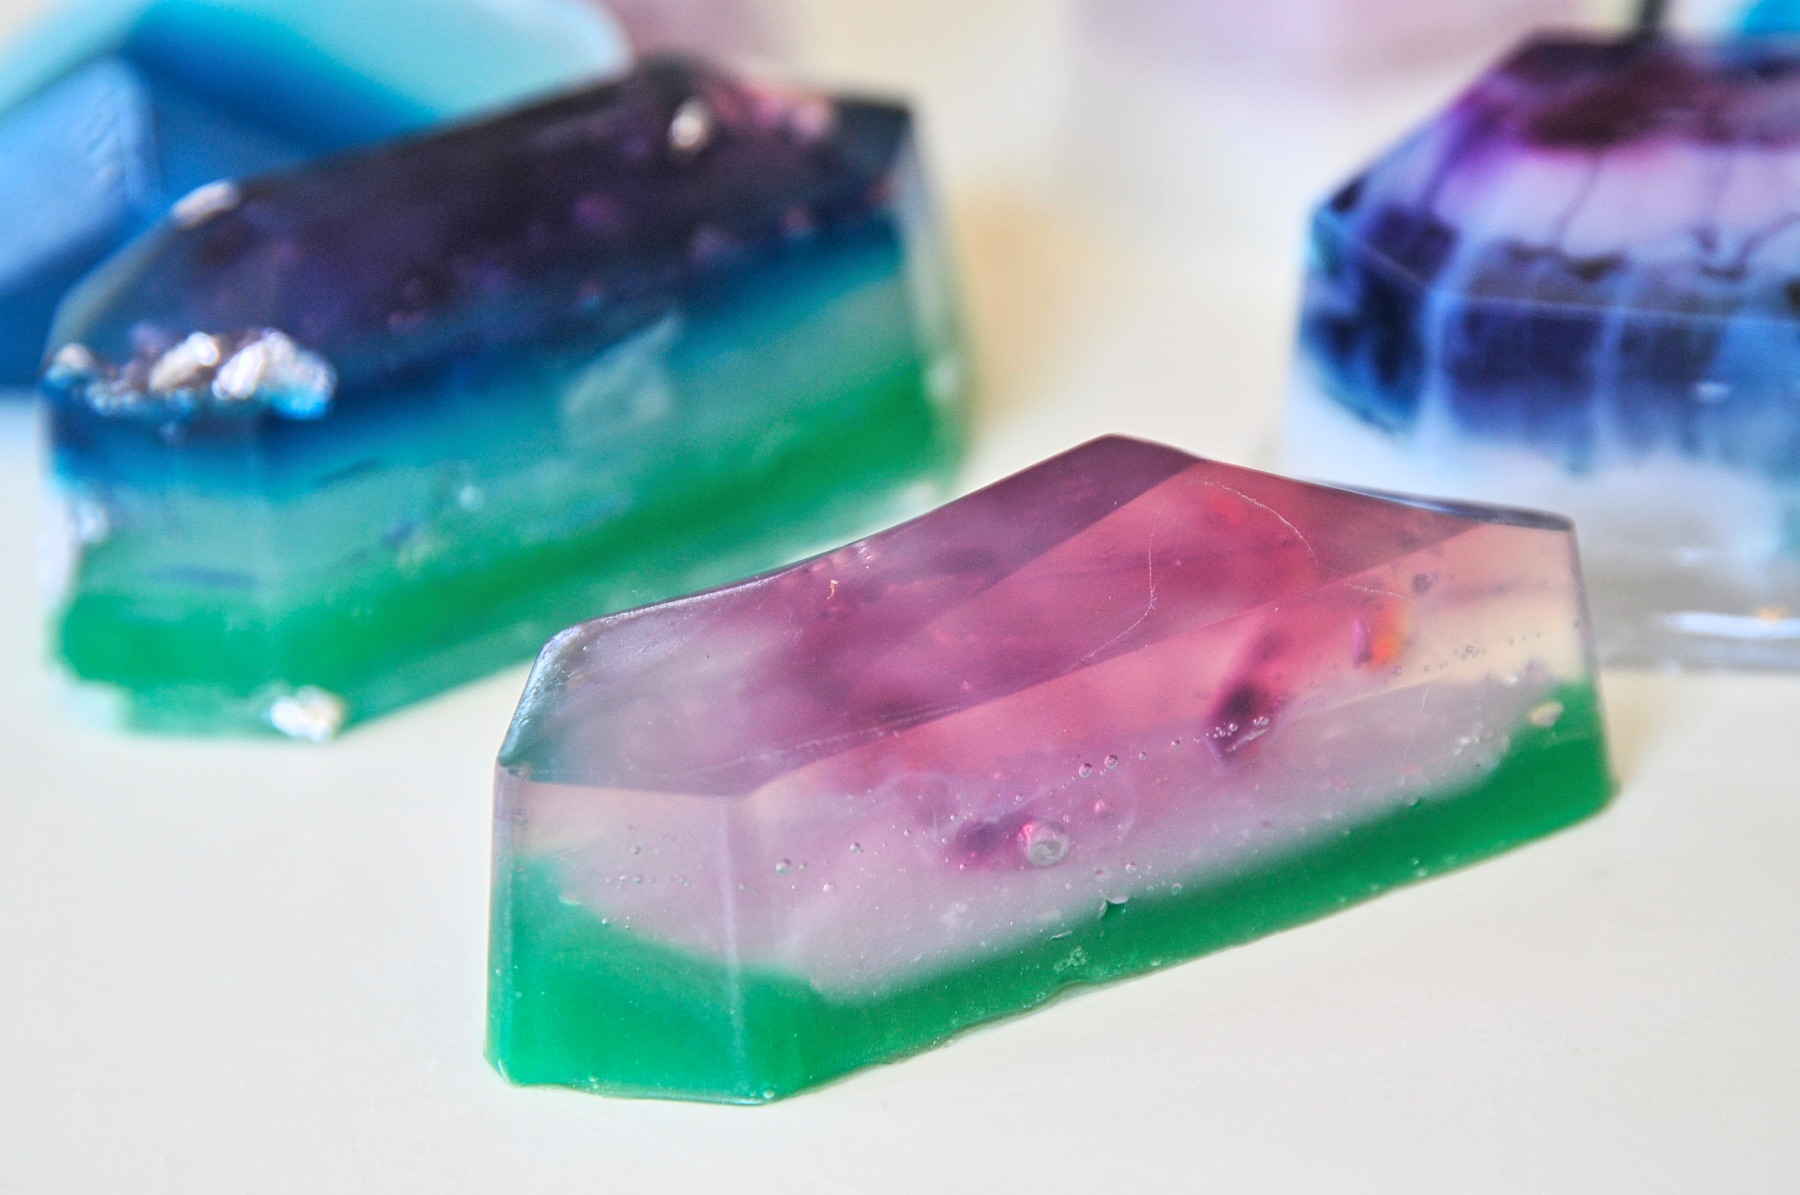
Layer the Soap
Once you have your colors and scents added, pour the soap base into the gemstone soap mold cavities but don’t fill them.
Just add small layers. Make some of the layers thick and others thin.
Then repeat the process of adding more soap cubes to your cups, melting the soap, and adding colorants and scents.
Now when you pour your 2nd round of soap layers into the soap molds, make sure that this layer is somewhat different in color than your first layer. Make sure to alternate using white soap, clear soap or a mix of the 2.
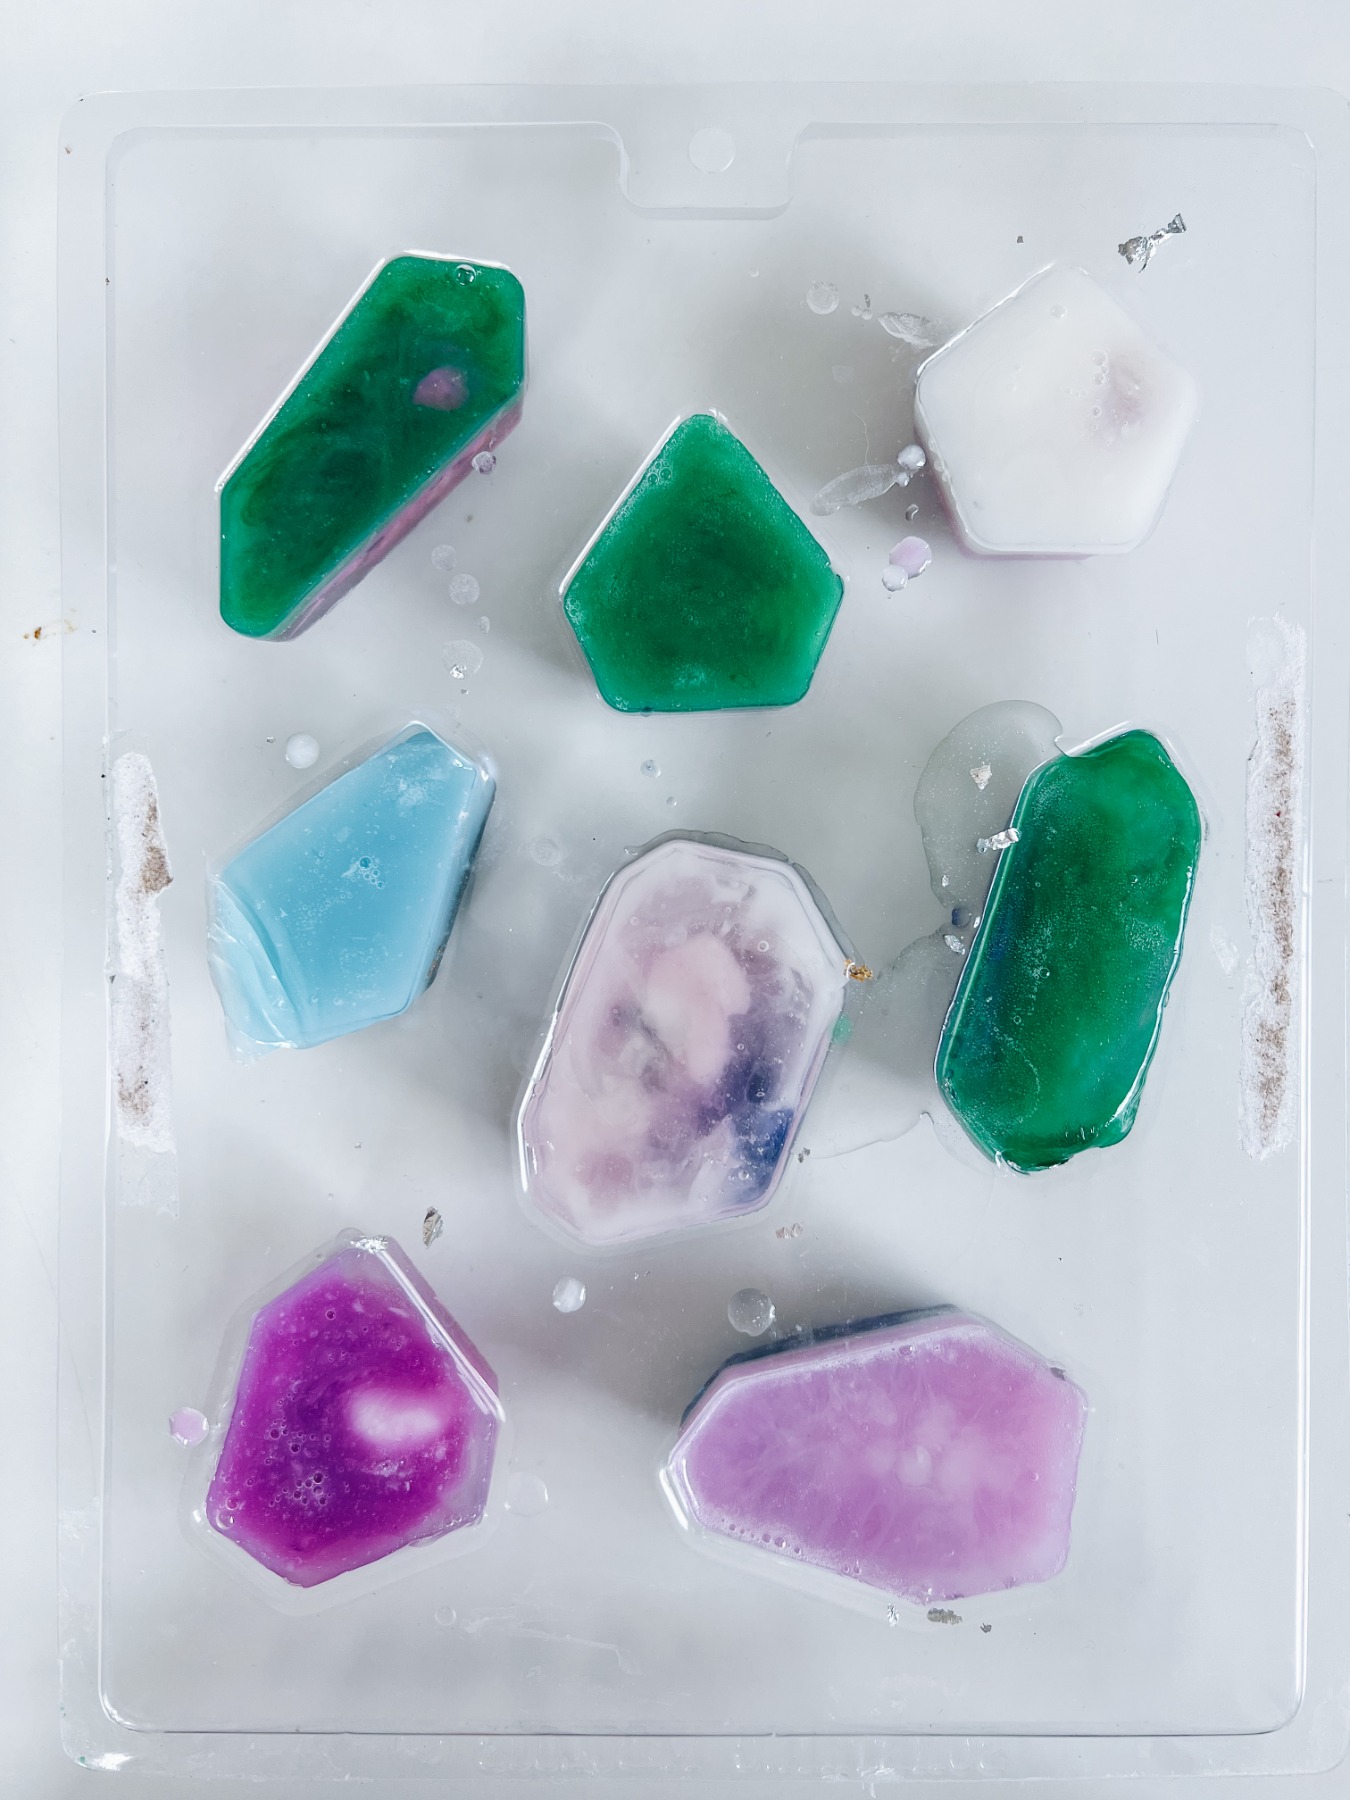
And each time you pour a layer, make sure that layer spreads evenly across the entire surface of the soap mold. Gemstones always have even layers so it will help the overall affect. Continue to layer the soap until all the gemstone cavities are filled.
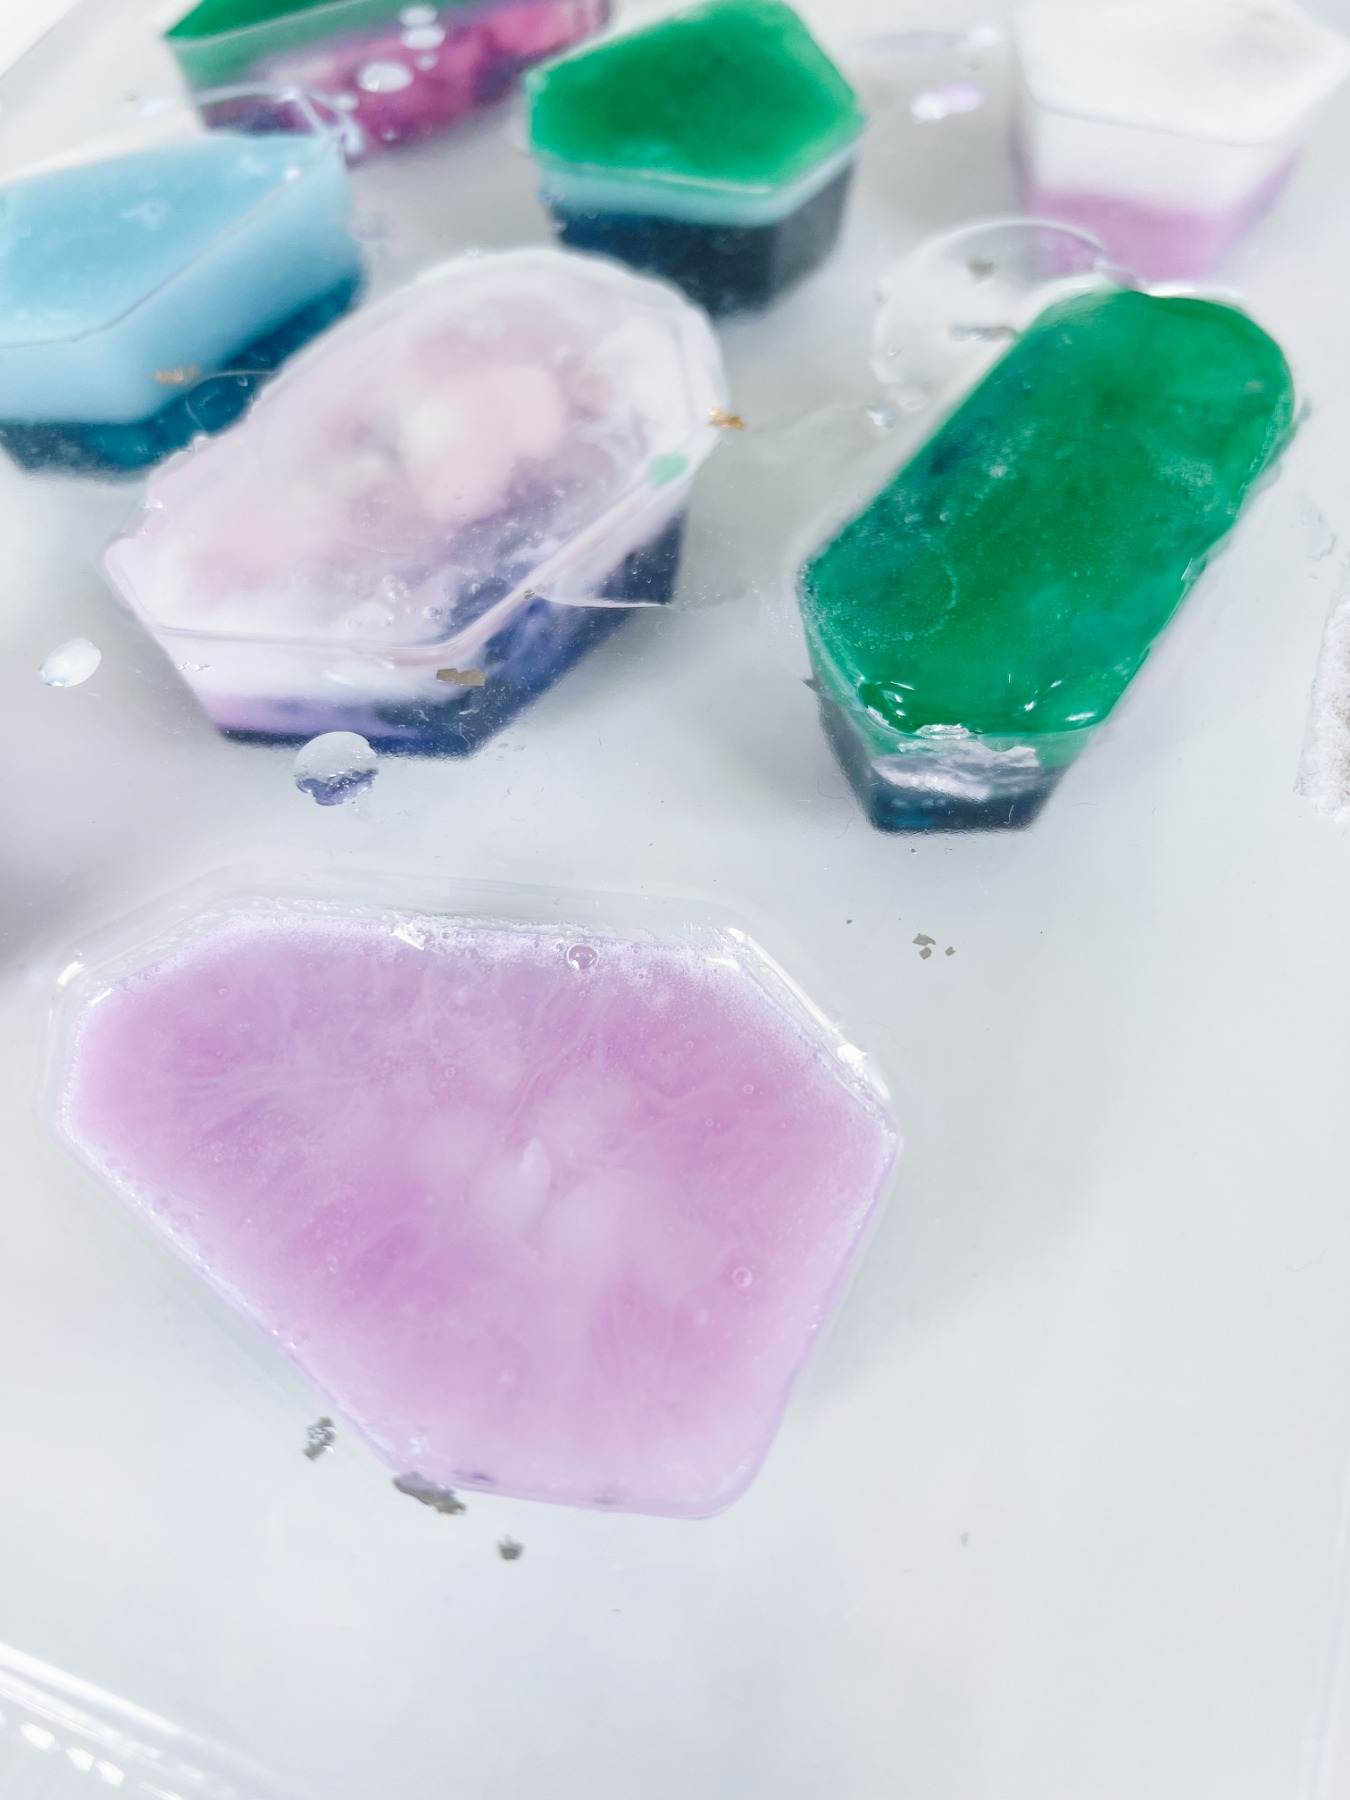
Next, let your soap set in the molds for at least 1-2 hours. Overnight is even more ideal! When you are ready to remove the soap from the mold, start with the center pieces.
It will help you have a stronger grip and then you can work from the interior to the exterior soap pieces. Press each side of the soap mold. Each individual facet will need to be gently pushed and pressed for the soap to come out. It’s not easy because gemstones have so many sides! But give it some time or even get someone with really strong hands involved.
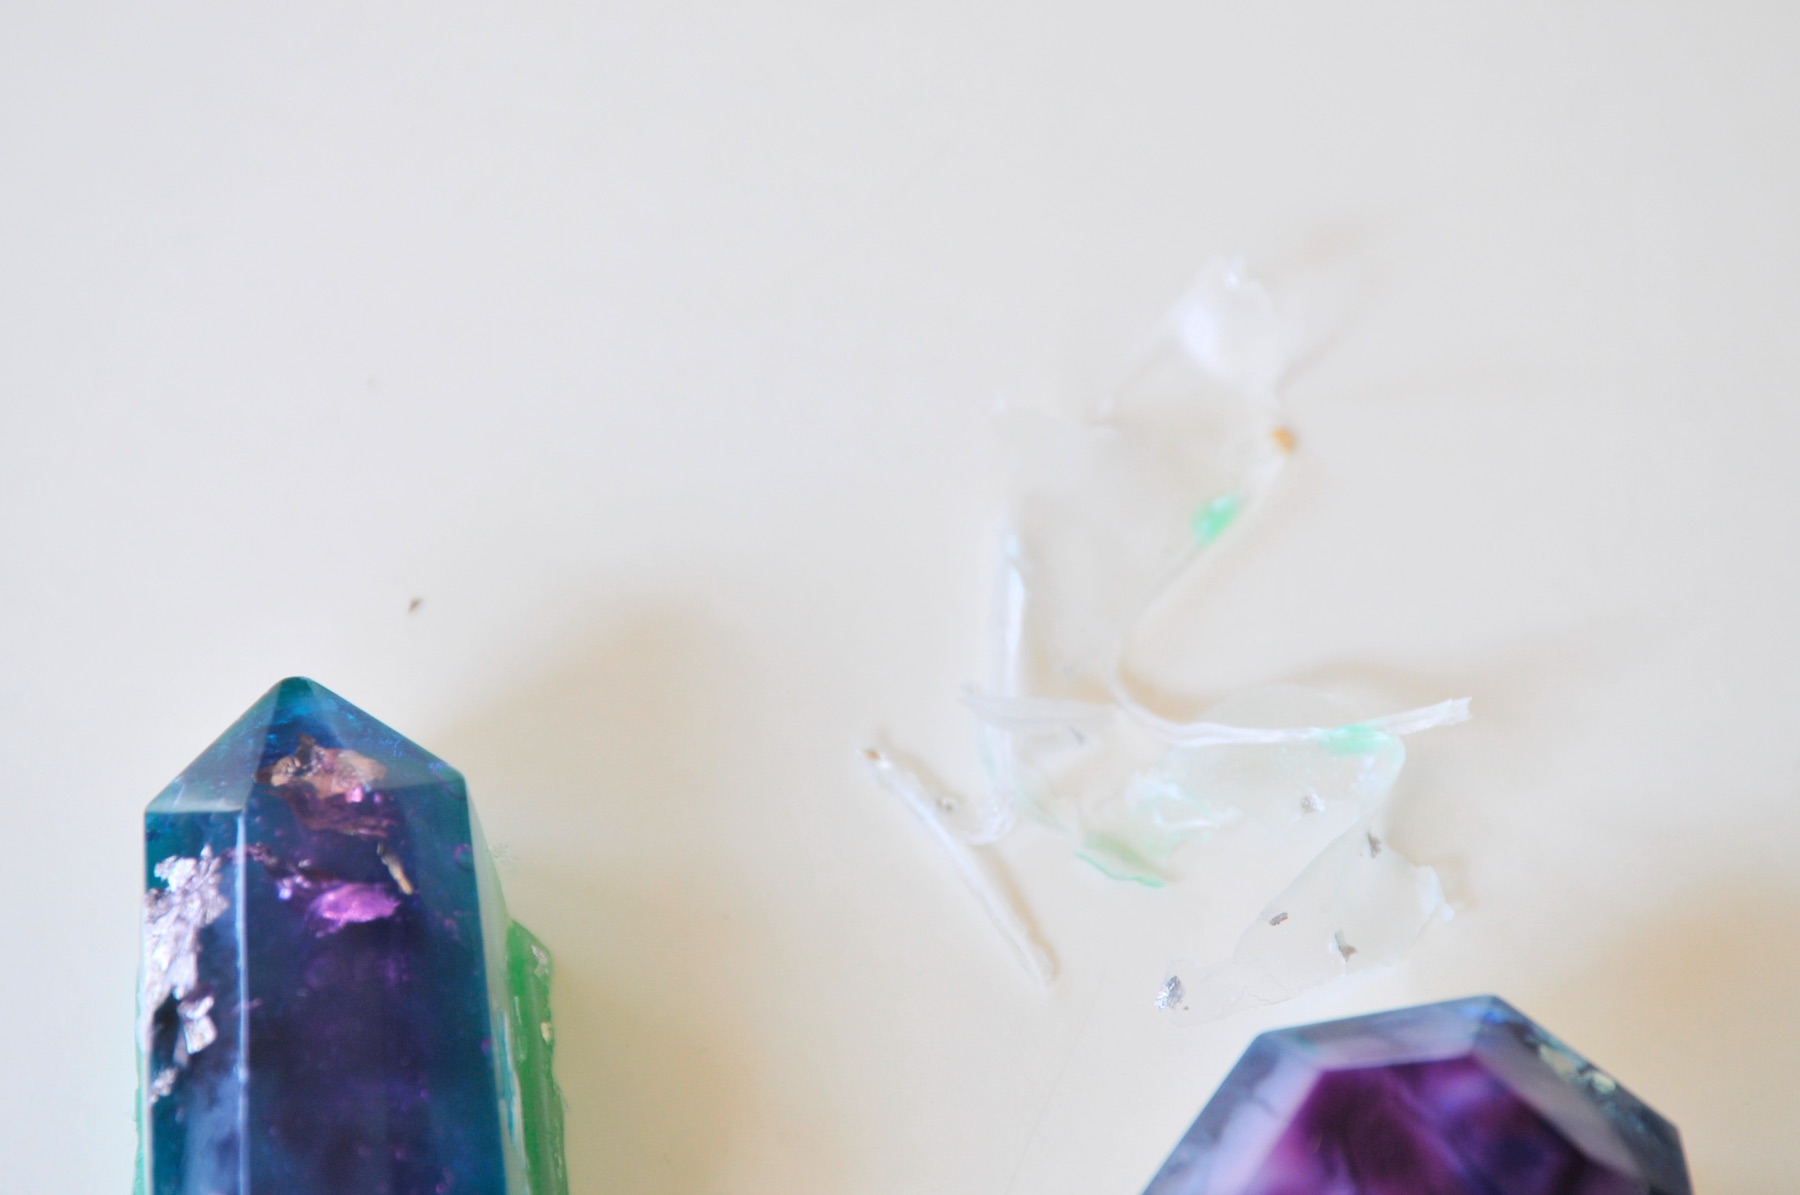
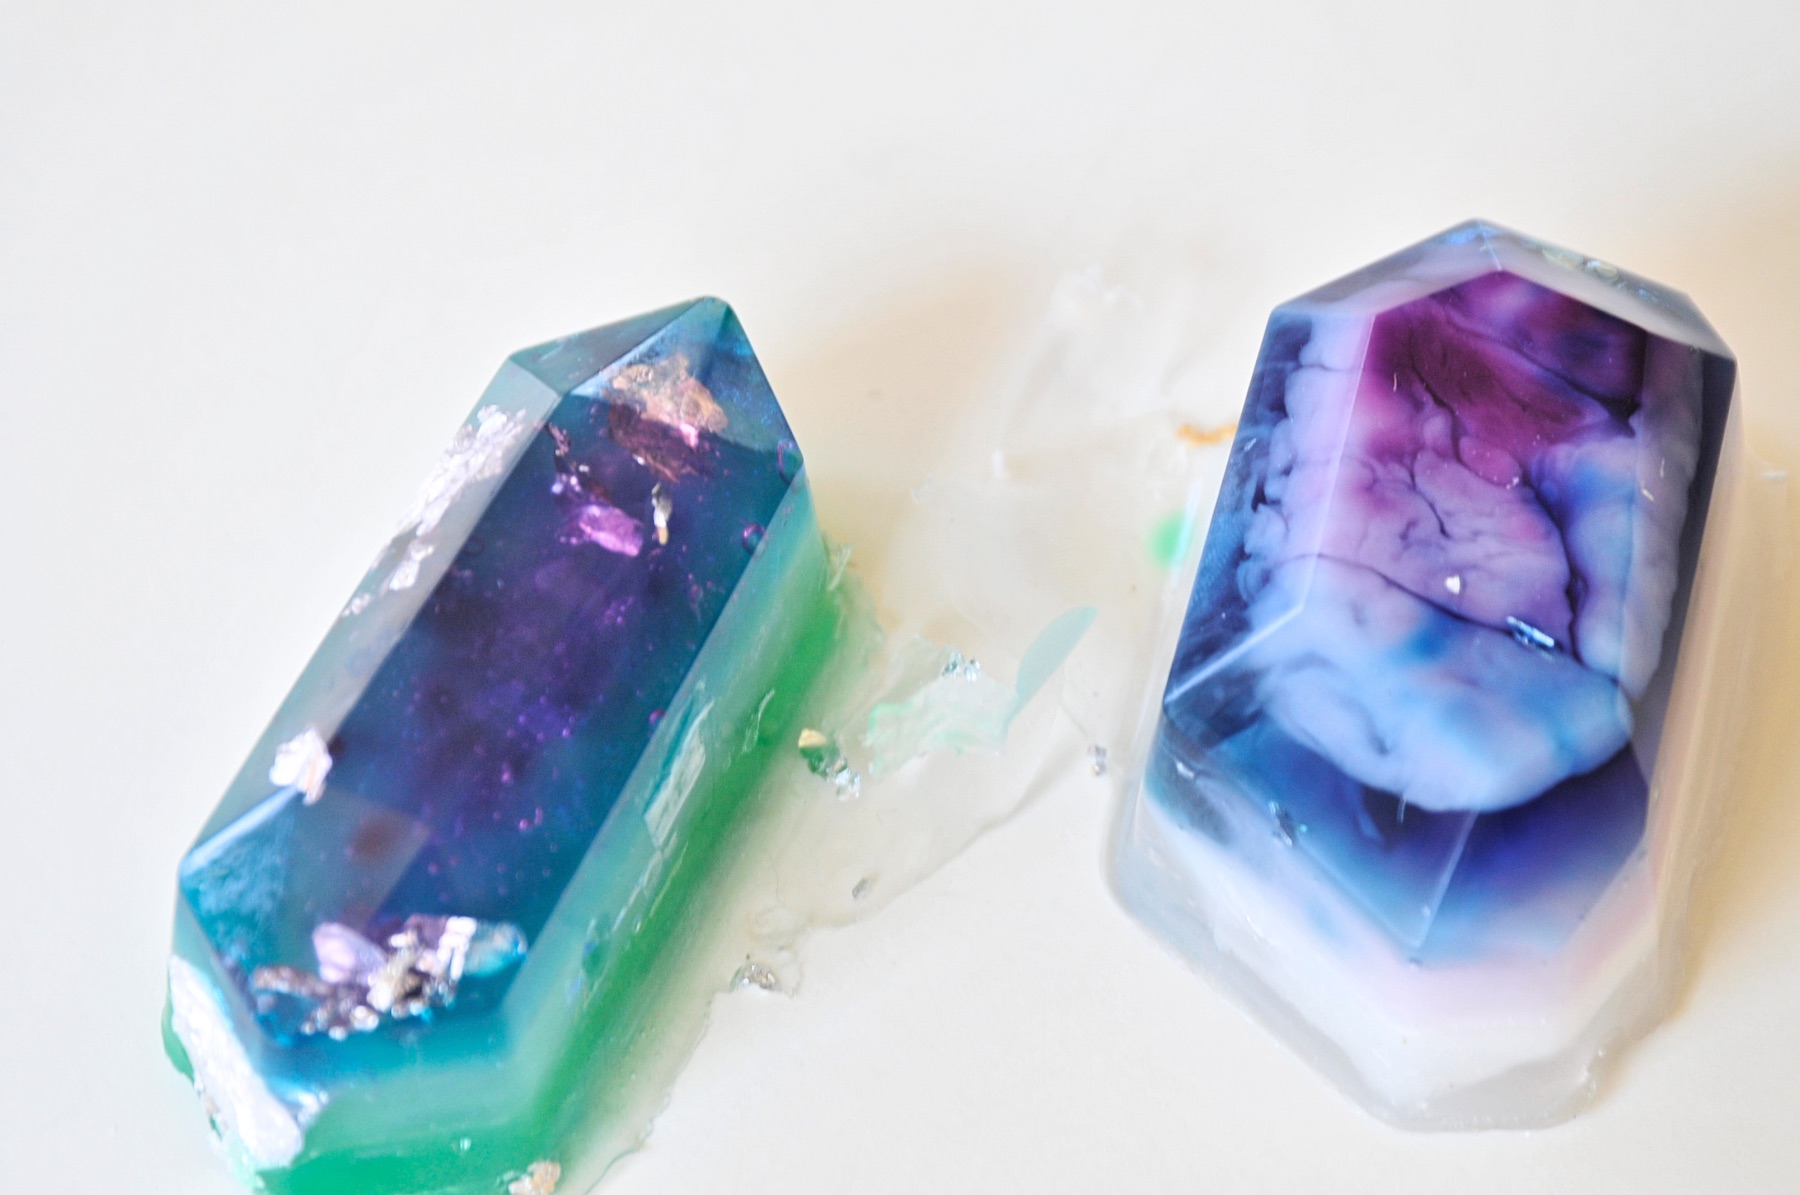
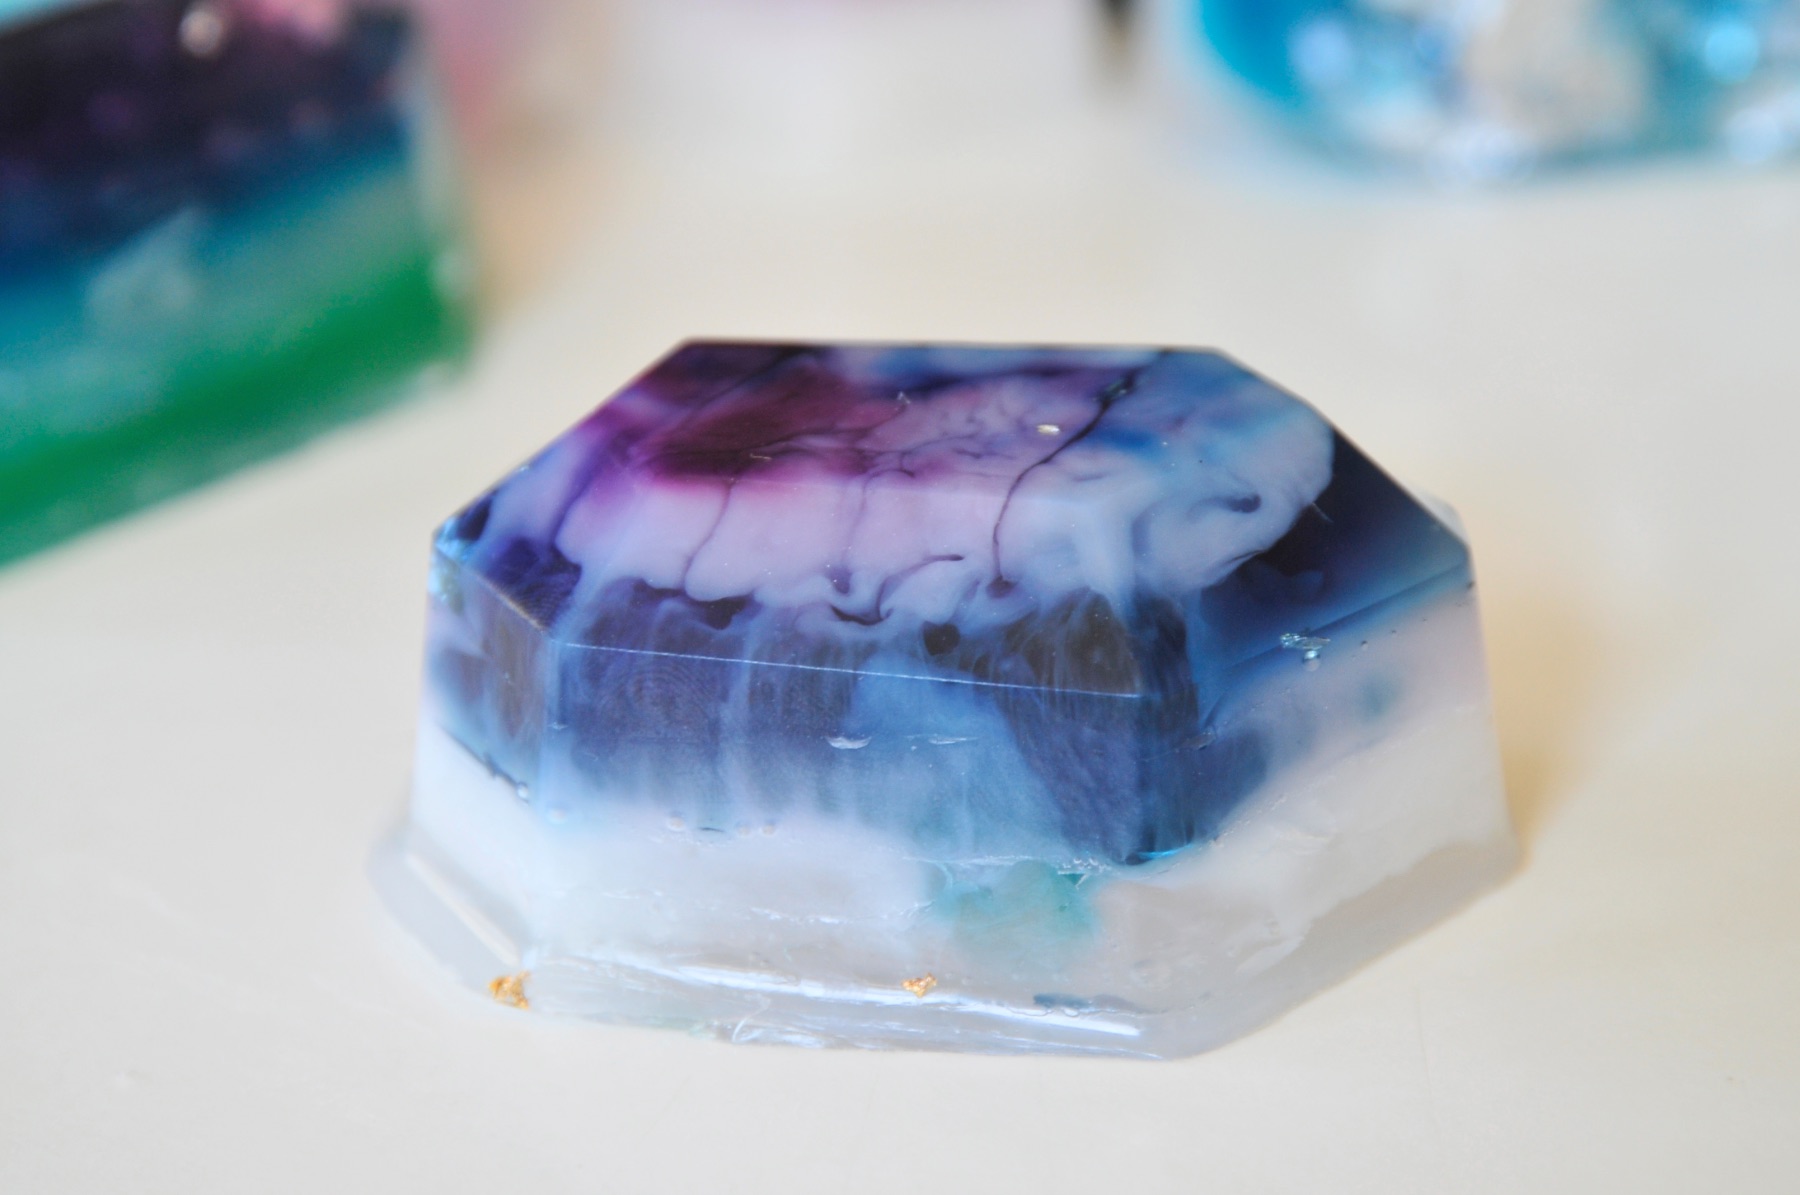
Cut Off the Excess
If you end up with any messy pieces attached to your soap, use a knife to cut it off. Just cut neatly and gently along the edge of the gemstone.
A serrated edge will show, so you may want to use a knife that’s smooth.
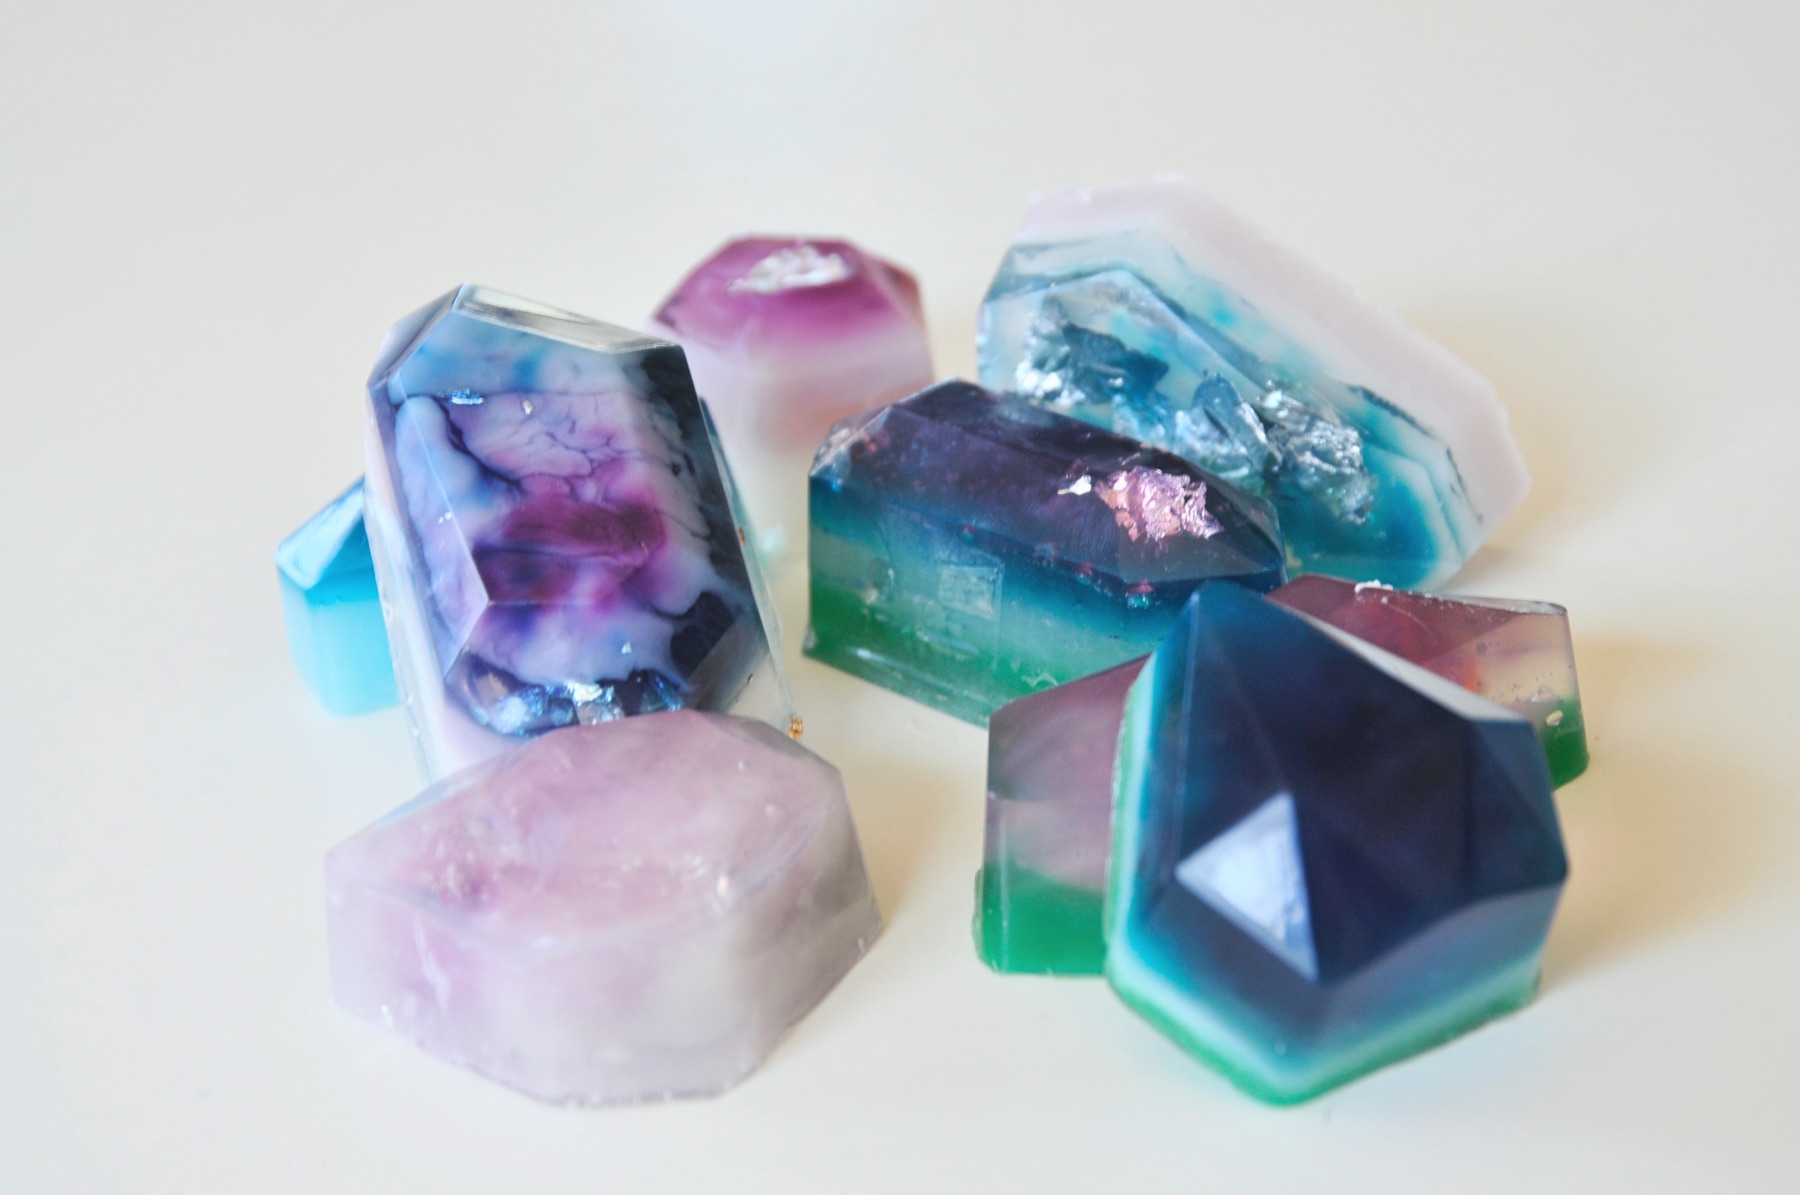
That excess can be remelted or can just be thrown away. Once your excess edges are removed, your soap is finished!
So place it in a gorgeous dish and set it in a guest bathroom.
Or give it as a gift to someone you truly love! If you aren’t happy with the way your soap turned out, remember that your soap mold can be used again and again. Just be sure to clean it completely and thoroughly and only use it when it’s perfectly dry.
To avoid damaging your mold so you can continue to use it, always remove the center pieces of soap first. It will give you more leverage to remove them and prevent cracking or breaking the mold.
If you do crack the mold, you can usually seal the edges with just a touch of painter’s tape.
And if you’ve now fallen in love with soap making, here are some of my favorite soap making recipes! You can use dried flowers, orange peel, dried herbs and so many different ingredients.
You can add oils to make a more moisturizing soap or add essential oils like we did with this DIY Gemstone Soap!
And if you love this project, get the kit to make your own DIY Gemstone Soap here. It comes with all the supplies we used in this project – and enough soap to make 2 trays of gemstones.
Let’s Stay Friends!
Insta | Pinterest | Enews | TikTok