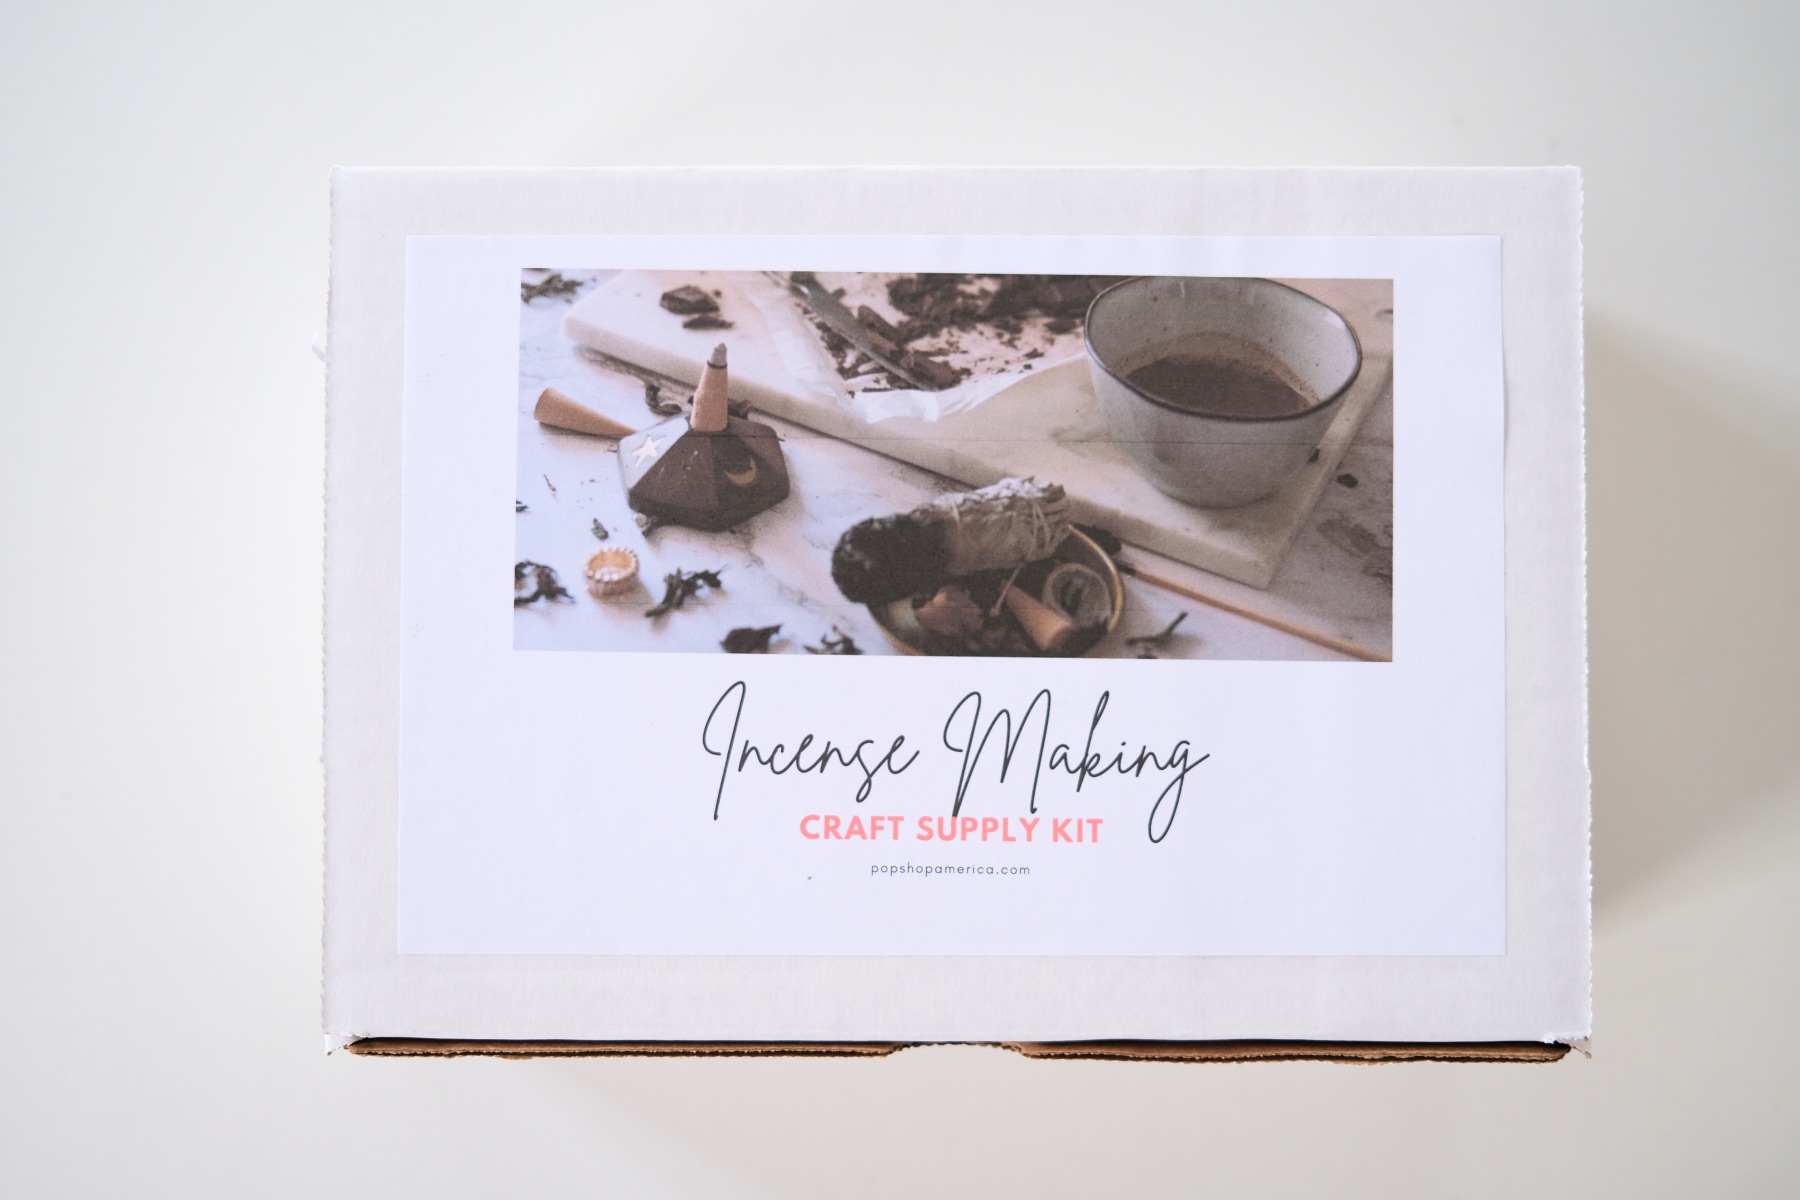
Craft in Style Subscription Instructions, DIY
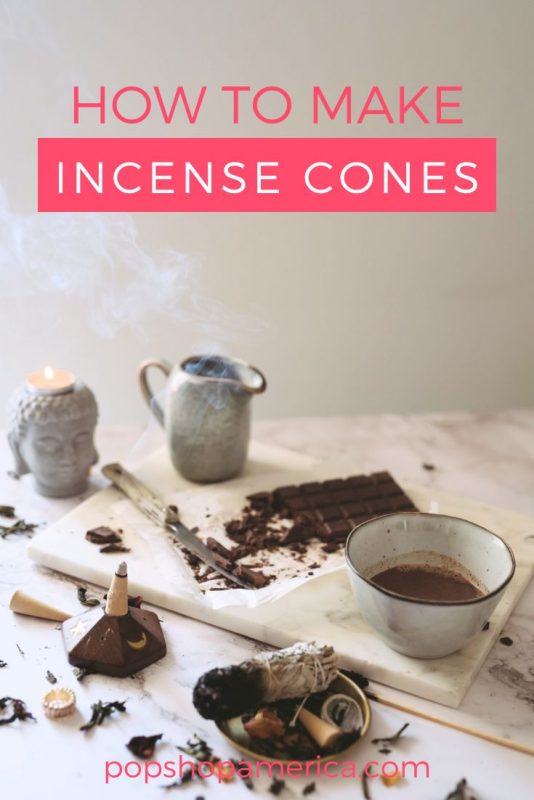
How to Make Incense Cones
Oct
This blog is the part 1 of 2 tutorials for the October Craft in Style Subscription Box. Tutorial 2: How to Make a Marbled Clay Dish can be found here. You can find previous box tutorials, more about this box, and other Craft in Style Boxes here.
In the mood for a craft that’s perfect for setting the mood? Making your own incense is easier than you think and so much fun. Plus, you can customize your own scents. You can use all your favorite herbs and even make scents based on your mood and personality. So let’s make it!
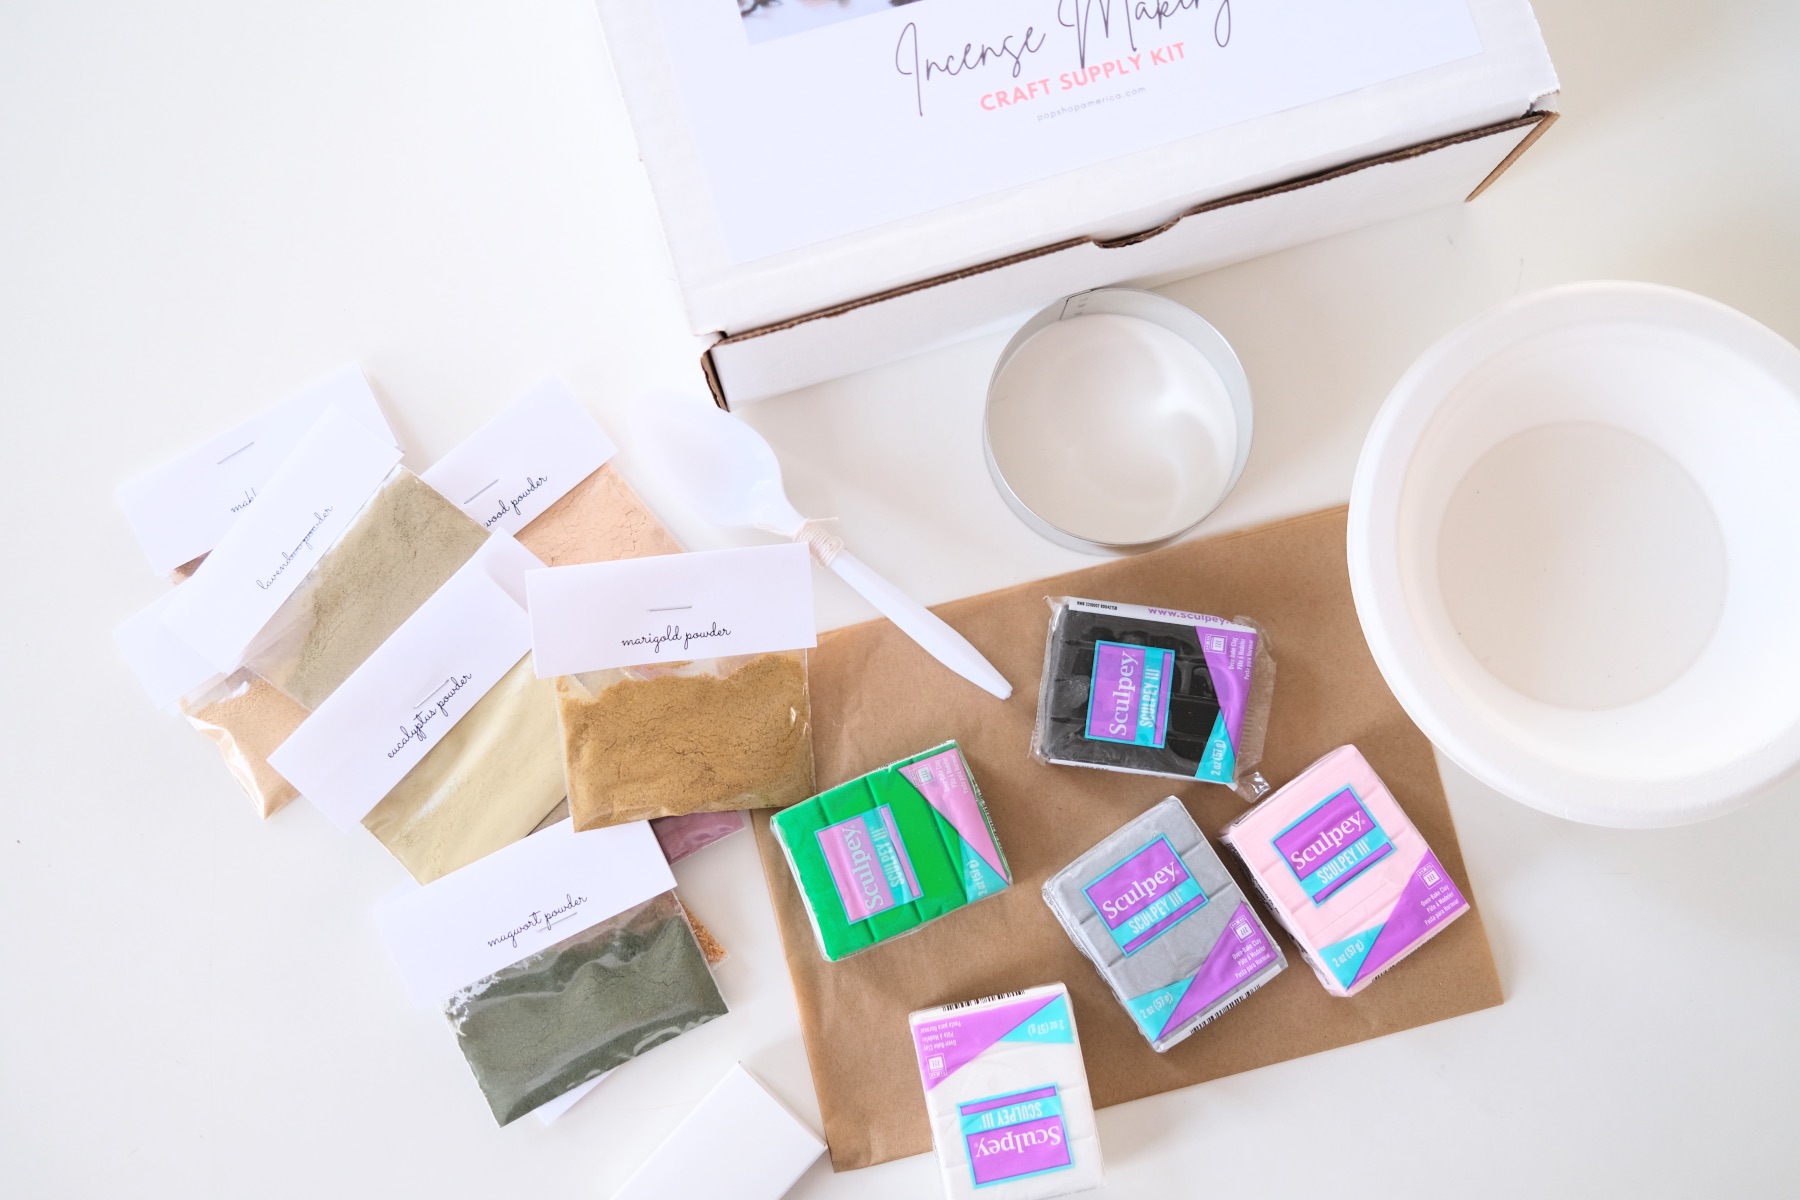
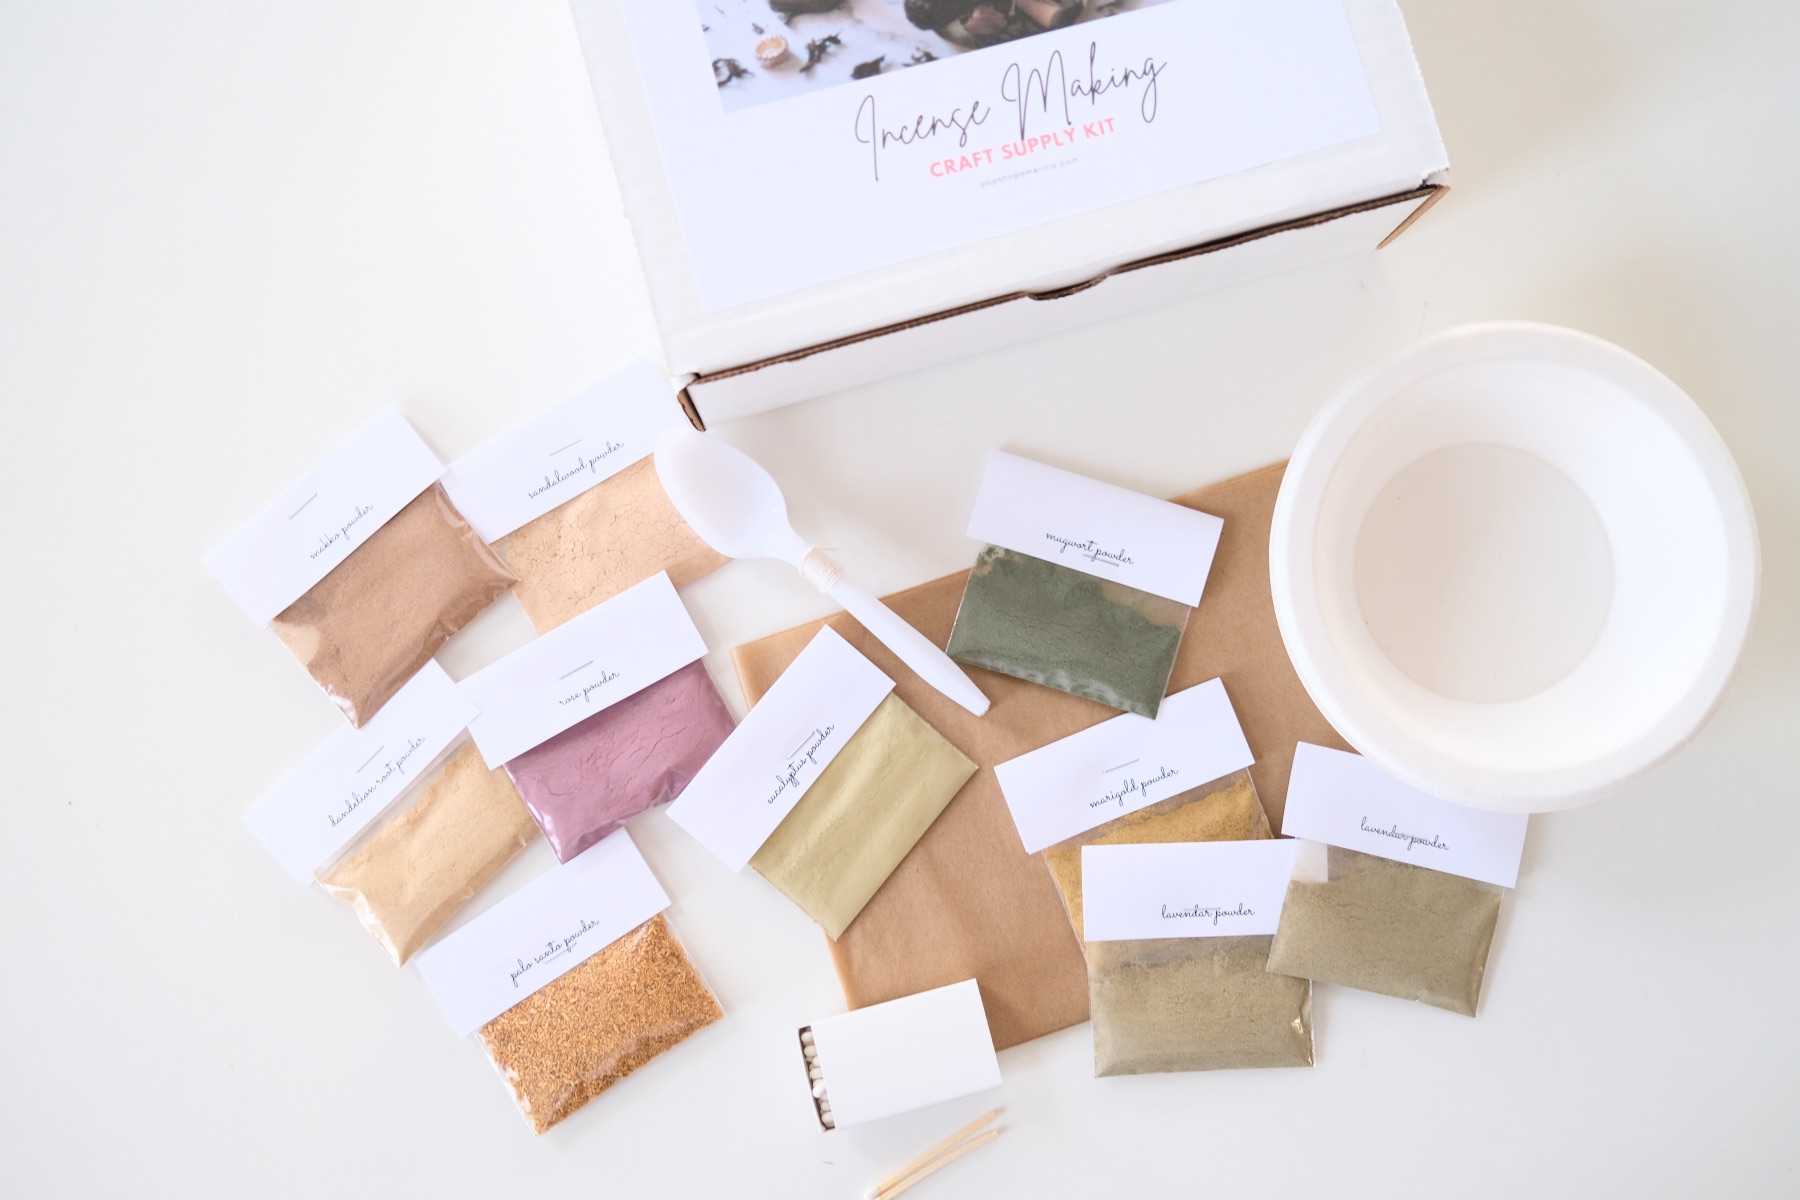
Supplies to Make Incense Cones
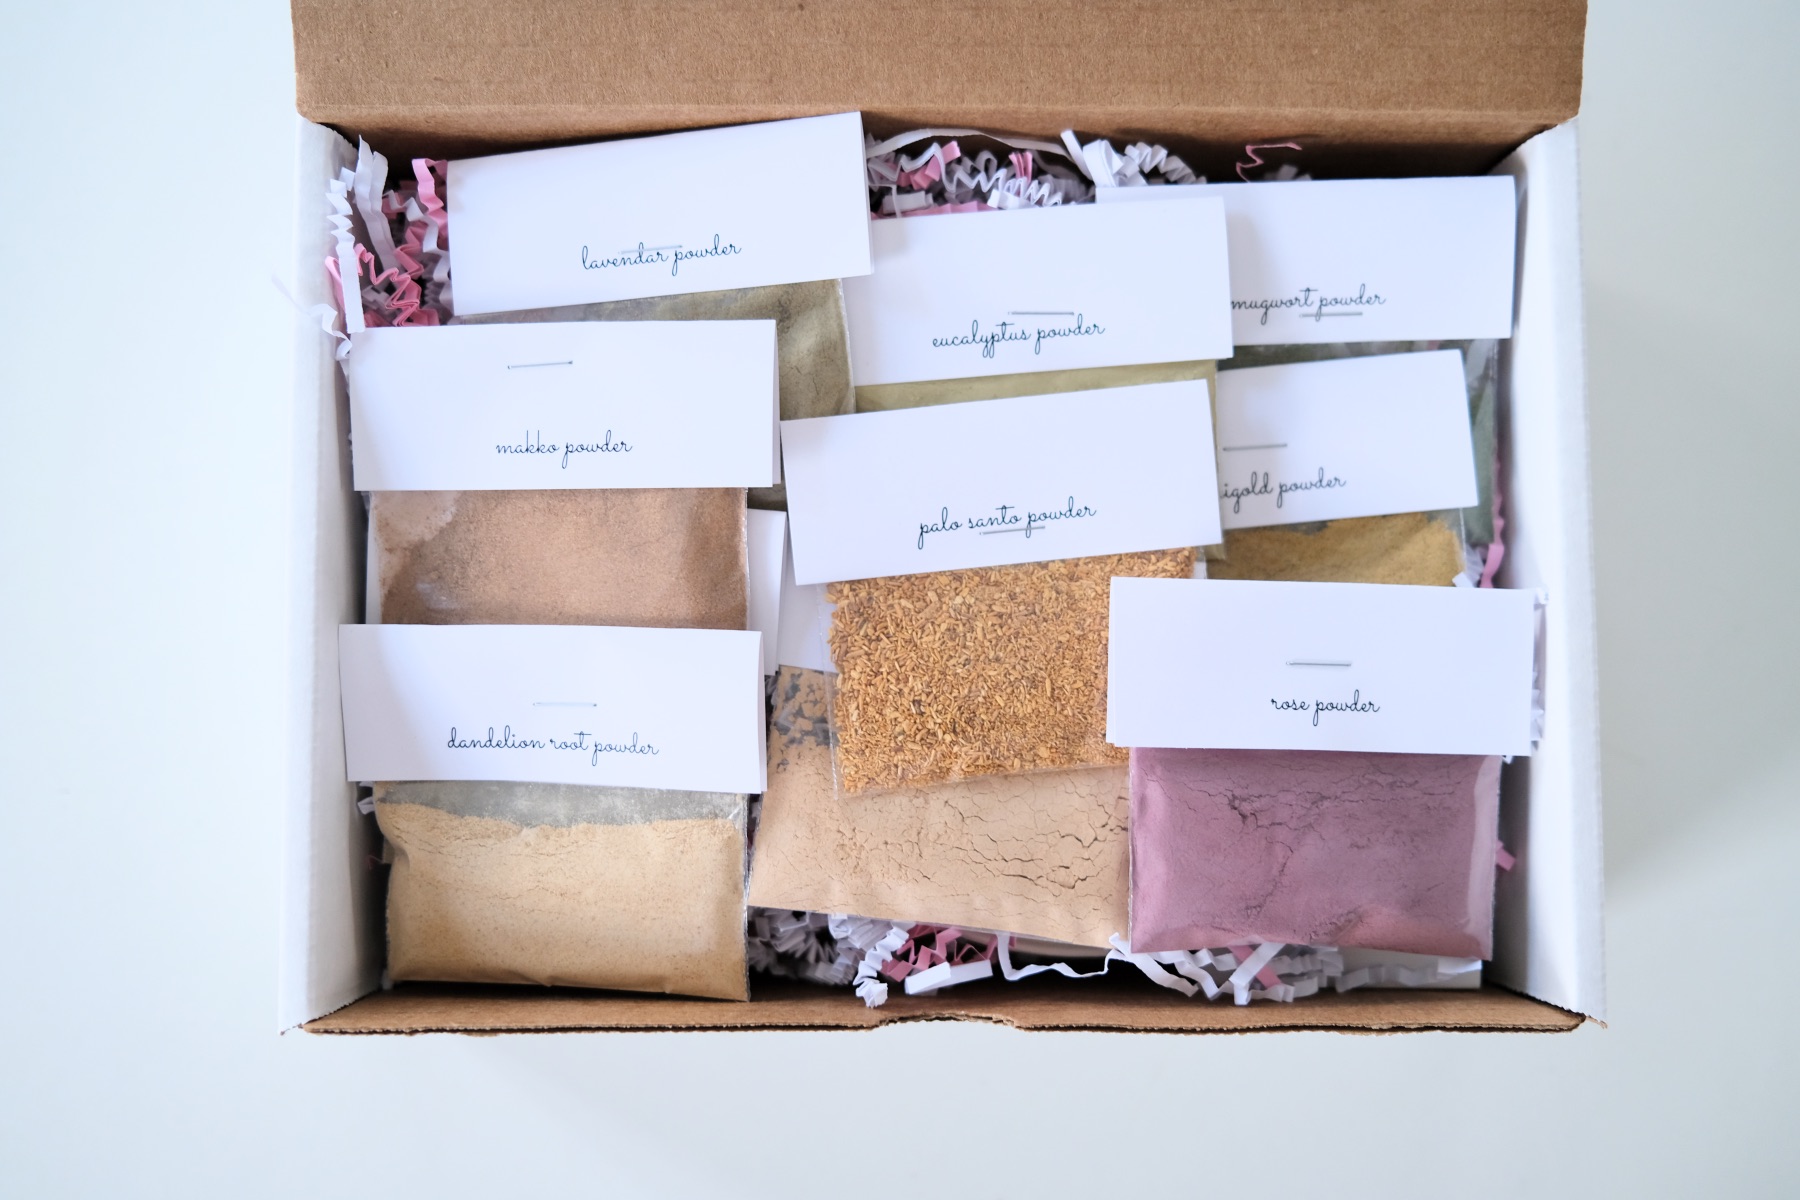
Pop Shop America DIY Incense Making Kit
-or-
An Array of Dried Herbs (more details below)
Such as: Sage, Palo Santo, Sandalwood, Lavender, Rose, Mugwort, Catnip, Juniper
Makko Powder or Marshmallow Root Powder (or both)
A Dish or Place to Set Your Incense to Burn It
Parchment Paper
Bowls, Spoons
Water
Quick Tip: The basic incense recipe is 2 parts herbs to 1 part makko powder or marshmallow root powder. You can use any blend of herbs.
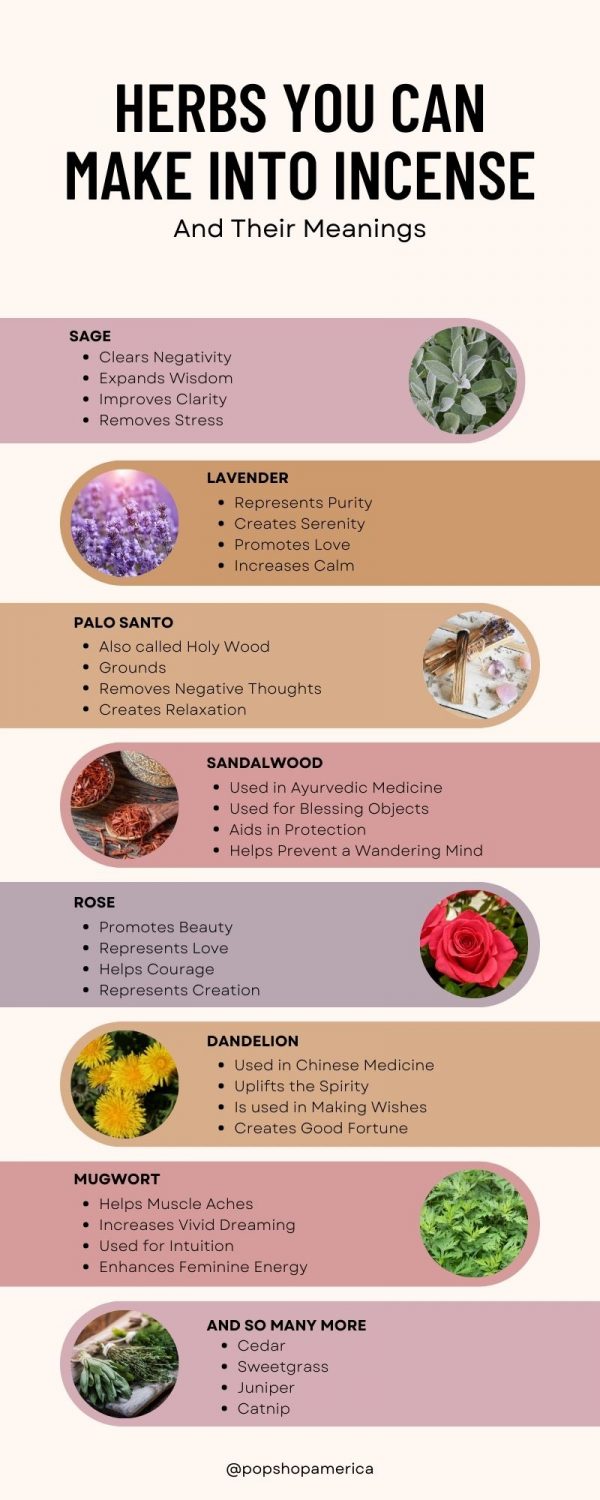
Step 1: Choose Your Herbs
You can make incense with just one herb, but most people prefer to make blends. I know I do! You can choose your herbs just by smell. Open up all your different herbs and see what strikes you in the moment.
We also have a few recipe below.
But I also like to choose what herbs to used based on their meaning and how they’ve been used historically. Most of the herbs used for making incense have healing properties have been used in Ayurvedic or Chinese Medicine or were used by native people for spiritual purposes.
We have a handy chart that you can follow here too!
Incense Recipe Ideas
Room Cleansing Blend
1 part Palo Santo
1 part Sage
1 part Lavender
1 1/5 part Makko Powder
Happiness Blend
1 part Dandelion Root
1 part Lavender
1 part Makko Powder

Promote Change Blend
1 part Eucalyptus
1 part Mugwort
1 part Makko Powder

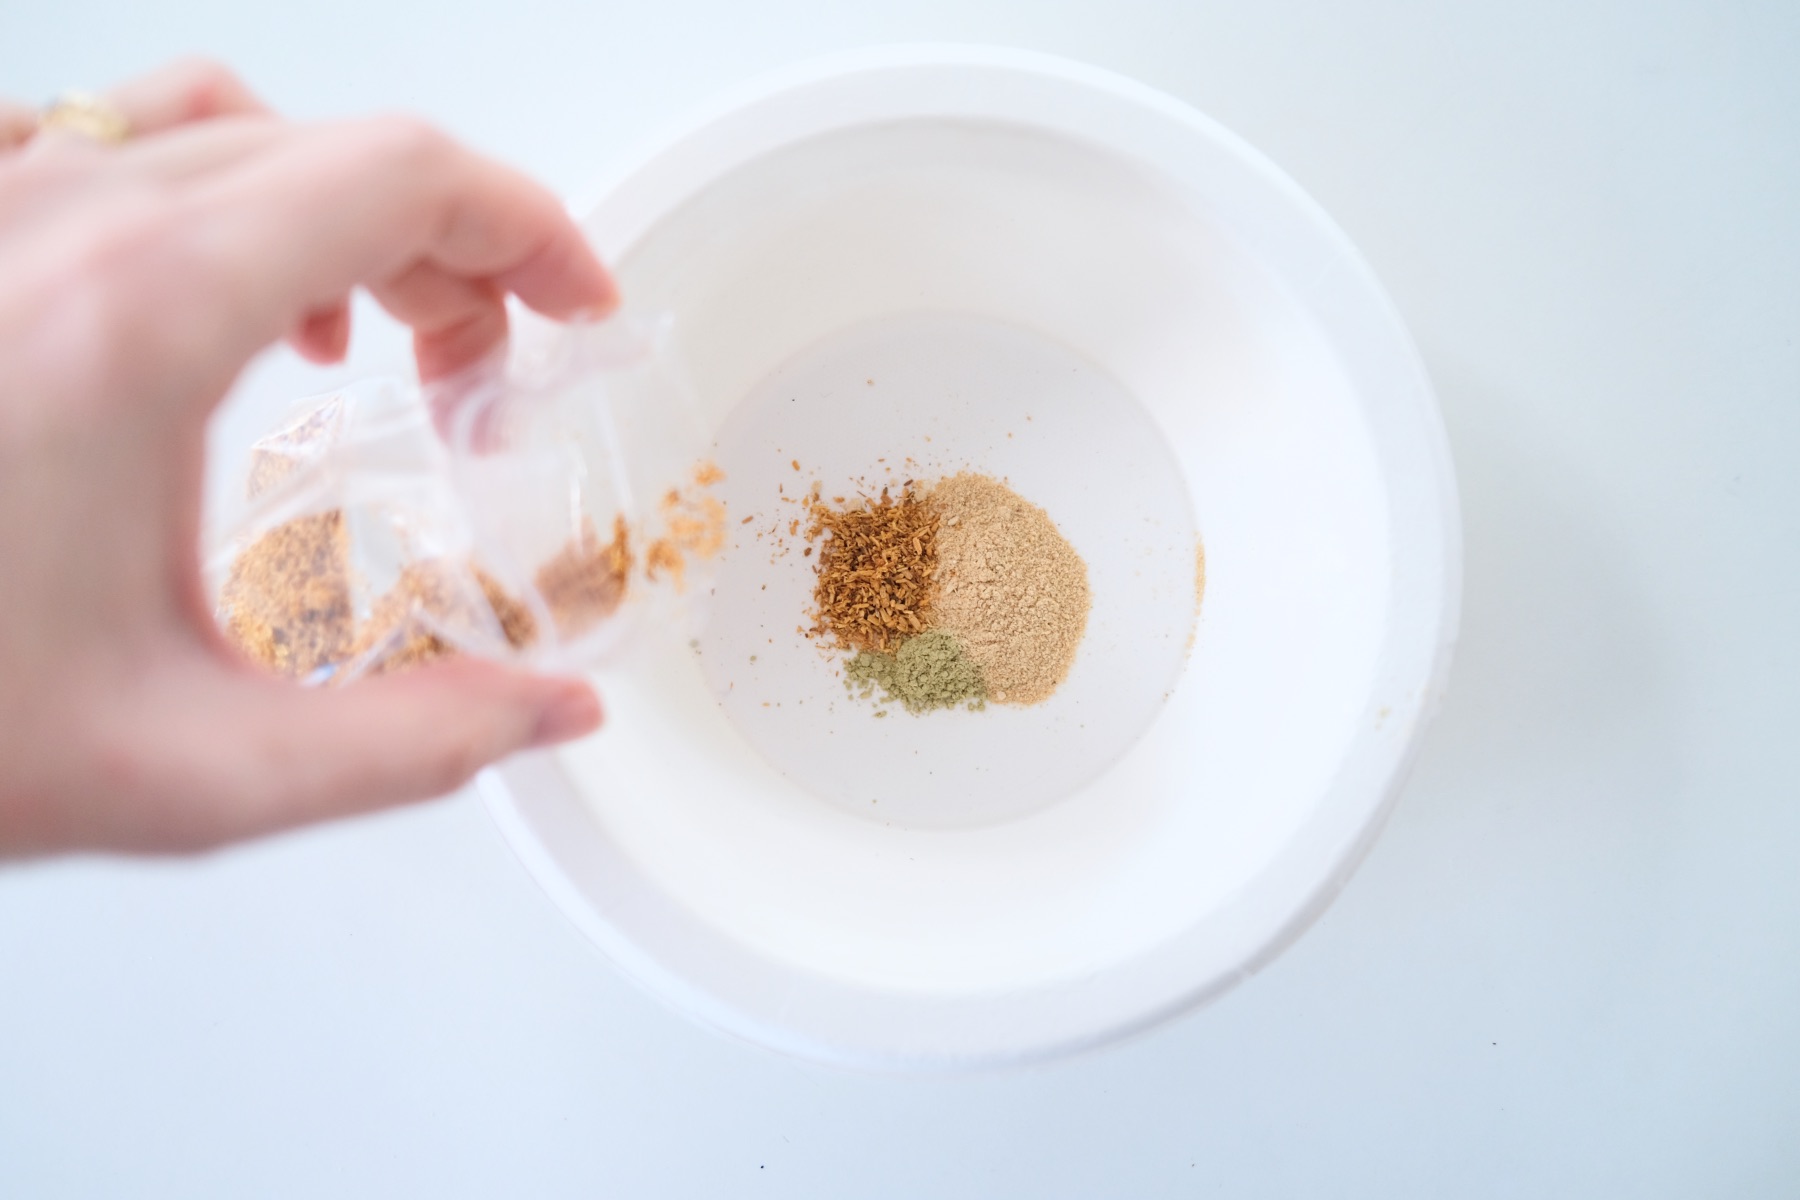
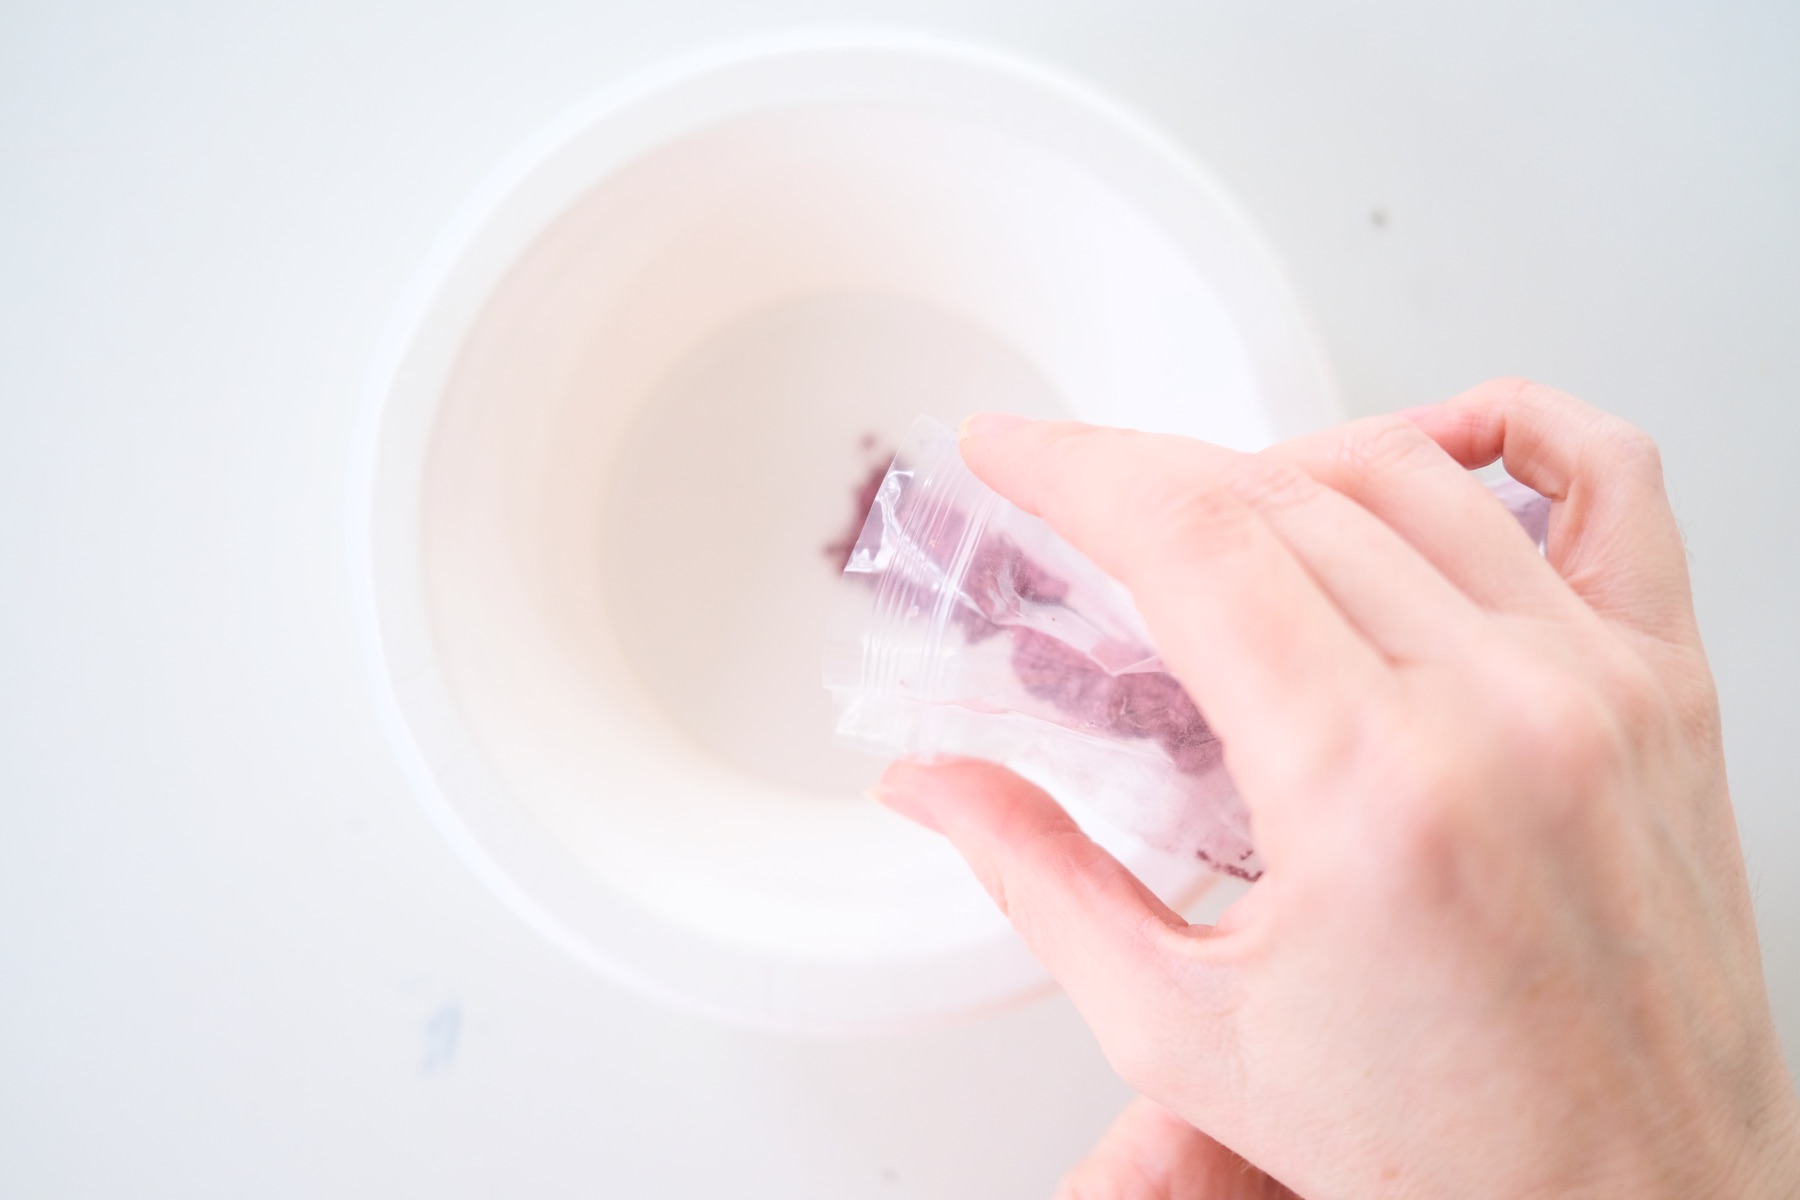
Step 2: Add Your Herbs to a Bowl
Once you have your herbs selected add a small amount to a bowl. I recommend starting with around 1/2 teaspoon to 1 teaspoon of each herb. Each cone that you make is only around 1-2 teaspoons of herbs and makko total. If you start with small amounts, you can make just a few cones. It’s a great way to test you recipe.
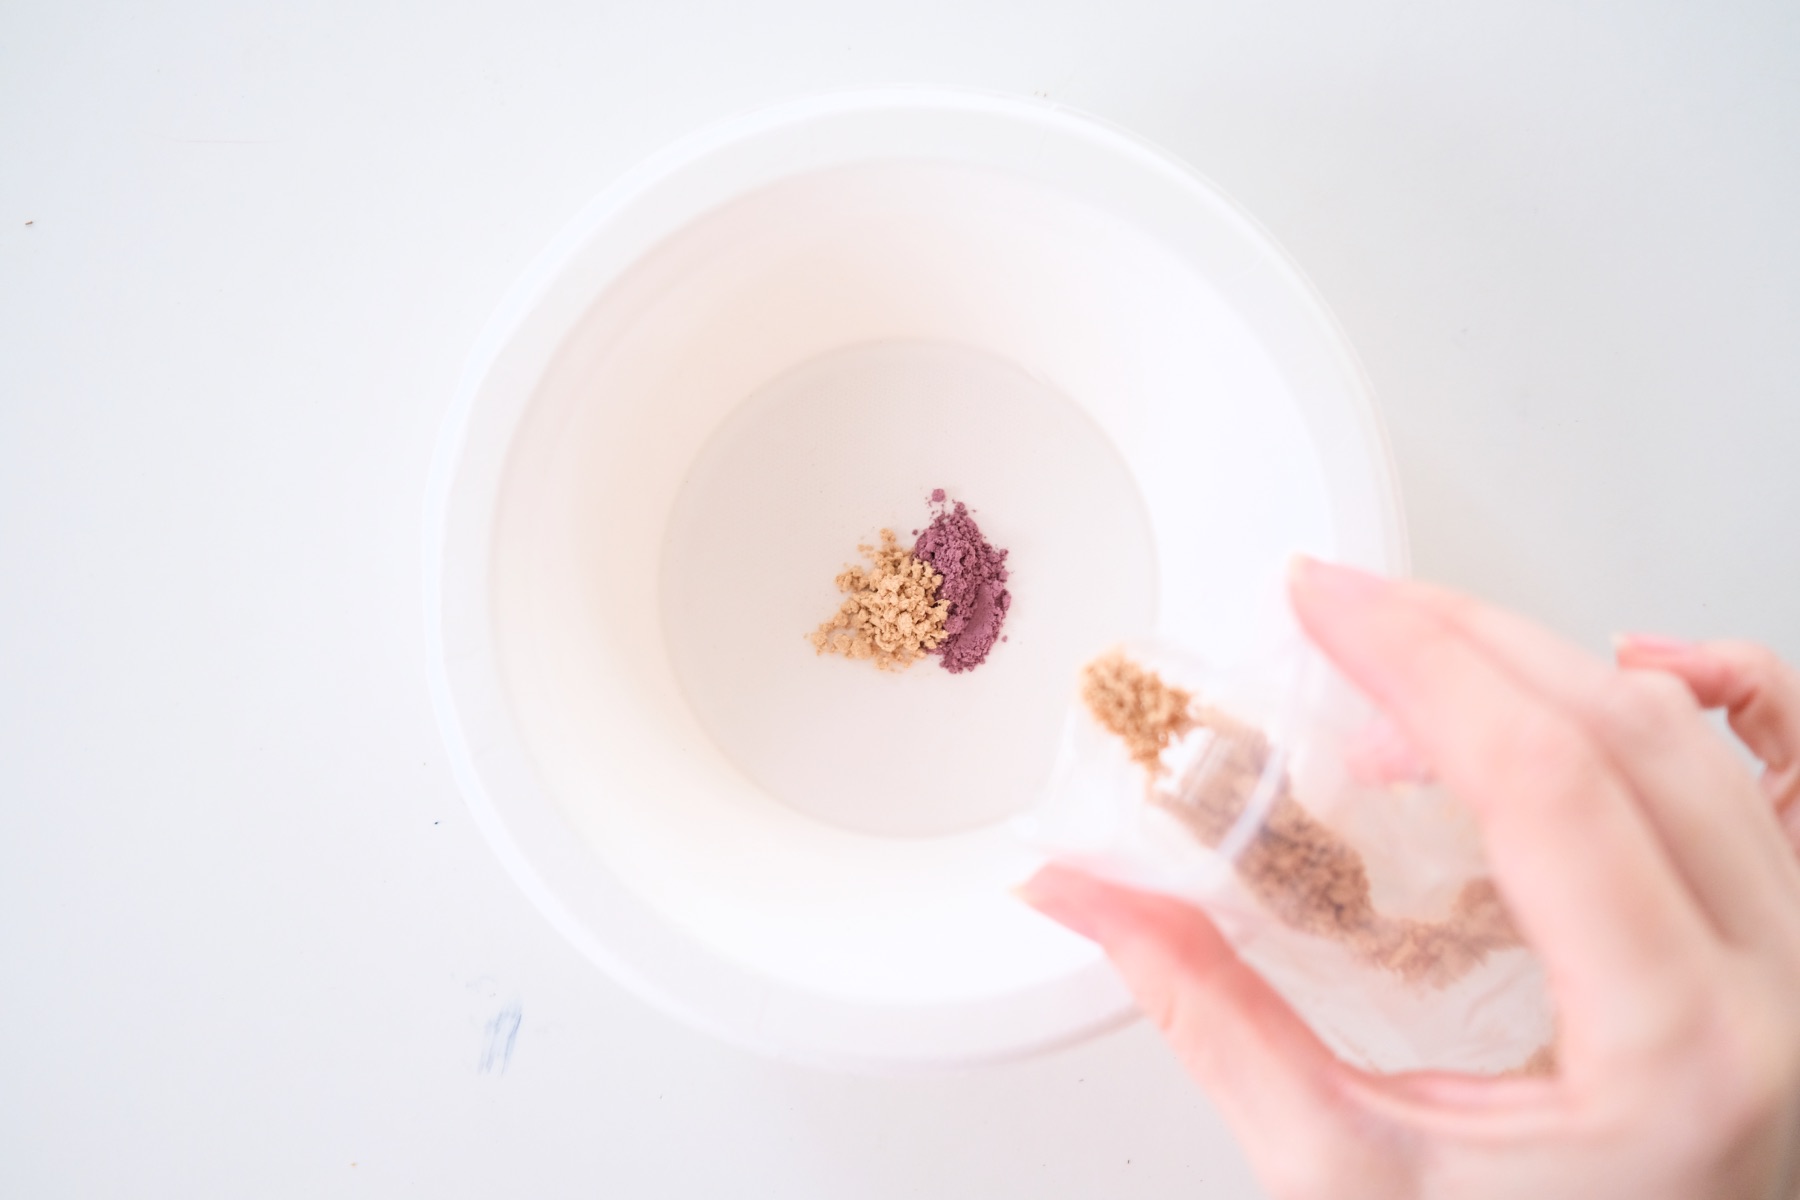
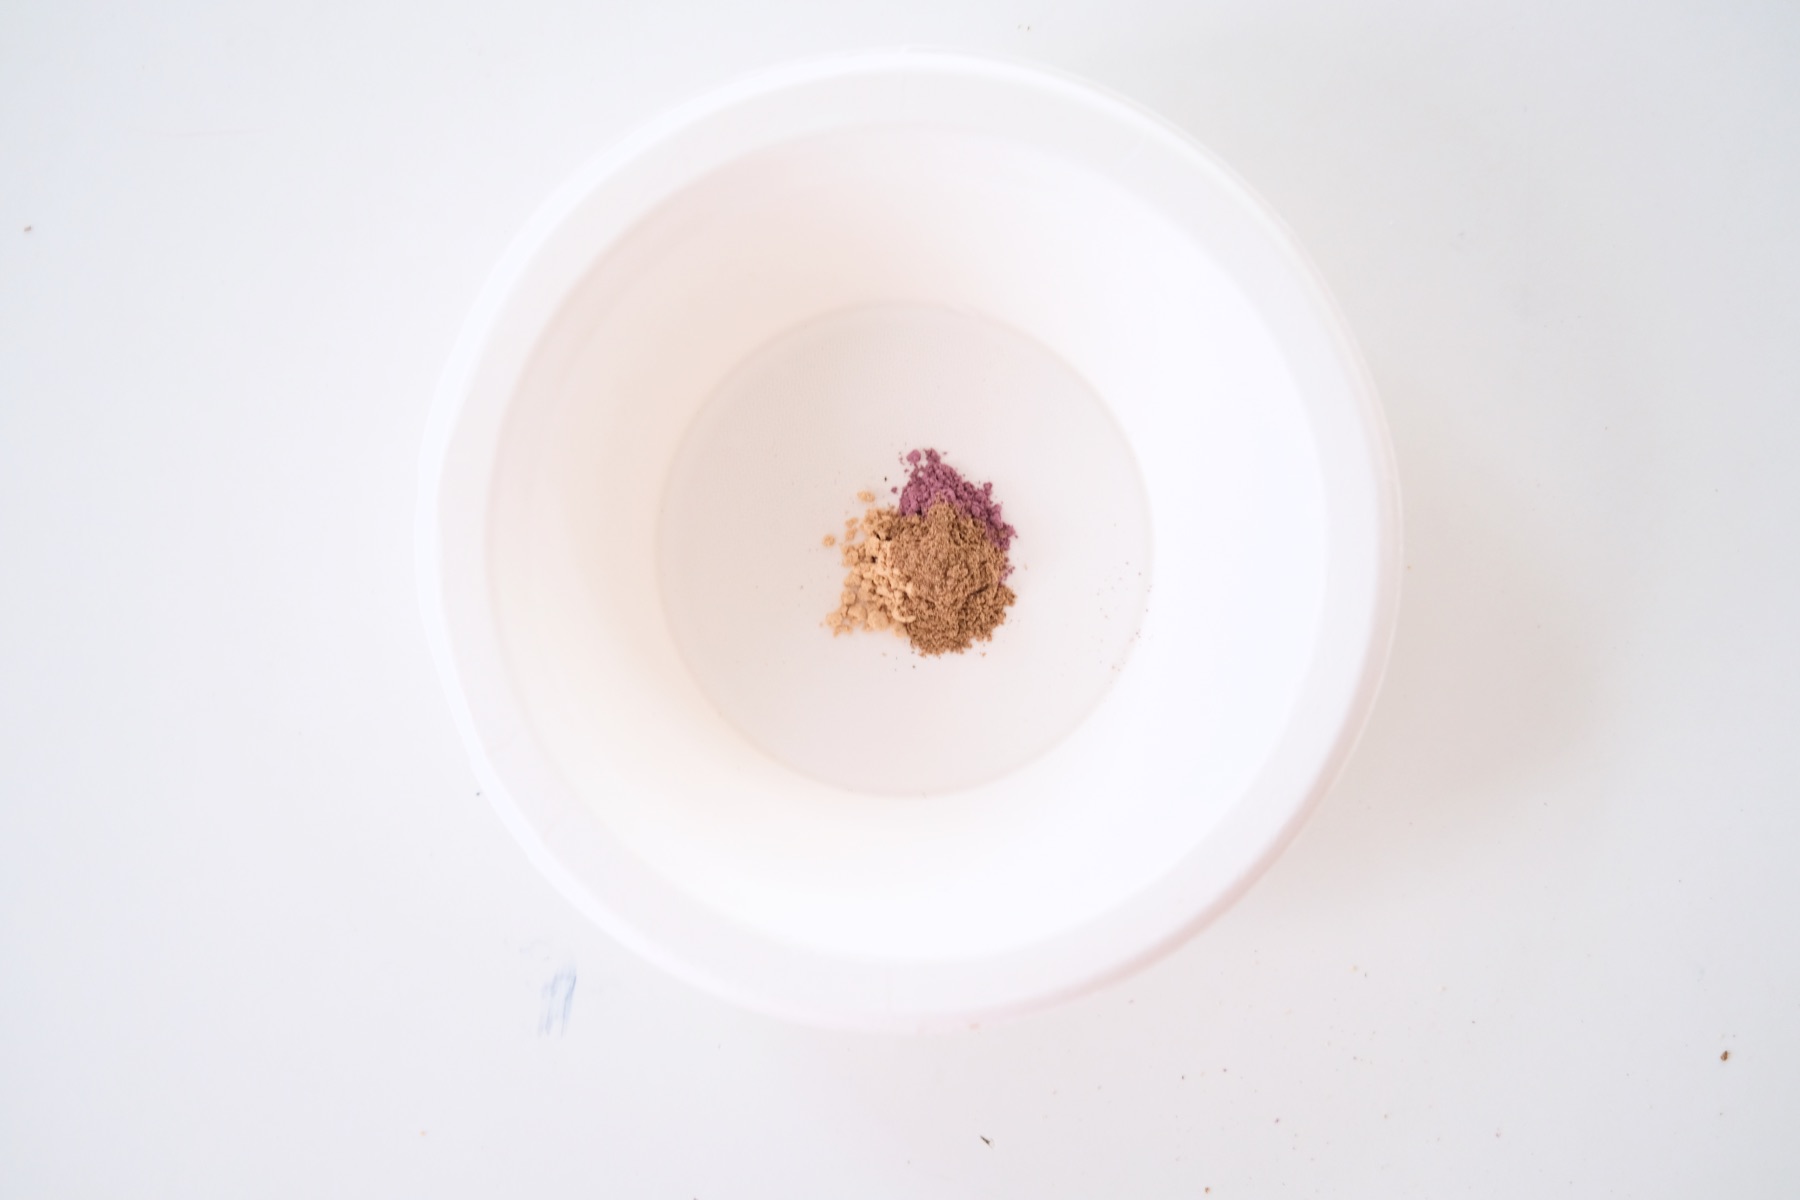
Step 3: Add Makko Powder or Marshmallow Root Powder
Remember, that the basic recipe is: 2 parts herbs to 1 part makko powder or marshmallow root powder. But recipes vary. I’ve seen recipes that say up to 40% of the blend should be makko powder. And I’ve seen other recipes where it’s 25% of the total blend or less.
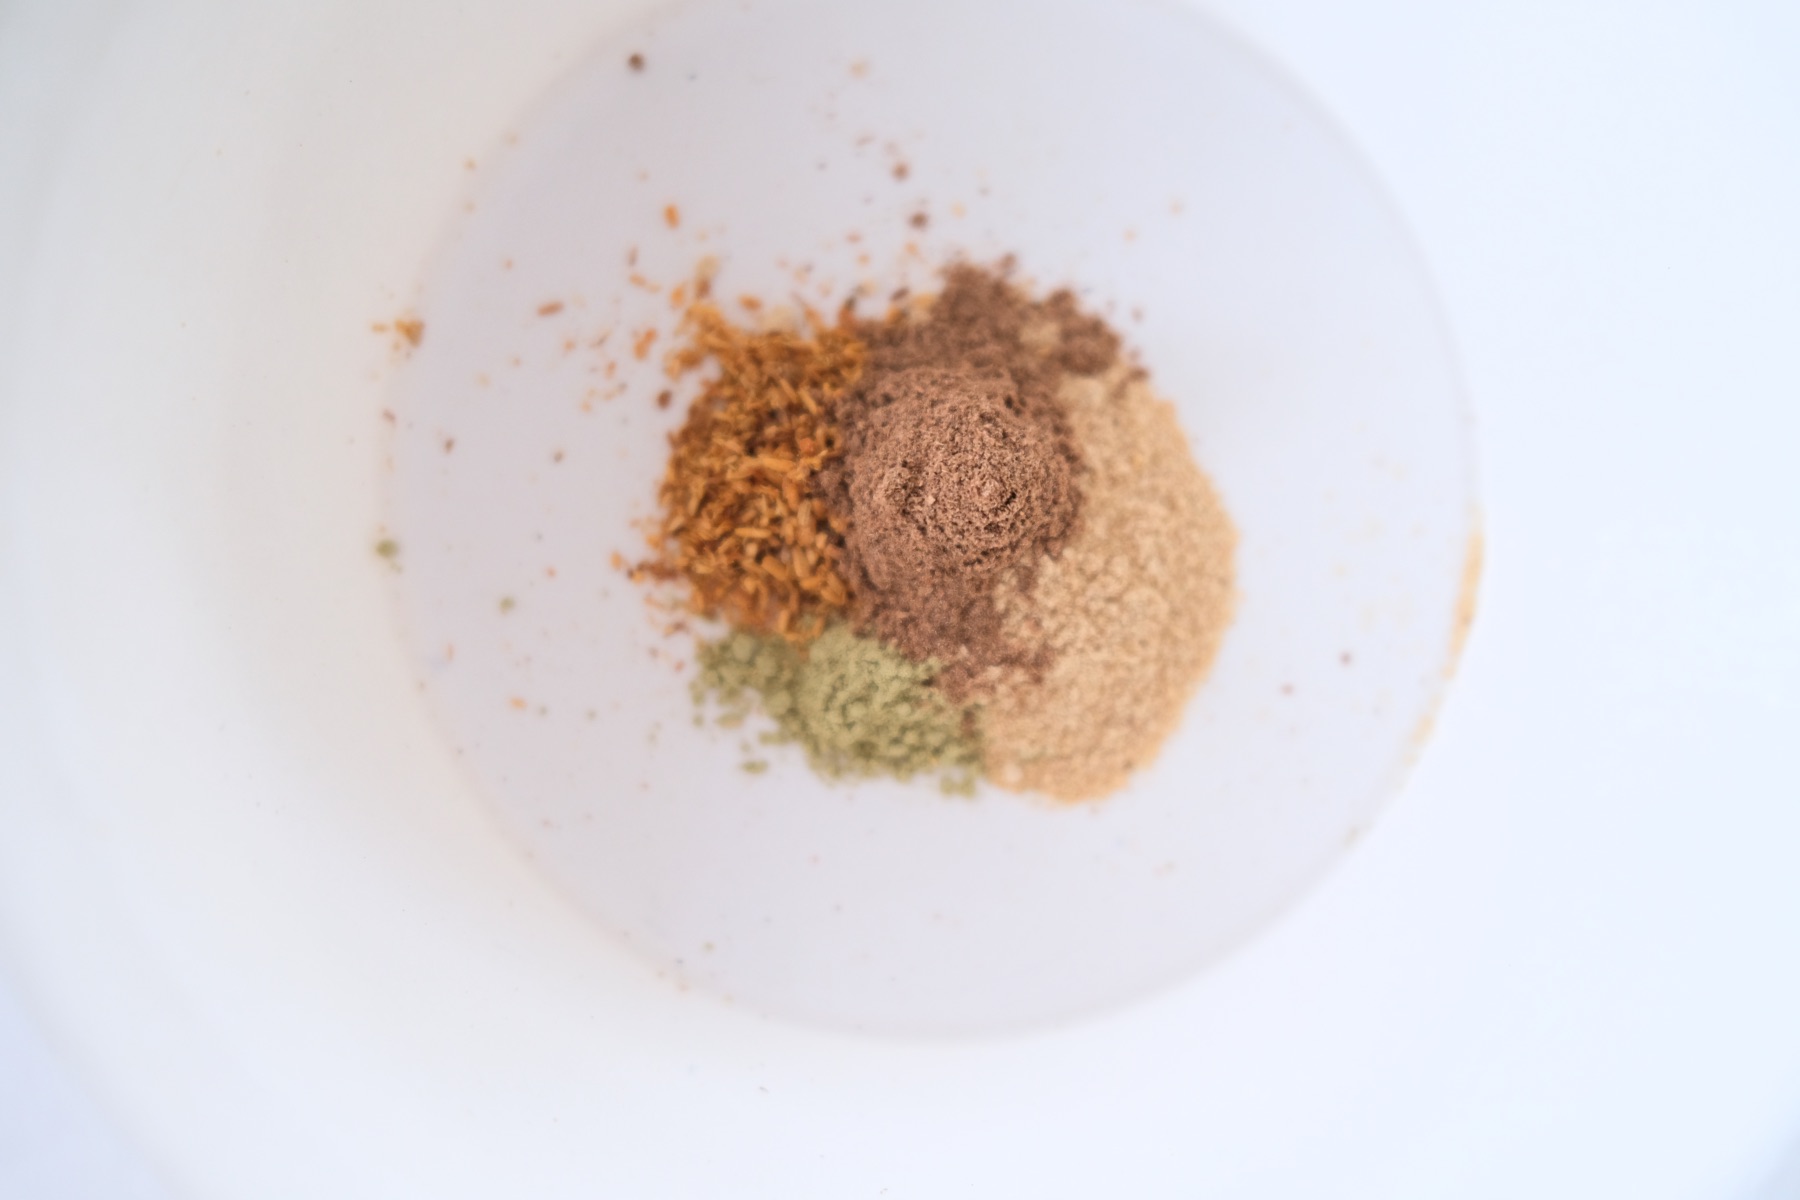
And sometimes you just have to test it. Because herbs are natural, they can vary in the way they blend and their potency. Additionally, herbs have different size ground to them as well. And that can alter the way that incense burns.
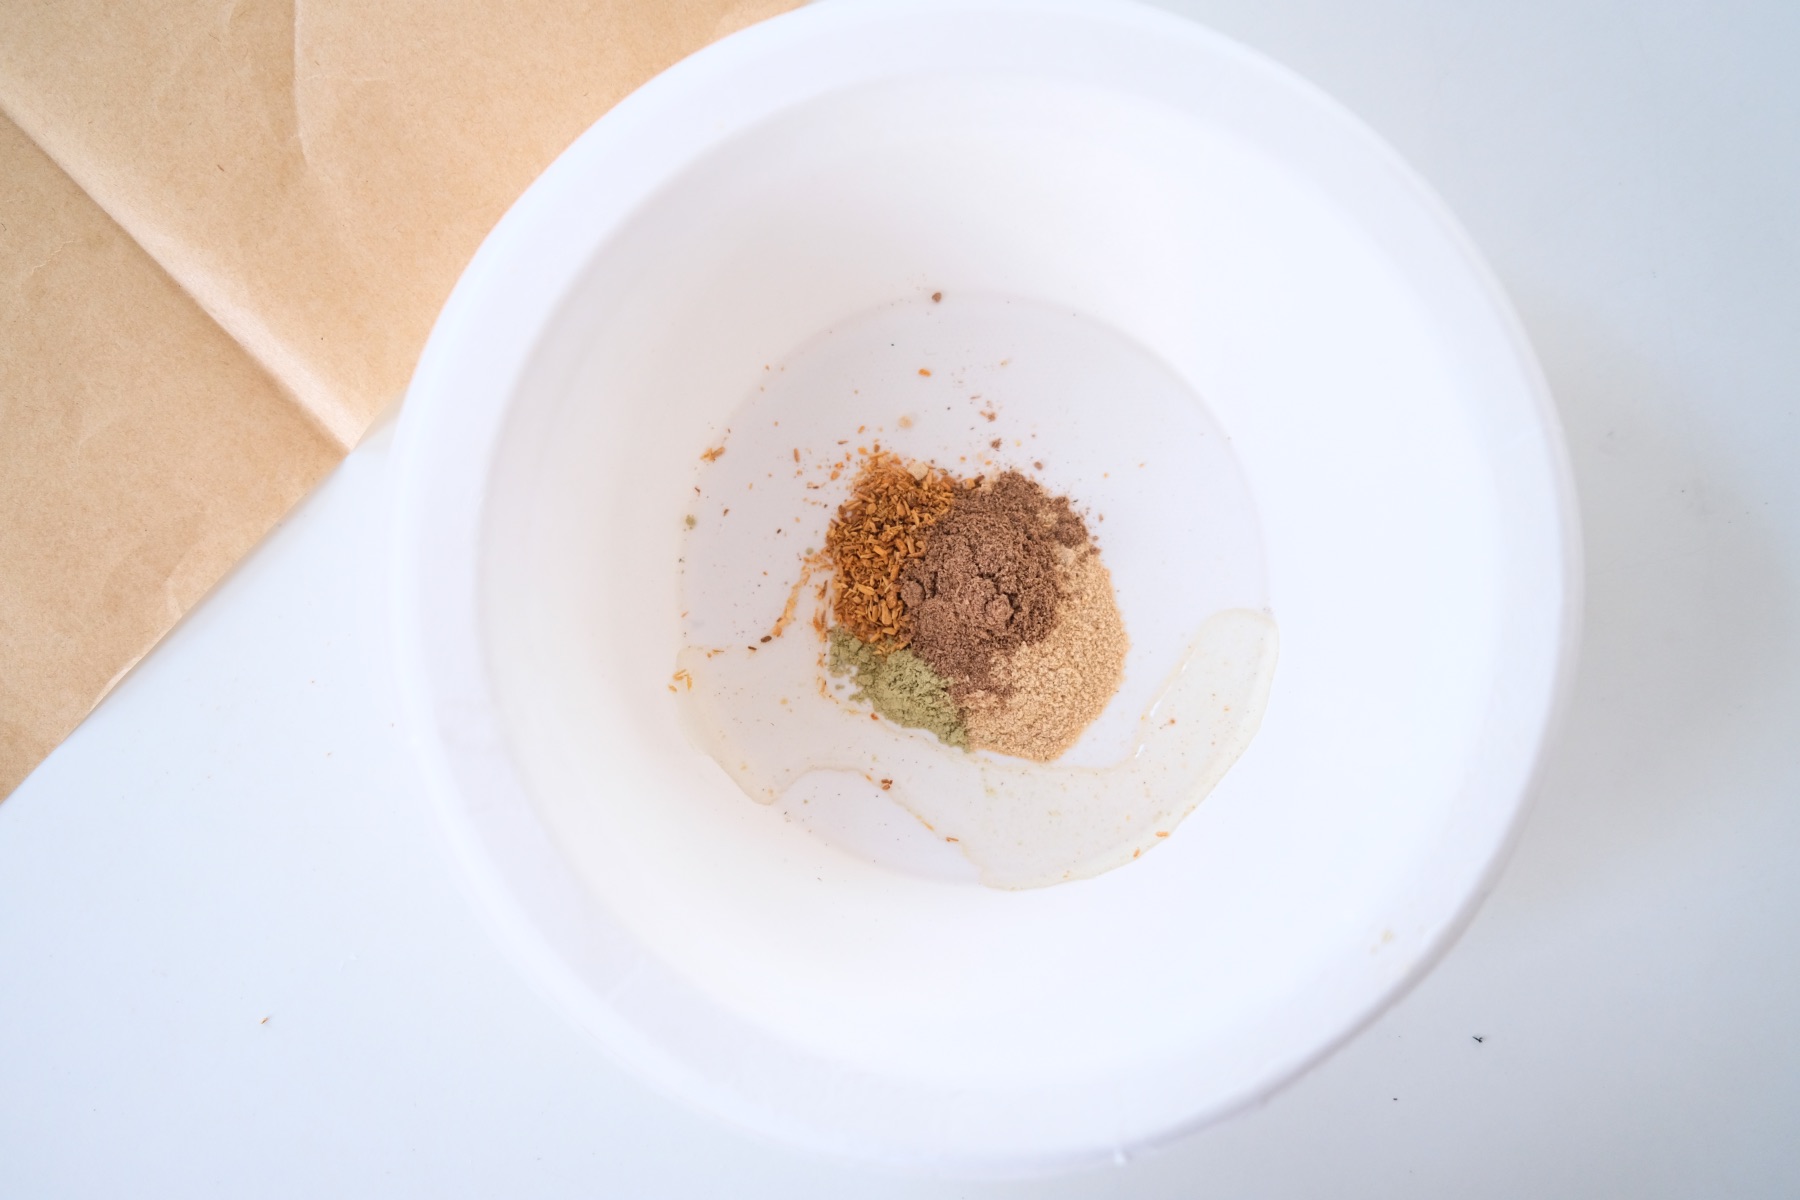
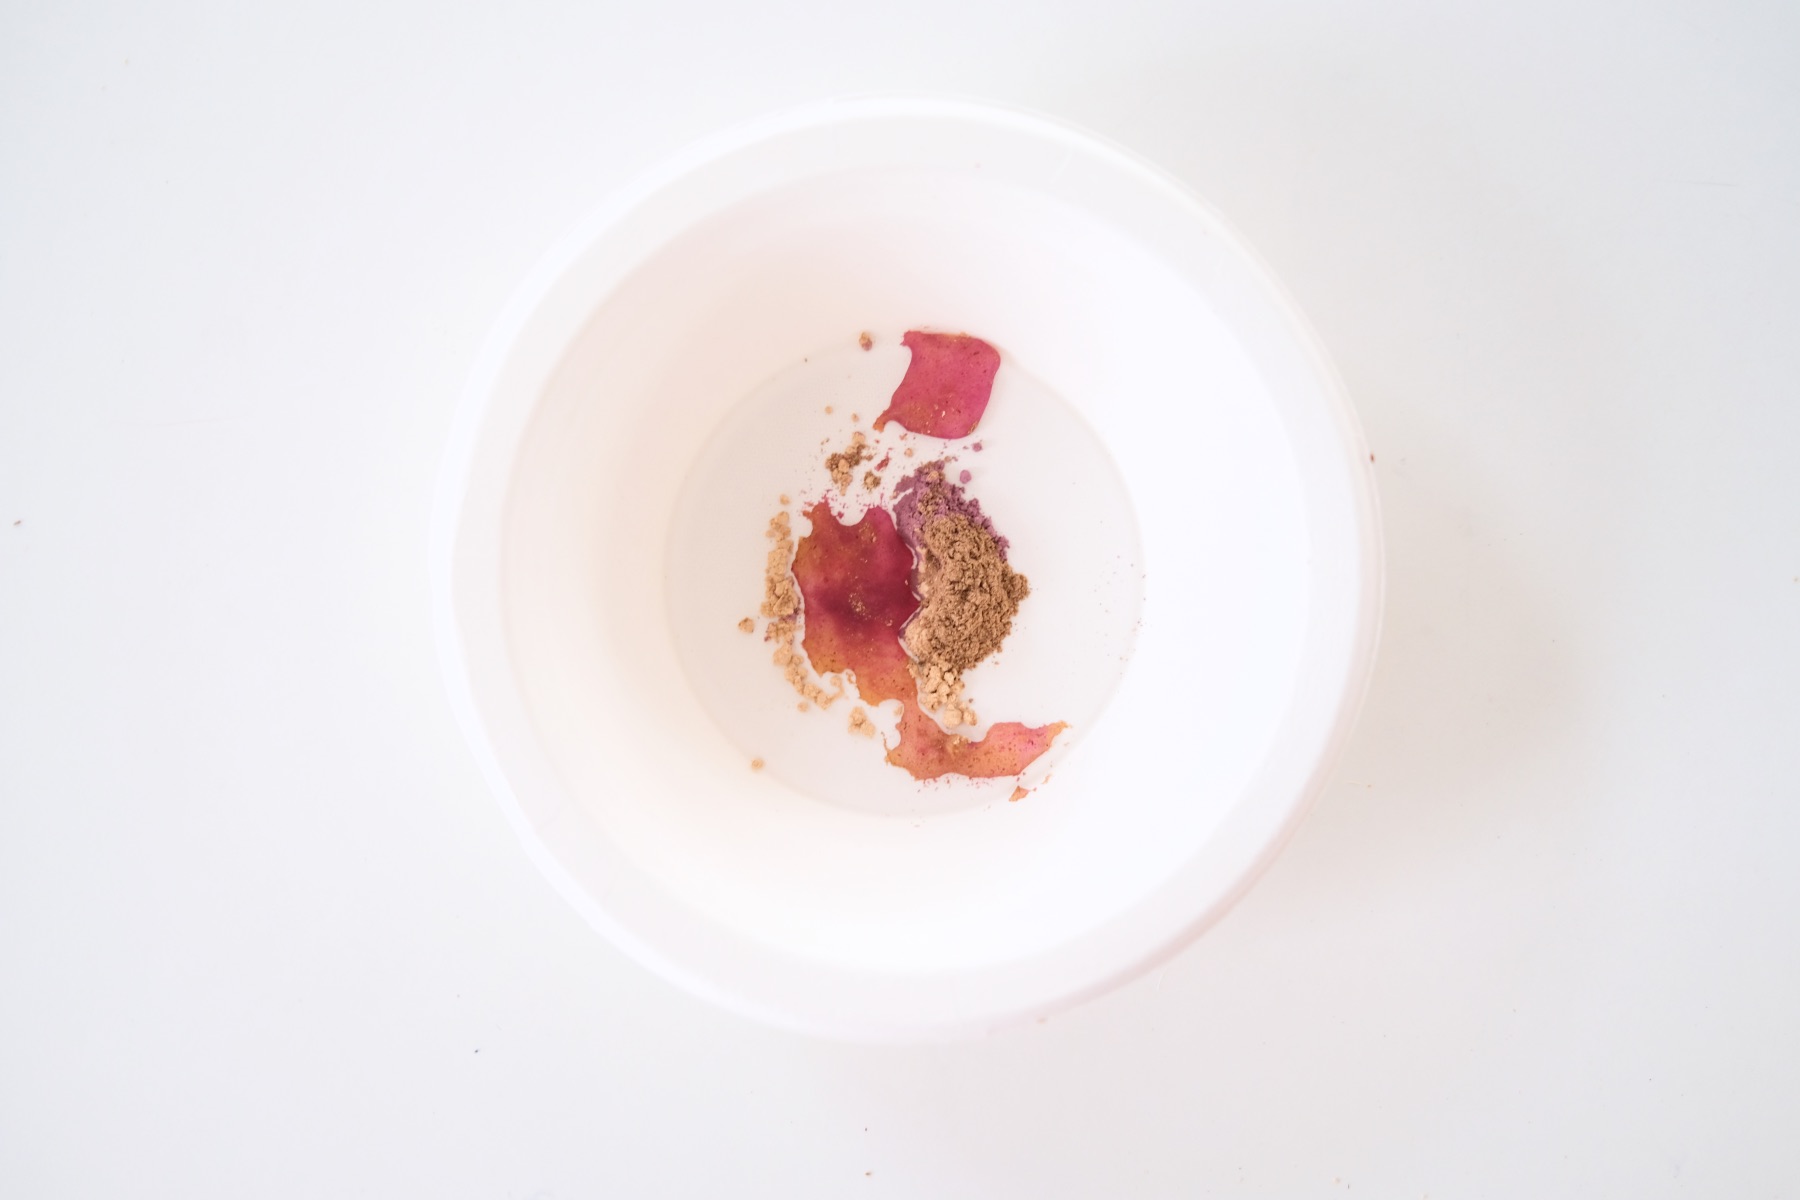
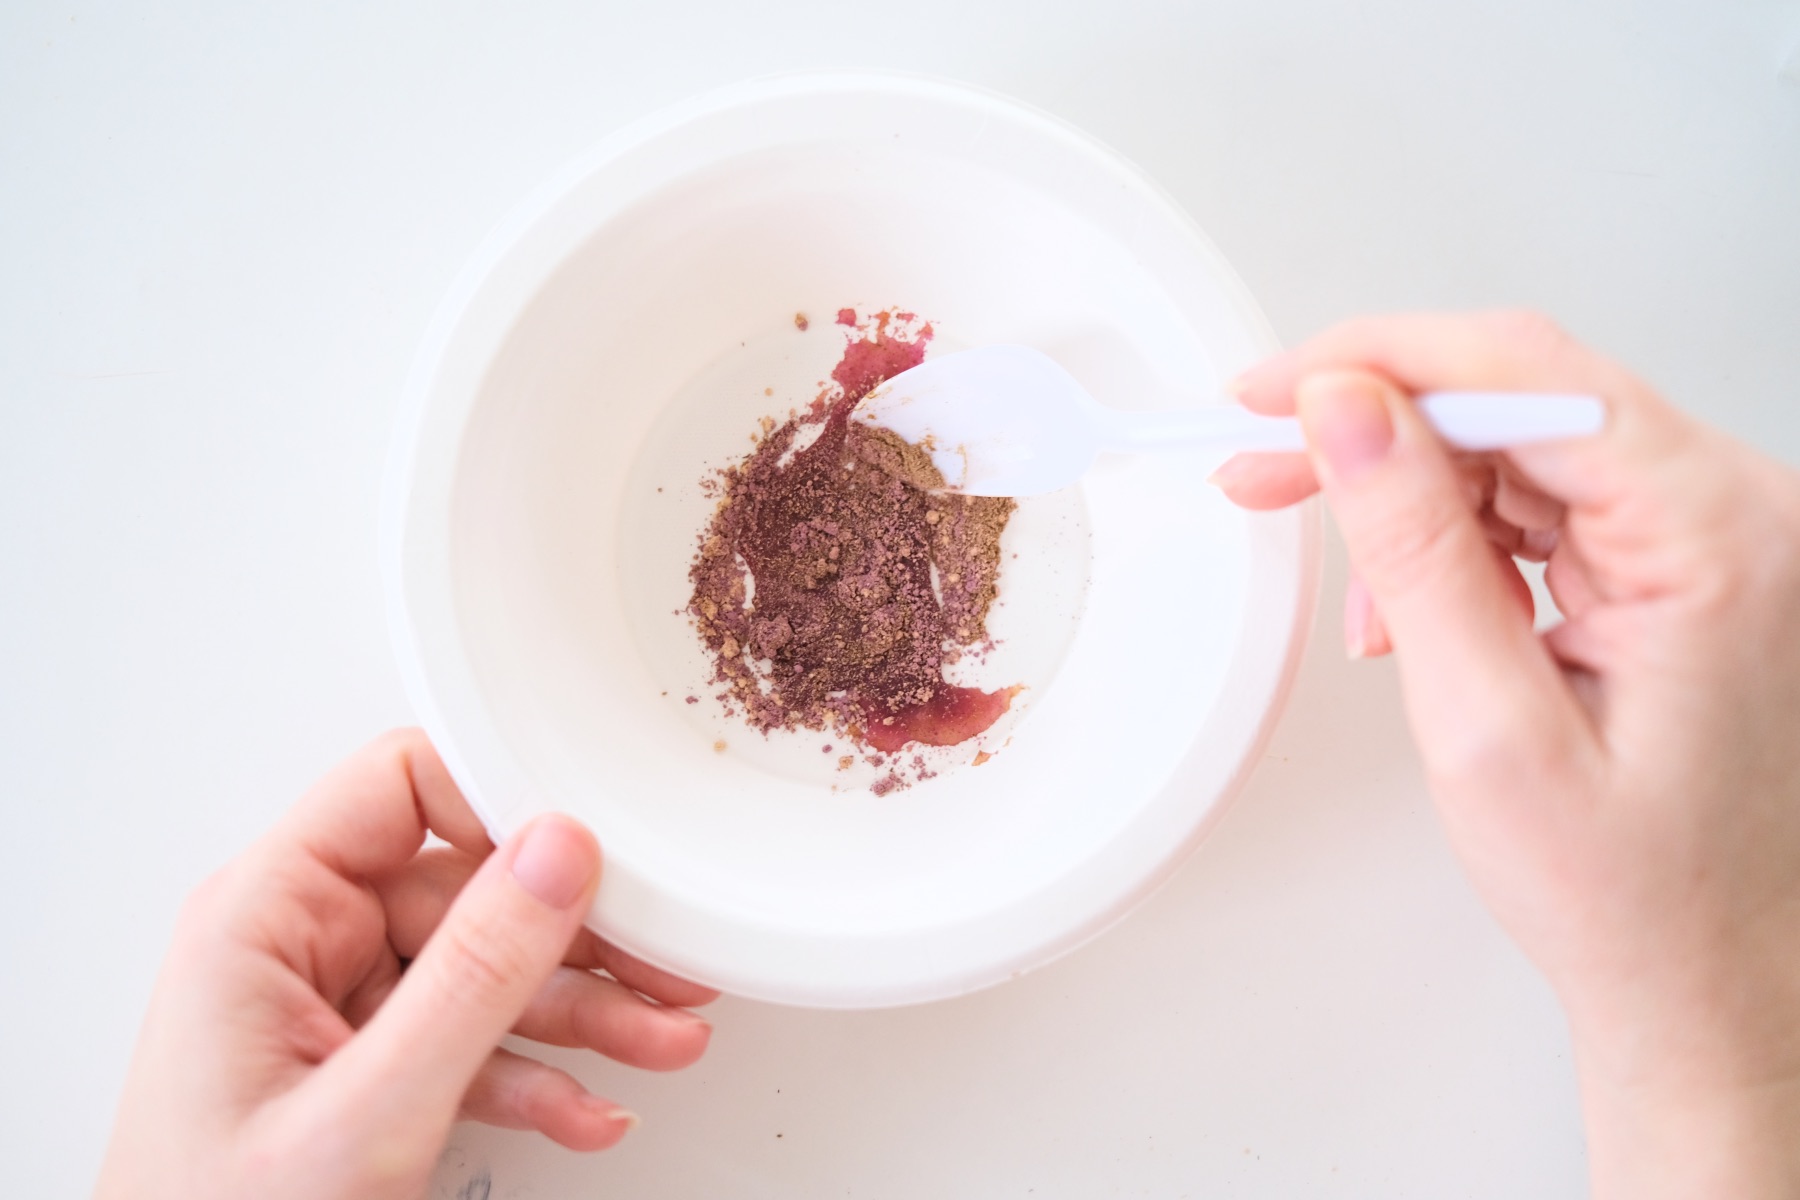
Step 4: Add Water and Blend the Herbs into a Paste
Once you have your herbs and makko powder in a bowl, add a small amount of water. The amount can vary – just add enough to turn your incense into a dough like texture.
First spoon mix all of the ingredients until they are all incorporated.
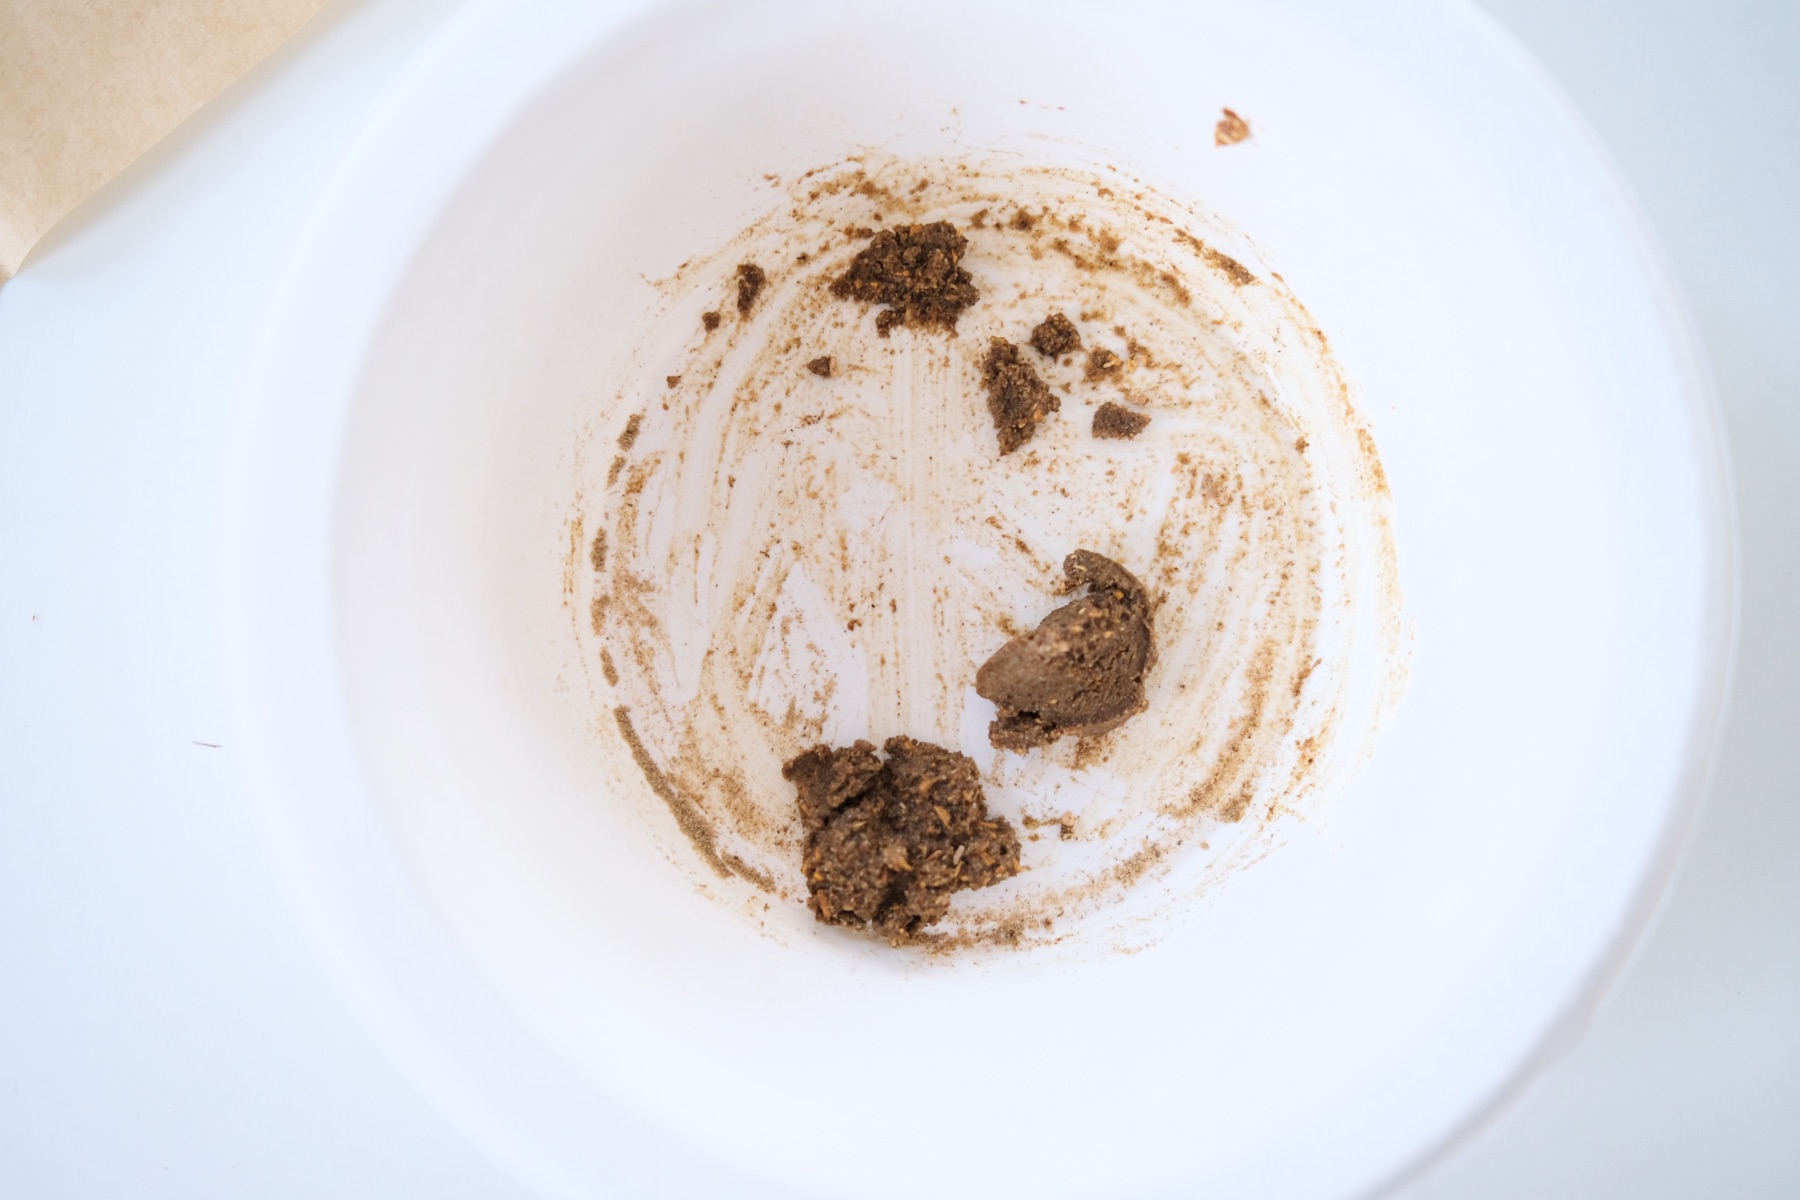
Then use your hands and continue to mix and blend almost like you would with bread dough. Continue to knead for a few minutes to ensure that the herbs are thoroughly blended and that all the herbs are thoroughly incorporated with the water.
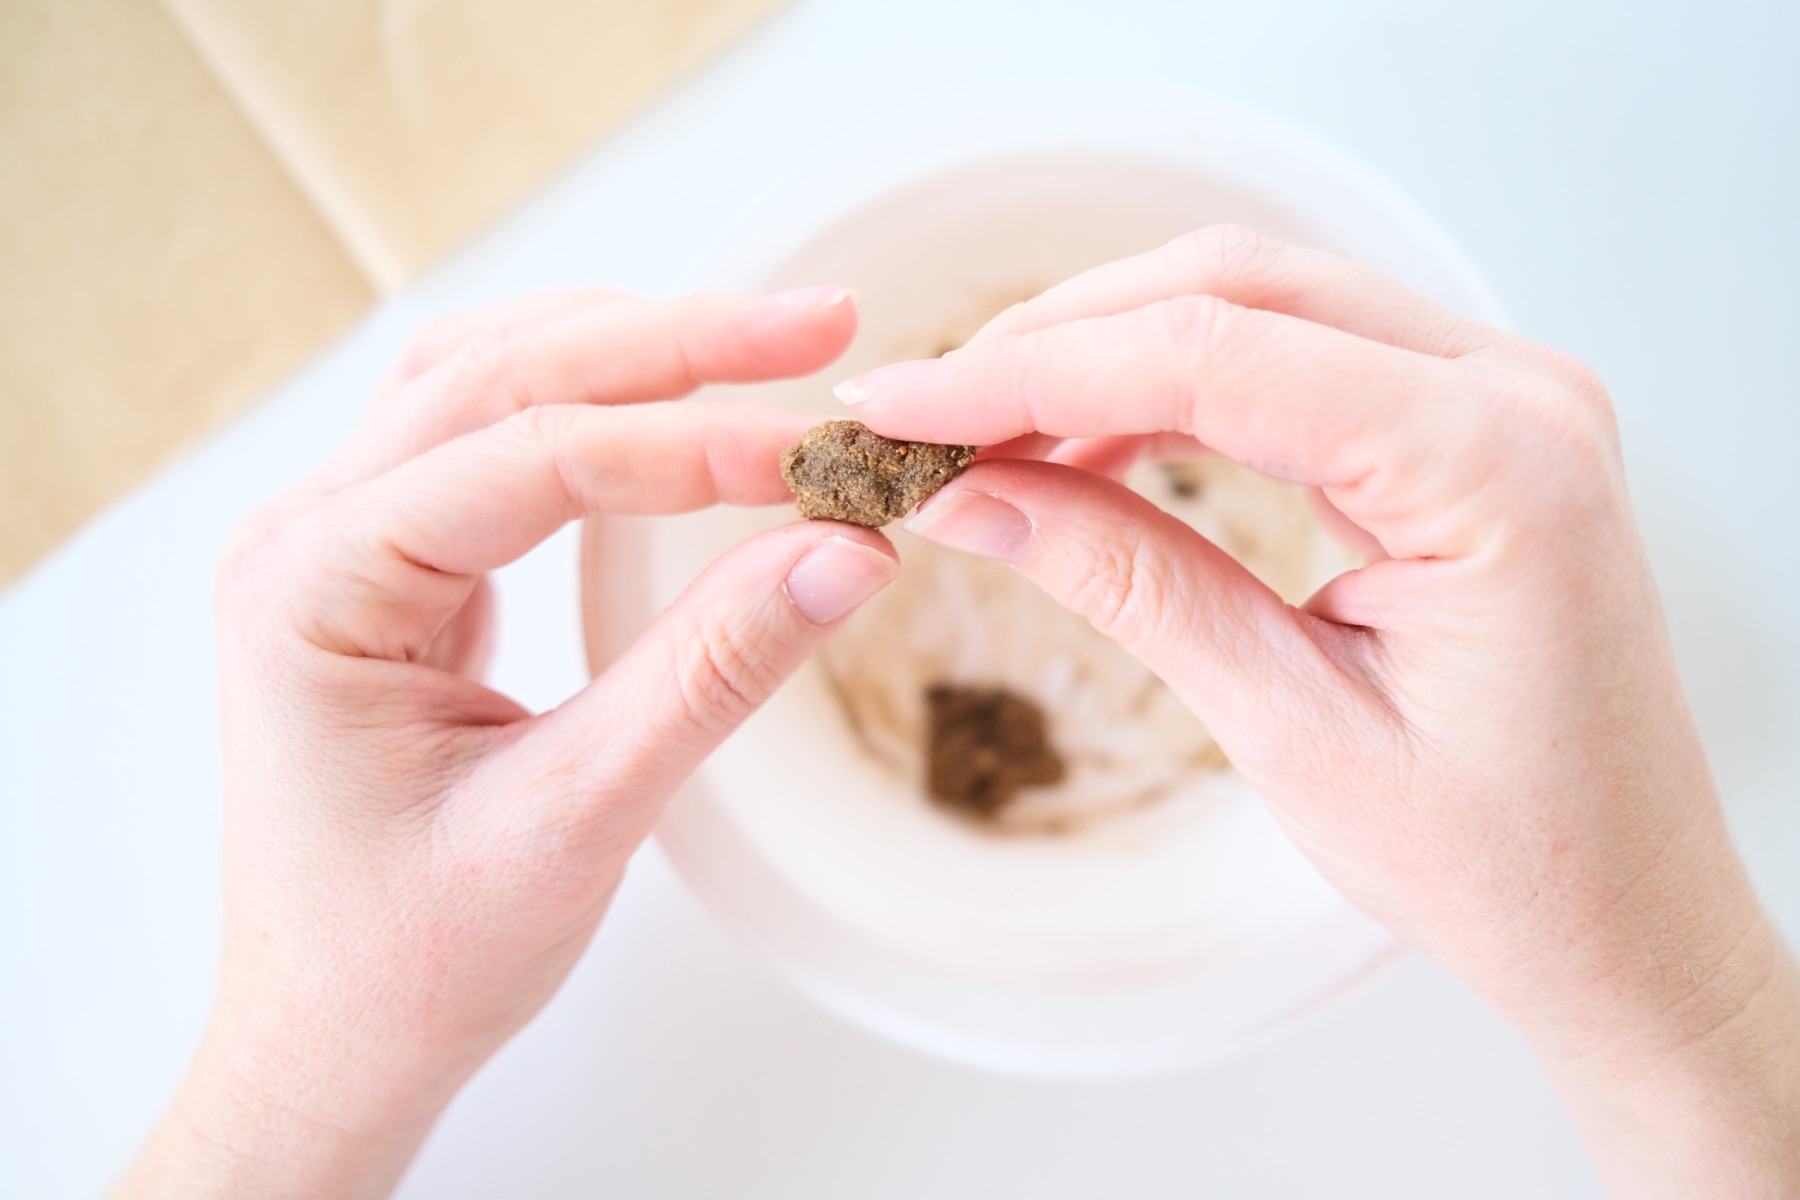
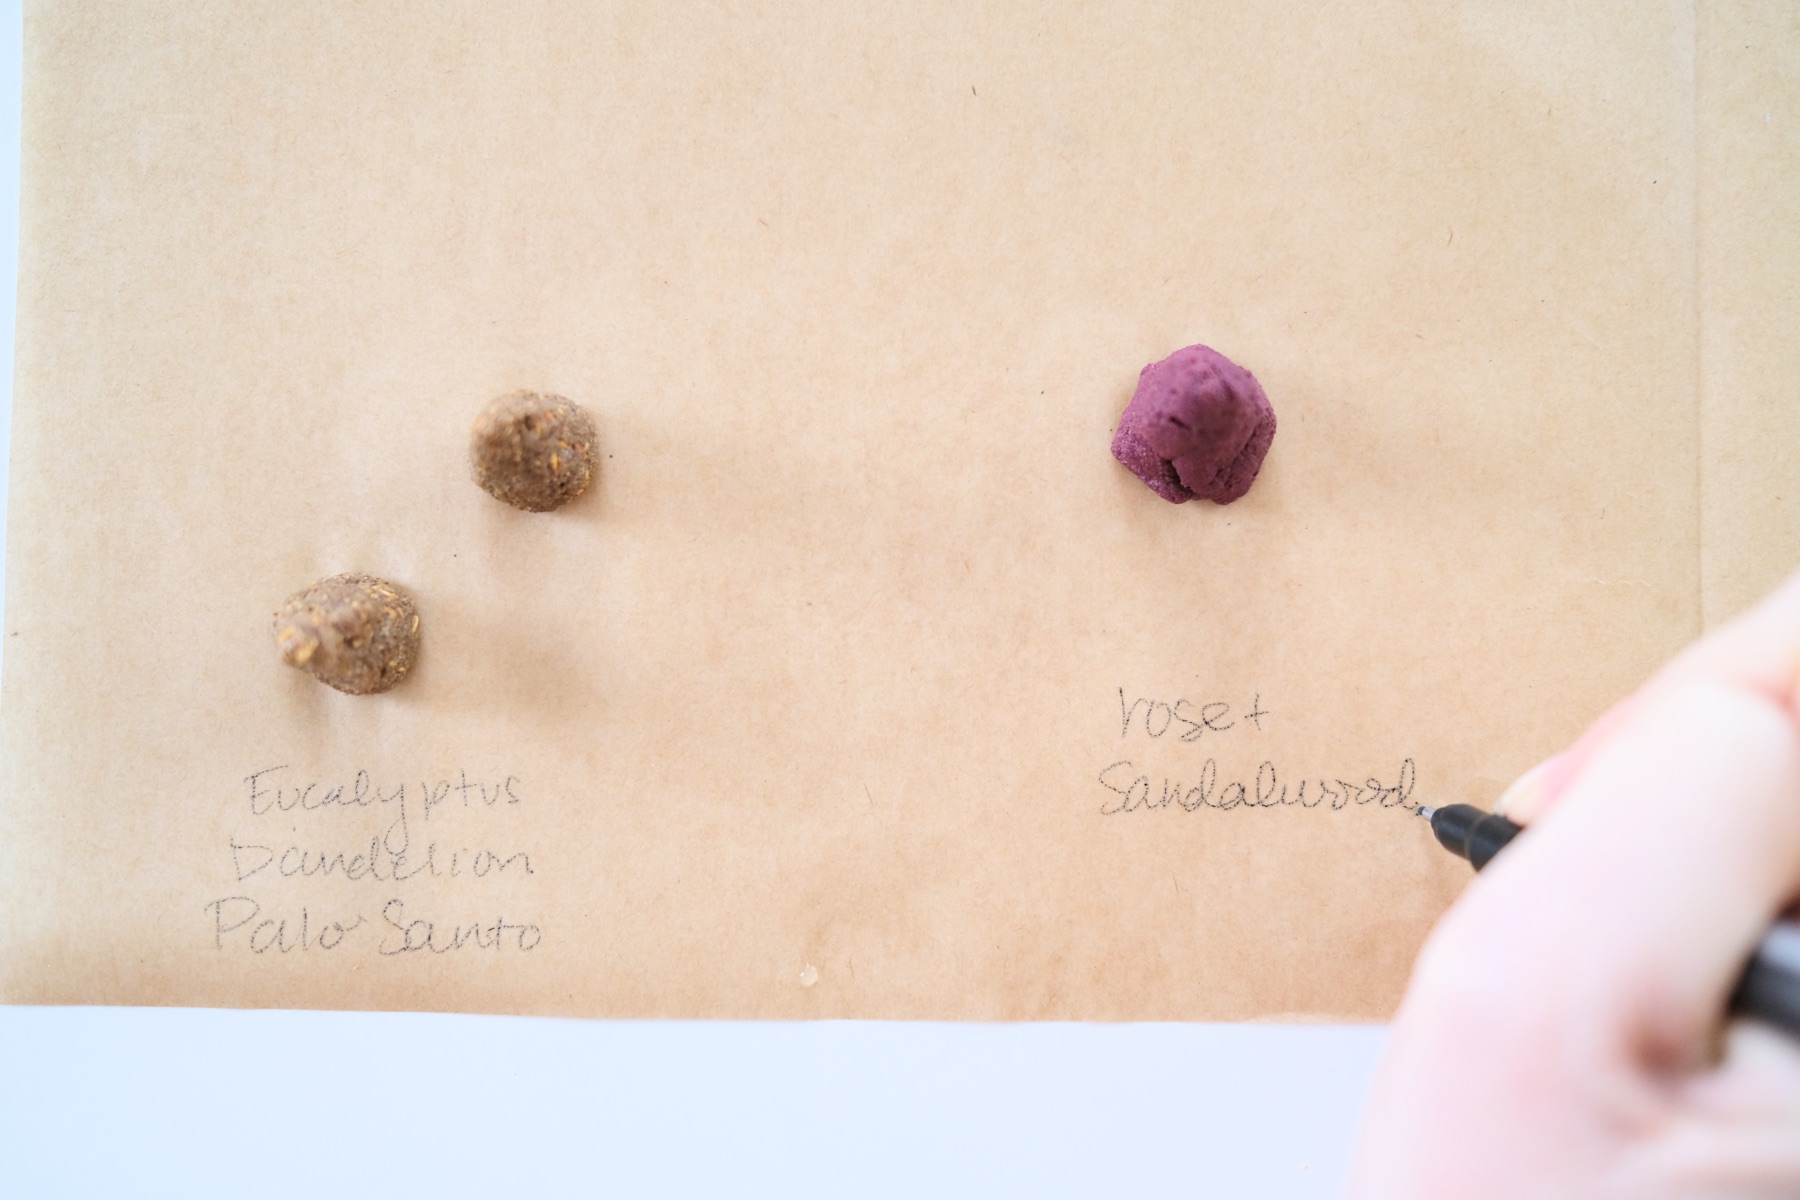
Step 5: Form into a Cone Shape
Next, use your hands to form the dough into a cone shape.
There are molds for this, but in my opinion, that’s just a waste. It doesn’t save time and frankly it’s not easy to get wet incense in and out of cones.
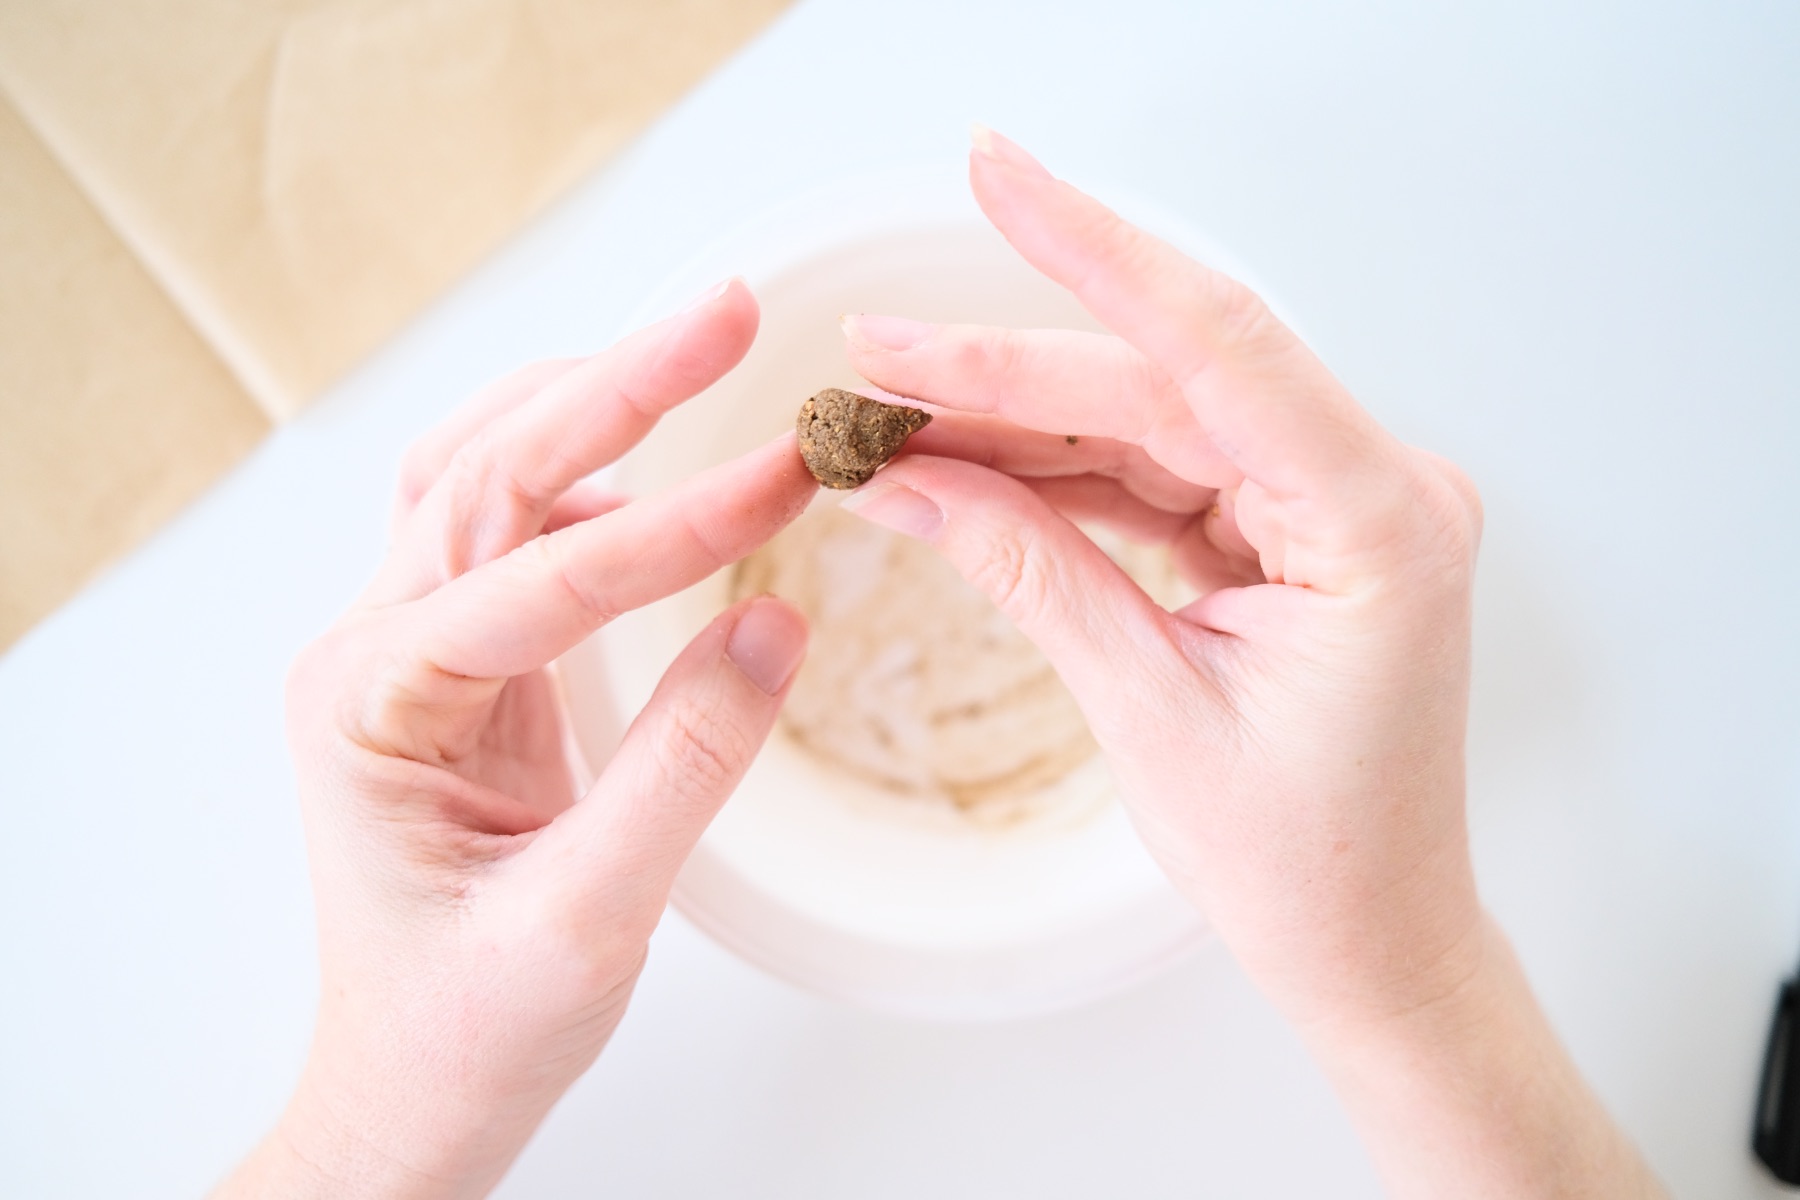
You will want your cone to be around 1 1/4 inches tall and 1/2 inch along the base. They are quite small! Larger cones are okay too, but incense is hard to put out midway. And larger cones will take longer to dry.
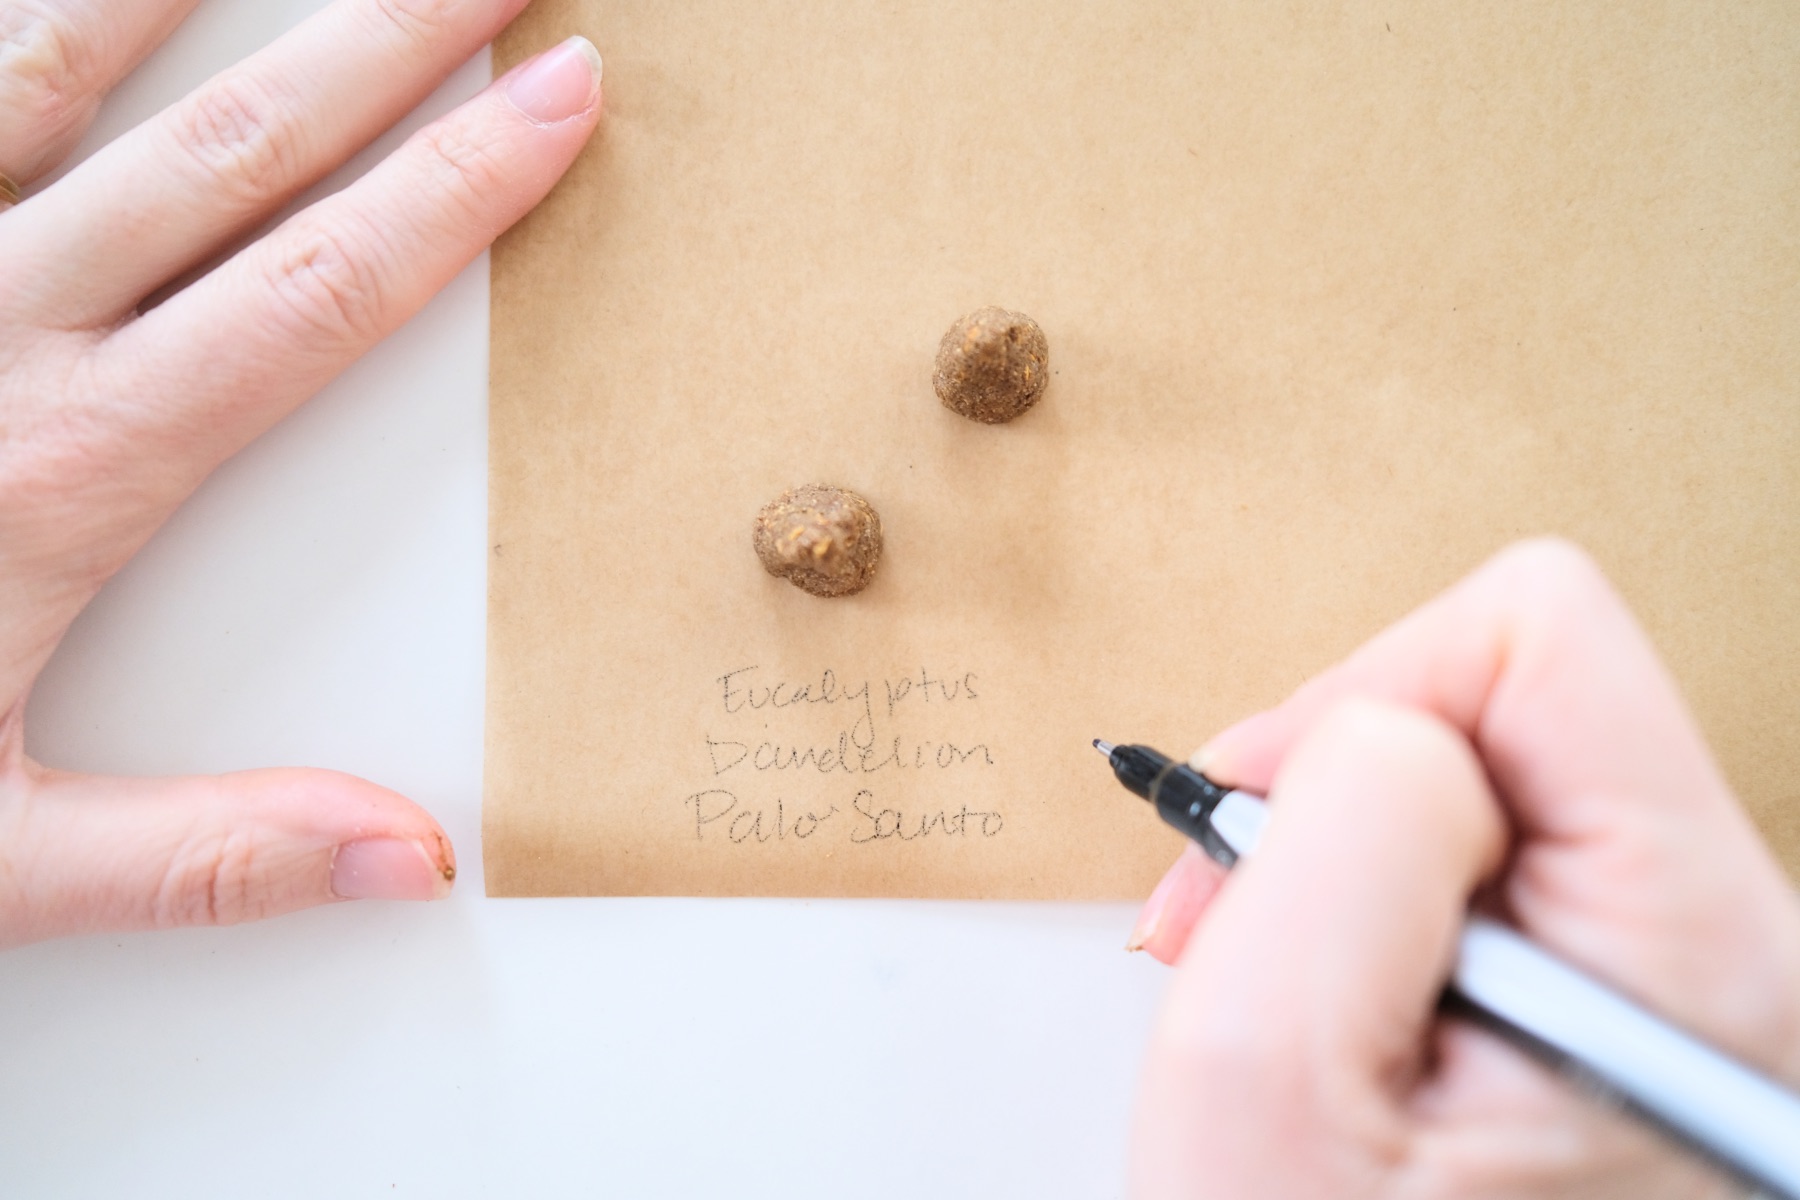
Step 6: Dry Your Incense Cones for 24 – 48 Hours
Once your cones are shaped, gently set them on a piece of parchment paper to give them time to dry. Incense will need at least a day, usually 2 days or more.
And midway, set the incense on its side so the bottom can dry easily as well.
I recommend labeling your incense as you place it on the parchment sheet. It’s surprising how 2 days after making the incense how easy it is to forget what herbs you used! And as they dry it’s very easy to get them mixed up.
Step 7: How to Store Incense Cones
When your incense is completely dry, place it in a glass jar, like a mason jar, or a ceramic canister. Anything with a lid is best because the incense can be so fragrant.
Your incense will last about as long as herbs in a cabinet last – a year, many years, or even longer. But if they are not stored in an air tight container, you may want to use them quickly.
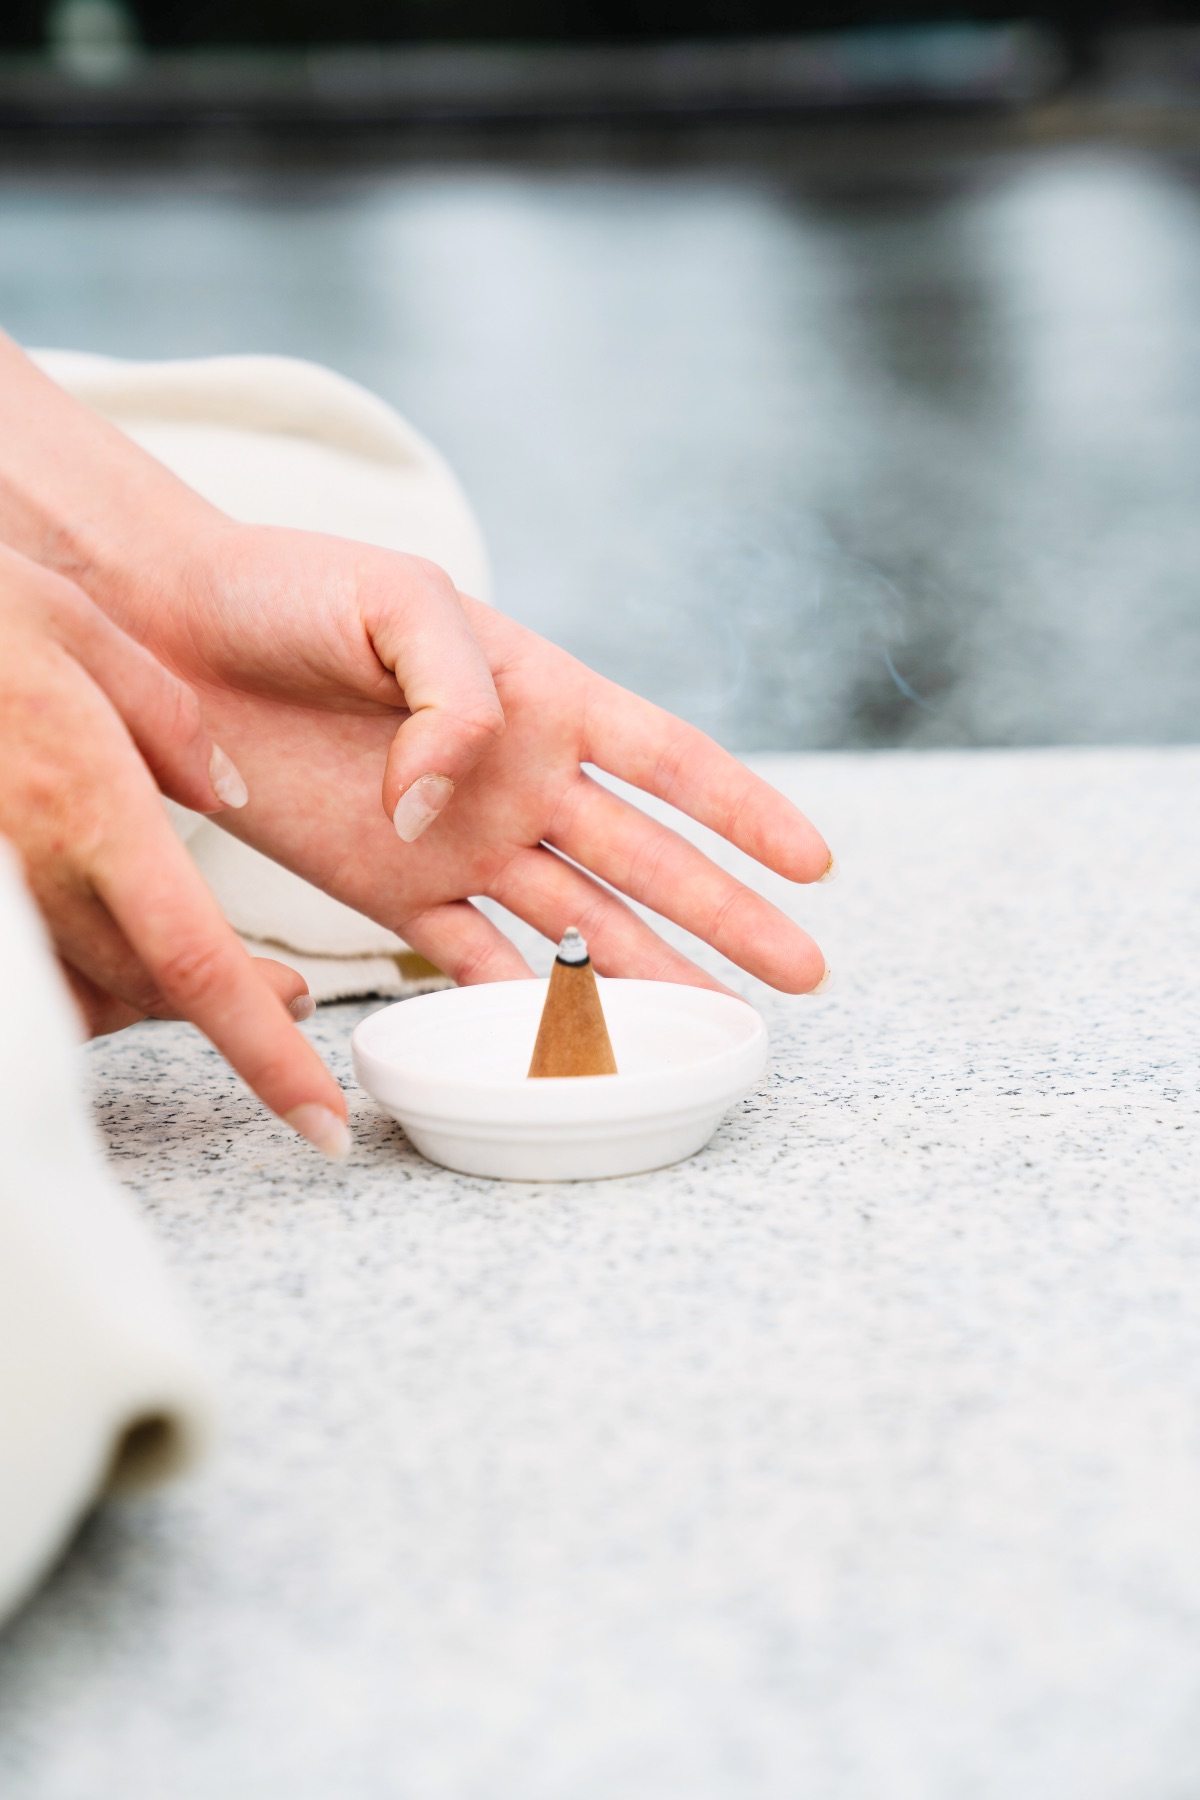
Step 8: Burning Your Incense
When your incense is completely dry and you are ready to burn it, place the incense on a clay dish like this. Or you can make one with air dry clay like this. Light the tapered end. Allow the tapered end to hold a flame until you can see a red ember. Then blow the flame out. The ember will remain lit and smolder down through the incense cone.
Like candles or anything else you may burn in your home, don’t leave incense unattended. Make sure there isn’t any debris obstructing the incense and keep it away from kids and pets.
Your incense will go out on its own when it’s burned through the cone. But they are pretty hard to put out otherwise. If you are able to break the ember off, you can put it out. Otherwise, you may have to use water.
Step 9: Troubleshooting Your Recipes
Now remember how I was mentioning that a lot of recipes vary? It’s true! Some call for more or less makko powder. Some even use honey in place of a binder like marshmallow root and makko. So if you have any issues, that’s the first thing I would consider.
For example, what if you try to light your incense, but it just won’t ignite? -First make sure your cone is completely dry. If it’s only been a day or 2 wait a few days longer to see if that’s the issue.
Still having the same issue? Try rewetting your incense cones and remixing it with more makko or marshmallow root powder. You may not have enough.
Could you cone be too big and thus not getting enough oxygen in the center? When the cone is still wet, try poking a hole from the bottom up near the tip.

The bottom line is keep experimenting! Keep trying new recipes. See what works until you find a blend and a recipe that you truly love. Happy crafting!
Let’s Stay Friends!
Insta | Pinterest | Enews | TikTok