
Craft in Style Subscription Instructions, DIY
How to Season a Chalkboard – Easy Guide
Dec
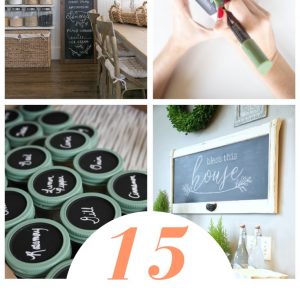
This is Part 2 of 3 of the Craft in Style Subscription Box Instructions for December 2020. Find the Craft in Style Subscription Box here. Read Part 1: How to Make a Chalkboard Serving Tray here. Read Part 3: 15+ Chalkboard Painting Craft Ideas here.
This is one of those craft tutorials that’s super useful and practical! If you love Chalkboard Paint like I do, this tutorial will come up again and again.
Seasoning, otherwise known as priming, a chalkboard will prepare your chalkboard for use. Seasoning will allow the chalk to be erased from the board. It will prevent it from leaving permanent ghosts of your previous chalk after you erase them.
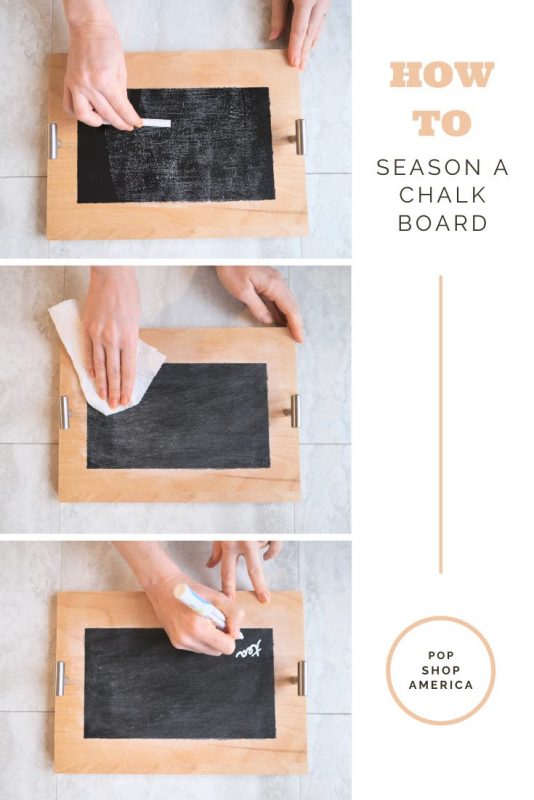
How to Season a Chalkboard is super easy and only requires 3 steps.
Supplies you Need to Season a Chalkboard
A Chalkboard (Can Be Painted with Chalkboard Paint or Professional Made)
Dry Chalk
A Gentle Cloth Or Chalkboard Eraser
Before you begin, be sure any hand chalkboard painted objects are completely dry. Although professionally made chalkboards should be seasoned too, you will especially want to be careful with working with anything that’s freshly painted.
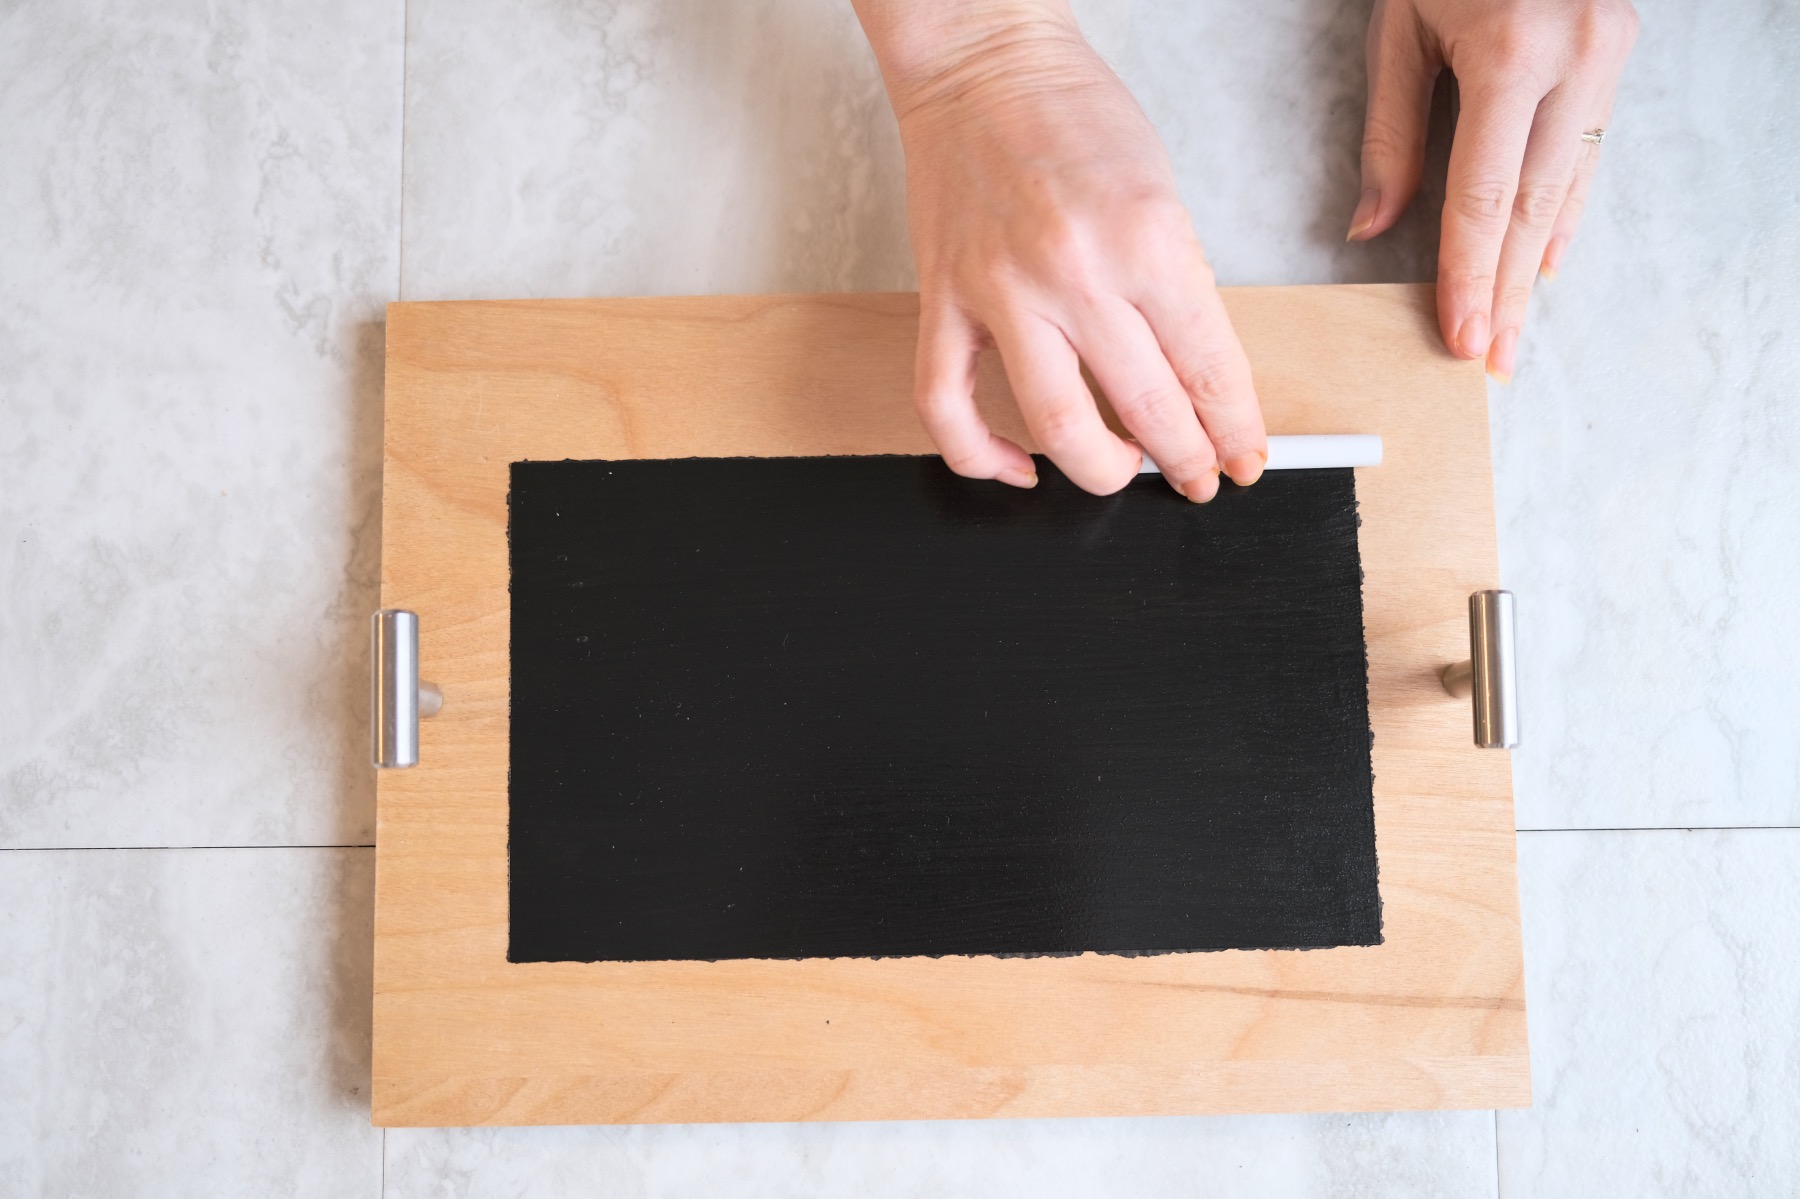
Step 1: Rub the Entire Chalkboard with Dry Chalk
Place your piece of chalk long ways against the chalkboard. Gently rub the entire length of chalk across the entire chalkboard – back and forth. You don’t need to press too hard, just be sure to cover the entire area.
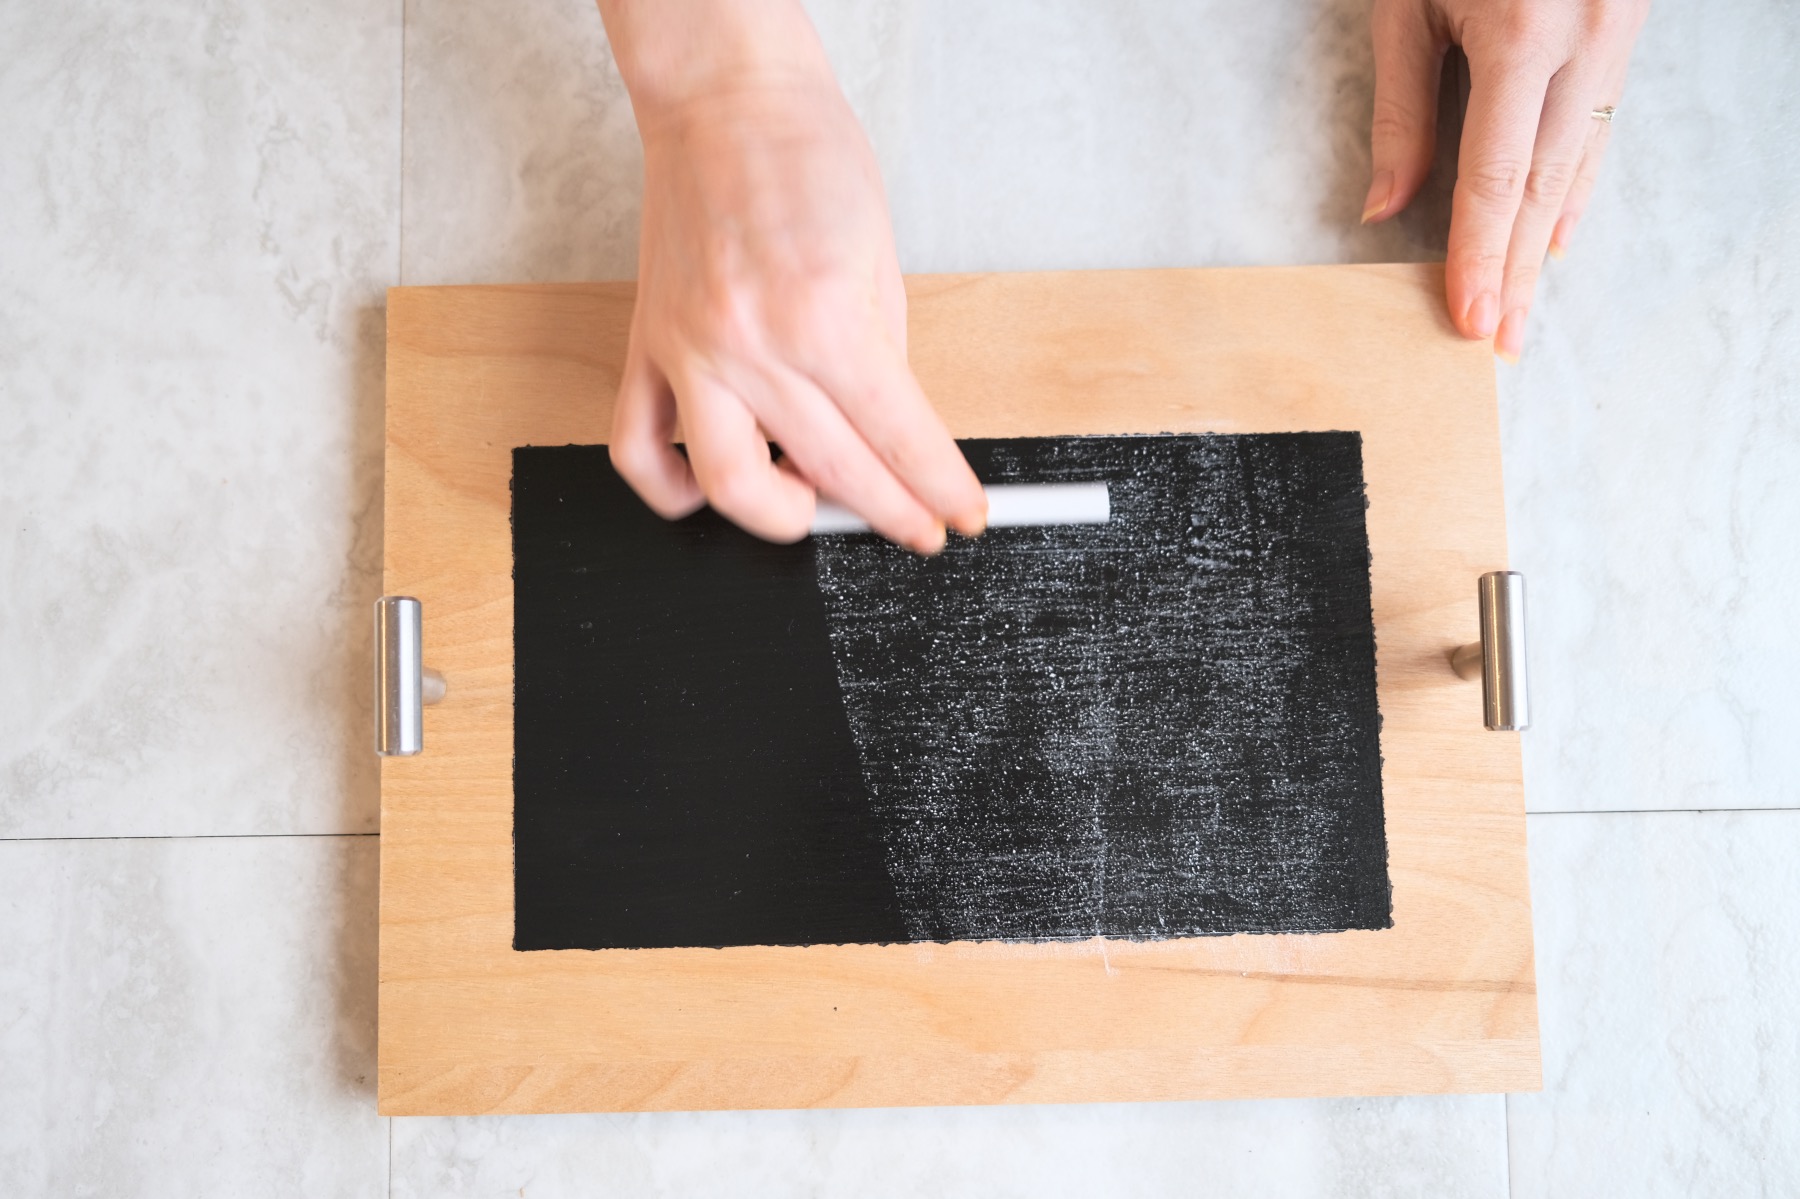
Step 2: Repeat the Process from Side to Side
Next, repeat the process. If you were moving up and down before – now move side to side. Or vice versa. You will want to entire chalkboard to have a gentle coat of dry chalk.
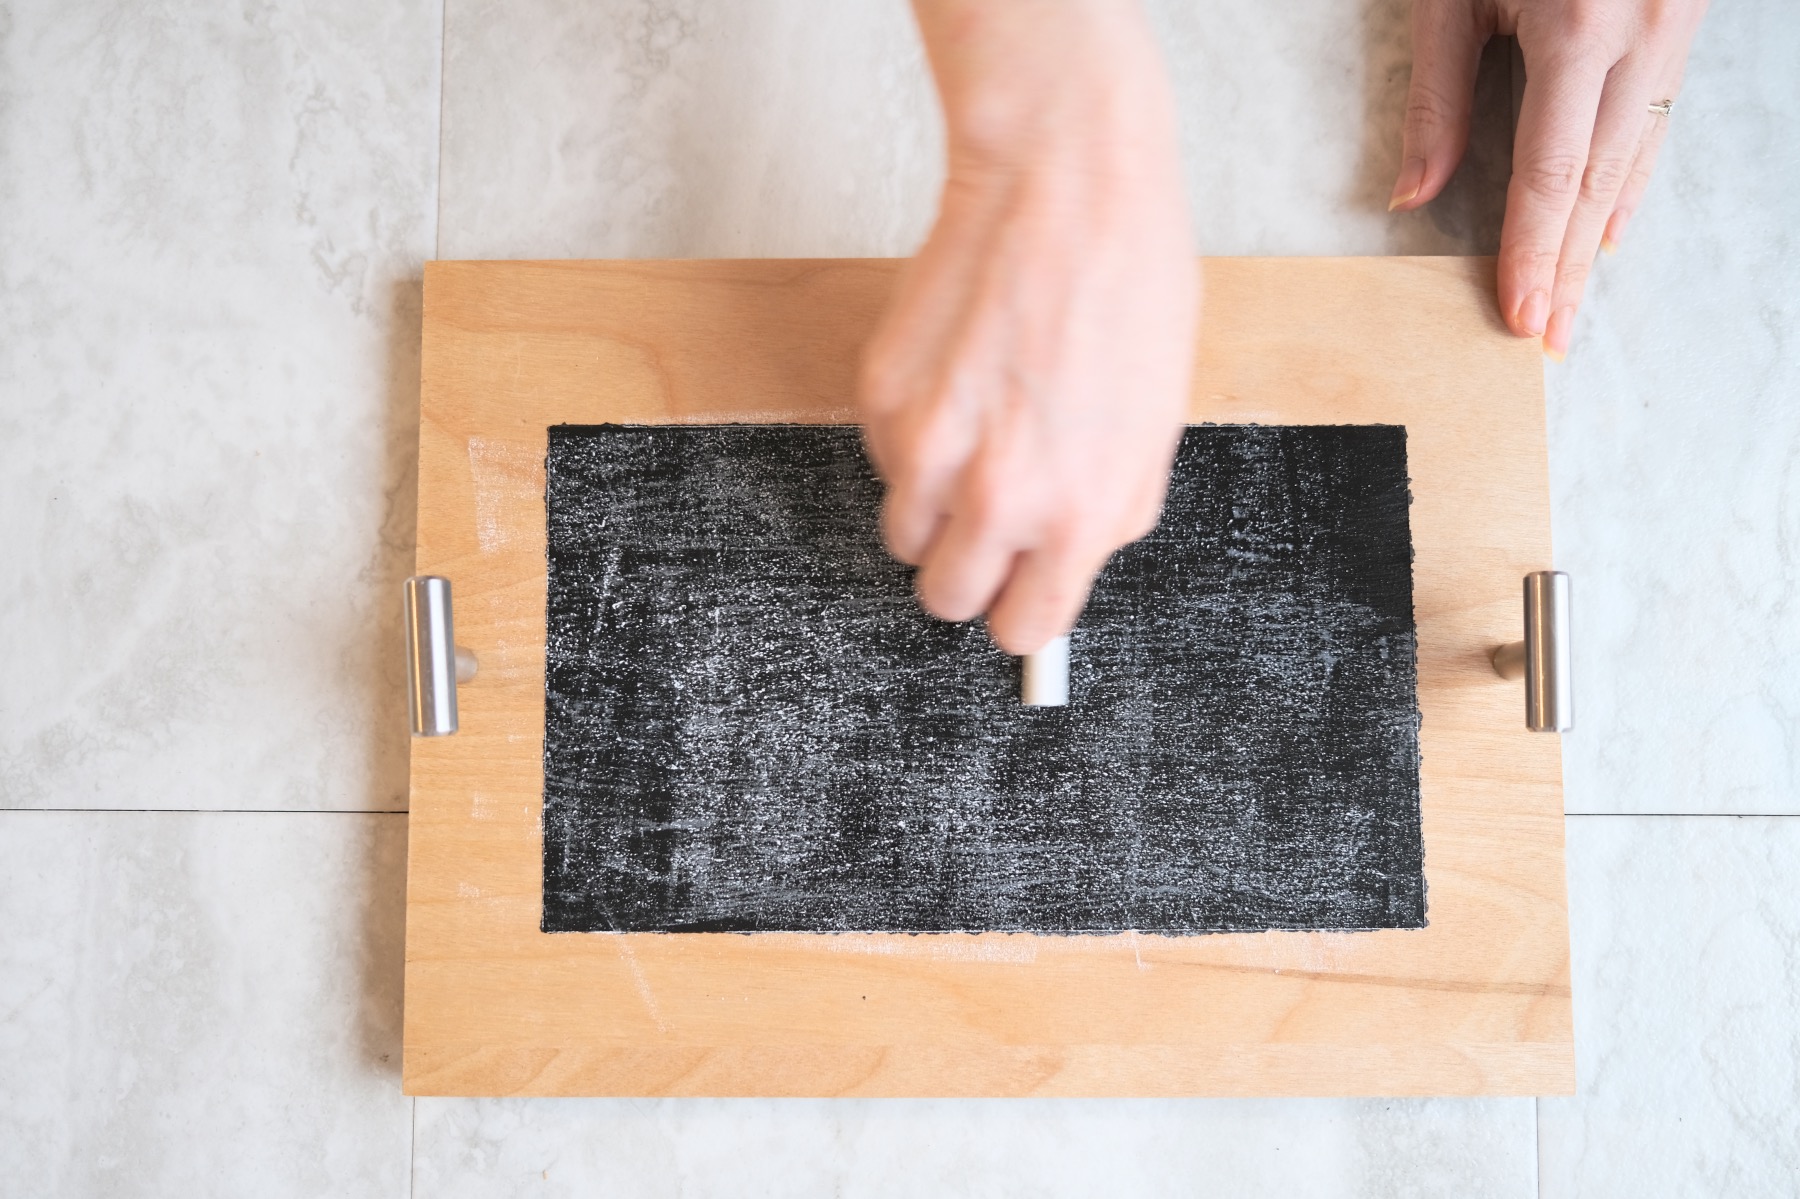
Even though it’s completely covered your chalkboard will look splotchy. But that’s normal and fine! You just need 2 coats of dry chalk on your chalkboard – once up and down. And once side to side.
Don’t rub too hard and damage the chalkboard. That’s why you just need gentle and light pressure. And that’s why the chalk being spotted and splotchy is fine!

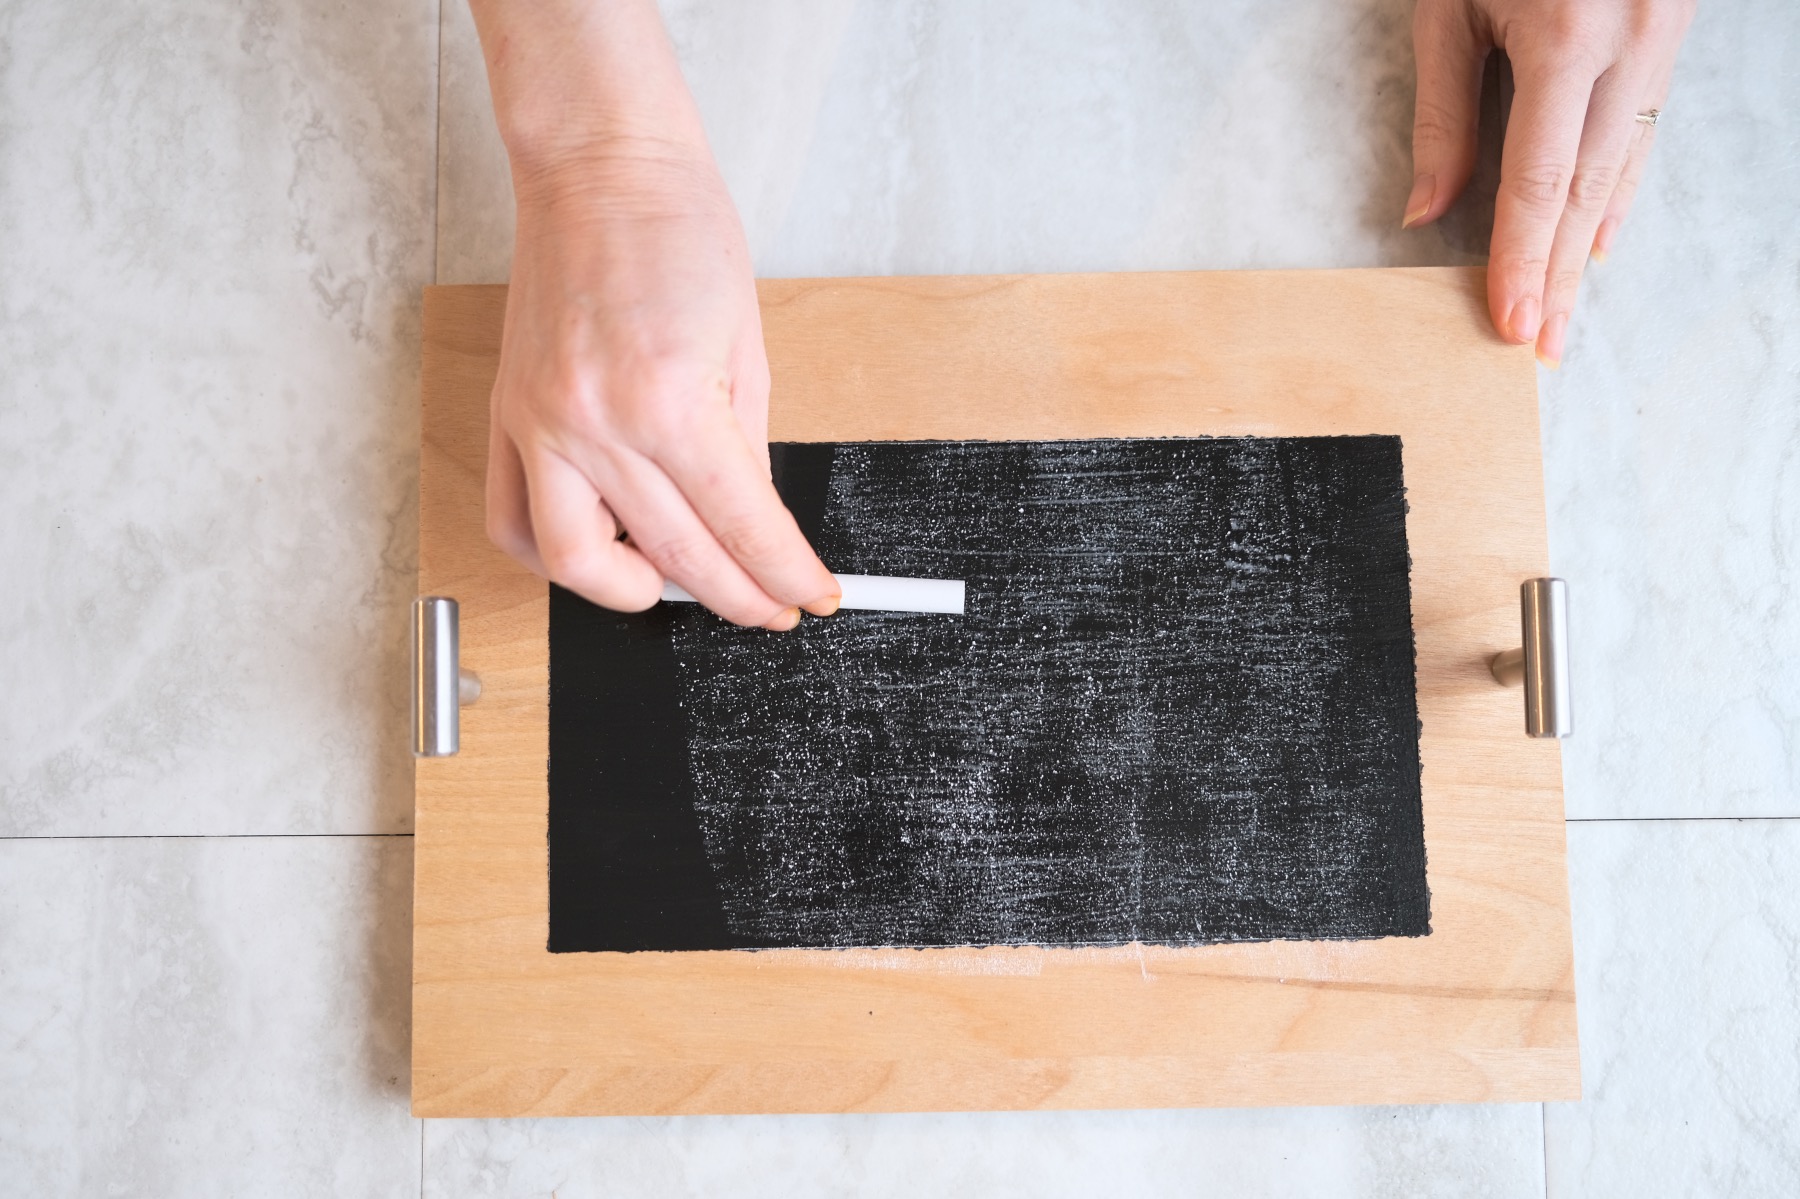
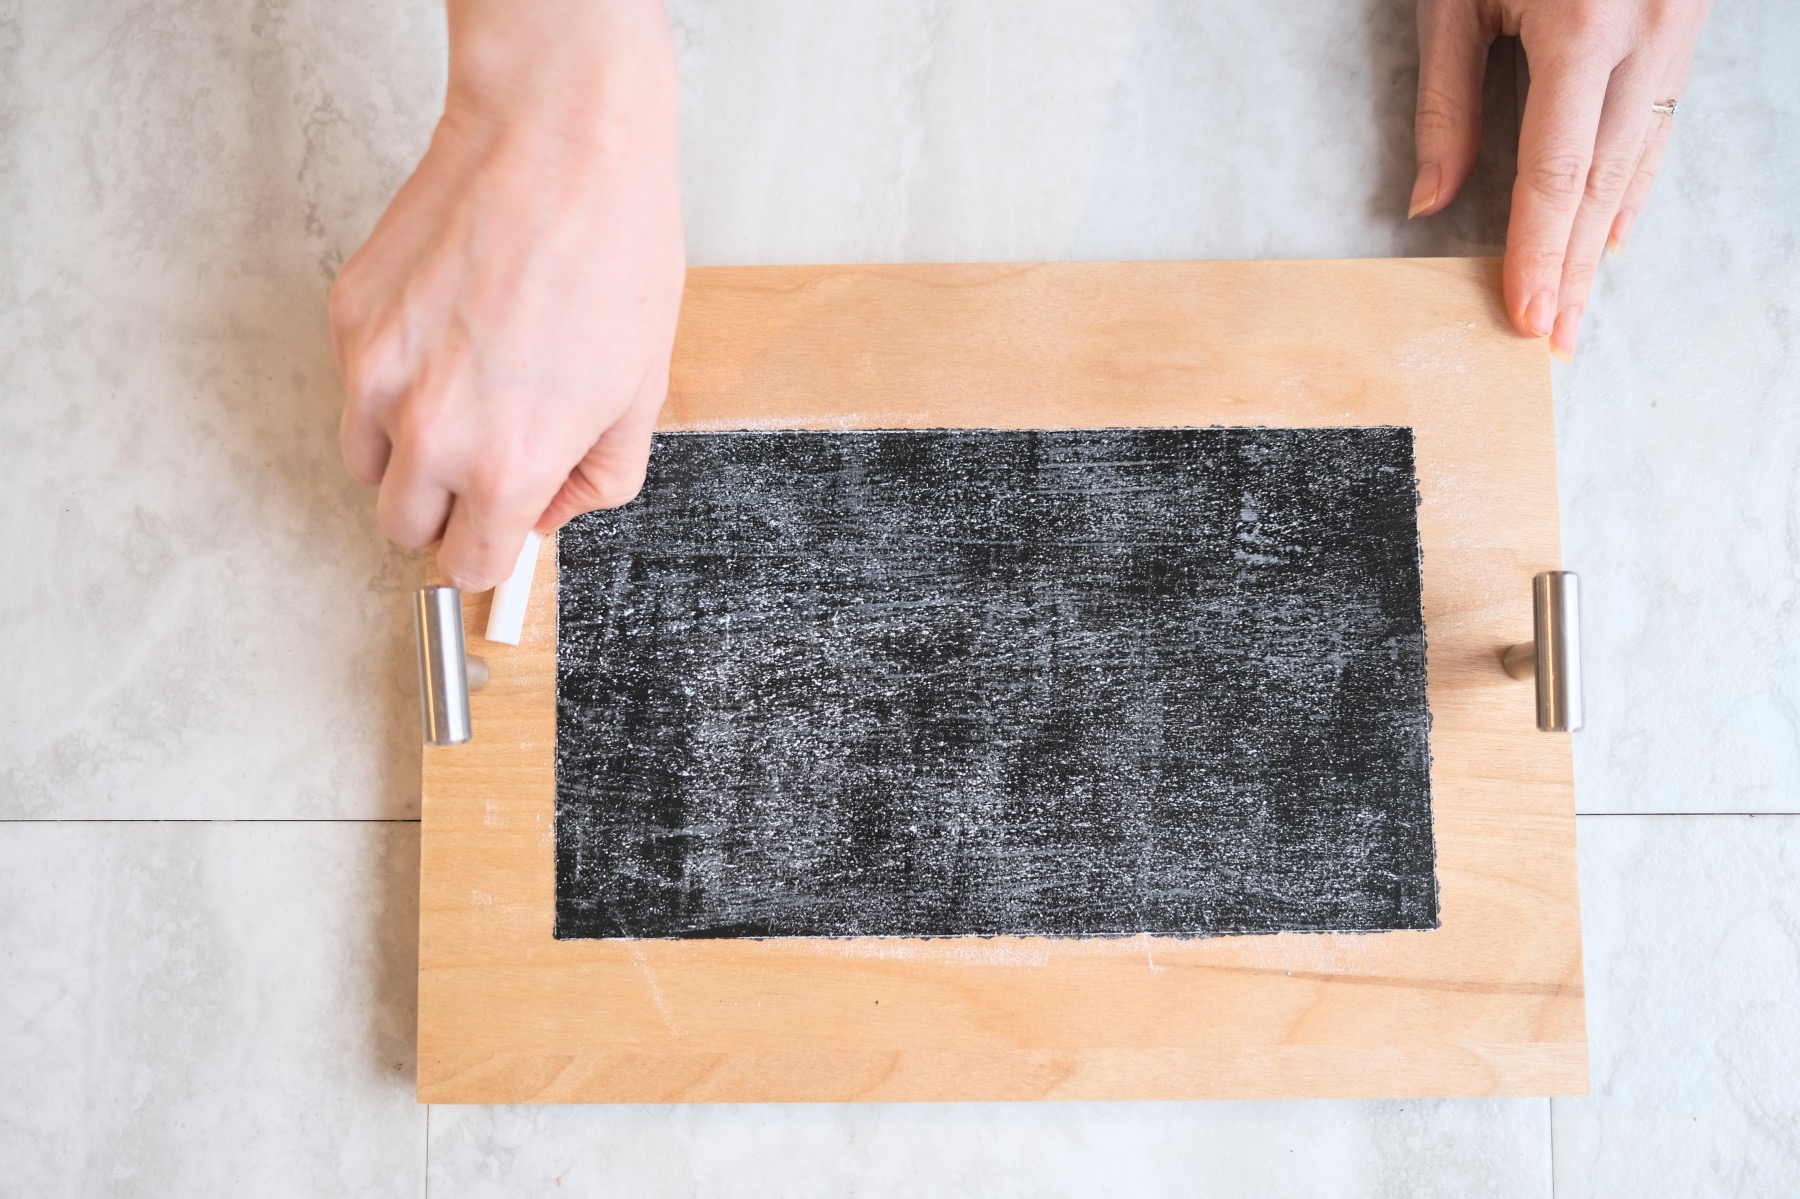
Step 3: Wipe Off the Dry Chalk
Last, take a gentle, dry cloth or a chalkboard eraser and remove all of the chalk. Rub up and down and left and right across the entire board.
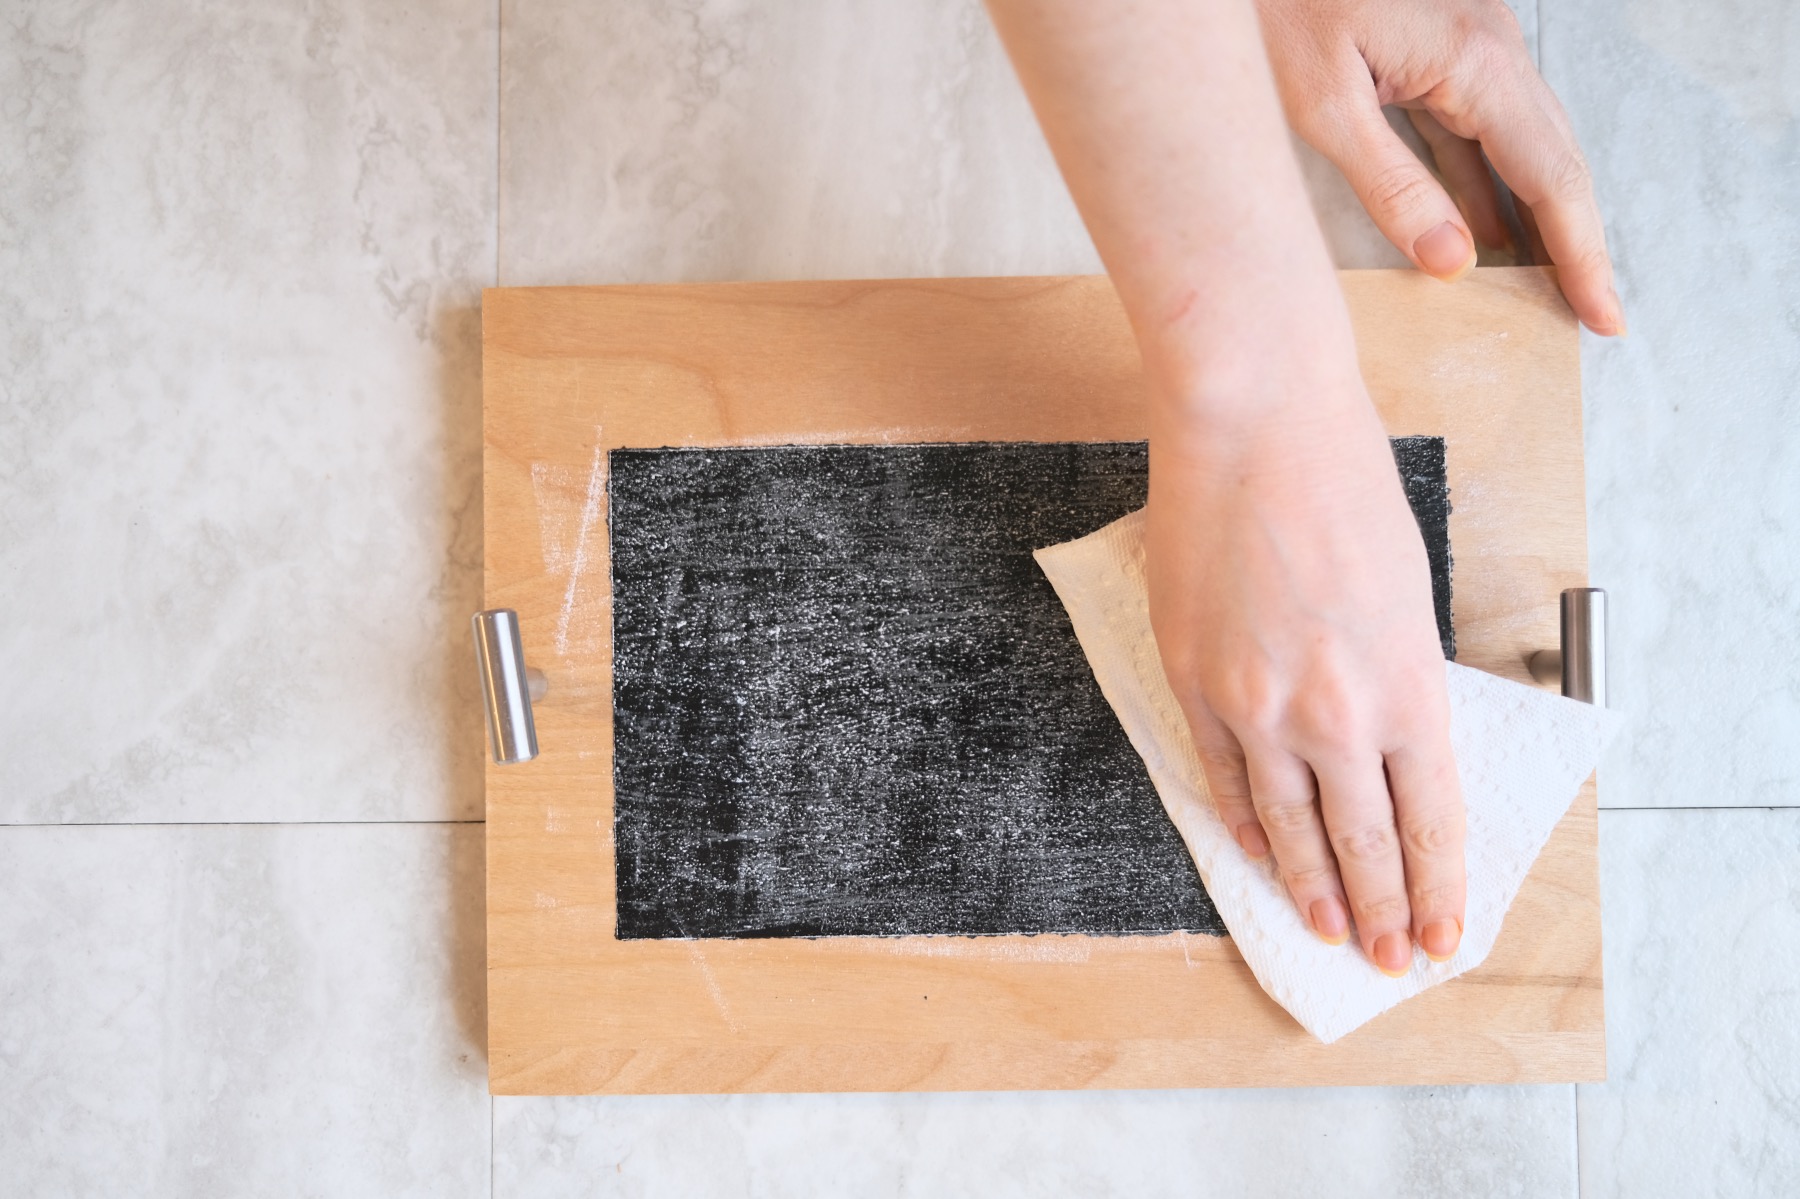
Once your chalk is removed, your perfectly black chalkboard will now be a muted matte gray. It becomes cloudy. This is because there is still a think layer of chalk on the board. The seasoning process creates a fine layer of chalk dust that settles into the grains of the chalkboard. It’s not visible to the eye, but it’s happening!

The process of Seasoning a Chalkboard allows you to create designs on the board and when you are finished be able to erase those designs! Without seasoning a chalkboard, each time you try to erase a design, small elements will remain in the chalkboard like ghost images that never quite go away.
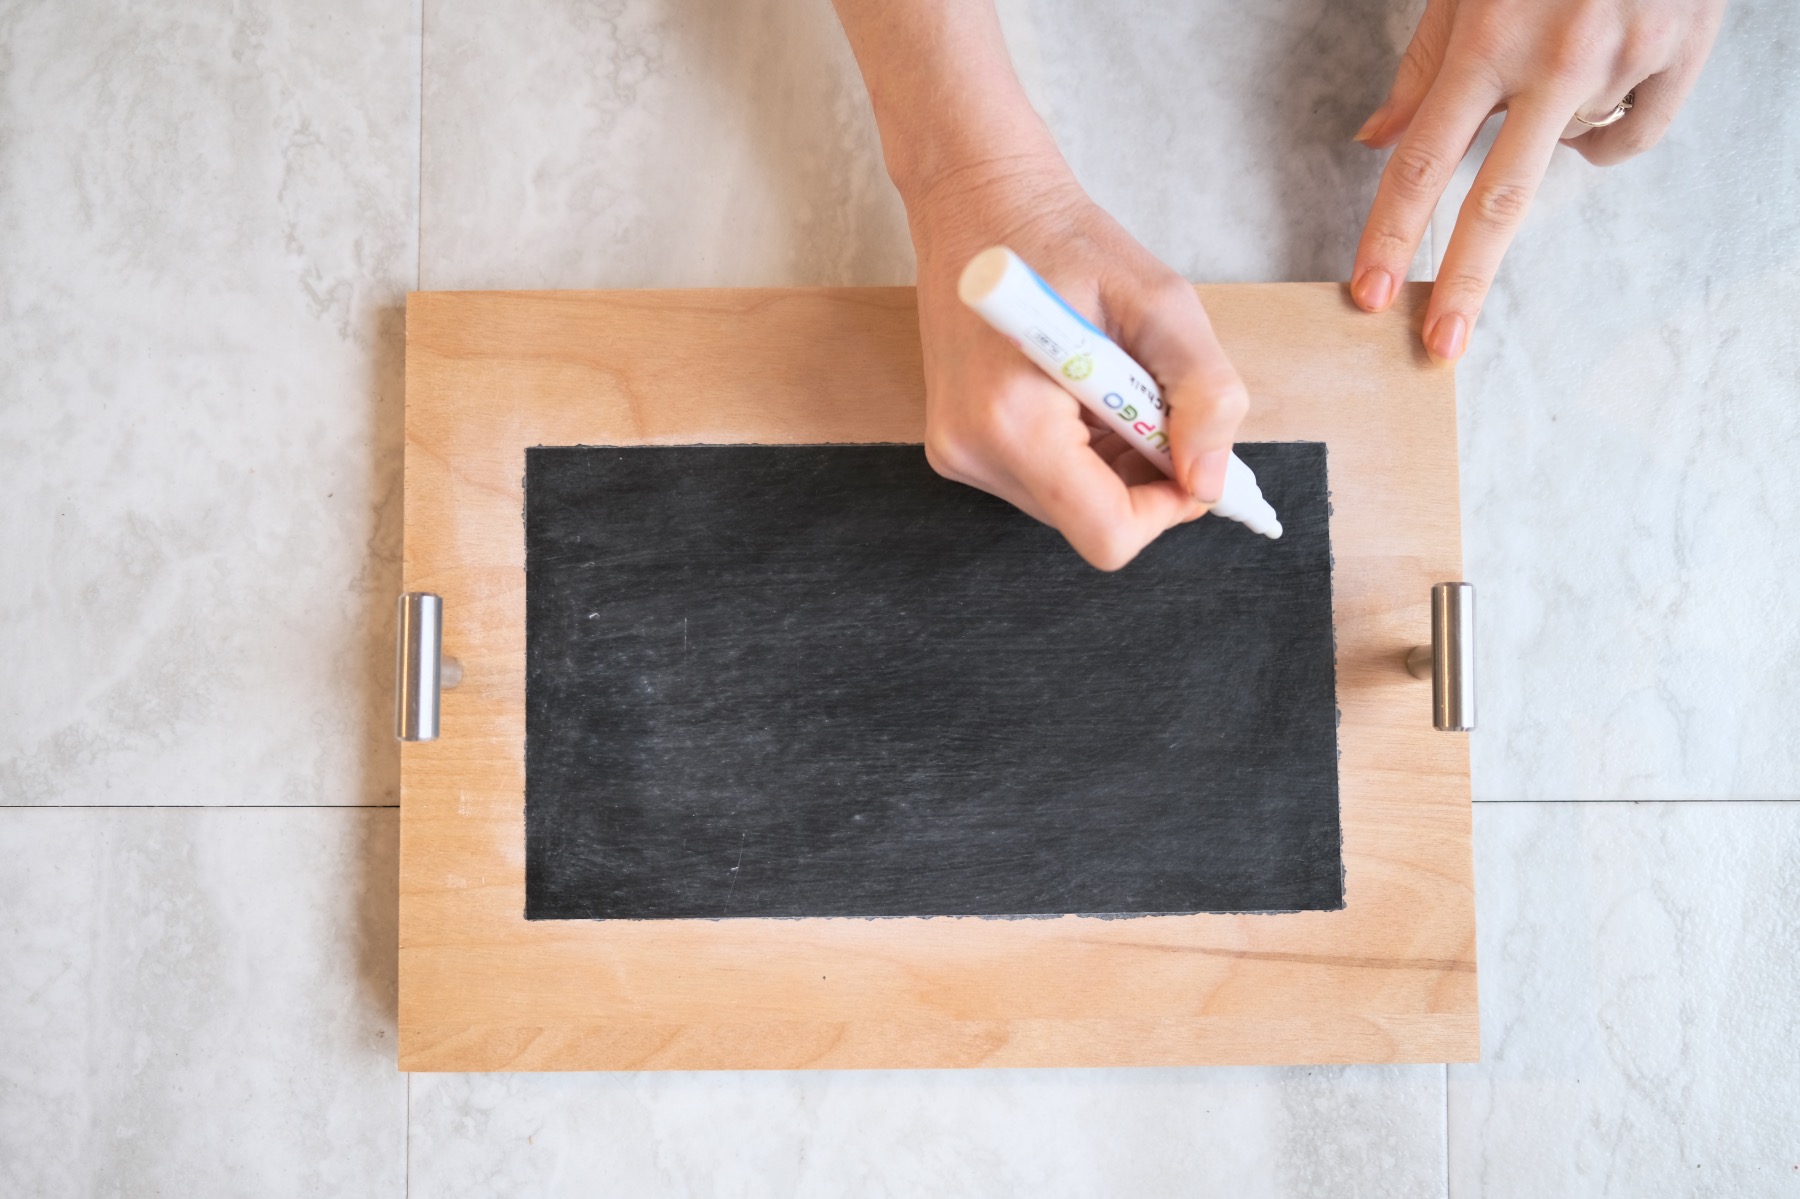
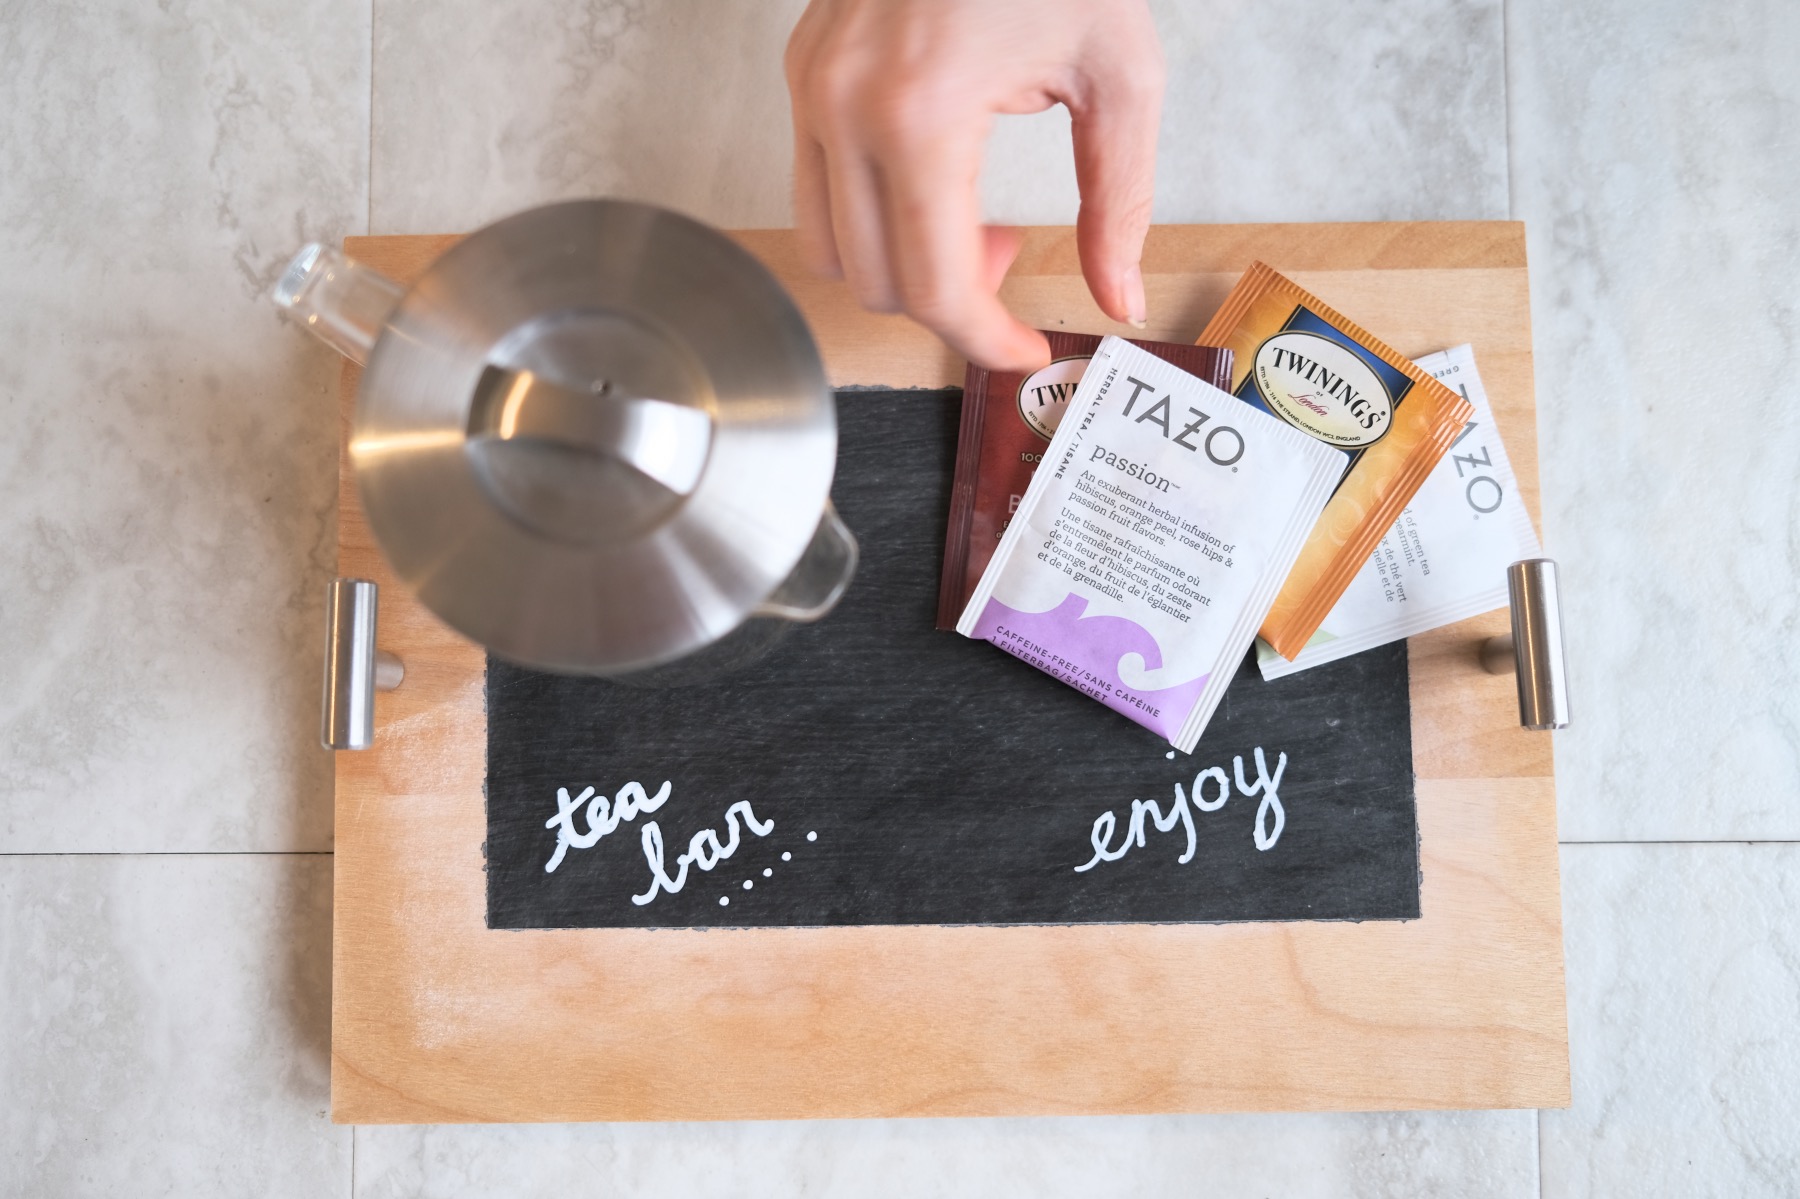
Bonus: Create with Your Chalkboard
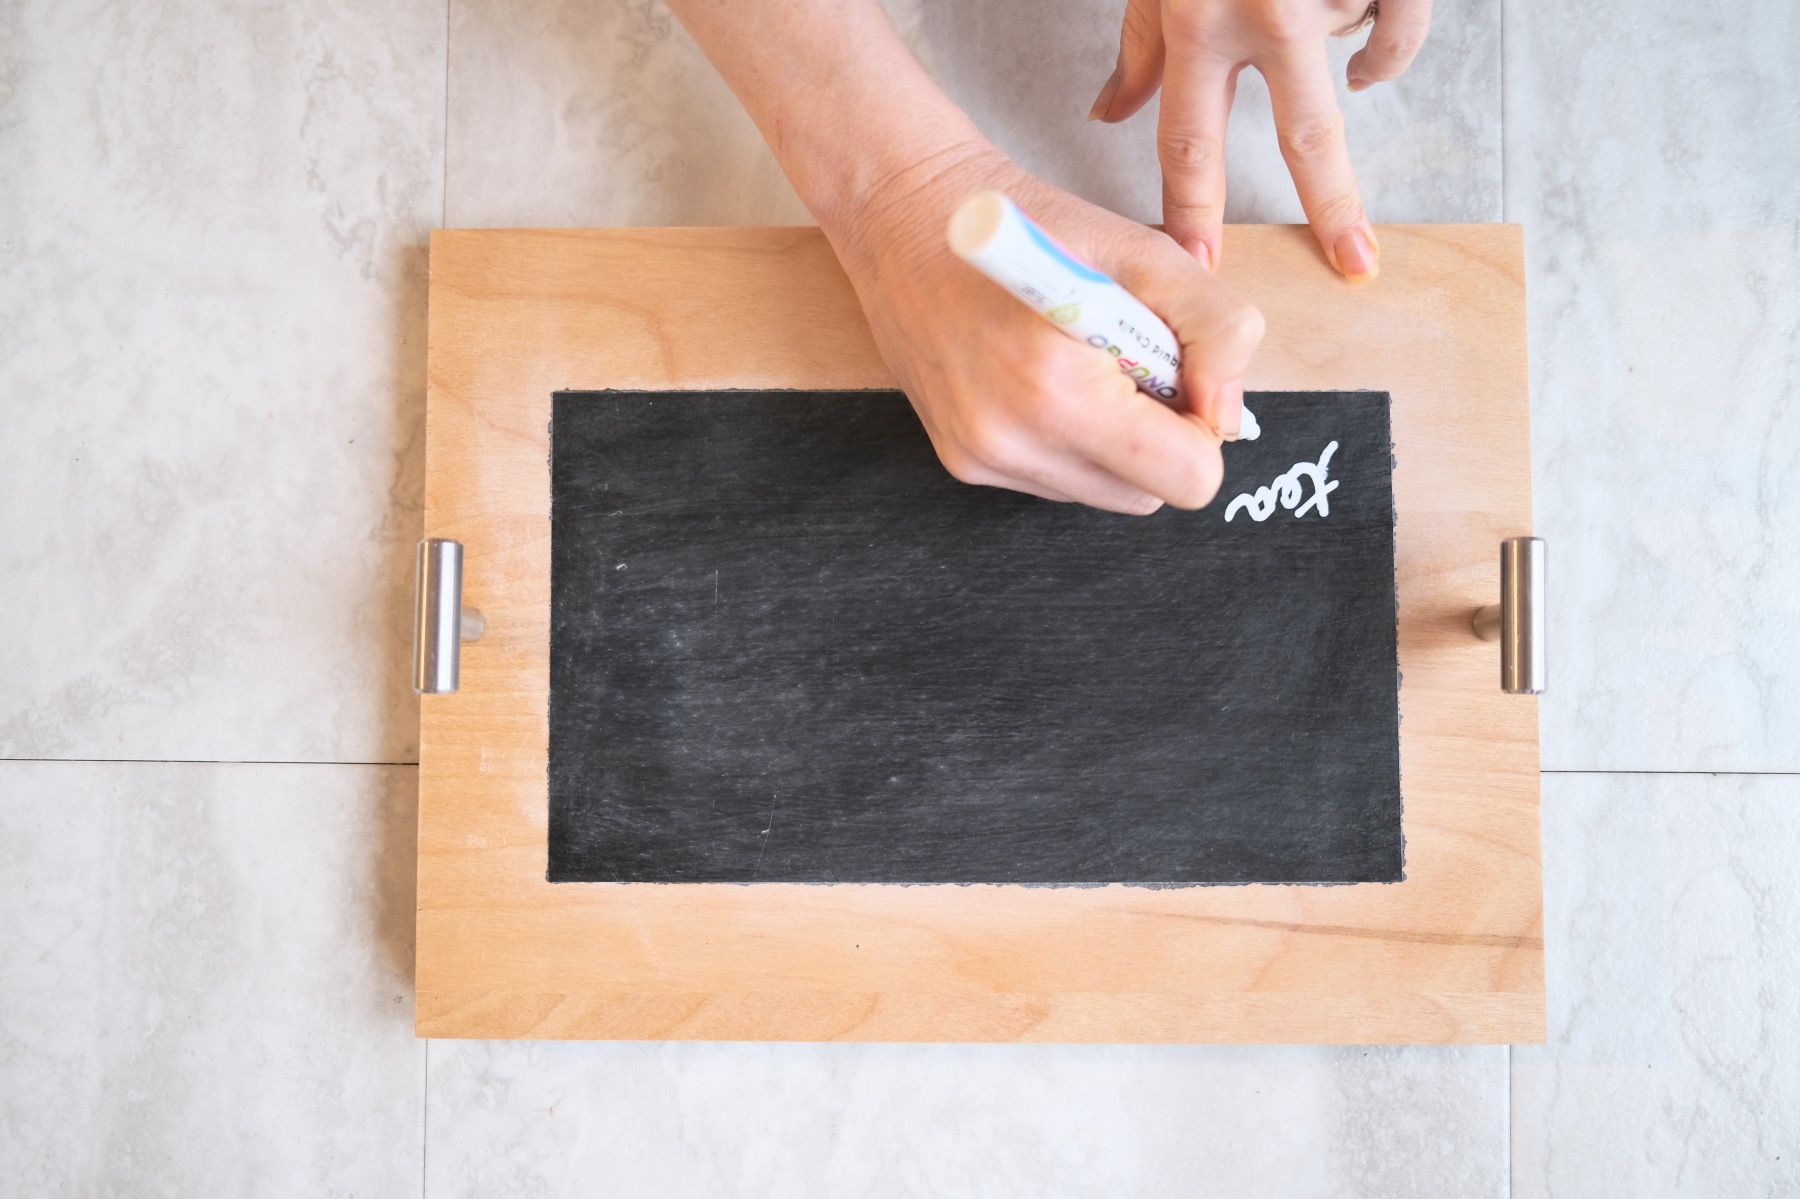
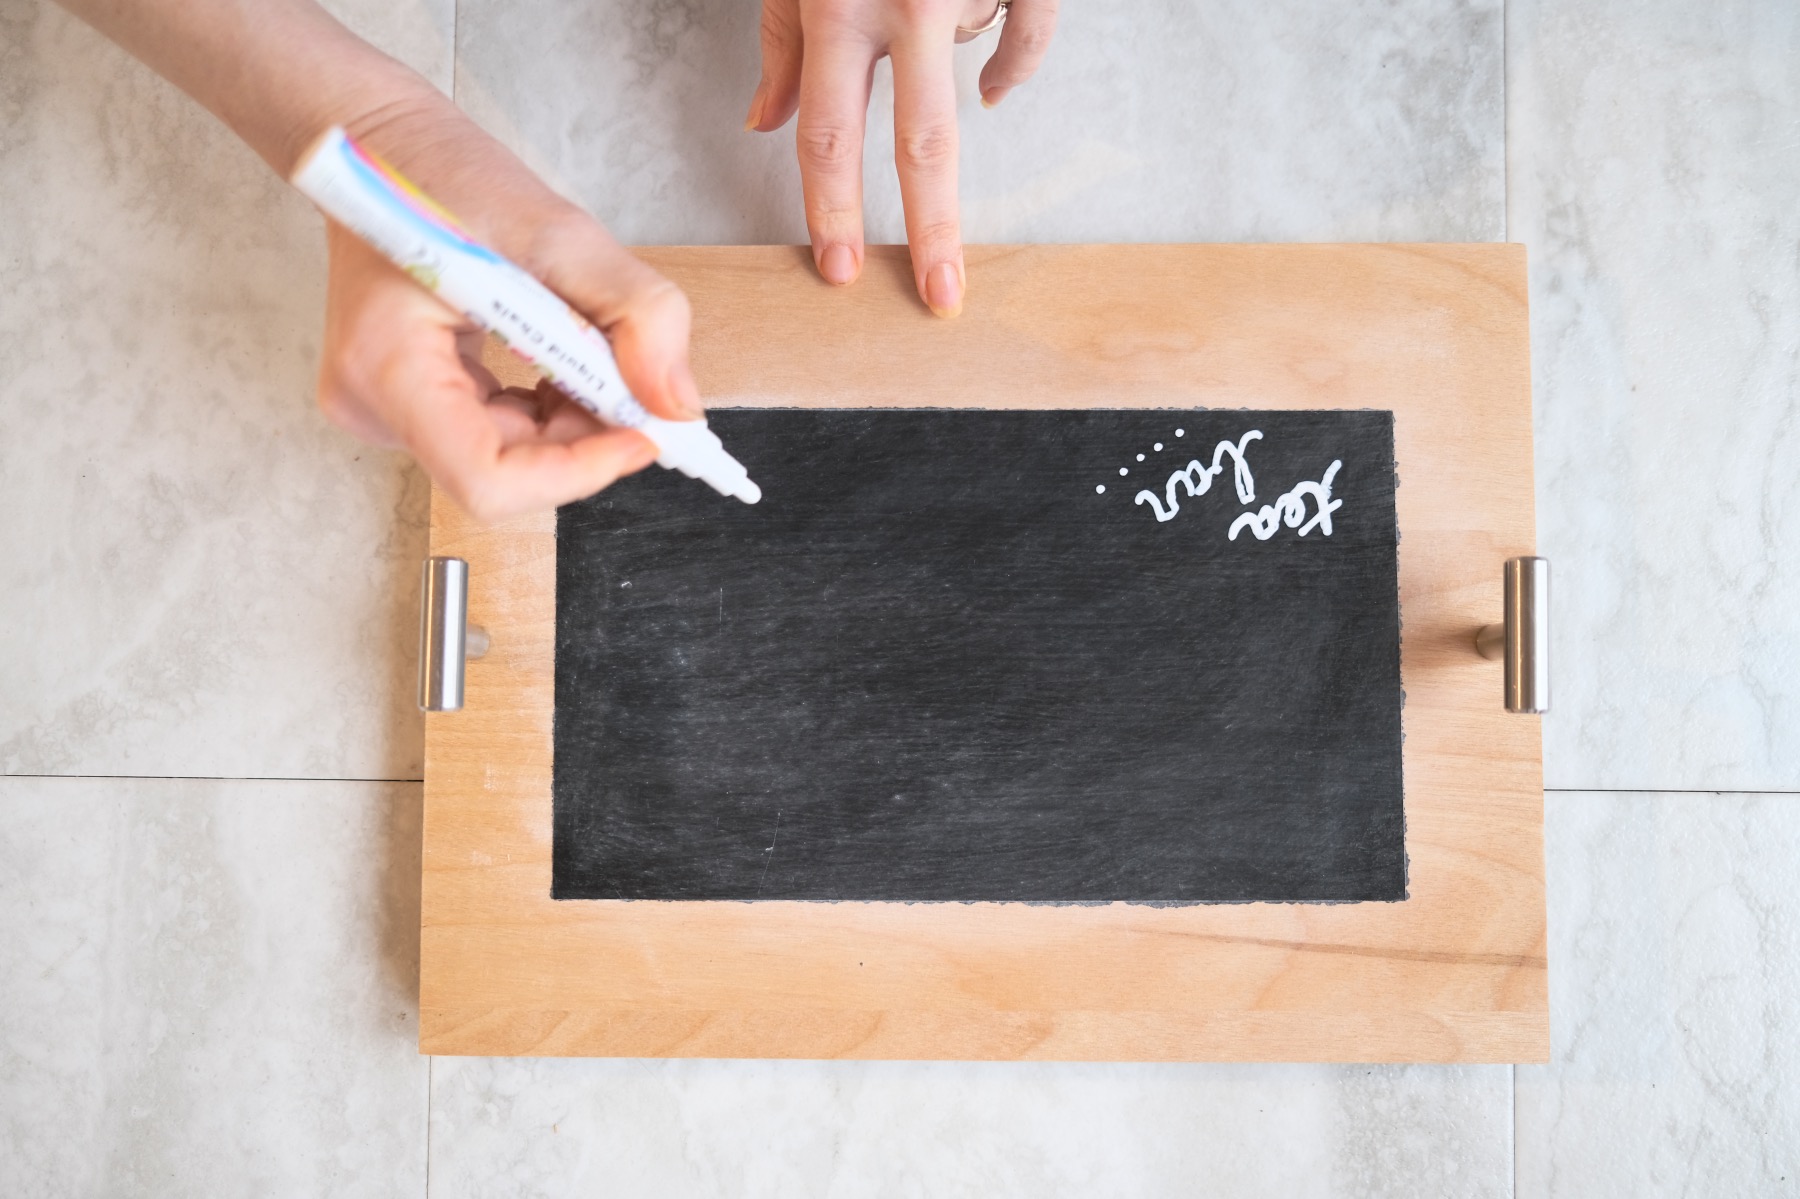
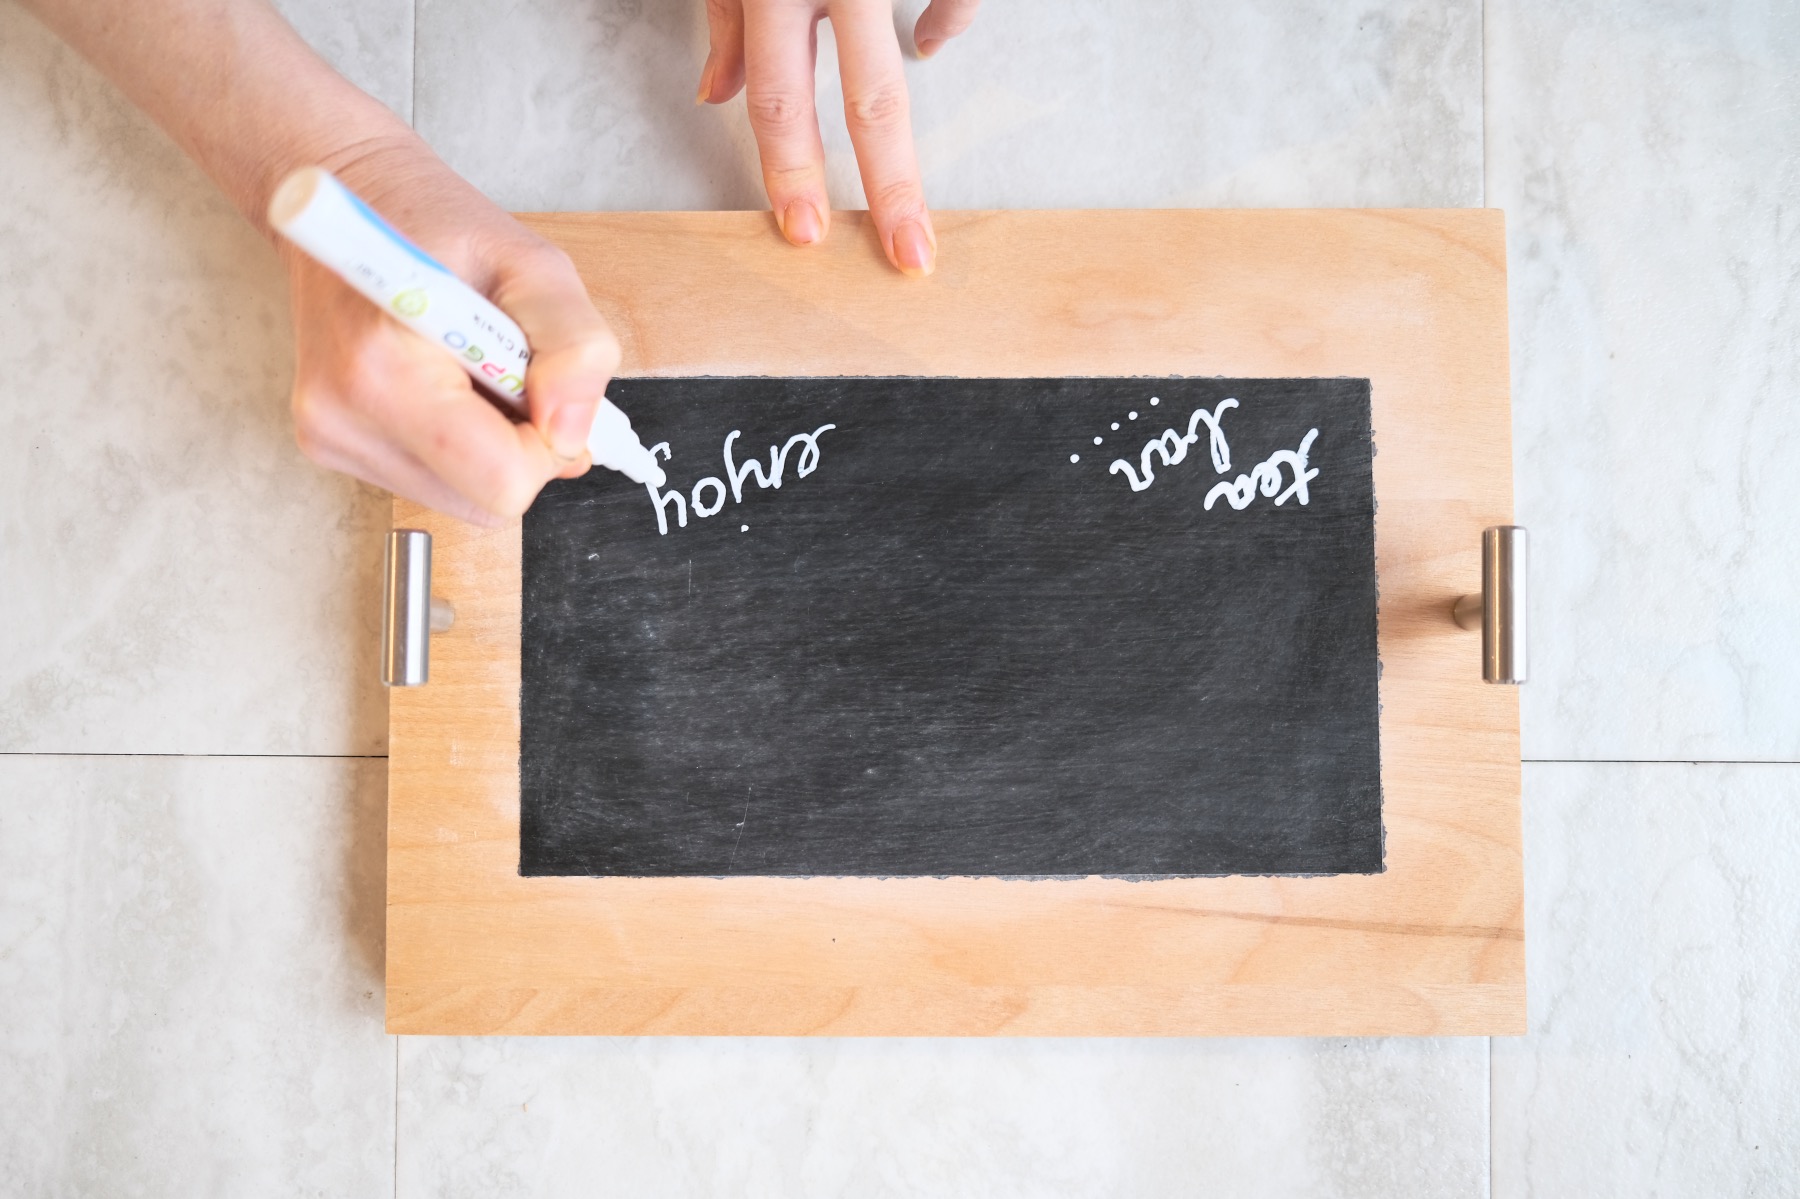
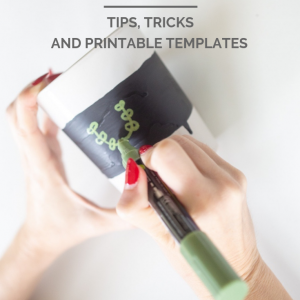
Once you Season Your Chalkboard, you can use design, draw, write, and illustrate across your chalkboard. The seasoning process must be done with dry chalk, but this step can be done with either dry chalk or chalk ink pens.
Both chalk pens and dry chalk are fun to work with and can be used very differently.
Chalk pens are better for dark, vivid lines and come in an array of vivid colors. They are perfect for lettering because chalk pens have a fine tip.
Dry chalk on the other hand is great for creating shading because you have a lot more control over how dark and light they are. They are also great for covering larger areas – something that chalk pens just can’t do!
So what are you going to Chalk Paint? And what kind of designs are you going to make on your chalkboard? Tell us in the comments!
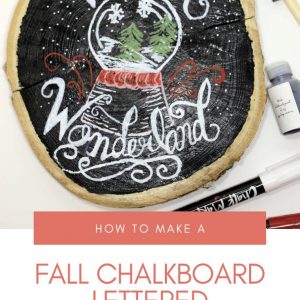
And if you want even more chalkboard inspiration check out the blogs below.
Let’s Stay Friends!
Insta | Pinterest | Enews | TikTok

Hi, I recently made 5 chalk boards. Painted them with black board paint. I’m wondering if there’s a dark black chalk or some brand of artist black charcoal that can be used to season the new boards with. Lately I like to use mainly soft pastels and to create intuitive abstract paintings using the chalk board. Is it possible to have a dark black color instead of the gray color? Thank you for your reply.
Yes! Google search “black chalk”. It exists, along with chalk in a million different colors, and it will do exactly what you need it to do.