Craft in Style Subscription Instructions, DIY
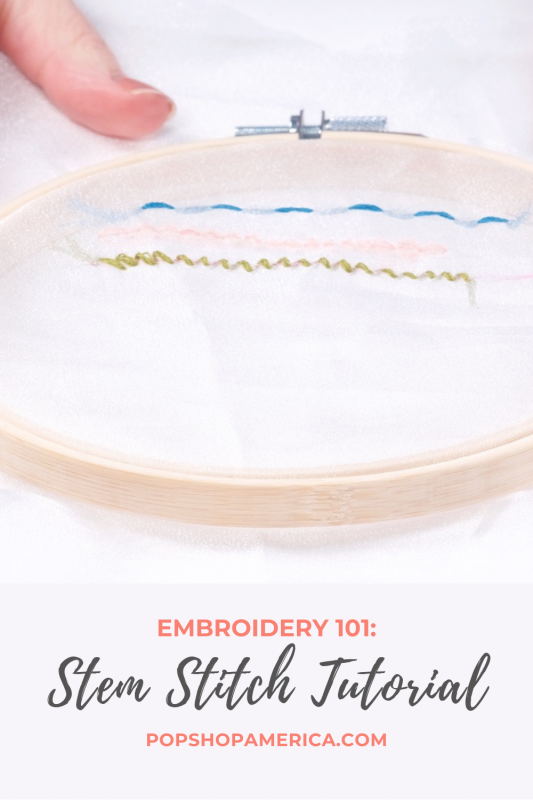
Stem Stitch: An Easy Embroidery Stitch Tutorial
Feb
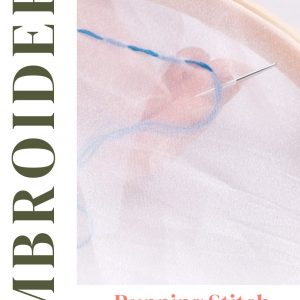
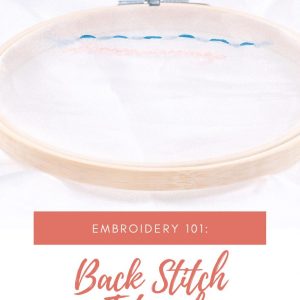
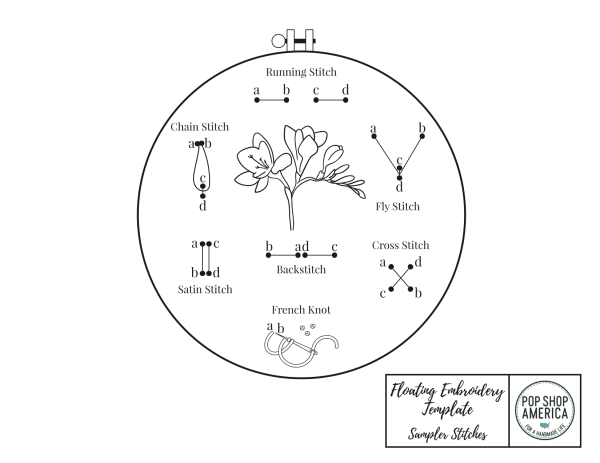
This is Part 4 of 7 of the Craft in Style Subscription Box Instructions for February 2021. Find the Craft in Style Subscription Box here. Read Part 1: A Beginner’s Guide to Embroidery here. Read Part 2,4-6: Running Stitch | Back Stitch | Chain Stitch | French Knot Tutorials here. Read Part 7: How to Make Floating Nature Embroidery Hoops here.
A Stem Stitch is a handy and easy stitch to learn. It’s very simple, but creates thick bold lines and is perfect for making borders. It’s also really stylish because it creates a pattern of diagonal lines!
If you are working with the Floating Nature Embroidery Kit by Pop Shop America, in our instructions we use the Stem Stitch interchangeably with the Satin Stitch. That’s because they are actually the same stitch! That means this stitch packs twice the punch. So let’s learn it.
How to Get Started with Any Embroidery Stitch
Before you jump in, take a moment to review the Beginner’s Guide to Embroidery. This blog is perfect for getting started choosing a fabric to stitch on, understanding how to work with embroidery floss, and it’s a great starting point for learning this in addition to other stitches.
Once you know a few stitches, it’s a great way to blend them together to bring your embroidery pieces to life. Using more than one type of stitch is the best way to make something that would feel flat, to instead feel sculptural and exciting to look at.
How to Prep Your Embroidery Floss
Before you get started stitching, first prep your embroidery floss. Your thread is made up of many different strands that can be pulled apart to make smaller, thinner pieces of embroidery floss. This is a great way to control the size of the stitch.
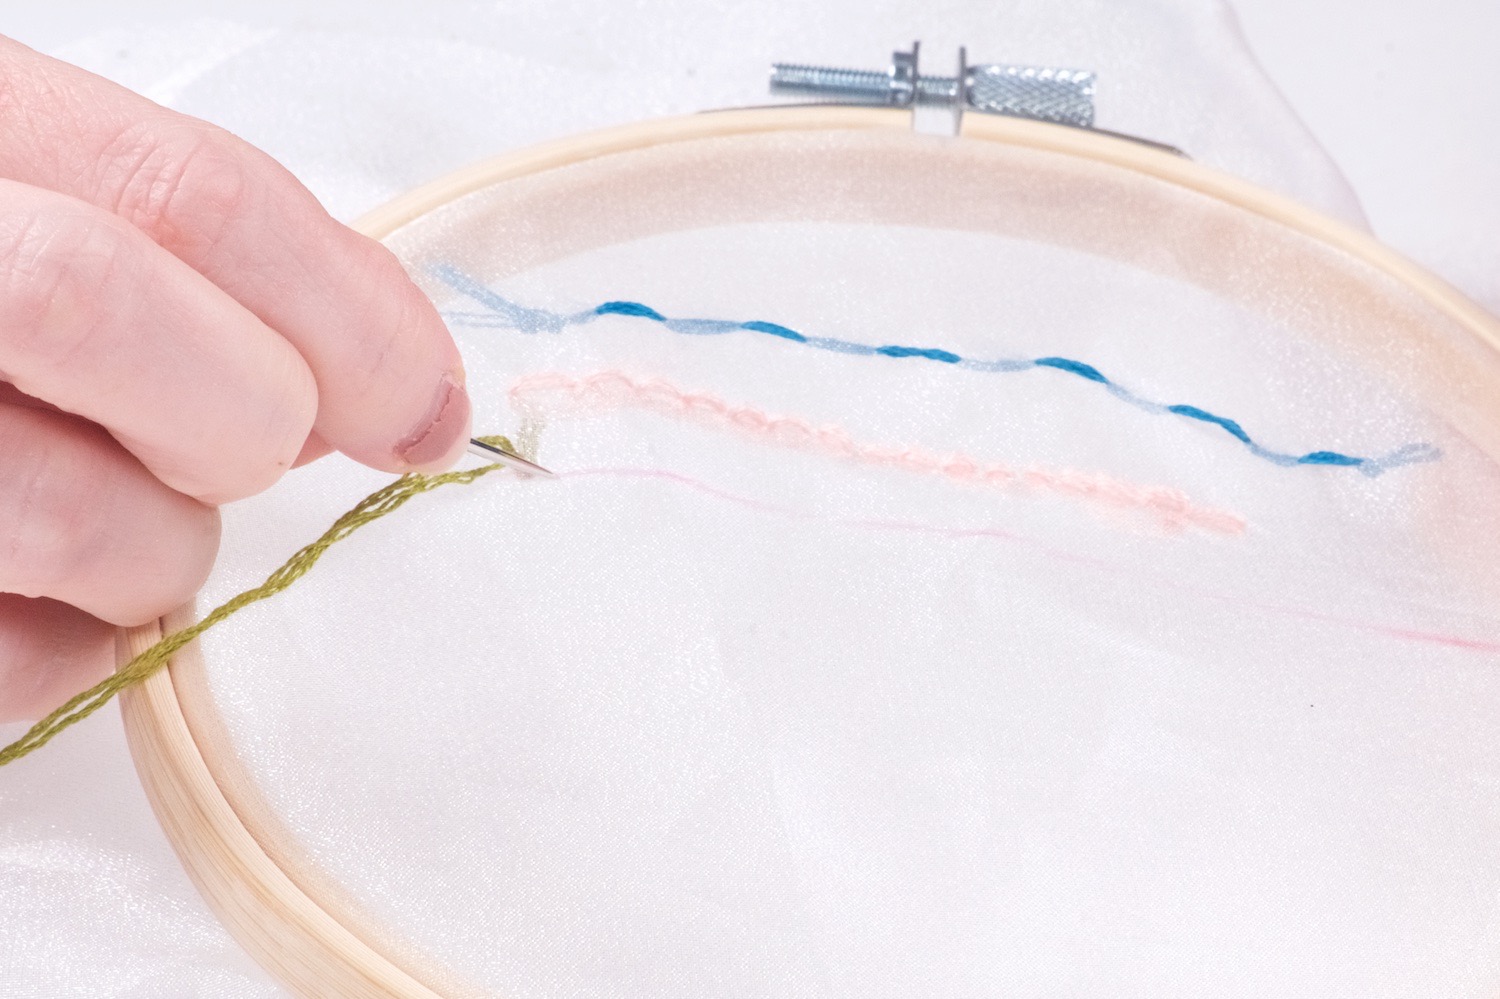
Cut a length of embroidery floss around 3 feet or a shorter length that feels manageable to you. If you cut your thread shorter than 18-24 inches, just know that you will need to thread many needles while you are embroidering! After you cut your thread, pull a number of strands away from the cluster, however many you want to work with.
The easiest way to thread a needle is to knot it at the needle like this. Or knot it at the tail. Either method will double the thickness of your embroidery floss.
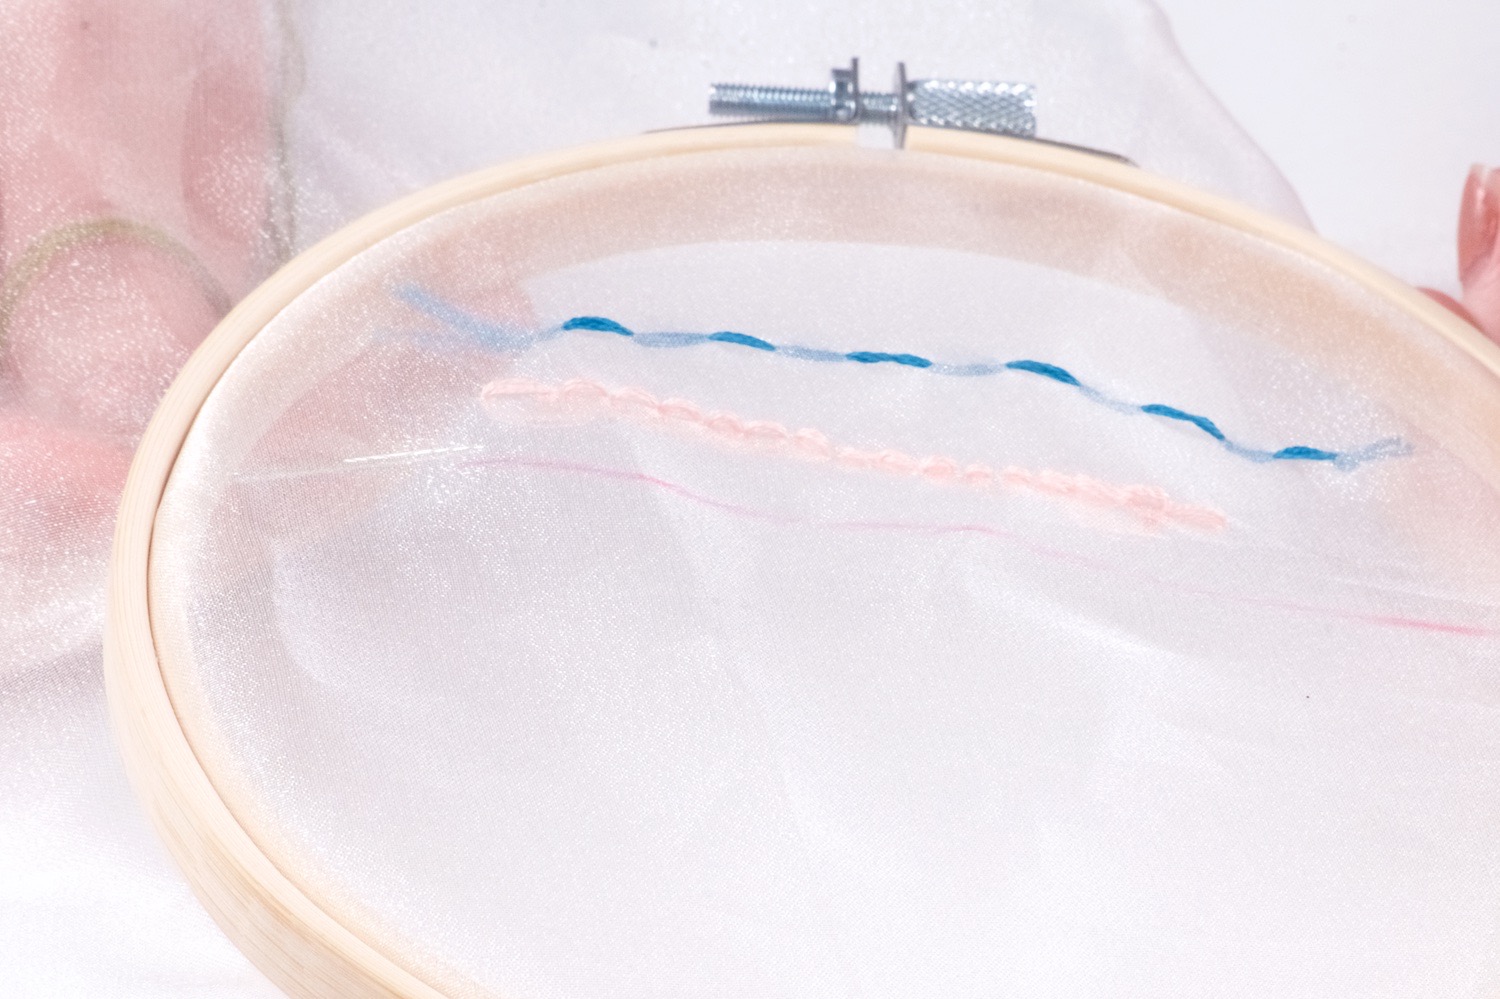
How to Create a Satin Stitch
Use the guide above to see the pattern and create this stitch. Start with your embroidery floss on the backside of your piece. Push the floss through the front. Then run the floss directly down from the original stitch and punch the floss through to the backside.
Now the backside will be filled with diagonal lines because the next stitch should be directly next to your original stitch. You will want these stitches to be as tight as possible, so try to push your embroidery floss through so there is no space between them.
Now that you are on the front side of your piece again, punch through directly down and directly next to the 2nd part of your original stitch.
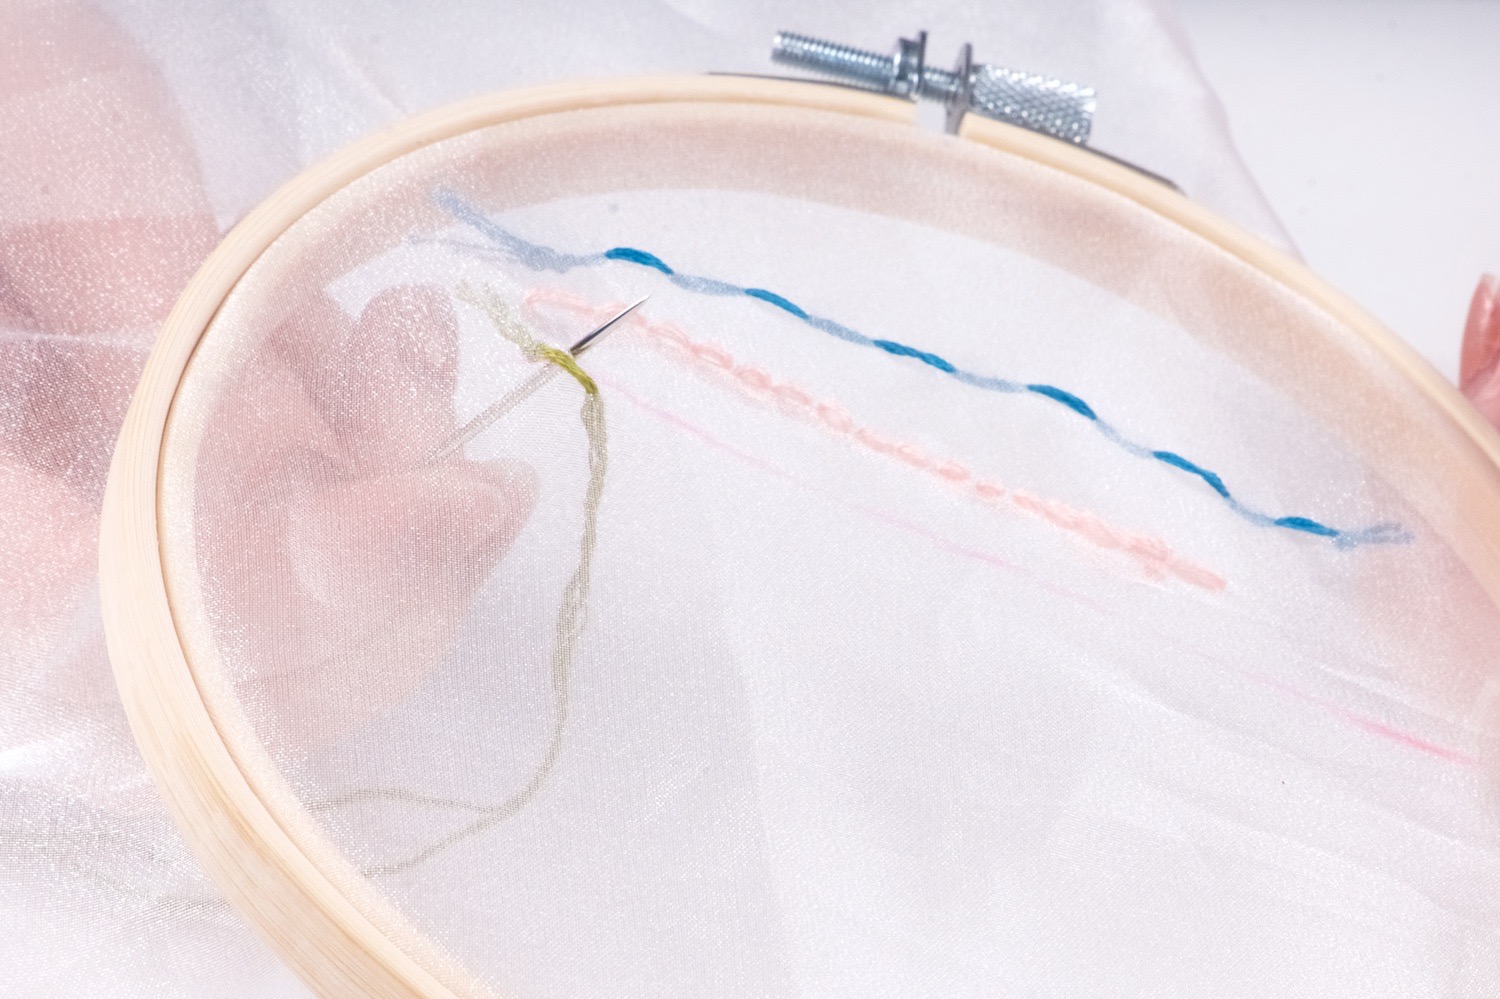
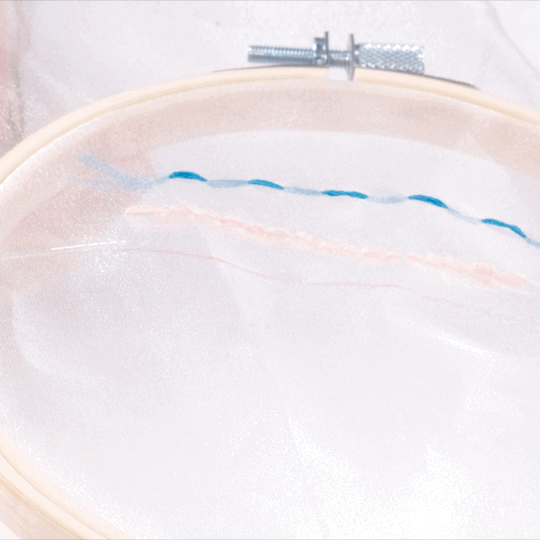
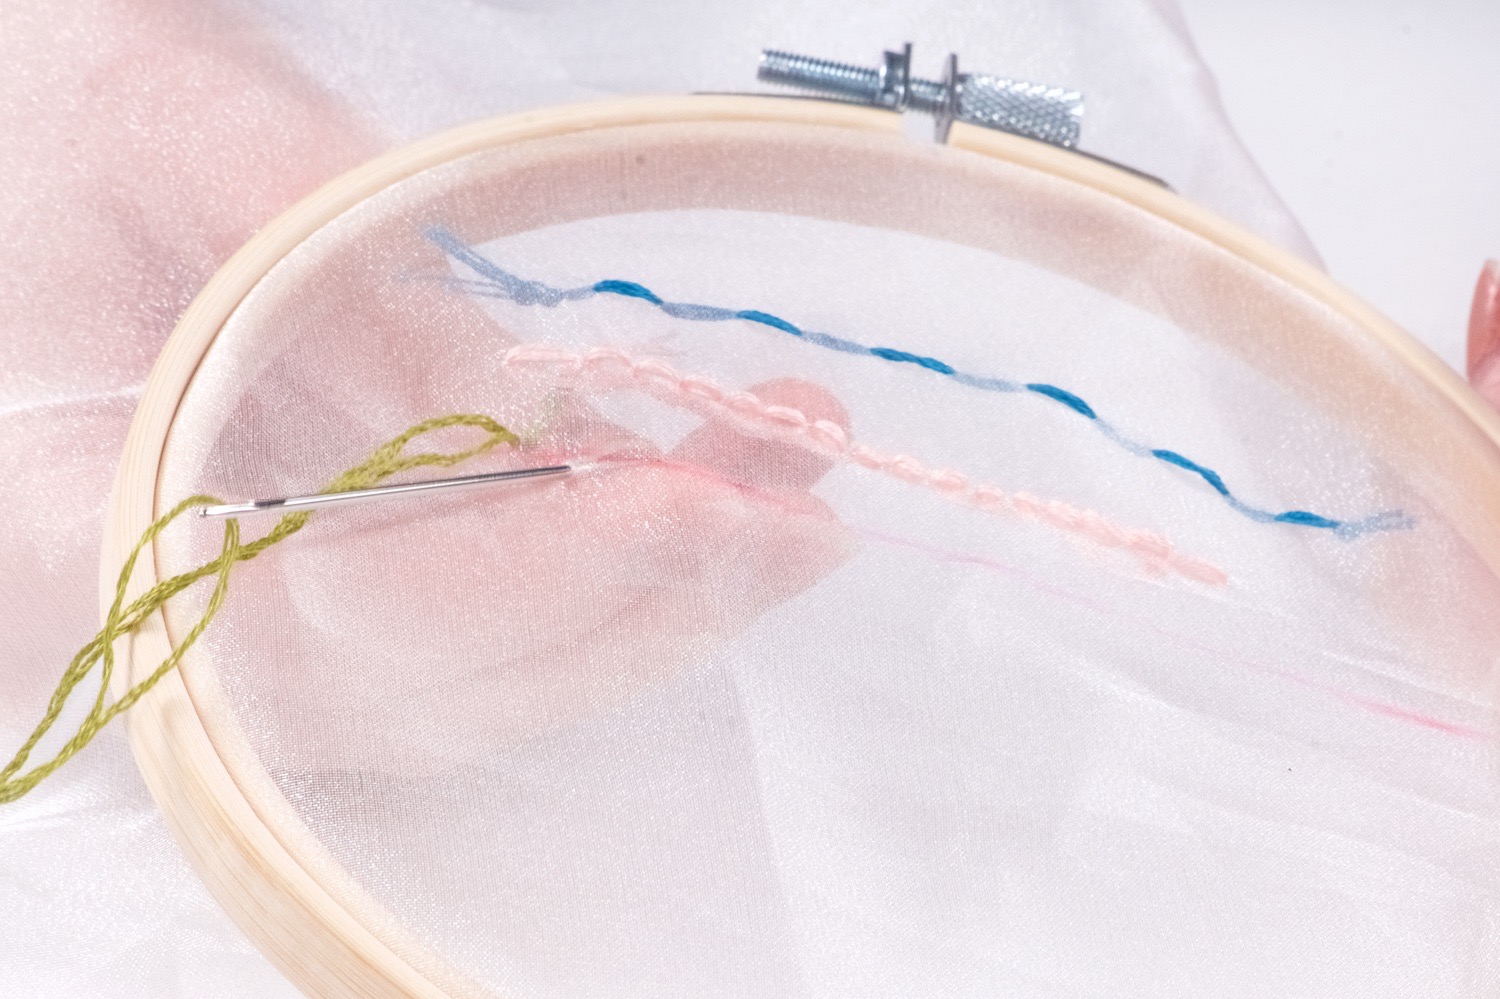
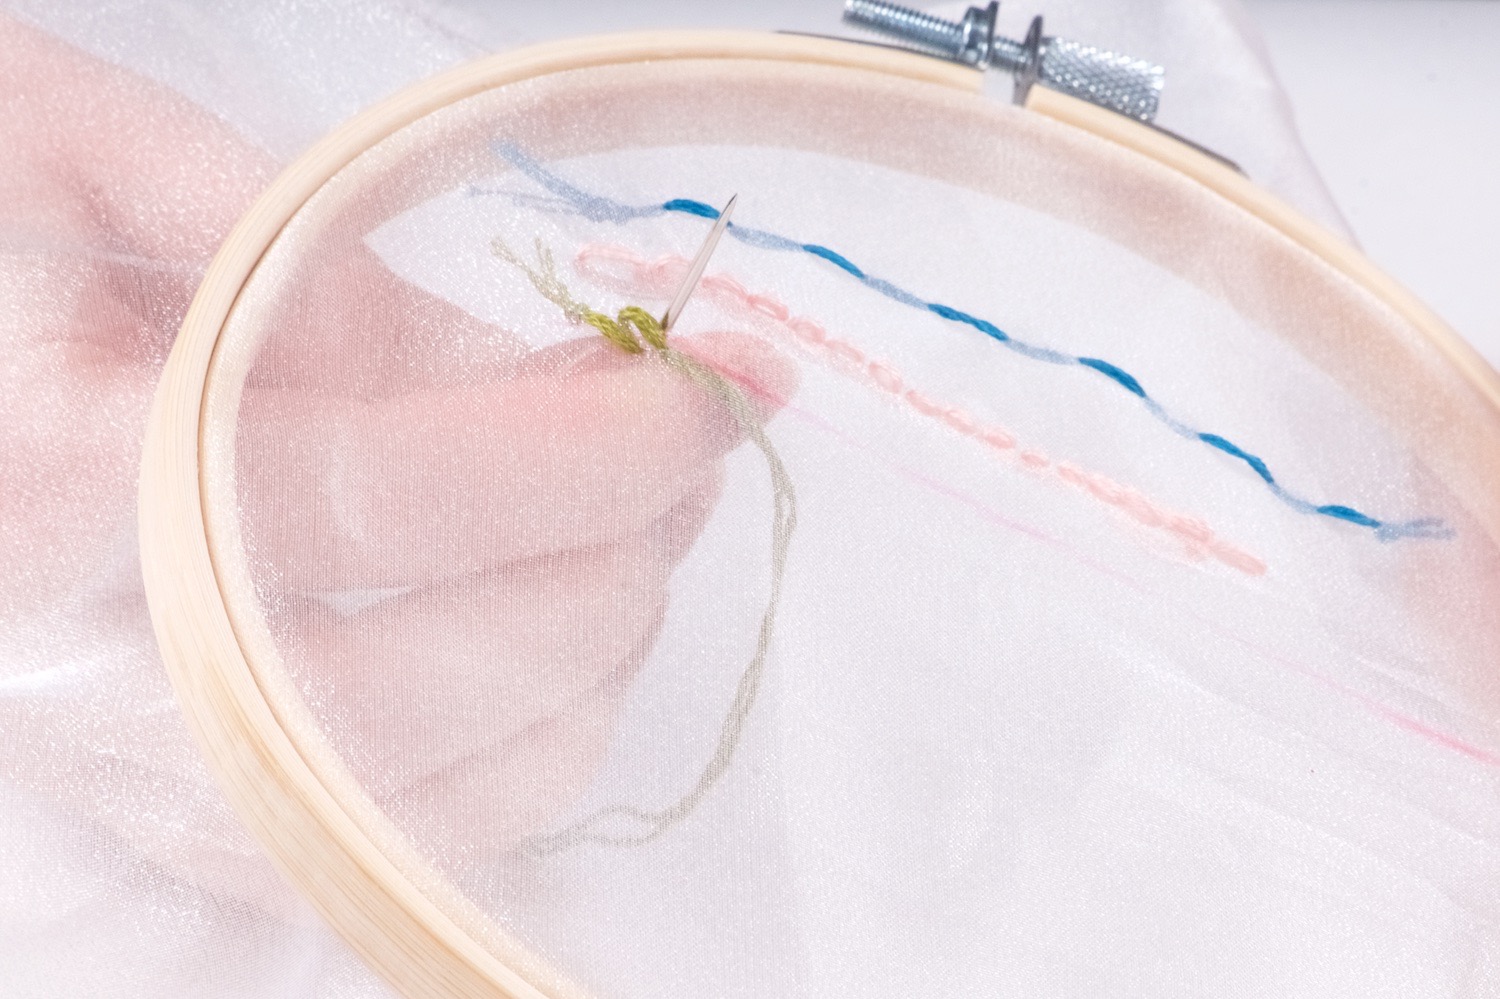
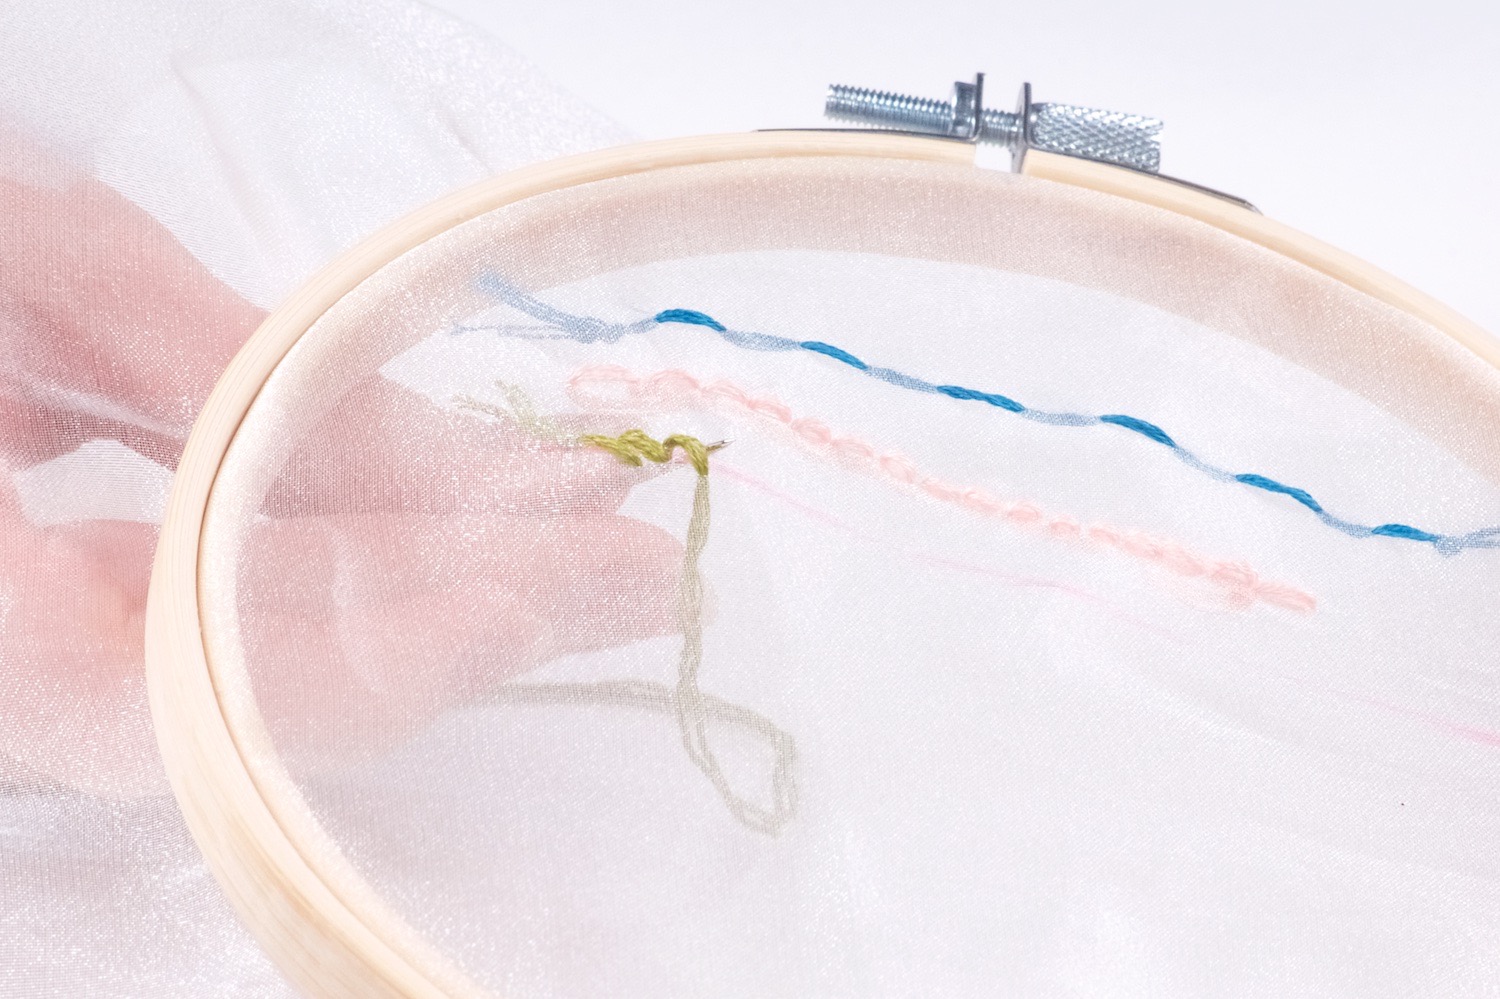
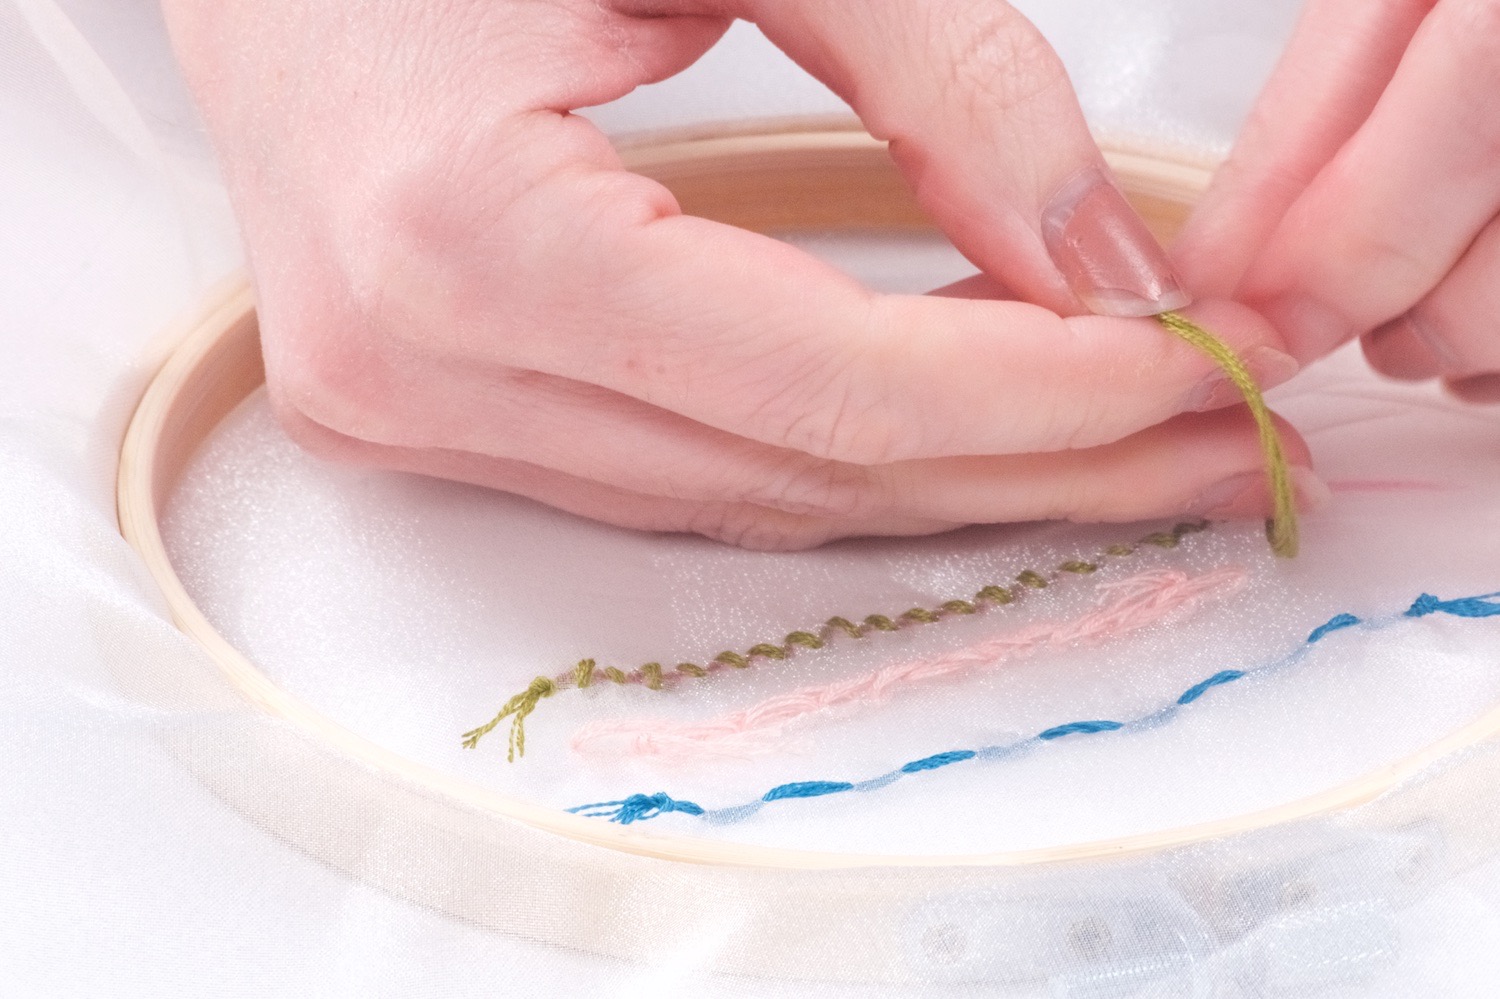
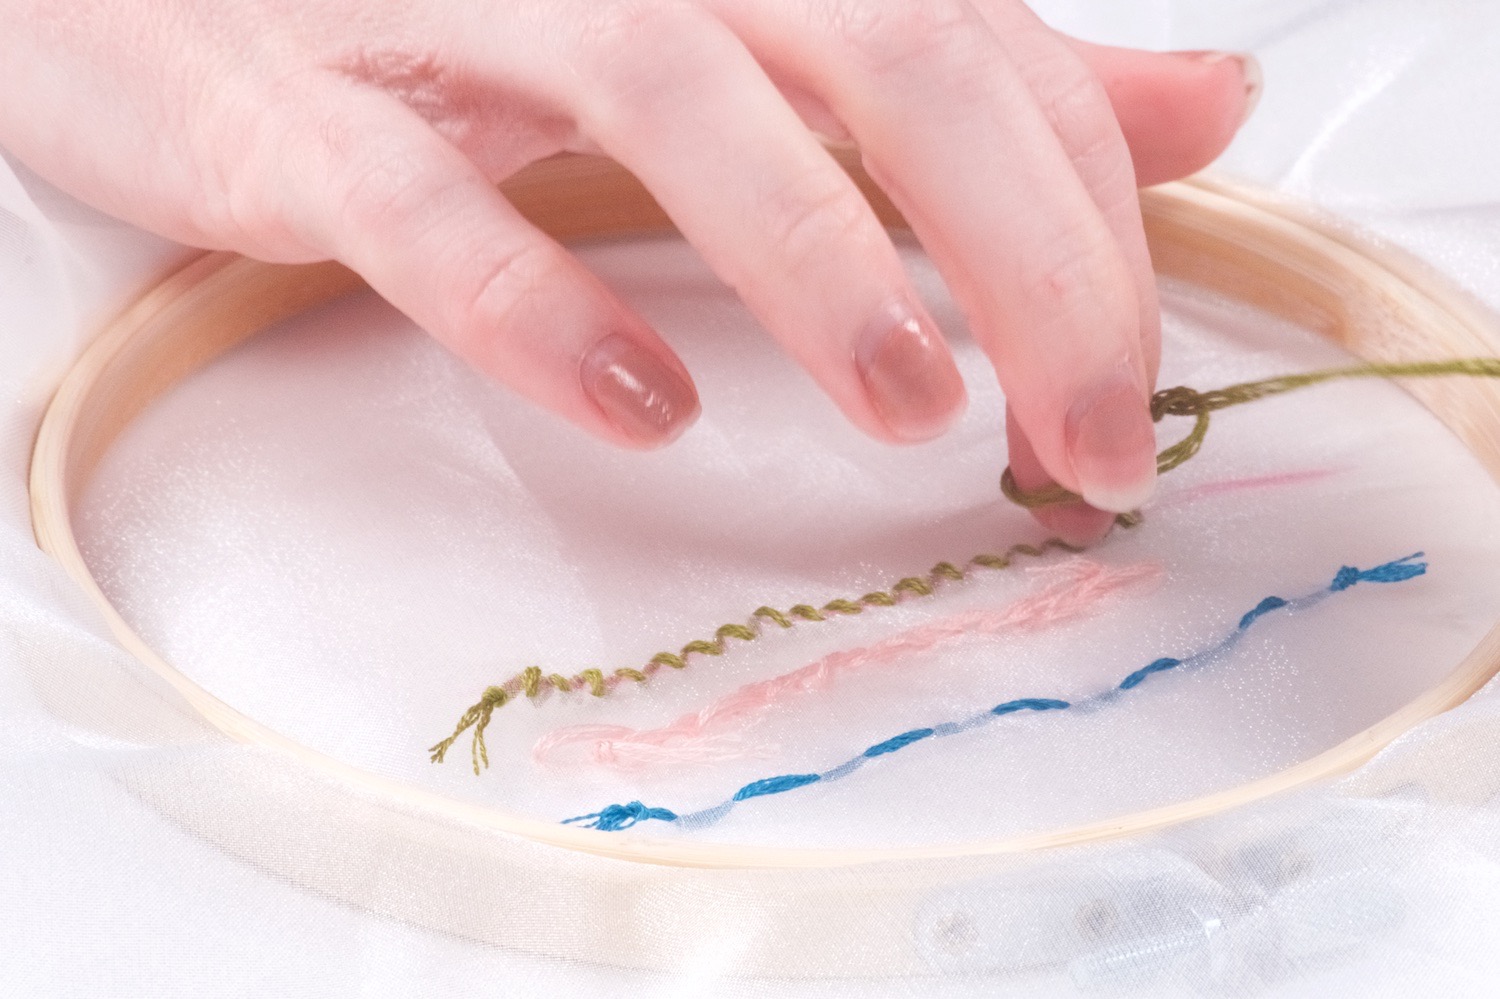
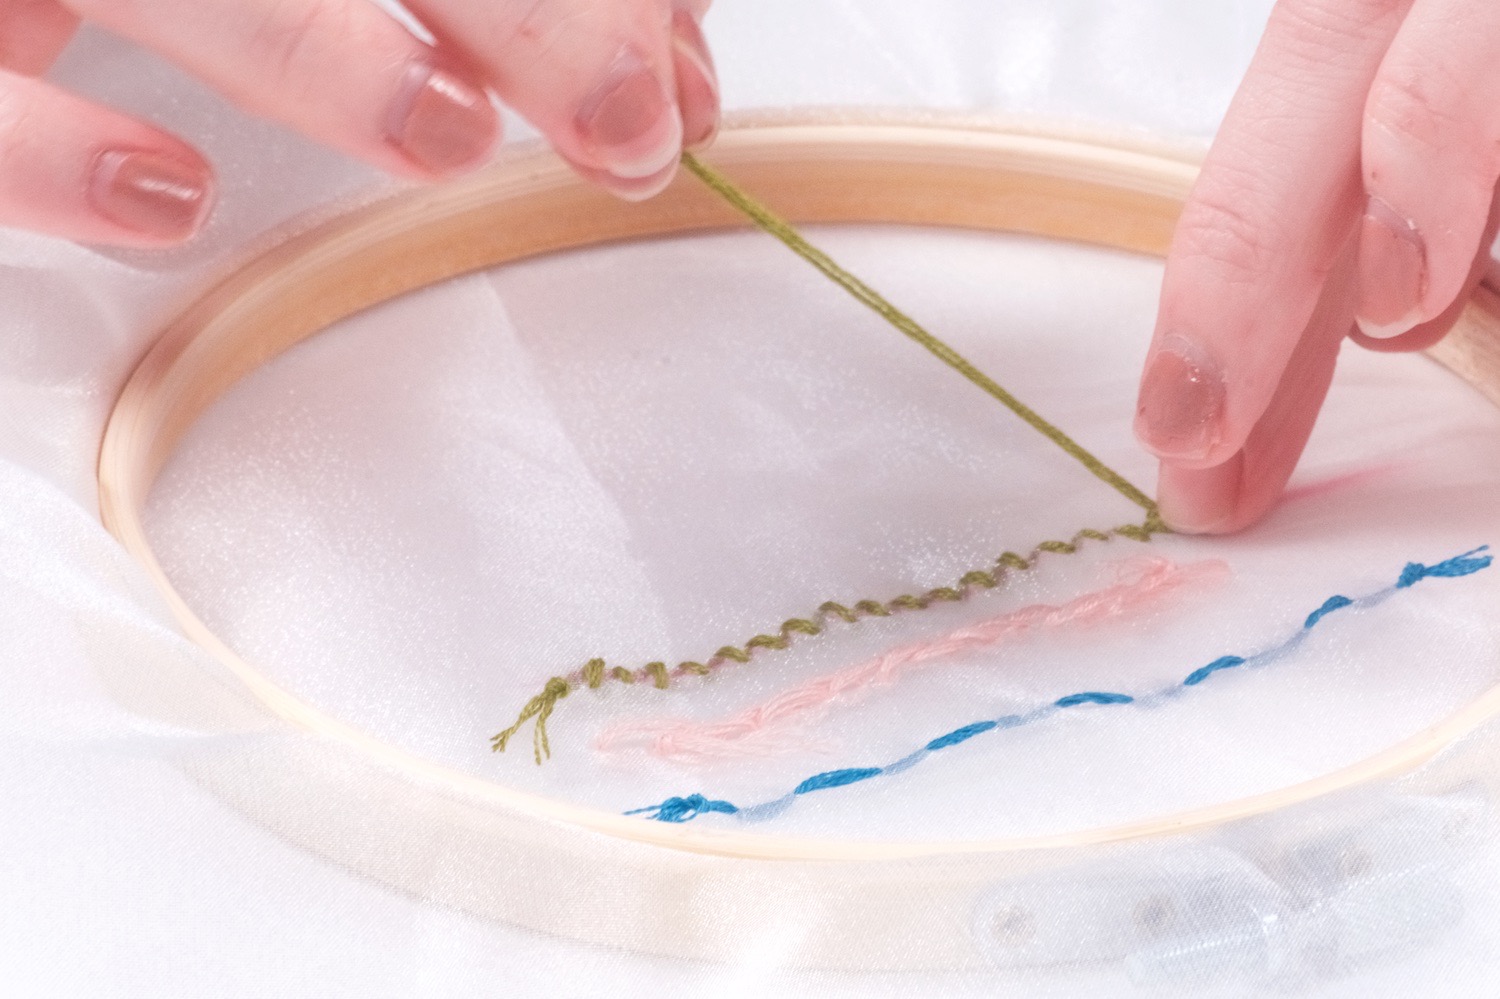
How to Create a Stem Stitch
In a certain sense, your shapes will look like the first half of a cross stitch.
When beginning a stem stitch, start from the back to the front. That way your knot at the tail end sits in the back. Instead of making a stitch that is perfectly up and down in the front, your stitch will be up and down in the back.
Thus, after you make your first stitch from the back to the front, make a 45° angle so that your stitch from front to back is over to the right one step and down one step from the original stitch. Then through the backside of the piece, your next stitch will be directly to the right of your original stitch so that the stitches touch or are at least extremely close together.
How are the Stem Stitch and Satin Stitch Related?
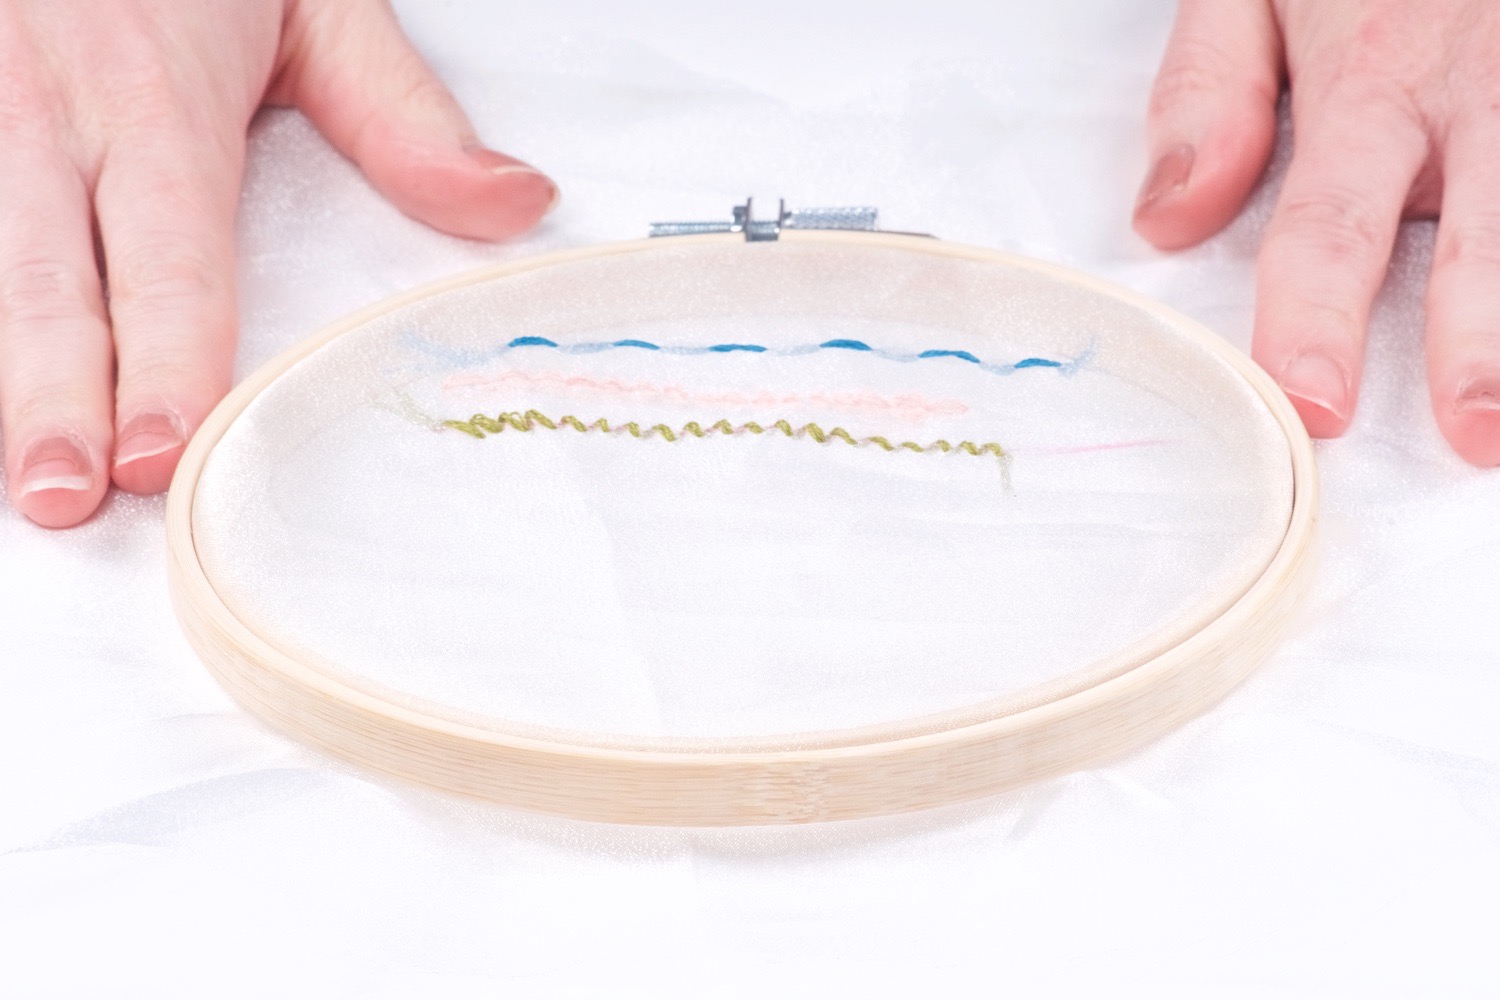
Now a stem stitch is just a satin stitch in reverse! The backside is the front of the other type of stitch. So a satin stitch will have straight lines on the front. And a stem stitch, instead of having straight lines on the front, your straight lines will be on the back.
A satin stitch will have diagonal lines on the back. And for a stem stitch your diagonal lines will be on the front.
When to Use a Stem Stitch
A stem stitch creates a slightly thicker line than a running stitch or back stitch. It’s perfect for creating thin borders and looks great when used to create stems of plants.

When to Use a Satin Stitch
A satin stitch is something that with a bit of practice you can work quickly. So it’s great for filling large areas with one seamless color. You could also use it to create a background.
So which stitch is your favorite? Or do you have a stitch that is like kryptonite and so hard to master? Tell us in the comments! And scroll to the top or below for even more embroidery tutorials.
Let’s Stay Friends!
Insta | Pinterest | Enews | TikTok